Bill97
-
Posts
2,730 -
Joined
-
Last visited
Content Type
Profiles
Forums
Gallery
Events
Everything posted by Bill97
-
Thank you very much Kevin I appreciate you nice comments. We will see how this goes. I wish I could arrange for you, Daniel, Ian, and a others to come look over my shoulder and lead the way. 😊 By the way on a humorous note, how many if any, parts are floating around inside your ship? Parts accidentally knocked lose and for ever trapped inside. I know I have one cannon barrel and one cannon hatch shutter (sick bay) that I am sure of. I replaced the barrel with a spare I had and made a new shutter. However any time I tilt the ship to work on something I hear lost parts slide about the lower decks
-
When I first started my HMS Victory most of the reviews I read and comments from other builders here on MSW lead me to believe building this kit would be a couple years in the making, at least. As I moved along over the last 8 months several of my friends on MSW complimented me on the speed of my progress. Even comparing my progress to how long it took them. This kind of lead me to think I might finish my HMS Victory in much less time than I expected. Well no no no no no my MSW friends that is not going to be the case. As I look over and study this rigging challenge I fully expect it to match or exceed the amount of time I spent building the ship. Wow!
-
After closer look Ian I think you are right. Much easier fix than the pikes being on wrong side of mast, 😊
-
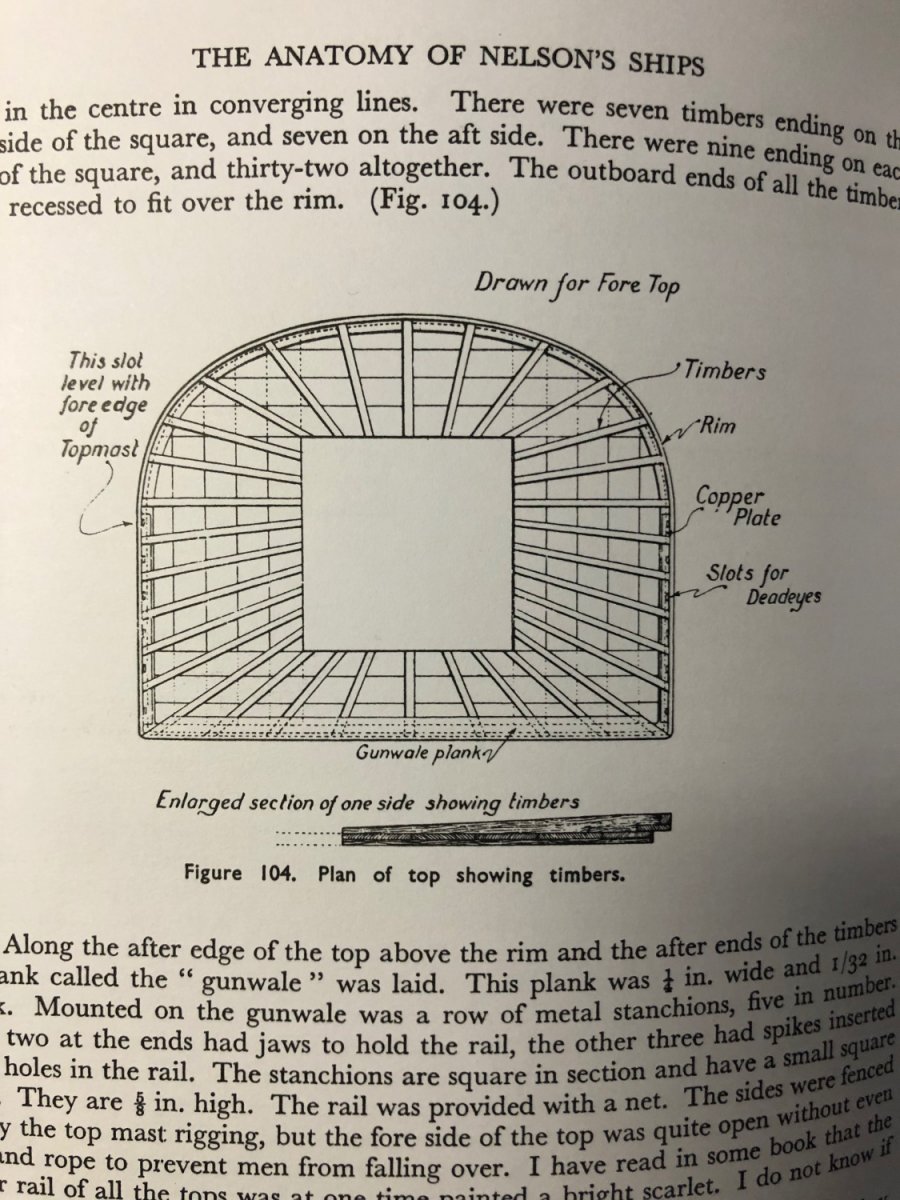
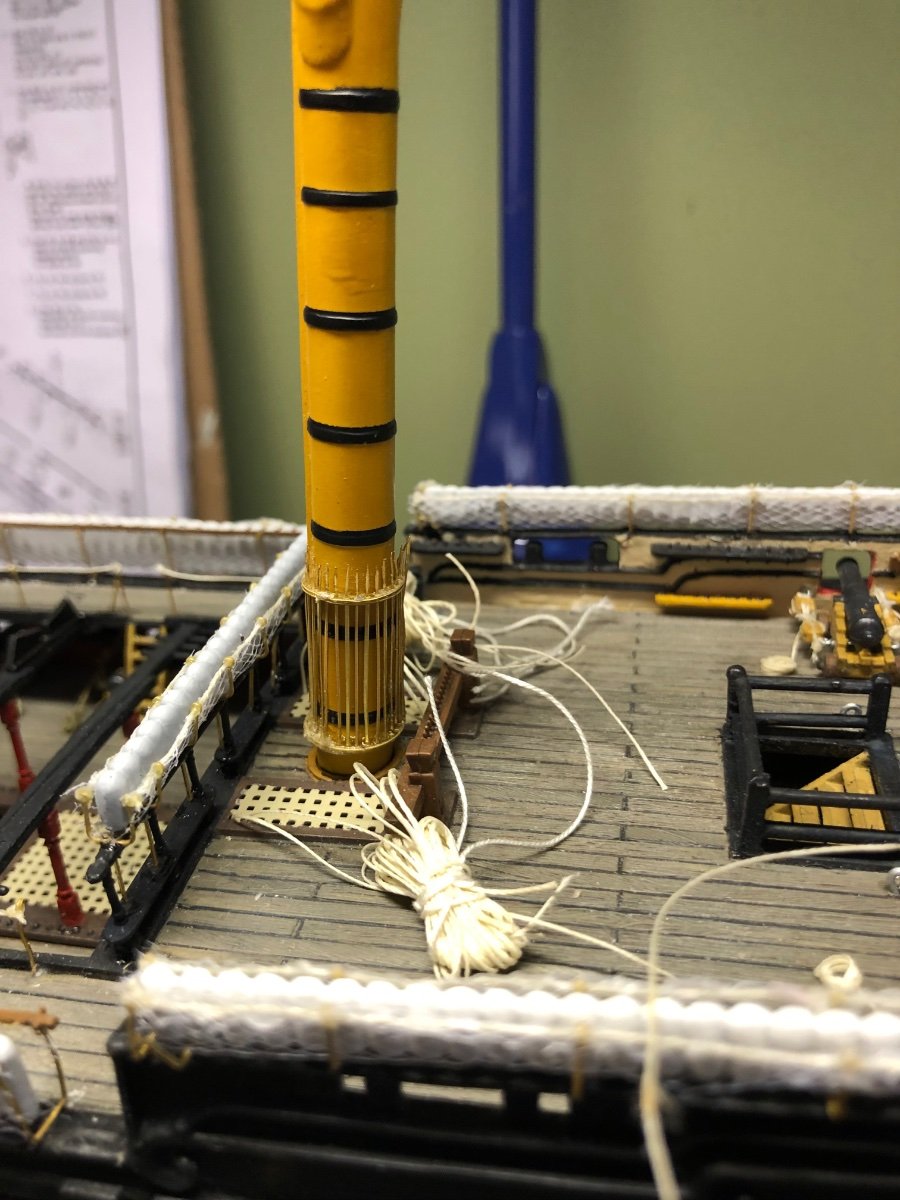
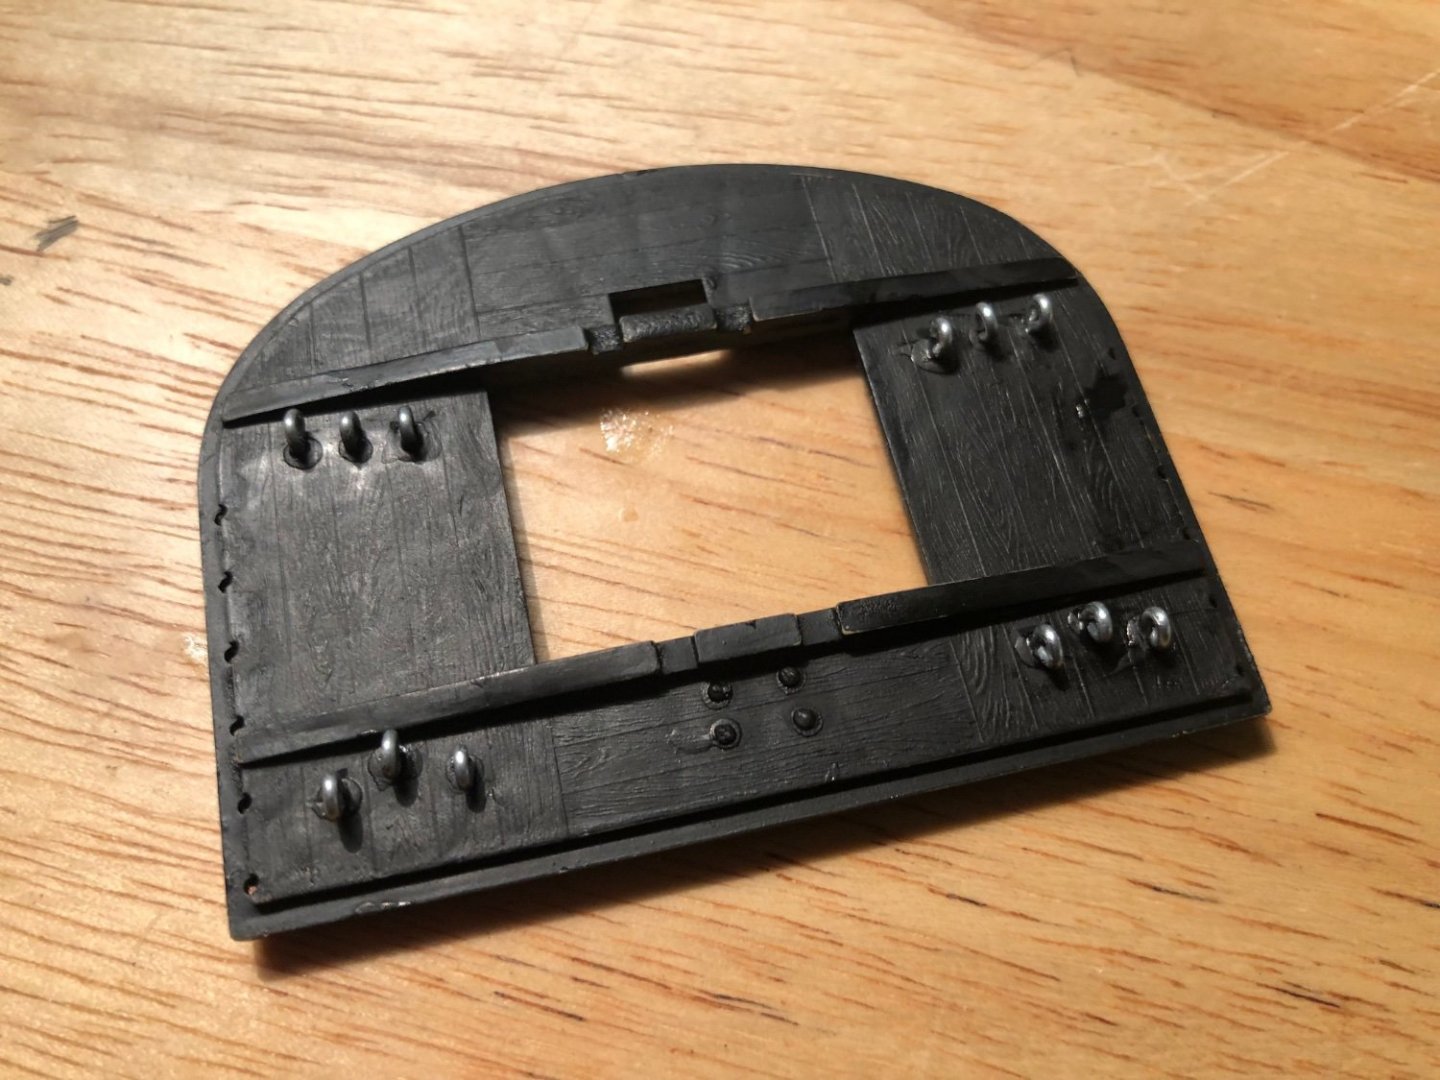
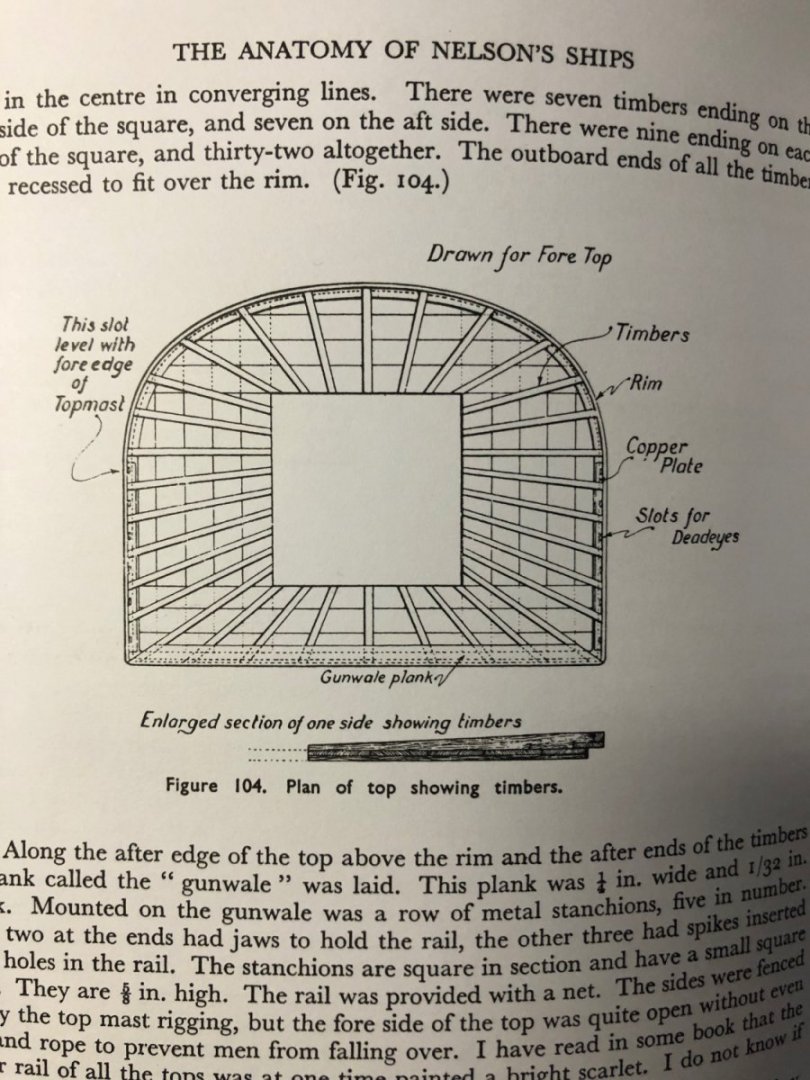
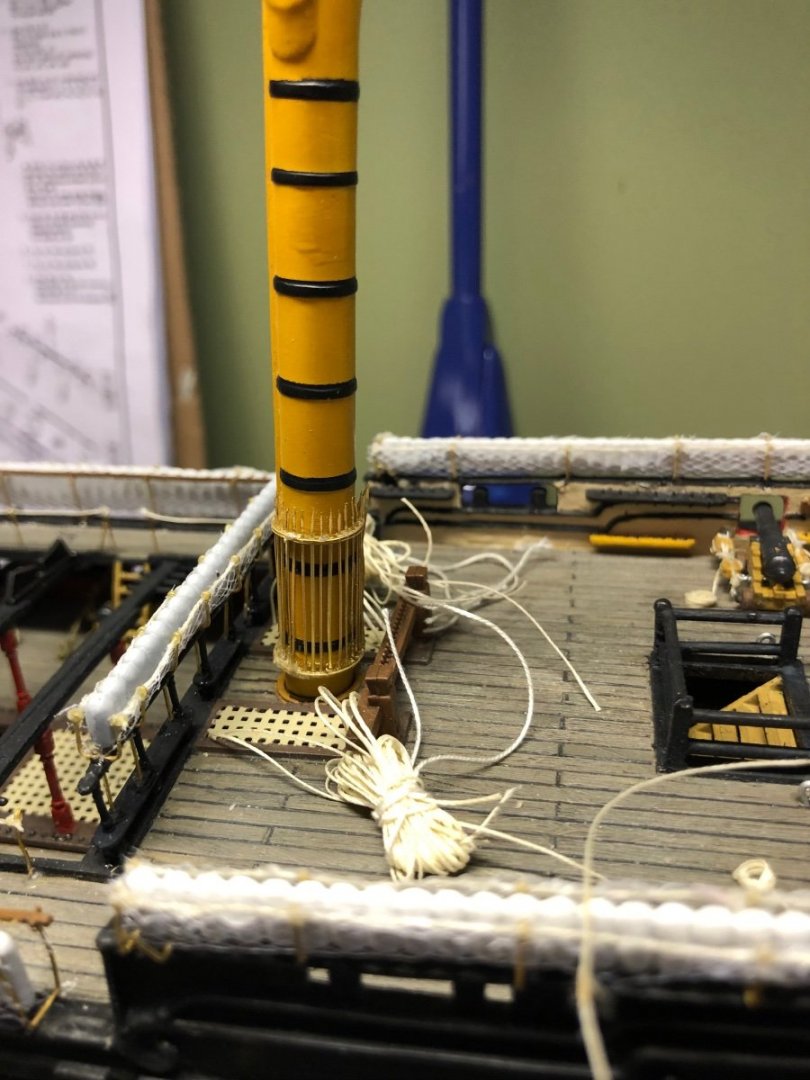
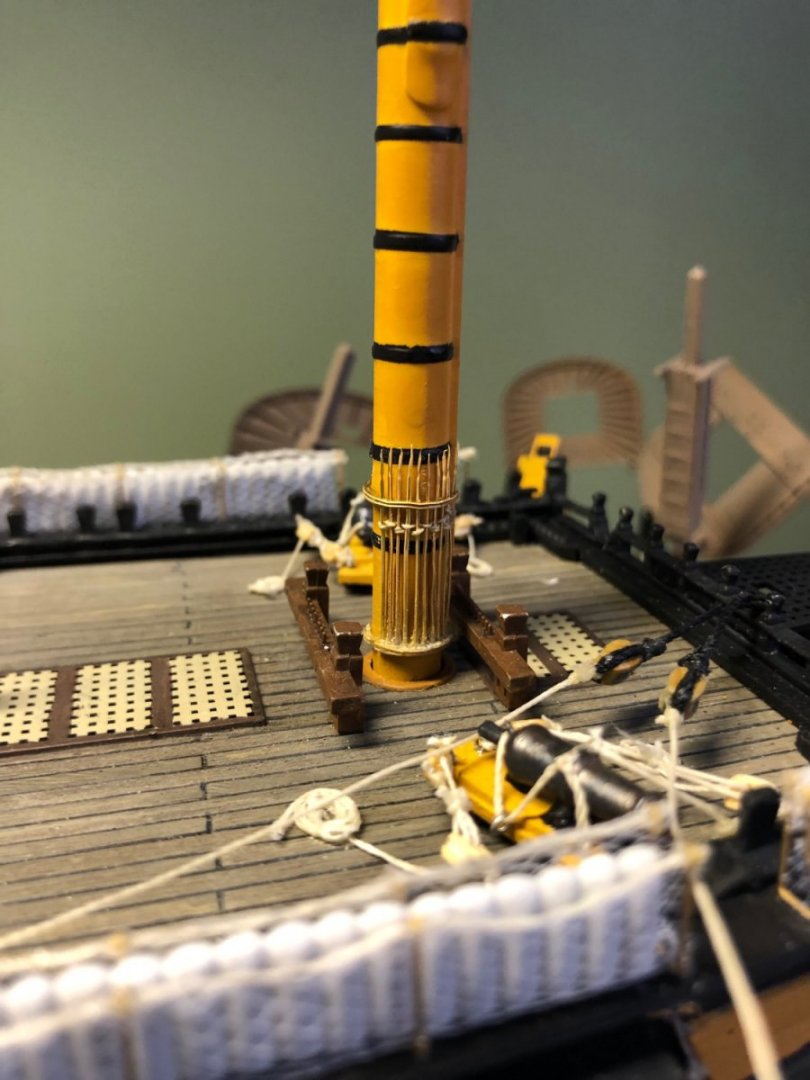
Now that I have begun construction of the masts I referred to Longridge’s book for any bits of helpful information. When I was reading about the mast top I saw in the drawing that it included a copper edge around the exterior (see photo). Since I still have left over copper tape from doing the hull I decided to replicate the drawing. Added some of my hand made eyebolts to the underside. The tips of the eyebolt ends are slightly visible on the top, but acceptable.

-
Thank you my friend. This is perfect.
-
Thanks Ian. No I don’t have that book. Would you be able to attach a photo of the base of each of your mast so I can follow your lead?
-
HAPPY NEW YEAR to all my MSW friends! Hope it is a great 2022 for each of you and your family.
-
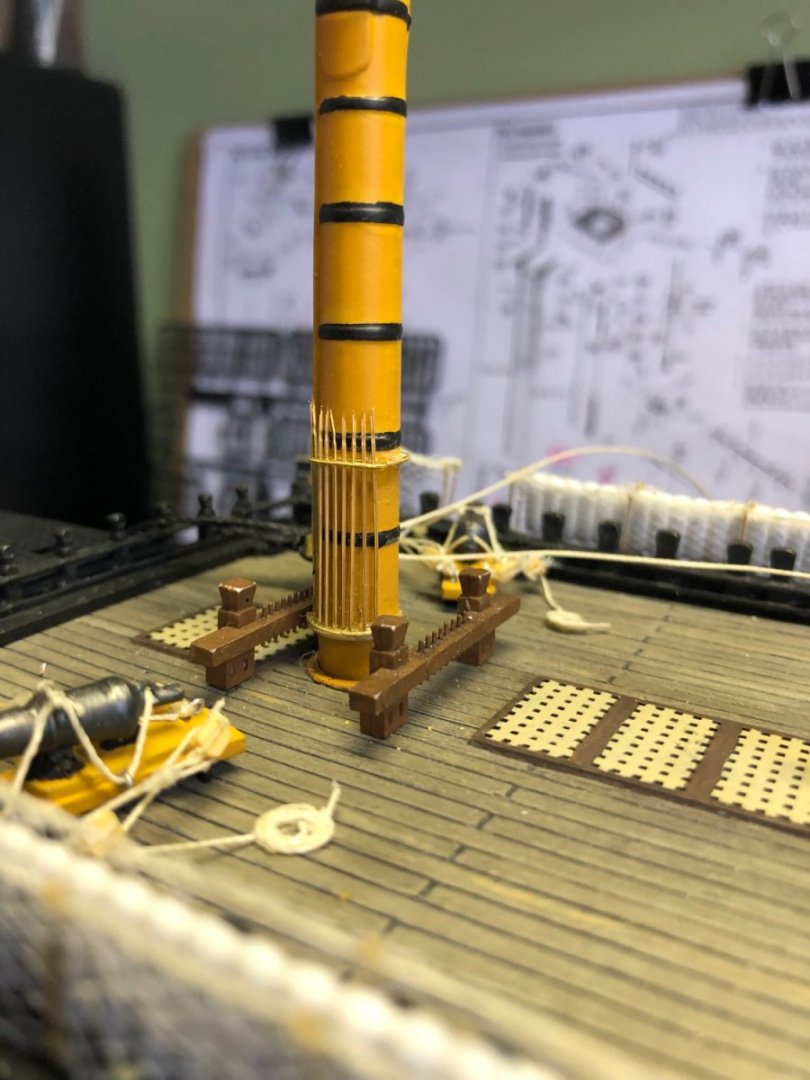
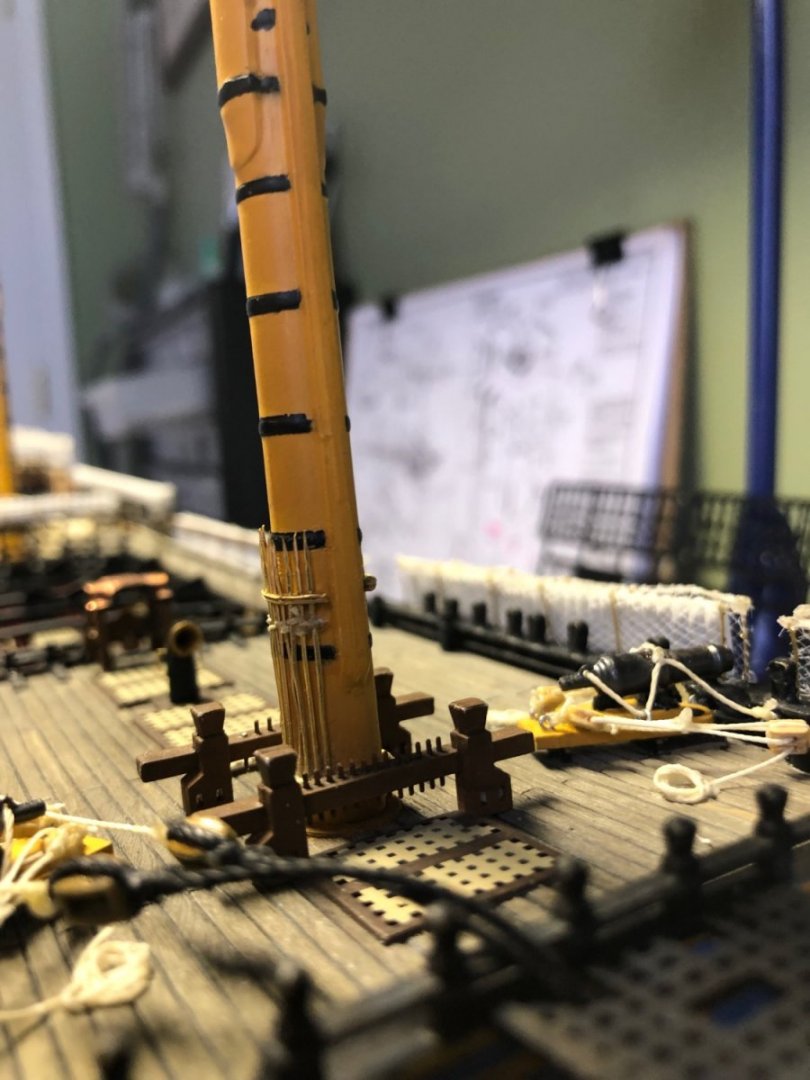
Oh that makes since for sure. 👍 Will install the lower section of the 3 masts and then attach all the various blocks to the 3 tops before installing them. In my pictures the lower masts are just dry fitted in the decks b Today I put Daniel’s etched boarding pikes around the base of the main mast. So far of all the etched parts I found this to be the most frustrating but I finally got it.
-
Thanks Ian. Great suggestion. At this point would you go ahead and glue in the three lower masts sections and add the mast tops and futtock plates so stays and shrouds can be attached? Then with plans to add the remainder of masts sections later?
-
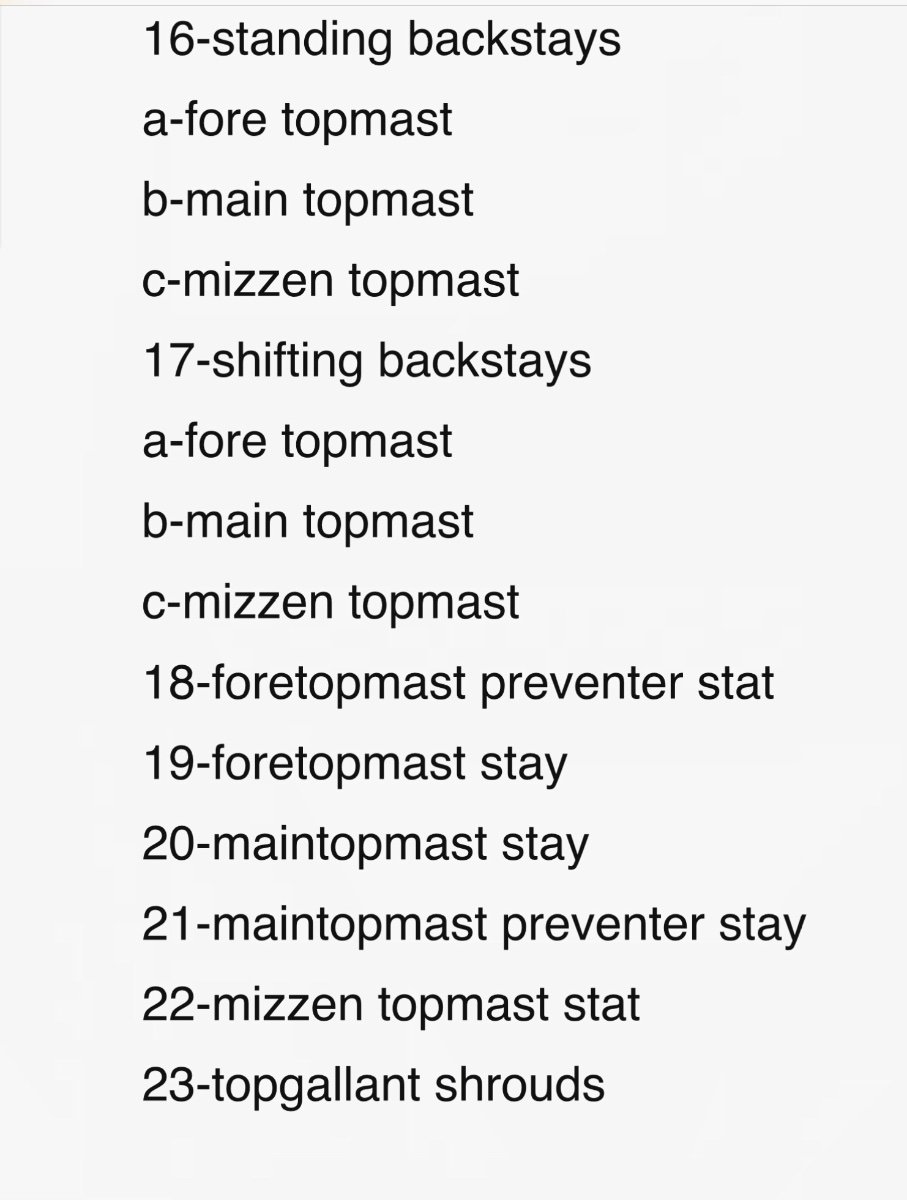
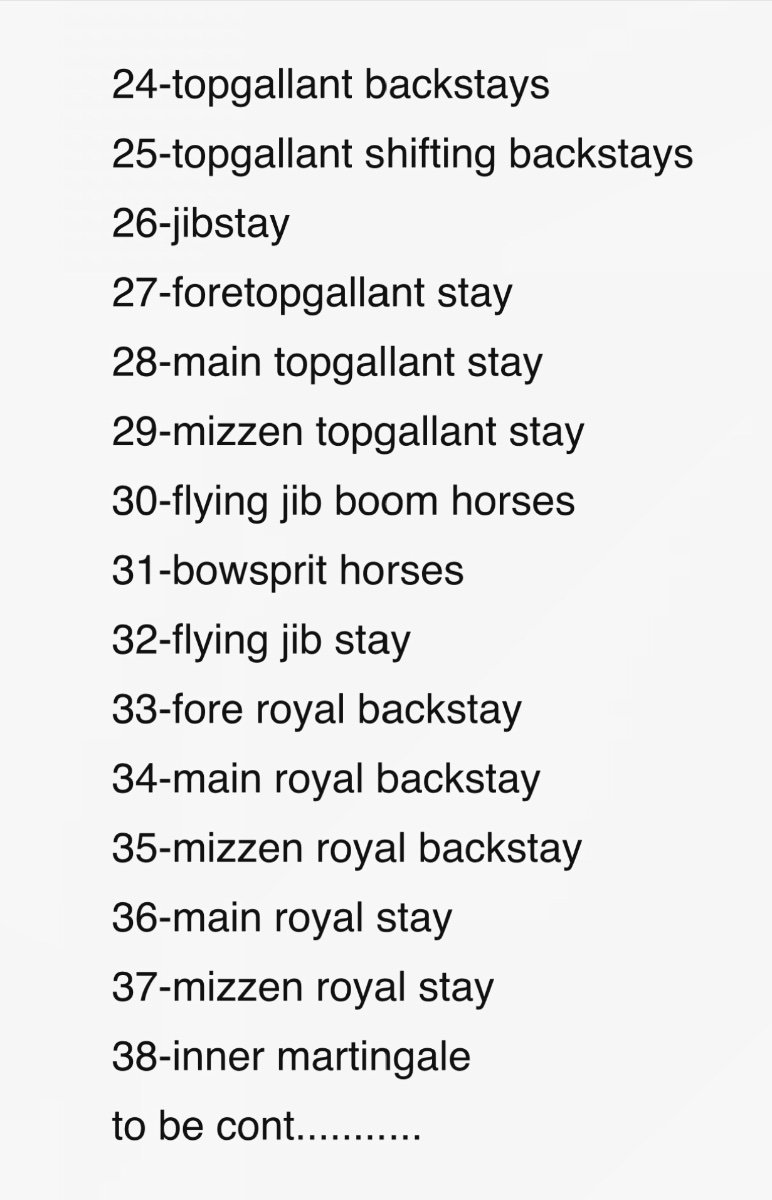
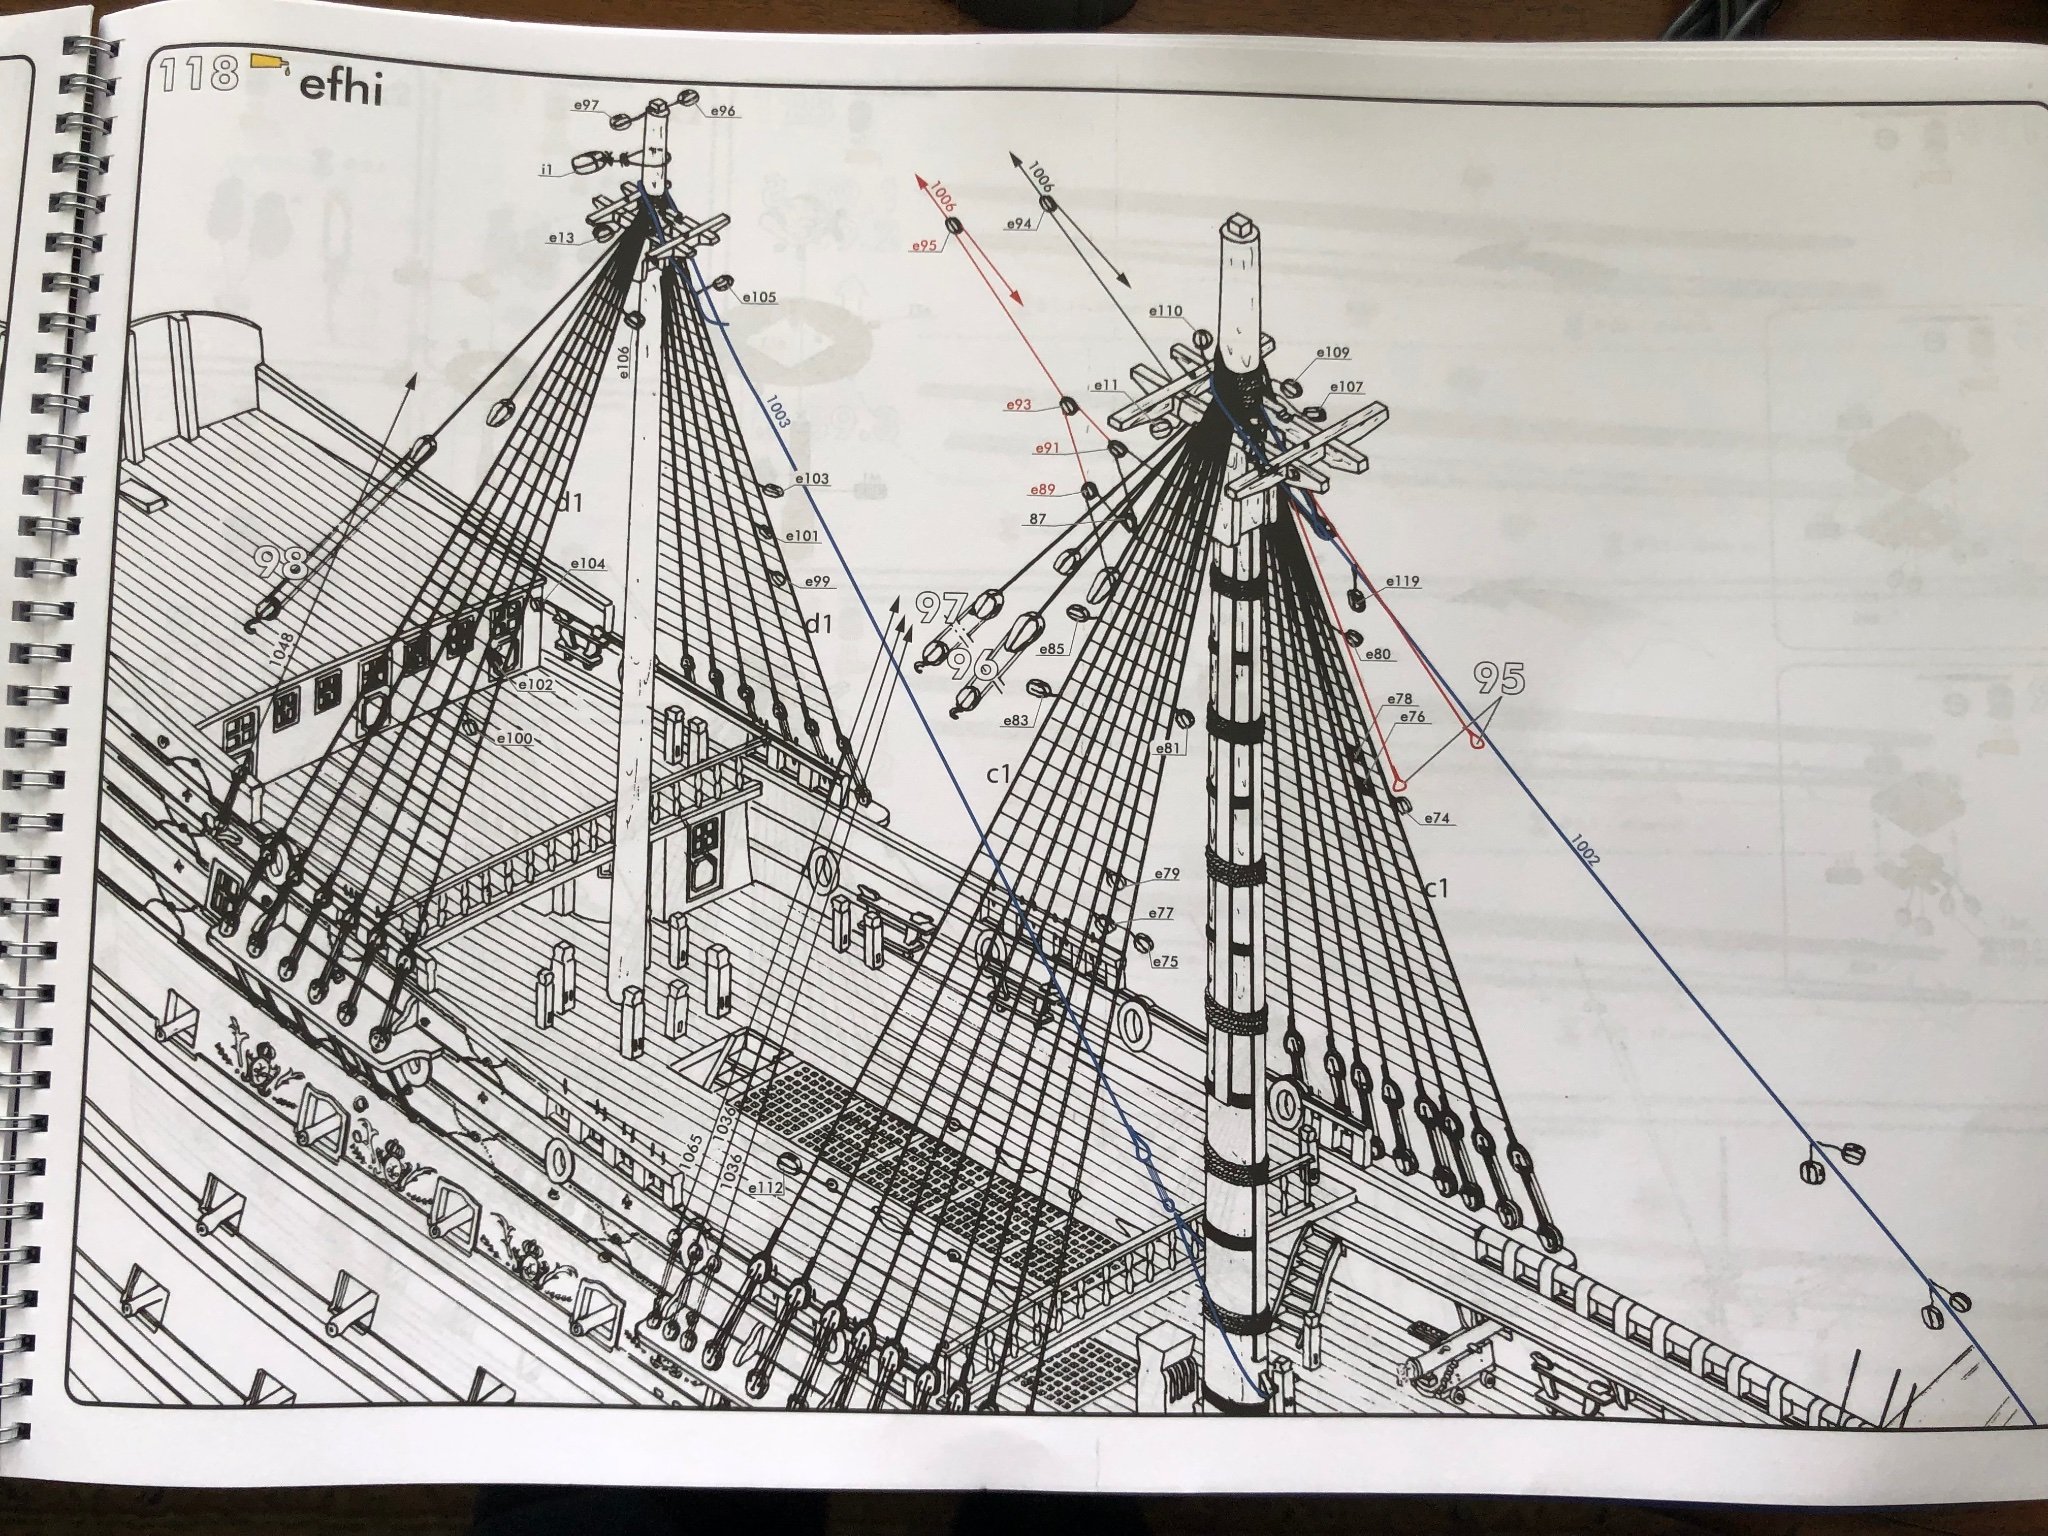
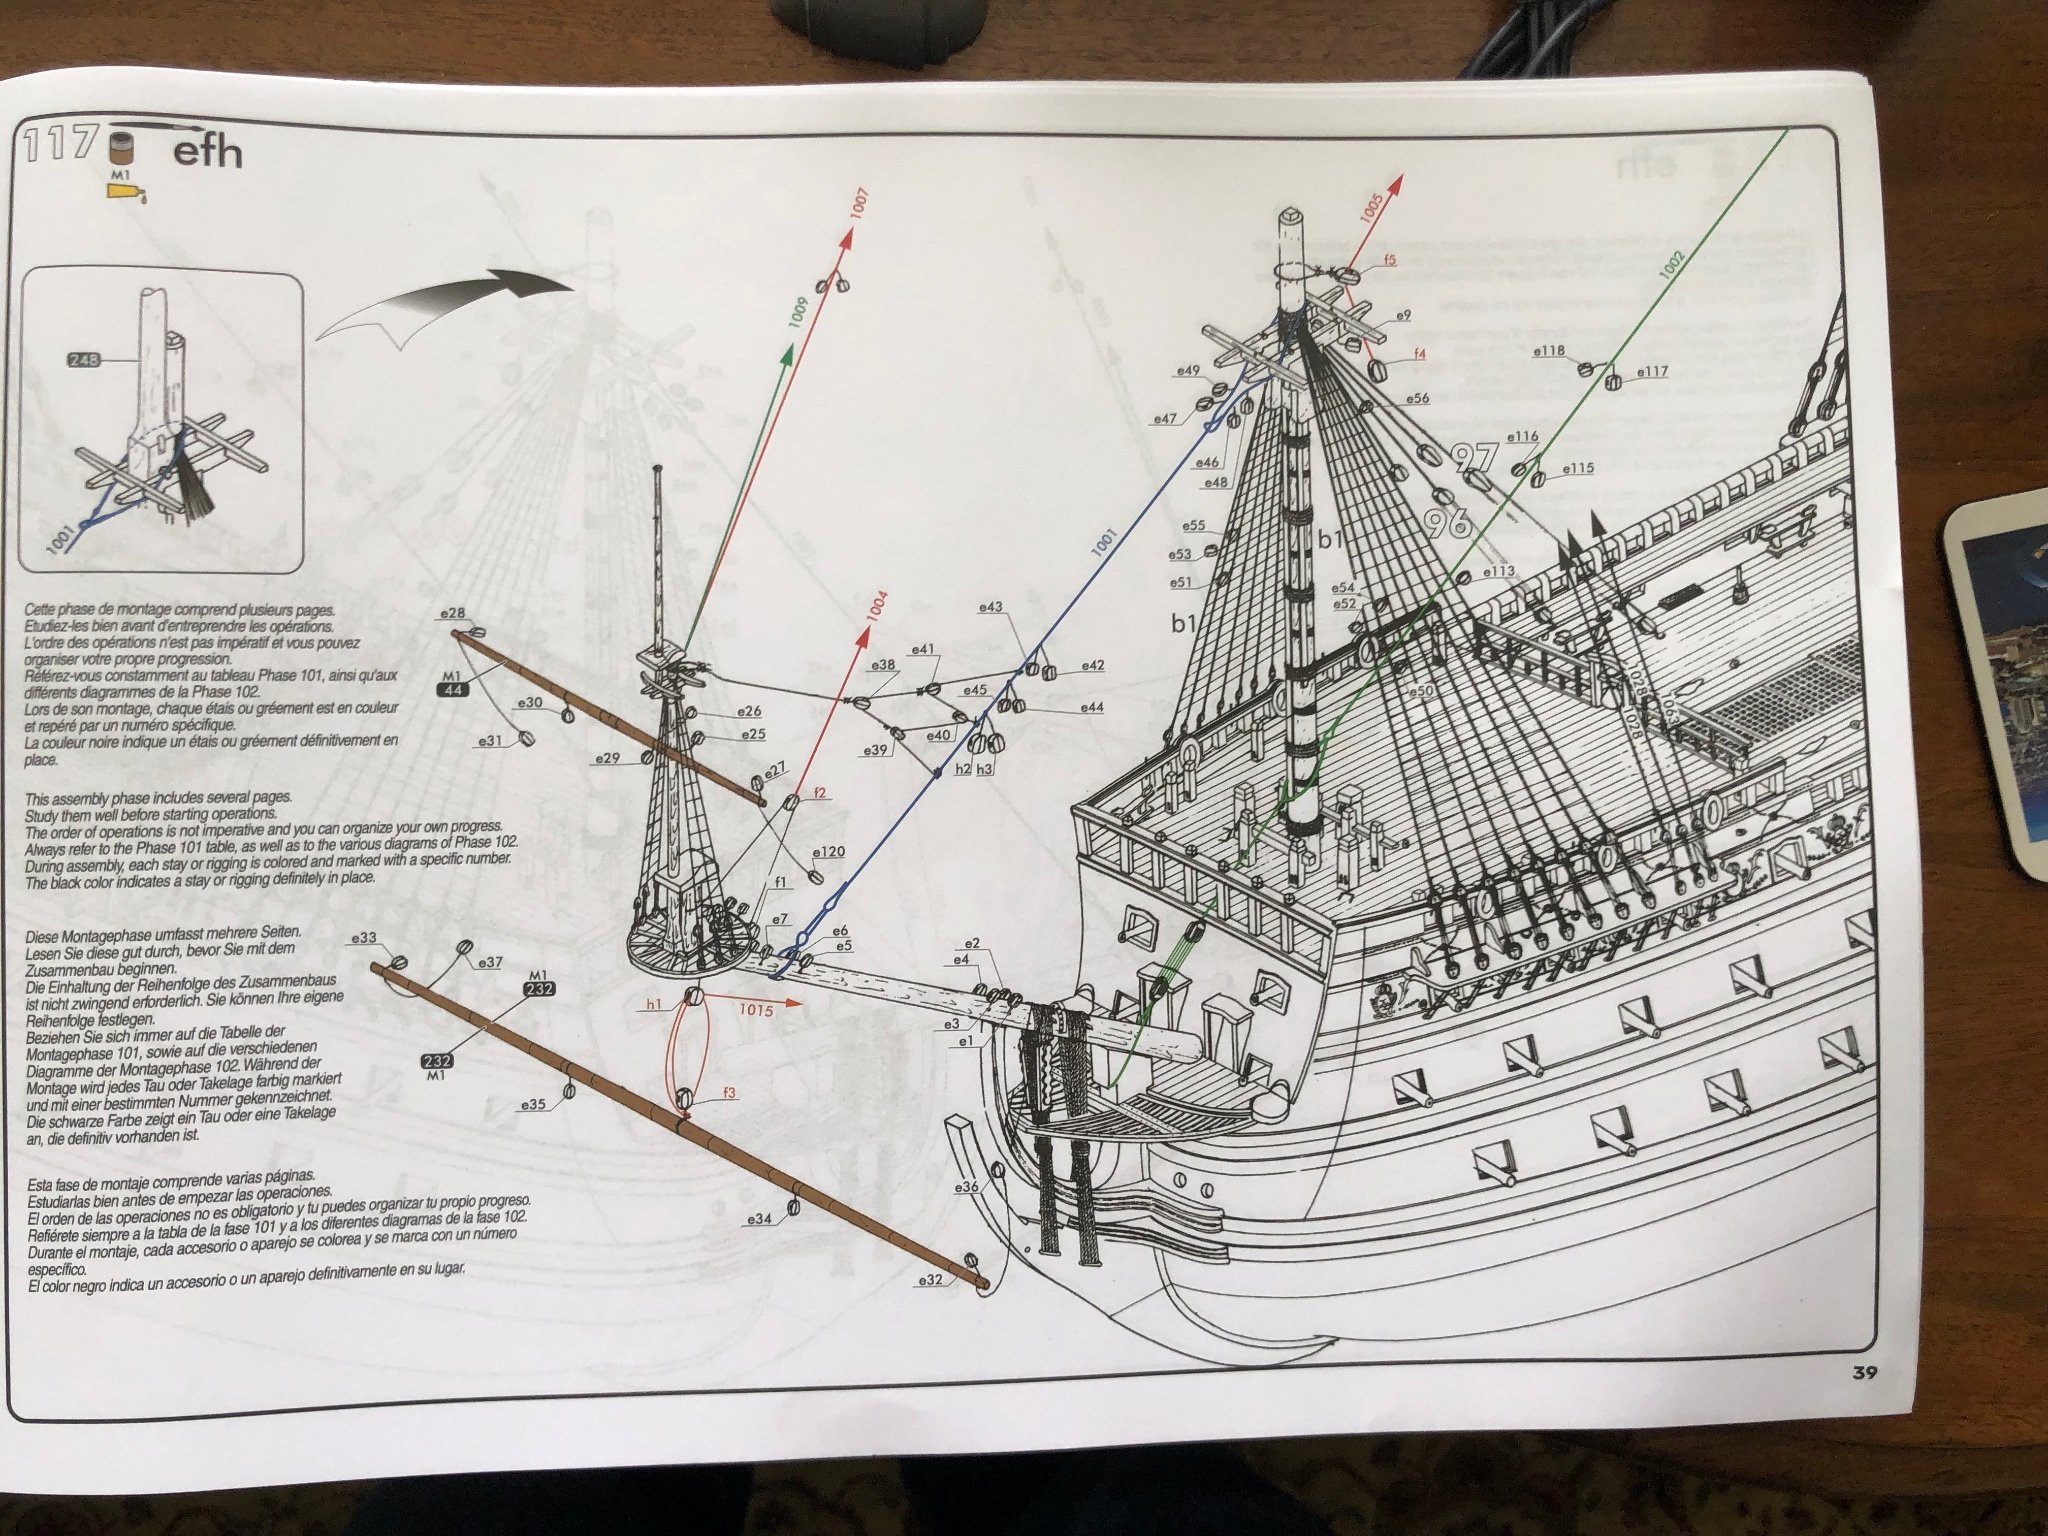
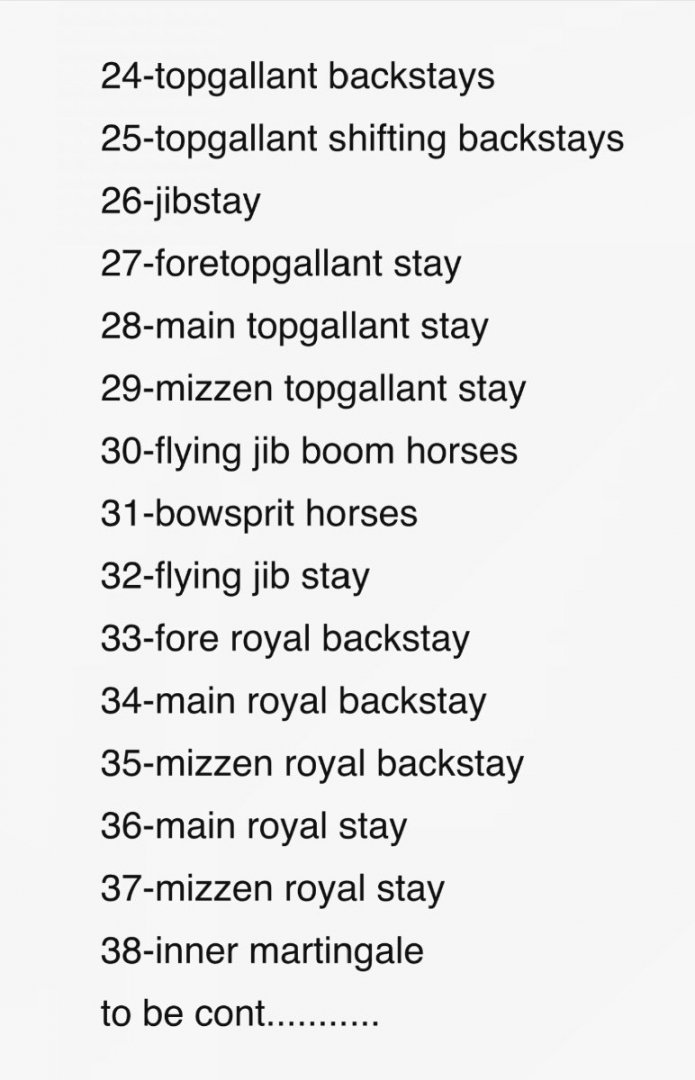
I ran across a post from John Reid where he listed his recommended sequence for the standing rigging. Being a very accomplished builder I trust his opinion. His sequence seems to make sense. I think my plan will be to follow his sequence using Longridge’s book for specific instruction on how to do each line. Looking at his sequence (see photos) would any of you recommend any modifications based on your building experience?


-
Ok gentlemen as I get closer and closer to starting my standing rigging I am spending more time reading the rigging chapters on rigging in Longridge’s book as you all recommend. Starting with Chap 14 on page 220 do you recommend rigging in the order that he explains each line: Main Stay then Main Stay Collar, then Main Preventer Stay, then the Fore Stay, etc, etc, etc, on through page 233?
-
OK Ian pikes now correctly on port side of foremast. Thanks again for bringing that to my attention before it was to late to correct.
-
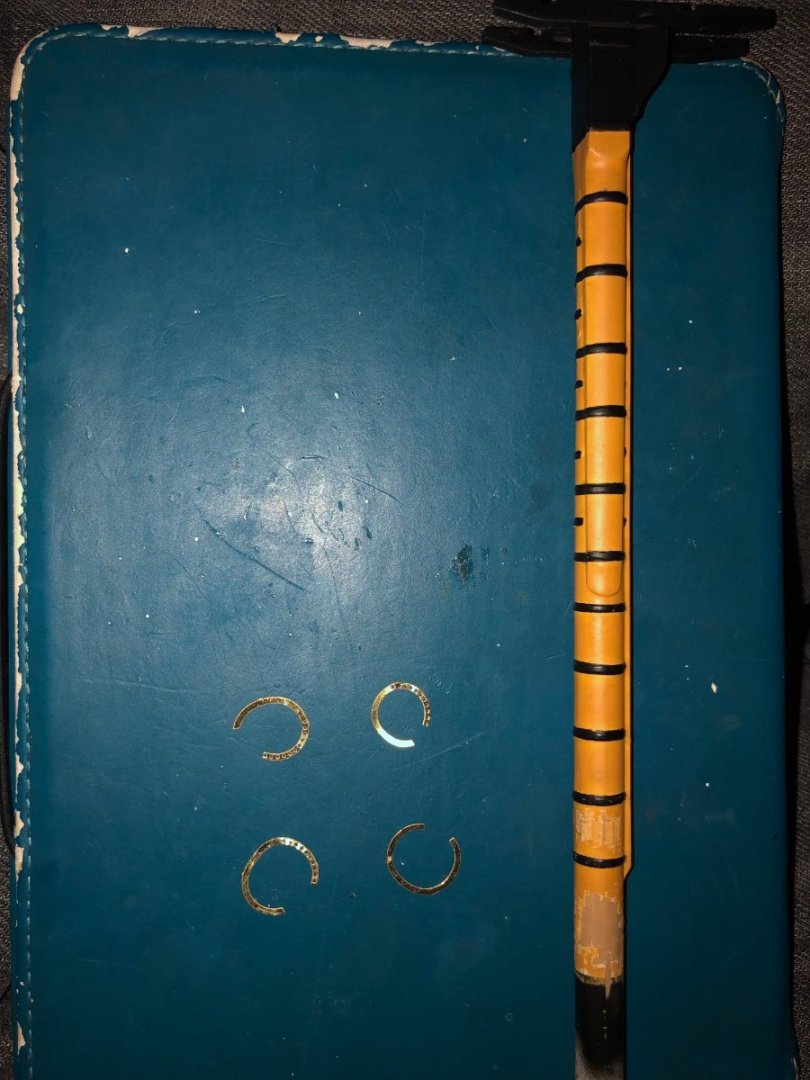
OK Ian. Screwed up pikes and rings removed and cleaned with acetone. Need to refinish the lower part of the mast where the rings were and then do it over the right way, or would that be the Port way! 😊
-
Oh my gosh Ian! I knew that! I can’t believe I did that. 😤 When I was dry fitting it I had that in mind the whole time! Looking back to earlier today when I was working on it I think (I know) what I did was put Daniel’s bottom ring with the holes in it on upside down. Then as a result where it is open to go up to the strip that runs up the back of the mast it put the holes on the wrong side! Curse word, curse word! I will definitely change that. I believe there are extra pikes in Daniel’s sheet. A little acetone should dissolve the CA glue. I was not happy with it any way. Thanks for reminding me. I do appreciate it. I CANNOT BELIEVE I DID THAT!!!! I did get the rest of the deadeyes put in the chains today.
-
Took a break from brass and deadeyes 😳 and took a go at the Daniel’s boarding pikes. Did the foremast first. Not perfect but I am satisfied. Learned a few things as I worked on the foremast pikes that I will do a little different when I do the mainmast pikes.
-
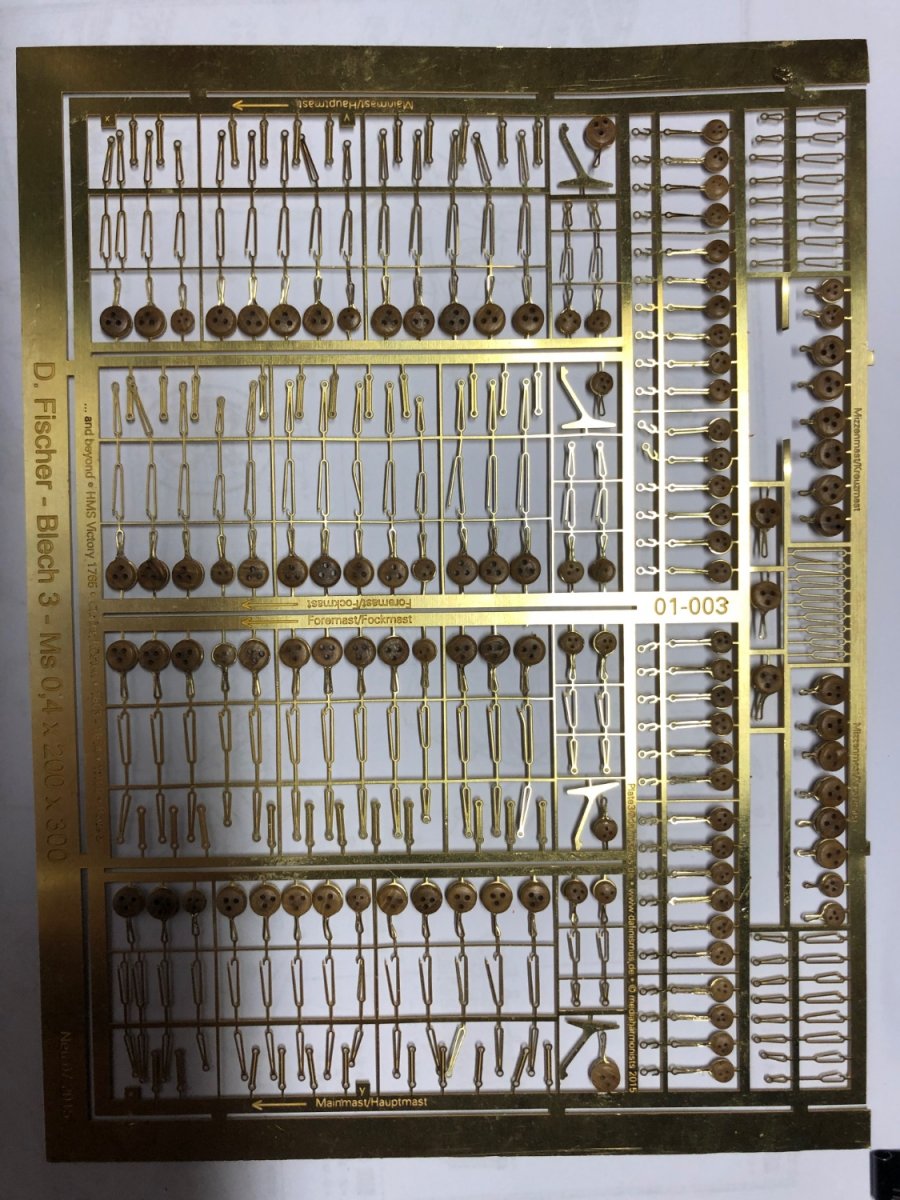
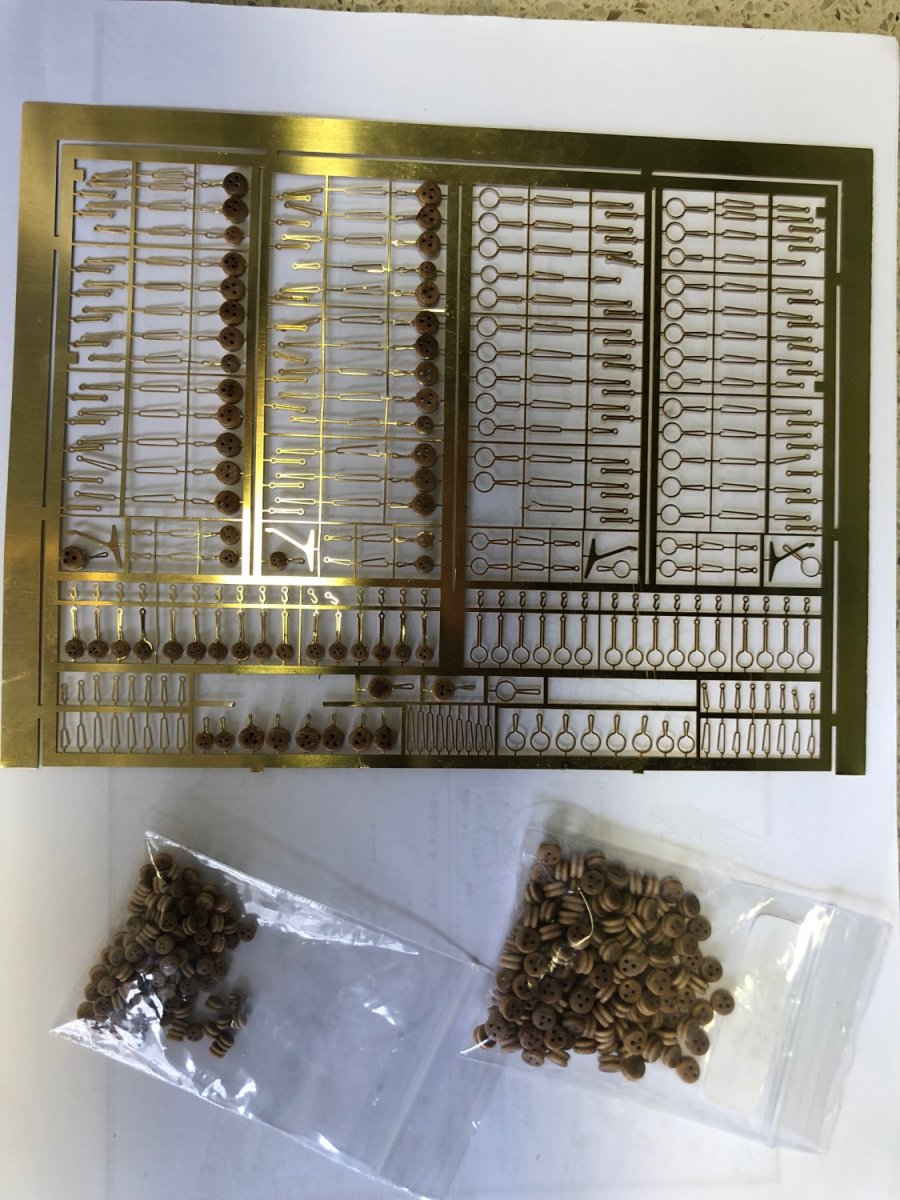
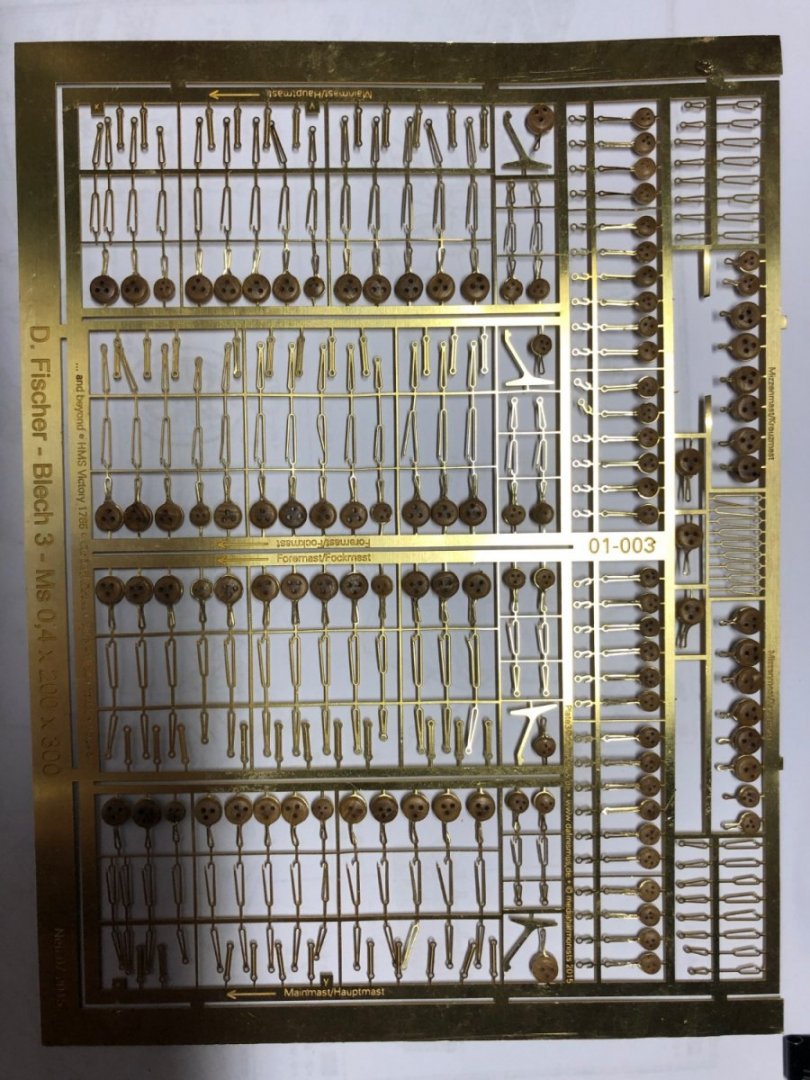
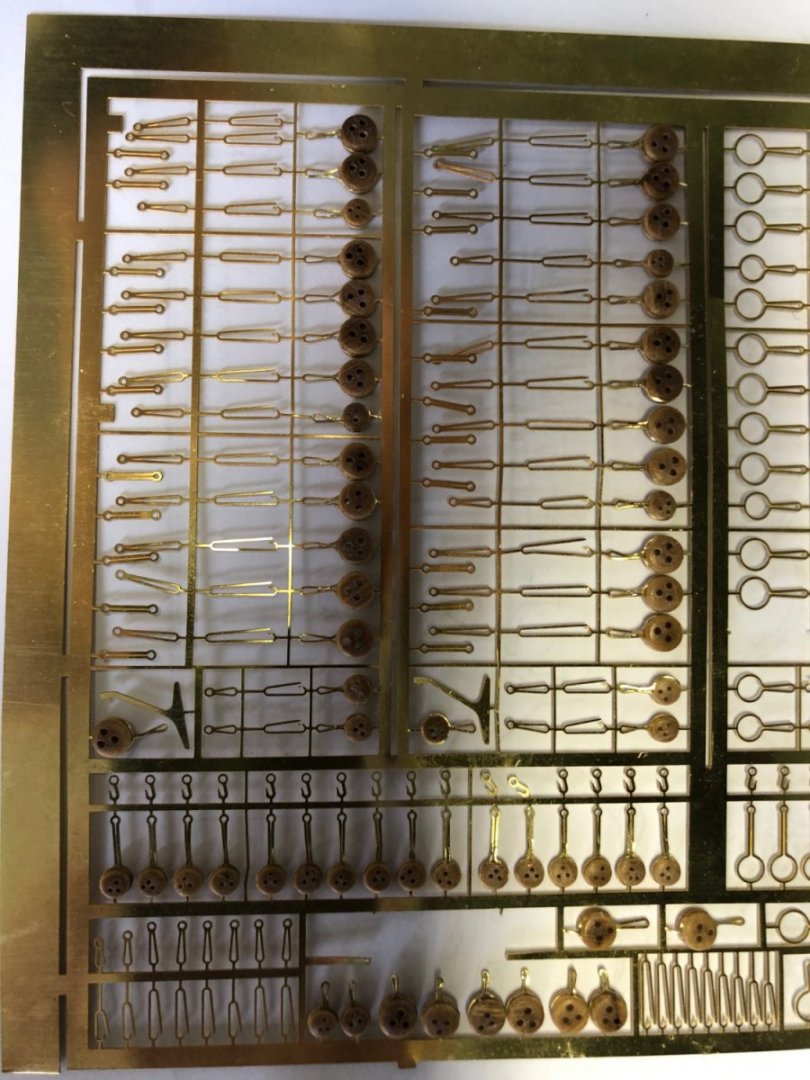
Today I began the process of adding wood deadeyes to Daniel’s brass etch Plate 3 (Deadeye chains). Slow and steady process that I believe will be a very nice addition. As with the other etched parts I am going to leave these shiny brass.

-
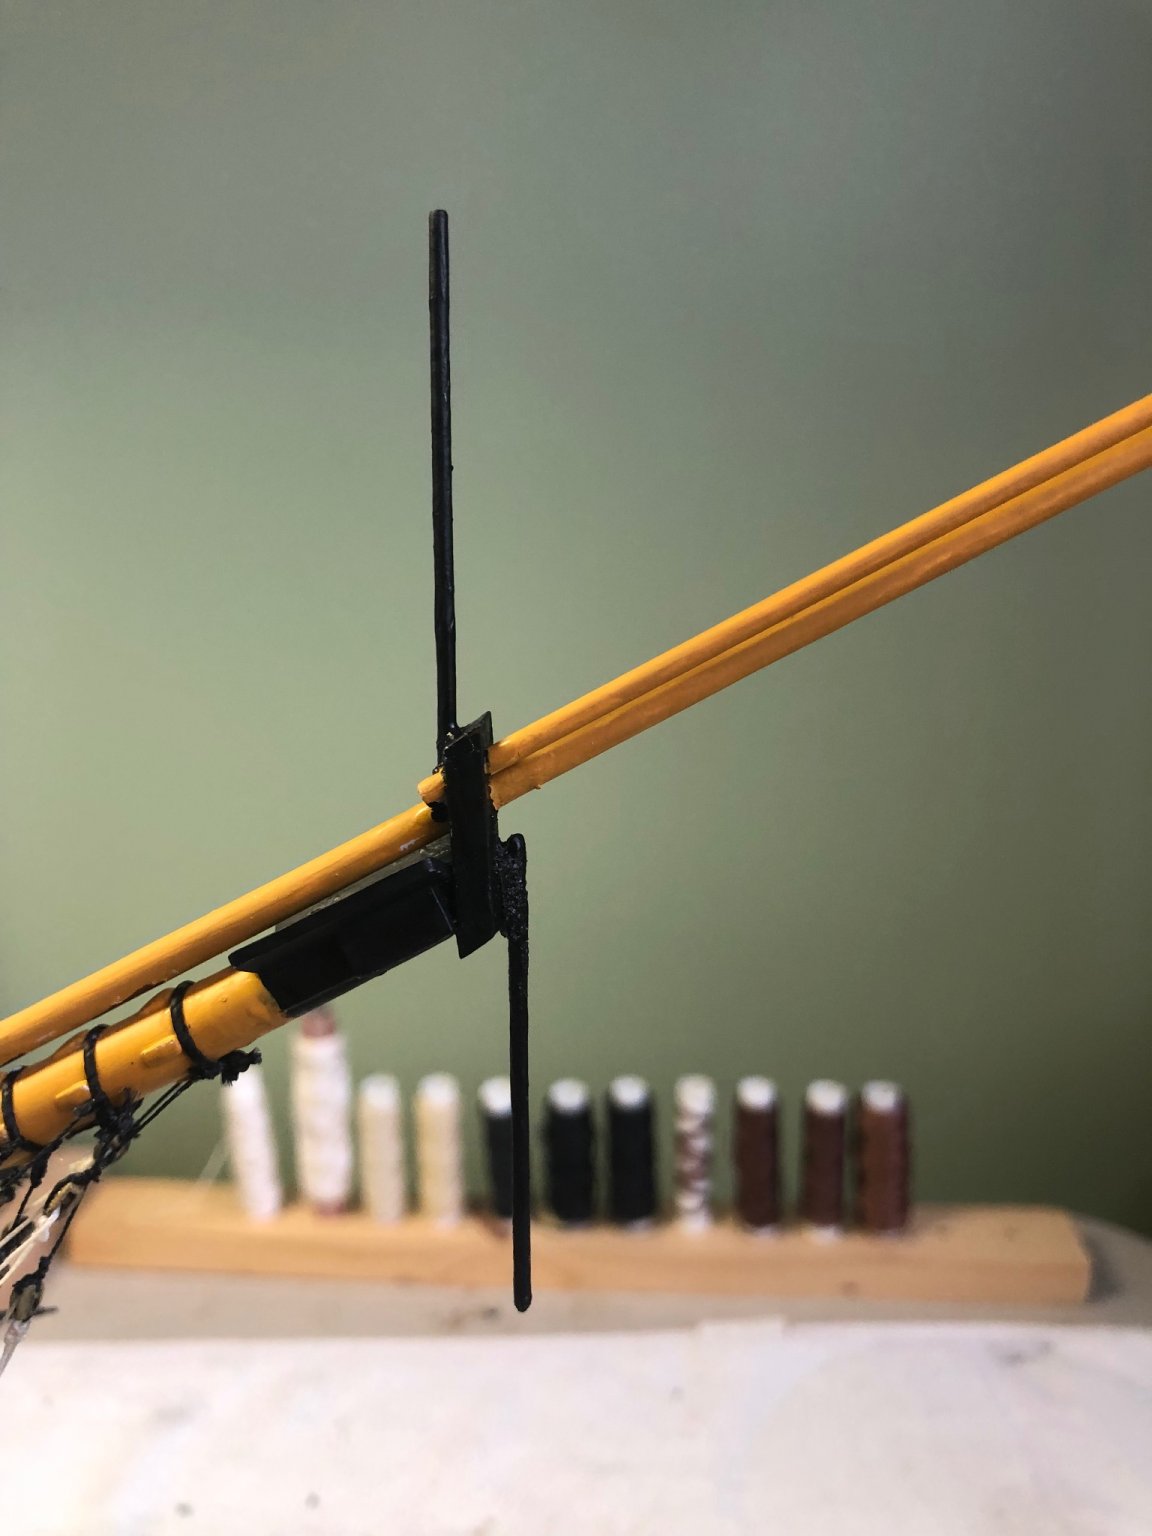
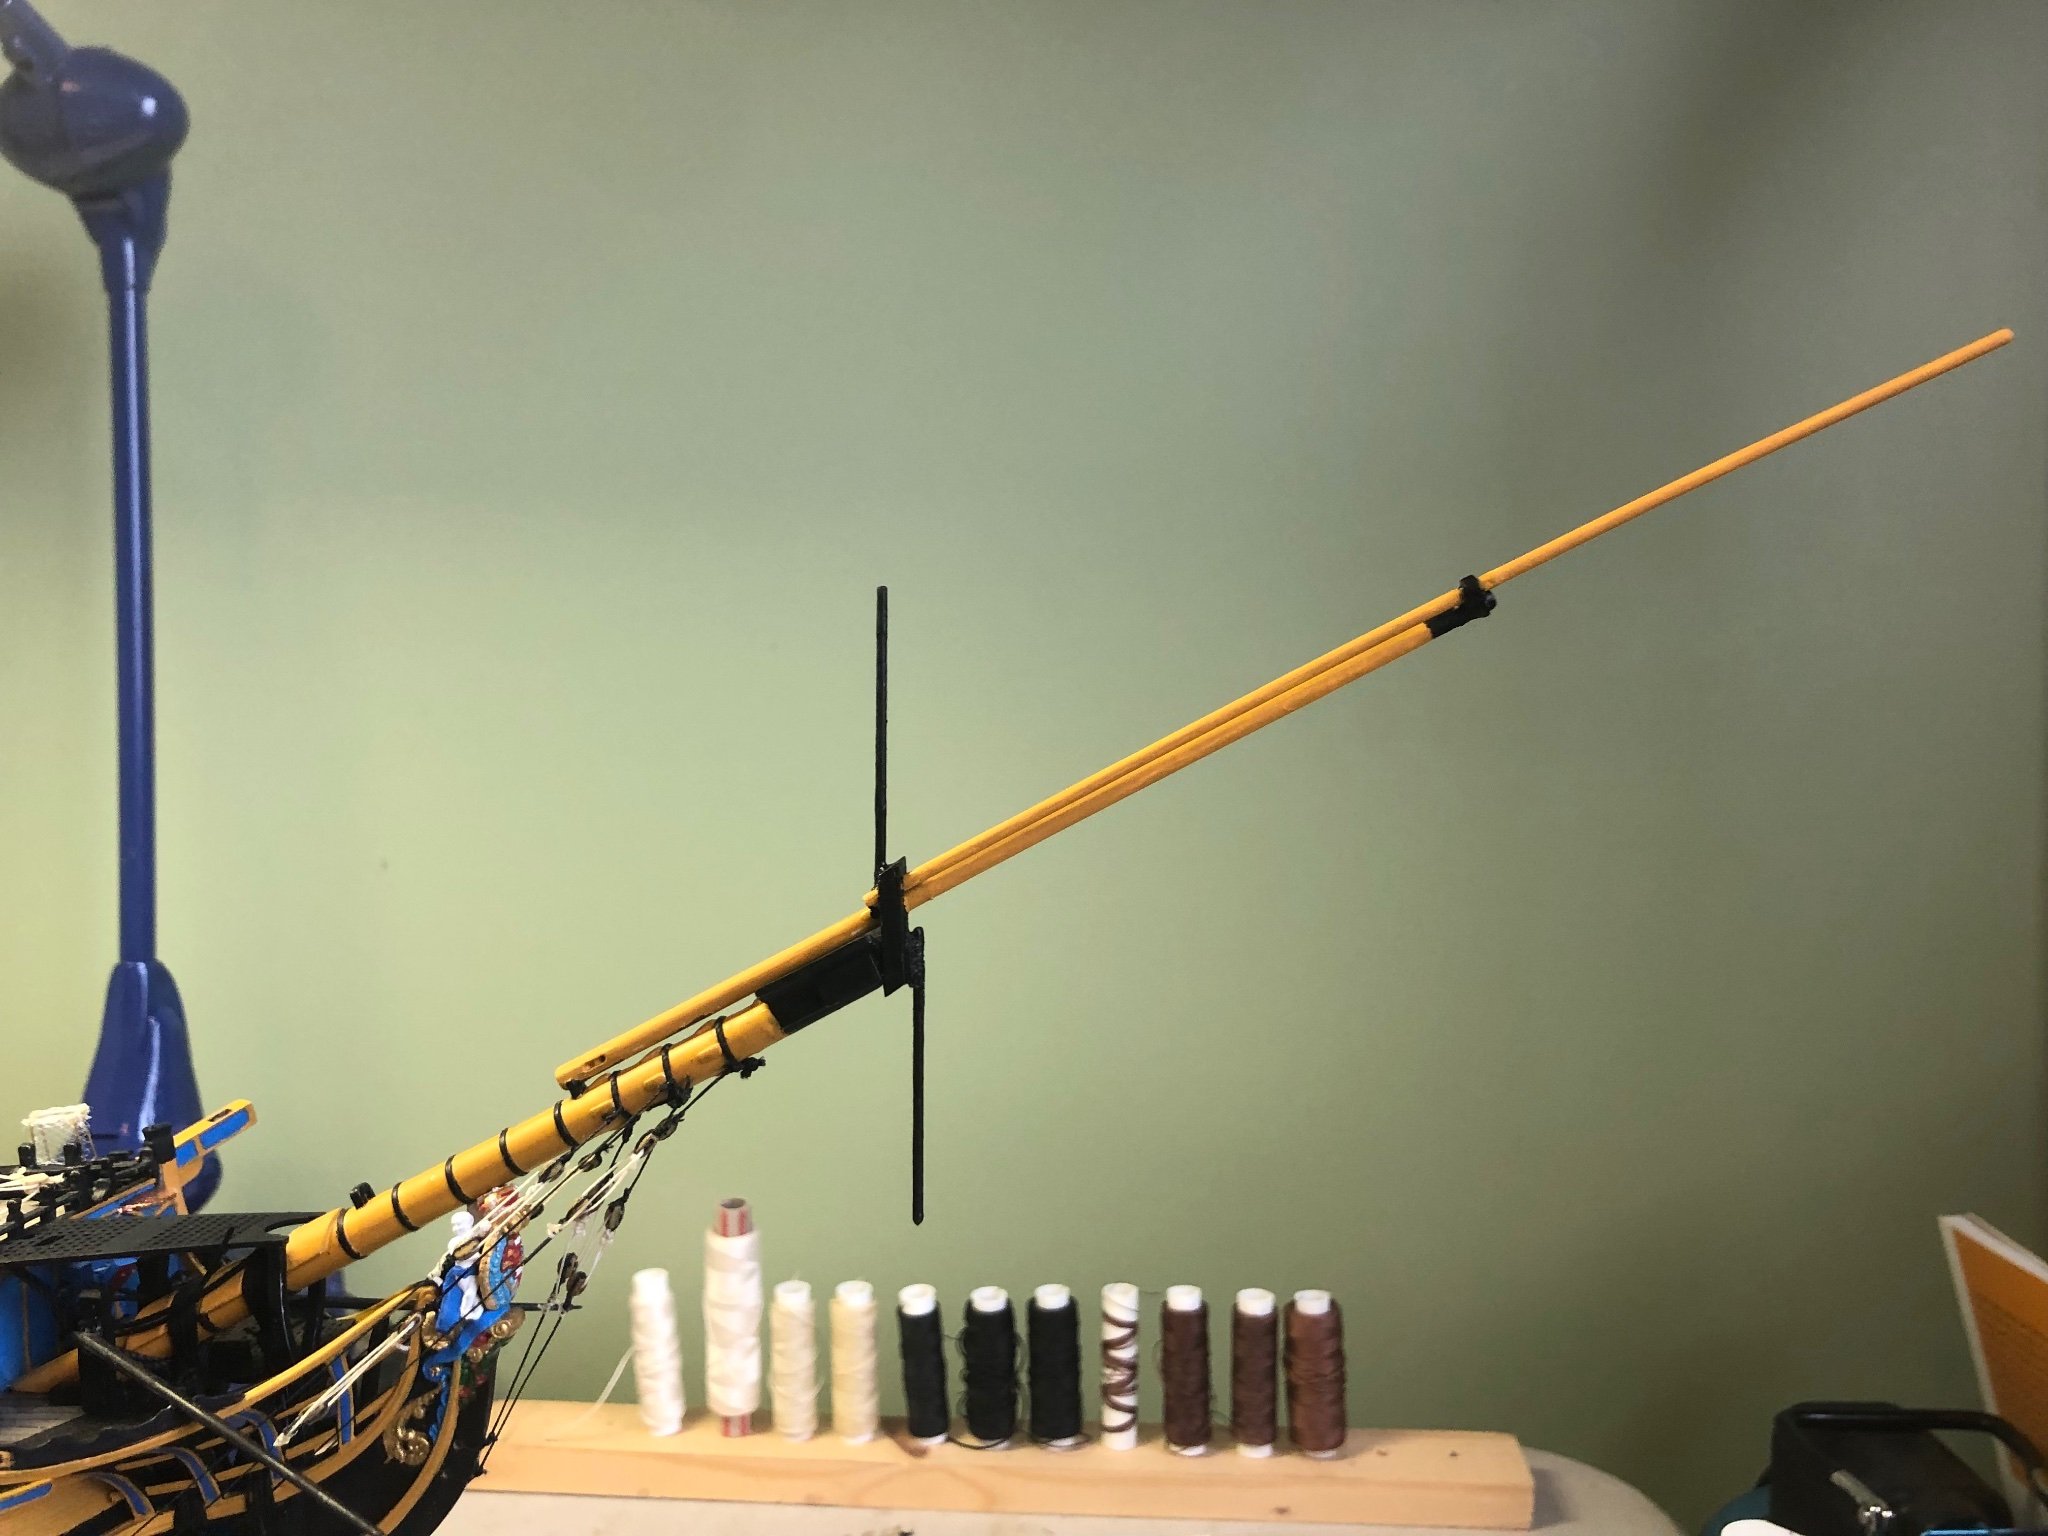
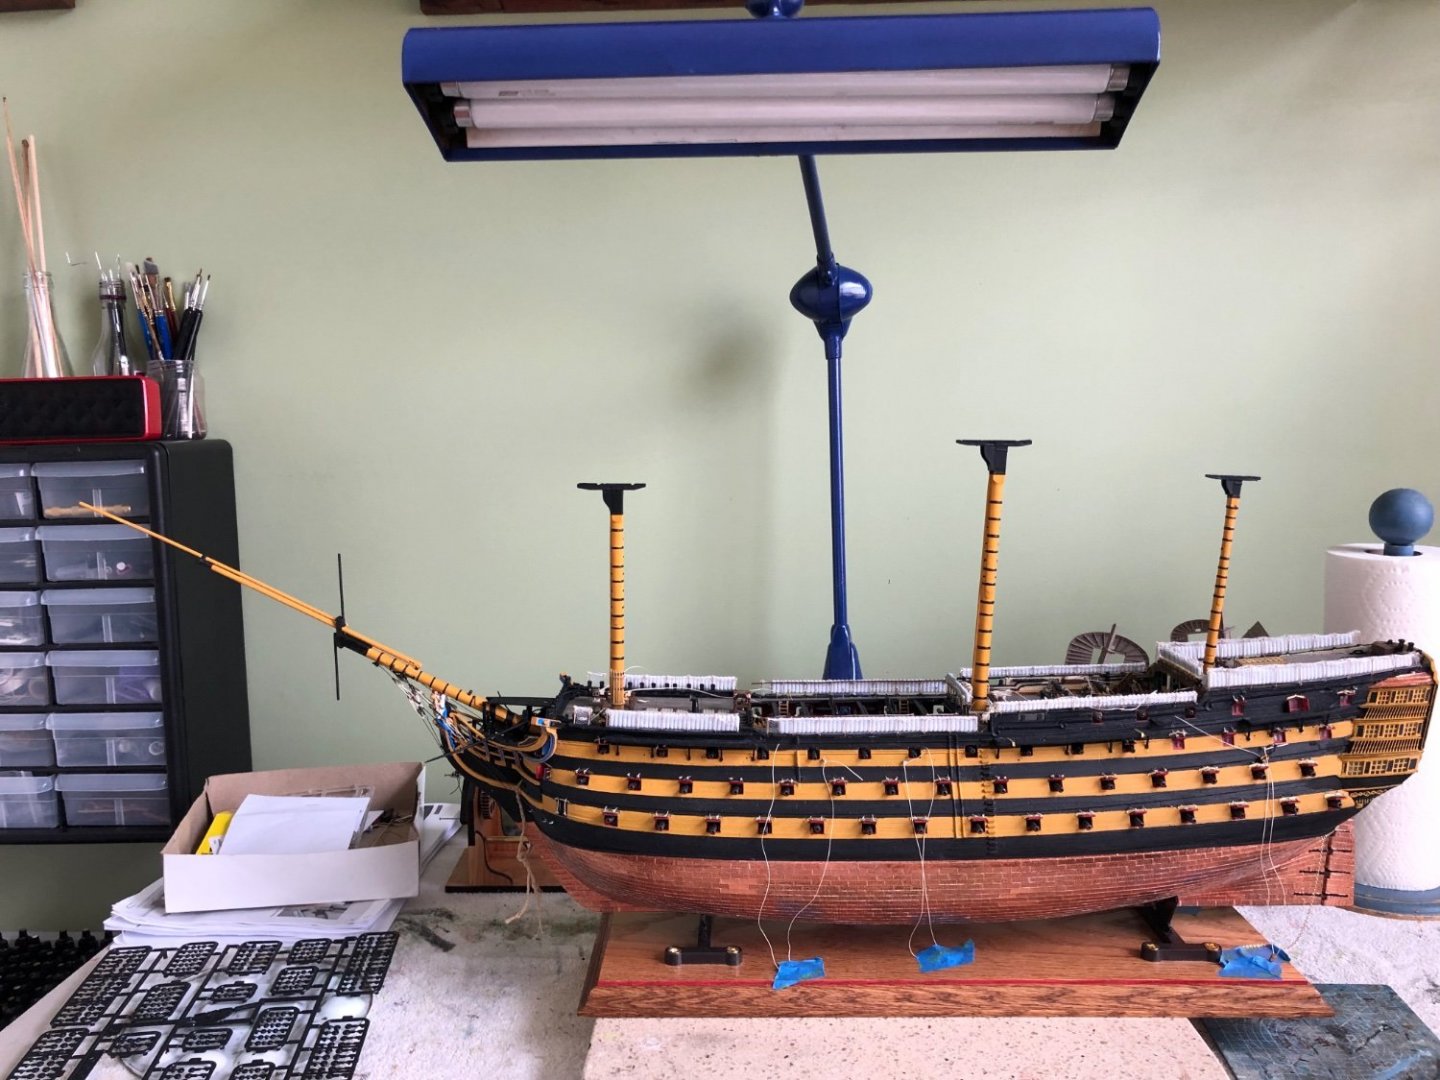
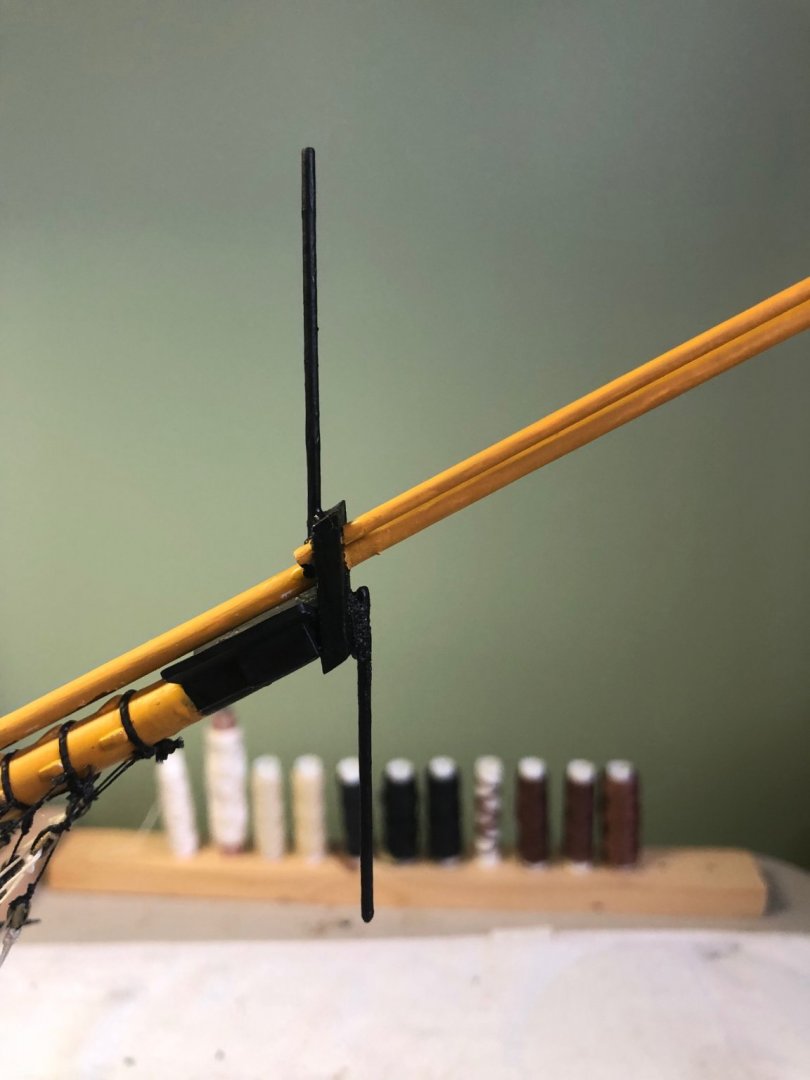
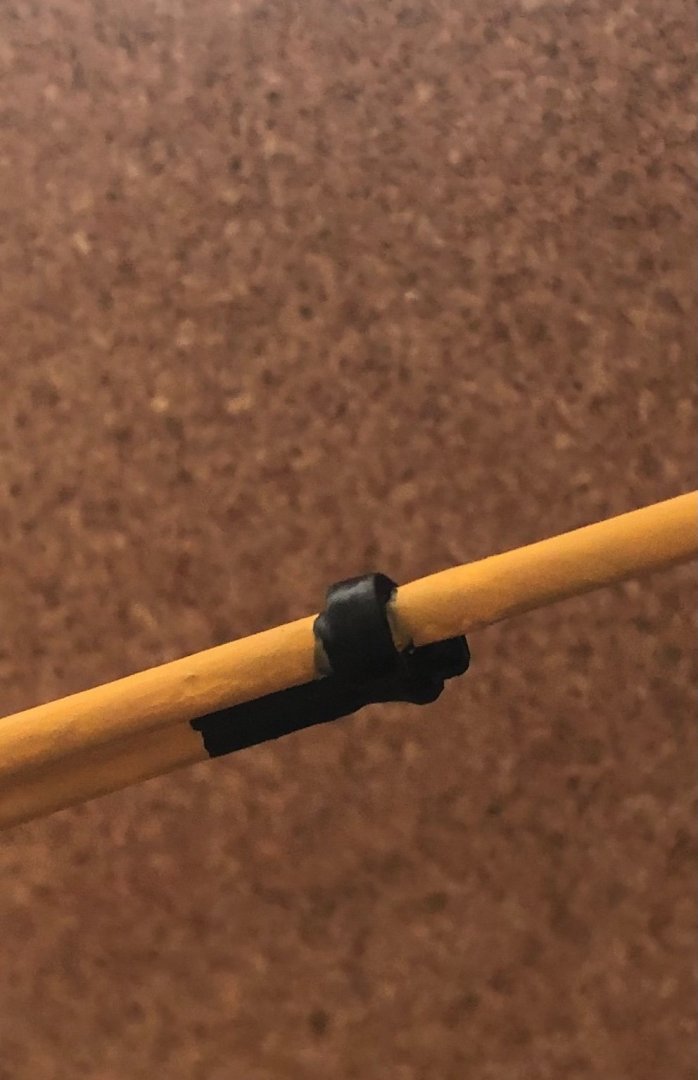
After a few days away from my Victory it was good to get back to modeling. Got the bowsprit installed and touch up painted where necessary. For added strength I used a 3/32” copper rod to replace the outer jib boom and a 1/16” brass rod to replace both the martingale boom and the flag pole. Made a tiny collar from scrap to slide down the outer jib boom so as to attach it to the end of the inner jib boom. The only reason I used two different metals is because that is the sizes I had. Definitely stronger than the kit supplied plastic parts. Applied a coat of clear varnish to the bare metal then acrylic undercoat and finally the Vallejo paint color I am using throughout the ship.

-
Hey Kevin, my UK friend. I had a friend originally from the UK stop by for a holiday visit. He brought along a couple items he said were traditional UK treats of the season. I enjoyed tasting them and was immediately curious if you are familiar with them. One is Christmas Pudding Fudge and the other is Prosecco Bonbons!
-
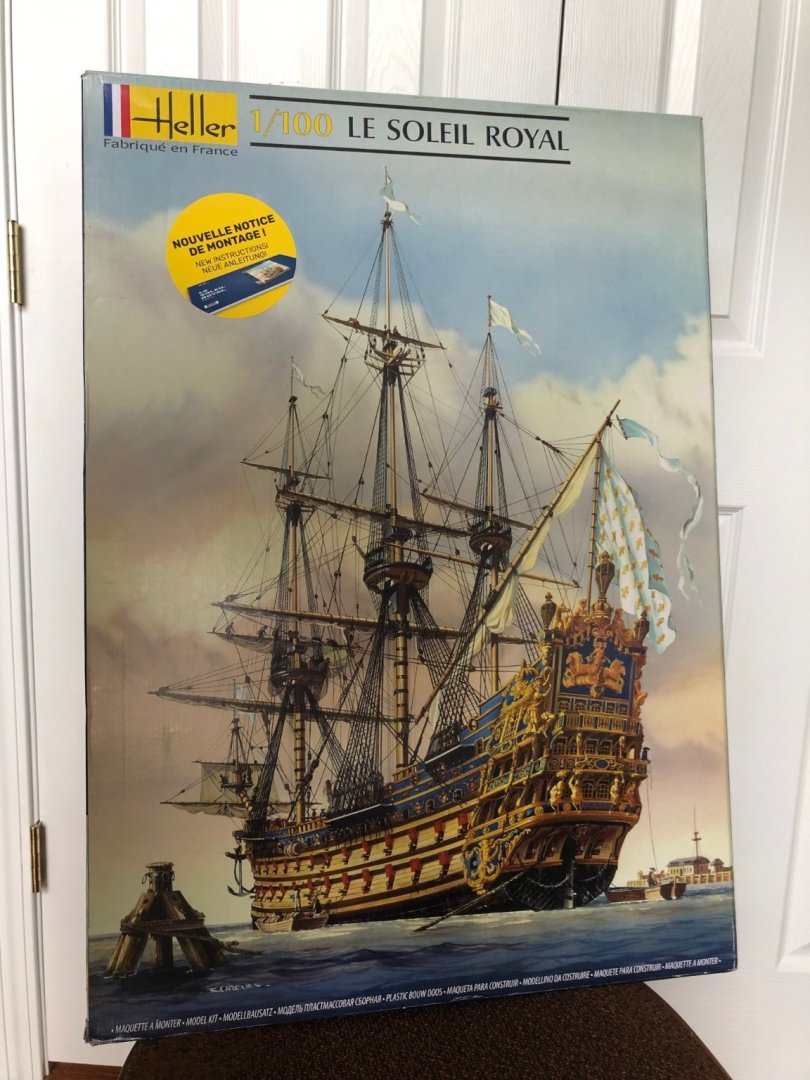
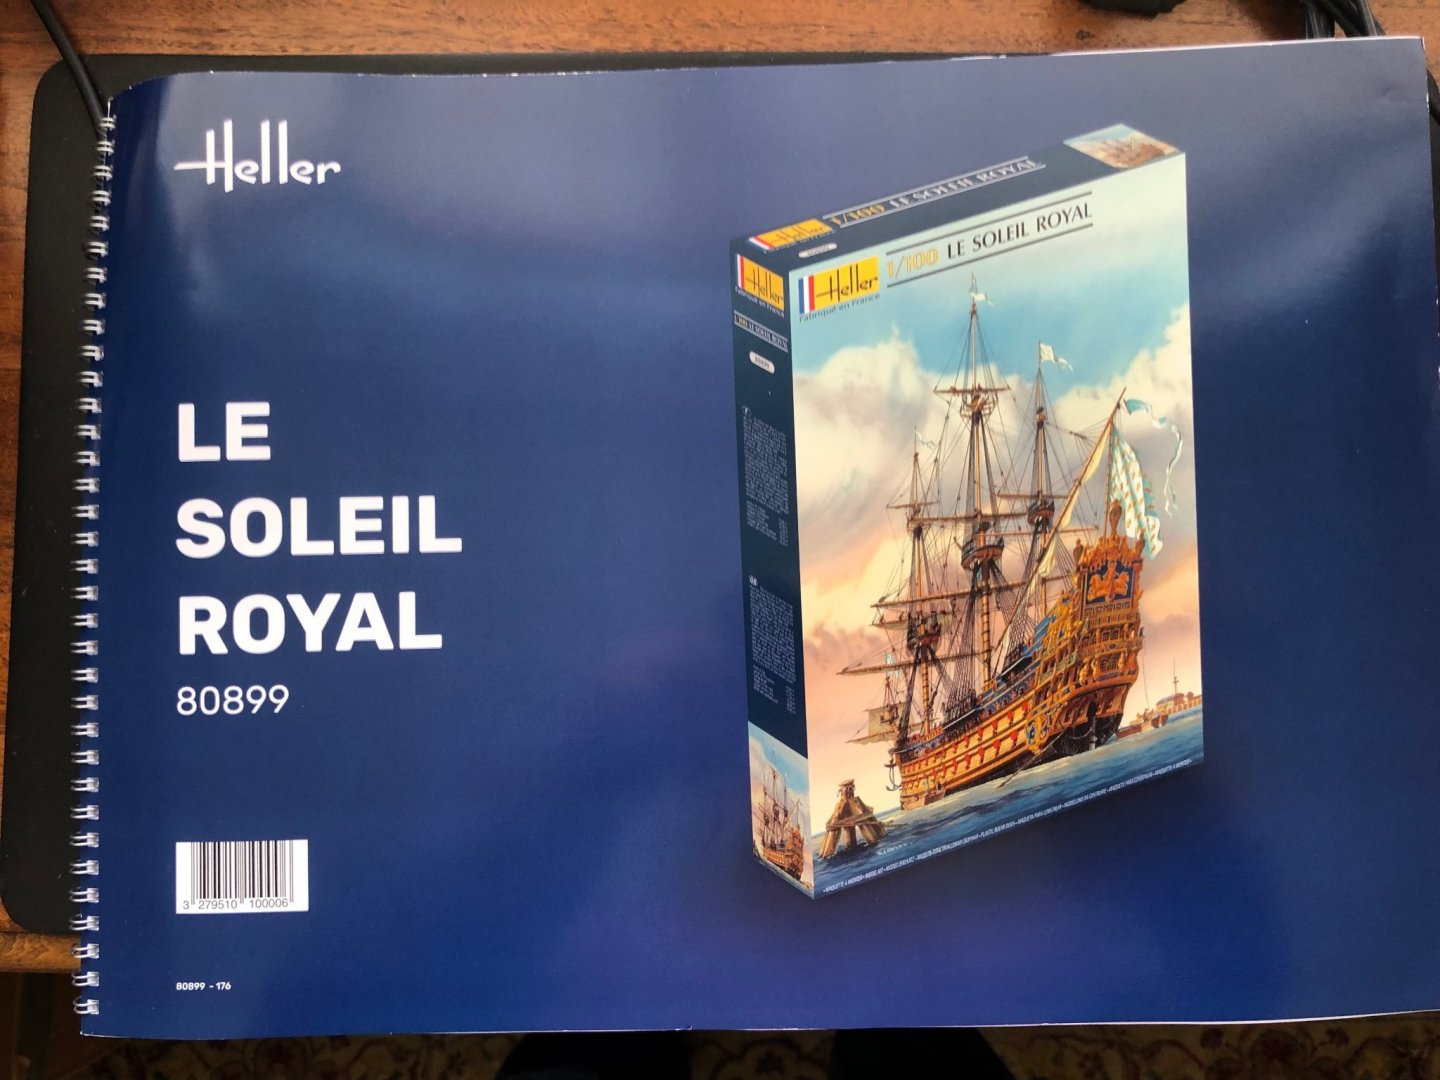
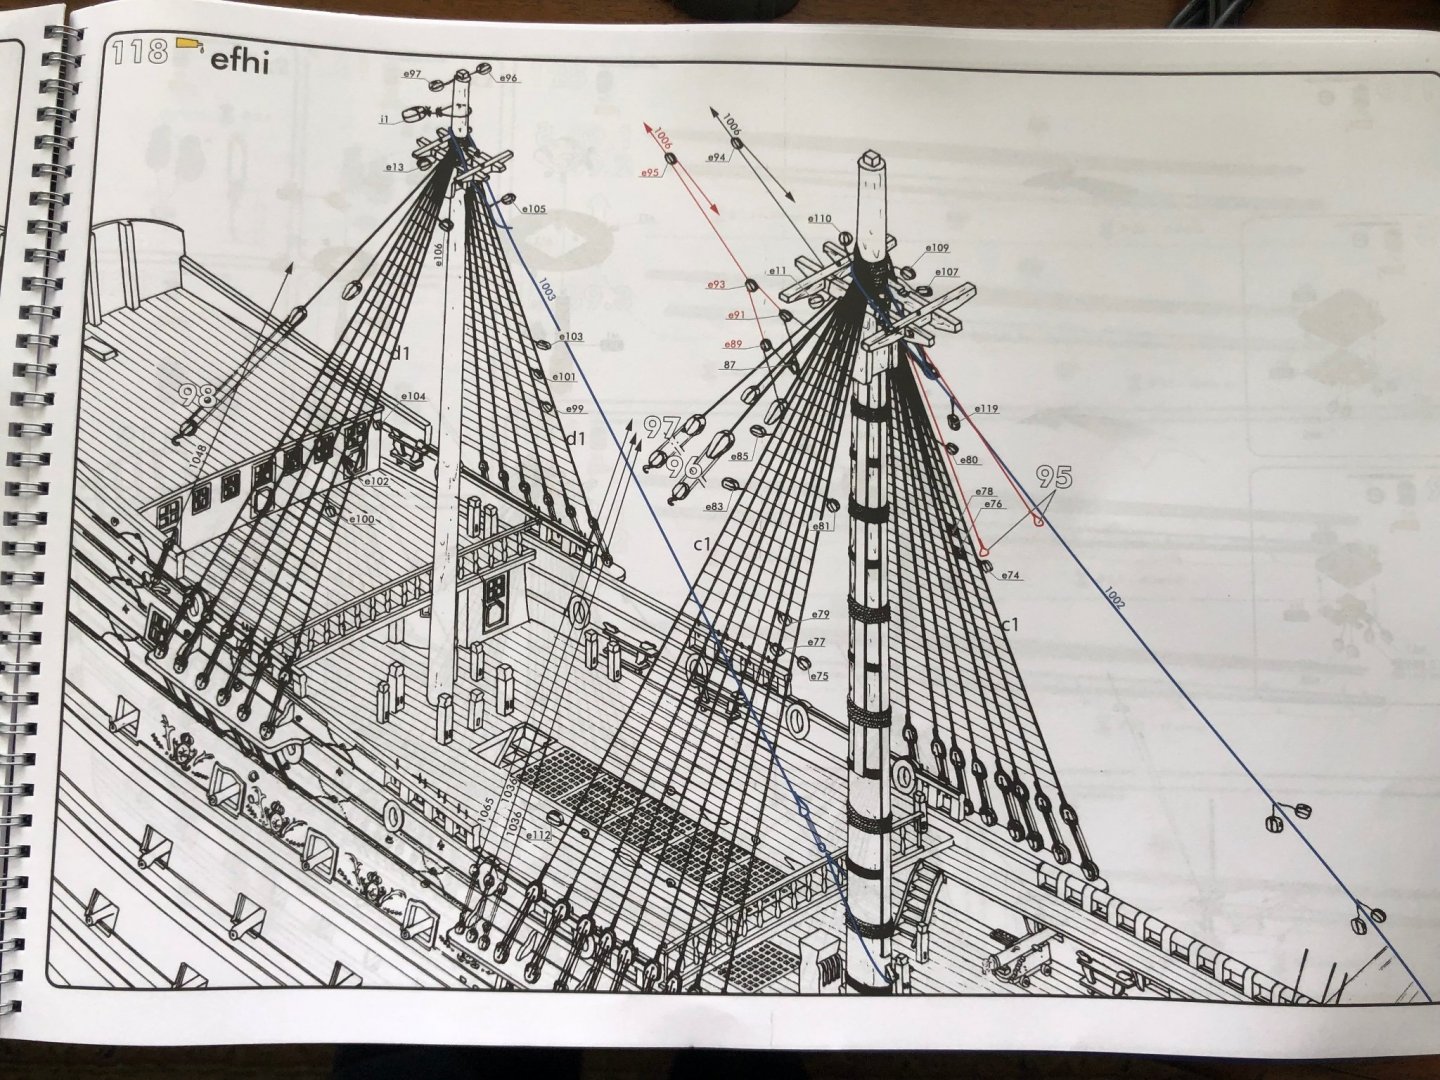
Goodies under my tree did include the Heller 1/100 Soleli Royal, along with Vallejo paint sets, modeling tools, etc. I think family is glad to have easy ideas for the ol’ dad. I attached a few pictures from inside the new Heller instruction book. Definitely an improvement over the Victory instructions.

-
Ian it is just one of the standard ones on my iPhone. I also like these for the season: 🥃🤶🧑🎄🎄⛄️🍷🍻
-
No new build updates today. Pretty busy last couple days with family events. Just wanted to take a minute to wish all my Model Ship World friends: MERRY CHRISTMAS!🎅🏻 Thanks for all your conversation, advice, and fun discussion this past year! Hope each of you gets all sorts of modeling stuff under your tree!
-
Ian I have always said functionality out weighs appearance! If your serving machine works that is great. Unfortunately I am not smart enough to design my own like you were so I had to spend a bunch of money. Kevin I share many of your same opinions about kit modeling. Seems manufactures have just gotten to the point they are going through the motions with old dies. I am going to be curious when I open my Soleli Royal to see the quality. When I researched putting it on my Christmas list I found new ones were out of stock ever where. Was told it would be available once new ones were manufactured. I know Heller included a completely new instruction book. Will be curious to see if they also fine tuned their kit manufacturing as well. I have not checked to see, are you going to do a build log here on MSW about your Cutty Sark? Will really enjoy following it.
-
Kevin apparently I am not smart enough to attach the link to my Cutty Sark build. If you go to the index of Cutty Sark builds and find mine (Bill97), scroll through it to the comments in the low #20’s and there is a whole discussion about the windless and track of the anchor chains. You may find it helpful.
-
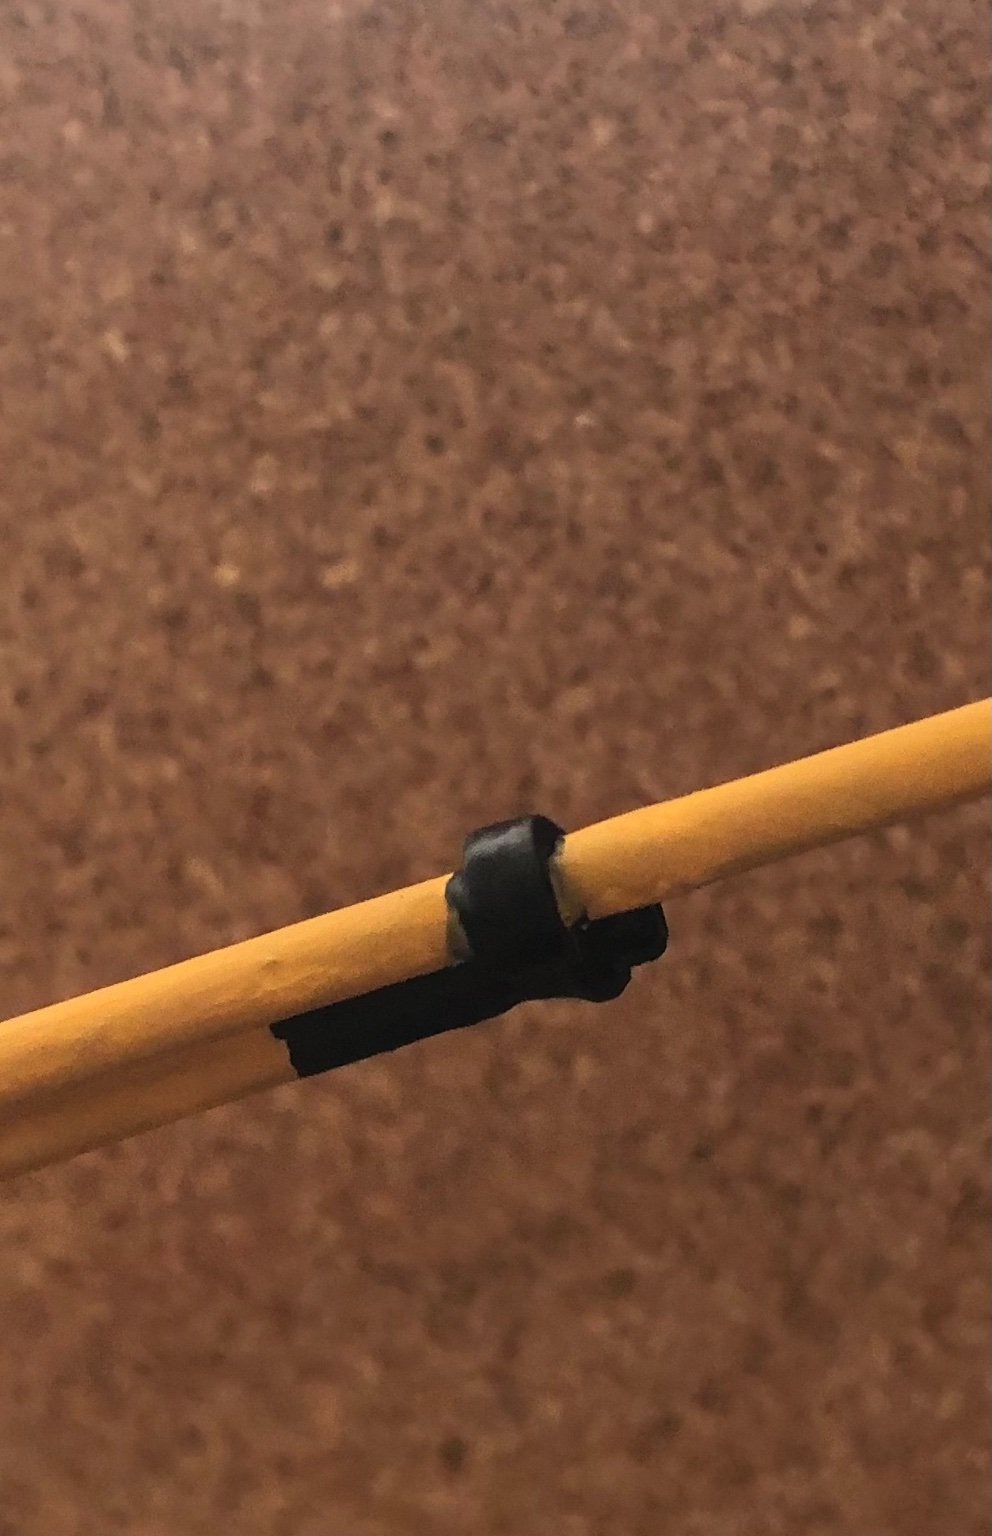
Yes Kevin the CS is a bit less head scratching than the Victory. I need to scroll back through my MSW build log for one bit of bashing it was recommended I do. The spar test is with a copper rod.