Bill97
-
Posts
2,730 -
Joined
-
Last visited
Content Type
Profiles
Forums
Gallery
Events
Everything posted by Bill97
-
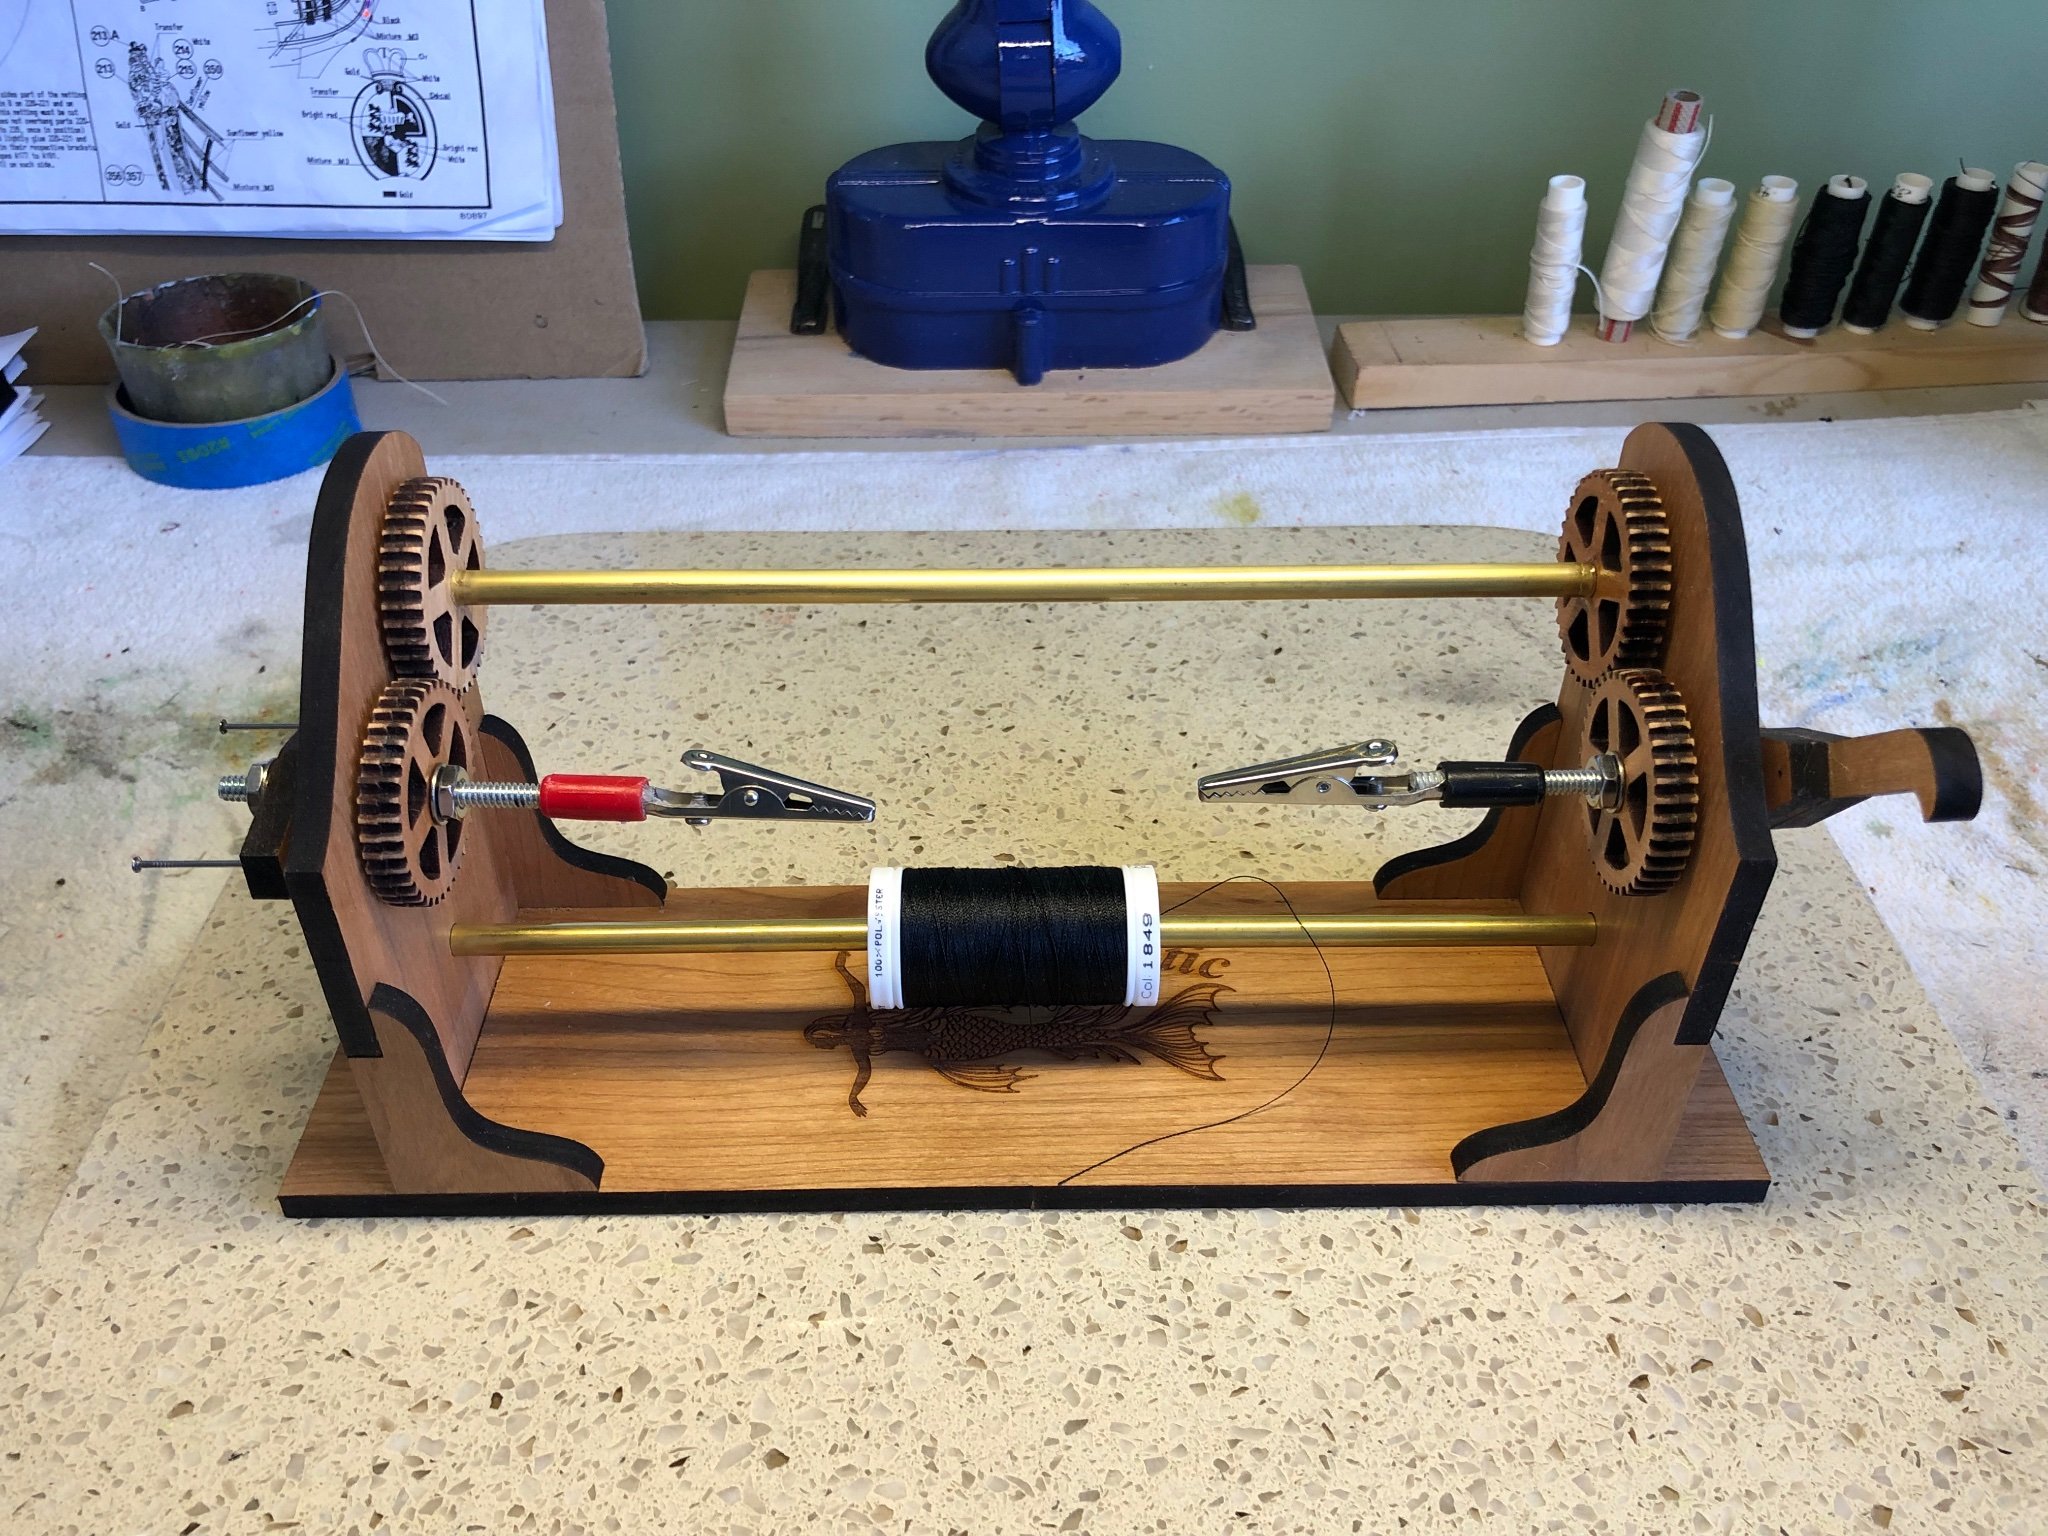
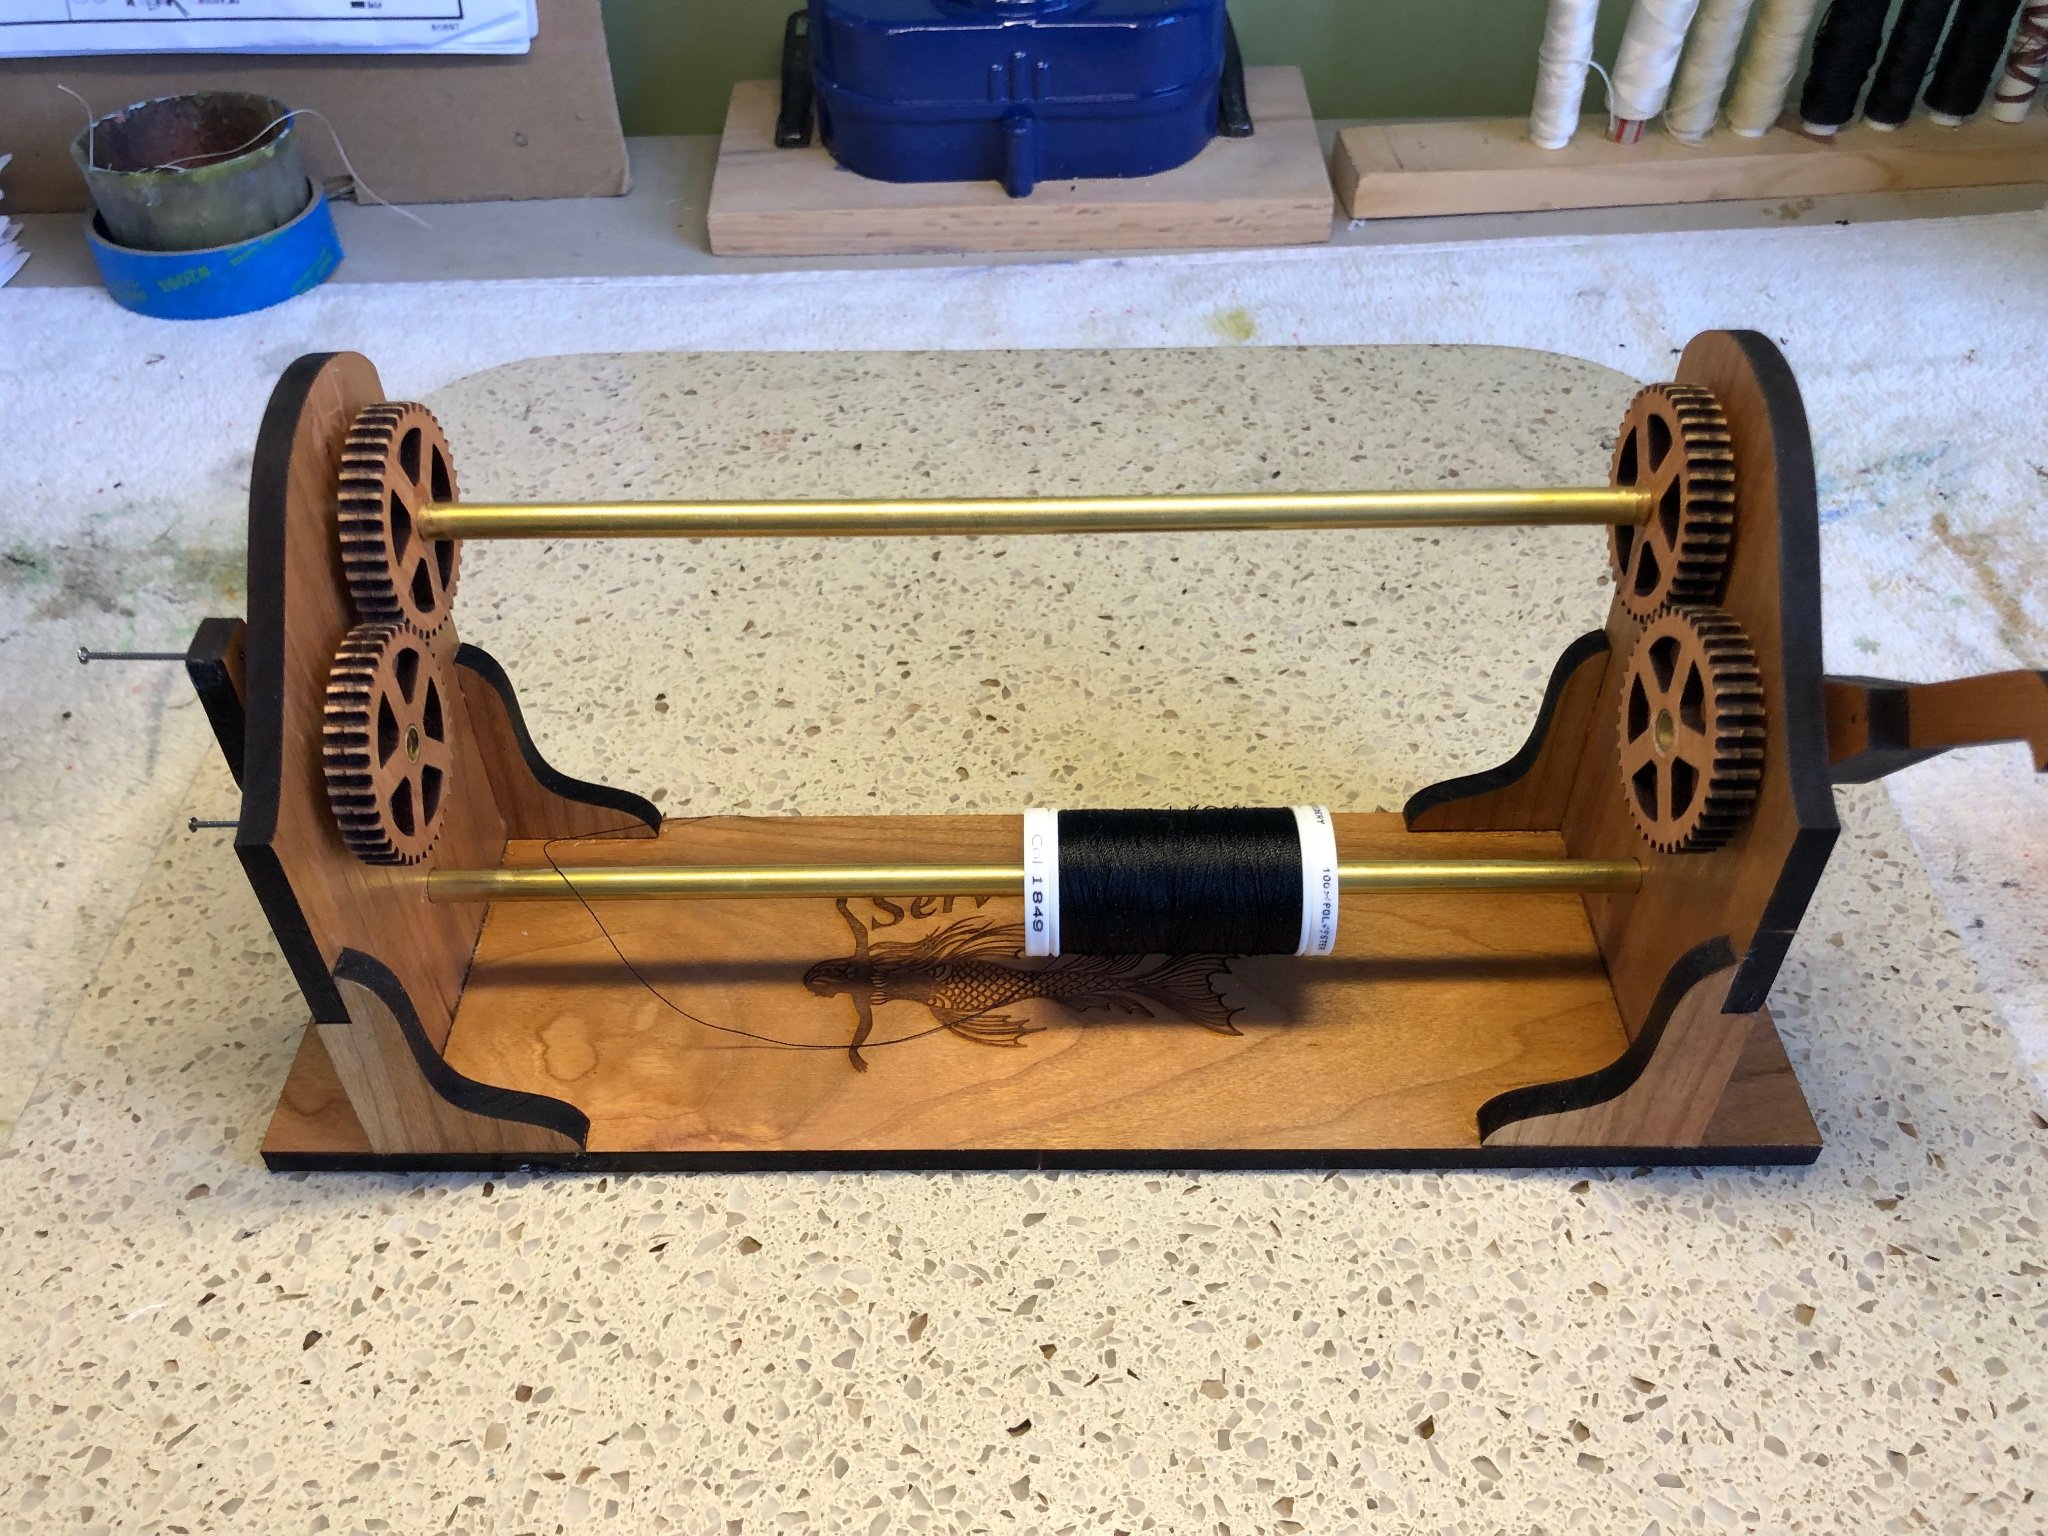
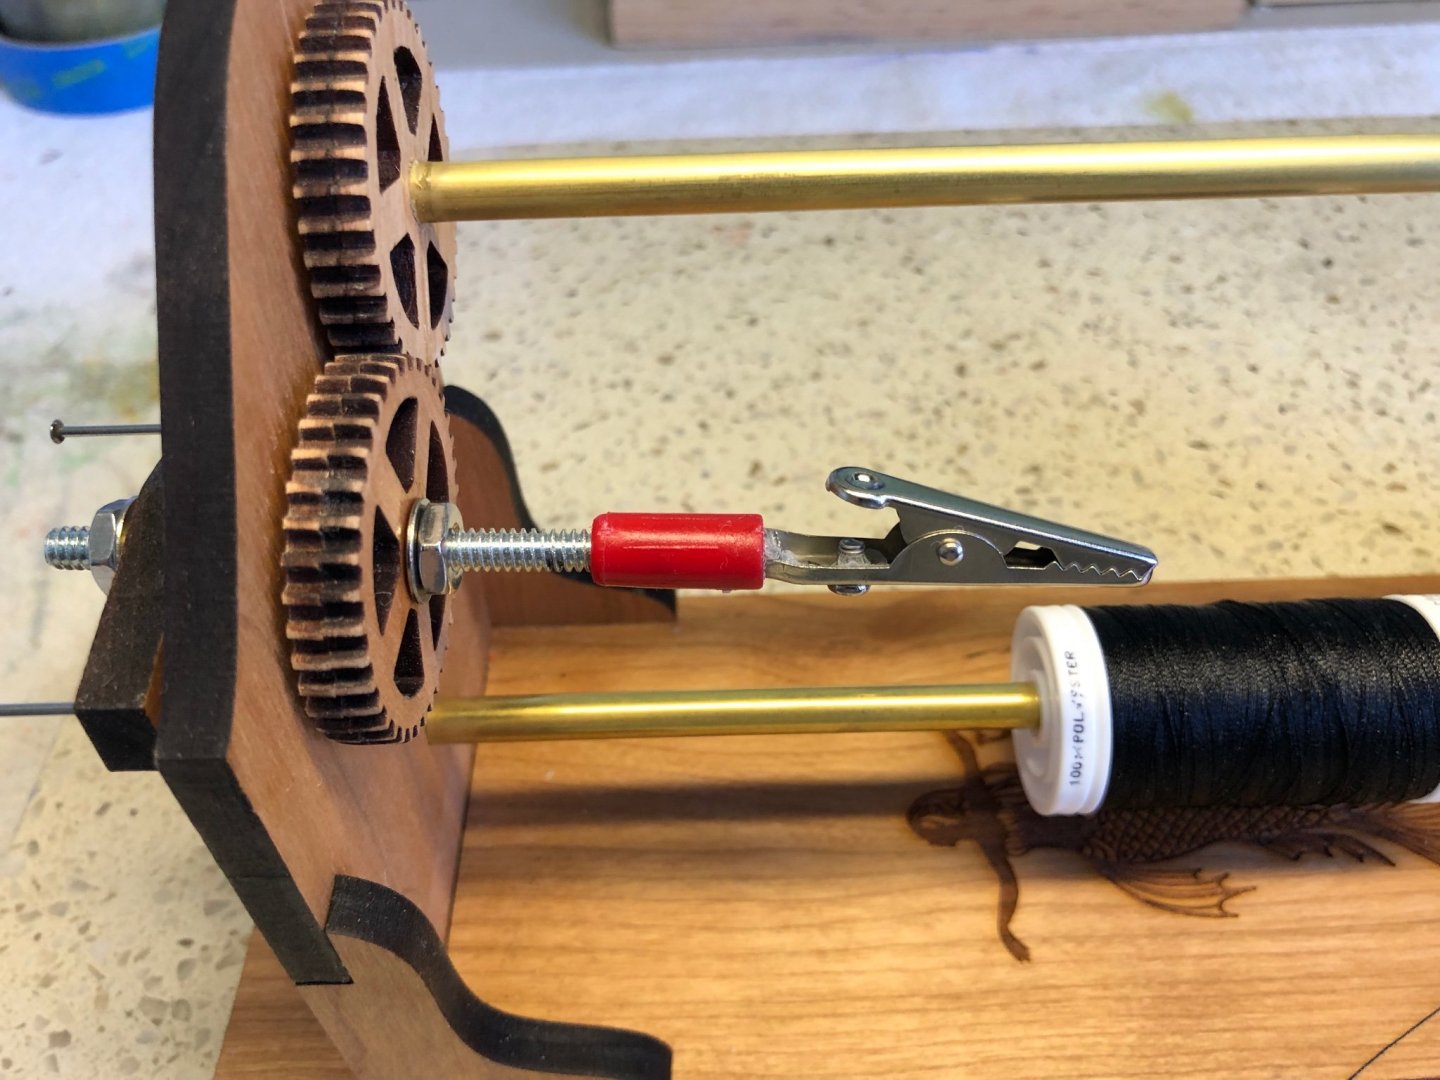
Added a new toy to my work table. And made a modifying jig as Jim Rogers (MSW) did. Anxious to start practicing serving a line and using the modification to fix blocks and deadeyes on the end of a line.


-
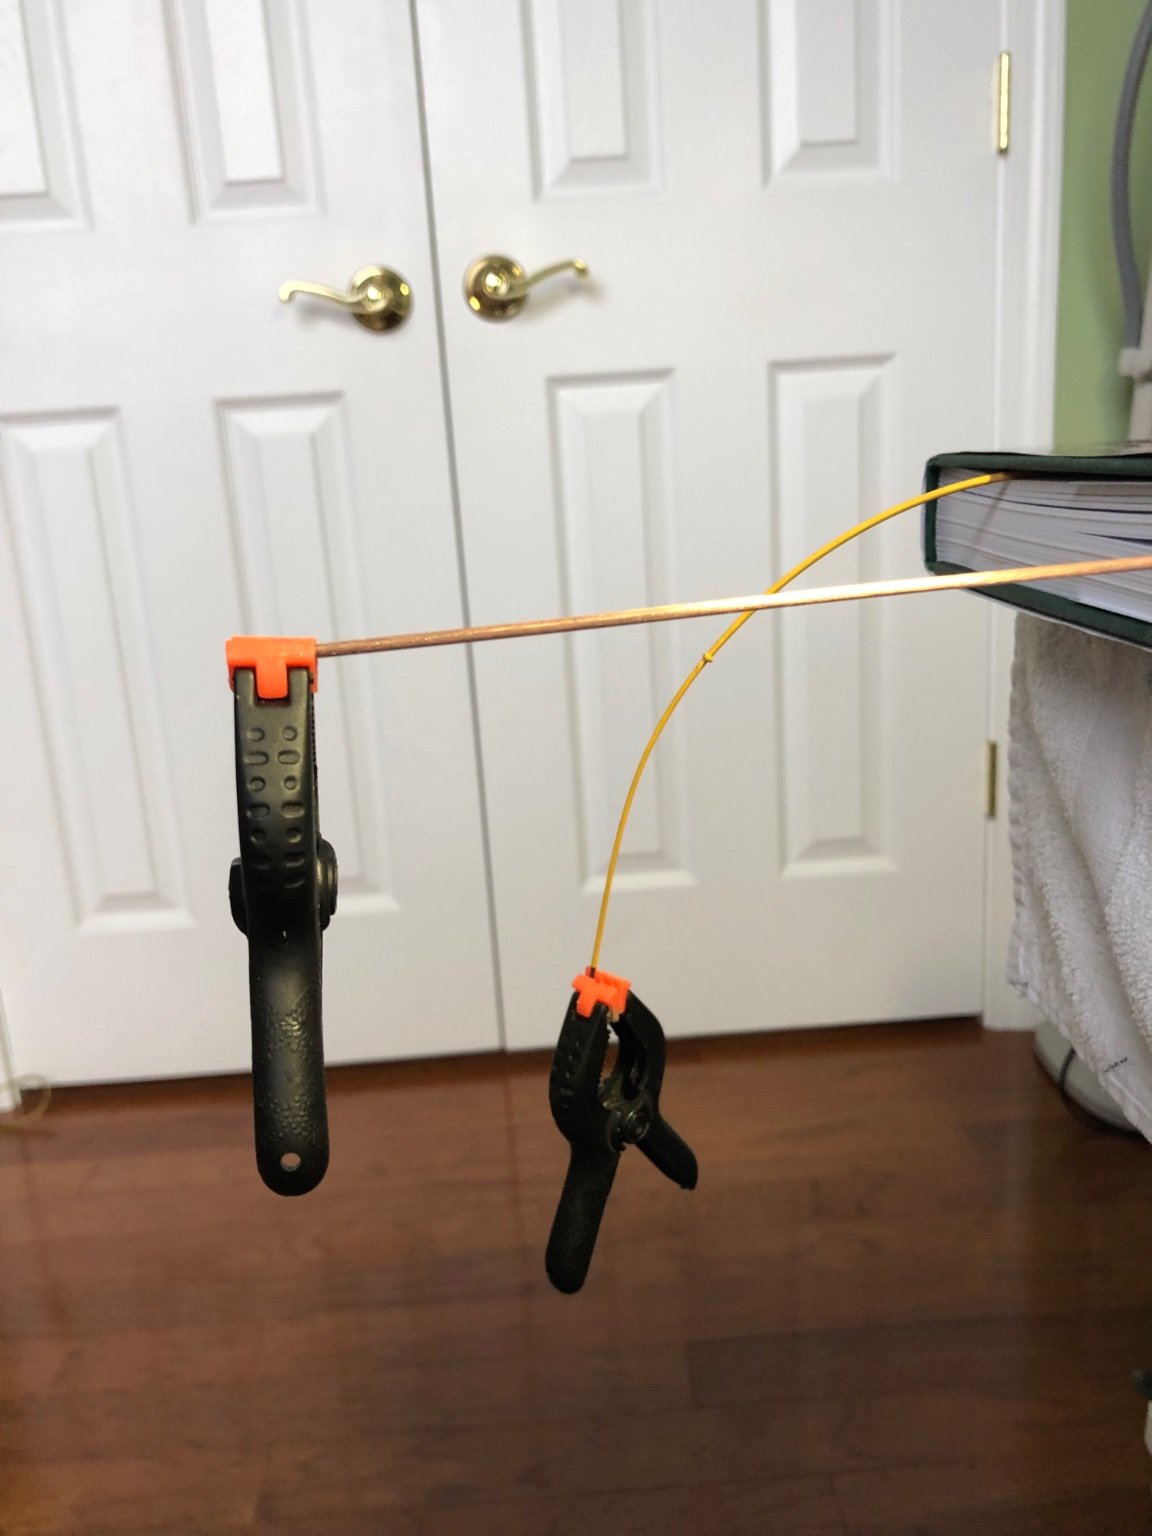
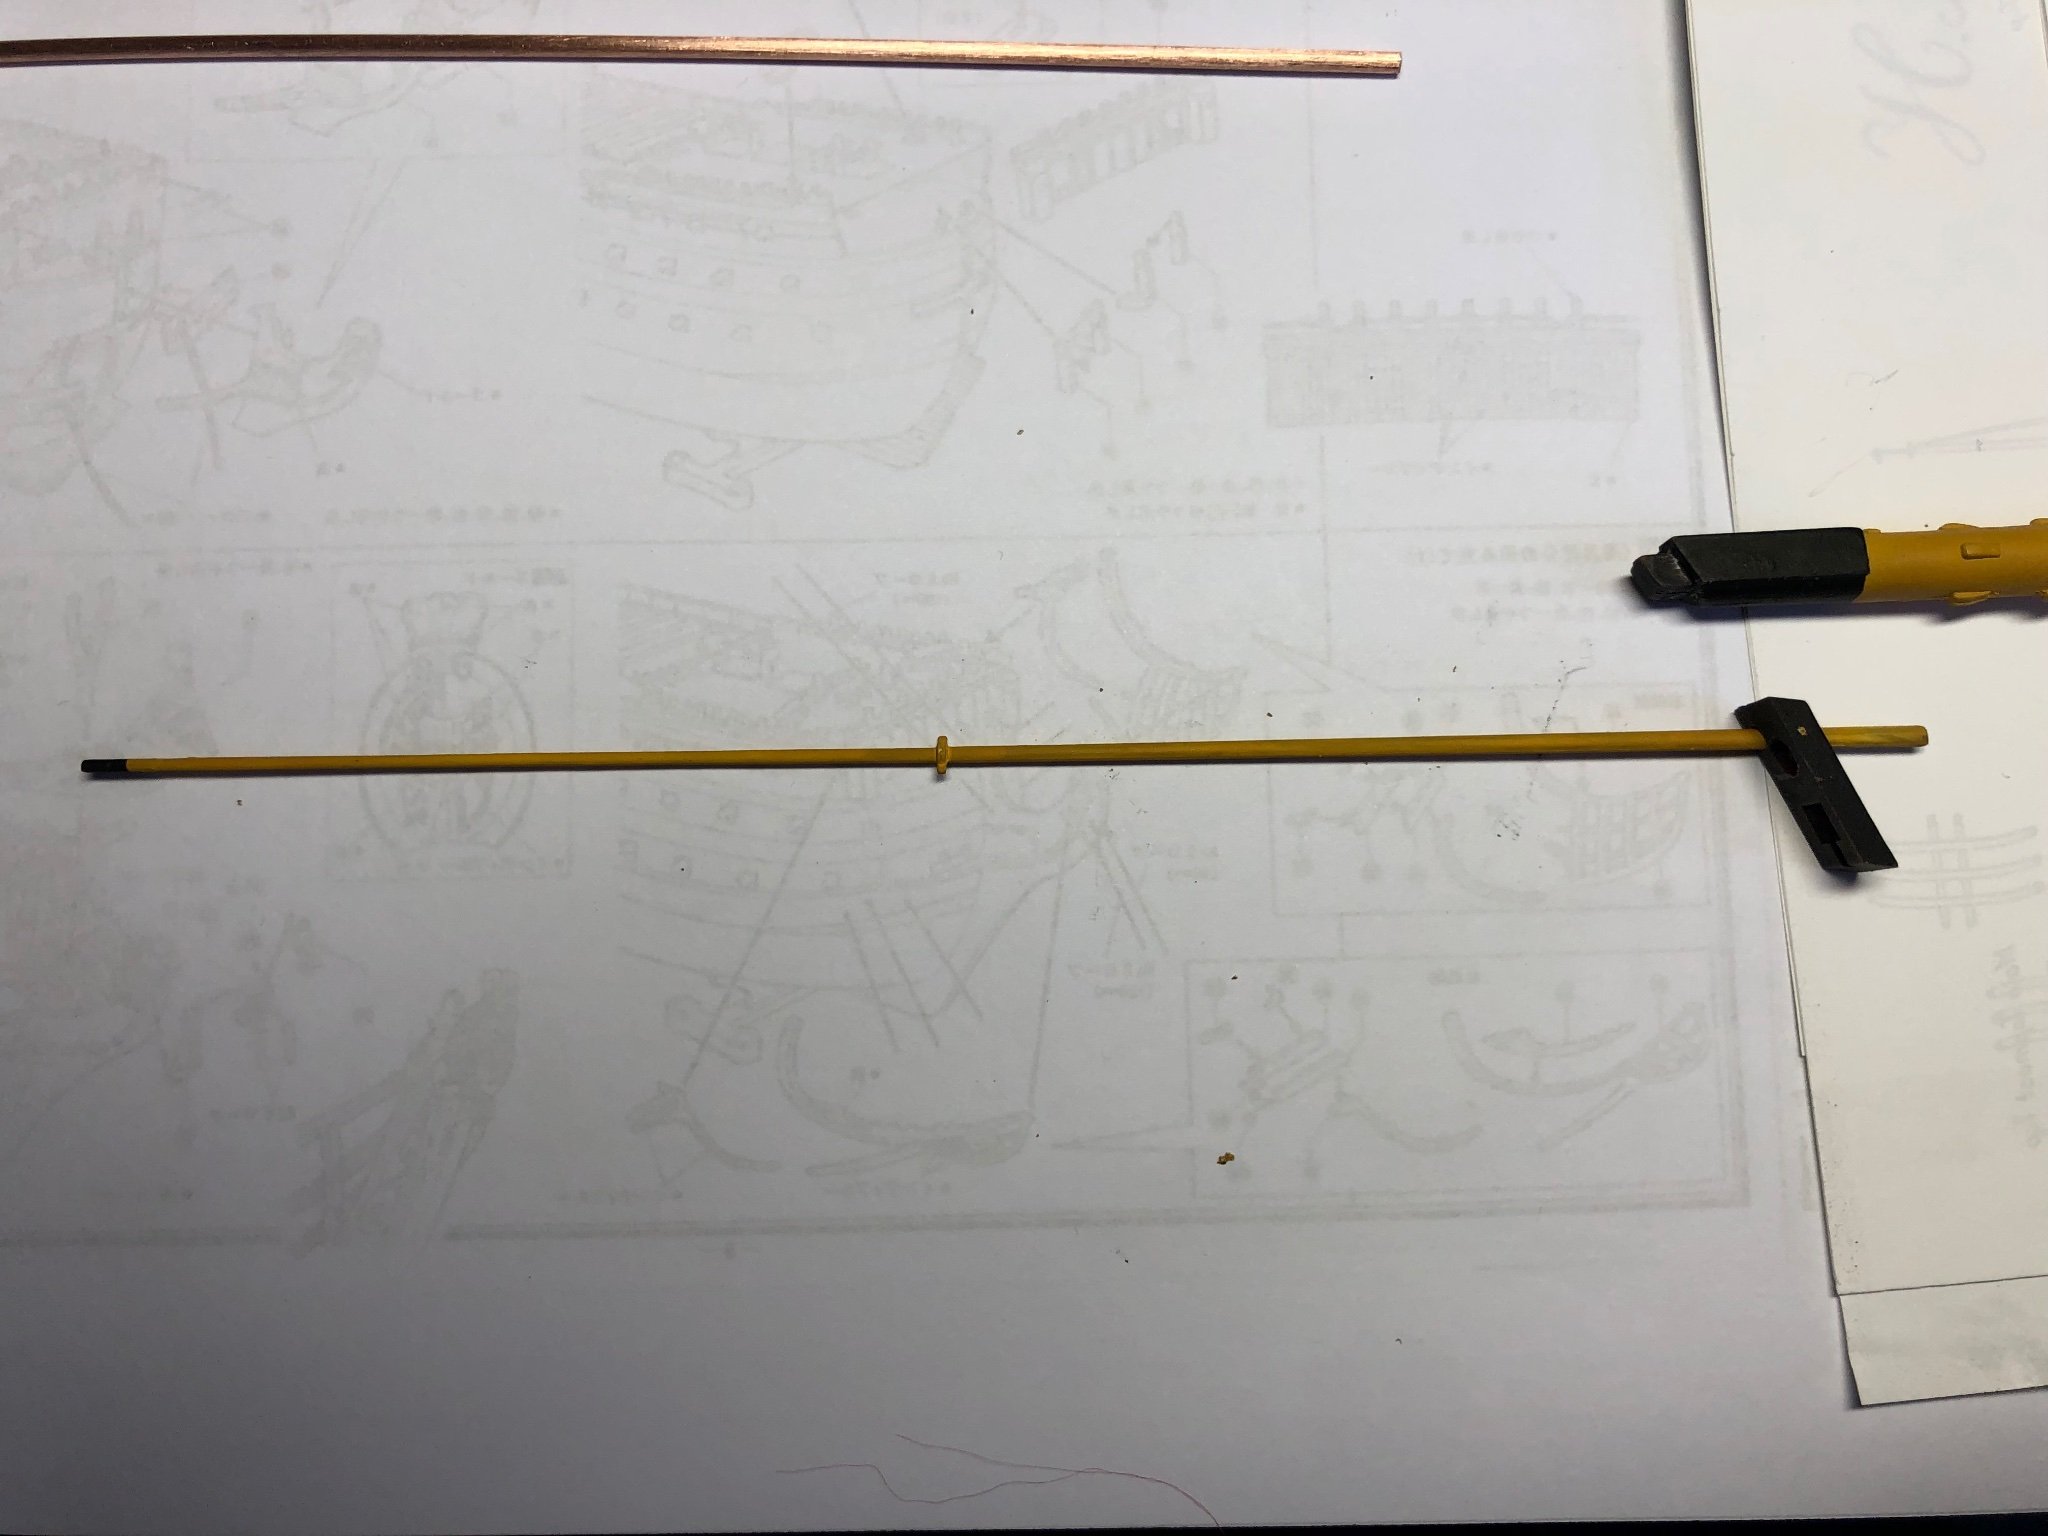
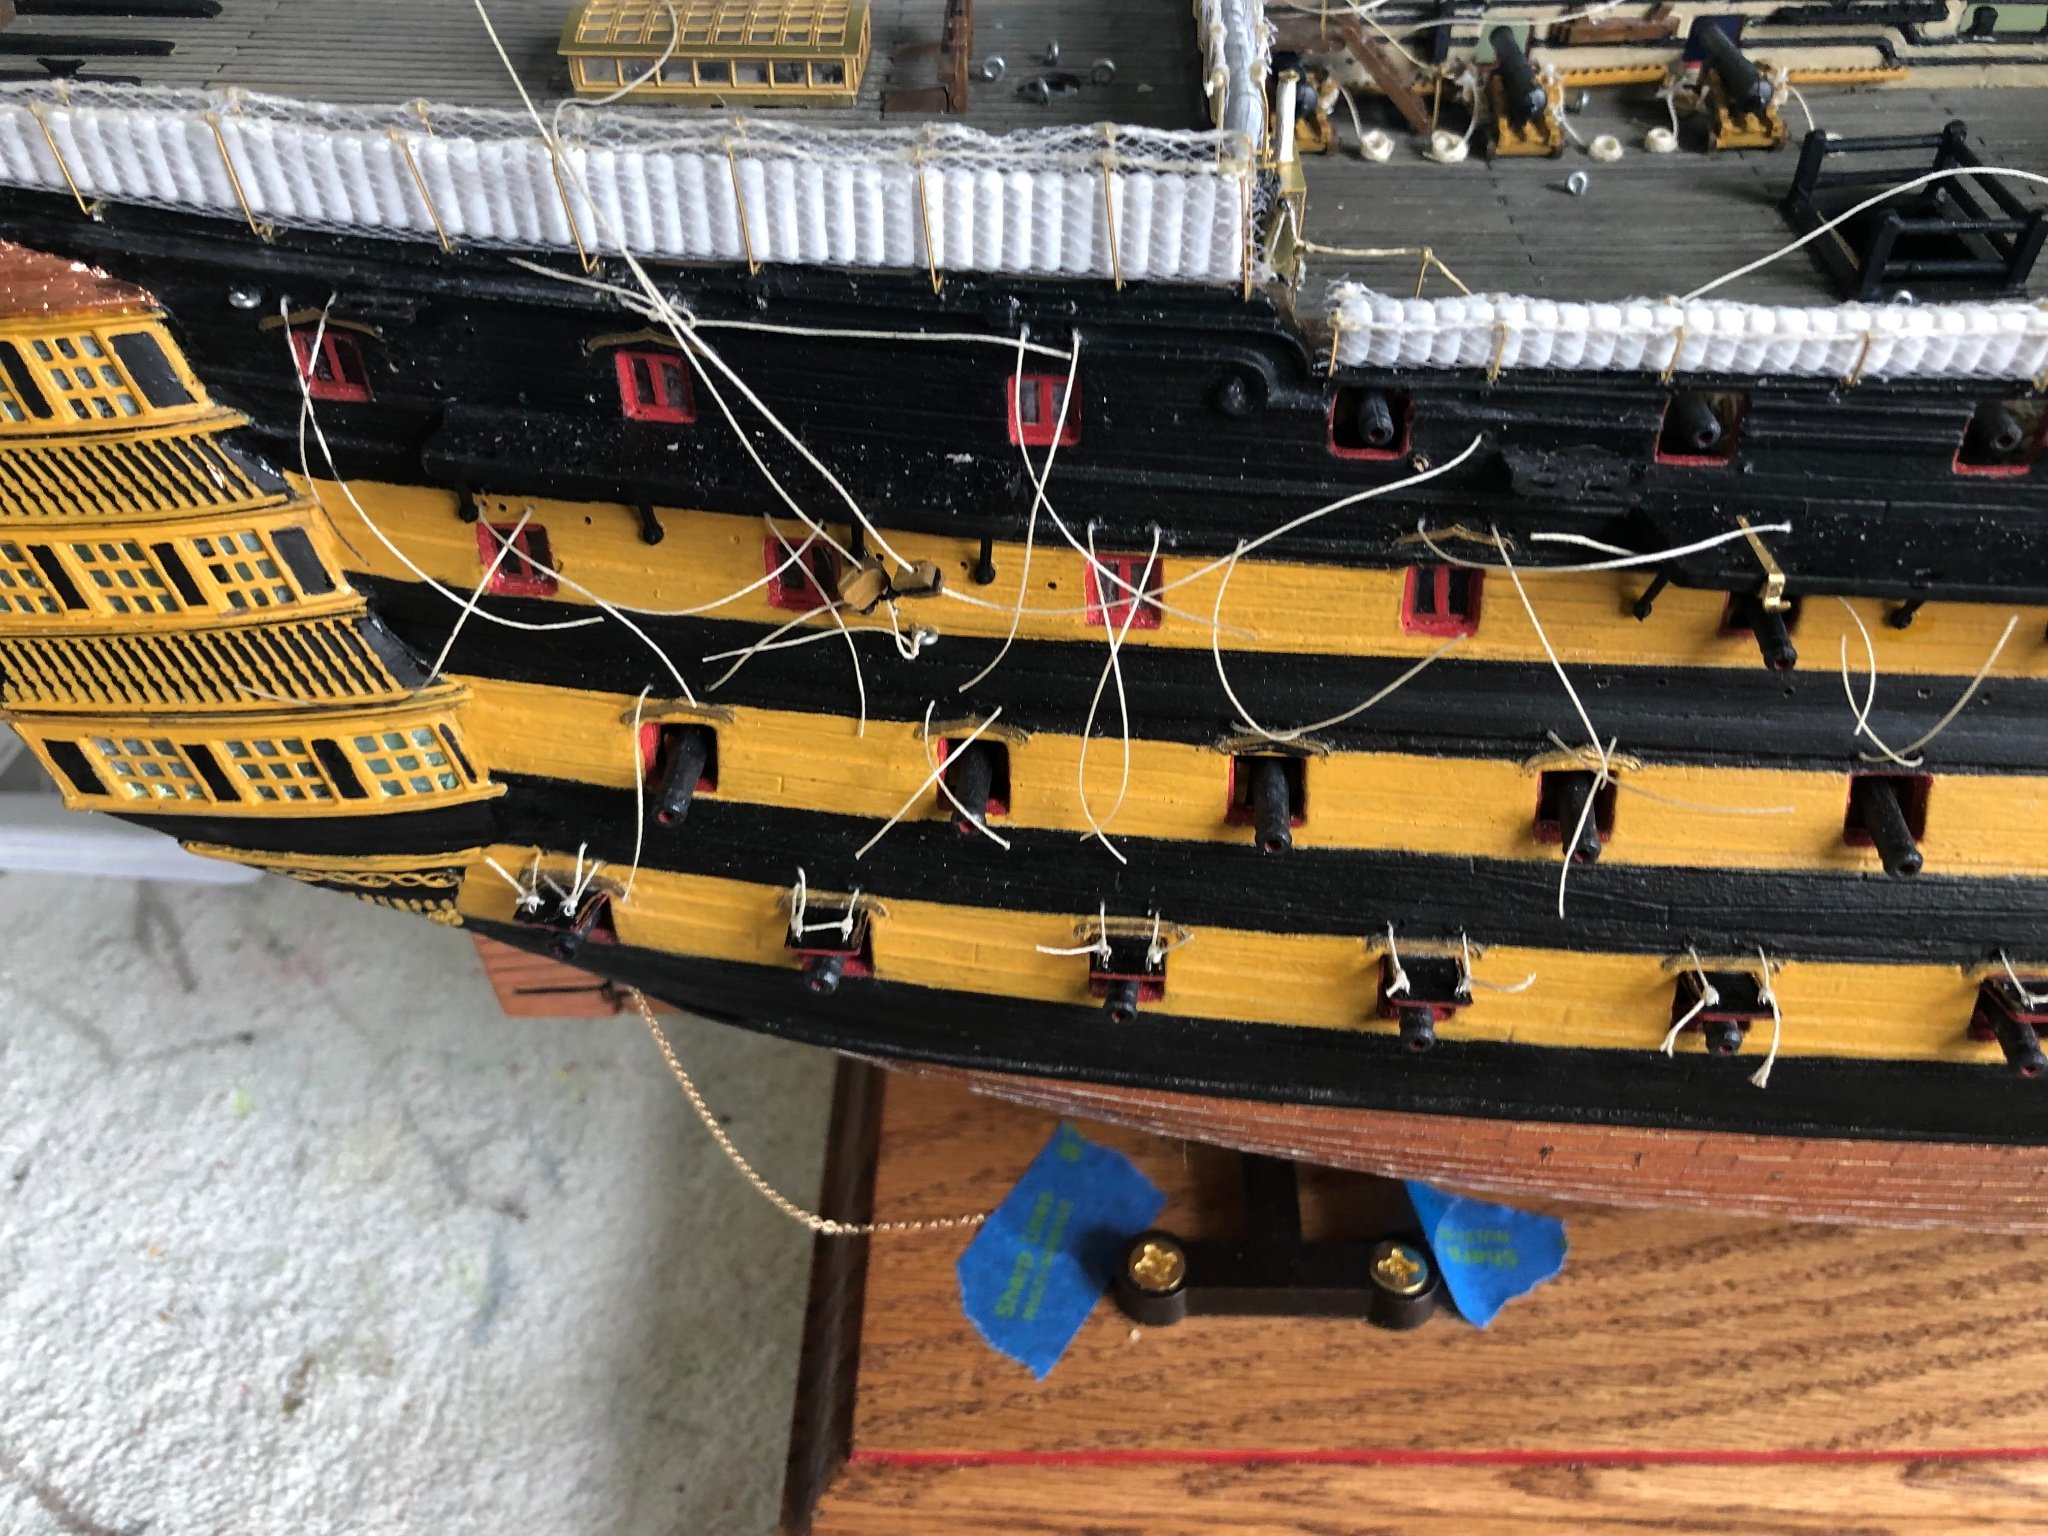
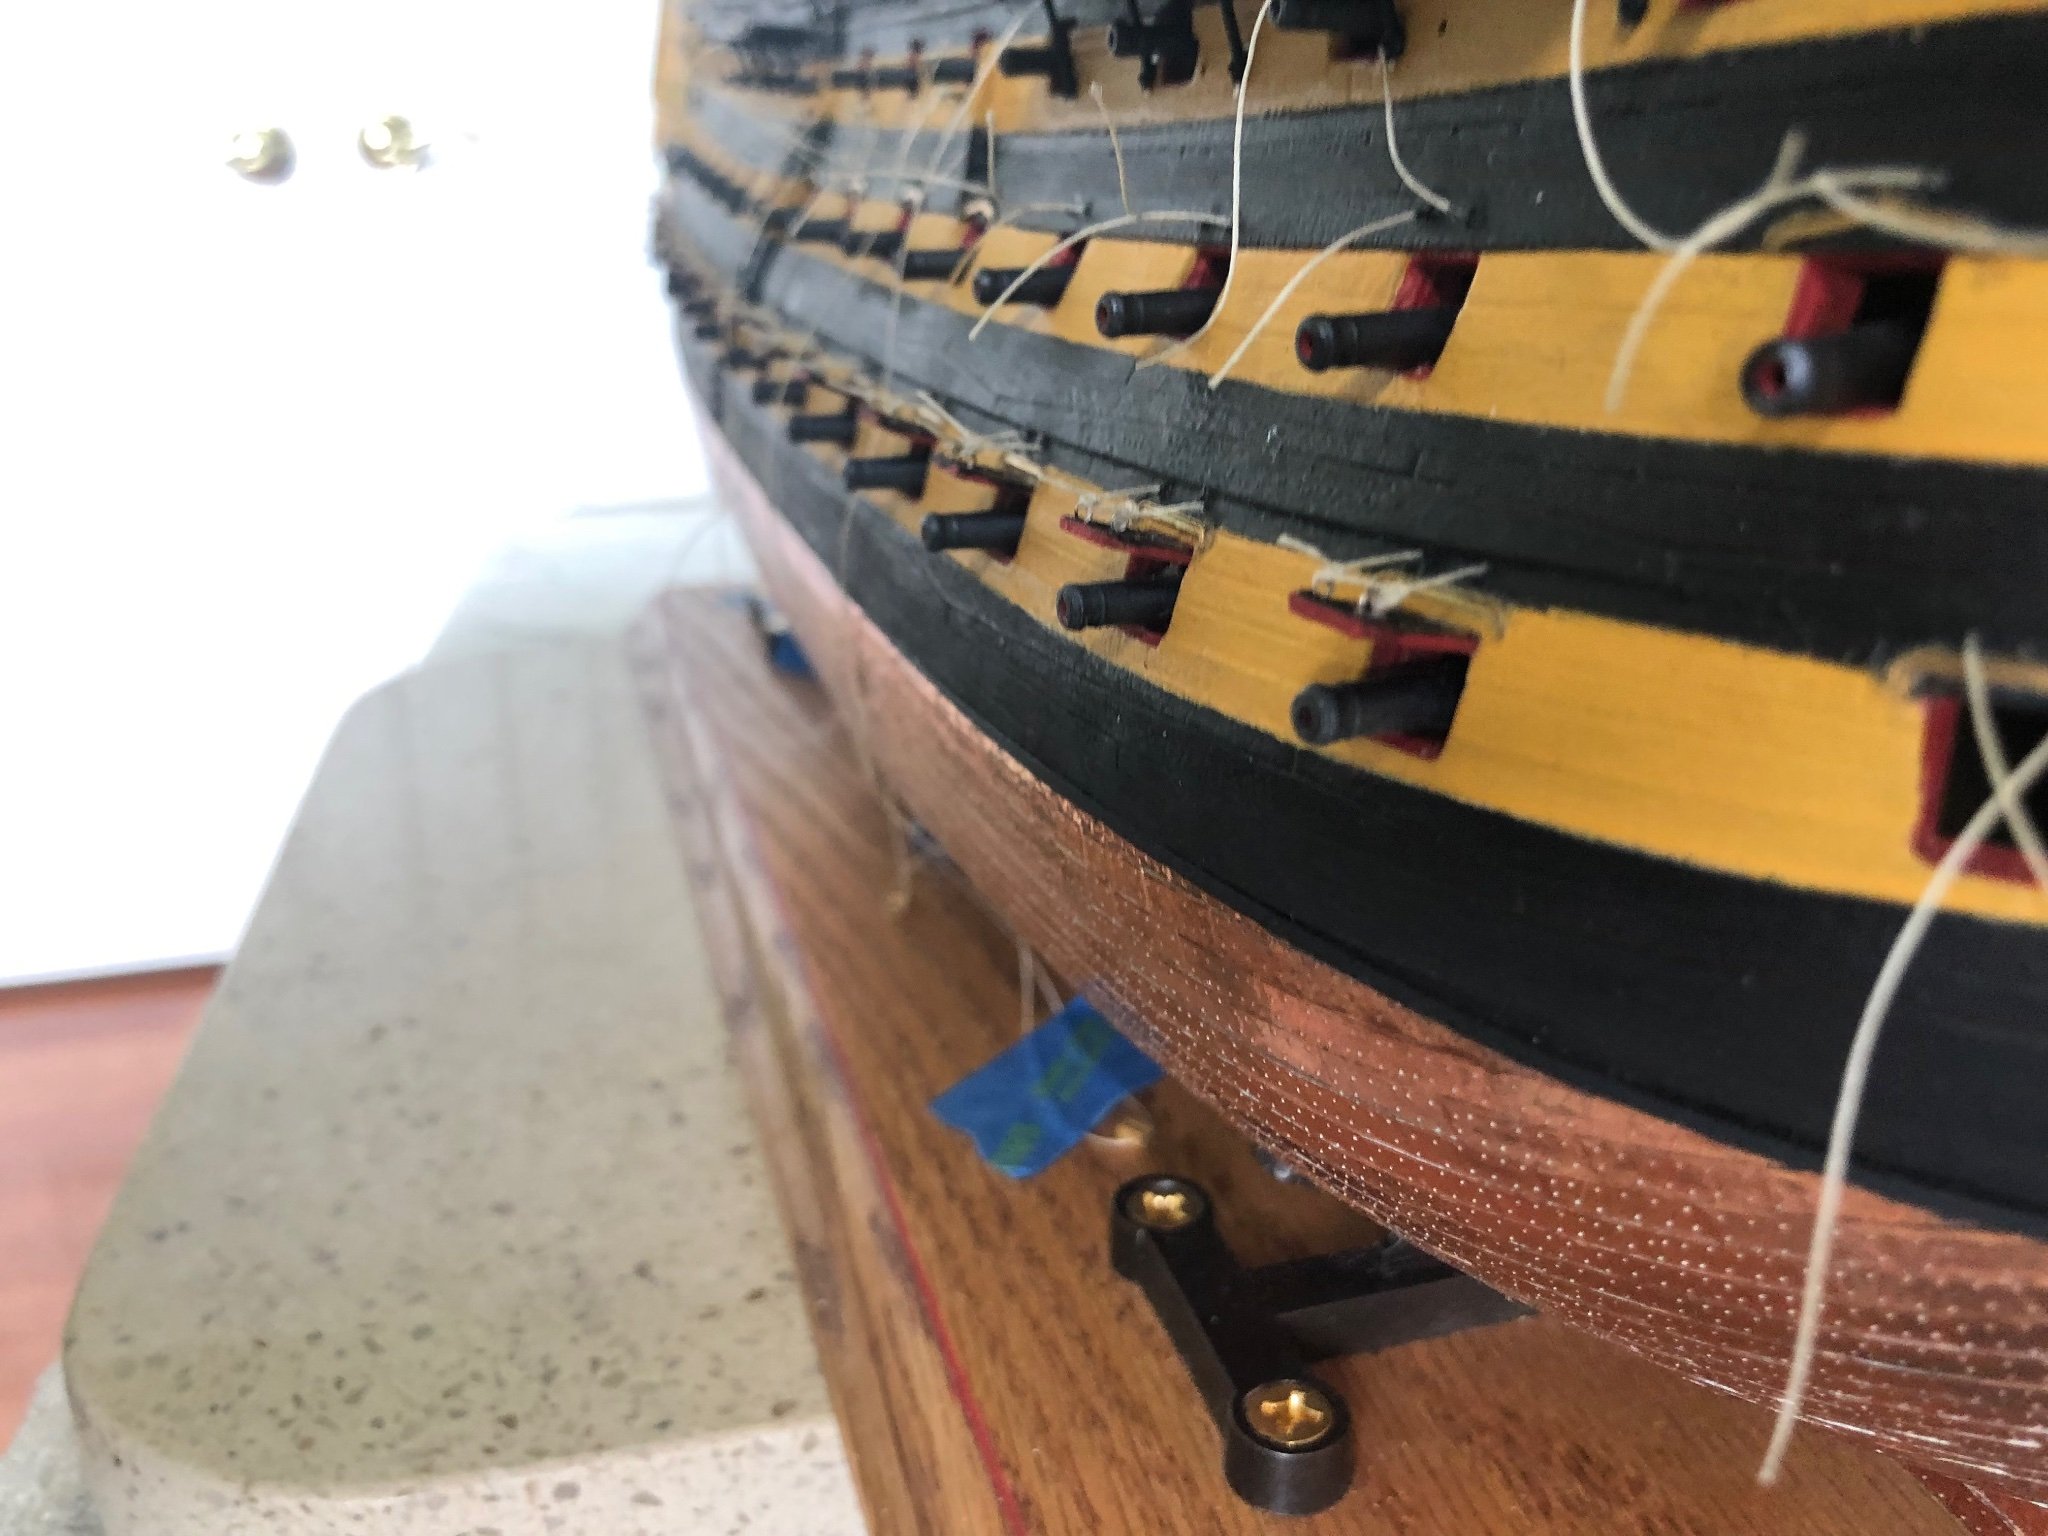
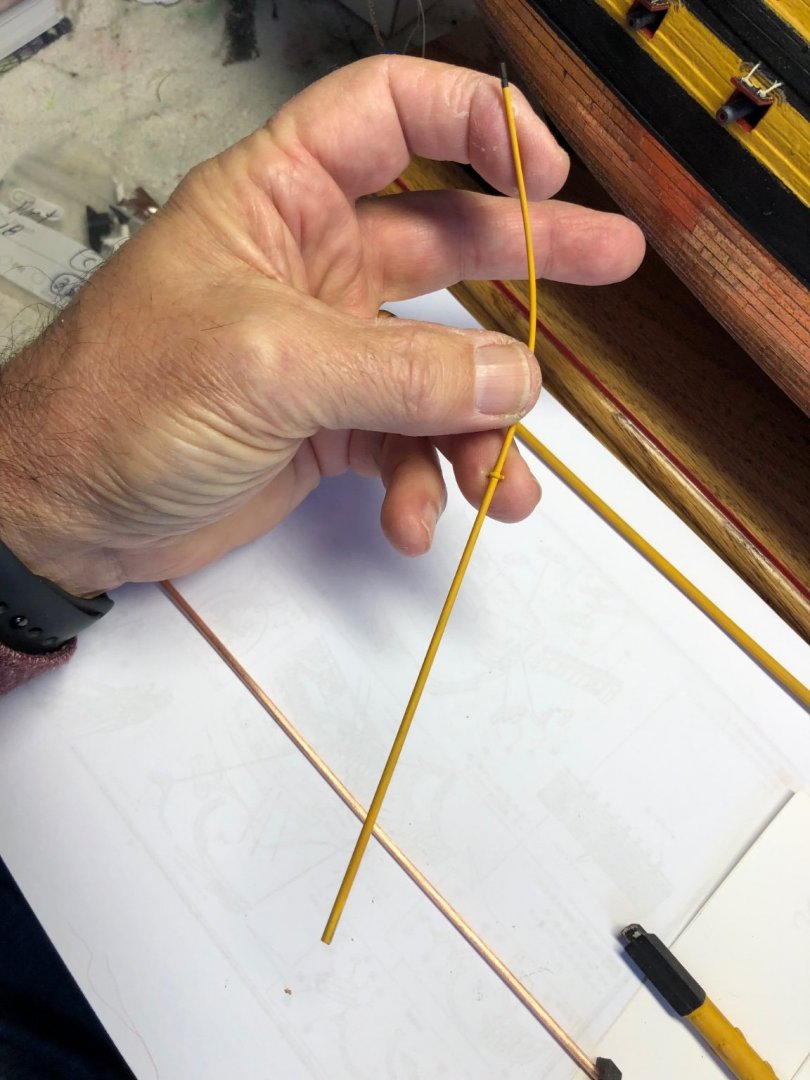
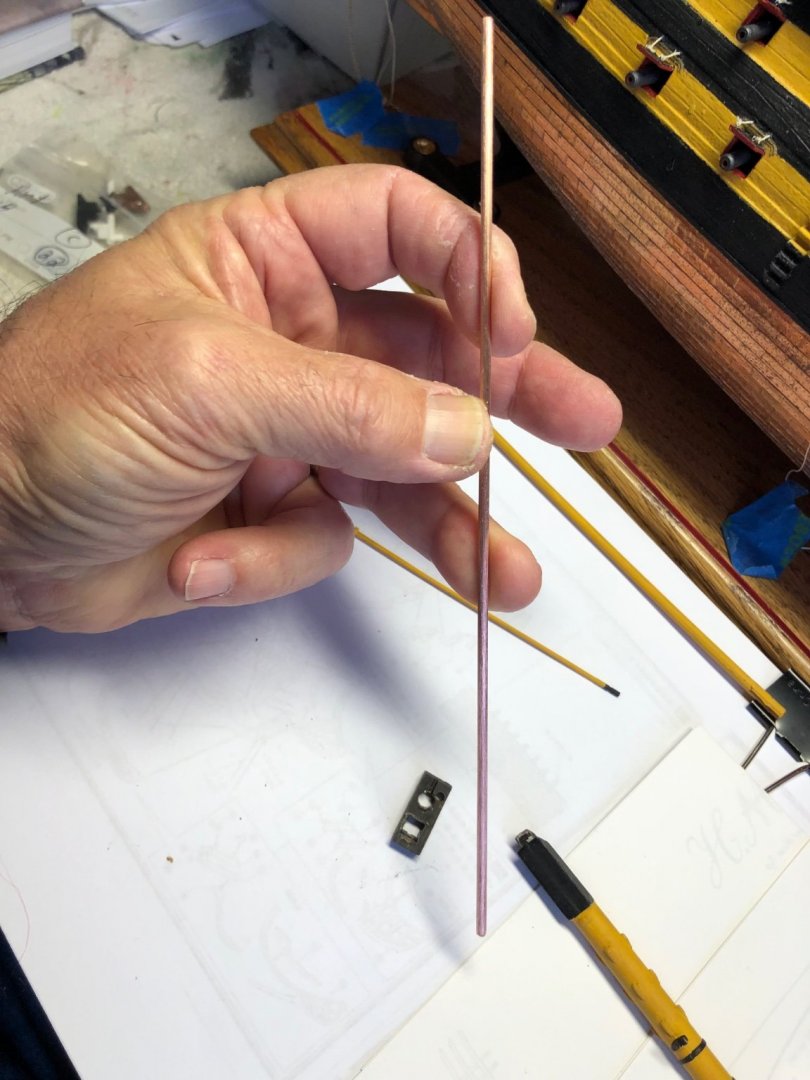
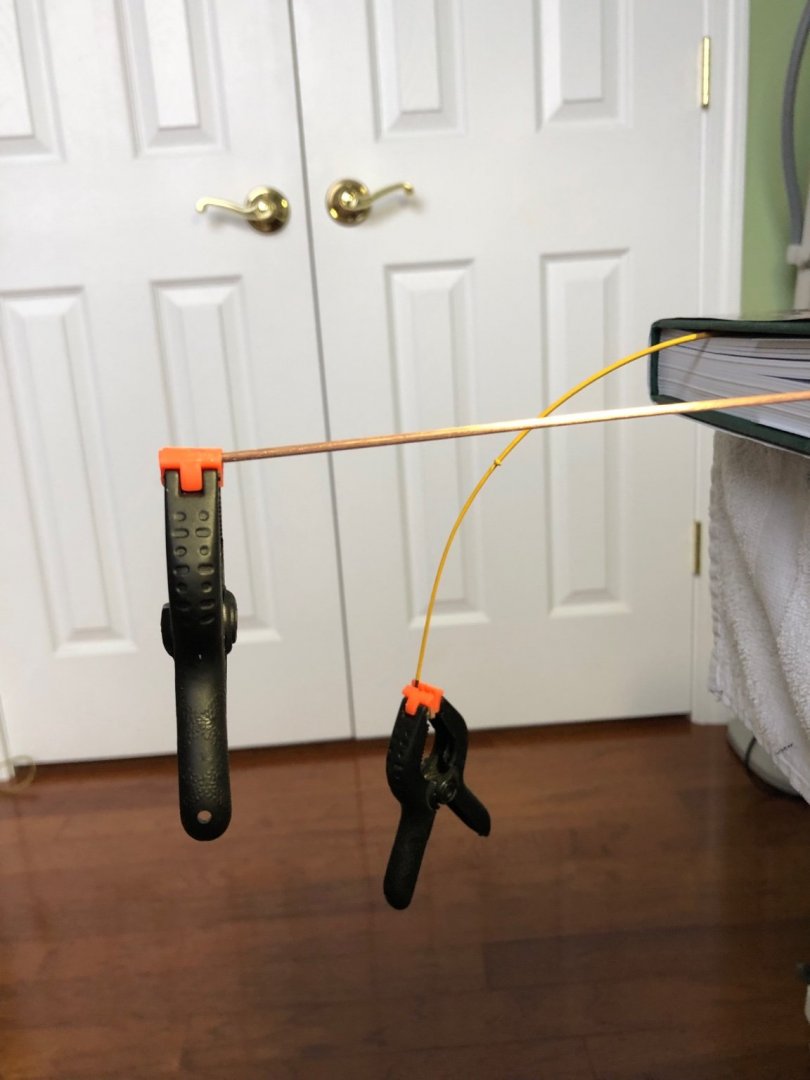
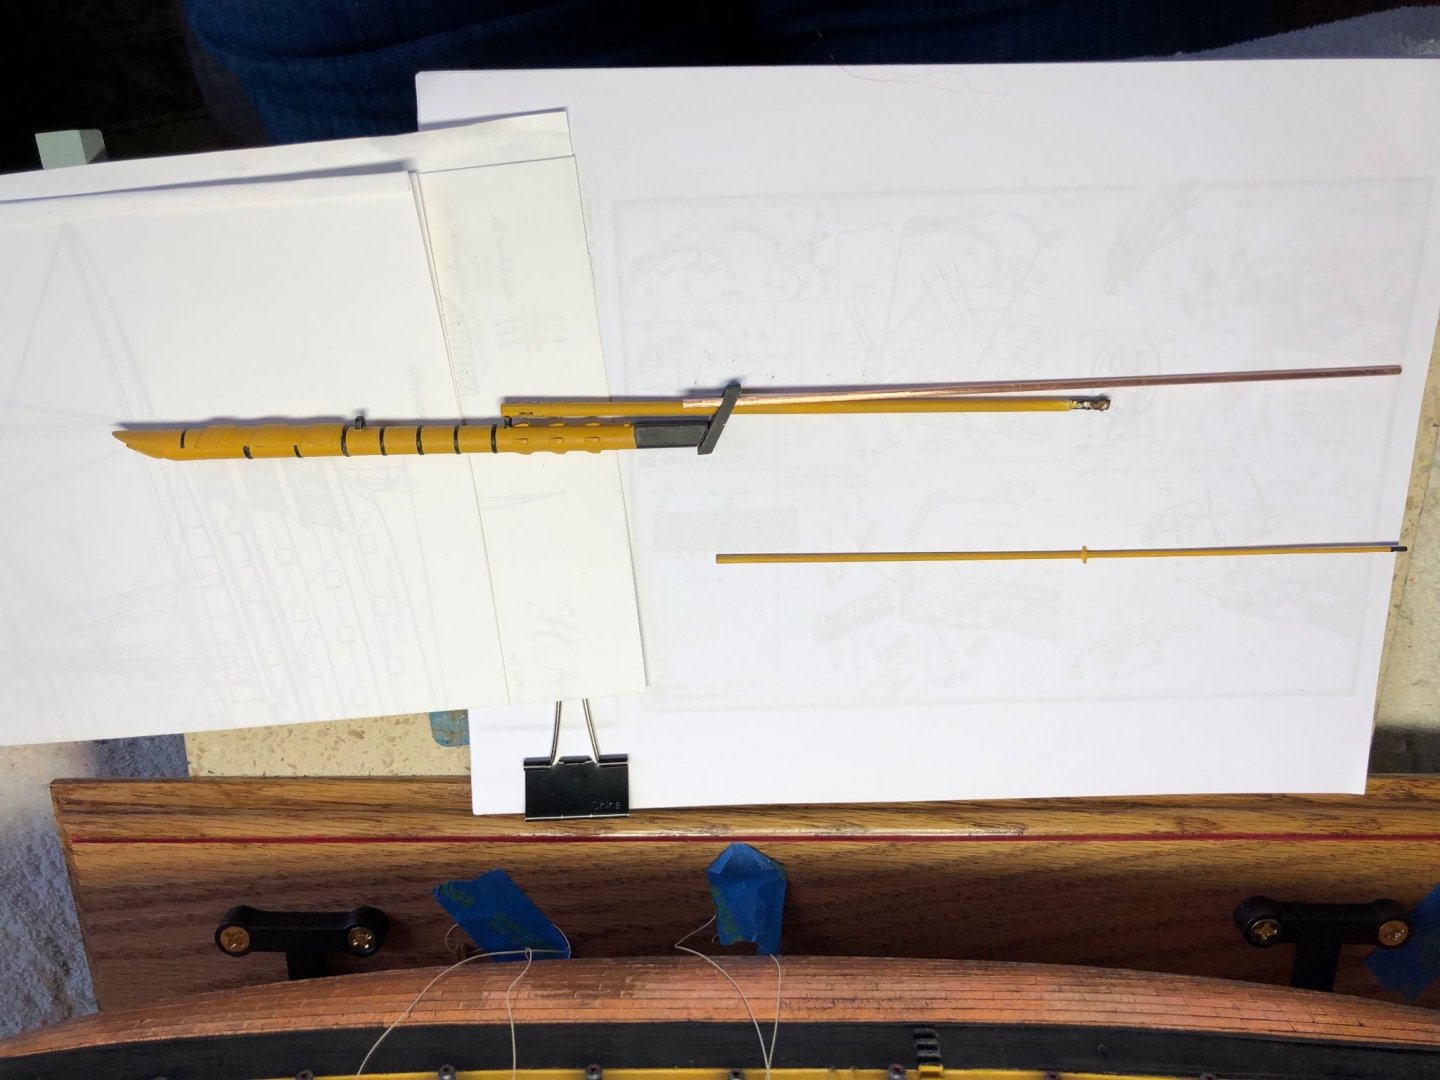
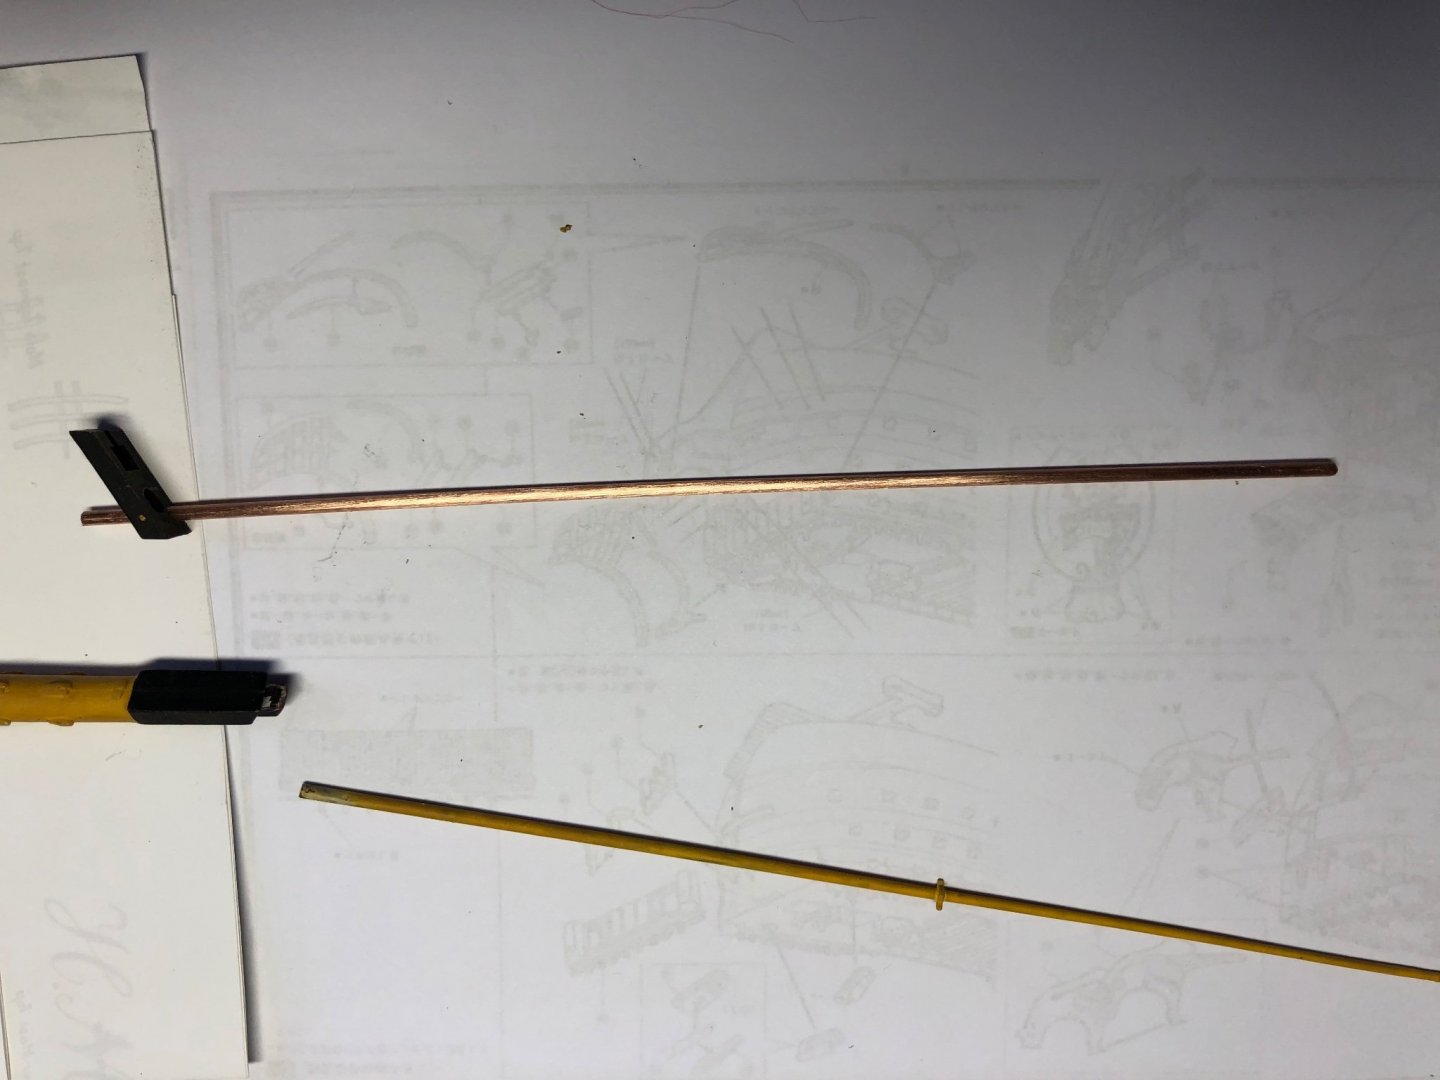
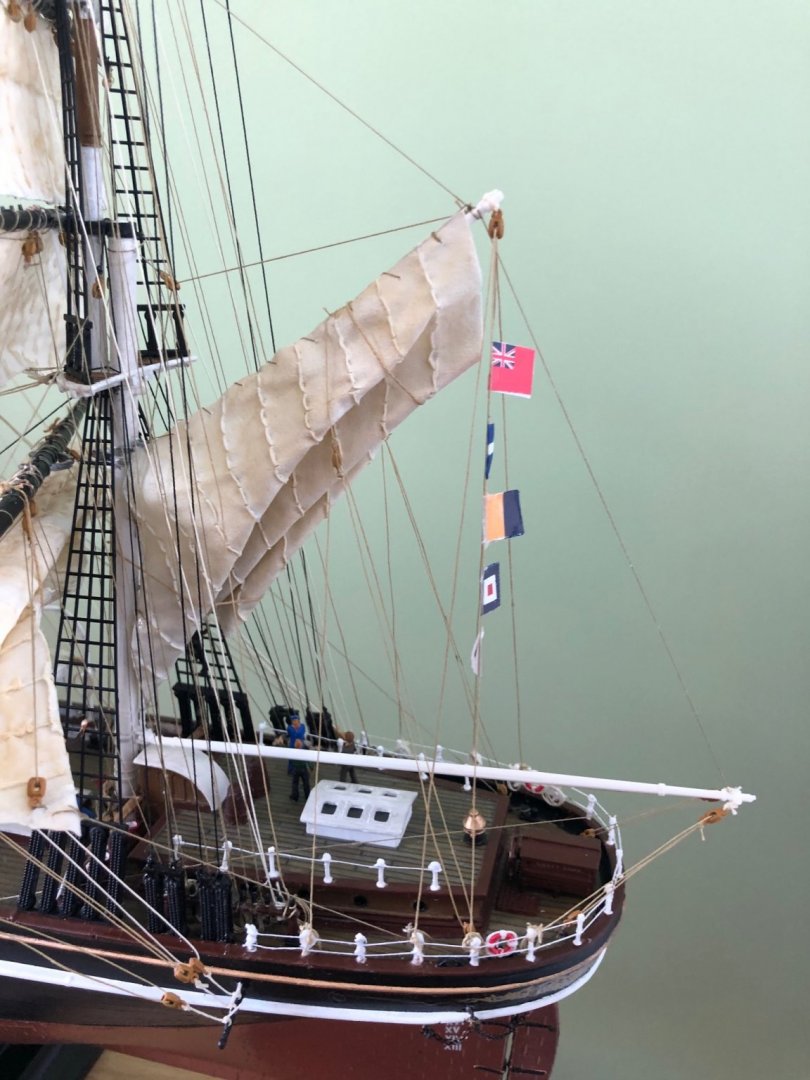
Replacing the Outer Jib Boom with equal diameter copper rod. The Inner Jib Boom seems to have adequate strength to not be very easily bent under tension, or accidentally broken by a clumsy hand. The photo showing the same clips reveals the difference in strength.


-
Thanks Michael. I really enjoy spending as much time working on it as my schedule and family permits! 😊 As I mentioned in my last comment, and as you did, now the fun begins! I only hope I can figure it out.
-
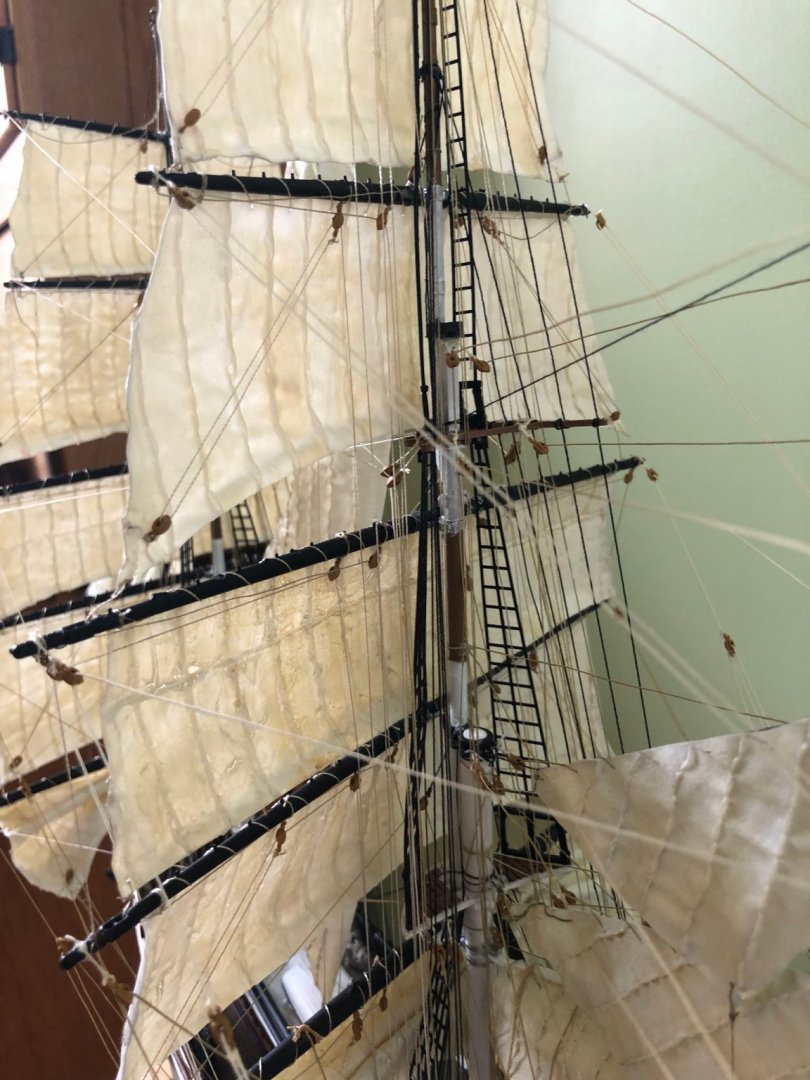
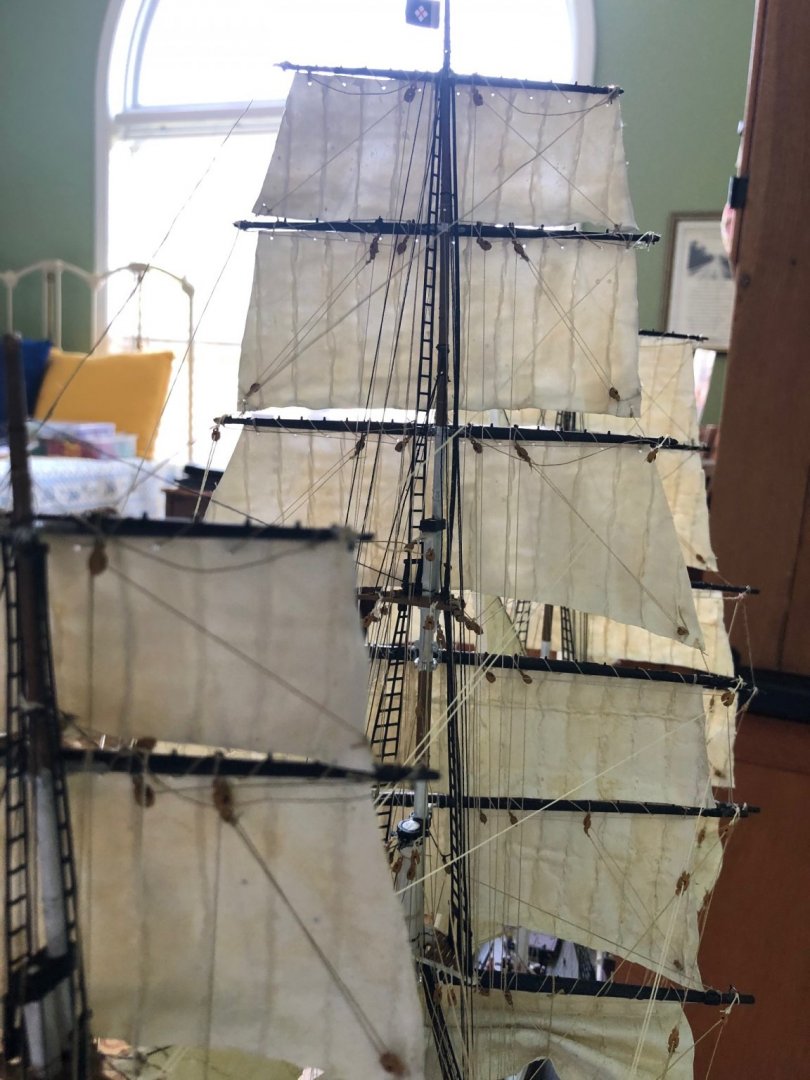
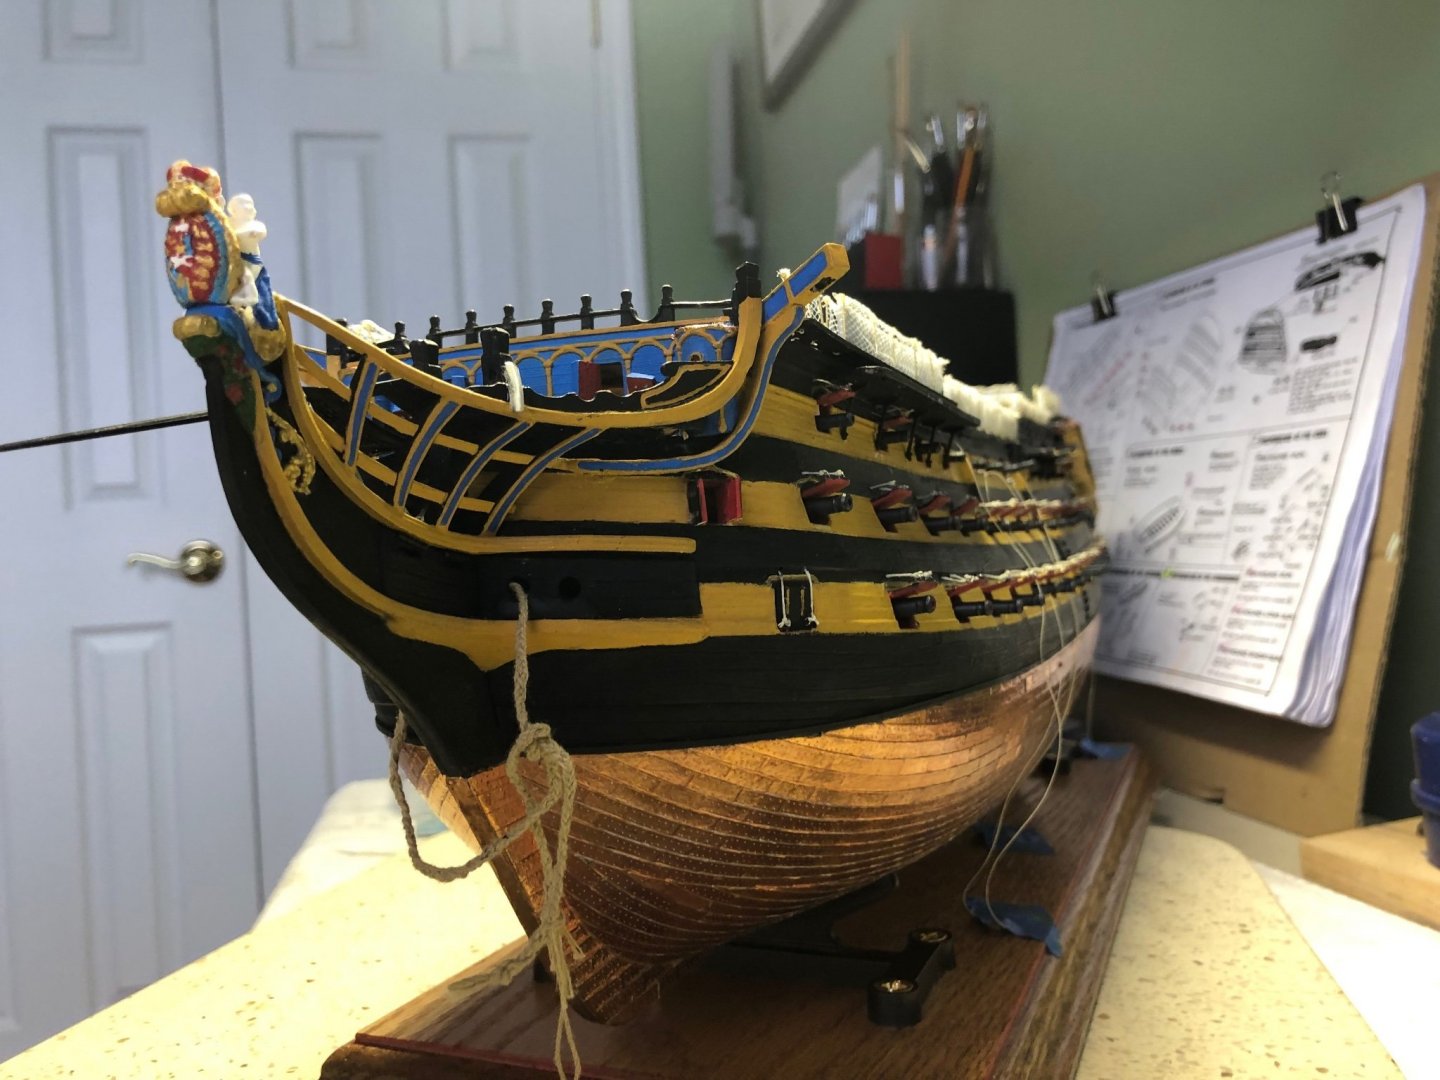
OK my modeling friends I have come to that point in my build. Seven months in. Yesterday I did an inventory of all the remaining parts in my kit. Except for the lanterns, which I am saving for the end because of fragility, the only parts left are related to masts and rigging. Using the several reference materials I have, including Longridge’s book, I started dry fitting the different parts of the bowsprit and the three masts. I also examined each part to see which I felt needed reenforcement for strength. I have to admit I have a very much love/hate emotion when I get to this point, and even more so with the Heller HMS Victory. I usually feel pretty confident in my ability to build the actual model. I also usually love the intensity and beauty of the rigging process when I am able to figure out where a specific line goes. A few of my builds, especially those that are not Revell, have required a good deal of study to determine rigging steps. And as you all know the Heller Victory is very much in that category. I love the Revell instruction method of painstakingly sequential steps. First tie this line from point A to pin B, and so on. I am very good at that method. Lacing lines through previous rigged lines is an art I enjoy. However I must admit I have a lack of confidence in this step with my Victory. I have the kit instructions, Longridges’s book, and two other reference books at my right hand open on my building table. I am sure I will need to study through all my references for a large number of my lines. I think I will be OK with the Standing rigging since it is very similar to other models I have built. The Standing rigging on the bowsprit has me studying quite a bit right now since is different from any I have done before. Hopefully I can figure it out. Then on to the Running rigging! Wish me luck my friends. I know you guys are all out there for some helpful if I need it.
-
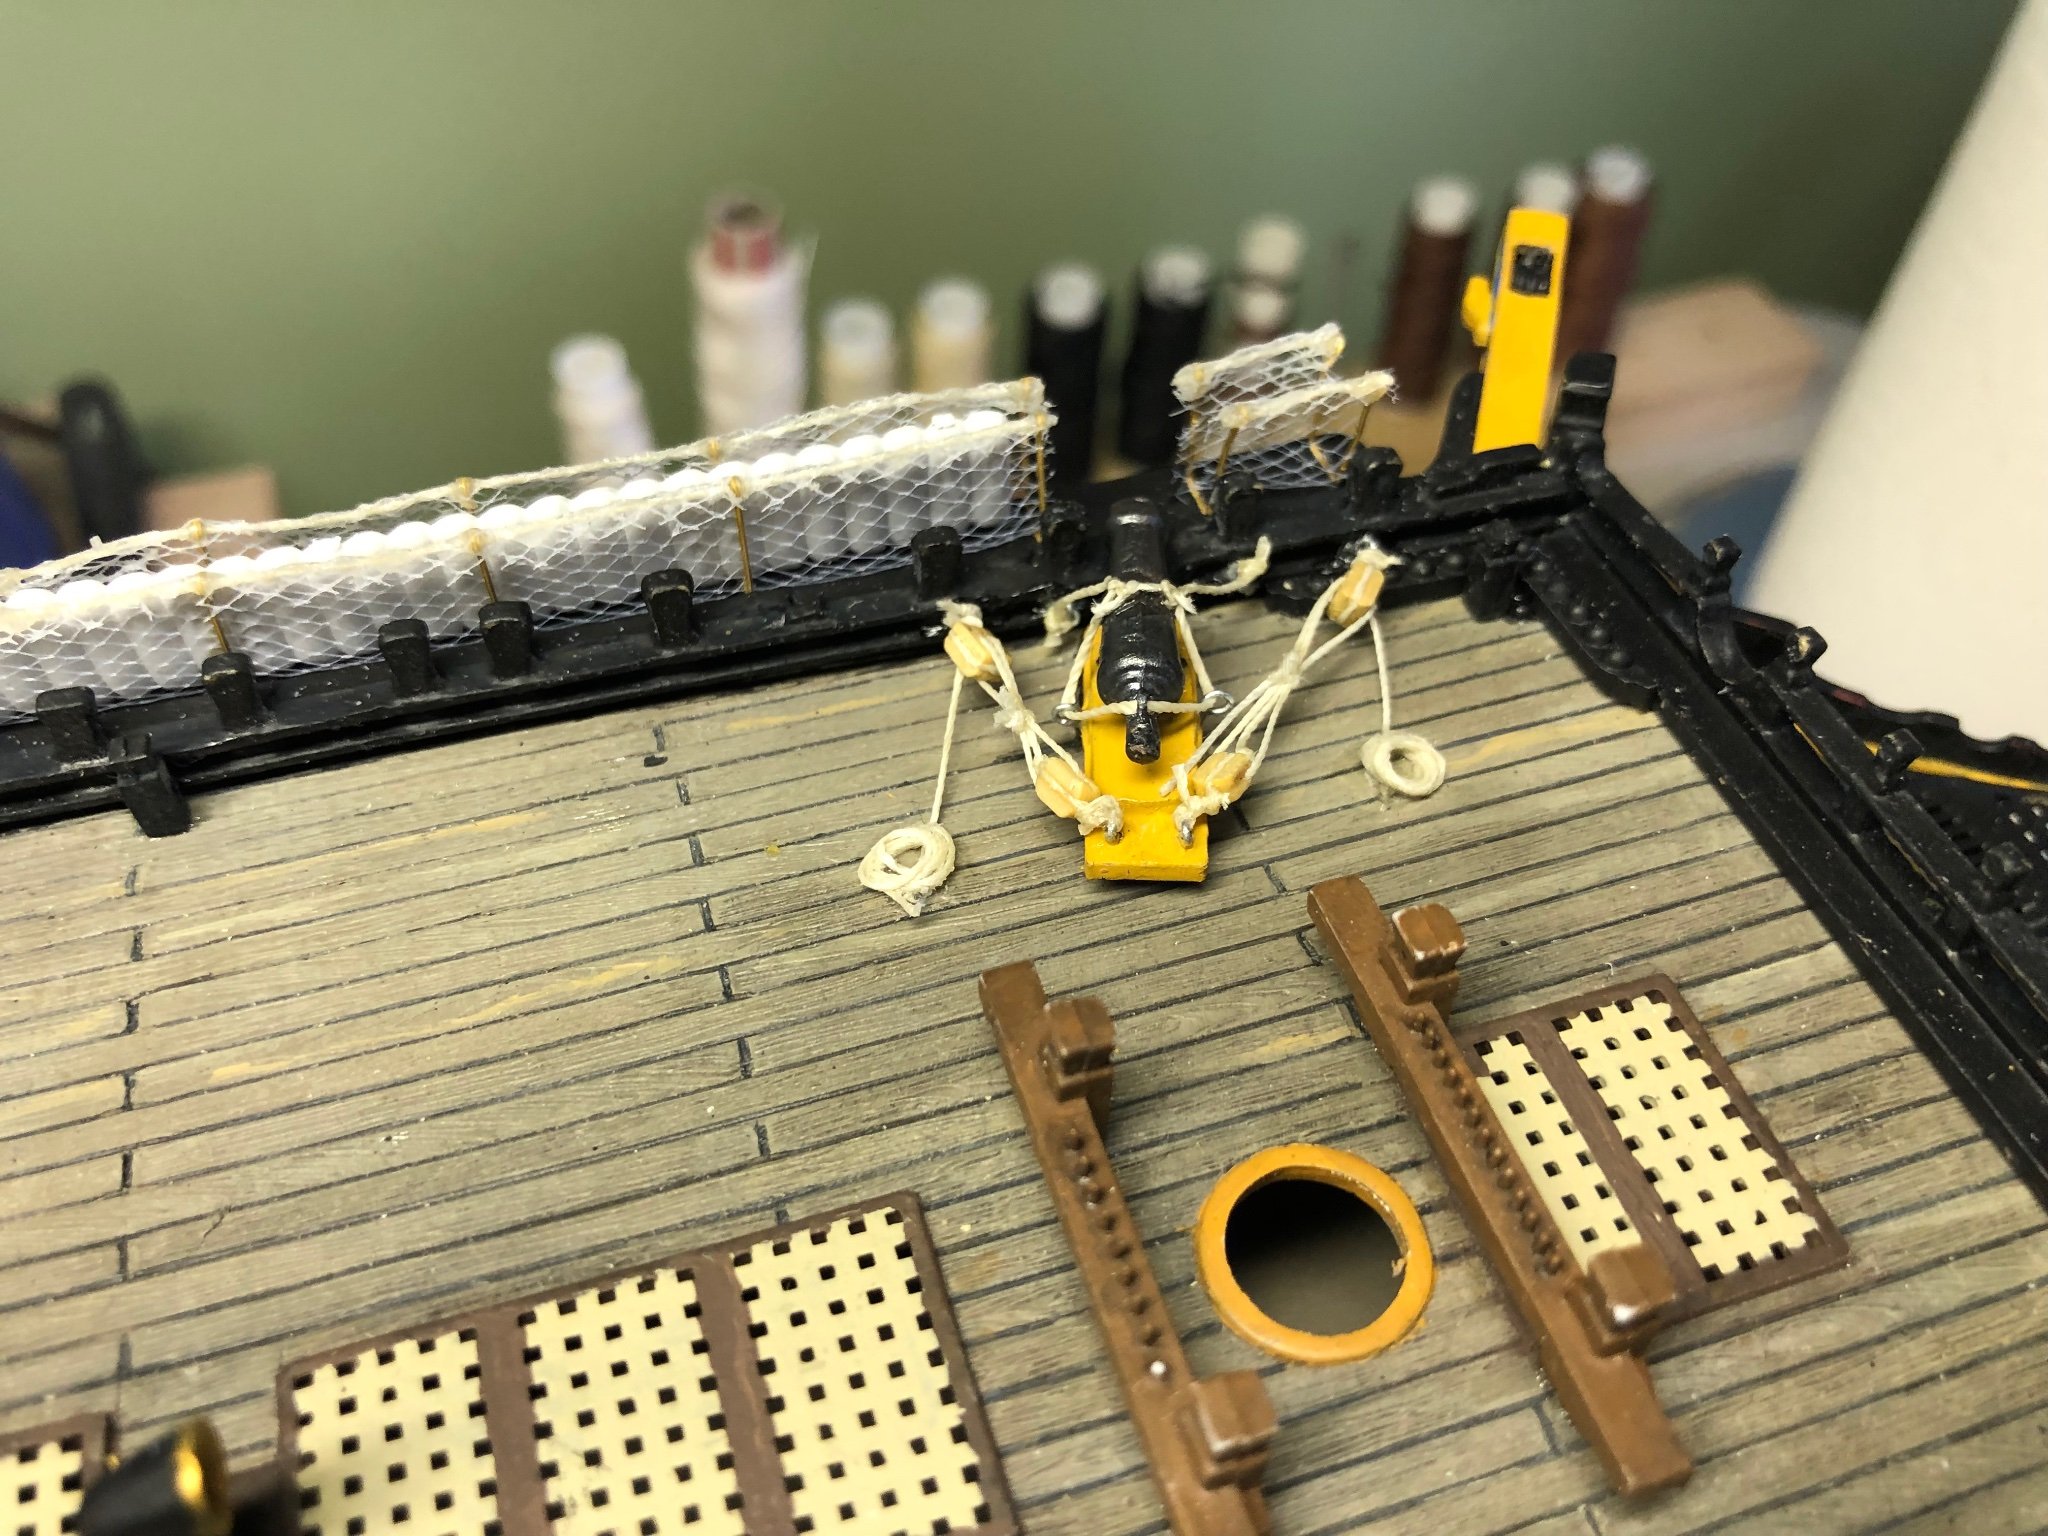
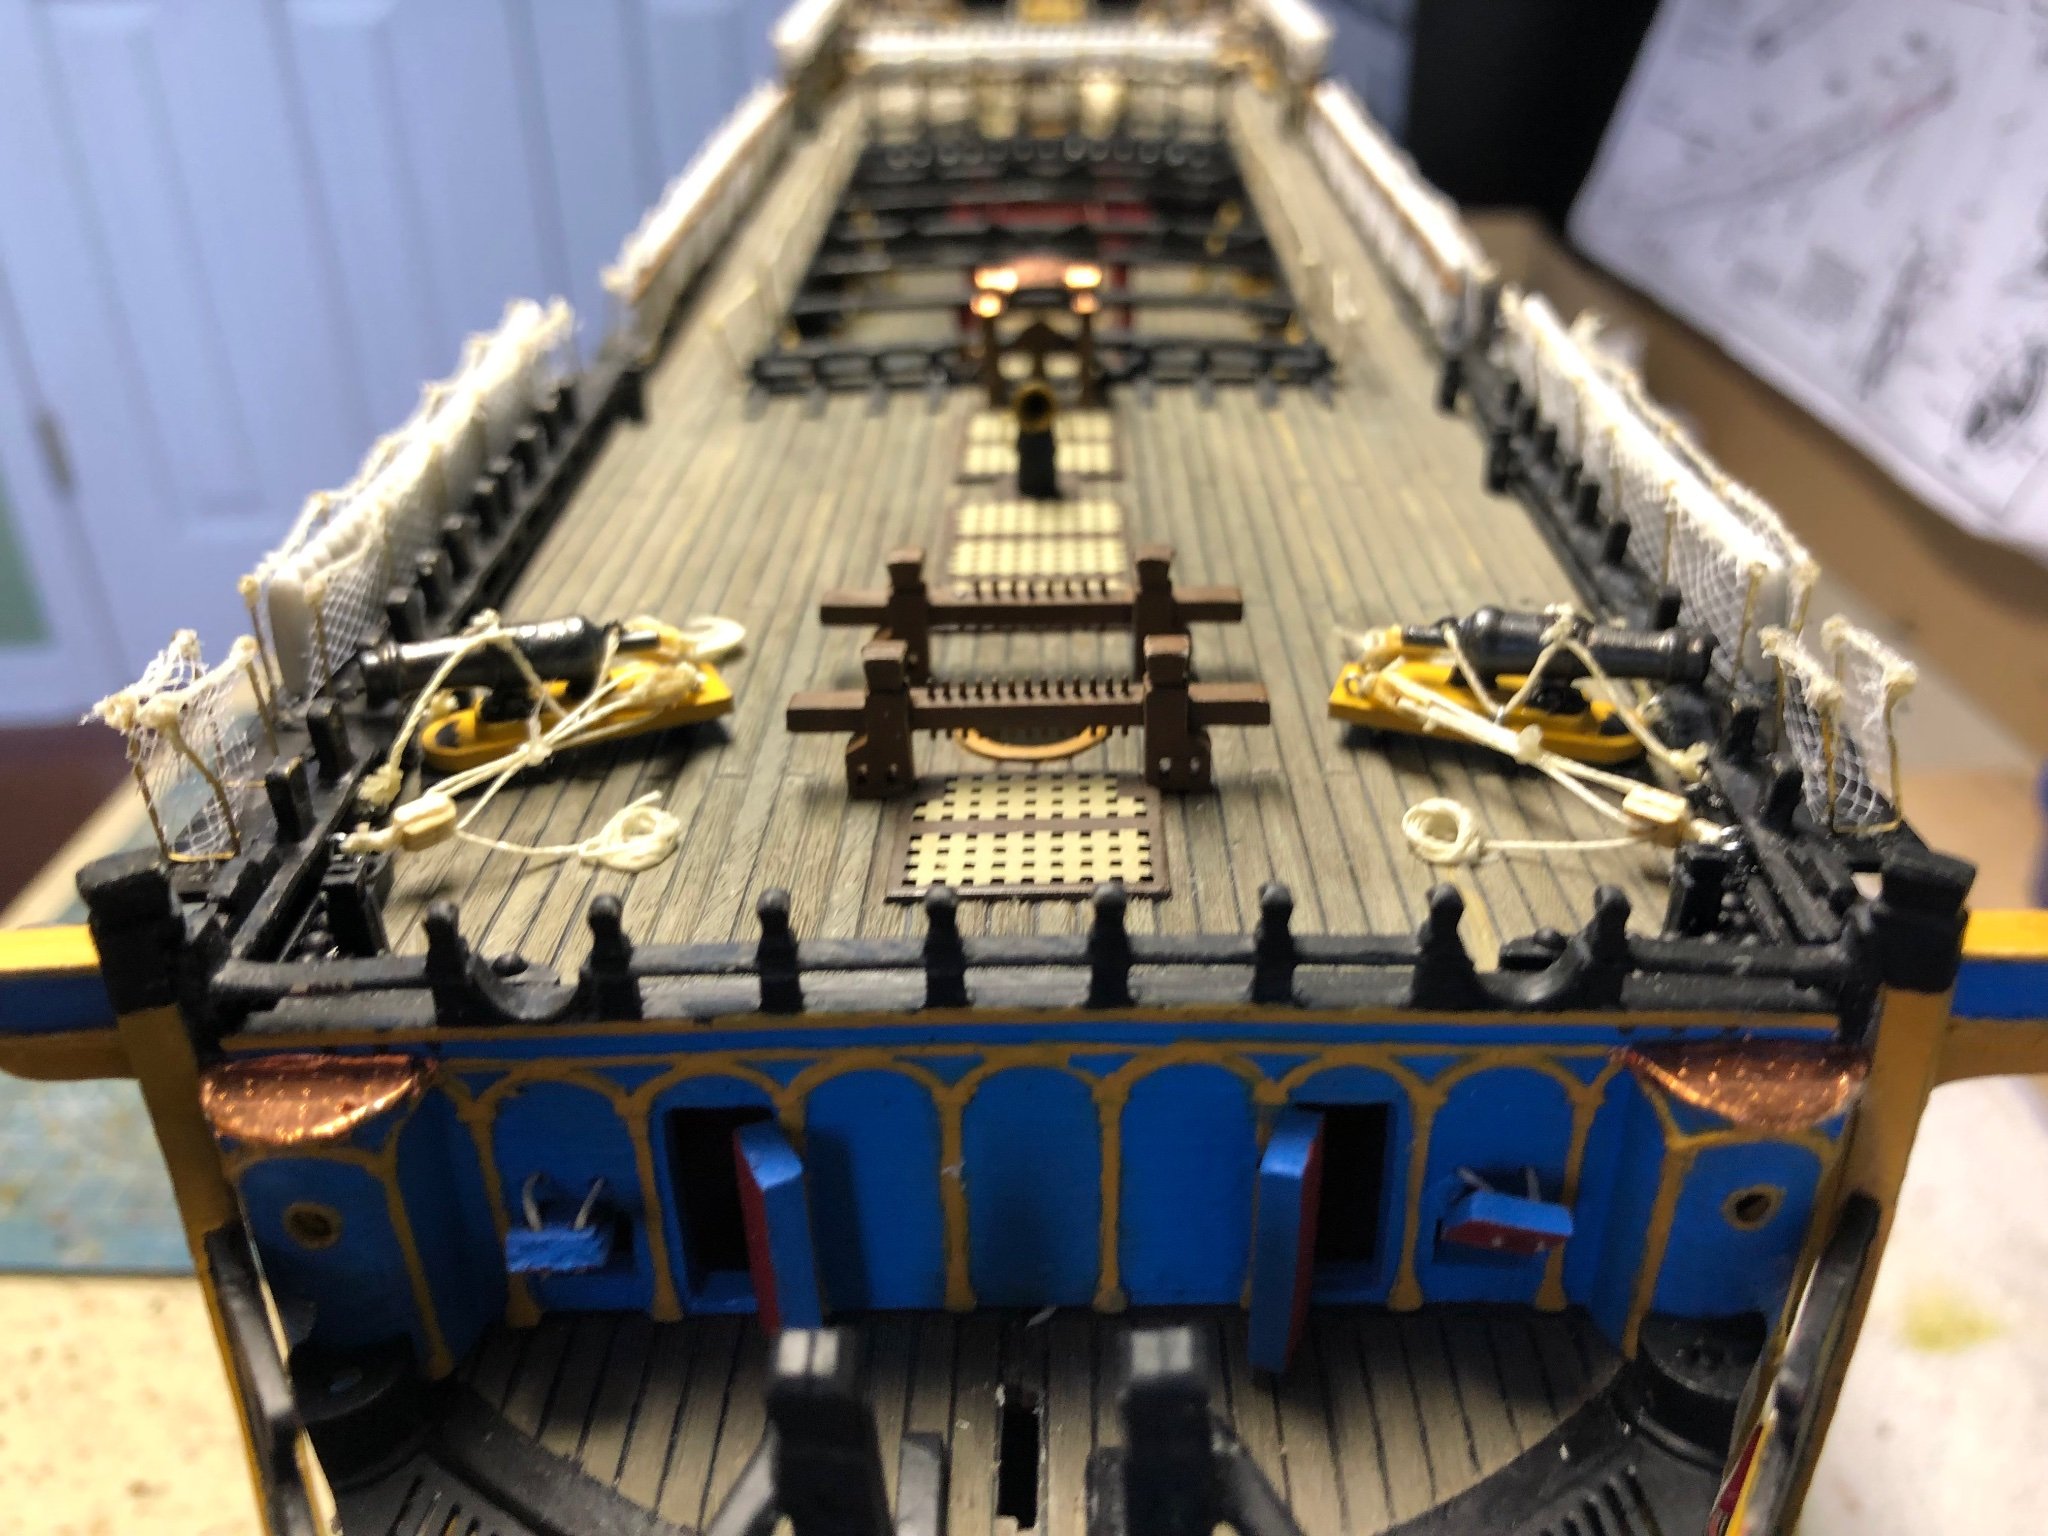
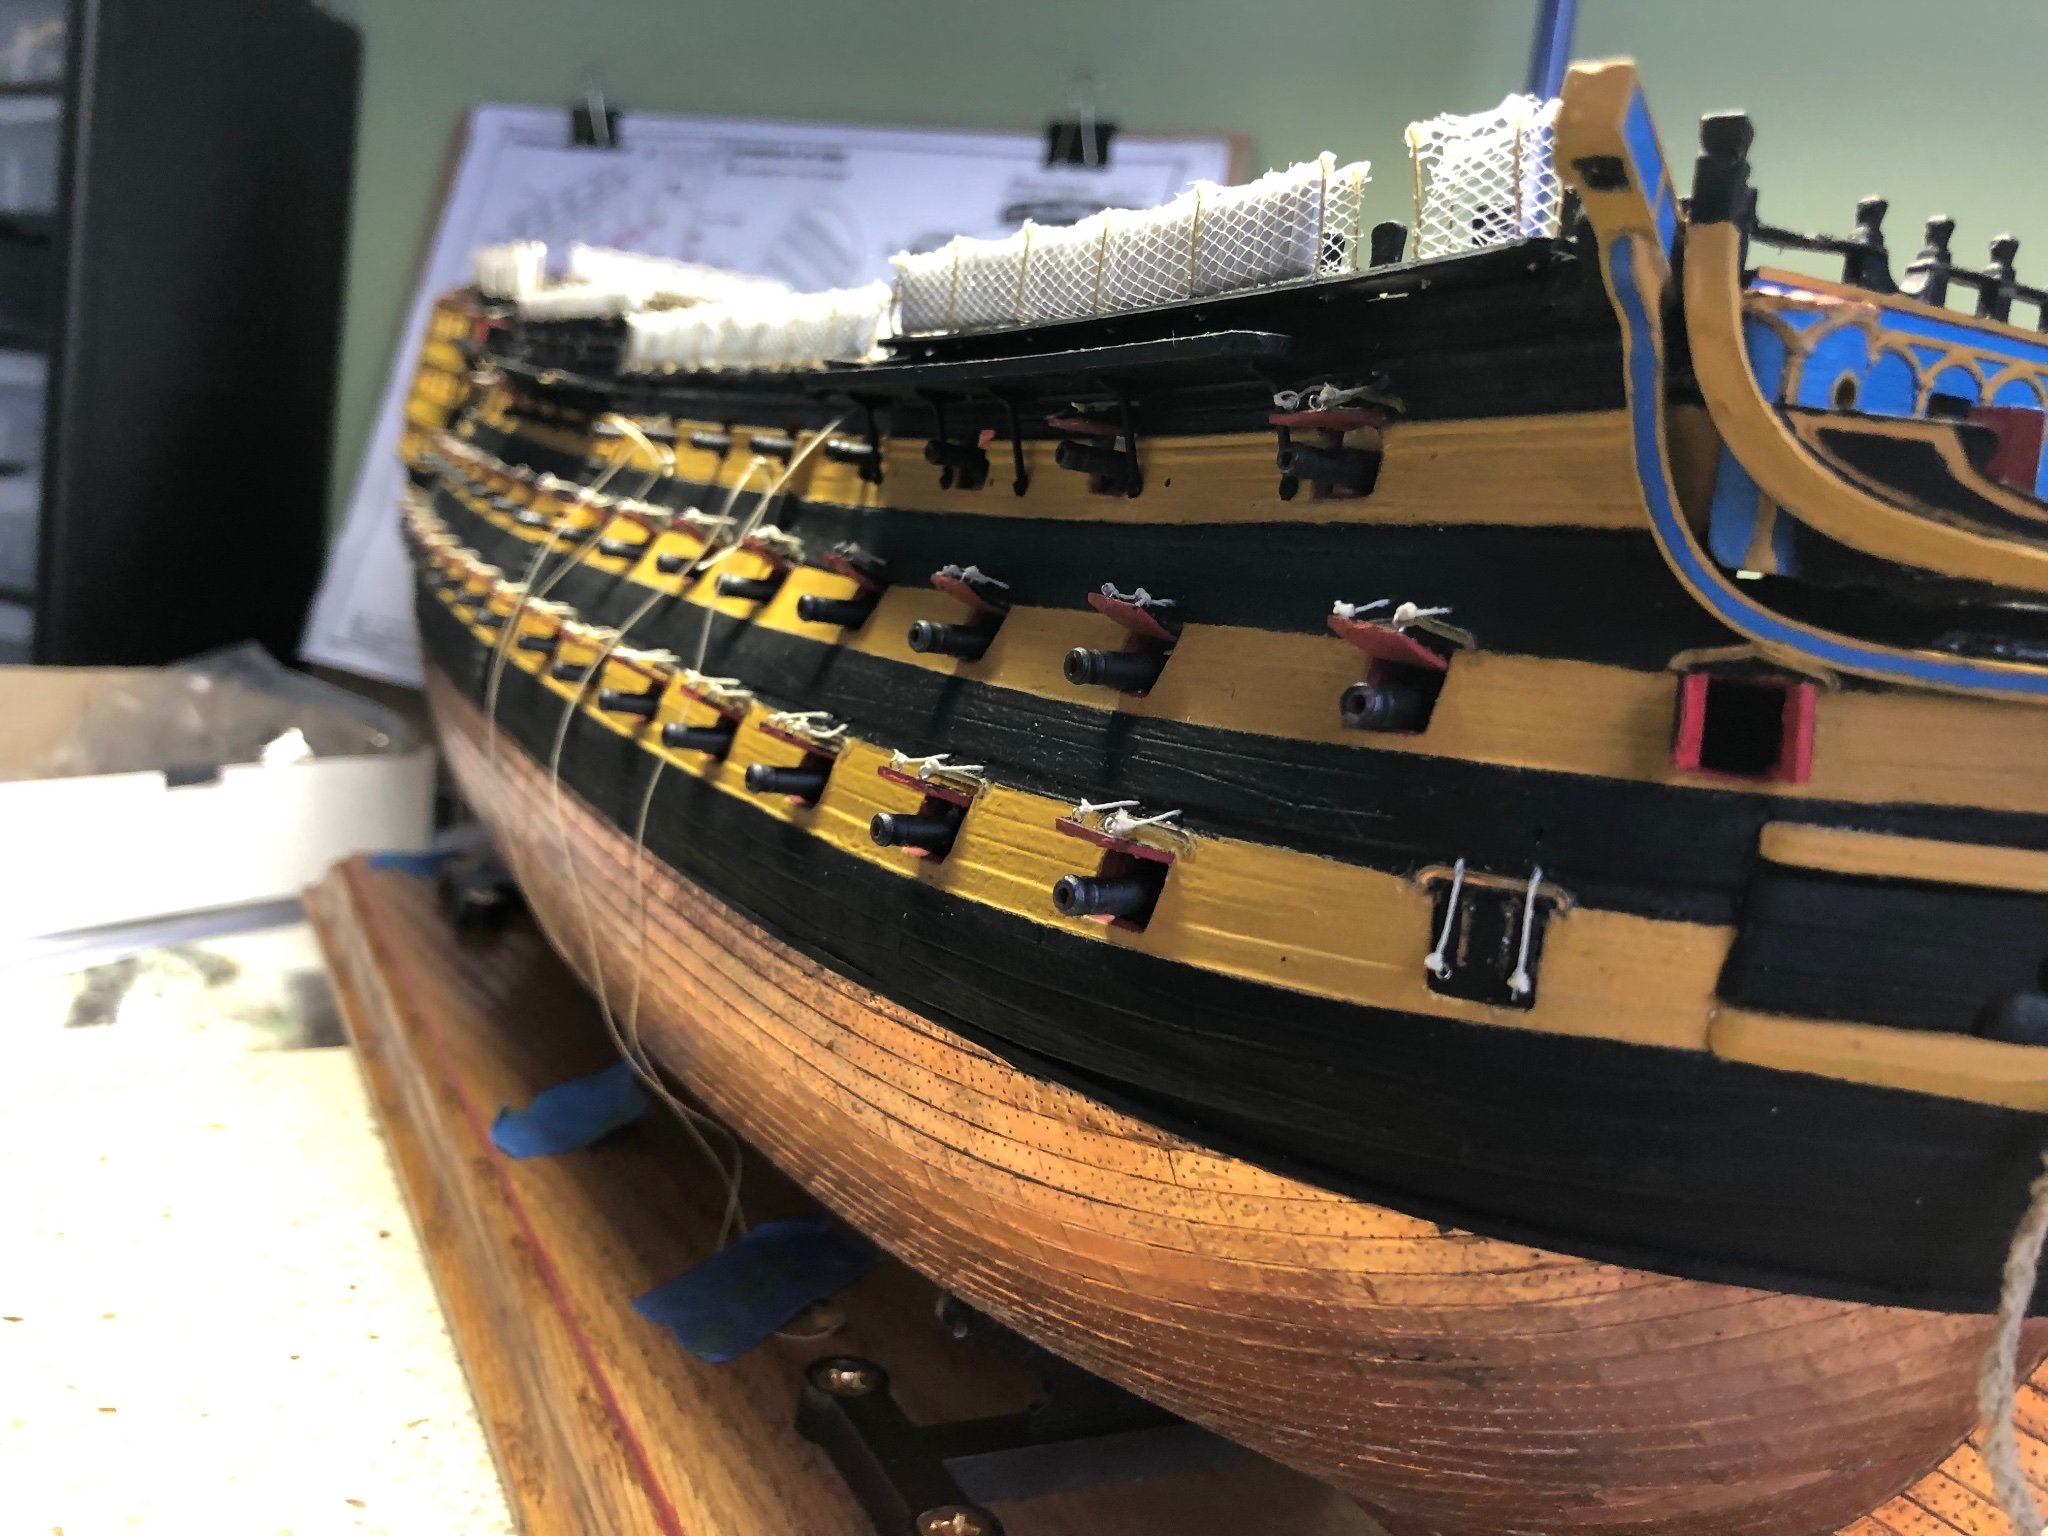
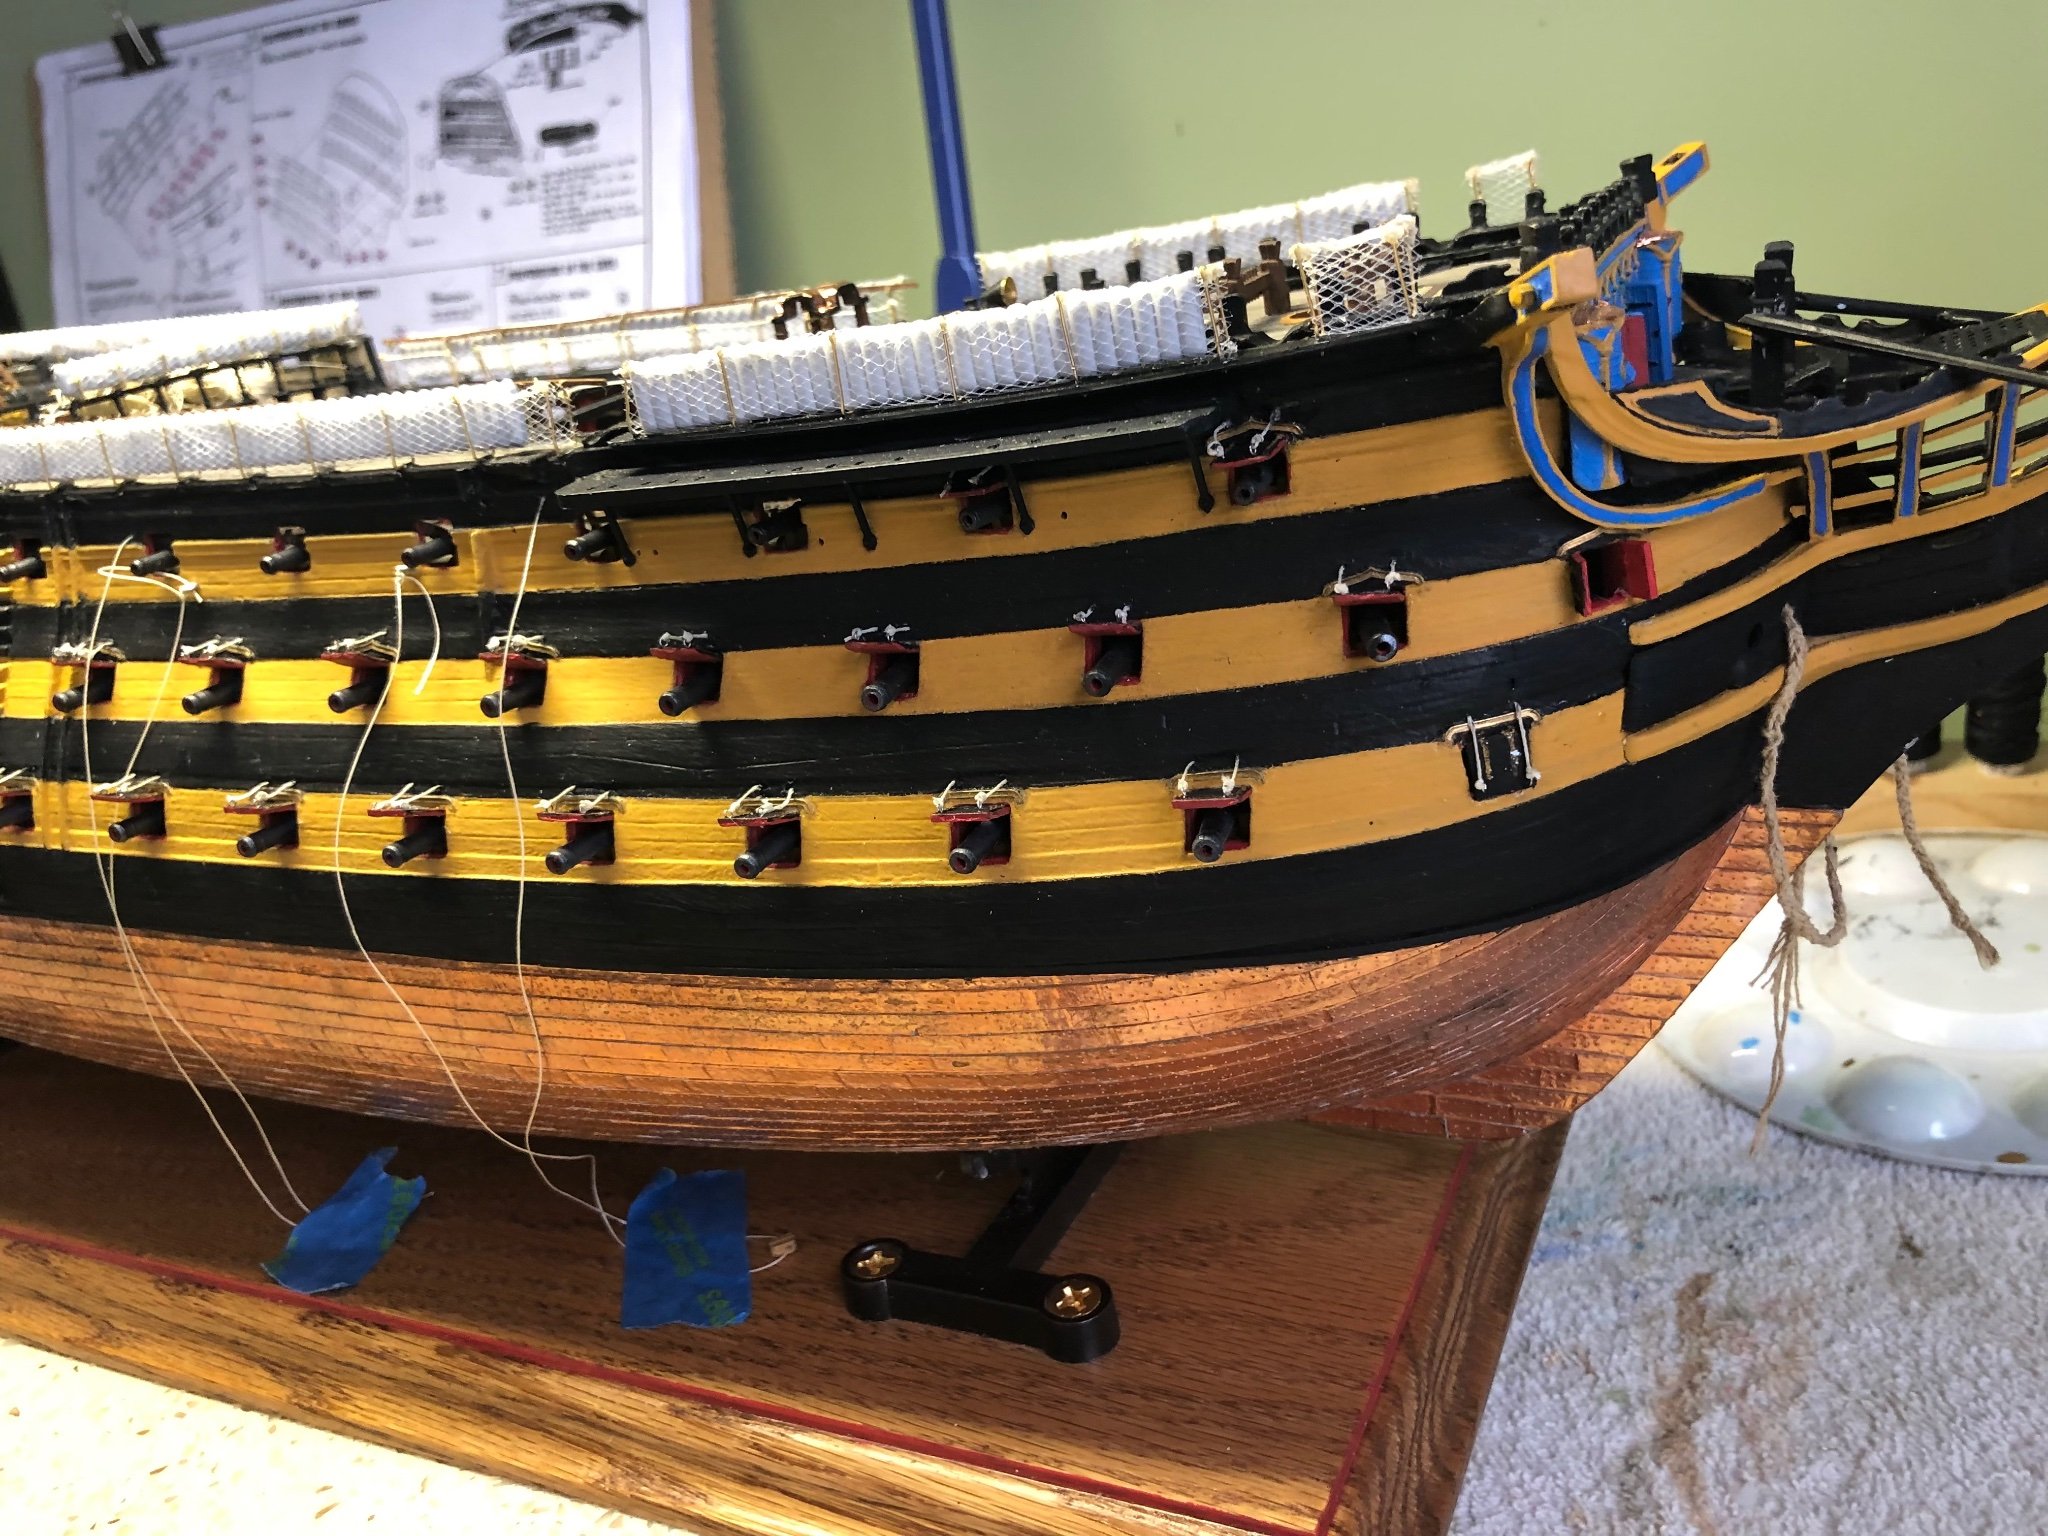
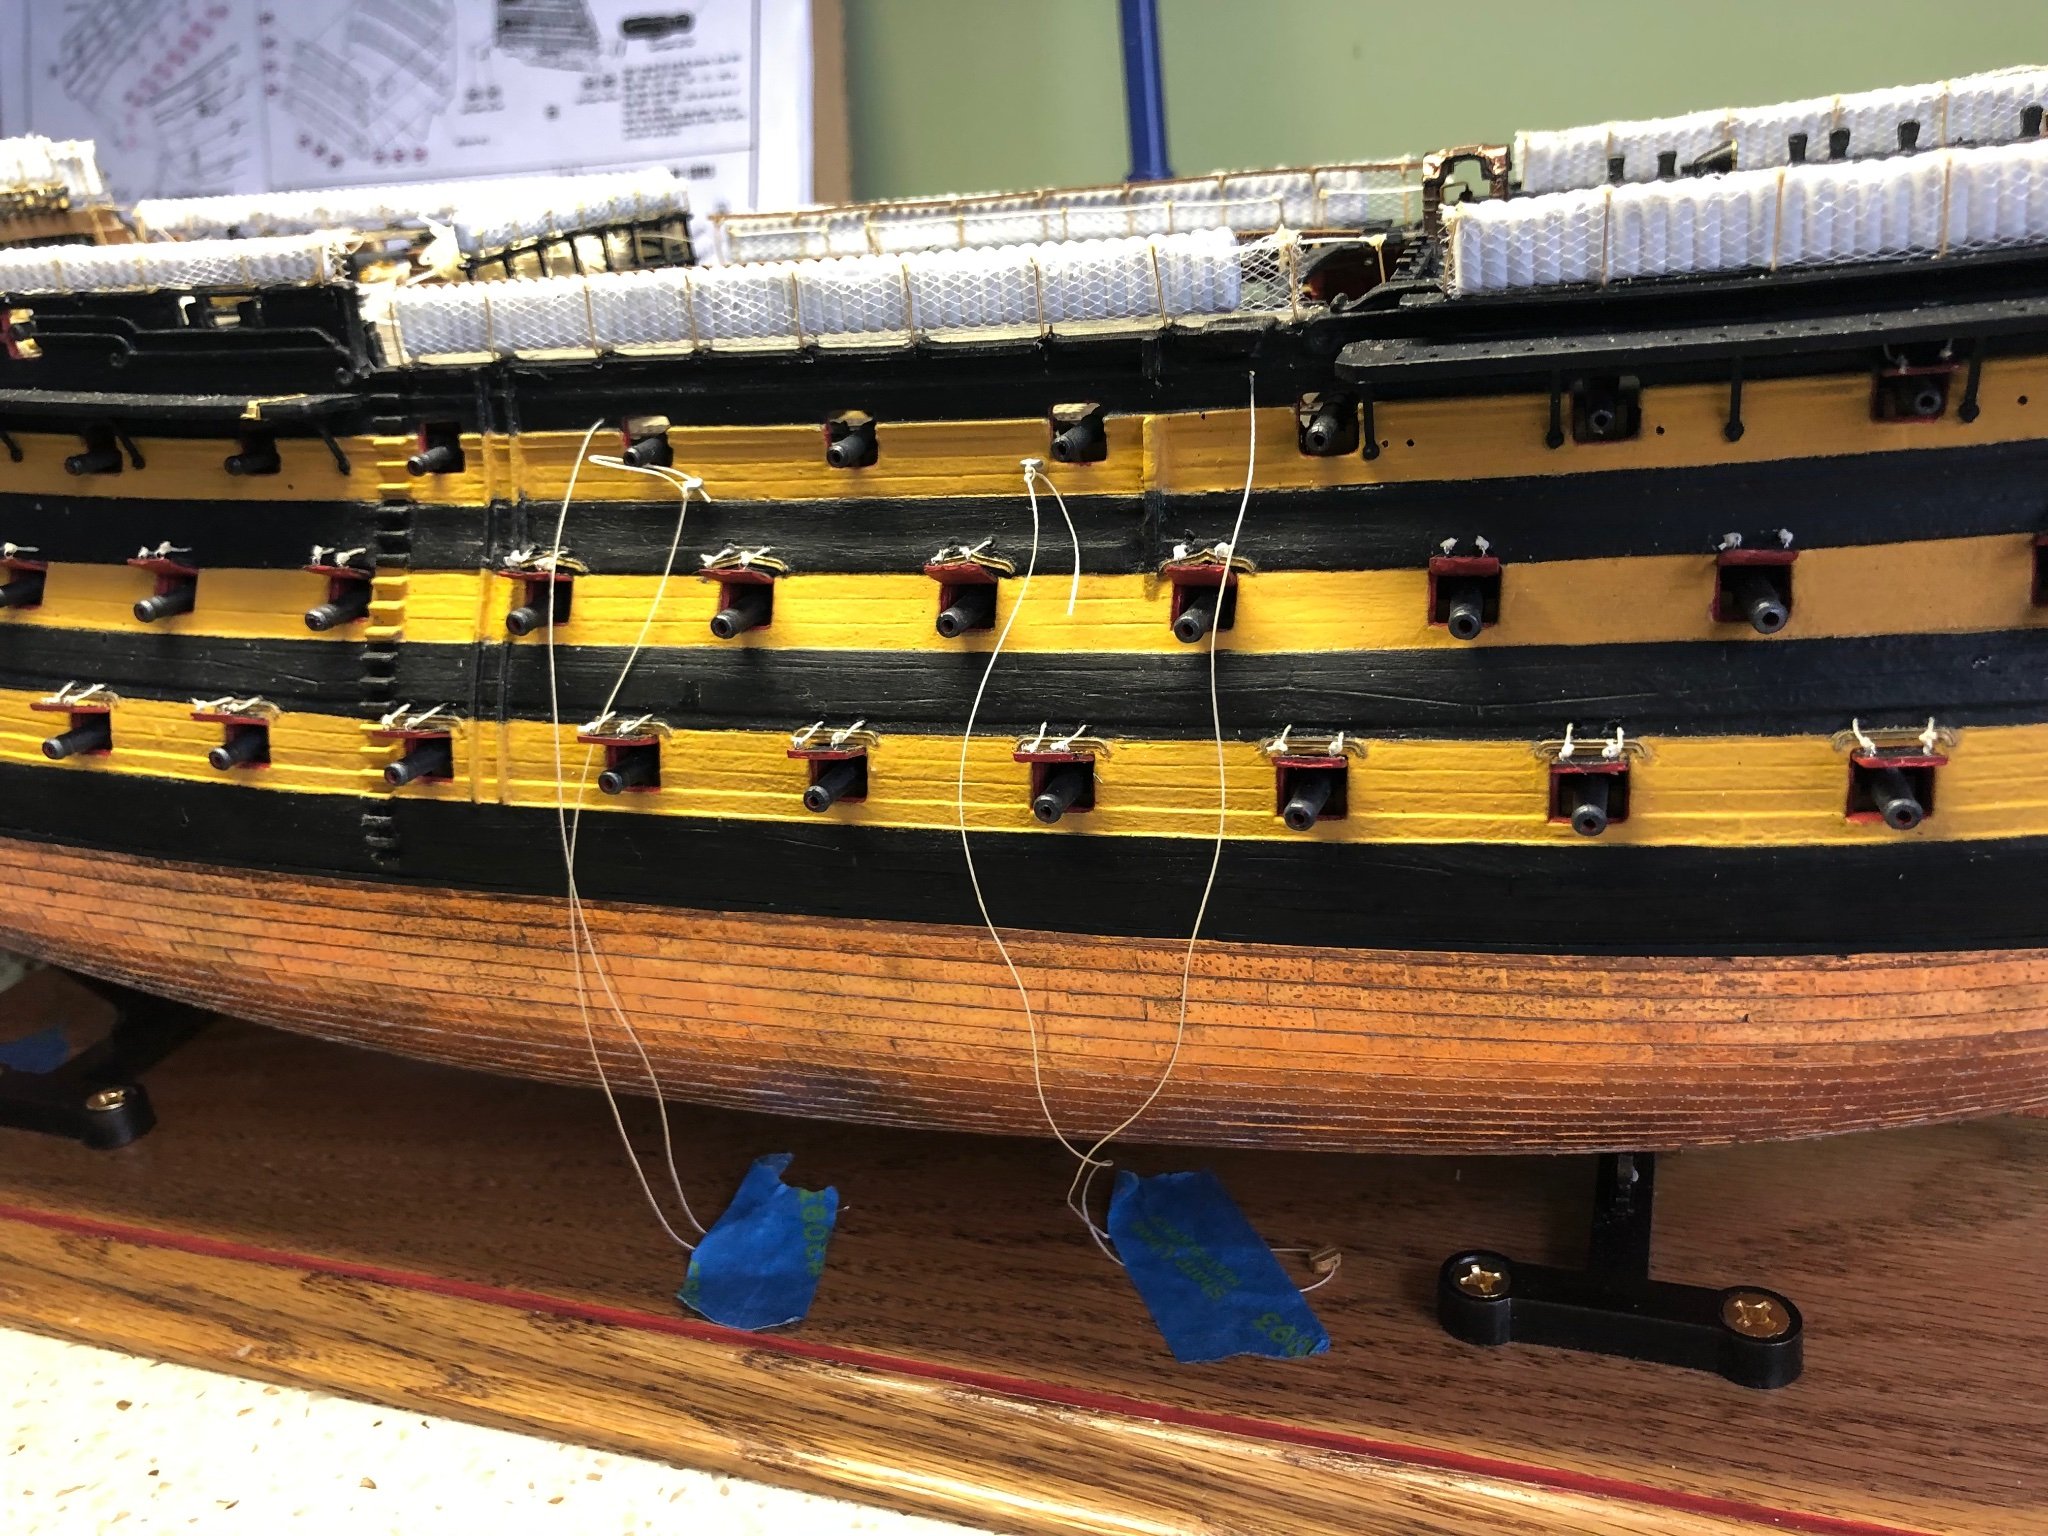
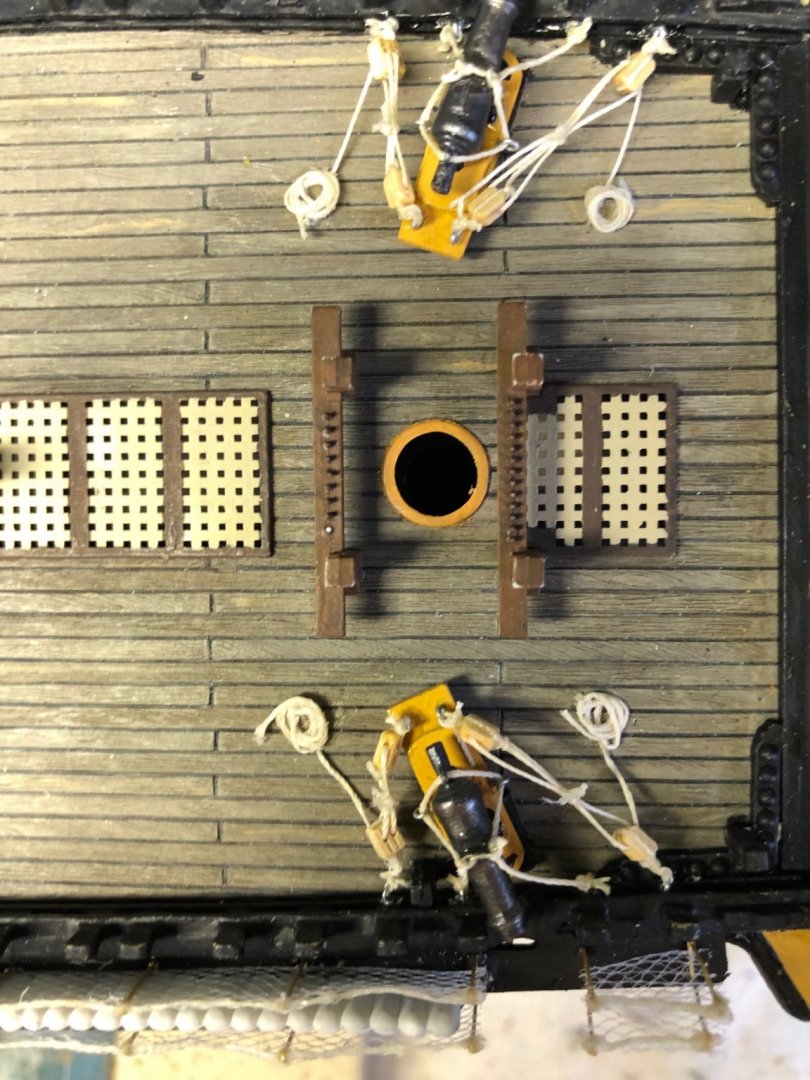
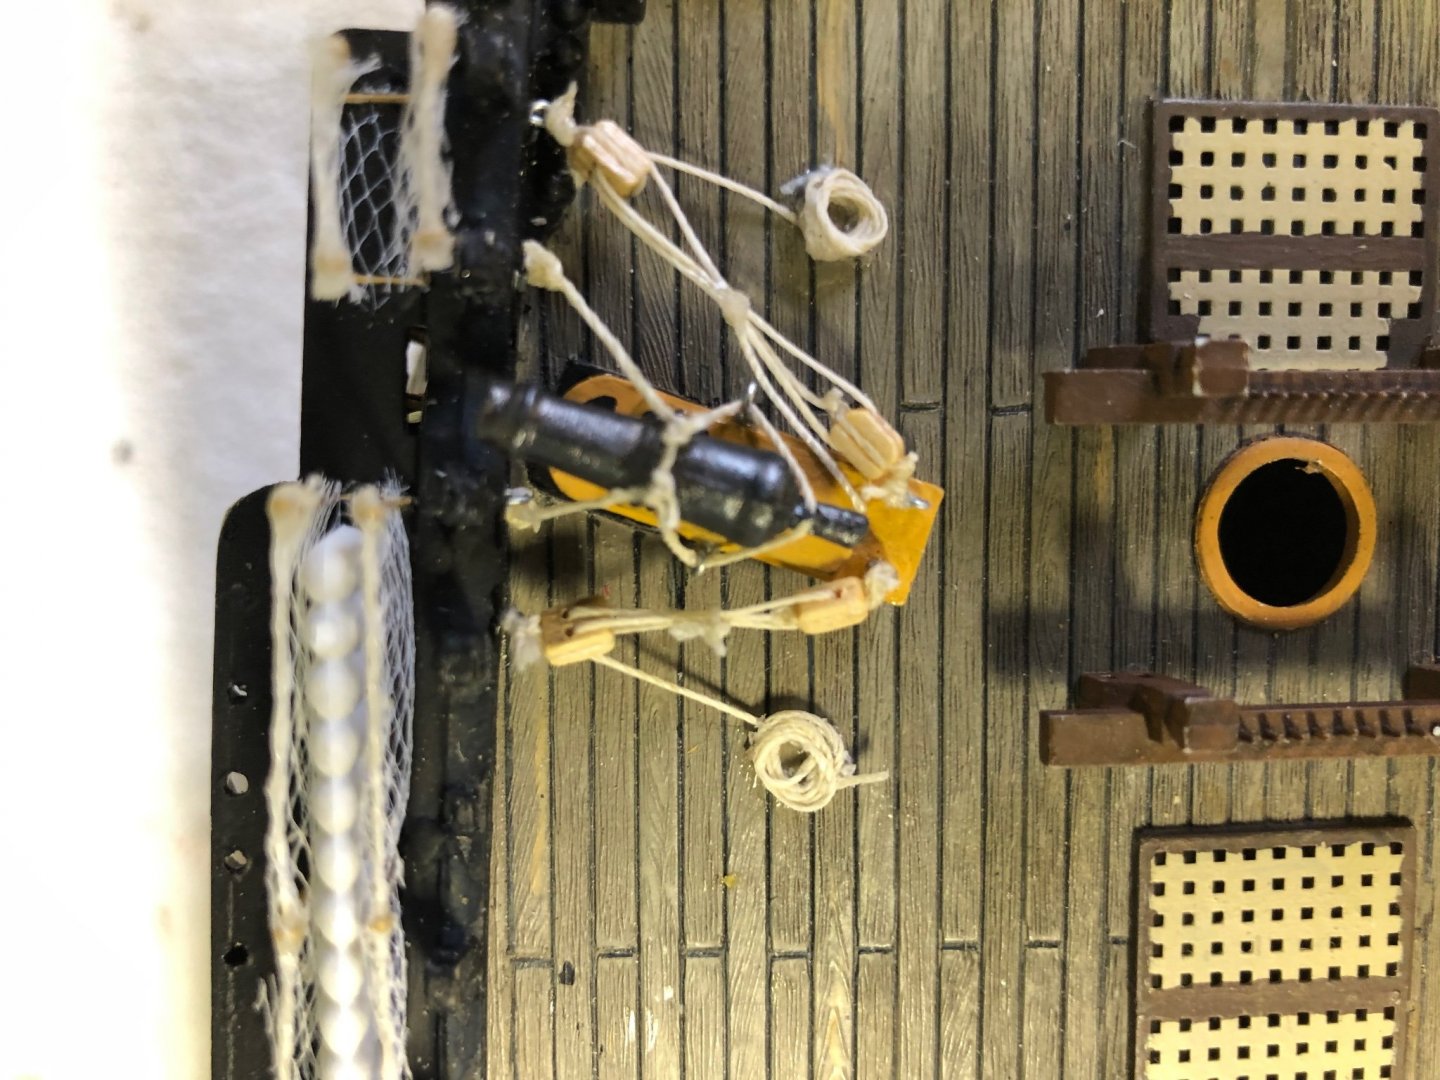
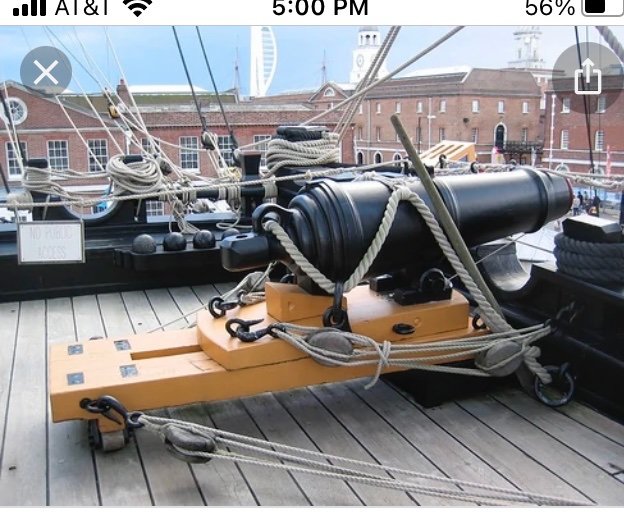
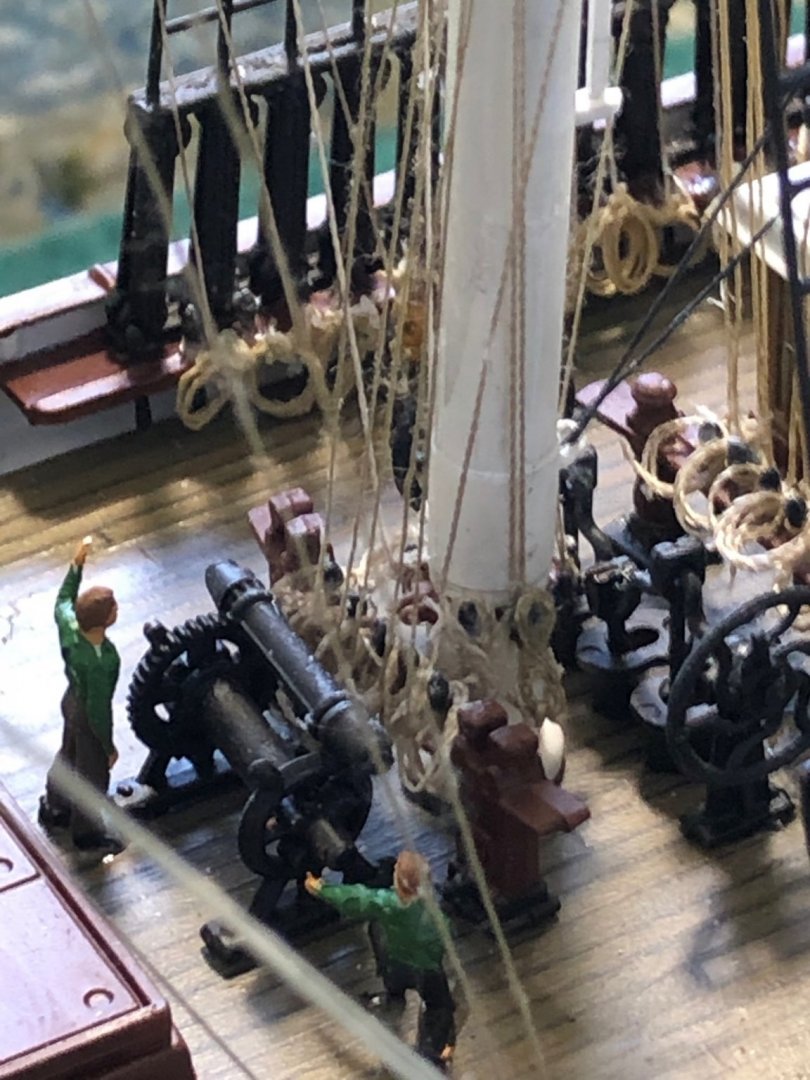
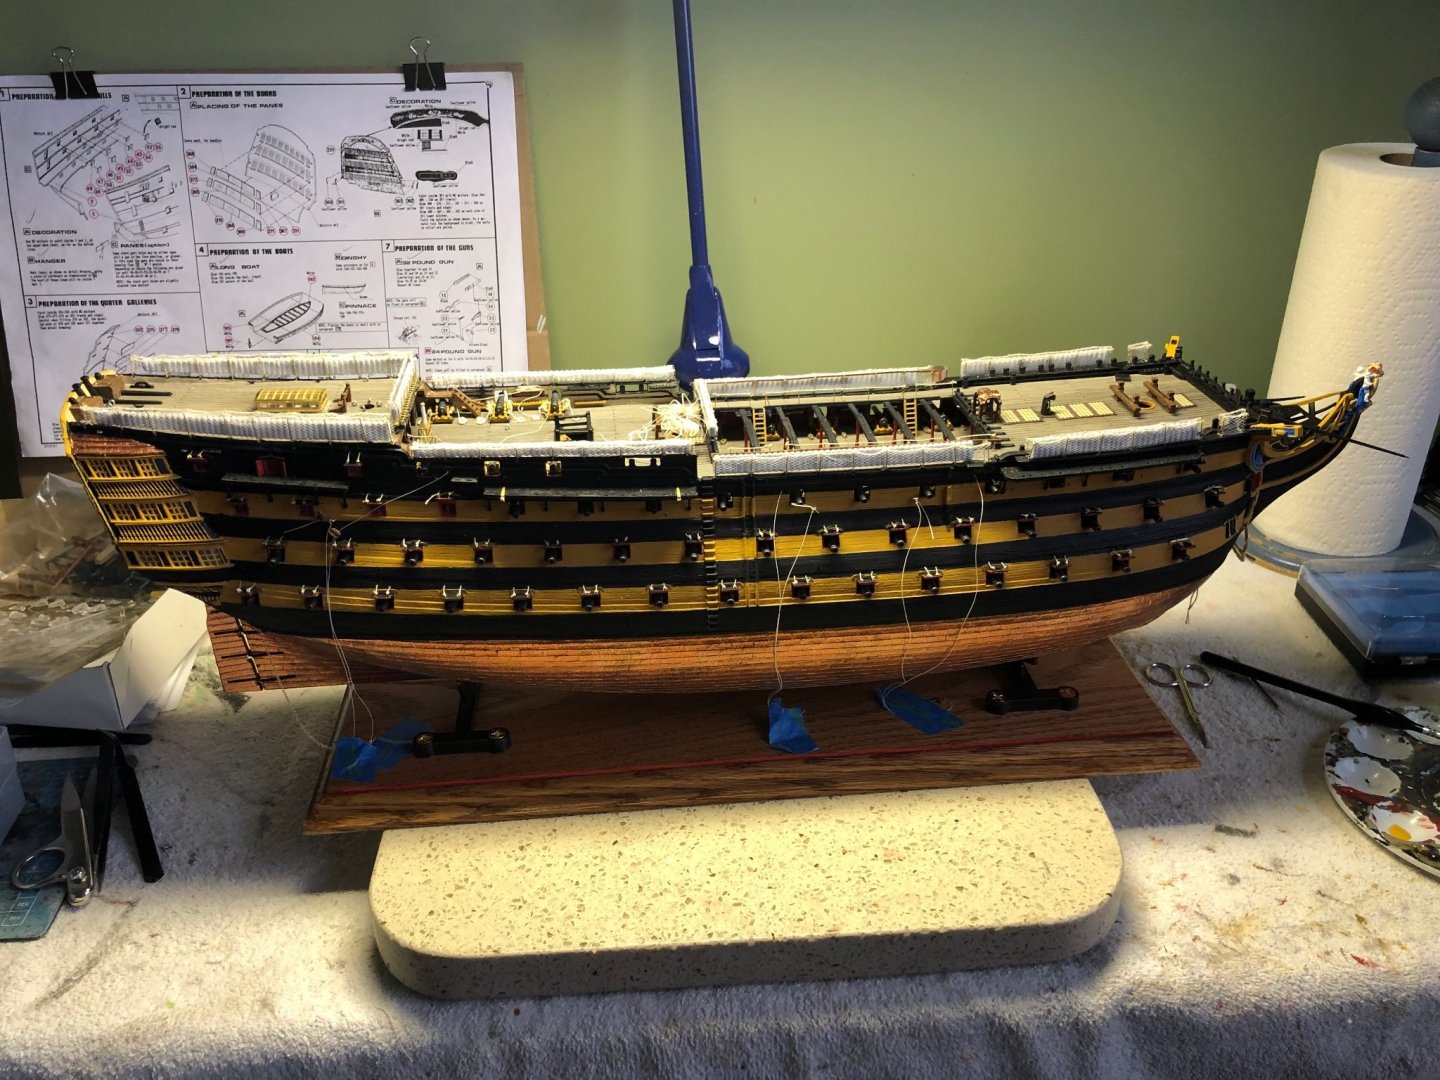
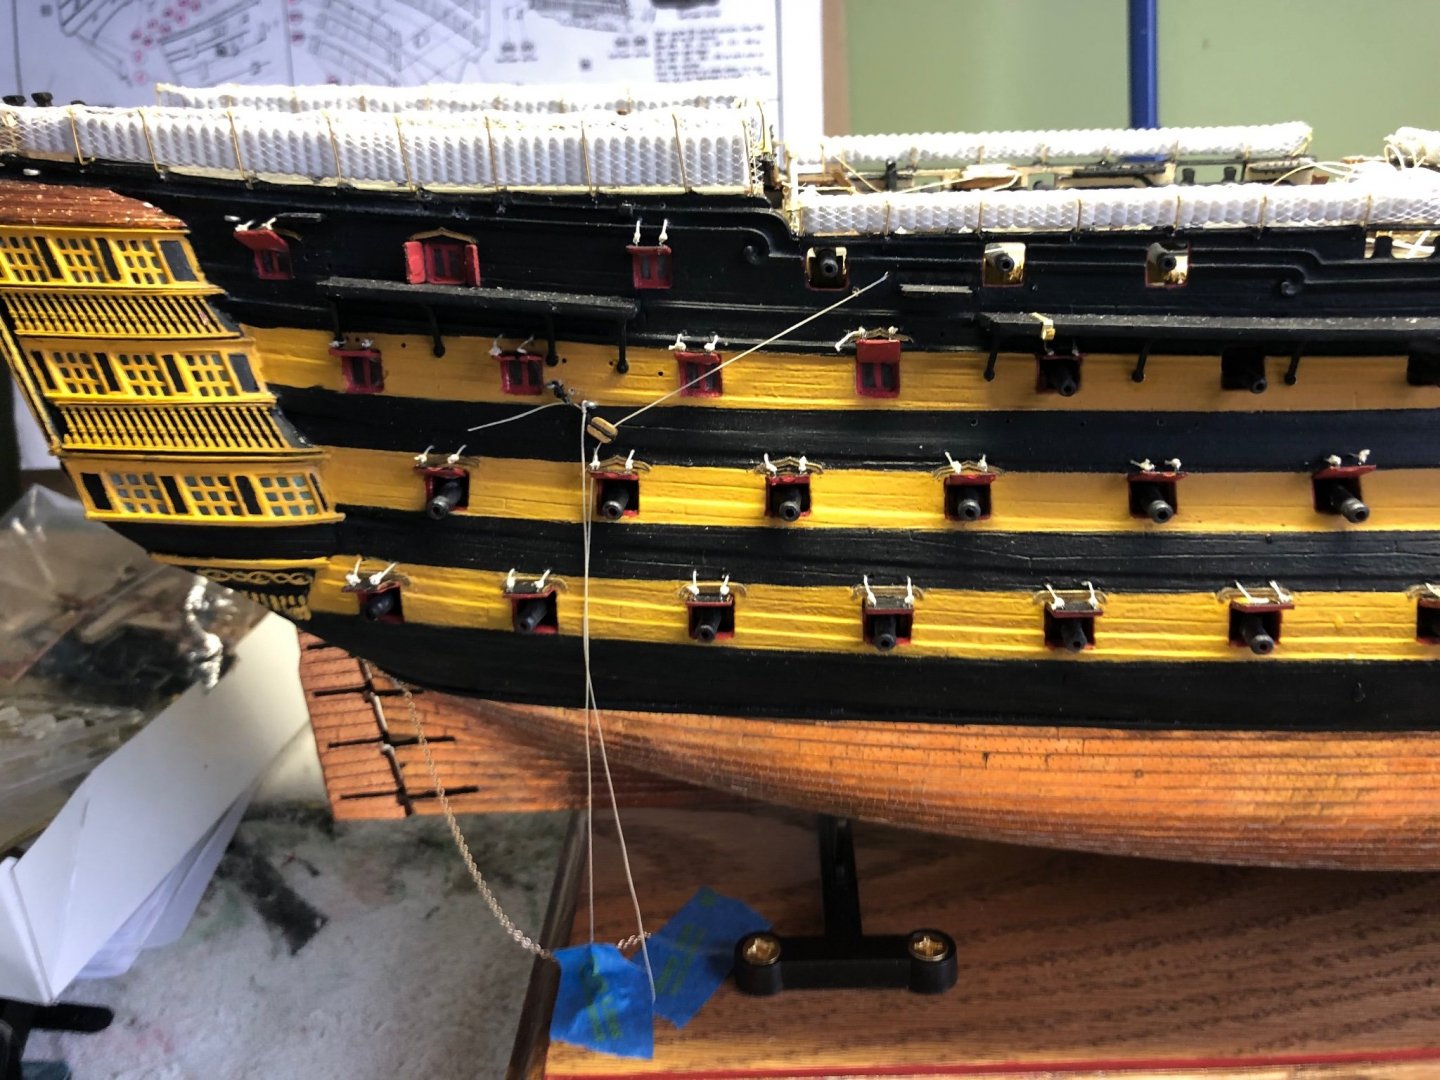
Cannonades painted, installed, and rigged today. As you are probably aware Heller did not provide rigging instructions for any of the cannons or cannonades. I used a combination of notes from Longridge’s book and pictures of the actual cannonades on the HMS Victory. Made my own eyebolts for the inside of the wall of the hull and the trucks, and some very small single and double blocks. I am satisfied with how they came out


-
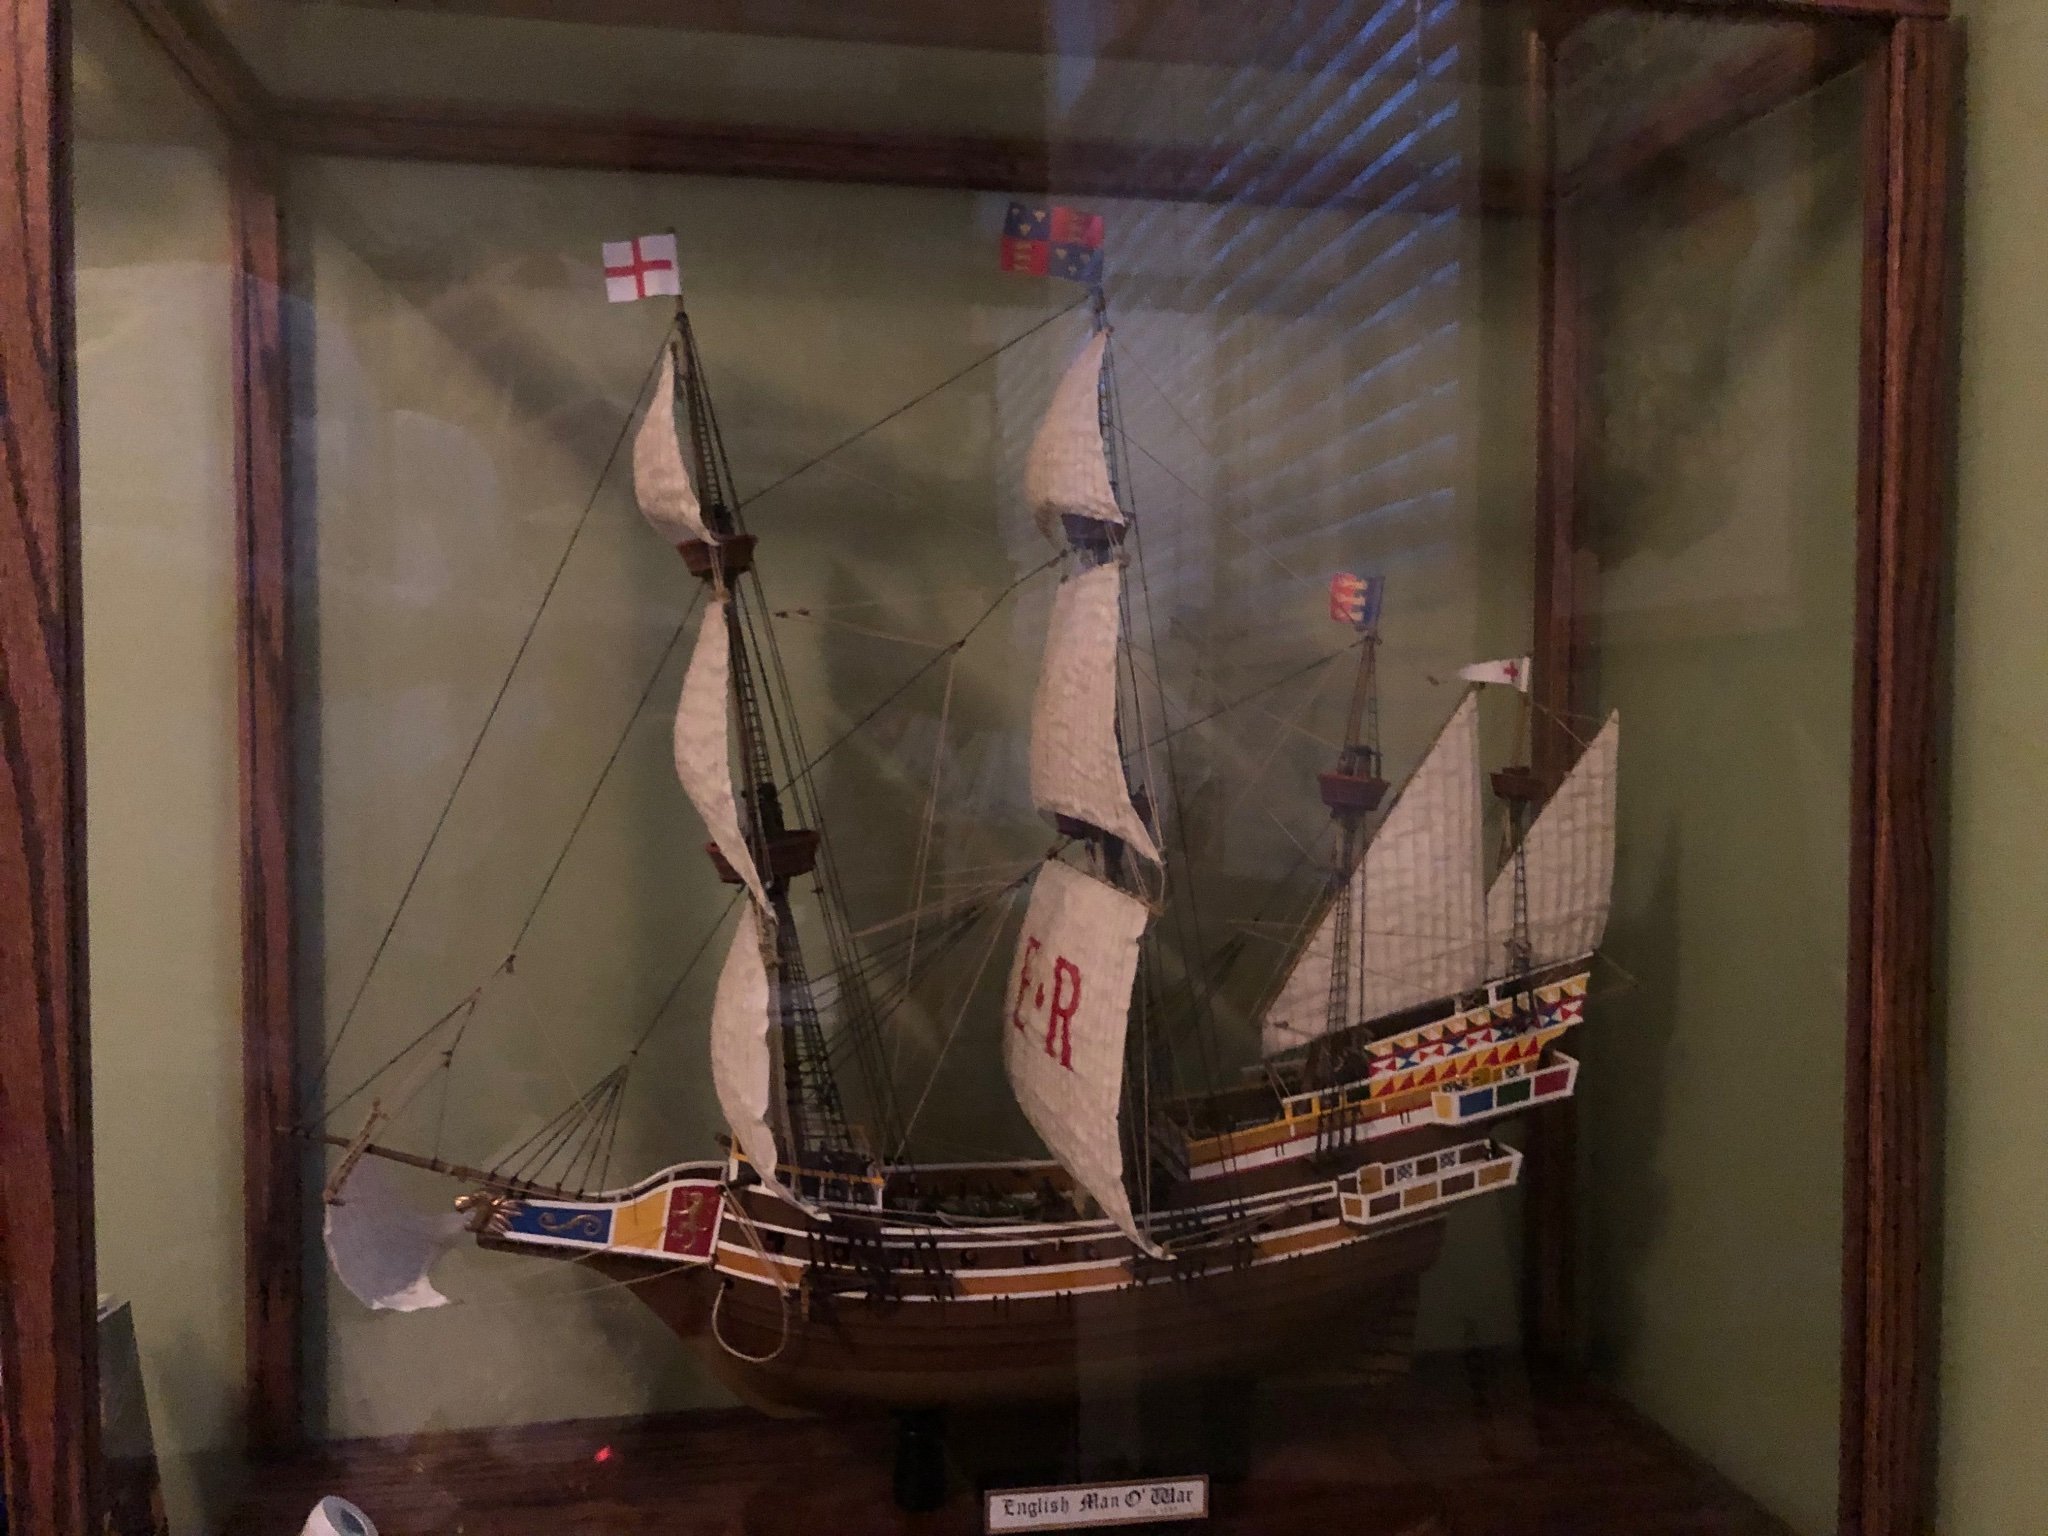
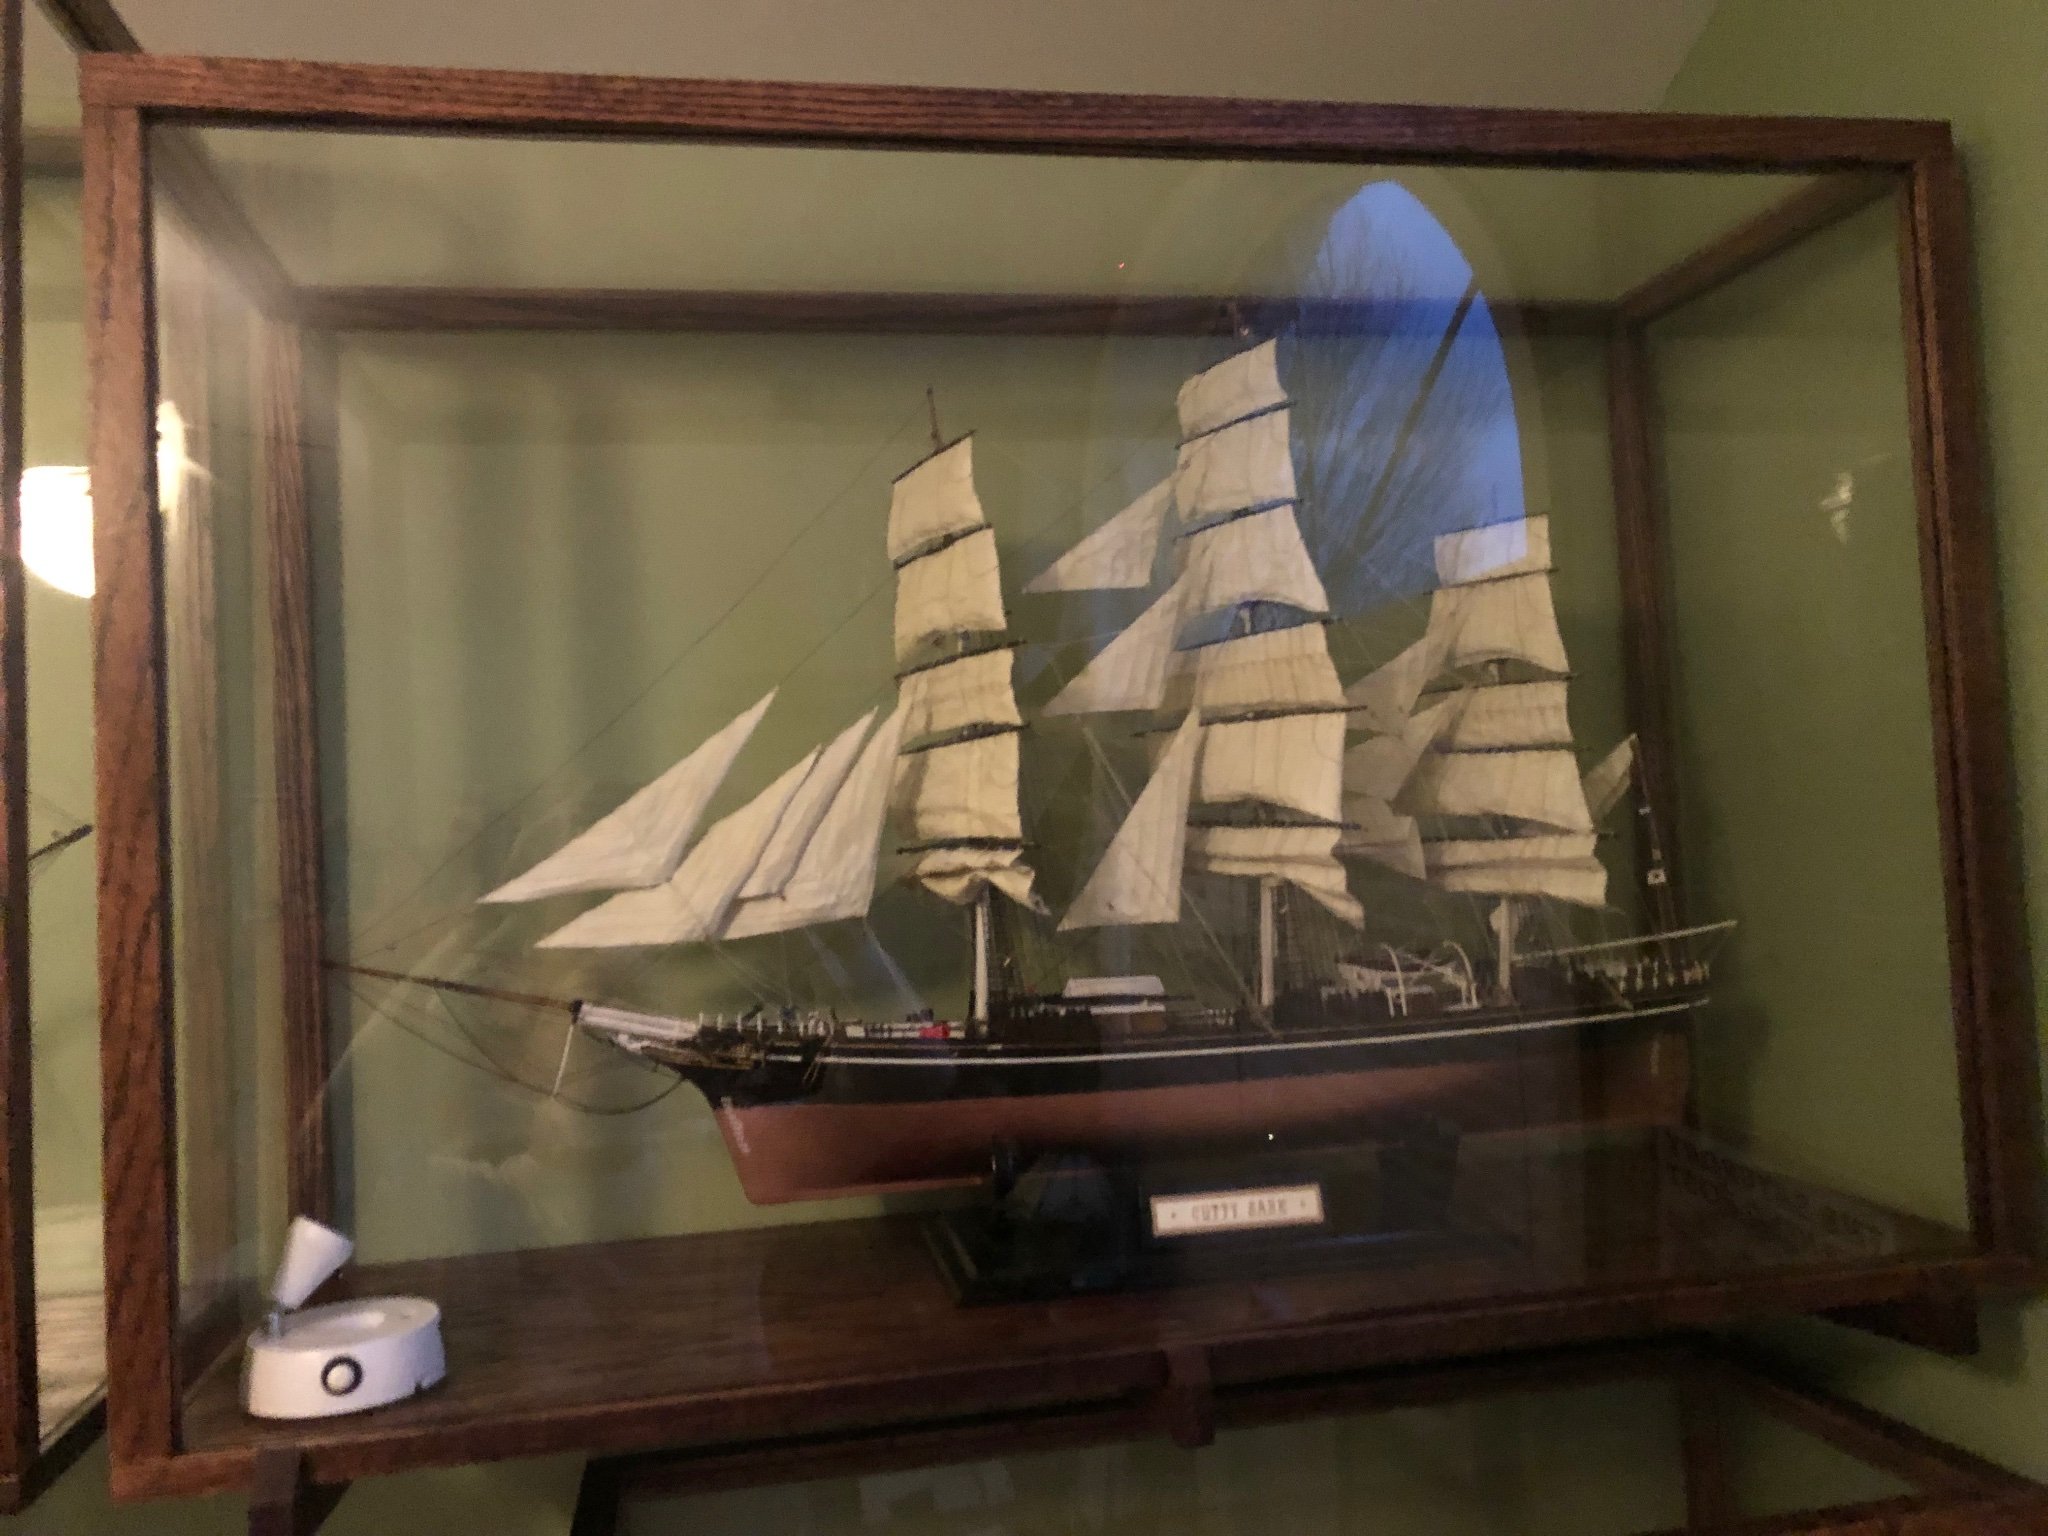
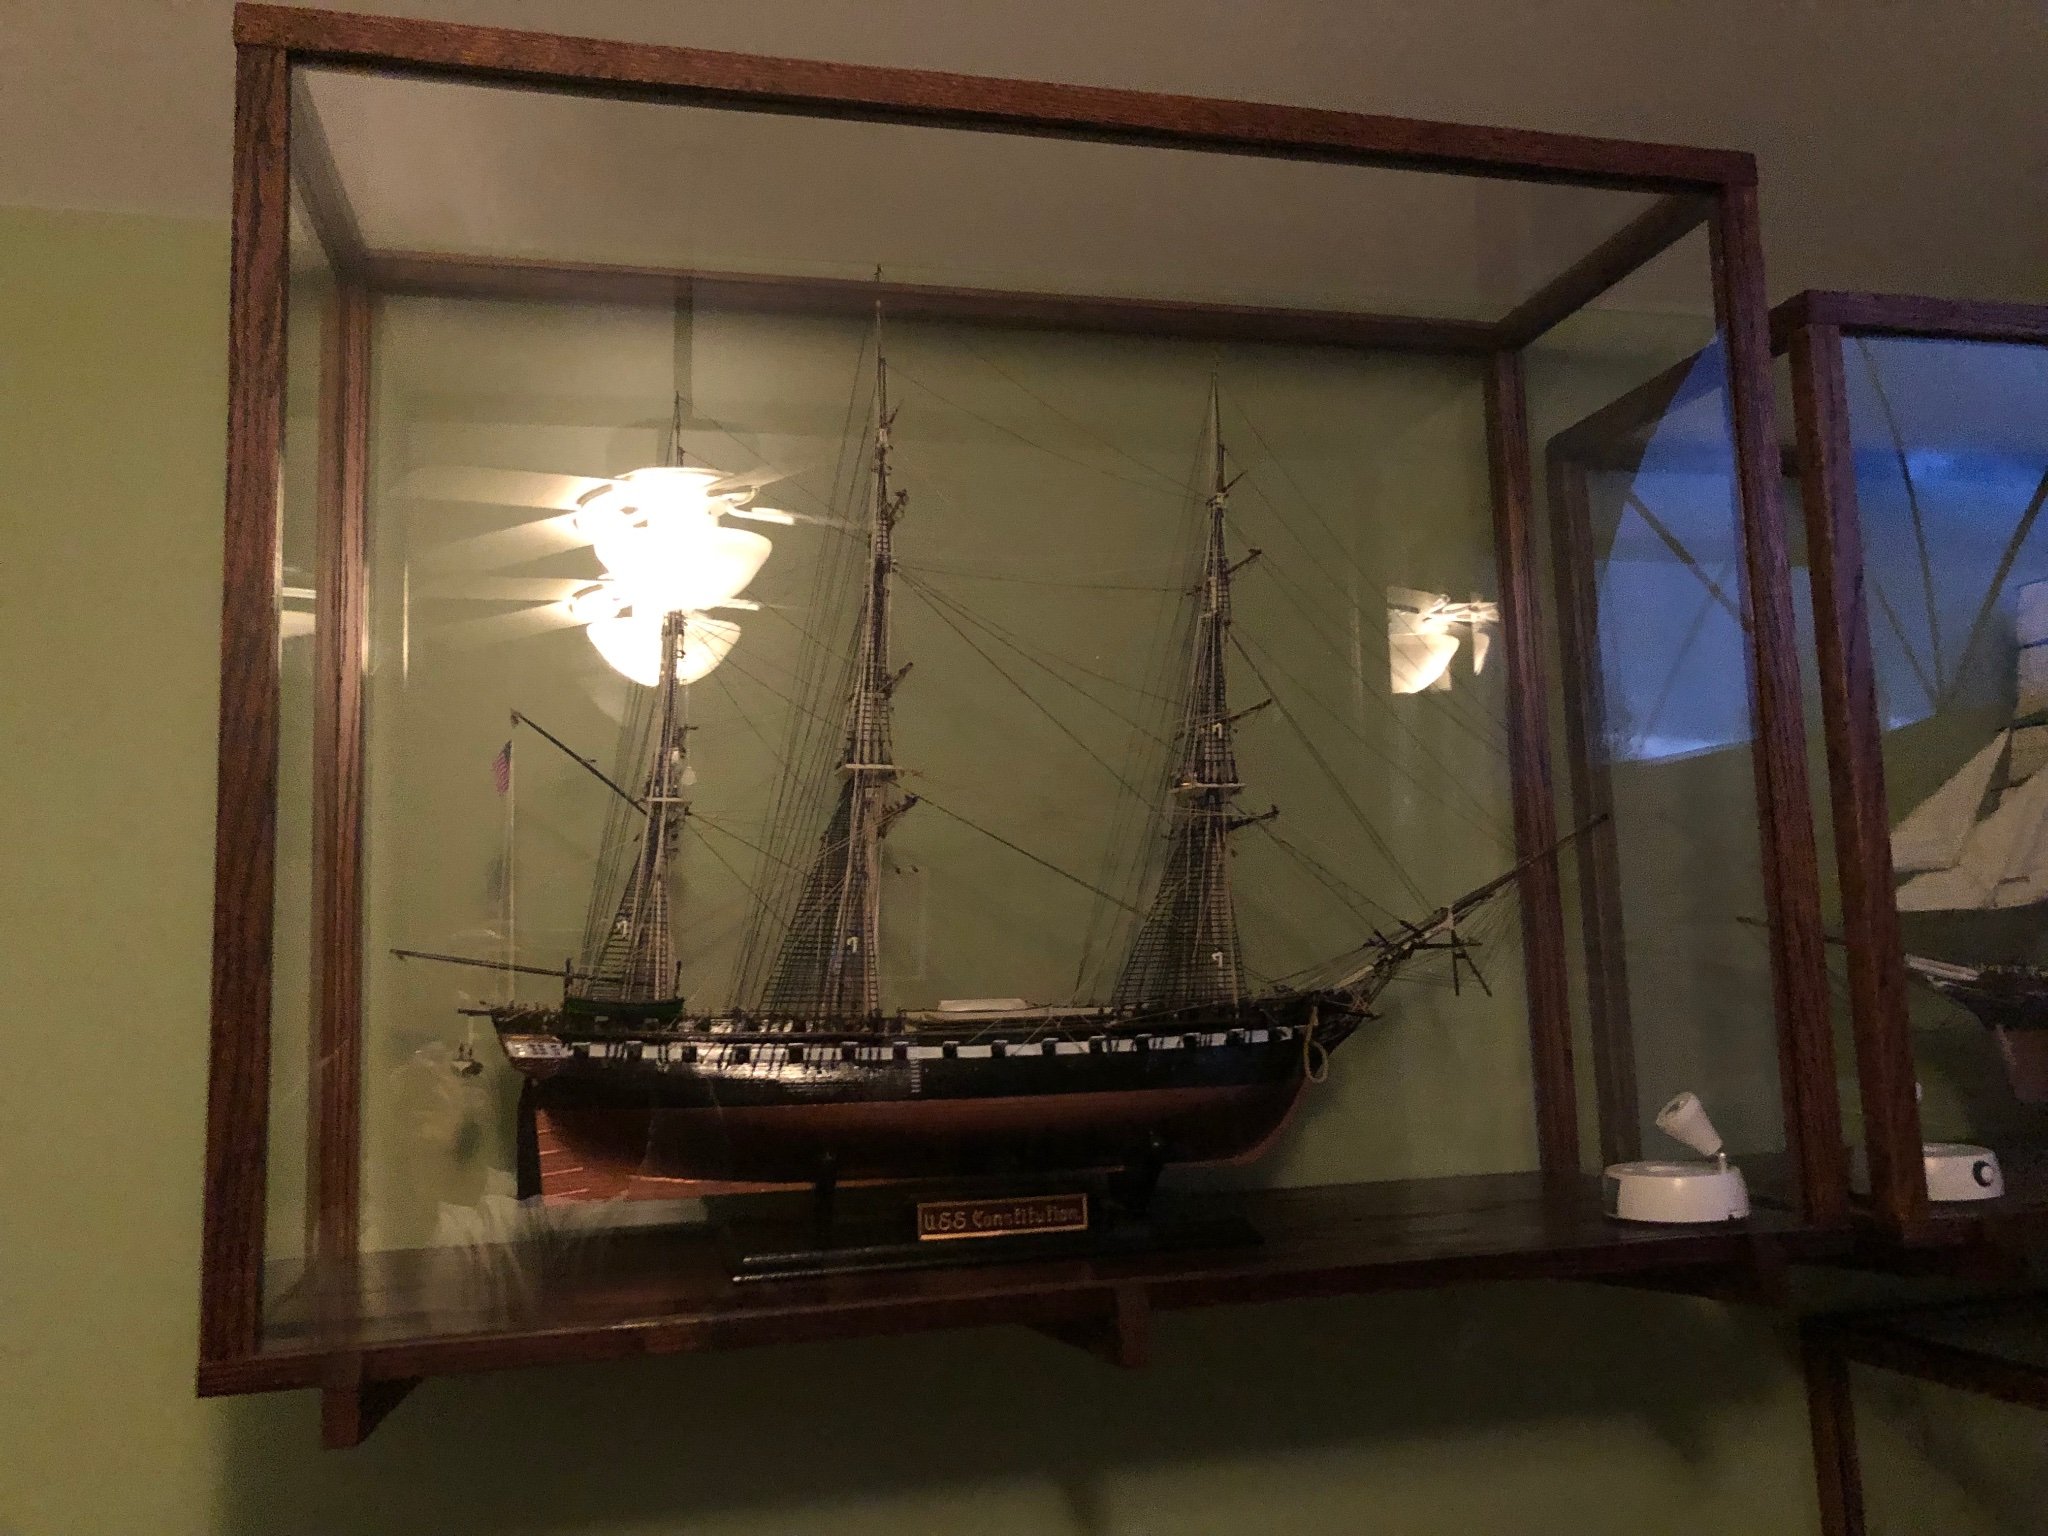
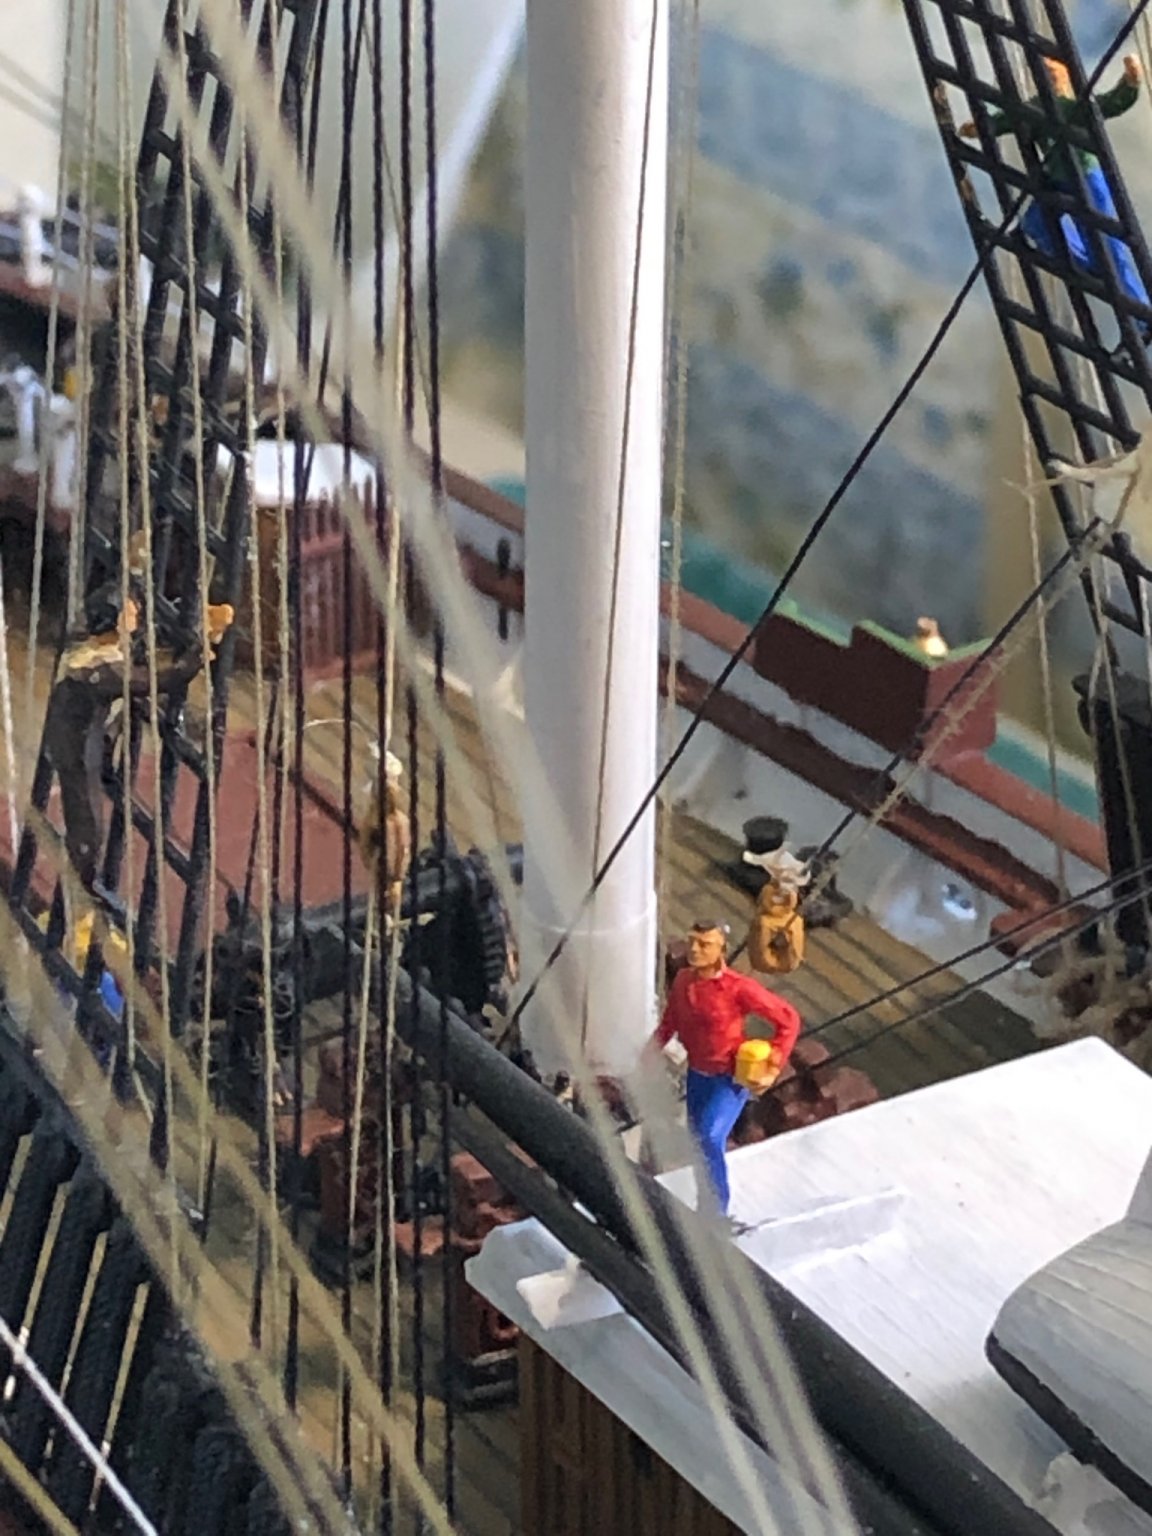
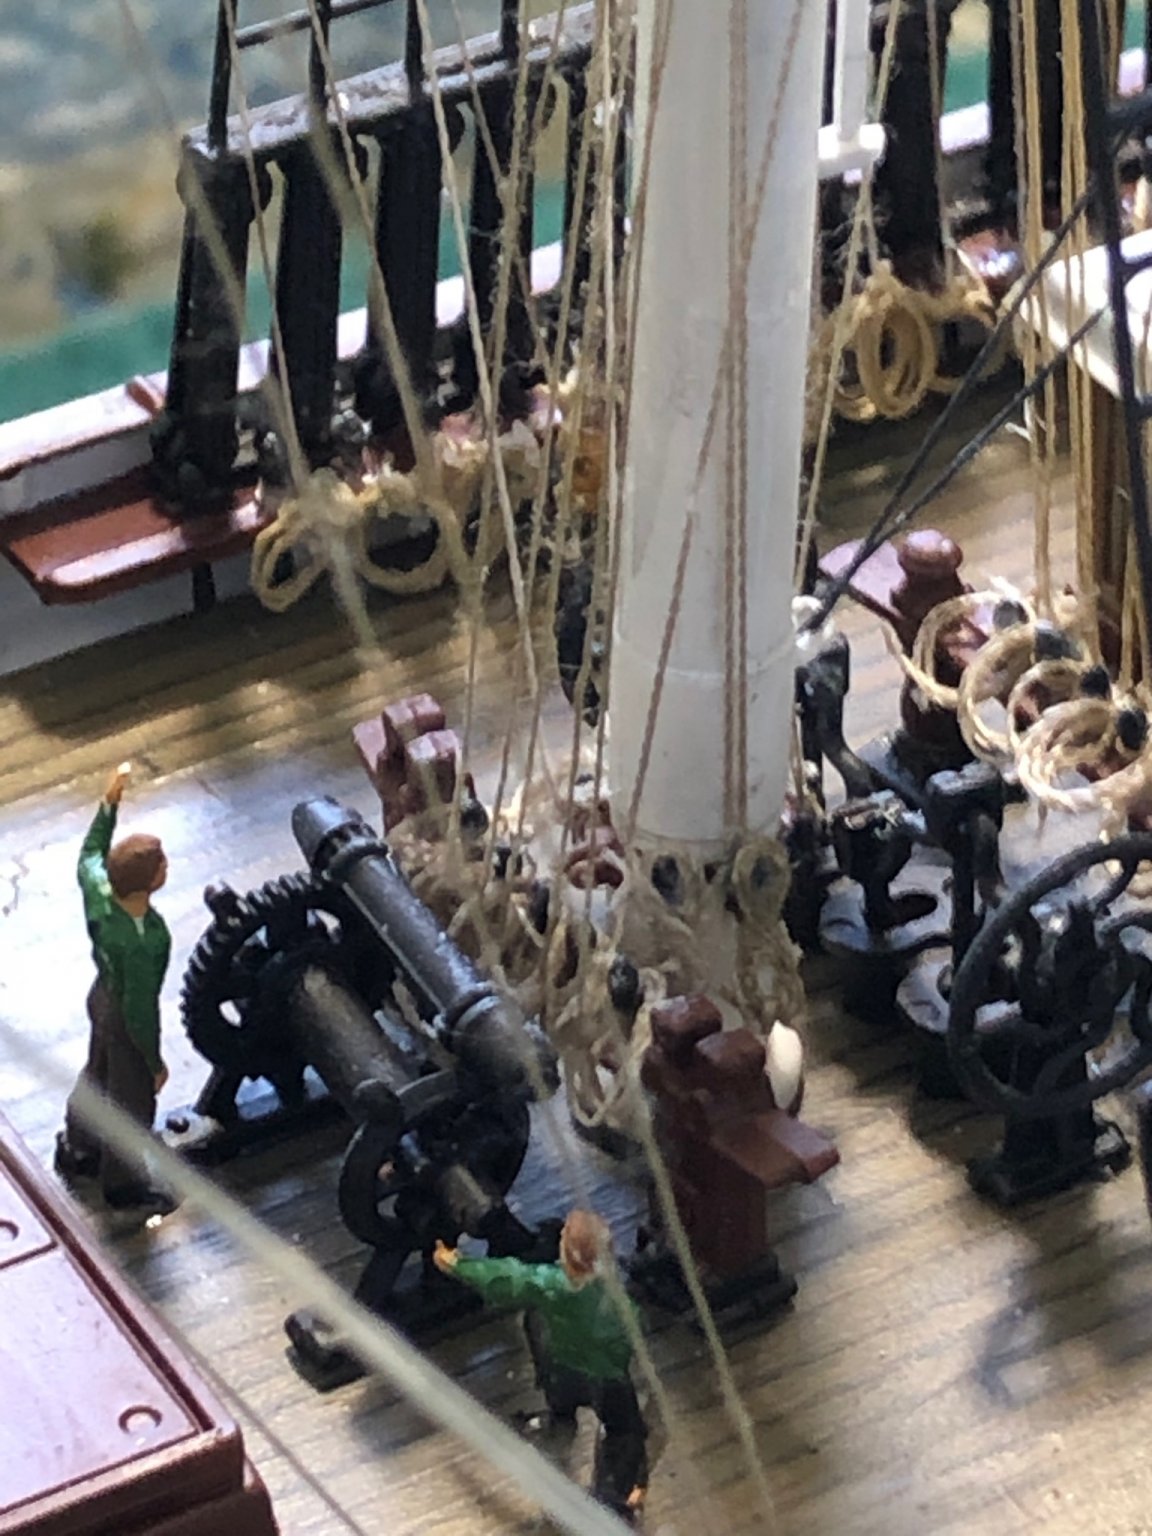
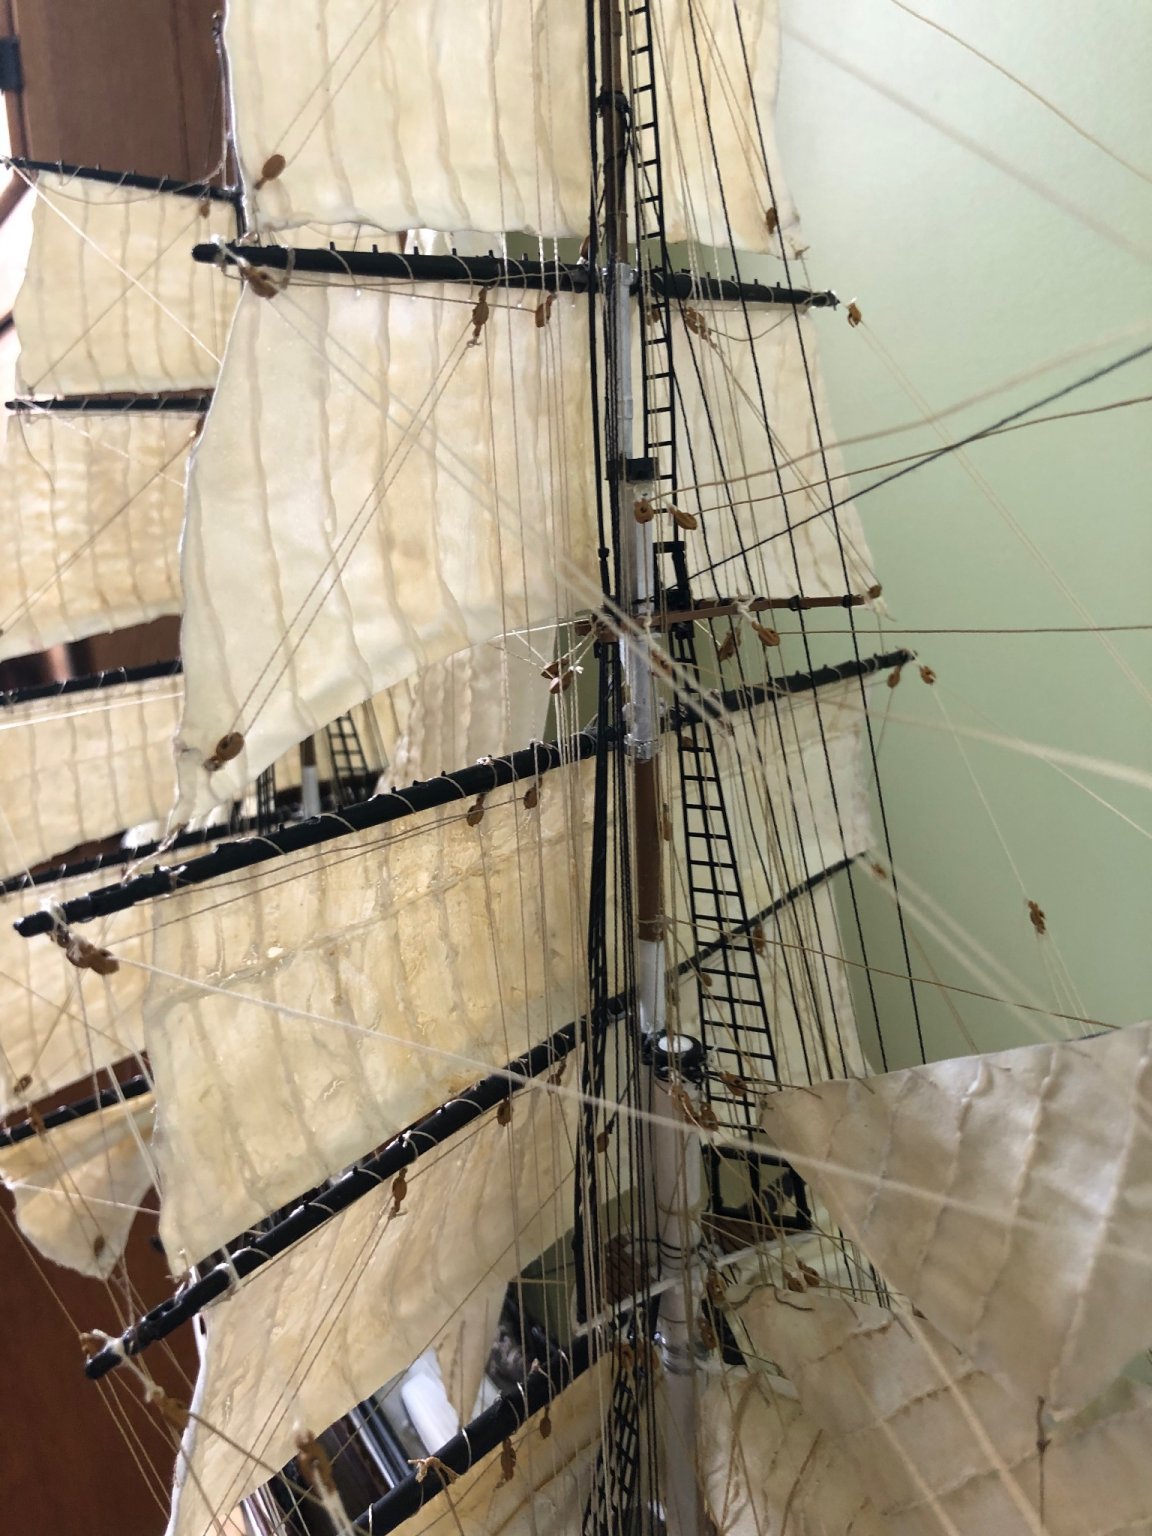
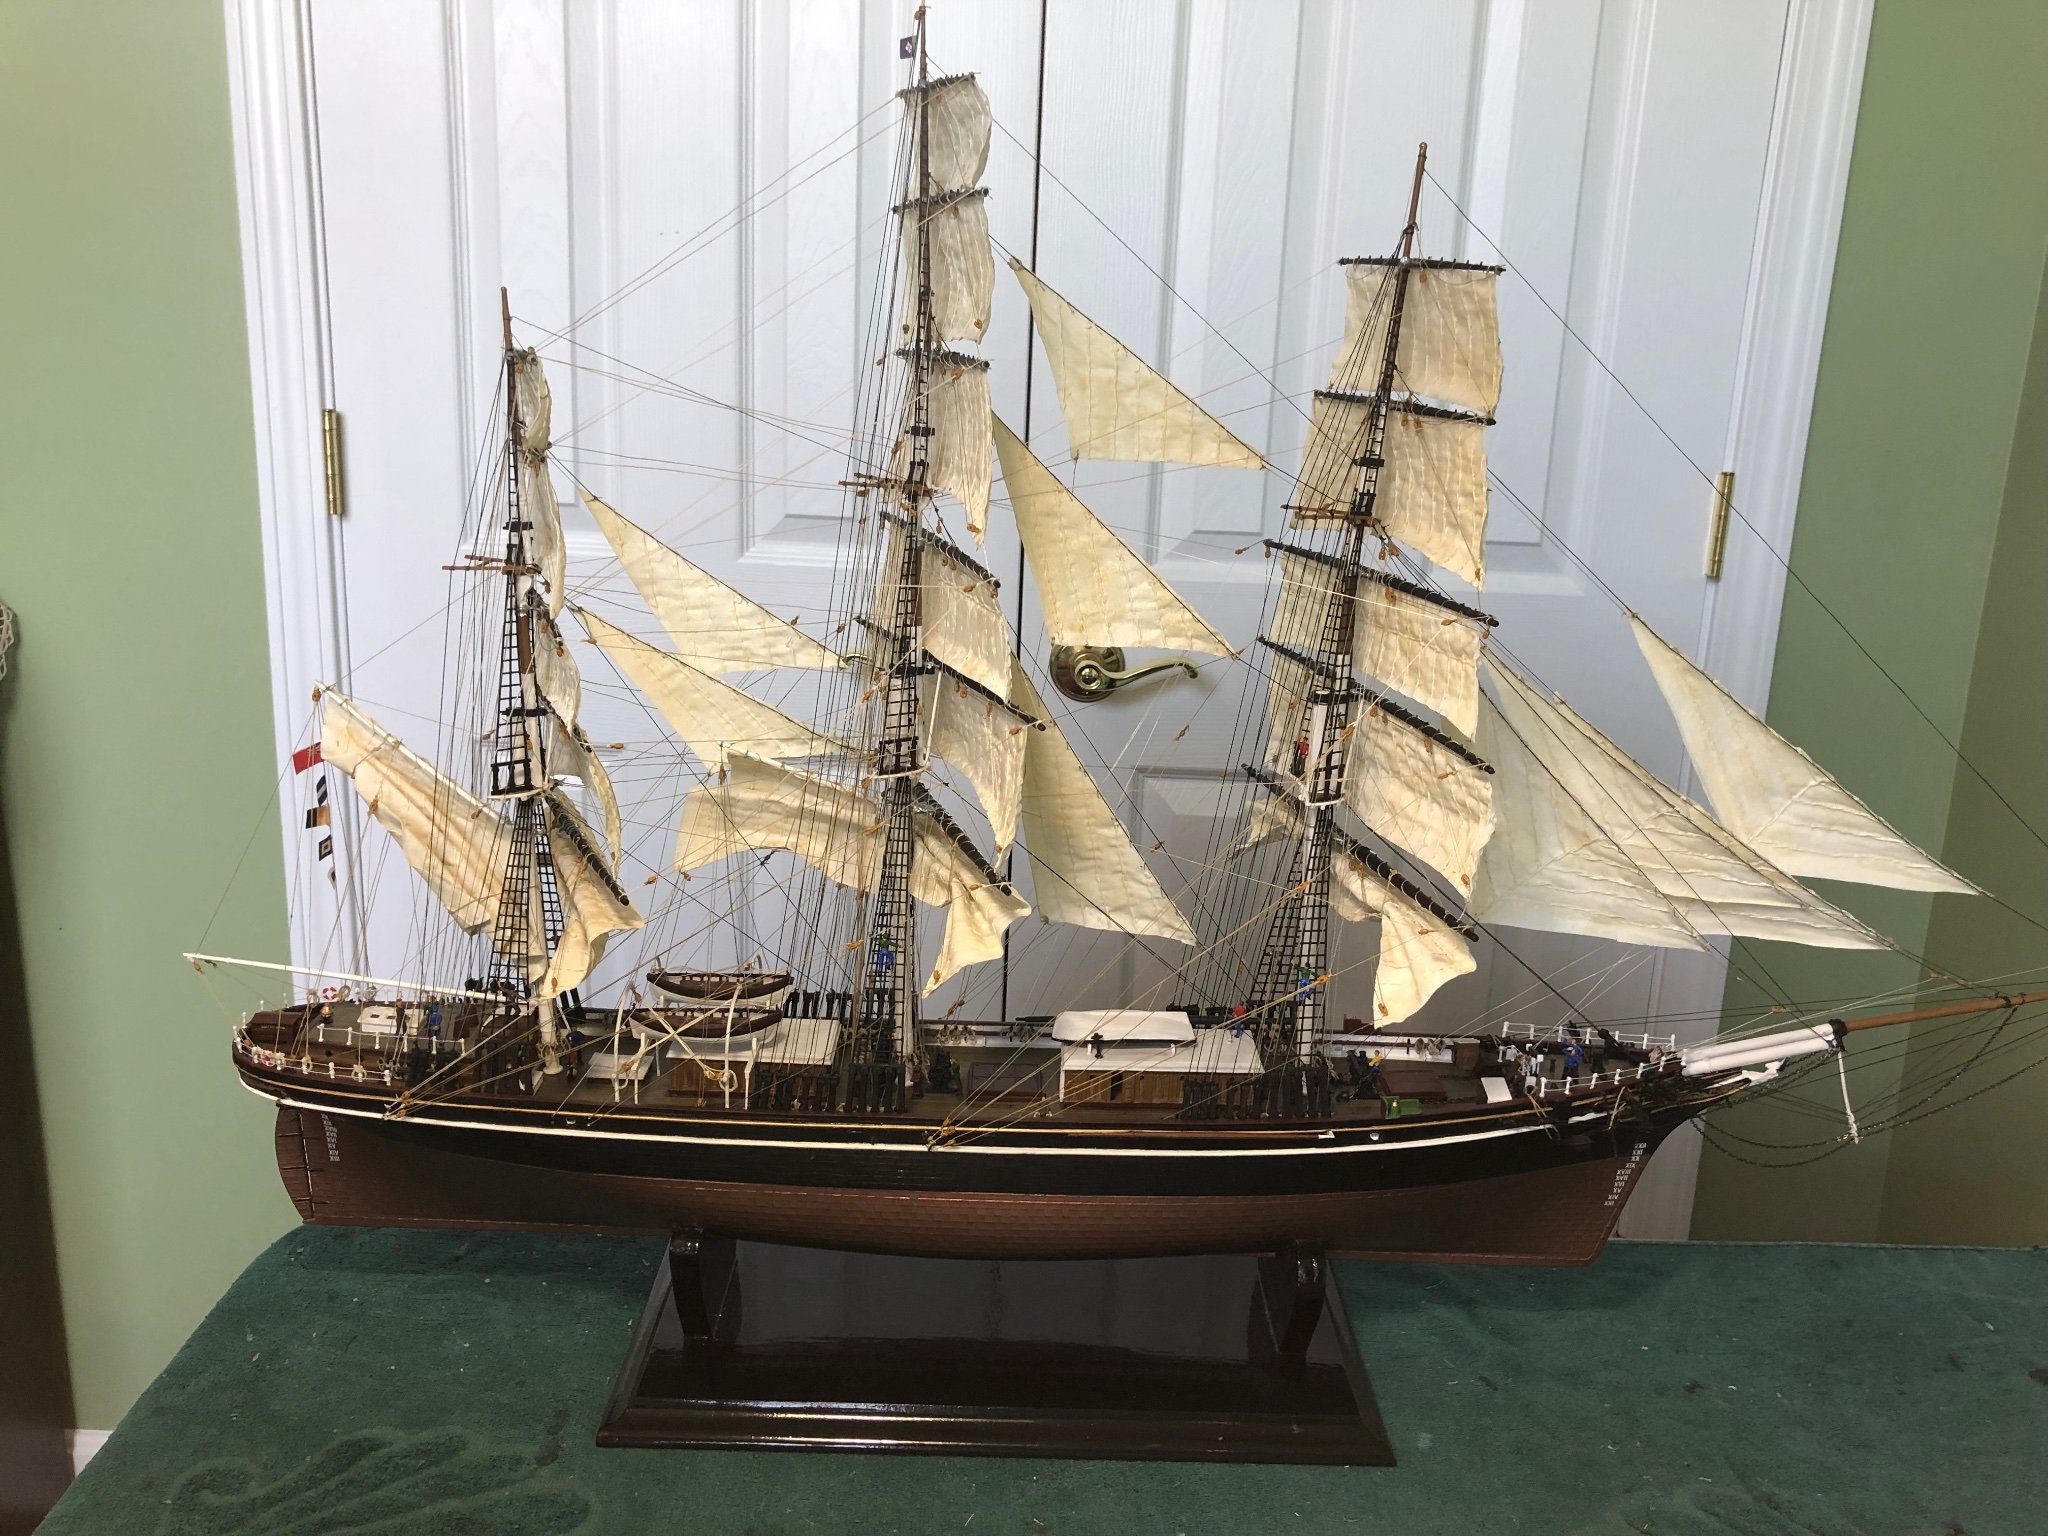
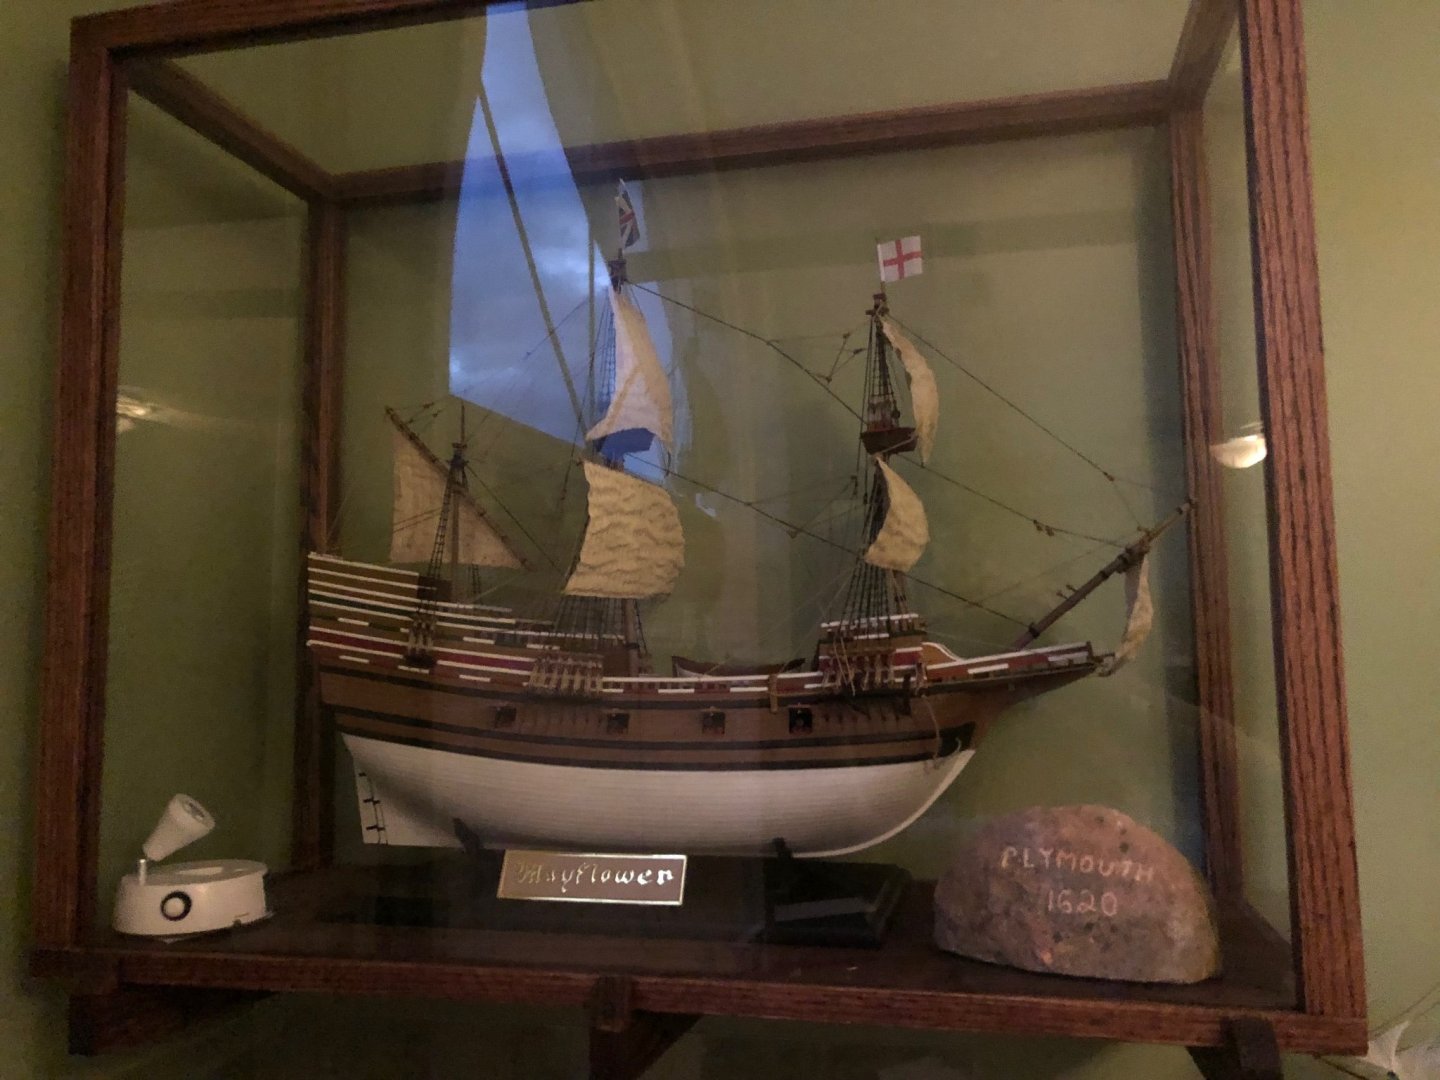
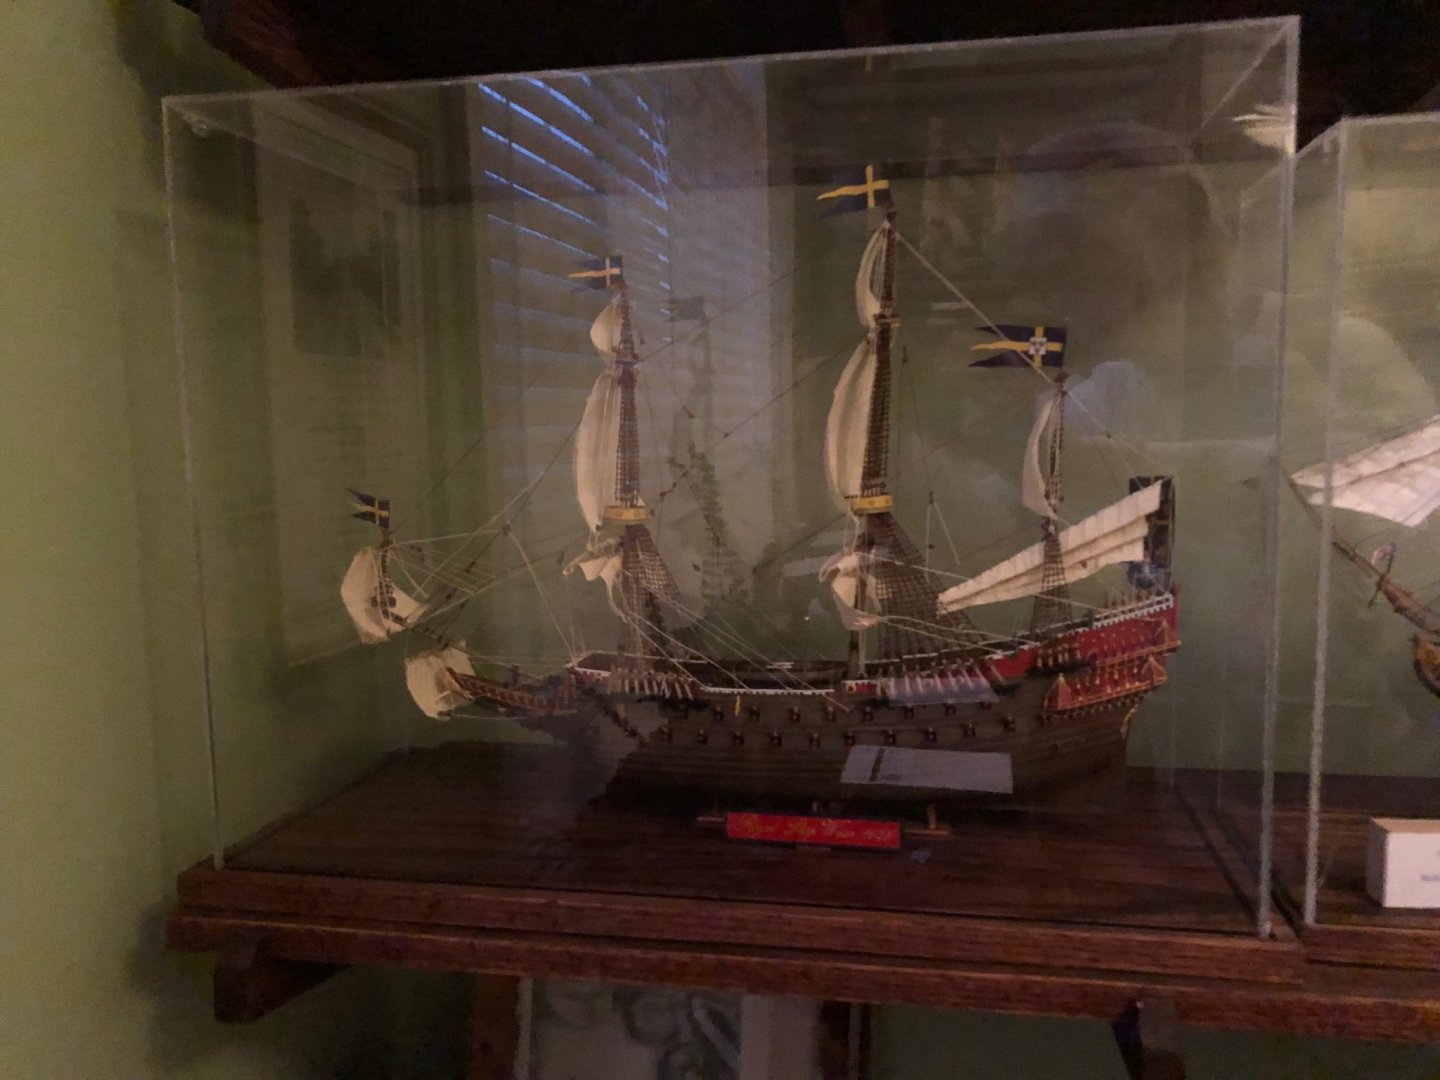
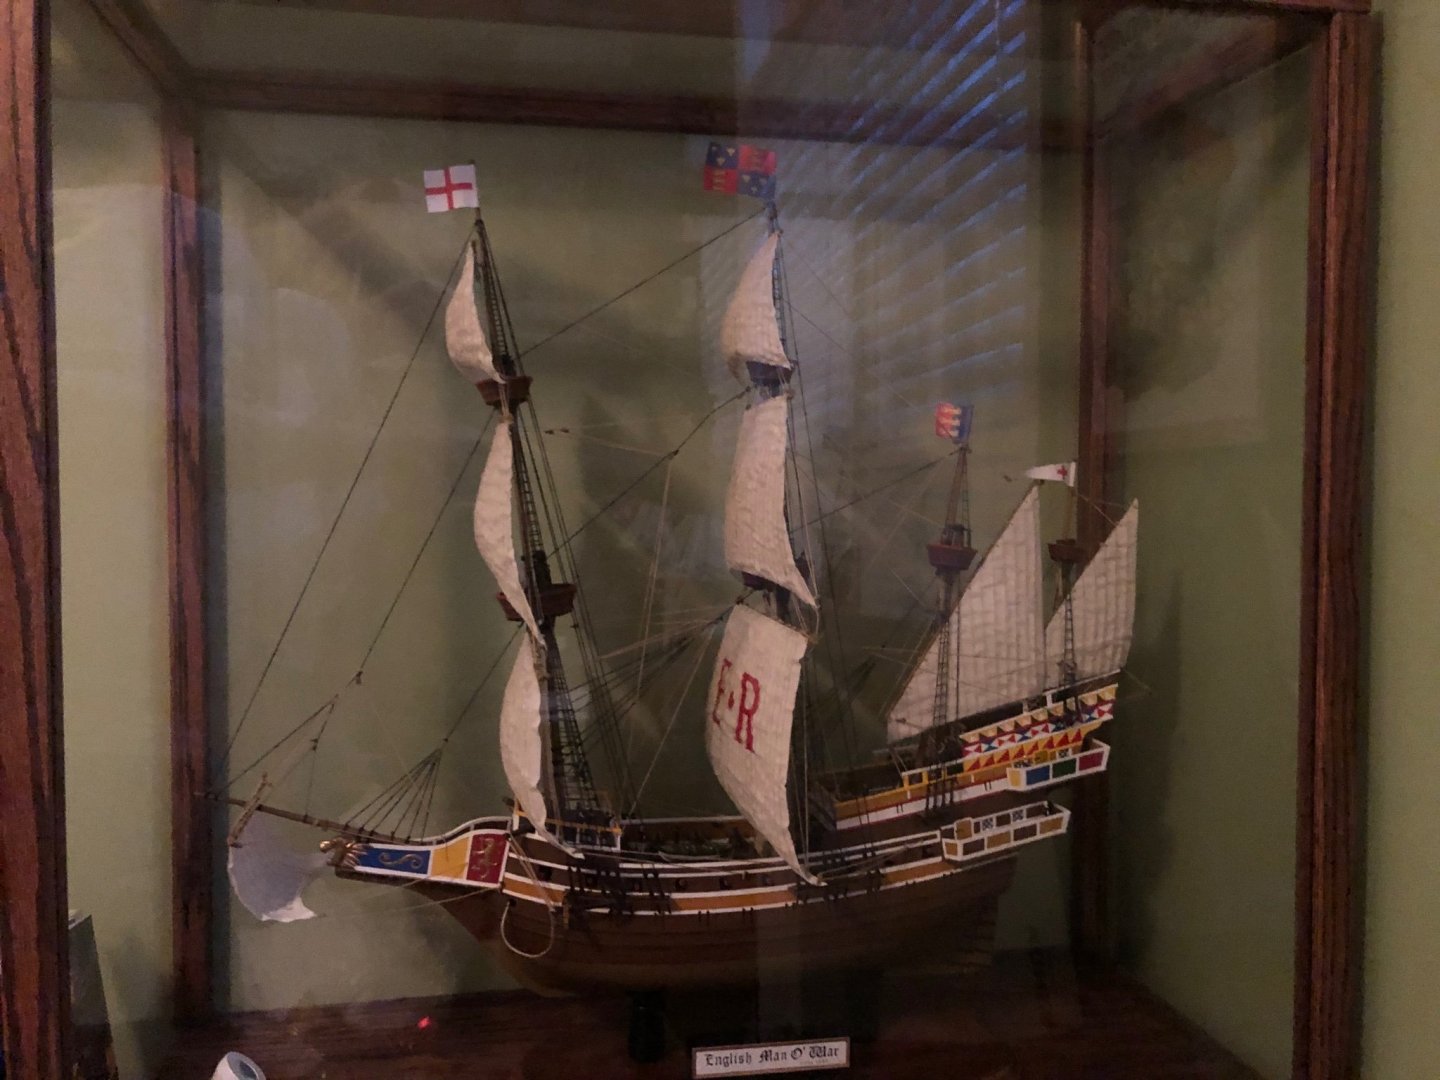
That is so true Ian. One of my disappointments with how I need to display mine is that a few of my cases are a bit above eye level. As such I am the only one who knows about the items on the decks (rigged cannons, detail painted crewmen, etc). My wife and I have a small house and she graciously tolerates my “ship room”. I am running out of wall space and may have to donate a couple to somebody or put them in dry dock like your Cutty Sark. When I started the Heller Victory I thought it would take a few years and I would be ready to hang up my modeling tools at completion. Even had the last piece of wall space designated for it. Obviously that is not going to be the case with my surprise Heller Soleli Royal under the Christmas tree. I may have to get rid of a few and just keep my most favorites which would probably be USS Constitution, Cutty Sark, HMS Victory, and the future Soleli Royal. That would mean ridding myself of the English Man O War, Trumpeter Mayflower, and Airfix’s Wasa ☹️ Would be a difficult task. Here are a few pictures around my ship room.


-
Yes Ian they are the plastic molded ones that came with the kit. That was before I learned to make my own.
-
Kevin the Revell Cutty Sark, like their Constitution, is great out of the box and a nice step back from the mental gymnastics of the Victory. I only wish I could go back now a make the shrouds and rat lines with actual dead eyes. At the time of that build I did not know how.
-
Incredible job Kevin! Fascinating just watching you progress through your process. In your comment above you mentioned maybe taking a break from the Victory and tinkering with your stash Cutty Sark. It is a beautiful ship when complete and I did it out of the box except for making cloth sails. I can only imagine what you can do with it through bashing.


-
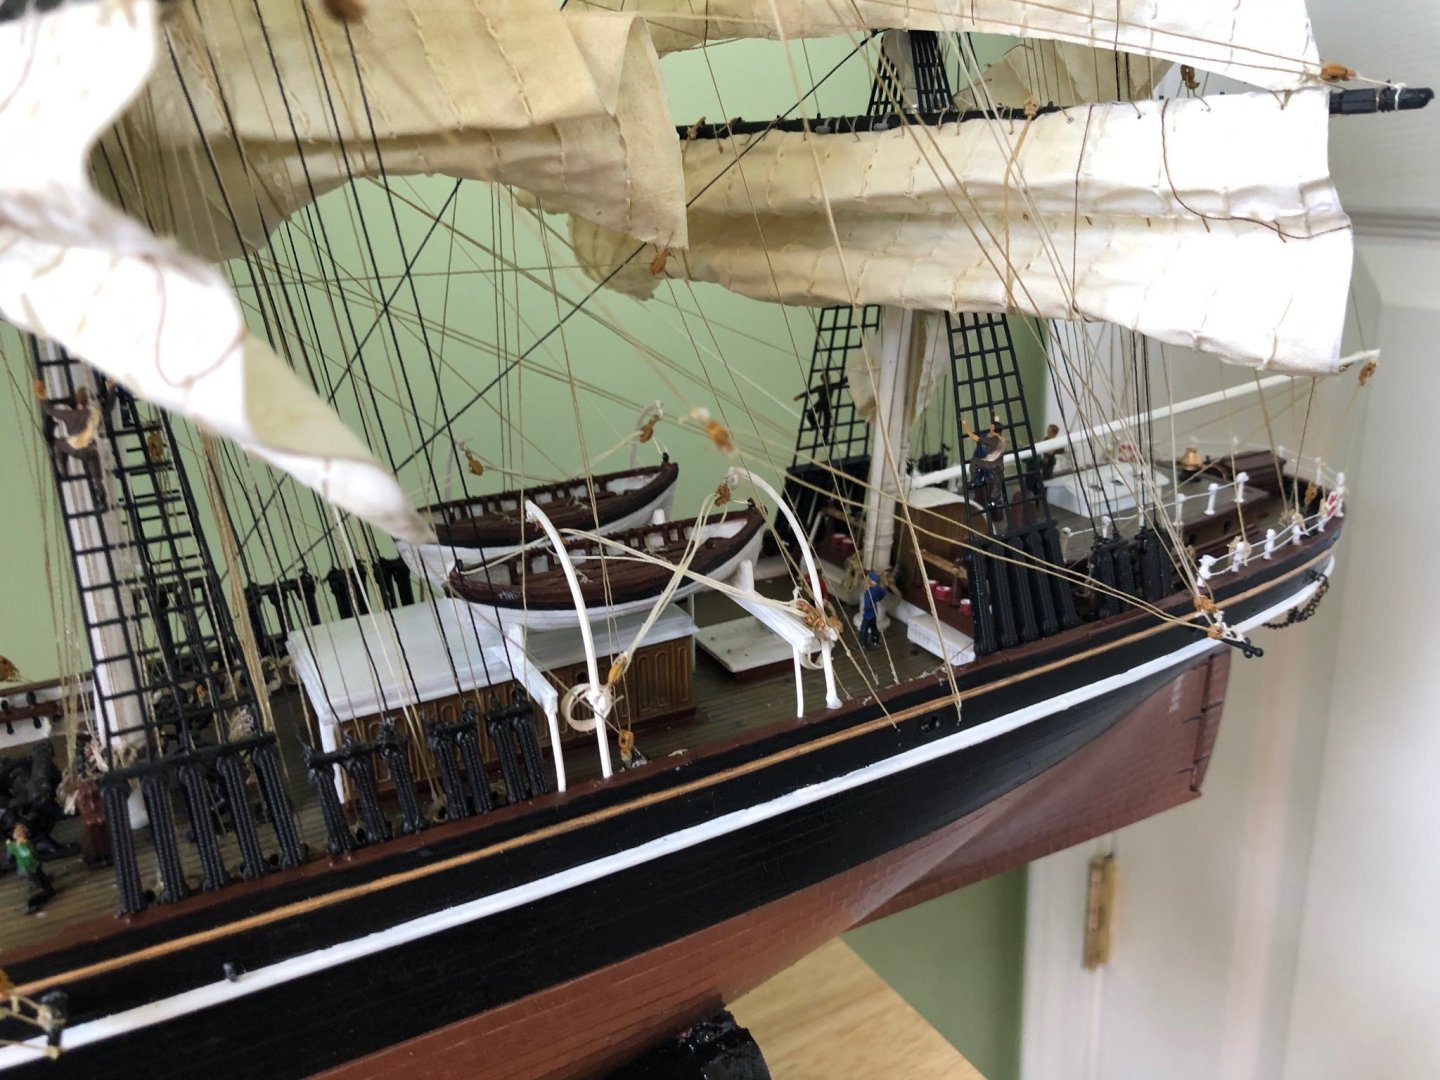
Today I spent the time I allow myself each day to work on my ship installing and rigging the cannon hatch covers. I decided not to extend the eye bolts I made through the hatch covers so as to have the eyebolt on the inside as well. Just went with the outside. Rigged all the lines that were previously installed to the eyebolts. I cut open two (on each deck) of the hatch covers Heller left closed. I replaced the one on the Lower deck with a new one I made with Evergreen and used my eye bolts. I rigged it closed since there is not a cannon to go in there. The hatch on the Middle deck I fixed with two shutters again made with Evergreen. I have them open at about 45 degrees but I think I may press them back against the hull in a fully open position.


-
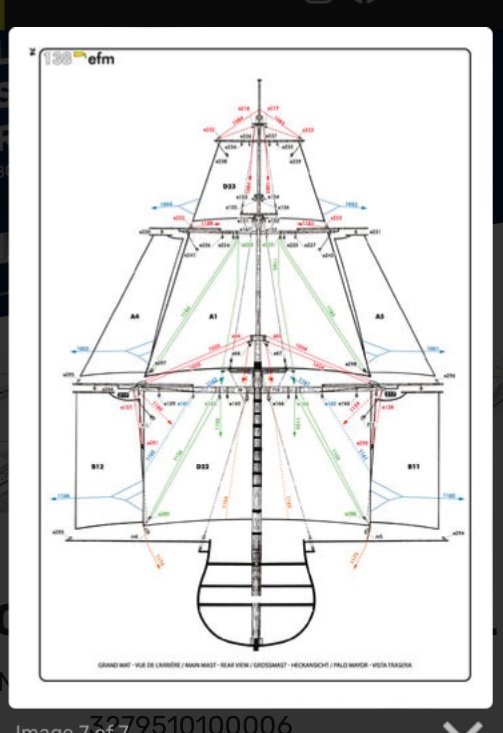
Kevin these are a few pictures from the Heller web site for the SR instructions. As you can see the example of rigging is more detailed than the old Heller. Living in the UK you might be able to get it easier than I can.


-
That is a funny story about your mum. I will need to check my tongue for black spots! 🤪 Yes the SR instructions looked very good. Especially the rigging section. Multi colored lines representing ropes. Sequential according to Heller. Don’t know if historically accurate or not. Instructions are very Revell like. Almost 90 pages. Part of reason I wanted to get the Victory addition. Once I officially open my SR I will attach a couple pics. As as far as out of the box builds, my current Victory build is my first to bash to the extent you guys have encouraged me. Up until this build all my previous have been out of the box except for paint and making my own sails. My very first model the Revell USS Constitution was strictly out of the box with no sails added. As I pan around my “ship room” looking at the 6 cases I can easily see how my skills have grown. It was not until the 4th model, Trumpeter Mayflower, that I learned to use dead eyes and make my own shrouds and ratlines instead of those black plastic one piece sections that come in the box. Thanks for the invite “rabid fox” Veszett! Will definitely drop a line if ever heading that way. Have watched numerous international travel shows. Have found it interesting about Budapest how it is divided Buda part and the Pest part, if I understand correctly. Each side different from the other? Is that correct?
-
🤫Ian. Don’t tell her. She was out of the house at the time and I taped it back up as if never opened. Wanted to check the instructions. If I was going to order the new one for the Victory I thought I might as well get the new S.R. instructions as well. Thankfully it is already included. Now all I have to do is fake extreme excitement Christmas. 😊 Thanks for the advice I will need for the future.
-
This site has it for 29 but does not ship to the US. https://www.besserepreise.com/index.php?page=cart&language=en
-
Daniel that is exactly what I was wanting to order. I saw it was available and thought it would be a nice addition to my instructions. I saw in my wife’s secret hiding place that she has in fact got me the Heller 1/100 Soleli Royal! I opened it to check the instruction book. Heller’s site says they have published the new instructions for it as well. There is in fact a very nice ringed booklet of instructions just like the one they now have for the Victory (the one you reference). I would gladly pay to buy it if I could find a source.
-
I have for sure slowed down with all the other Christmas prep things going on. I have started installing and rigging the cannon hatch doors.


-
You are probably right Ian. I did not get a bounce back email so I guess I will wait to see if I hear from them.
-
Thanks Kevin. Seems odd they have an online catalog of many great items and models but no easy way, or way at all I can figure, to order them. Head scratcher. 🤔
-
Hello Veszett. Thanks for the photo. How goes he modeling world in Budapest? I have been many places in Europe but not Budapest yet. My understanding is your city is beautiful.
-
This is just slightly off the specific topic of this thread, but only a little. Do any of you know how to order something off the Heller web site? https://www.heller.fr/en/ There are a number of items on the site that I find interesting. I try clicking on every spot I can find but nothing takes me any where to order. They show the price but that is all I can get. No shopping cart. No place or way to order that I can find. I emailed Heller the same question with no response yet.
-
Great picture Kevin! Nice to put a face to our many conversations.
-
Ian I just noticed in my last post I said “Very obvious Ian”. I have absolutely no idea what I meant to say there 😀. Must have been the influence of my Kentucky bourbon. The great experience part of that comment is accurate.
-
Very obvious Ian! What a great experience that must have been.
-
Great pictures Ian. That sounds like a great adventure.