-
Posts
1,811 -
Joined
-
Last visited
Content Type
Profiles
Forums
Gallery
Events
Everything posted by DocBlake
-
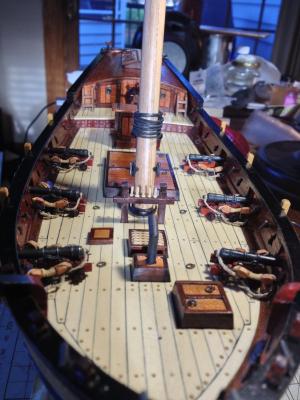
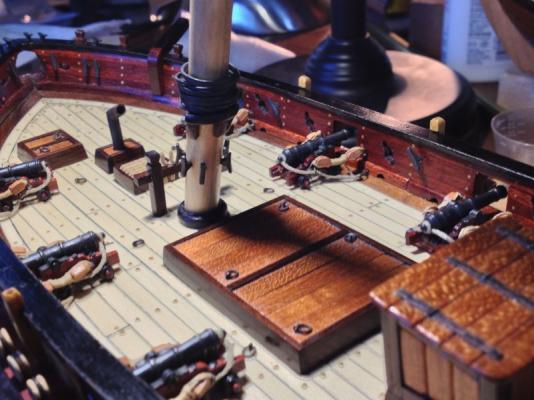
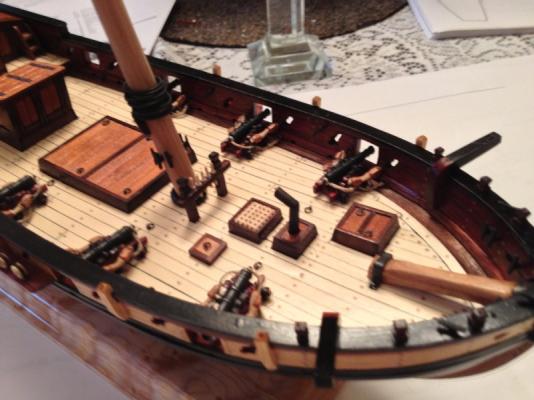
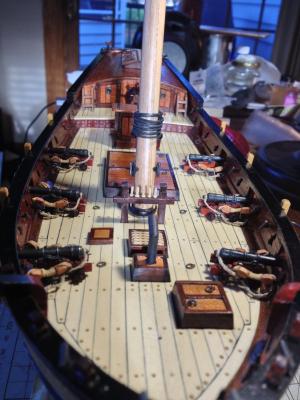
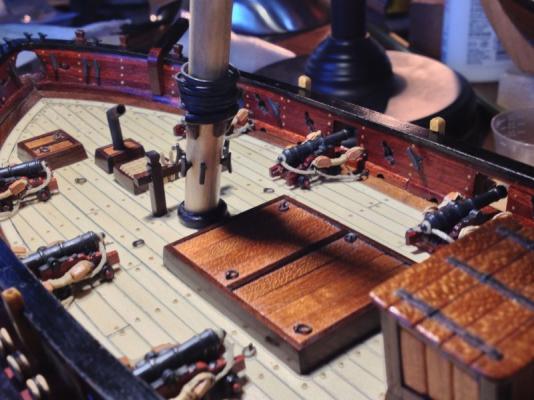
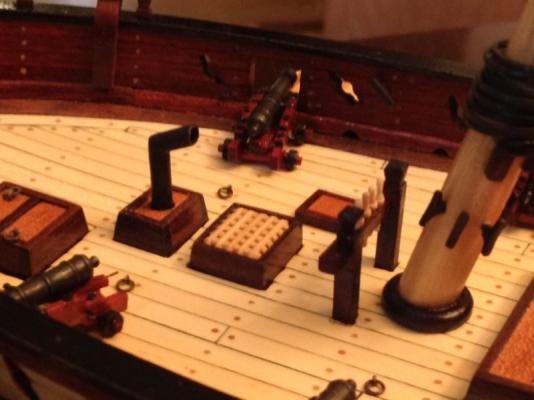
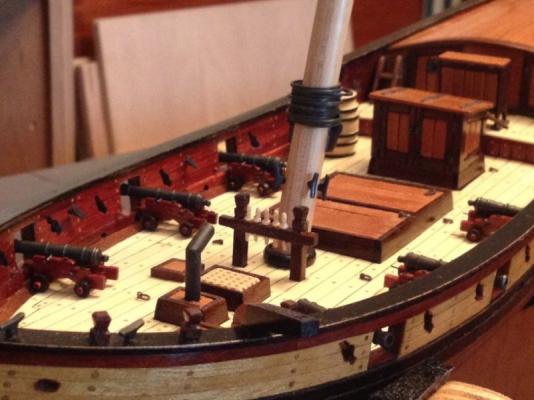
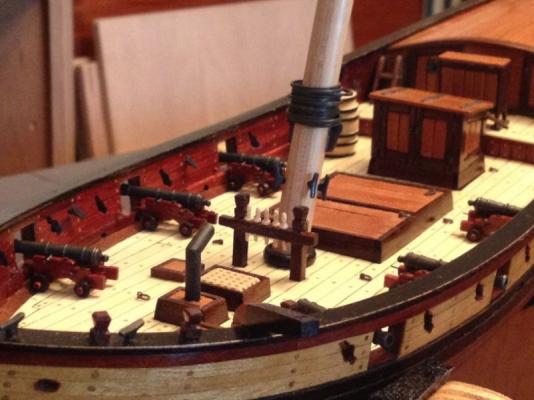
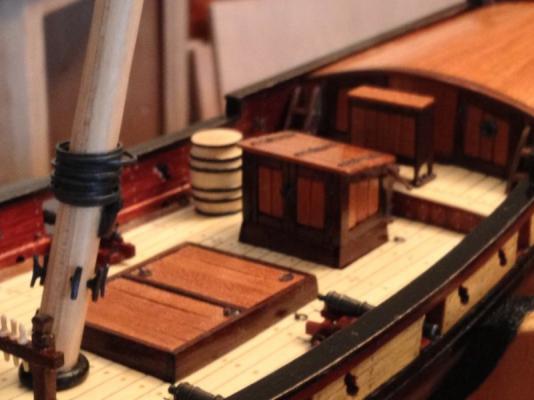
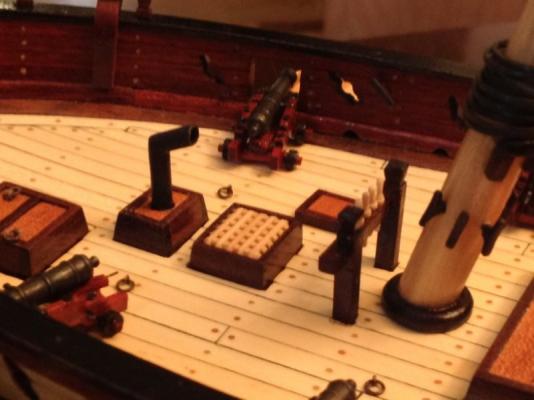
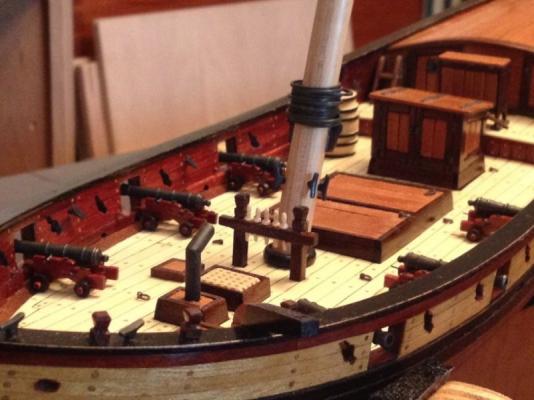
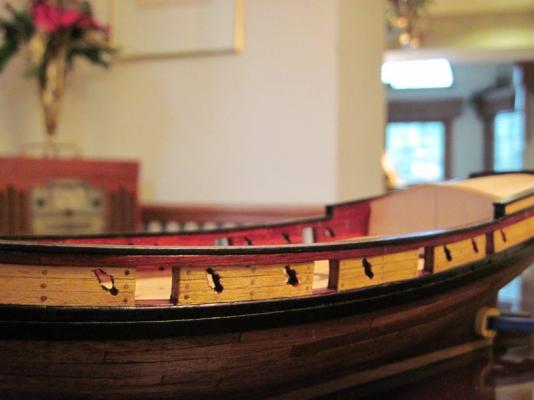
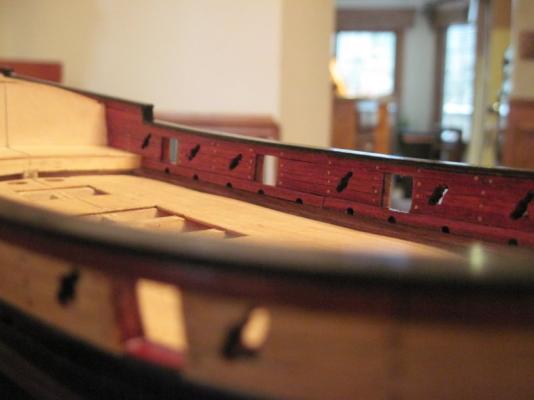
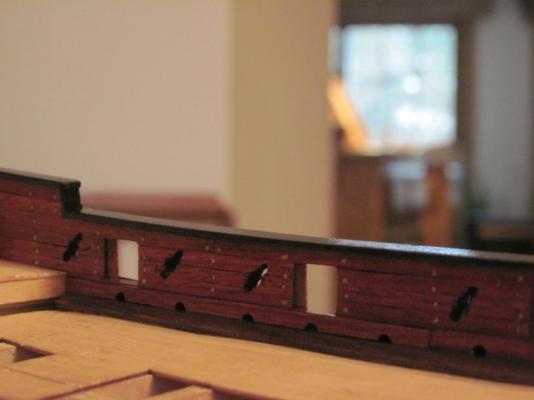
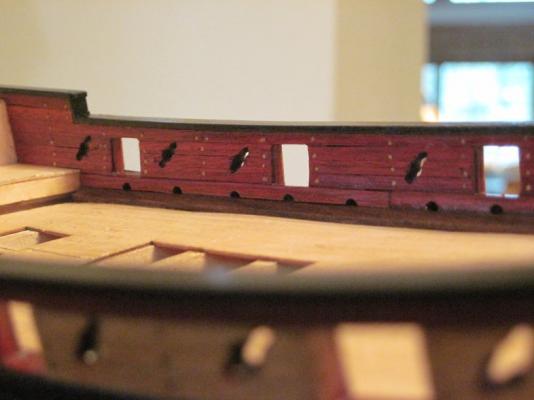
Finally got the cannons rigged. Placed the bowsprit and it's hardware today. Ready to start rigging! Dave
- 31 replies
-
- armed virginia sloop
- model shipways
-
(and 1 more)
Tagged with:
-
I FINALLY finished rigging and installing the cannons! Way too much time spent. I used the frapped line technique I described here, based on Clay Feldman's "Lexington" rigging. I did make a big change, though. I thought the frapped line look straight and unnatural, so what I did was change the solid wooden core of the block assembly to two fake blocks with thin wire threaded through them. I could then bend the assembly to get a little "sag" in the frapped line. It looks more natural. Now, finally on to rigging! Dave
-

CA glue question
DocBlake replied to MikeB4's topic in Building, Framing, Planking and plating a ships hull and deck
Thanks, Mark. The problem with using acetone on the deck is that it's likely to loosenadjacent planks. That's why I had to pry the offender out! Take cre, Dave -

CA glue question
DocBlake replied to MikeB4's topic in Building, Framing, Planking and plating a ships hull and deck
I planked the deck on my AVS with Zap-A-Gap medium. I made a mistake on one plank and had to remove and replace it. I had to move heaven and earth to get the plank out! In the end, it came out in multiple small pieces, pried out with a #11 blade. I suspect the unless the chemistry of the bond changes over a few decades, the bond with CA, if applied correctly, will hold. Dave -
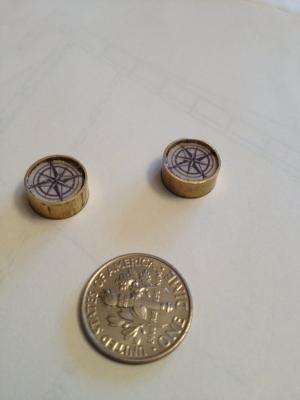
I finished up the compasses. I cut off two lengths of brass tubing and two lengths of wood dowel which were about 1/16 shorter than the brass. I Zap-A-Gapped the dowel inside the tubing. I then found some compass rose clipart and reduced it to the appropriate size, printed two copies and cut out the compass faces. These were glued to the wood dowel with Weldbond. I then filled the space from the cpompass face to the top of the dowel with Weldbond. When it dried, it looked like the glass cover on a compass. I may mount the compasses in shallow holes drilled into pieces of rosewood to simulate a wooden case.
-
I had the same problem with some bulkheads not approaching the bearding line. The best solution is to add shims to the lower part of the bulkhead to bring it to the bearding line. Shimming the deck is tricky. Using shims on the lower part of the bulkhead is relatively easy and the fairing process takes care of any irregularities. Dave
- 831 replies
-
- Armed Virginia Sloop
- Model Shipways
-
(and 1 more)
Tagged with:
-
The basic boat is the same, but there have been some minor revisions. Some of the fittings are different, the lower deck is much larger etc. Dave
- 159 replies
-
- swift
- artesania latina
-
(and 1 more)
Tagged with:
-
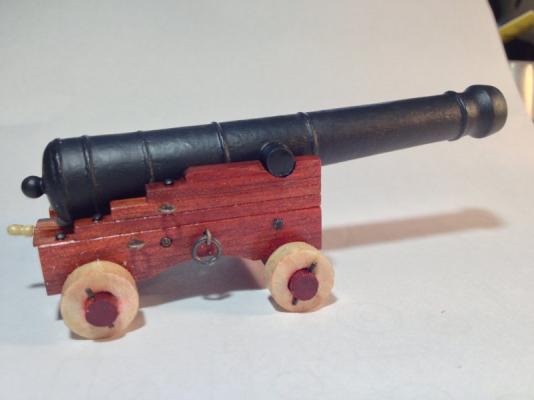
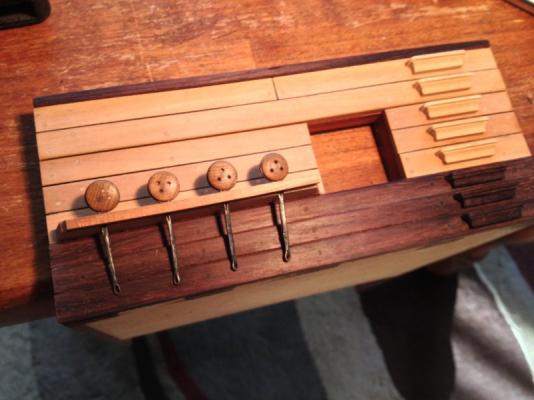
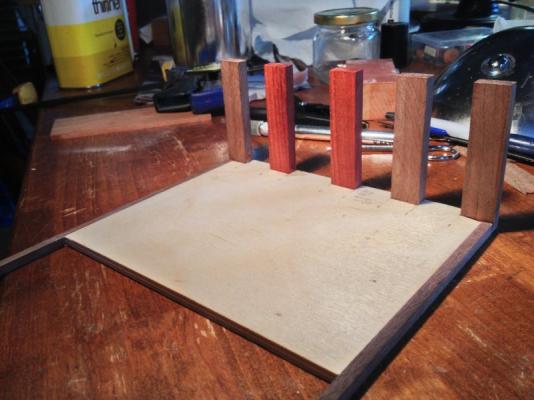
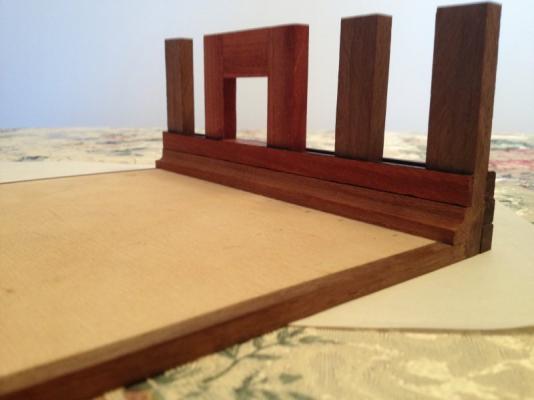
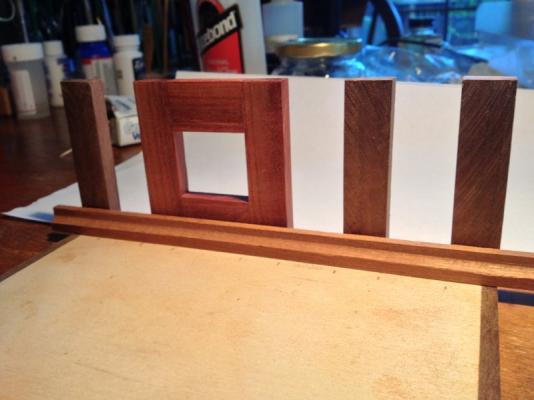
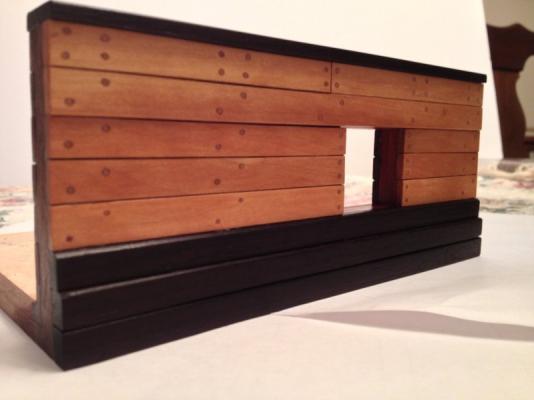
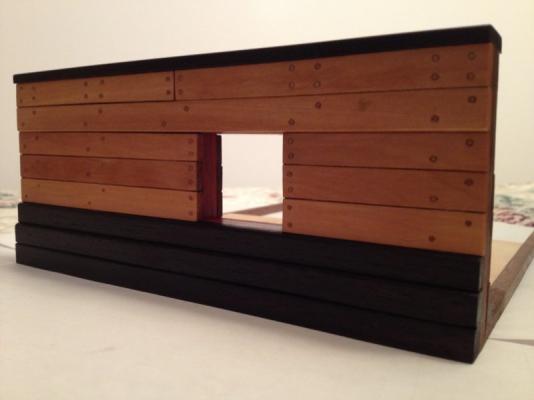
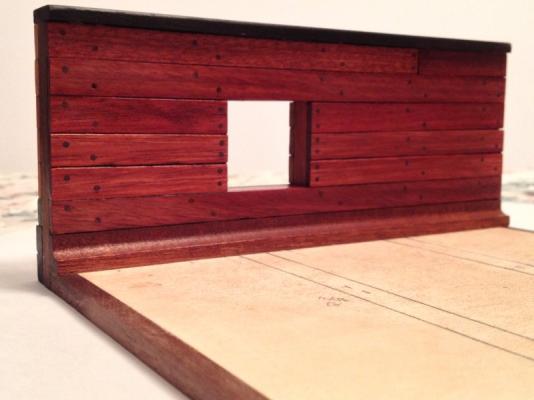
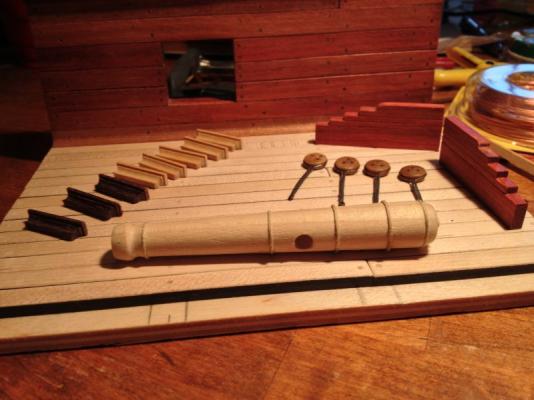
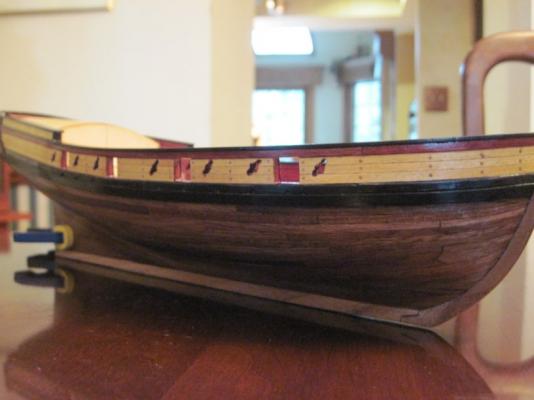
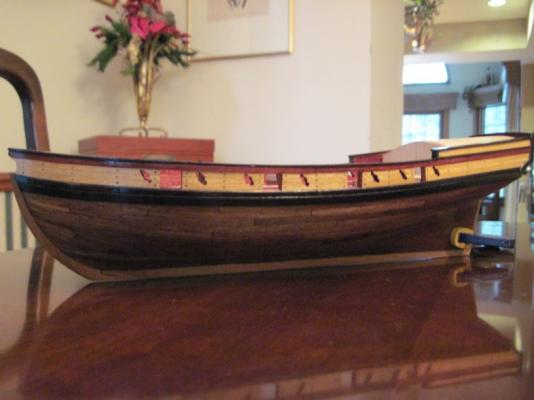
I'm beginning a build of the battle station posted on the NRG's website. I plan several modifications to the original, andI have increased the scale to 1/2" = 1". I started by cutting out the base, as well as some walnut and bloodwood for the bulwark frames I then dframed in the gunport with bloodwood. Next came a mahogany waterway. The photo shows it shaped, but not yet cut to size or installed. I then planked the outside using rosewood for the wale, black strake and rail and boxwood for the planking. The inner bulwark was planked in bloodwood. I'm now working on details. The photo shows boarding stairs, deadeyes and cannon parts. Dave
-
I'm beginning to rig my AVS. I have Bob Hunt's practicum and it was invaluable in the build process. I would be happy to help, adding my two cents worth if you have questions. I learned a lot the hard way! Dave
- 164 replies
-
- model shipways
- armed virginia sloop
-
(and 2 more)
Tagged with:
-
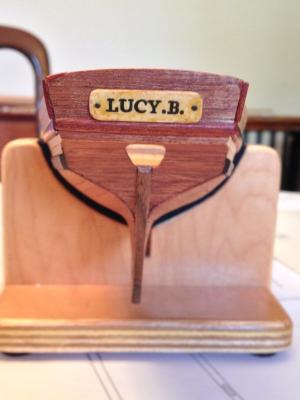
Since I'm changing a number of things on the model, I've decided to change her name from "Swift" to "Lucy.B.". I added a name plate to the transom. I found an appropriate period font (Essays 1743) and typed the name out in various sizes and printed out the results. I chose the best size, cut it out and glued it to a shaped piece of holly with Weldbond. The result was too starkly white! To tone down the color, I gave the plaque 2 coats of orange shellac, added two nailheads and glued the plaque to the transom. The result looks like a varnish finish, much more appropriate than stark white.
- 11 replies
-
- swift
- artesania latina
-
(and 1 more)
Tagged with:
-
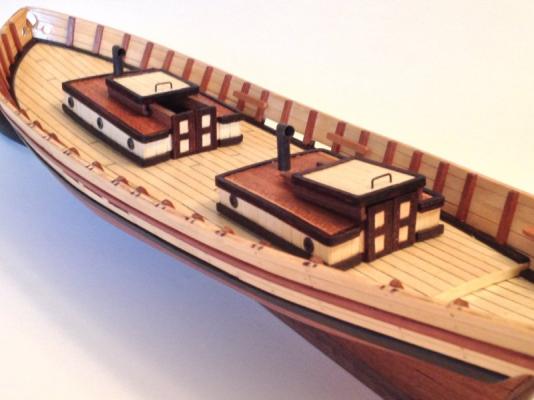
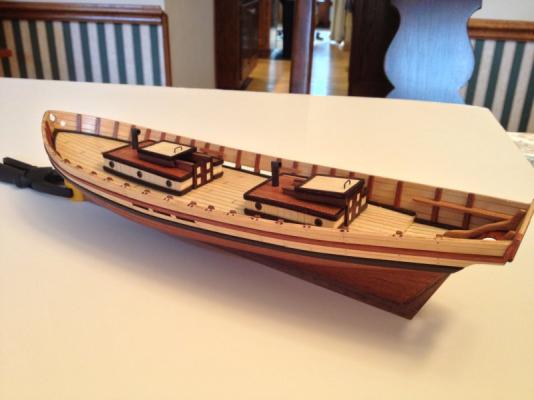
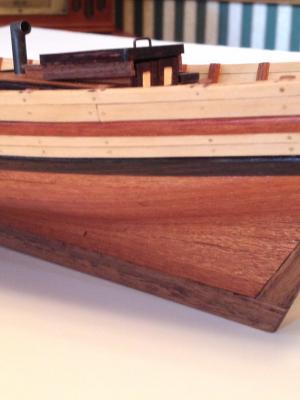
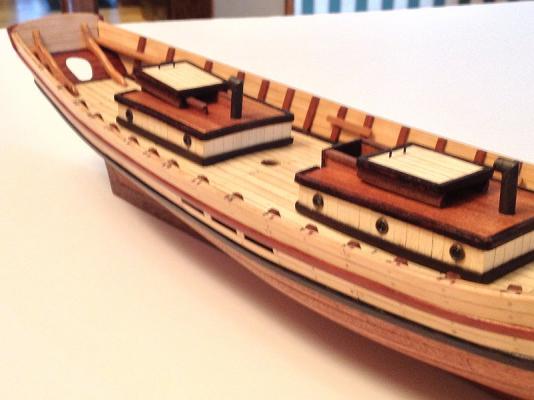
As a diversion while rigging my Armed Virginia Sloop, I started building AL's Swift. I switched out some of the wood: Boxwood planking above the wales, bloodwood trim, wenge wales, cherry and holly details. I like the contrasts in the wood. Progress so far in the photos. Dave
- 11 replies
-
- swift
- artesania latina
-
(and 1 more)
Tagged with:
-
One place I think CA glue works great is planking the hull, especially the second planking. I uses green label ZAP-A-GAP. It allows you to work quickly, because it dries quickly. But not so quickly that you can't adjust the planking a little if you need to. Some people worry about durability and holding power of CA 's in this application. If you glue to the first layer of planking, as well as to the adjacent plank's edge, there is no way that plank is coming off. I know, because I tried it! I pulled off some of the first layer of planking with the second when I tried to remove it. Dave
- 98 replies
-
- artesania latina
- finished
-
(and 1 more)
Tagged with:
-
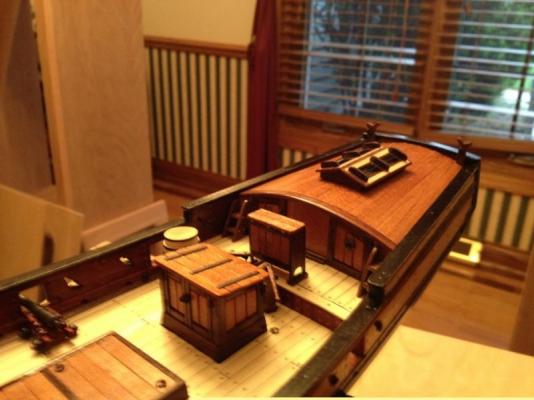
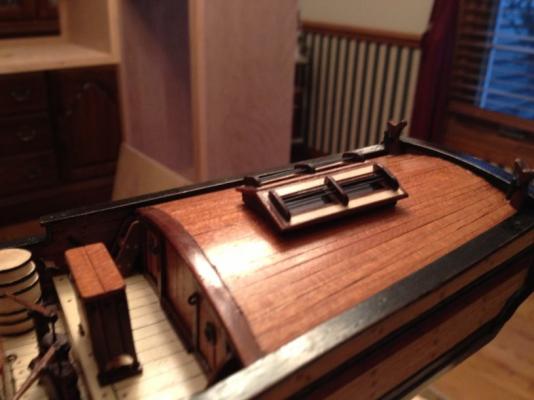
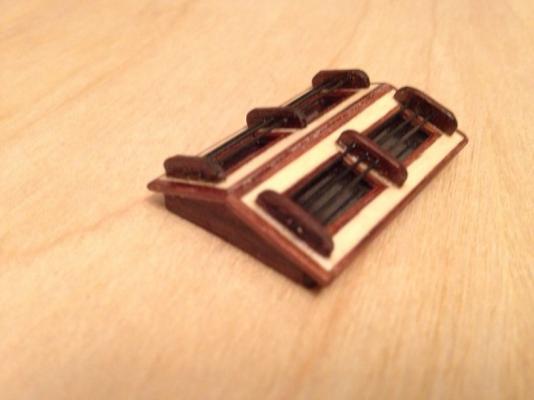
I don't have drawings of the skylight, but it was not tough to build. I started with a 1" X 1-1/2" piece of basswood (or whatever) that was 1/8" thick. This was the "frame" I built the skylight around. I added walnut planking to the sides, and made walnut gables for each end. You now have a house with no roof. Sand the sides and gables flat so the 2 roof panels can be glued to them. Paint the upper face of the wood block flat black. Then build the actual skylight panels. I used 1/16" basswood rectangles, sized to your frame. Carefully cut out areas on each panel where the "glass" will be. You now have a pair of window panes with 2 panes of glass each. I lined the inside and outside edges of these panes with 1/16" X 1/16" walnut. The glass itself is just acetate glued to the inside of the window panes. The trickiest part was building the protecting rod apparatus the guards the windows against accidental breakage. I fashioned the 6 walnut strips that support the rods. I then ganged then together using double sided tape so I could drill 3 hole through each that would line up perfectly. I used my Dremel drill press (a wise investment if you don't own one, and not expensive). Music wire, which is stiff, was blackened and used as the metal bars. I found it at my local Ace Hardware store, but you could use pins or needles, or even brass rod painted black. The bottom of the skylight was sanded to a curve to mach the curve of the poop deck and glued in place. Hope this helps. Contact me if you have any questions. Dave
- 31 replies
-
- armed virginia sloop
- model shipways
-
(and 1 more)
Tagged with:
-
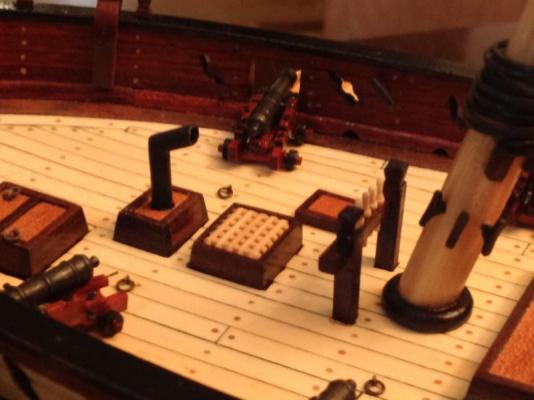
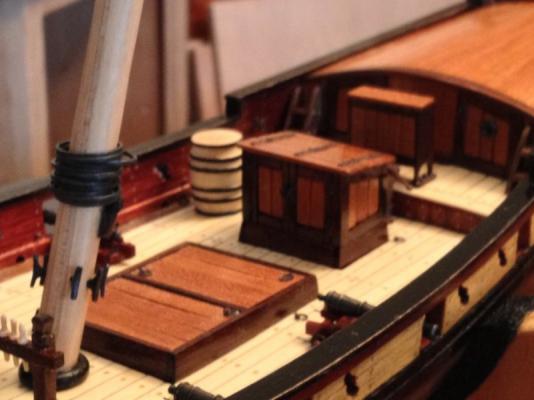
Currently building an AVS. Here is my progress so far. The cannons are just sitting on the deck. I'm working on the rigging right now. I even added a skylight to the cabin roof! Dave
- 31 replies
-
- armed virginia sloop
- model shipways
-
(and 1 more)
Tagged with:
-
Progress in my AVS build to date. I'm using wood, no paint. Cherry, blood wood, rosewood, yellow heart , walnut, holly, boxwood and African black wood. Next step is rigging the cannons. Dave
- 31 replies
-
- armed virginia sloop
- model shipways
-
(and 1 more)
Tagged with:
-
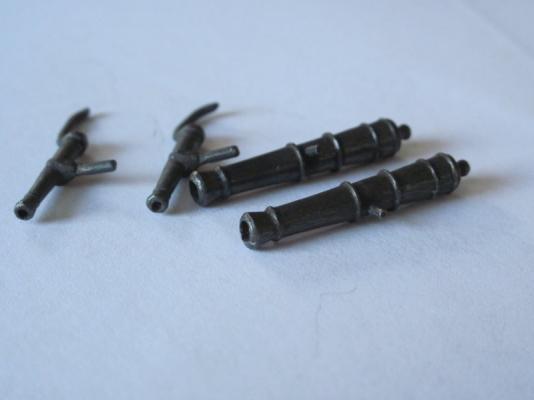
I wanted to avoid painting my Britannia metal fittings. Black paint on the guns just didn't look realistic. If I used Blacken-It, a dark crust would form, which rubbed off with a paper towel, leaving a barely darkened piece of metal. What to do? I started by soaking the parts in a 50:50 solution of muriatic acid and water for 10 minutes. This cleaned and I think etched the surface a bit. Then into Blacken-it, full strength, for 10 minutes after rinsing. I polished the pieces with paper towel and Q tips, and while darker, they weren't where I wanted them. The last step was to soak the parts for 10 minutes in "Brass Black" Metal Finish by Birchwood Casey. After cleanup with paper towels and Q tips, almost no finish came off and the parts were a dark gunmetal color. Perfect! In certain lighting they almost have a faint bronze cast to them Here is a photo Dave
-
Thanks, all. I think it reasonable to include a small skylight on the cabin roof/poop deck for the AVS. Now I need to get to work designing and building it. Dave
-
When were skylights introduced on wooden sailing ships? I'm asking because I'm working on a model of the Armed Virginia Sloop of 1768. It's a typical vessel and not a particular historic ship. The cabin roof is a large boring space. I'd like to add a small skylight. Is it historically appropriate? Dave
-
I'm well into building the AVS (just finishing deck planking). My advice is to purchase Bob Hunt's practicum. The kit instructions are often vague or misleading. The practicum is extremely detailed and step-by-step. Also, you can access the practicum's forum for questions, and get a quick response from Mr. Hunt. Just my two cents, but I think the practicum is worth it. Dave
- 129 replies
-
- armed virginia sloop
- model shipways
-
(and 1 more)
Tagged with:
About us
Modelshipworld - Advancing Ship Modeling through Research
SSL Secured
Your security is important for us so this Website is SSL-Secured
NRG Mailing Address
Nautical Research Guild
237 South Lincoln Street
Westmont IL, 60559-1917
Model Ship World ® and the MSW logo are Registered Trademarks, and belong to the Nautical Research Guild (United States Patent and Trademark Office: No. 6,929,264 & No. 6,929,274, registered Dec. 20, 2022)
Helpful Links
About the NRG
If you enjoy building ship models that are historically accurate as well as beautiful, then The Nautical Research Guild (NRG) is just right for you.
The Guild is a non-profit educational organization whose mission is to “Advance Ship Modeling Through Research”. We provide support to our members in their efforts to raise the quality of their model ships.
The Nautical Research Guild has published our world-renowned quarterly magazine, The Nautical Research Journal, since 1955. The pages of the Journal are full of articles by accomplished ship modelers who show you how they create those exquisite details on their models, and by maritime historians who show you the correct details to build. The Journal is available in both print and digital editions. Go to the NRG web site (www.thenrg.org) to download a complimentary digital copy of the Journal. The NRG also publishes plan sets, books and compilations of back issues of the Journal and the former Ships in Scale and Model Ship Builder magazines.


