HOLIDAY DONATION DRIVE - SUPPORT MSW - DO YOUR PART TO KEEP THIS GREAT FORUM GOING! (Only 13 donations so far - C'mon guys!)
×


Peanut6
-
Posts
342 -
Joined
-
Last visited
Content Type
Profiles
Forums
Gallery
Events
Everything posted by Peanut6
-

How was a ship's launch boat prepped to sail?
Peanut6 replied to Peanut6's topic in Masting, rigging and sails
Oldsalt1950, you mean I got something somewhat correct. Wow that's once in a row. The process I described was the only way I could figure based upon ease, speed and efficiency. Thanks for the info, I appreciate it. Allan, yea this isn't a bad part of the country to live in. If you have modest means, you really have to work hard not find something fun you can waste an afternoon doing. What I miss the very most are mountains though (I come from the west), but it is made up for with all the greenery. -
How was a ship's launch boat prepped to sail?
Peanut6 replied to Peanut6's topic in Masting, rigging and sails
I've been thinking all afternoon and guess I've come up with a possible answer. This offering is based upon what the AL kit gives me to work with and assuming that what I do have is not historically accurate for they type of boat. I'm guessing the boat was set into the water and mast was lowered down in a controlled manner such that it could be set up while being hung/supported by the ship. Based on Oldsalt1950 comment above, the shrouds, stays and blocks are already attached to the mast. I'm also going to guess that part of this process was the necessary running rigging lines where run thru the appropriate blocks with both ends on the deck. Next I guess the dead eyes were set. From inside the boat the halyard, boom and boom sail can be addressed. This is the biggest stumbling block in my little pea brain. The bowsprit was lowered along with the fore top mast stay sail and the jib sail. The tip of the bowsprit was started thru the bowsprit support. Big assumption here, while this little boat was being fitted in the shipyard it was pretty much determined where the fore most stay would be seized along the bowsprit and how much line of the stay needed to be seized. Prior to seizing the foremost stay the stay was run thru the rings of the jib sail, the jib sail was seized to the bowsprit and the running rigging was attached to the sail. The bowsprit was run out thru the bowsprit support and the aft end was lashed to the mast. At this point the same was done for the fore top mast stay sail with the second stay seized to the bowsprit since they were within reach. This is the only way I can figure that the foremost stay seizing and running rigging could be handled without somebody having to climb all over the place or needing a second boat. What do you think, is this possible? -
How was a ship's launch boat prepped to sail?
Peanut6 replied to Peanut6's topic in Masting, rigging and sails
I'm wondering more about the mechanics of the job. If you set the mast first, then somebody has to climb up with the shrouds, stays and blocks plus the running rigging to run thru the blocks. Would those lines be attached to the mast prior? Then there is the bow sprit with the sails and stays. Did somebody climb out the bow sprit to address those things? -
Got to wondering what the process was to prepare the boat to sail. More specifically my little Jolly Boat, which we know is a fictitious representation of the boat Captain Bligh didn't use on his historic voyage. I've looked for information on the whole process on boats of this type but have come up empty. I know that some items were stowed in/with the boat while the others were stowed below deck. It makes sense to me that maybe certain areas could be "subassemblies" to save time and be more efficient in the process, but to what extent? I can run different scenarios of the process thru my mind but always run into a "well how did they do that?" Any light that could be shared on the subject would be greatly appreciated.
-
replacement X-ACTO blade #30
Peanut6 replied to Peanut6's topic in Modeling tools and Workshop Equipment
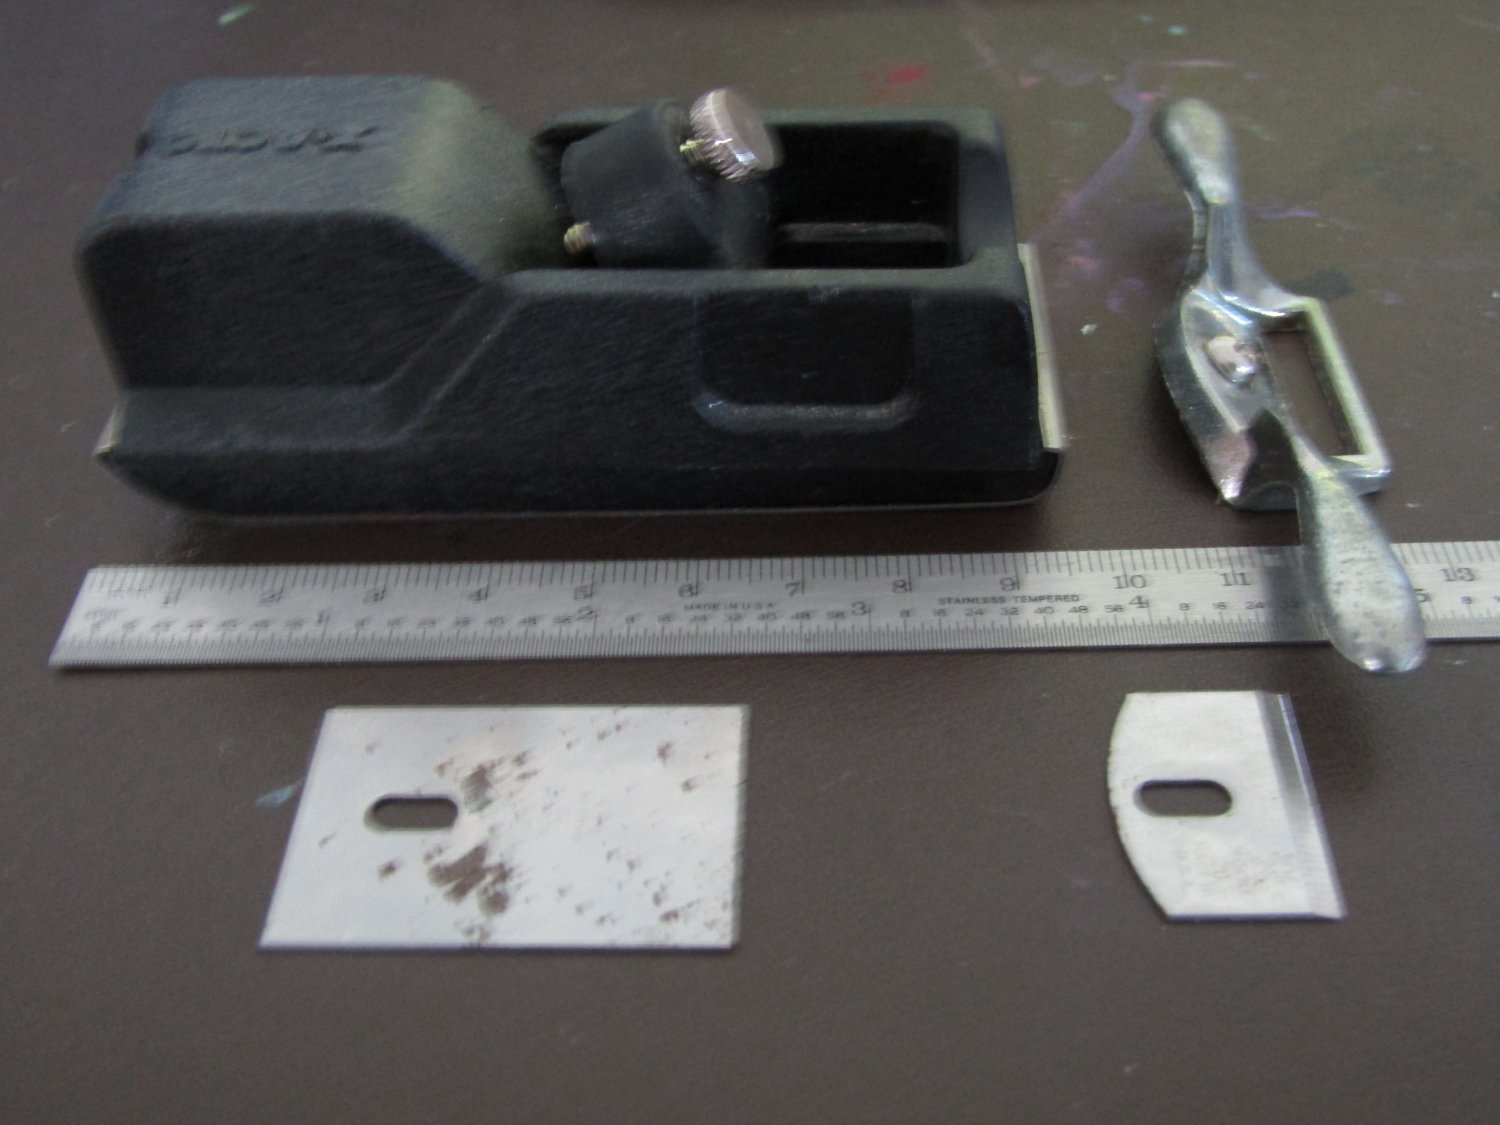
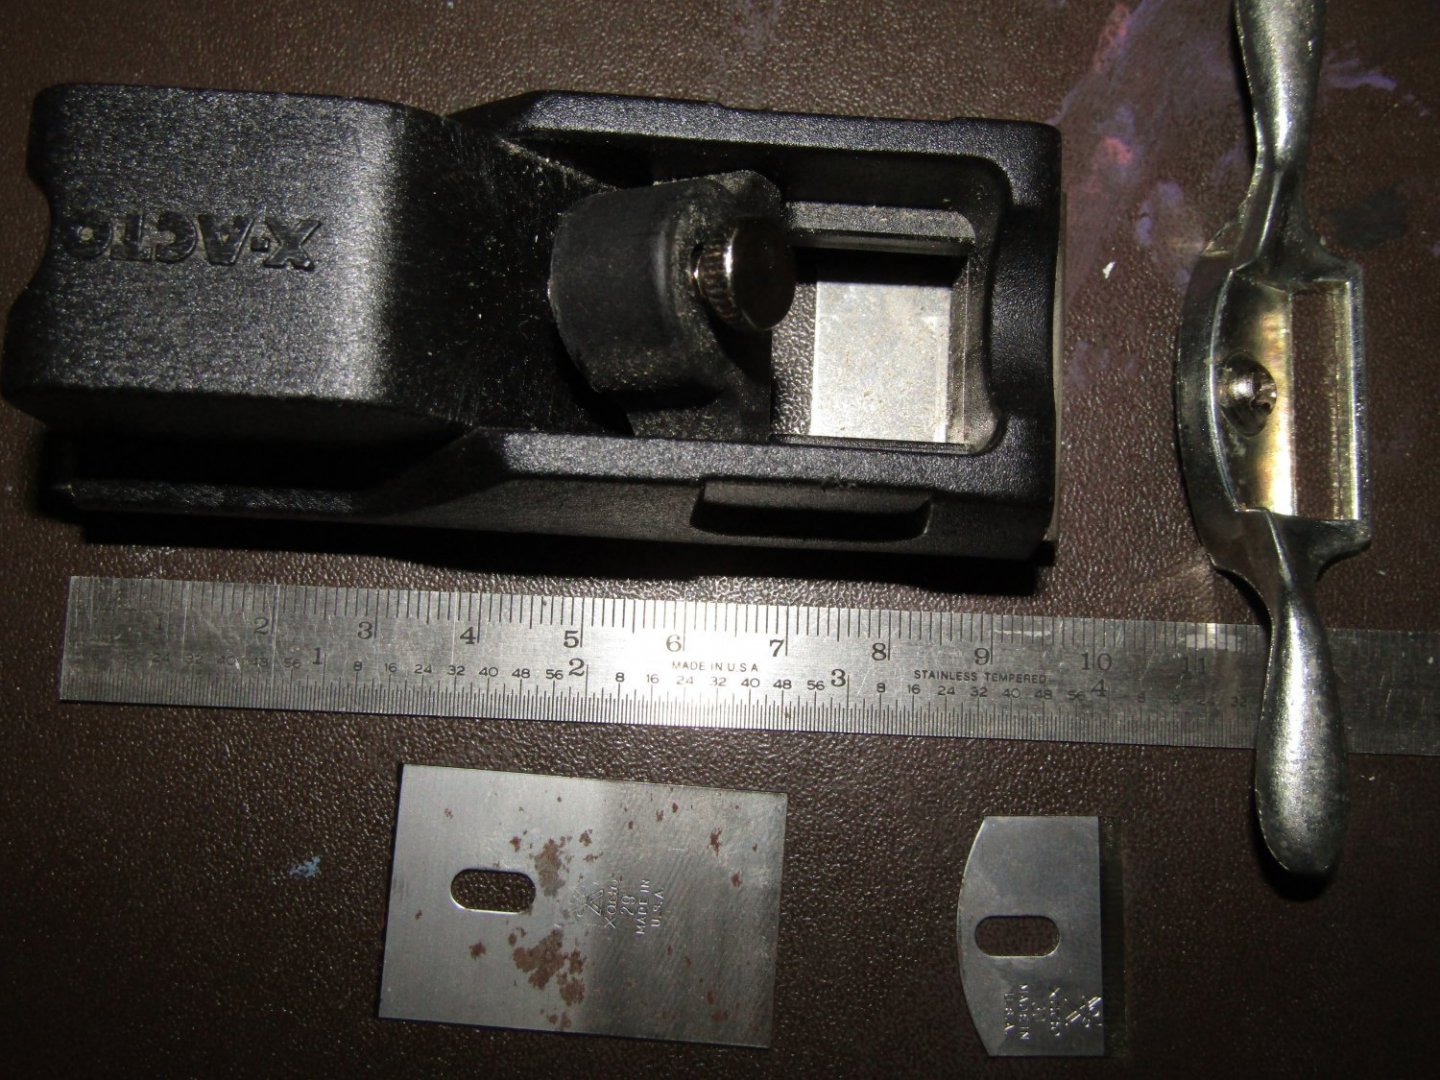
I stand corrected, the spoke shave uses the #30 blade and the mini block plane uses a #29. Here are a couple of pictures: The #29 for the block plane is on the left and the #30 for the spoke shave is on the right. grsjax, how in the world did you find that? I spent hours checking on ebay yesterday and couldn't find a thing, did the search again and there is was. I think the gremlins are messin' with me. Neither blade has been used but you can see a bit of tarnishing on the #29 blade.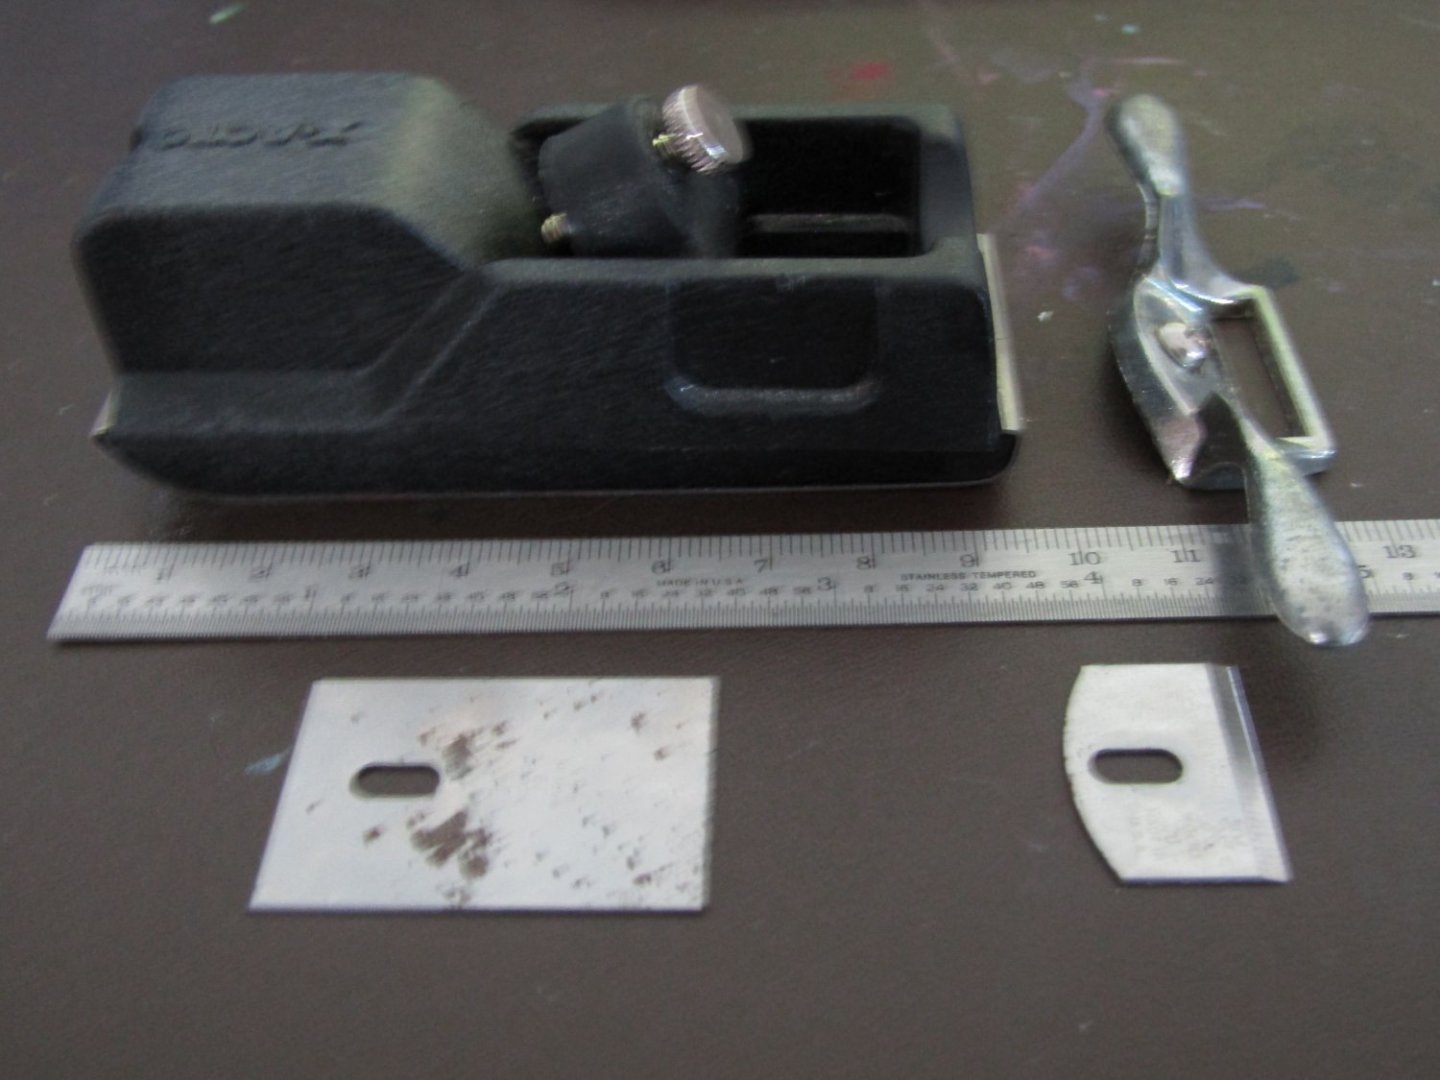
-
30+ years ago I bought an X-ACTO hobby kit. It came with three handles, 14 blades, a sanding block with wedge, a stripper, spoke-shave and mini block plane all in a cute little wooden box. The spoke-shave and mini block plane use a #30 blade. Working on a little extra something for my Jolly Boat I found an opportunity to give my mini block plane a try. I hadn't used it before and thought "playing" with it would/could open my eyes to where I might be able to use it more often. Before I messed up my one and only #30 blade, I thought I better check the availability and cost of extra blades. Come to find out that X-ACTO no longer makes the #30 blade. Does anybody know of an equivalent? I would hate to have to reinvest in a tool if I find that it could/would be very useful in how I'm learning to do things. I'm not picky about the manufacturer, just would like to know if there is a usable replacement/alternate blade that would work. Any and all suggestion would be greatly appreciated.
-
Thank you Phil, Allan and Druxey for the additional information. Everything mentioned will be entered into my "Remember this/don't forget" separate reference log I've started awhile back. My biggest issue/drawback is that the line supplied is pretty unforgiving to numerous reroutes. I've already abandoned my preferred plans on the rigging due to the strength/durability of the inferior line. The shipyard coffers are empty with no deposits for the foreseeable future so purchasing replacement line is out of the question. My current plan is to use the line I've got just to complete the build but won't use any adhesive on the questionable line, to "set" it in place, so that at a later date I can rerig those areas with better quality line. Thanks again for all the comments, it is greatly appreciated and adds a few paragraphs to my reference log.
-
BenD, thank you so much for the information. I thought that I was doing something wrong. I would now think it's safe to say that since my mast is still straight, I've got just the right tension on my rigging for this to happen. Since this is a natural event and it's regarding my little Jolly Boat, I can live with it no problem (only have two dead eyes per side). I can't tell you how much of a relief this info is, thanks again.
-
When tightening up line between my dead eyes the top dead eye attached to the shroud wants to twist. What I mean is they are not parallel with the lower dead eyes attached to plates at the hull. I put a "reverse twist" in my shroud in hope to prevent it from happening. It seemed to work but over night the dead eyes twisted again. I can rotate them back parallel but in a while they are twisted again. Why is this happening and how can I prevent it?
-
Welcome aboard DeHammer. What a coincidence, I also love the Viking longships and purchased a 1:25 scale Oseberg kit at an unbelievable price about 10 years ago knowing it would be a few builds away. My first kit using wood was also an airplane, a P-38 Lightning. Look forward to your first build log.
-
Glad to have you aboard. Be sure you check out the "For Beginners - A Cautionary Tale" thread. There is soooo much information/guidance for someone like you just getting interested in the hobby and good advice to help you select your first build. You've found a great group of people from all over the world with knowledge they are veary eager to share.
-
Gary, only noticed because I love fly fishing. My Grandfather got me started when I was about 12. So many great memories and way to many stories to tell. The reel, seat, butt and handle look perfect and IMHO a fly rod really would be the better choice (thou I have launched many a Rooster Tail using a spinning rod out of a boat like this). And with the bit of tension you intended, that would be the cherry on top of the powdered sugar on the icing of the cake. Regardless of your final decision, a most impressive build and I want to thank you for bringing back very fond memories of fly fishing and fishing in general with Grandpa.
-
Spectacular, what excellent detail. The one and only thing I notice is that fly rod looks to be a bit short, unless its a fly rod type I'm not accomstumed to seeing.
-
Glad to have you join us Dave. Your background should really help you transition to wooden model ships. I can only imagine how difficult it would be to attempt to pick up after someone else on a challenging build for your "toe in the water" initiation. There is nothing to say you couldn't put your Mayflower in drydock and select a kit better suited for a first build. What ever you decide, rest assured you've come to the best place to obtain help, guidance and to learn the techniques of the hobby. Everyone here is eager to share their knowledge and give advice in an honest and nonjudgemental fashion. Sometimes it isn't always what you want/hope to hear, but it is always to your benefit. A build log is the best way to document your progress and show a situation if/when you need a little help. It is also of major assistance to others who are building the same ship as you've set a course that can be followed. Take your time and be patient. Remember that we all make mistakes, even the best shipwrights here were beginners once and any mistake can be fixed (if you decide it is worth fixin'). Take your time, be patient and enjoy the voyage.
-
Glomar, I don't know for positive but I would bet that the waterline location is defined somewhere in the plans, possibly/probably on the main side view. Can't help you with the waterline marker since I stained my hull rather than paint it. But from what I've seen, all you need is a horizontal line from bow to stern, both sides, and how you get there is up to you. I've seen some pretty fancy waterline markers and some that were as simple as a pencil taped to a scale (with the pencil point at the appropriate height) or even a pencil pushed thru a styrafoam cup (with the pencil point at the appropriate height). Wish I could be of more help.
-
Welcome aboard DocRob. Your background shows you have a lot to offer. I also started with plastic models, but did planes, cars and monster models when I could find them. I've always been curious about airbrushing, so if I ever decide to dip my toes in the water I'll be sure to hit you up for advice.
-
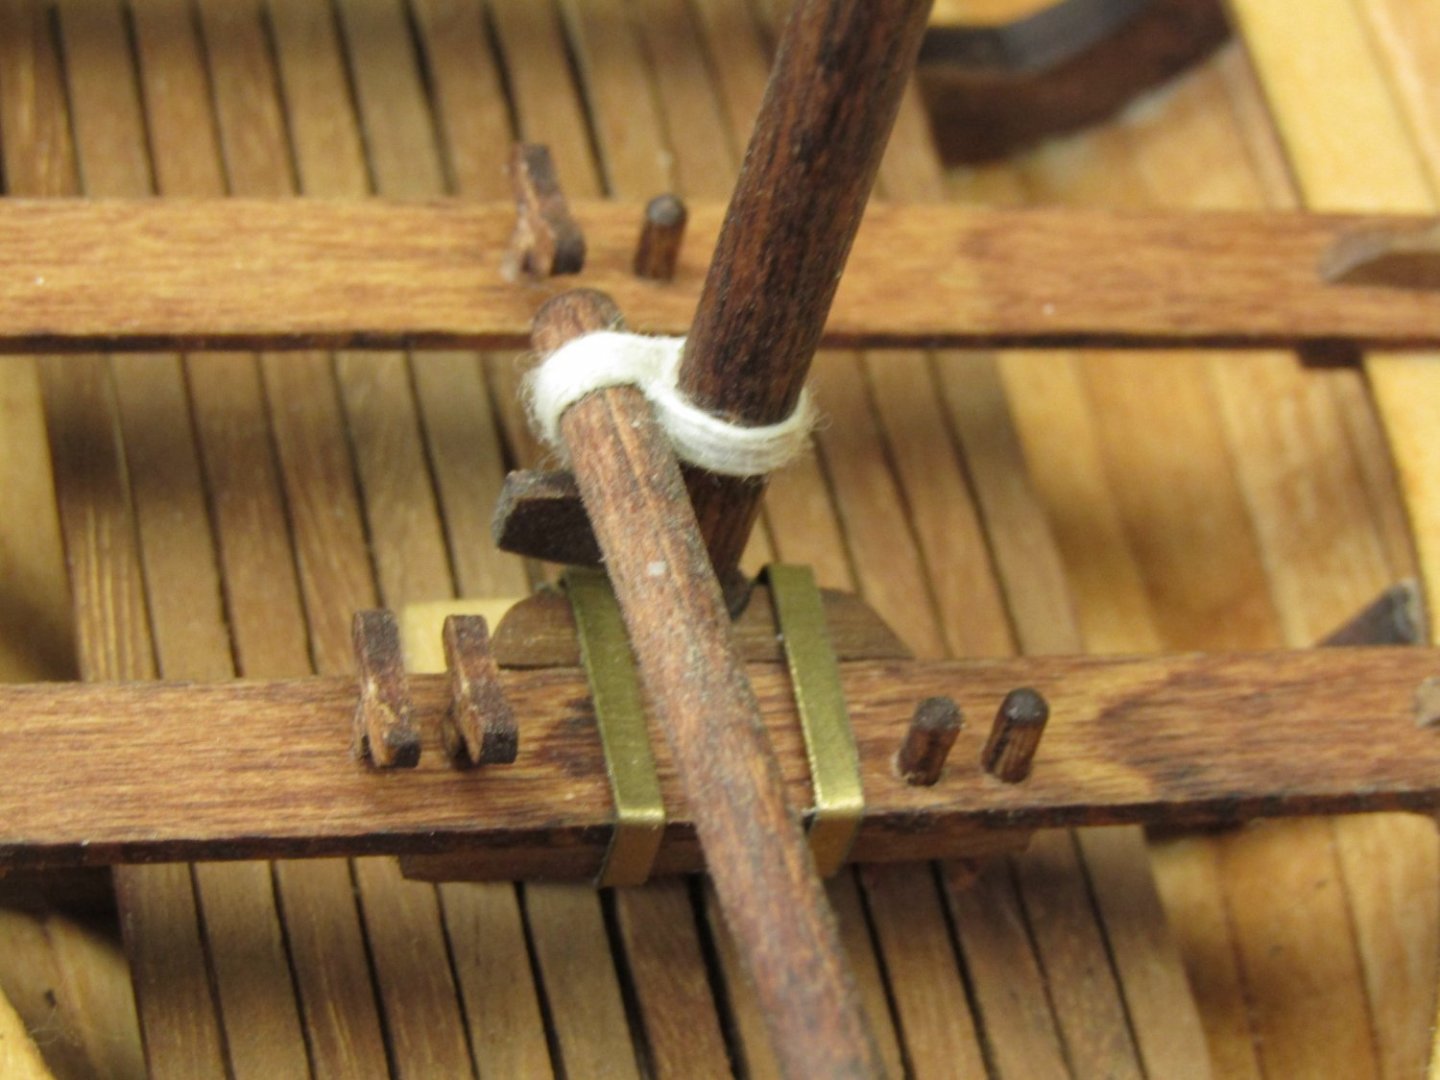
Working on getting my halyard rigging done prior to setting my top deadeyes but having some trouble. I'm wanting to use hooks to attach the lift lines on all my sails. Since I missed the opportunity to serve my shrouds prior to seizing them at the mast, I thought the halyard would be a good chance to give it a try, especially since I'm using hooks. Seizing loops into the ends to fit the halyard is no problem. But I'm having trouble serving the middle section so I can then seize a loop for the hook. The issue is my first attempt pulled my 0.15mm AL kit supplied line apart. It just spread apart/shreaded in two. I had the same problem with my bow sprit lashing and was more gentle with the second attempt and got it handled. I'm using my 3rd hand with painters tape over the alligator clips, to prevent nicking the line, to keep the line tight while serving. My line keeps losing the tension between the clips making it impossible to serve. I believe the continued tugging/pulling on the line to keep it tight is just too much. I've got to come up with a better method to keep the line tight and, more importantly, be more gentle while I'm serving it.
- 129 replies
-
- 1
-

-
- Bounty Jolly Boat
- Artesania Latina
- (and 1 more)
-
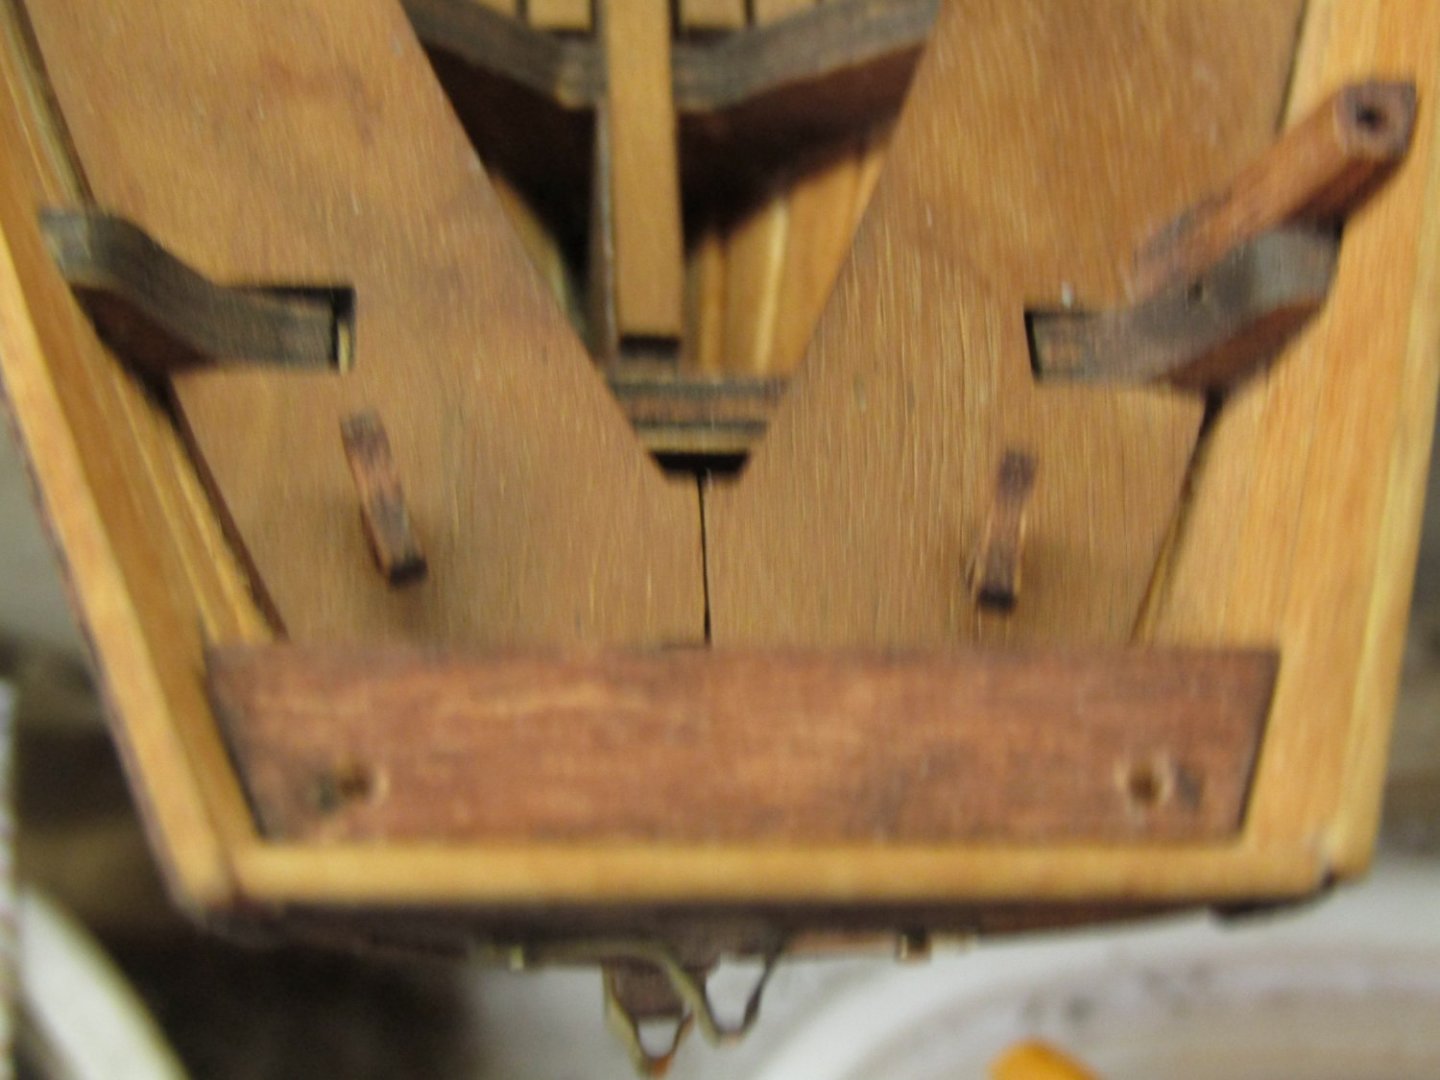
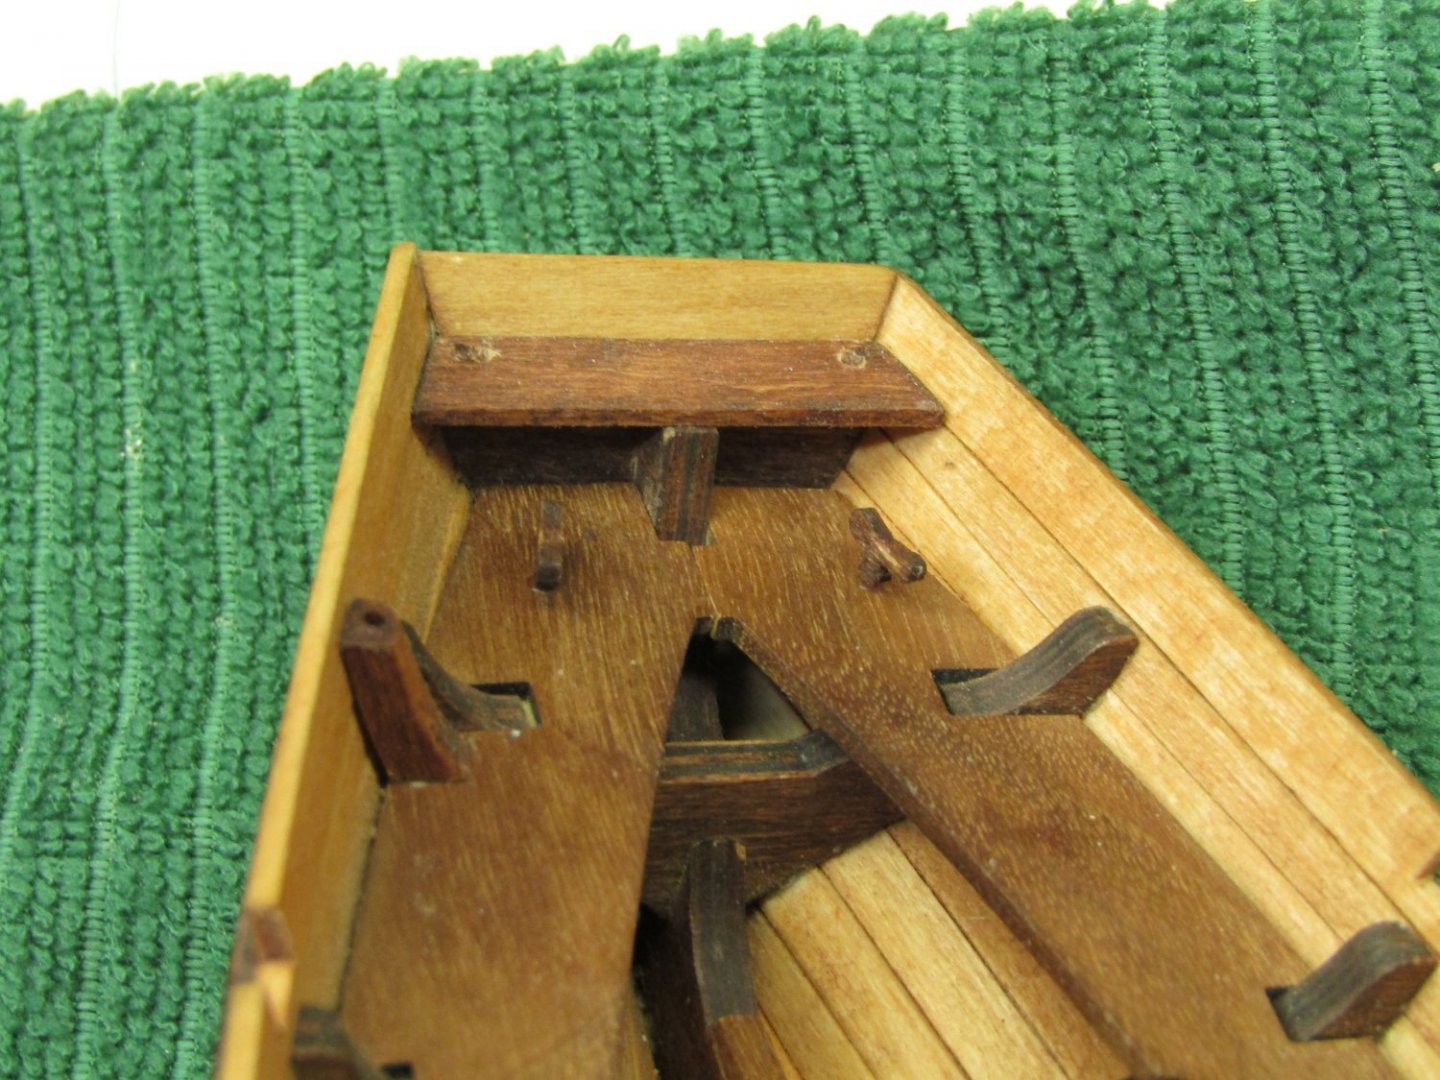
I started drilling the holes into the feet of my cleats for the nails I’m using for reinforcement. Got the first 6 done without any issues, ony 2 more to go. While doing #7 the foot broke off, AARRGGHHH. I knew things were going too smoothly. I set things down and walked away for a bit. I figured it may have been better if I had rotated the profile 90°, with regard to grain direction, to increase shear strength, but then I realized that I would have a similar issue with the wing(s) breaking off. Decided that they were just too small for what I was asking them to do, or I should have used different wood (still first build so I don’t have any left overs from other kits). I knew I couldn’t make another one that would match and I really didn’t want to make another set so I got to thinking. How would I show the required extra line of my rigging after they have been terminated. Cleats aren’t really designed to accommodate extra line, so I need to reconsider belaying pins. Then I decided that the boom lift, stay sail and jib sail clews lines and the boom tackle line are all pretty much a set length. Sure you need some adjustment length but not what is necessary for the gaff halliard, stay sail and jib sail peak lines. So doing my gazintas, I count 5 cleats and 3 belaying pins. I have 6 drilled cleats plus one more but don’t have belaying pins. Then I decided that once the rope coils were added to the belaying pins you would only see the tip of the top. So I made 4 belaying pins out of round toothpicks. Got the nails in the cleats and stained them along with the belaying pins. Holes drilled and things dry fitted. Got the 2 cleats for the boom tackle installed, no problem. As I was installing the boom lift cleat, the foot broke off just as it was halfway in and the fit seemed tighter than the dry fit. aarrgghh. But I still have one more so I wasn’t to bad off. But decided to double check clearances. The shipwright Gremlins must have been at it again because the holes shrank or the nails got larger in diameter. Had to do some redrilling in hope of not breaking another cleat to a tight fit. So this is what I’ve got. I have very serious reservations regarding the strength of the cleats. If they don’t hold, my back up plan is to use eye bolts. I raided the Boss’s Rosary making kit and found what I needed. Don’t know what they were called for her discipline but once they found their way out of her kit they became eye bolts.

- 129 replies
-
- 7
-

-
-

-
- Bounty Jolly Boat
- Artesania Latina
- (and 1 more)
-
Seizings - what am I doing wrong?
Peanut6 replied to David Lester's topic in Masting, rigging and sails
I agree with Dave, every hint/tip/trick/tutorial/video I've come across on seizing uses CA to prevent the exact problem you're having, though they so specify to use is sparingly. Just reciently I read, but don't recall where, that you should not use PVA an rigging lines. The justification in the article only stated "for obvious reasons". Not very obvious for this reader. -
Jim, a warm welcome and glad to have you aboard. I'm of the belief that a build log can/could/should be started with the opening of the box, so please don't hesitate in starting one.
-
Glomar, IMHO there is no such thing as "stupid question territory" simply because we don't know what we don't know. Wood filler does what the name implies, fills gaps, scratches, dents and holes in wood by adhering to the wood. I used Elmer's wood filler on my Jolly Boat hull and think I know what you mean by it being flakey. When the filler starts to dry out a bit it becomes difficult to really work into the small gaps. I would take a teaspoon and put in a different container and mix in a few drops of water. This made it much easier to work with and really helped getting it worked into the crevices. Elmer's makes numerous types of wood filler. Their basic wood filler is a tan color for interior use which can be painted but . . . . doesn't take a stain. They do have wood fillers that are stainable and I've also seen it available in 3 different shades, light wood, medium wood and dark wood. Didn't take the time to see if the different colors were stainable or just different shades to get you "close enough" Wood sealer does what the name implies. It creates a barrier, seals the wood, to protect it from the elements - whatever those elements may be. Be aware that once a sealer is applied to wood, attaching items using PVA becomes very difficult because the PVA can't leach into wood any longer. To Craigie65, yes Elmer's is a US manufacturer that makes a variety of basic, nonspecialized, wood working related products, among other things.
-
Questions Before I Buy My First Ship
Peanut6 replied to Magarkus's topic in New member Introductions
I agree with Cathead, a basic set tools is all that is needed. You can go banana tacos crazy with all the things available. Sure, some tools make things easier to accomplish. Some are so task specific they may not be used all that often, but when needed it can be worth the investment to you. And others are just a waste of money. Yet the point being, a newbie to the hobby just doesn't know which items make up a basic set of tools. If you decide that model ship building isn't for you, a well thought out selection of "basic tools" won't go to waste as you can always find a use for them in the future. And if you decide you want to continue, you now have some experience to better select items to add to your shipyard tool chest. -
Questions Before I Buy My First Ship
Peanut6 replied to Magarkus's topic in New member Introductions
Magarkus, now that you've decided on your project(s) I suggest you start looking thru build logs of those kits. Probably better to see what you're in for before you leave so that if some tool/item was "vital", that hasn't already been suggested, you'll have it with you. And don't hesitate to ask questions. As you can see, the folks here eagerly welcome all new comers and enjoy helping out when ever possible. A couple things to remember, we all make mistakes (even the most experience builders here) so don't sweat it if/when it happens. Any mistake can be fixed, it's just whether you feel it is worth fixing. While still on my first build, I've decided the most valuable tool one can have is patience. -
Questions Before I Buy My First Ship
Peanut6 replied to Magarkus's topic in New member Introductions
Great point Mr. Griswold. I would add "The Ship Model Builder's Assistant" by Charles G. Davis, "Ship Modeling From Stem To Stern" by Milton Roth and "Ship Modeling Simplified" by Frank Mastini. Between the three I've listed plus Mr. Griswold's offering you'll have a pretty solid selection of resources for information if you don't have reliable internet service. Not only how to's, but definitions, tricks, tips, a bit of history in the evolution of components thru the years. These four titles really are all I have/use other than the wisdom offered by the shipwrights here at MSW. -
Questions Before I Buy My First Ship
Peanut6 replied to Magarkus's topic in New member Introductions
Magarkus, welcome aboard. Where in Idaho will you be? I used to live in southeast Idaho, beautiful country. Your foresight in planning is very wise and you've received some excellent advice regarding a first kit and "starter" tools. Depending on how far out into the wilderness you will be, the nearest "service town" might not be much more than a wide spot in the road catering to those passing thru and a last stop for fishermen to gas up, eat up, double check the tackle box and make sure they have their liscense. So getting something you need to continue your builld could be very problematic. I took a look at my shipyard looking for things not already mentioned and some that are taken for granted as alway around/available. I came up with the following: rubber bands (variety of sizes), extra hobby knife blades, a few pieces of Lego building blocks, a roll of blue painters tape, depending on your kit - micro drill bits and a pin vise (be double sure the collets are suitable for such small bits), any paints, stains and/or finishes you want to use, various sized paint brushes, round tooth picks, sewing needles, a sharp pair of small fine tip sissors and patience. I look forward to you starting a build log once you get set up and going. And lastly I hope you don't have to report spotting anything other than the variety of wildlife that area of the contry has to offer.