HOLIDAY DONATION DRIVE - SUPPORT MSW - DO YOUR PART TO KEEP THIS GREAT FORUM GOING! (Only 13 donations so far - C'mon guys!)
×
Richard Dunn
-
Posts
529 -
Joined
-
Last visited
Content Type
Profiles
Forums
Gallery
Events
Everything posted by Richard Dunn
-
 Not sure if the Client wants me to advertise it. If it was up to me I would. I will see if I can do just key points
 -
Yes Superstructure built and hull half planked already
-
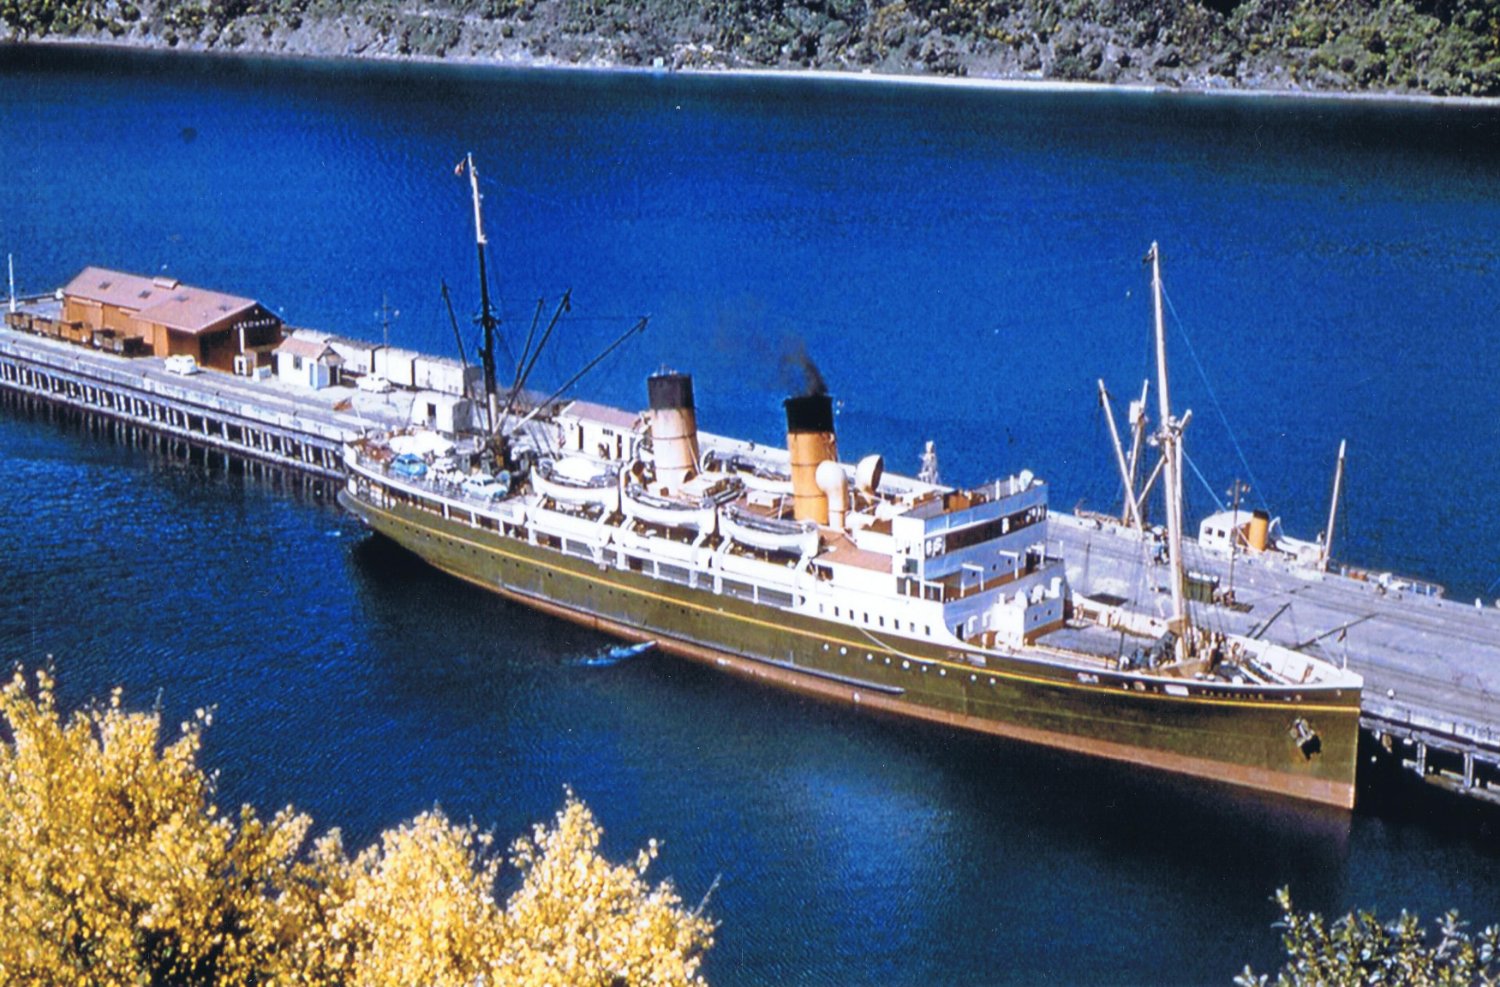
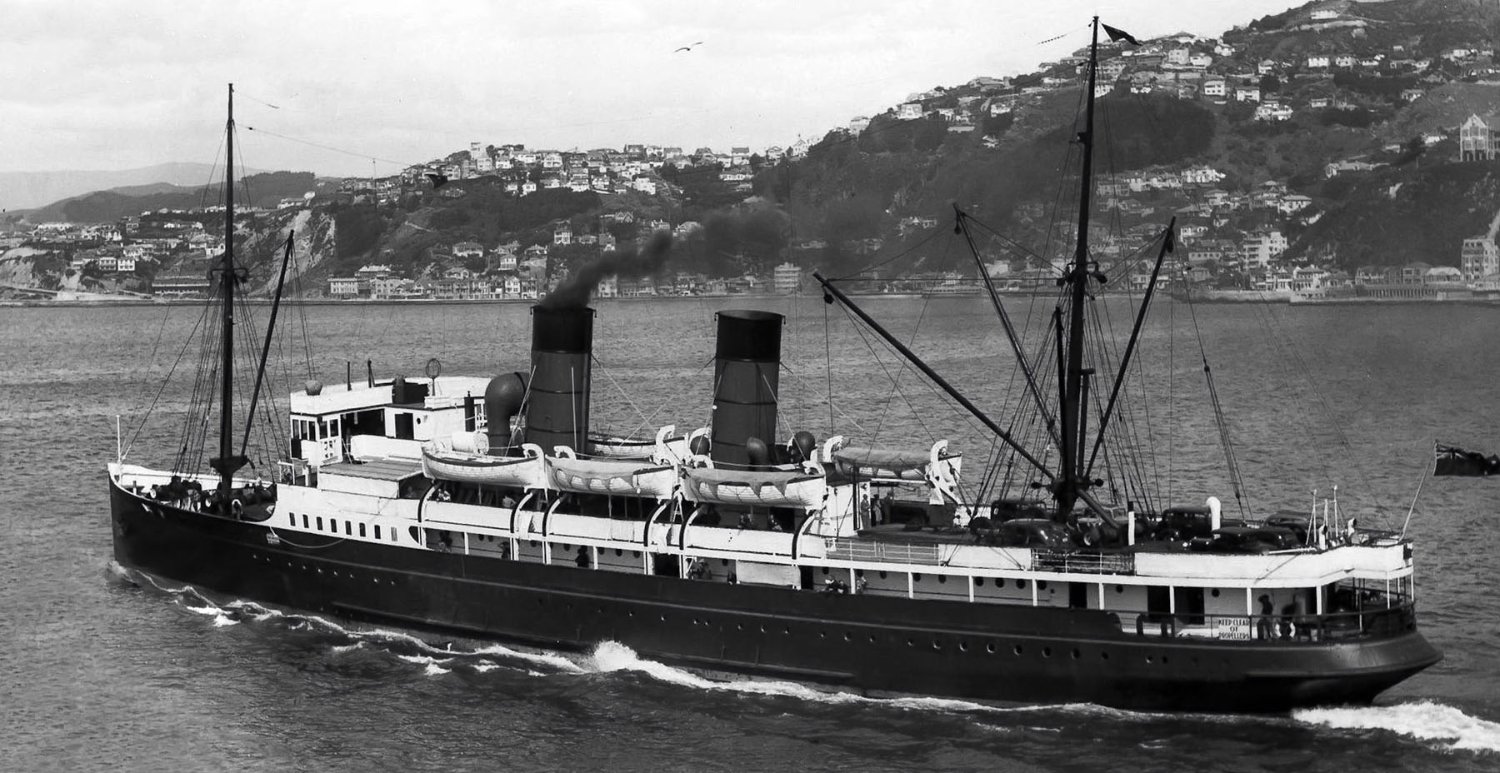
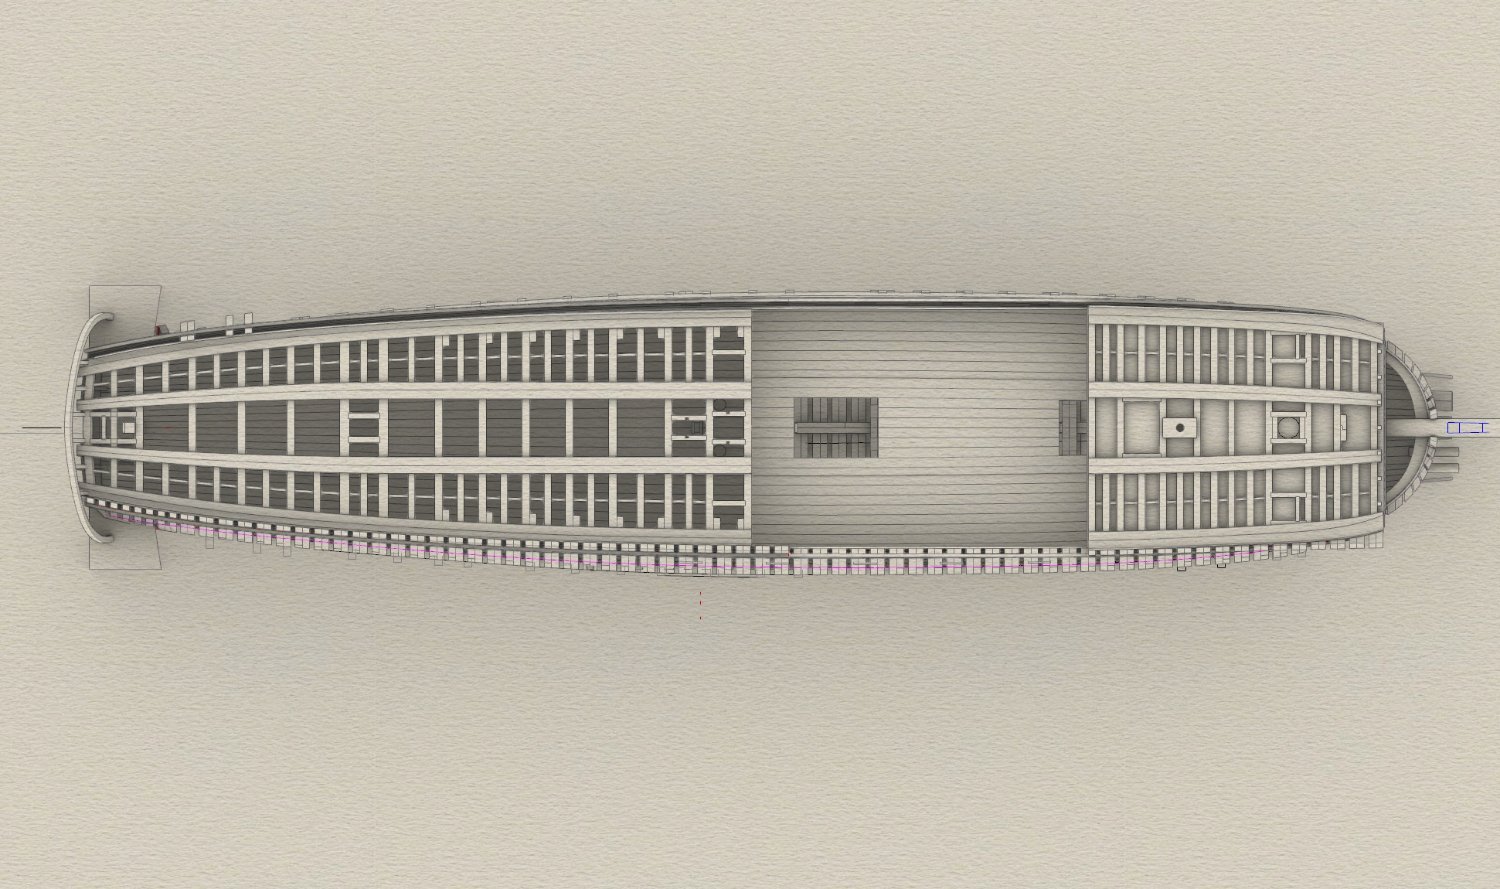
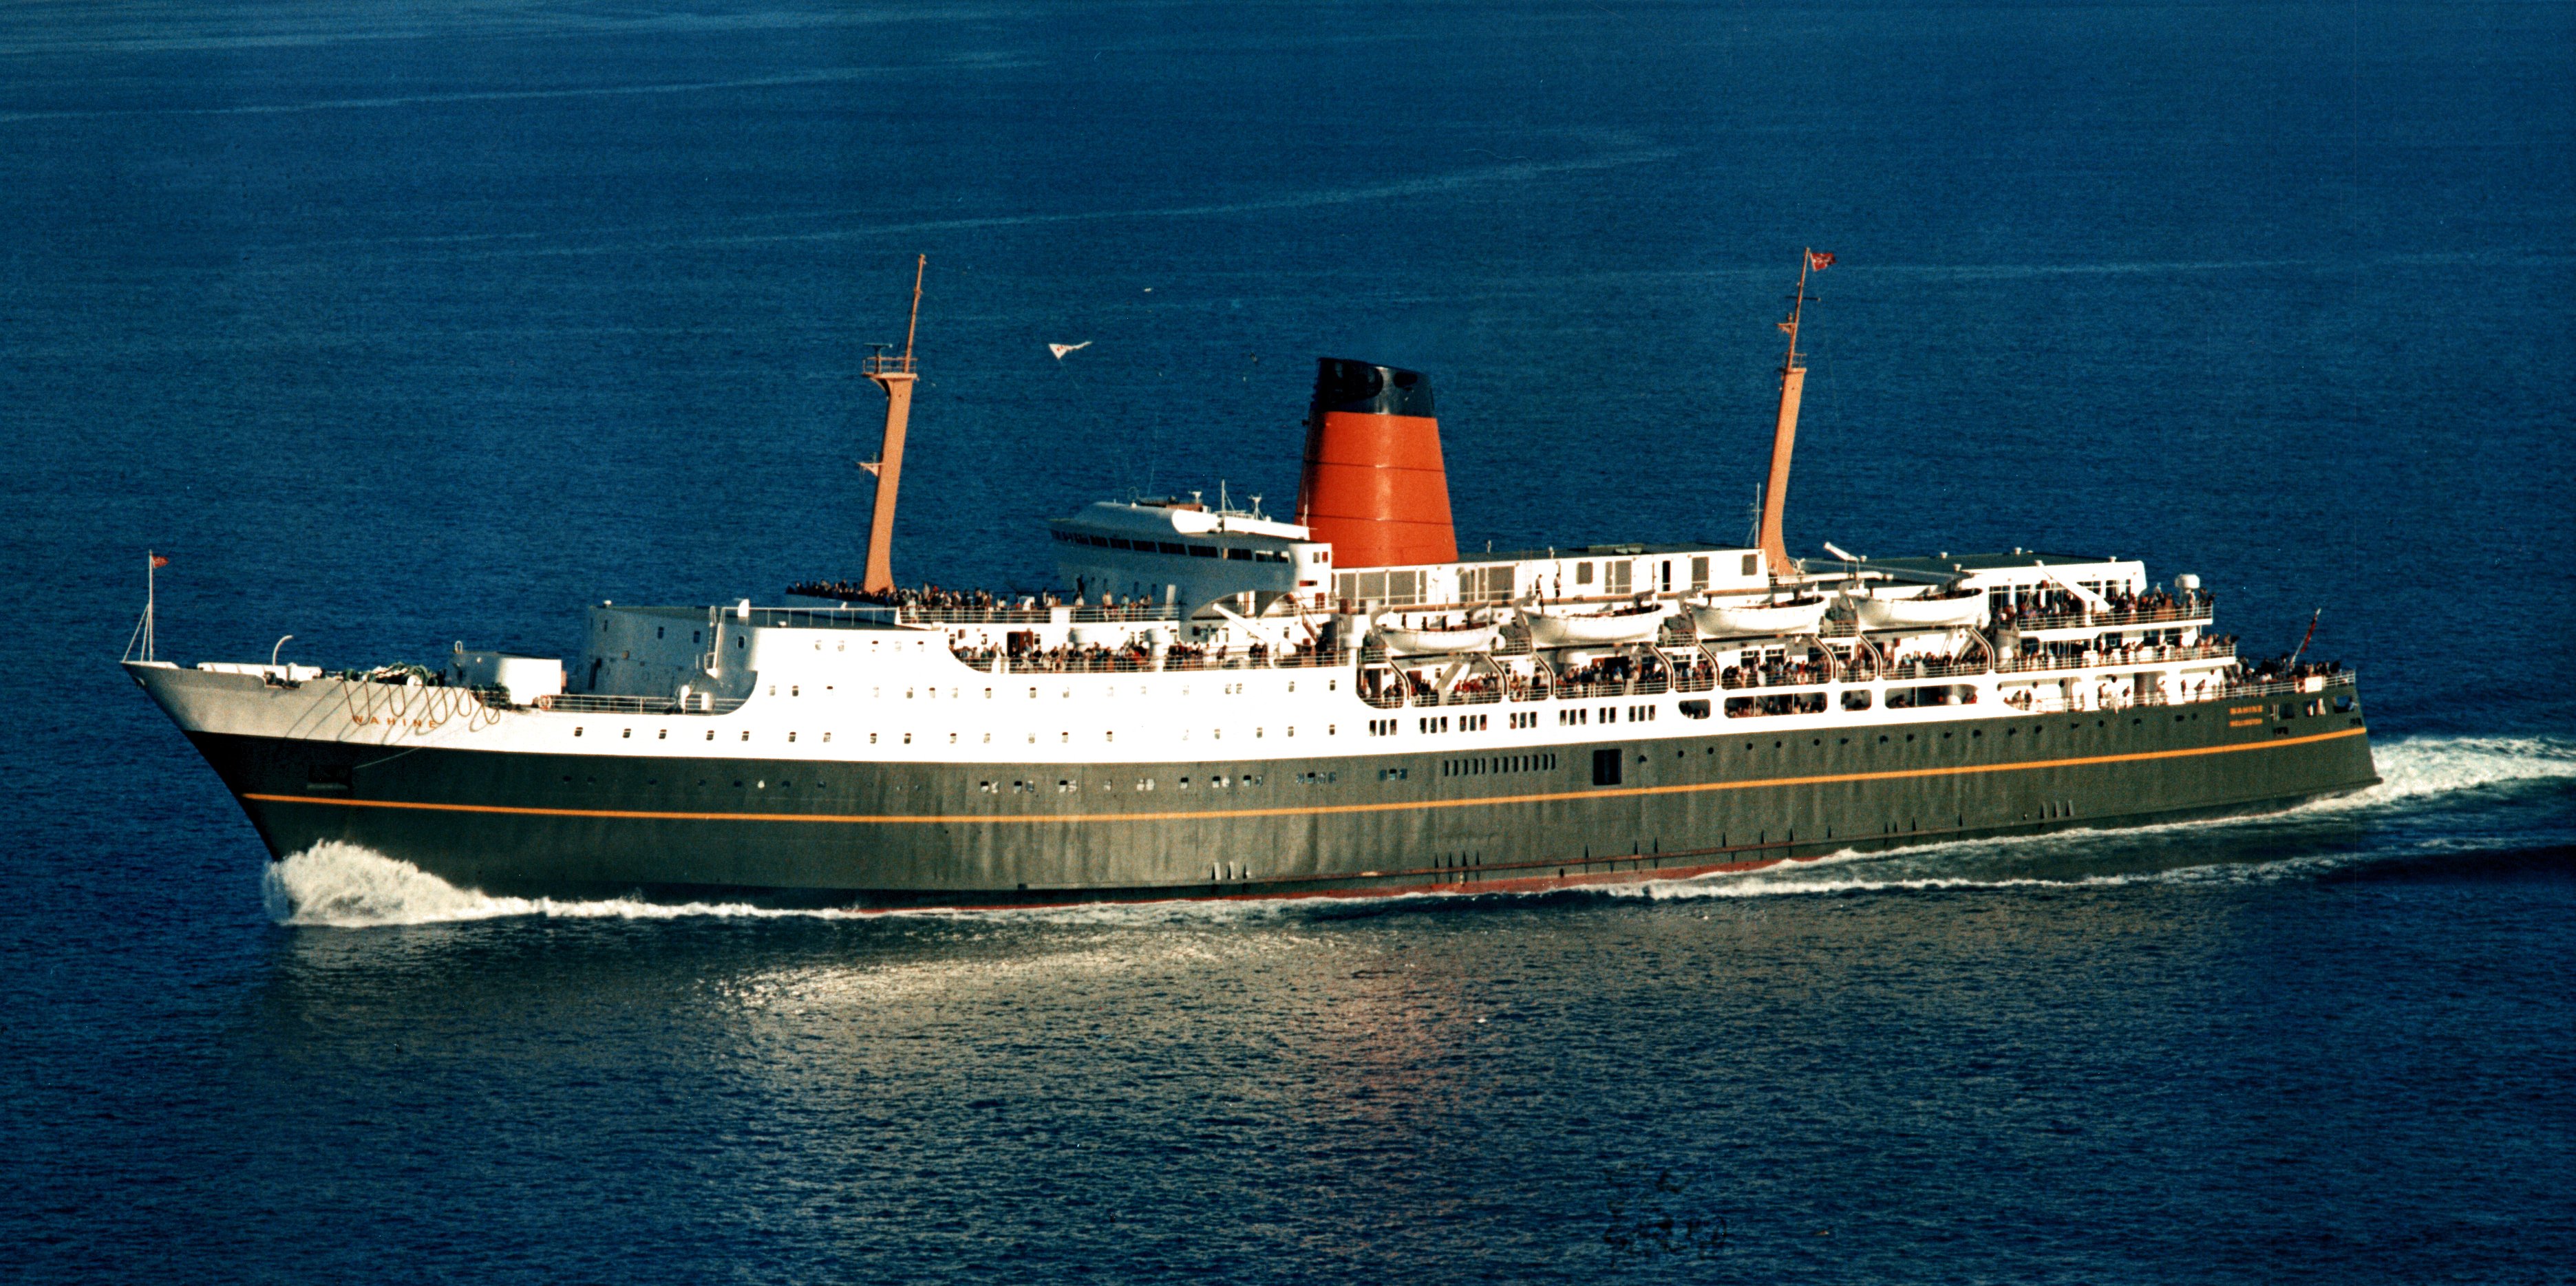
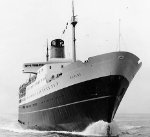
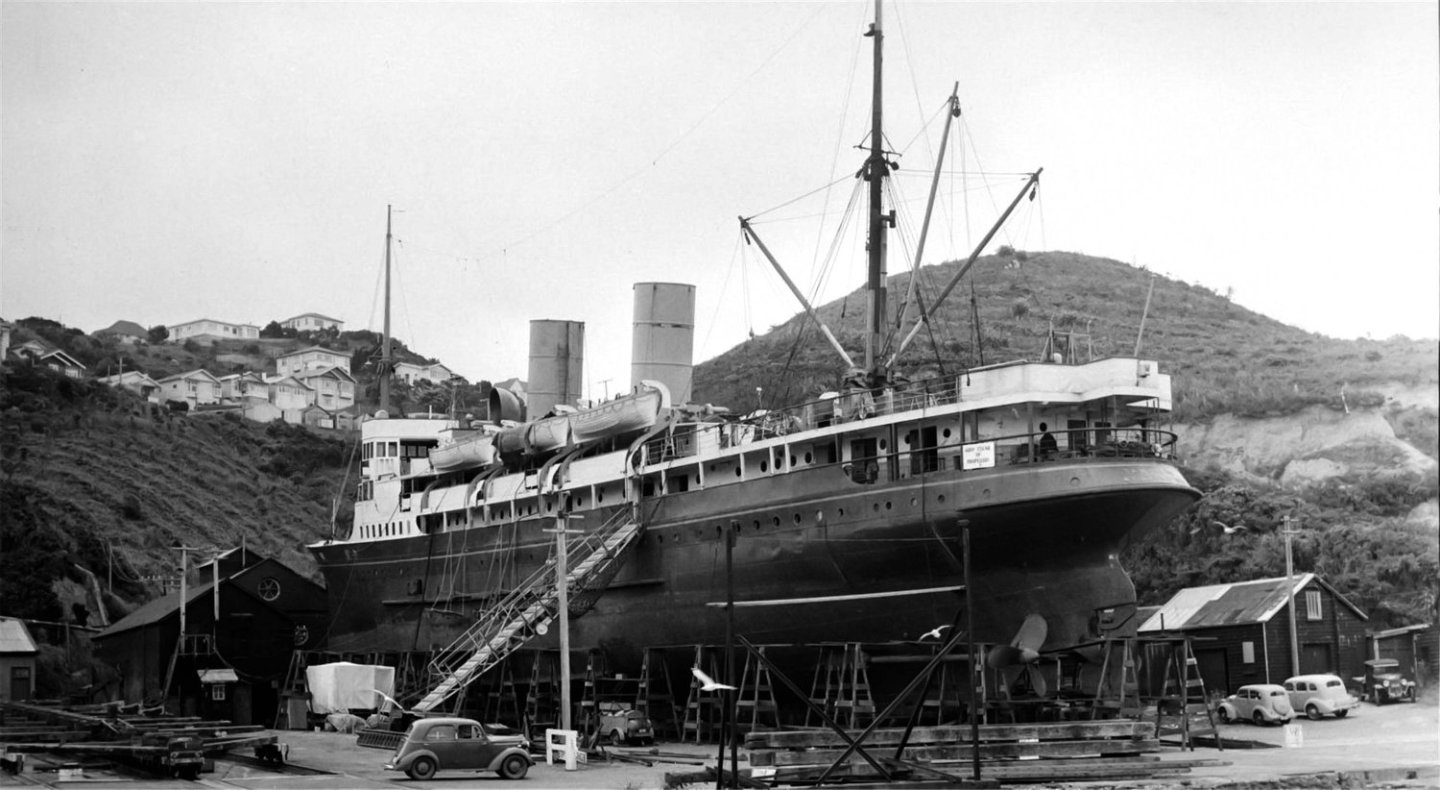
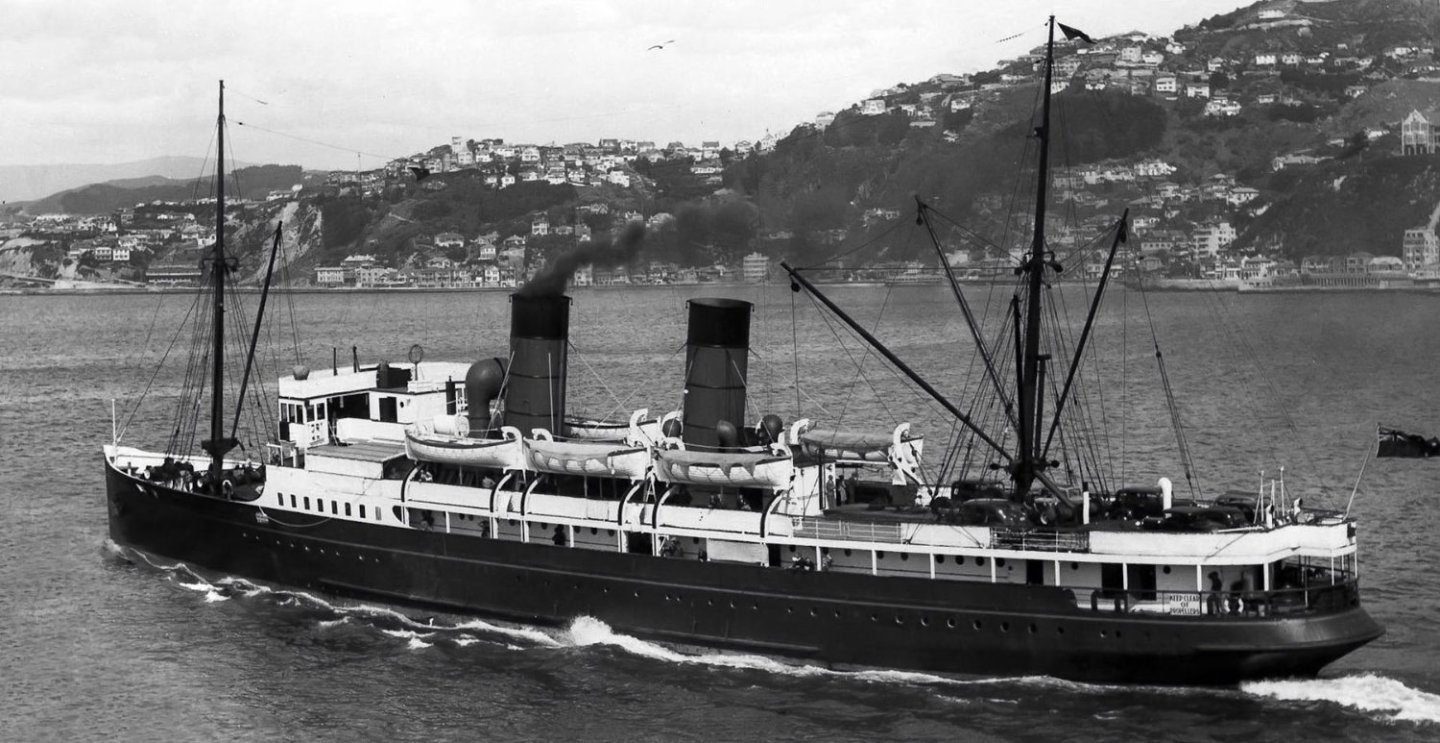
I don't want to star another build blog for this model as its commission and paid for but in case anyone is interested its this vessel. A very nice subject and not too much work at 1/48 and 1760mm.

-
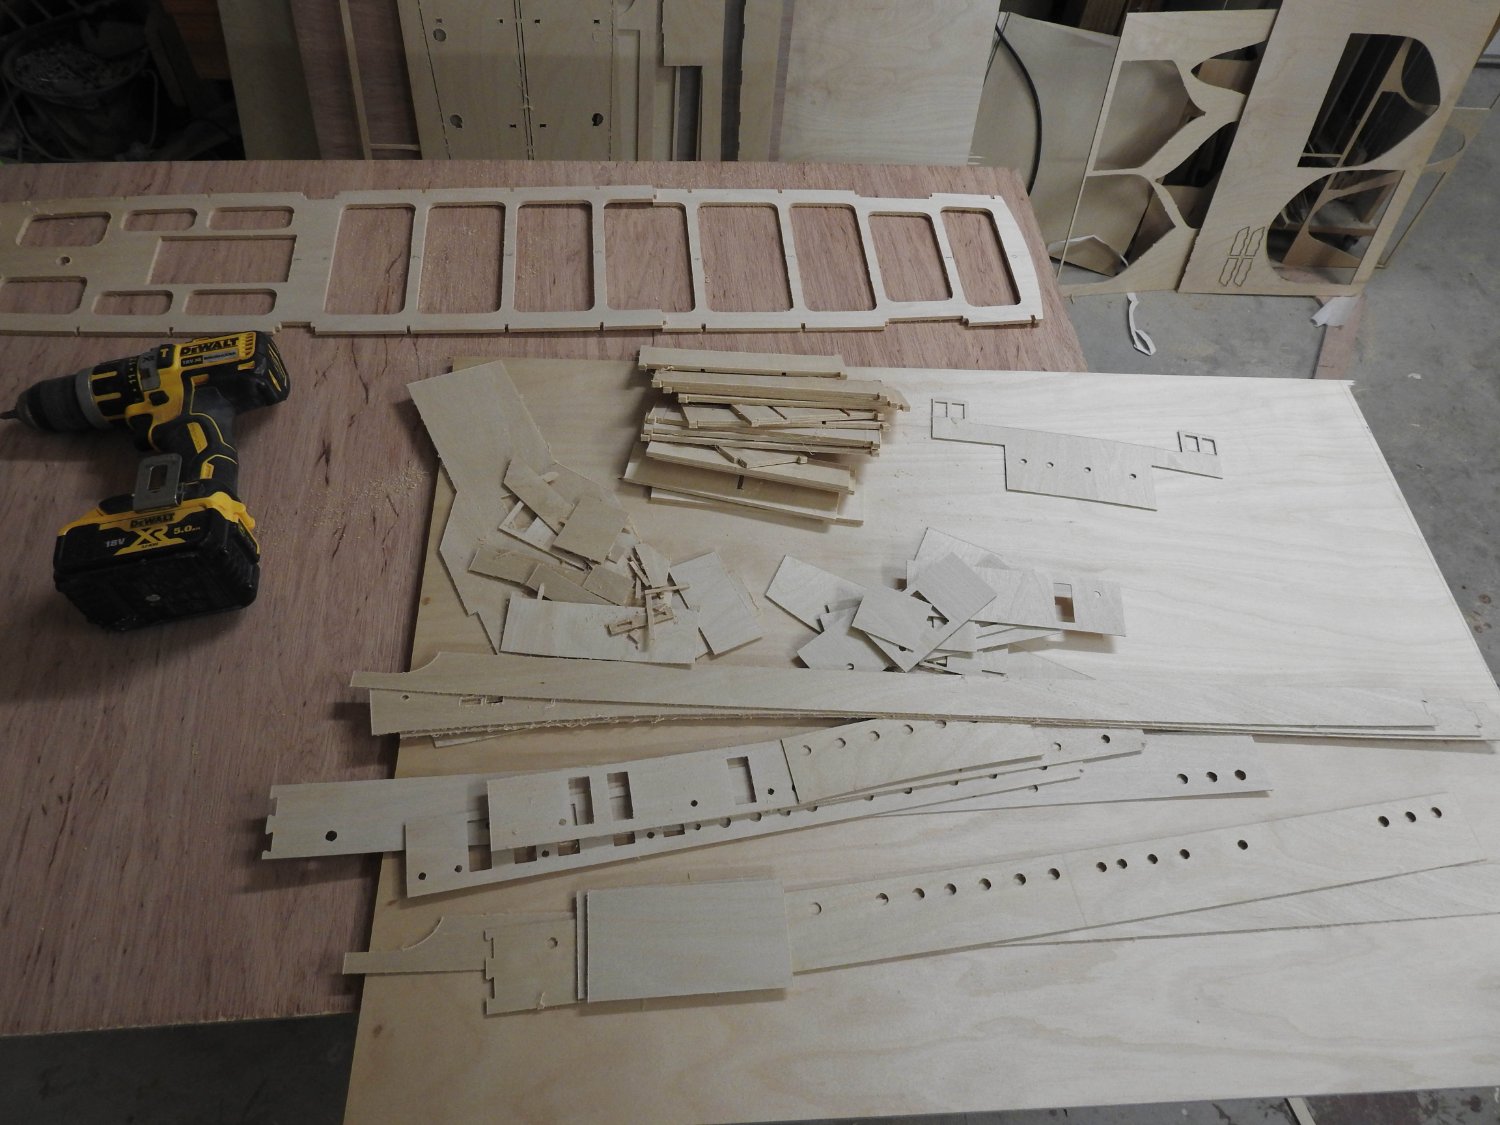
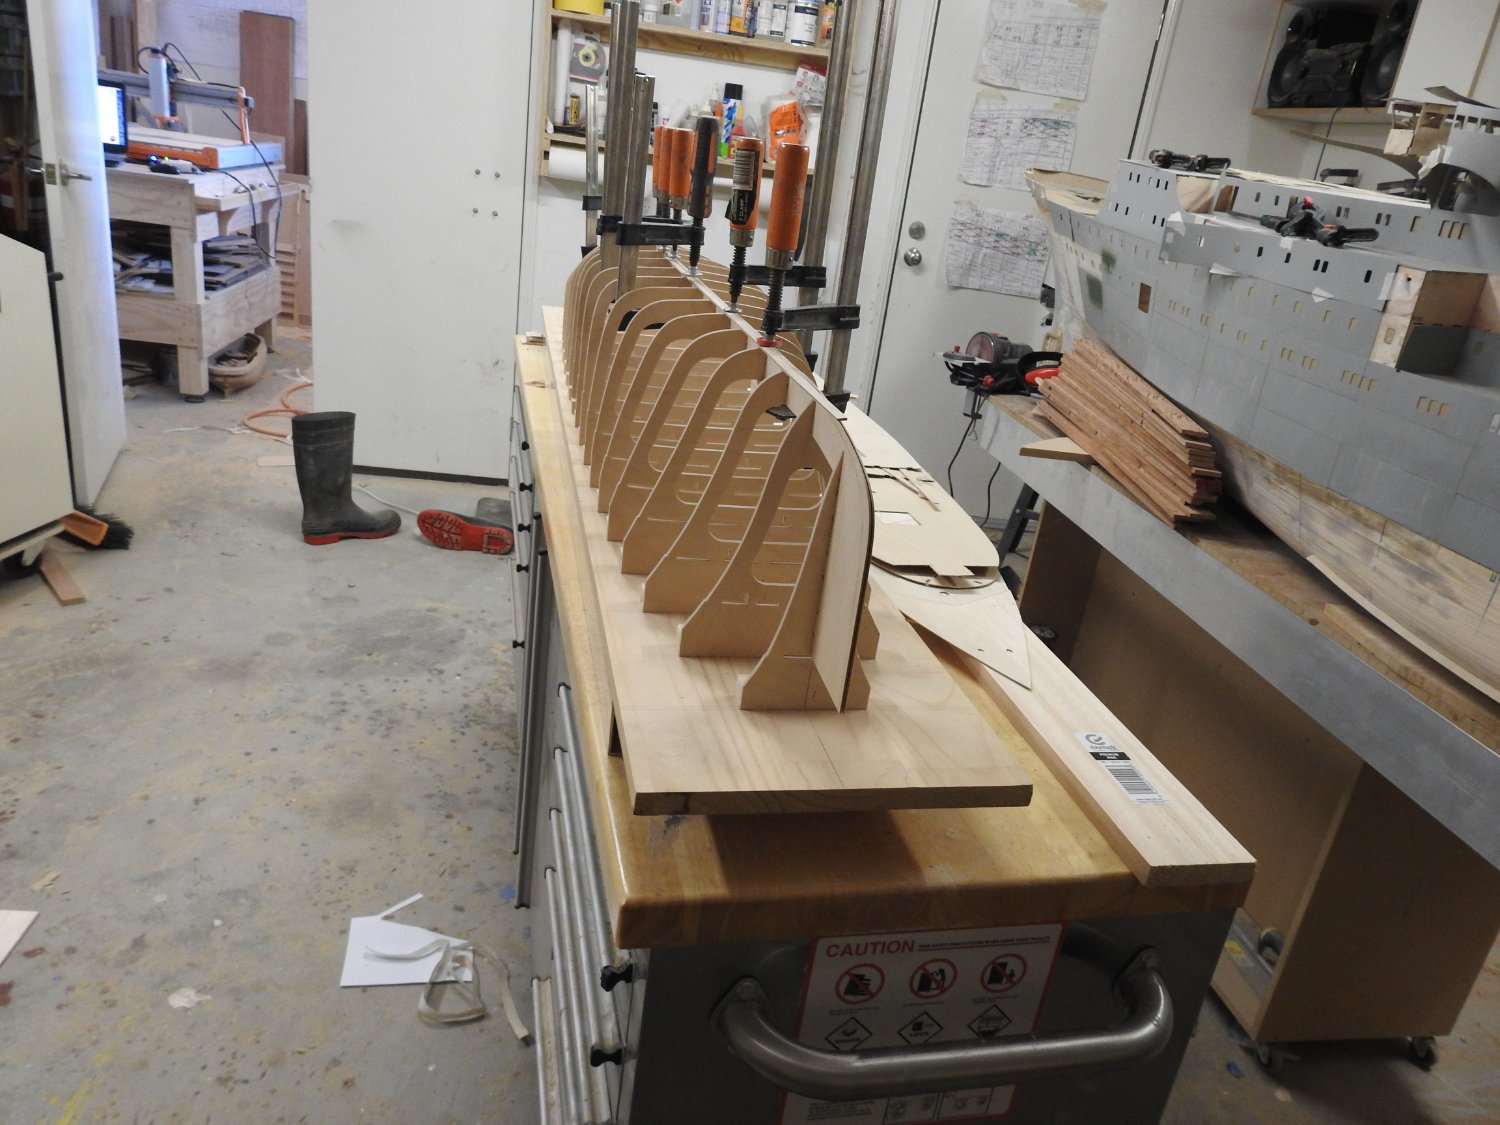
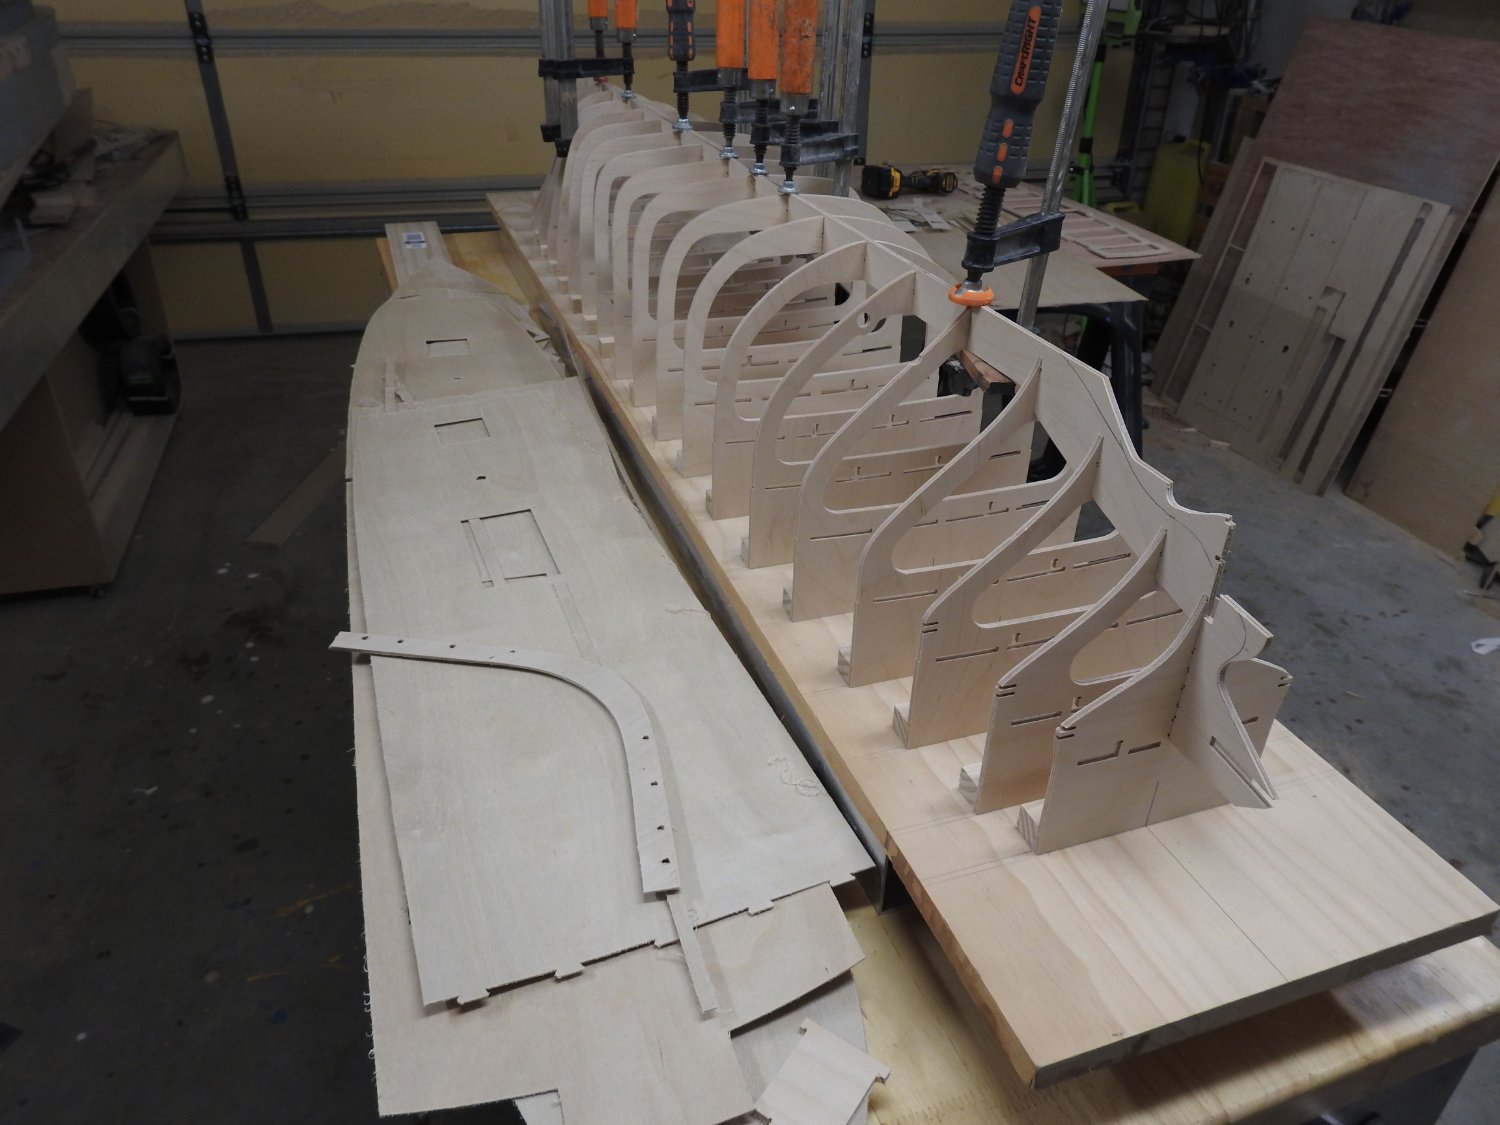
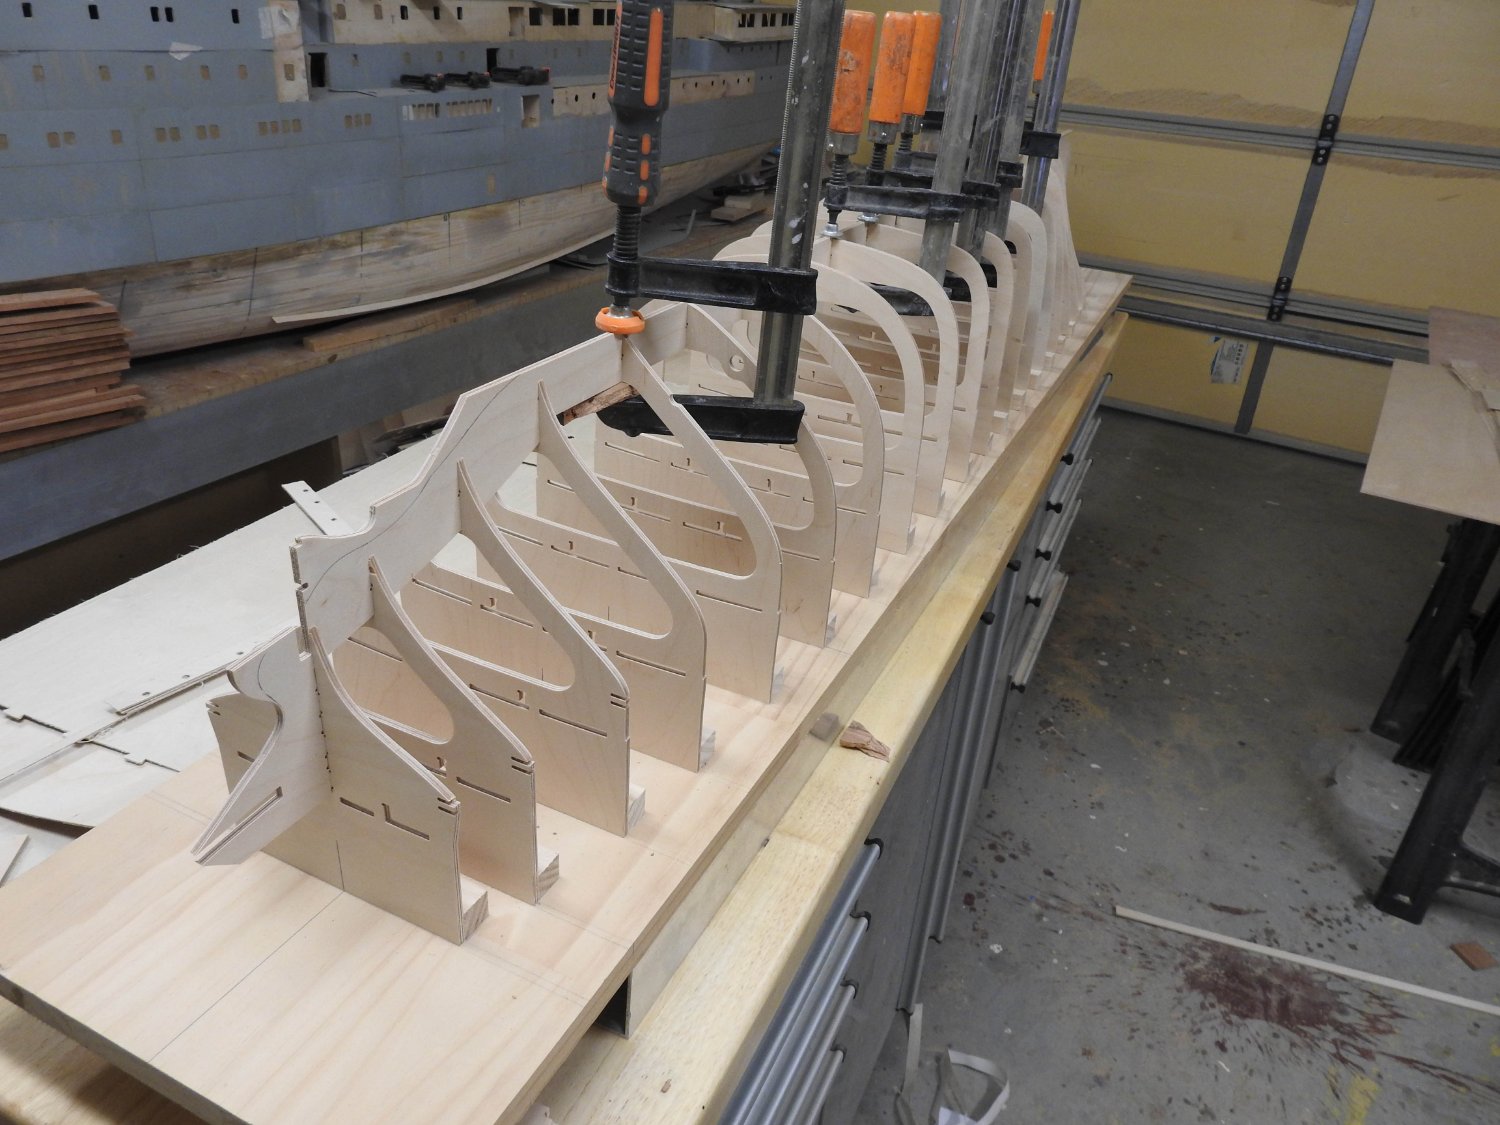
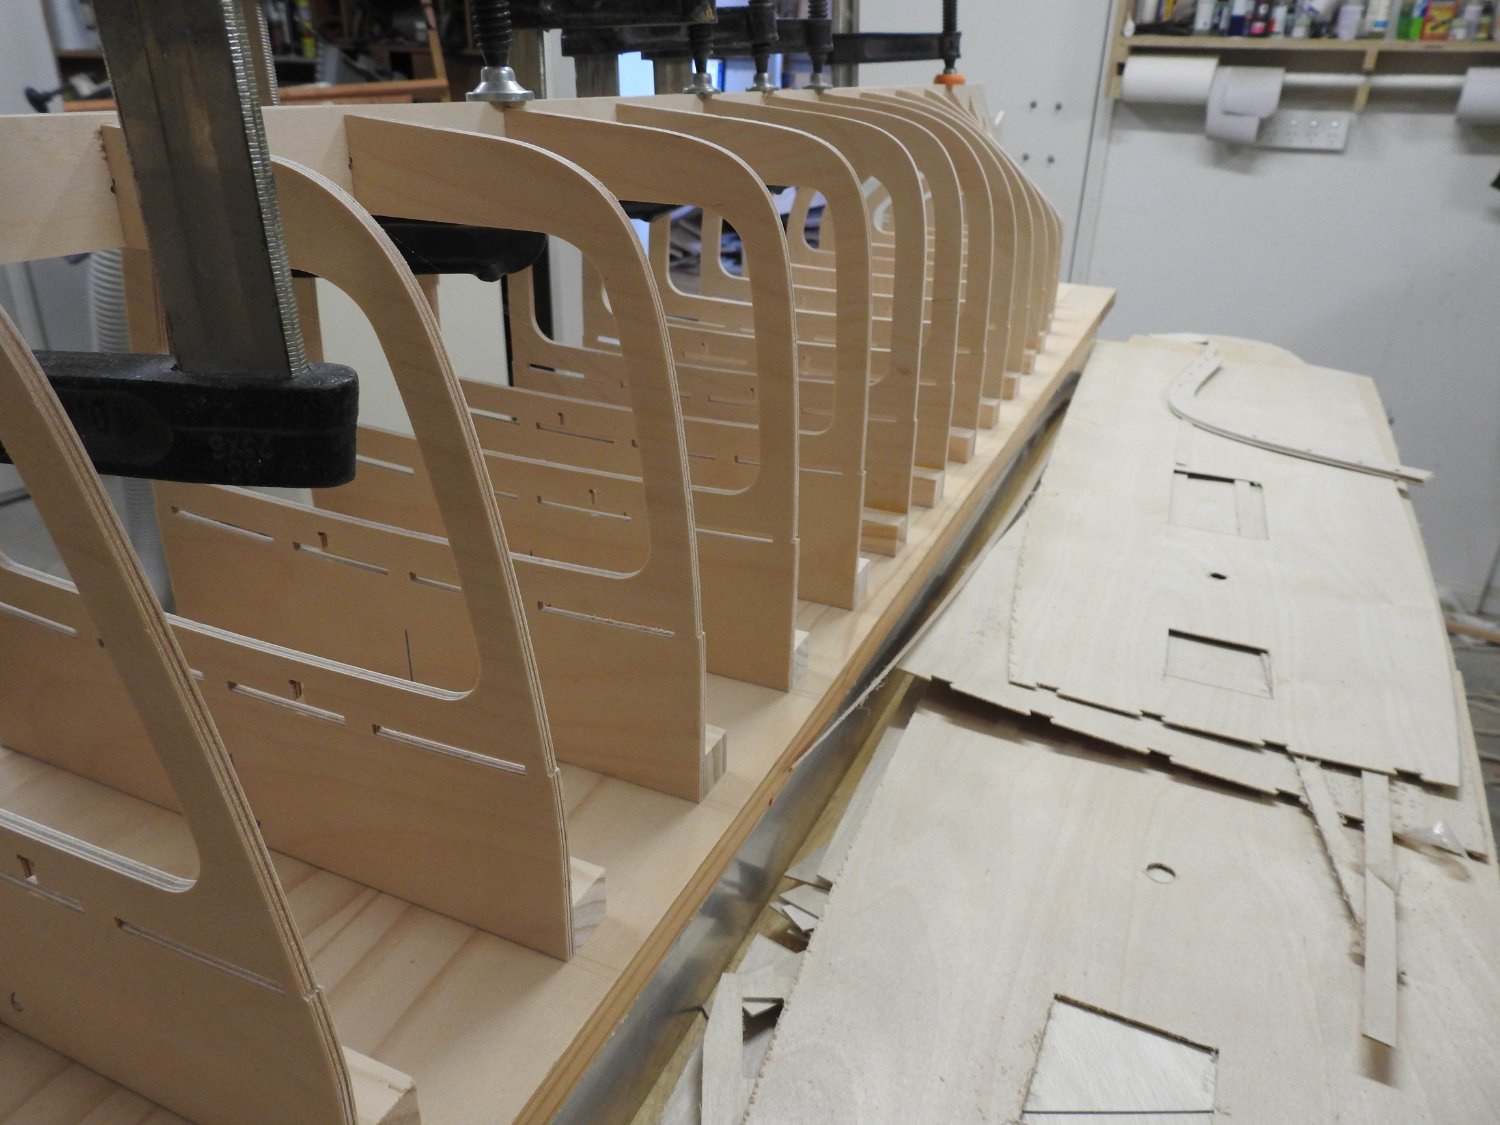
Some of the Le Gros frames cut stacked on baseboard in background of second pic, but the pics here are of the static commission build I have started 3 days ago, all ready to plank and completely cut out, decks, superstructure, everything!. Frames are 4mm Finnish 5ply,,, very stiff and wonderful to work with, the rest is 1mm ply Note the way I tab the frames onto the build-board extension and machine the decks in , these can then be cut of later with minimal clean-up to beams surfaces. The deep notches in beams are for the longitudinal deck stringer that form the hatch coaming sides and tie the decks together. Below are parts for superstructure ready to assemble.


-
And to slow down even more I have a commission to build a model to throw into the mix.
-
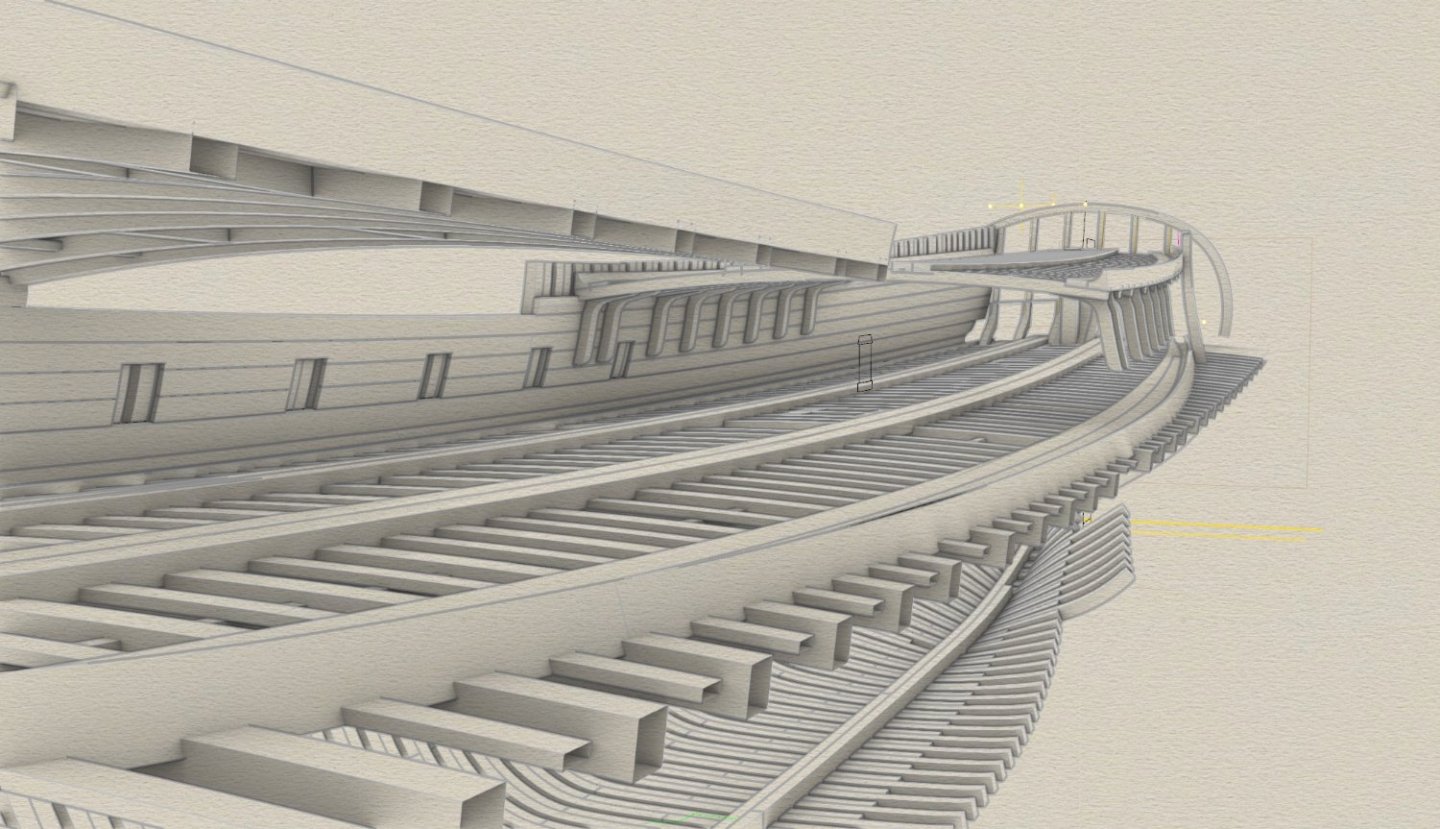
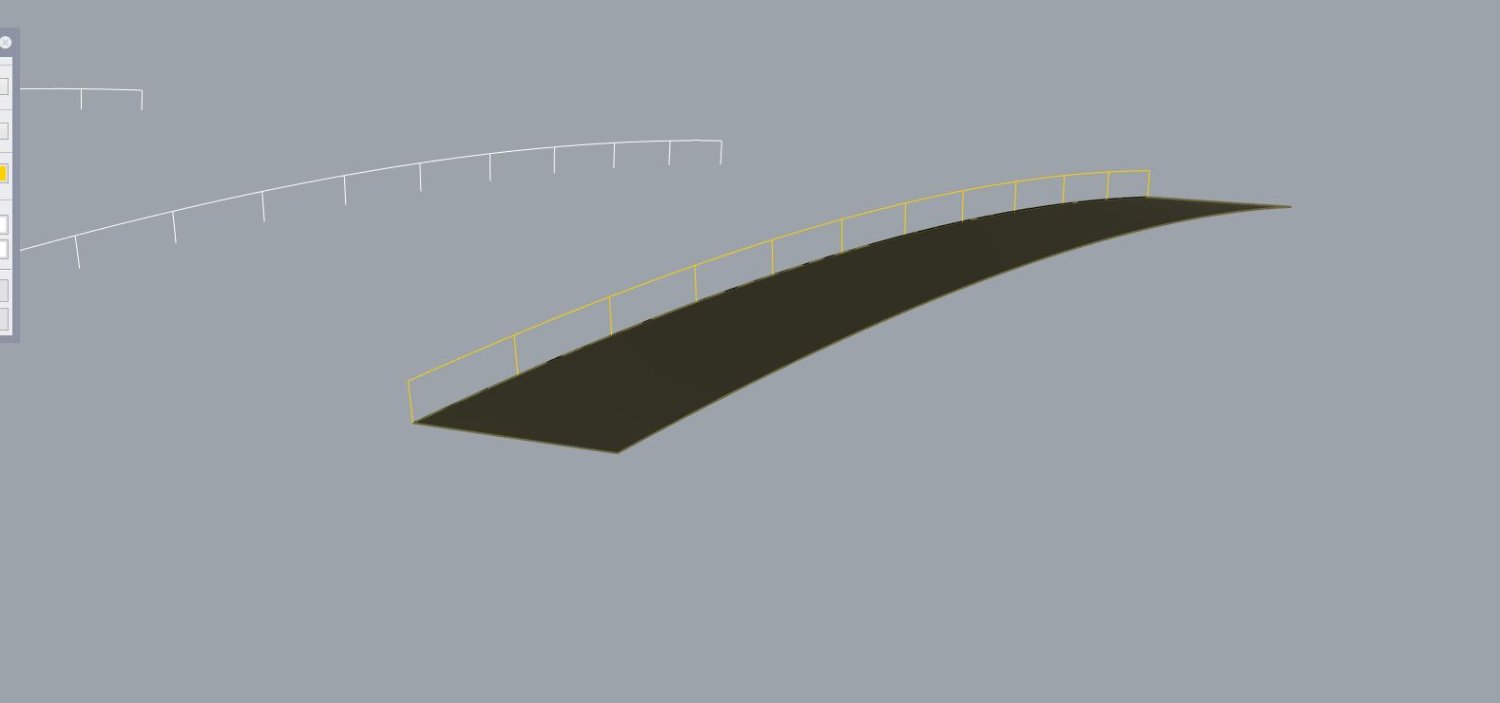
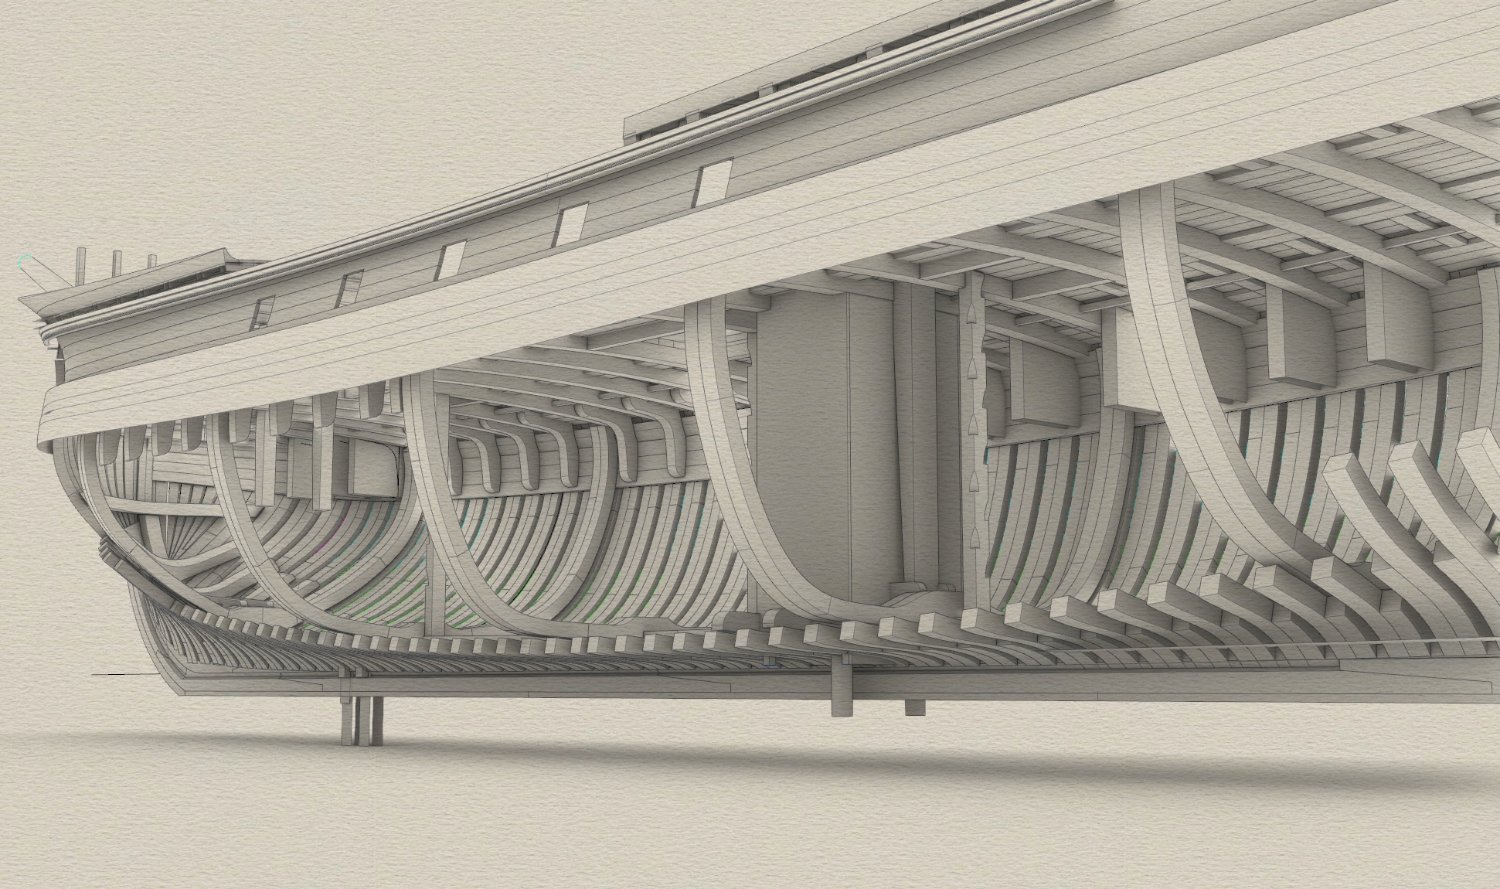
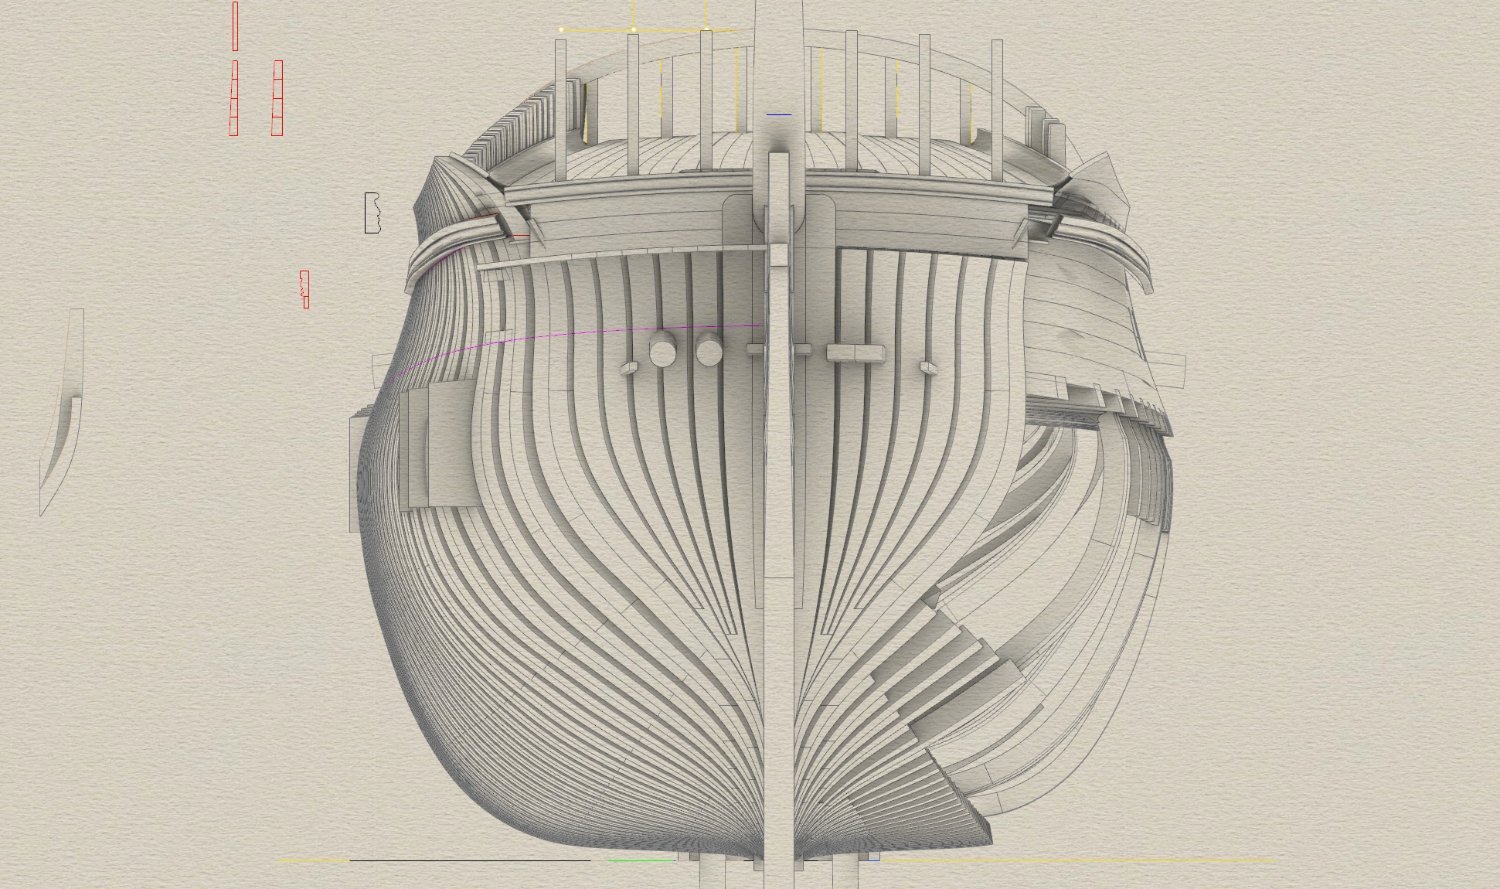
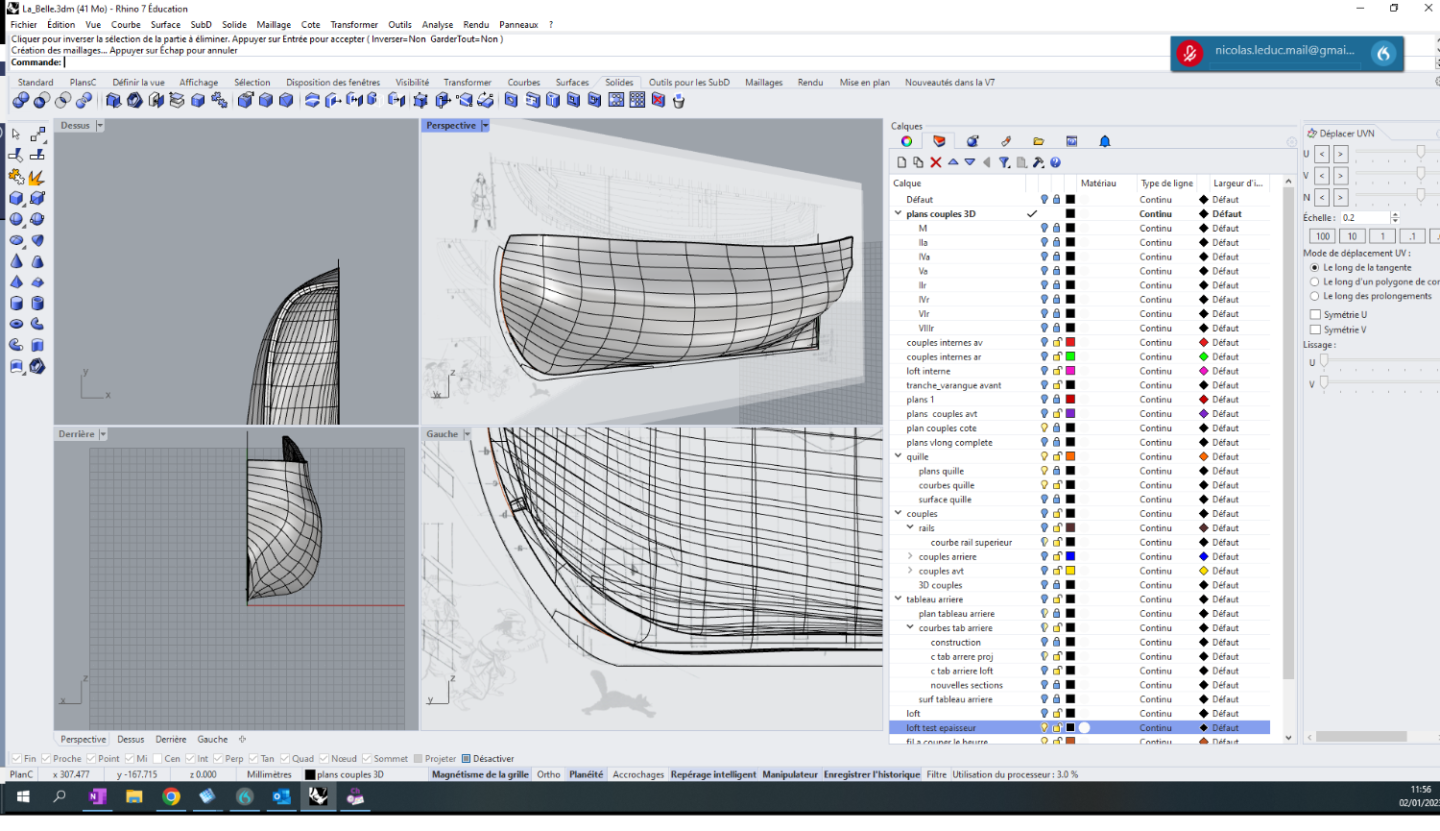
Also I just noticed this image, the isoparms on this are clearly showing a non smooth surface, I use the word smooth not fair because these ships are seldom fair in the way 3d software mans fair, so its all about looking at the lumps and removing wandering isoparms. as a rule isoparms should always be a good indication if this are right. To me one or more of those 2nd third or fourth lofts are not right, also try to establish a fair sheerline, it will help. the other option is to turn on gaussian curvature and manually move points with Move UVN and curvature graph to remove bumps but I still think a heavy handed result like that should not be needed based on my experience with these books. but this surface is for sure not right.....
-
In my opinion it is worth the effort to have your frames fair and correct in 3d before you start, no matter how long it takes. If you get the outside fair by lofting every 5th frame ,more at the bow and stern you should..... should have a fair surface. Mark the lines on that like ribbands that correspond to the futtock joints and then do an extrude normal to surface inwards to the depth the frames at that point, use the top of the floor line on centreline of course and then once done section those at the SAME frames you loft on exterior, this forces the loft to behave in the same way as the outer surface. and then run waterlines and buttocks etc to evaluate the surface. Looking at the images above the frames don't look that bad, but obviously they are if that's the result. did you trace the Monographie from the actual frame sections or the body plan? In mine I used the body plan but also set up every 5th frame as a reference to make sure it was within tolerance. I will give you a copy of my rhino file later so you can see how its done, I will remove some stuff though for copyright reasons. I should note to that that pink surface looks really nasty in regards to the isoparms, what type of surface is it? once you get a surface for the inner just define the edge of one mating face offset that on surface by width and cut and then do an offset surface with make solid on so complete the part, if you get joins you need to rebuild the curve first but pay attention to the tolerance of any change and keep it within .25mm..well I do anyway. Could you send me the rhino file with just the lofted inner and outer surface and the curves for me to look at?.
-
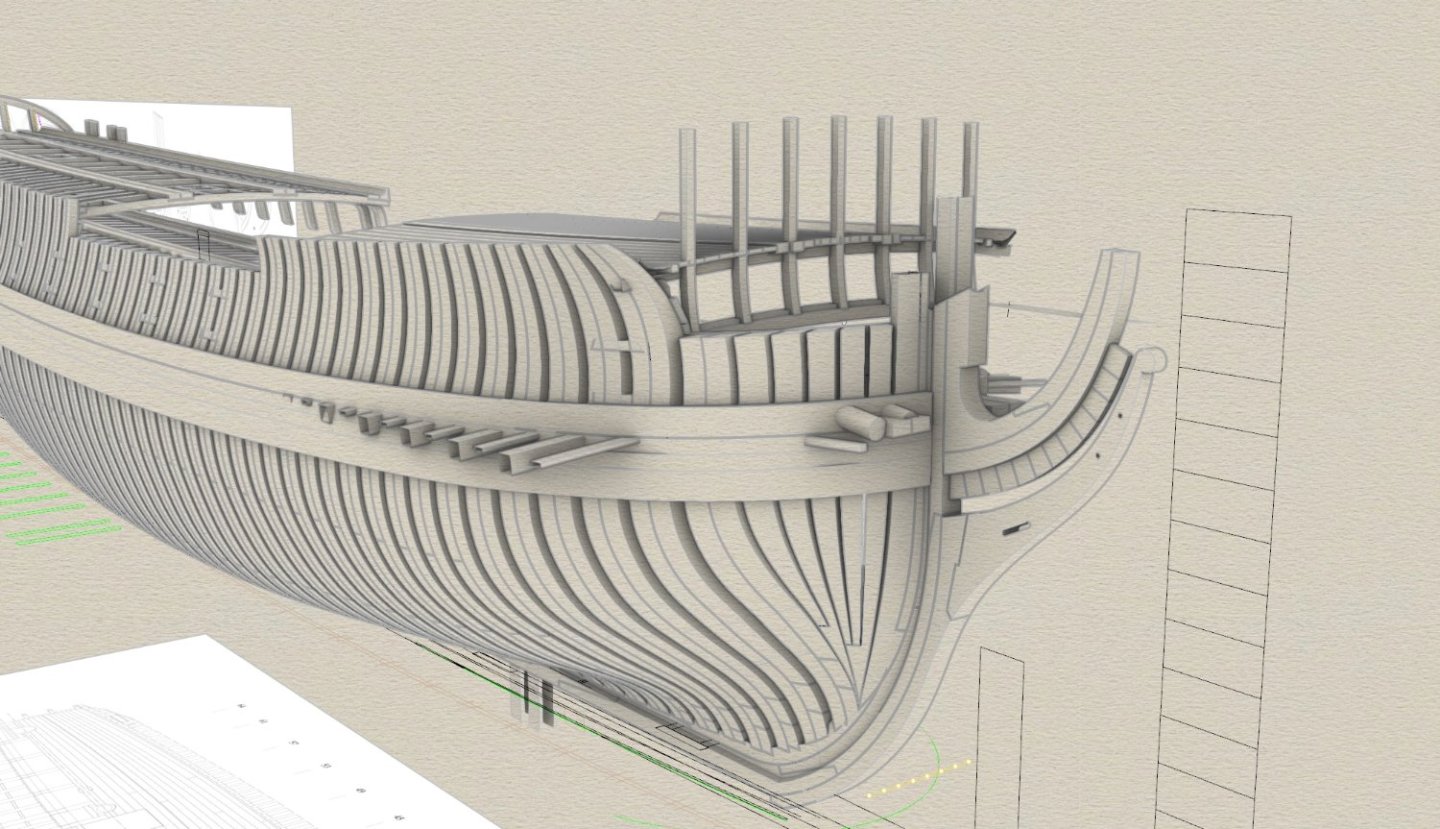
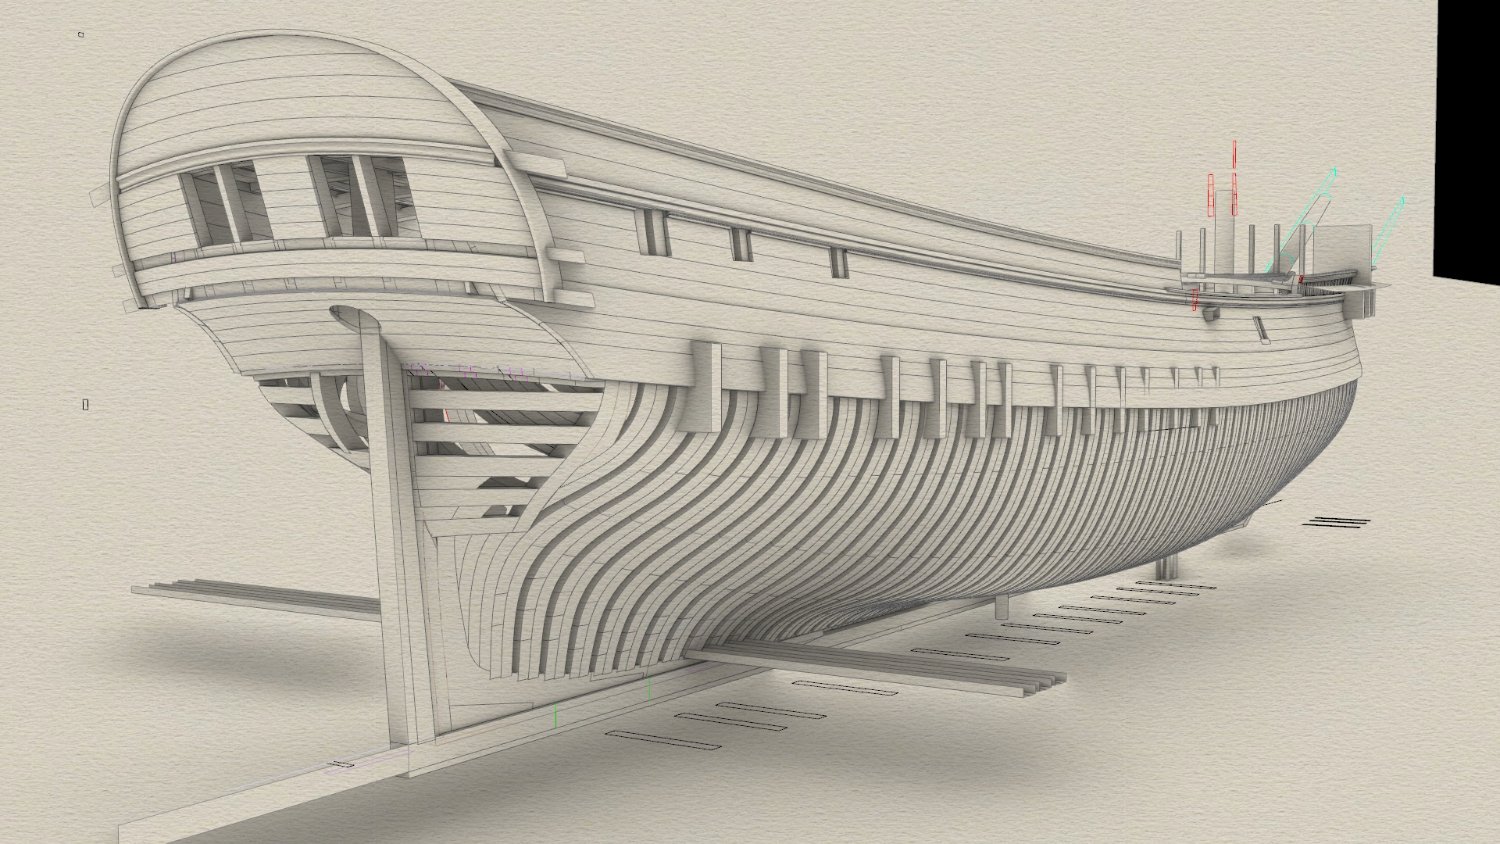
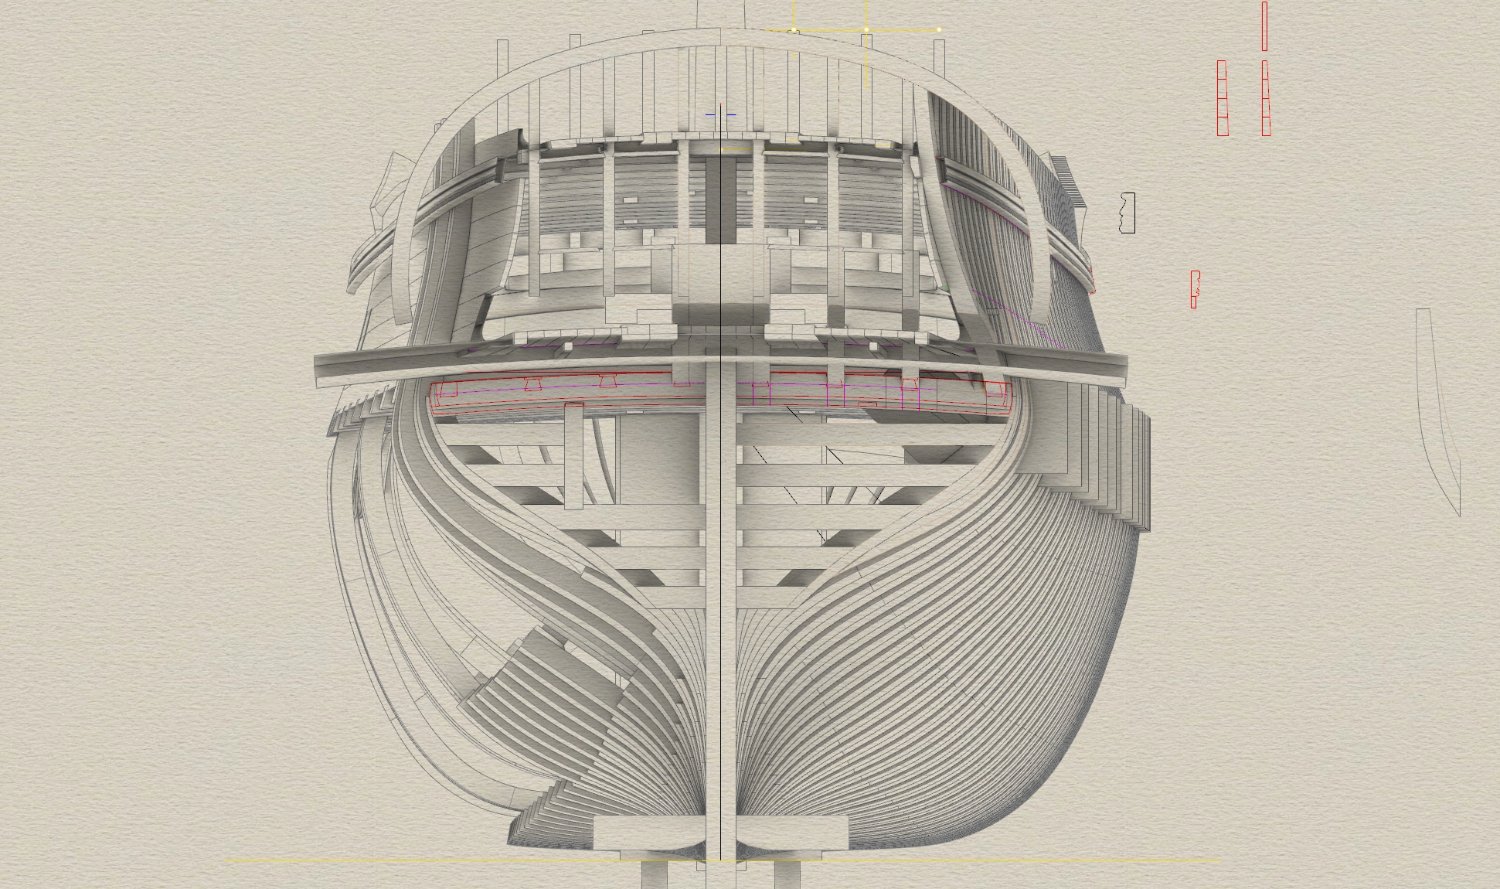
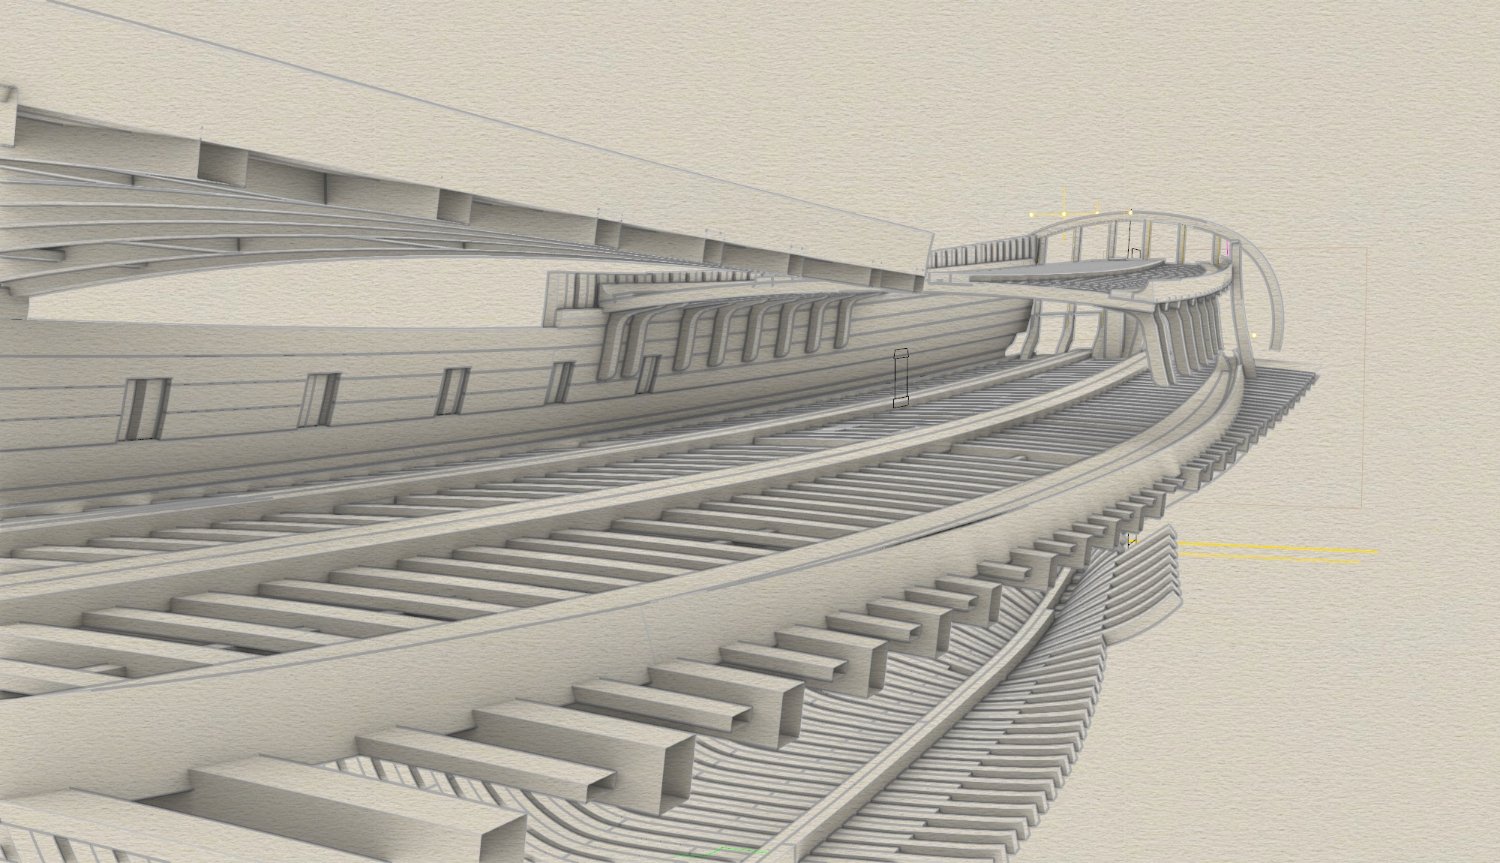
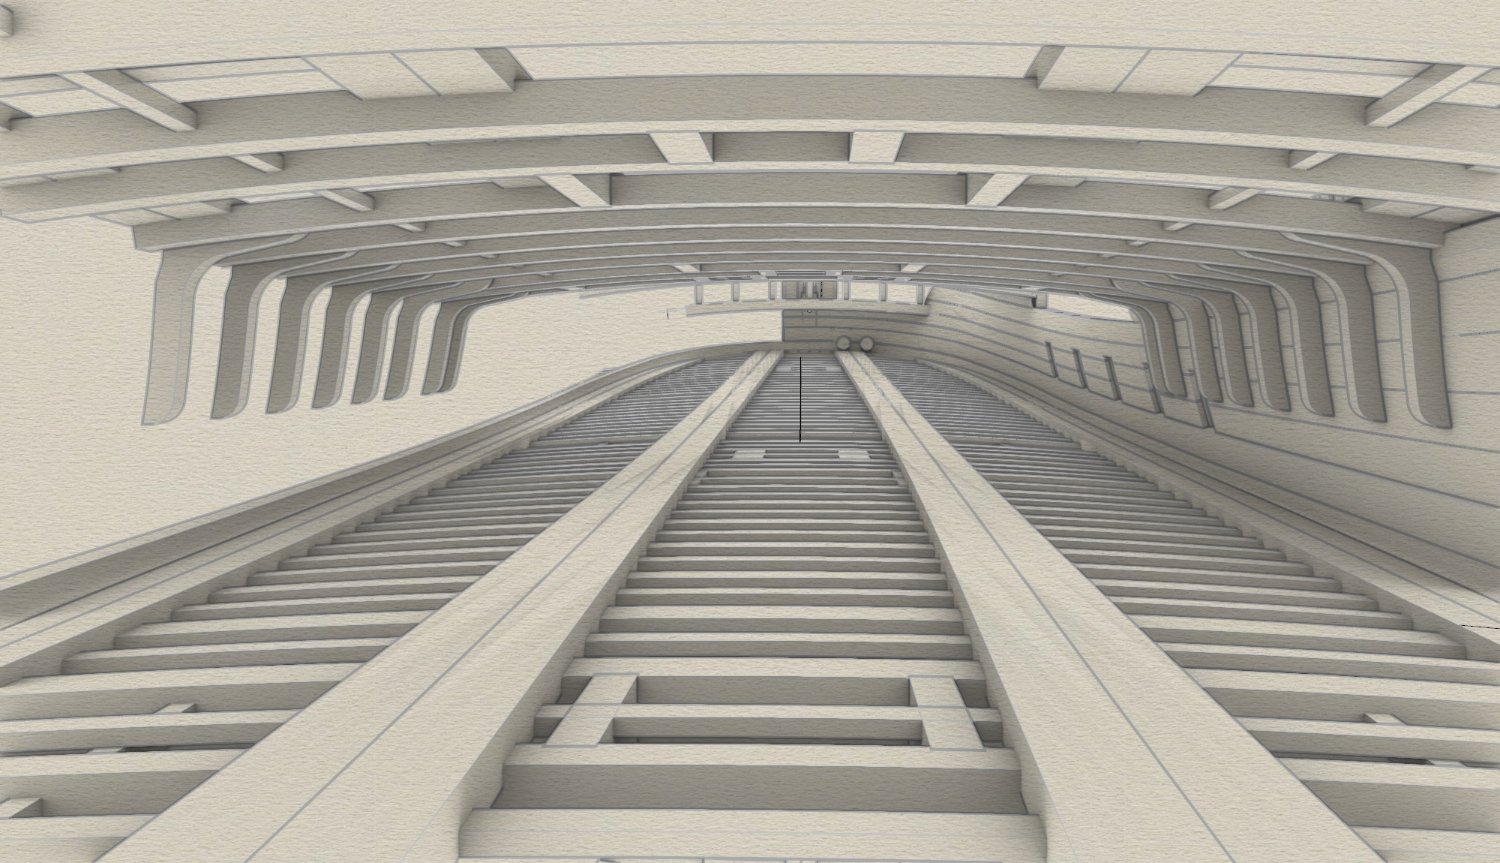
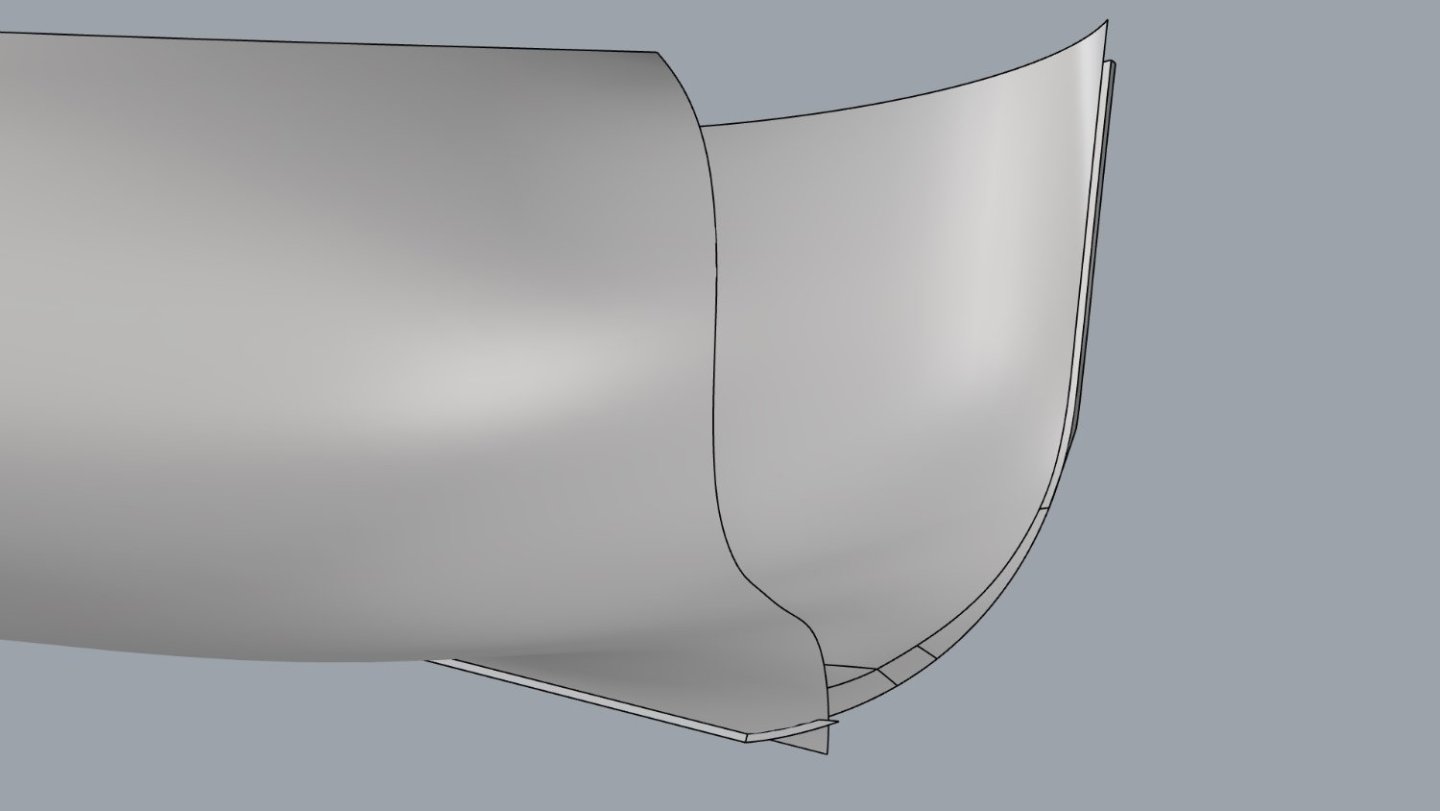
By the way don't feel you have to build a hull with one surface, it seldom is done that way except racing yachts My hull surf in bow is done like this, as long as the lines are fair and the surface tangency is tangent or curvature continuous as needed. the smaller cuts are a result of later work cutting the bearding line etc. I have waterlines and buttocks update constantly to check and also in this case after the main body is lofted I will project waterlines onto front edge and manually create bow waterlines by tracing plan view into rabbet and then lofting the bow surface using curvature continuation, the forefoot patch is just a patch to fill the hole. but the result is still better than ok. I have done this for many many ships including the Cutty Sark restoration, where the counter was a separate surface.
-
Porcupines.

-
If you can pm me with some shots showing me the issue I will show you how to fix it, I just don't understand what the issue is yet.
-
I have now machined all the futtock timber stock into Quarter sawn planks, one plank per frame 750 x 50mm x 8.5mm allowing for final sanding to 8.41mm and have also cut the actual futtocks for frames 15-34.
-
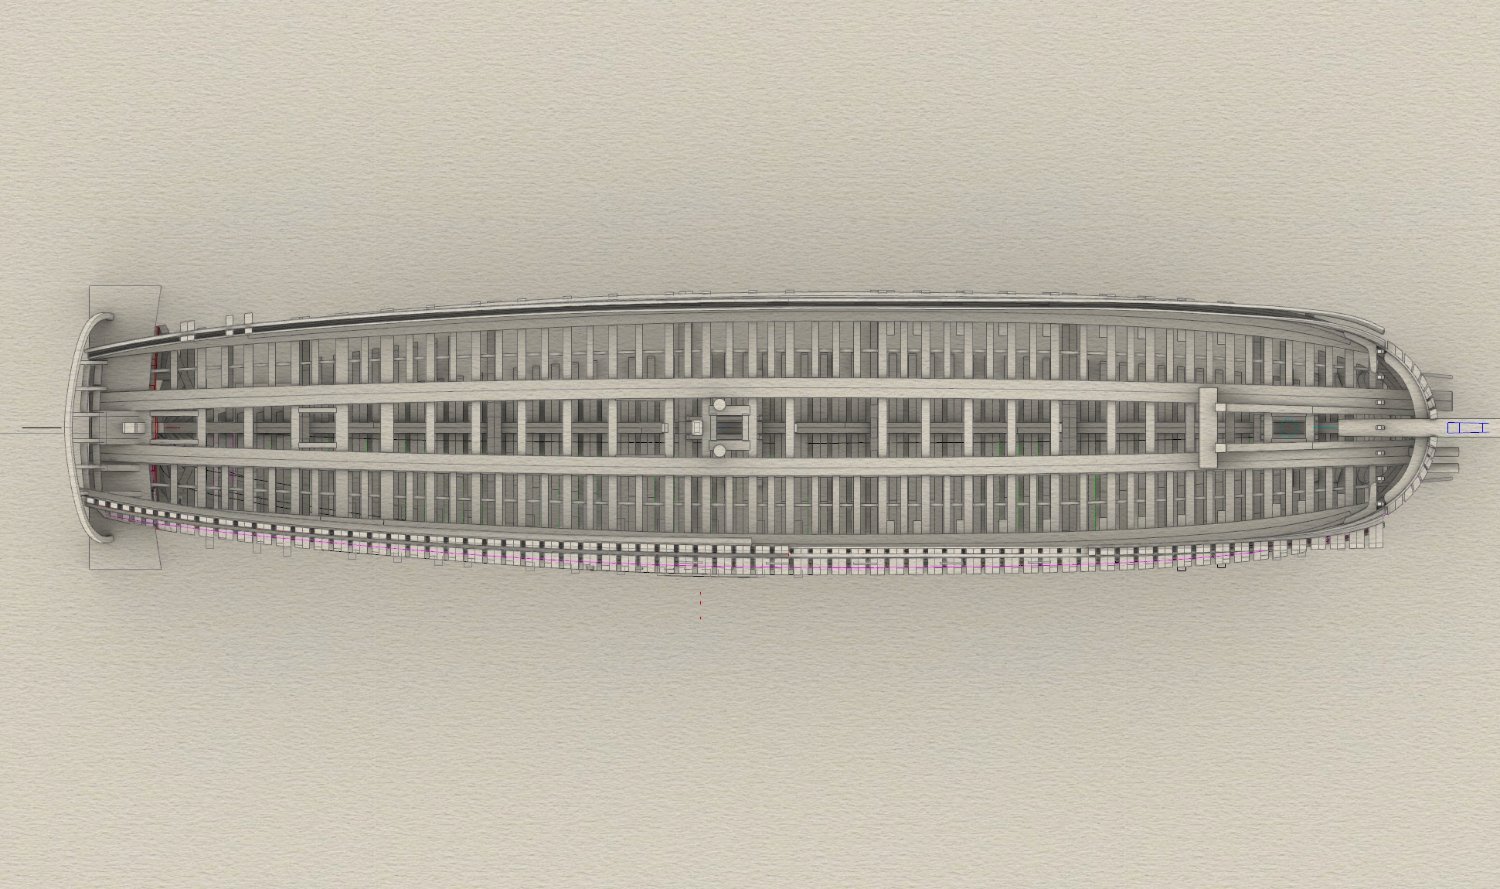
I am using CNC to cut the main parts and futtocks but not bevel, I will be doing most joints on a milling machine and bevelling like everybody else by hand. In order to bevel I need to be able to do a 2 sided job and frankly the setup and jigging would take longer to do than the bevelling, besides I would feel I am missing out on a challenging job. Also my CNC is temperamental and I don't want to risk the bevels and ruining my futtocks. Actually I am from New Zealand but close enough, And yes the hull I have made is lofted from Gerard's frames, I used every 5th frame, I had no need to change any either but if you trace every frame you will get waves and unfairness just due to the tracing and line thickness. The definition of fair is indeed different nowadays, back in the early days they were not trying to get streamlined hulls as much as just remove high and low spots, also the way the frames are shaped in old ships with that distinct array of arc and tangents is very deliberate, if one pays close attention to the shape of futtocks that result from this formula it means that the futtocks shapes change very little from frame to frame over the middle 3/5ths of the vessel and instead the angle they meet at does, this makes it I believe possible to predict the stock of timber and ensure that futtocks can be obtained from trunks, of course at the ends they would have to use bent trunks etc but for most I personally believe that's the reason the sections have that zoned collection of arcs apparent in nearly all ships of the period. Not the only reason but one of them. I do not even use porcupines to fair lofts in this case, as long as I build the lofted surface with enough Isoparms to follow the shape, I think Le Gros Ventre used 30 around half girth. Most ships now have lines that are 3 very distinct zones, aft, mid and forebody and the middle is often completely unchanged so it can be lengthened or shortened if needed .even some Catamarans I designed for a navy oceanographic vessel years ago had a lengthenable hull I was provided with to modify.
-
I removed the file as I was not happy with something.
-
Sure, I have emailed you.
-
Layers are not all that organised yet either, I don't work that cleanly, I always get hassled at work about it to in my professional work but meh. I prefer to tidy up at the end.
-
For anyone wanting to look at it, it is still not finished but is close to being structurally done here is a 3d pdf, you just need Adobe reader and turn on layers to be able to turn parts off. if you find any problems please let me know. I recommend using shaded outline view Its not pretty to view in this way but at least its secure.
-
Keen to hear what others who have done this build say but I am going to make a prediction, I expect the hardest part of fitting to be the fitting of the waterways and outer binding strakes to the dovetails in the top of the deck beams.
-
A little disappointed in Ancre, I had a large part of the lines plan missing as it did not print the bow and advised them on 14/11/22 with a photo and not only have I not got a replacement but not even had a reply to the email.
-
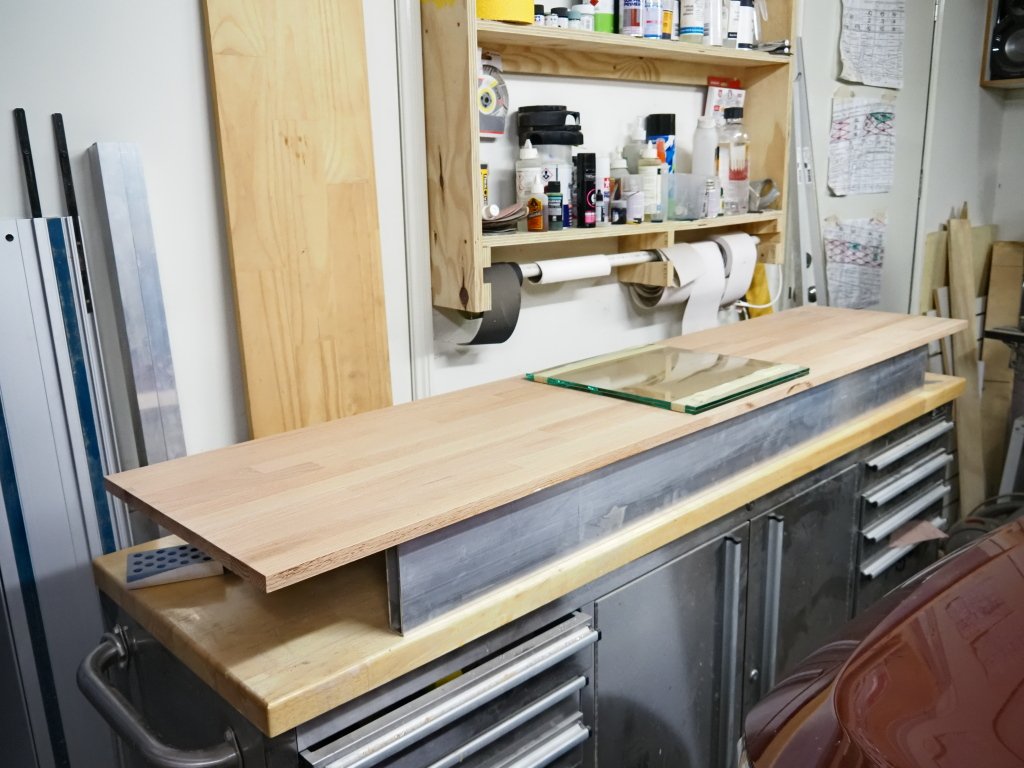
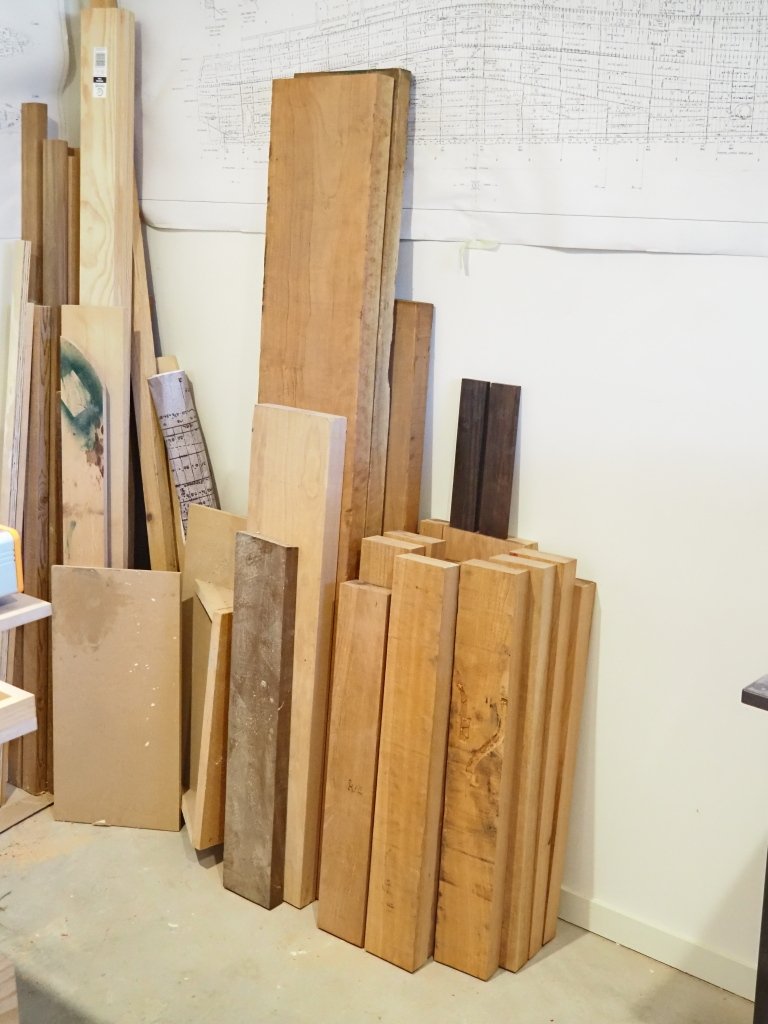
The building board made from finger jointed red oak and the nice strong bearer's. The board is 150mm longer then hull each end so the hull is not that big really, the plate glass which is of coarse for frame assembly is 350 x 350mm x 6mm. Also the final quantity of wood...maybe overkill but also you can see the ebony for the deadeyes and other parts.
-
Not that big really, although rigged she will be I suppose.
-
I am not taking any credit, that goes to Gerard for the amazing work he did.
-
An example frame 12, although individual futtocks will be laid out separately Frame_Test.pdf Frame12_Futtock_patterns.pdf
-
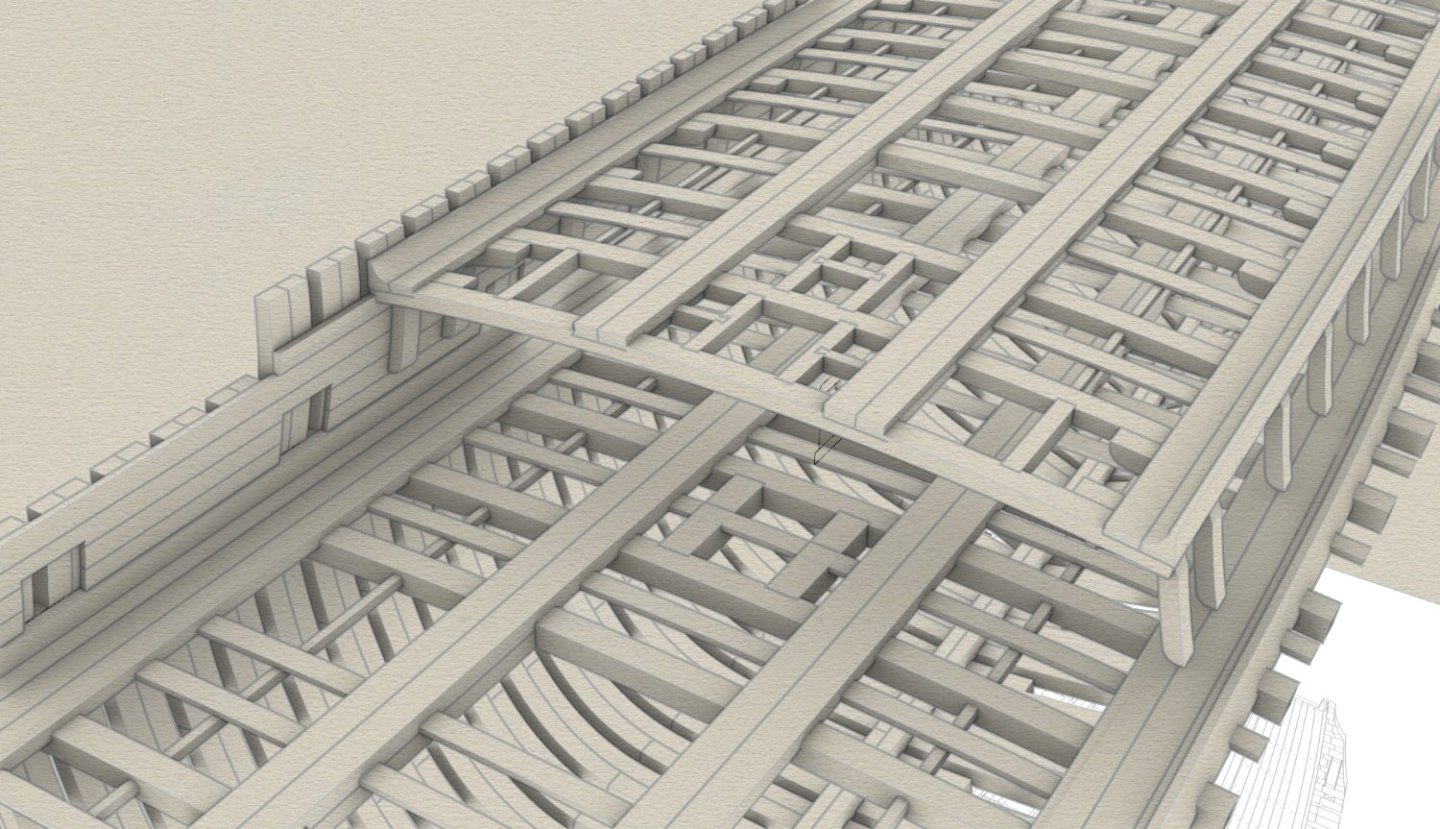
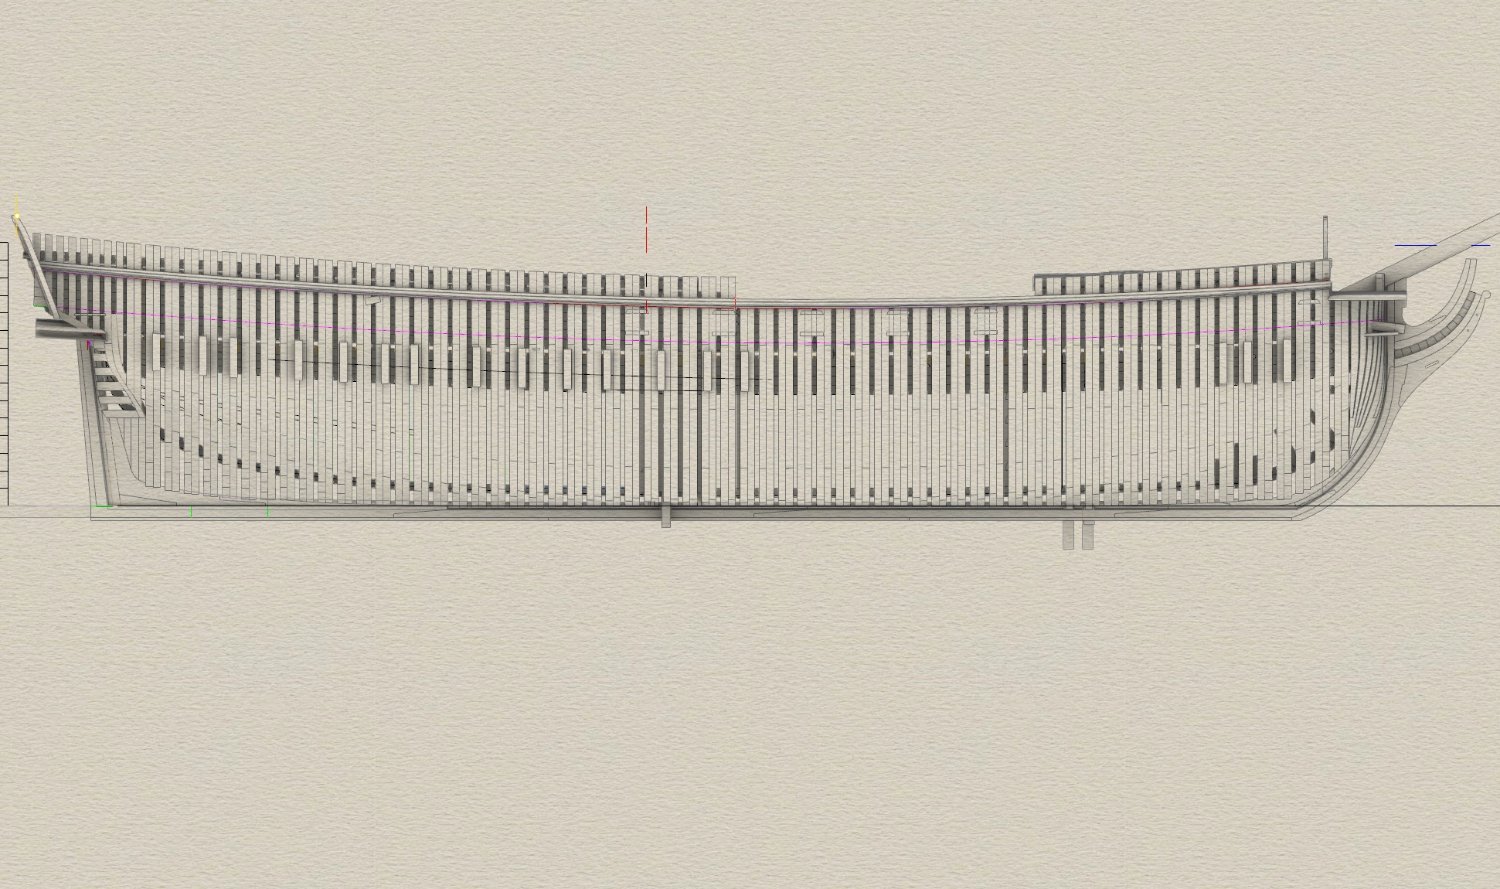
Some more shots of the structure. nearly ready to start printing patterns and cut some wood. Due to scale i want to have very fine lines, .02mm to be precise in the patterns so the fits are really good, its the whole point I am digitising the plans into 3d. Just the beam knees and all the dovetails and checks in deck joints to do but finally got it all to work in accordance with the plans, it took 4 goes to get the main deck as I encountered some difference between amount of sheer in main deck in fore end from Lines to Inboard profile.