-
Posts
335 -
Joined
-
Last visited
Profile Information
-
Gender
Male
-
Location
southern New Jersey shore, USA
-
Interests
Competitive swimming, fishing, model-building, writing
Recent Profile Visitors
-
 Stevinne reacted to a post in a topic:
HMS Hood by Paul Jarman - FINISHED - Trumpeter - 1/200 Scale - PLASTIC
-
 Stevinne reacted to a post in a topic:
USS Pillsbury DD-227 by michael.denigan - BlueJacket Shipcrafters - 1/96
-
 Stevinne reacted to a post in a topic:
USS Pillsbury DD-227 by michael.denigan - BlueJacket Shipcrafters - 1/96
-
 Stevinne reacted to a post in a topic:
Sovereign of the Seas by 72Nova - Airfix - PLASTIC
-
 Stevinne reacted to a post in a topic:
Sovereign of the Seas by 72Nova - Airfix - PLASTIC
-
 Stevinne reacted to a post in a topic:
Sovereign of the Seas by 72Nova - Airfix - PLASTIC
-
 Ryland Craze reacted to a post in a topic:
In which offense is taken (or, "hey! I resemble that remark")
-
 Stevinne reacted to a post in a topic:
Mary Rose by Baker - scale 1/50 - "Your Noblest Shippe"
-
 Cena reacted to a post in a topic:
In which offense is taken (or, "hey! I resemble that remark")
-
 GrandpaPhil reacted to a post in a topic:
Roter Lowe by Stevinne - Mamoli - 1:55 - Dutch-built Galleon
-
 Baker reacted to a post in a topic:
Roter Lowe by Stevinne - Mamoli - 1:55 - Dutch-built Galleon
-
 Keith Black reacted to a post in a topic:
In which offense is taken (or, "hey! I resemble that remark")
-

In which offense is taken (or, "hey! I resemble that remark")
Stevinne replied to Cena's topic in New member Introductions
Build logs are intimidating, but having started my first one, I made sure to make clear I was a slow builder. I found it a lot easier to ask questions when I got stuck, since folks could see where I was in the process and what I'd already done. -
 JacquesCousteau reacted to a post in a topic:
Roter Lowe by Stevinne - Mamoli - 1:55 - Dutch-built Galleon
-
Had the day off today, so I took the opportunity to give the ole Red Lion some teeth. I finally installed the main battery of great guns. The gunport lids will be one of the last things I put on, since I'm sure that at this point I'll just be knocking them off while I work. Same with the catheads, so the anchor cable is way too long at this point. I also crossed the main yard and now have her resting on a shelf in my home office. I have her up high to (hopefully) keep her out of the way and out of danger. Eventually, the shelf will hold a case for her.
-
 Admiral Rick reacted to a post in a topic:
Roter Lowe by Stevinne - Mamoli - 1:55 - Dutch-built Galleon
-
 Ronald-V reacted to a post in a topic:
Roter Lowe by Stevinne - Mamoli - 1:55 - Dutch-built Galleon
-
 Ronald-V reacted to a post in a topic:
Roter Lowe by Stevinne - Mamoli - 1:55 - Dutch-built Galleon
-
 Baker reacted to a post in a topic:
Roter Lowe by Stevinne - Mamoli - 1:55 - Dutch-built Galleon
-
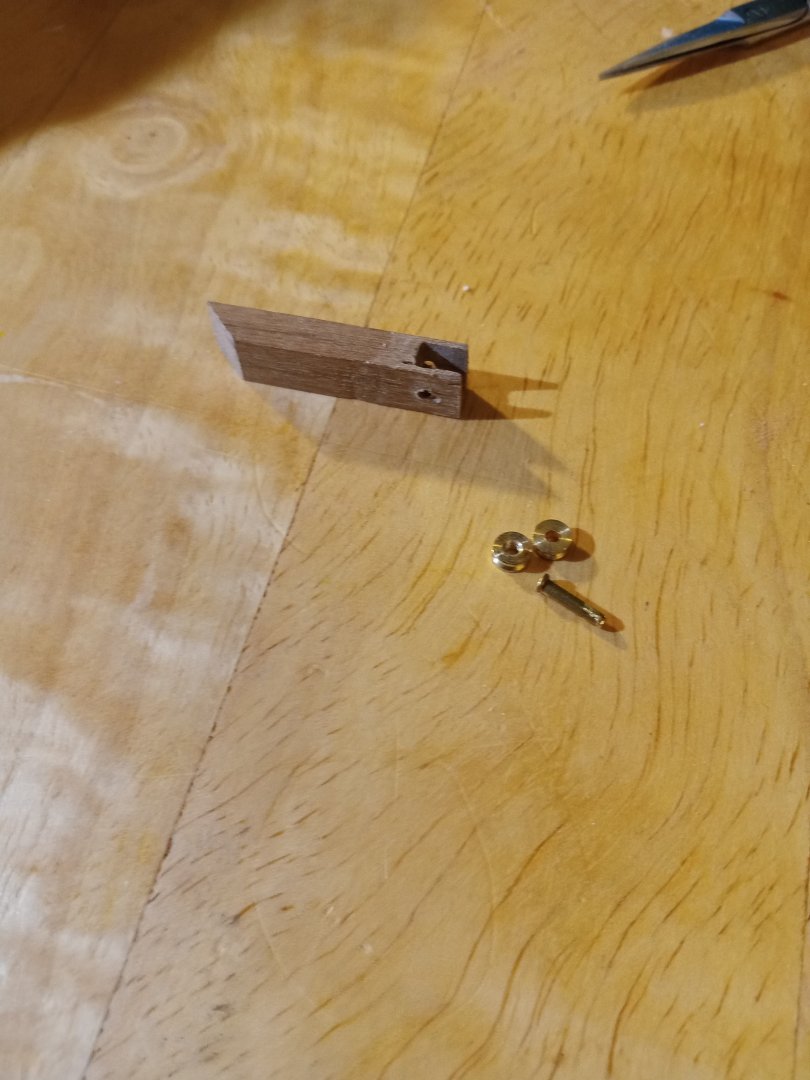
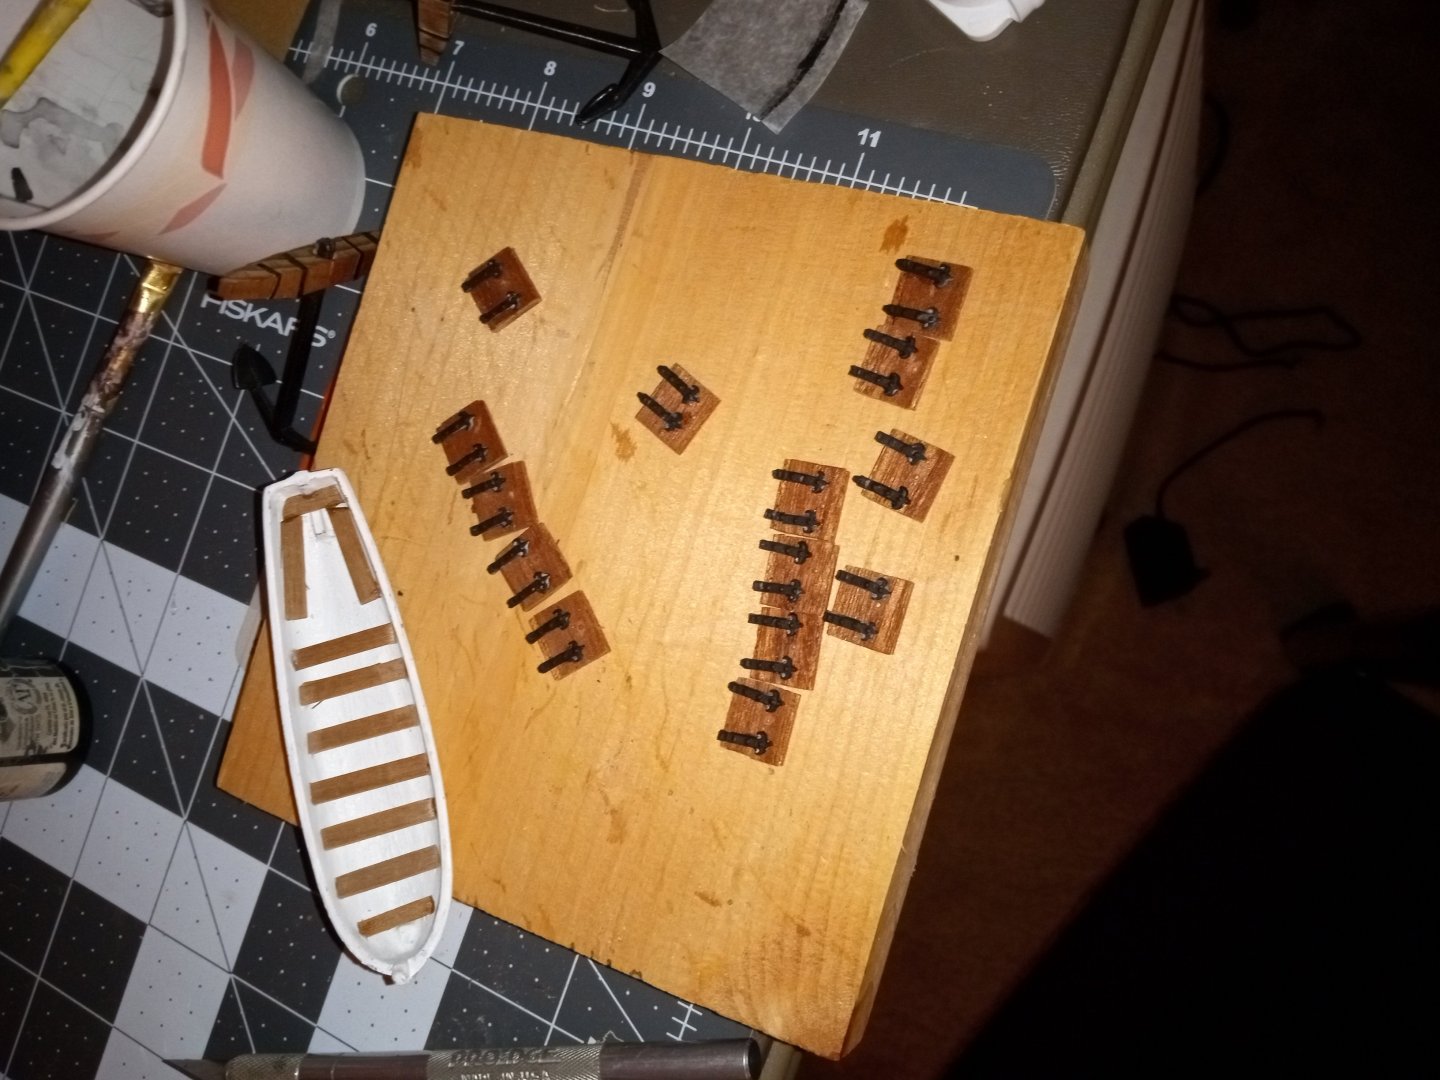
I spent the weekend preparing the catheads. I was unduly pleased with how they came out, until I was rudely reminded of why I dislike this Mamoli kit so much. I started by cutting a 5x7mm strip with the correct angle and length, and then used my miter saw to make some cuts on the face of the wood to create a space for the pulleys. I then used my files to sand the wood away until the pulleys fit. Then I got my Dremel, checked the drill size, and drilled a hole for the axle. Then I hit problems. It turns out the axle is too large for the hole in the brass wheels. I've tried sanding the axle. I've tried reaming out the center hole in the wheels. All the time, all I could think is that this is exactly how Mamoli has approached this kit - things that should be simple are a real pain because the manufacturer seems to have had no real concern about the quality of the product they produced. How difficult is it to ensure the axle is smaller than the hole it is supposed to fit through? I bought my kit before Mamoli had new owners, so I hope things have improved, because all these small headaches make it seem the original manufacturer had no real concern about the product they were putting out. I cannot wait to be done with this build. What should be fun is a real headache.
-
 Stevinne reacted to a post in a topic:
Prince de Neufchatel by Coyote_6 – Constructo – 1/58 scale - American privateer
-
With the weather getting cooler, I'm hoping to finish this project up soon. Working on the crowfoot rigging had intimidated me, but I'm happy with how this turned out. I'm more concerned about the crowsfeet that are attached to the mast stays, since I don't want to distort the stay but I don't want the crowfeet to look saggy or loose. As Baldrick would say, I must devise a cunning plan.
-

Planking disaster
Stevinne replied to sgrez's topic in Building, Framing, Planking and plating a ships hull and deck
As other folks have said, that's no disaster. Your hull is looking good and any issues will be covered by your second layer of planking. Going forward, I'd recommend using tacks with large plastic heads in place of nails for your second build. I used nails on my first build and pulled them all out before laying the second layer of planks. It's much easier with the tacks. Good luck and don't get discouraged. It looks like you are well on your way to a very nice build. -
While I believe a bad rebuild contributed to the capsizing, I'm not ready to totally ignore the lucky shot argument. Mary Rose was engaged with the French galleys. The galleys were firing heavy balls at the ship. Much of the ship, including the bow areas on both port and starboard sides are no longer there. Since we can't rule out that she wasn't hit below the waterline by a large ball, and we know that she had a successful career for decades up until her sinking, I think it is reasonable to consider that a French ball caused flooding that helped lead to the ship losing stability and not performing as the command crew expected as they made a turn.
- 12 replies
-
- Great Harry
- Henry Grace a Dieu
-
(and 2 more)
Tagged with:
-
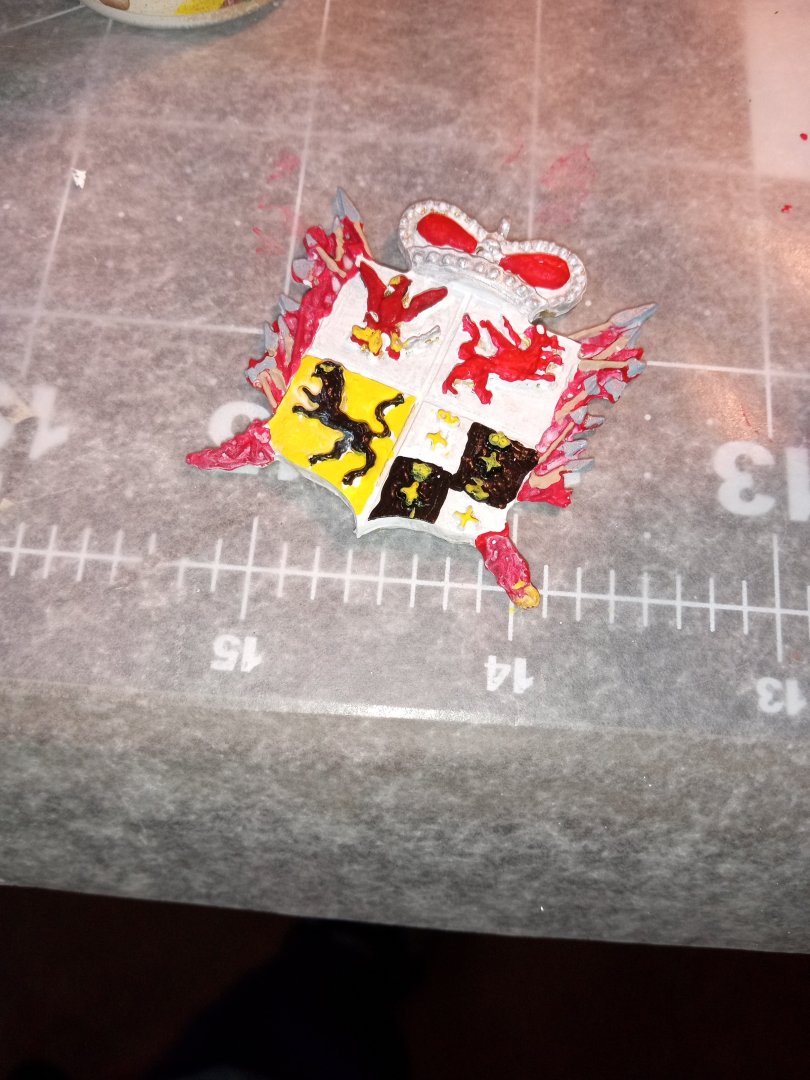
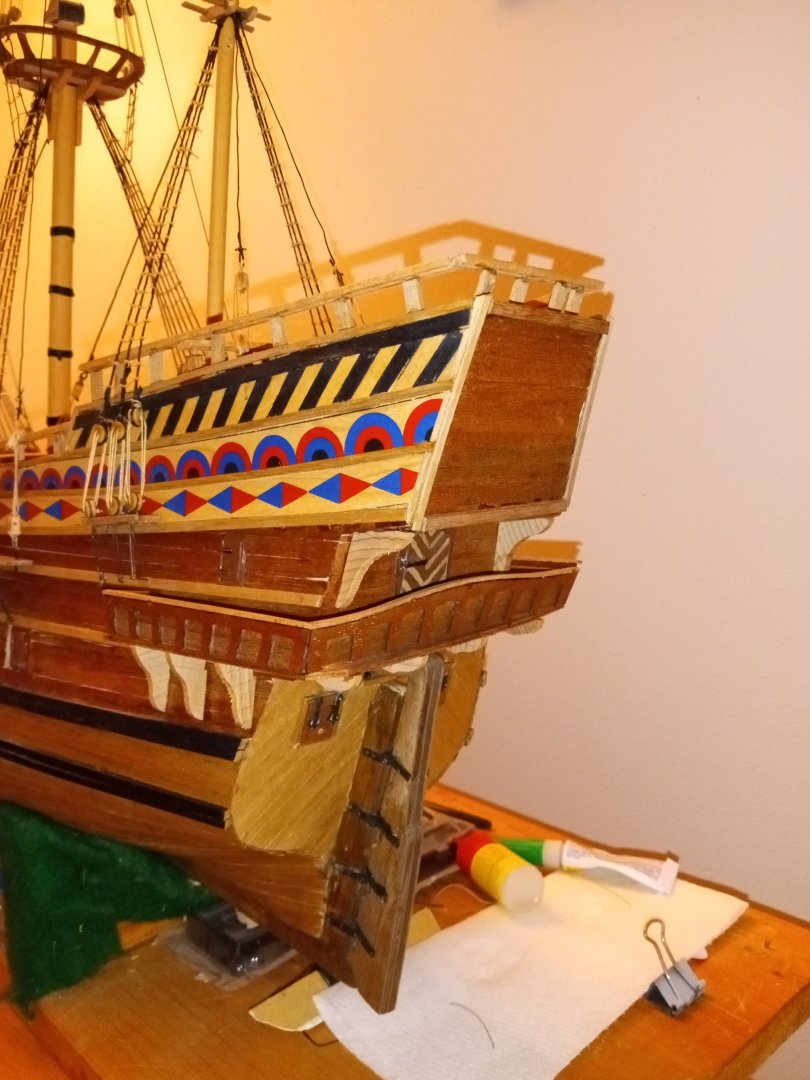
The decorative castings that come with the kit are gilted. I decided to paint the coat of arms that is placed on the stern. I looked around the Internet for pictures of the Elector of Brandenburg's coat of arms and lit on this version. The coat of arms included on the kit box is painted in a slightly different manner, with the upper right quadrant also gold/buff or yellow. I had no idea what color to paint the background that surrounds the shield, so I settled on red, since I figured that goes best with the color scheme used in the other decorations. The casting was a bit muddy, so it was hard to find all the arrows and what I guess are supposed to be axes, but I did my best.
-
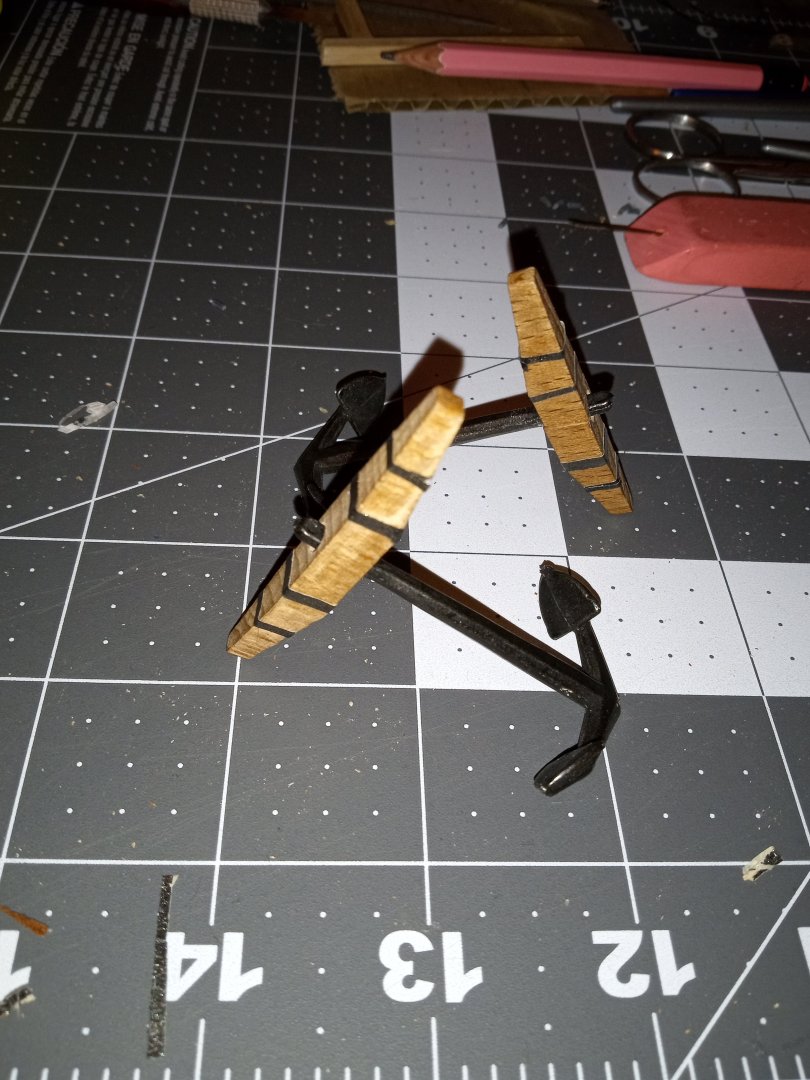
Anchors, with the bands made by painting masking tape with Tamiya gunmetal paint. Neither cross piece fit as originally provided. If you look closely at the cross piece in the rear, you can see the join where the piece broke as I was carefully using my round mini-file to try to enlarge the opening and get it to fit. Again, I was wondering why these things seem designed to frustrate.
-
Over the last couple of days, I have also worked on the gunport lids. They come as a pre-cut piece of ply wood and the instructions call for them to be covered by thin pieces of wood laminate, same as the second course of hull planking. This kit has been a headache from the start, and the gunports are a good example, as the pre-cut wood are of an odd shape, so none of the 0.5mm planking actually fits. Two pieces are too few and three pieces are too many. Several of the white-metal hinges also came broken into two pieces, though I was happy to see they included one extra hinge, in case I lost one or couldn't salvage the broken pieces they'd provided. Overall, though, my impression of the materials has been that they are pretty shoddy. Everything about this kit seems to be like that, and it is frustrating. The ship's boat has caused me headaches. It is cast metal with spots to add wooden benches to dress it up. It also it looks like I should add a strake of real wood to finish it off, but each time I try I can't get the wood and metal to line up and adhere properly. Just another headache that makes the kit less fun then it should be. I'm thinking I'll just spend the money and get one of those mini plank-on-frame ship's boat kits from Model Expo to replace it. I bought this kit from Model Expo shortly before Mamoli went under (though I didn't know what was going on at the time), so I hope that things have gotten better now that Dusek is handling legacy Mamoli kits. The quality of the wood and the overall quality of the kit makes me think (or at least hope) that the soon-to-be-out-of-work Mamoli staff were throwing whatever it is they had on hand into a box before they walked out the door.
-
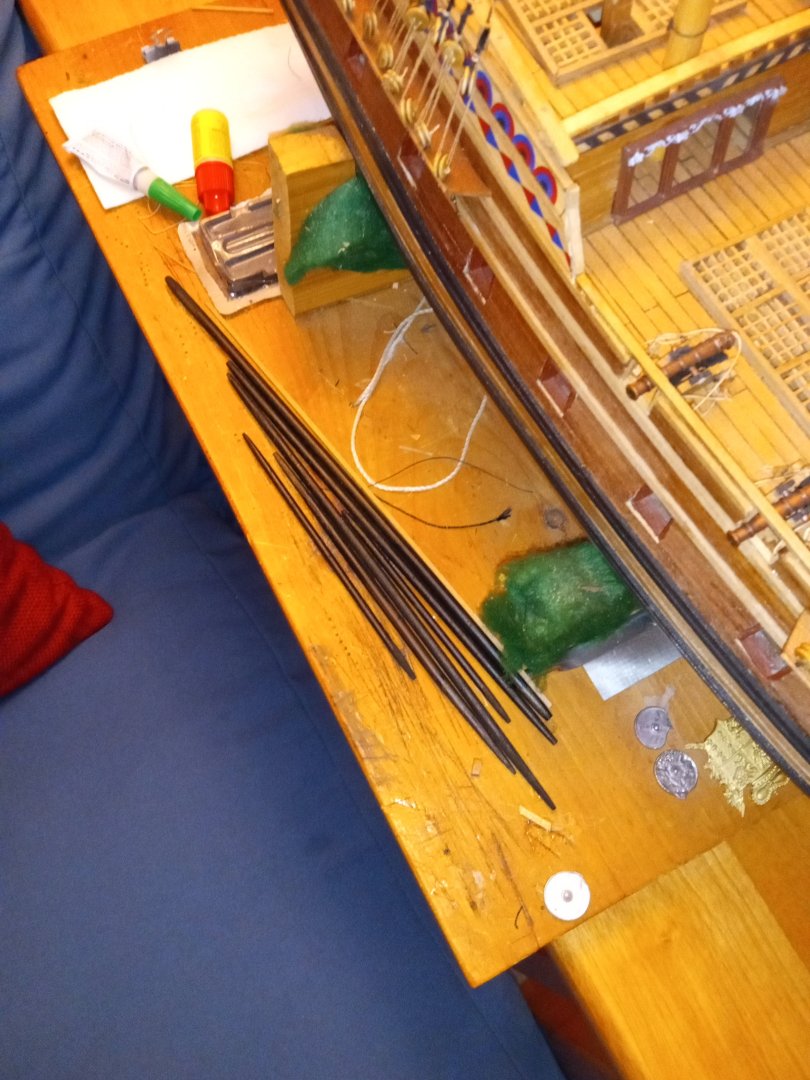
The last couple of months have been difficult to dedicate to the hobby. With me working from home, Rainy has gotten accustomed to sleeping most of the work day, since I've made it pretty clear I can only play for an hour or so around lunch. But, she is ready to run after 5 p.m. and I feel like she's earned the attention. She is a high-energy dog, so most nights involve tossing toys until at least 9. My wife says I'm nuts, but my last dog - whom I adored - only lived 'til she was 14. Time with them is so short, I think it is important to enjoy it while you can - and I really enjoy having a smart, engaged dog around the house. It rained like heck today, so I took the time to clean up the stern in anticipation of mounting the Brandenburg coat of arms. Back in December I tapered the yards and stained them black - so we are getting close to completion. With Spring garden planting delayed by the cold weather, I think the next couple of weeks are going to be tough to find the time, but I really want to get this done.
About us
Modelshipworld - Advancing Ship Modeling through Research
SSL Secured
Your security is important for us so this Website is SSL-Secured
NRG Mailing Address
Nautical Research Guild
237 South Lincoln Street
Westmont IL, 60559-1917
Model Ship World ® and the MSW logo are Registered Trademarks, and belong to the Nautical Research Guild (United States Patent and Trademark Office: No. 6,929,264 & No. 6,929,274, registered Dec. 20, 2022)
Helpful Links
About the NRG
If you enjoy building ship models that are historically accurate as well as beautiful, then The Nautical Research Guild (NRG) is just right for you.
The Guild is a non-profit educational organization whose mission is to “Advance Ship Modeling Through Research”. We provide support to our members in their efforts to raise the quality of their model ships.
The Nautical Research Guild has published our world-renowned quarterly magazine, The Nautical Research Journal, since 1955. The pages of the Journal are full of articles by accomplished ship modelers who show you how they create those exquisite details on their models, and by maritime historians who show you the correct details to build. The Journal is available in both print and digital editions. Go to the NRG web site (www.thenrg.org) to download a complimentary digital copy of the Journal. The NRG also publishes plan sets, books and compilations of back issues of the Journal and the former Ships in Scale and Model Ship Builder magazines.


