Paul Le Wol
-
Posts
1,063 -
Joined
-
Last visited
Content Type
Profiles
Forums
Gallery
Events
Everything posted by Paul Le Wol
-
Thank you very much Nils. Its good to hear from you.
-
Keith, thank you very much for your support!
-
Gentlemen, thank you very much for your kind comments! Although the planking was fun I’m glad that I didn’t have to do below the waterline
-
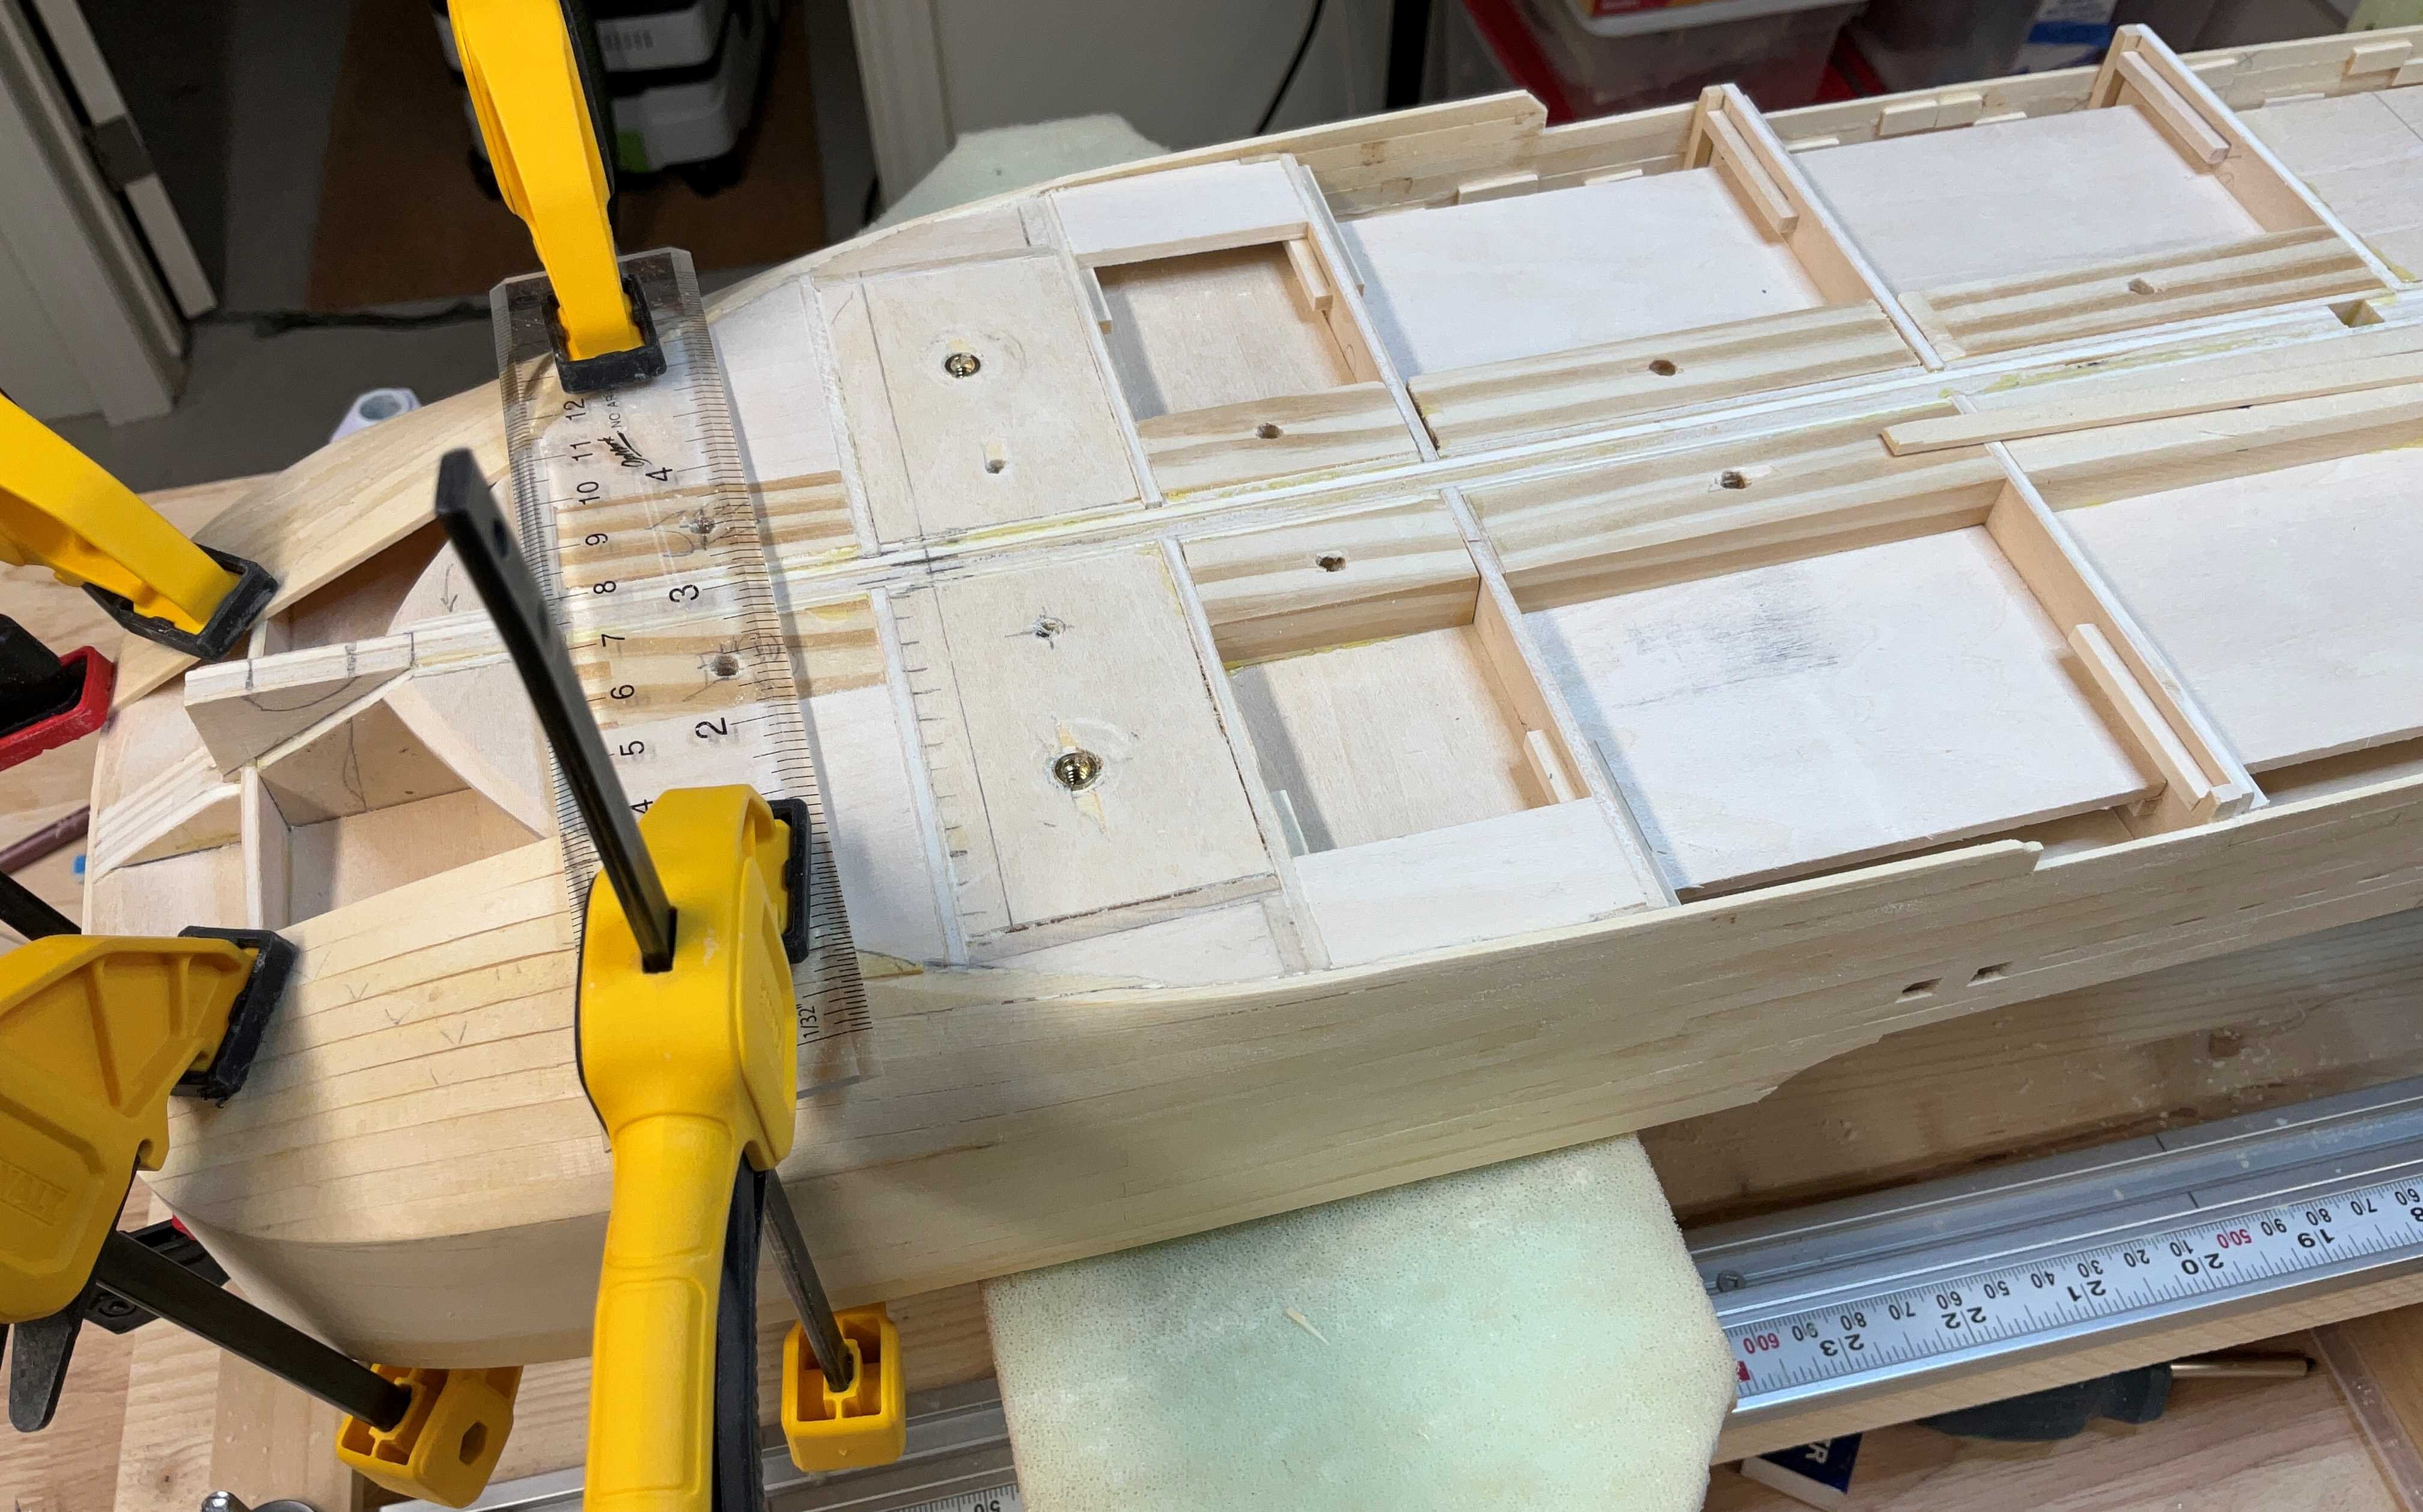
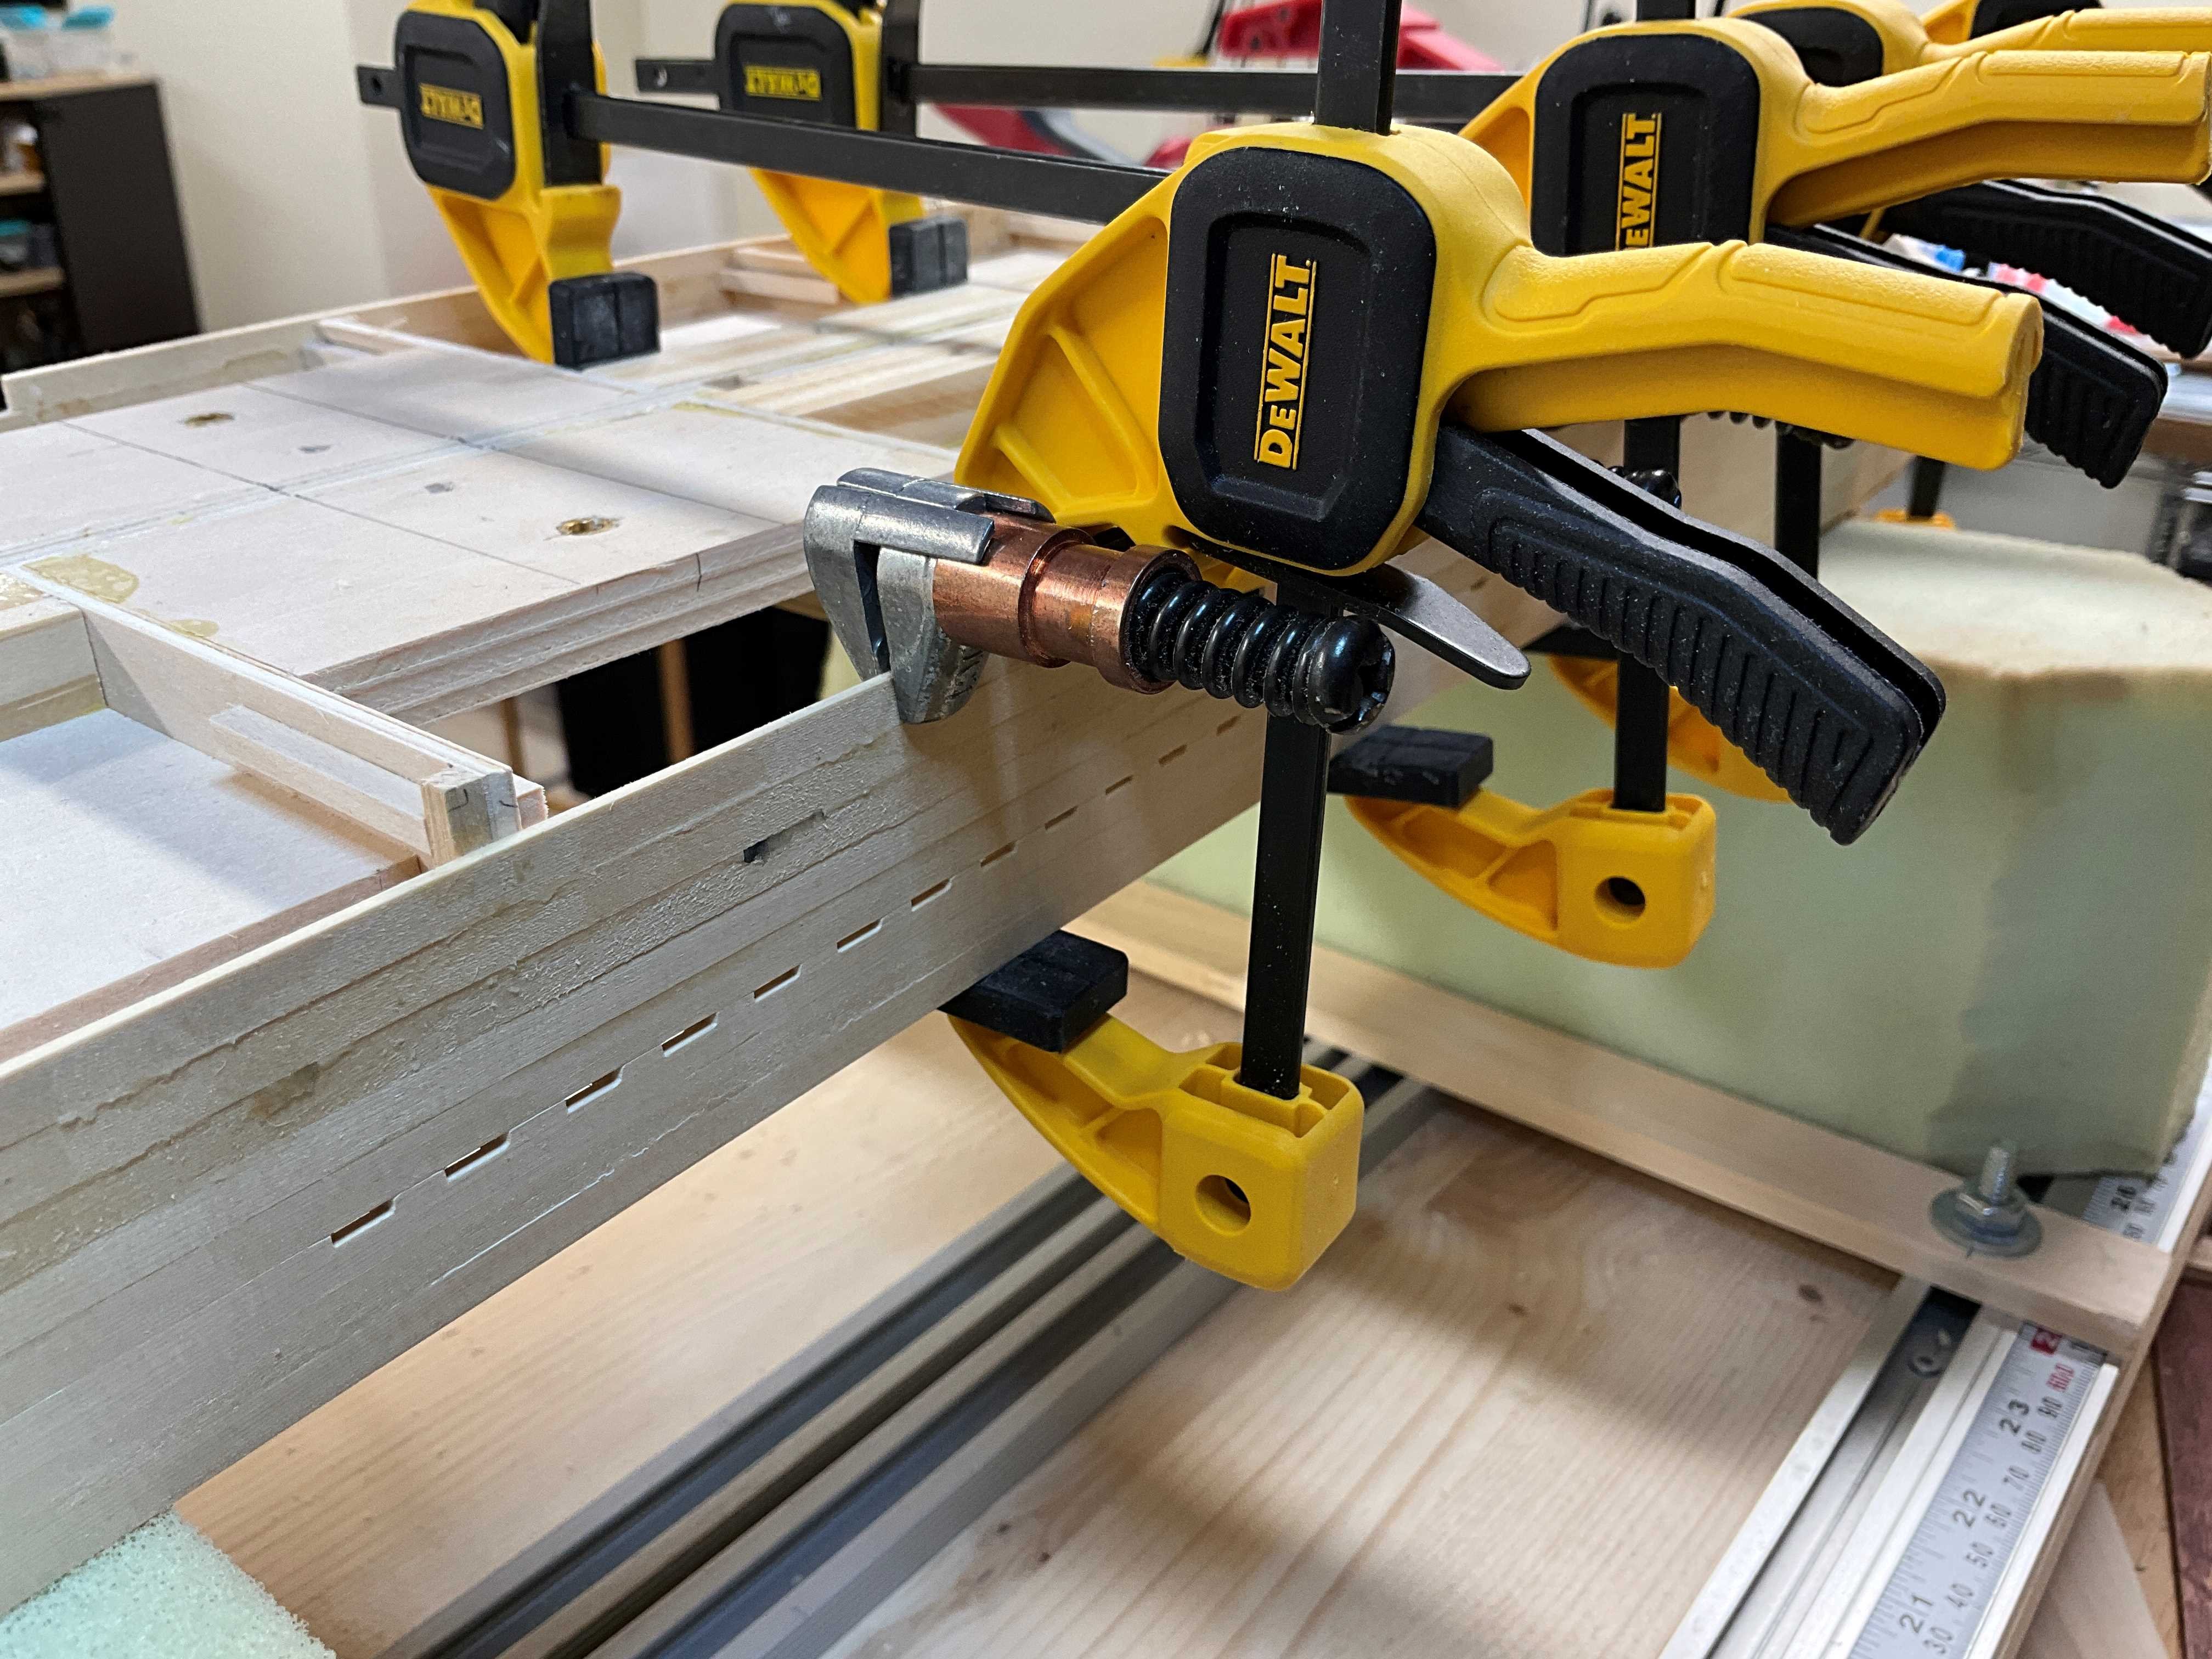
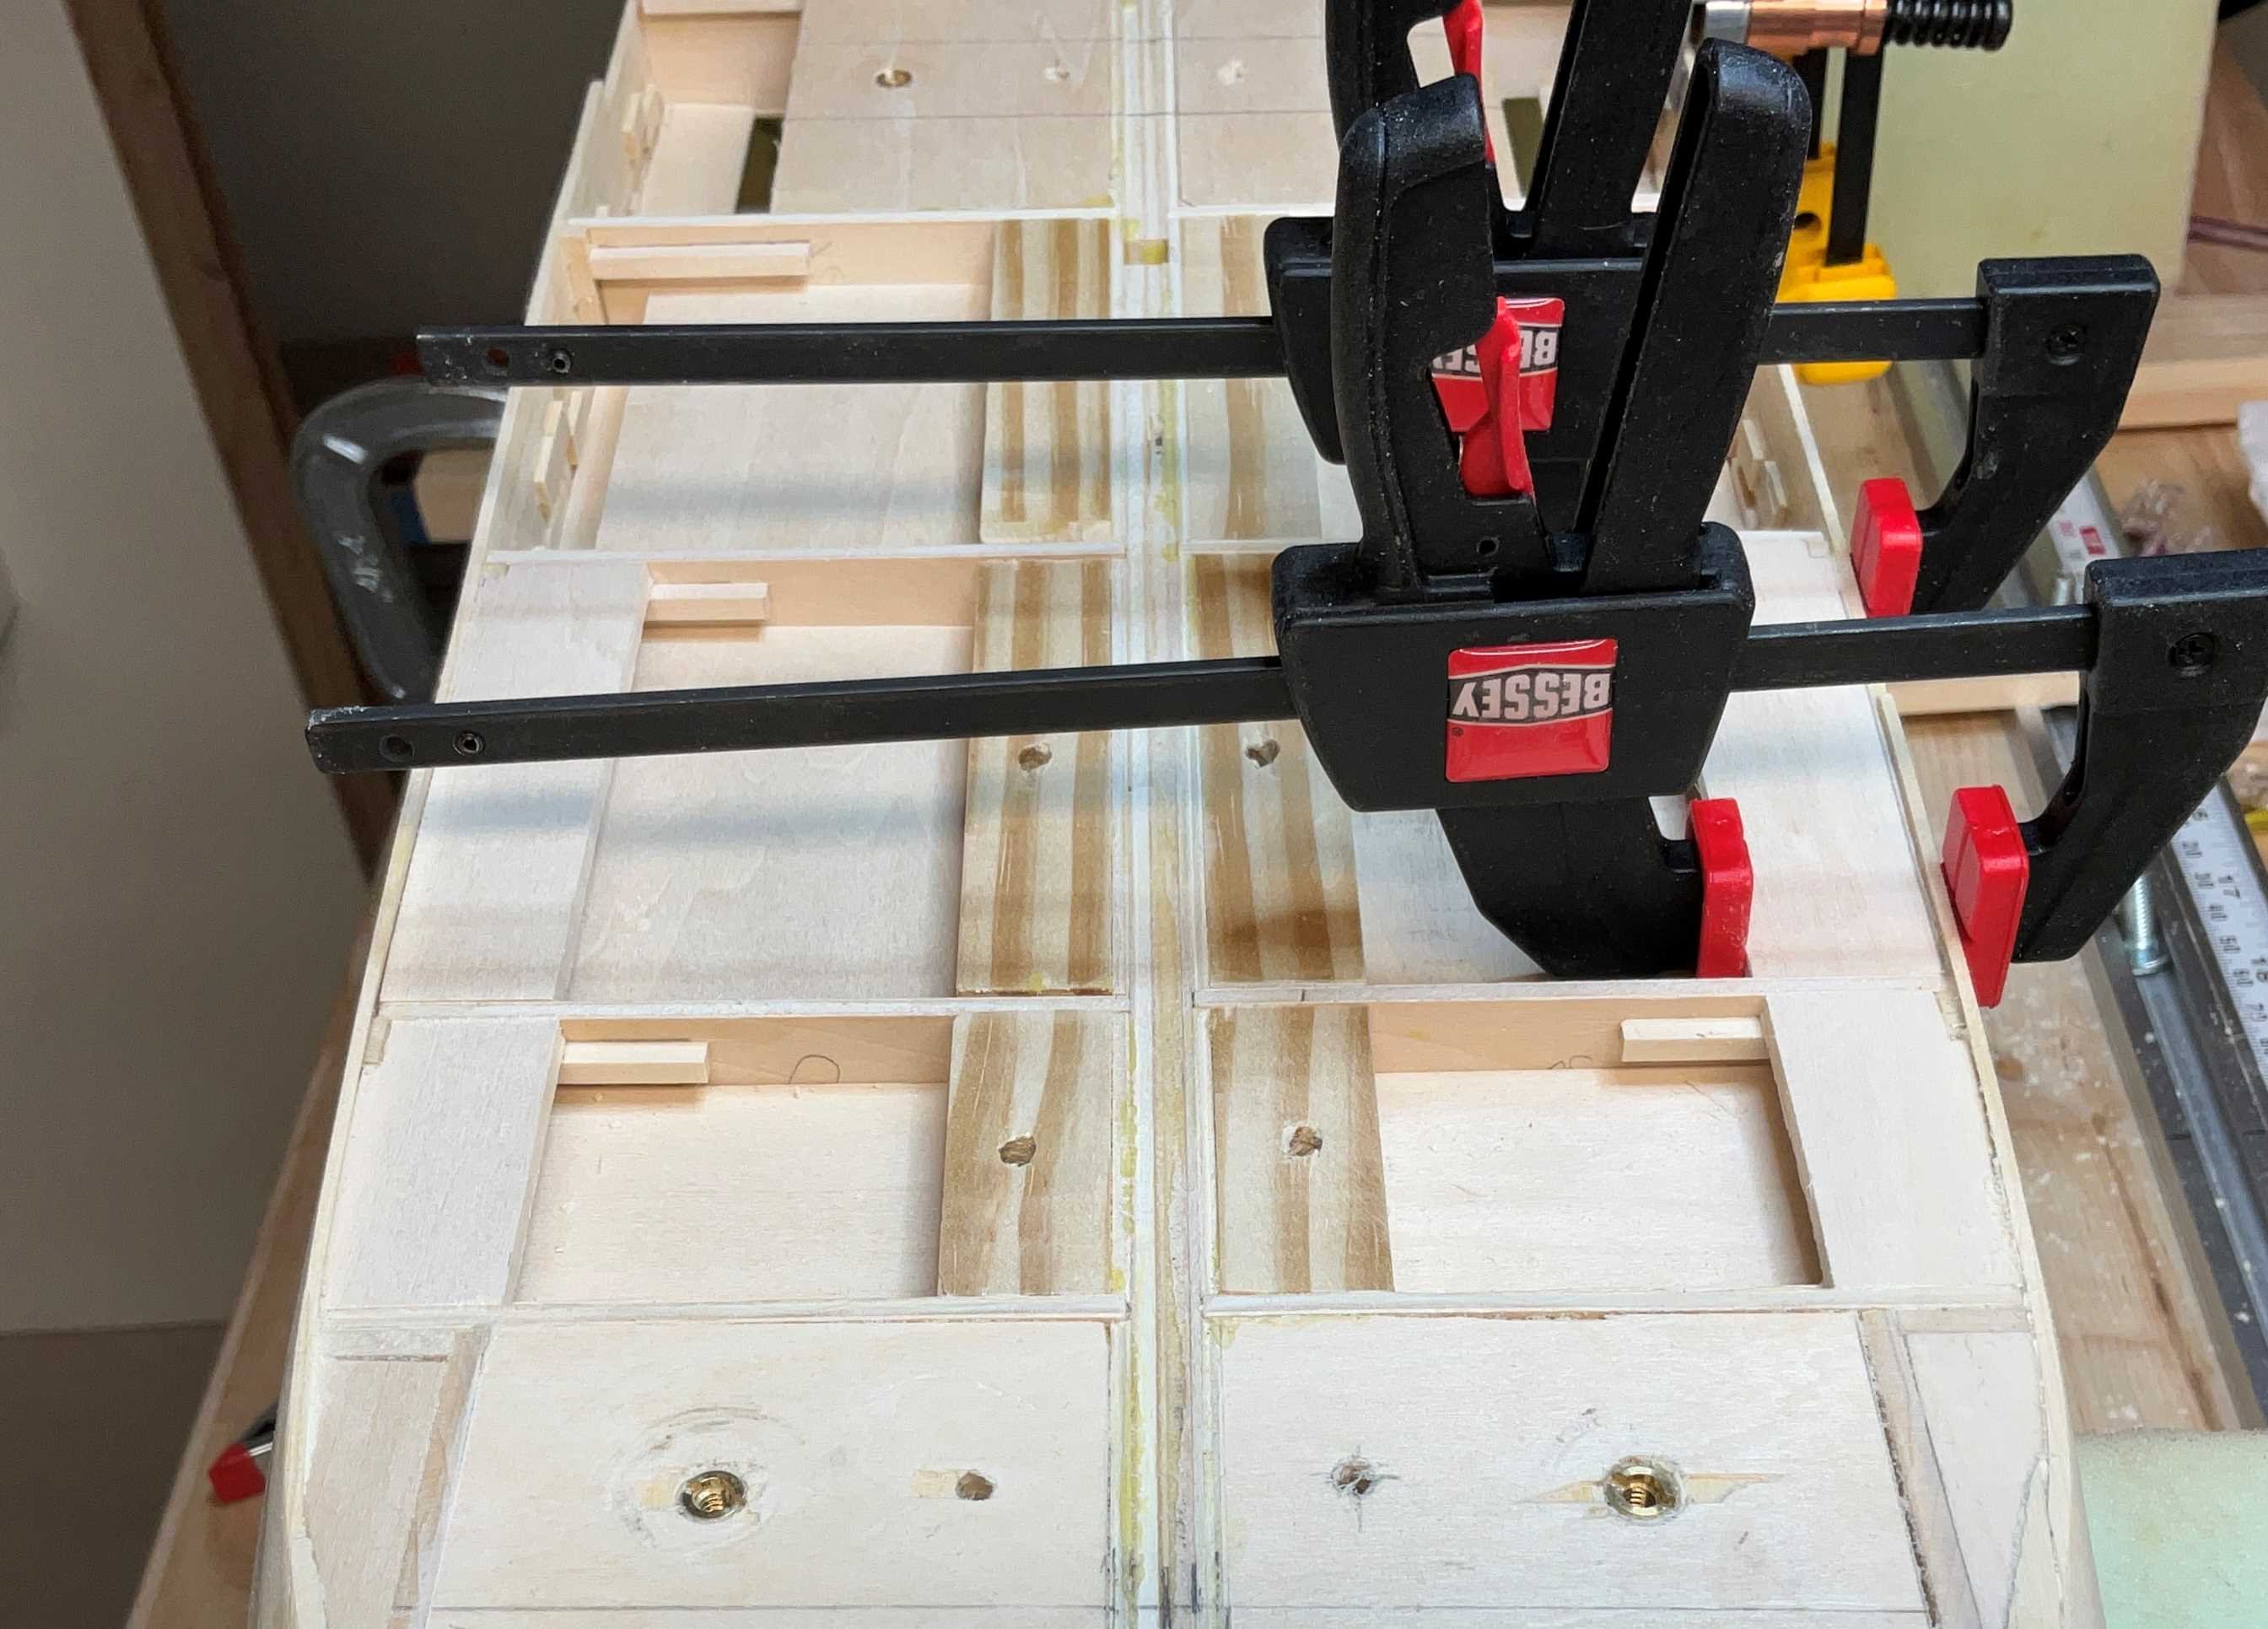
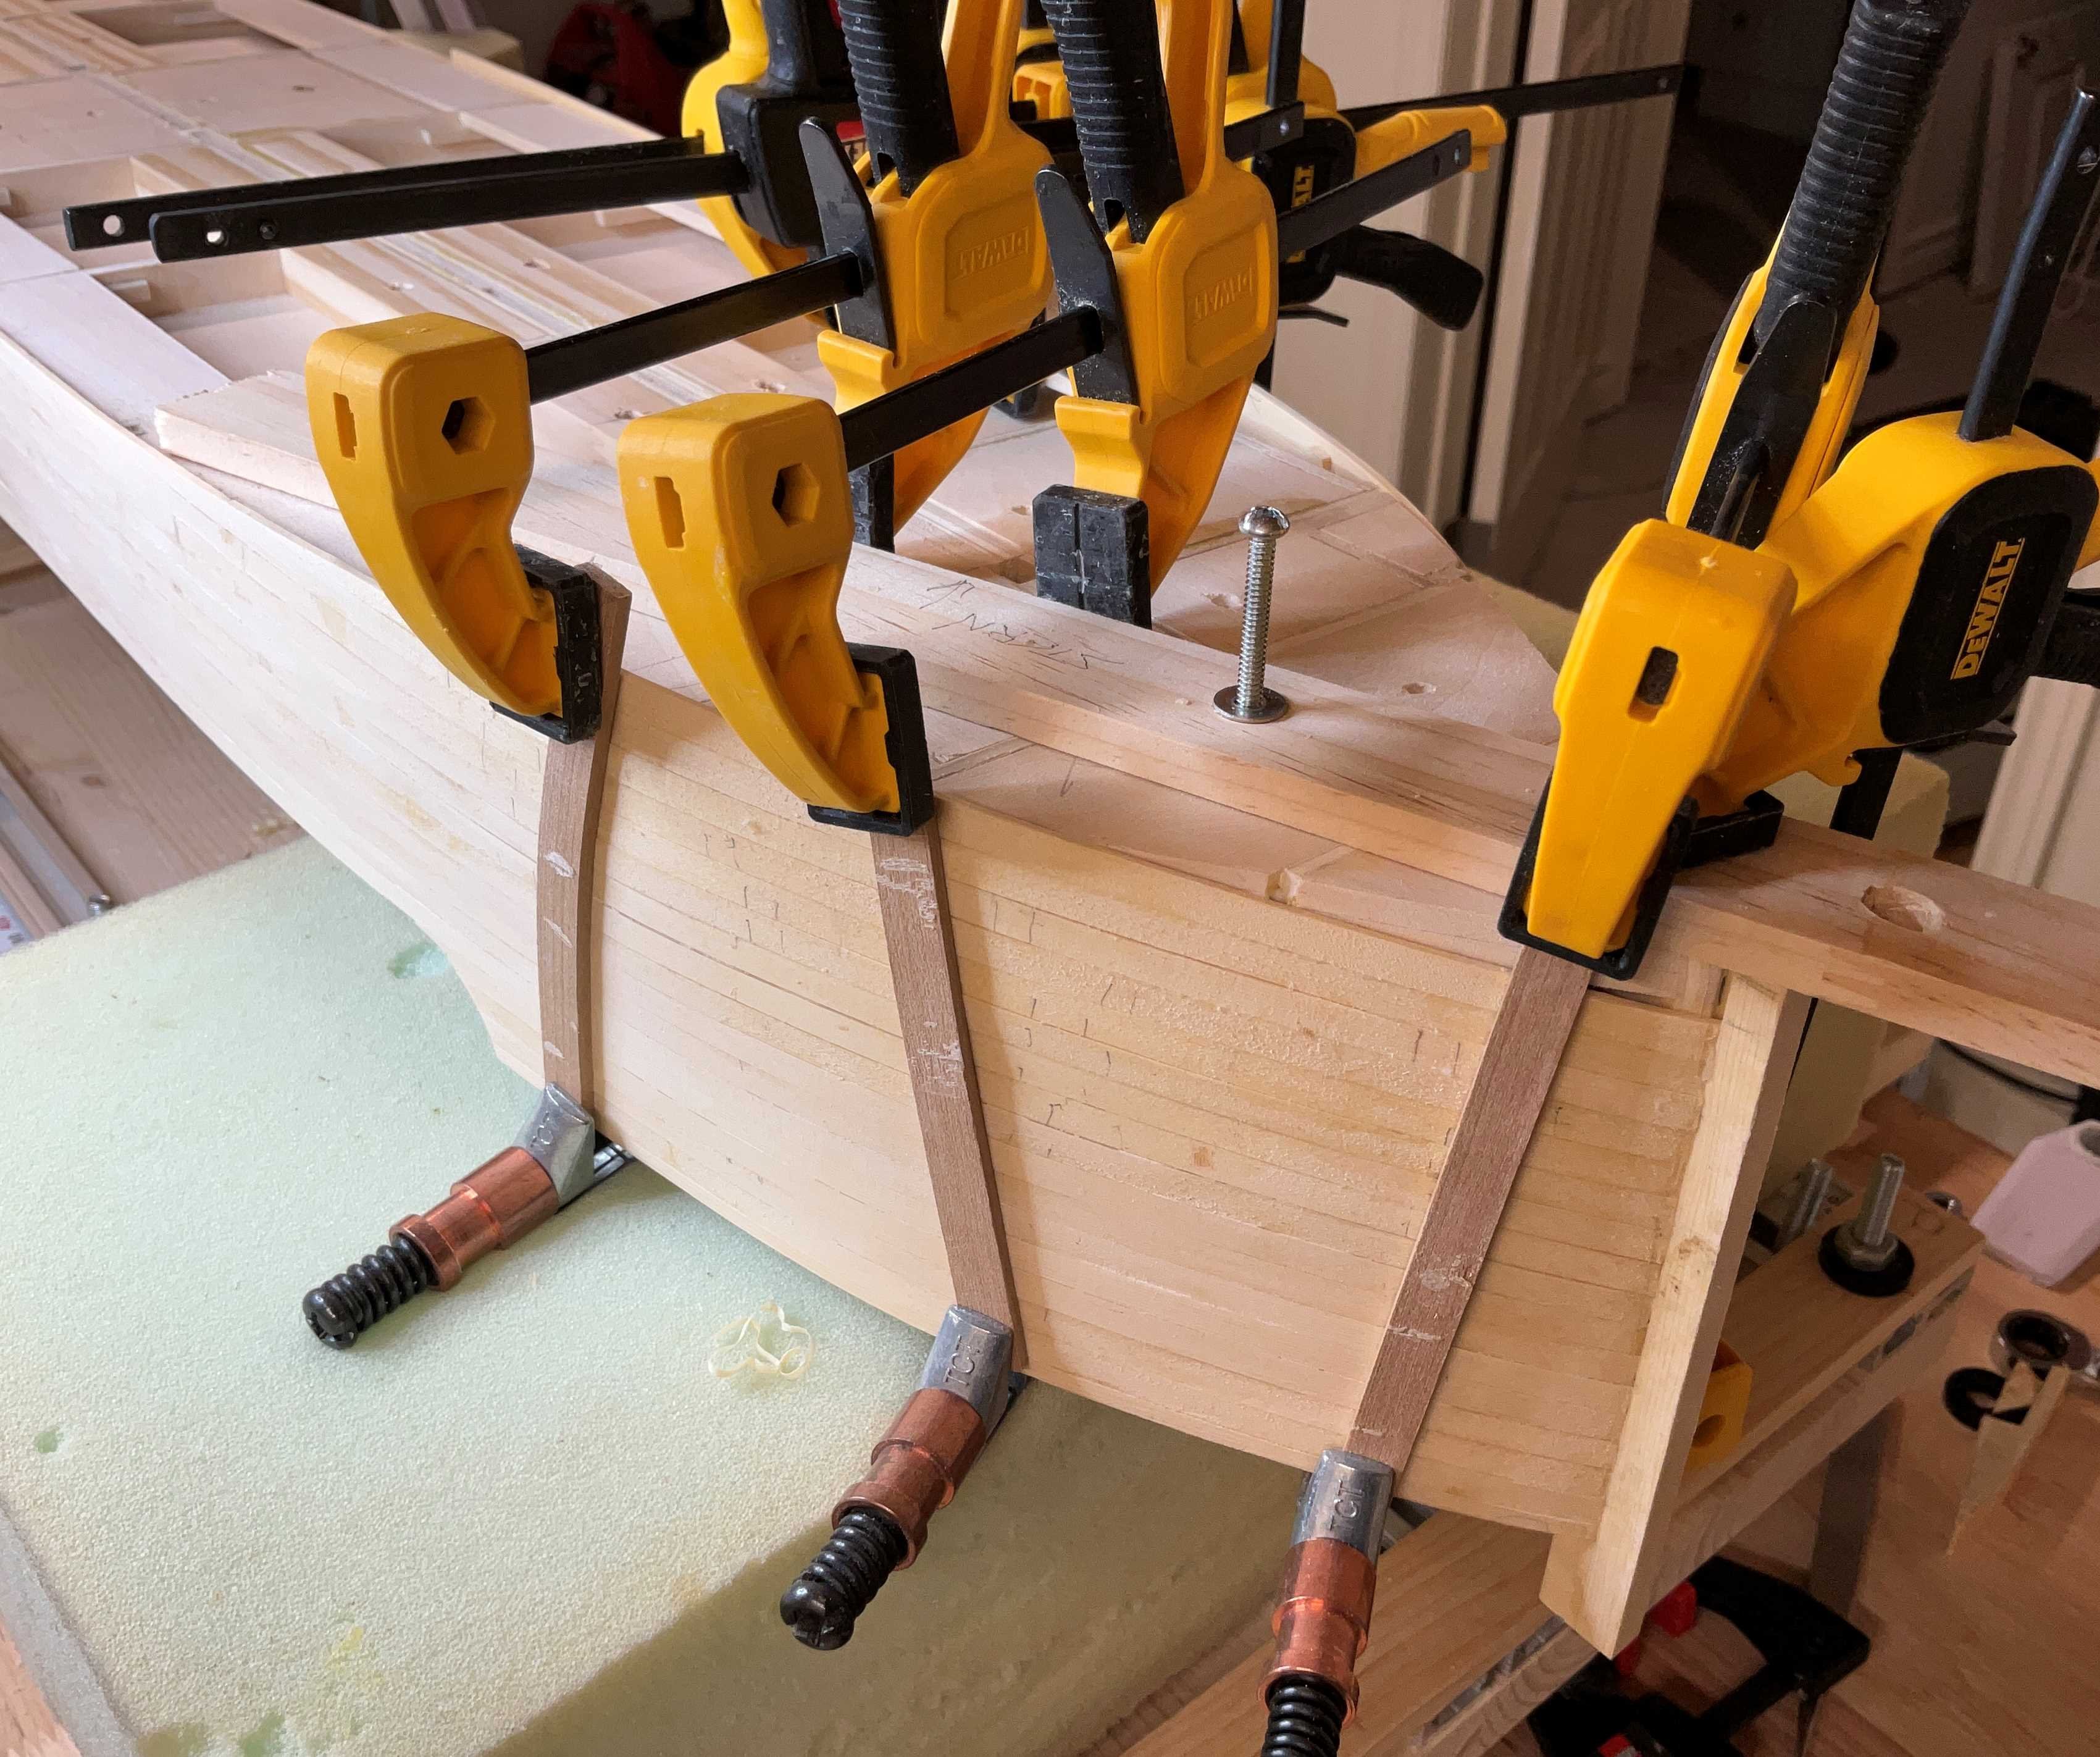
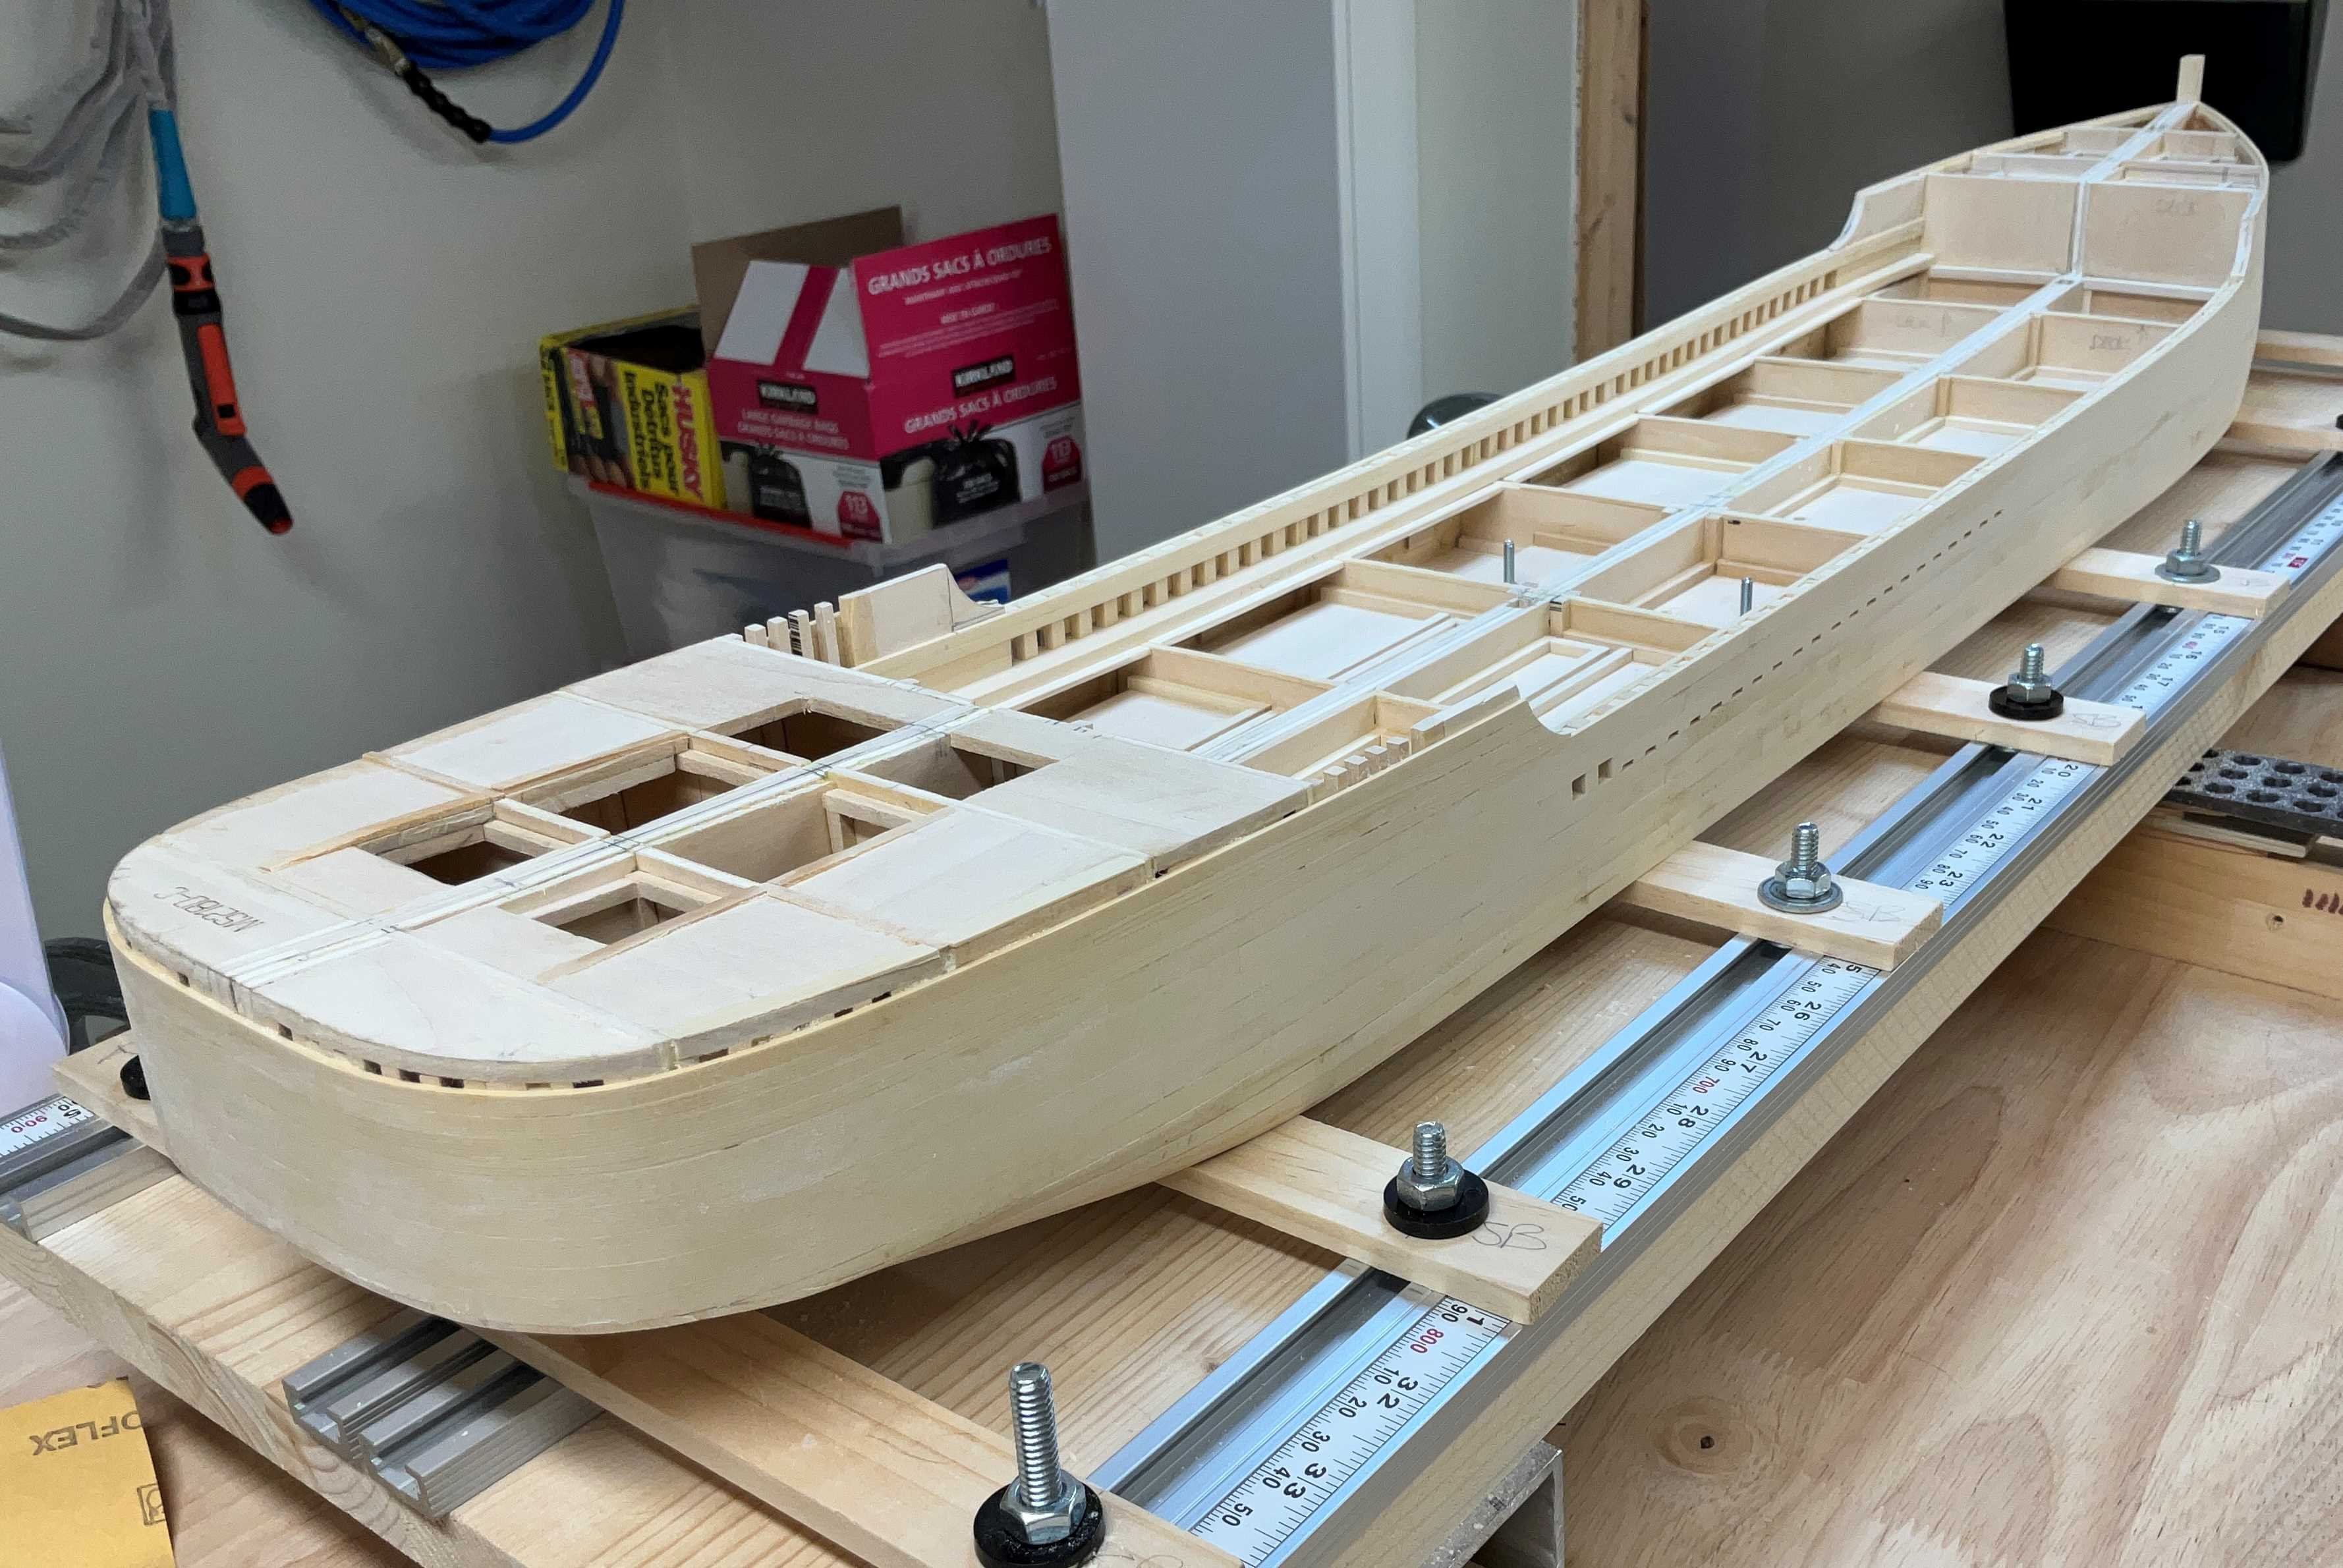
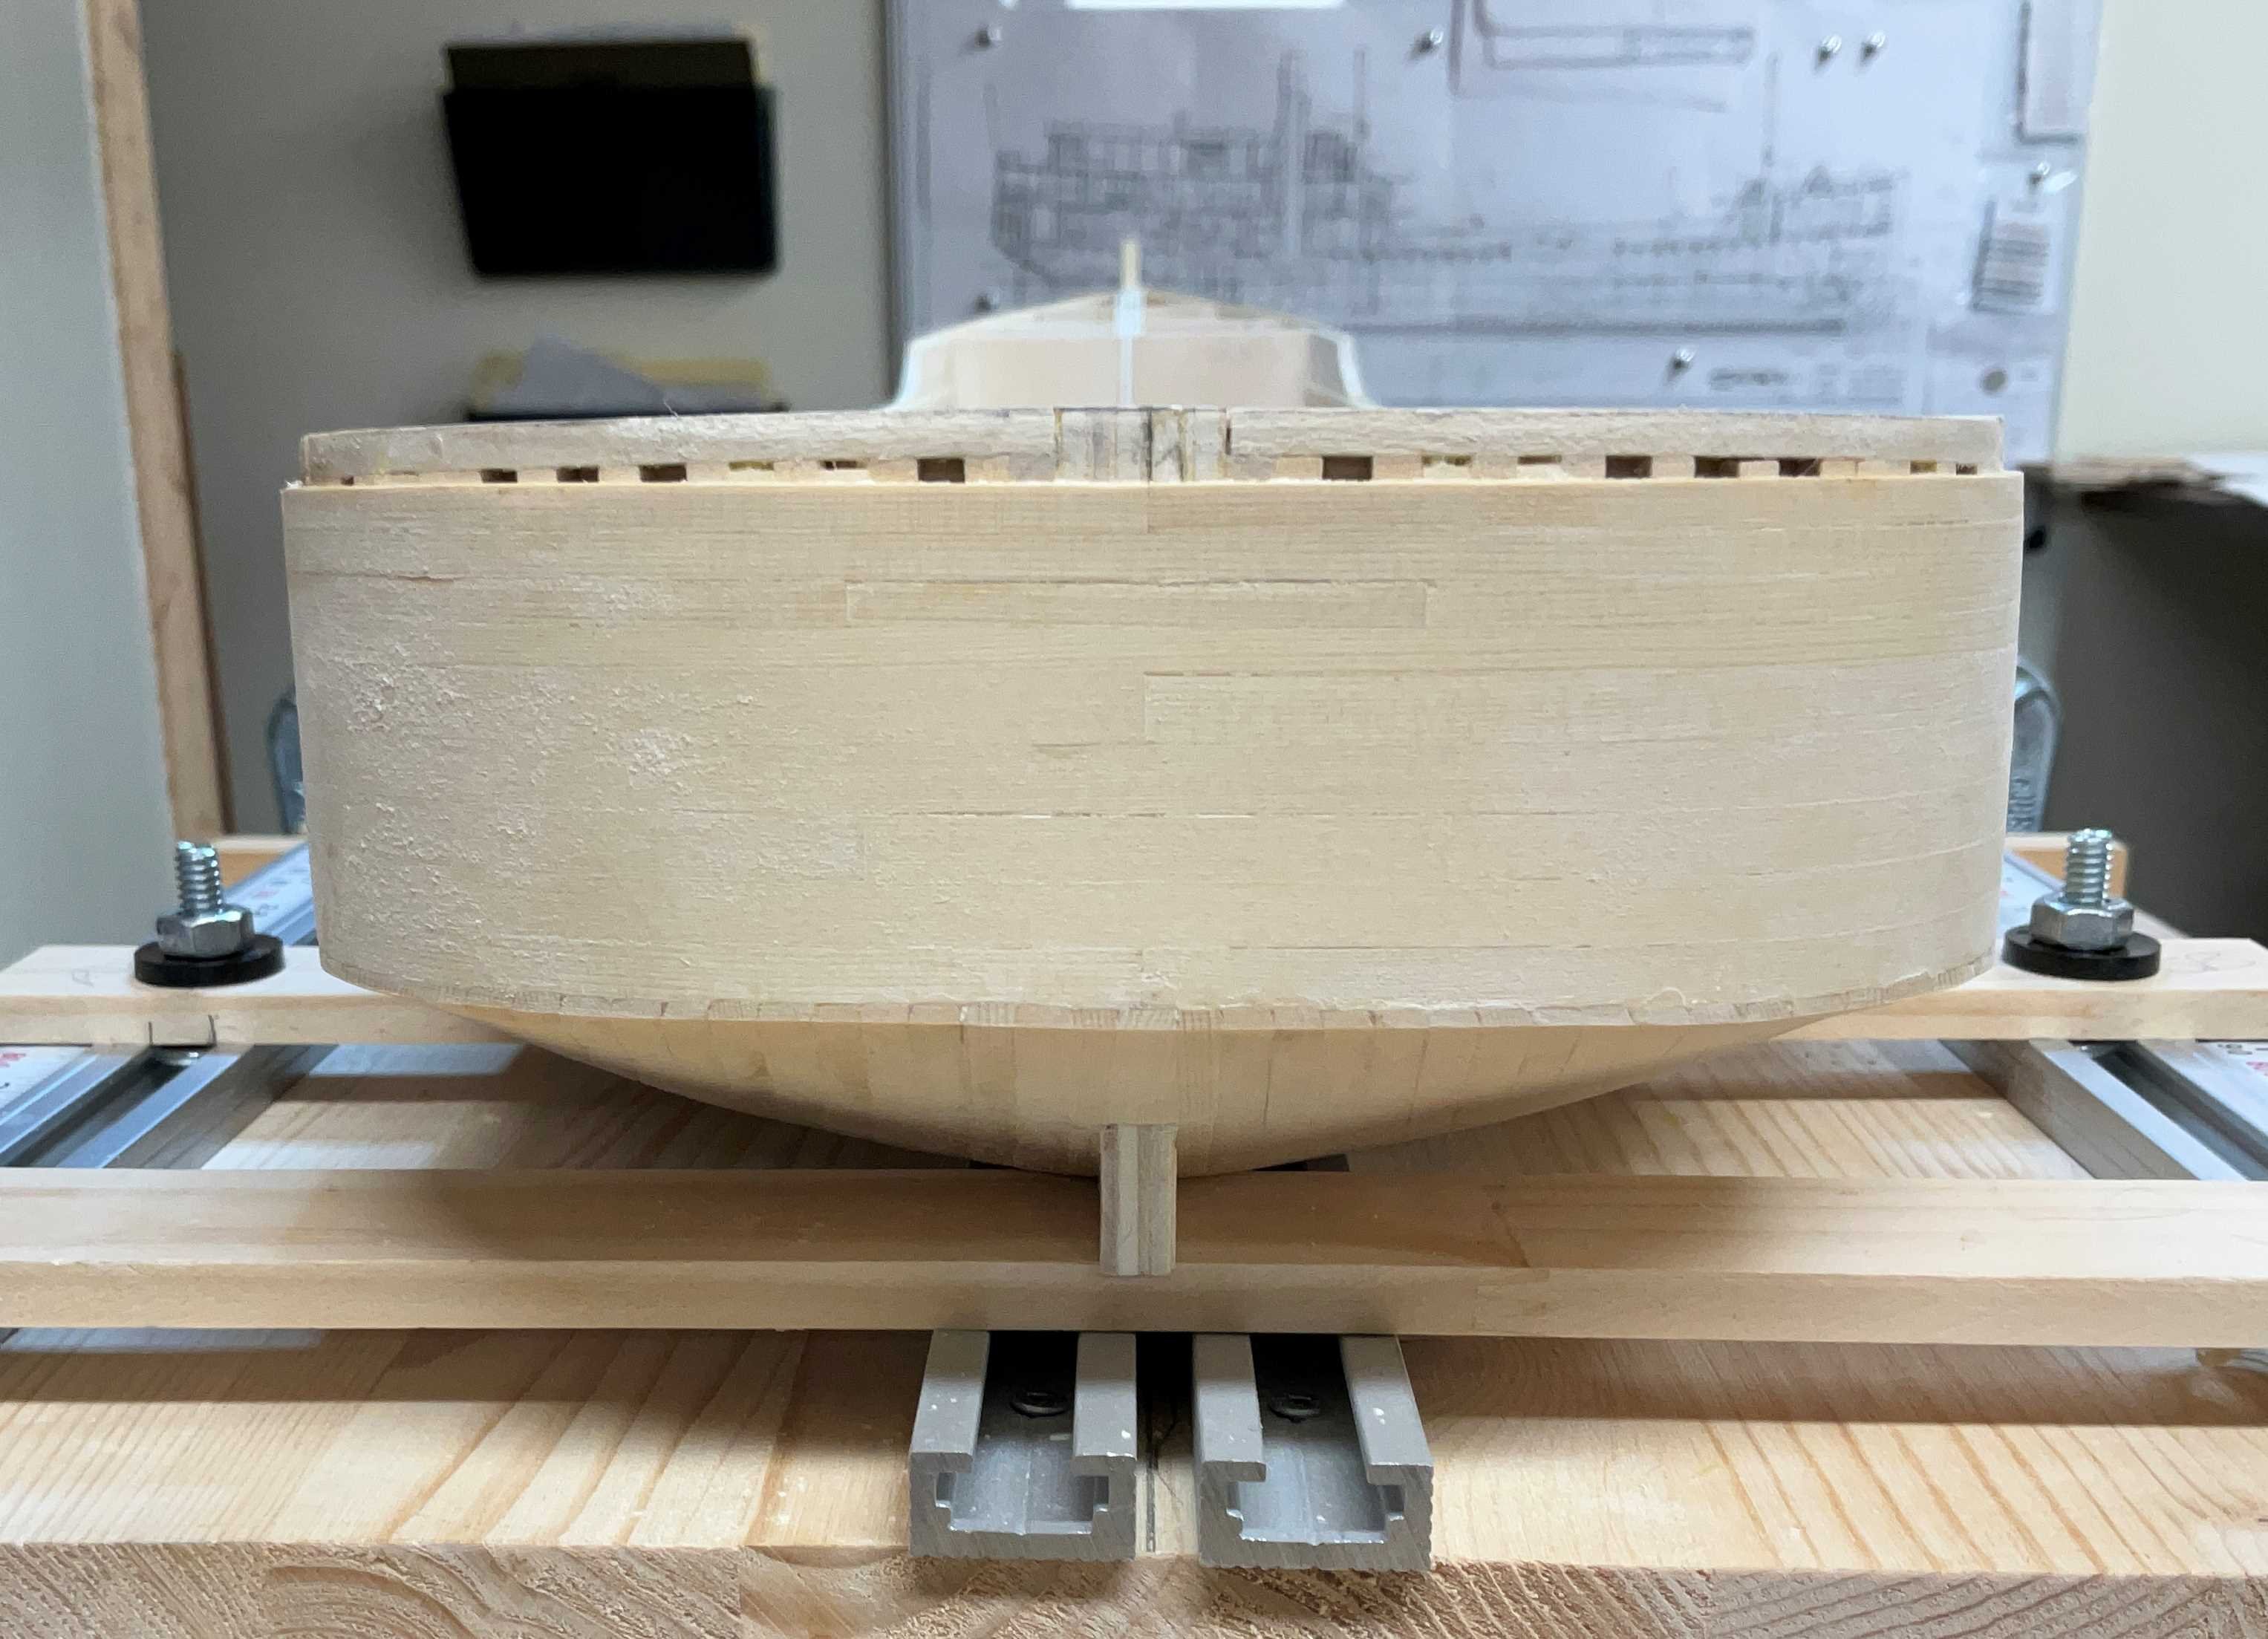
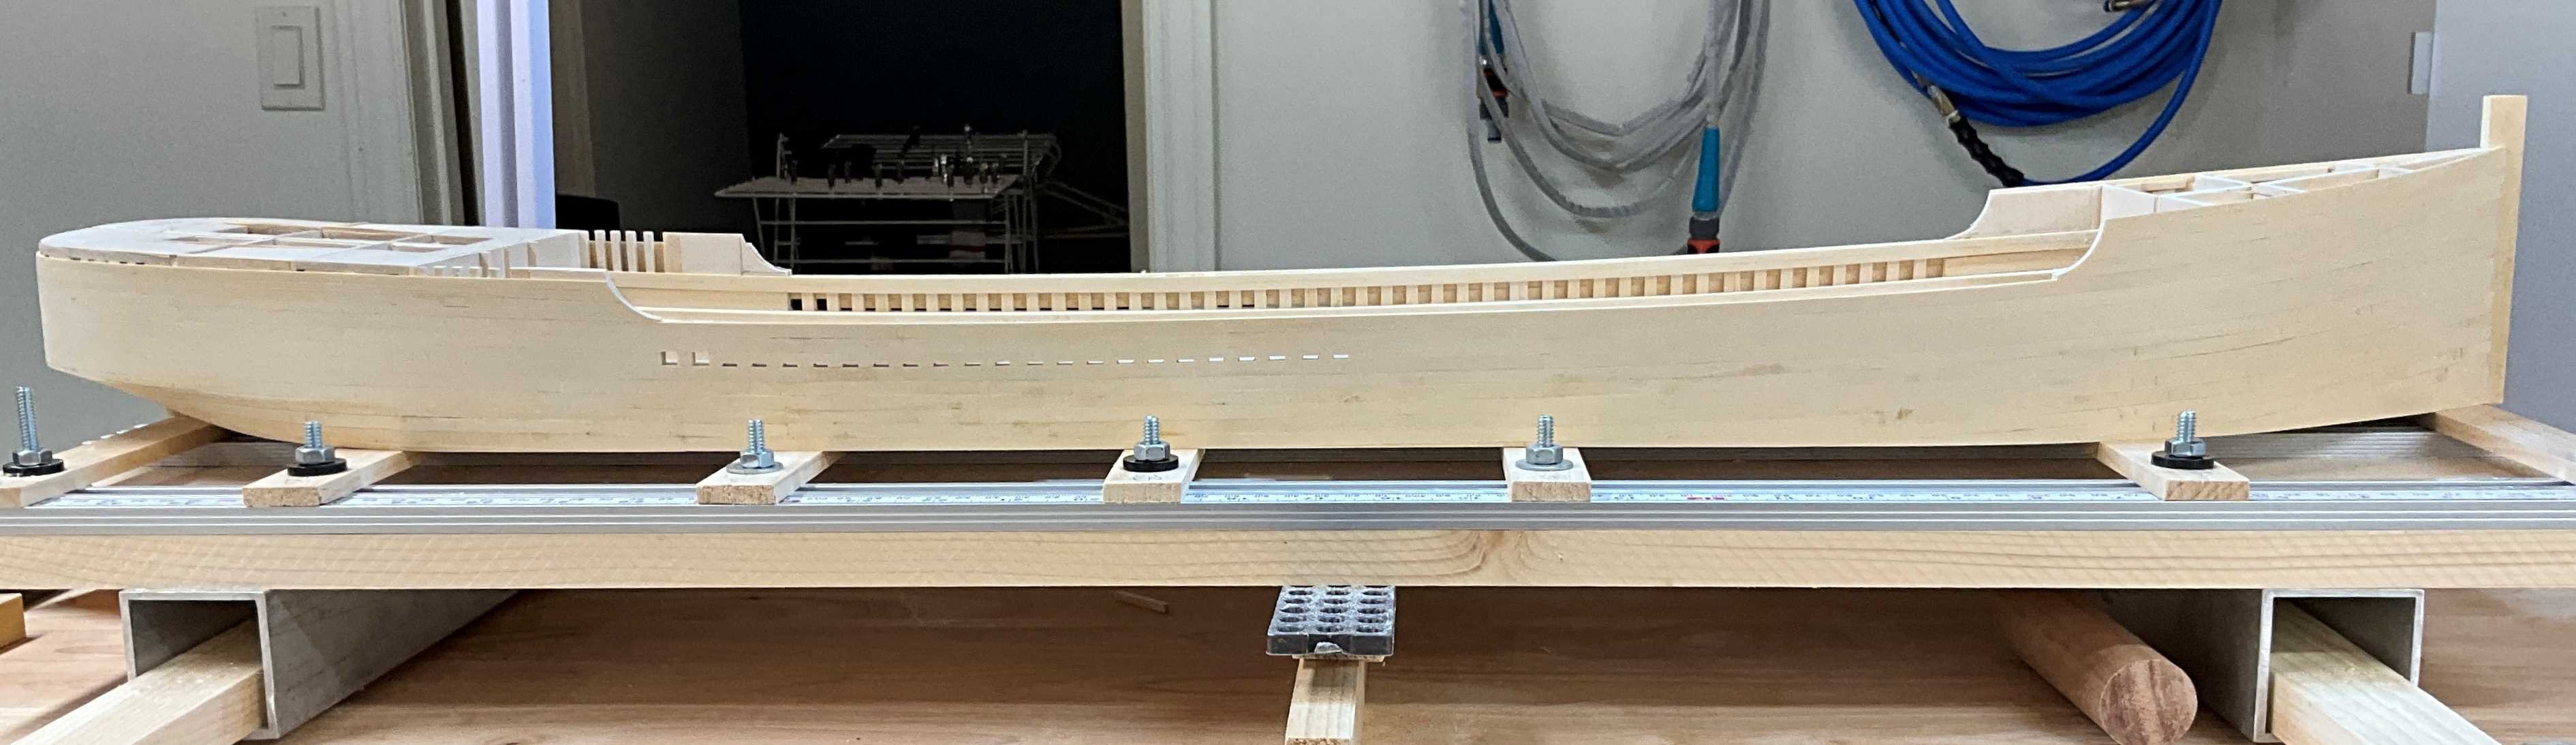
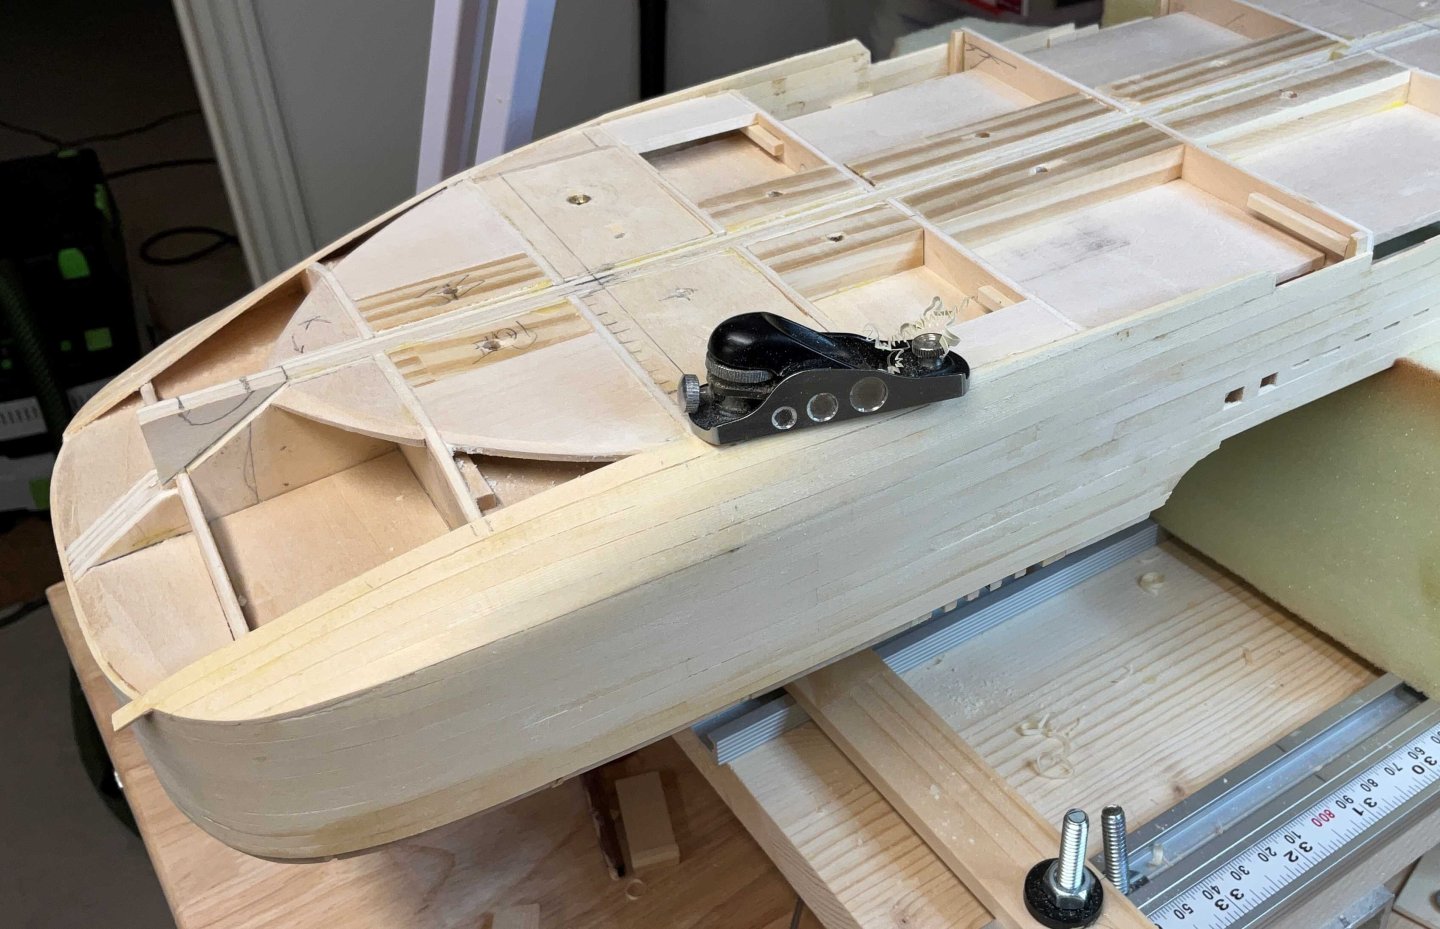
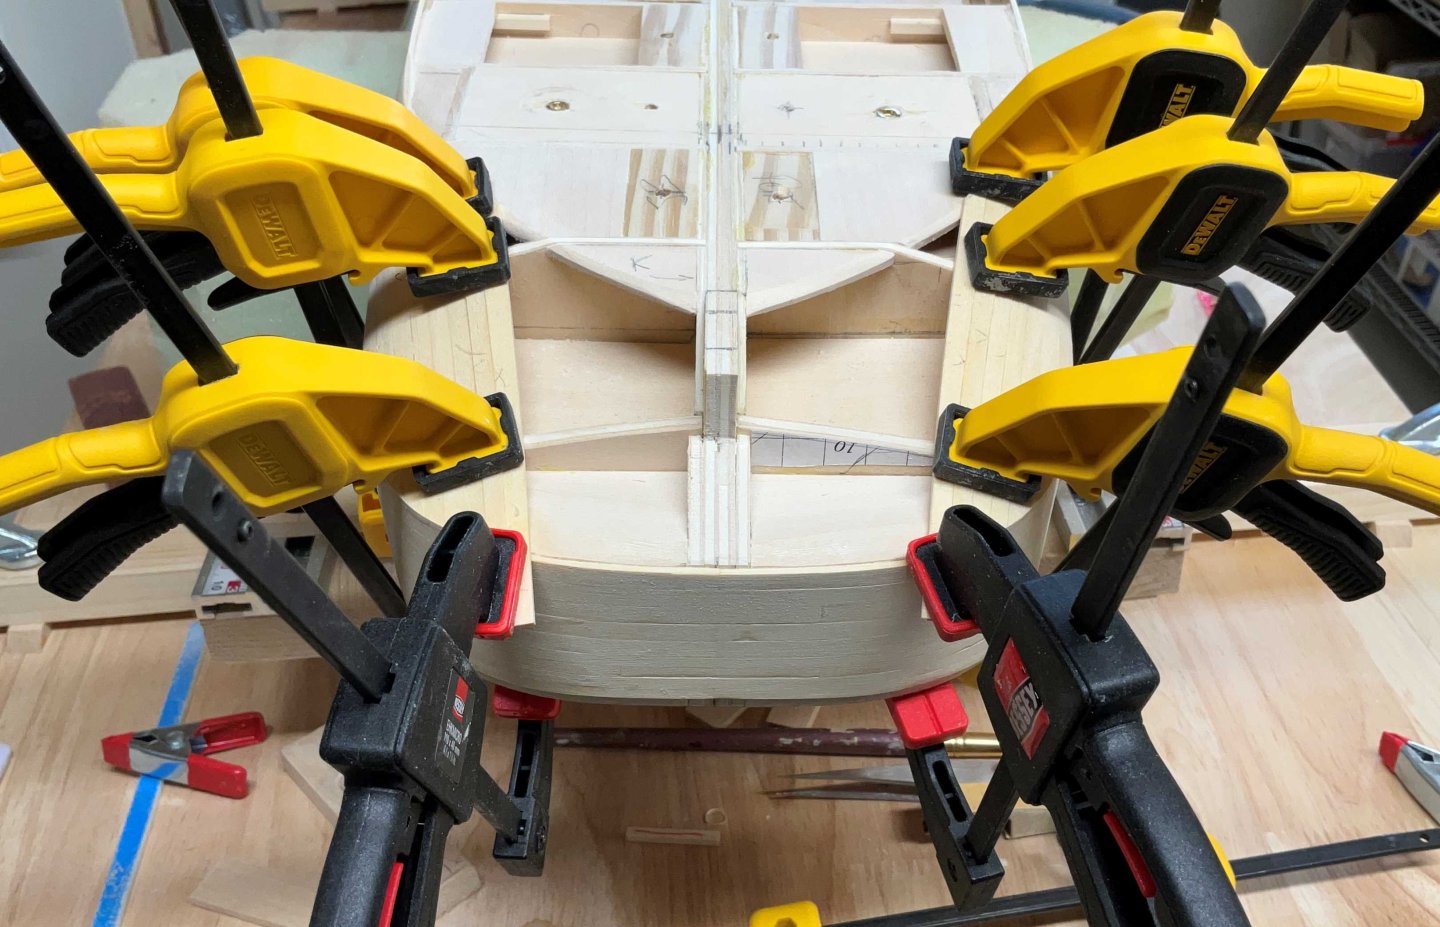
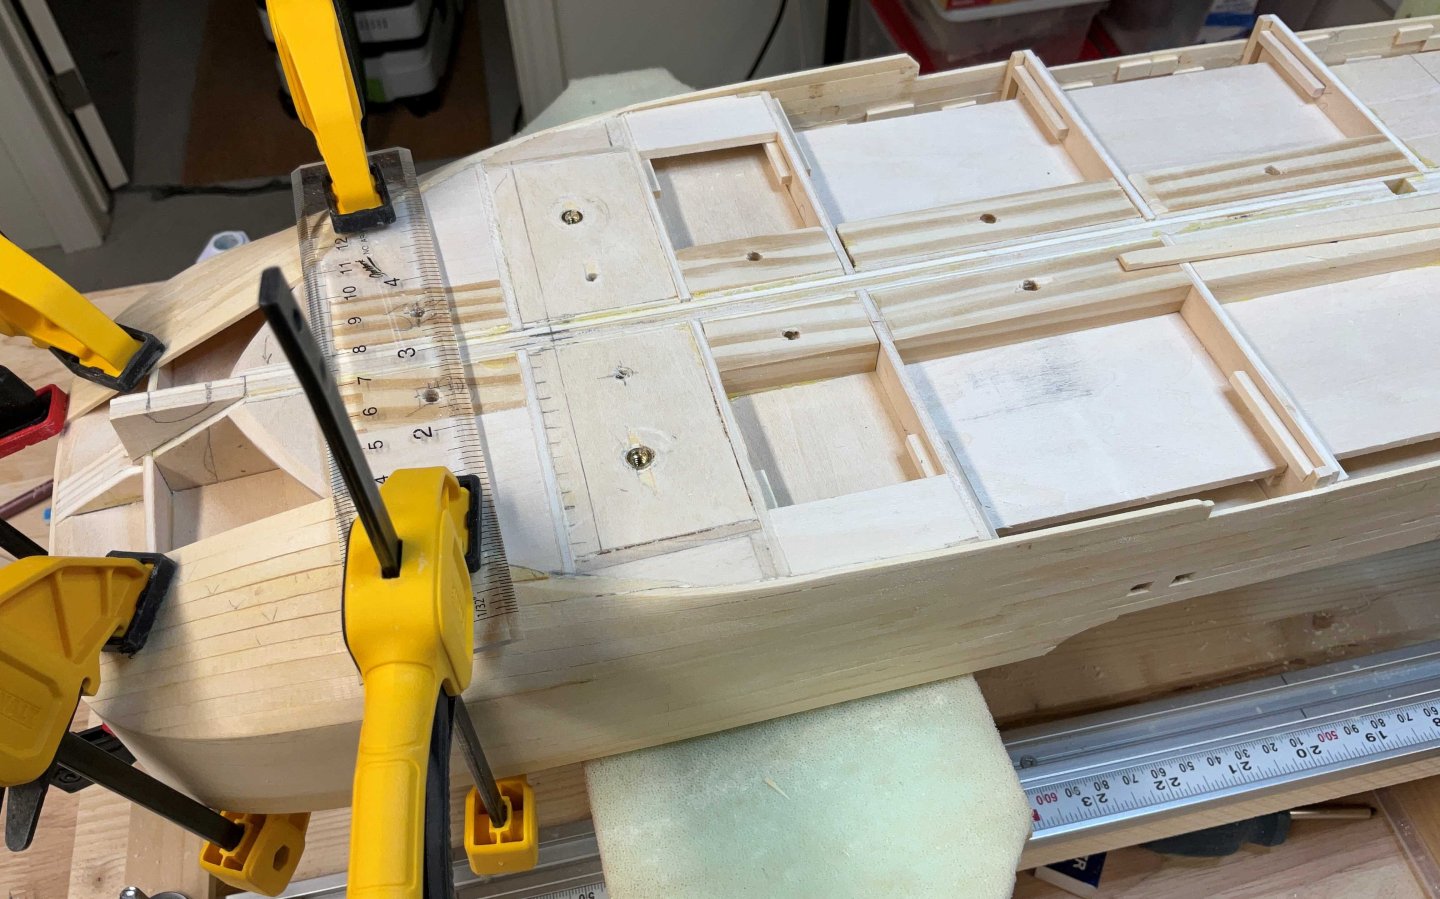
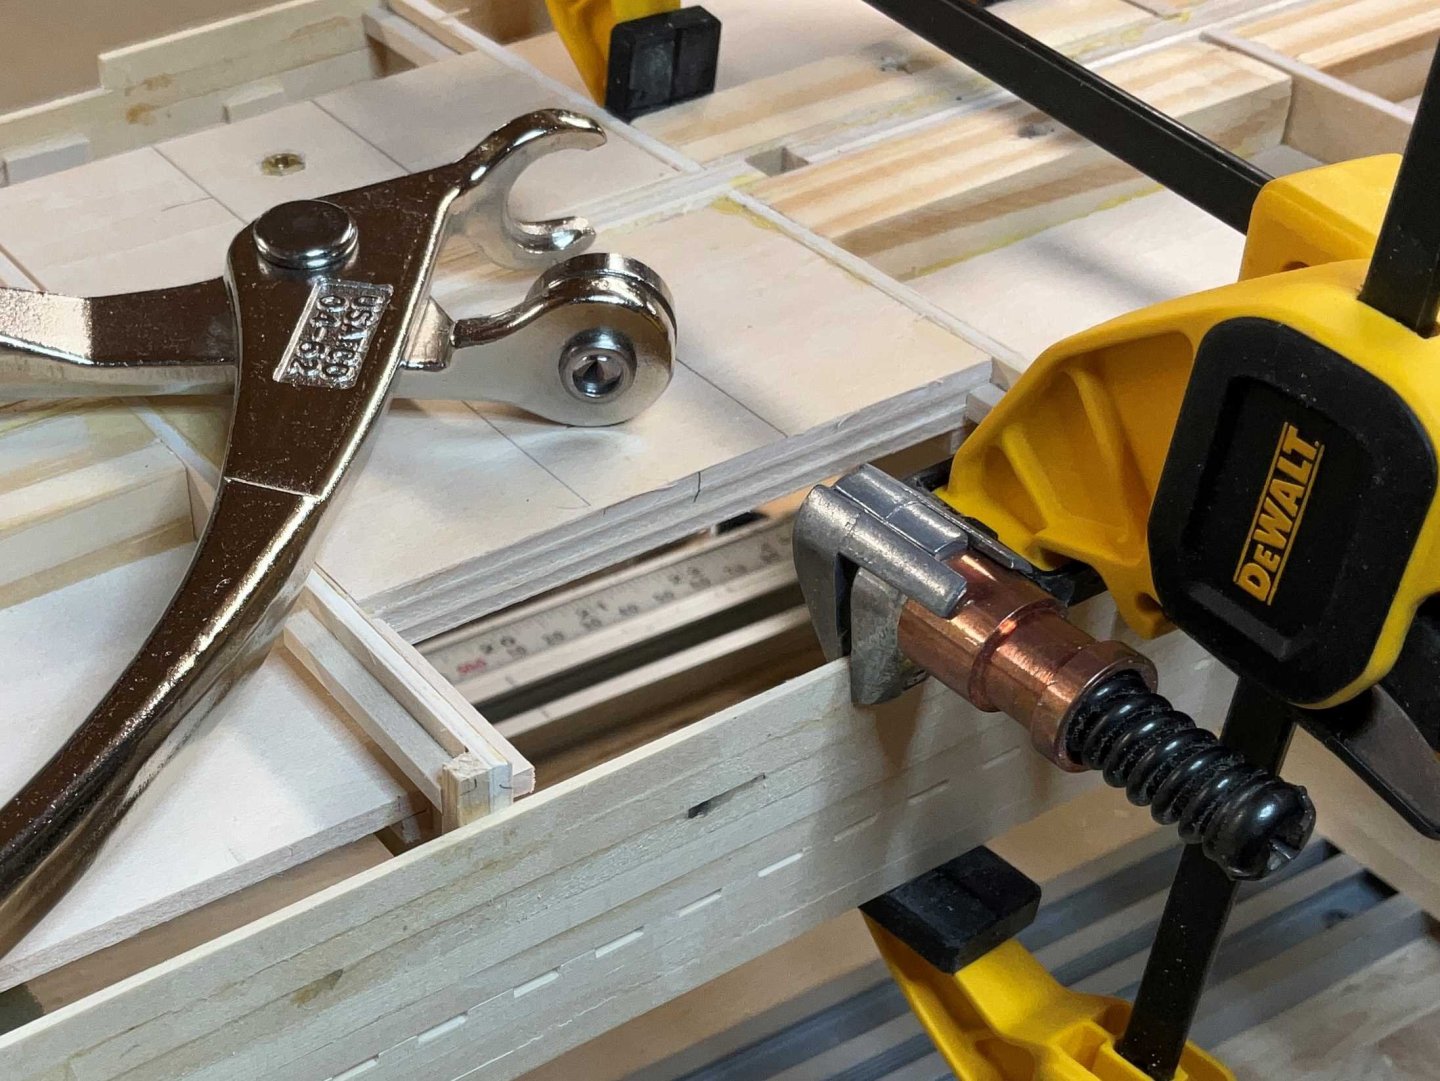
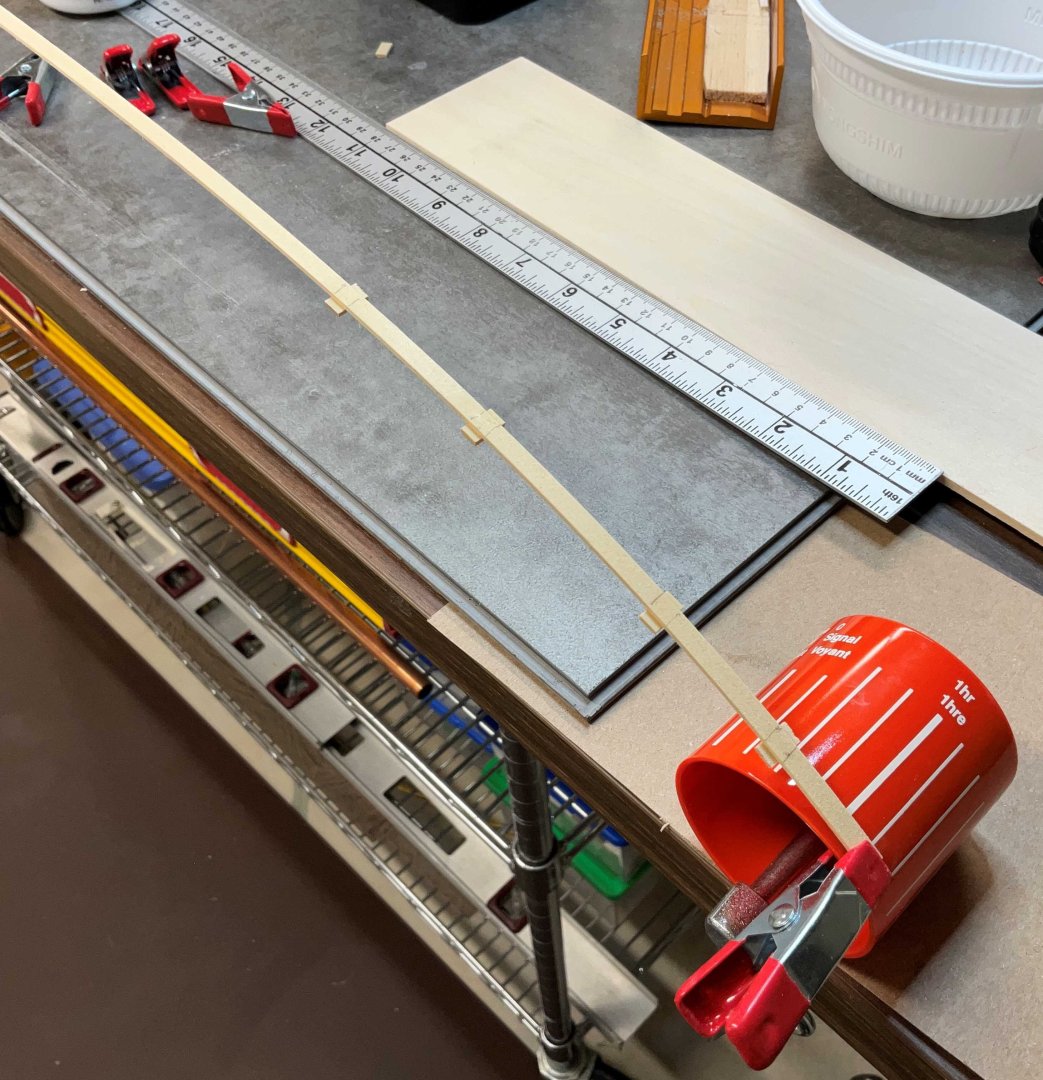
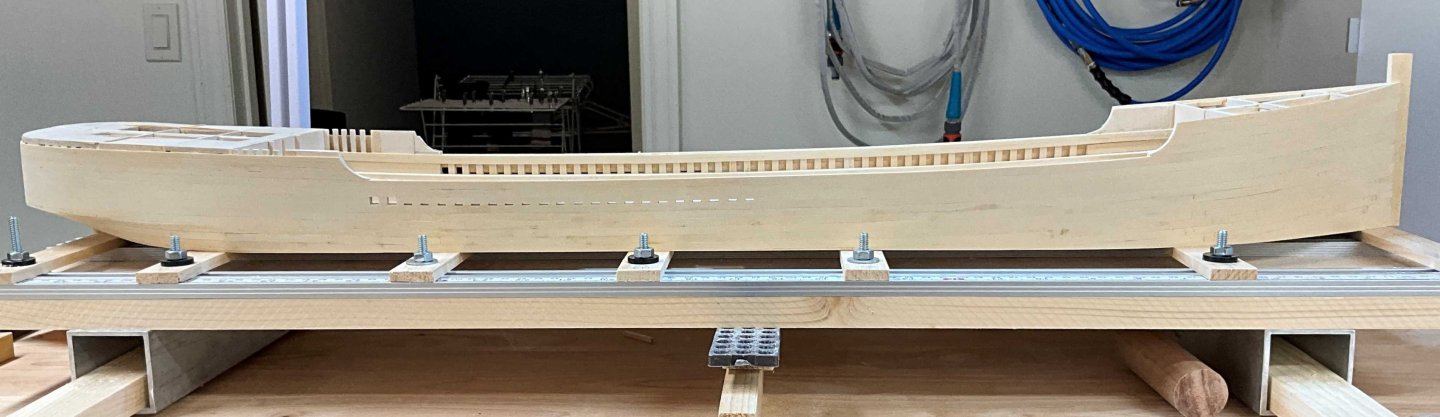
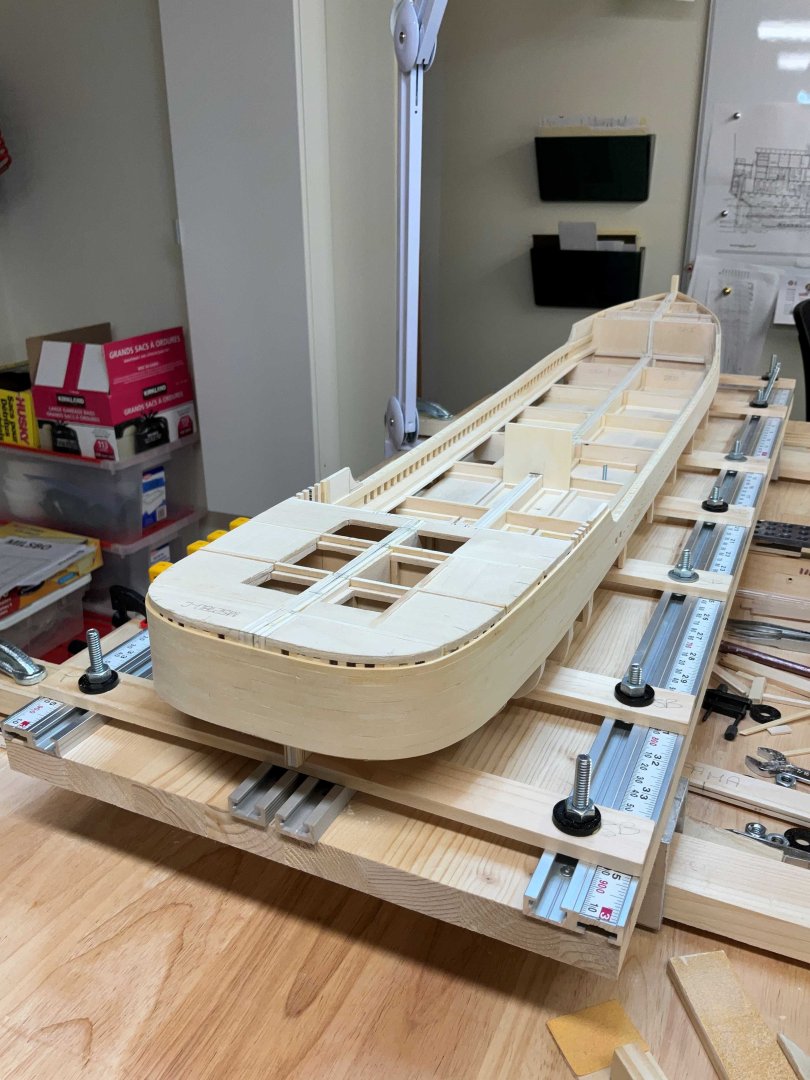
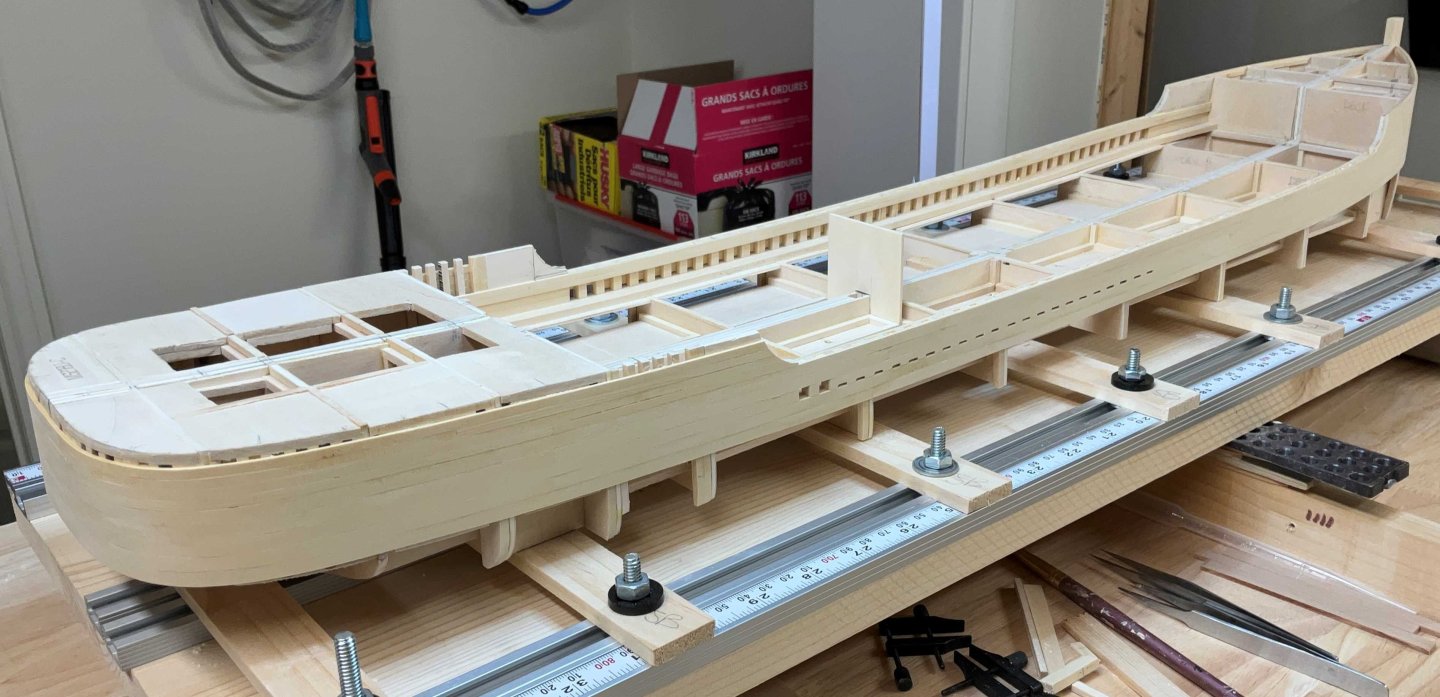
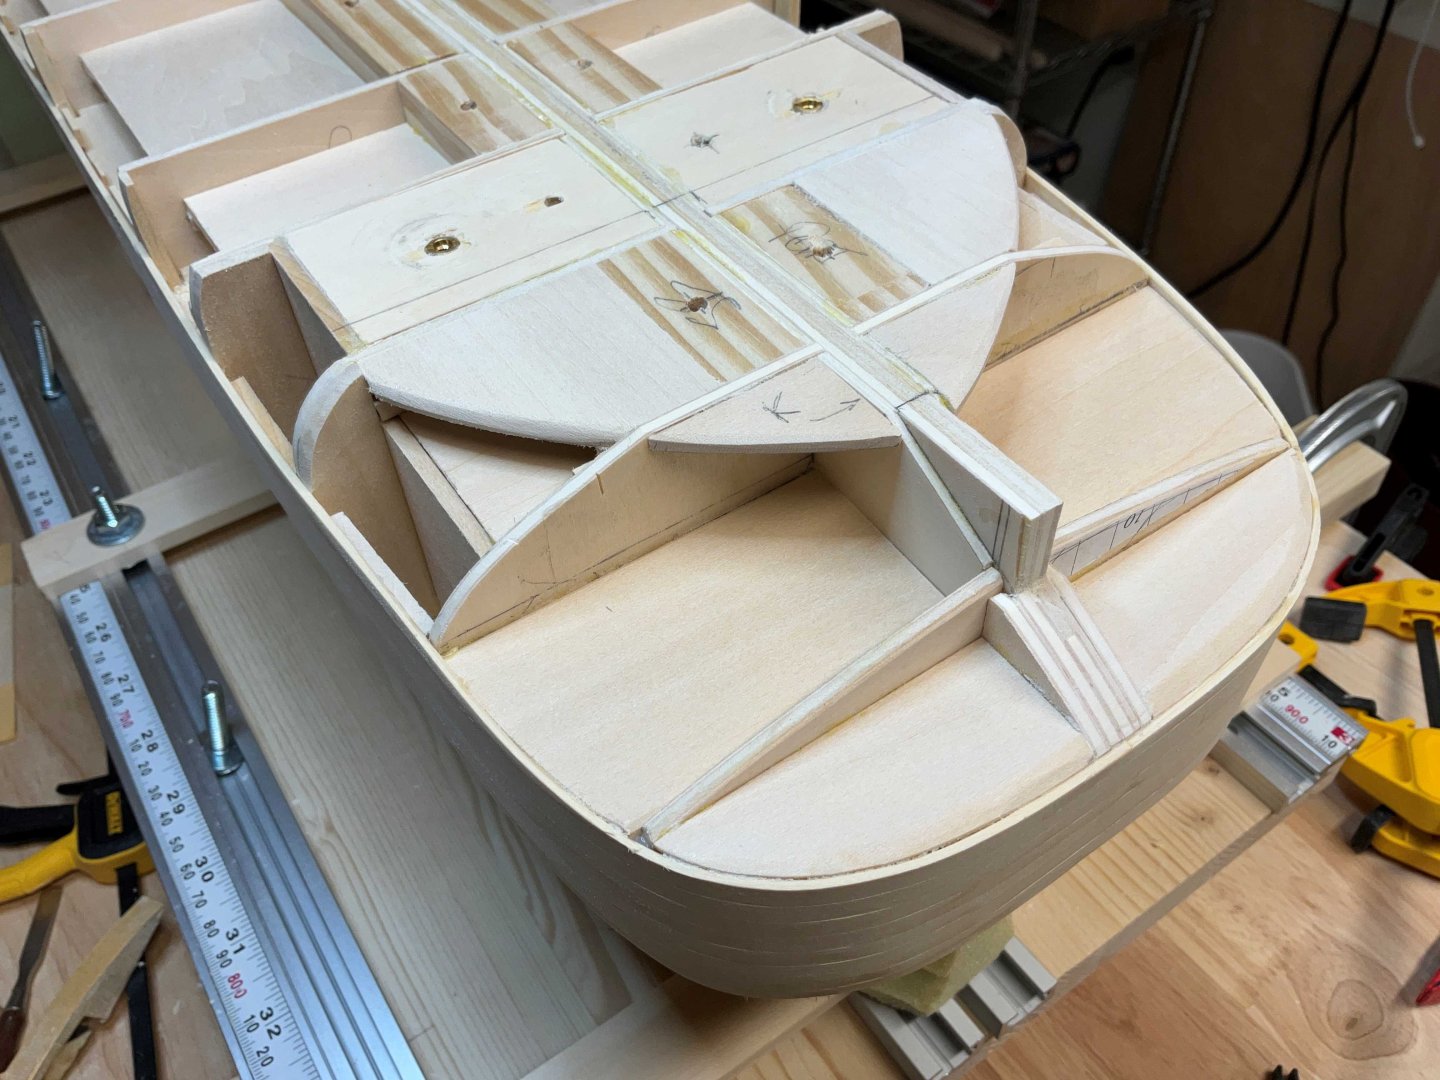
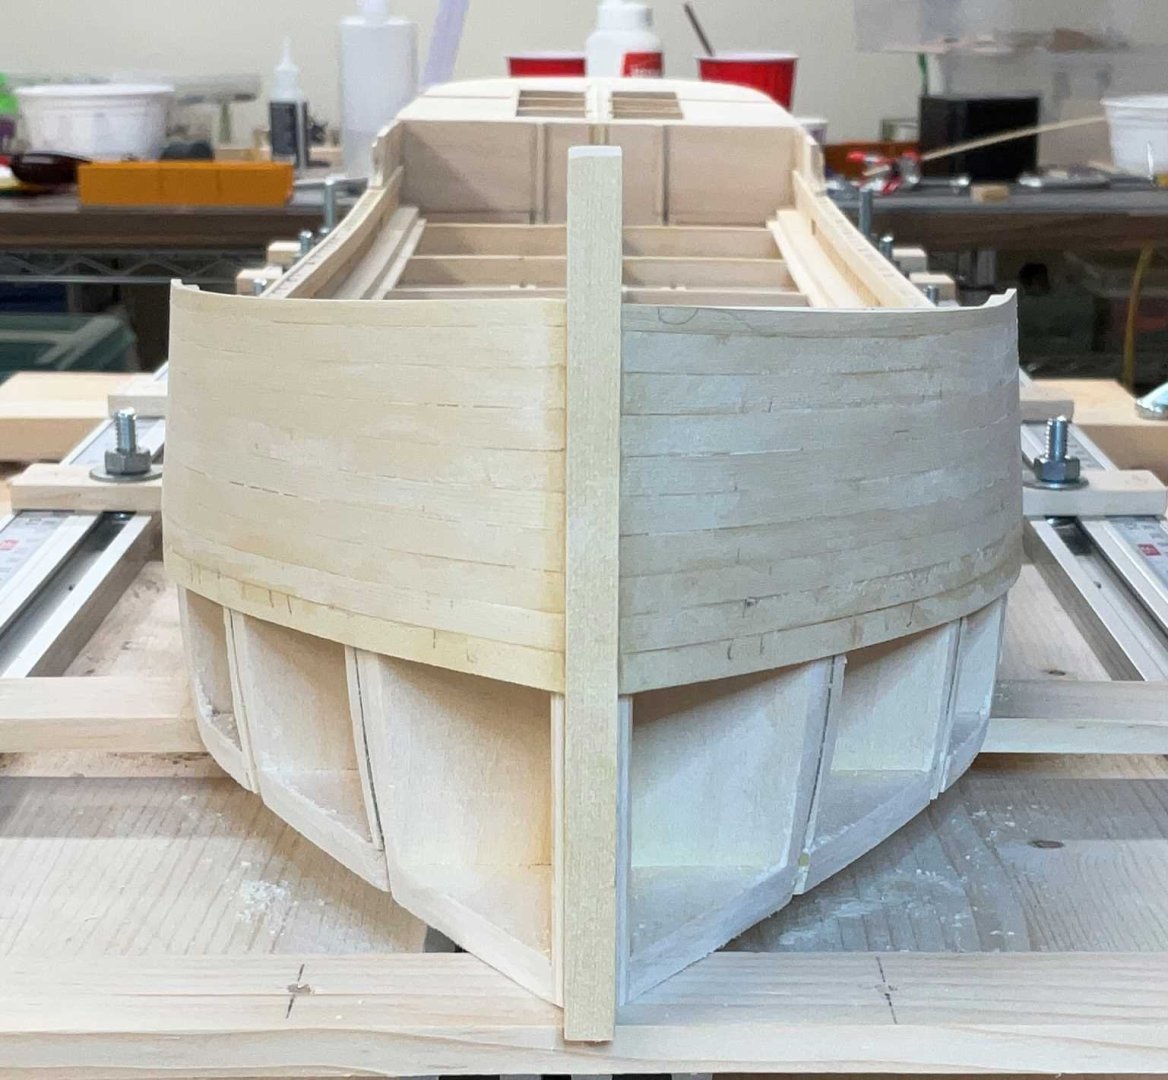
Hi Everyone, hope you are all doing well. Thank you very much for the Comments and Likes! The hull planking is finished. As the planks ran off the bulkheads and below the waterline, 1/8" blocks of basswood were added to define the waterline and add to the structural integrity of the hull. They were glued into place after the planking was installed to make it easier for clamping. Once the blocks had been installed the planks were planed down so that they were 1/16" proud of the blocks. The process started at the stern and moved forward. I had some Cleco type side grip clamps that had been used for metal work. They have a strong grip but didn't mark the AYC. They were good for the straight lengths. I got them from Aircraft Spruce. They are about 6.00 CAD each plus you need the pliers to put them on and take them off. I started making the tabs that are glued to the back of the planks longer so that they extended from both sides. This made them interlock with the previous plank's tabs. After the planking was completed they were sanded back to the waterline and the hull was mounted back onto the build board. I went over it with 120 grit paper but it still needs more sanding. Once the sanding is finished the rub rails can be attached. Hope to see you when the dust settles.


-
Peter, I am looking forward to seeing you create this beautiful schooner. Good luck with her!
-
Ross, congratulations on completing Diana! She is beautiful. Good luck with your Essex build
-
Looking good Glen! Glad you could fly the original flag.
- 301 replies
-
- 4
-

-

-
- Constitution
- Bluejacket Shipcrafters
- (and 1 more)
-
Thank you Gary, I was a tad surprised when I saw that photo. Usually my builds aren’t all that symmetrical.
-
Jim, best of luck with the fix of your Constitution!
-
Best White Wood Glue For Ship Building
Paul Le Wol replied to OldeManToad's topic in Modeling tools and Workshop Equipment
Hi OldeManToad, welcome to MSW. I’ve been using LePage Multi Purpose White glue with good results. I like using white glue solely because it dries opaque. Even if the model is being painted I don’t like looking at yellow glue stains while it is being built. Have never tried Titebond. Good luck with your Albatros build. I should have said that it dries translucent. -
Ryland, congratulations on receiving the Jim Roberts Award and thanks for posting the great photo!
- 263 replies
-
- 2
-
-
-
- Medway Longboat
- Syren Ship Model Company
- (and 1 more)
-
Glen, the deck houses are exceptional, especially the rails!
- 106 replies
-
- 5
-
-
-
- Kentoshi-Sen
- bottle
- (and 1 more)
-
Hi Rick, thank you very much for your comment!
-
‘Thank you John, I appreciate your comment very much!
-
Thank you Jacques, the plan at the moment is to add support behind the planks at the water line. Either a vertical or horizontal piece of 1/8” basswood between the frames to keep the planks from flexing. Other than that I think the rest will be left open. But you know how plans change 😀
-
Thank you Keith, been doing ten minutes of sanding every day so that it isn’t such a big job at the end
-
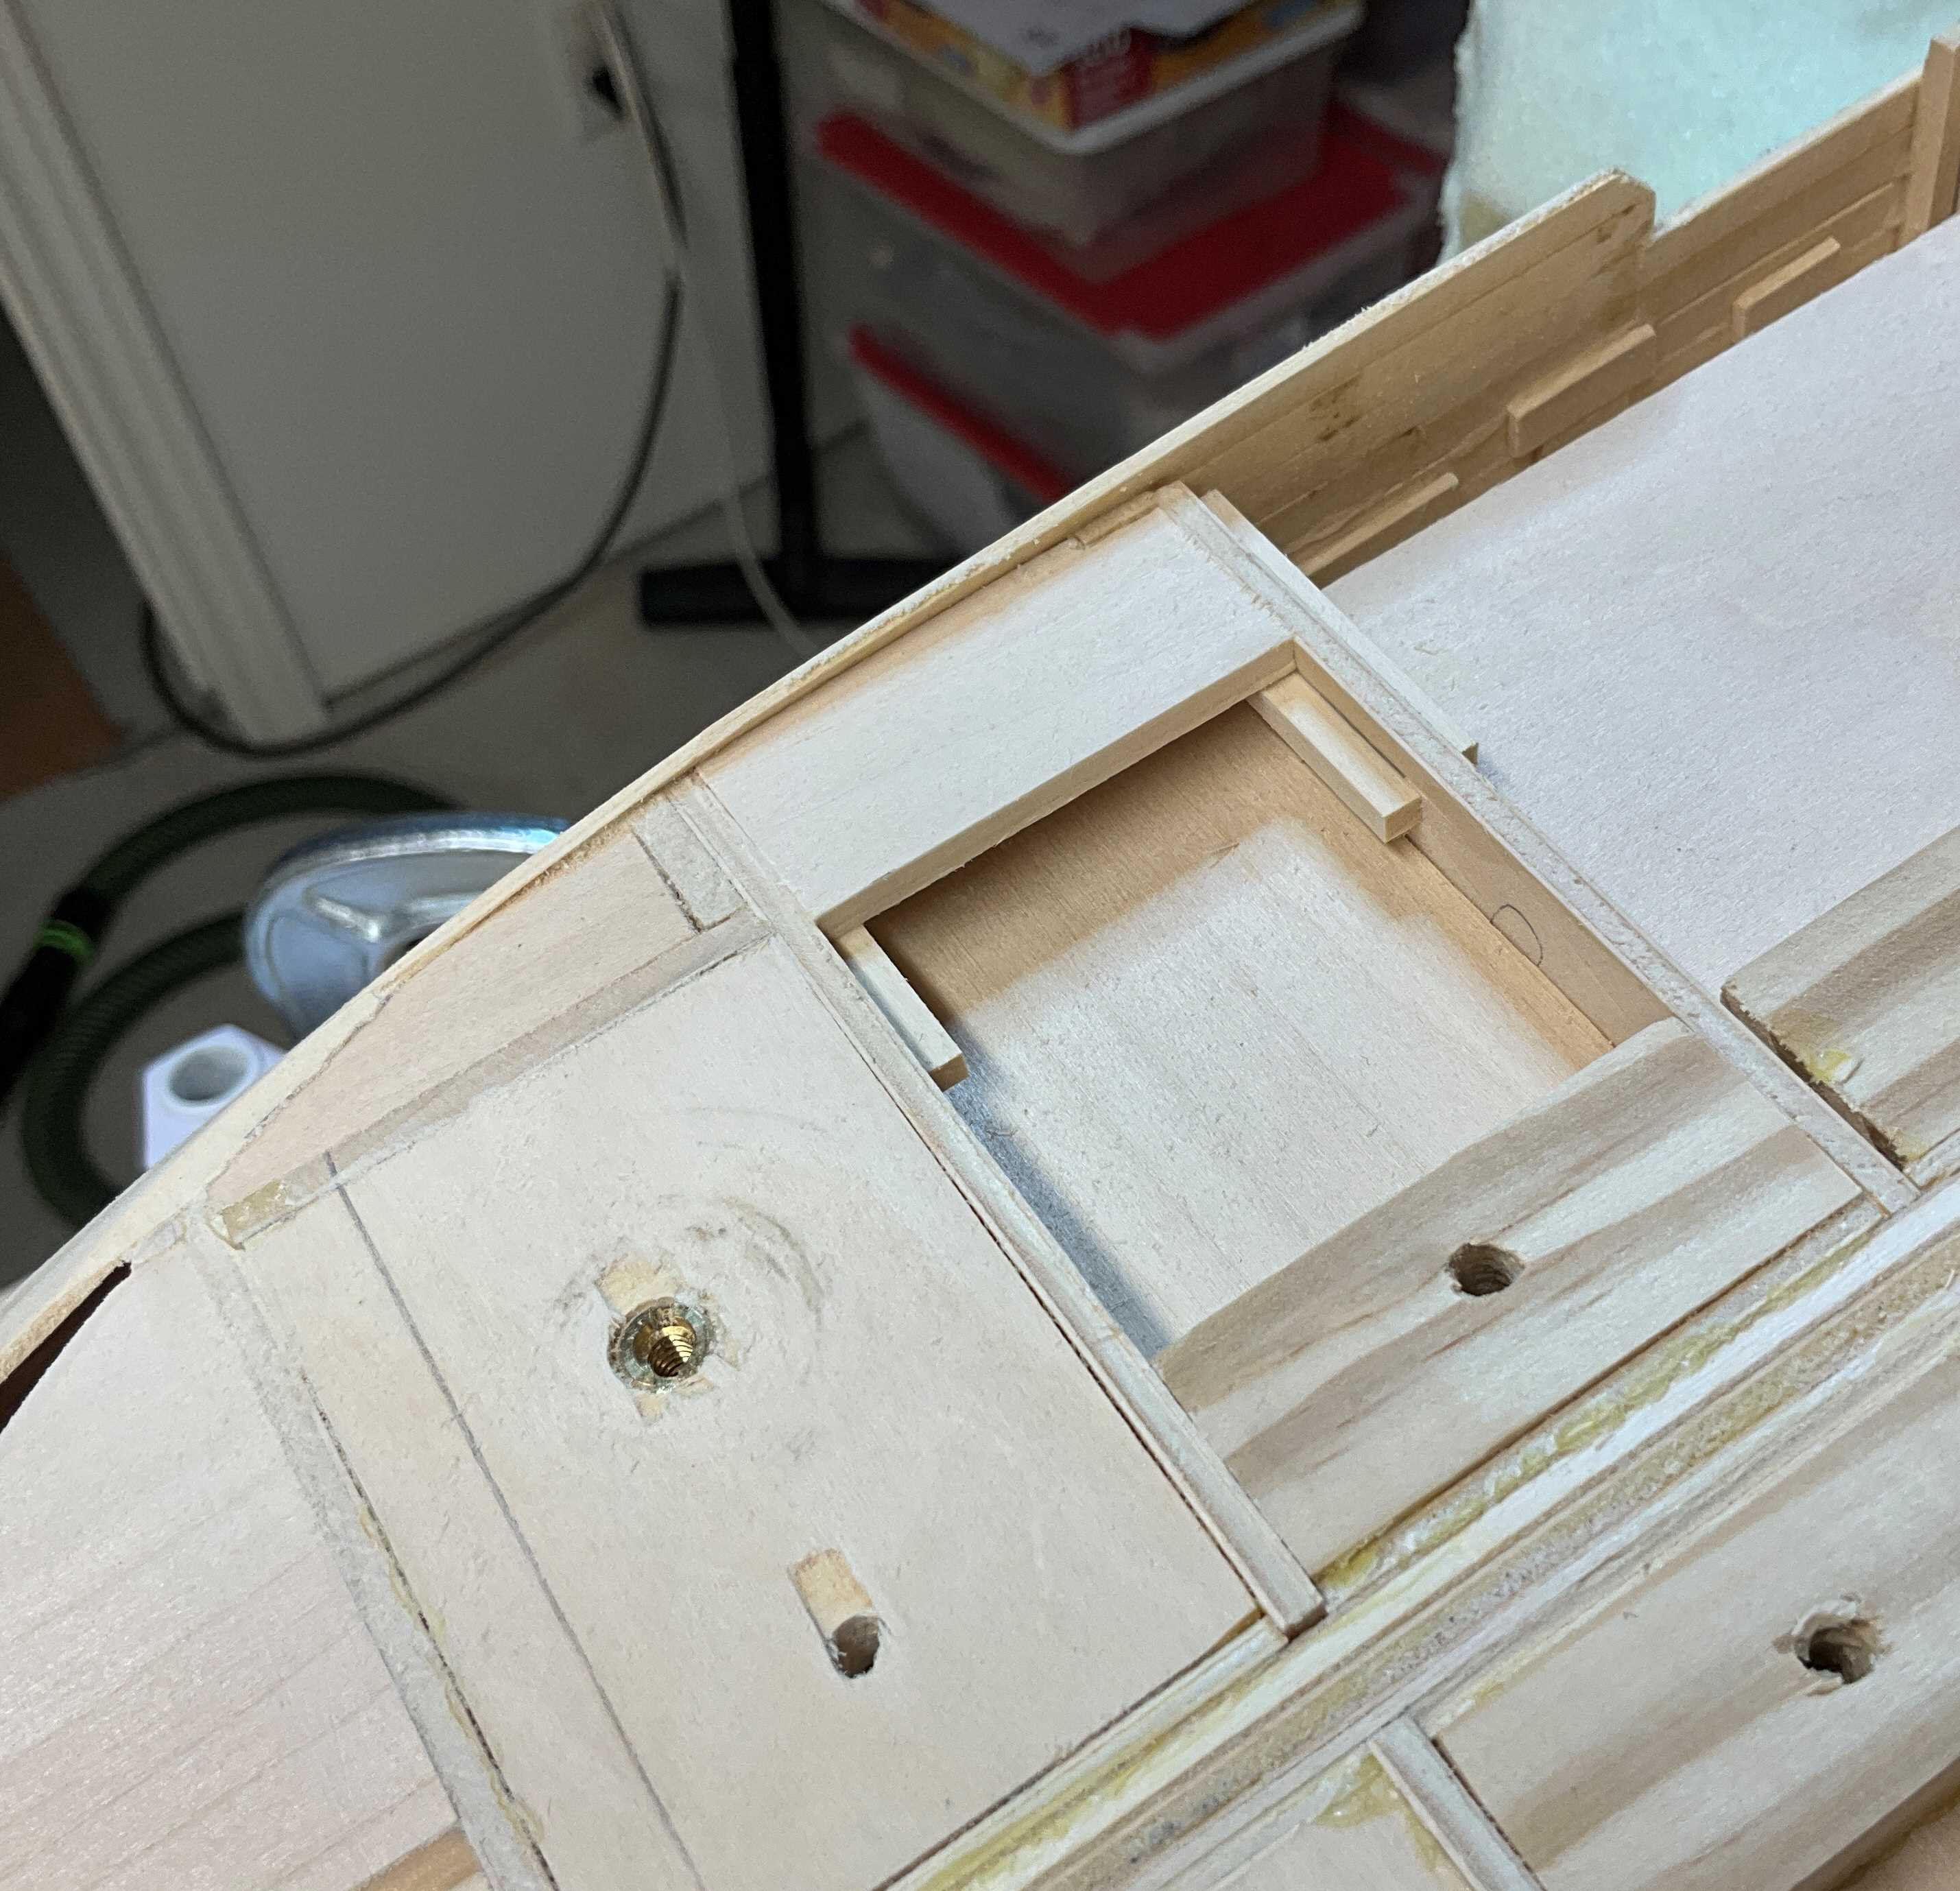
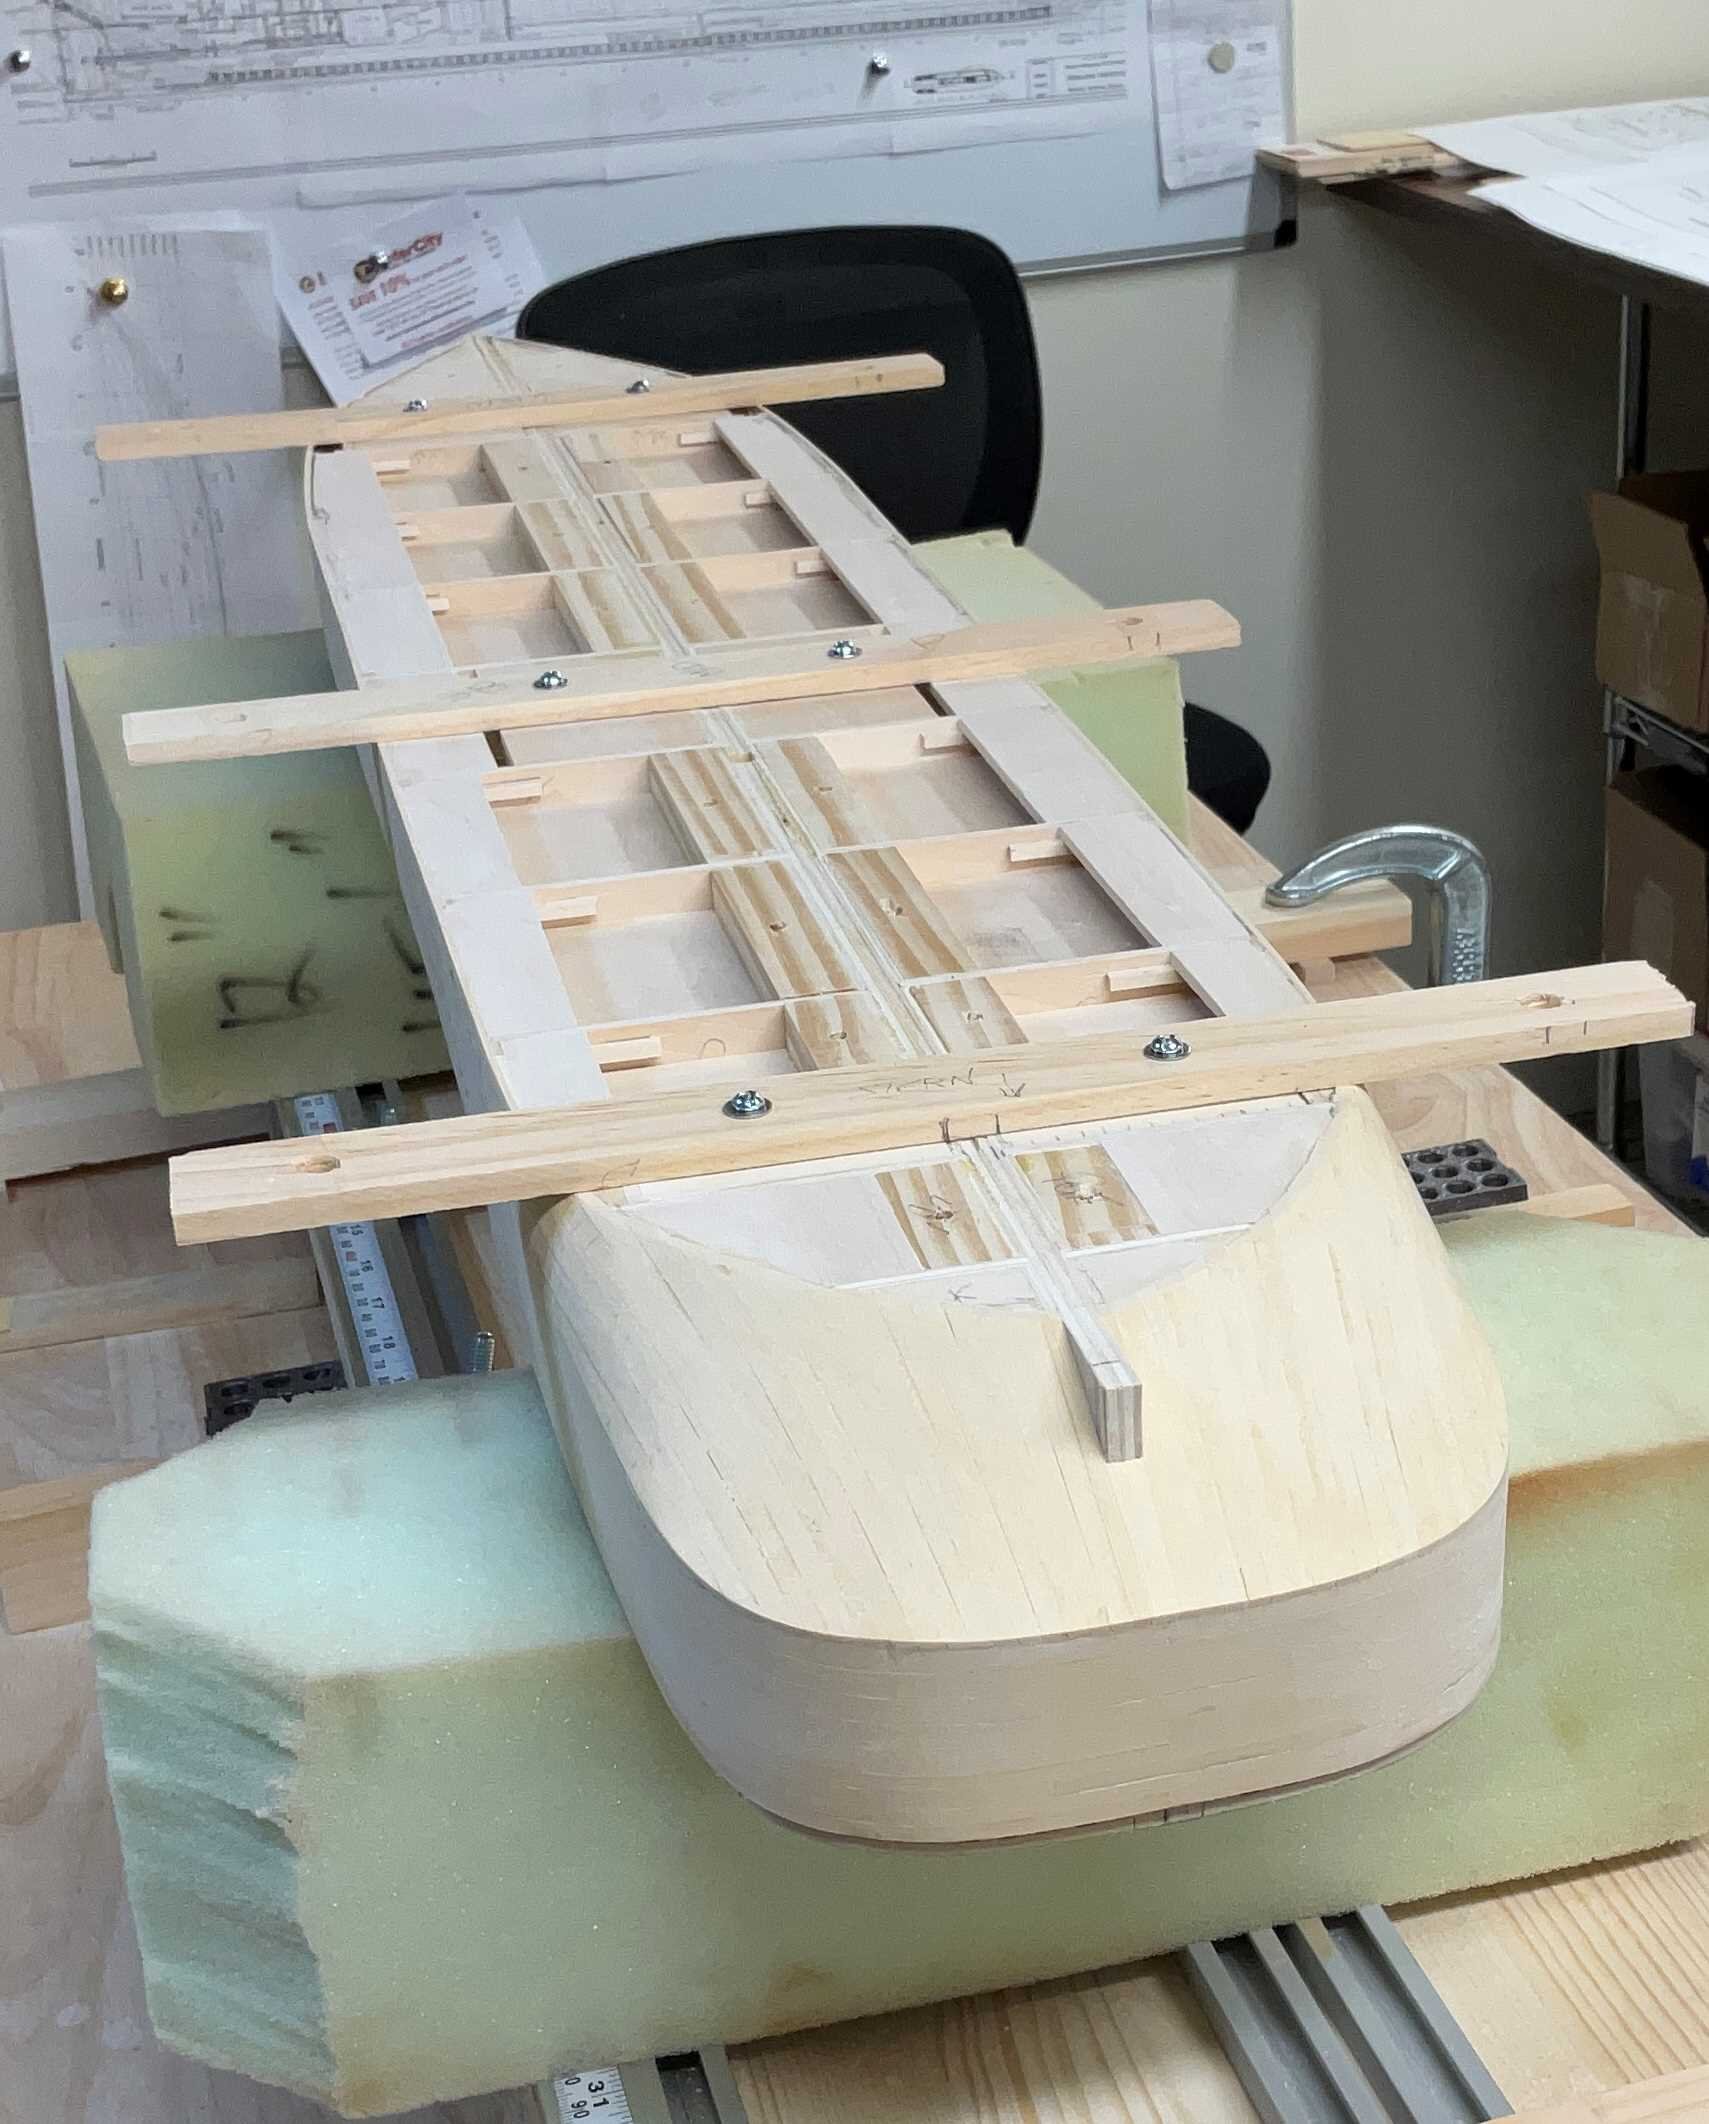
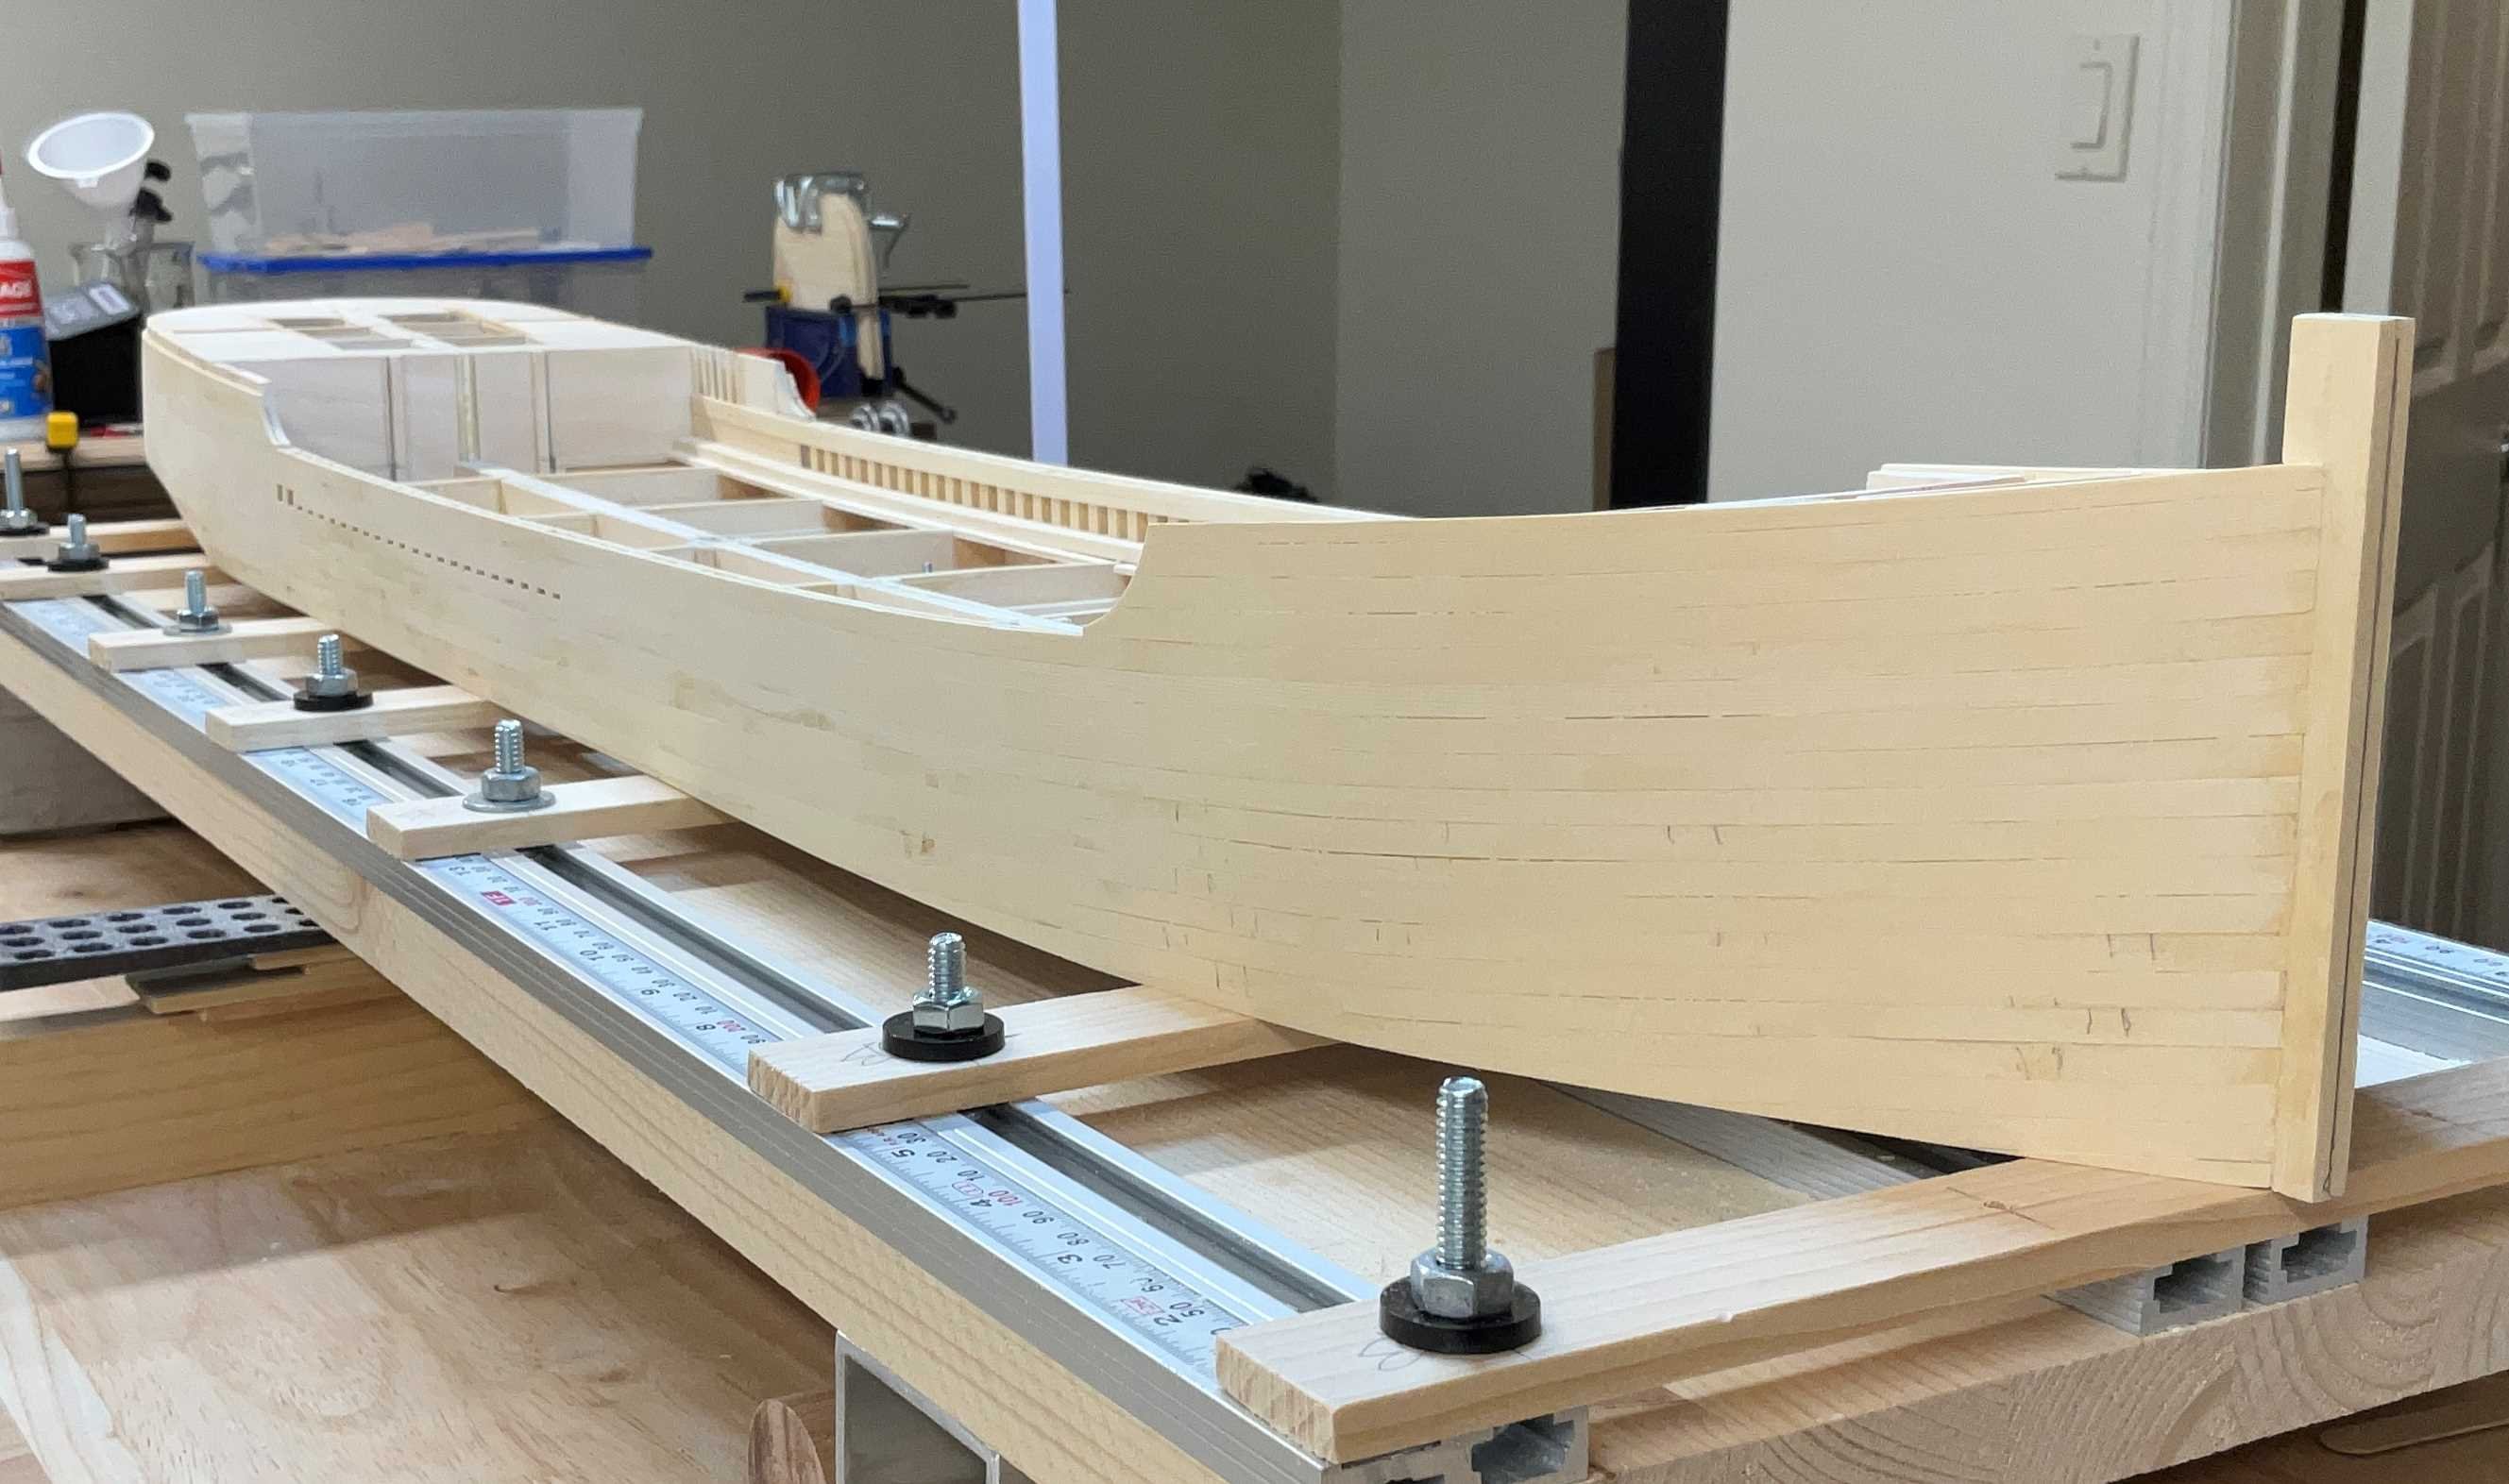
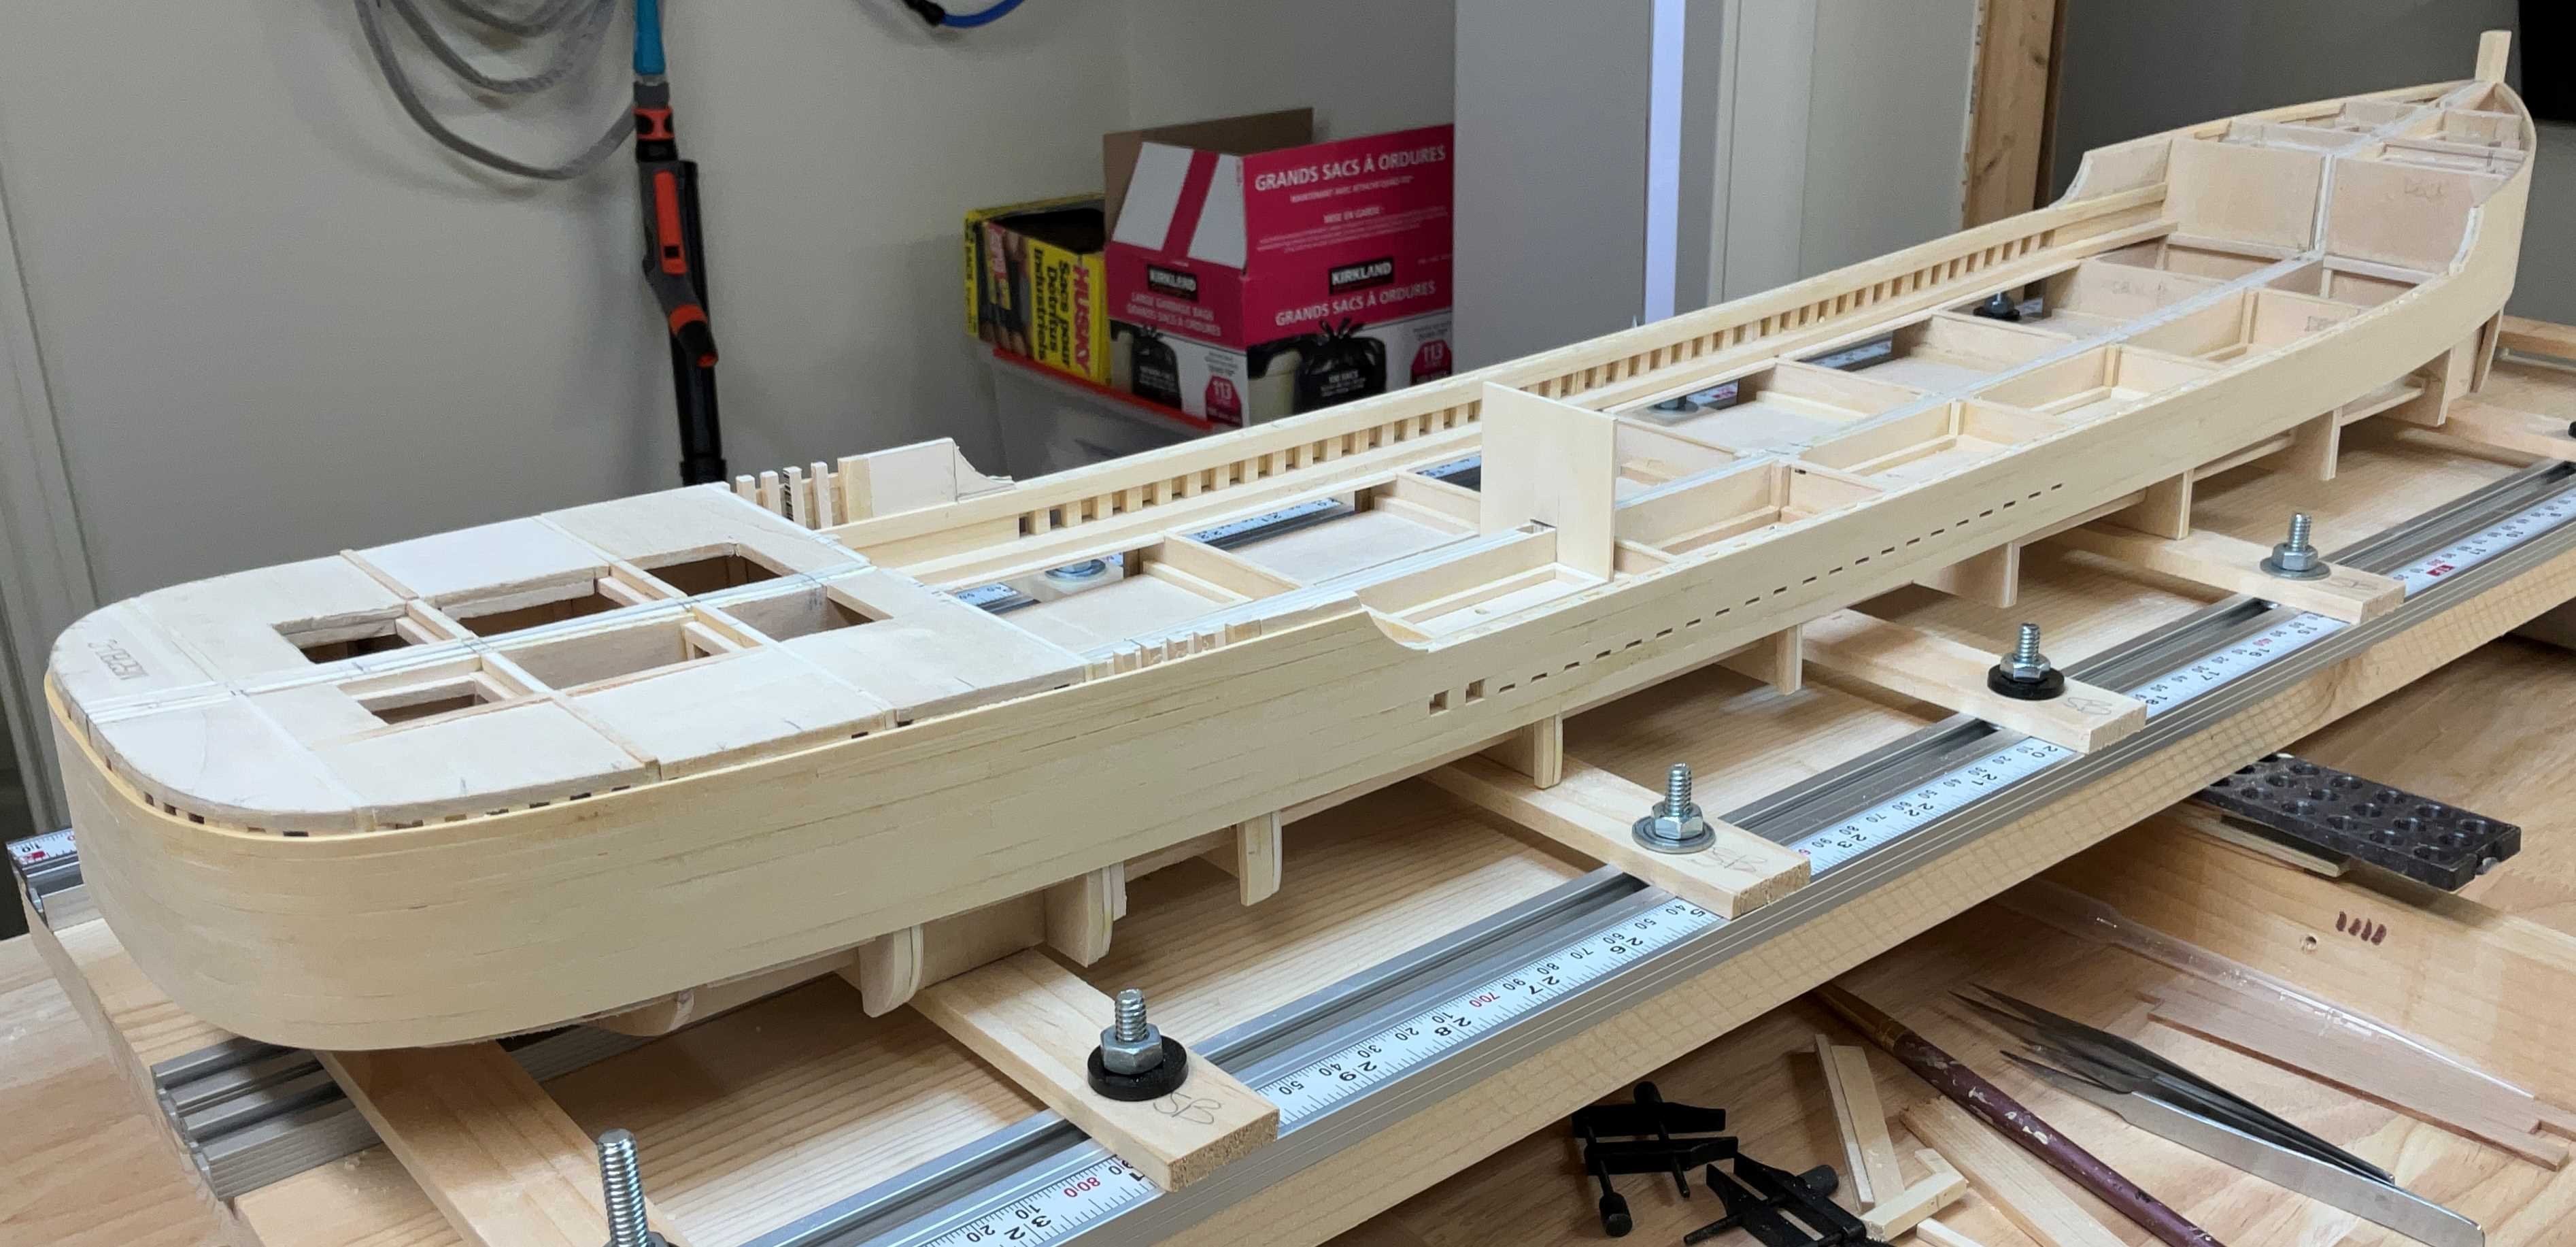
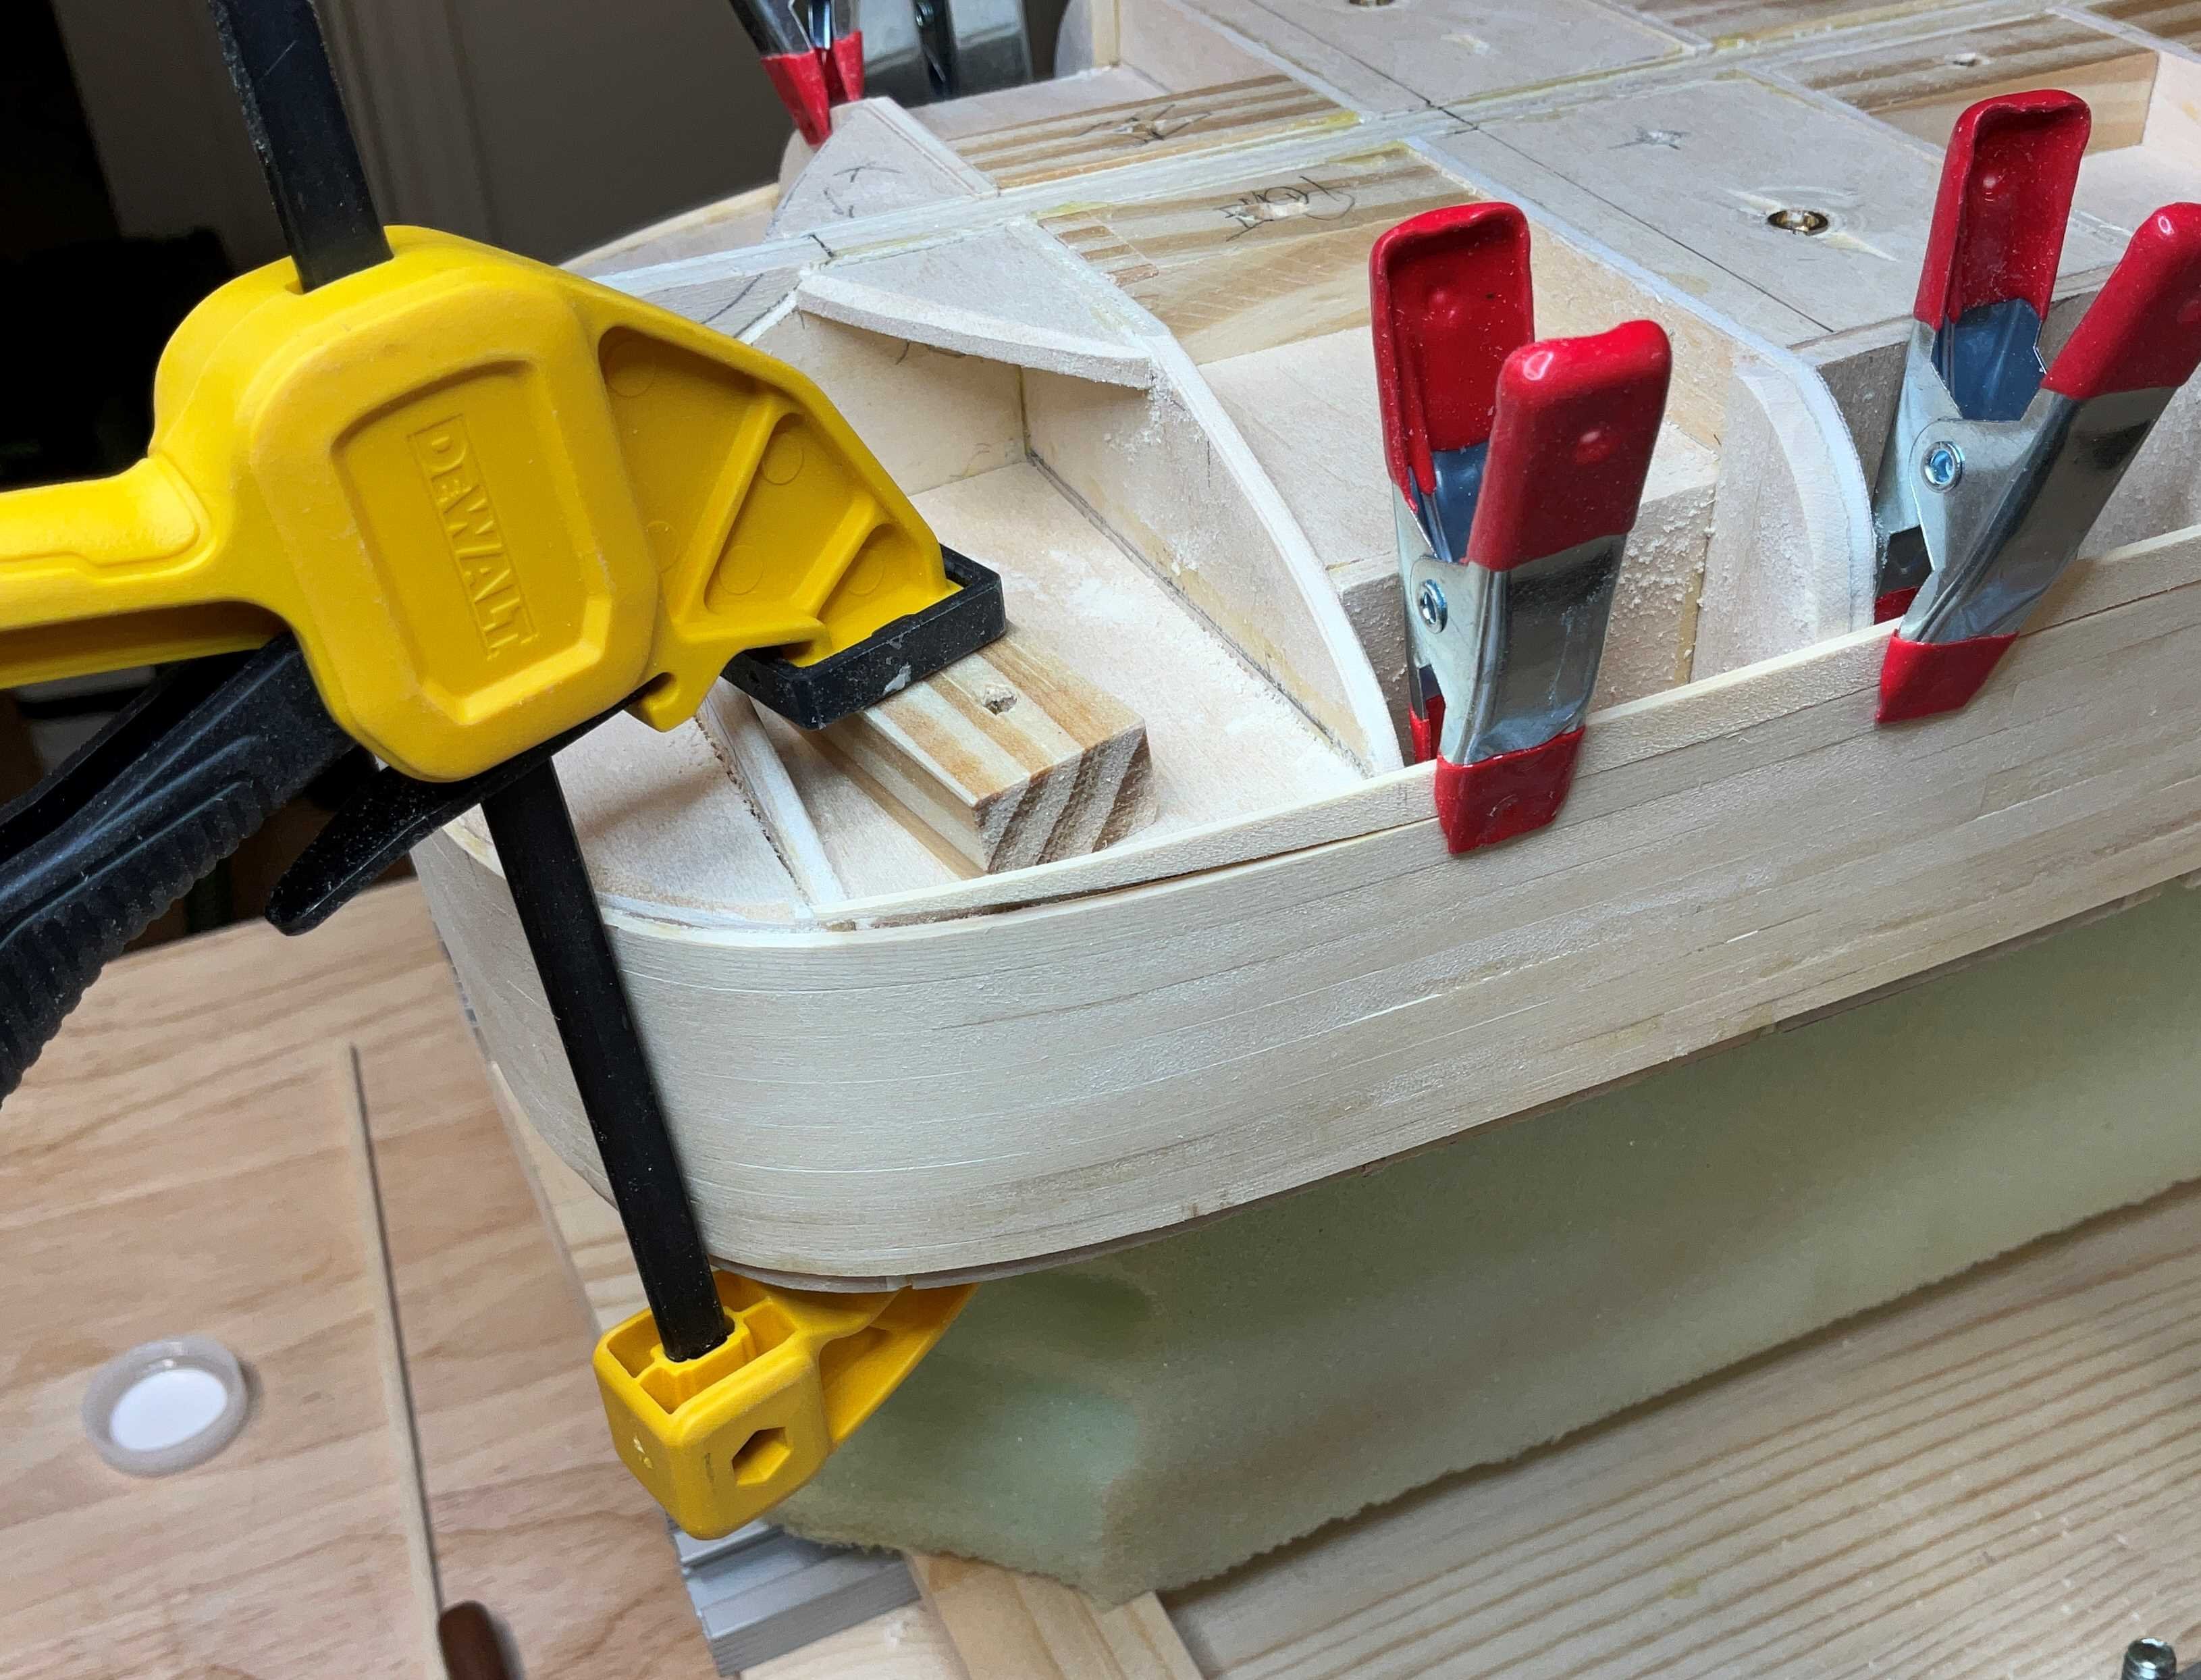
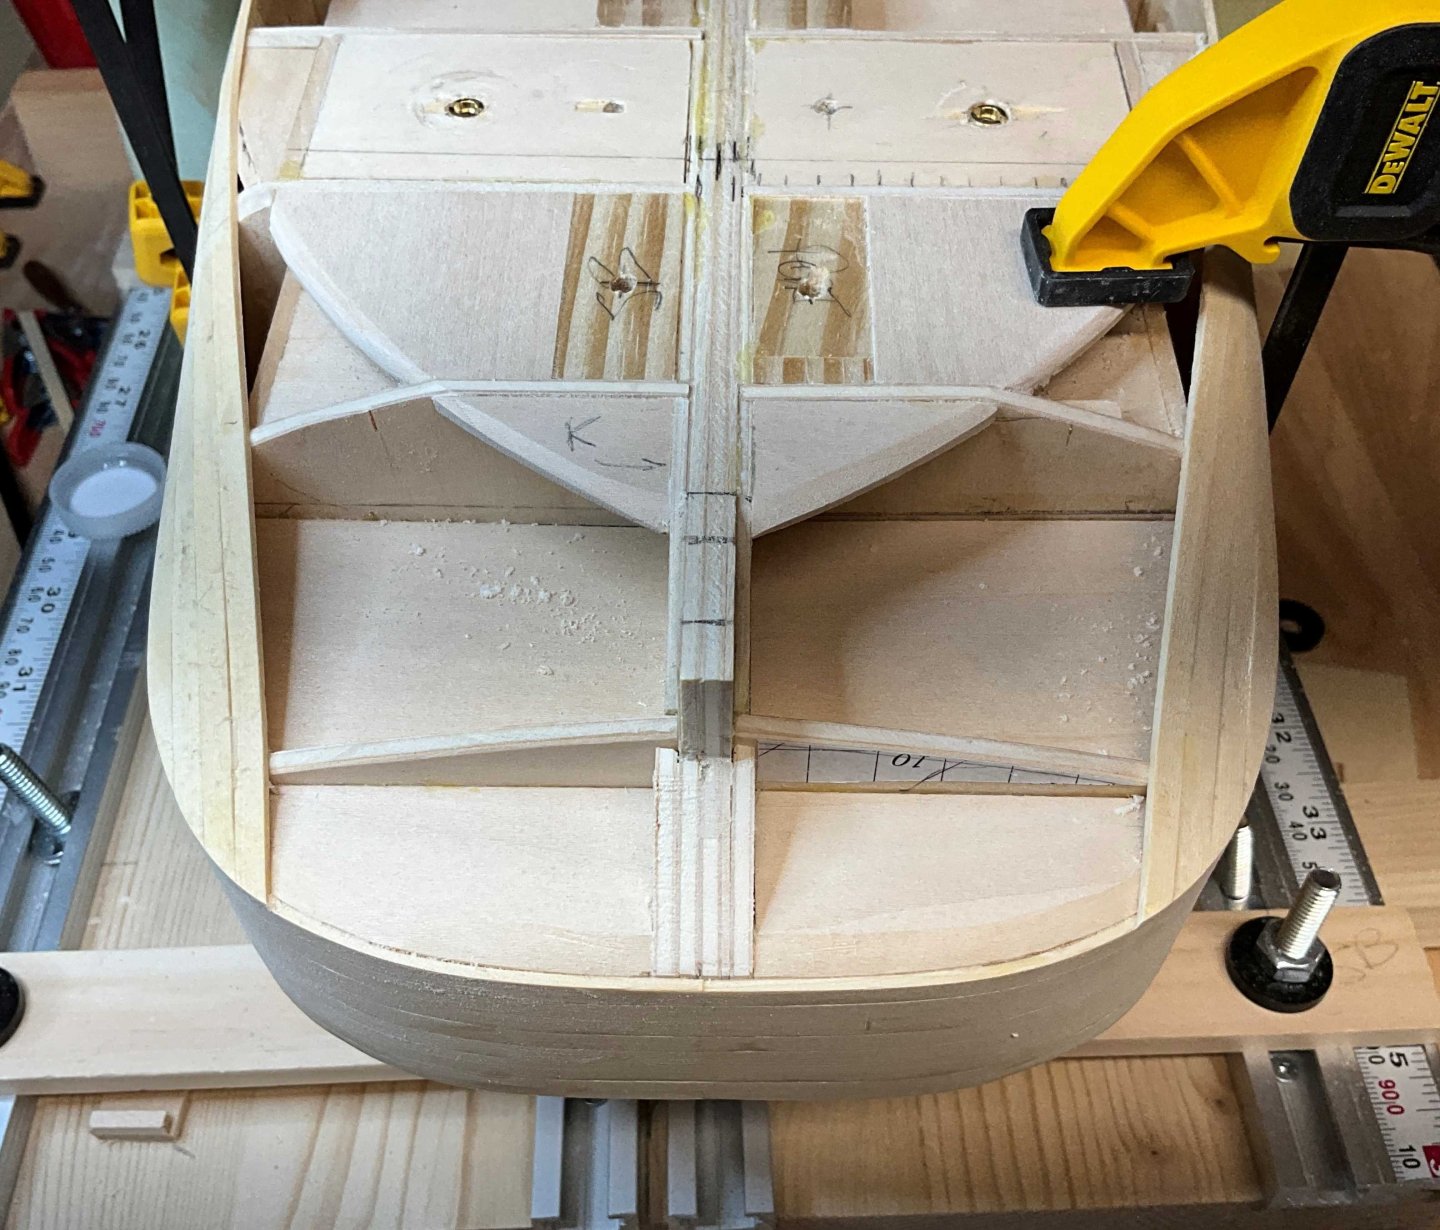
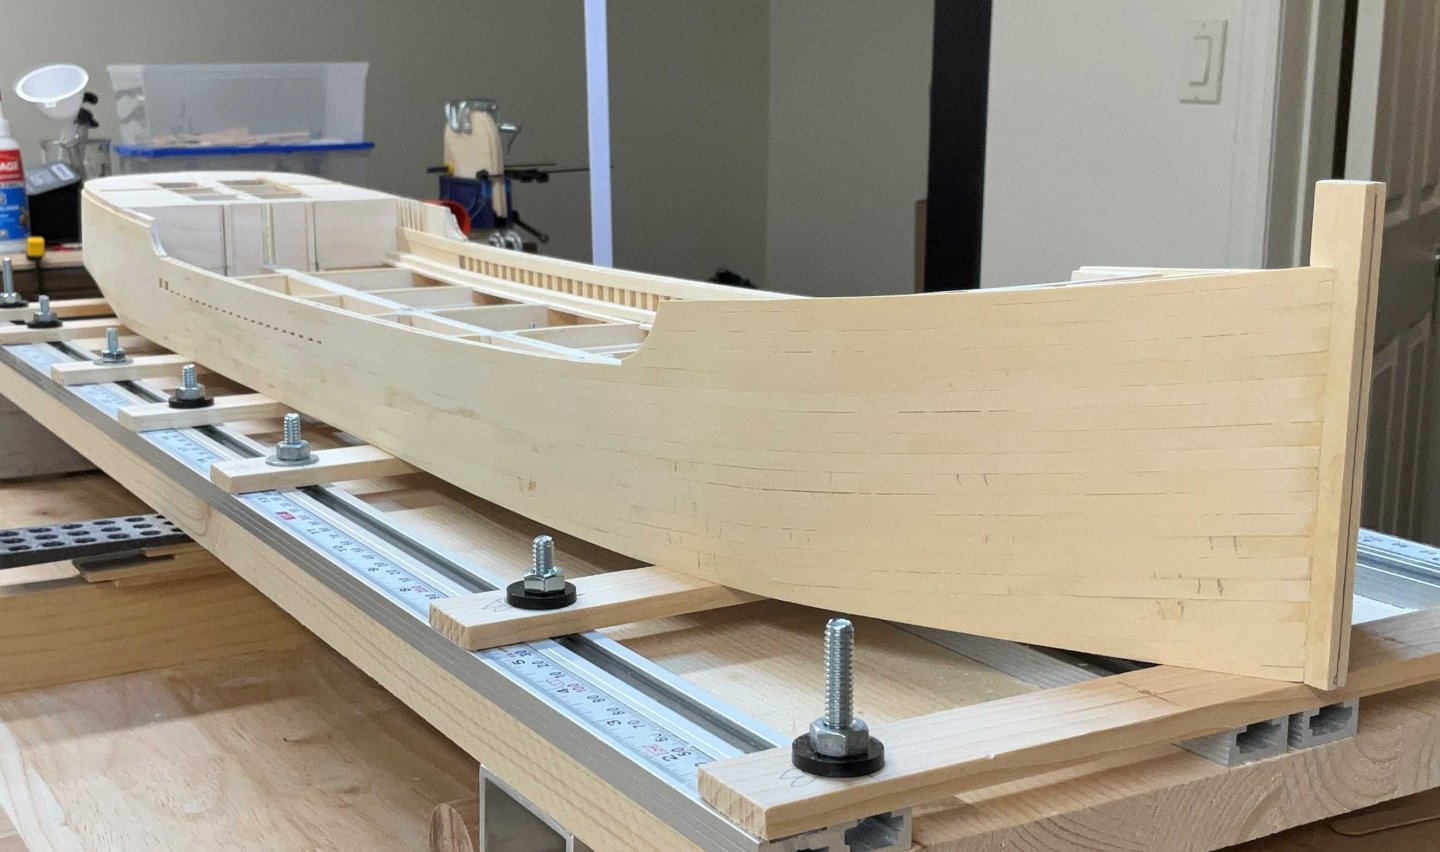
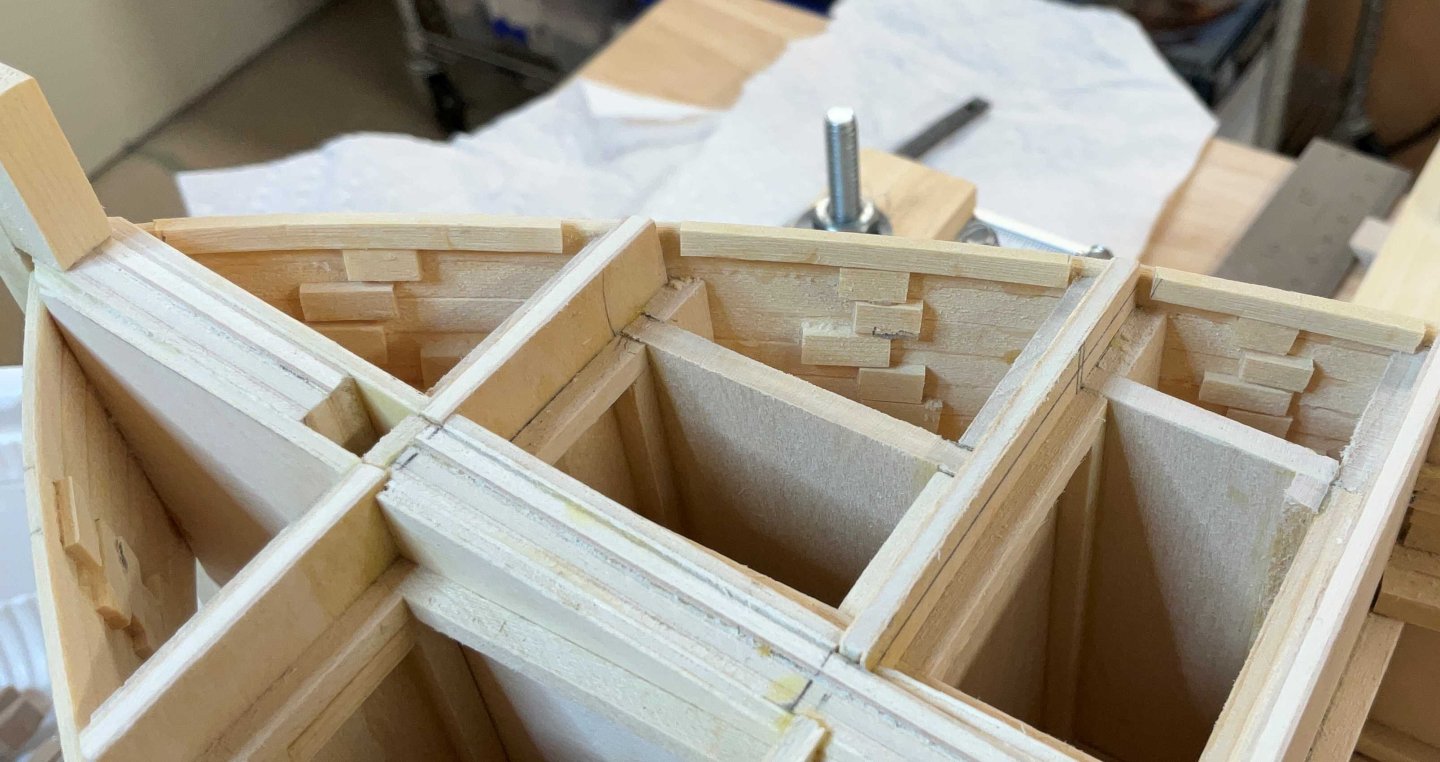
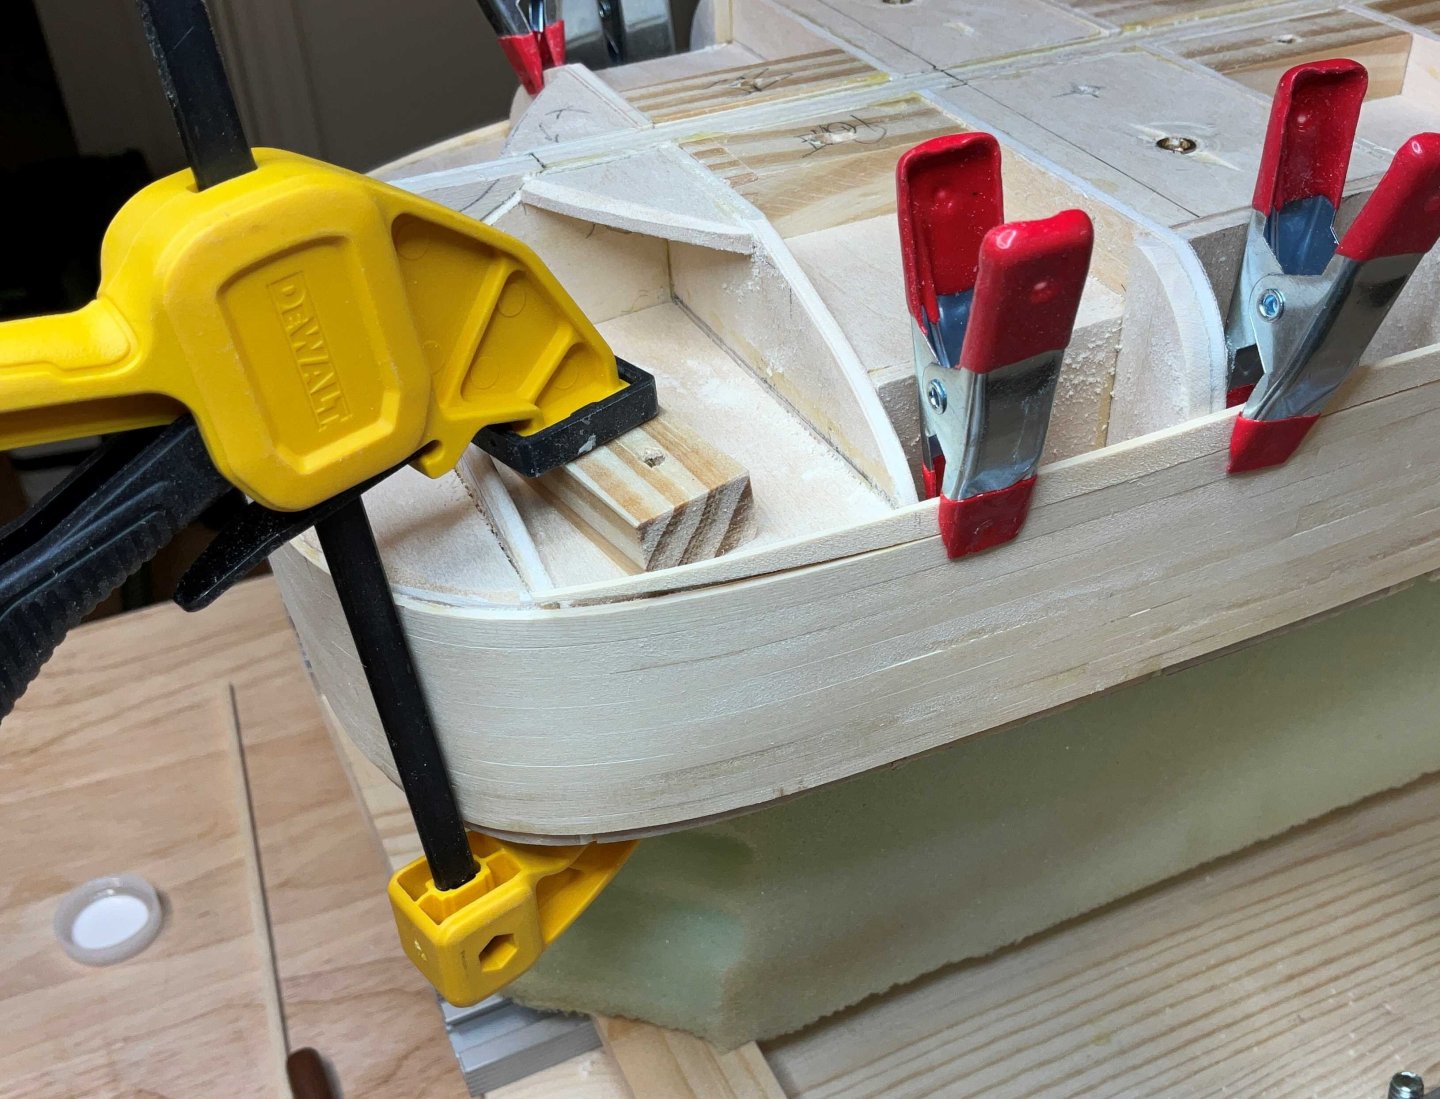
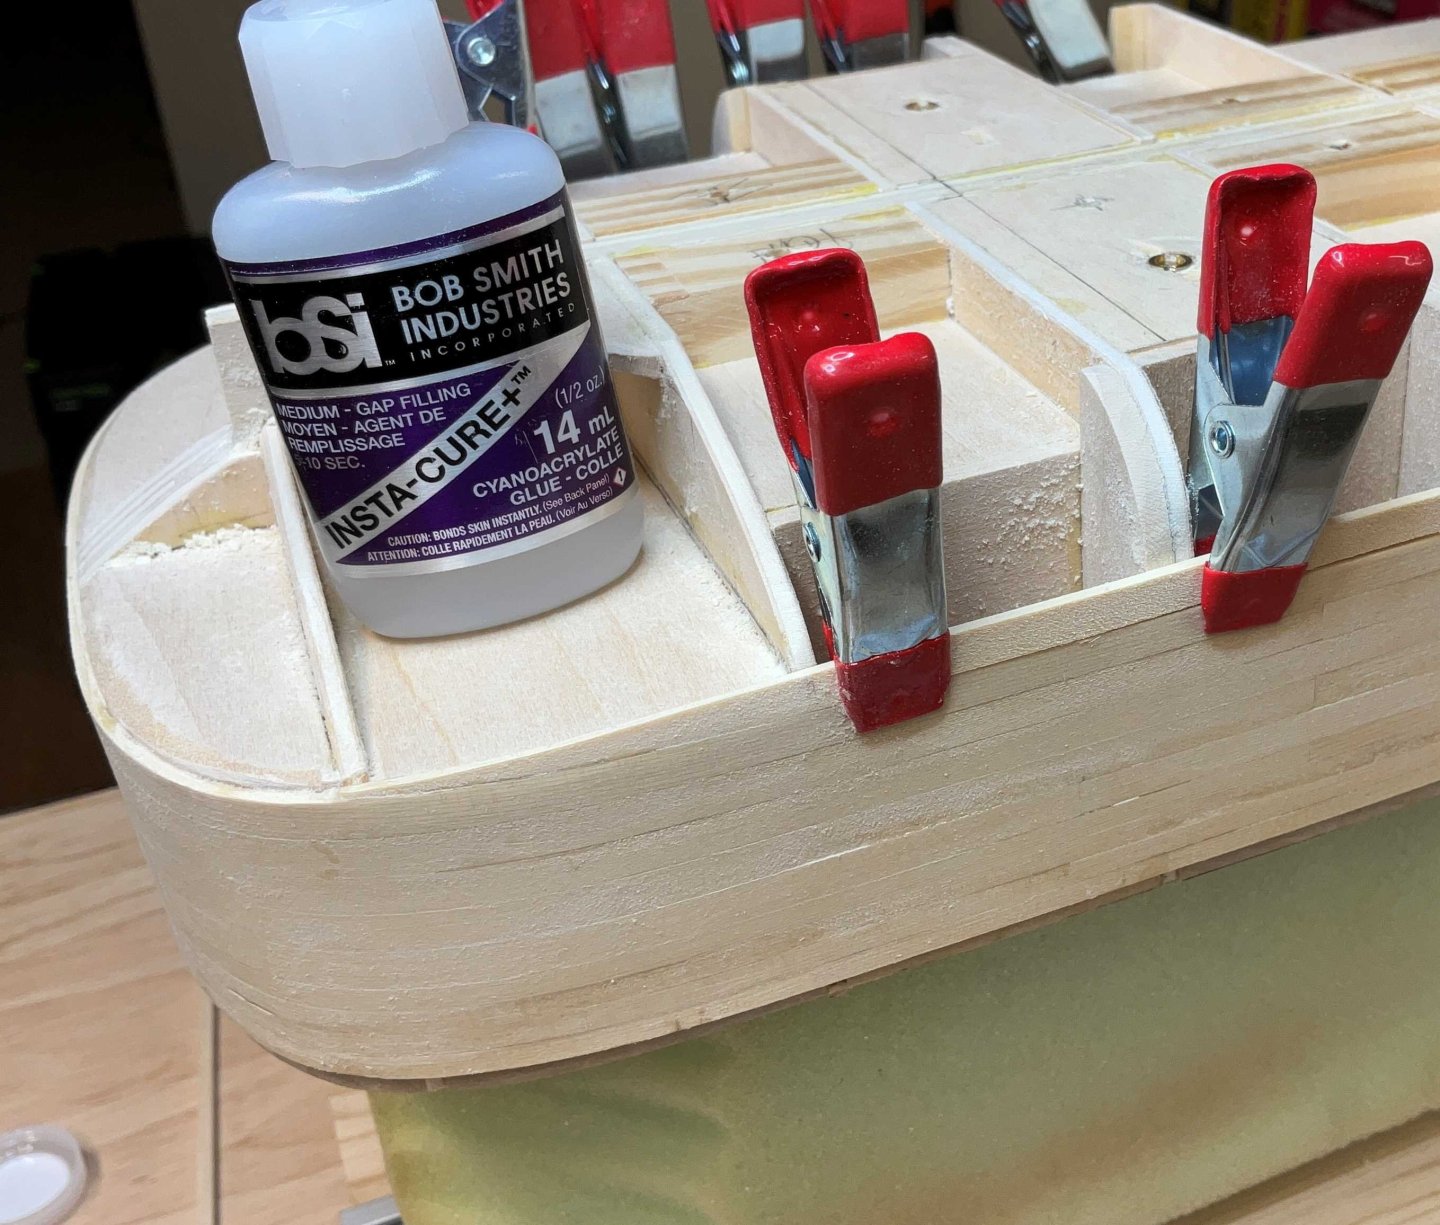
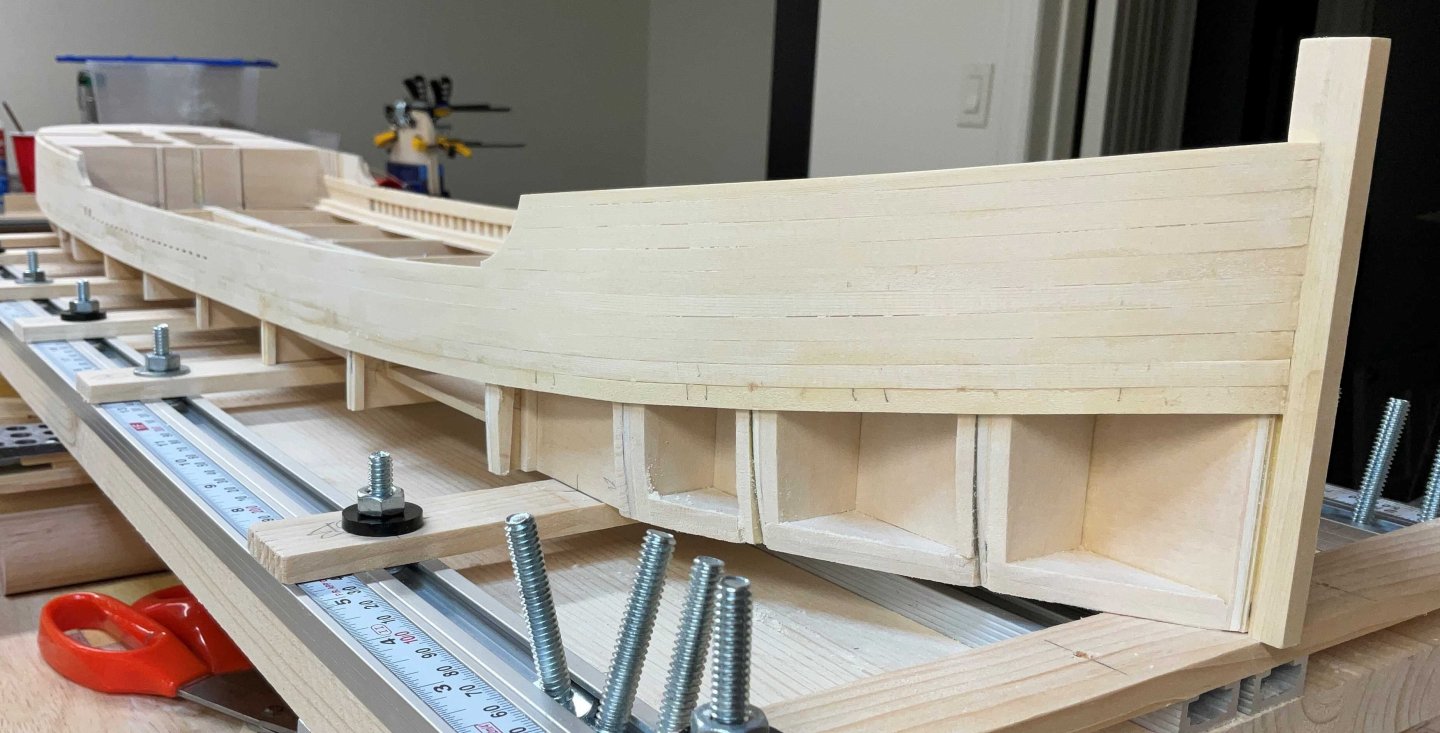
Hi Everyone, I hope all is good. Thank you for the great Comments and Likes. Just have a bit of a planking update today. I worked my way up to the rails and added support for the forecastle subdeck which will be 1/32" plywood. The model had to be removed from the build board and turned over to finish the fairing and planking down to the water line. Once that was done I started to focus on the counter. The first two strakes on Port and Starboard needed tapering, bending and twisting. A combination of CA and white PVA was used to keep them in place. My 2 year old Starbond CA was not up for the job so I picked up some Bob Smith CA. Read a lot of good reviews about Bob Smith and I completely agree with them. Support made from 1/8" basswood sheet has been added at the water line. The rest of the counter planks have a slight taper and run off the stern so back to using just white PVA. Next post I hope to be finished the hull planking. See you soon.

-
This is my take on the people in the photo. If the woman was the captain, she would be standing in the doorway of the pilot house wearing a big smile. She may be the captain’s wife/ daughter who had just brought him lunch. The captain is eating lunch in the pilot house because she wants to take the dishes home before they get underway again The man driving the car is a travelling salesman so the captain has to keep his eye on him during lunch. Those guys in the background are a whole other story.
- 732 replies
-
- 7
-
-

-
- Lula
- sternwheeler
- (and 1 more)
-
Beautifully executed work Gary!. The photo etch bender looks like a nice device to have in the tool box.
-
Hi Kim, the wood effect on the masts and the painting of the eagle look great!
- 7 replies
-
- 2
-
-
- America
- Schooner Yacht
- (and 2 more)
-
Jacques, just thinking out loud here but would it be possible to draw the stem on the drawing with the A and B cant frames. If the upper ends of A and B are the same distance apart as on the plan view then having the stem drawn there might get you close to the required length
- 141 replies
-
- 3
-
-
- ancre
- Bateau de Lanveoc
- (and 2 more)
-
Hi Glen, I’ll let you know if I ever come across any nano clamps for your SIBs
-
Hi Gary, thank you very much for your comments. I can’t walk by a clamp without buying it. Might have to have an intervention! 😀
-
John, thank you very much for your comments and support.