


Thunder
-
Posts
579 -
Joined
-
Last visited
Content Type
Profiles
Forums
Gallery
Events
Posts posted by Thunder
-
-
On 2/9/2021 at 3:07 AM, popeye the sailor said:
I like the sails........reminds me of something I tried a while ago.
https://wenzelswharftips.wordpress.com/wp-admin/post.php?post=35&action=edit
it really is a toss up.......use the vac sails or go rouge and make cloth sails. I find the use of cloth sails to be somewhat different between plastic and wooden kits. most wooden kit are at a scale where cloth doesn't appear out of scale as much. unless the plastic model is a larger scale, the scale thickness issue with the smaller kits, is more visible. then again, I've never concerned myself with either
")
I've got the Revell Gorch Foch, which is a skill level 5. I've also got the Monogram Bon Homme Richard and the Linberg Captain Henry Morgan...both are a skill level 3. in the hands of a beginner, I'm sure any one of these would be a very nice model.........but if one has the experience and knowledge, then the detail they possess can be brought out. it like what my bass teacher told me.......anyone can make music
I have done sails with paper before, soaked it to make sewing the bolt rope etc in place. Soaked again whilst rigging, especially the furled sails. Then dried with an air dryer which gives a billowing effect.
-
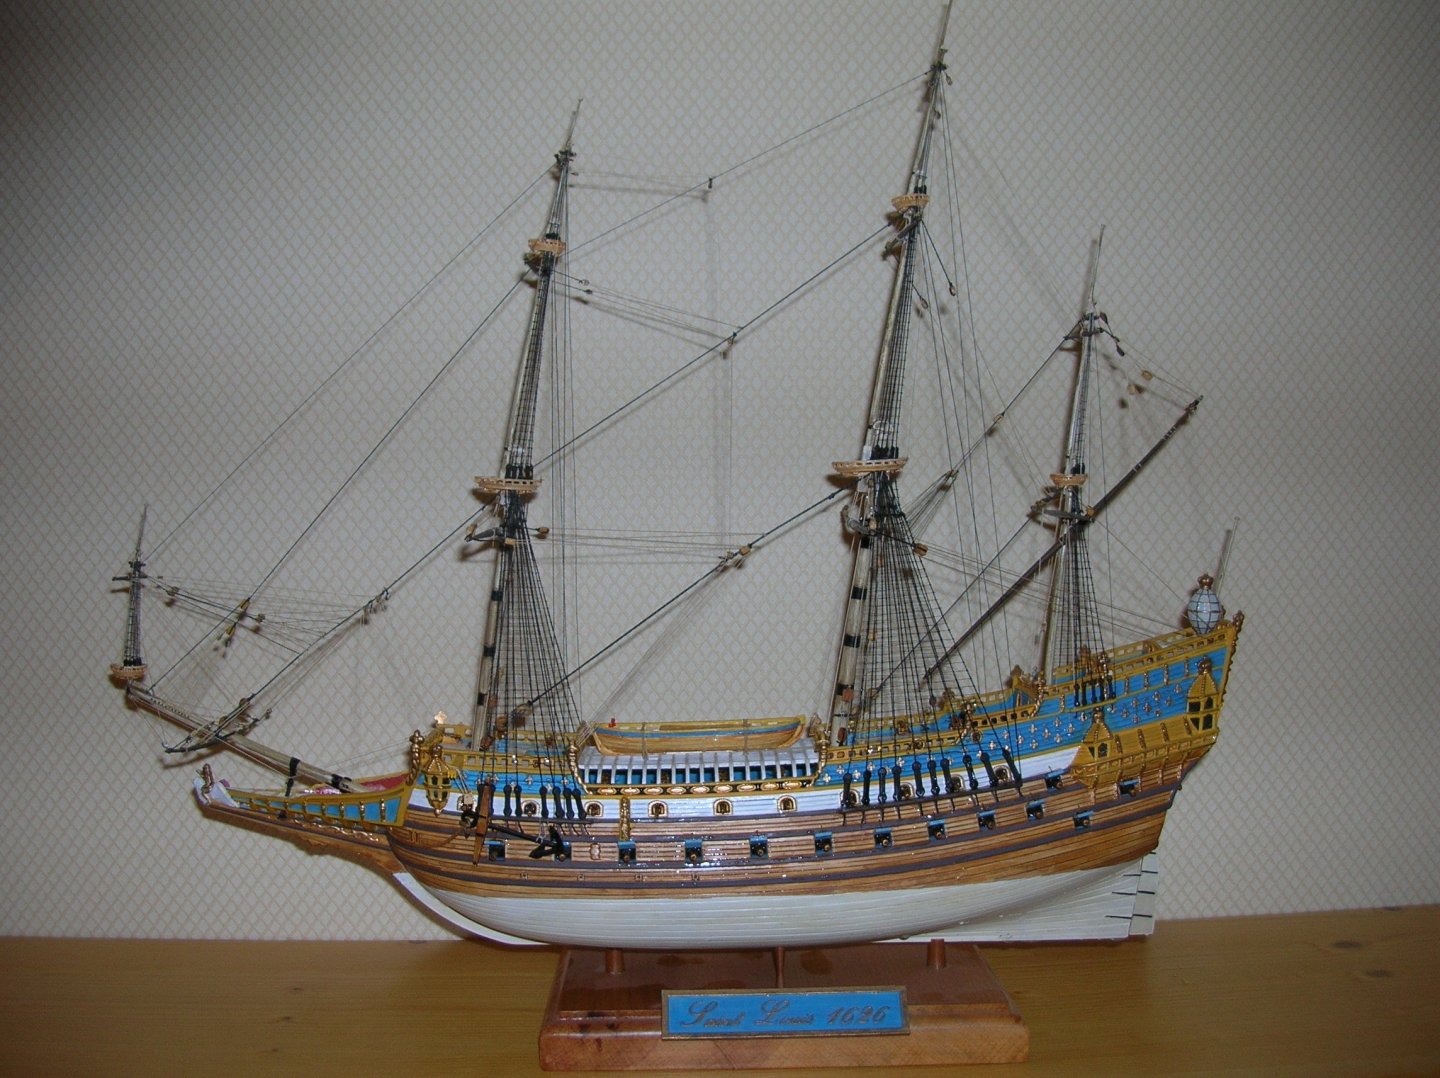 This is my version of the Airfix kit, built many years ago.
There is a similar discussion on another forum
I seem to remember having a catalogue somewhere with the Airfix and Heller kits in
-
-
-
-
Hi Tim,
Not looked in on this website for a long time. It was one of your updated that prompted me.
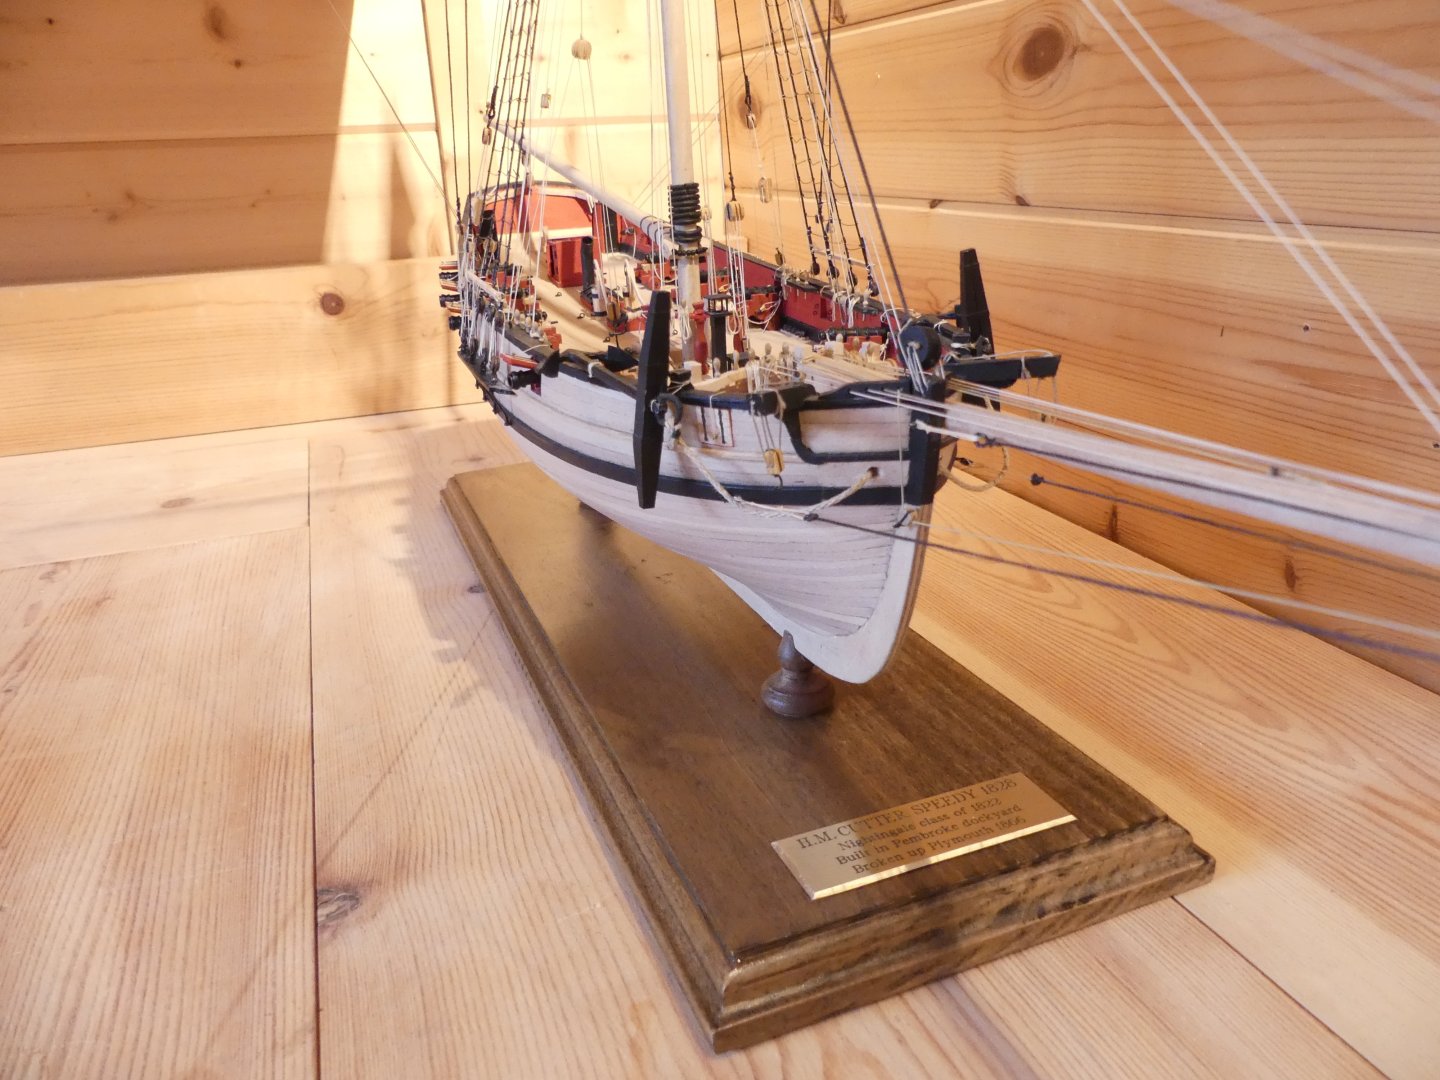
Your Speedy is looking really great, you should be proud of what you have done.
You are right to sort your own rigging, i found some errors with what Bill Shoulders did, mainly with the bowsprit. He was suggesting what would be more for a sloop which would be a shame as it is the rig of the bowsprit that stands out for a cutter.
I will try to keep an eye on your work from here to completion.
Adrian
-
That is similar to these:

- Canute, Ryland Craze, mtaylor and 1 other
-
 4
4
-
Below is just brass coloured paper used in standard ink jet printer

- Harvey Golden, Canute, mtaylor and 2 others
-
5
-
-
-
On 2/26/2024 at 10:36 AM, NoelSmith said:
The National Maritime Museum in London sells copies of George Campbell's plans of the Cutty Sark.
Have a look on their Cutty Sark Collection. Probably the very best set of plans available of the ship and also the most reasonably priced too when compared to commercial model makers plans from other sources.
Also, the long out of print book by Noel C L Hackney published by Patrick Stephens in the UK was an Airfix Special book. Although aimed at building the smaller Airfix kit, the book contains a wealth of information about rigging the ship and lots of details with regard to painting the model.
Mr. Hackney wrote two other Airfix specials for The Mayflower and HMS Victory by the same publisher.
I second these books, they are excellent. I built the Cutty Sark using one over 25 years ago. I intend to use it soon to build the Imai Cutty Sark.
-
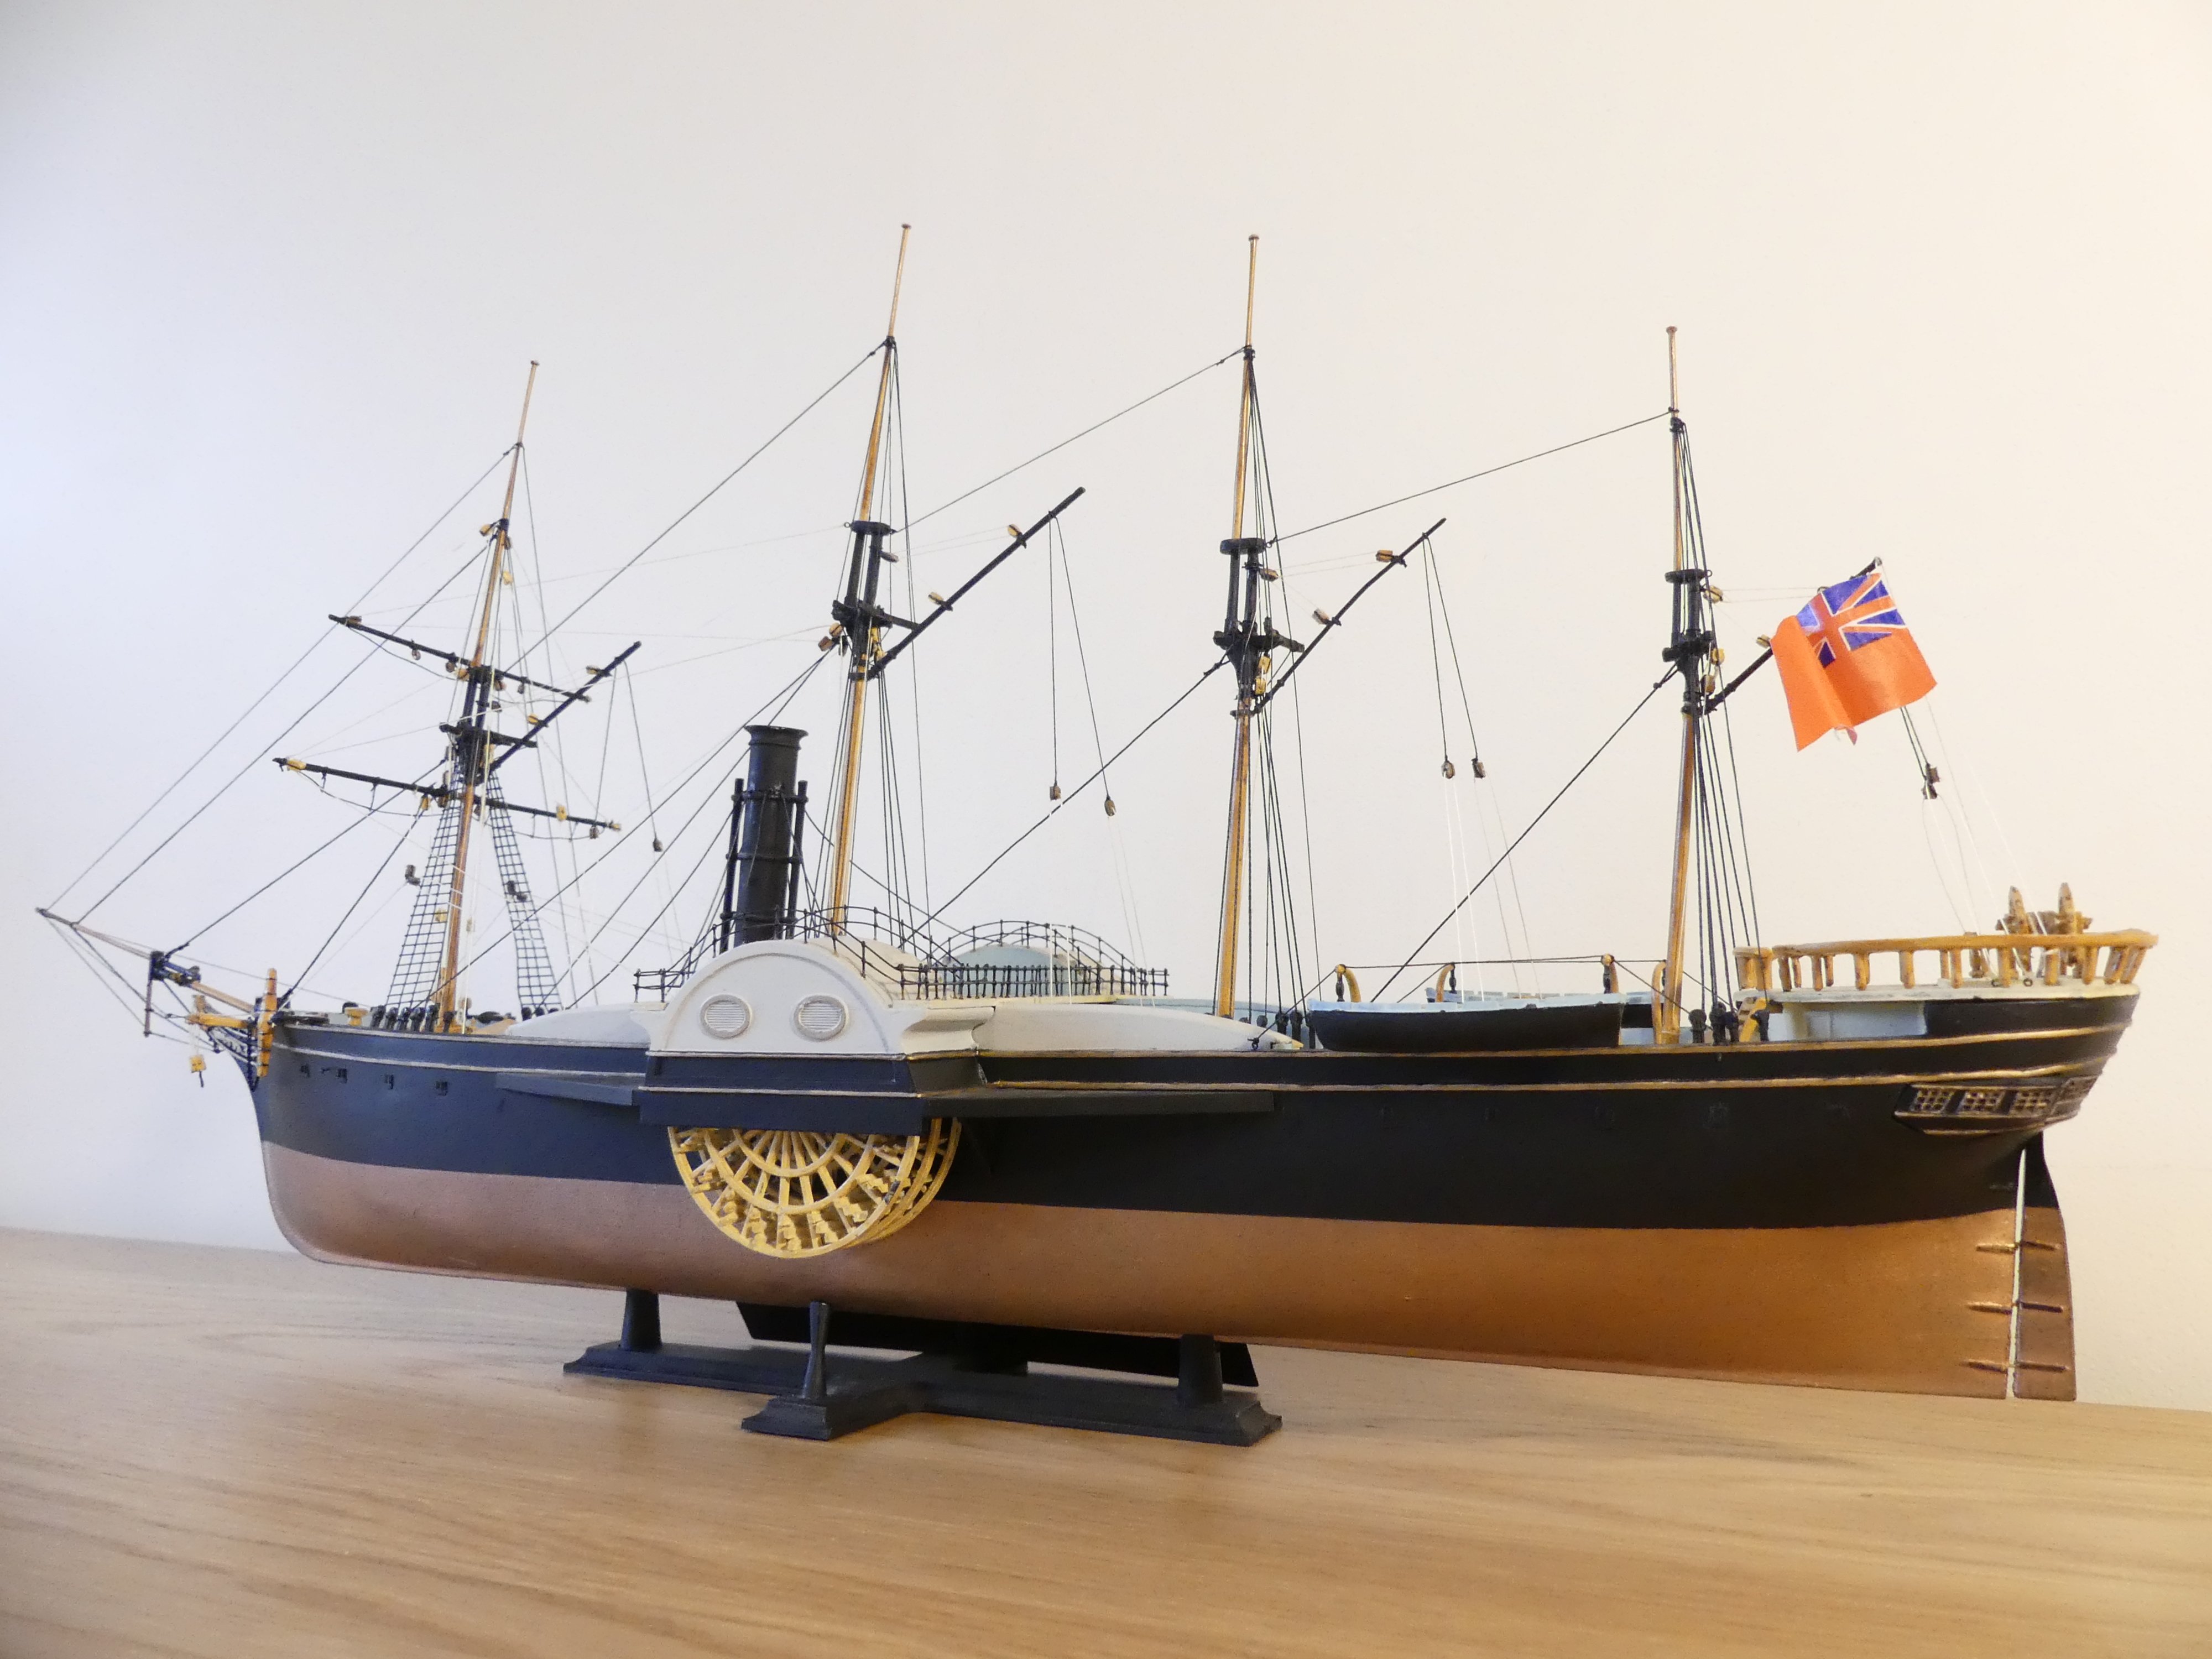
I have built, or have stored away ready, all of the Airfix kits but Endeavour. They all look great built. I was at the IPMS show in Telford UK where they exhibited the Great Western and was surprised how little care they had taken over it when compared to every other kit on show. My version is below

- GrandpaPhil, mtaylor, UKDave and 1 other
-
4
-
I built the Airfix many years ago. Was looking to replace masts and yards, (with new Airfix replacements) as could do better but is a great kit.

- GrandpaPhil and Canute
-
2
-
Excellent start made, look forward to watching this progress.
-
As always going to love following this build. I as well have a Rattlesnake kit on a shelf waiting to be built. An unusual kit and boxed as Revell, not sure if originates from them as have not seen any other than plastic. I have some early MS plans and looks to be the exact same scale.
-
-
looks like you were making a great job and looks saveable to me.
-
Hi,
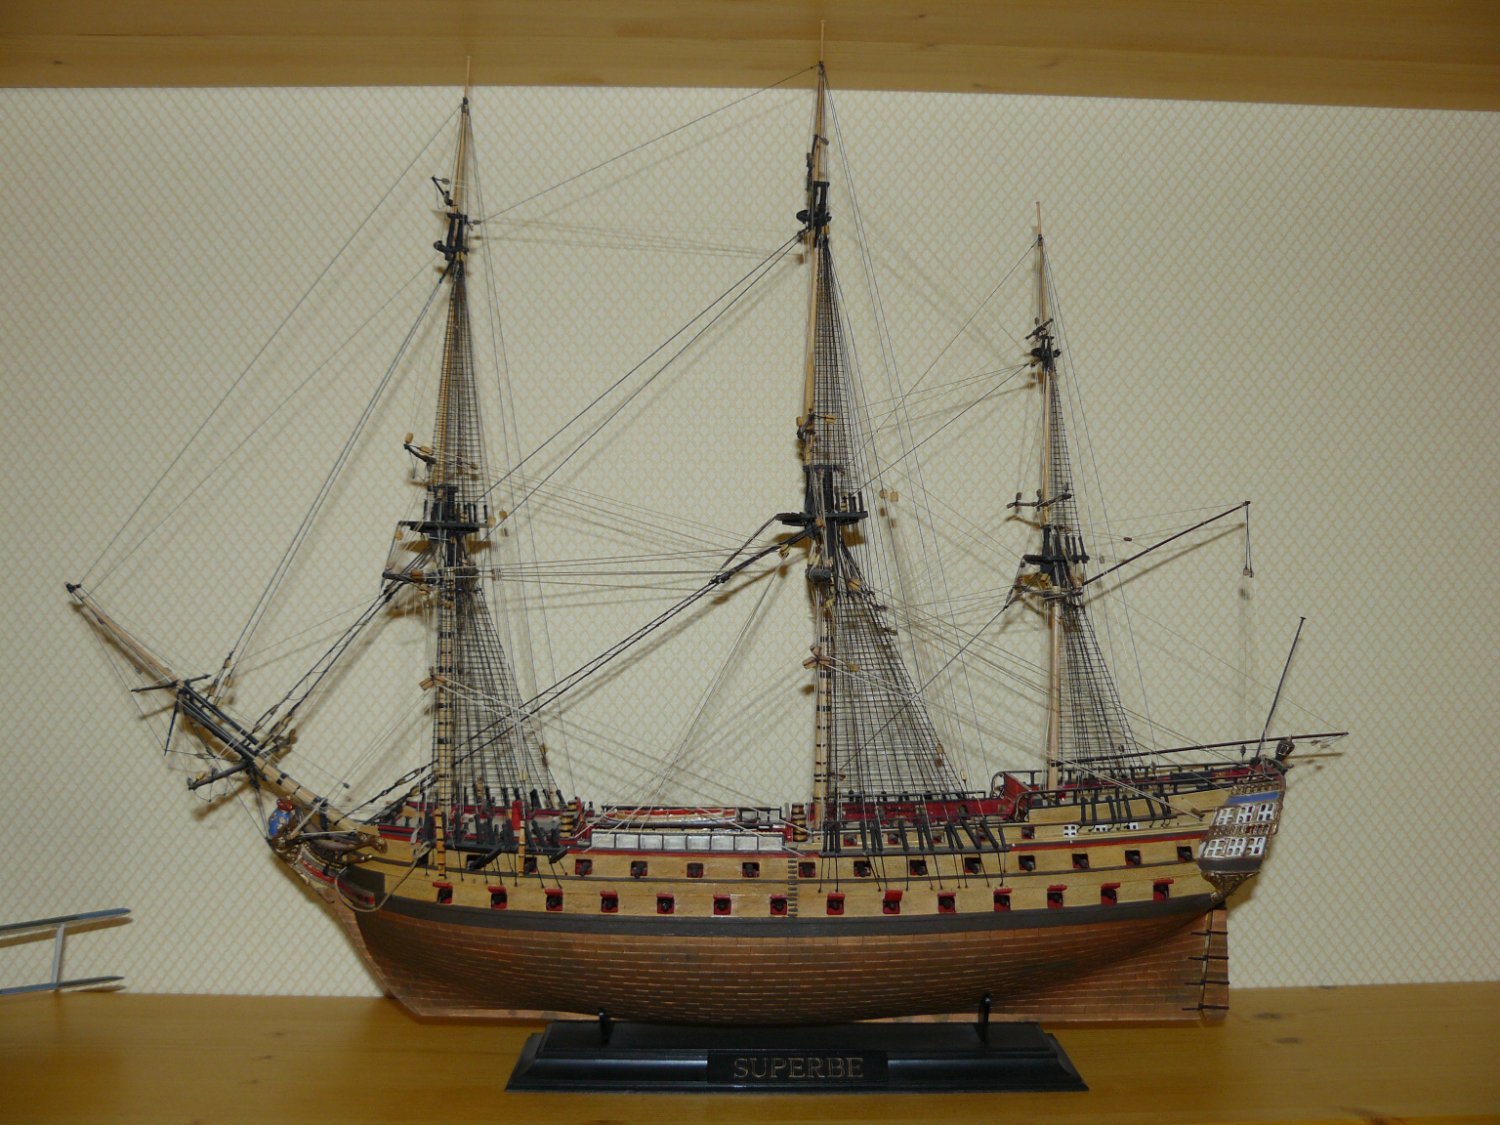
when the masts are tending to bend i would rig temporary stays, pulling forwards to the correct tension to stop the mast pulling backwards as you progress with the shrouds. Below is my Superbe, she has suffered a little with thread shrinkage over the years but is still on show after 25 years.

-
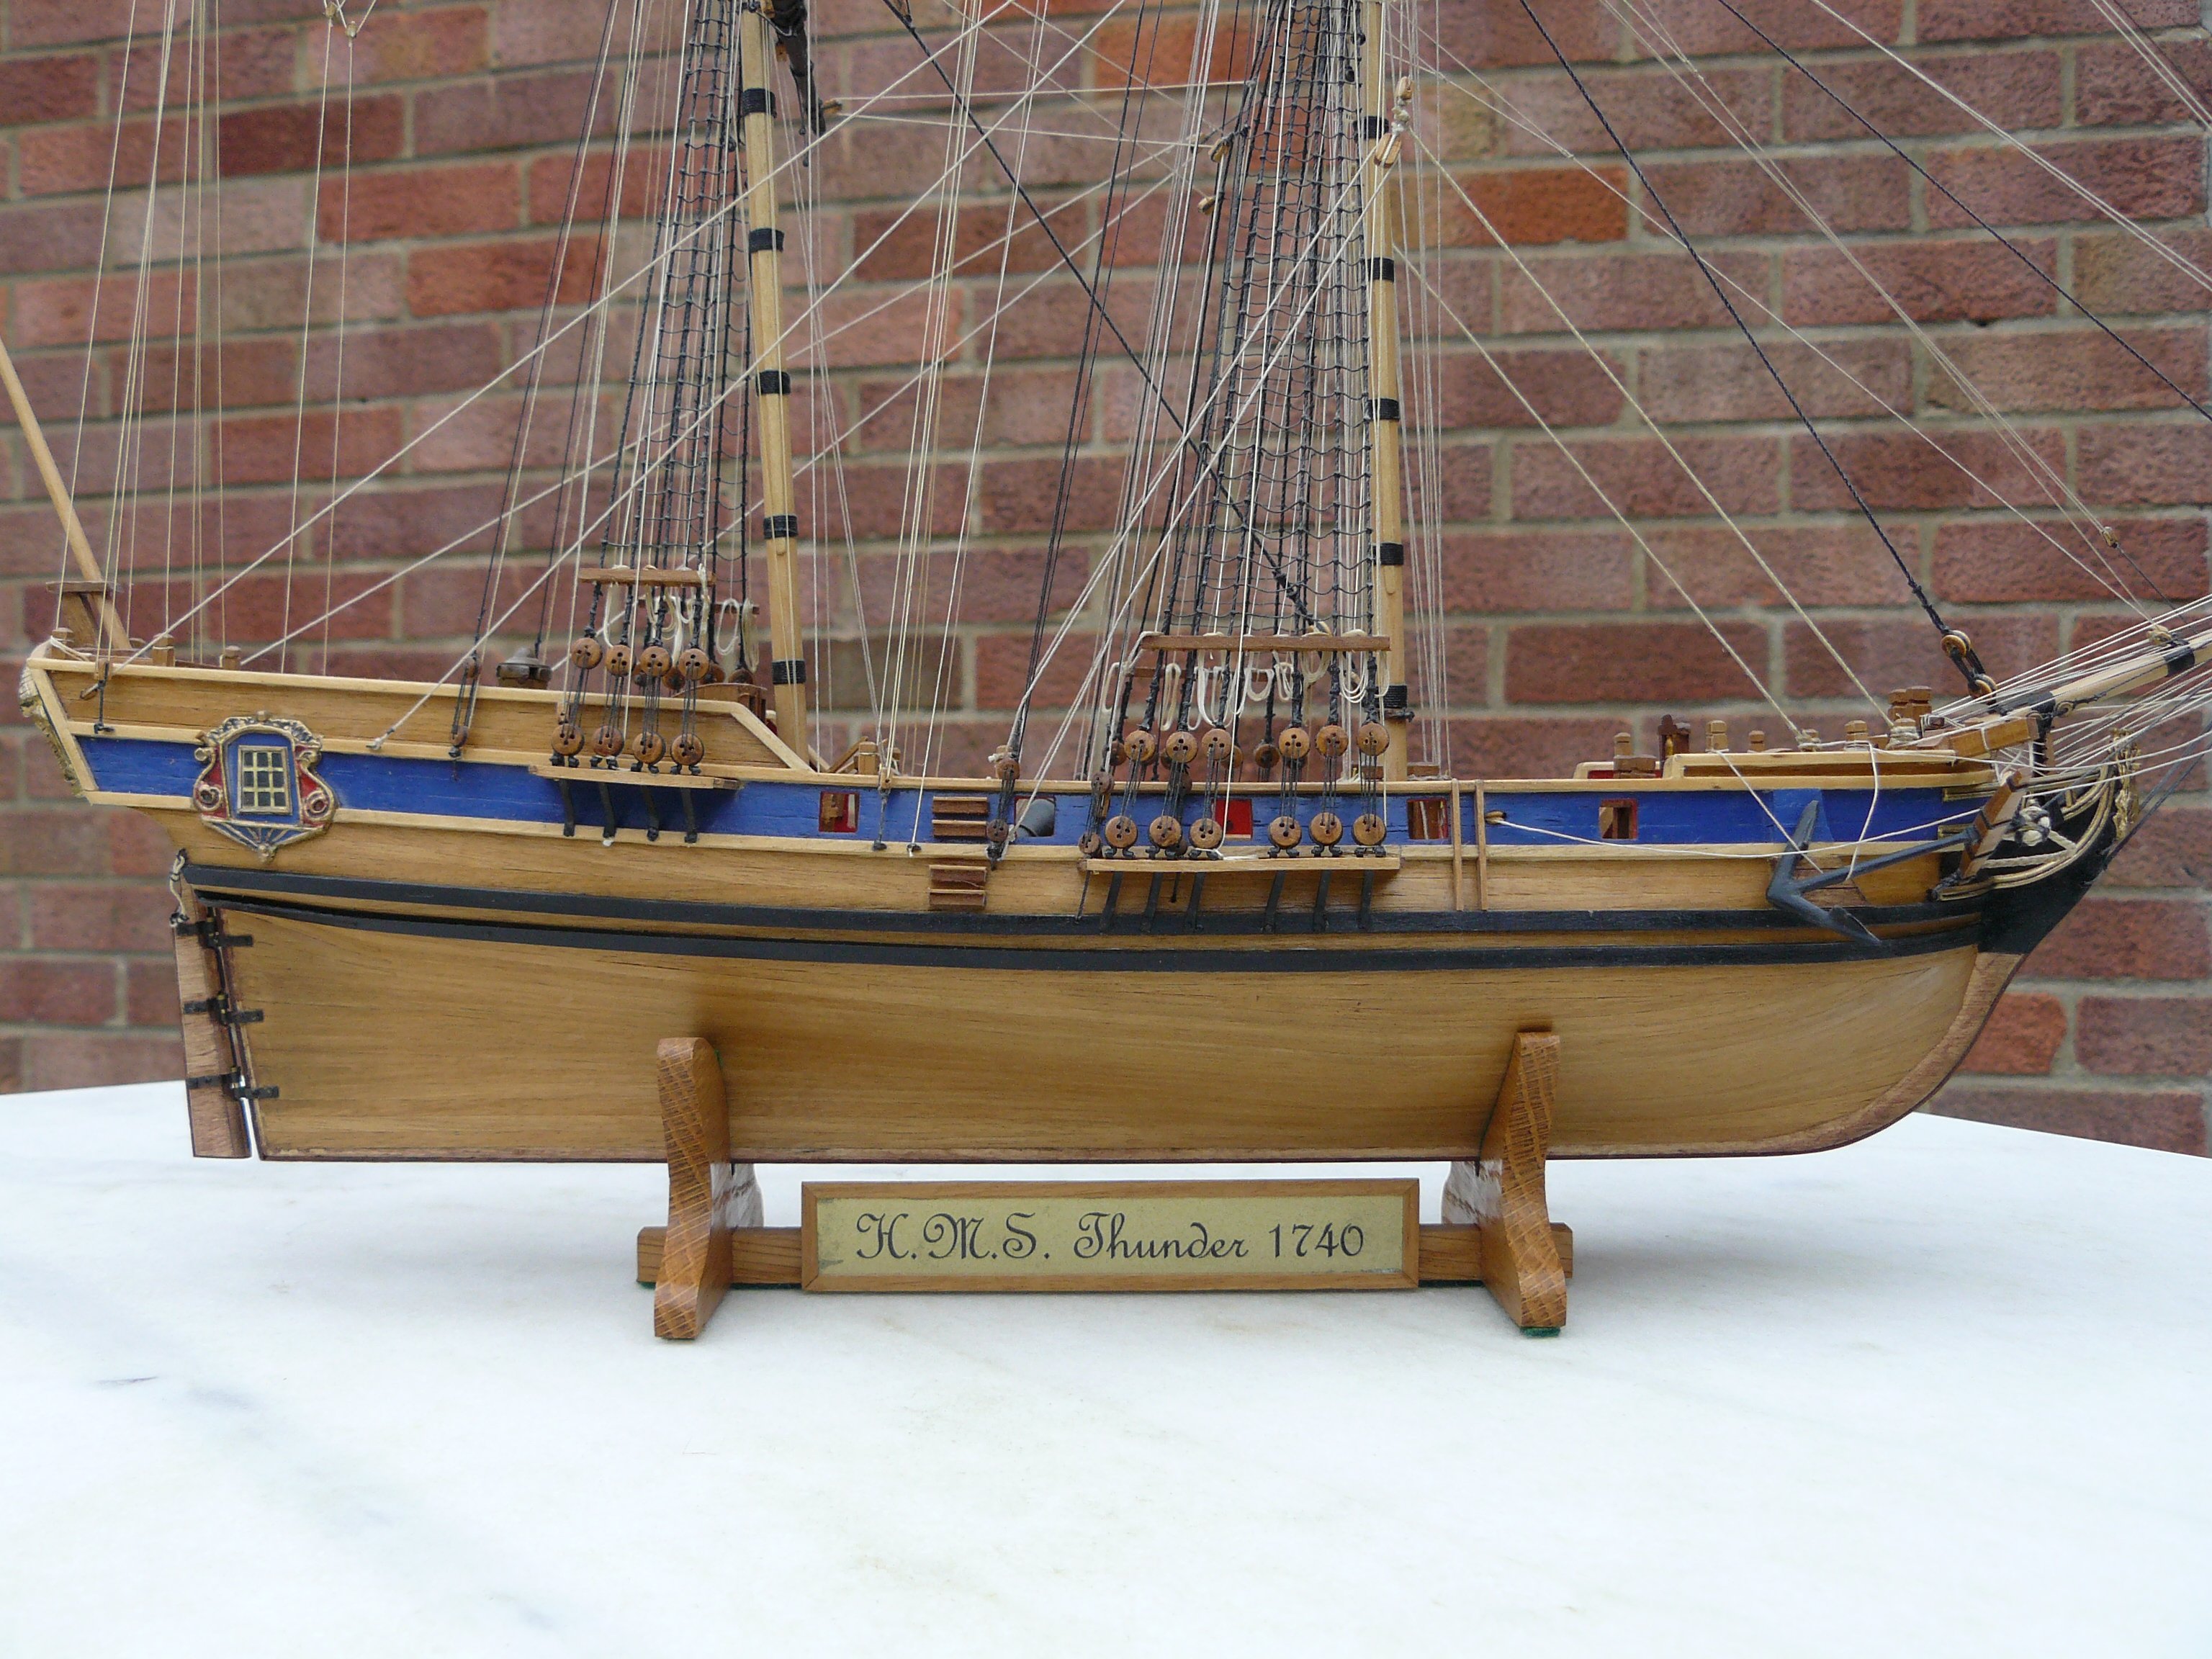
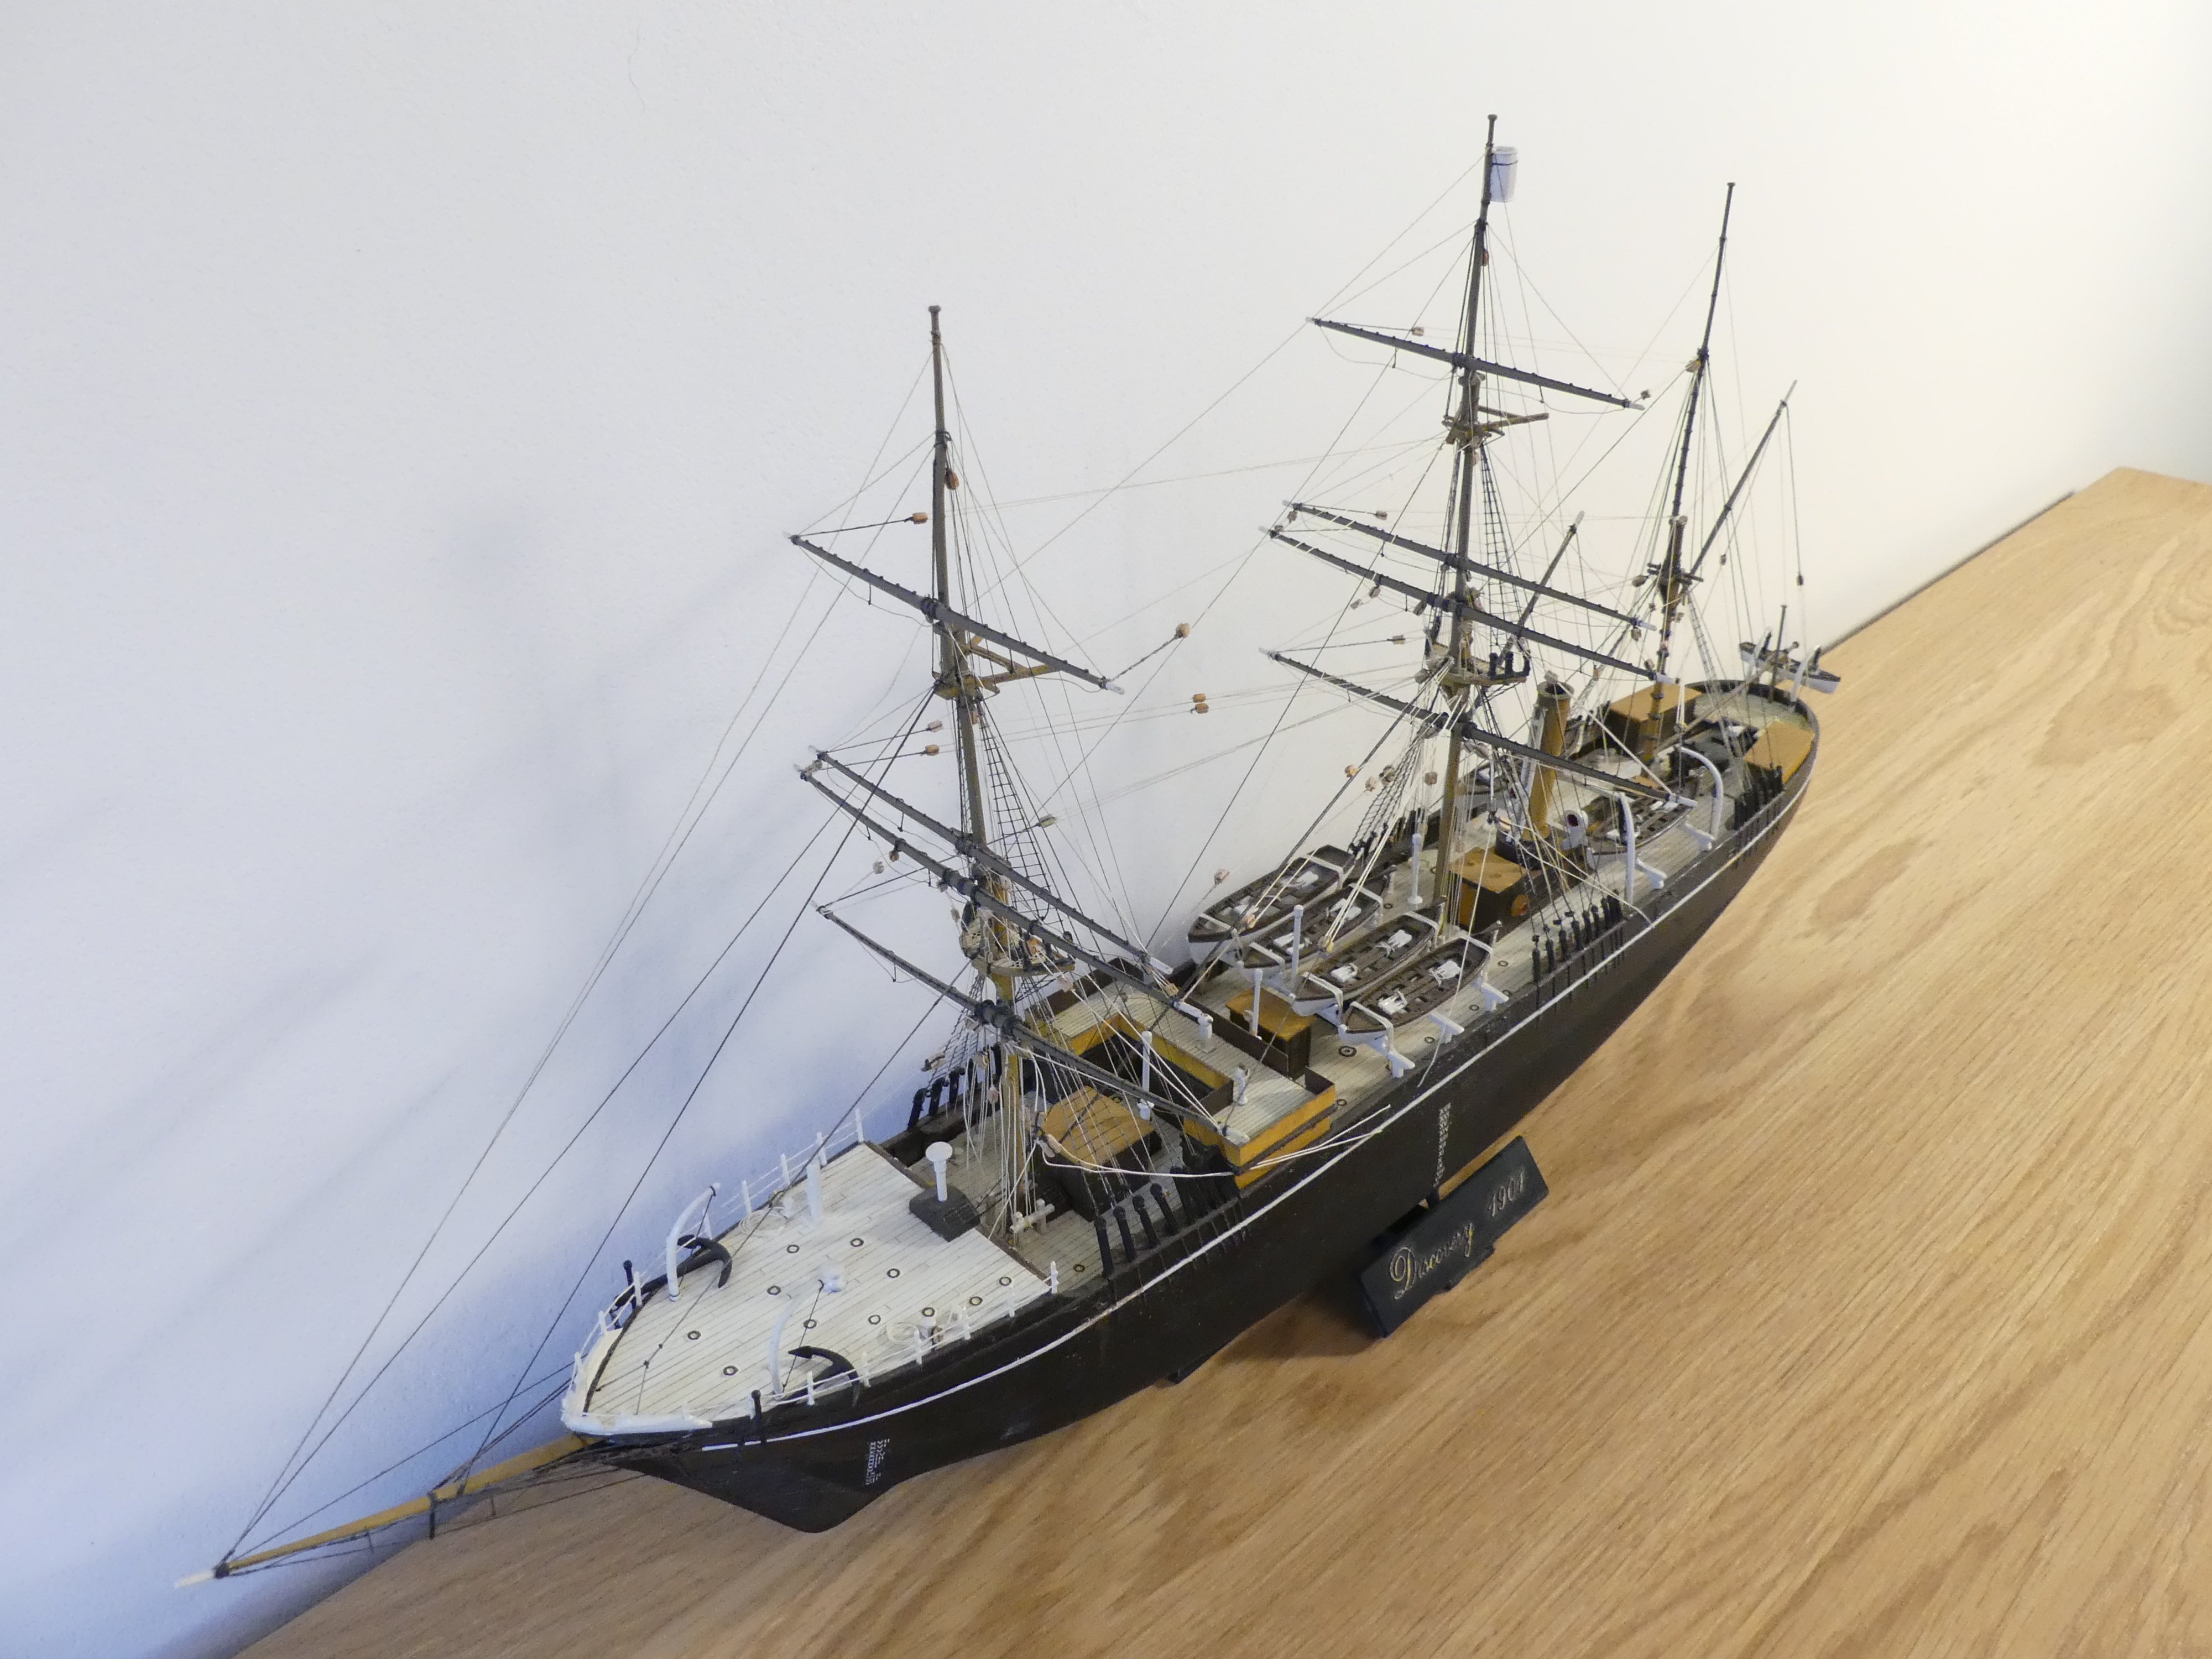
This is a delightful little model that does not get the attention it deserves. I built this and was one of the most enjoyable builds i have completed. Hope you enjoy as much as i did.
-
-
-
9 hours ago, oakheart said:
Wow : Thanks for all the research, the first one looks like it could be an angled leading edge.
The drawing / painting looks more like a bevel than rounded.
I does look like a flat plank.
As this is no longer a model of any real cutter, I may use artistic licence here.
Personally I quite like the angled look, so I may just go with that.
Tim
Hi Tim,
Mine had the leading edge angled for a third then the centre portion rounded if that makes sense. Rudder slightly tapers aft but only the lower, wider section. The top section is the same thickness through out. As shown, the rudder does not reach all the way down to the bottom of the keel, believe to try to prevent being unhinged if the ship touched the ground.
sorry for slow reply.
Adrian
-
I have kept this class of vessel in mind since 2003 when model boats magazine issued free plans of 'Blazer' drawn by Peter Danks.
Looks like a great kit
- thibaultron, Canute, chris watton and 3 others
-
6
-
I think that will look better than the regular spaced shrouds and have seen exactly like that in some sources.
I would always try to get the straps down to the wale if possible.
I would still say that this is a good representation of speedy. Items of rig would change through a ships life as captains changed things to try and get a better trim and improve sailing quality.
 This is my version of the Airfix kit, built many years ago.


Royal Caroline 1749 by Thunder - FINISHED - Panart - 1:47
in - Kit build logs for subjects built from 1501 - 1750
Posted
Hi David,
Unfortunately I didn't keep them, I had no reason to as the rigging was dubious at best so would produce my own plans if deciding to ring. To be honest i used the Anatomy of the Ship book more as the kit has the spacing of the cabin windows incorrect and i made new bulkheads.
Sorry,
Adrian