rudybob
-
Posts
216 -
Joined
-
Last visited
Content Type
Profiles
Forums
Gallery
Events
Everything posted by rudybob
-
 It's been a process. The first coat of flat black Testors went on nice the second coat was very bad. I wet sanded with 1000, 1500 and 2k grit Tamiya finishing abrasives until I had a smooth surface. I thinned the Testors about 20% with mineral spirits(until it dripped rather then flowed off the mix stick) and did another coat. I wait a week after paint to sand because I like dry paint. It turned out much better but I still had a couple spots I did not like so after a week I sanded again in those trouble areas and making sure my paint was still thin enough gave it one more coat. All the time I was worried about paint flowing under my tape. It did not except in two miniscule areas. I really am happy with my line.
-
Some things really impress me. The cutting and fitting of the bulkhead supports is one such thing. If I was to try that it would take a looooong time and still not be accurate
-
The laser must be setup up properly and checked routinely. Everything gets out of whack.
-
Laser cut means cut with a laser it doesn't mean accurate. I was fooled. :-)
-
A fellow in another forum just finished his 109 and I was impressed by all the wires he ran. His turrets look good
-
Model Shipways paint
rudybob replied to Mark m's topic in Painting, finishing and weathering products and techniques
How much paint remains on the mixer when done stirring? -
Not a bad line at all. Some trouble coming up and over or down and under but that is why tape was invented
-
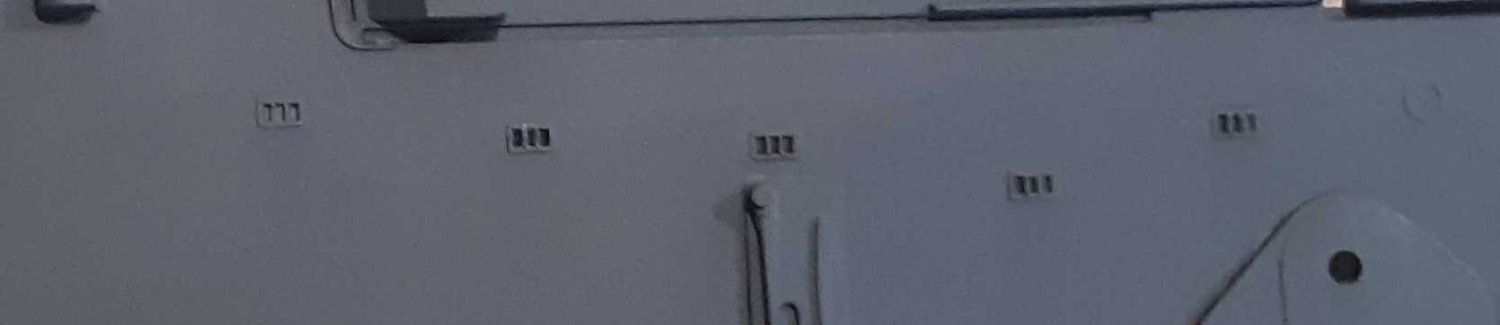
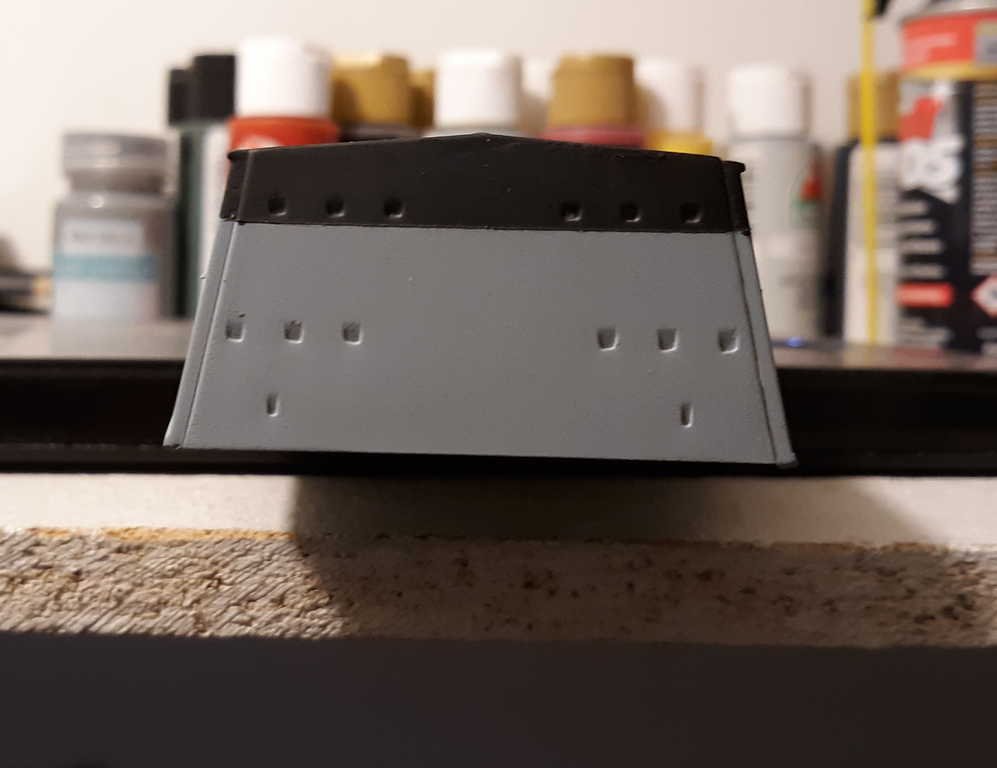
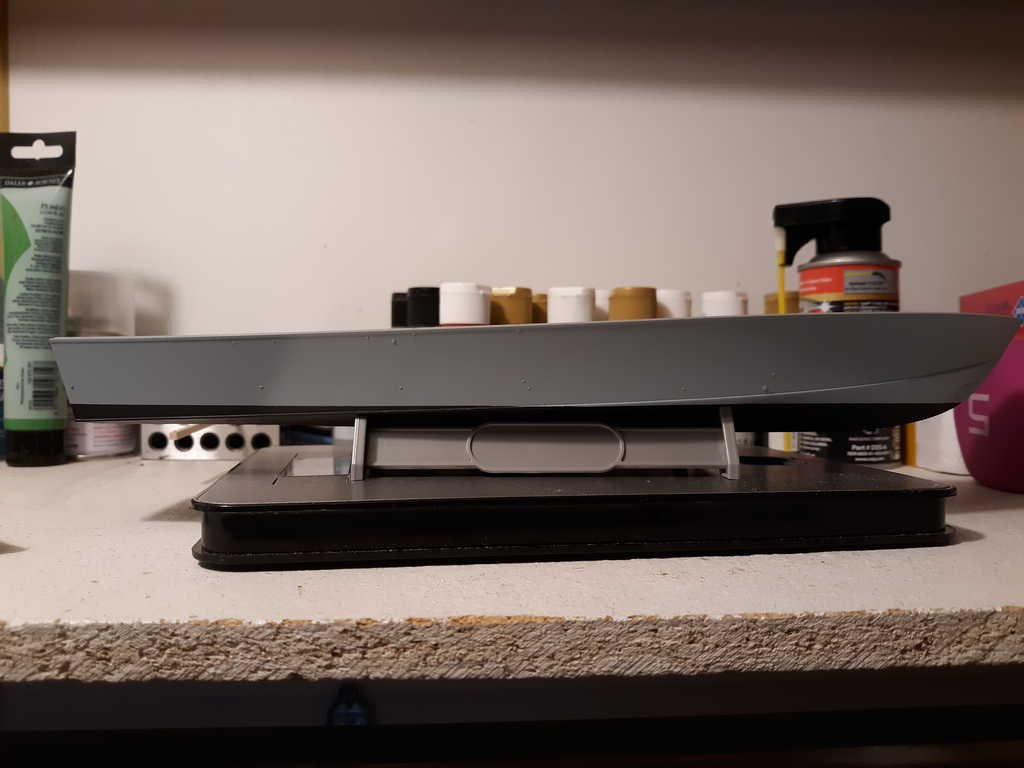
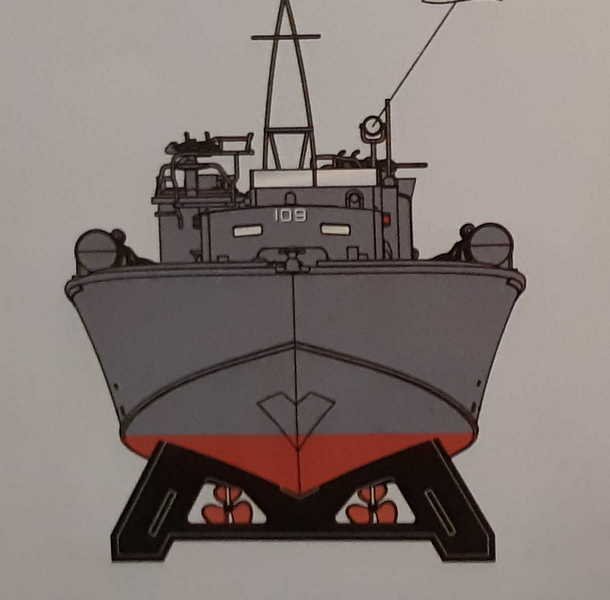
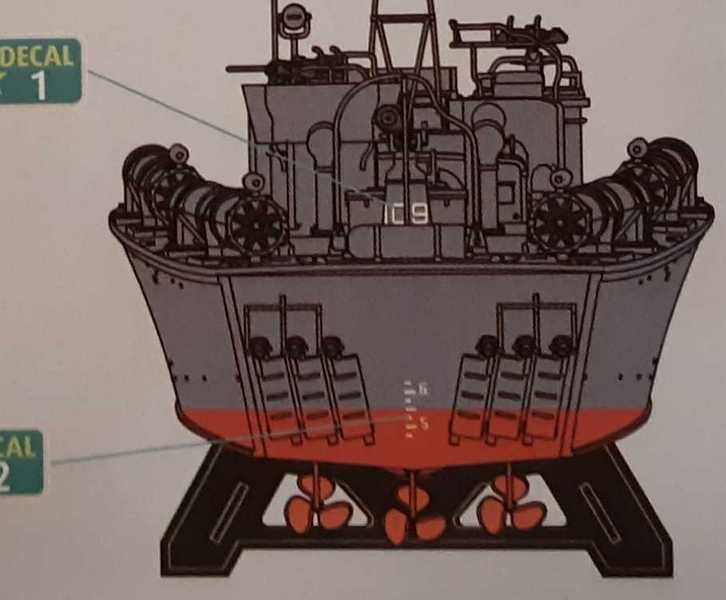
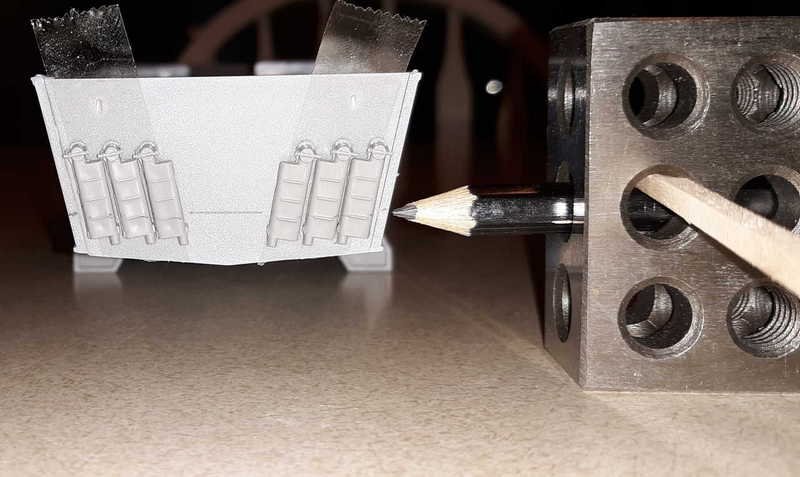
I needed a scheme to draw the 109's waterline. I viewed several methods all of which all have a commonality, hold a marker firmly in one place at the correct height and move the hull past or move the marker past a firmly held hull. It's the same idea no matter which moves. I am going to slide the firmly held marker down the firmly held hull. I needed a starting point(s). On the stern are a row of six auxiliary gas cans? The waterline passes just above the lowest marking. I reasoned if I could get the cans attached and aligned I could work from that. I used double sided tape because I did not want permanence merely an precise point to start from. I measured 14 mm up the stern hull corner on the outermost can. I marked both sides and drew my best line with a ruler. I wedged a pencil in a precision block at 14 mm. The line I draw on the primer will be practice. I do relish getting second chances. As I wrote I need a good way to hold the hull stationary while I line which is what I am pondering now. The hull is held to the stand by double sided tape.

-
I am always interested in the "instructions" or "guidebooks". The most frequently overlooked part of any kit. I look for those before I buy. I must write though, the Revell PT 109 directions are quite good
- 94 replies
-
- 3
-

-
- tugboat
- BlueJacket Shipcrafters
- (and 1 more)
-
Review: Worx WX106L cordless Rotary tool
rudybob replied to mtdoramike's topic in Modeling tools and Workshop Equipment
Looking forward to the review -
The Postal workers must have their retirement money. A contract was signed. That's the real cost
-
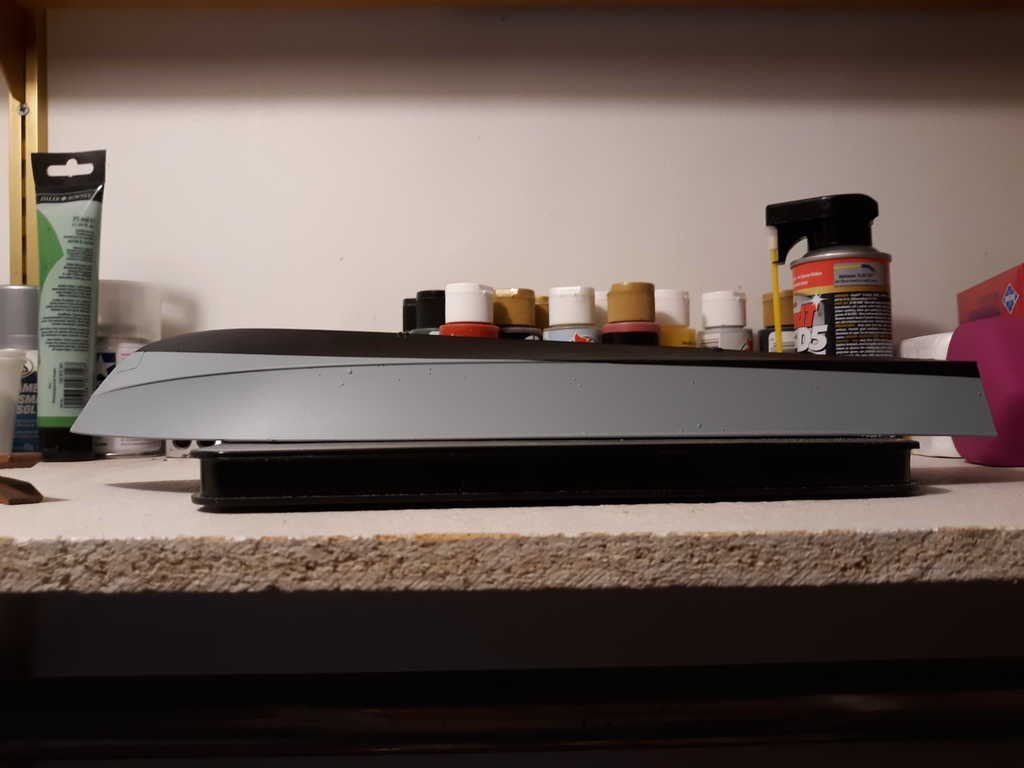
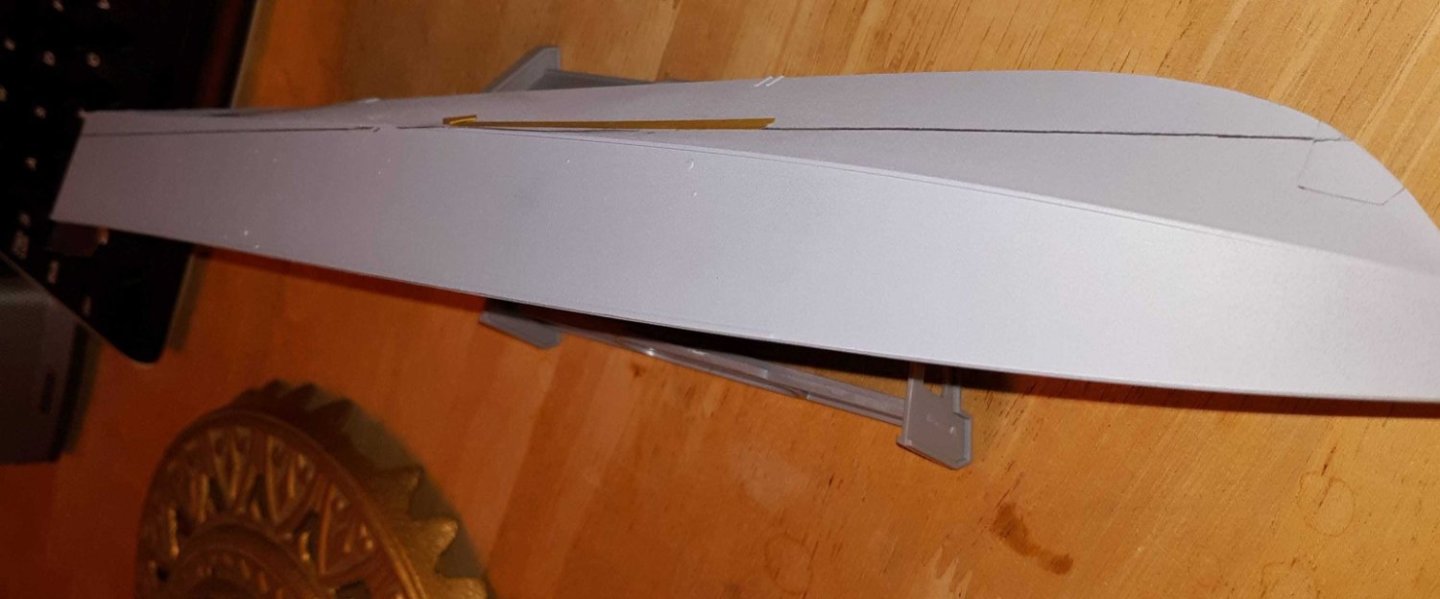
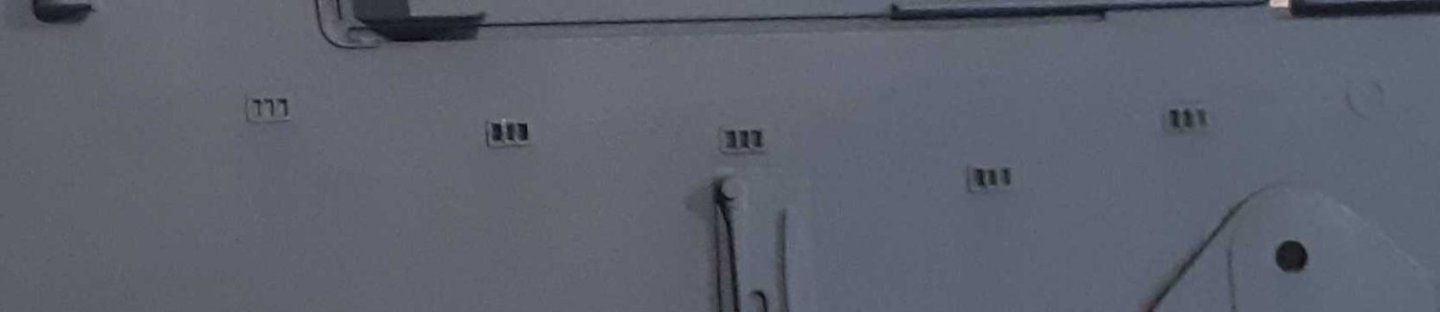
Just some minor progress but it is important to me nonetheless. The deck was brush painted with my mix and I am happy with the results. I was limited in my brush width choice by the bottle I mixed in. I would have prefered the next size up brush. I did one coat in as long and even strokes as I could. The light I had when I wanted to go was not the best. Next day in the direct sun I did some touch ups which worked well. The paint helped my skill level to blend itself during the touch up. The paint sat drying a week just because. On the deck are numerous vents that needed definition. I thought about using an ultrafine sharpie which I have used in the past but nixed that idea. Paint was another option but the vents are numerous and small which only increased my chances for a blob up. I decided on Dark Gray Tamiya Panel Line Accent Color that I had for a prior project but never really tried using. New stuff is easy for me to make a mistake with. The accent did a fine job distinguishing the vent from the rest of the deck. It is so easy to use too much accent but I knew that. I am happy with the results though they could be better. I did some other accenting on the deck as well. I will do more but not today. I primed the hull. Dust will kill a models look fast and there were problems in spots so I did some light 1500 grit sanding. I have not yet decided on whether to putty fill around the bow plate. Still thinking. The stern part of the hull was putty filled and sanded. It is not as smooth a job as I would like but it is my best effort doing this sort of thing. It primed OK and I don't think I will try for any "improvements". There is no worse enemy then a rather high intensity light angled at a surface to show imperfections. Hoo Boy ! I love pictures cause they show me so much more then I can see with just my peepers
-
Are you gluing wet planks? Or shaping them then gluing?
-
Did you craft or was there an included kit part that needing shaping for your bow filler?
-
Really Nice Job. I like your clothespin usage
- 66 replies
-
- 1
-
-
- 18th Century Armed Longboat
- Model Shipways
- (and 1 more)
-
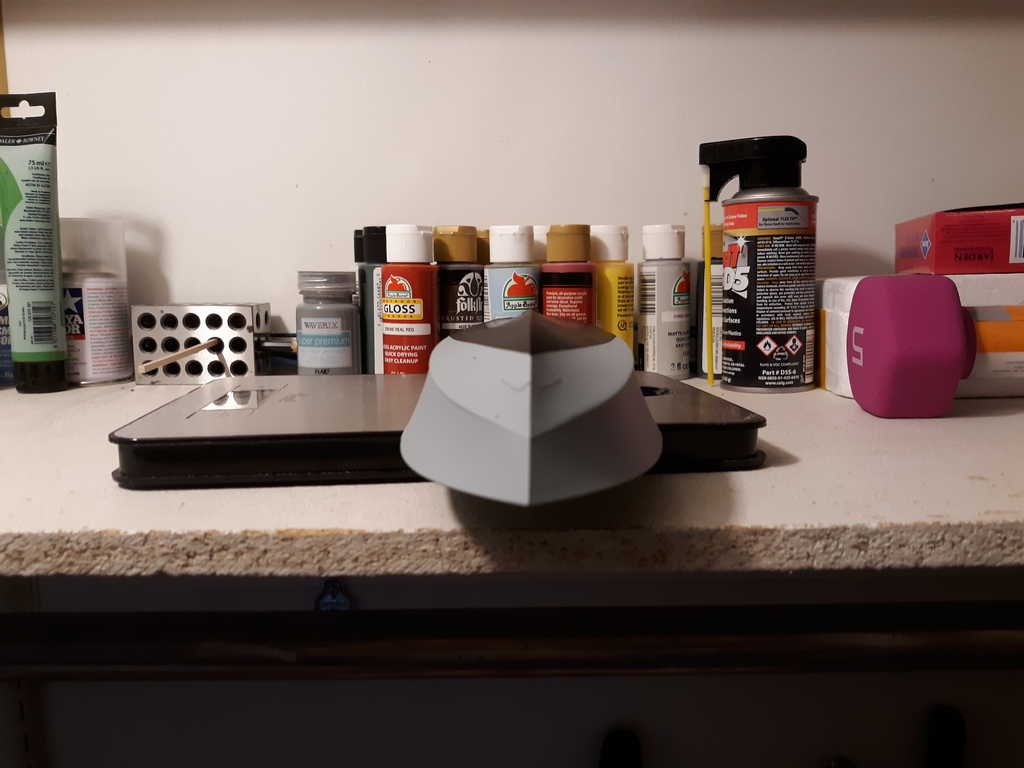
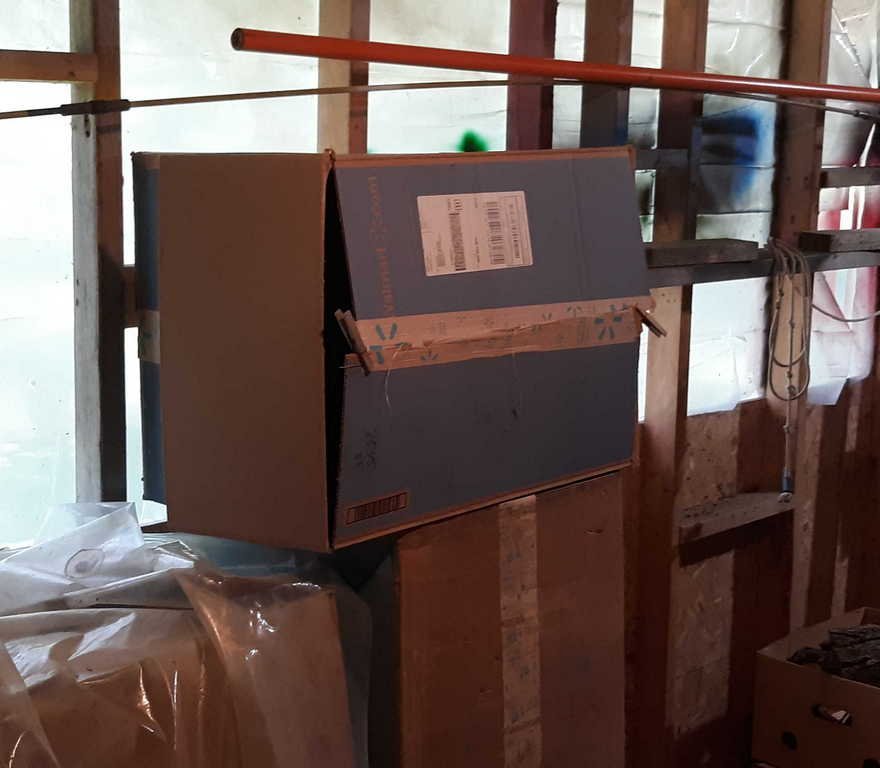
Paint has been holding me up. Once I decided on a color scheme I set about looking for the color. I RGB'ed the picture and the translation I found was Cornflower Blue. There are not any flat blue's I found that were acceptable. None of the well known brands gave me a color I wanted. I did find a satin which was close enough. Easy Care Premium Decor brand sold at the Tru-Value. Unfortunately, it does not adhere nicely to plastic. I could have sprayed with a flat finish had it worked. What this means is that I will be hand painting the deck with my own 2:1 mixture of Testors enamel, dark gray and Fl sky blue. It's a big brush undertaking but time to see if my skills are up to it. I washed the deck then sprayed with Tamiya light gray primer. My brushing is better over a primer. I need to mix enough paint so I can do the entire deck using "one lot number". I made small amount and will wait to paint until I see how the mixture does overnight in my small bottle. I want to see if the bottle is air tight enough before I do the big batch. Thought I might show off-LOL-my paint booth which is in the firewood storage room. It's a dusty place but I have very large boxes that I get paper towel shipped in and they serve me well. Once sprayed I close the lid with clothes pins. After a short dry time I bring the piece in the house. I have done a fair amount of sanding and filling on the hull. What looks smooth to the eye is not necessarily smooth to the finger and that's the true test of how well I am filling and sanding. It's getting there. Another session or two should get me to where I want to be but if not then I must consider diminishing returns.


-
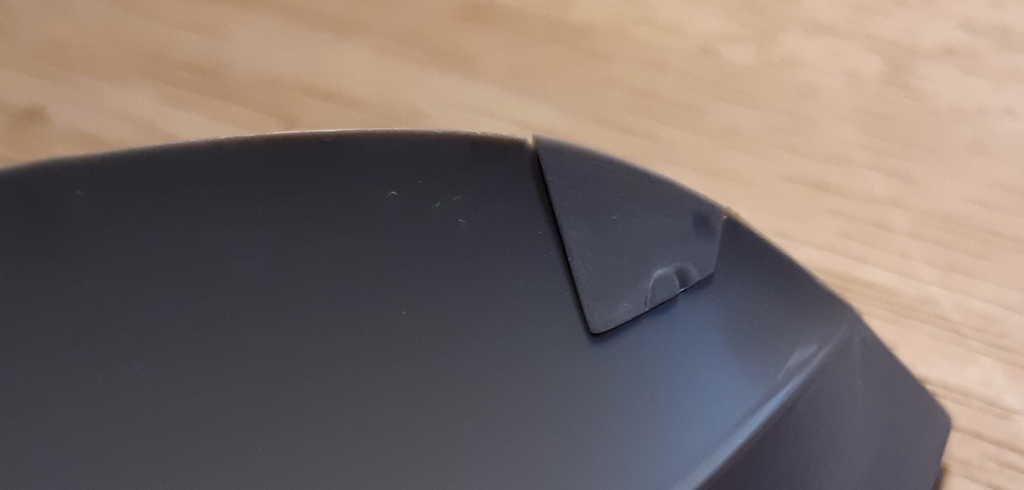
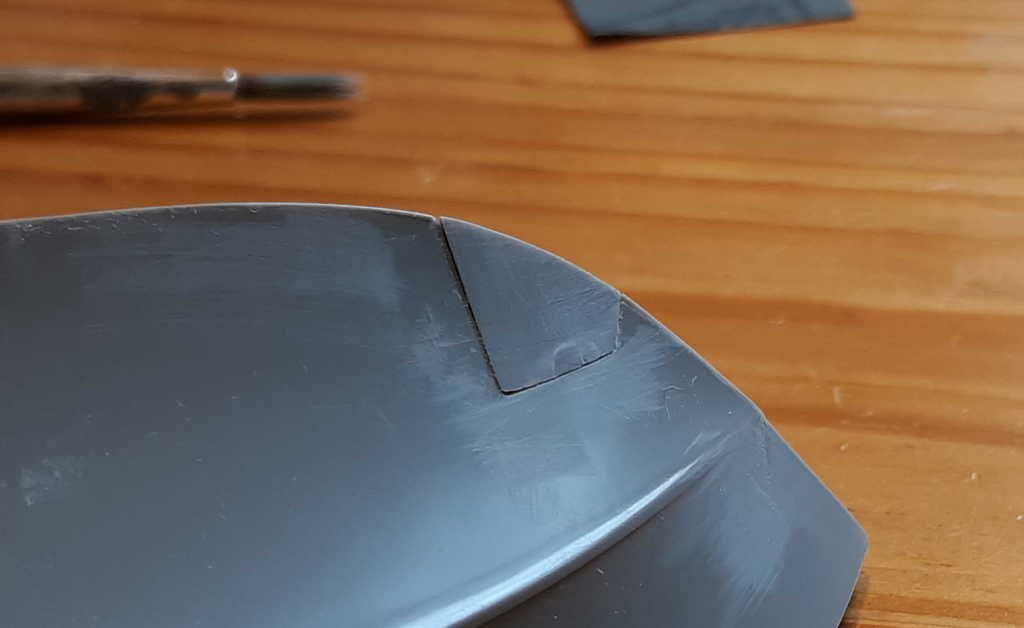
The hull fit together extremely well. Better than any plane model I ever made. There was no excess plastic I needed to shave or sand. I had thought to begin gluing the halves centrally but after 10 dry fits I settled on bow first. That way I could only mess up in a single direction. I used Tamiya cement. I placed what I thought was proper on both halves let them sit for about 10 seconds then held them firmly for a count of 500. Then blue taped the bow in a crisscross and across the open bow and let sit overnight. My work light revealed a pretty good seal. The remainder of the hull was sealed using Tamiya extra thin. I did a couple inches at a time. I was forced to act quick because I could not hold it tight and apply the extra thin simultaneously. Tamiya's literature states that a 40s hold is all that's needed. I did a 180 count. Each successive seal worked well this way. The single bulkhead added necessary integrity to the hull. I used regular Tamiya for that. I was able to get the halves together nicely and still be able to slide in the transom and the rear part of the hull. This made things easier. One BAD fit was the bow chin plate. Something went wrong or it was a poor design because on the sprue the plastic was stressed to discoloration and the holdfasts were just bad. The one build review I found had similar problems so it probably wasn't my hull joining scheme. It does look like the plate is not flush with the rest of the hull in the one picture I found. Once I decided on best fit I could tell it needed some sanding and there is a small gap visible from inside. The transom section is a bit of a misfit as well. I have a gap and a not quite flush area. I use Perfect Plastic Putty. Of the various fillers I have tried this is my favorite. I know how to use it. In the process of gluing I had very minor leakage to the outside. 1500 grit took care of it. I was warned and am glad I paid heed. I am painting the house deck railing. I scrupulously cleaned my hands but got a smidge of paint on the hull but that came off easy peasy. I decided to prime the hull and deck before paint with a light grey. After filling and sanding that's next.


-
I tried a Bolitho novel and don't think I got 10 pages so I appreciate your opposite :-)
-
That color scheme is the best yet. I'm going with it for certain. Your reference to MTB recalled to me an author, Douglas Reeman. He wrote a series of action, reflection and romance war books and an MTB featured prominently in one maybe two. The books are similar in theme and I have not read them all but they are good war fiction. Thanks for your time, pictures and knowledge.
-
Wonderful. Thank You. Maybe I will do the grey because I like the different shades between hull and deck. I've decided on PT 52 because it's my birth year
-
Does anyone know or does anyone care to speculate on what the "bow chin plate" is for. My best guess is to allow access to internals or maybe keep damage to a minimum if run into by a destroyer.