HOLIDAY DONATION DRIVE - SUPPORT MSW - DO YOUR PART TO KEEP THIS GREAT FORUM GOING! (Only 20 donations so far - C'mon guys!)
×


moreplovac
-
Posts
794 -
Joined
-
Last visited
Content Type
Profiles
Forums
Gallery
Events
Everything posted by moreplovac
-
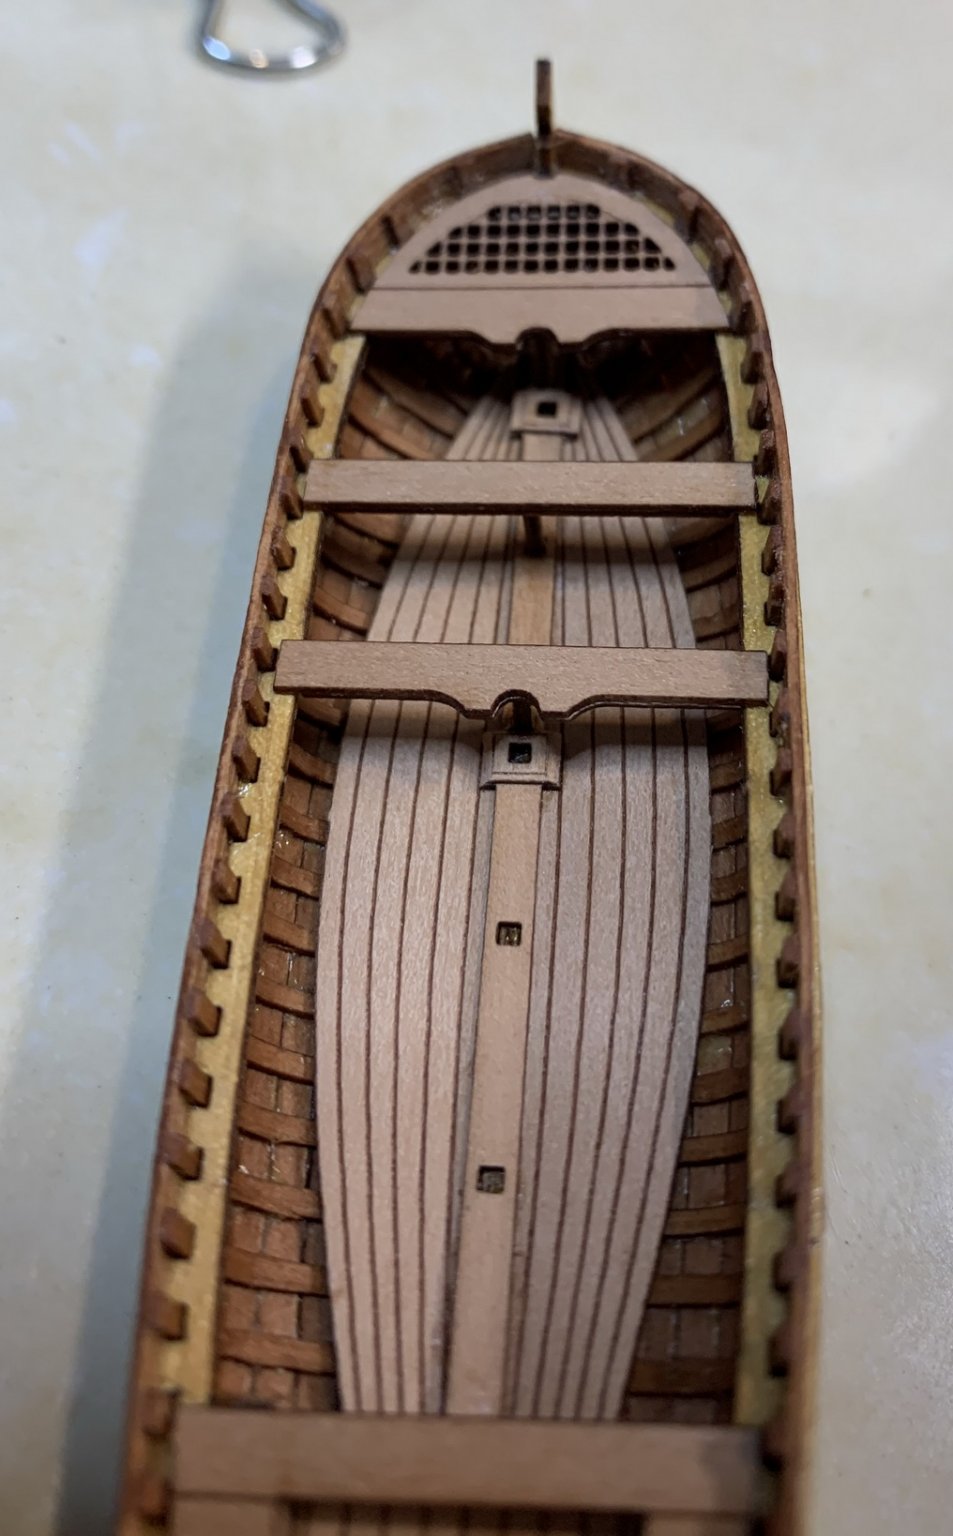
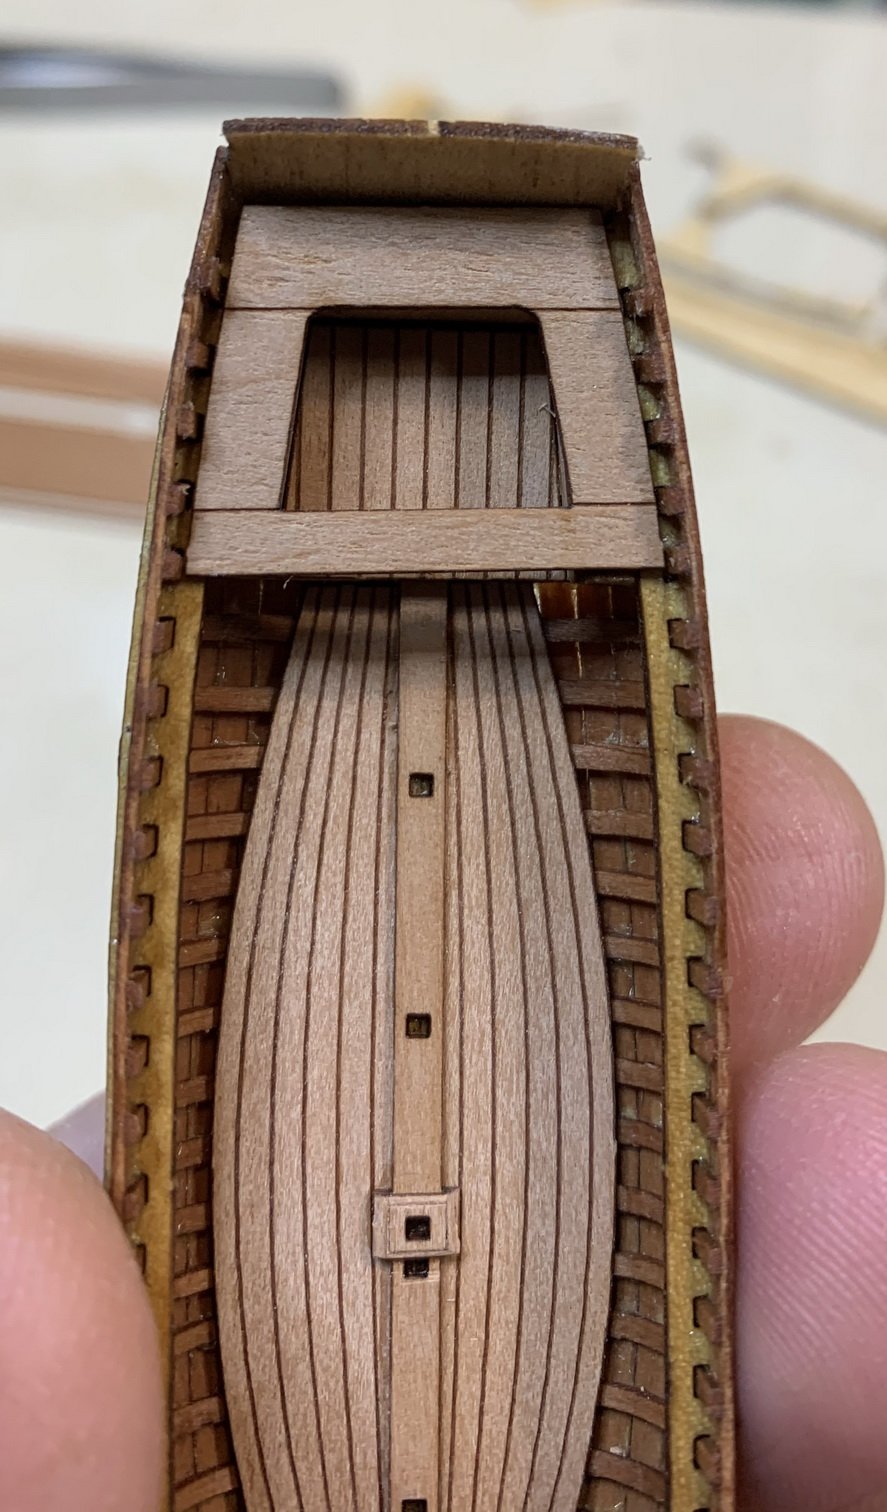
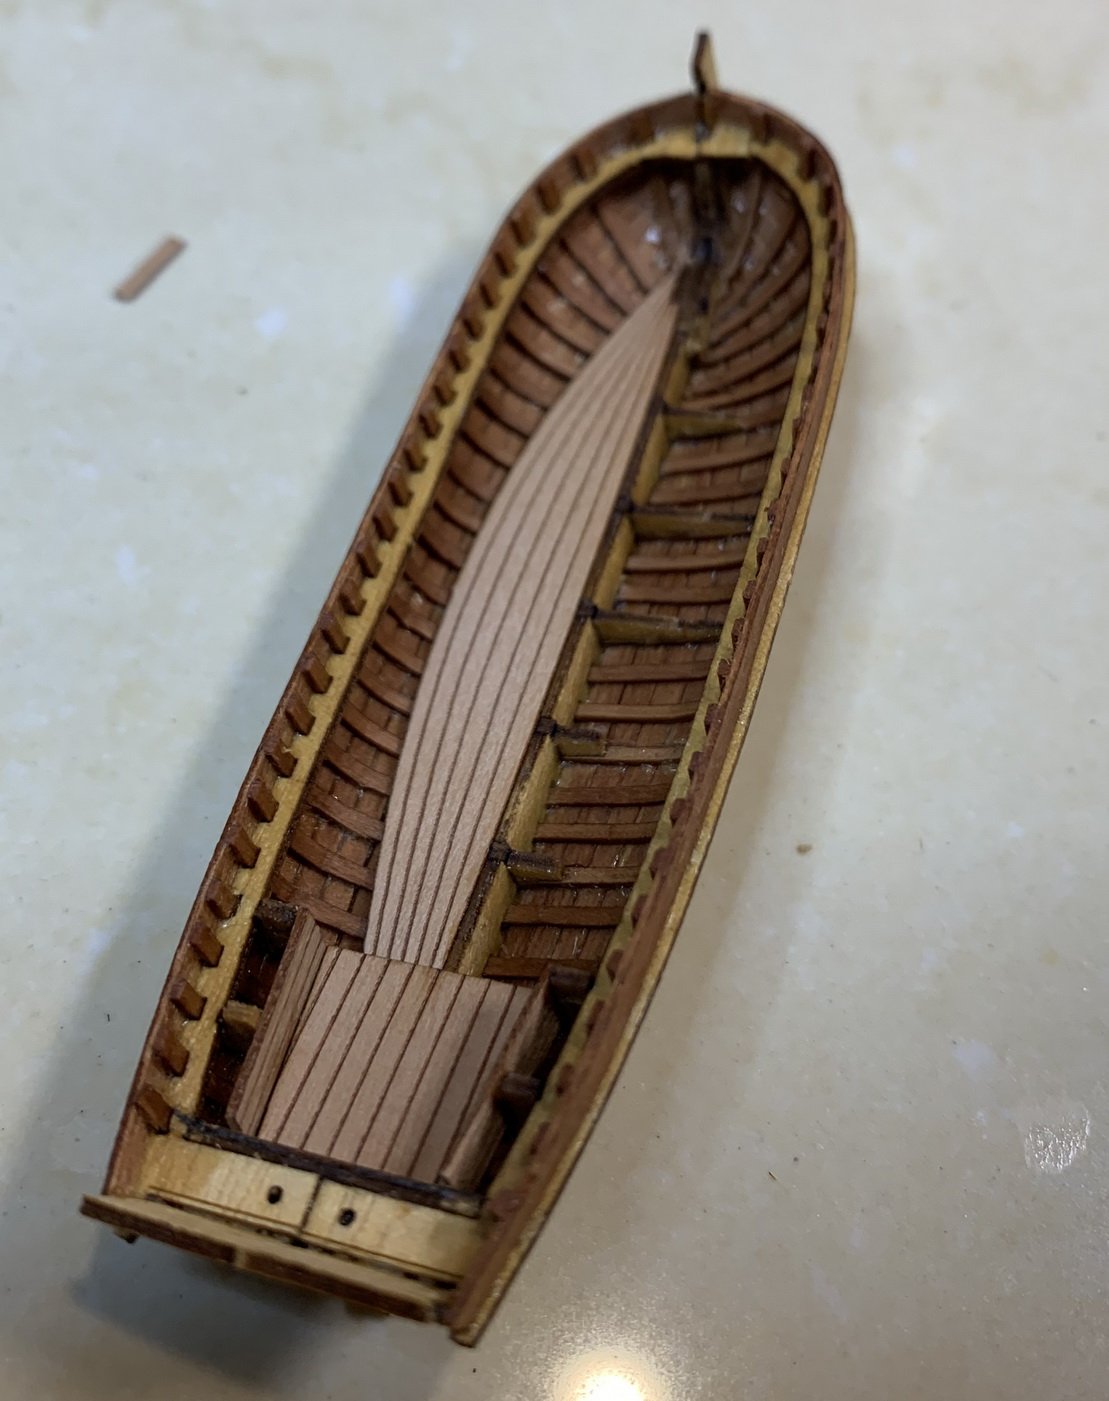
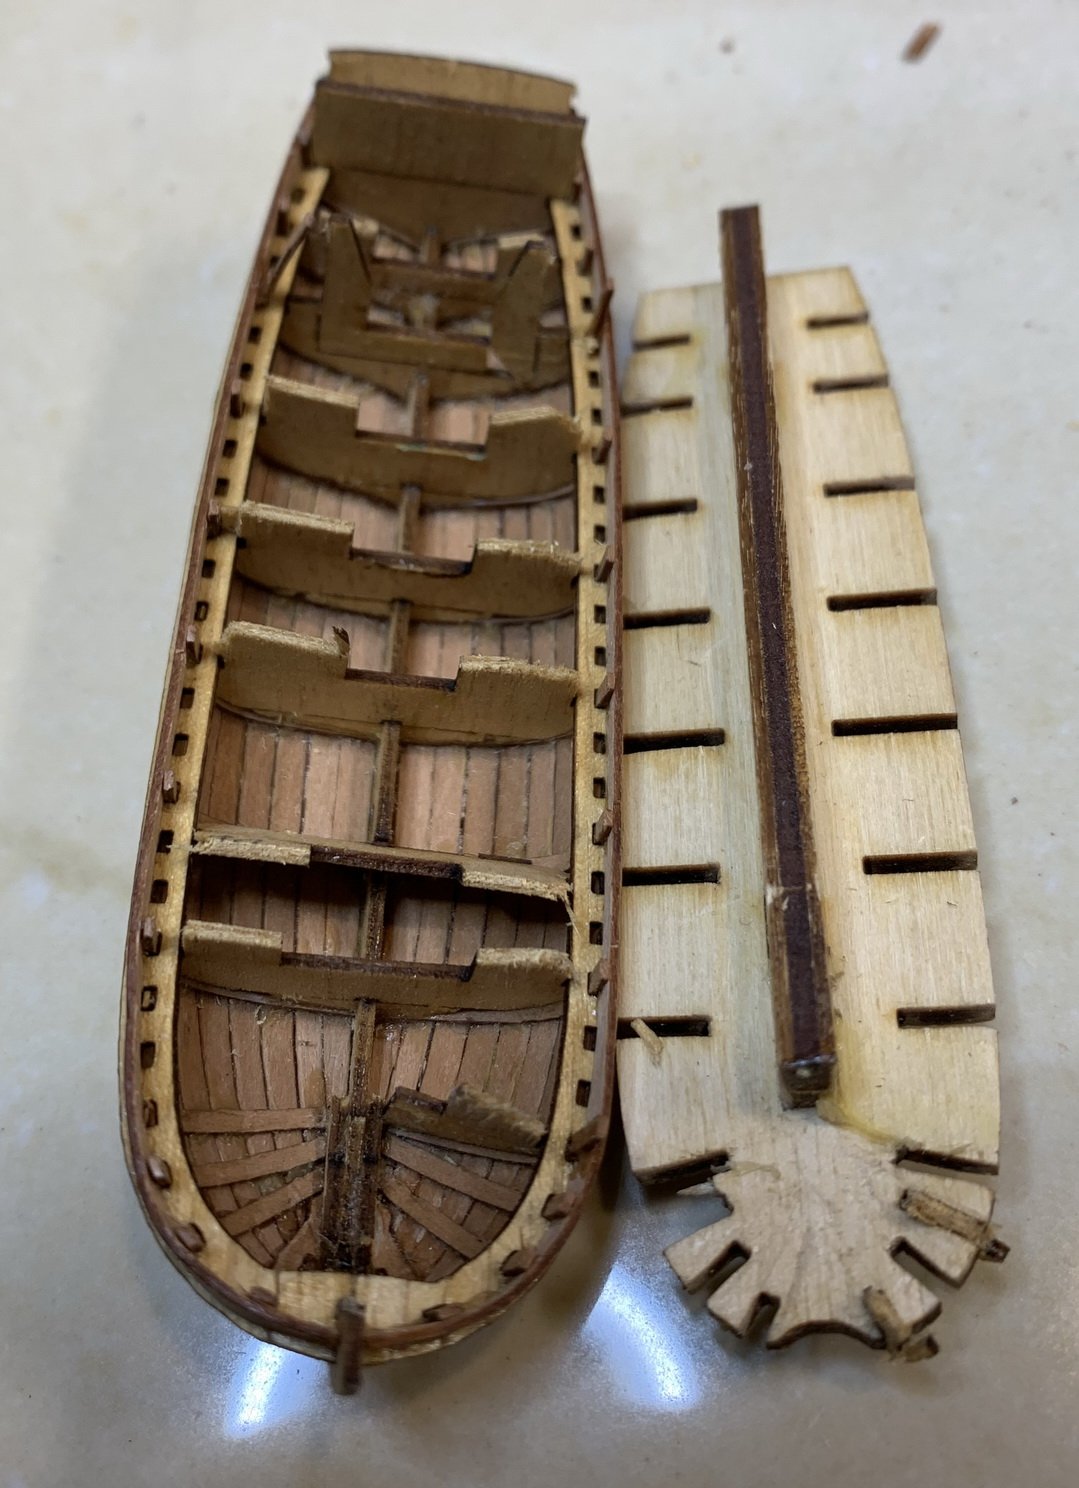
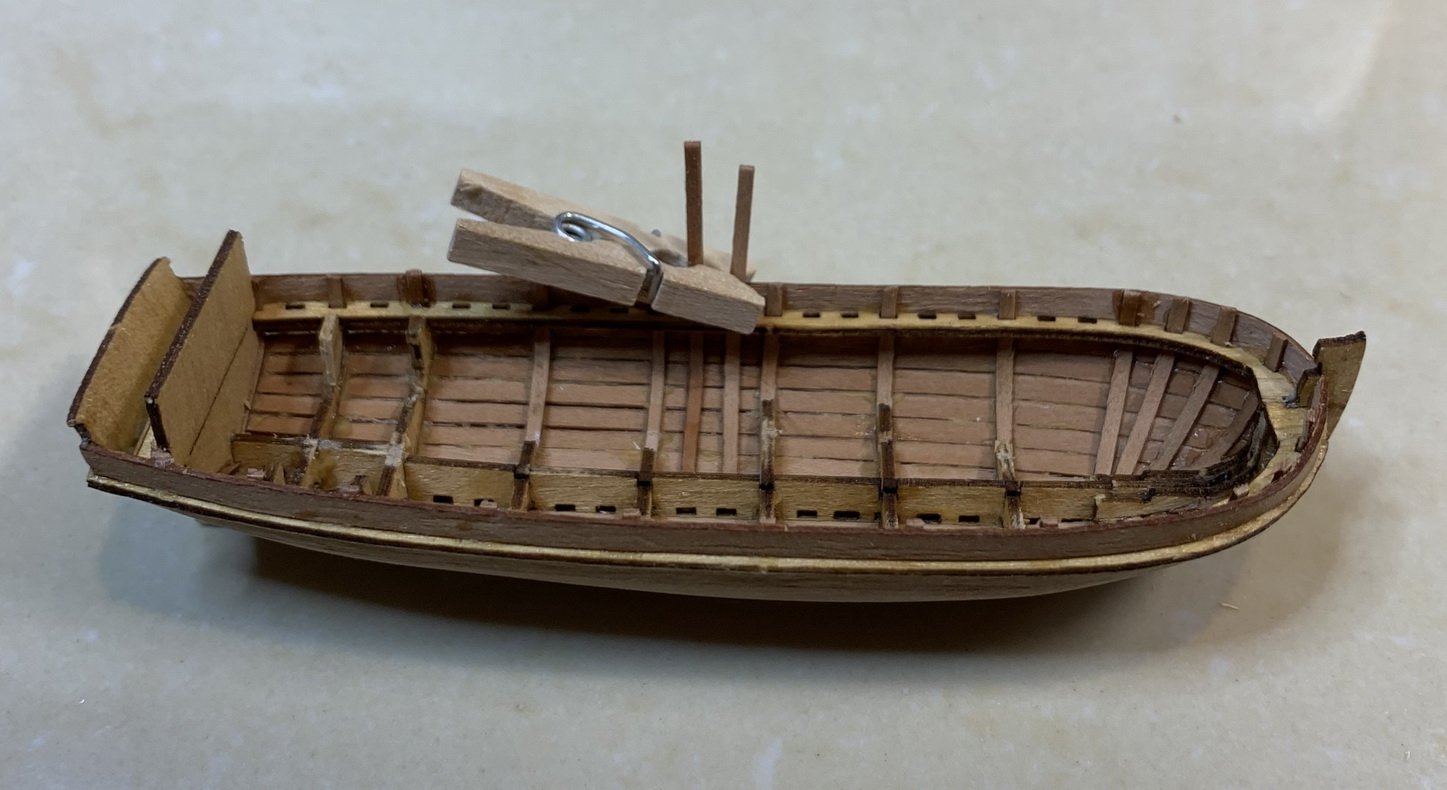
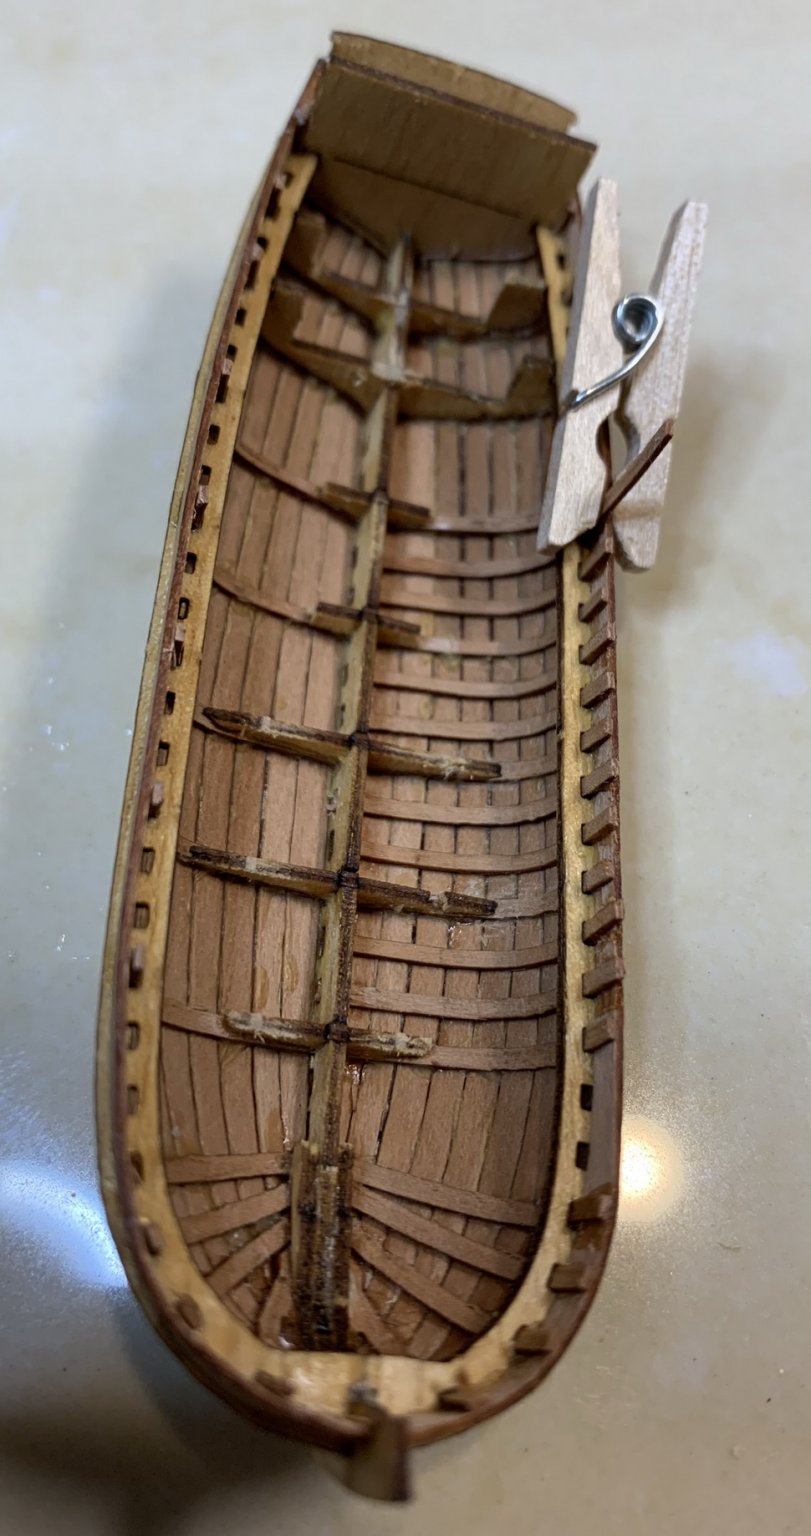
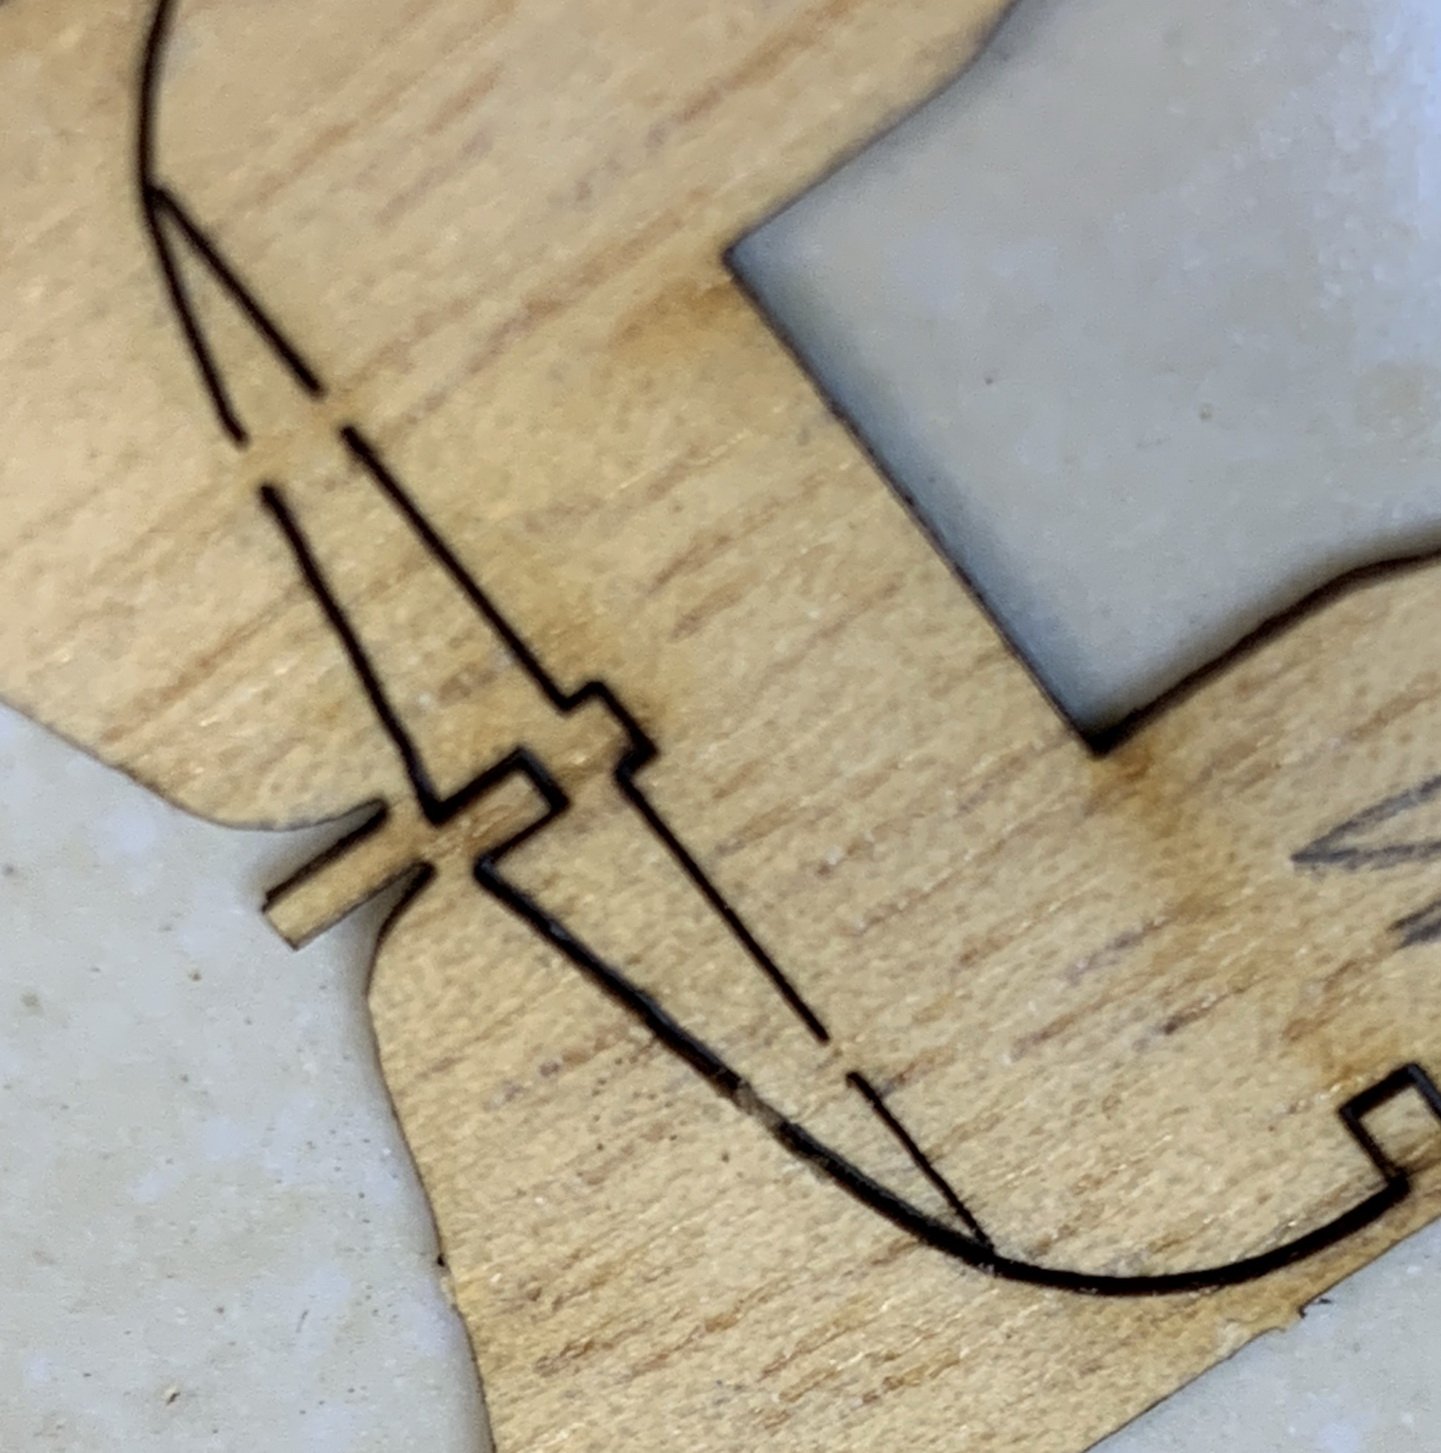
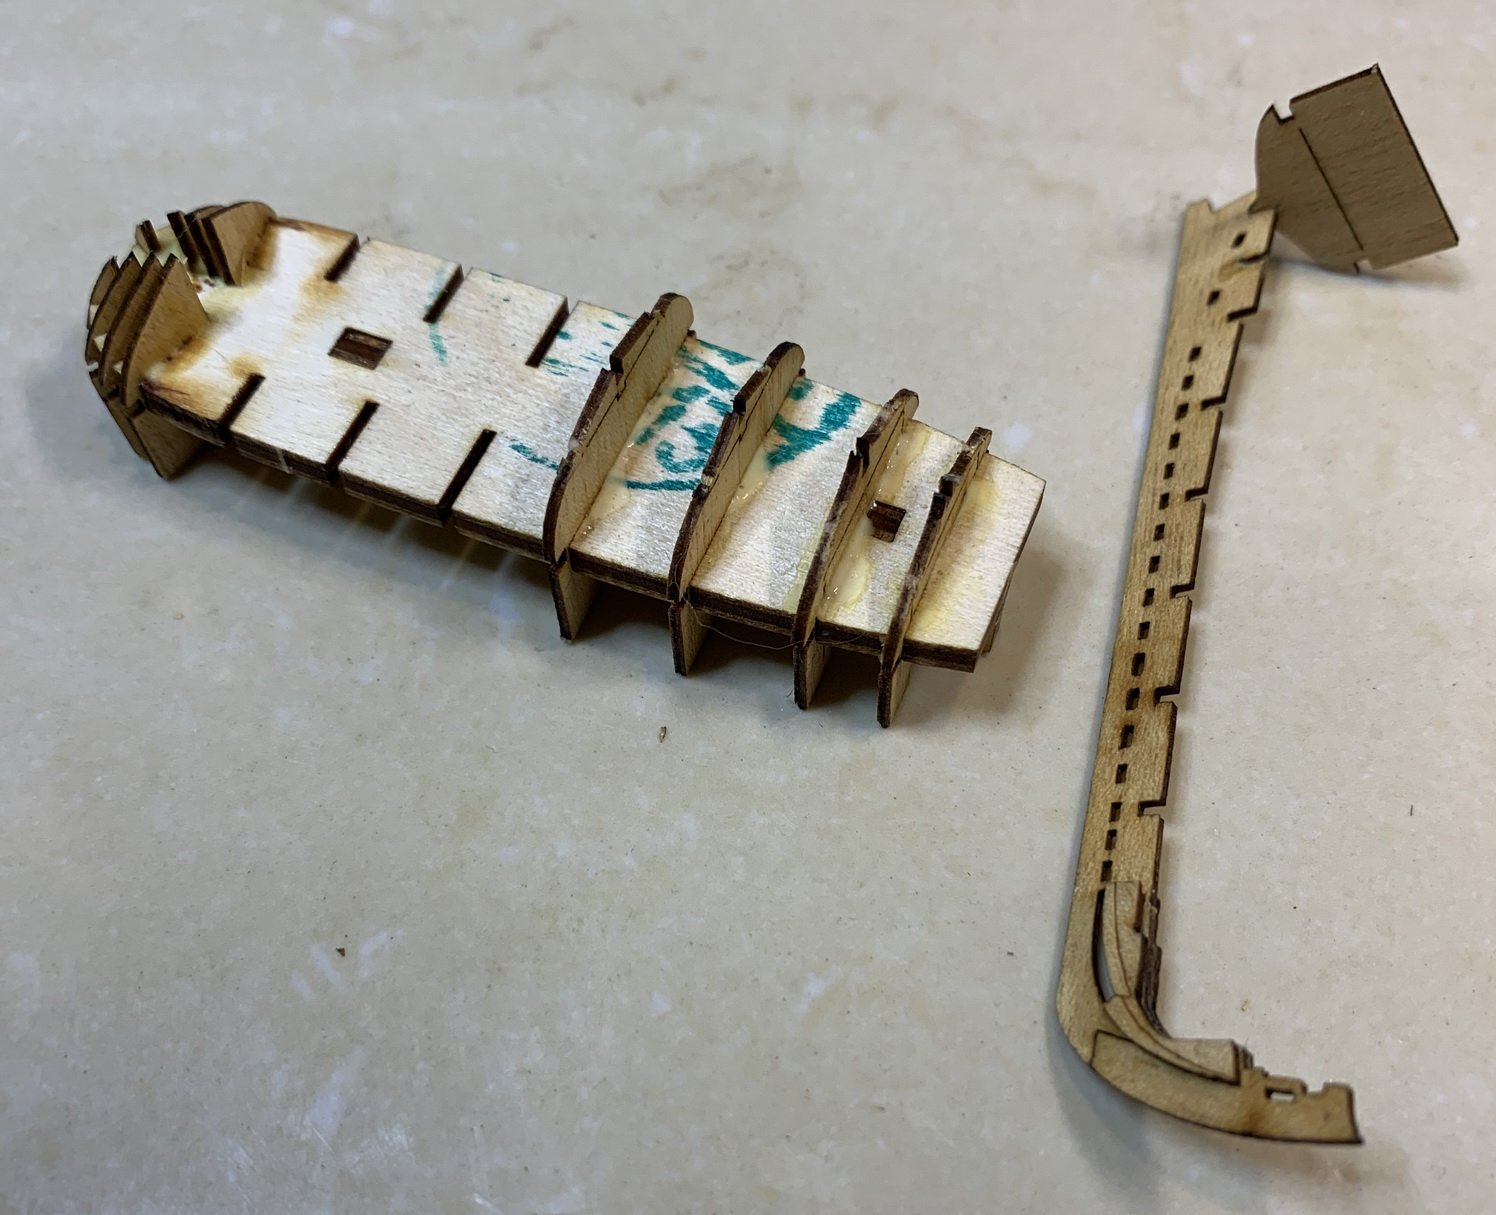
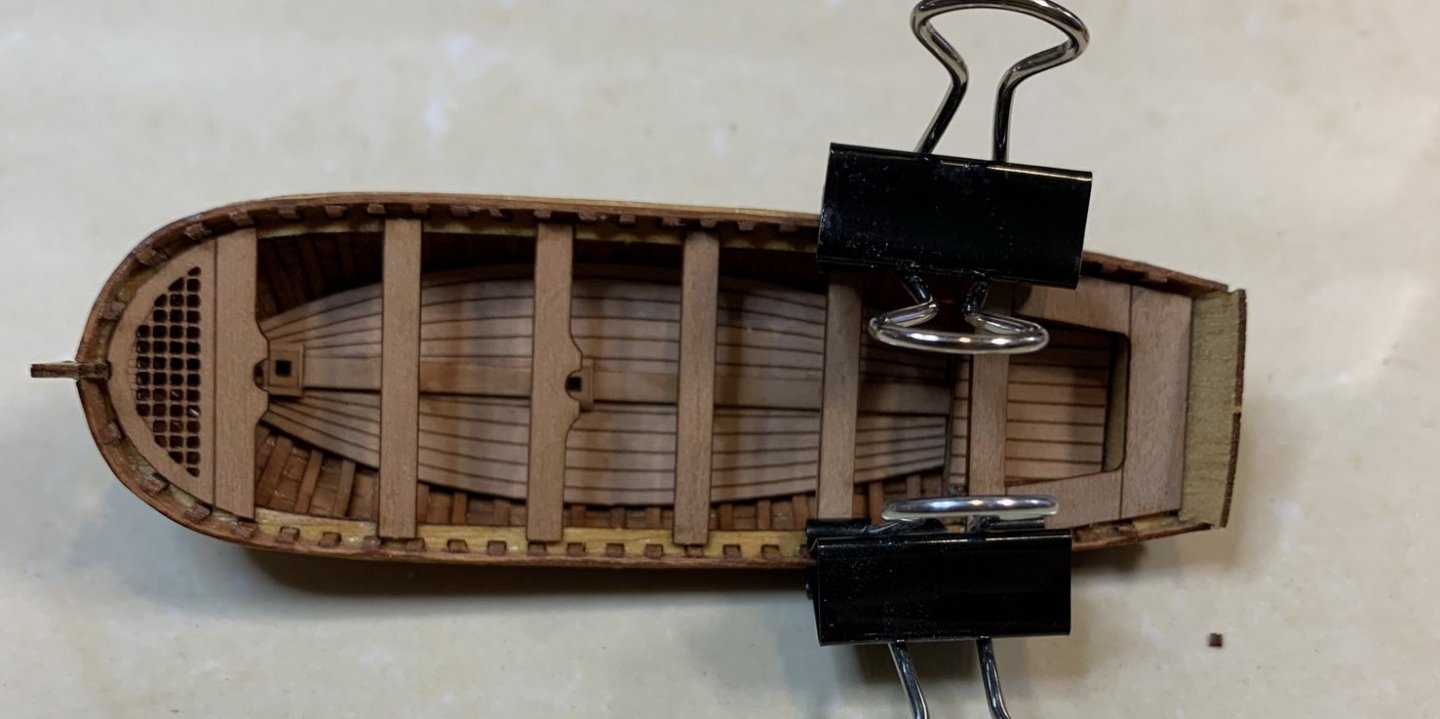
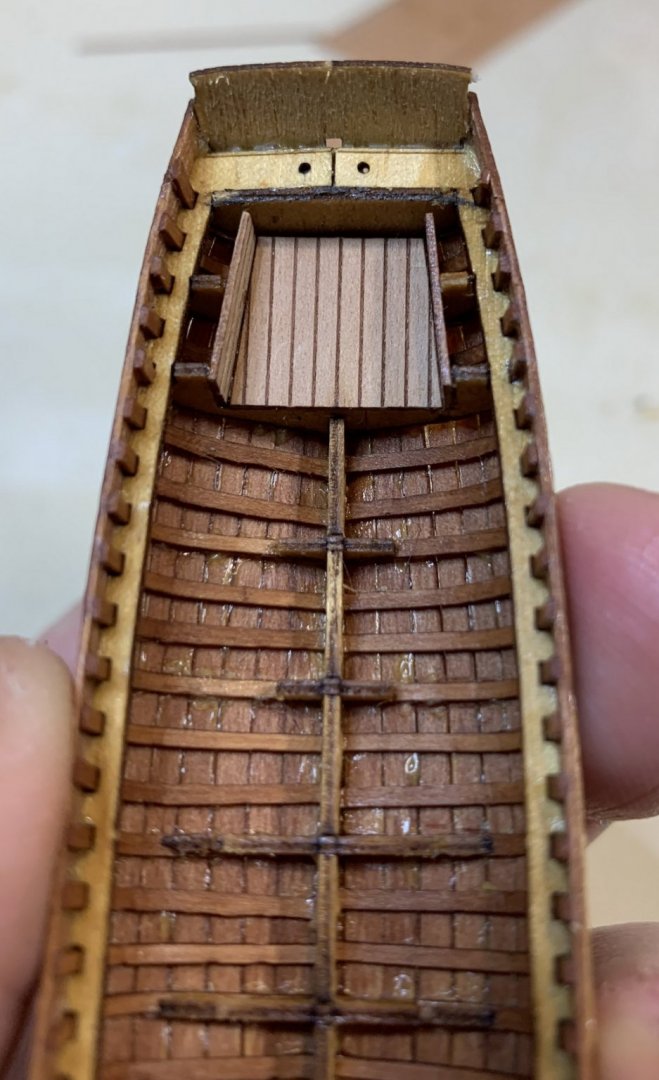
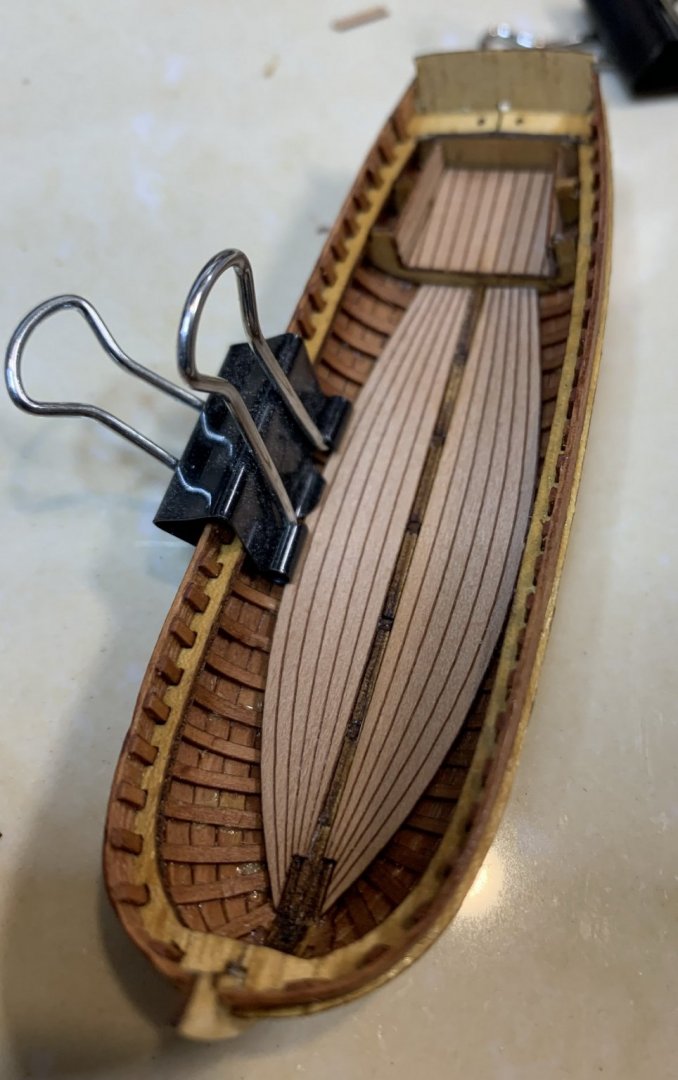
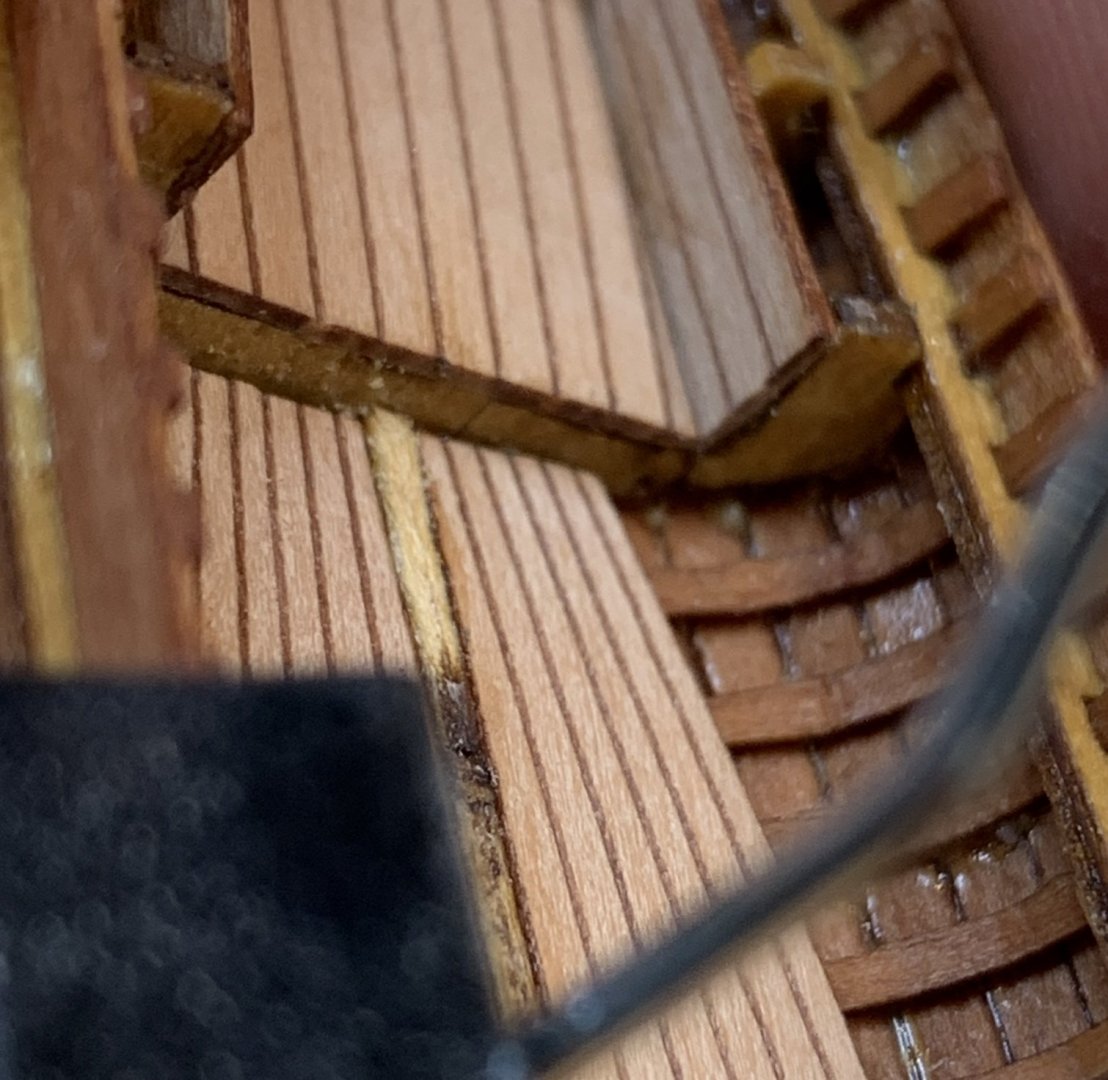
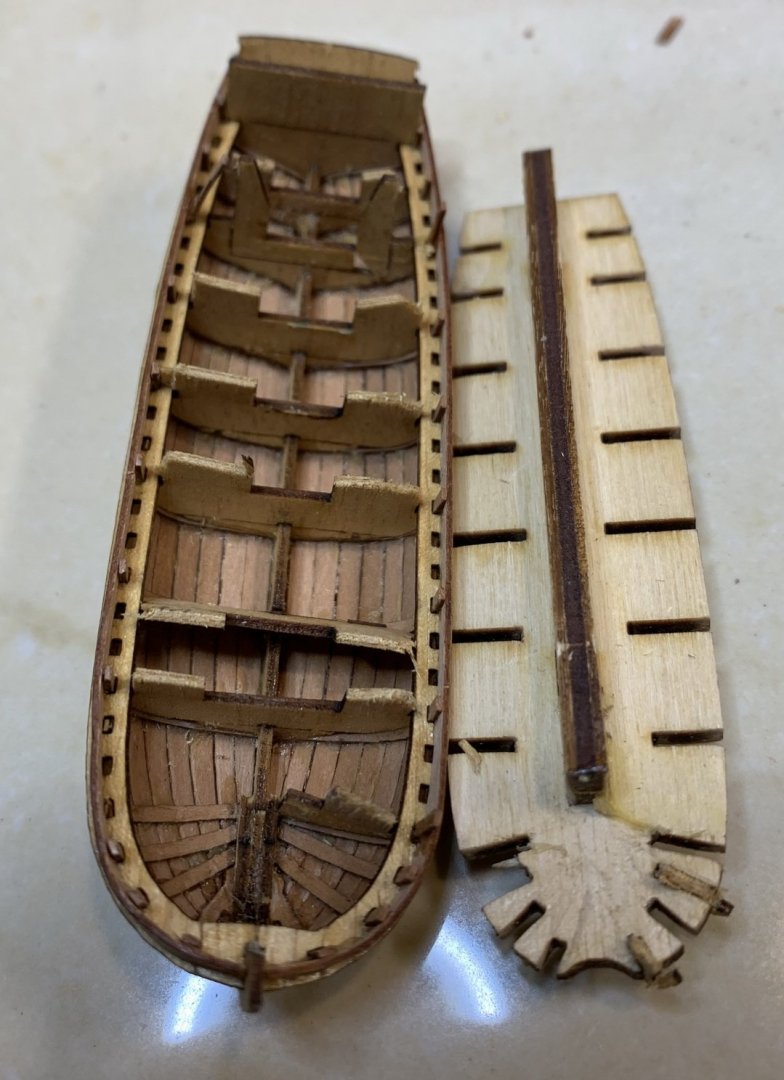
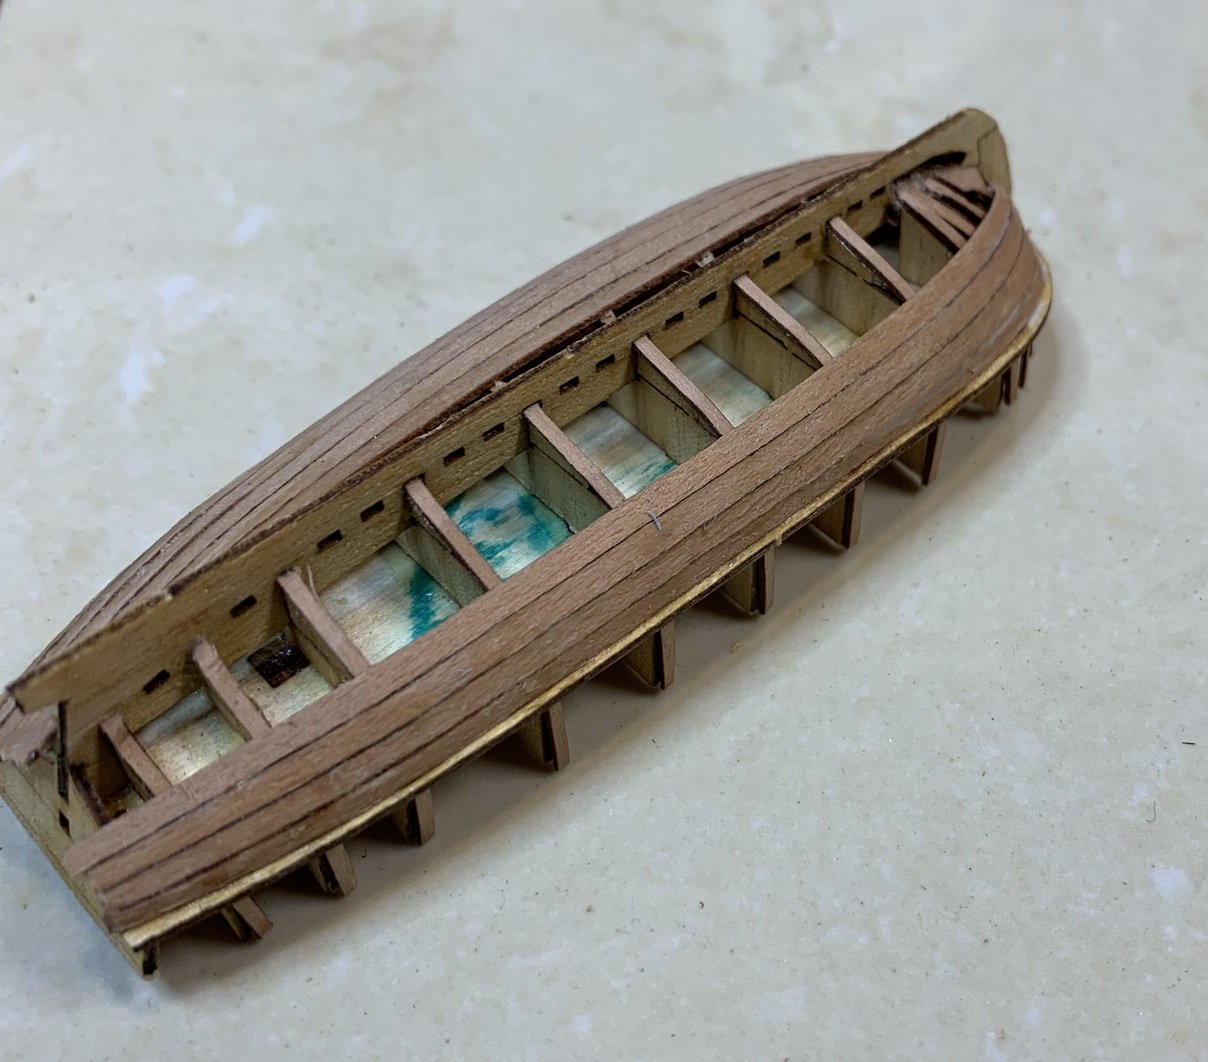
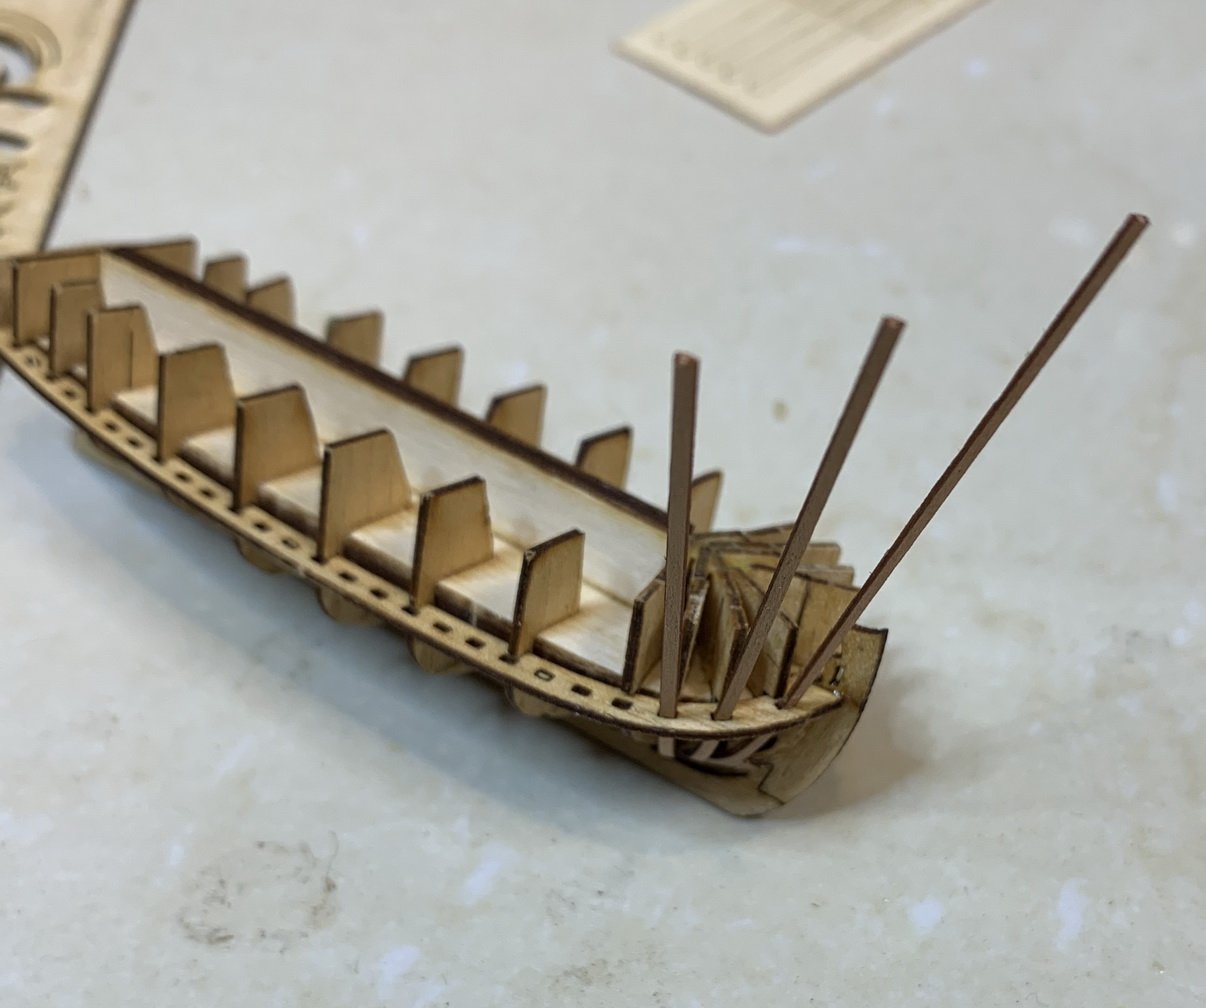
 Work continues with ship boat. All pieces are easy removed from the frames, a bit of a sanding and removing of laser burn is required. The front of a boat is done from three pieces, the same as other thwarts, mast, forward, center... Happy modeling.
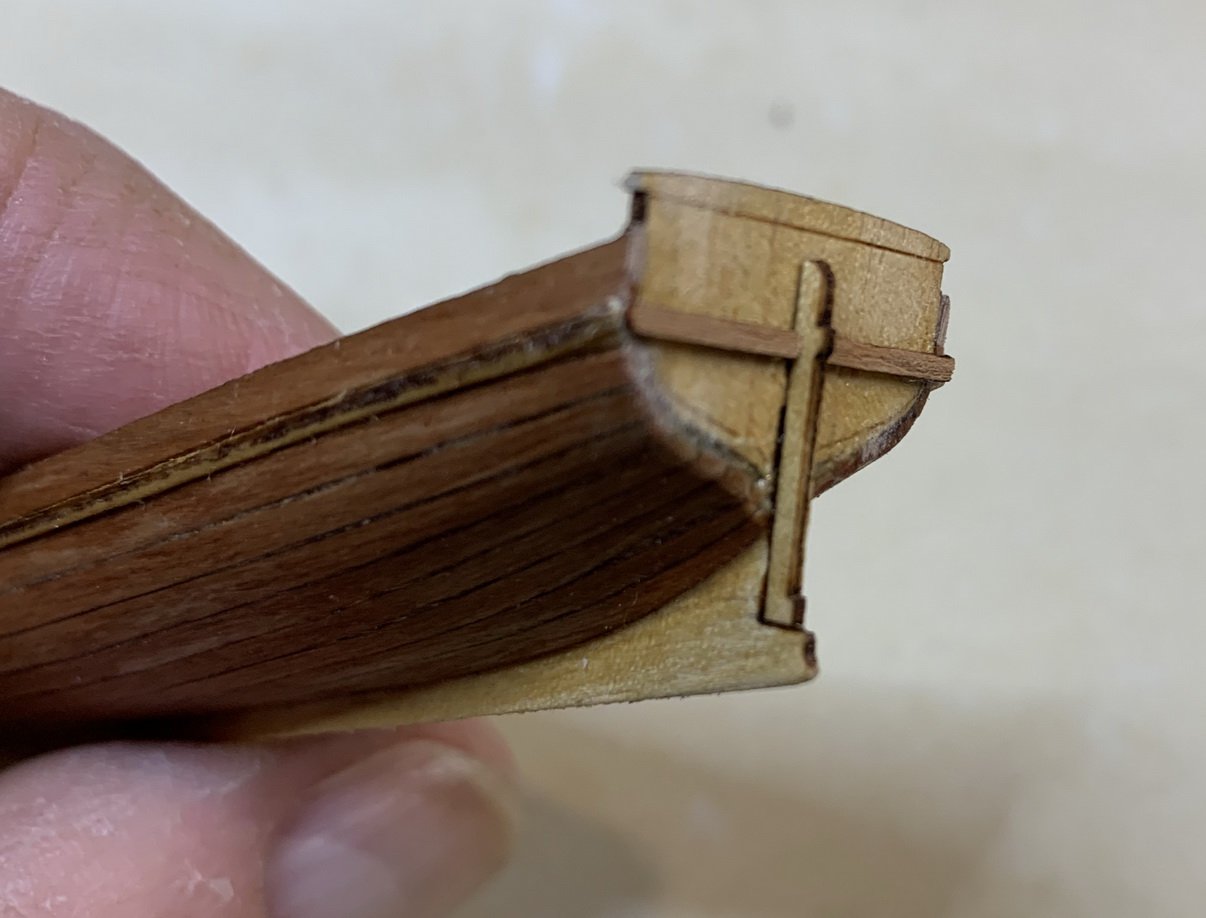


- 275 replies
-
- 5
-

-
- phoenix
- master korabel
- (and 1 more)
-
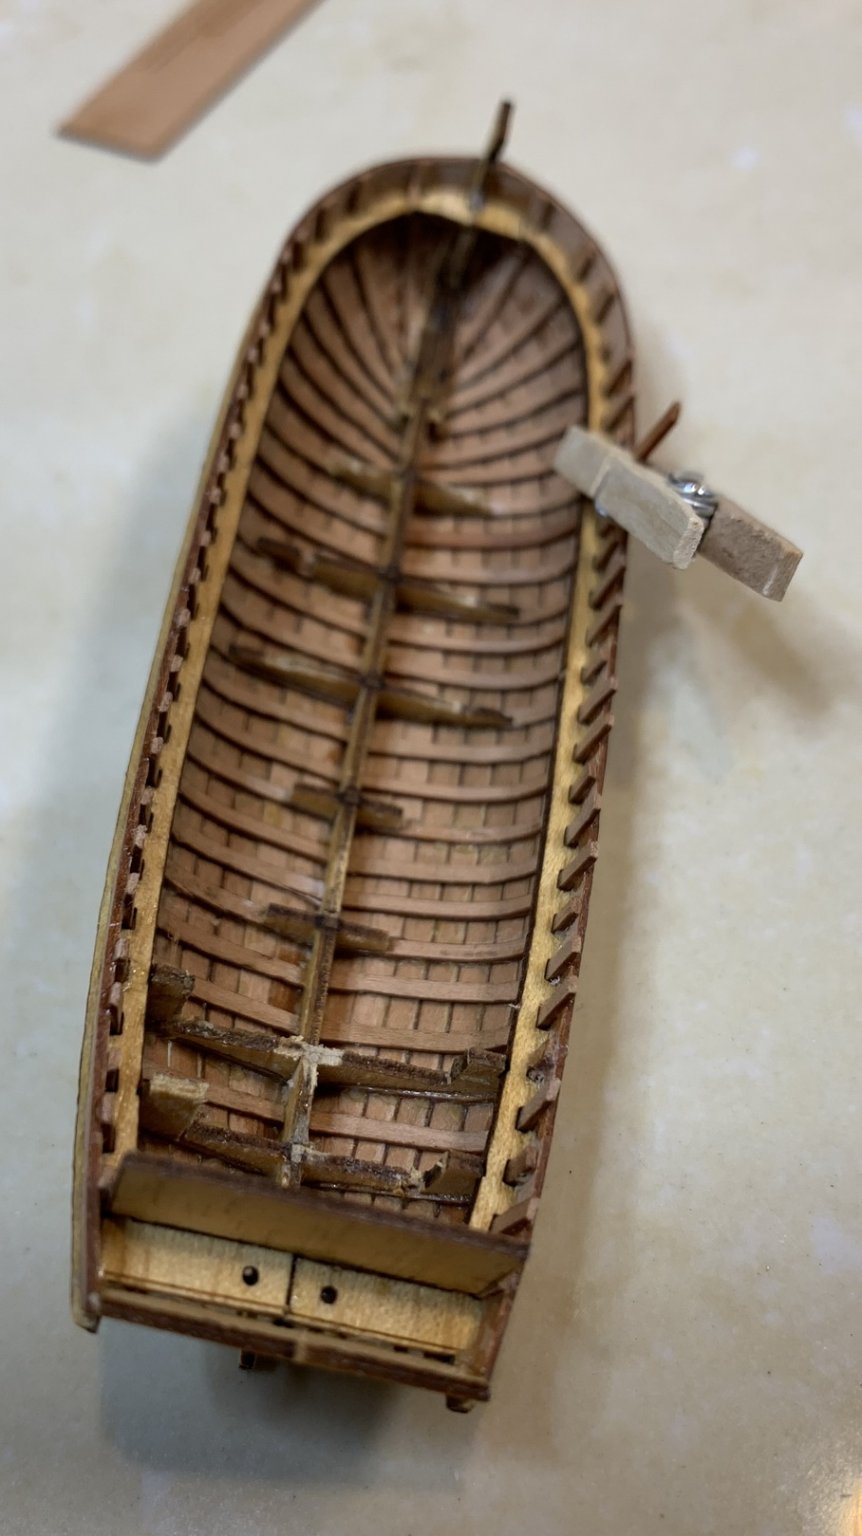
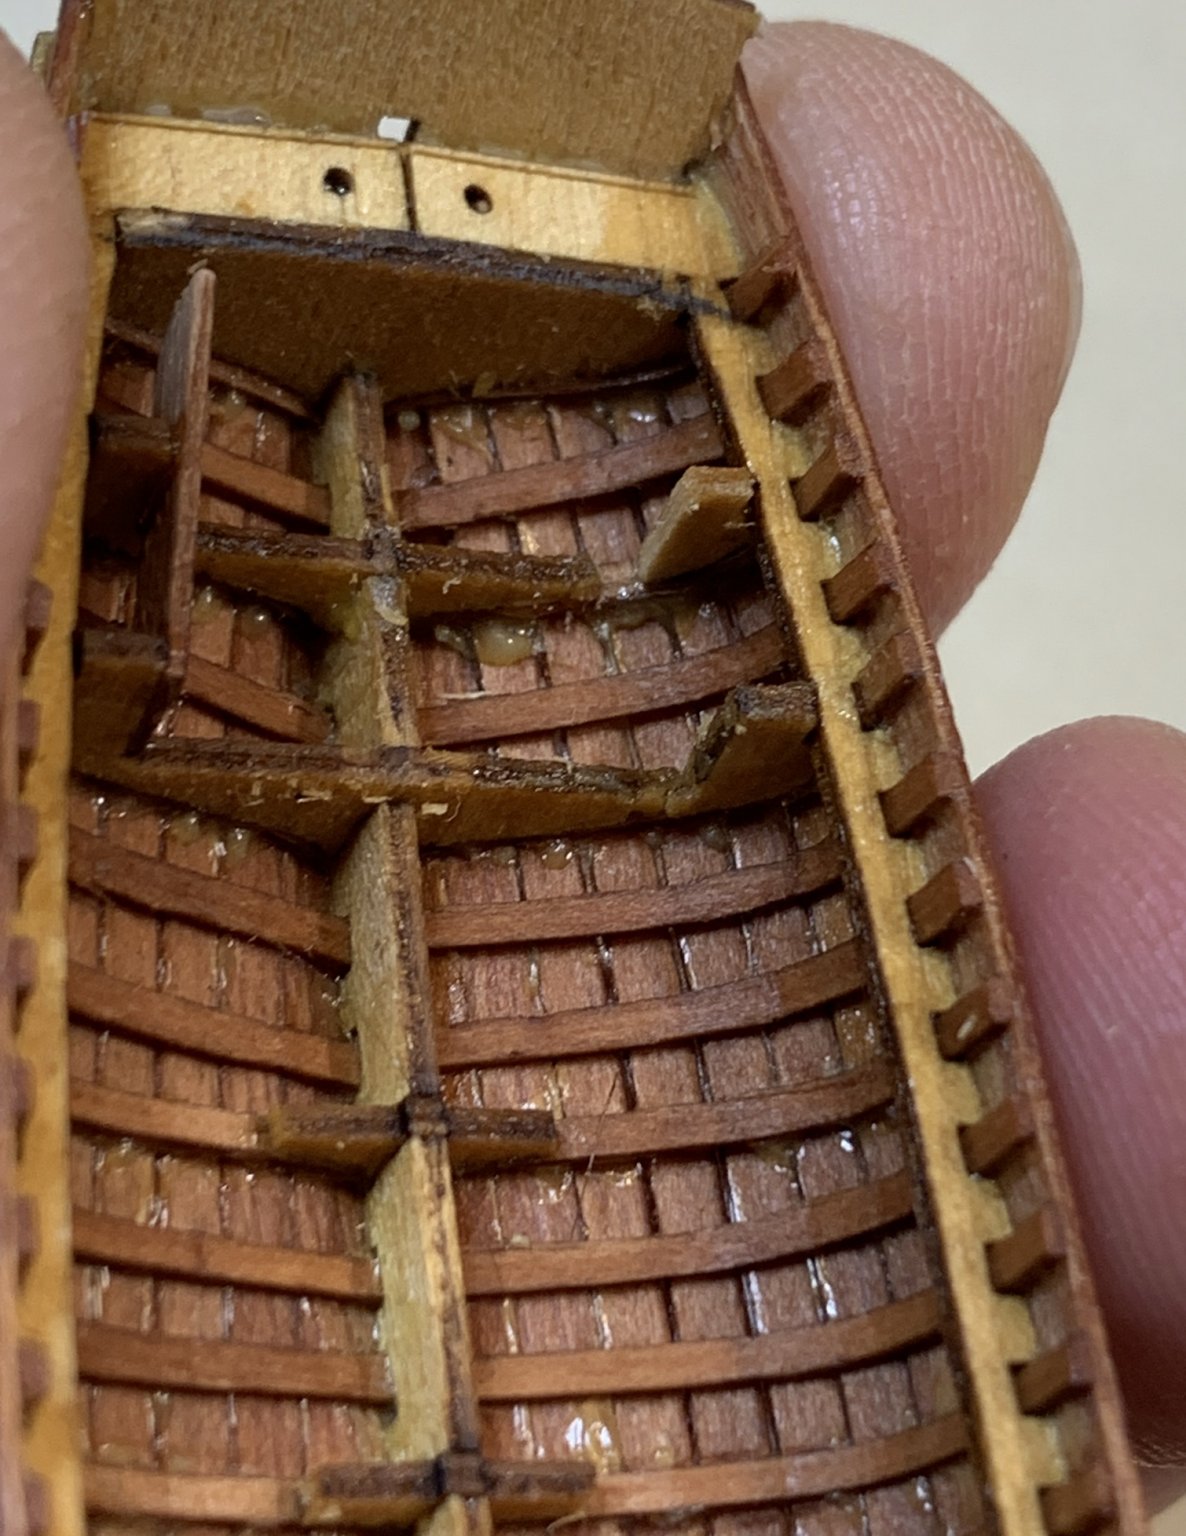
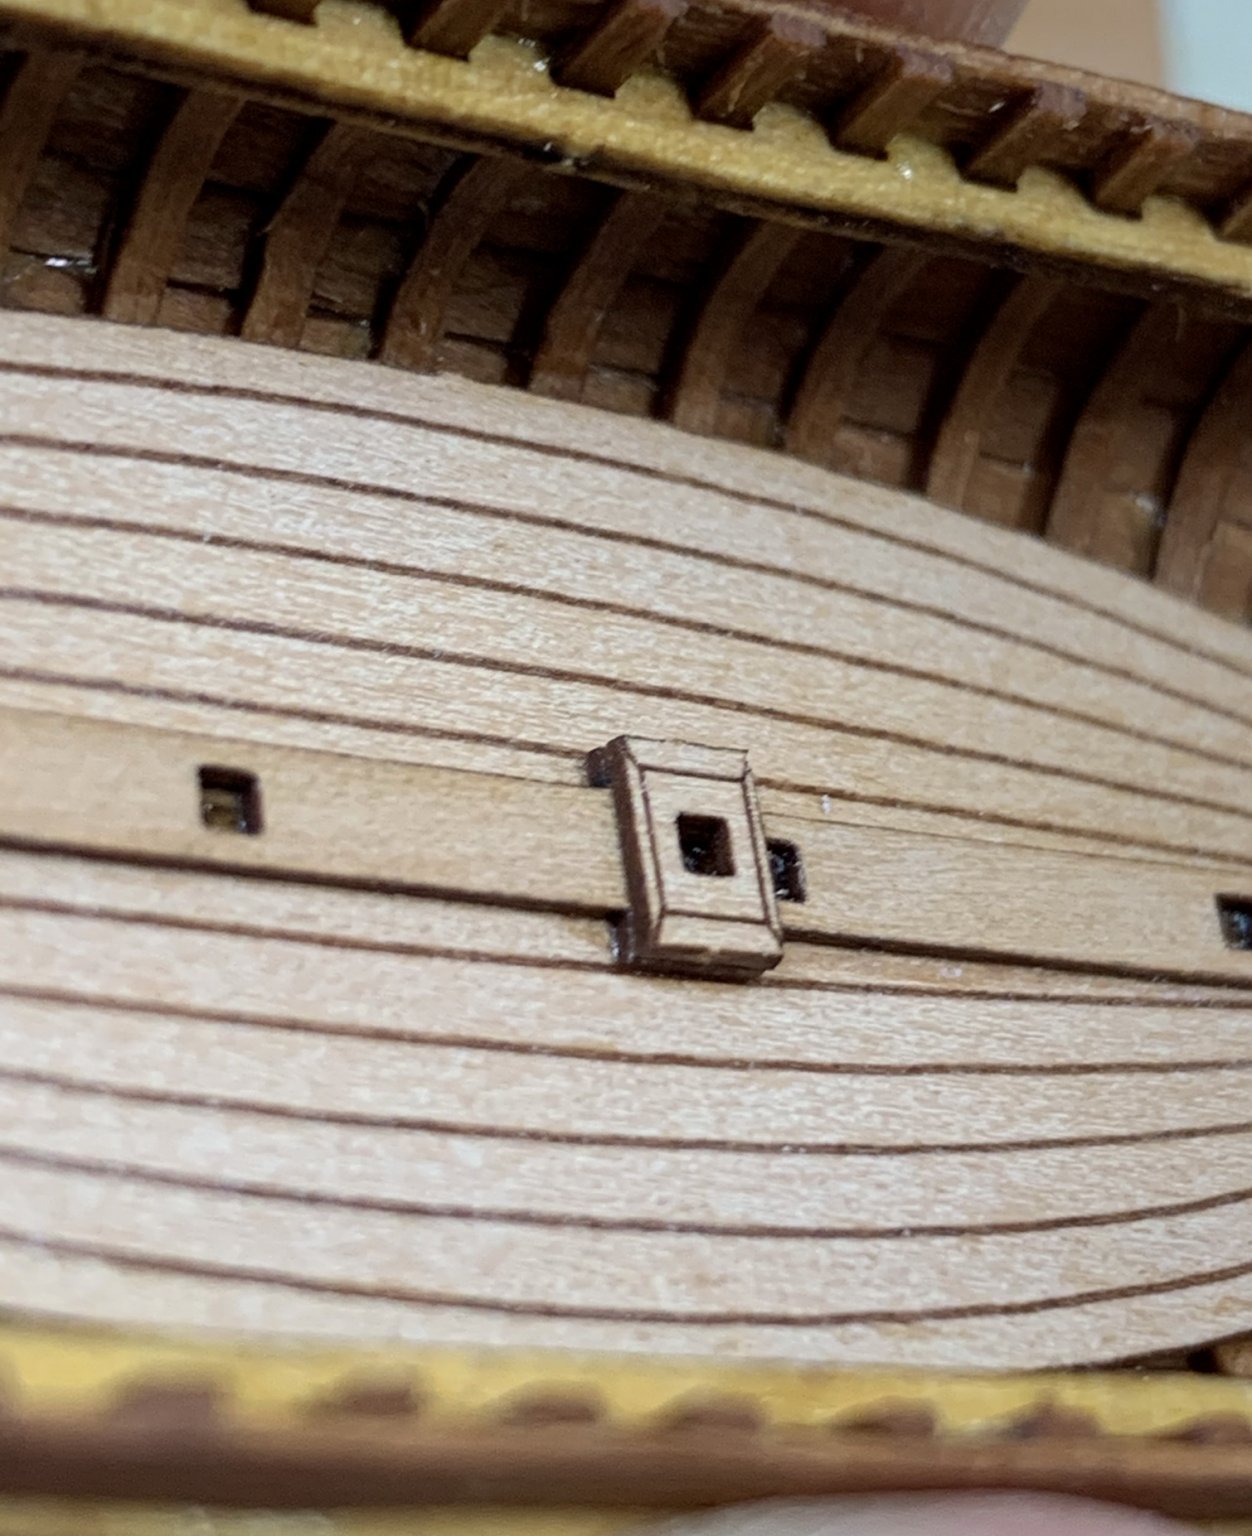
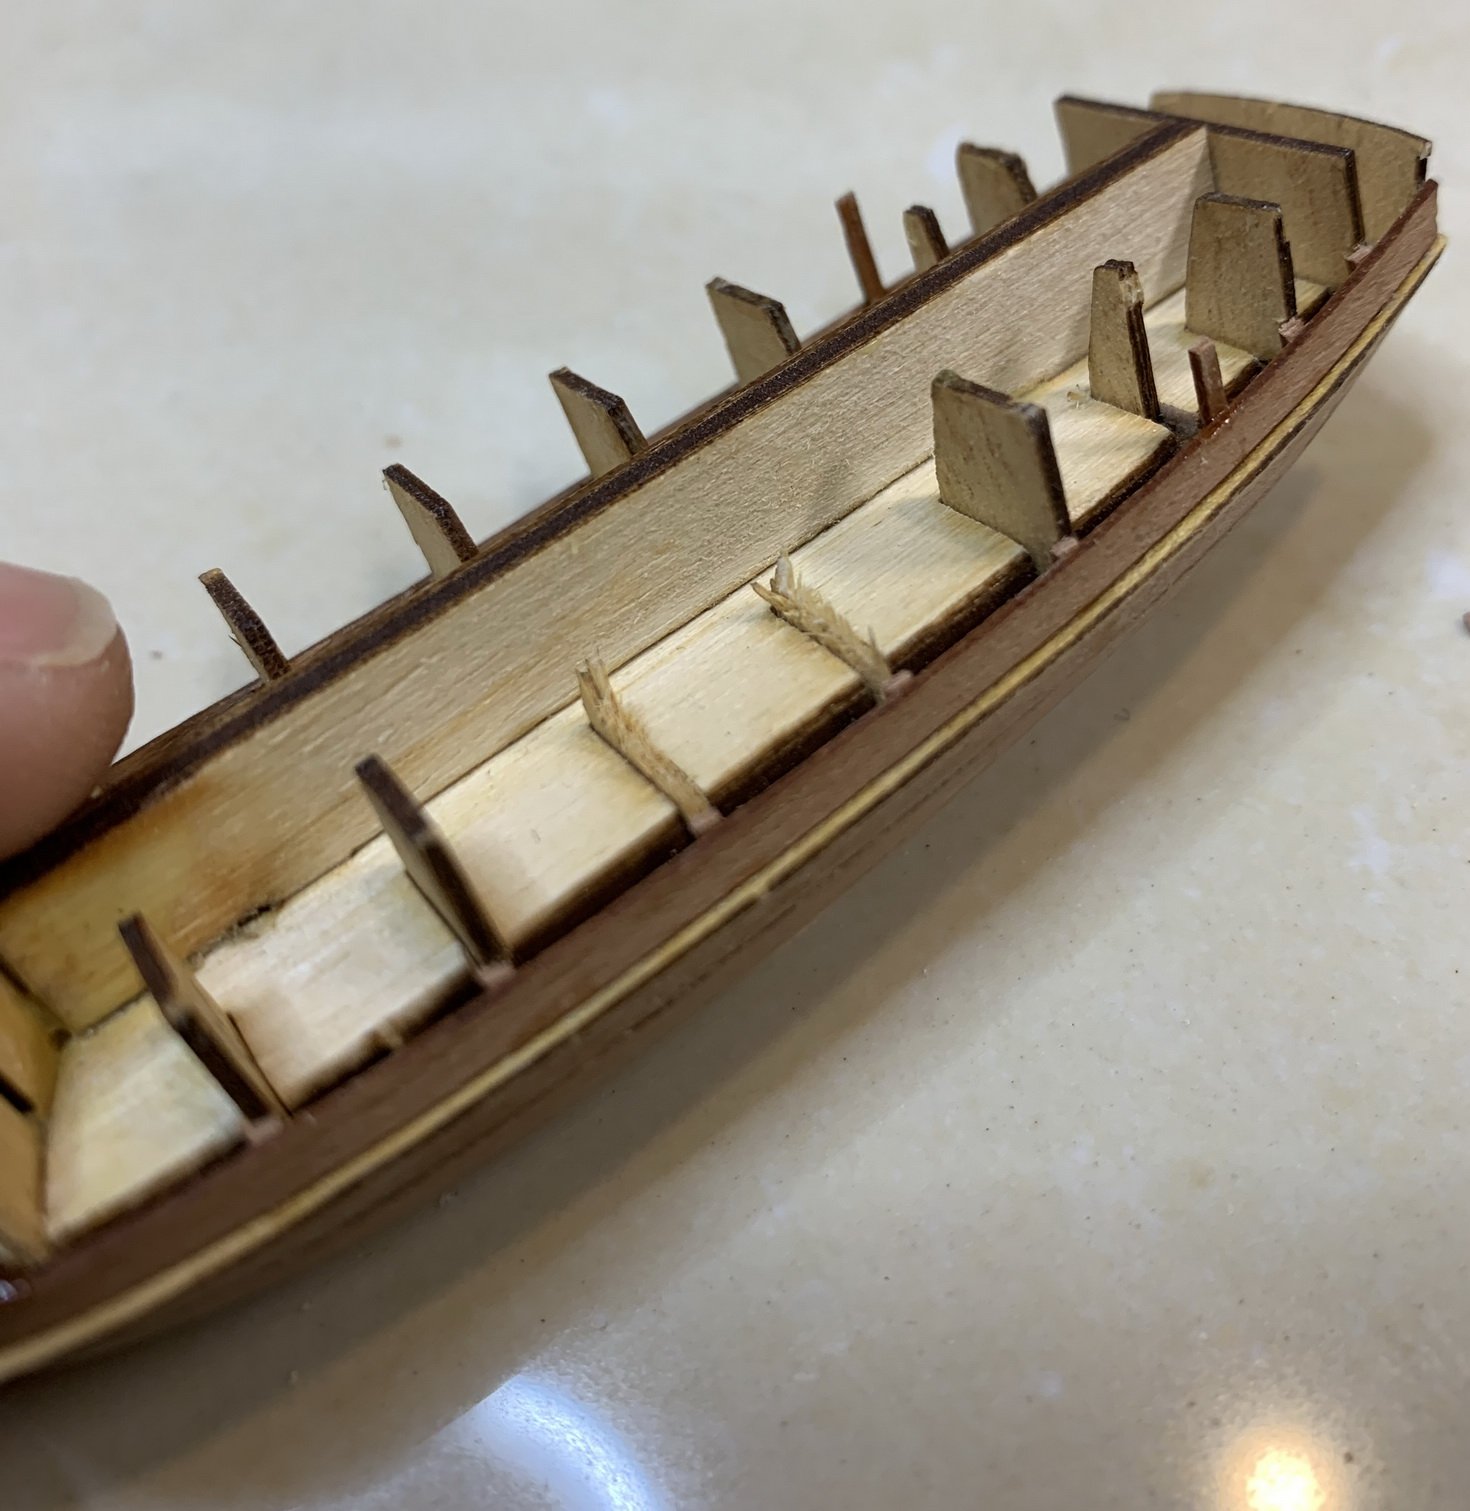
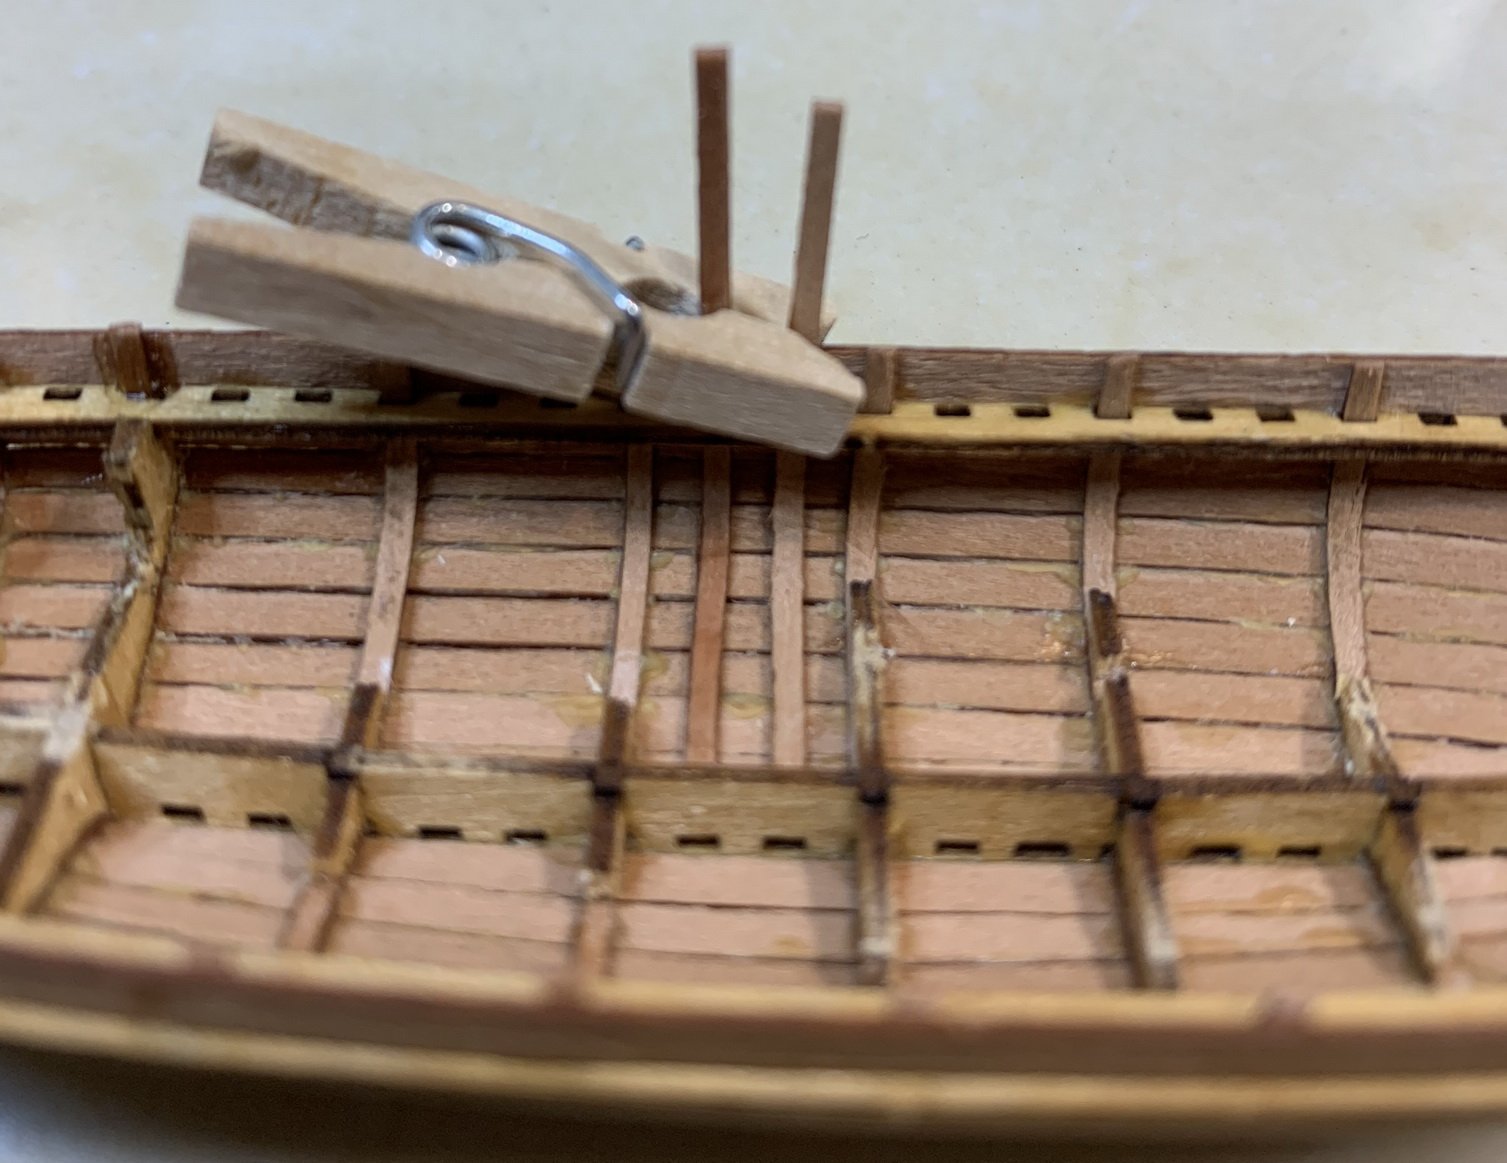
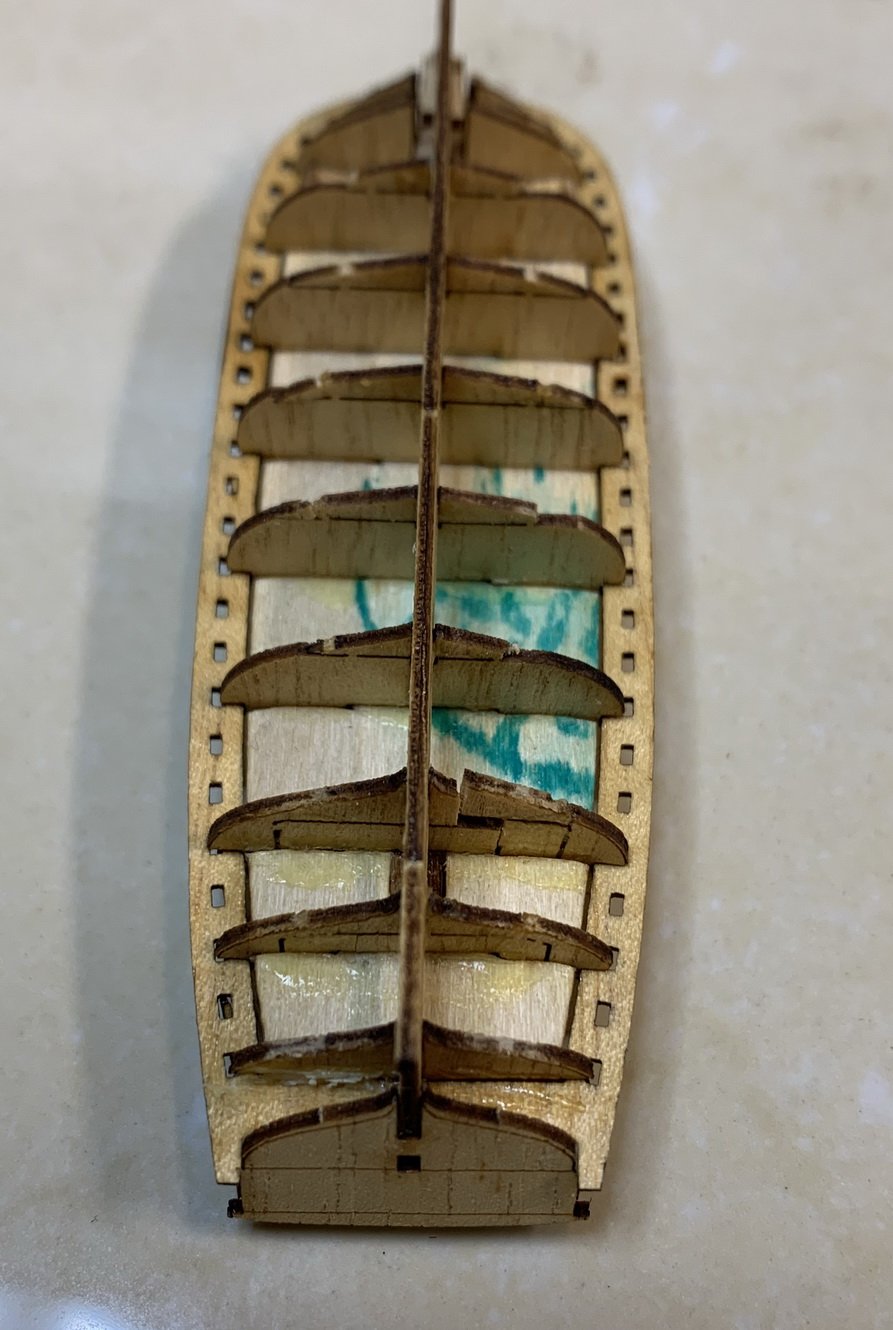
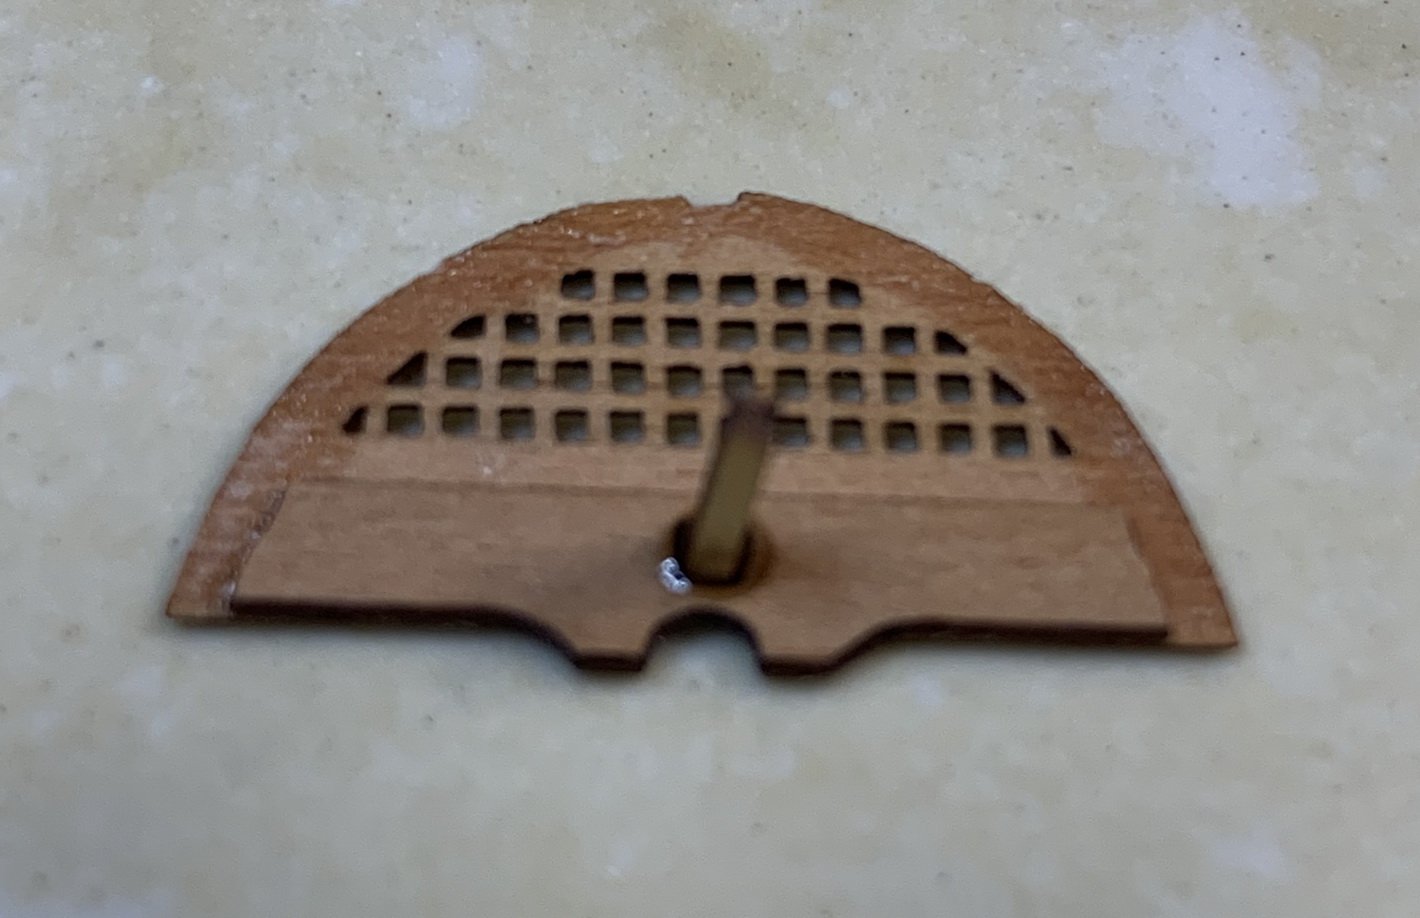
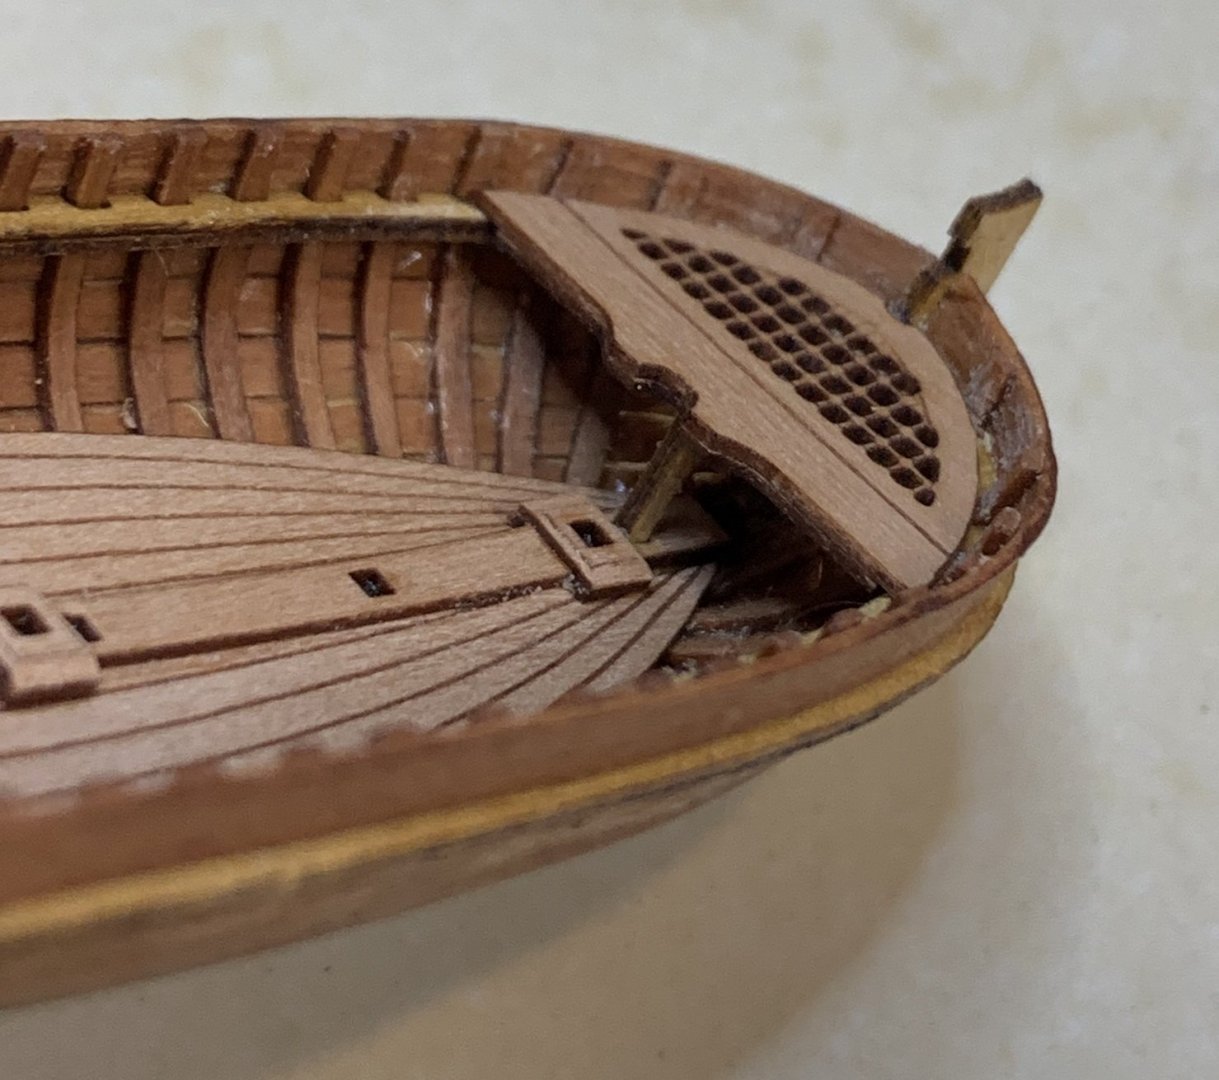
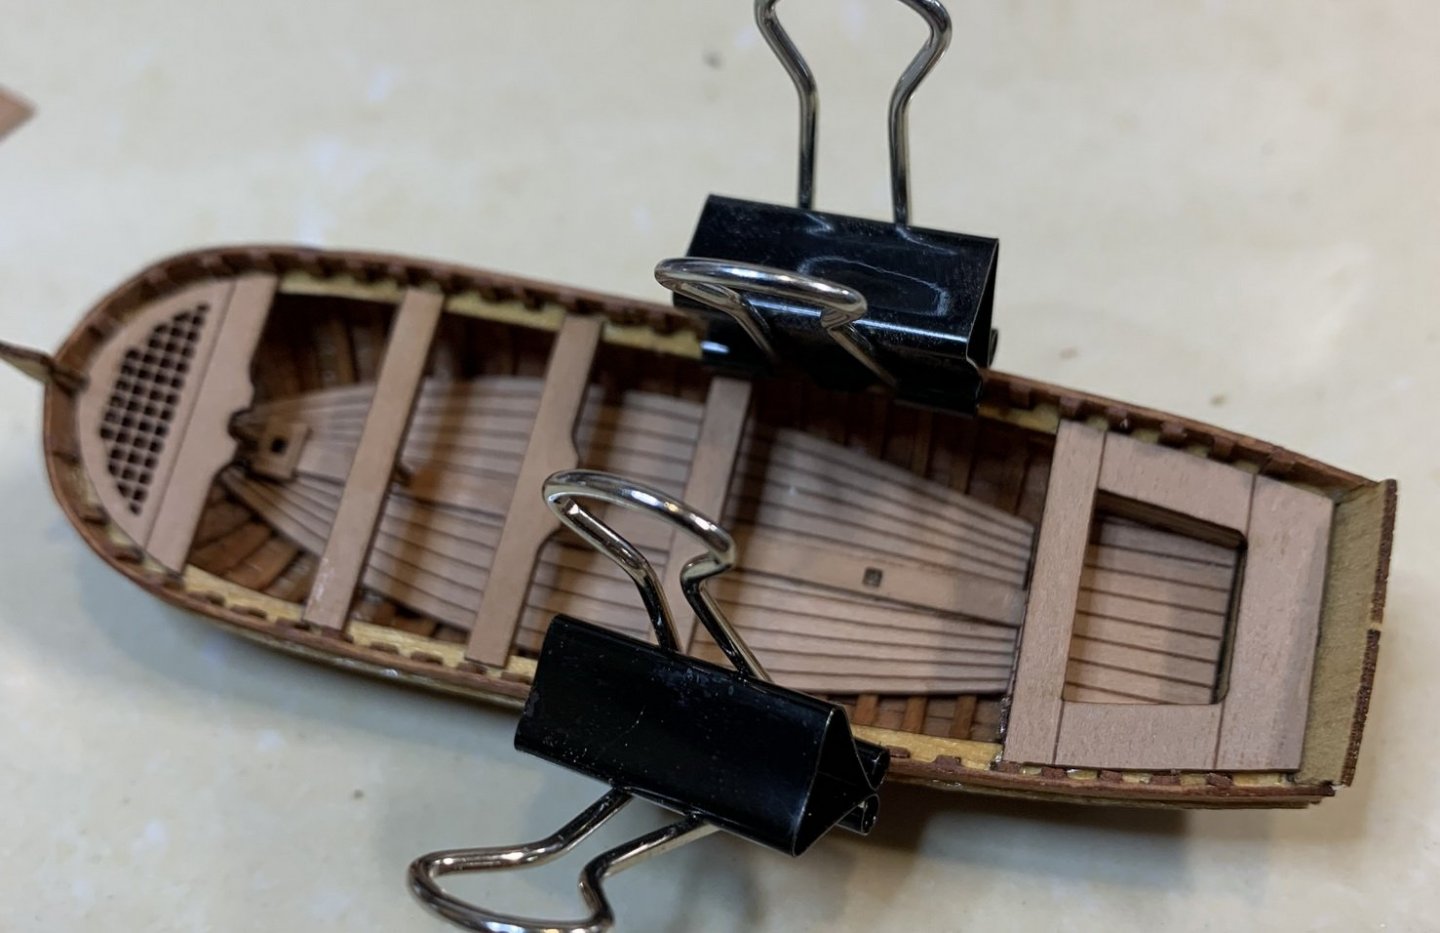
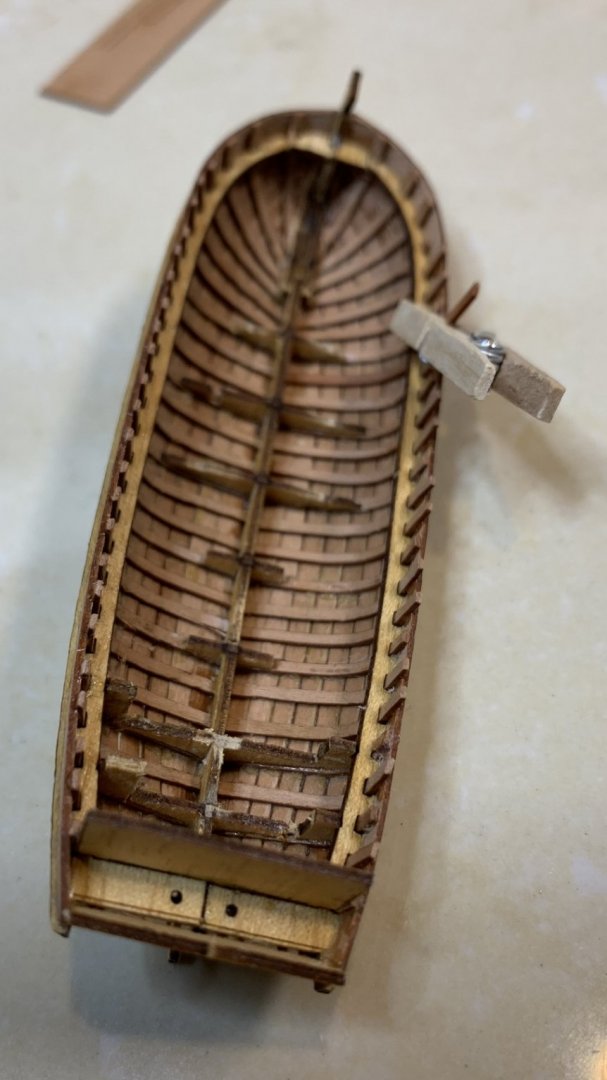
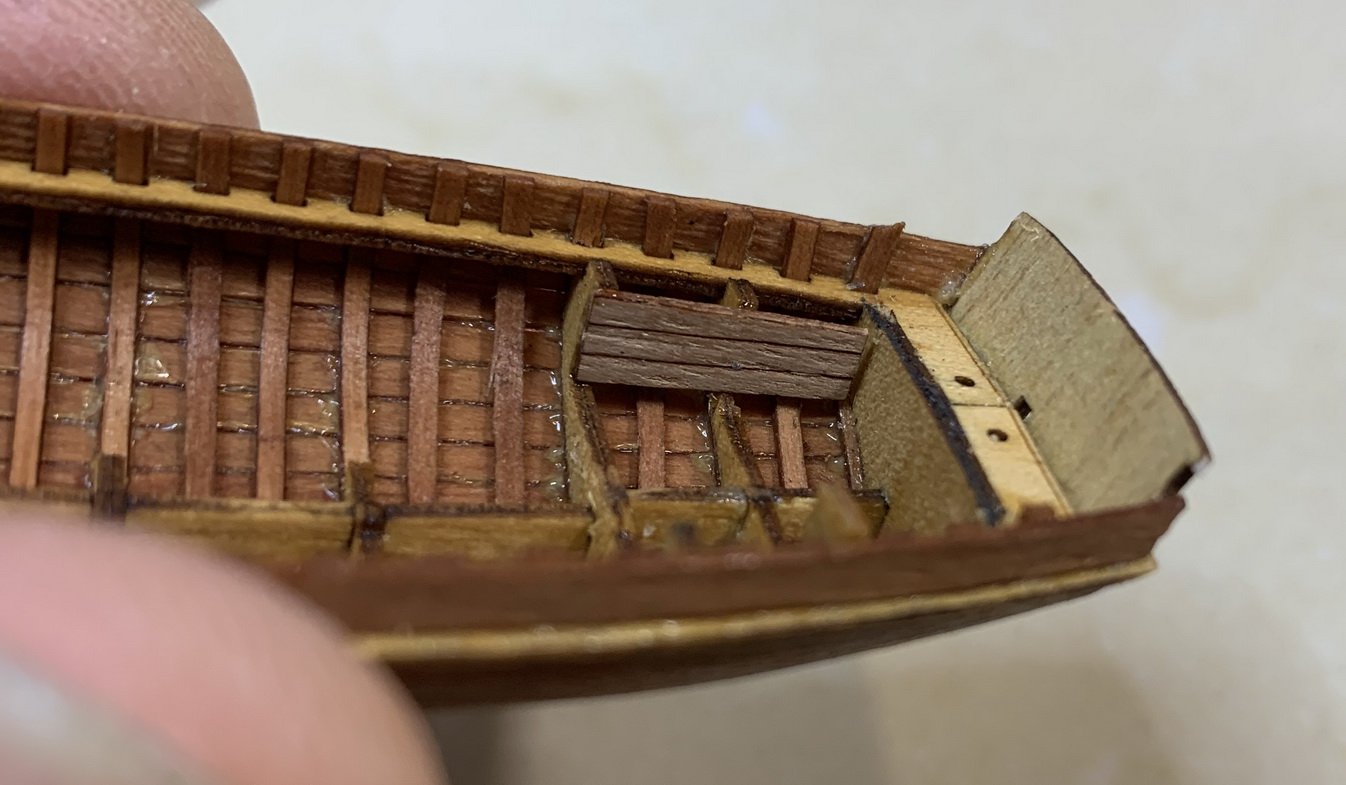
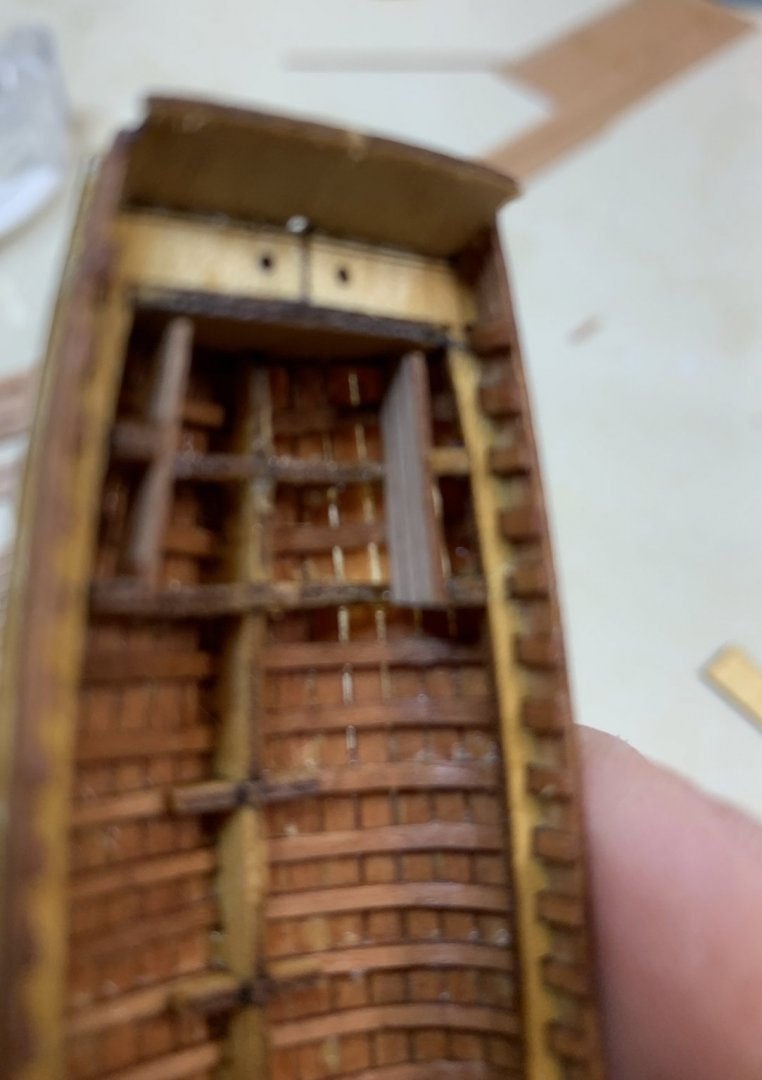
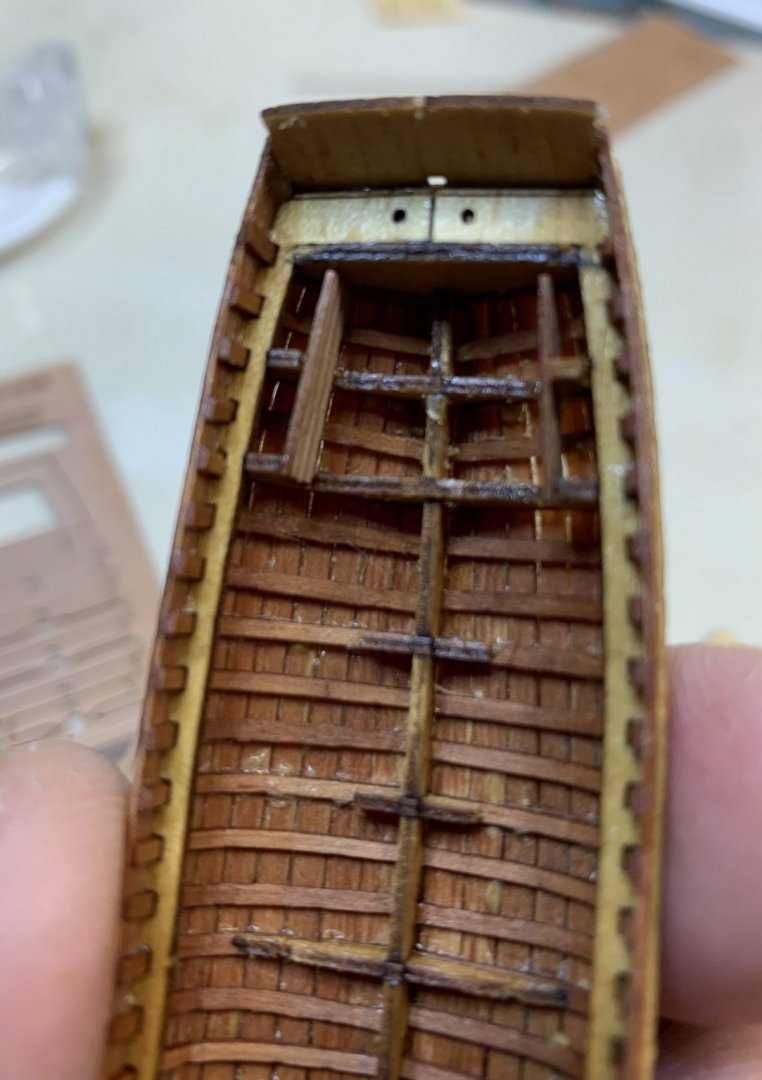
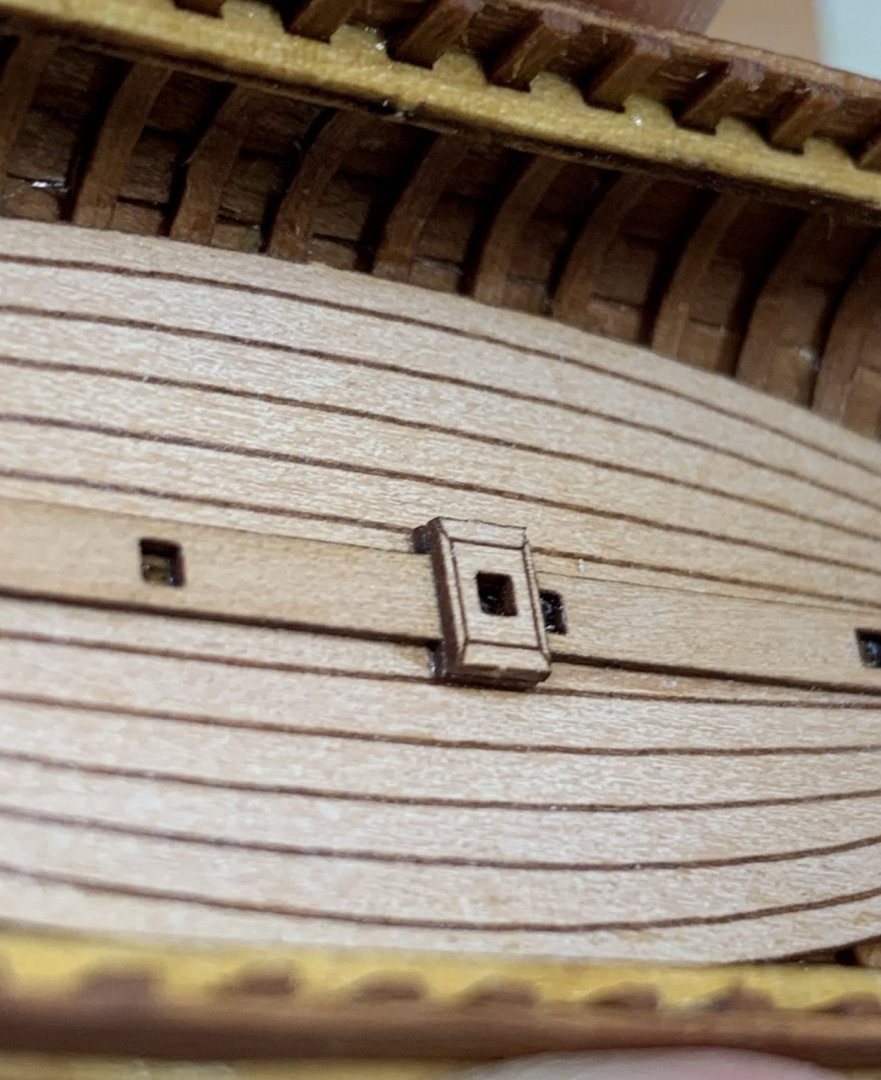
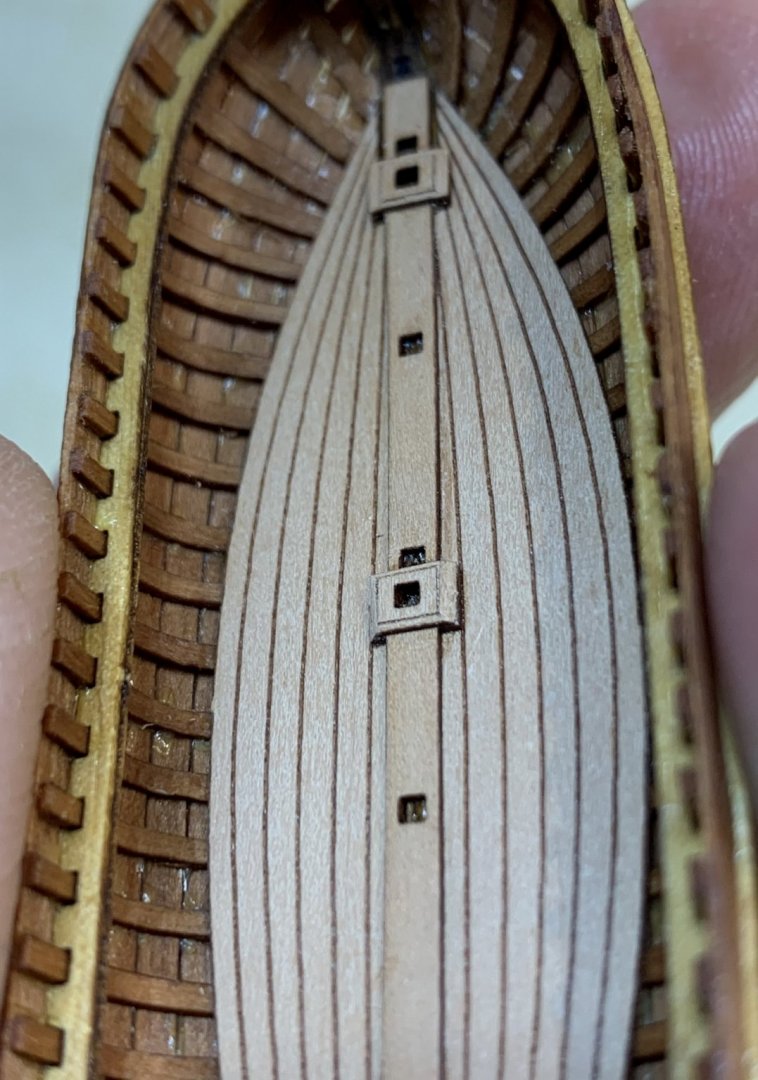
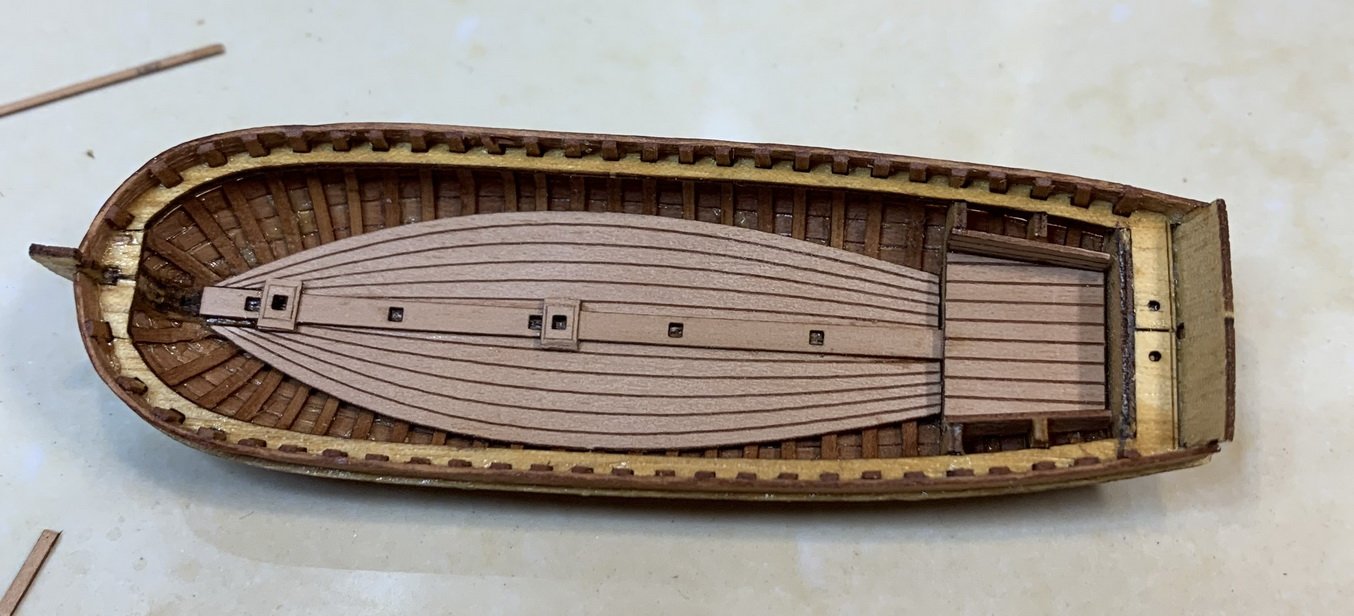
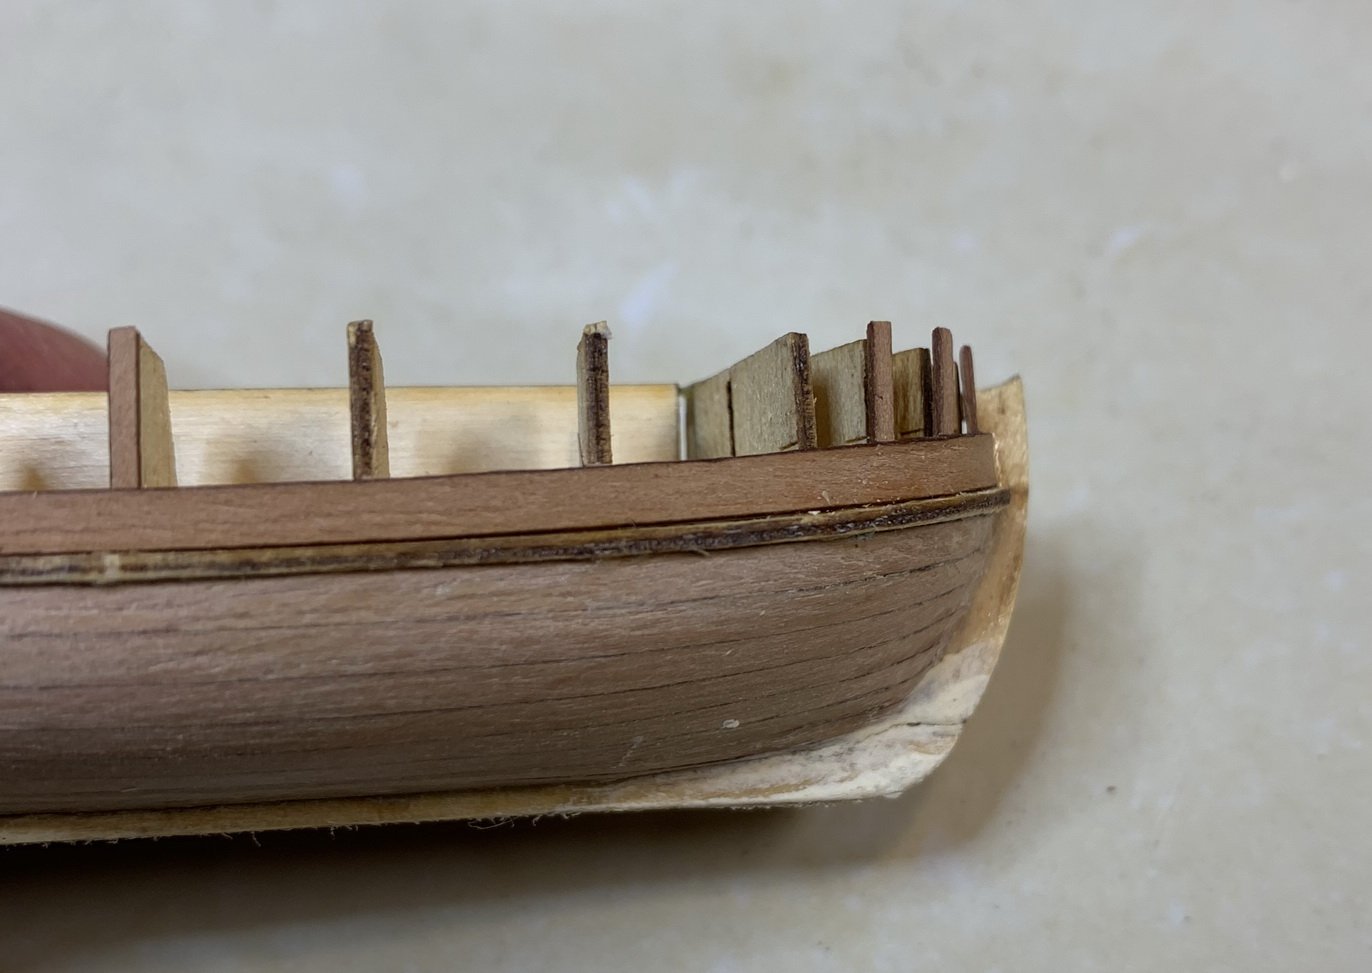
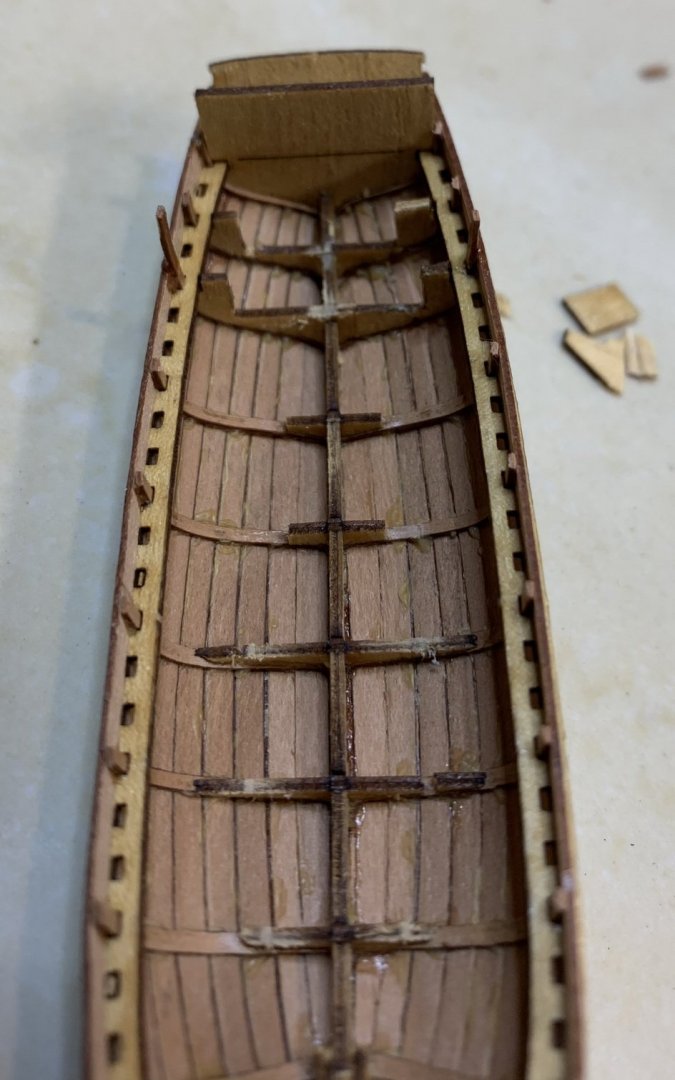
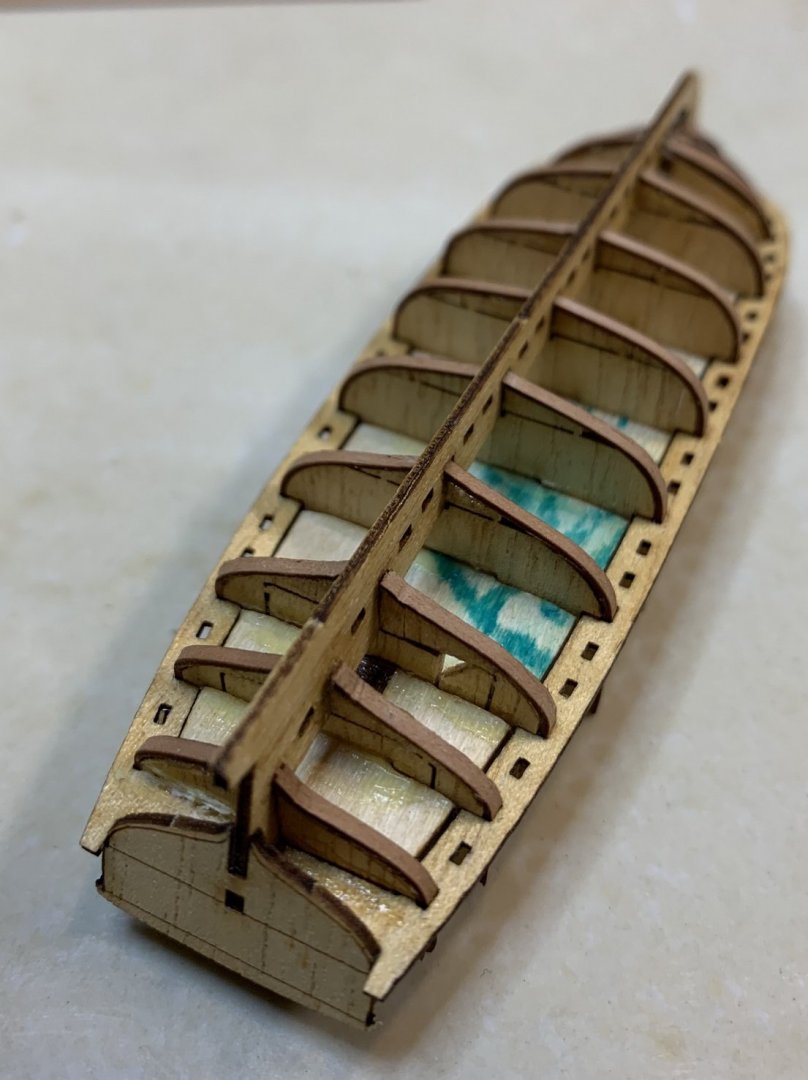
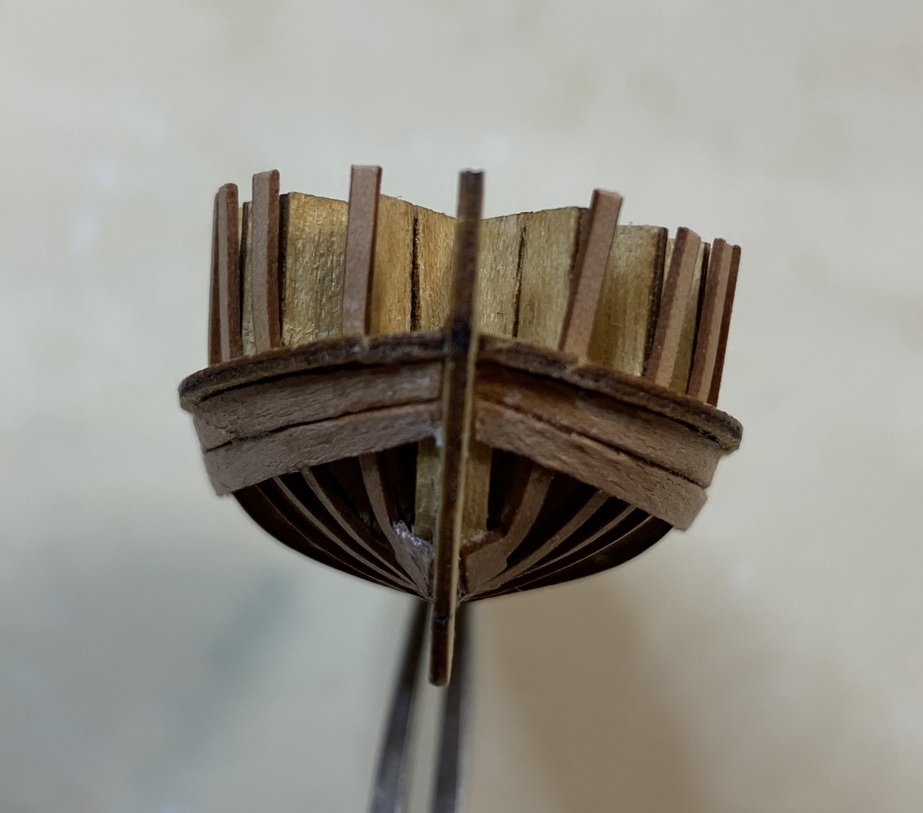
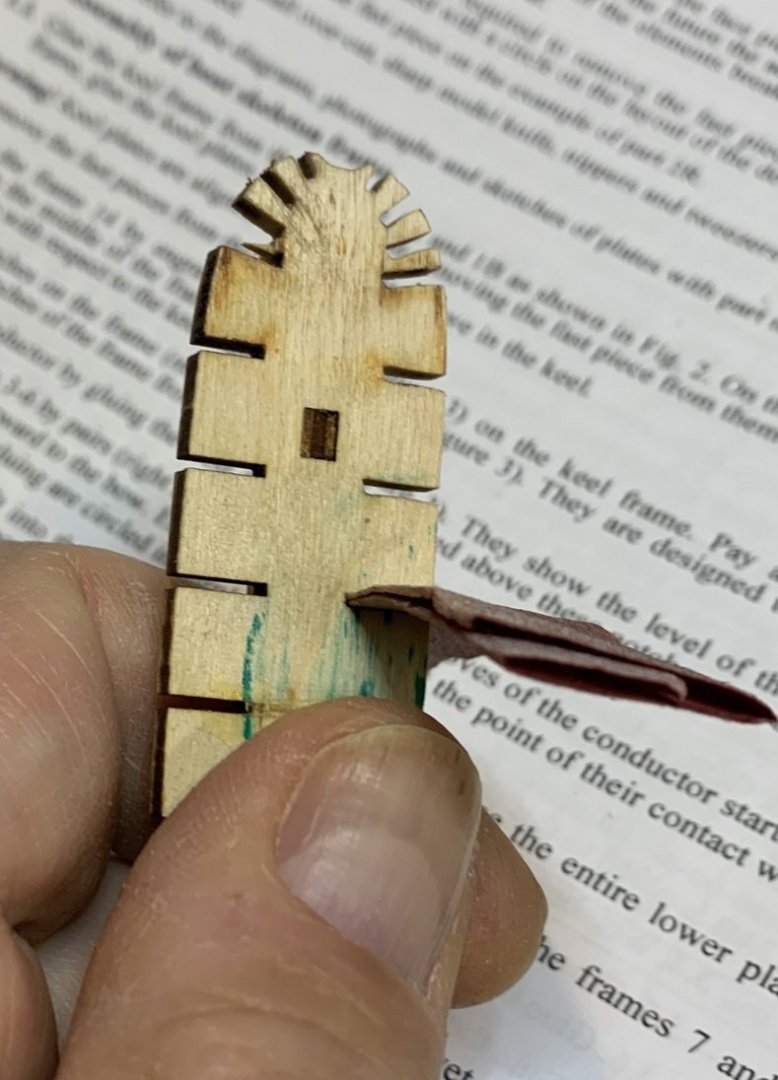
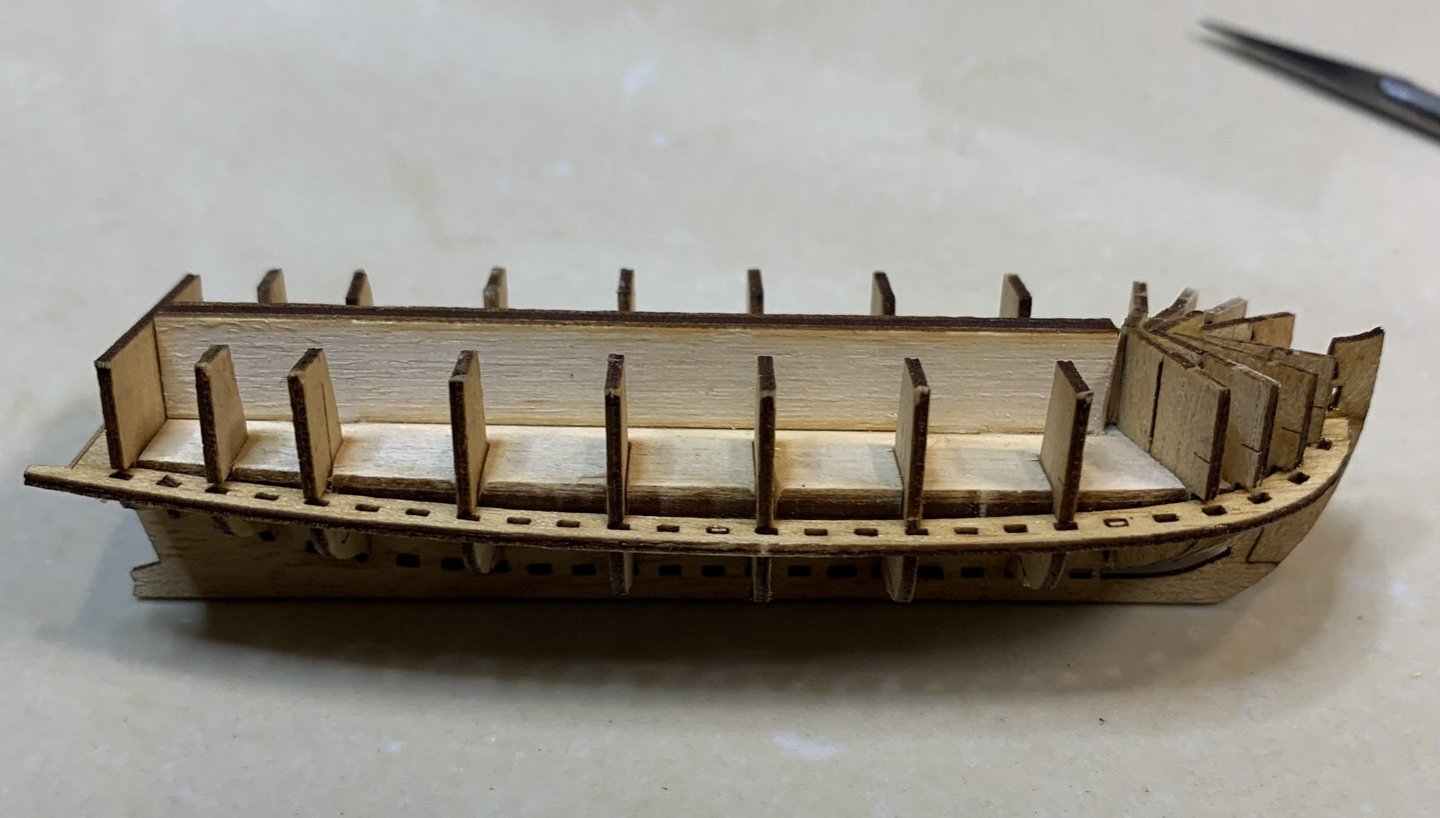
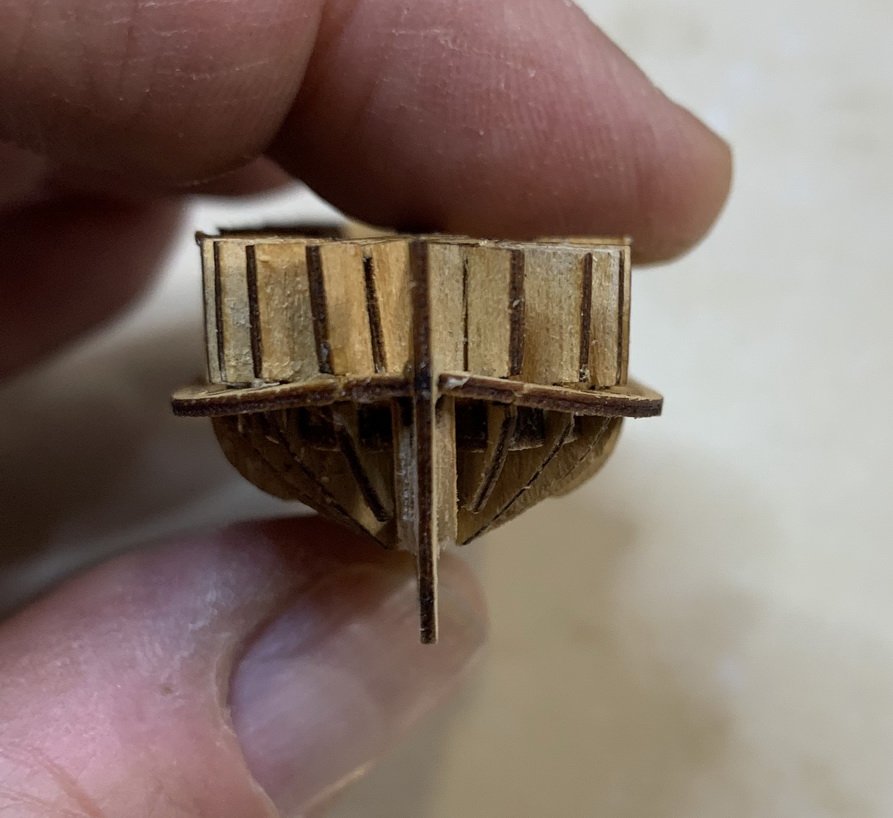
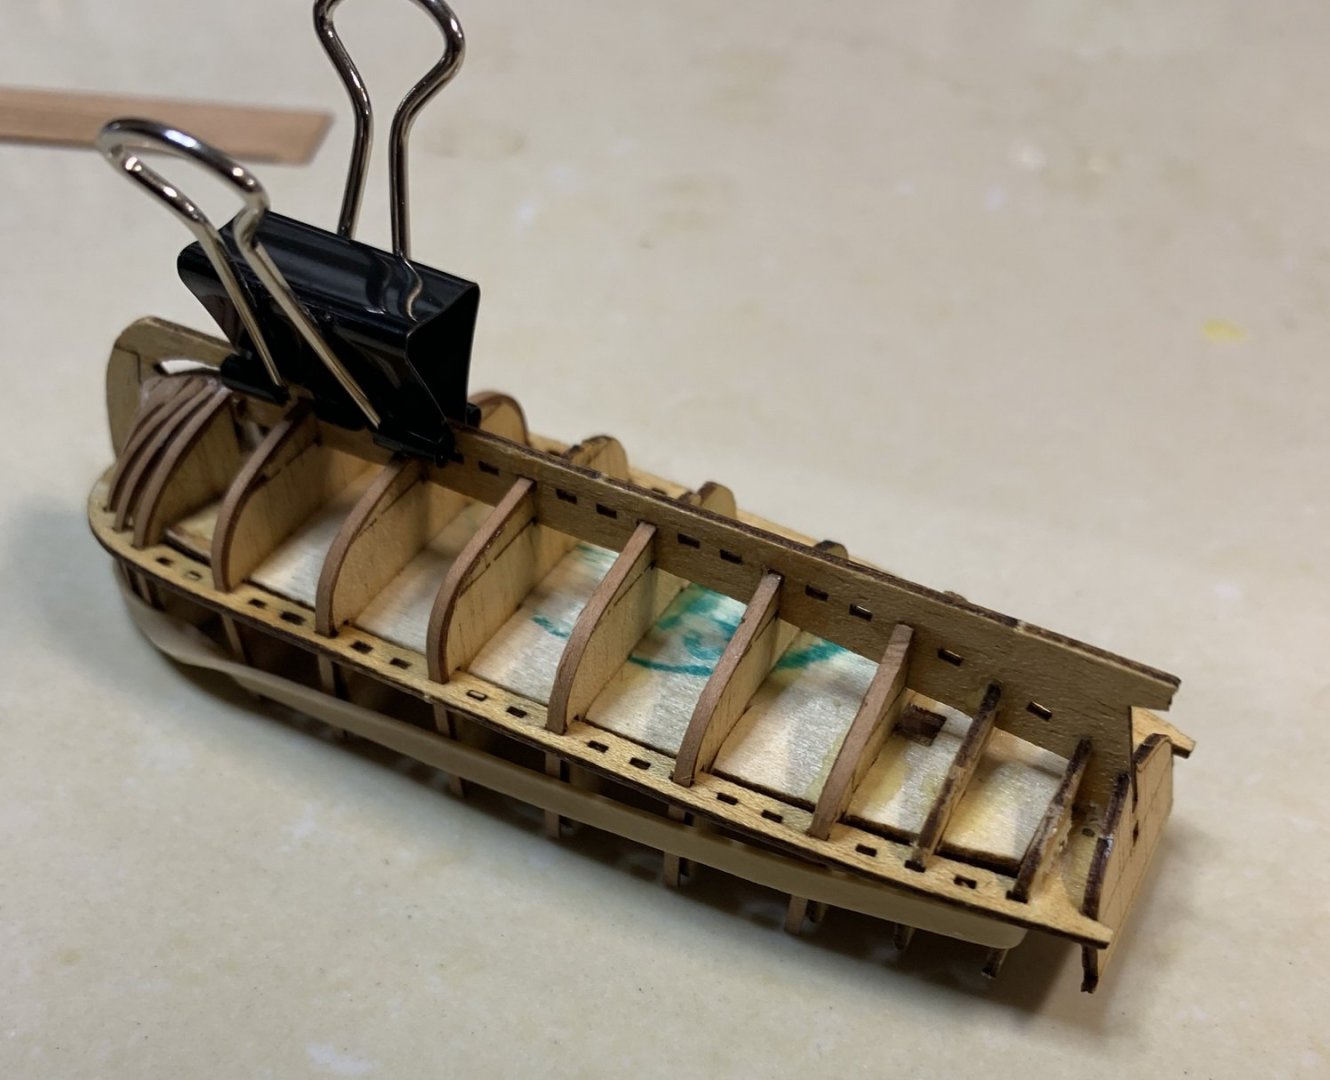
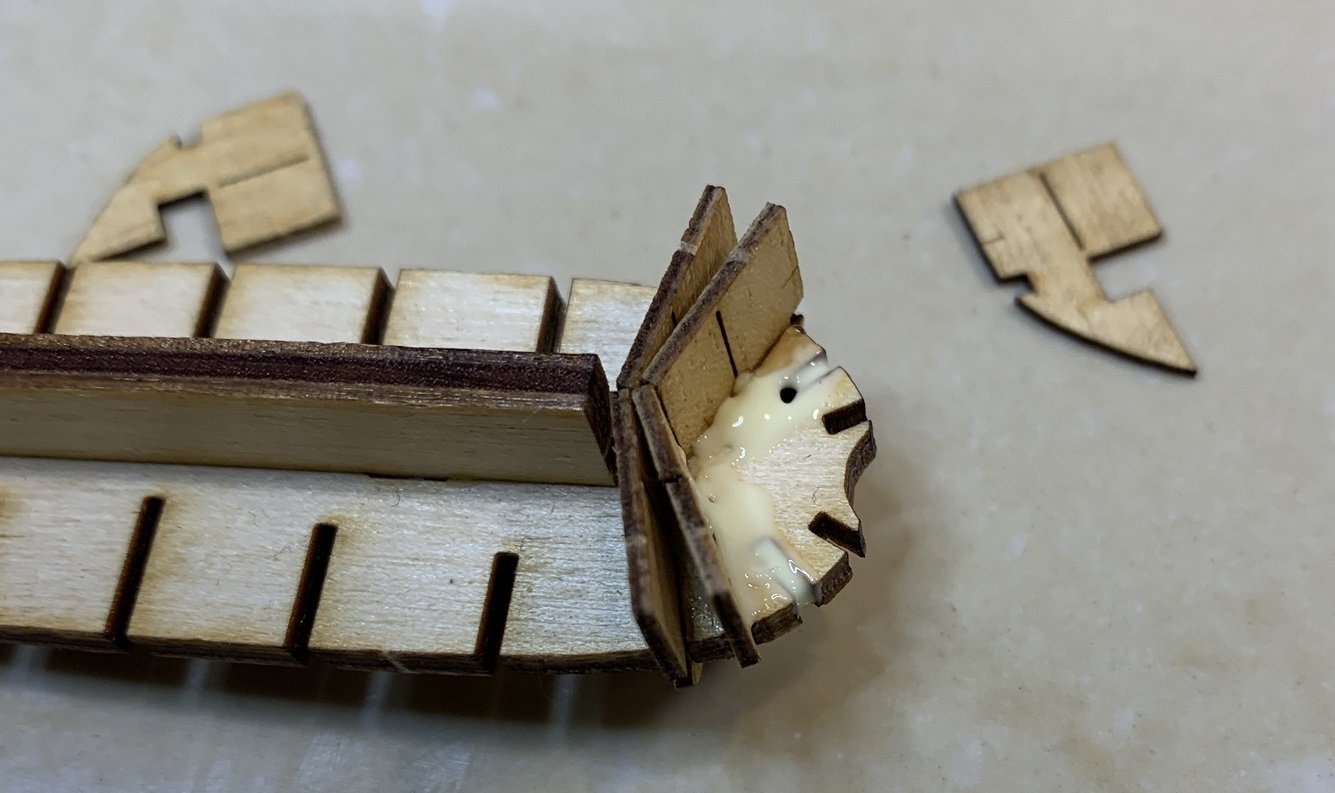
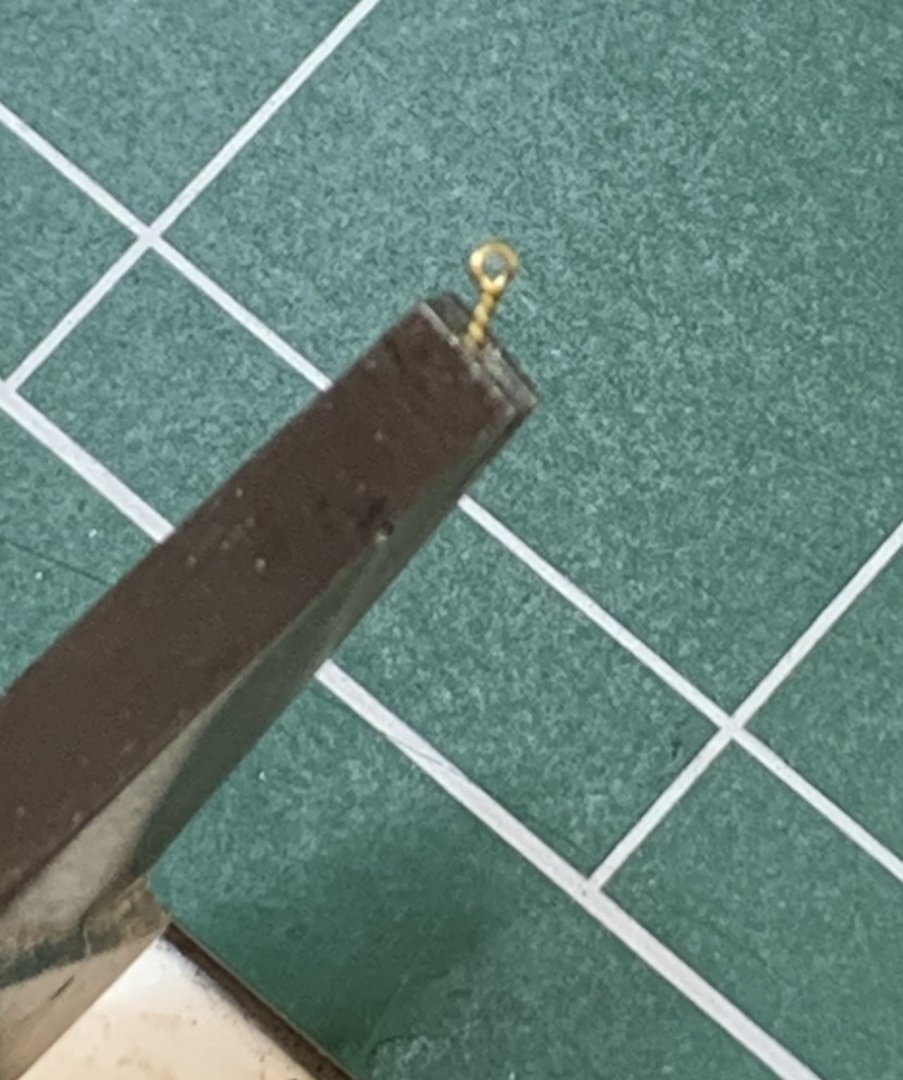
All ribs are installed... Excess height was trimmed A layer of danish oil was applied, even dough i might have wait till all internal boat structures were mounted.. One of the ribs broke during jig removal phase so i had to fix it. You will see it at the top of the picture and after some trimming this is final result. Appears to be fixed fine.. Continue with work... The keel has to be trimmed a bit to accommodate the last piece... Not sure how to call this middle square box, but there are two of them, both need to be trimmed under the angle. So i try one before glue it and second after it was glued. Well no preferences, both will work just fine. With all these virus issues, i am working from home which brings back to me two hrs daily spent on driving... so extra hours for hobby... Happy modeling.

- 275 replies
-
- 4
-
-
- phoenix
- master korabel
- (and 1 more)
-
Yes, they are and this one is not exception. But it is very fragile...
-
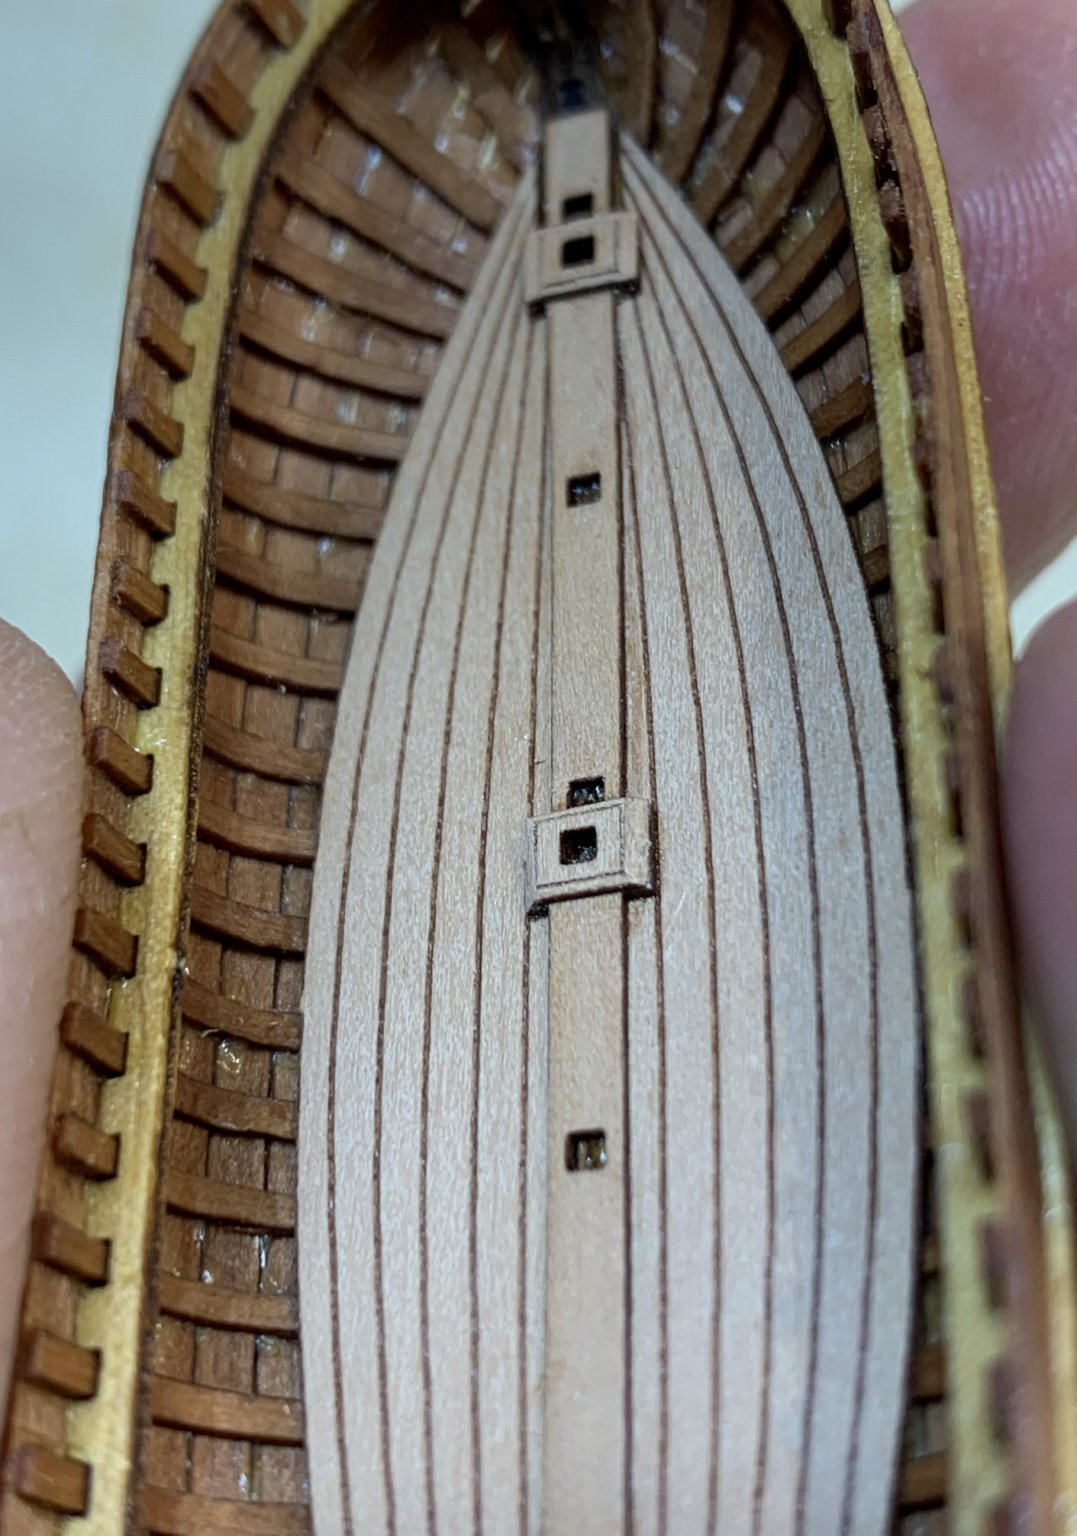
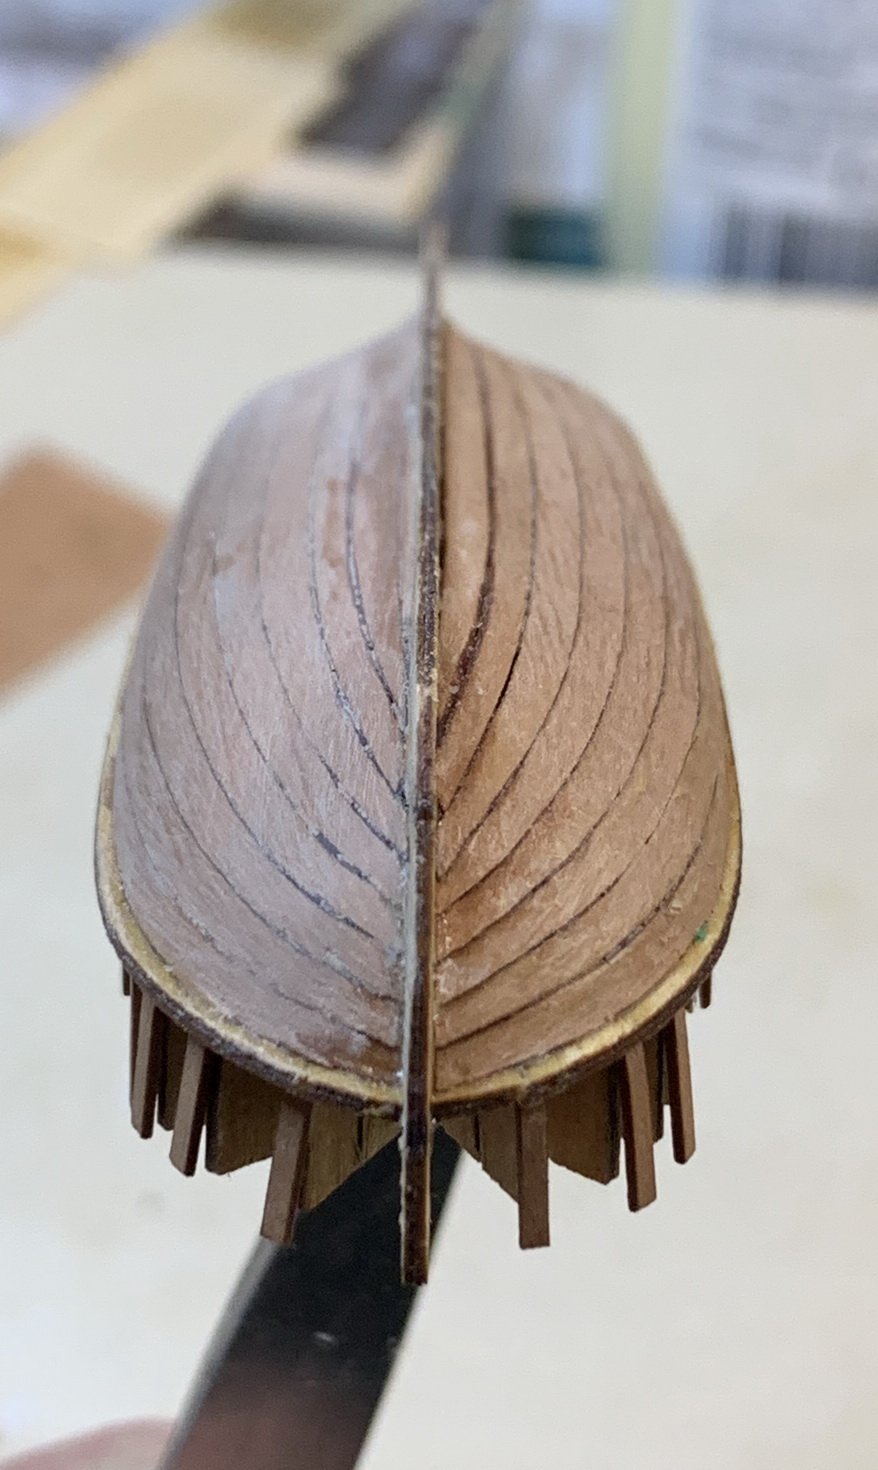
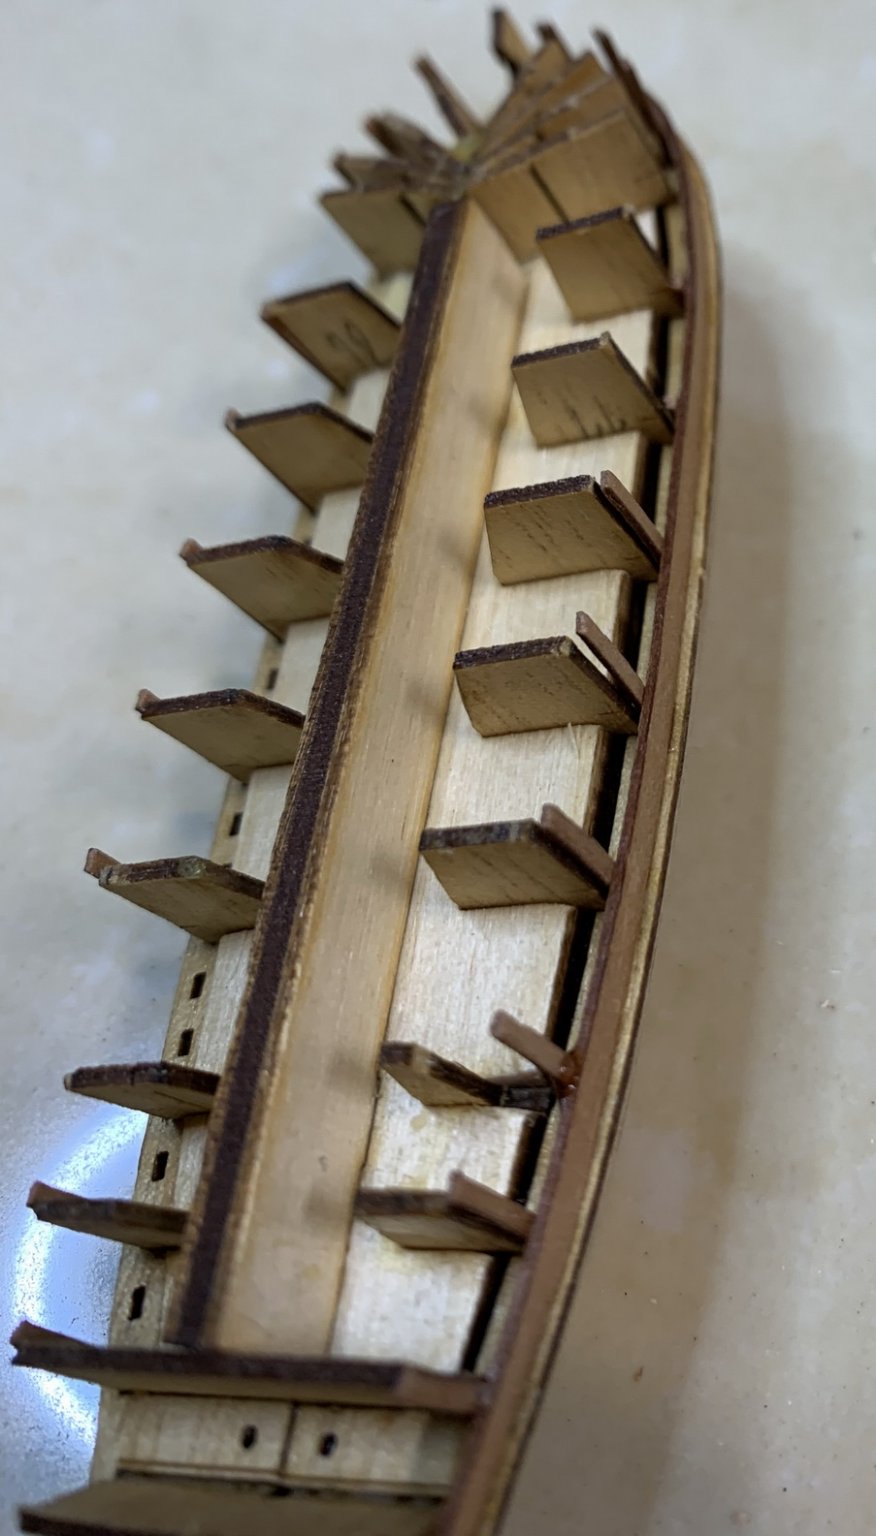
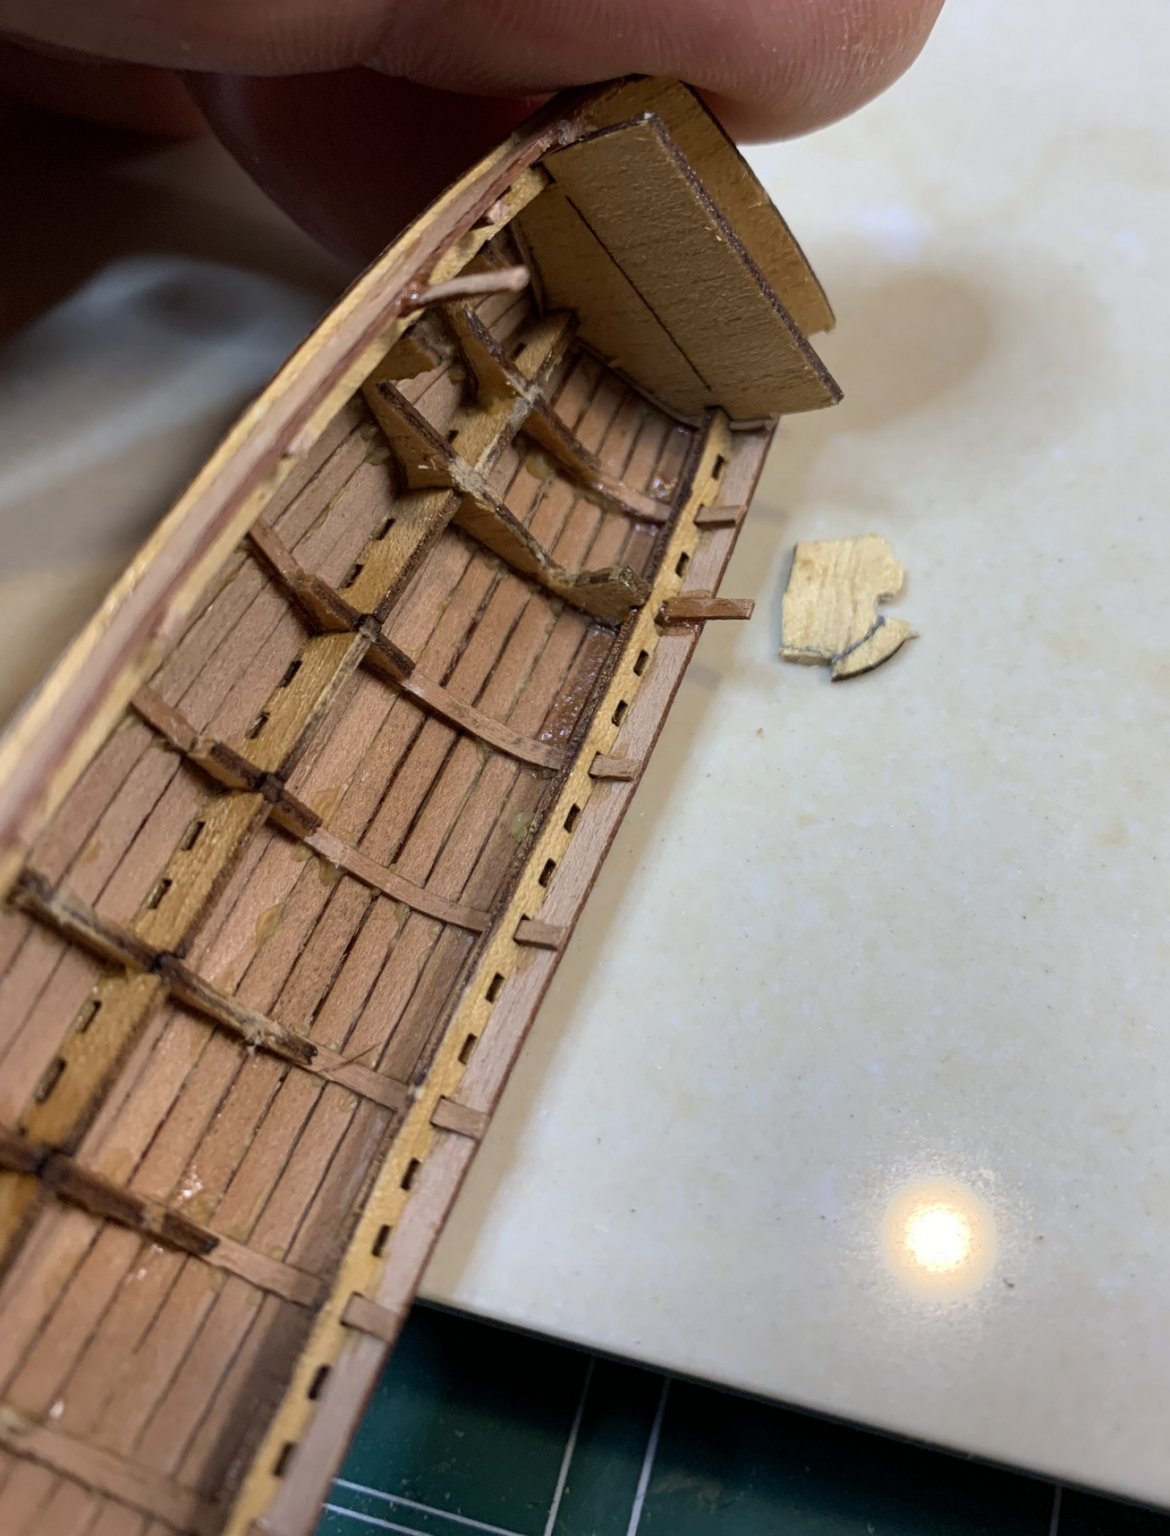
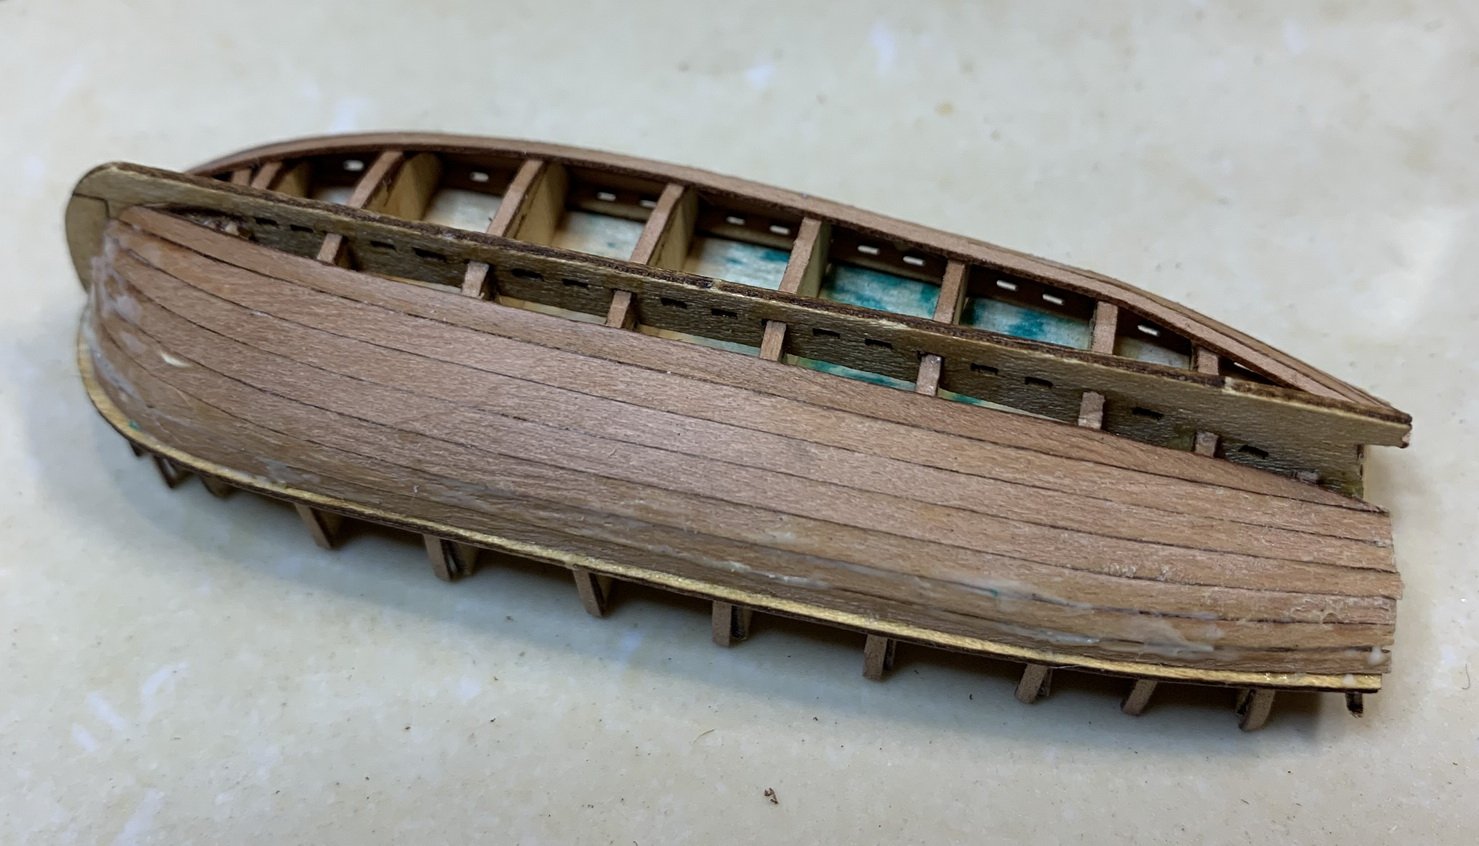
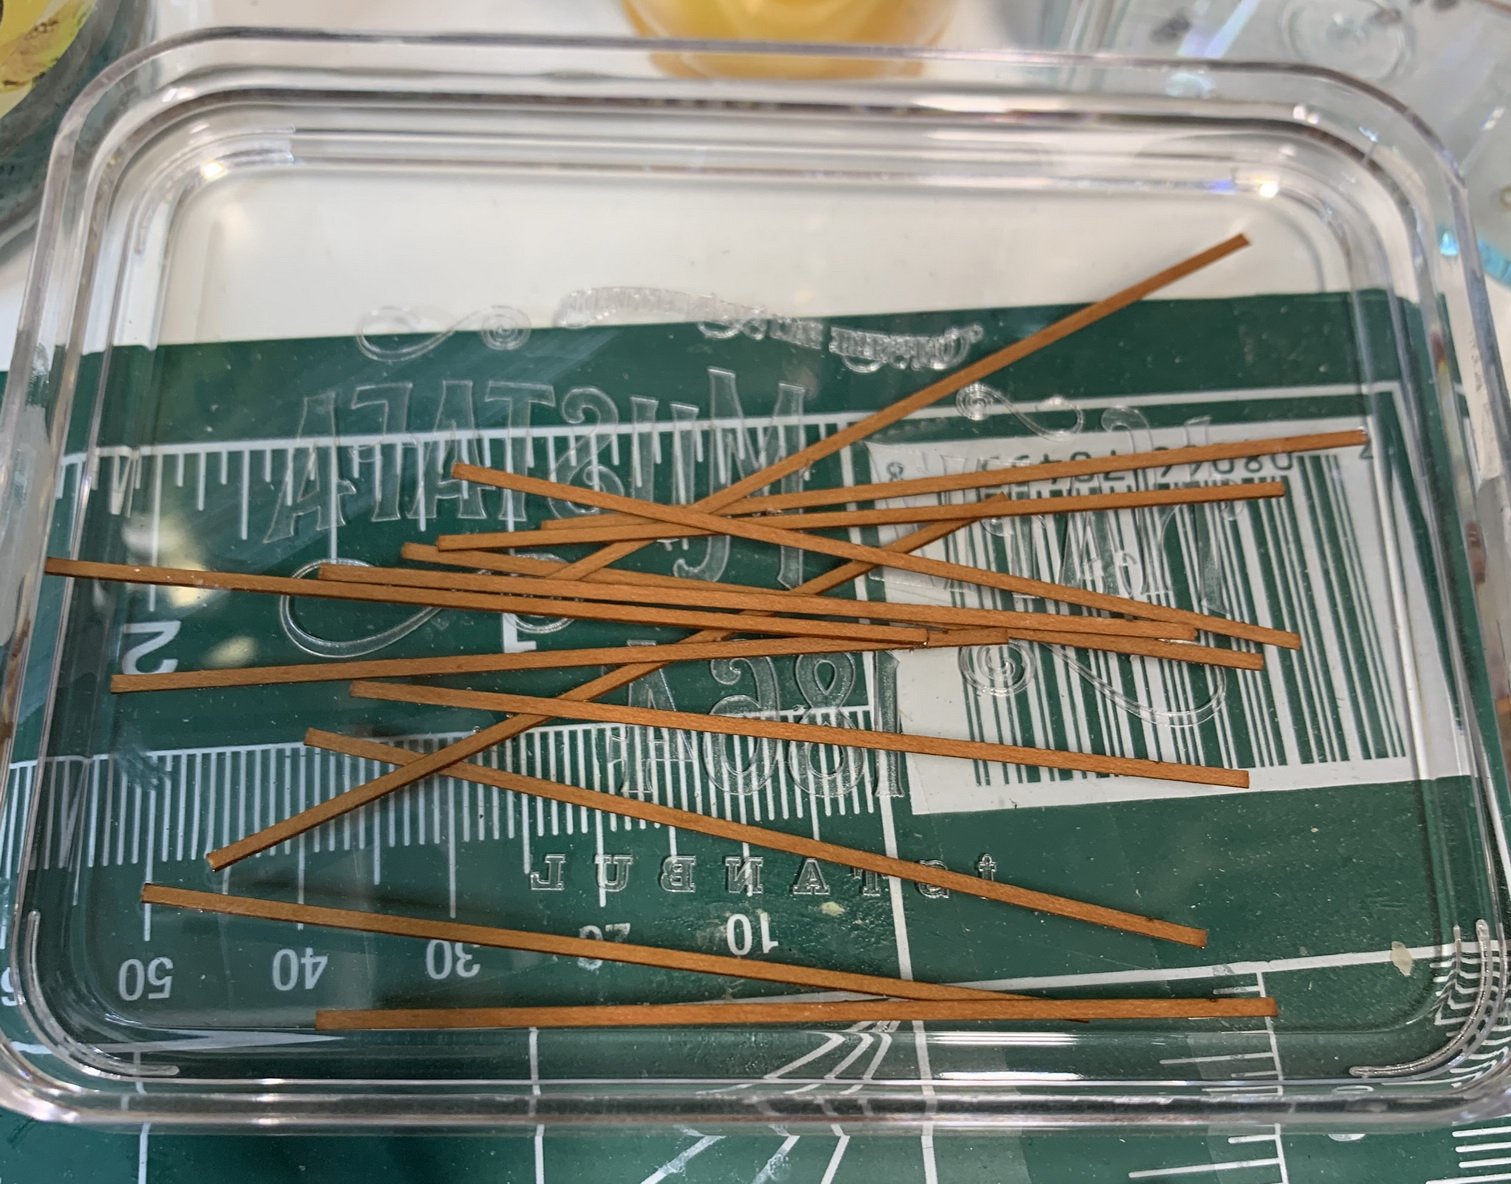
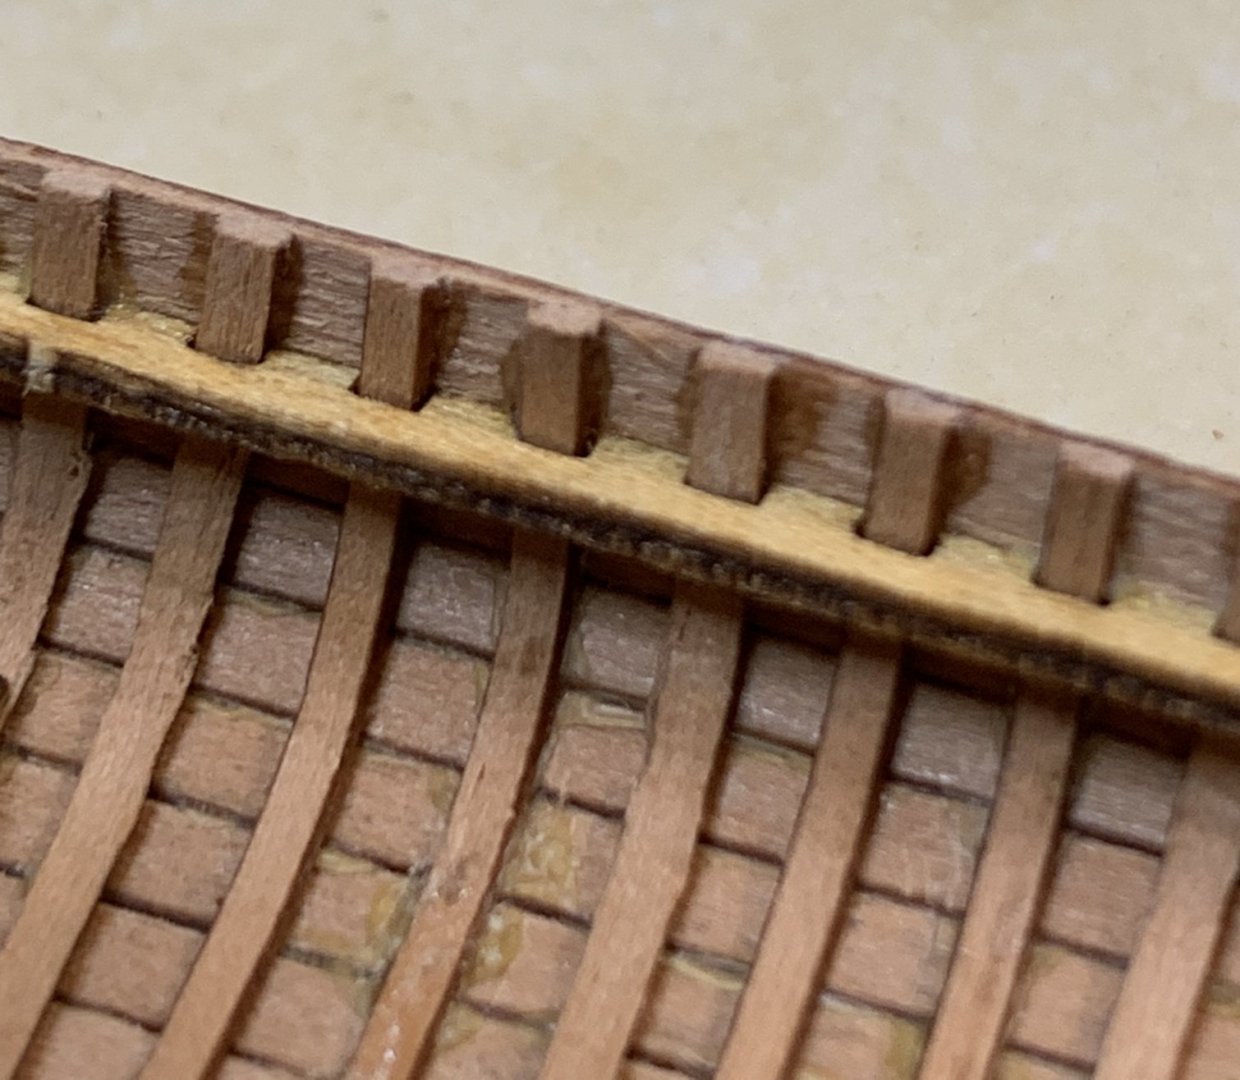
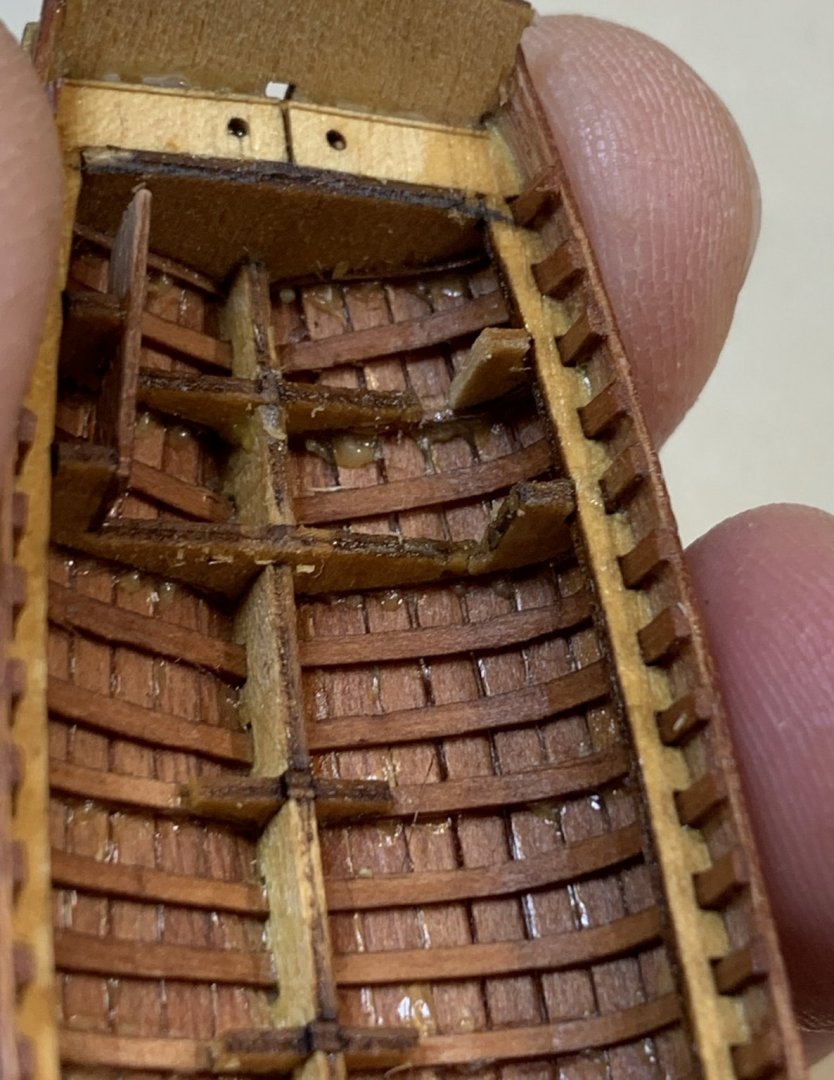
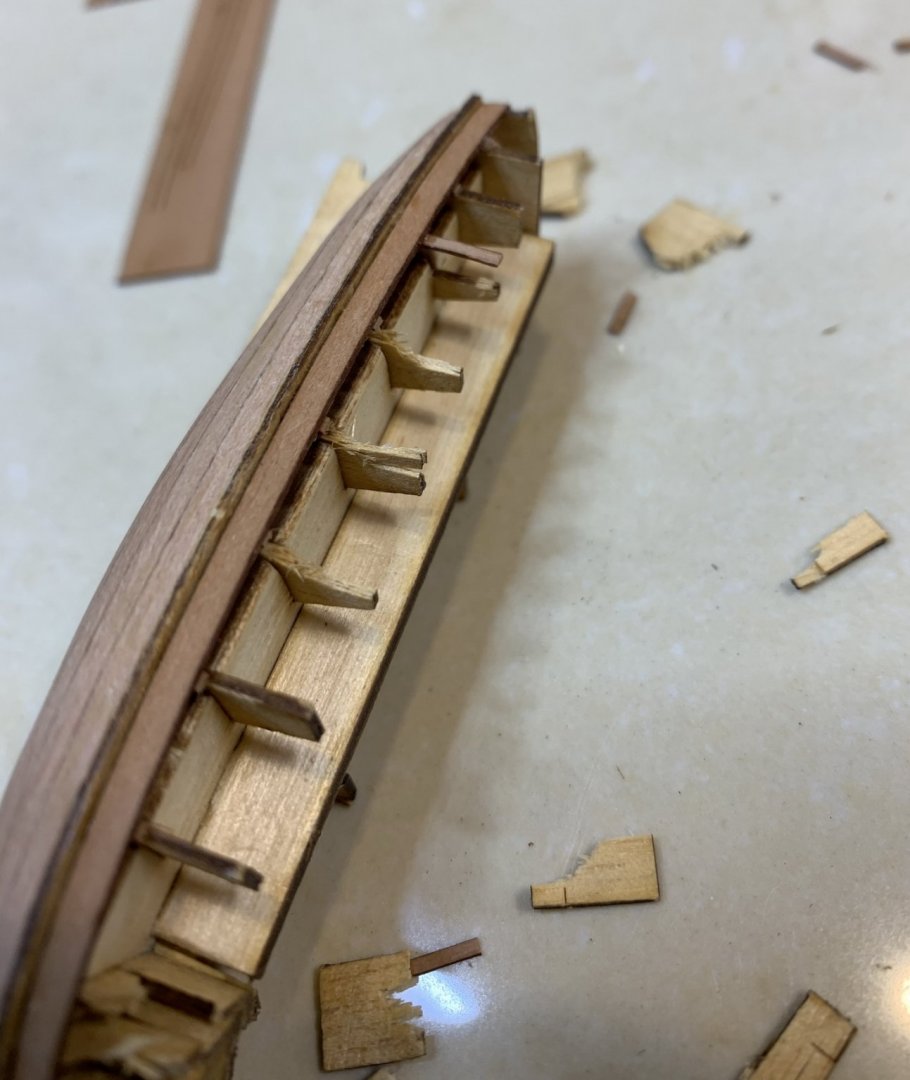
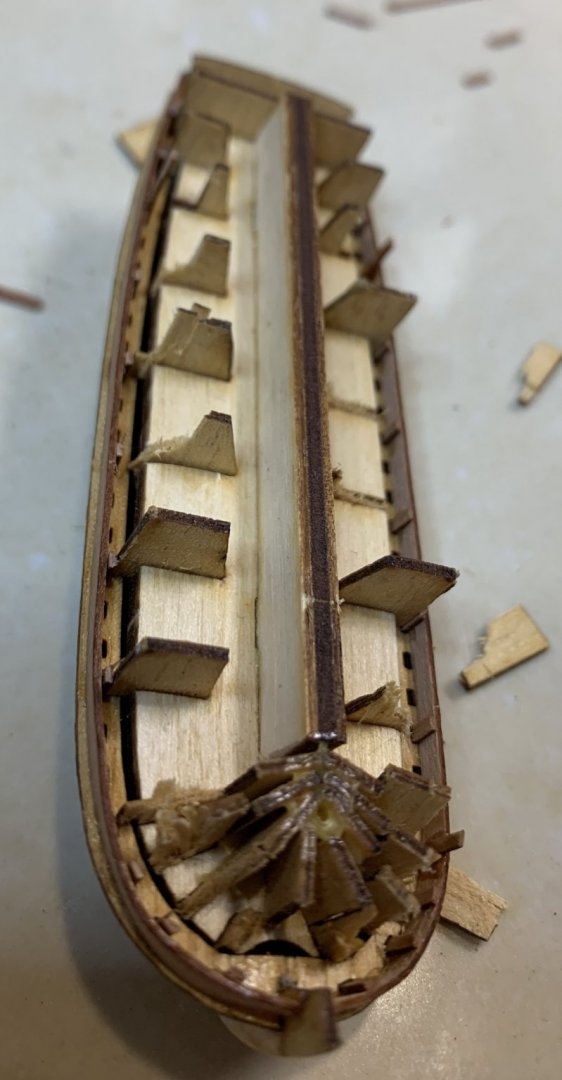
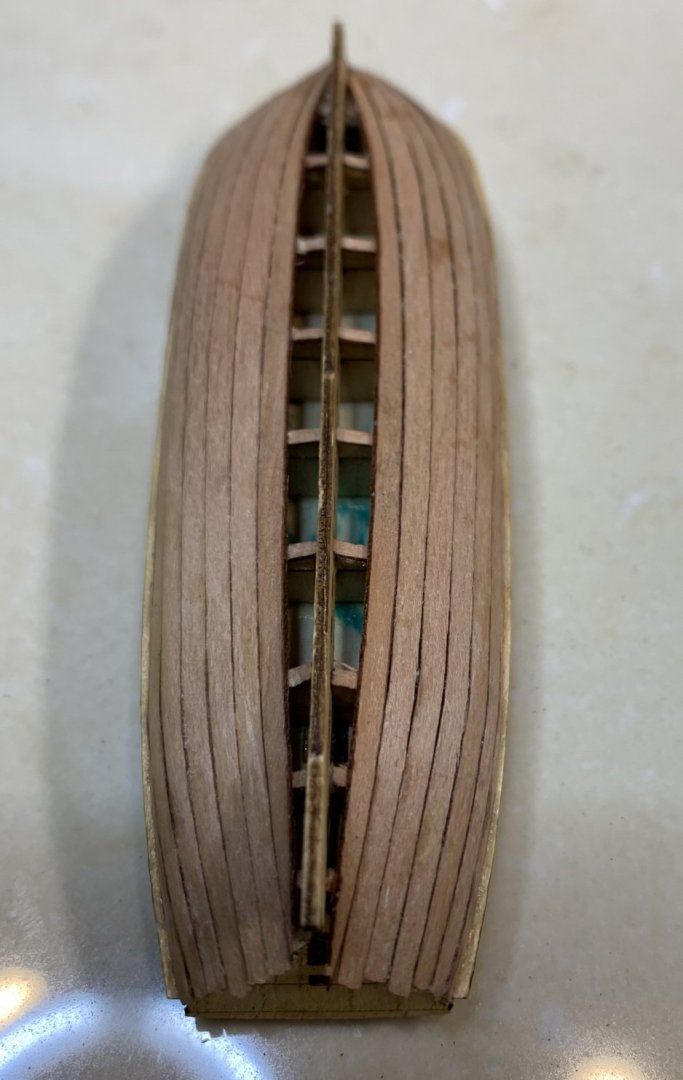
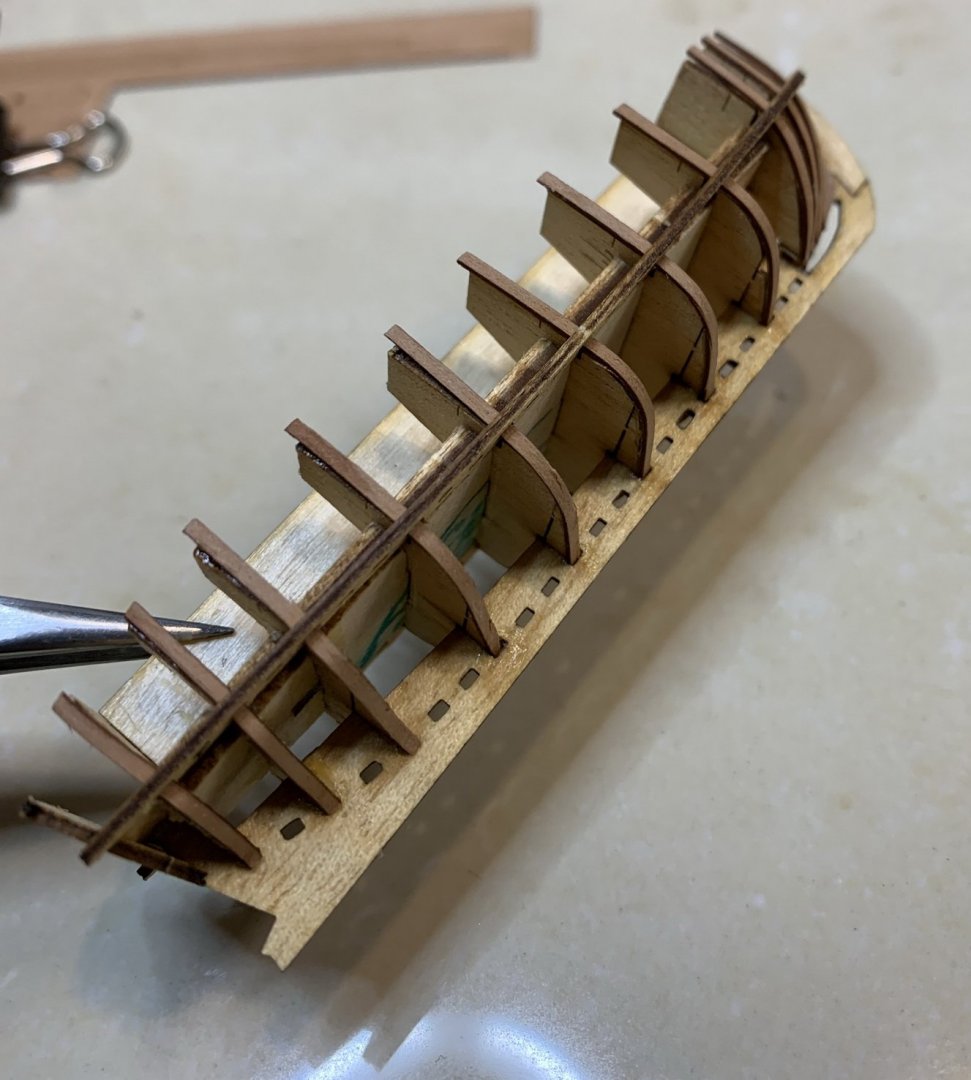
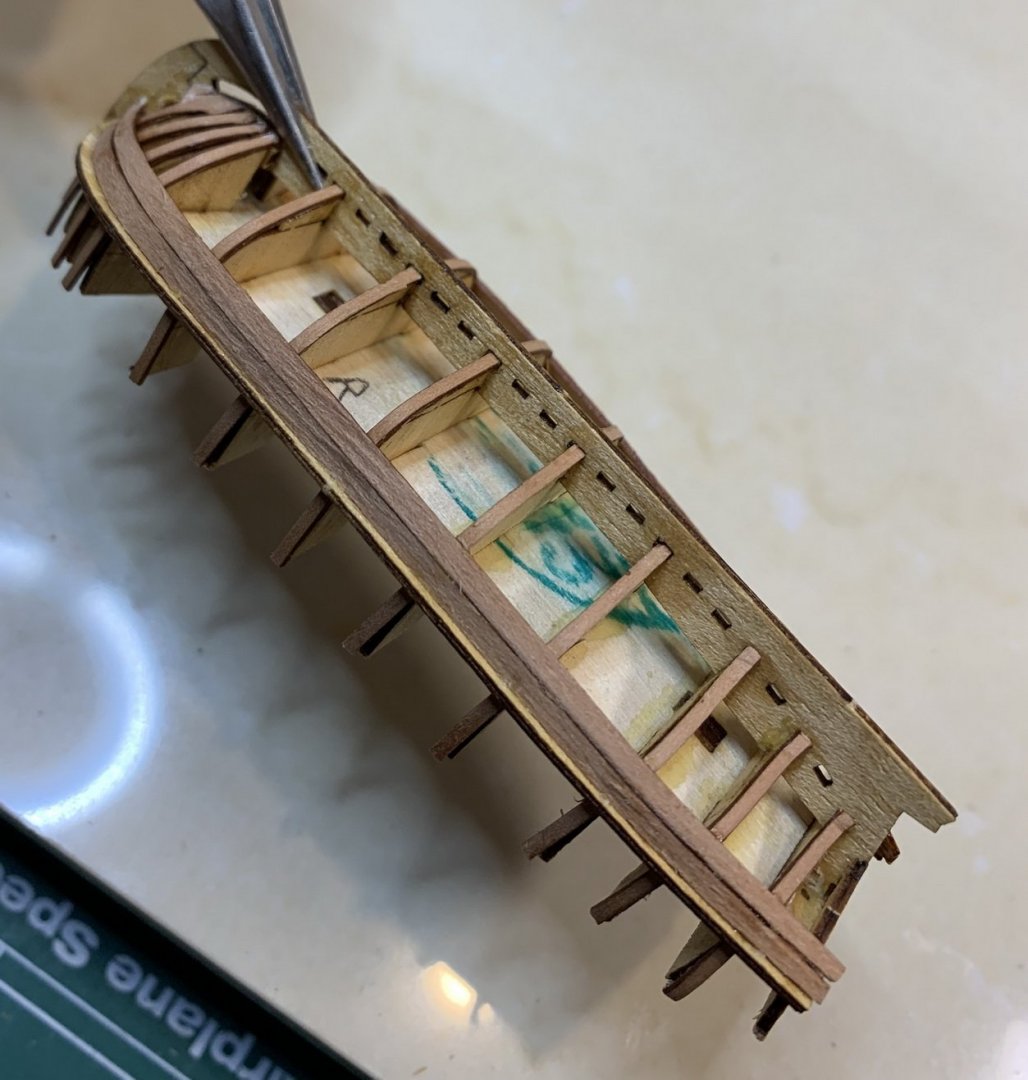
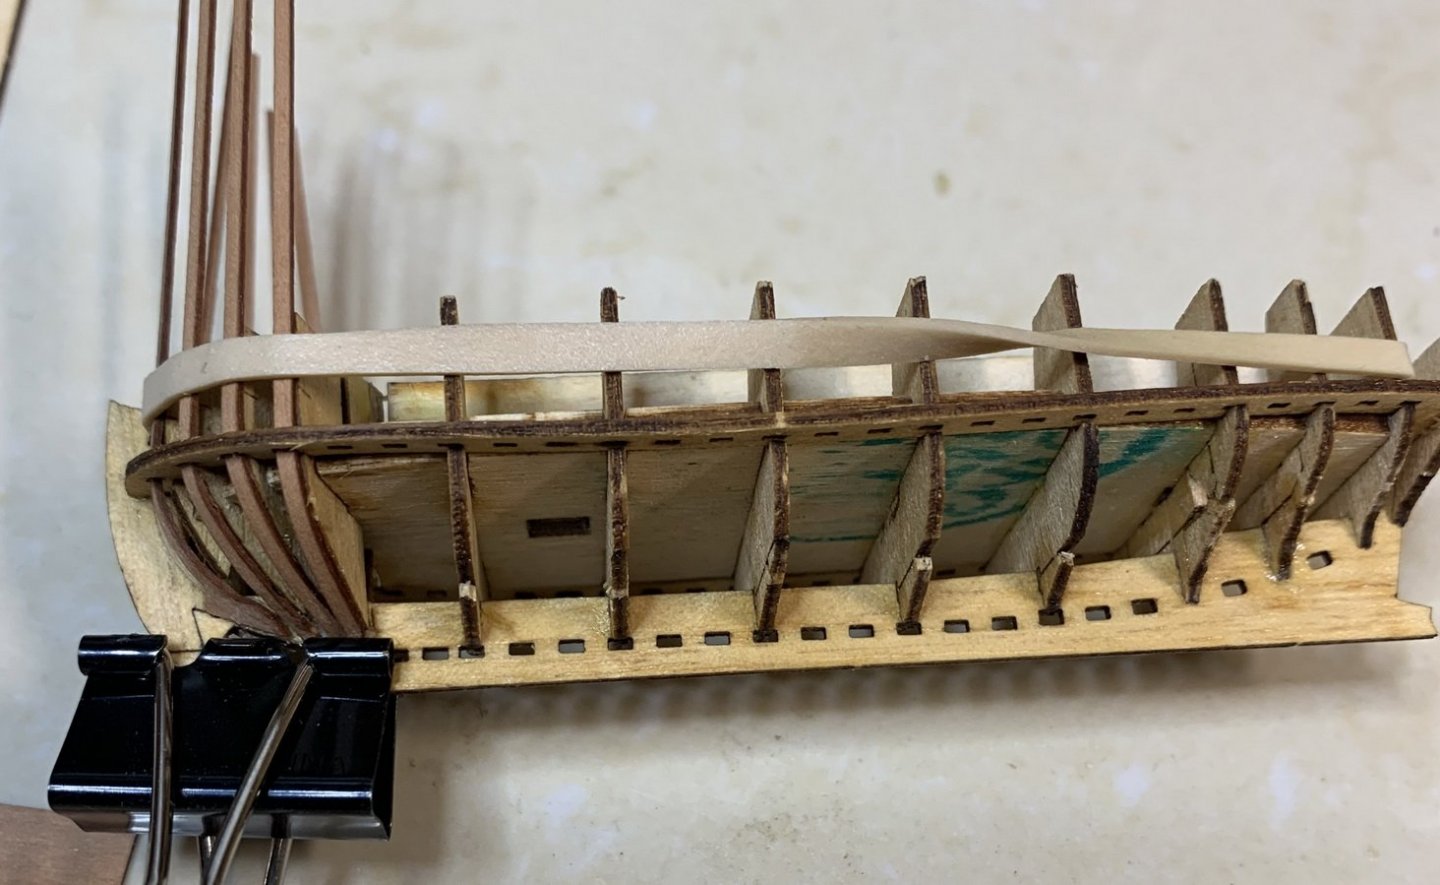
Planking has been completed... ... some scrapping and sanding done to smooth the planks. Some of those ribs have been broken during the sanding process.. Now it is time to remove the jig from the boat... carefully breaking it.. And done, the jig was removed.. During the breaking process, one of the ribs, the last one broke. Even doung it will not be visible, need a fix. Out of the some cut piece, i made a replacement. Bit of sanding, filing, testing, fitting.... and all is good again.. Rest of the ribs were installed. First a short water bath, gentle twist and installation in the spot. There are some glue left particles that will be visible so i need to remove them once all ribs are in place. Happy modeling.


- 275 replies
-
- 3
-
-
- phoenix
- master korabel
- (and 1 more)
-
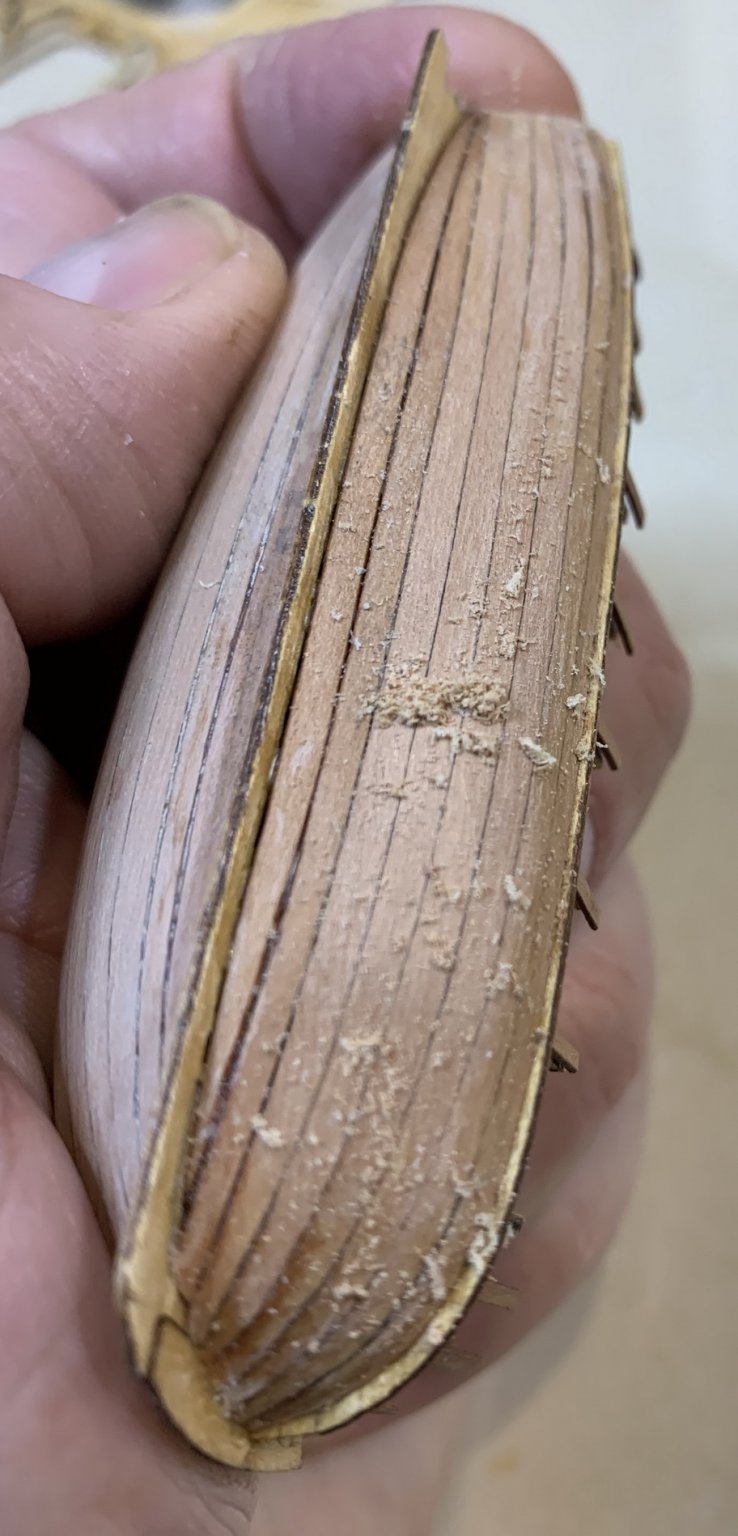
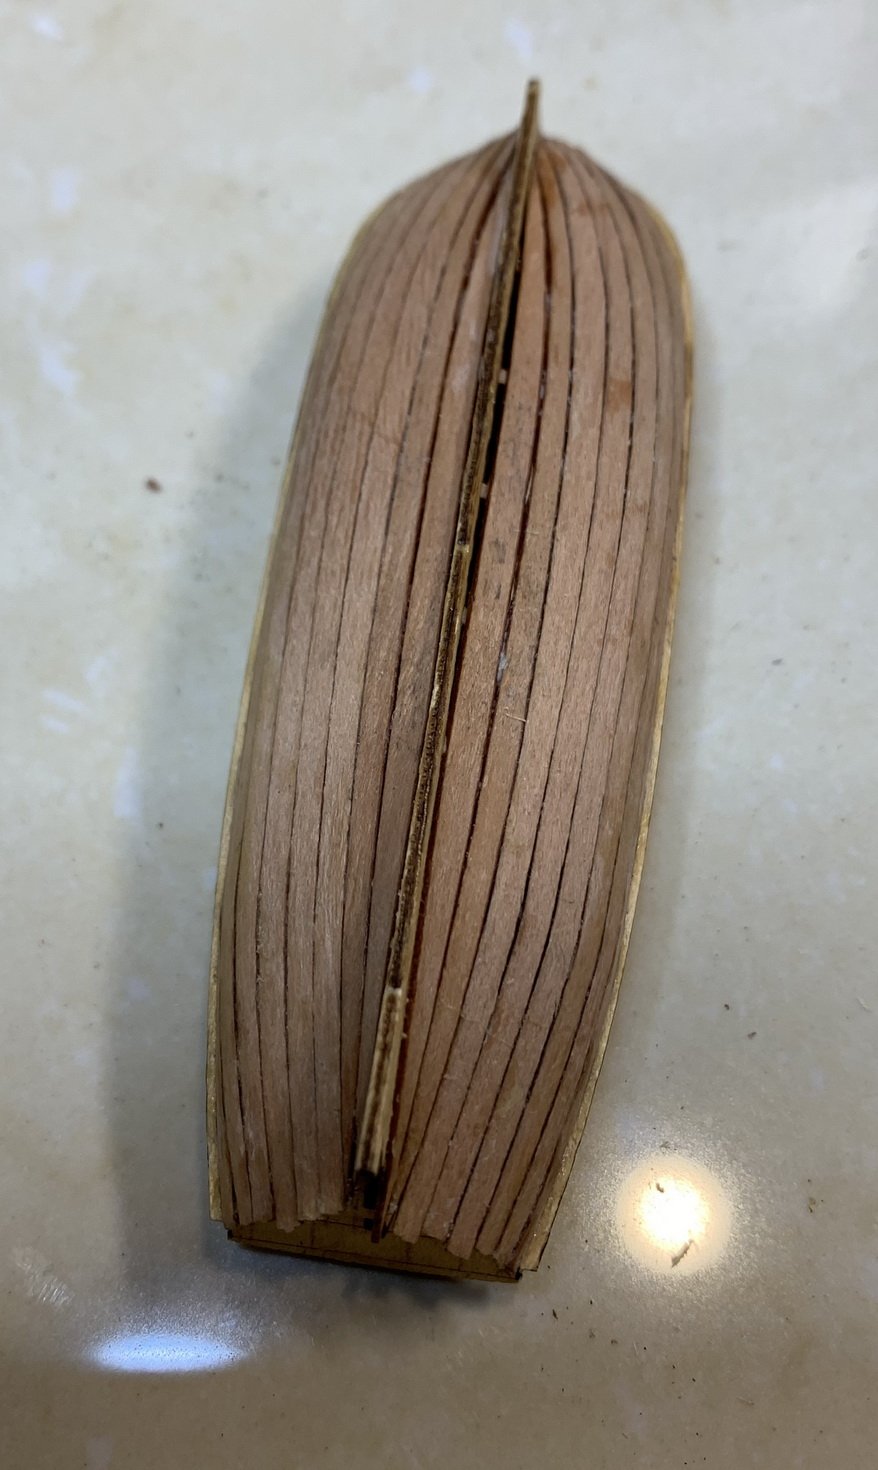
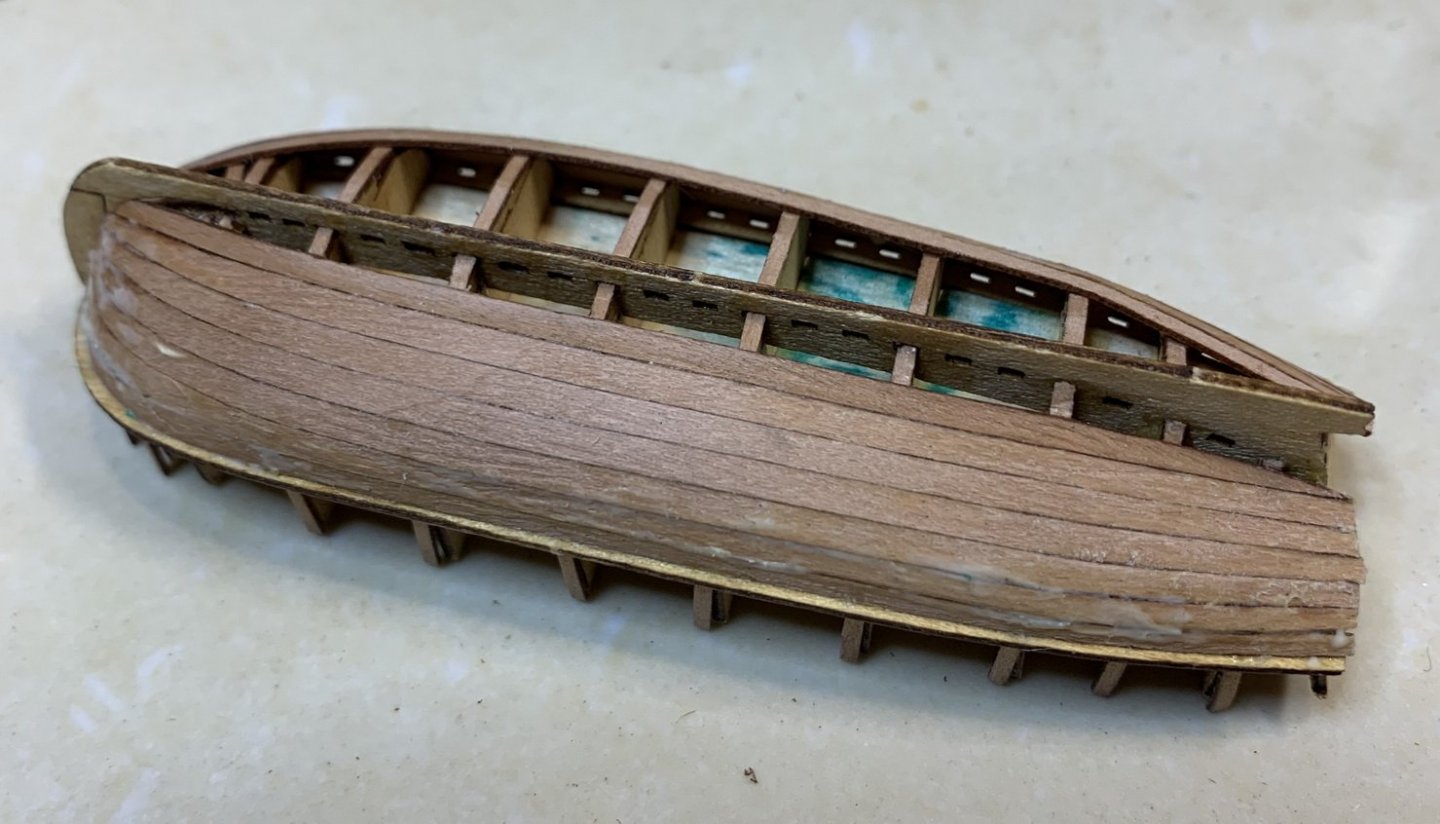
Nothing exciting to report. Planking was completed on the boat. A bit of a planking touch up is still needed, final touches with scraping and sanding... a layer of danish oil will be applied at the end... Happy modeling.

- 275 replies
-
- 2
-
-
- phoenix
- master korabel
- (and 1 more)
-
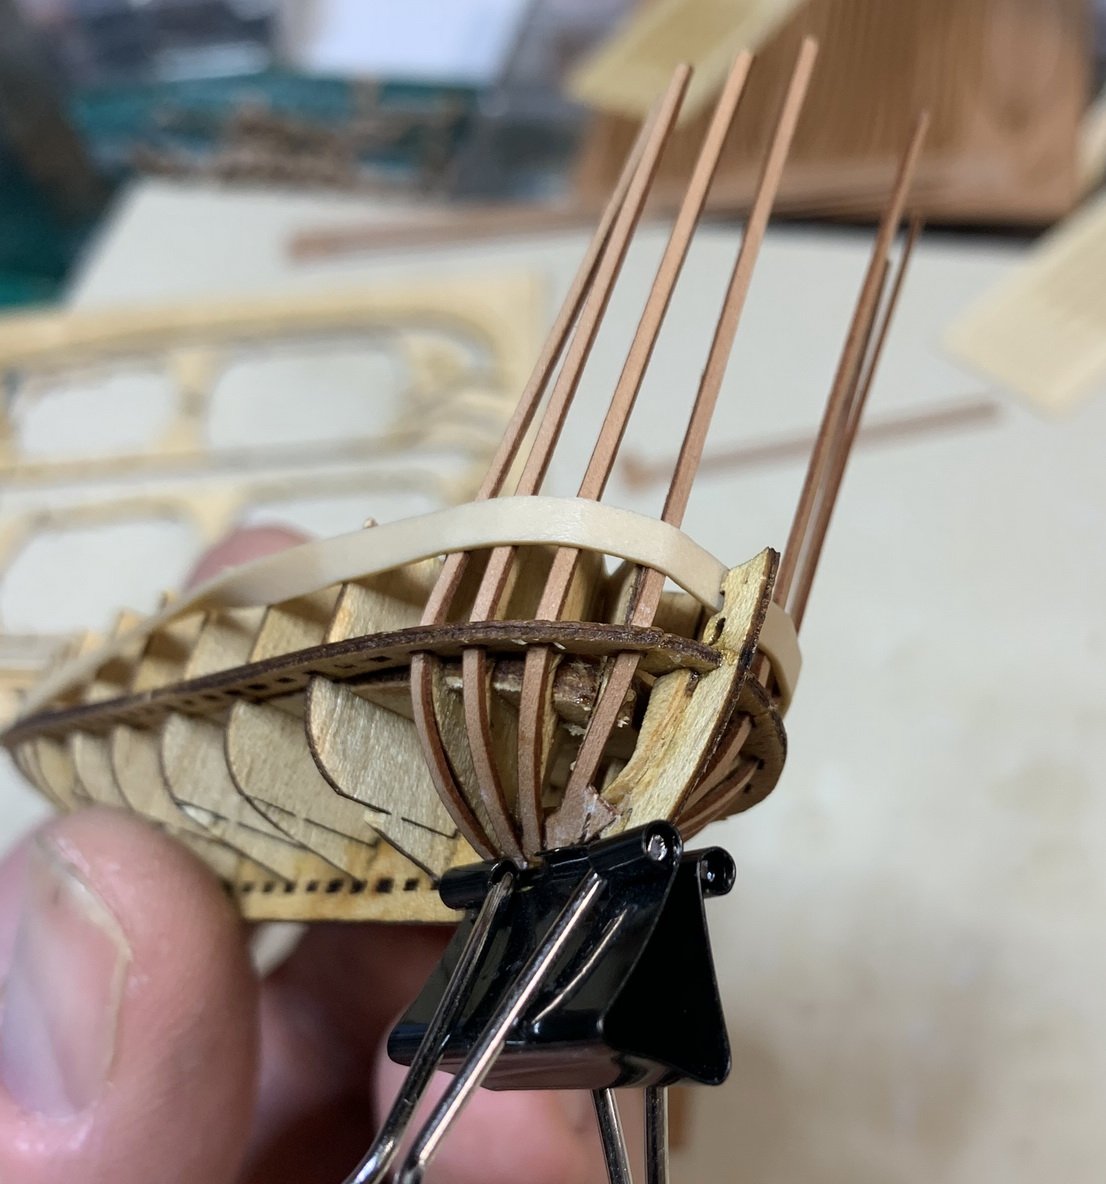
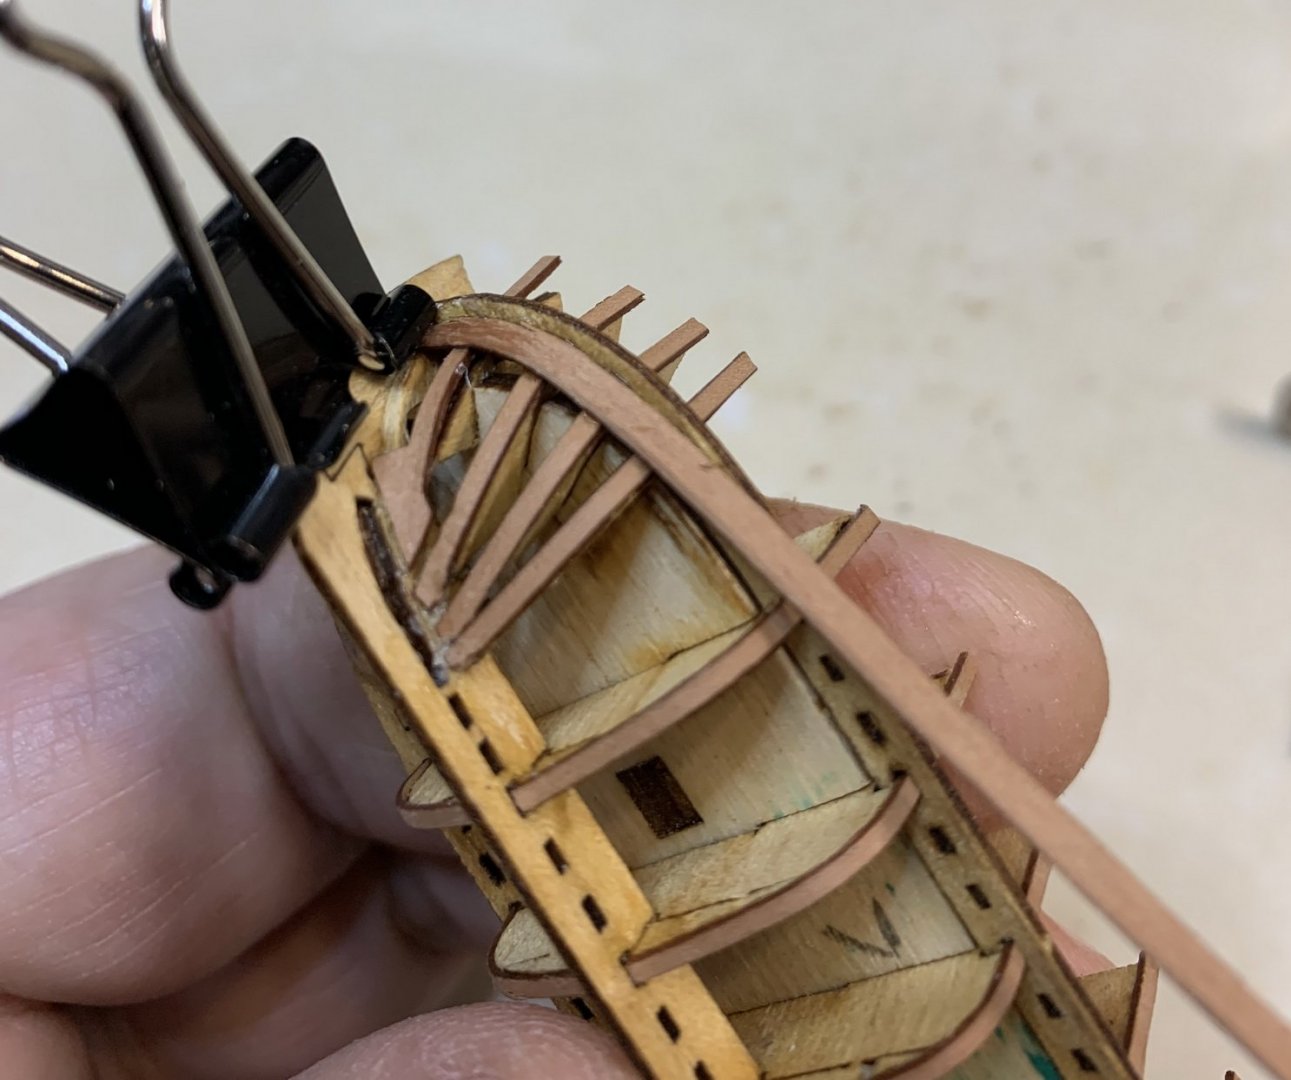
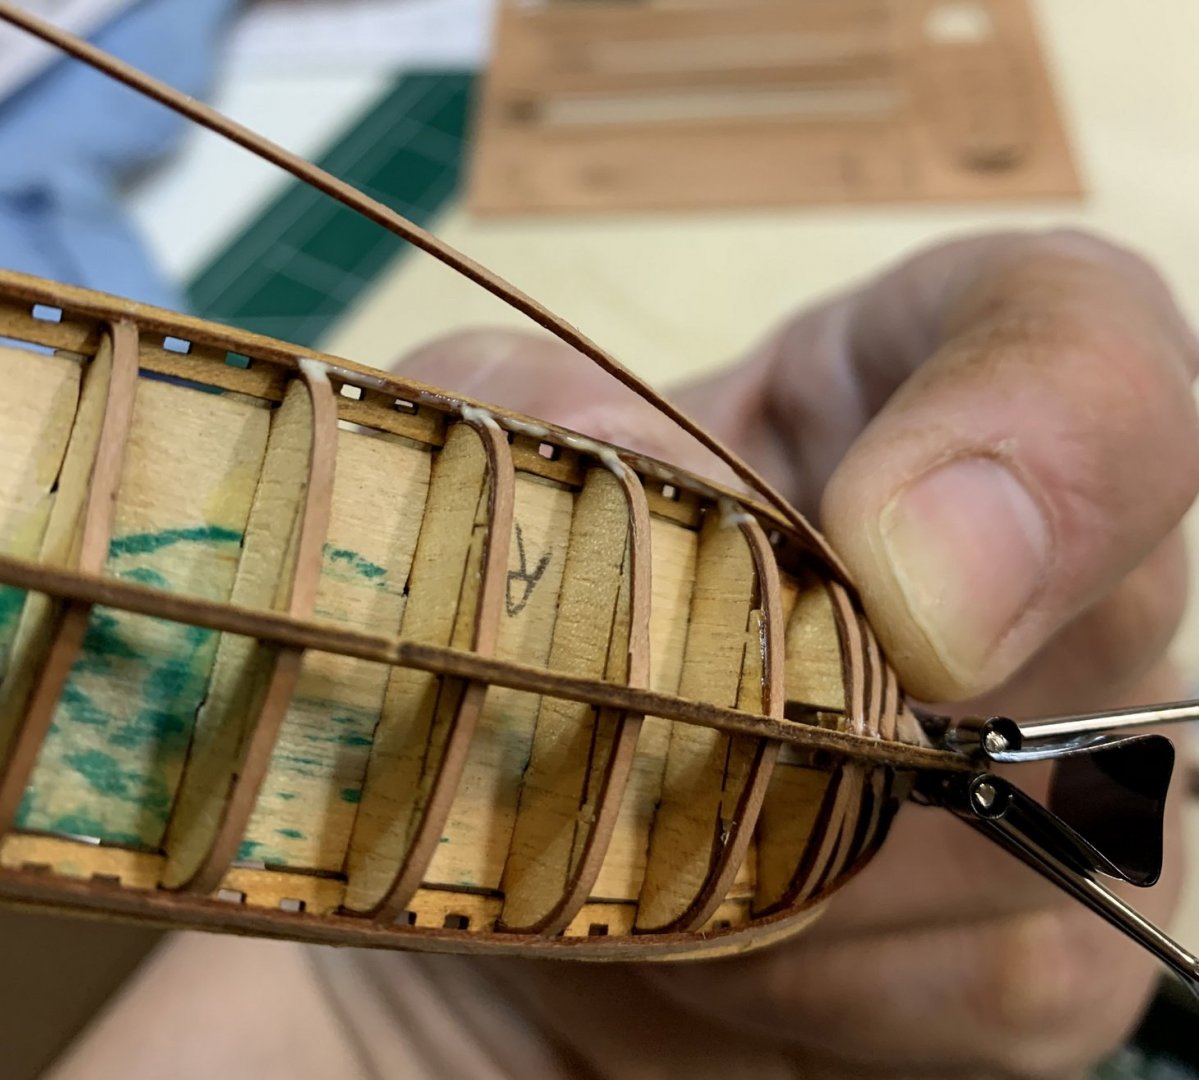
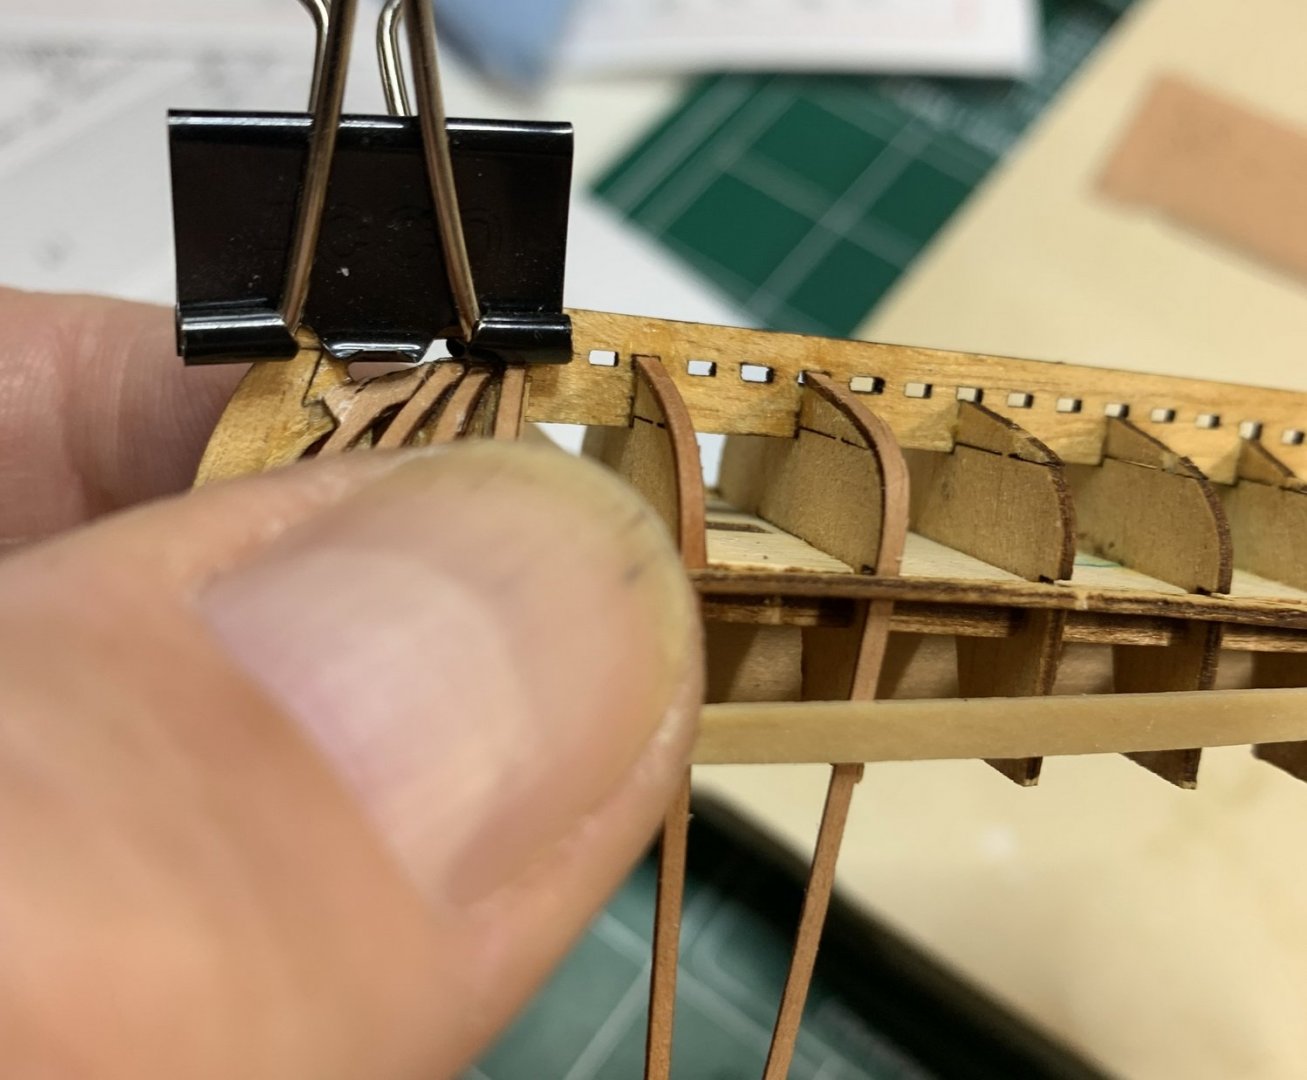
Well, planking time it is... Getting ready for planking, ribs are all glued and installed, brief hull sanding, and lets get it done.. First plank... cut it, sanded and dipped in the water for easy twisting.. i started with super glue.. For first two ribs, i use super glue so i don't have to keep pressing longer. For all other ribs (frames) i use carpenter's glue to glue plank. It takes a bit longer to dry but have a bit more time to adjust the plank. All excess glue needs to be removed before dropping a plank in the place. Work continues tomorrow..


- 275 replies
-
- 6
-
-
- phoenix
- master korabel
- (and 1 more)
-
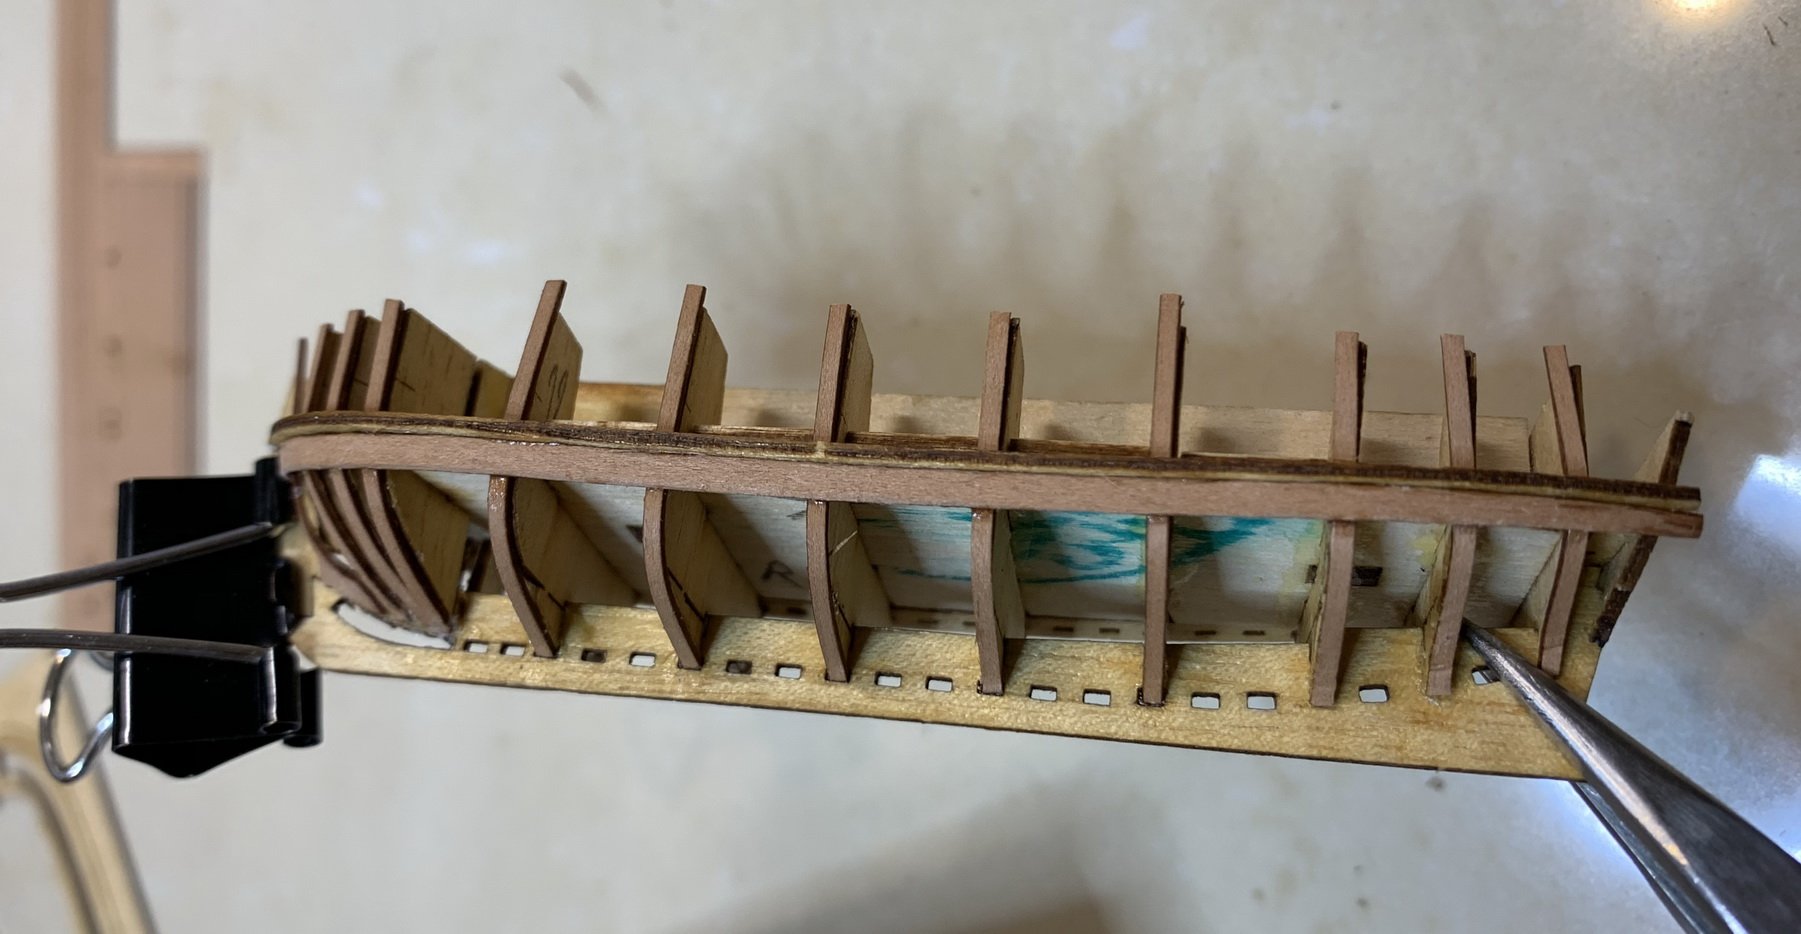
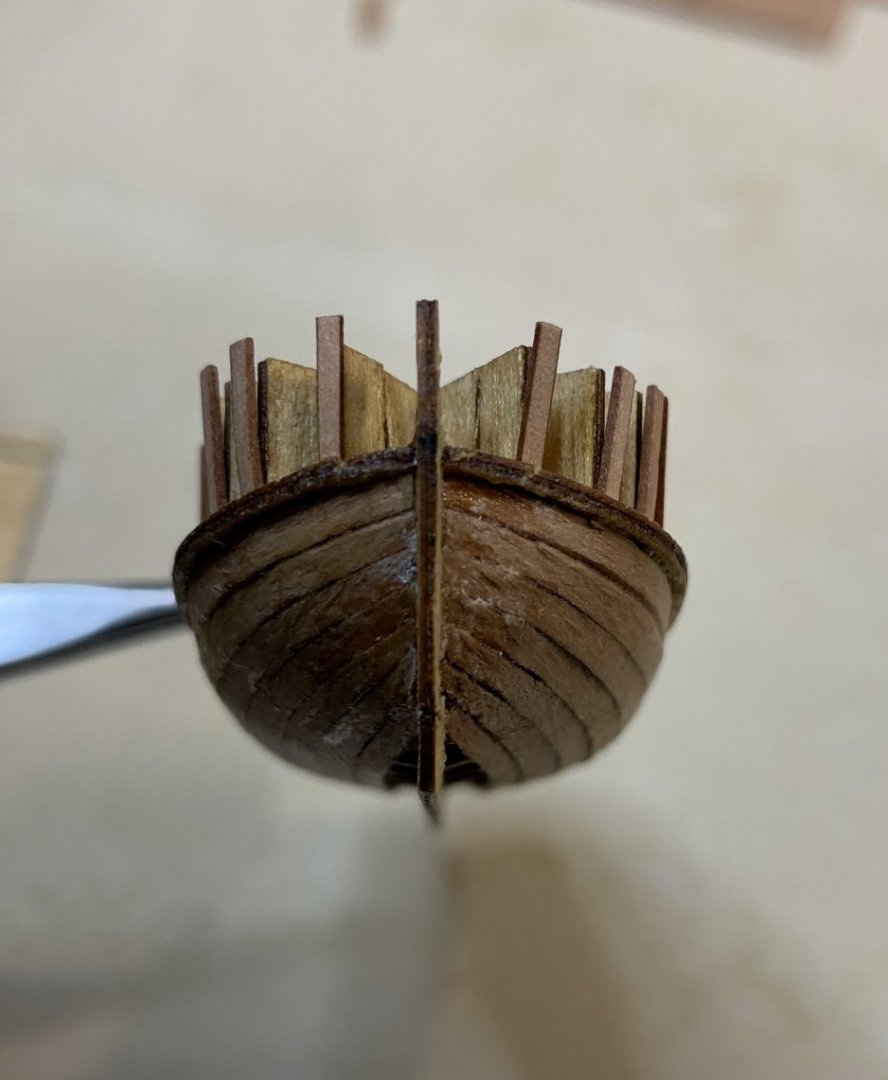
While still waiting for ropes to arrive, the work on ship boat continues.. The frames were removed with a little help of a ammonium, and jig was cleaned by sanding it all around. And yes, did i mention these parts are fragile... Particular attention and caution should be applied when cutting parts of the board. Very tiny parts.... Did i mention parts are fragile! Boards are soaked for easy manipulation. They need just a little twist to be able to lay down correctly. They might break dough... Happy modeling..


- 275 replies
-
- 6
-
-
- phoenix
- master korabel
- (and 1 more)
-
You are absolutely right; i was thinking about later how to complete the boat and realized that it was a mistake.. Started to remove the frames... Thanks
-
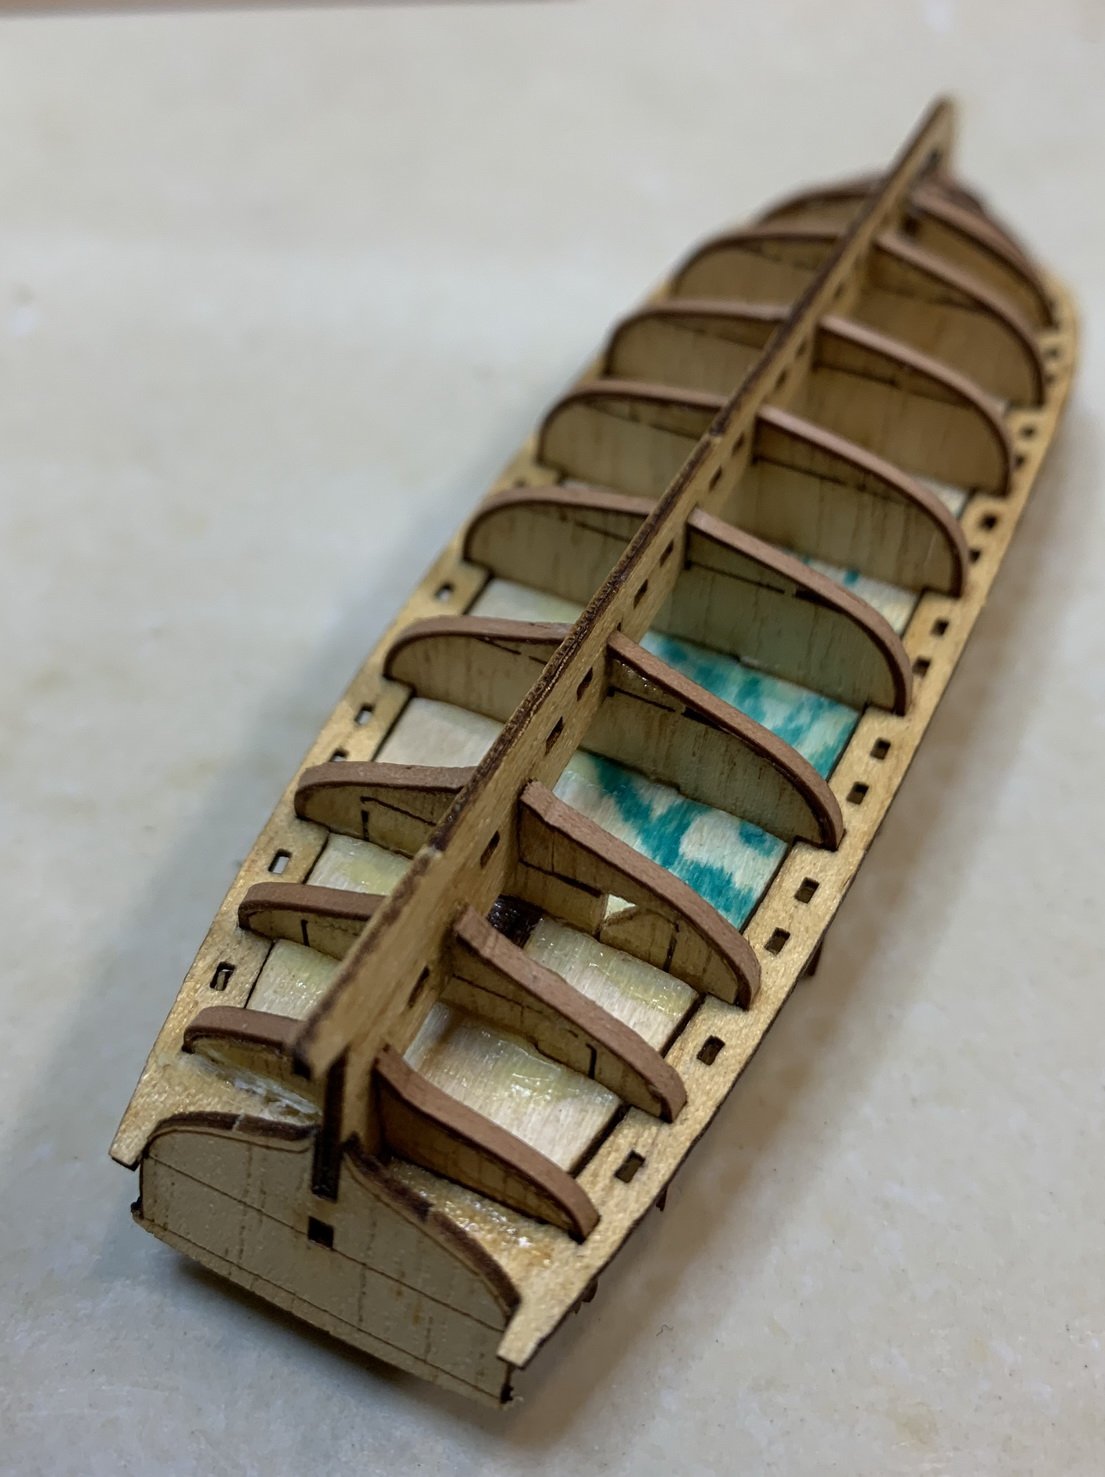
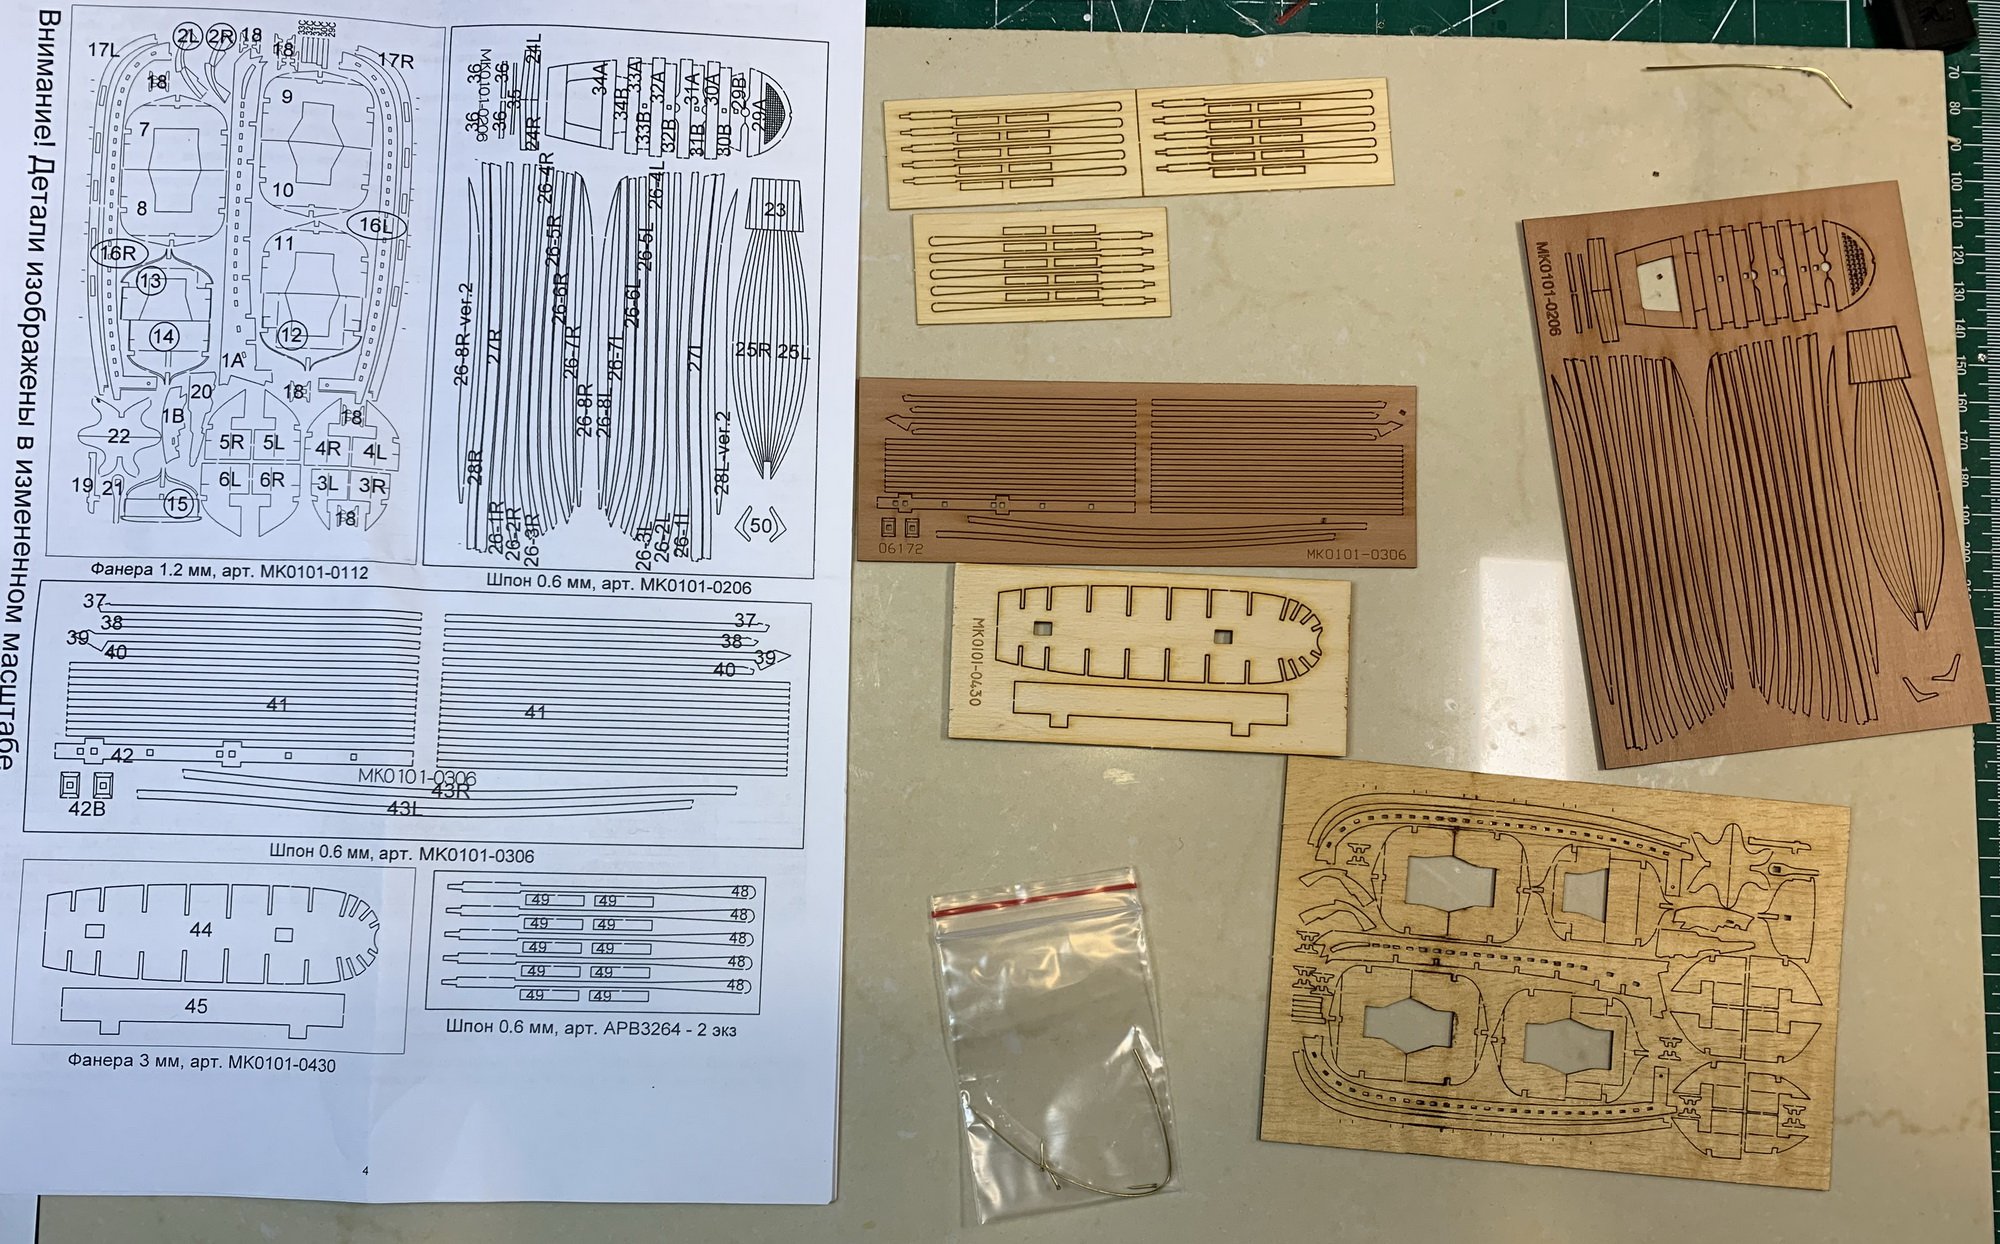
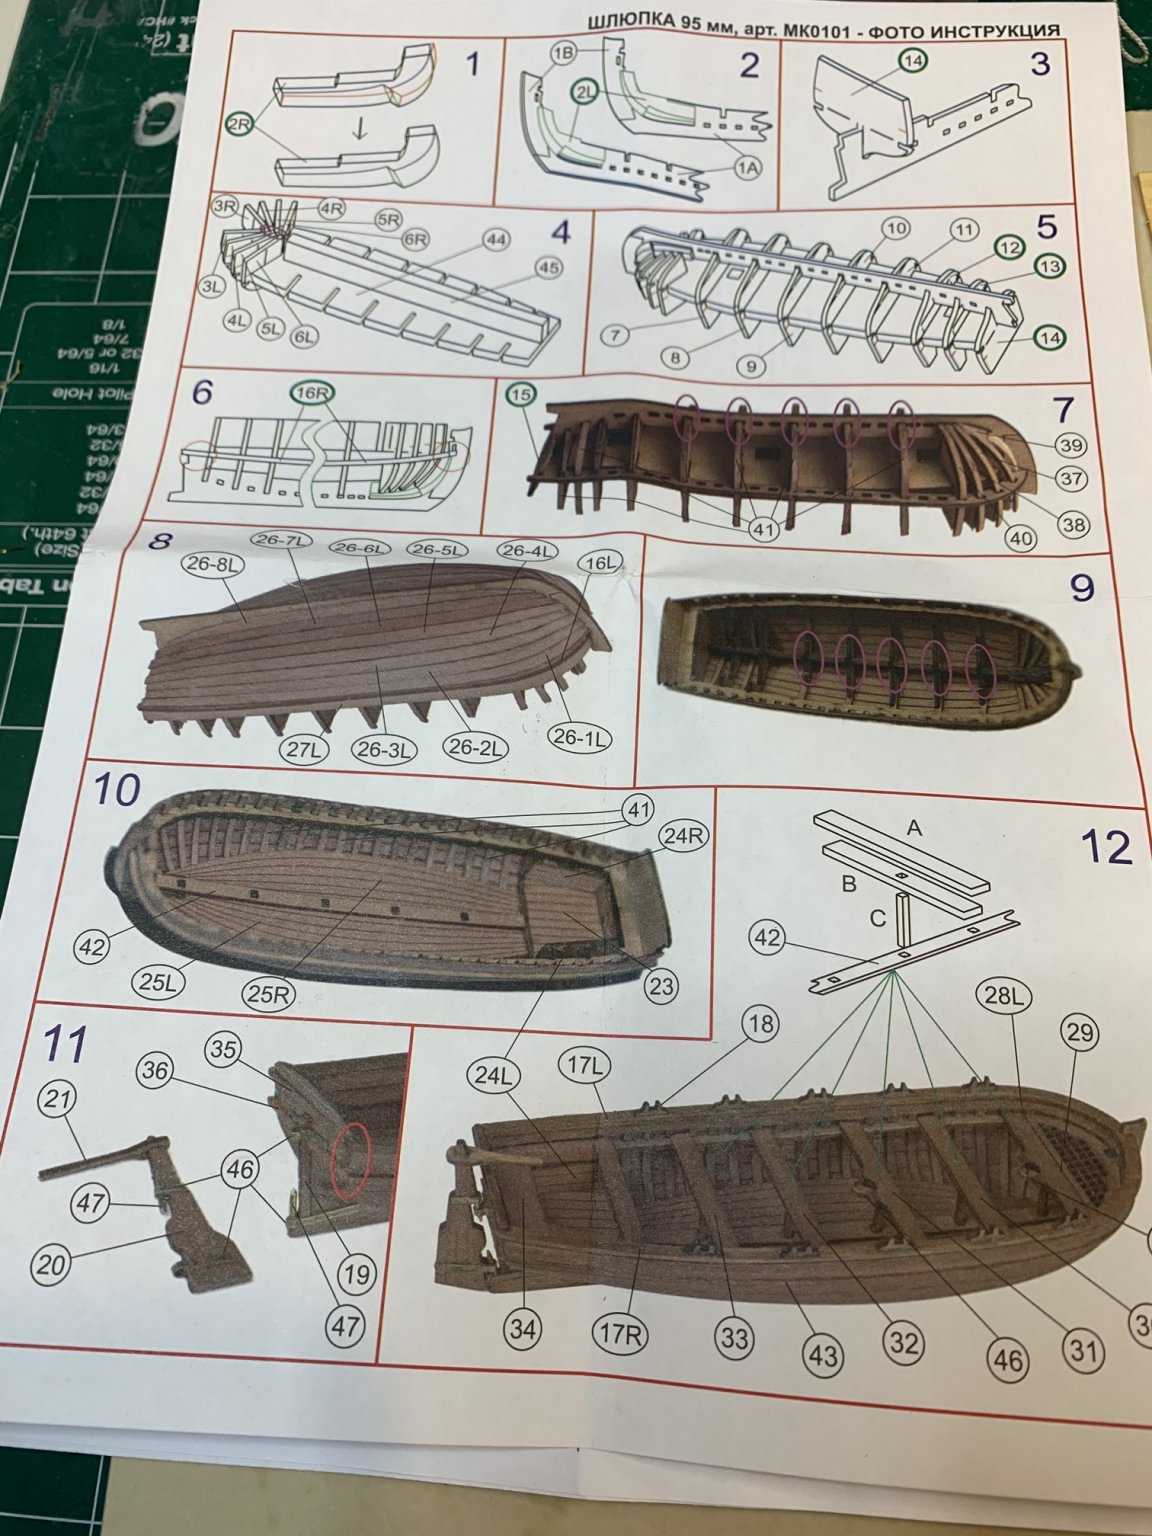
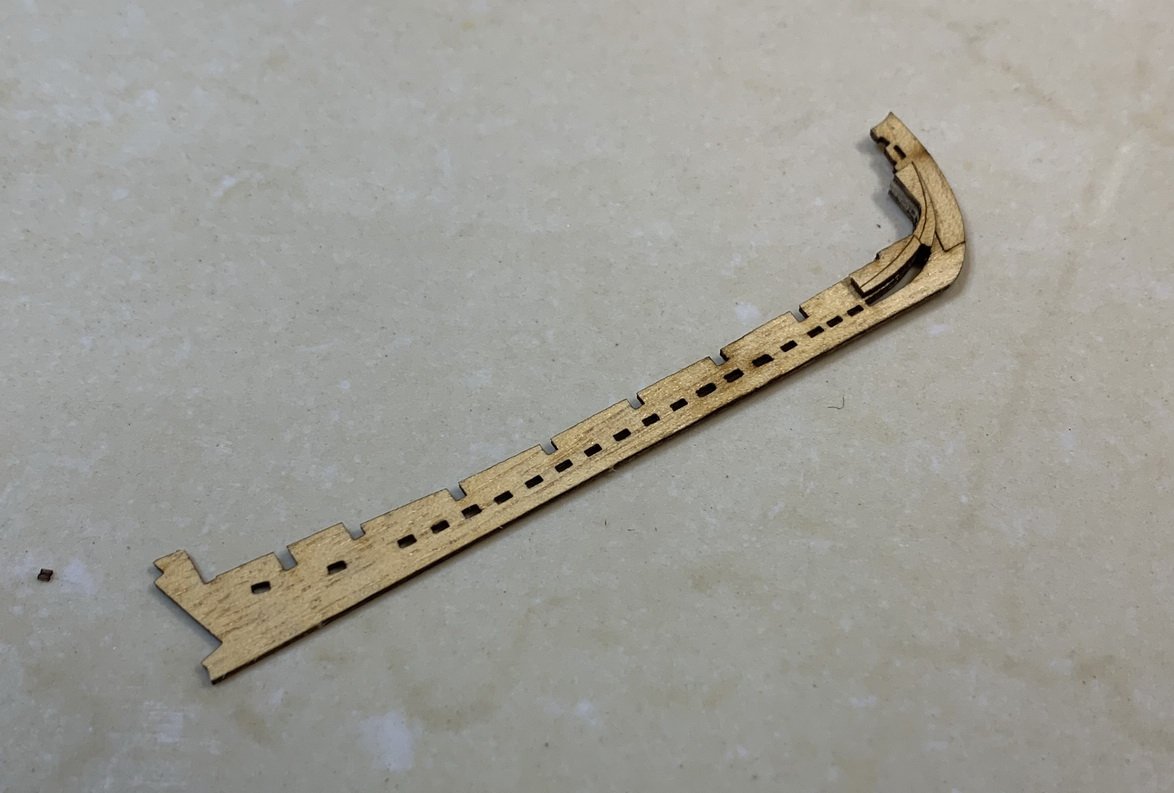
In the meantime i started to work on ship boat.. The instructions are fine, enough detailed but a few more instruction pictures would be beneficial.. The whole package of items needed for a boat are all included in one ziplock-type bag, including instruction. Items in the sheet are cut properly, very precise laser cuts and easy to remove. But they are very fragile and needed to be removed carefully.. Cut, remove, sand, glue..... Happy modeling..


- 275 replies
-
- 3
-
-
- phoenix
- master korabel
- (and 1 more)
-
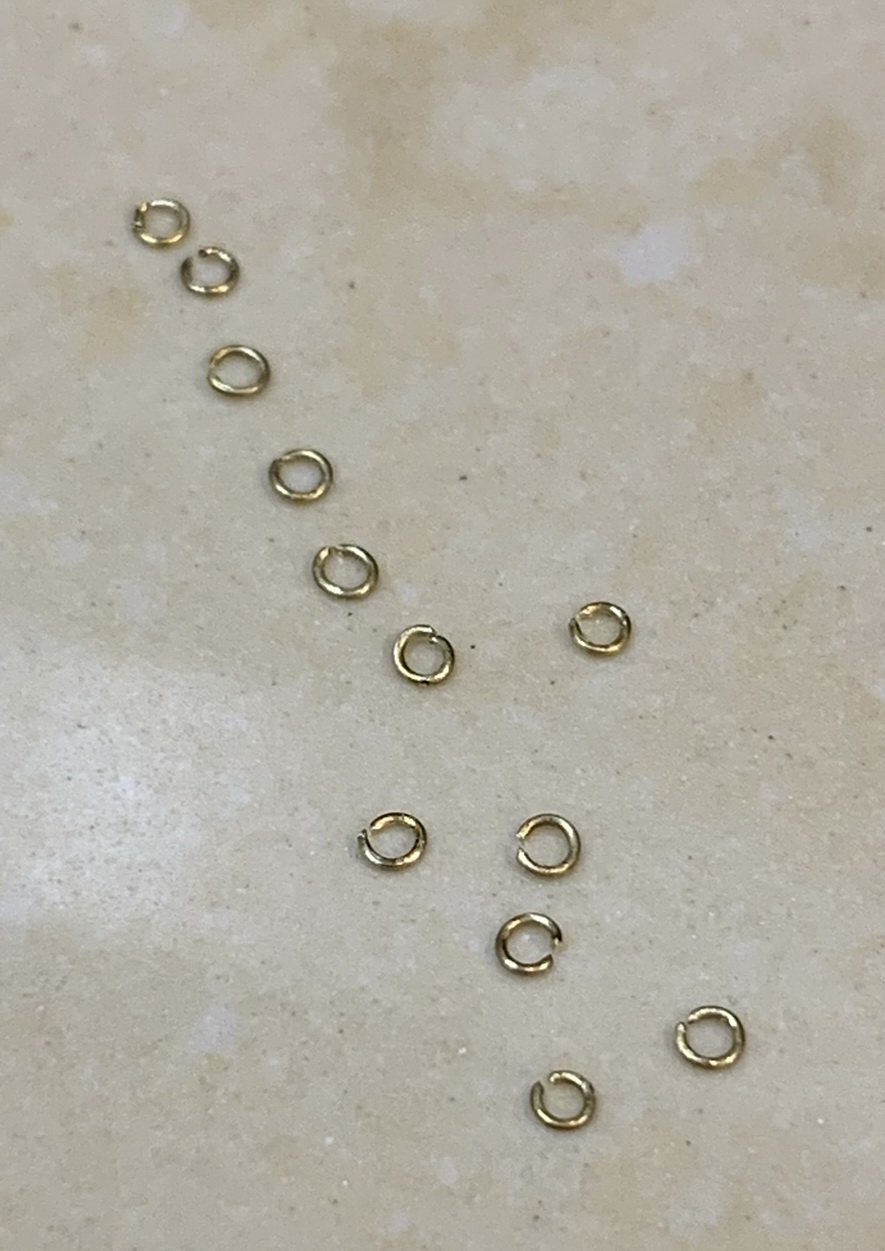
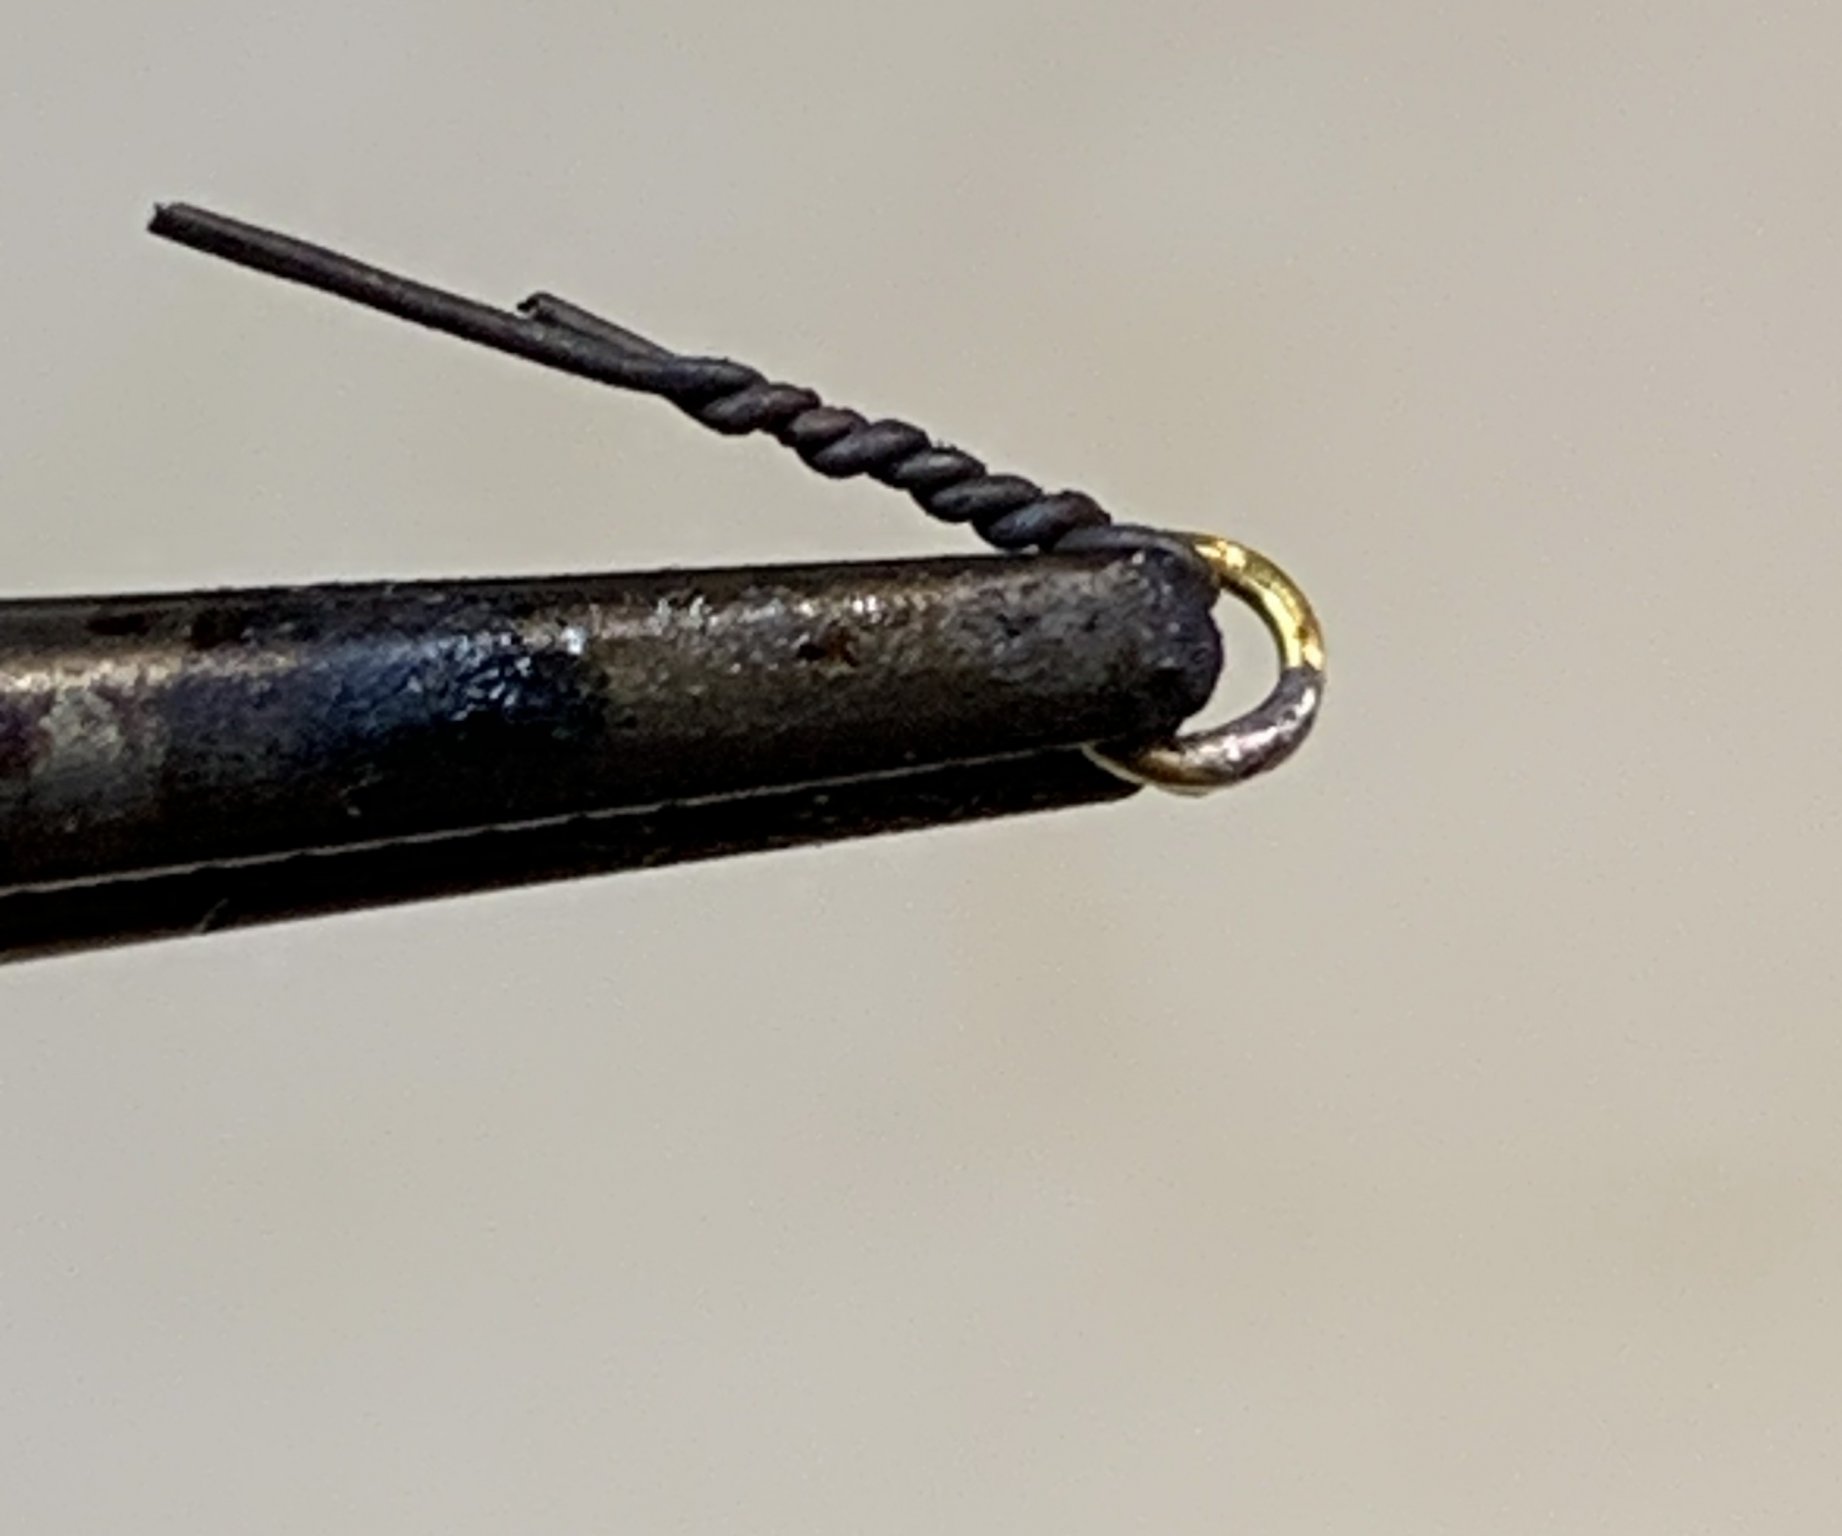
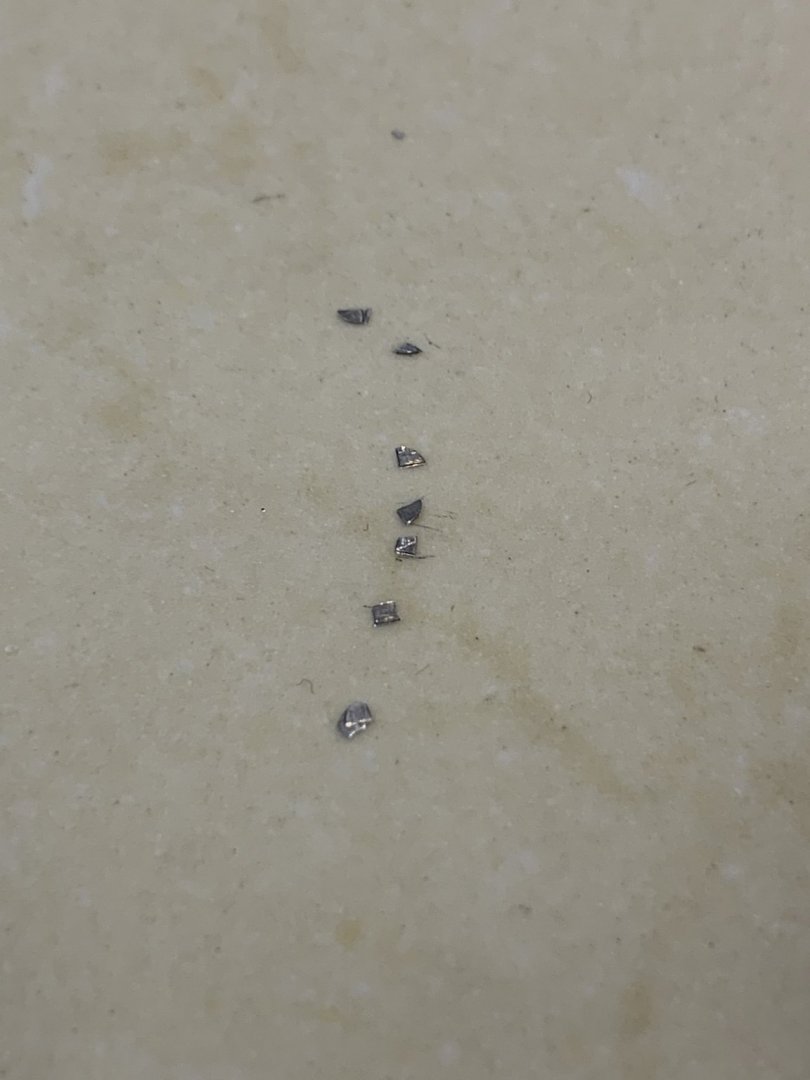
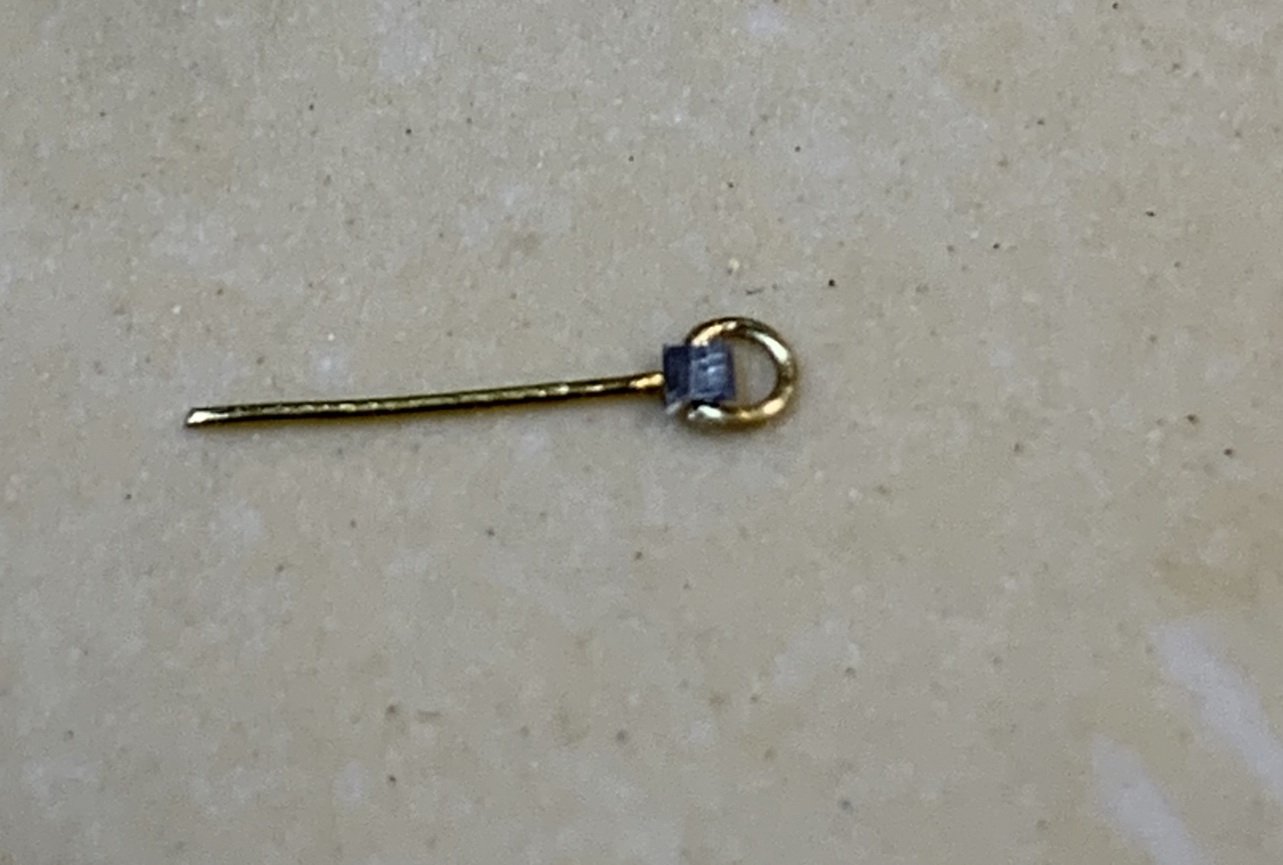
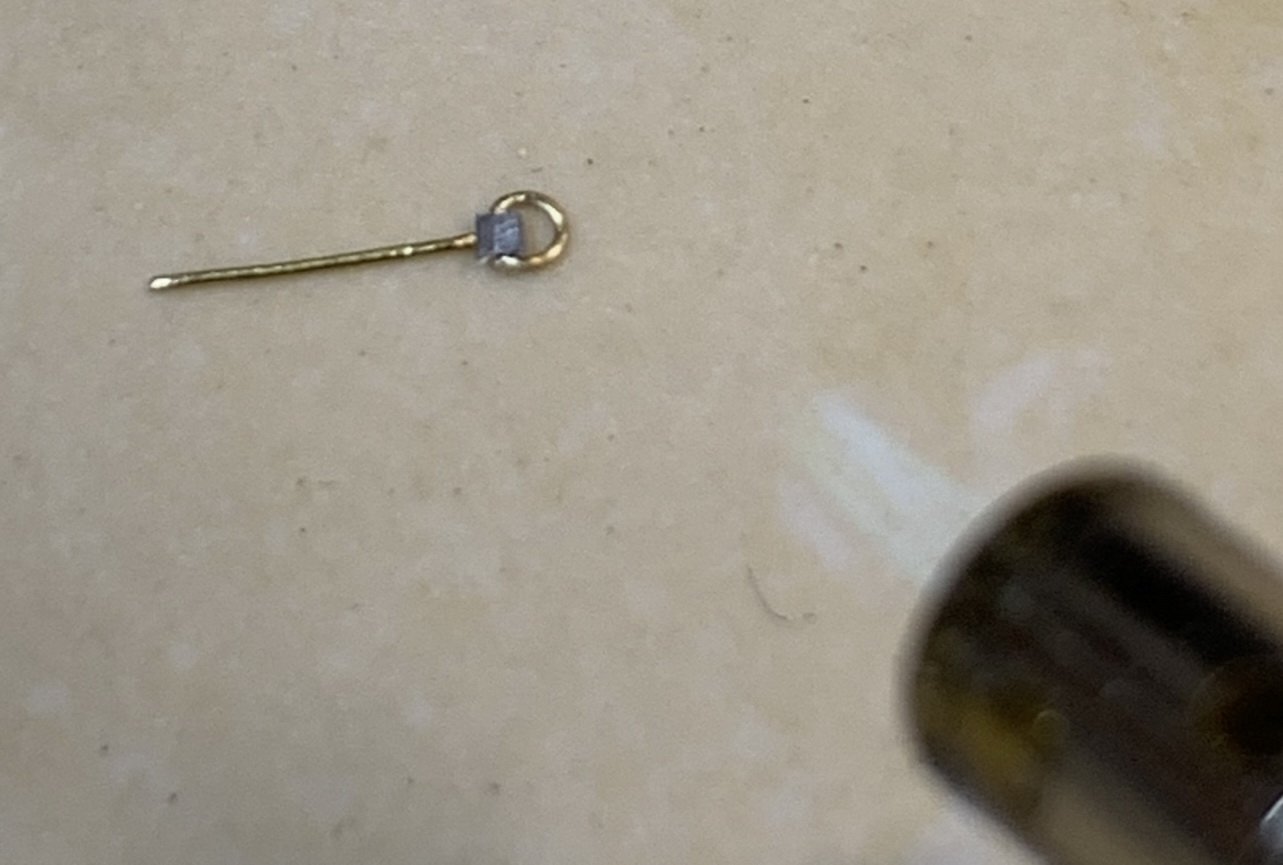
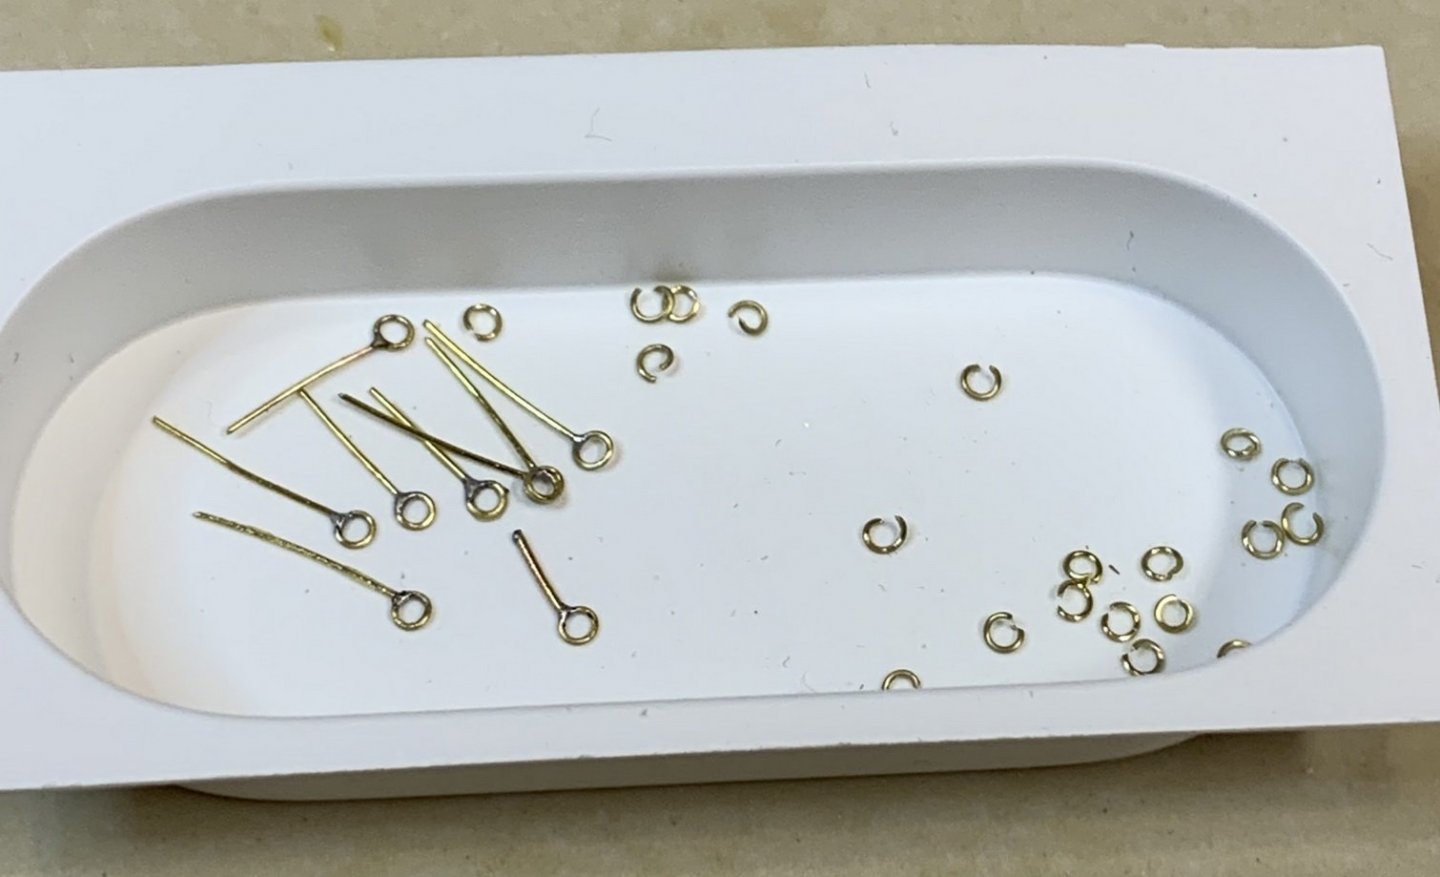
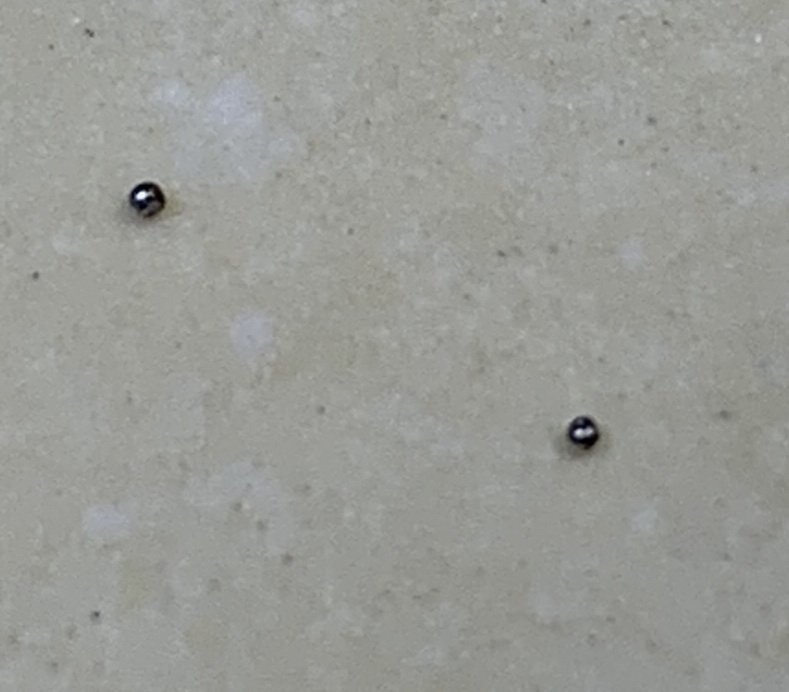
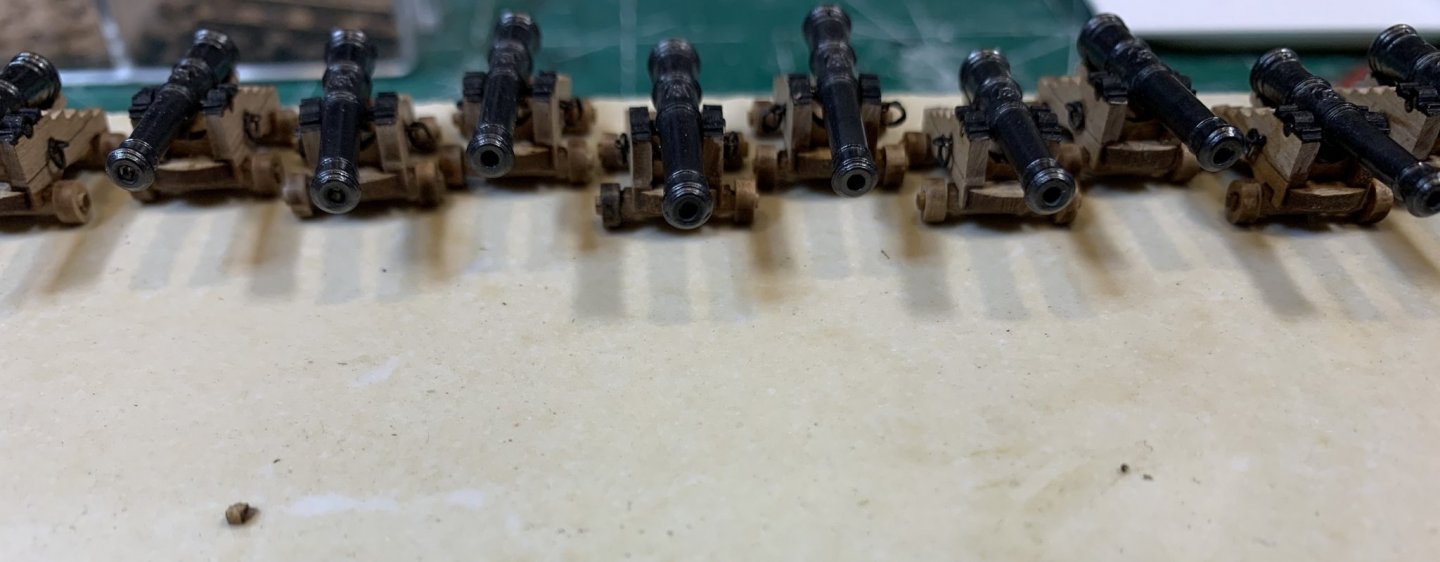
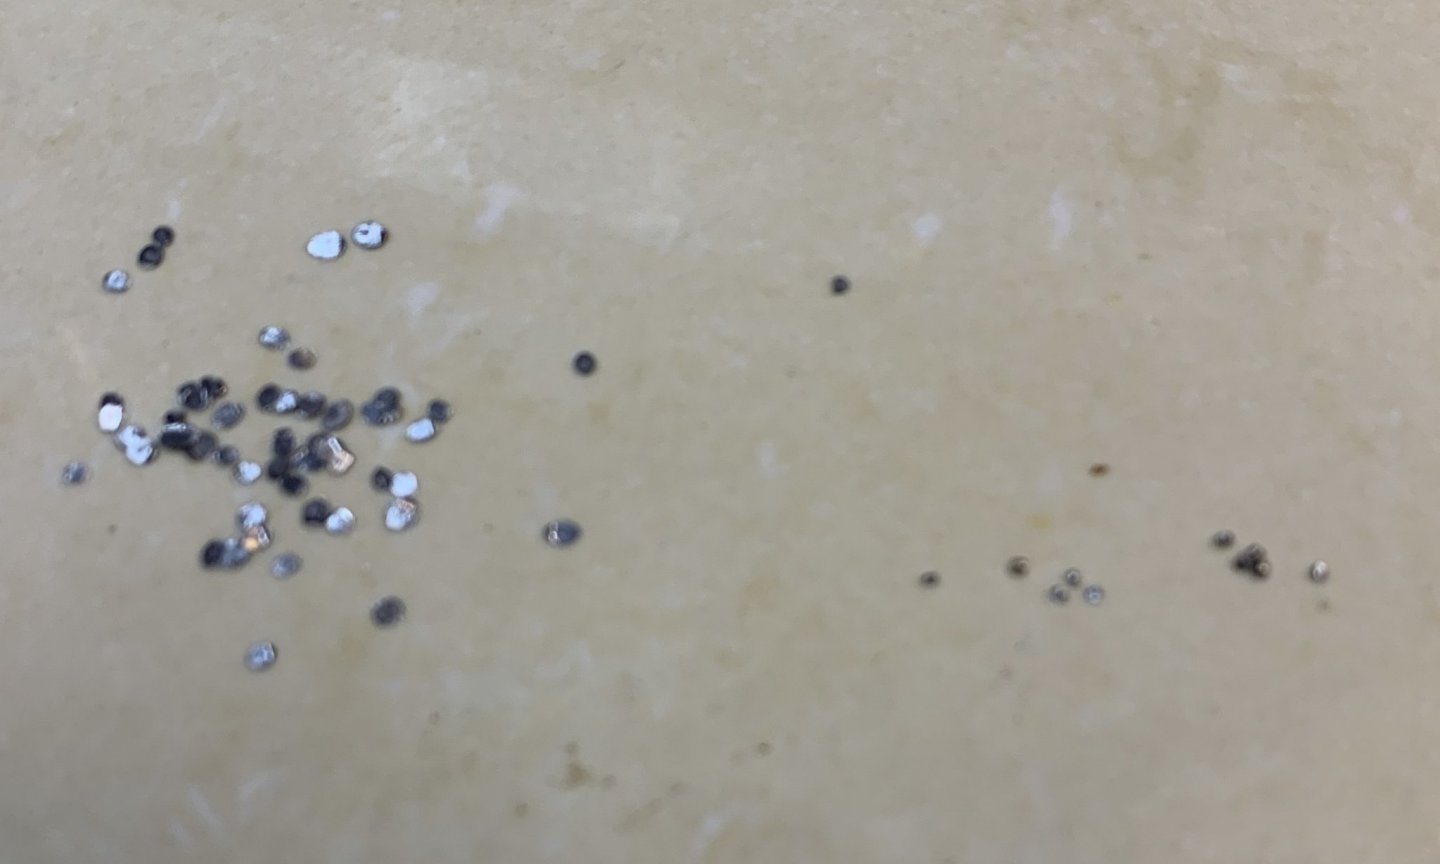
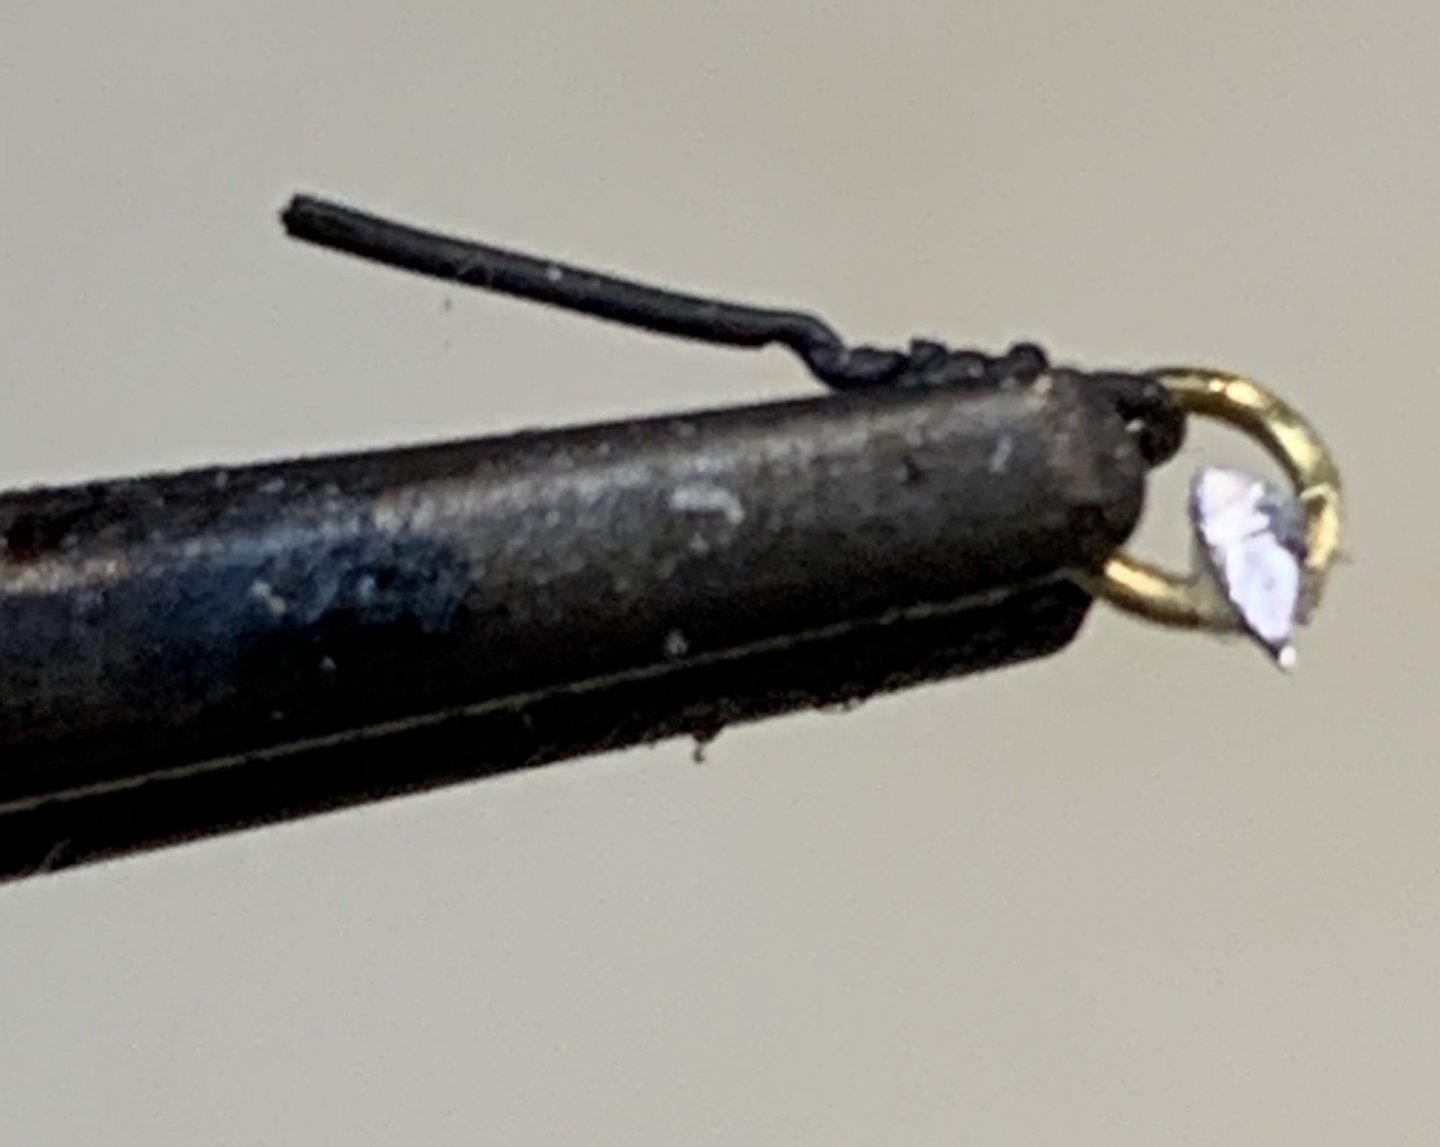
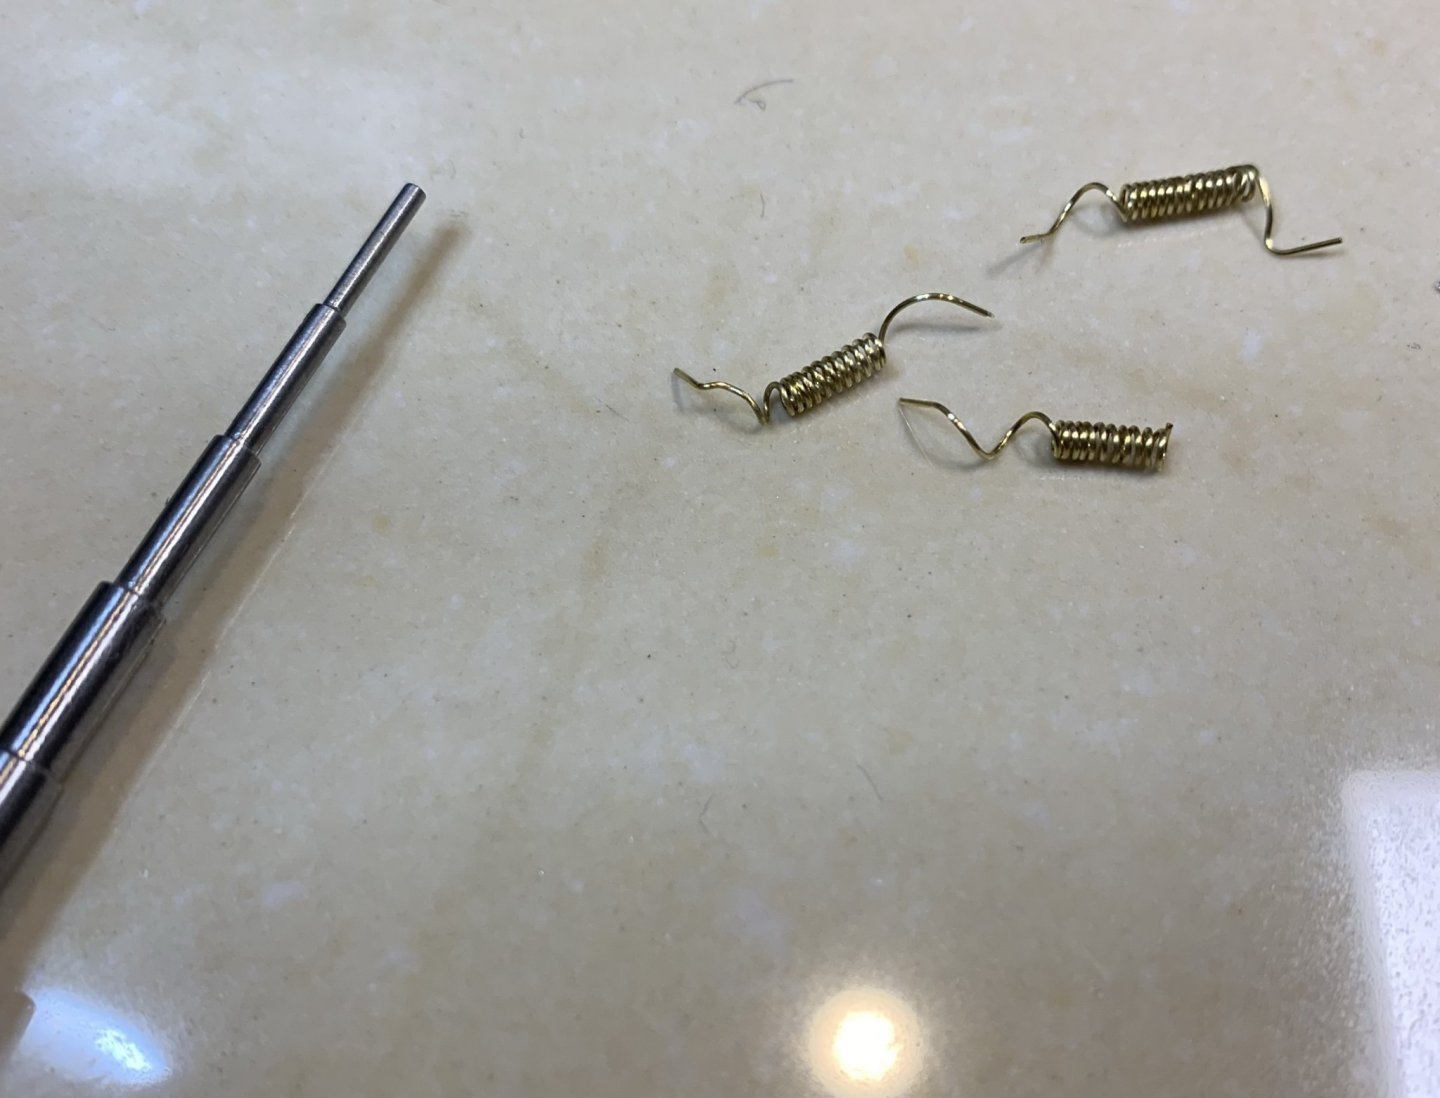
While waiting for this virus outbreak to leave us alone, continue making eye bolts... First the spring was made out 0.3mm wire, using 0.9mm drill bit.. Then rings were cut out of it, one at a time since i dont have small enough wire cutters to cut few of them at once.. The flakes of solder were cut as well... Small amount of soldering paste was applied to ring and, lets call it a leg, was positioned in such a way so it touches the ring, in the place where the ring circle is closing.. and tiny piece of soldering flake was added to.. And soldering can start, small amount of flame, kind of easy cooking process.. The end result... For next batch of eye bolts, i prepared a small assembly line: several eye bolts lined up, ready to be solder.... Sometimes that small solder flake just does not want to stay put... second eye bolt needs resoldering.. Then i decided to make a soldering balls out of solder flakes, just to make it a bit more fun.. The assembly line does not change a lot.. Completed eyebolts and parts waiting for assembly.. These sets of eyebolts will be used to attach the cannon rope to the ship... the smaller eyebolts will be attached to the cannons.... All cannons completed and waiting for a rope... Happy modeling..


- 275 replies
-
- 6
-
-
- phoenix
- master korabel
- (and 1 more)
-
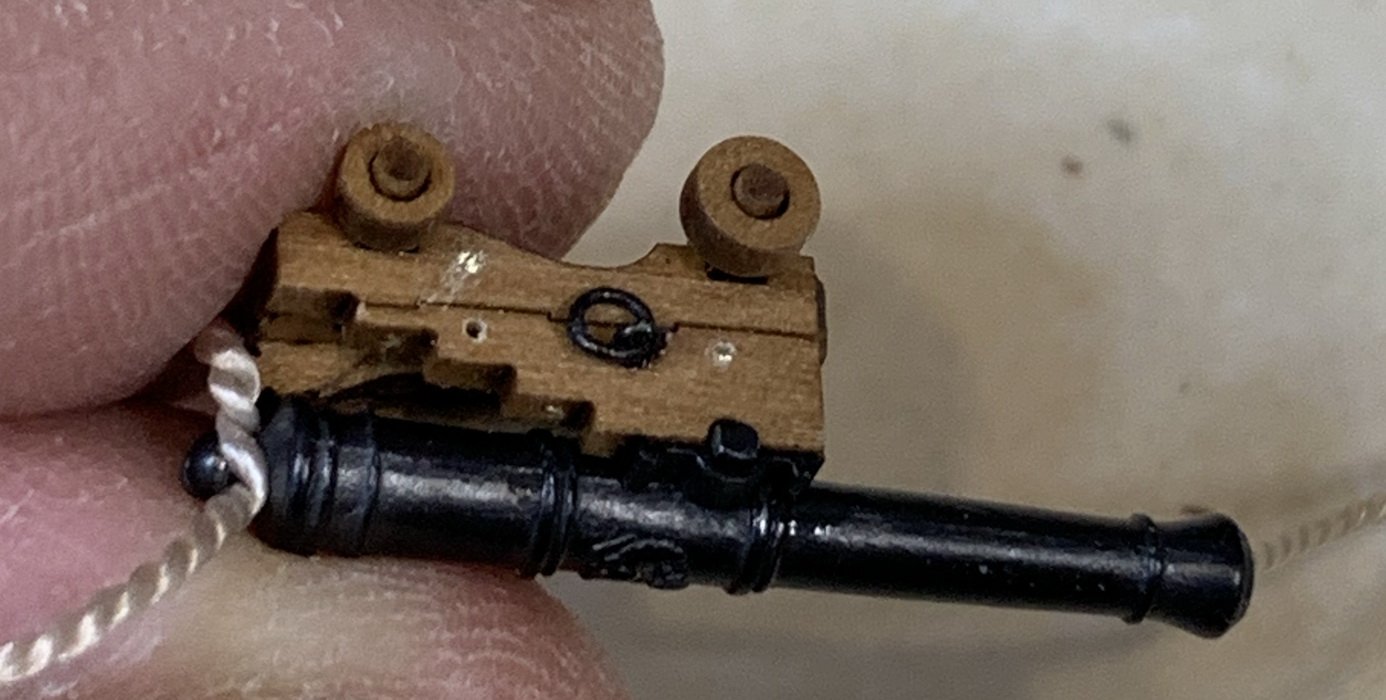
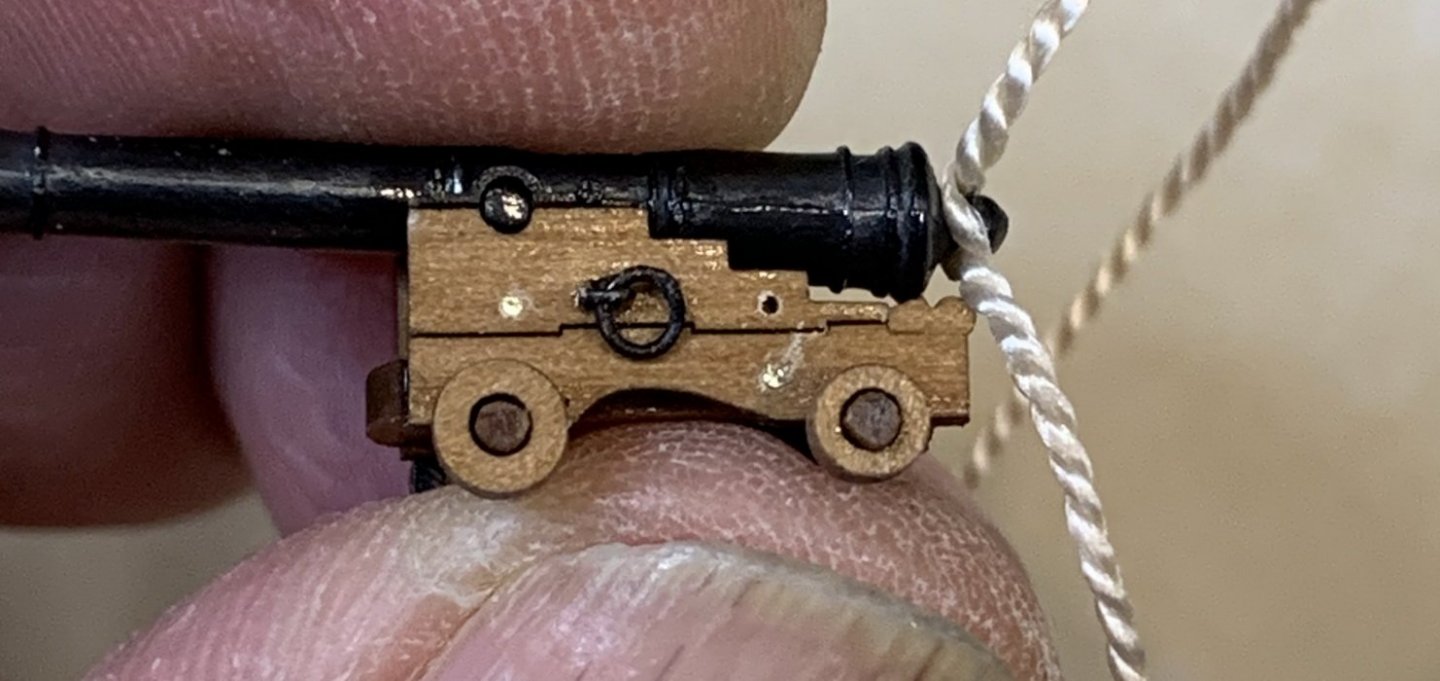
Still waiting for ropes to arrive, so in the meantime, i continue to add a few more details to the gun carriage... Simple made a pilot holes first, drill a hole and insert a piece of a wire, cut the extend and push it in with opposite end of scalpel holder. Pilot holes and holes drilled.. During this process, accident could happen... pressing to hard with a scalpel holder and snap... But it can be fixed correctly.. All cannons completed. Next will add a small eyebolt, train tackle loop. Happy modeling.

- 275 replies
-
- 6
-
-
- phoenix
- master korabel
- (and 1 more)
-
Thank you. No worries, i will always use a good idea for future, particularly for those usage cases you have mentioned. And there will be more ships coming anyway 🙂 Appreciated.
-
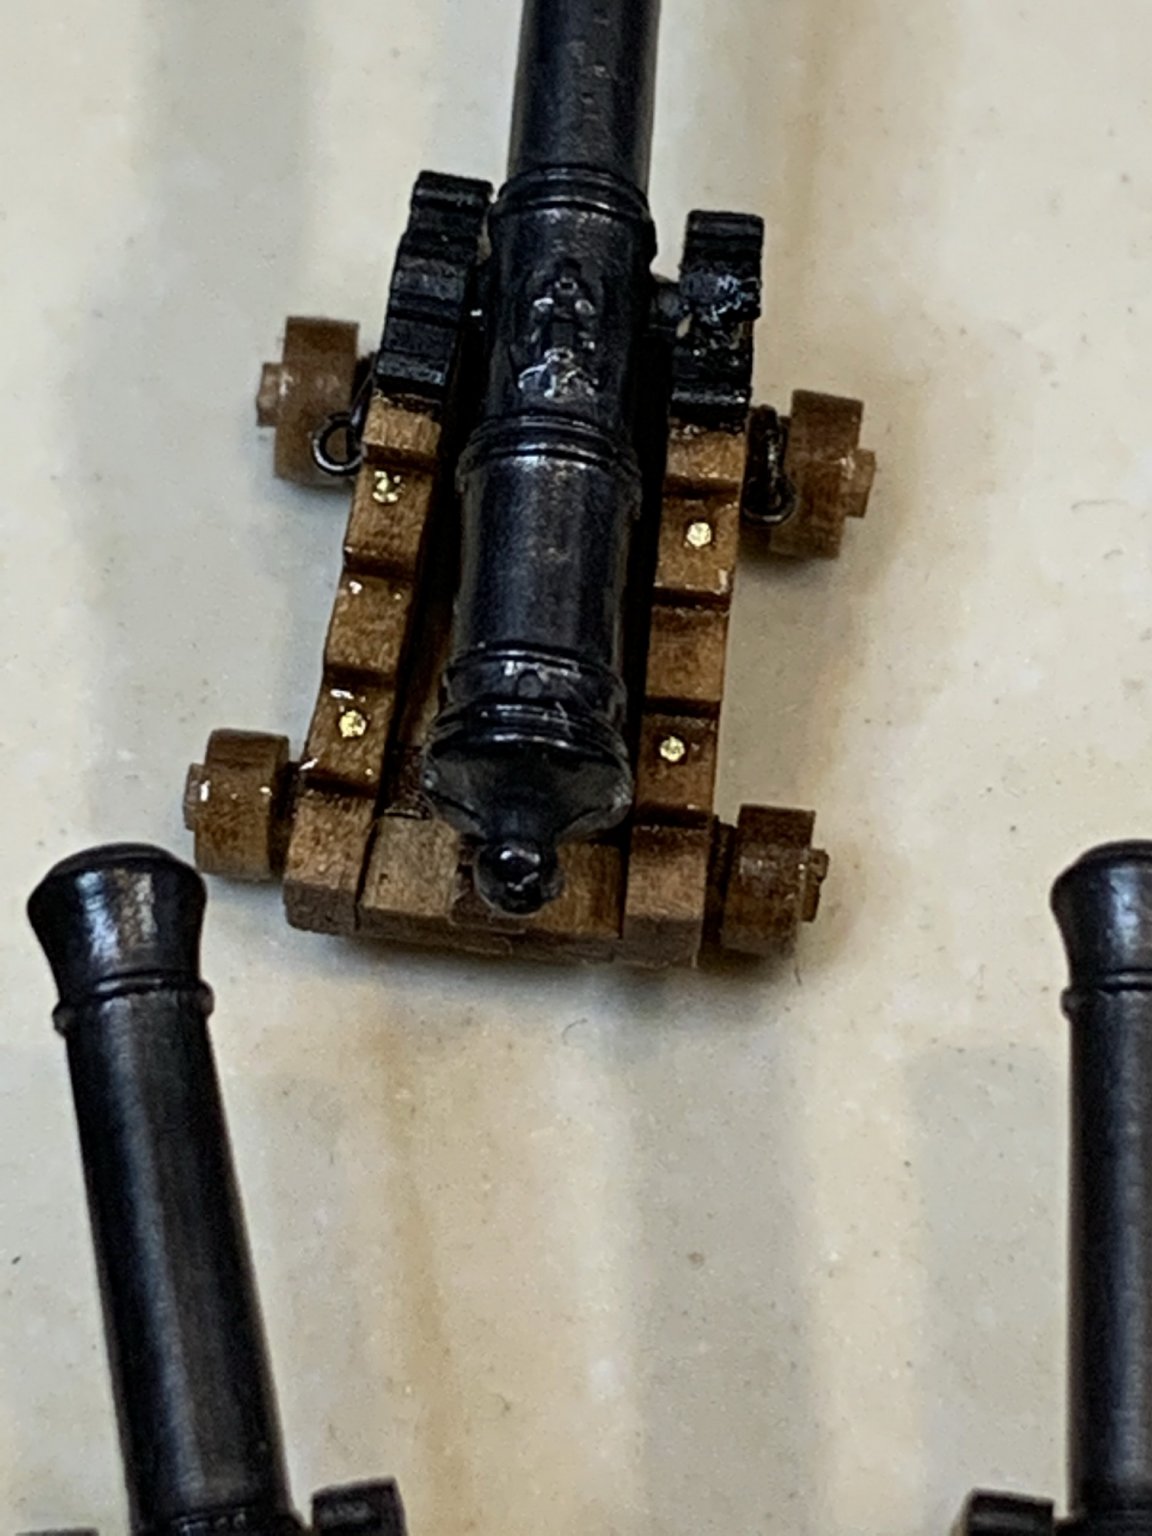
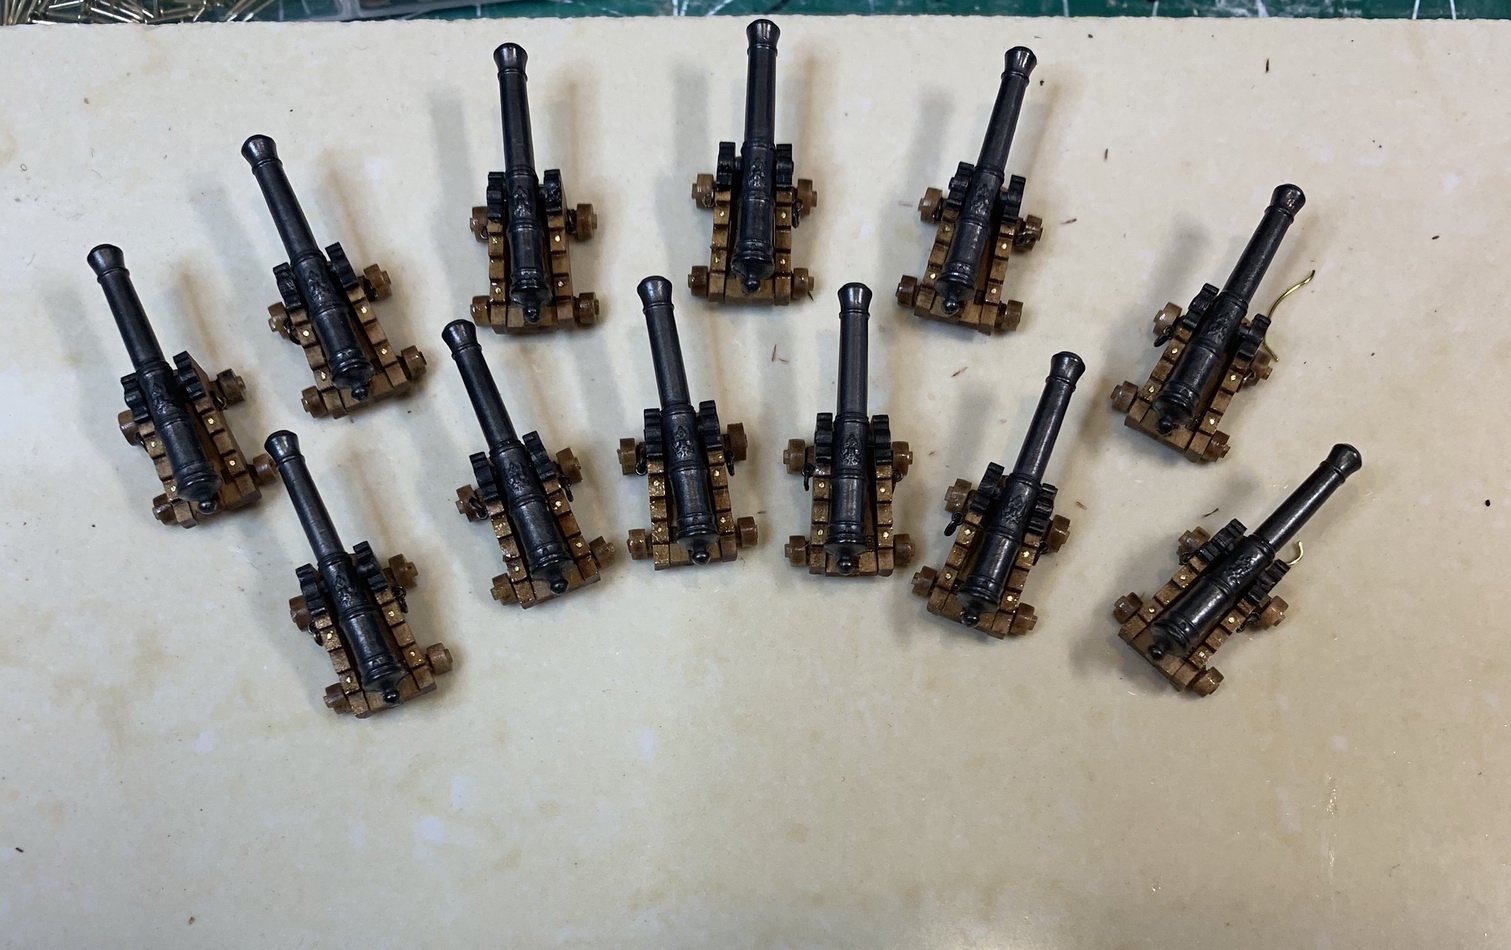
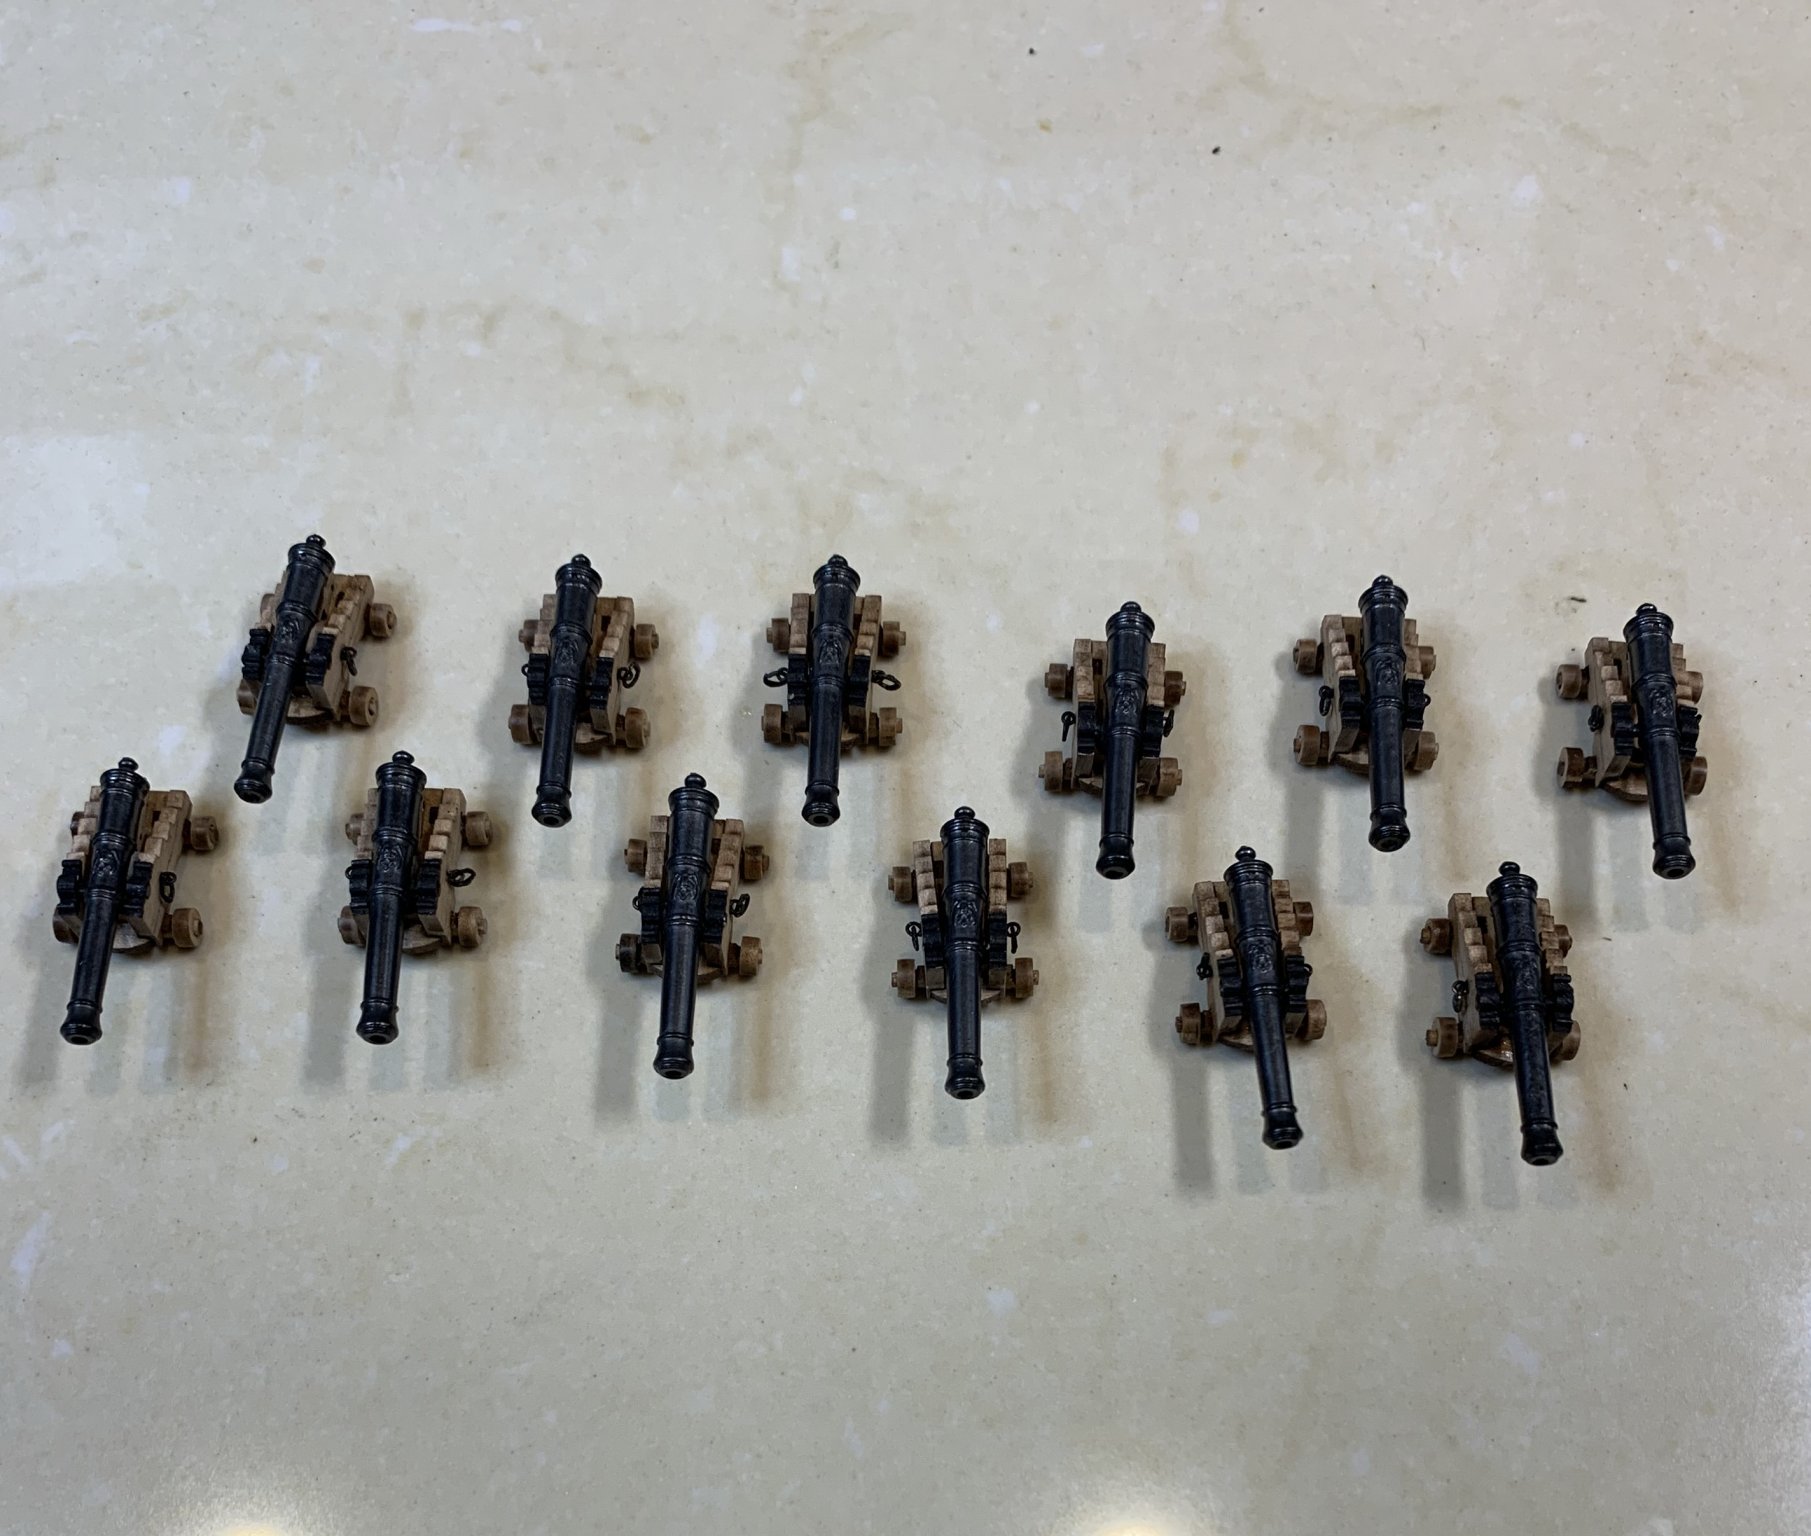
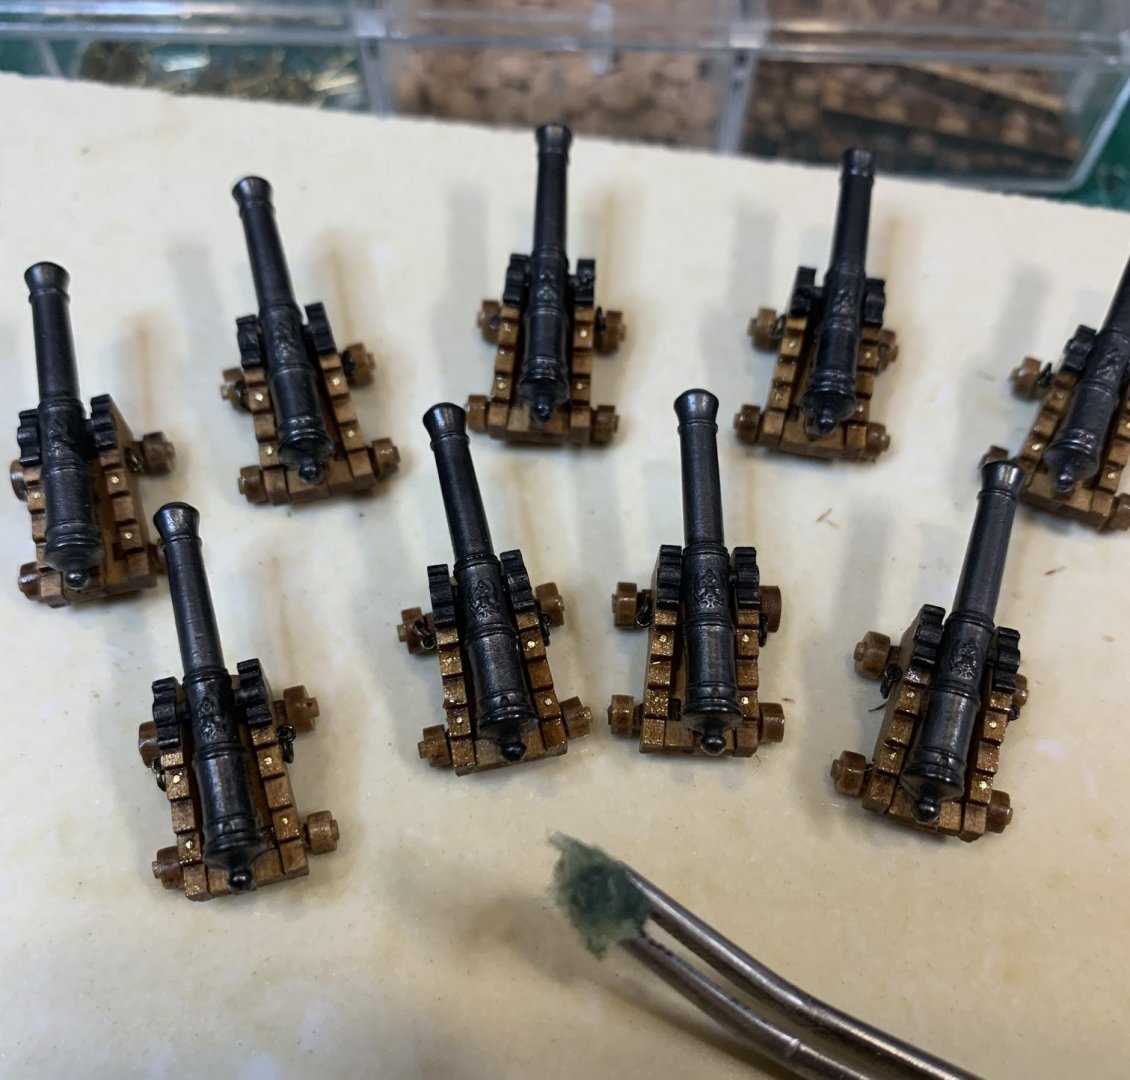
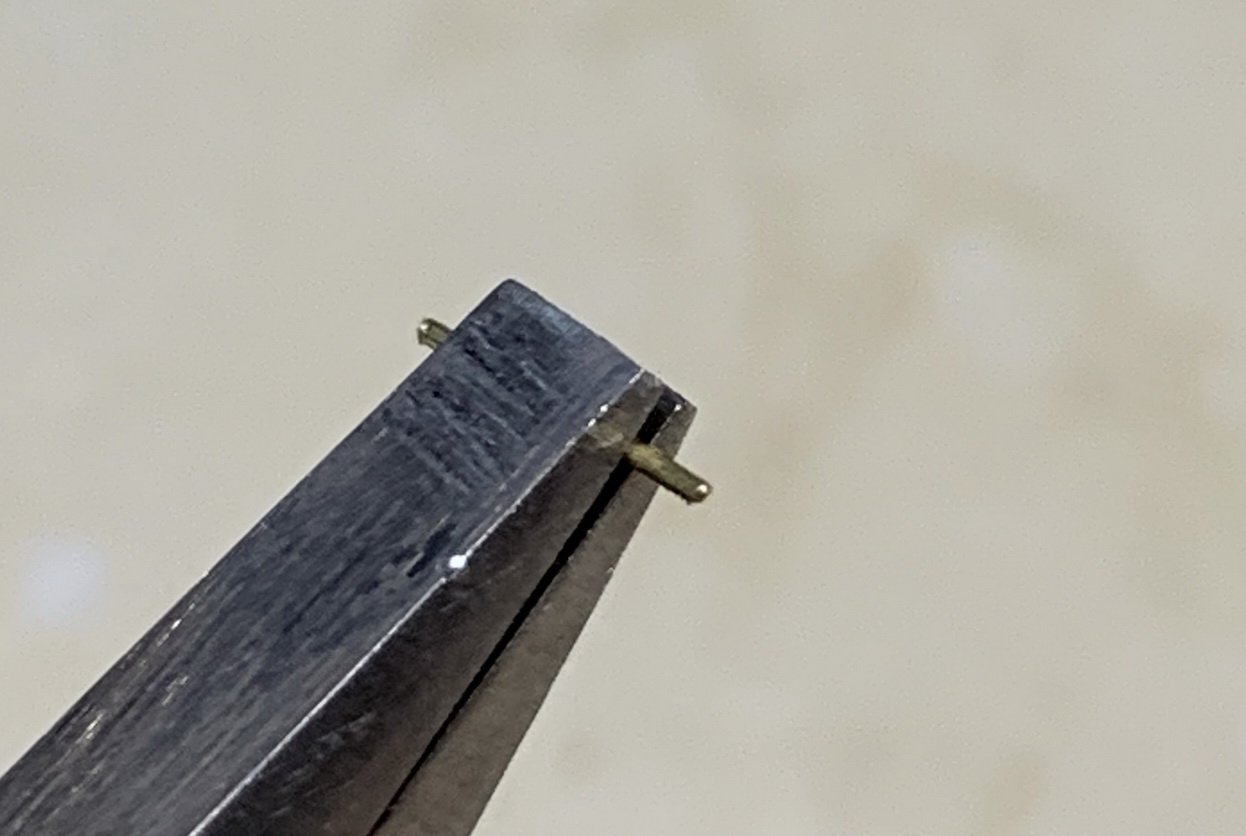
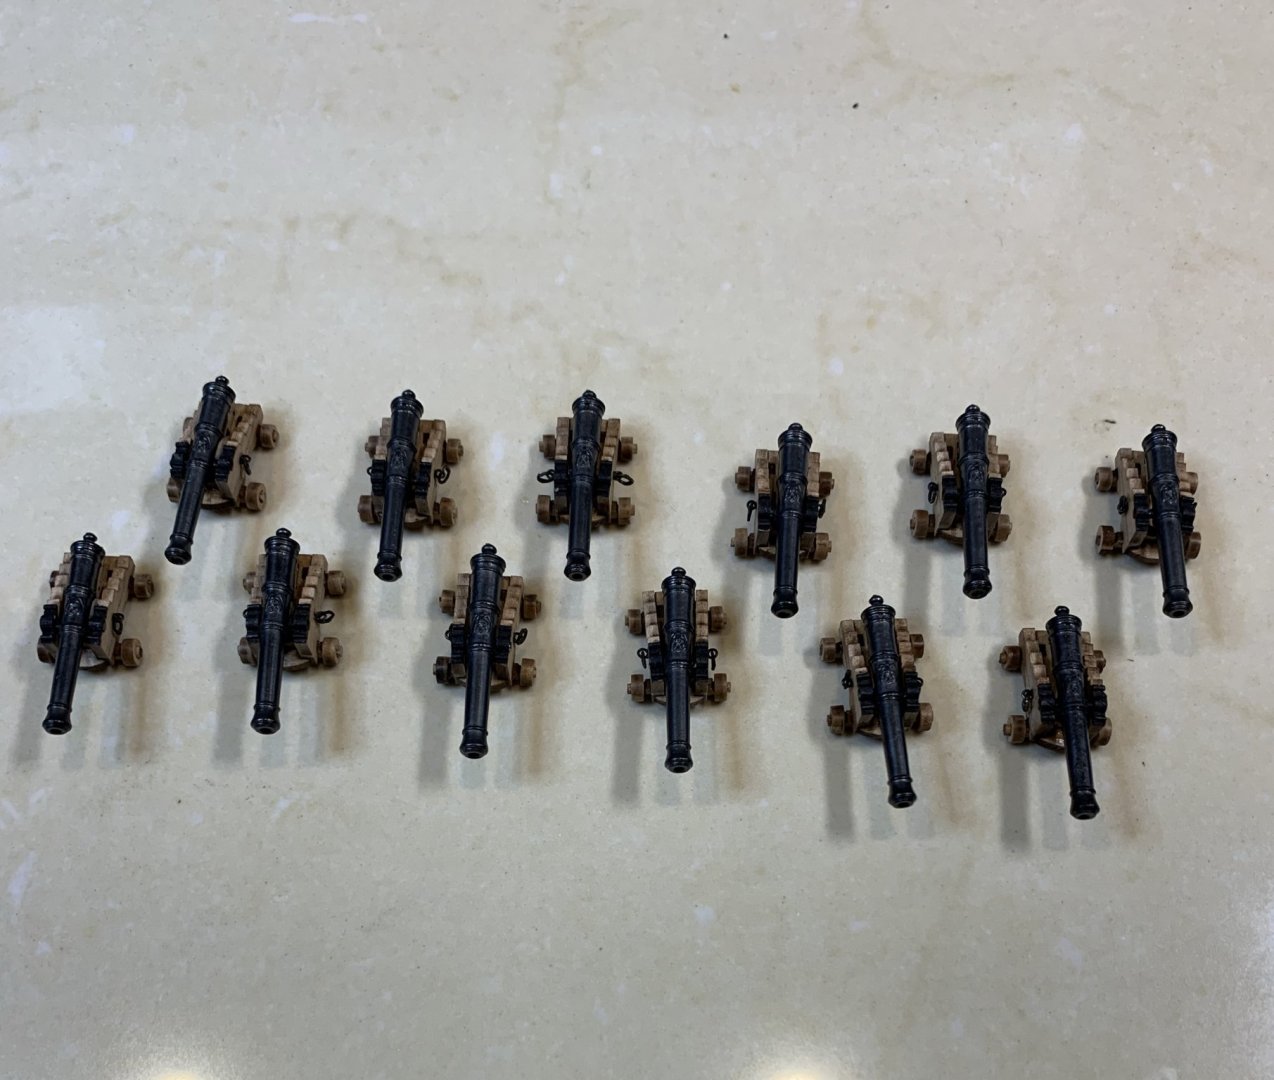
Little pins were made and ready for installation. First i made a pilot hole with a needle in the carriage. Then drilled a hole, 0.45mm with Proxxon and pushed pins in. The final adjustment push was done with opposite end of the surgical scalpel as it has kind of triangular end, small enough to push the pin in without damaging the wood.. During the hole drilling process the drill leaves a tiny marks that was corrected with touch of oil, the same one used to cover the carriage.. On the above photo, it is a shinier part of carriage that has a new oil layer.. This is a "brush" used to apply oil: piece of bounty hold in tweezers.. Very sophisticated.. And all 12 cannons completed... I have ordered a new rigging ropes; the ropes are on its way so will continue with cannons once ropes arrive.. Happy modeling.


- 275 replies
-
- 6
-
-
- phoenix
- master korabel
- (and 1 more)
-
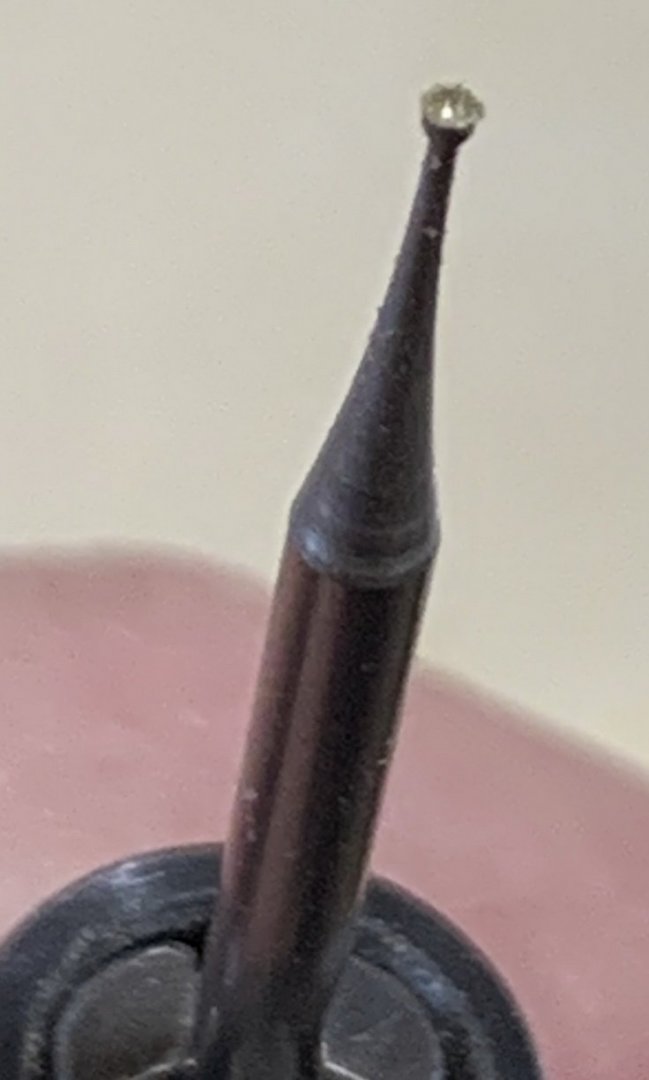
Managed to cover all cannons with a layer of oil... Before and after I will be adding additional pins to make the carriage a bit more interesting. For that i used 0.4mm wire, cut in 3mm length and decided to round the wire top so it does not look uncompleted, with cutting marks, etc. For that i use a small concave bur that will, hopefully do the clean up job... And the pin... It looks nice and clean. Continue making these little pins.. Happy modeling.
- 275 replies
-
- 8
-
-
- phoenix
- master korabel
- (and 1 more)
-
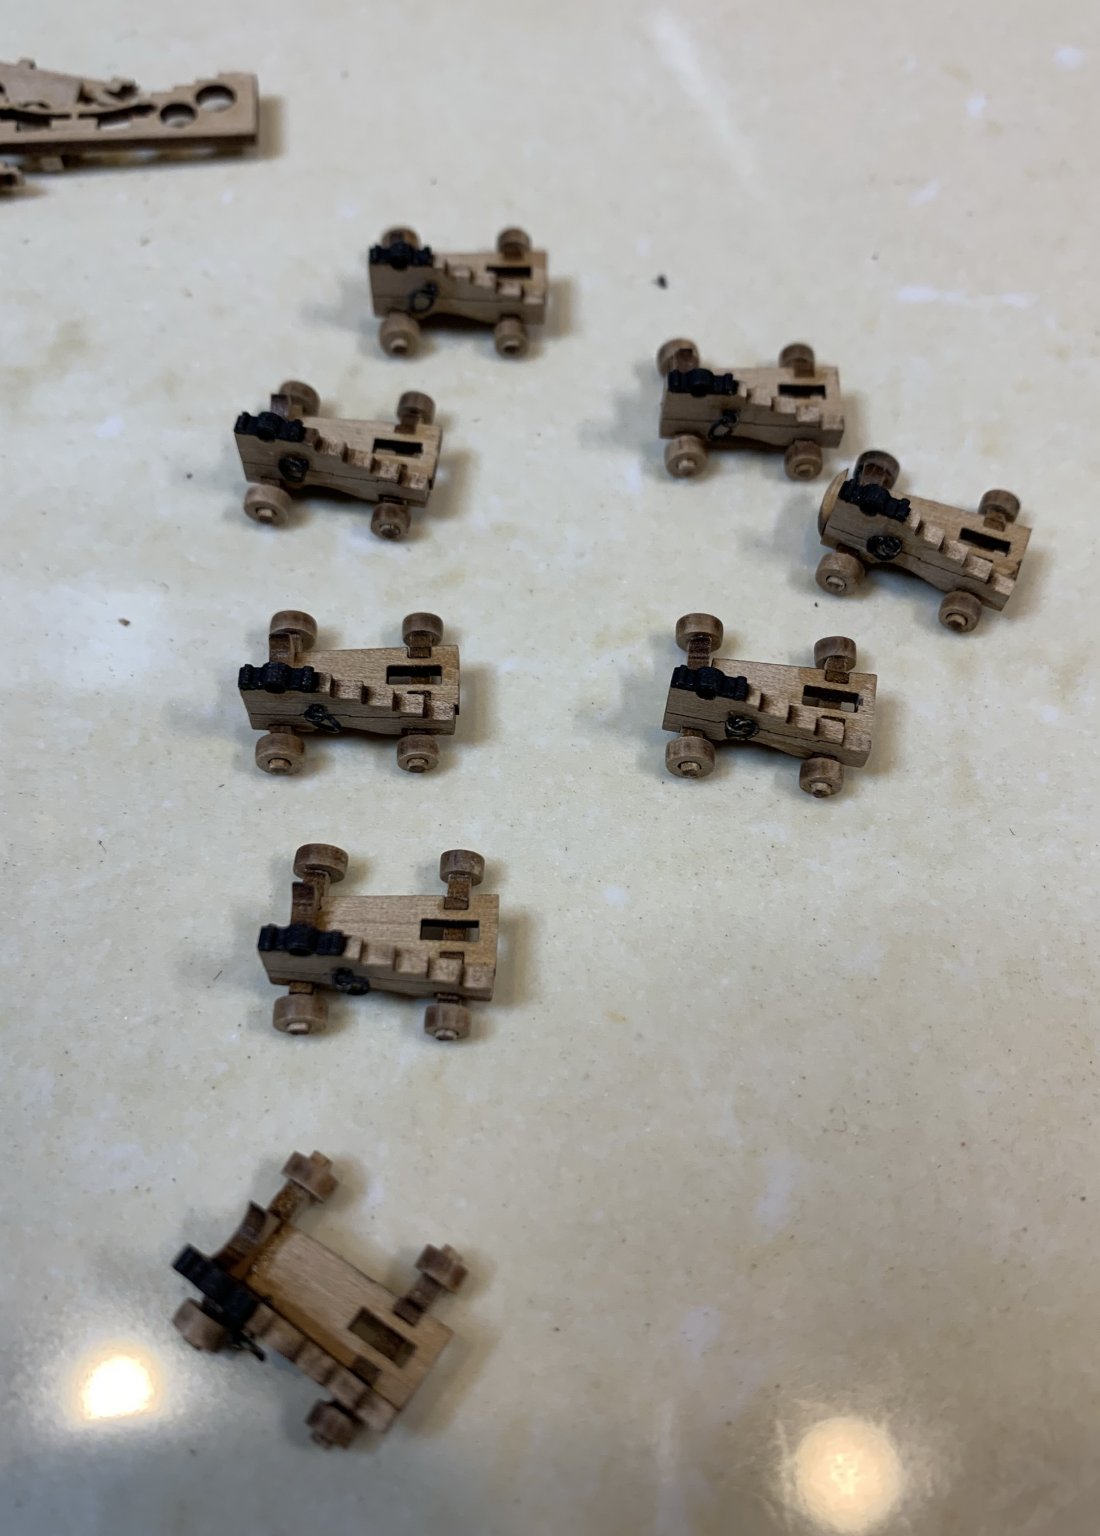
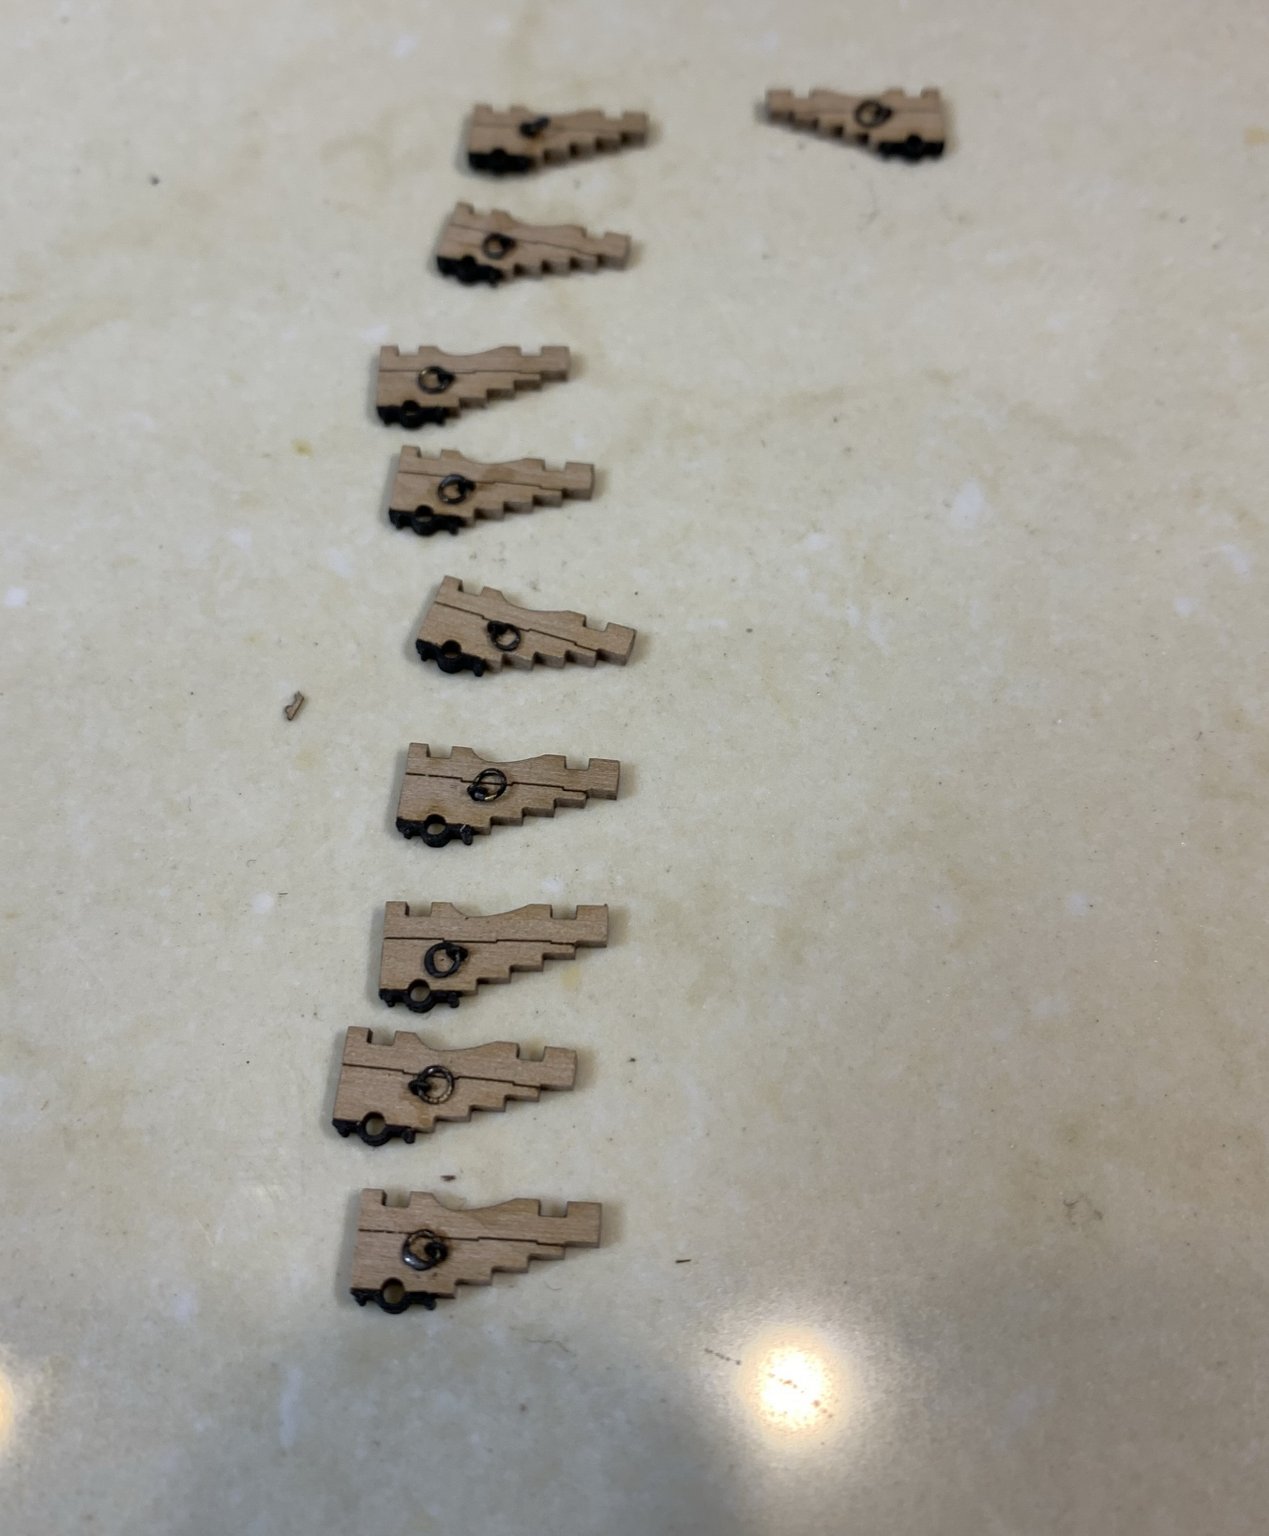
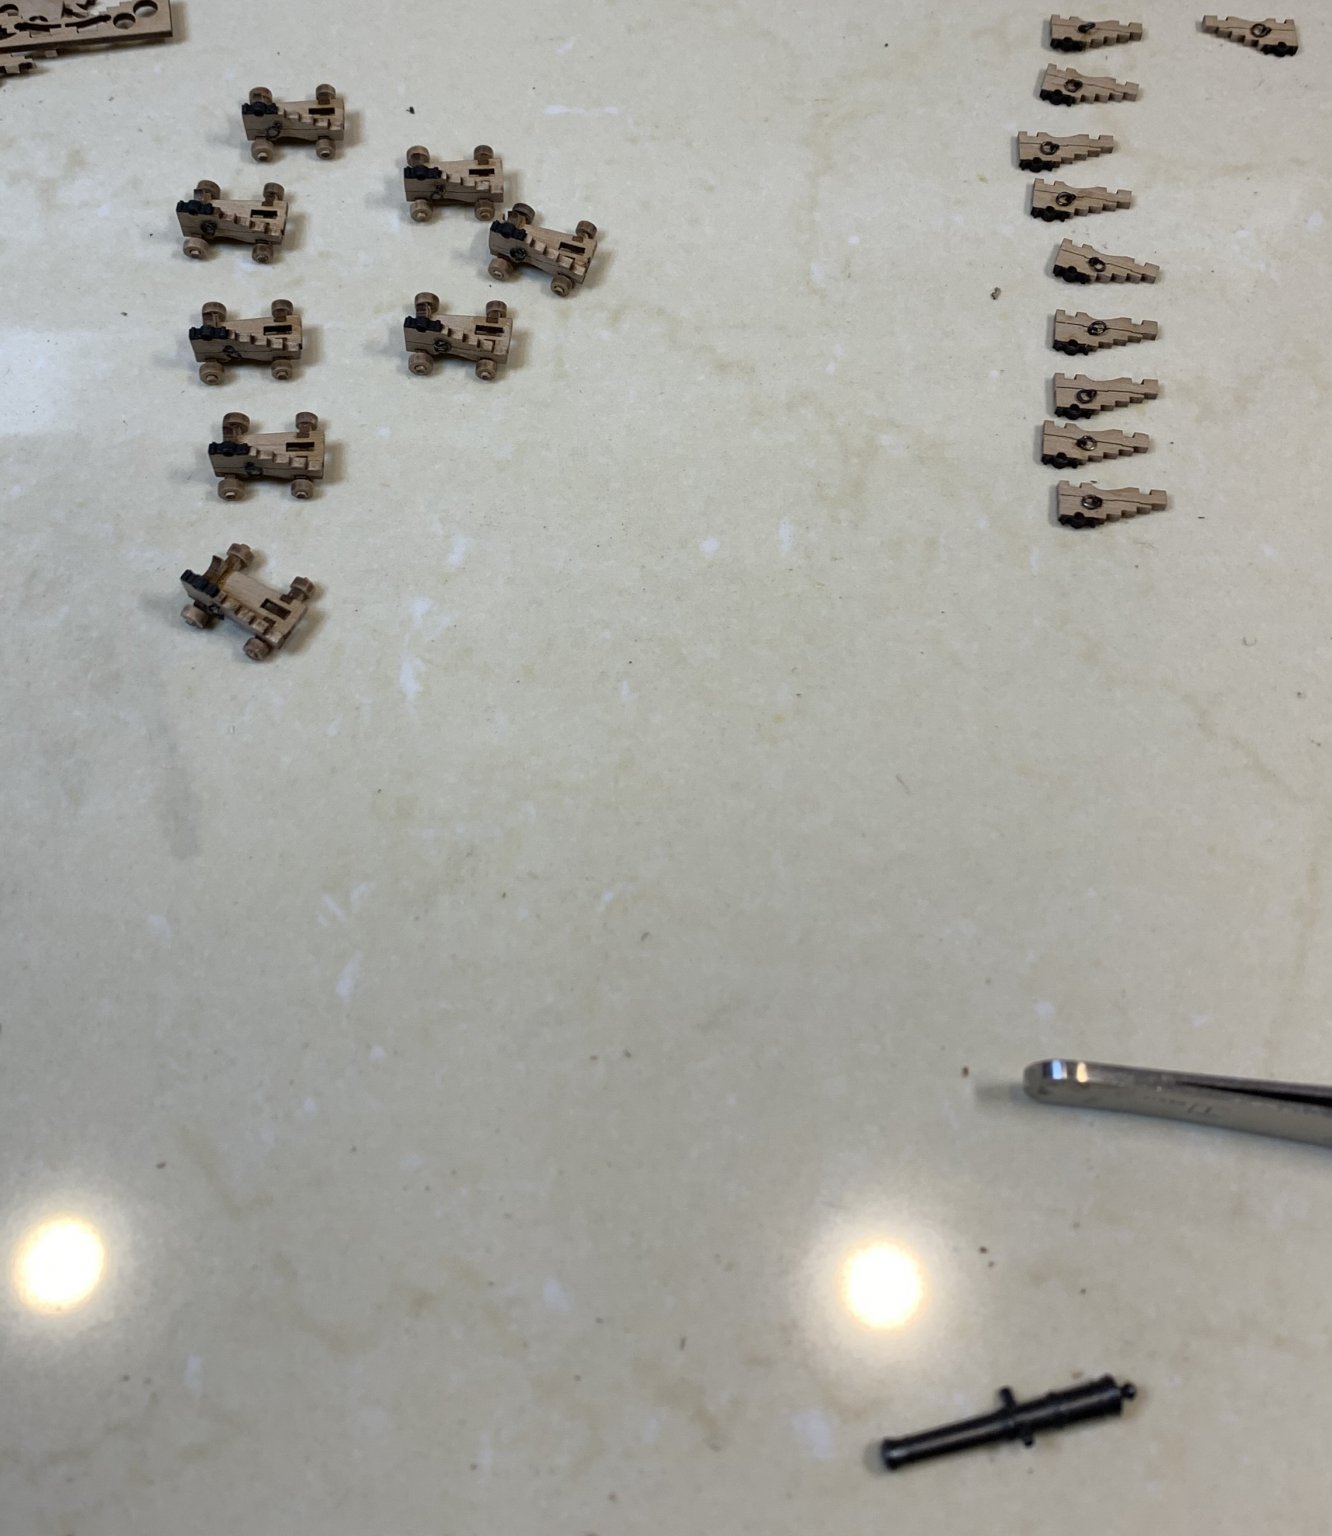
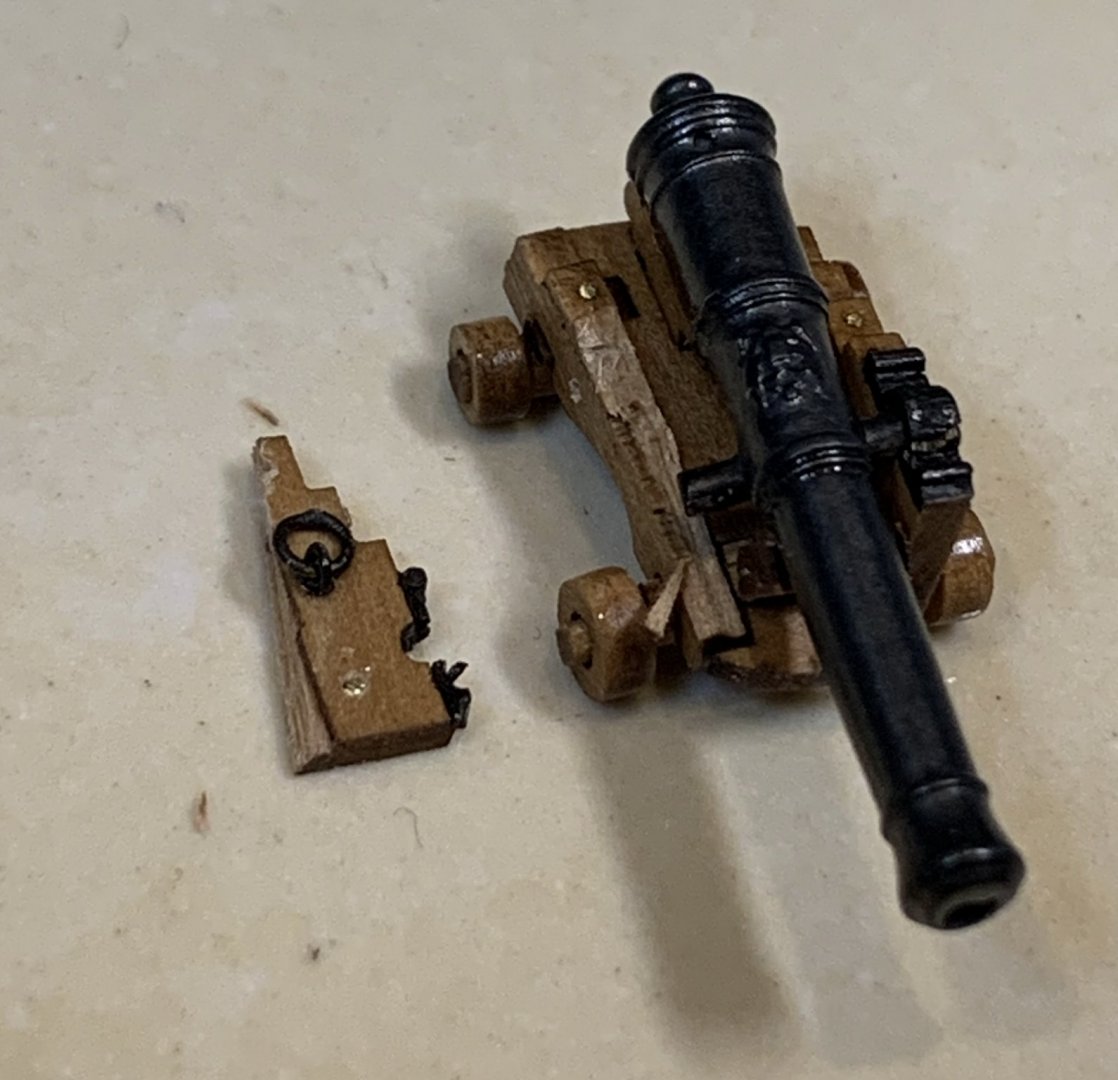
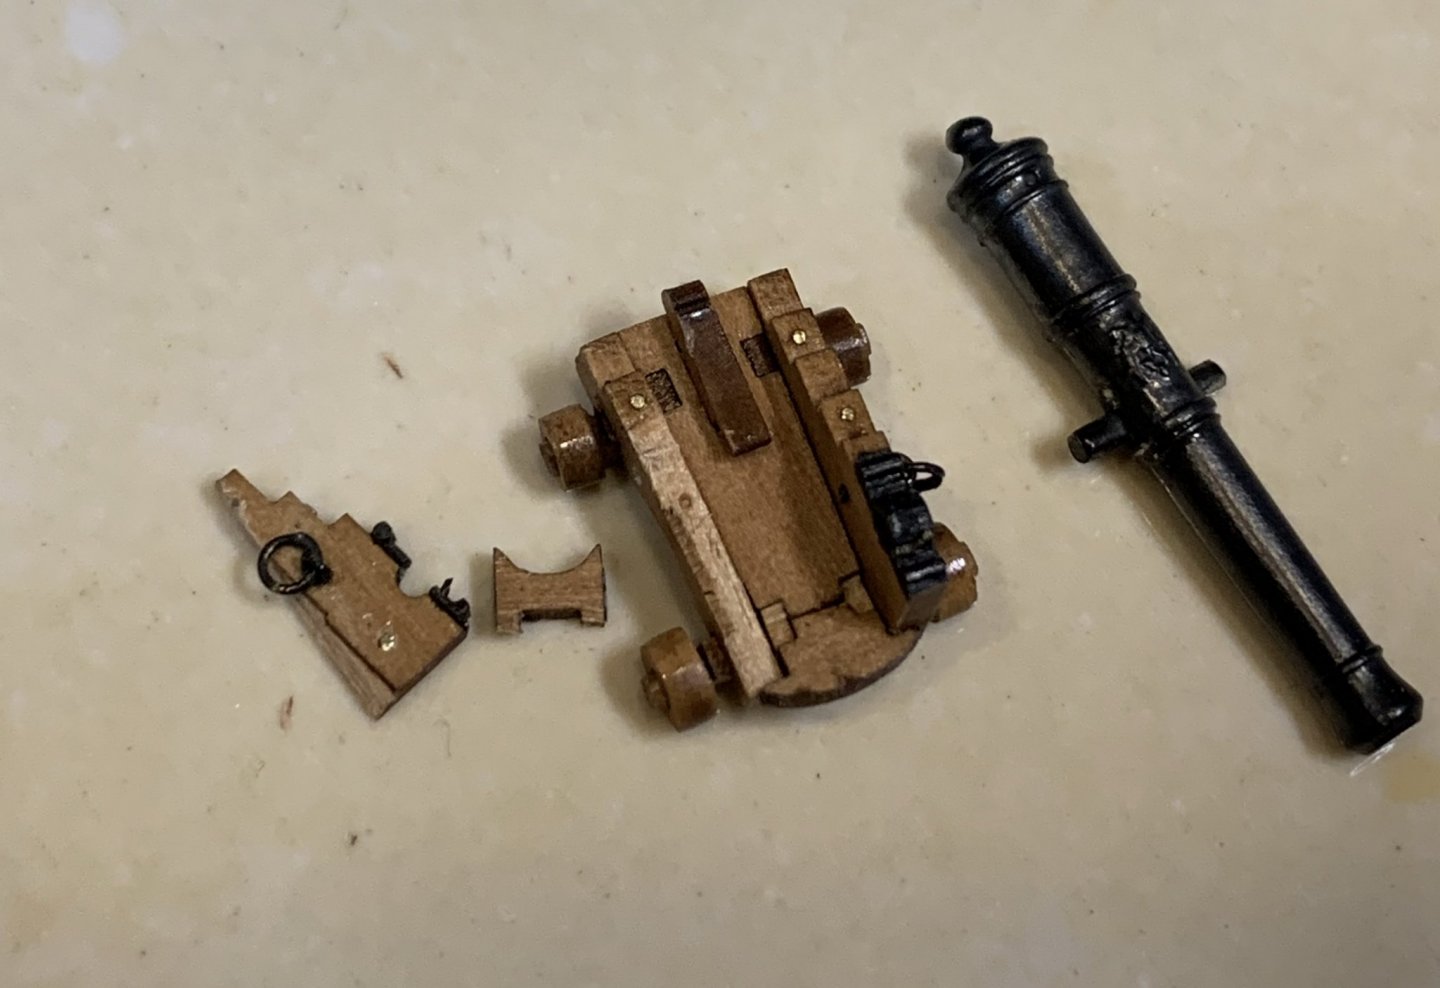
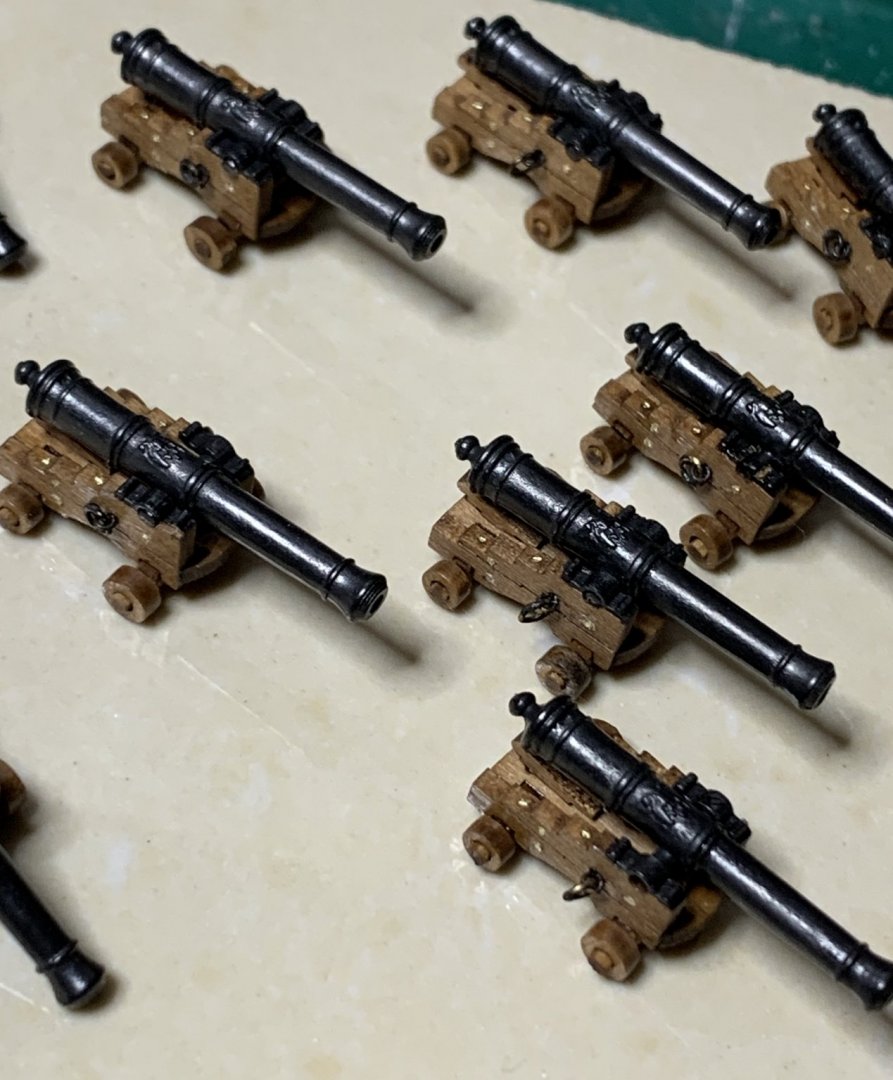
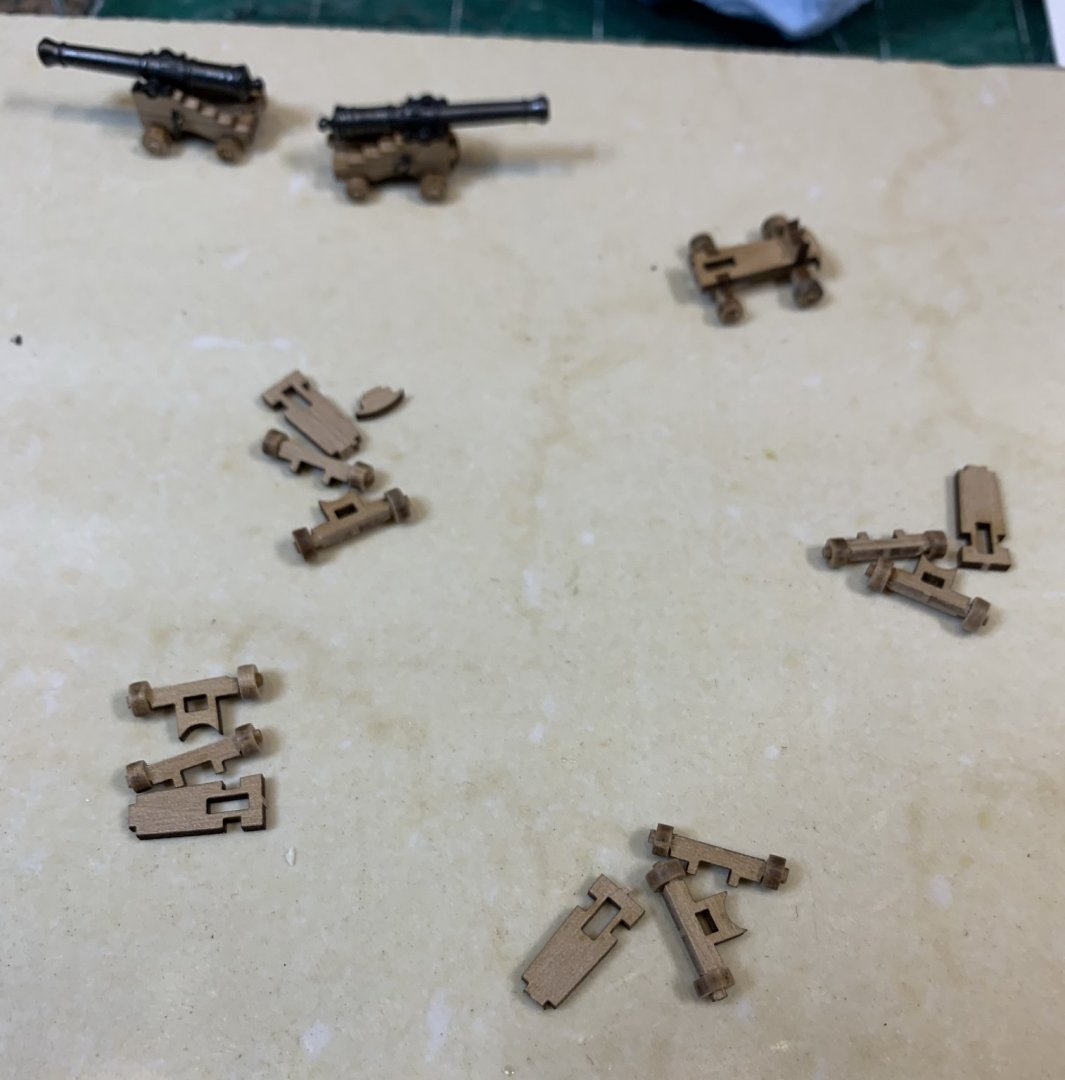
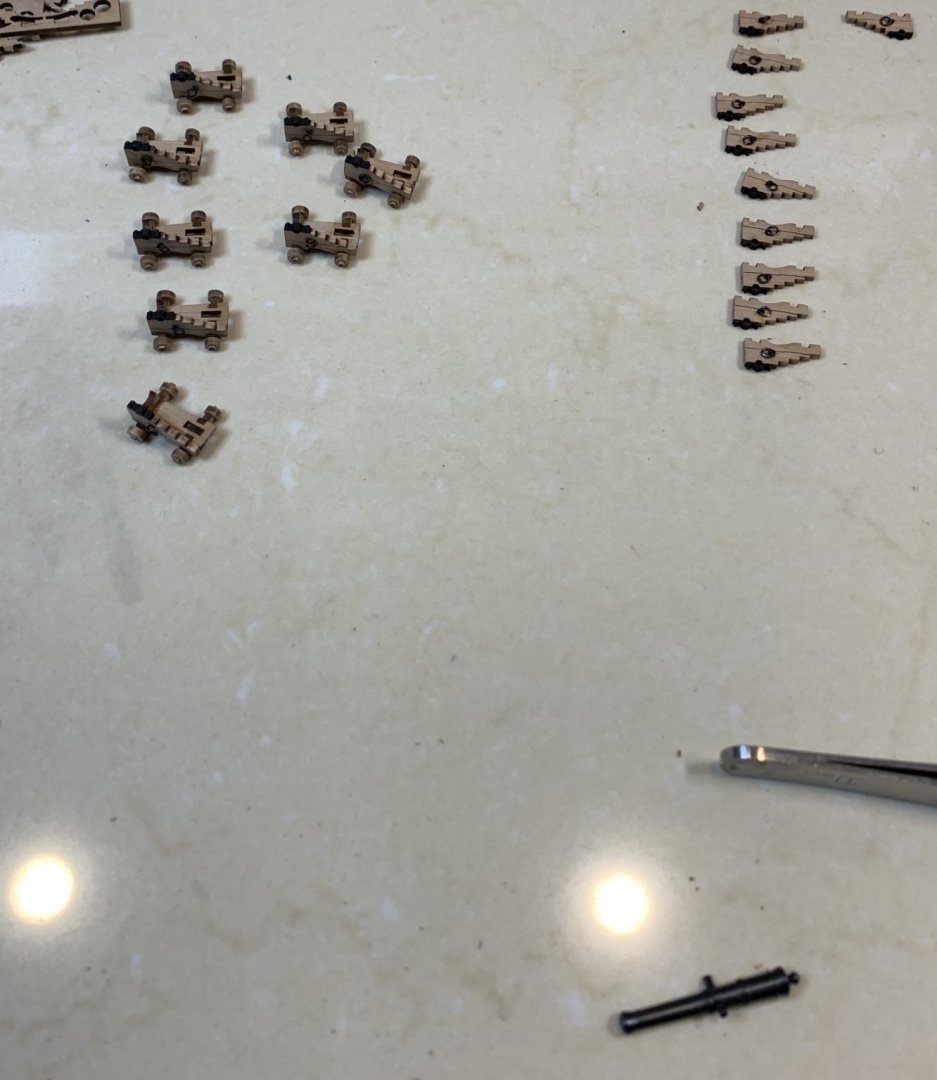
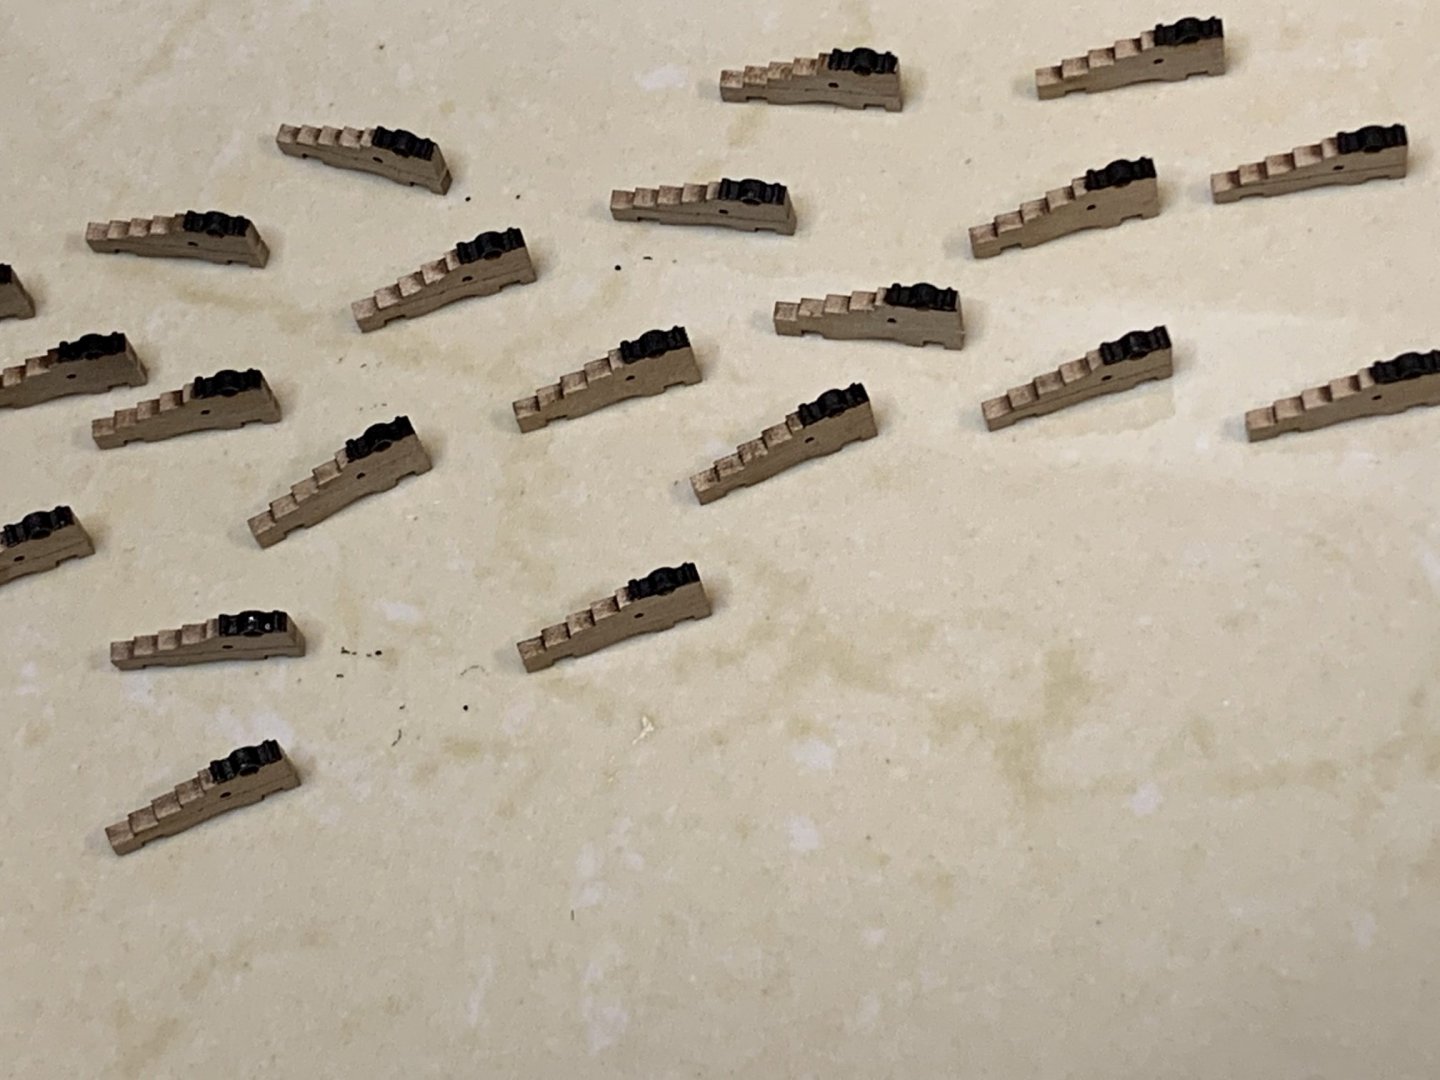
All cannons were assembled. Here are some stages of the assembly process... First i worked on axles, shaping them to accept trucks. Then all capsquare were simulated with a black paint. The left side bracket was attached.. Guns were next and right brackets were attached.. All 12 of them waiting for an oil layer... Happy modeling.

- 275 replies
-
- 7
-
-
- phoenix
- master korabel
- (and 1 more)
-
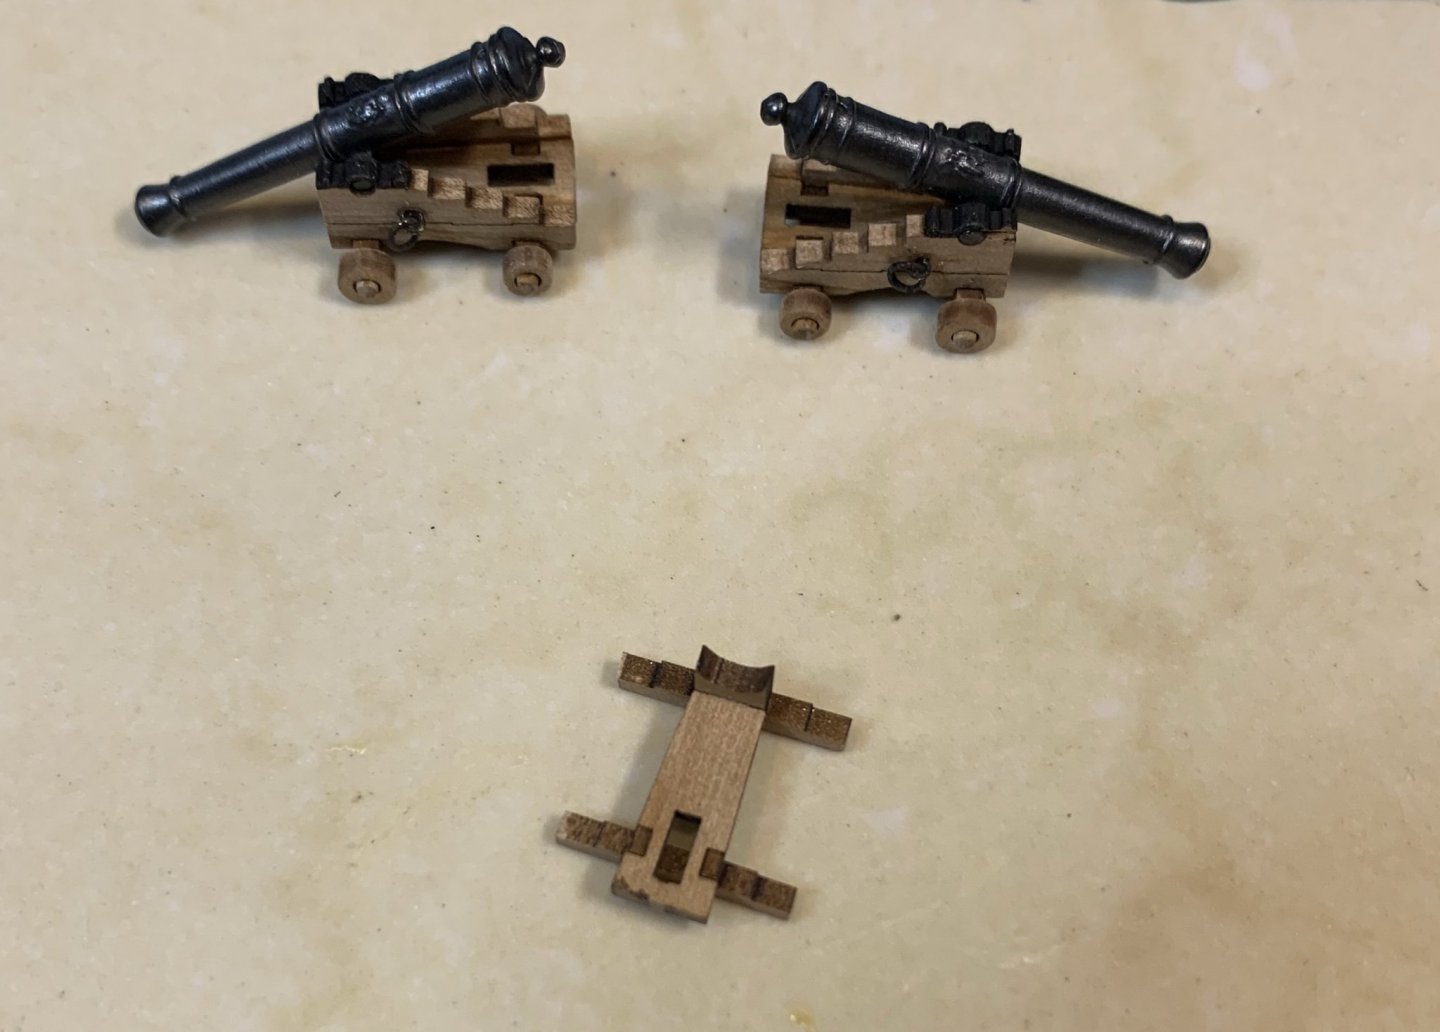
Not much to report, continue working on cannons; glued all eyebolts and rings... and after sanding, dry fitting and some other small adjustments, assembled two cannons.. They are tiny and took me appr 30min for each... Next, will put a layer of oil on them... Happy modeling.
- 275 replies
-
- 6
-
-
- phoenix
- master korabel
- (and 1 more)
-
Yeah, they turned out to be nice.. 11 more to go..
- 275 replies
-
- 1
-
-
- phoenix
- master korabel
- (and 1 more)
-
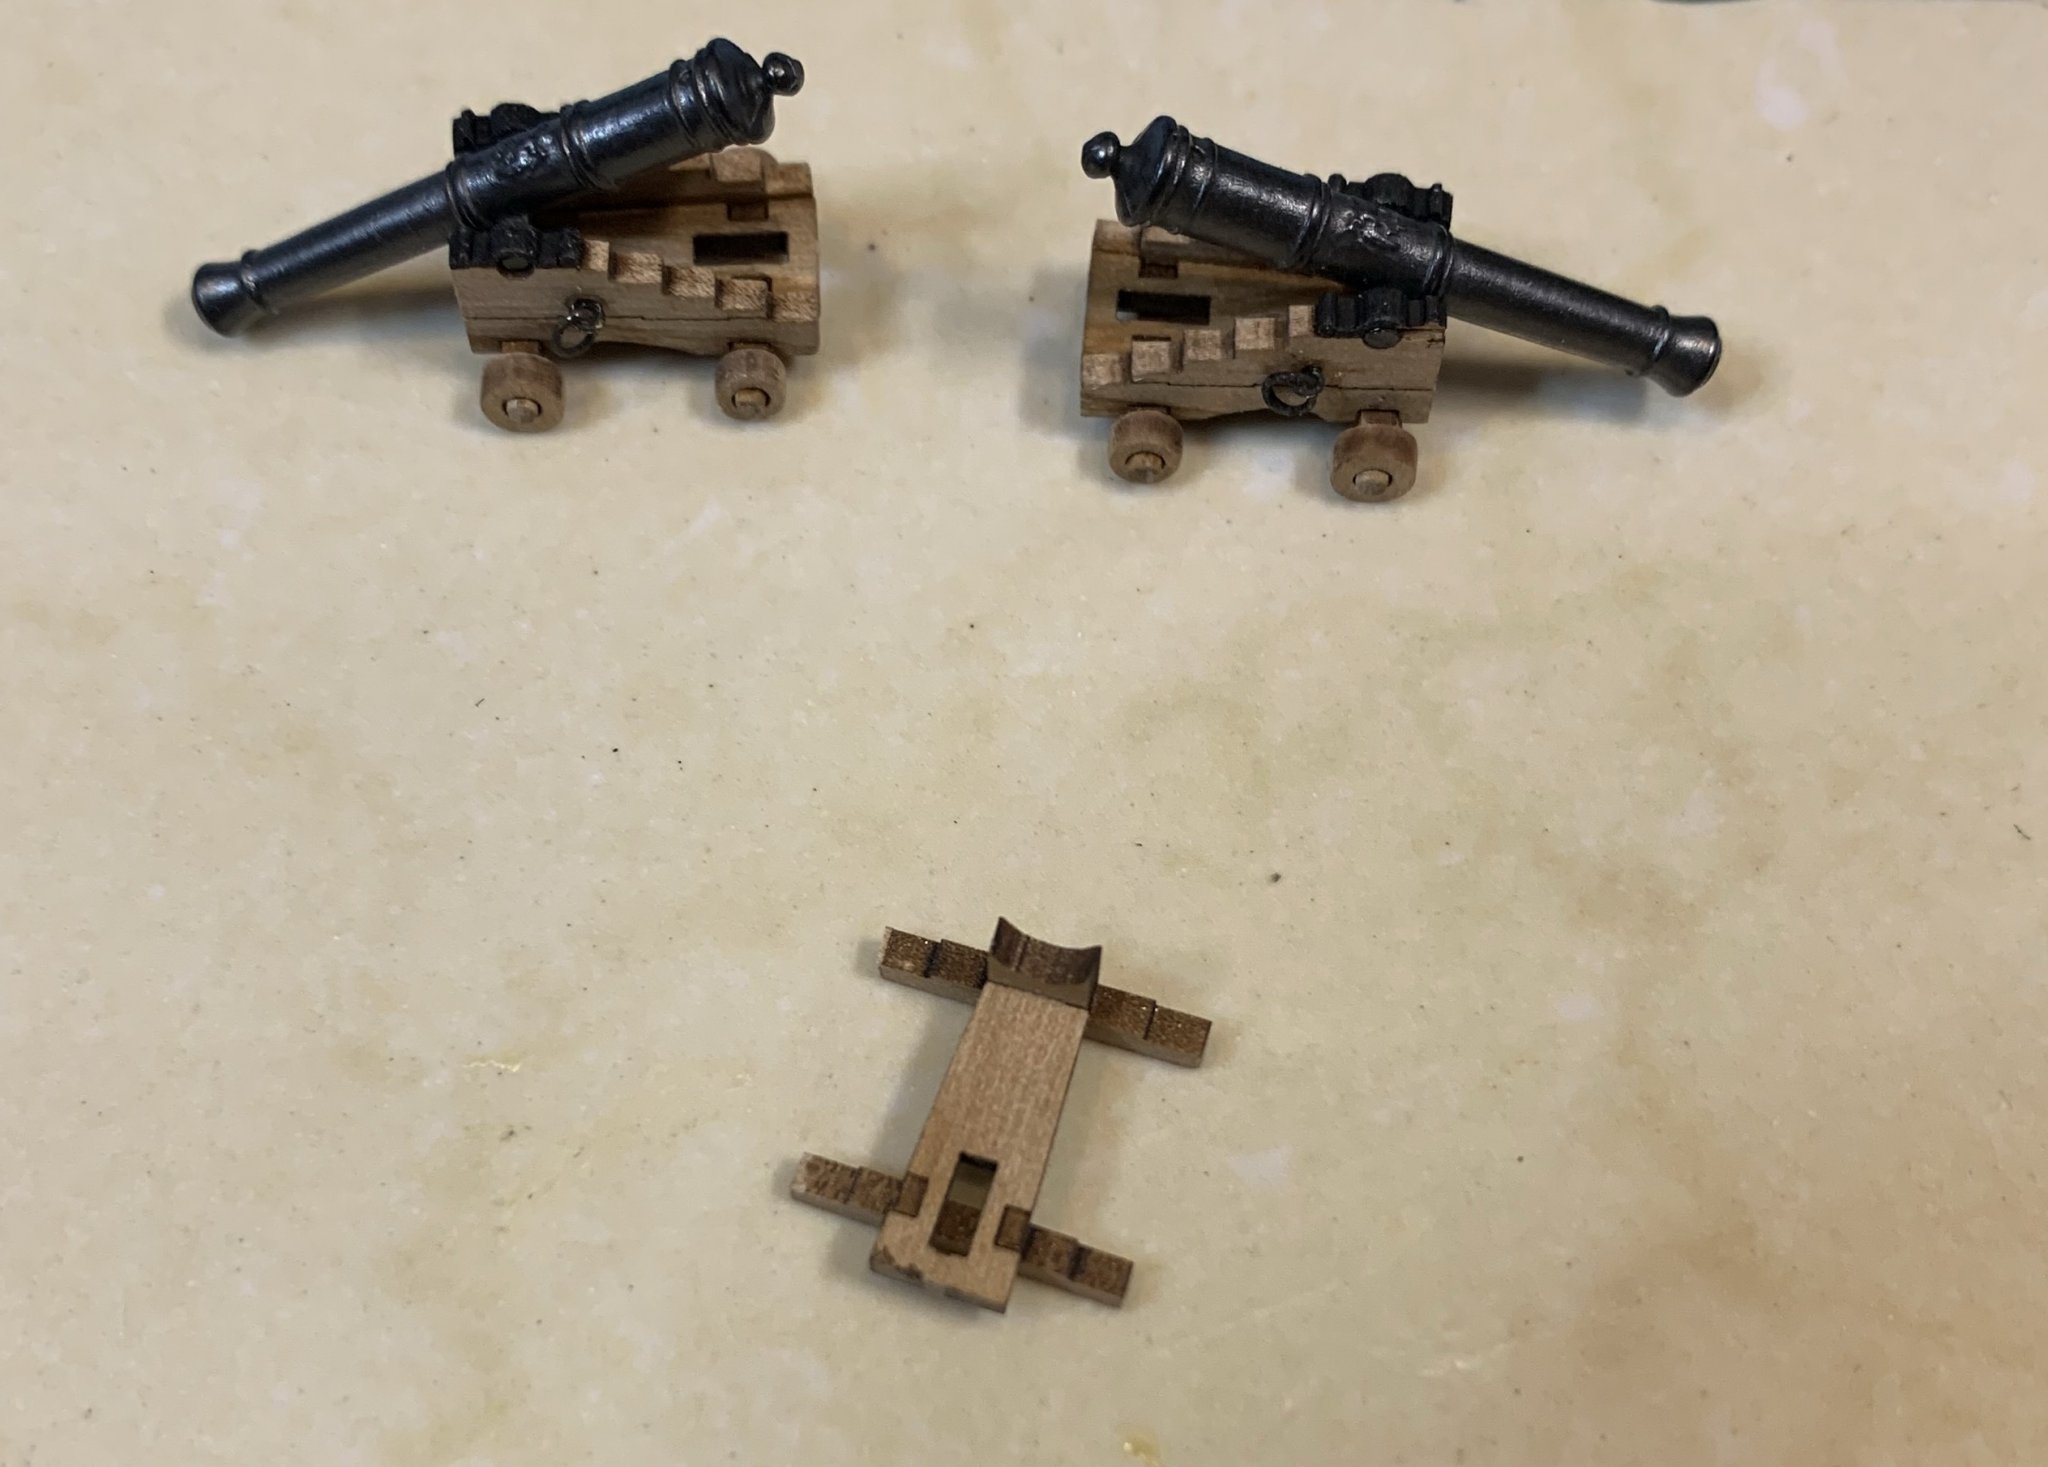
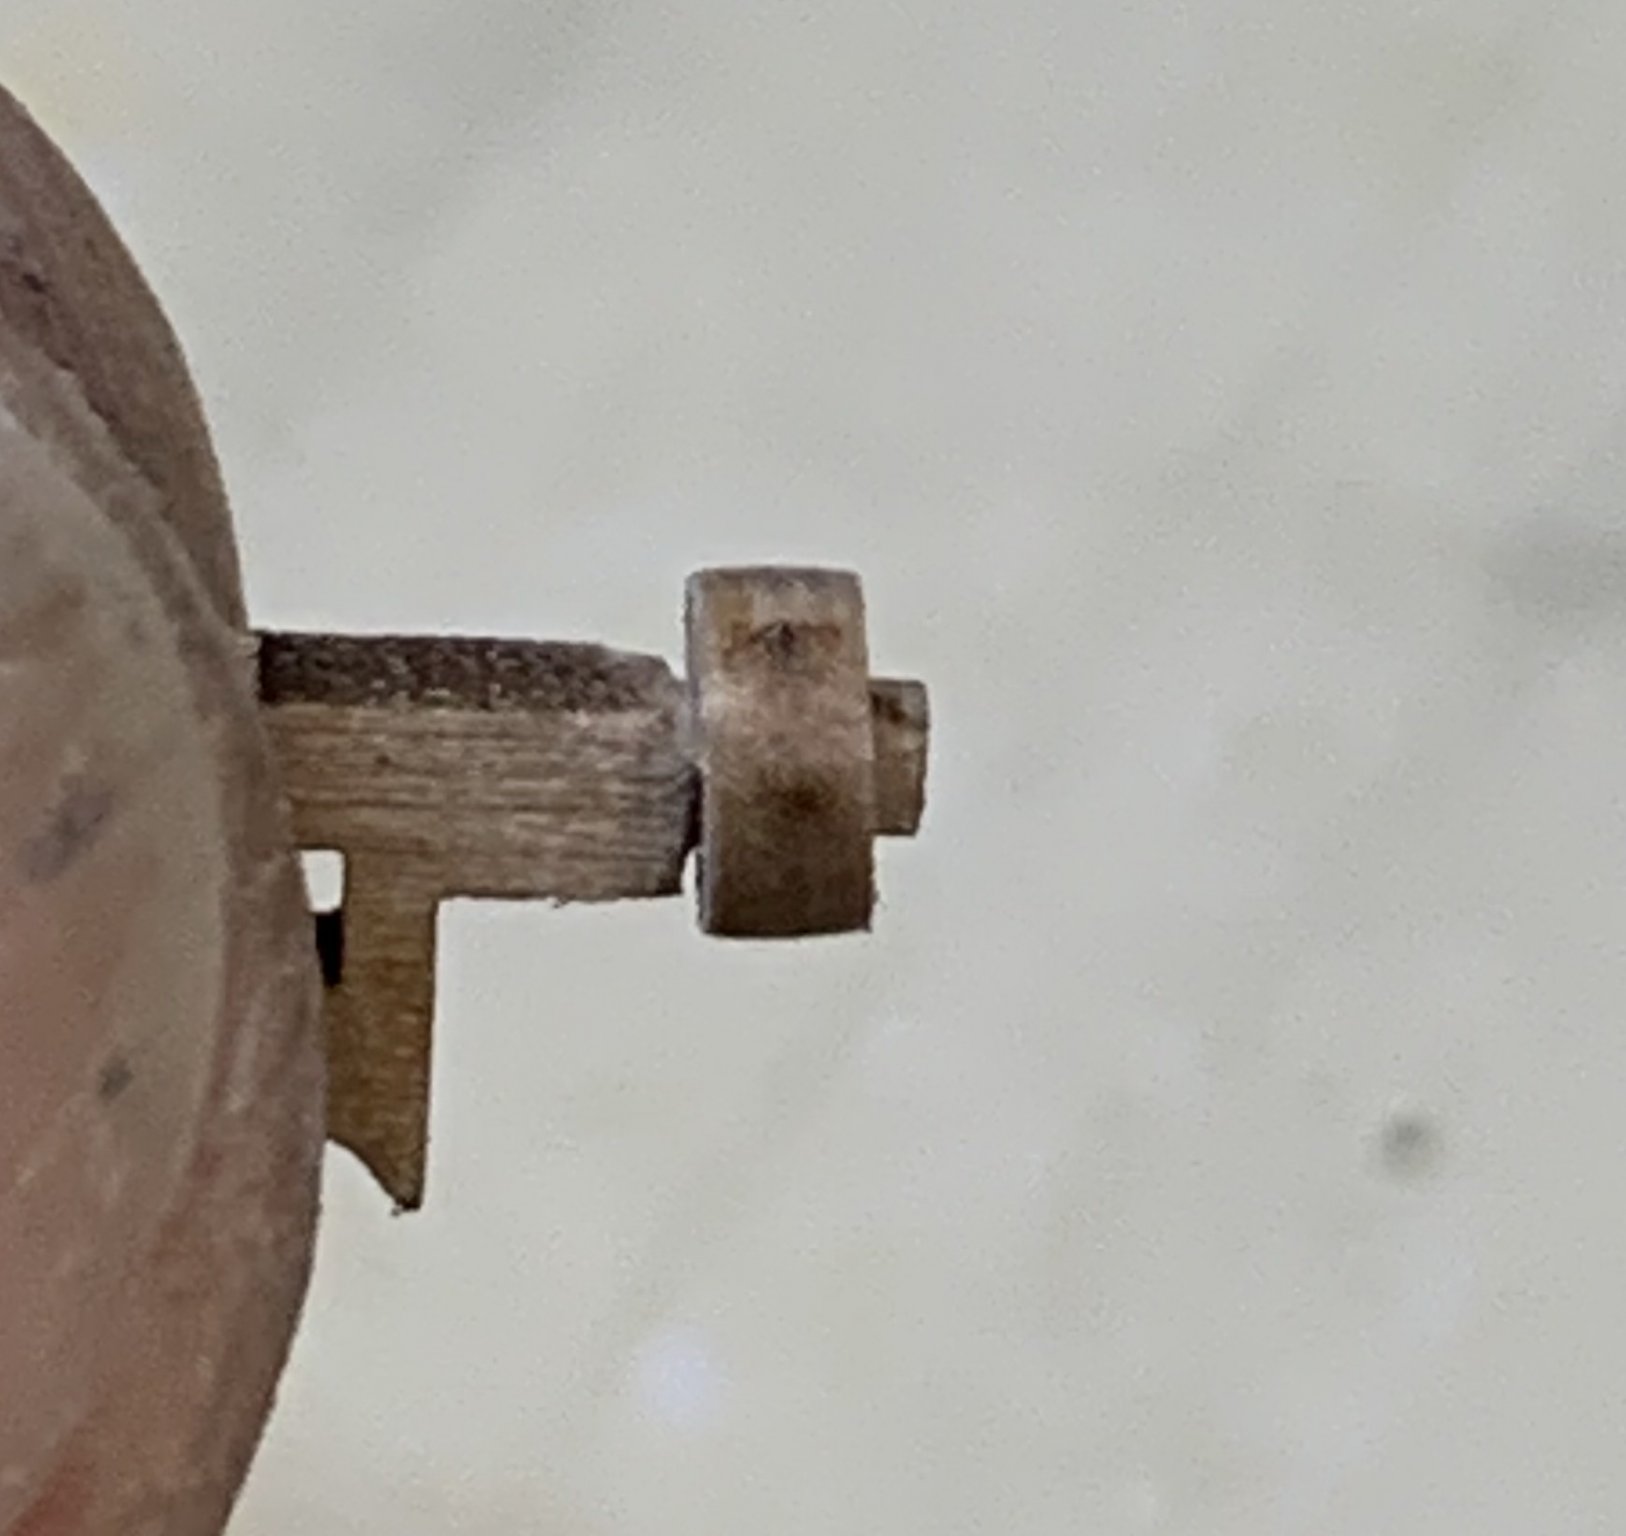
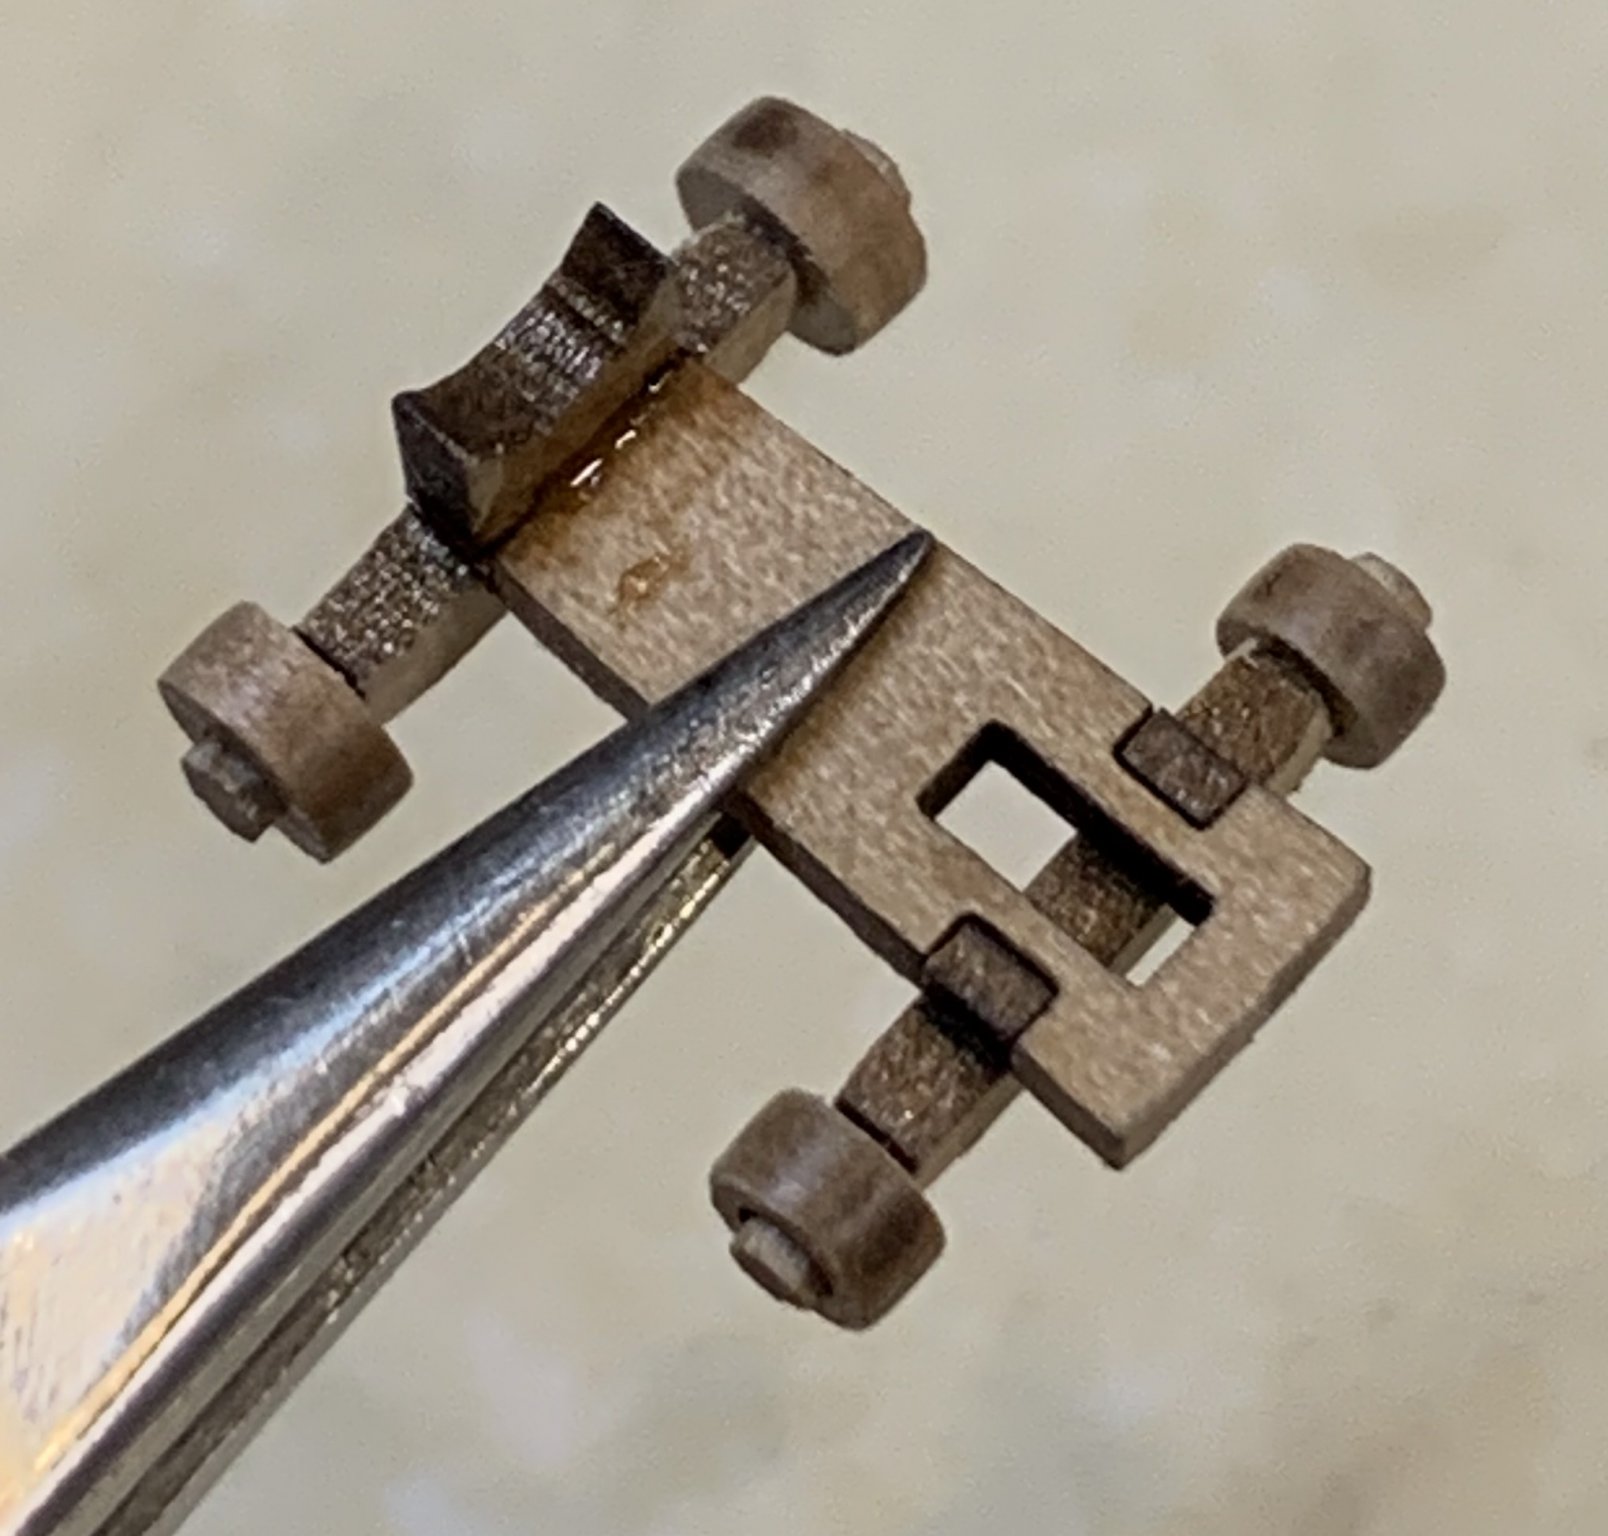
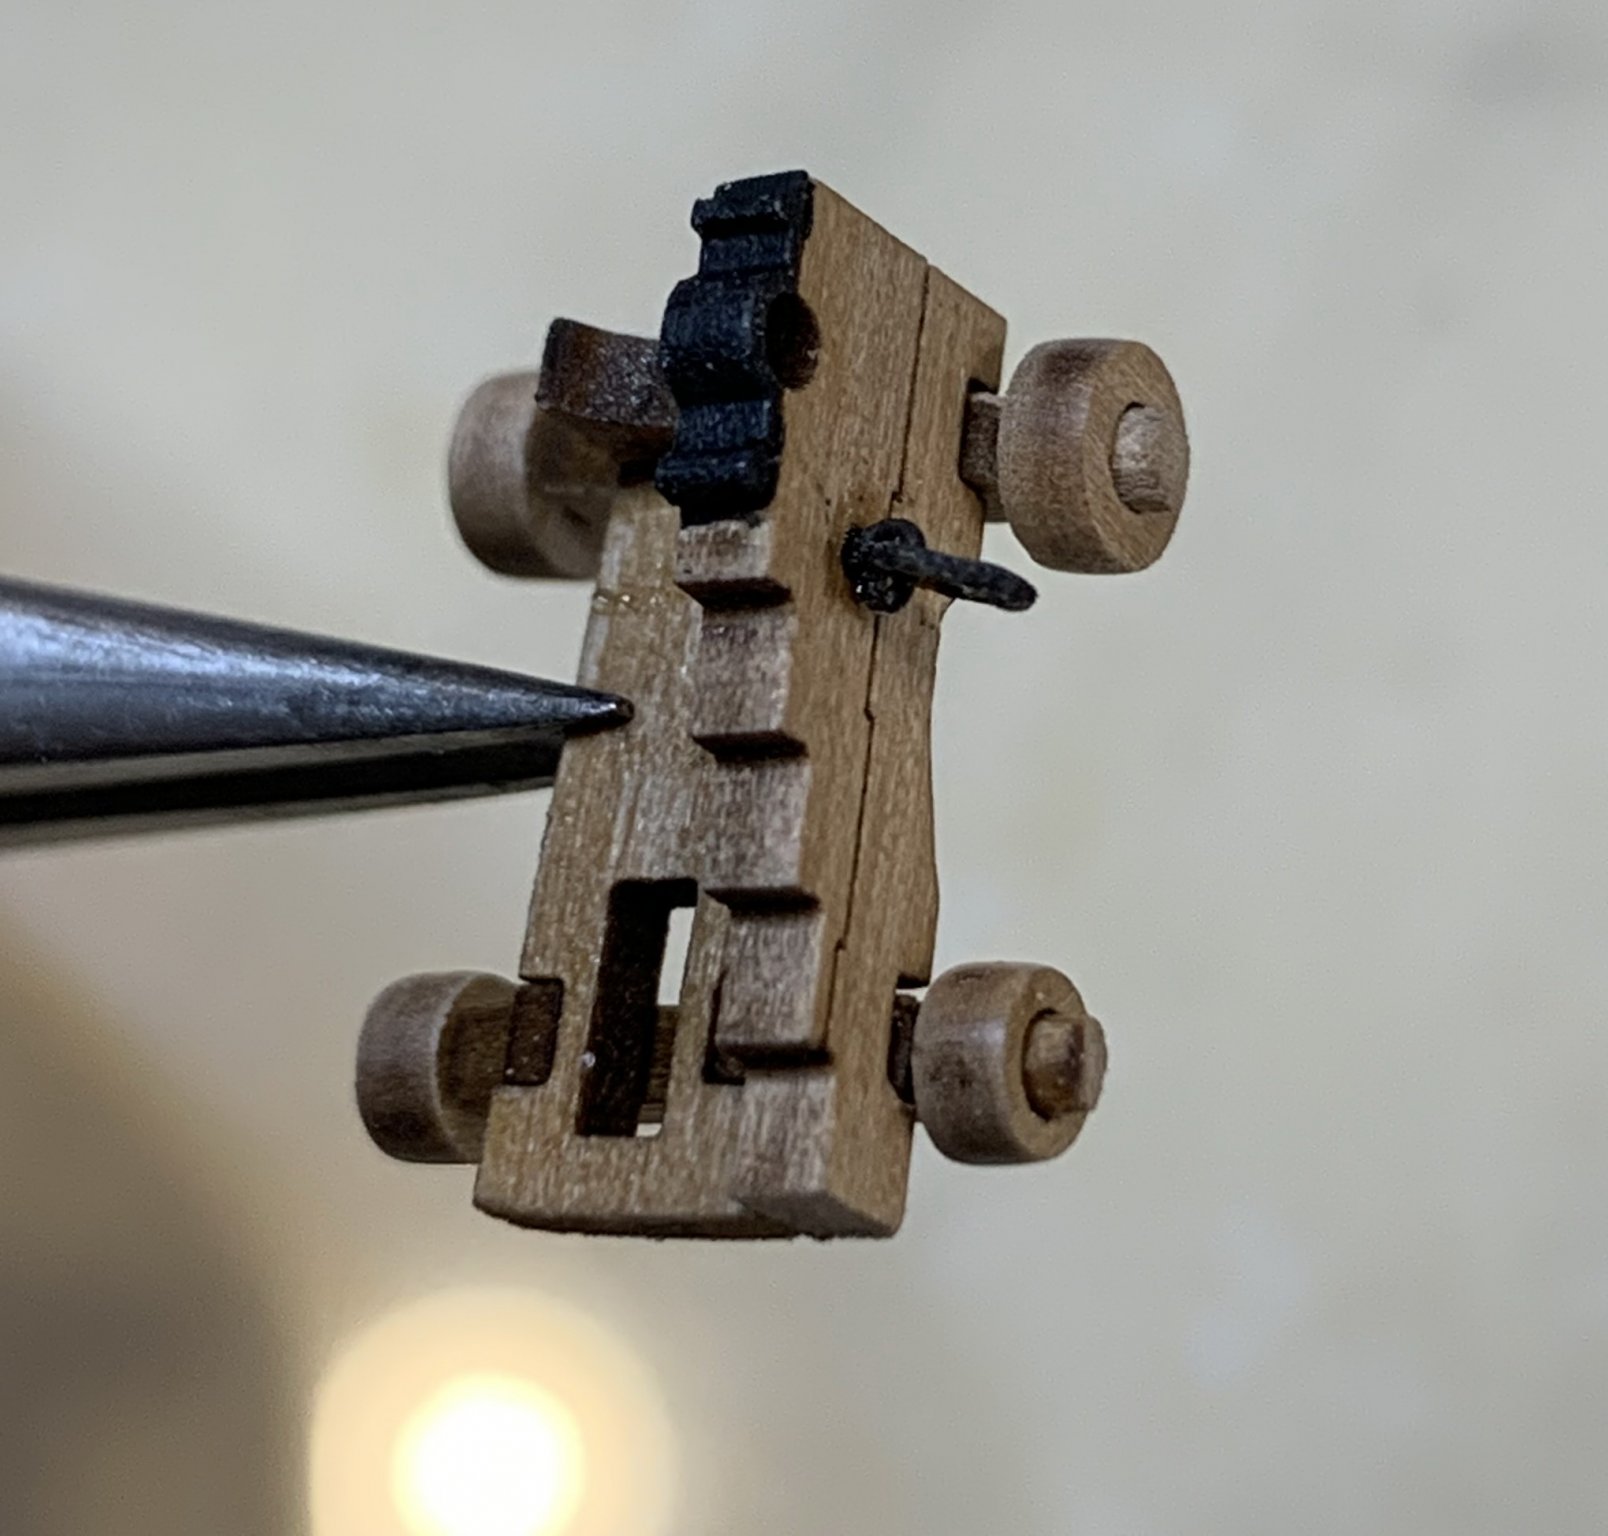
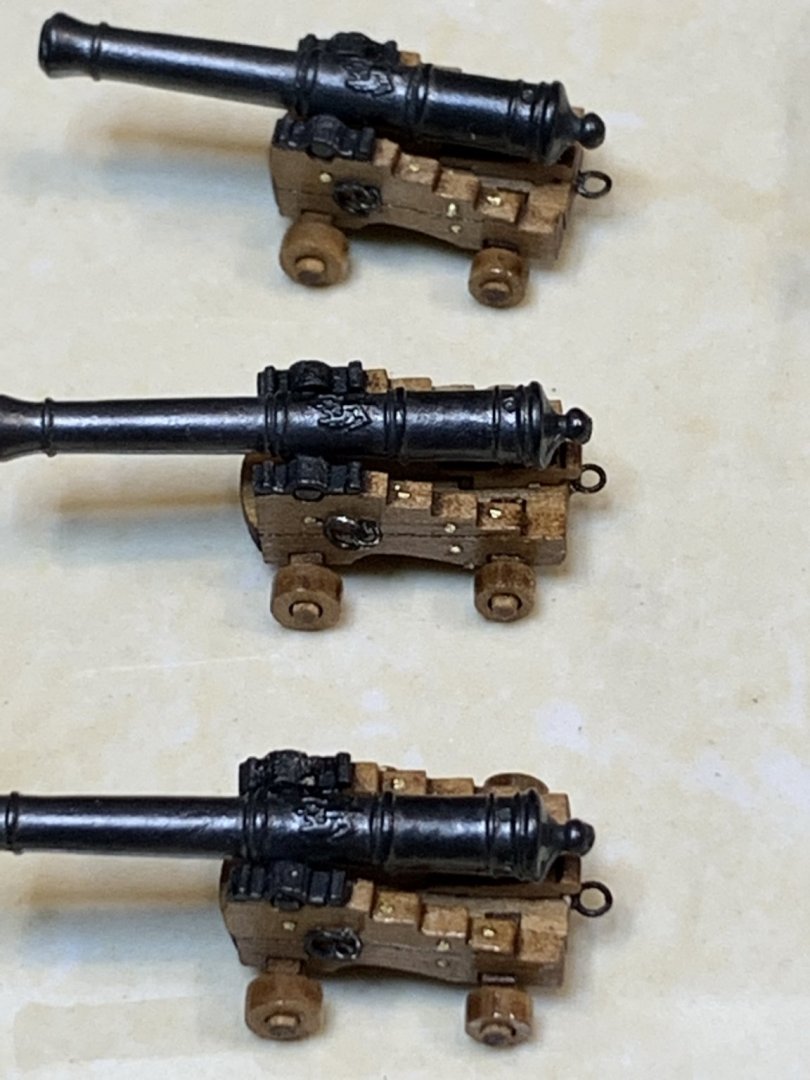
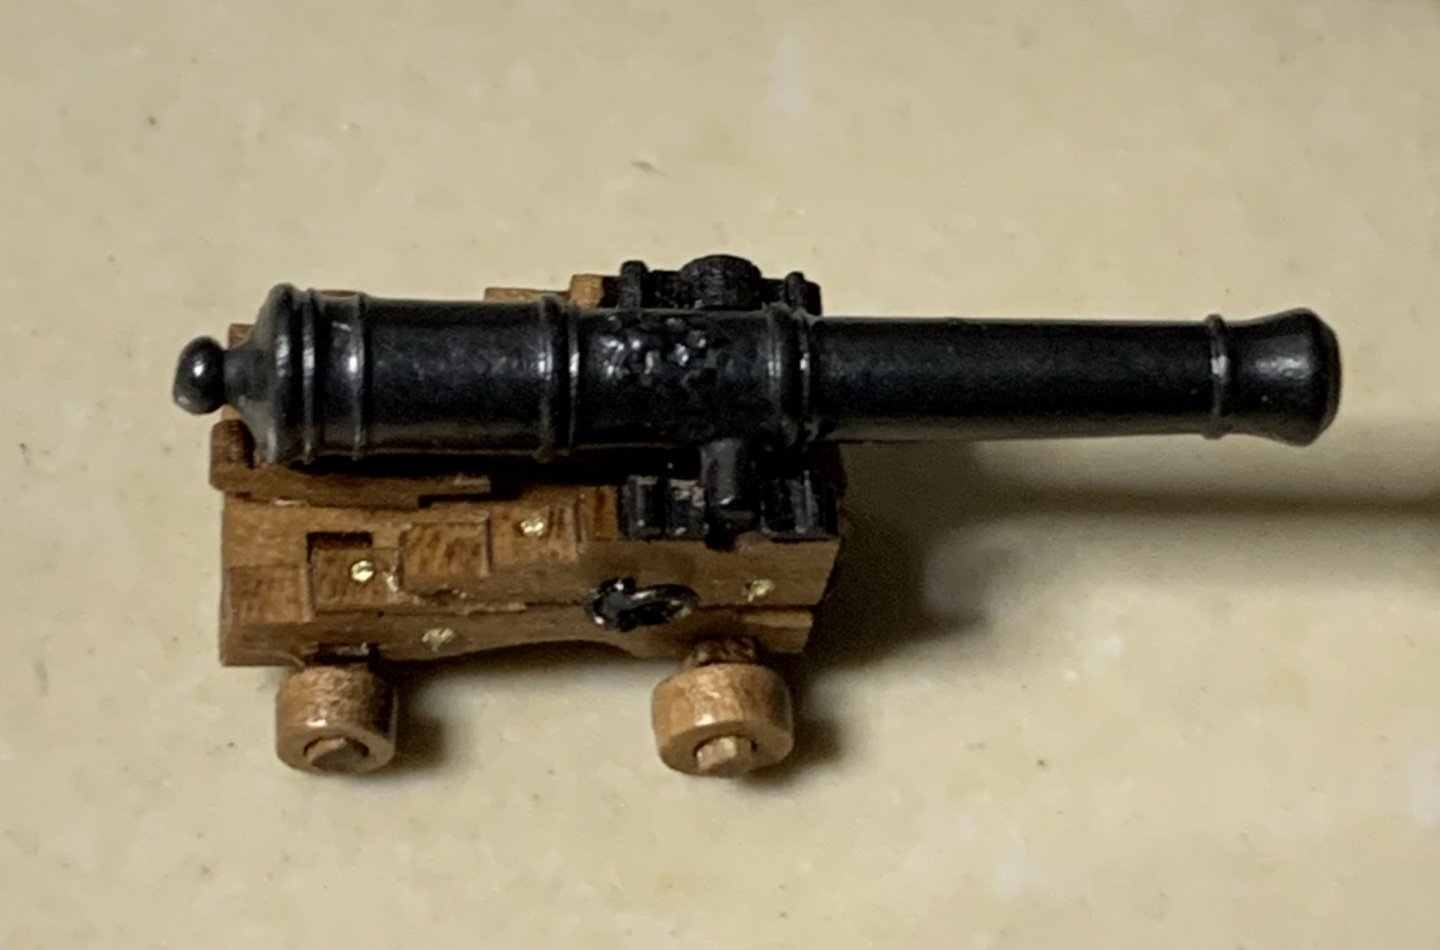
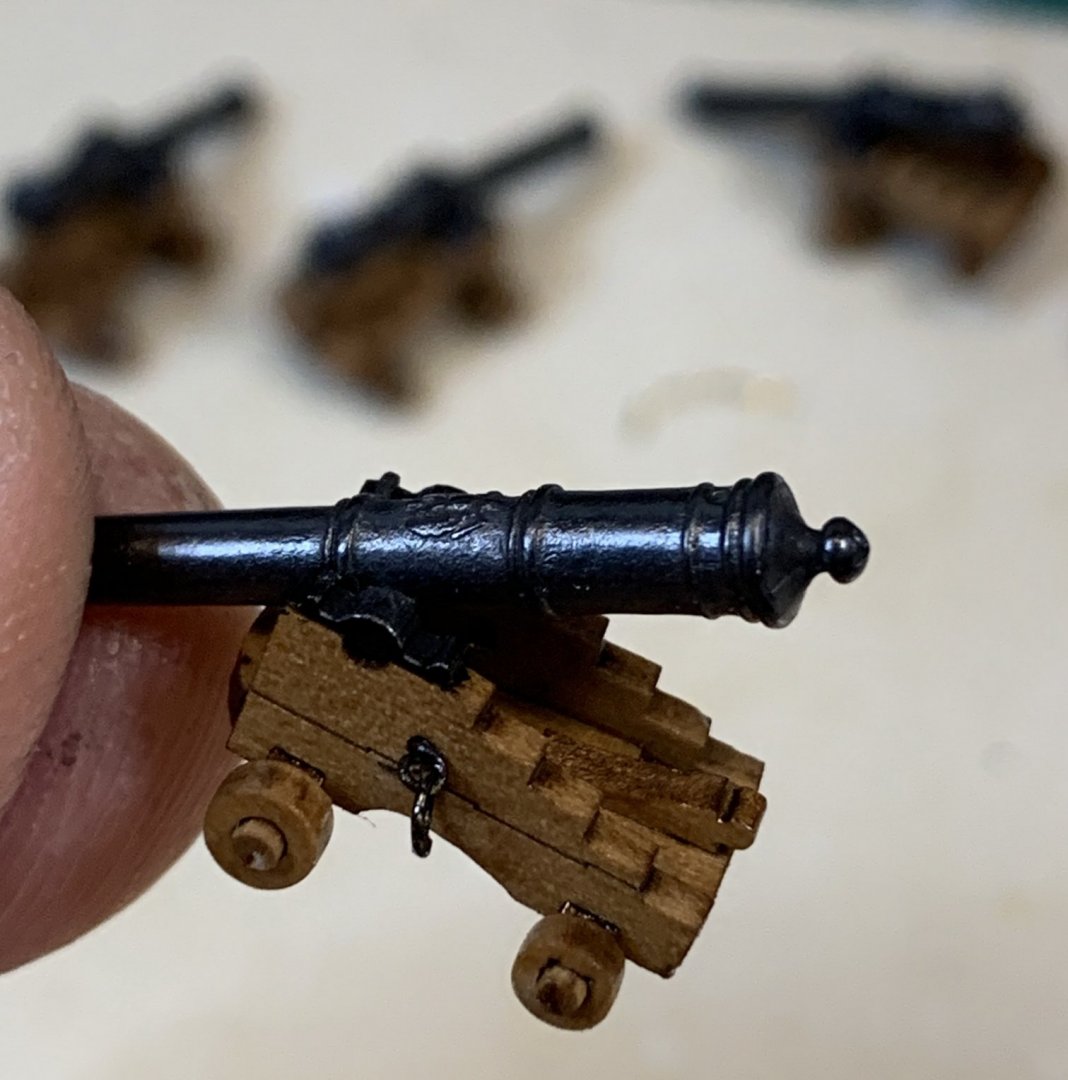
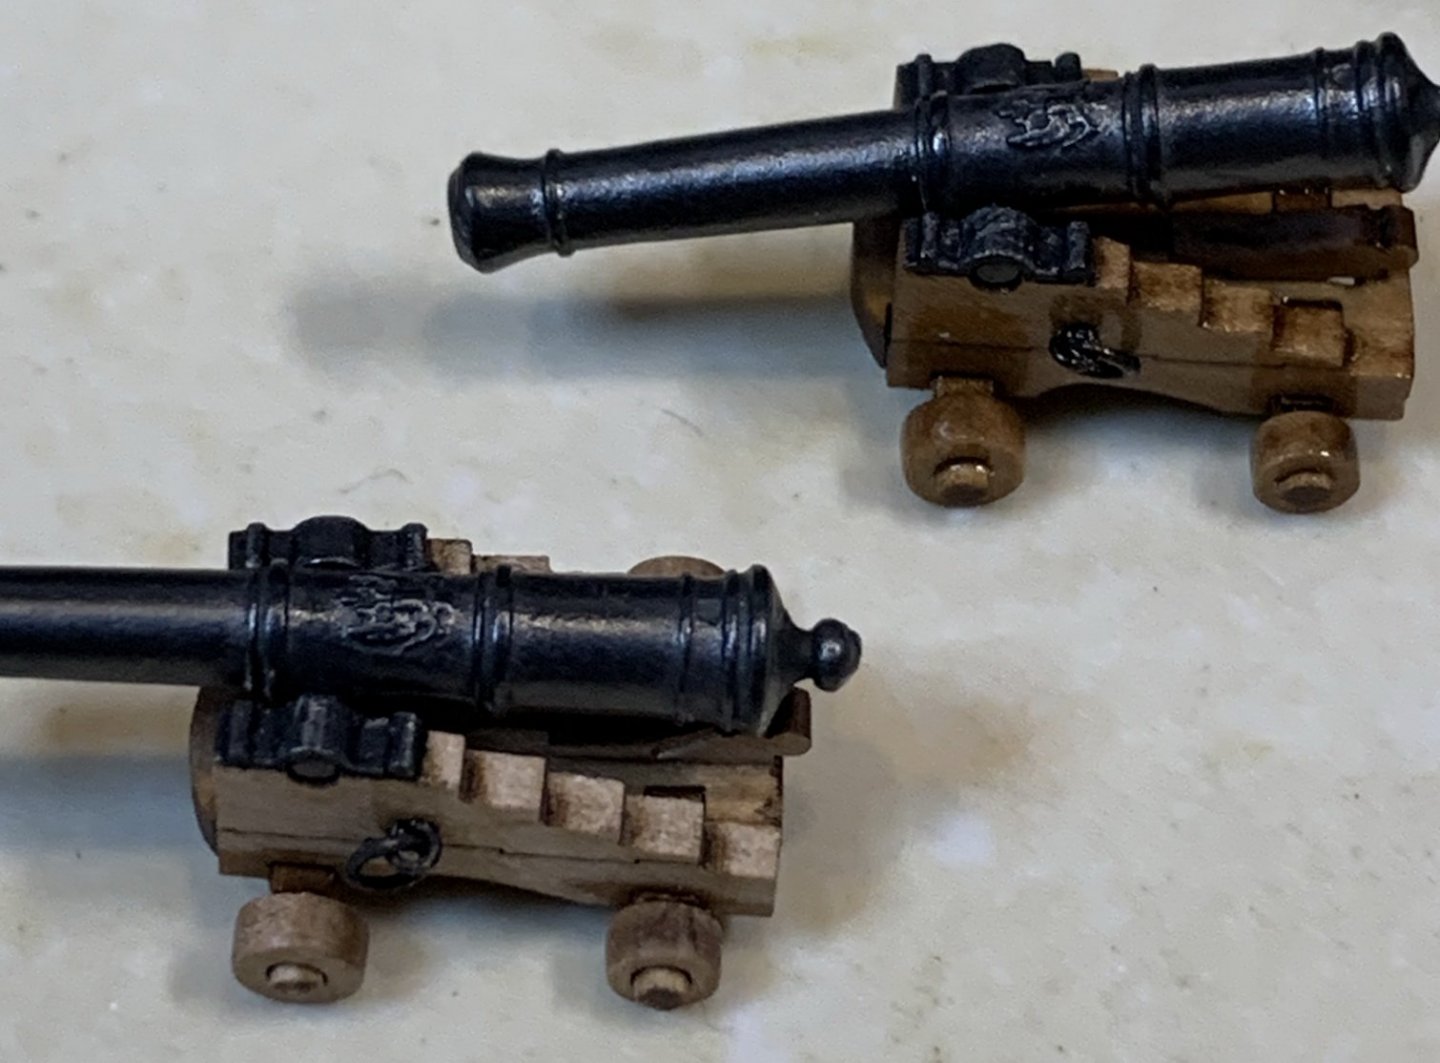
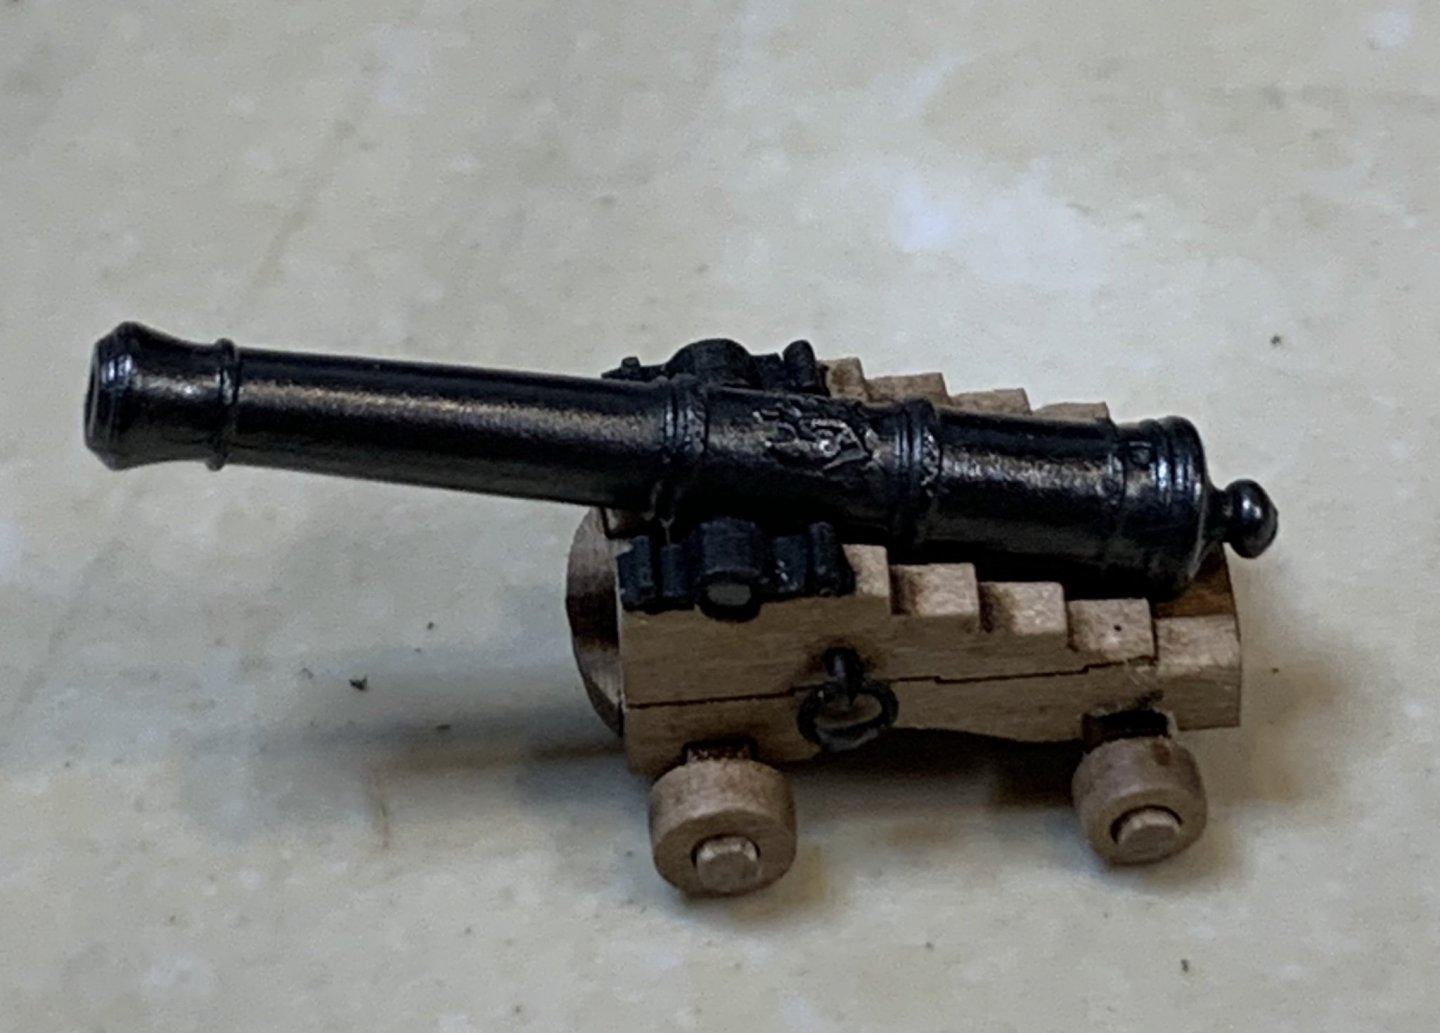
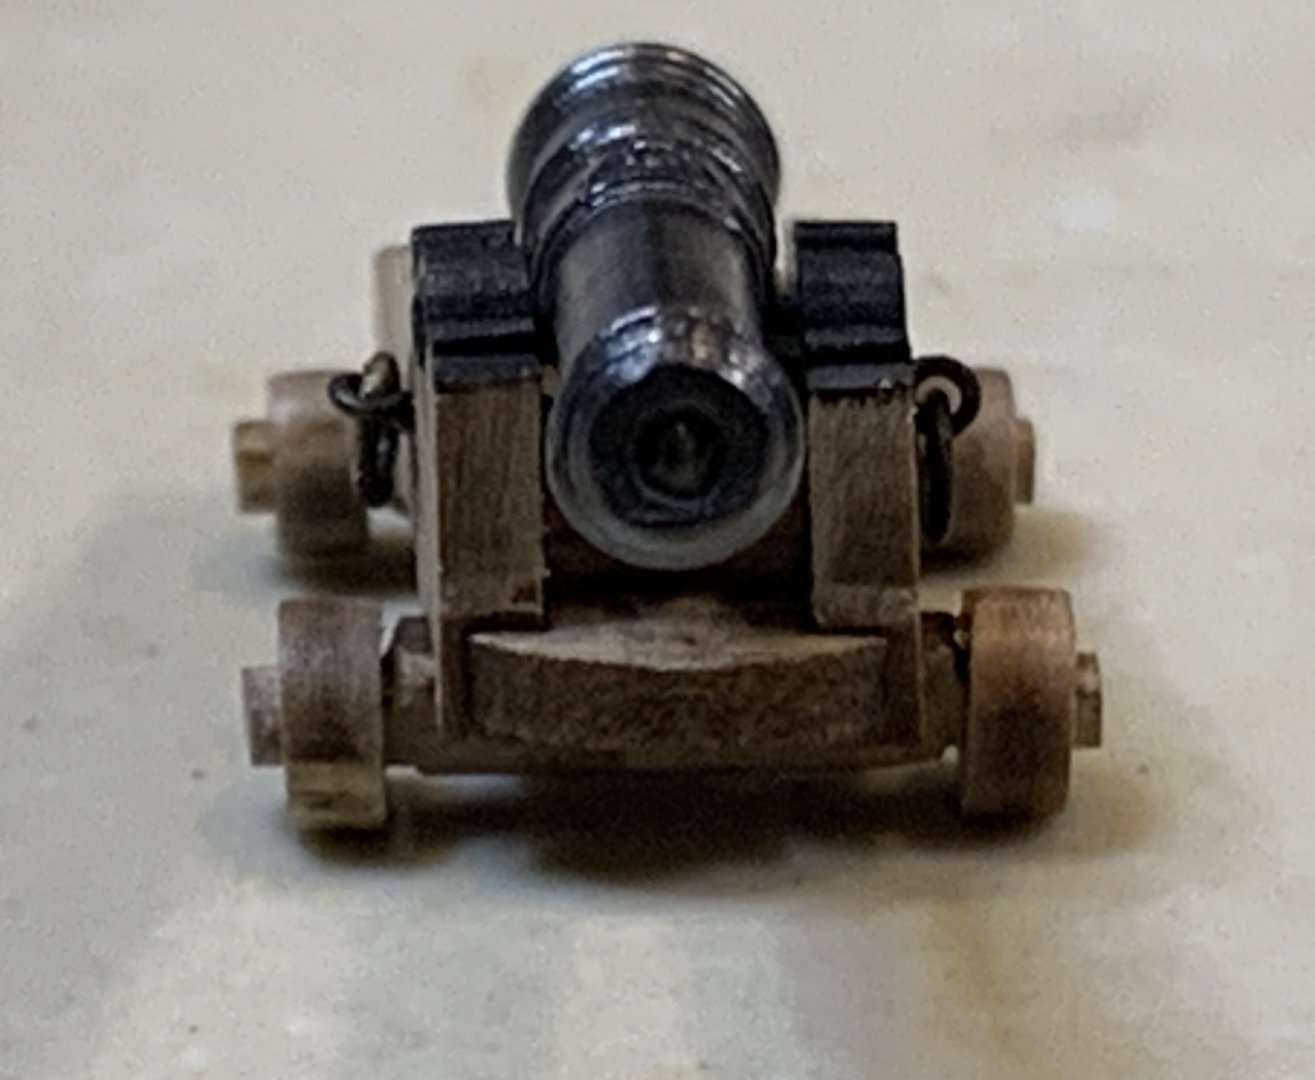
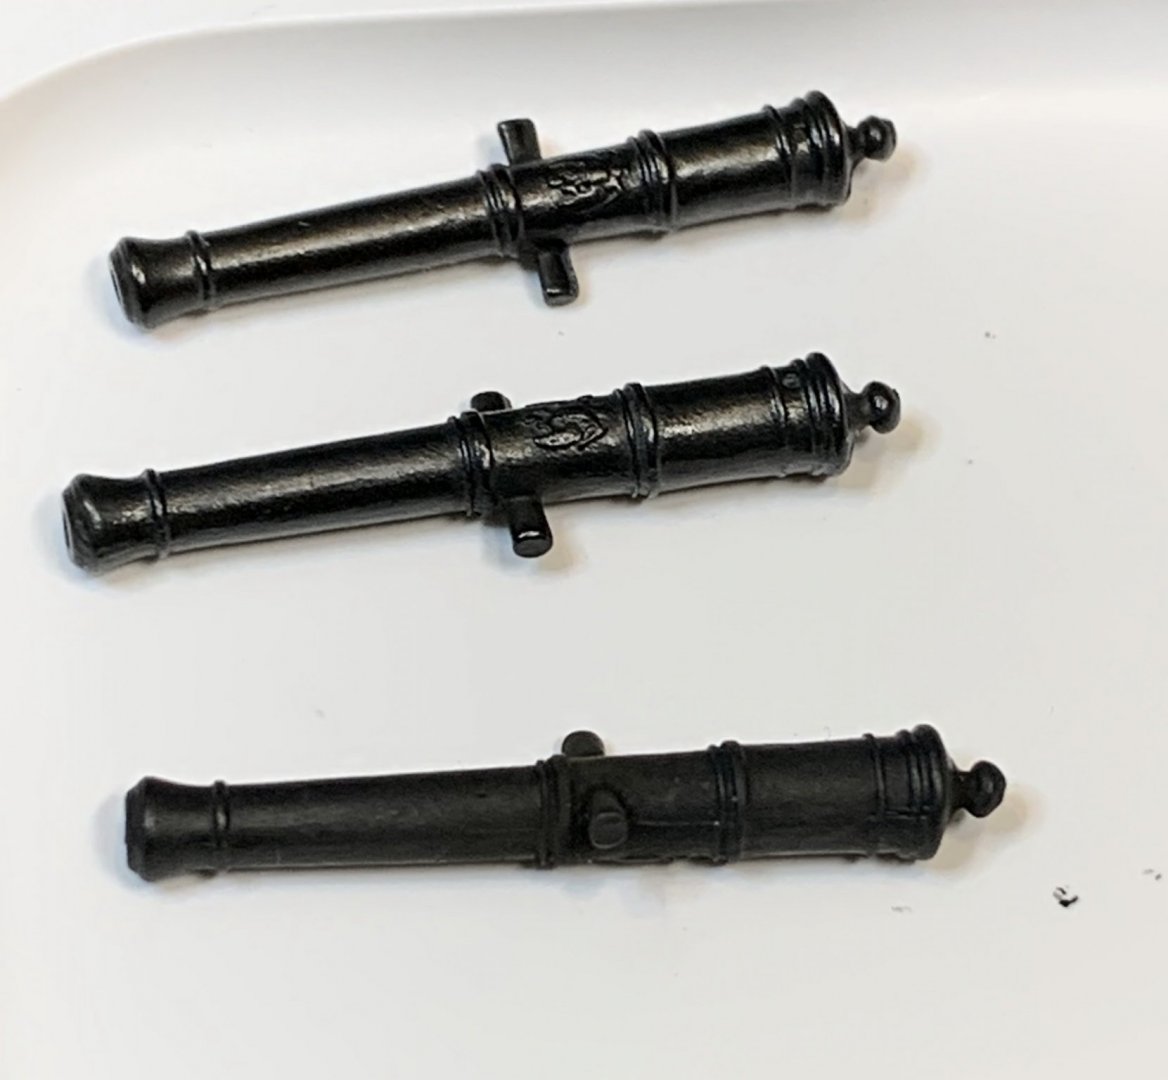
The cannons are treated with a graphite powder between my fingers. This provides a bit more realistic look... Top cannon treated and bottom not. Then the wheel axle has to be rounded to accept the wheels.. The wheel mounted.. All parts has to be filled a bit to fit without effort; they are very breakable and tiny.. And assembled gun: Now need to rotate a ring and eyebolt on right hand side so the rope can fit correctly.. Next i need to cover it with a small layer of danish oil, install nail simulation, etc. Happy modeling.


- 275 replies
-
- 12
-
-
- phoenix
- master korabel
- (and 1 more)
-
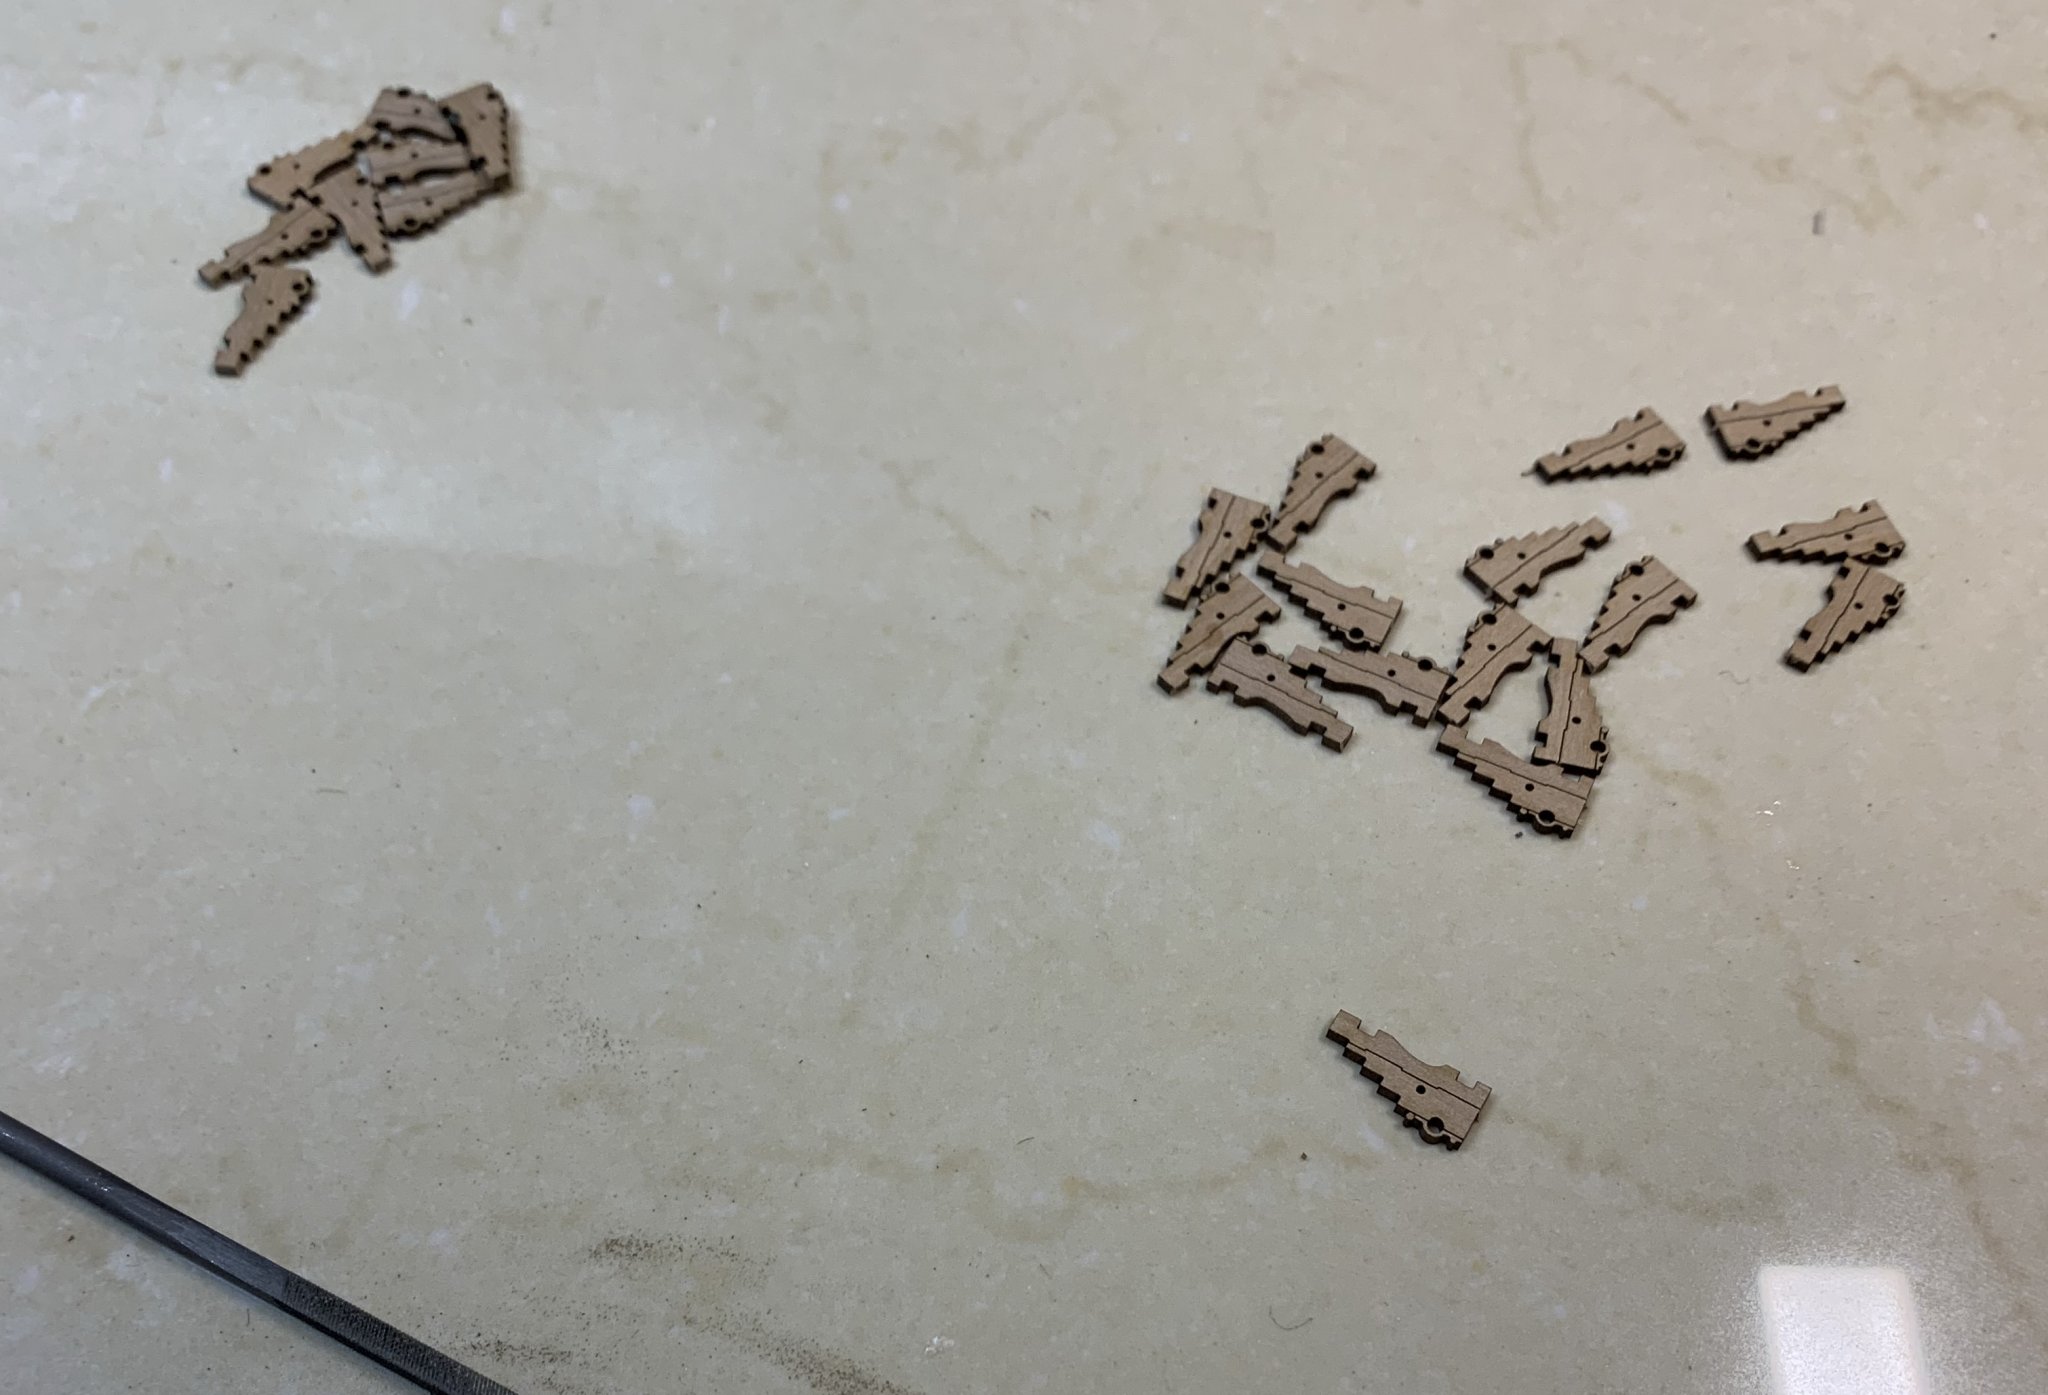
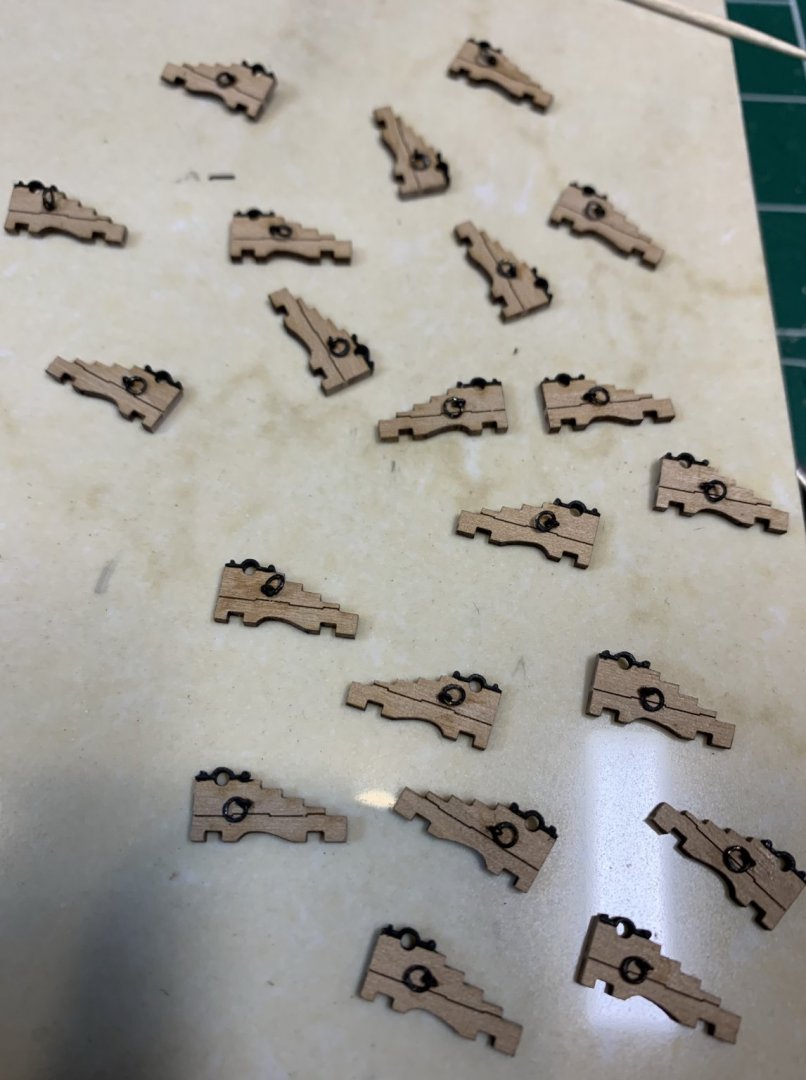
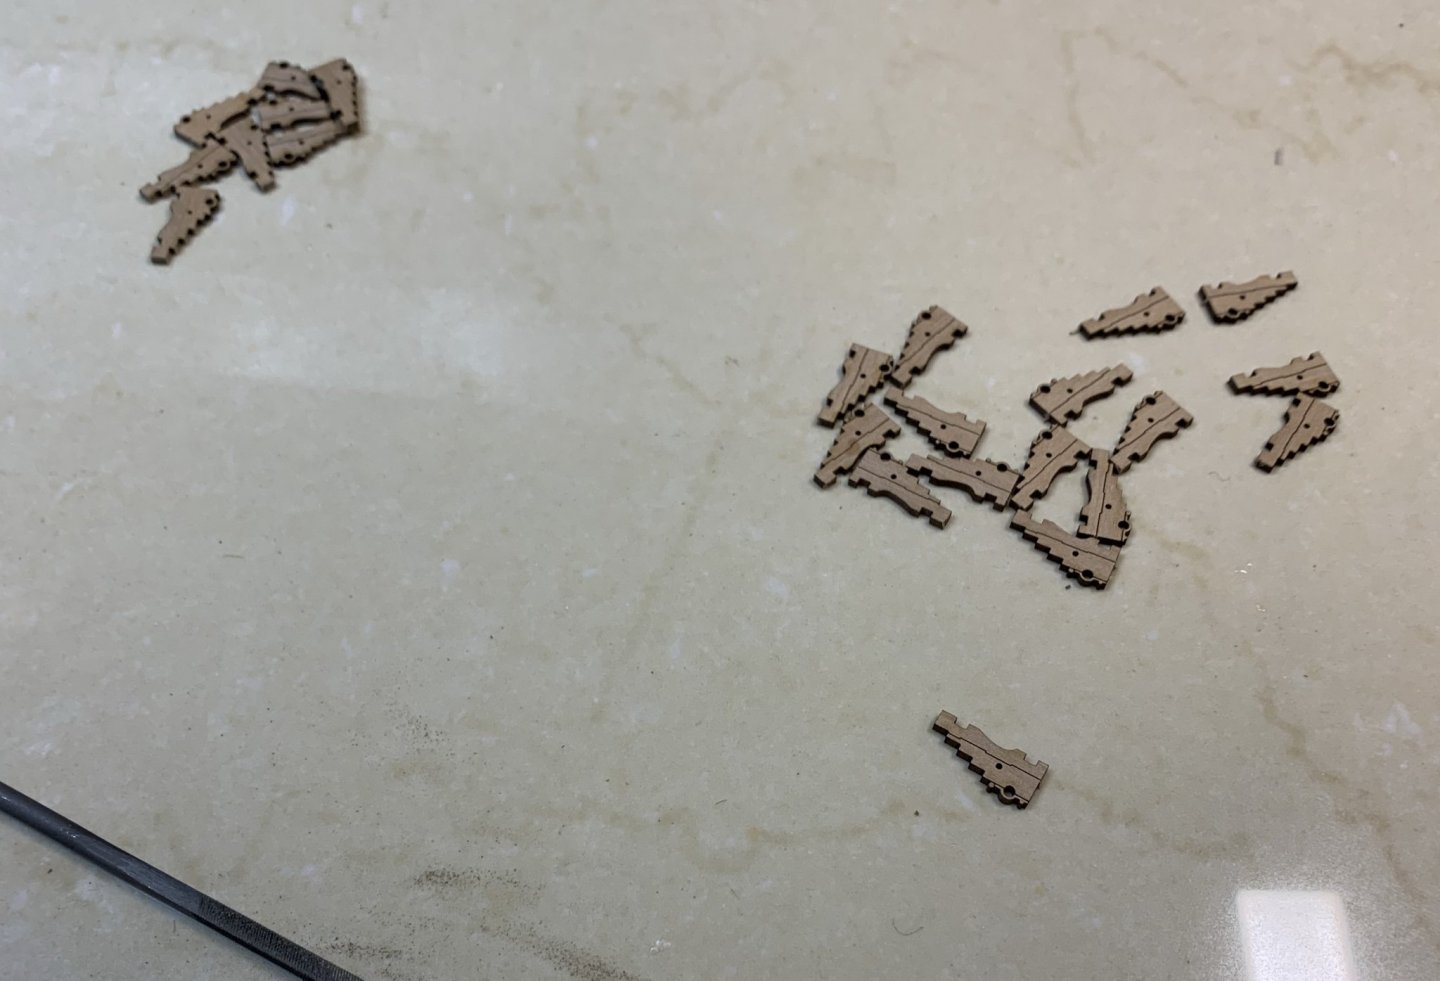
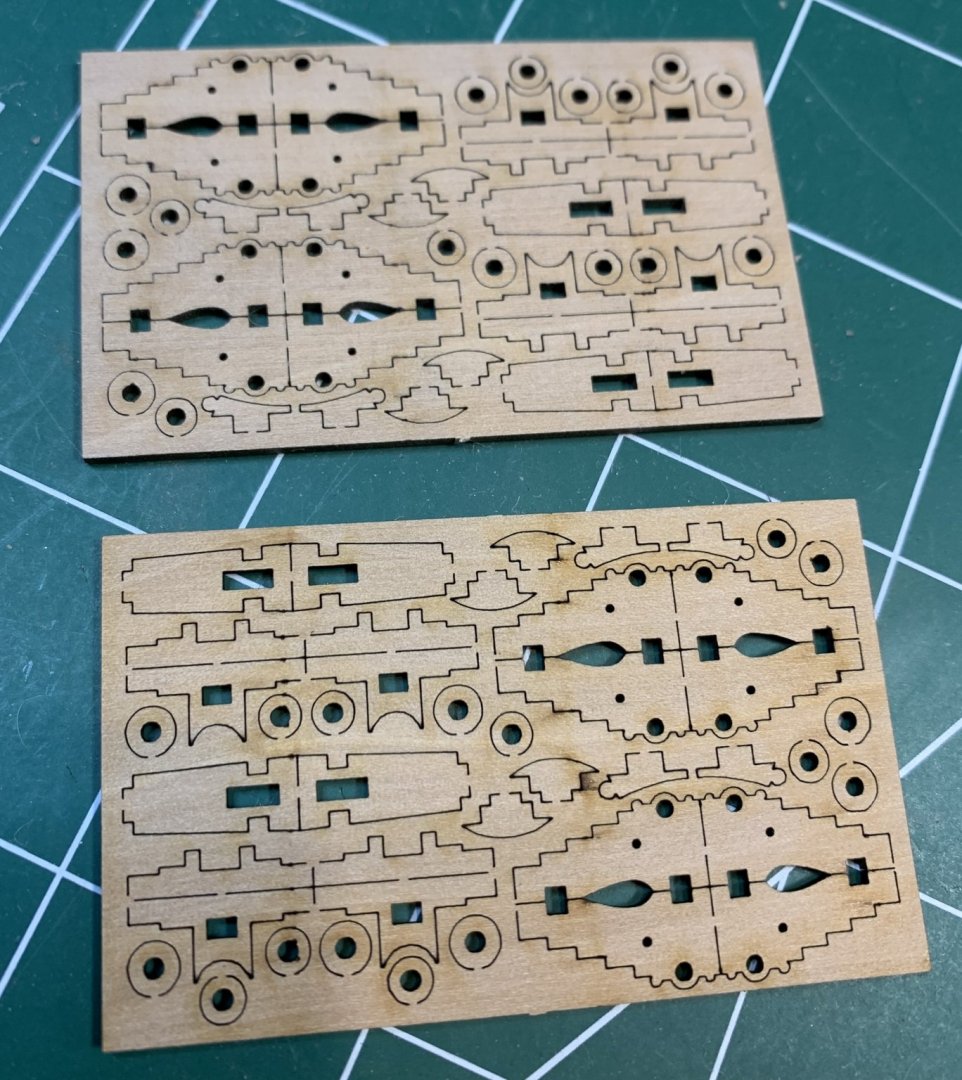
The eyebolts and rings have been completed. Now i started cleaning up laser burns... Next, painting tiny "metal" plates was completed. And all other cannon parts were cut.. Next will be cleaning up laser burns... Happy modeling..

- 275 replies
-
- 10
-
-
- phoenix
- master korabel
- (and 1 more)
-
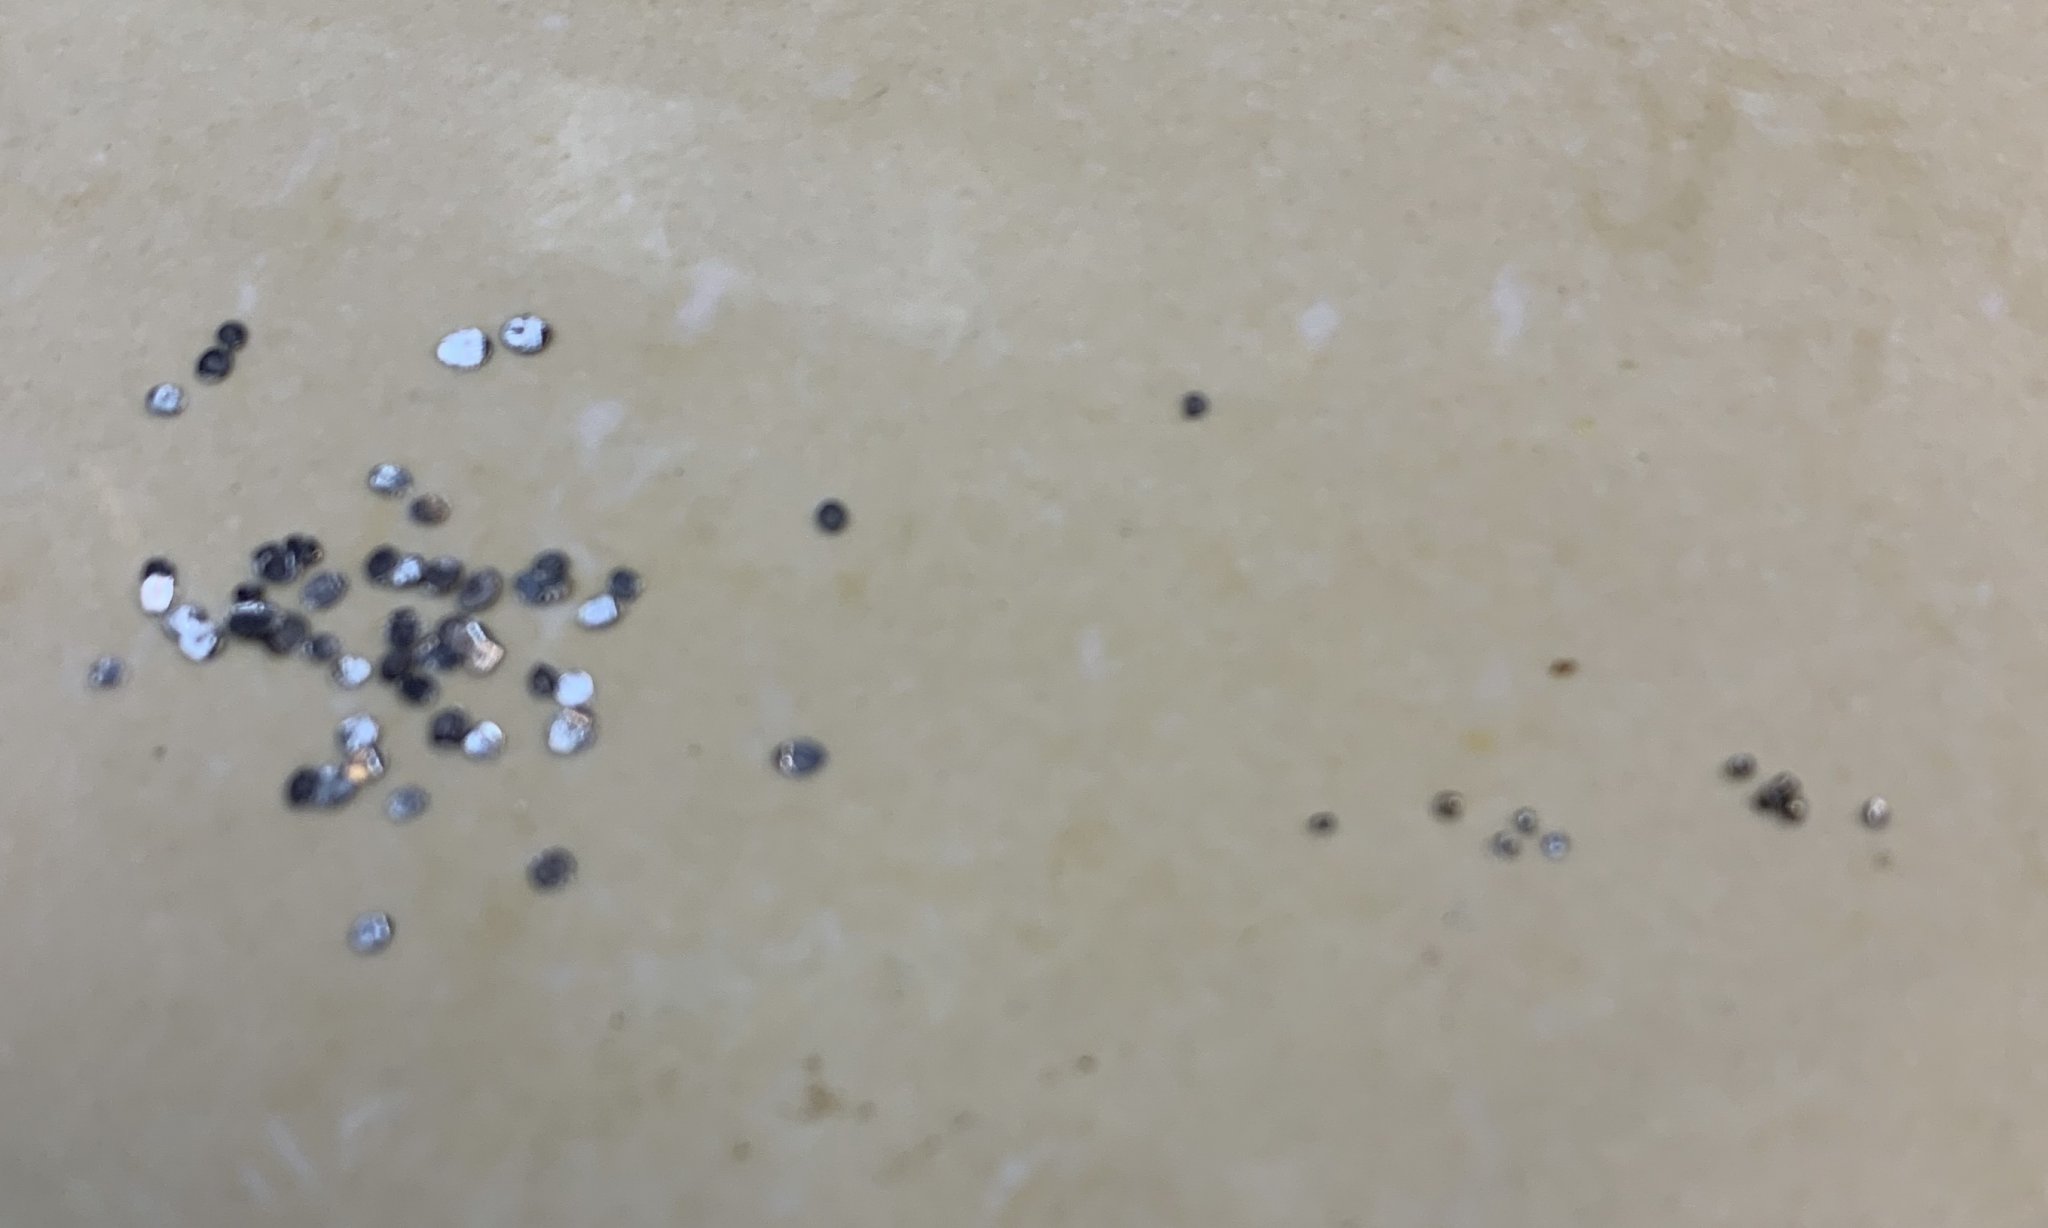
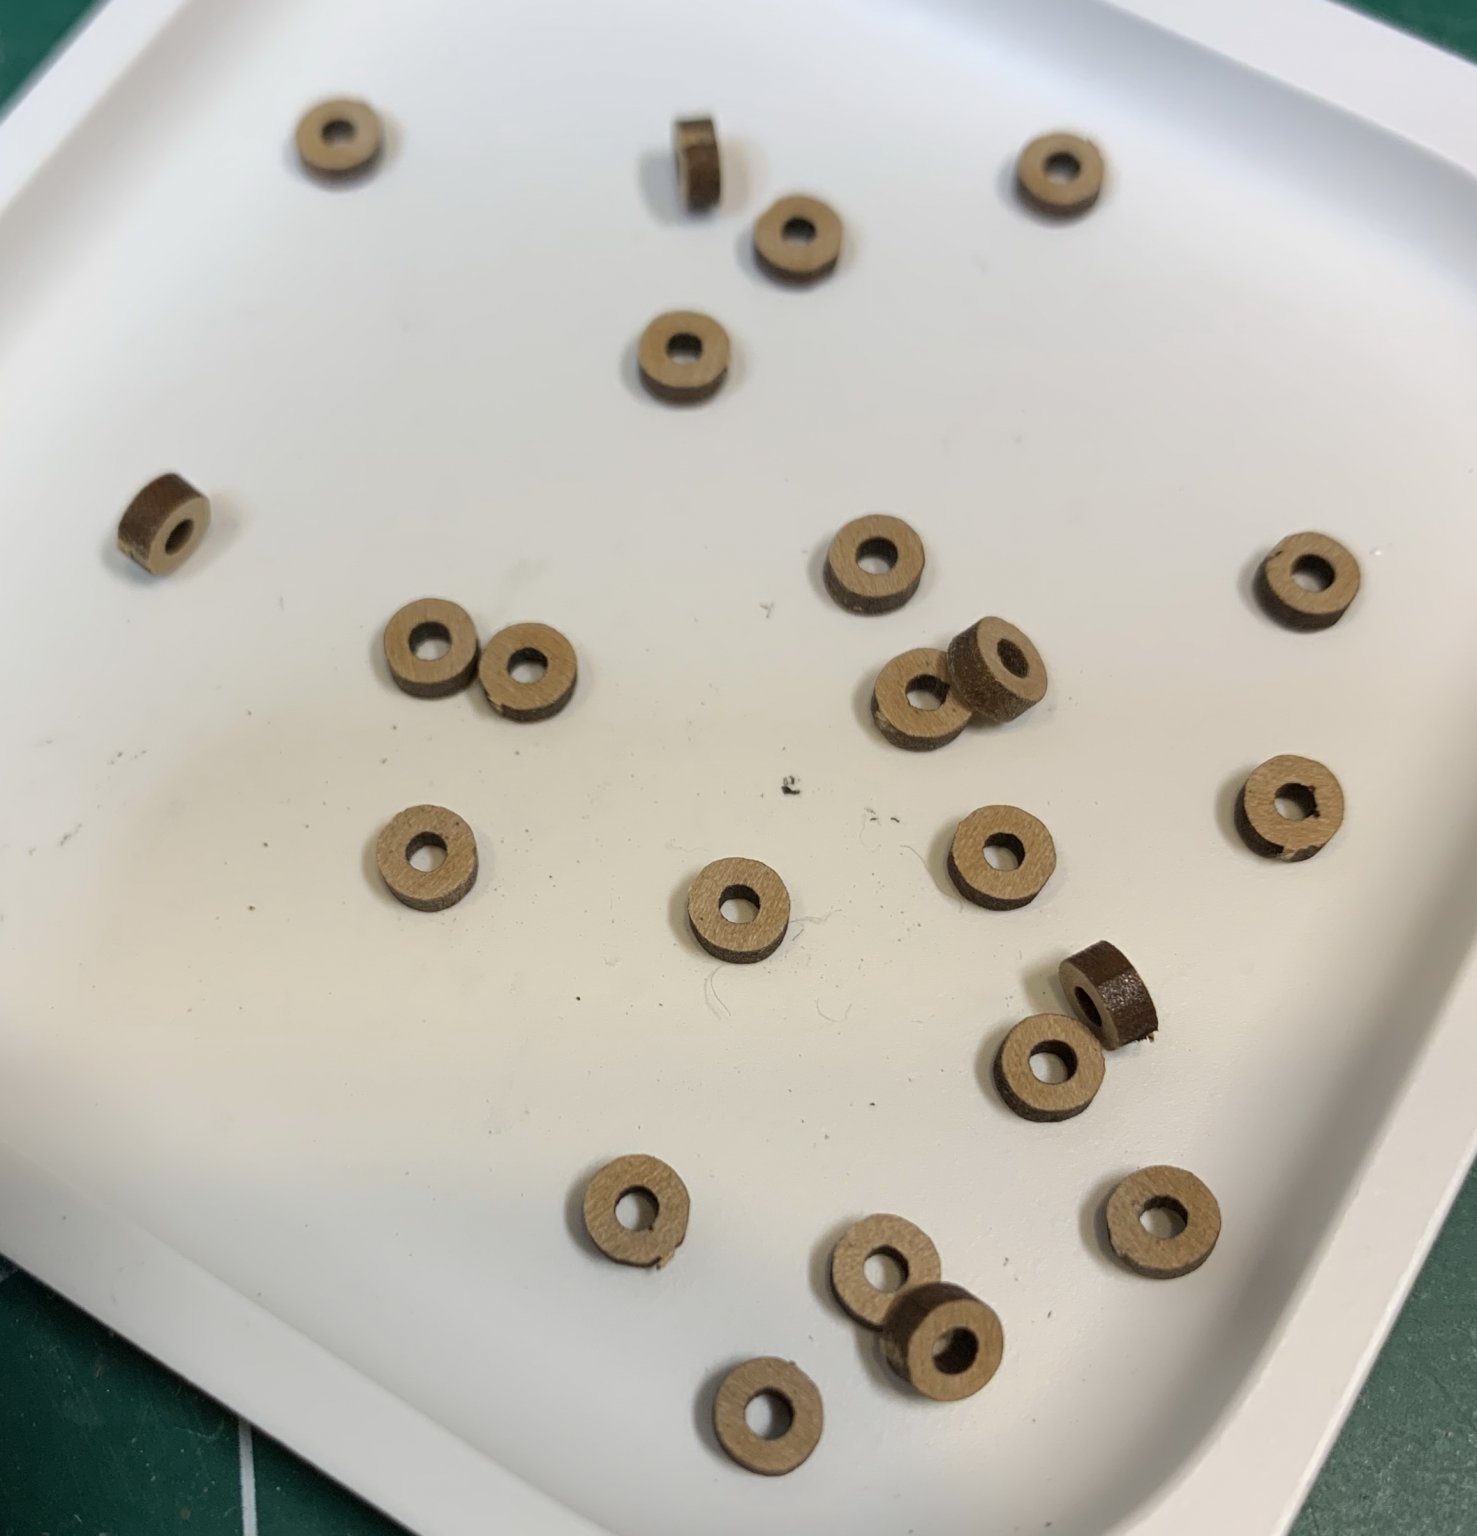
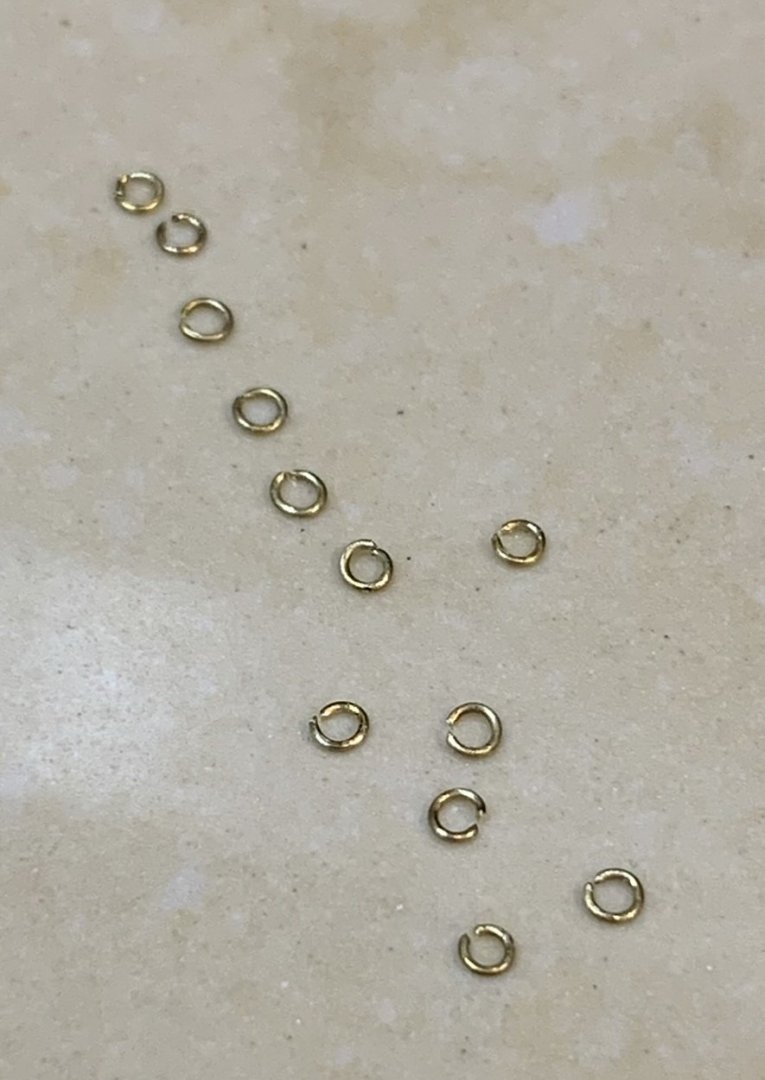
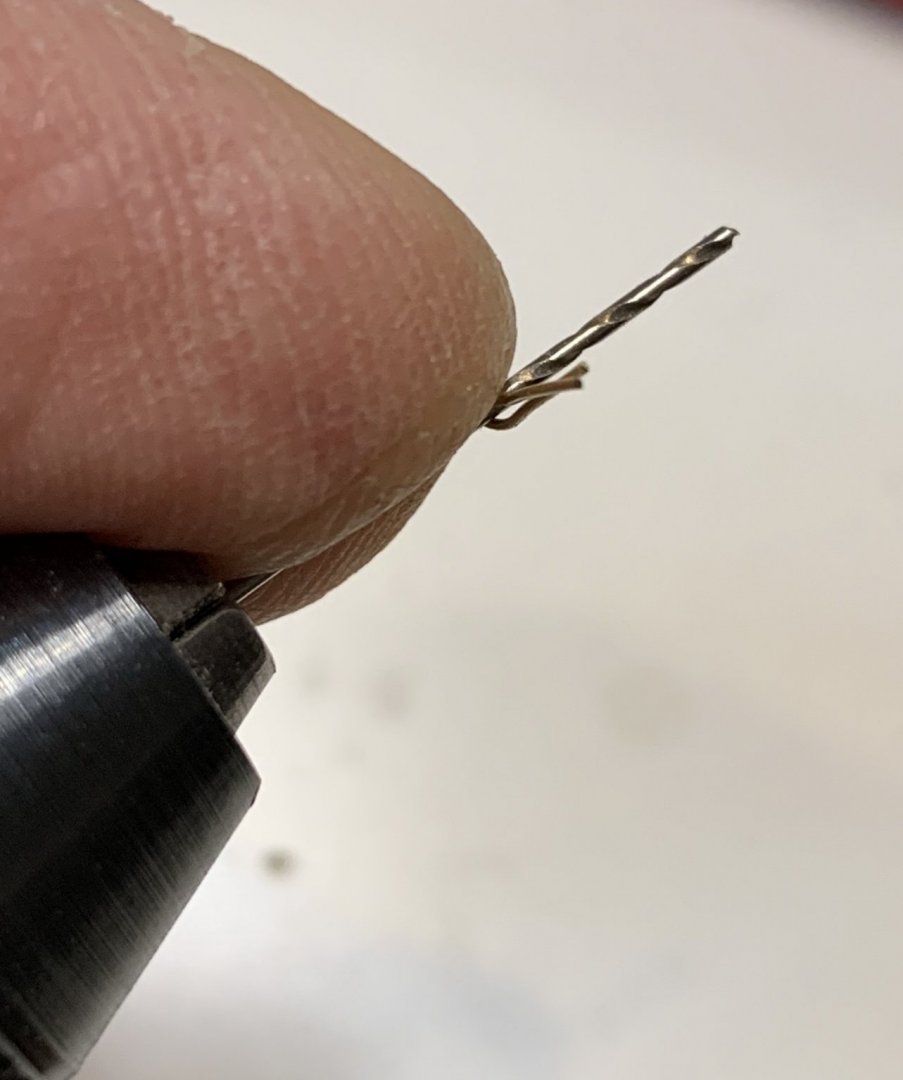
Now i am working on rings that will be inserted into eyebolts. The wire was cleaned with sand paper to make blackening process successful. First i make a spring using special tool, instead of a drill bit. The smallest diameter is 1.5mm which is perfect for rings that will be used on these cannons. Total of 30 rings are made, 24 for cannons and few extras.. Next, i am making soldering flakes that will be used to solder rings. The small pieces of soldering wire were cut and flattened by squeezing them with pliers. Sorry, not quite clear picture... Then the flake is cut into 4 pieces; no need to use the whole flake for one ring, too much solder... The ring is placed into position.. Small but very small amount of soldering paste was applied to the joint and flake quarter was put on. Soldering was done with flame using pen torch tool. A bit of filing might be needed to clean the ring. And 21 more to go... Completed 20 yesterday, today will continue with rest of them and will finish up with blackening... Time consuming work that will sharpen up your patience.. Happy modeling.

- 275 replies
-
- 8
-
-
- phoenix
- master korabel
- (and 1 more)
-
You are right, i spent more time cutting them of the fret then to build one...
-
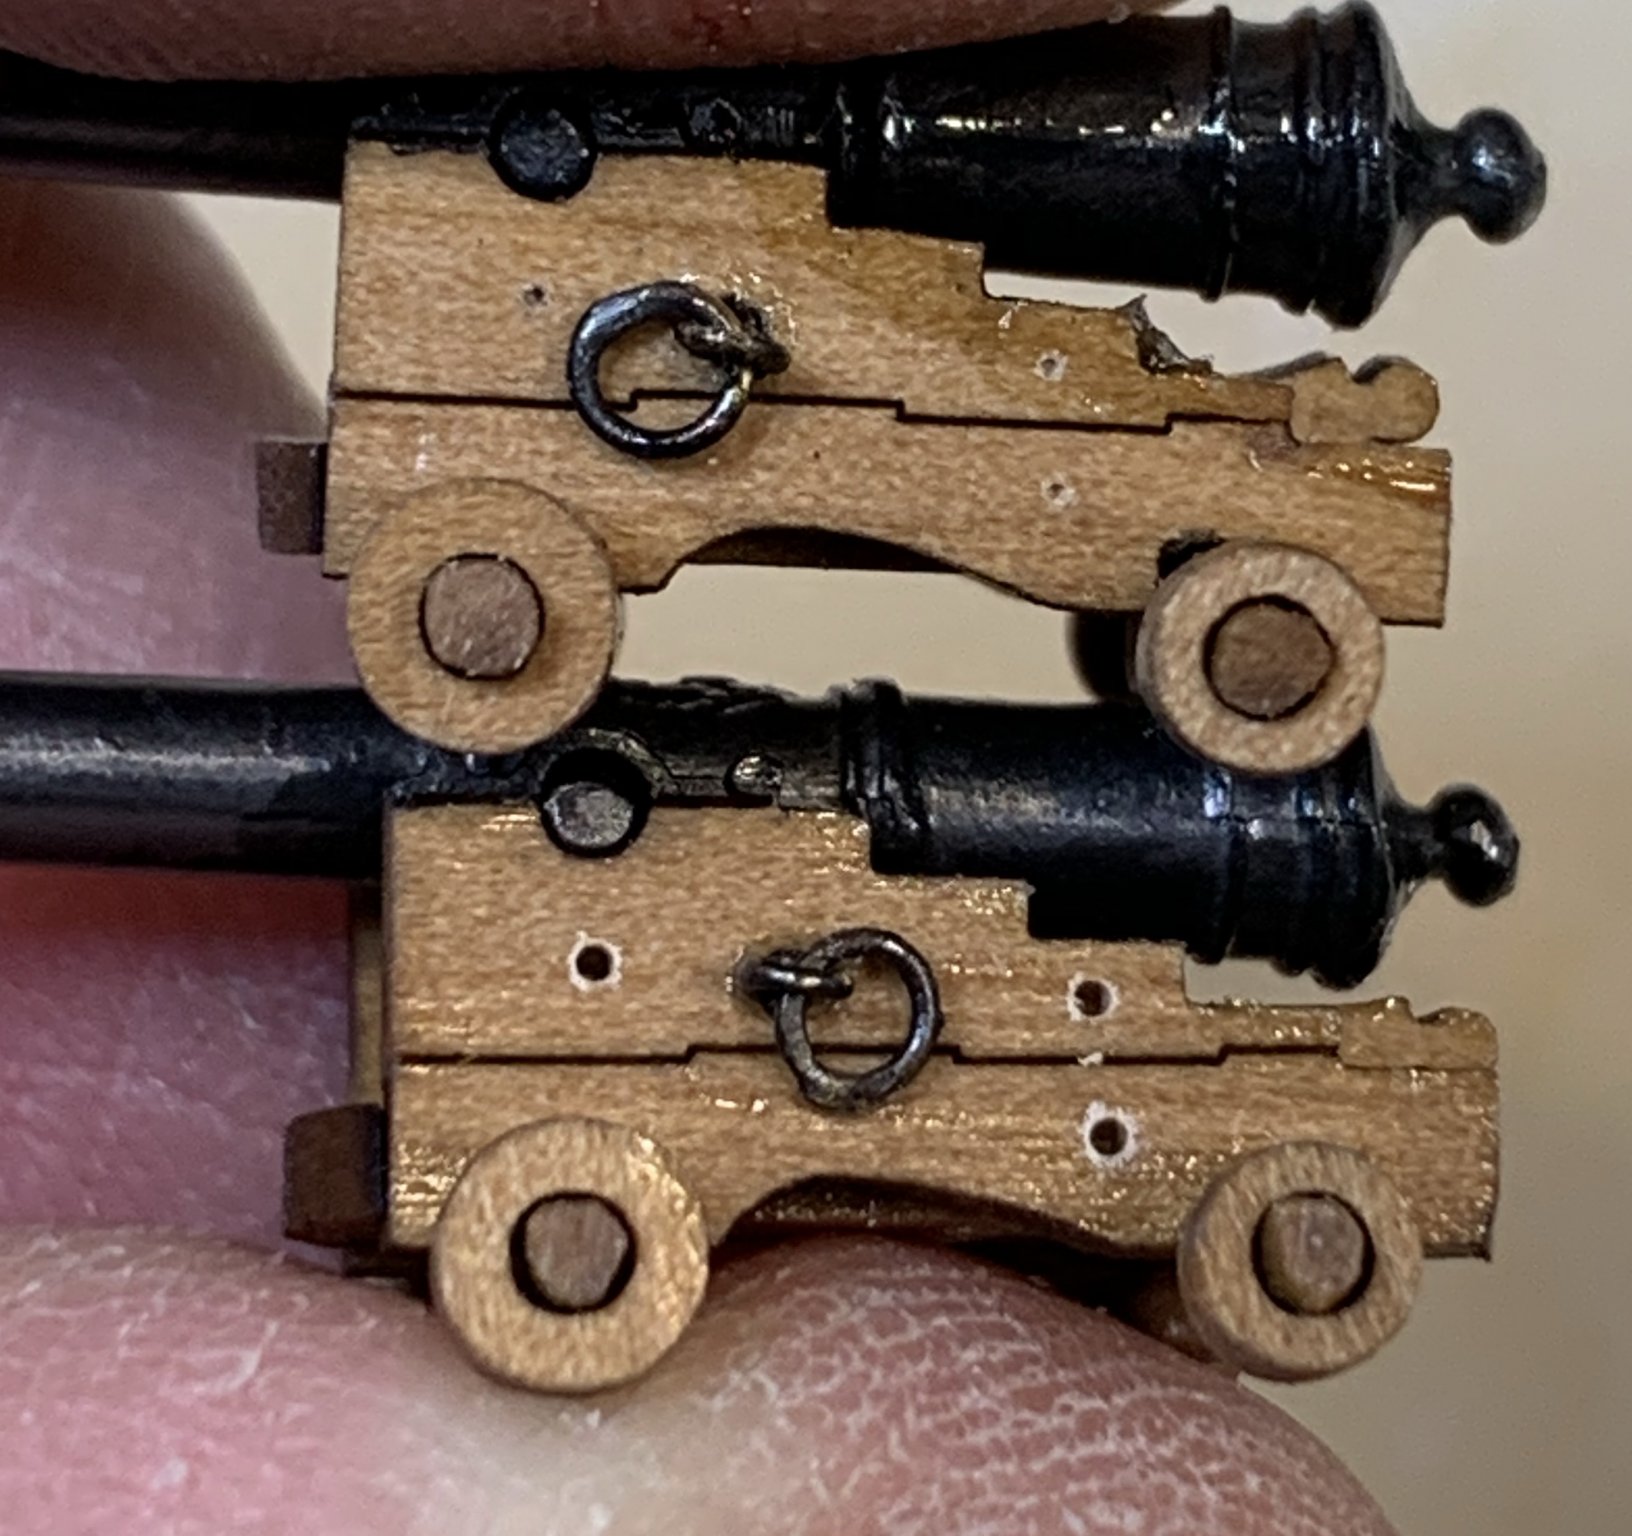
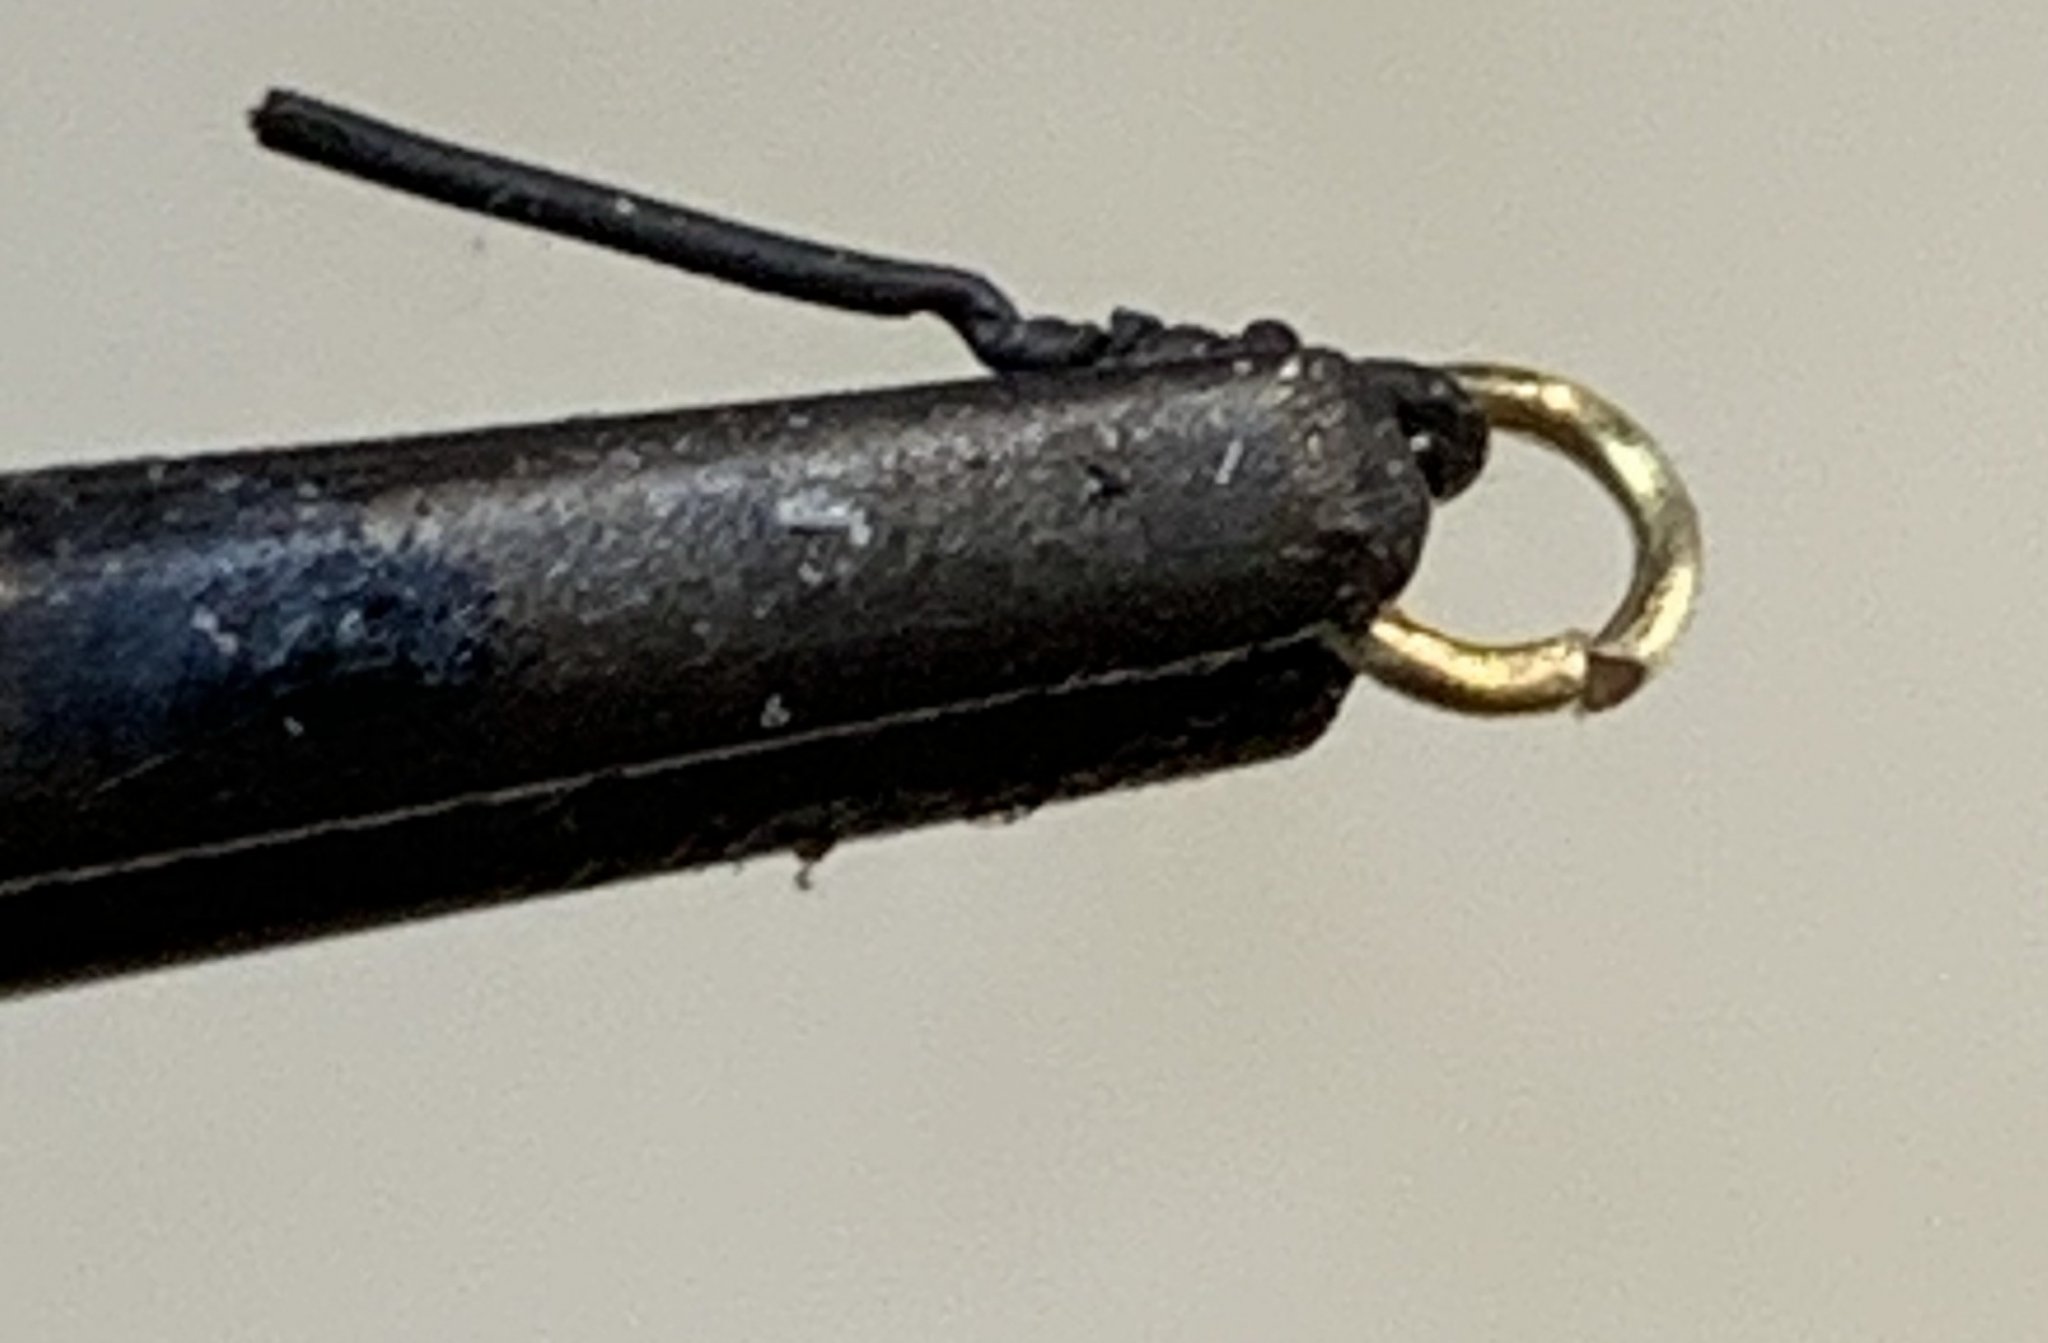
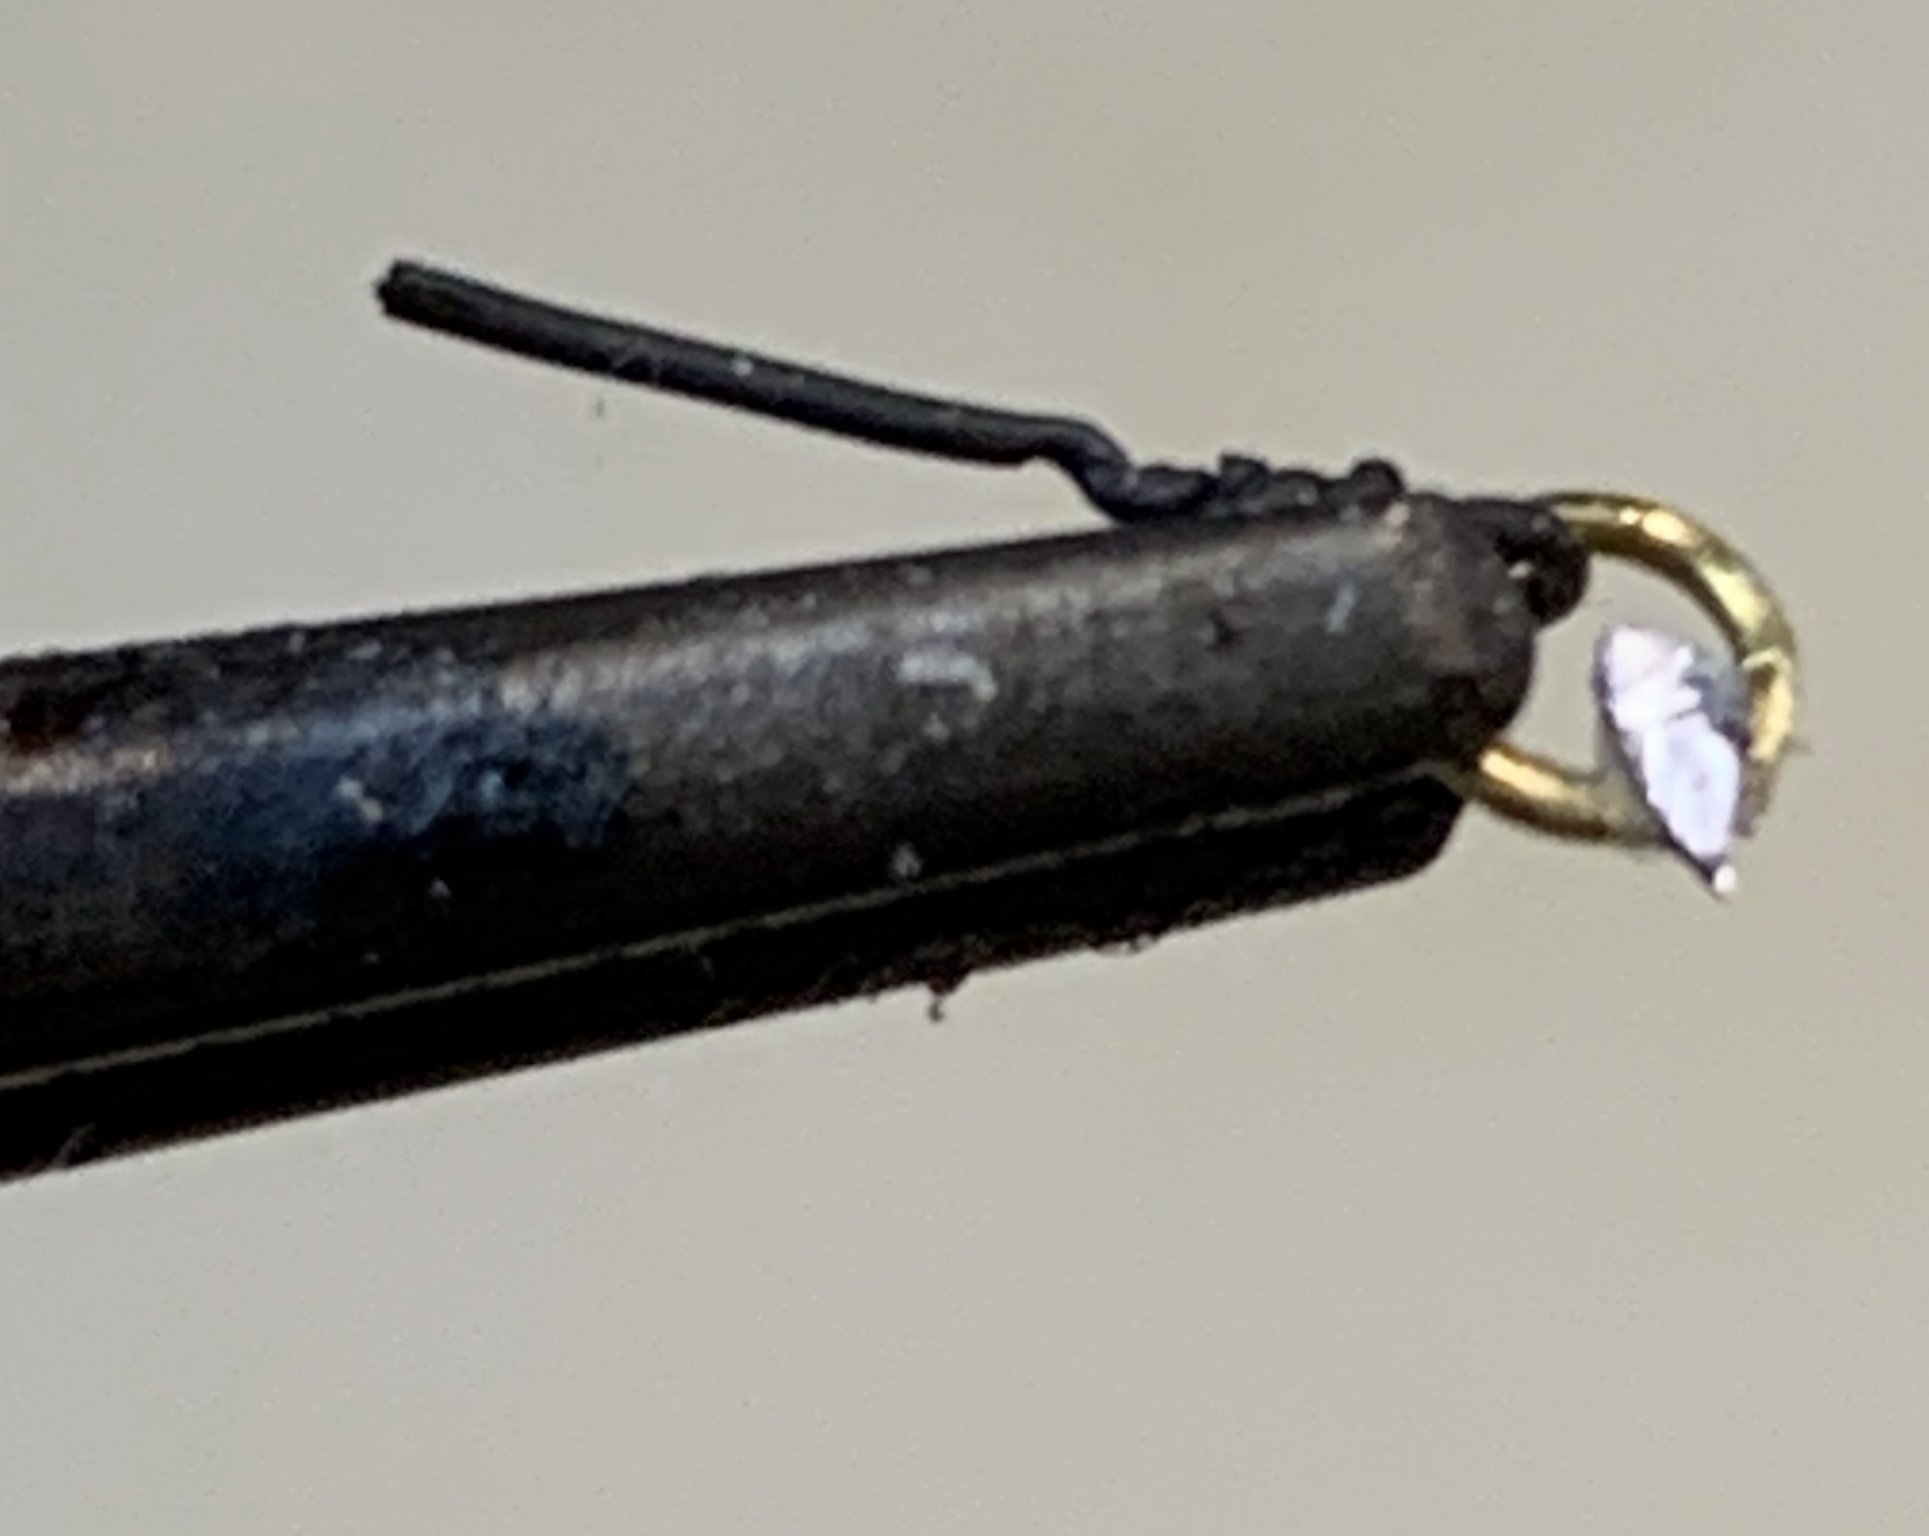
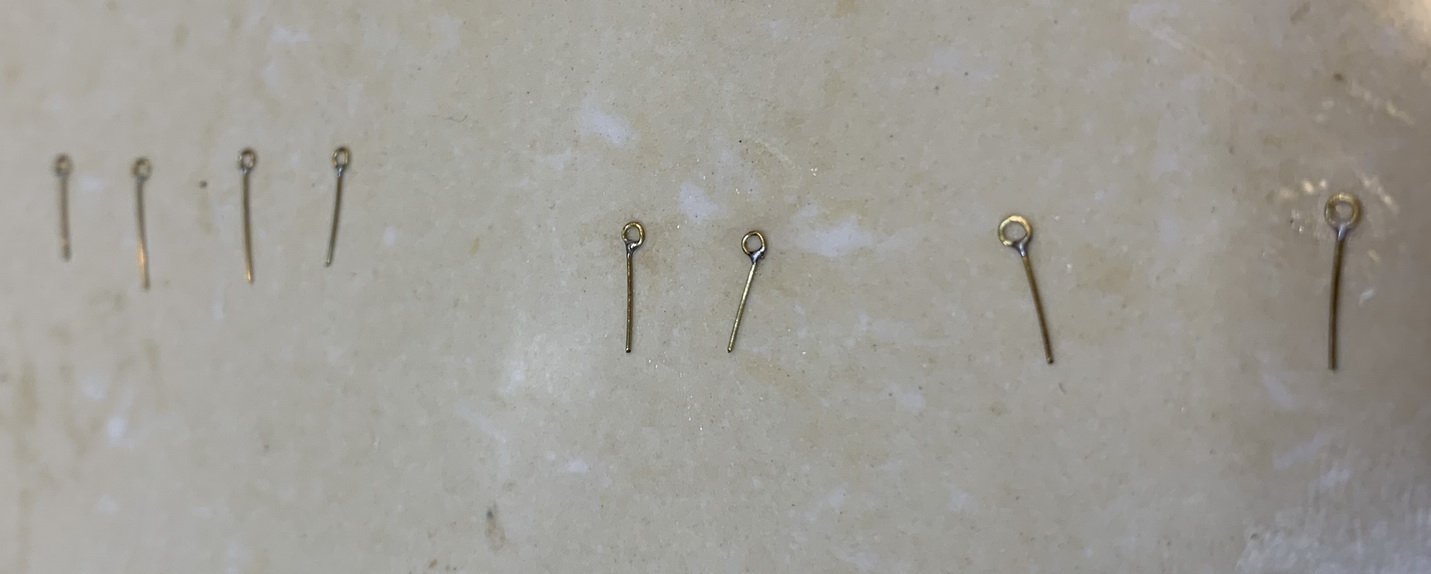
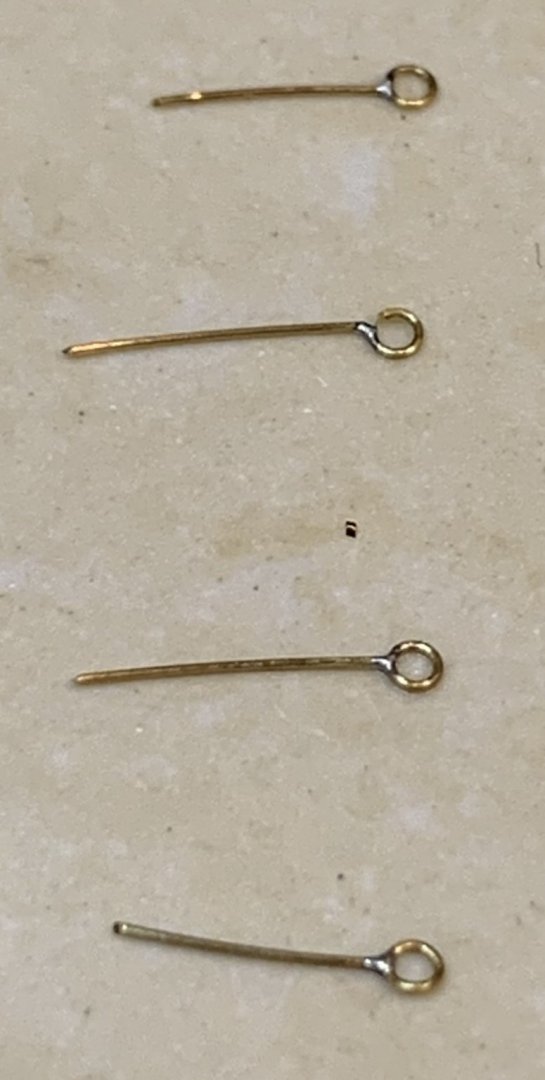
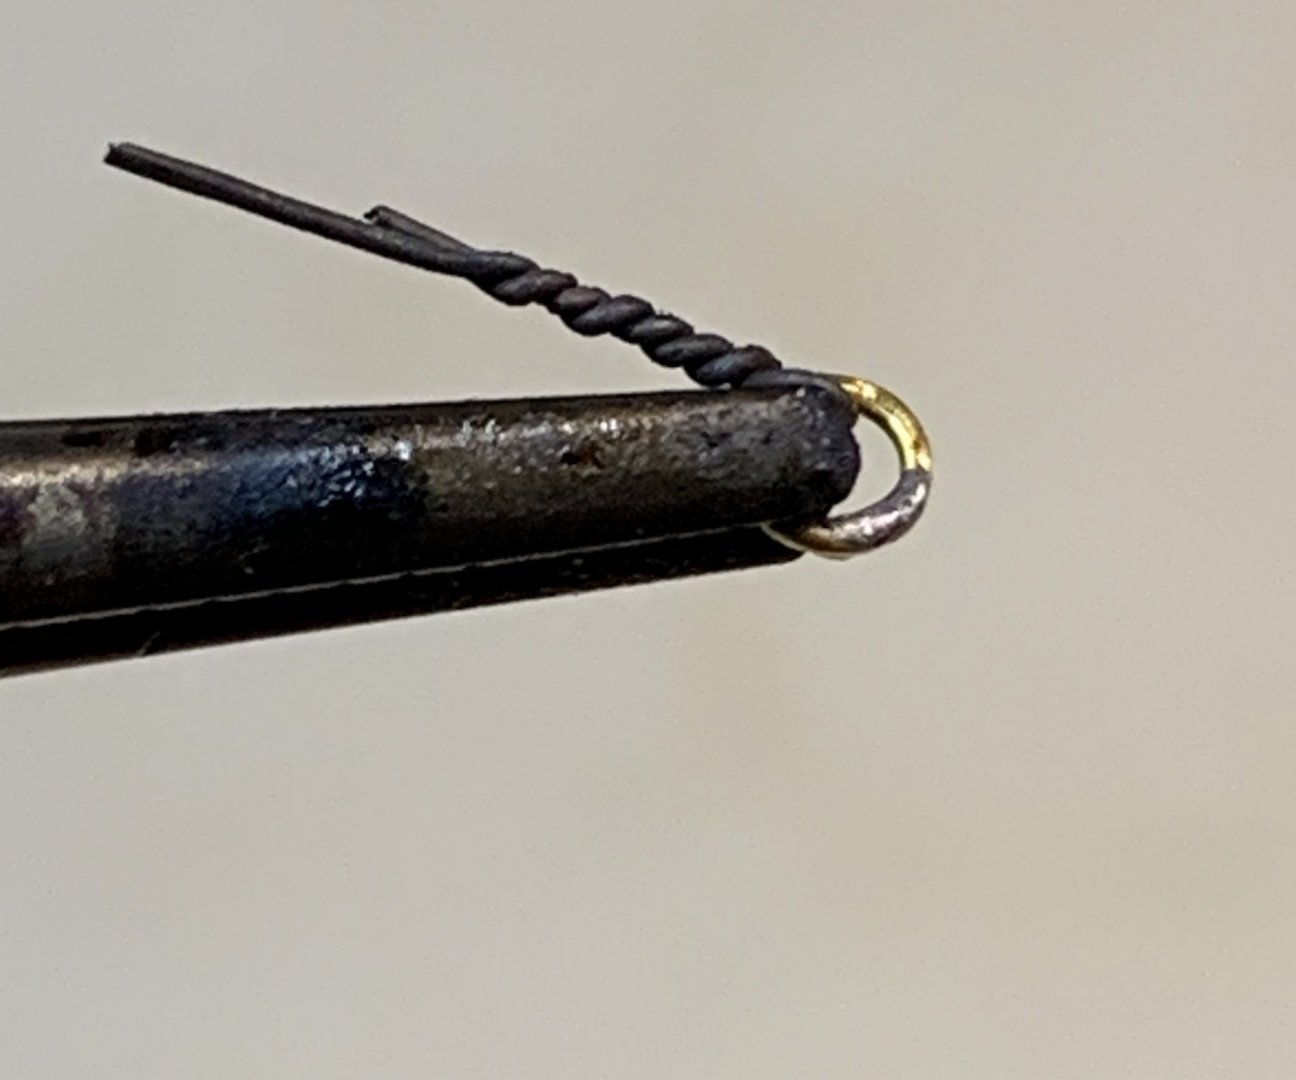
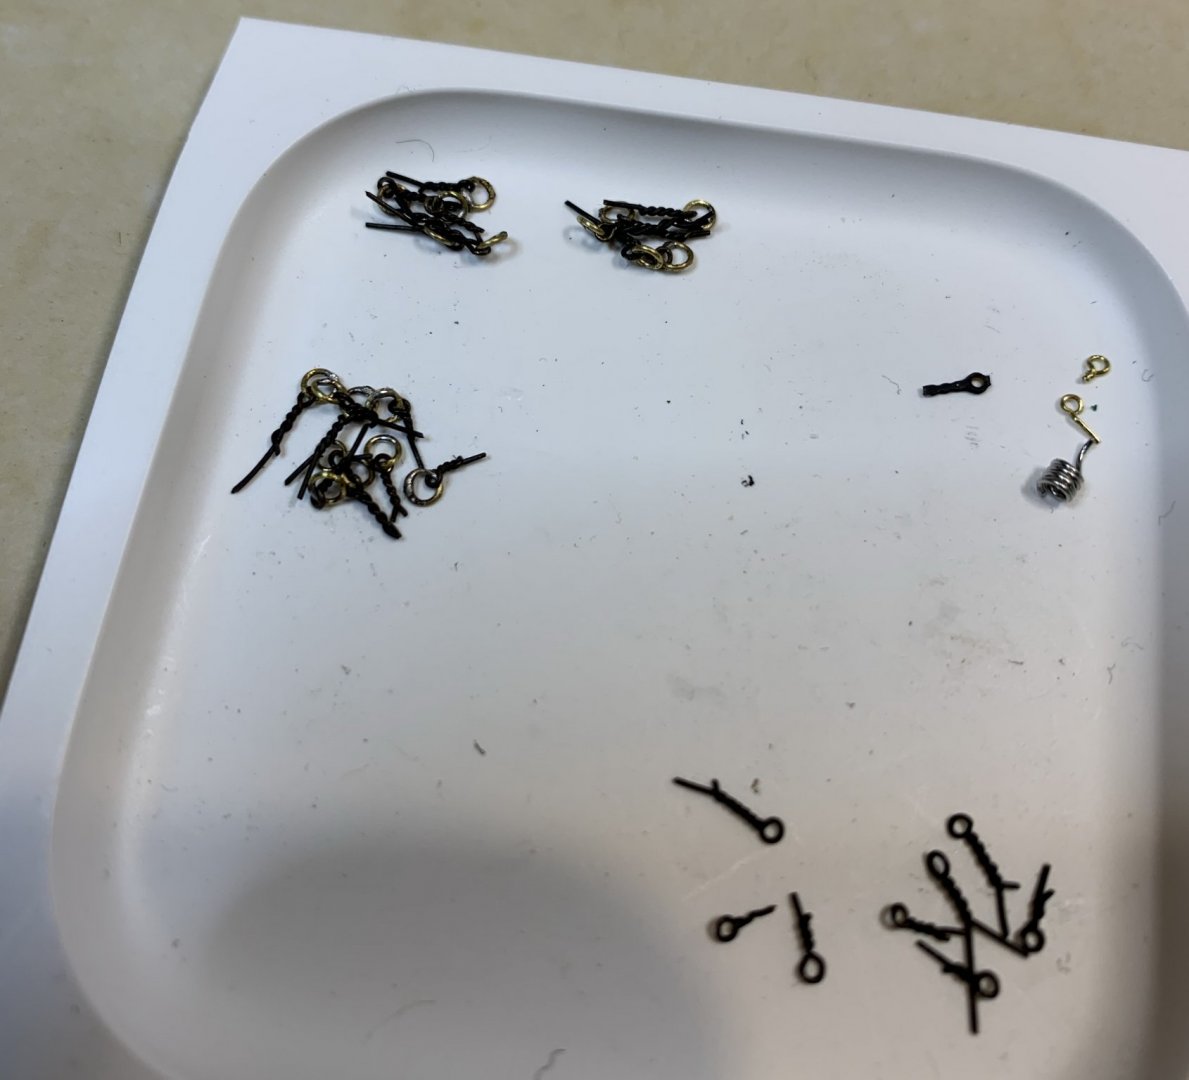
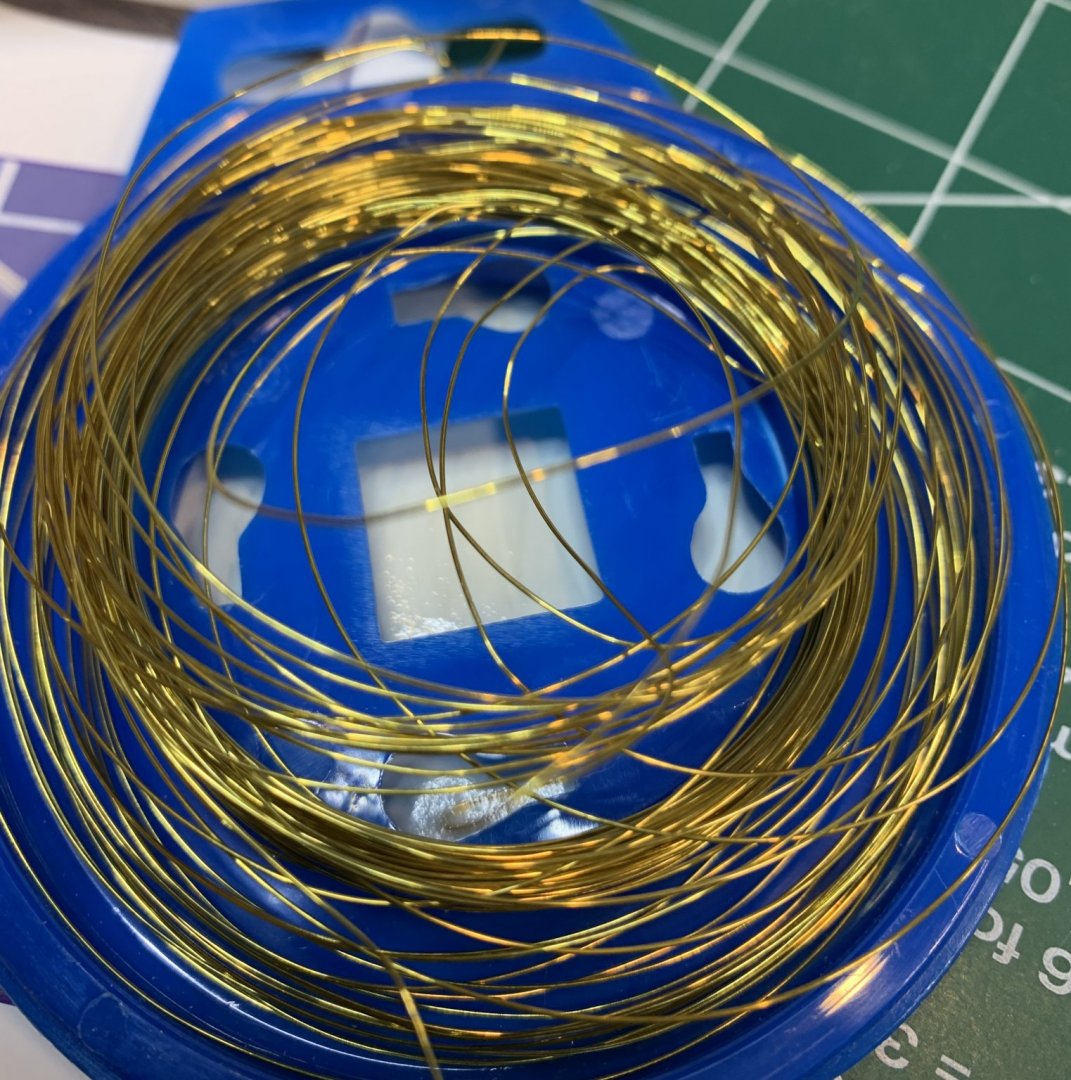
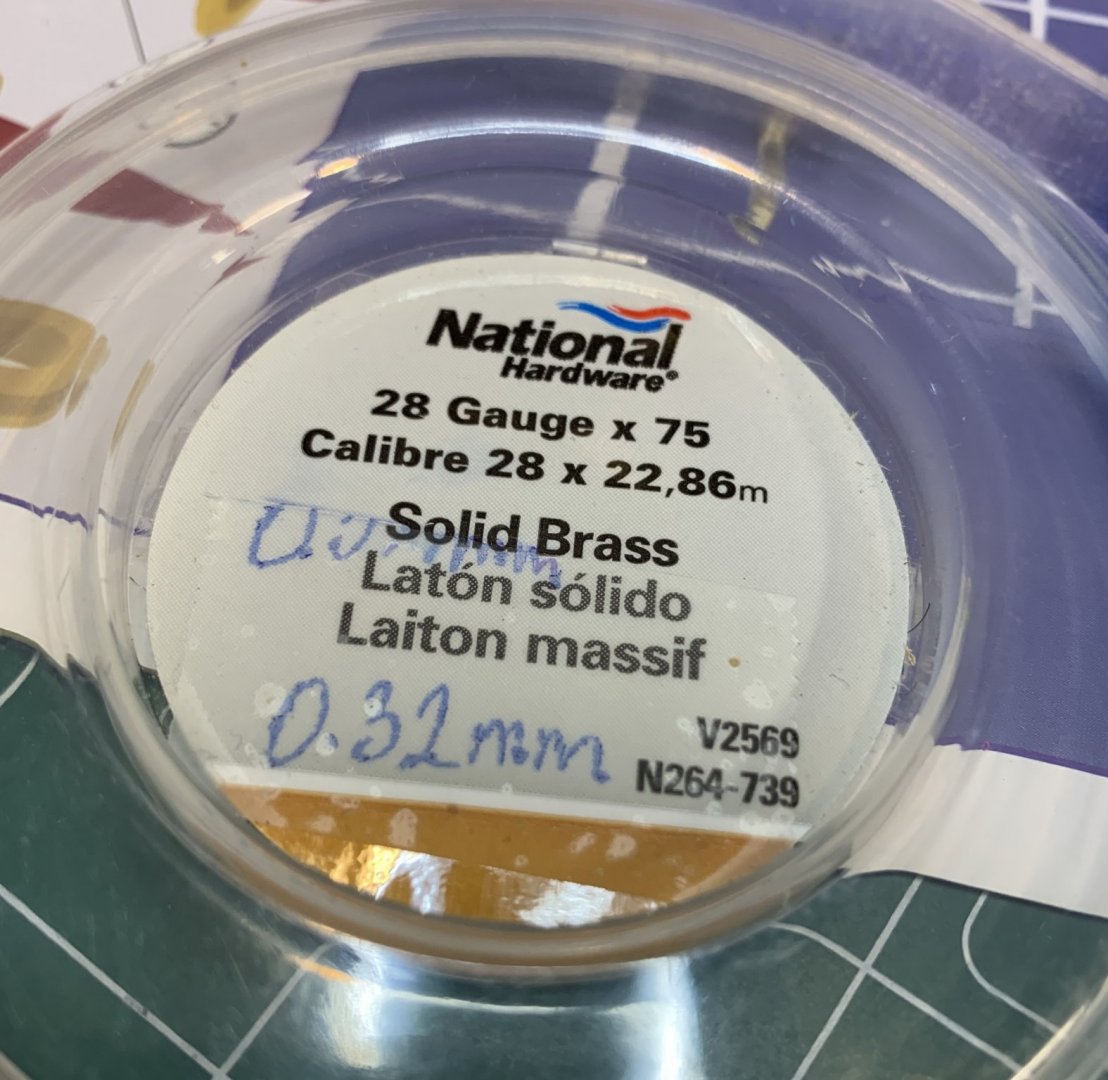
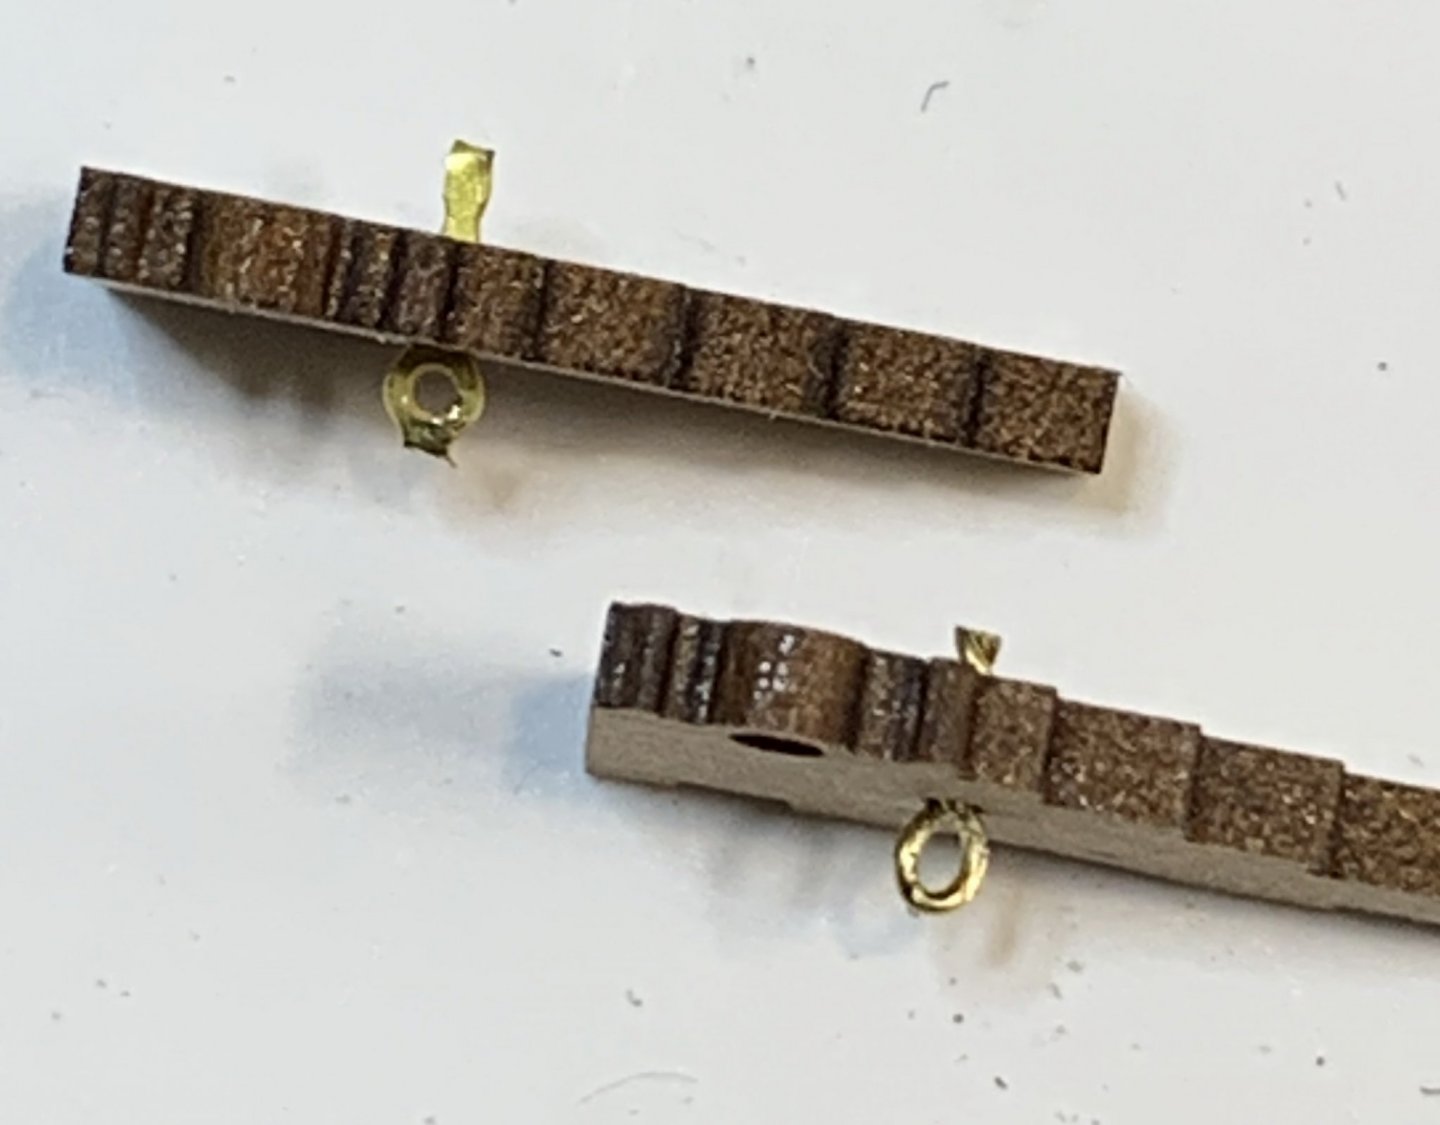
Continue with work on cannons... started with making bunch of eyebolts that will be replacing those included in the kit. The kit provided is above and home-made is at the bottom. The home-made appears to be more realistic than eyebolts supplied in kit. So, 12 cannons x 2 eyebolts, 24 plus few extra to make. The process is very simple. Cut the wire to appr 10mm in length, twist around 0.7mm drill bit and blacken them all. The wire i was using: The wire was lightly sanded to remove the protection and to easy blackening process. Little eyebolts after blackening process. Happy modeling.

- 275 replies
-
- 9
-
-
- phoenix
- master korabel
- (and 1 more)
-
Definitely and needed just a bit of cleaning. I think there will be no problem if i just leave them as-is..
-
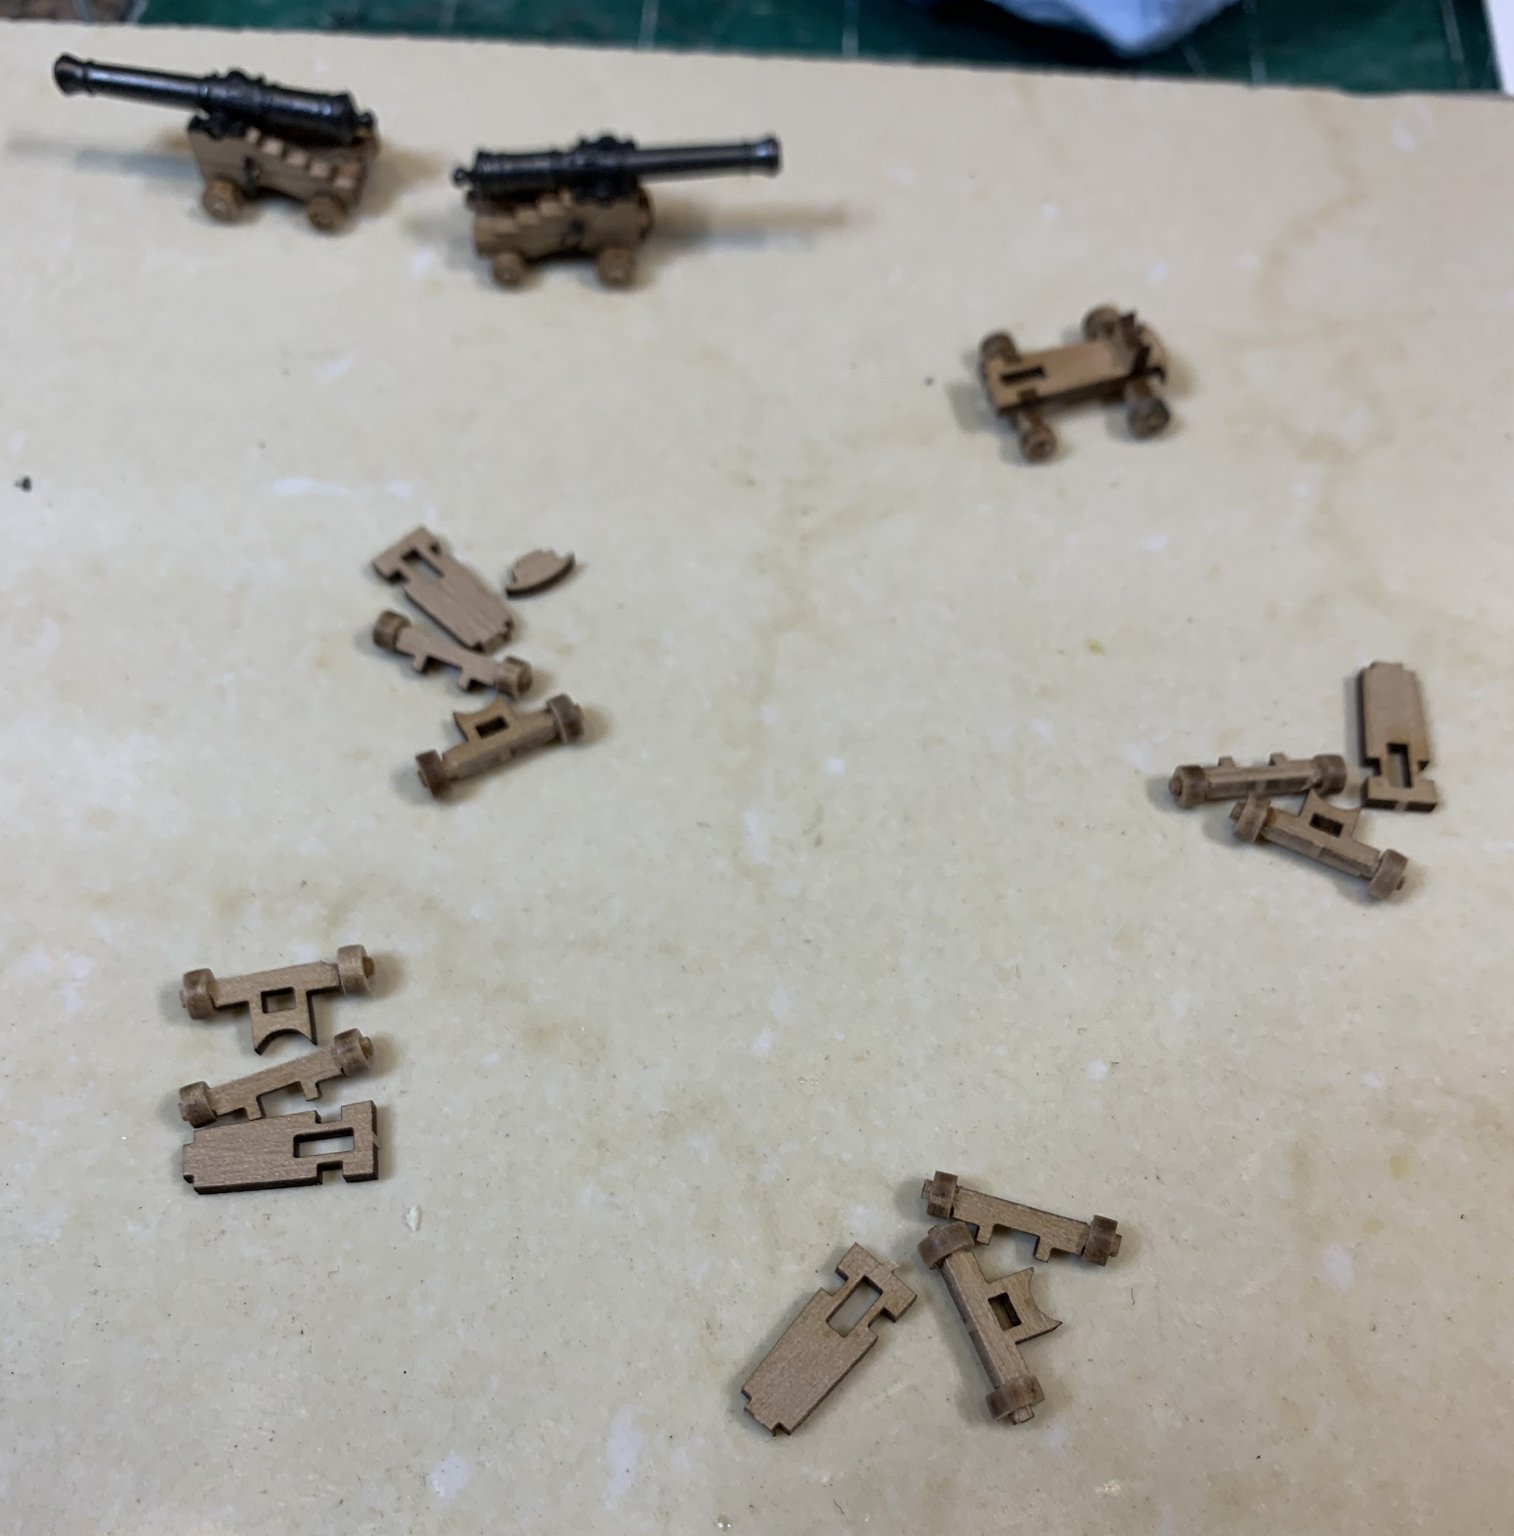
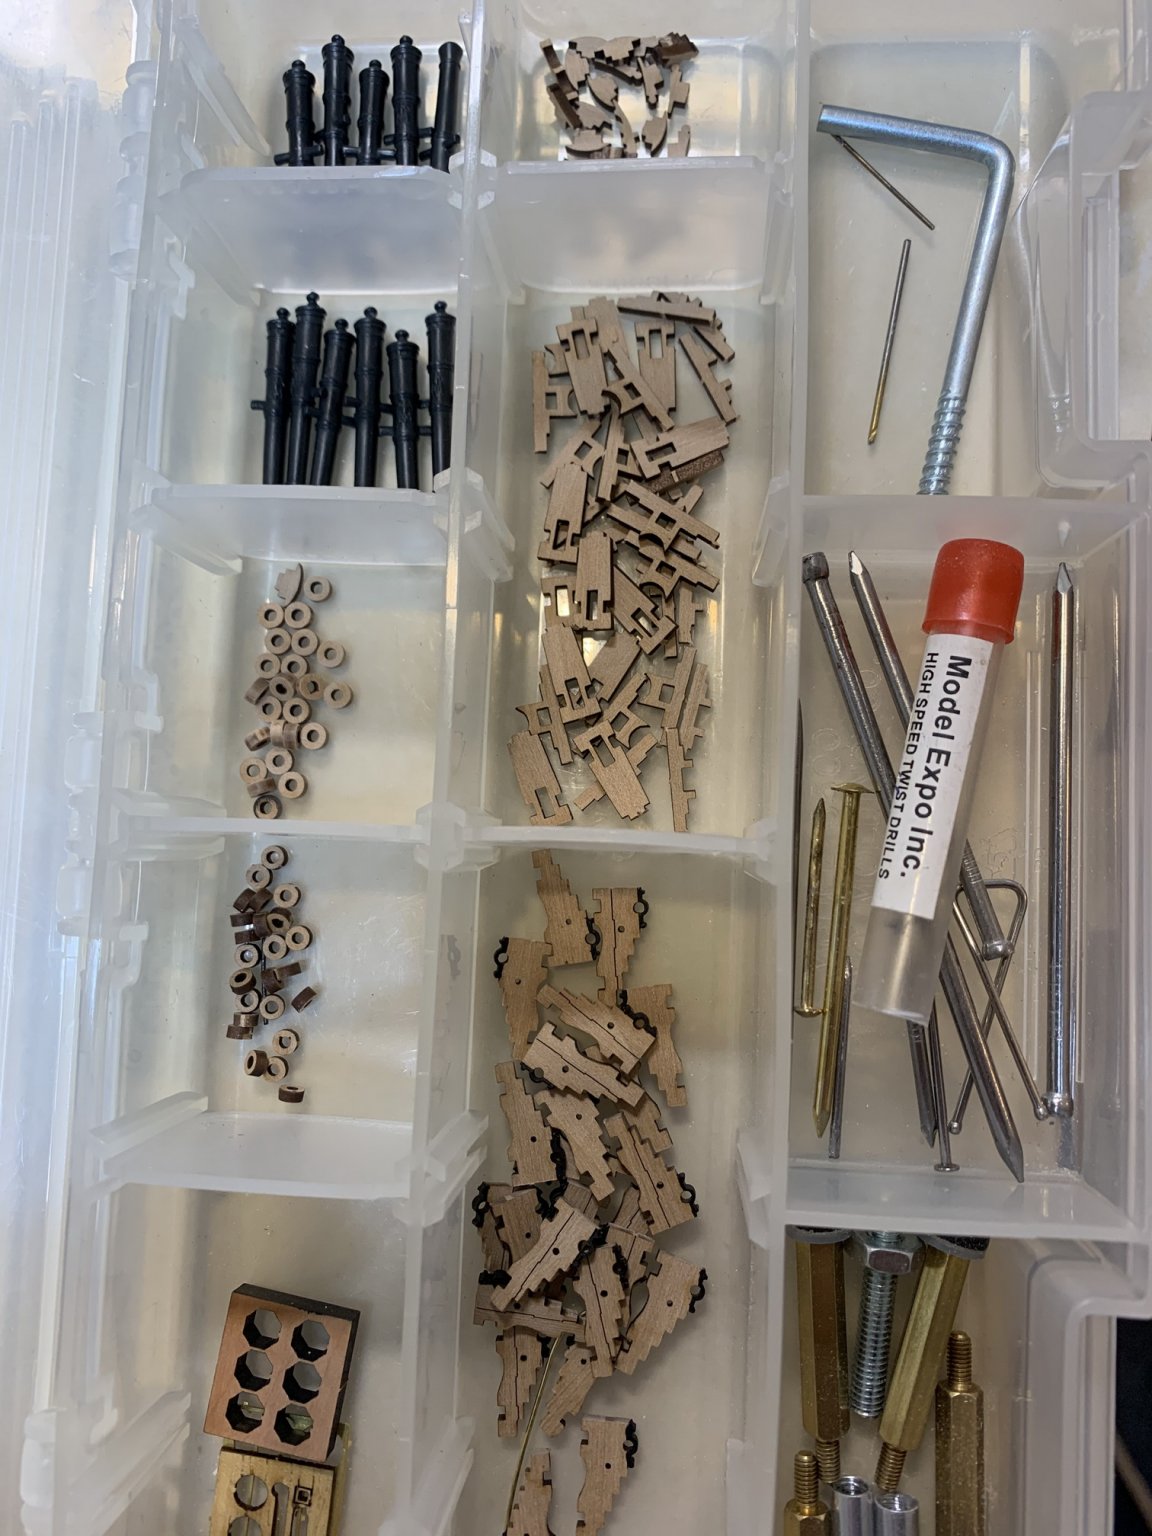
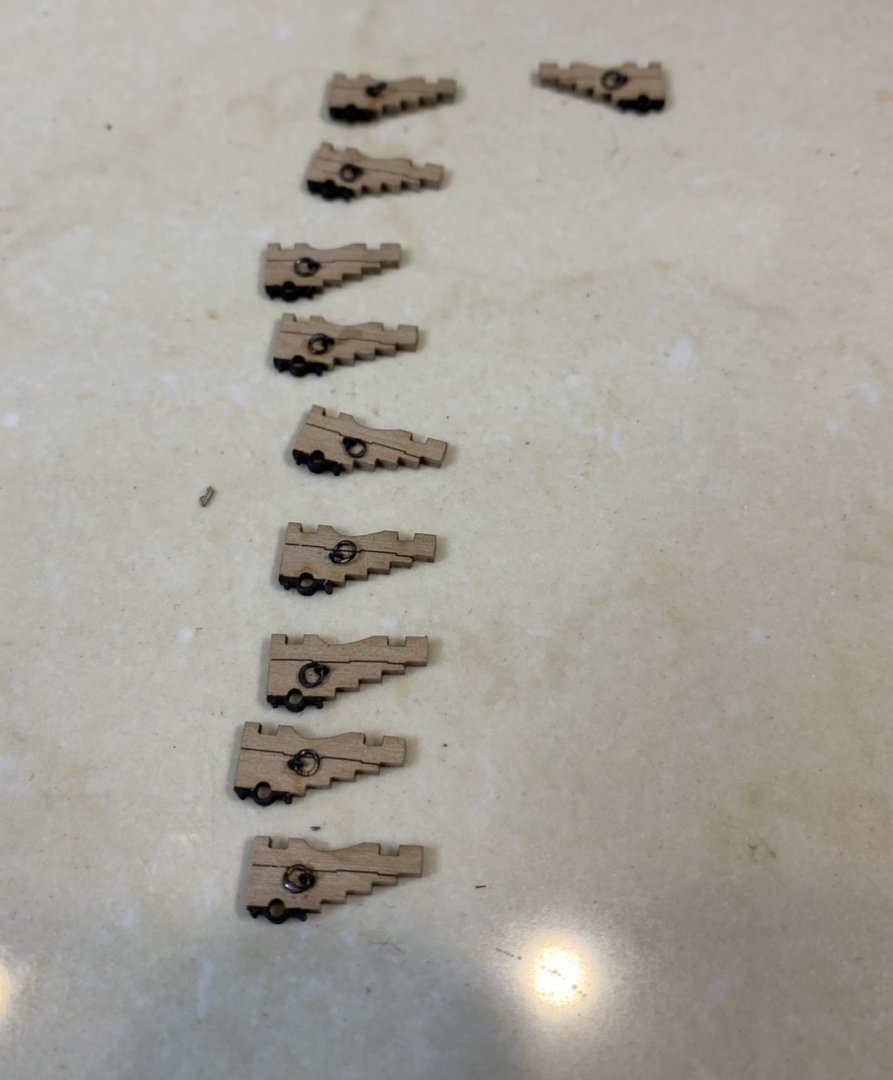
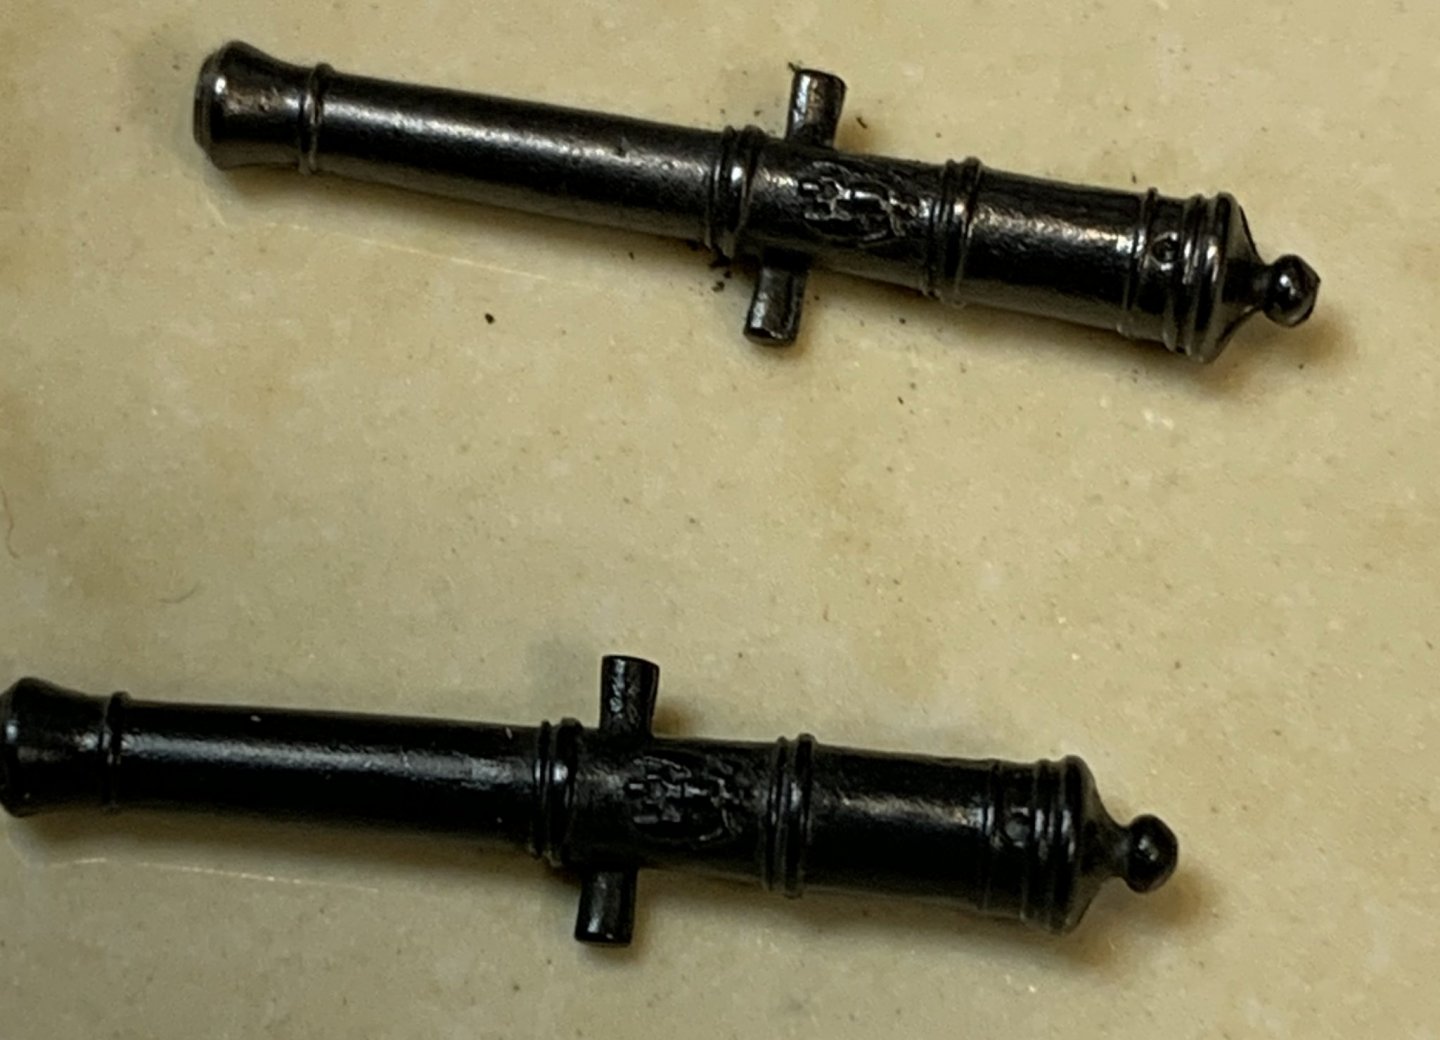
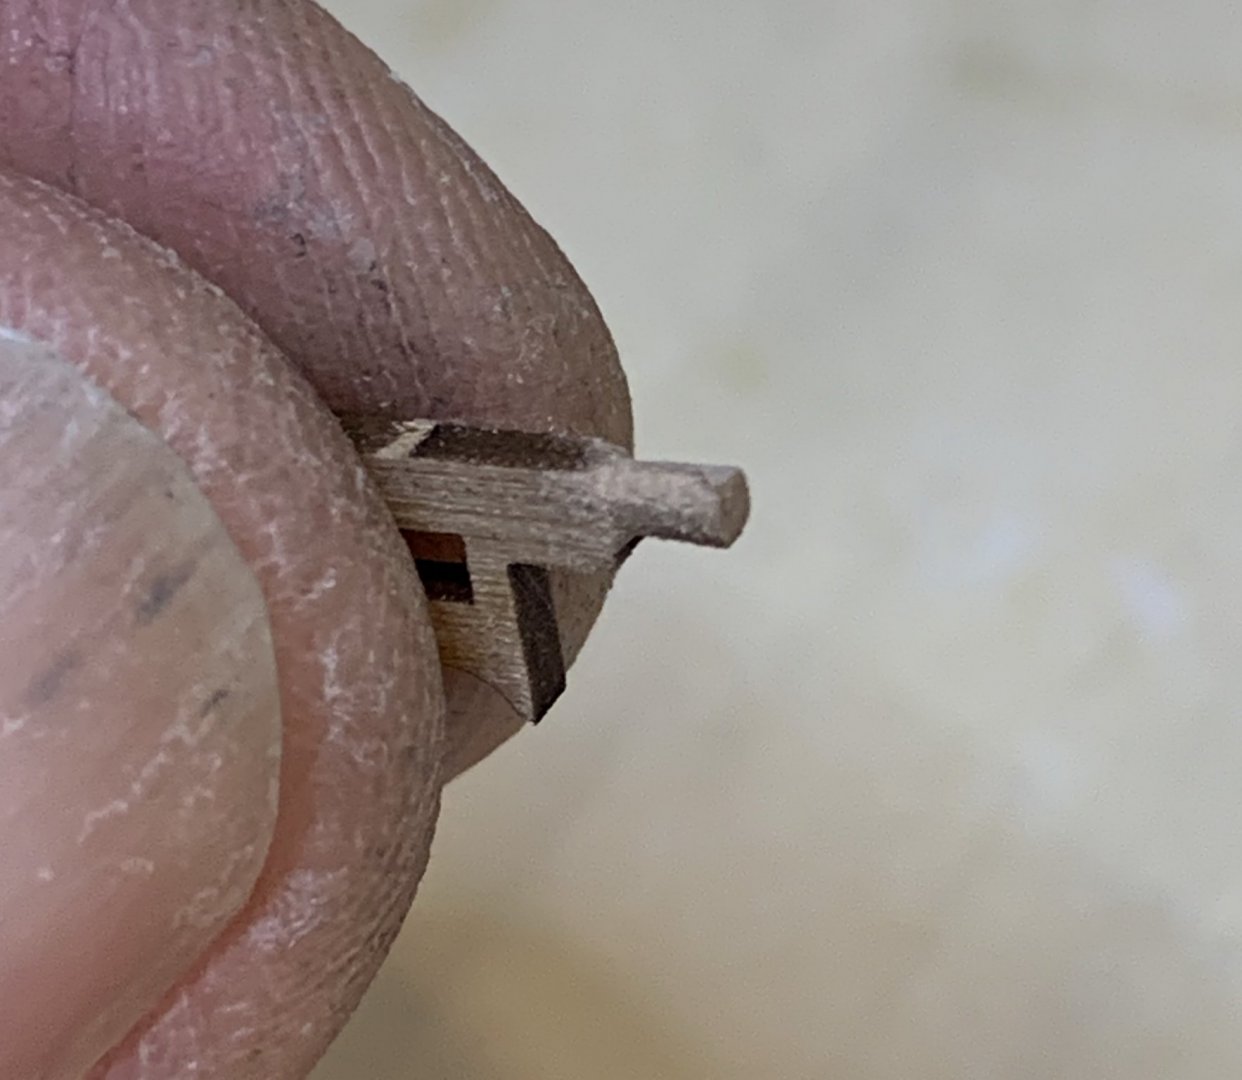
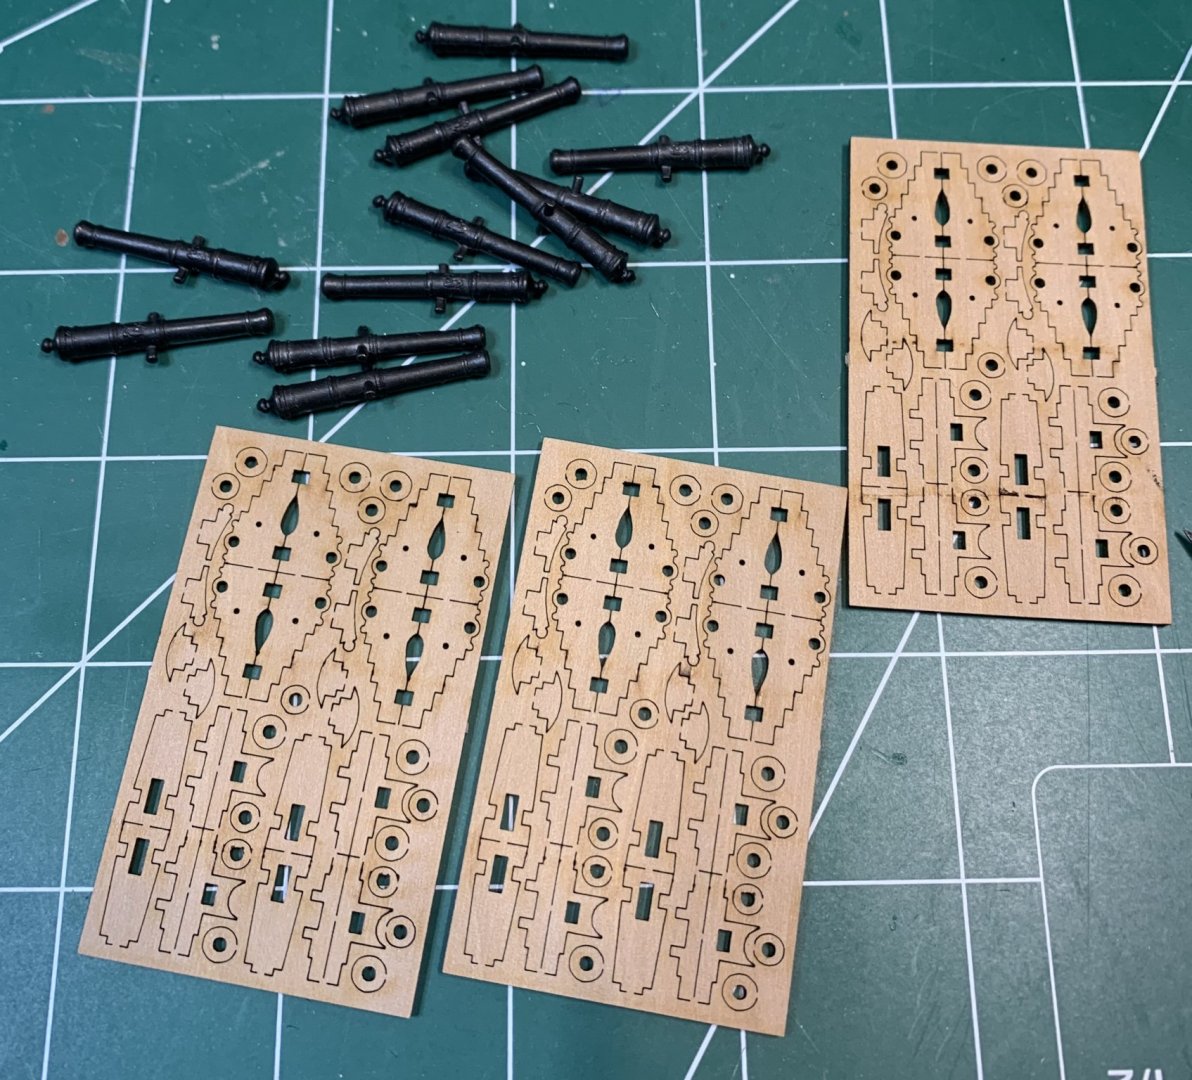
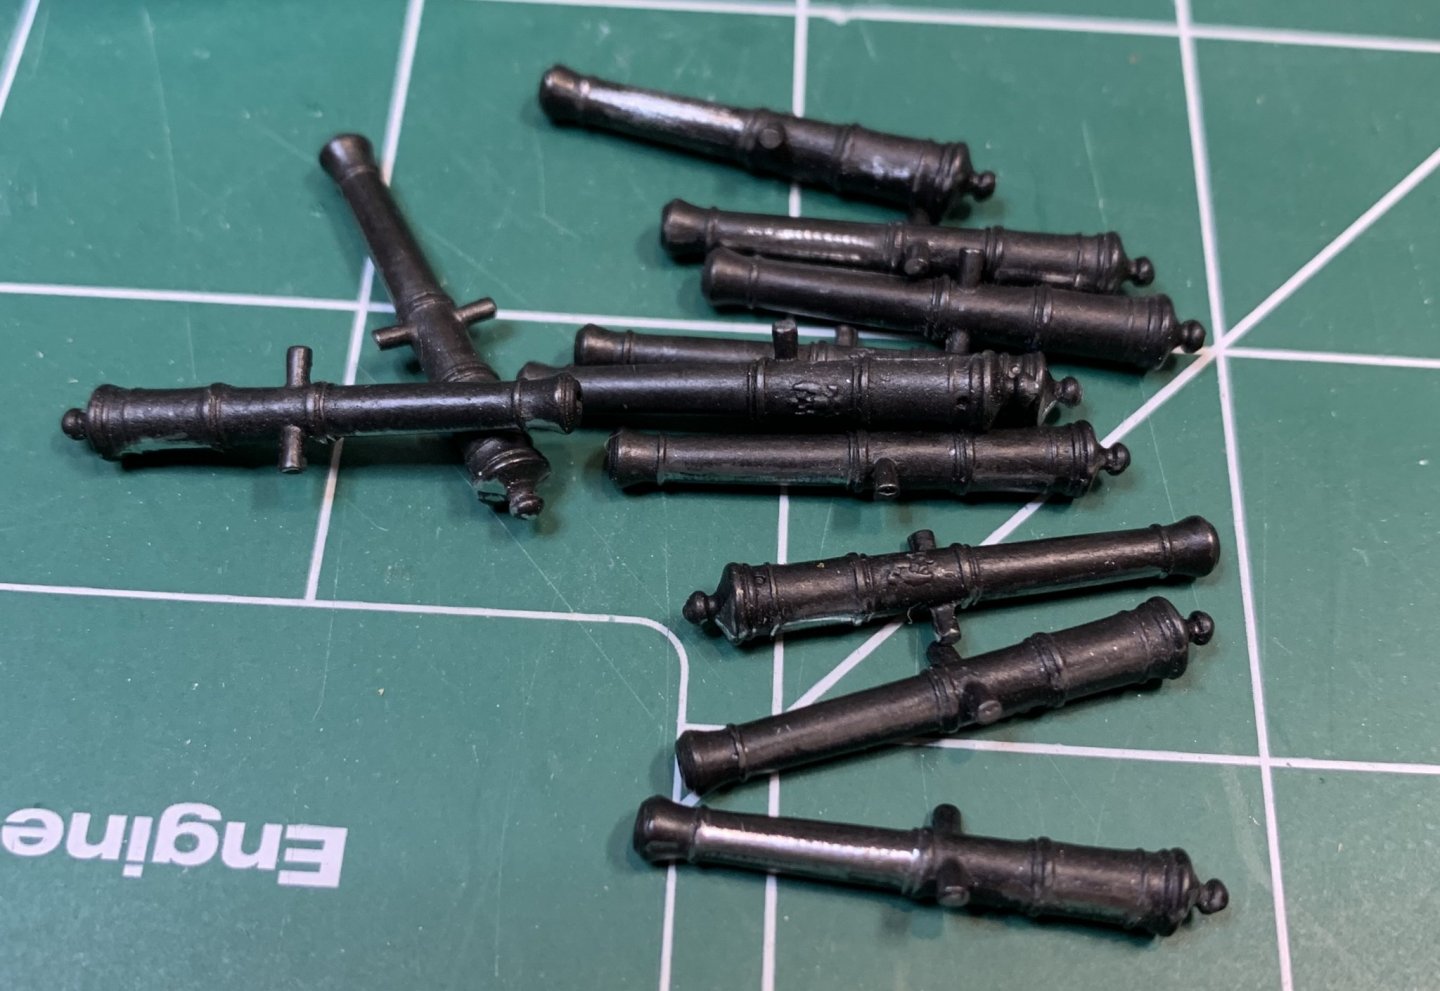
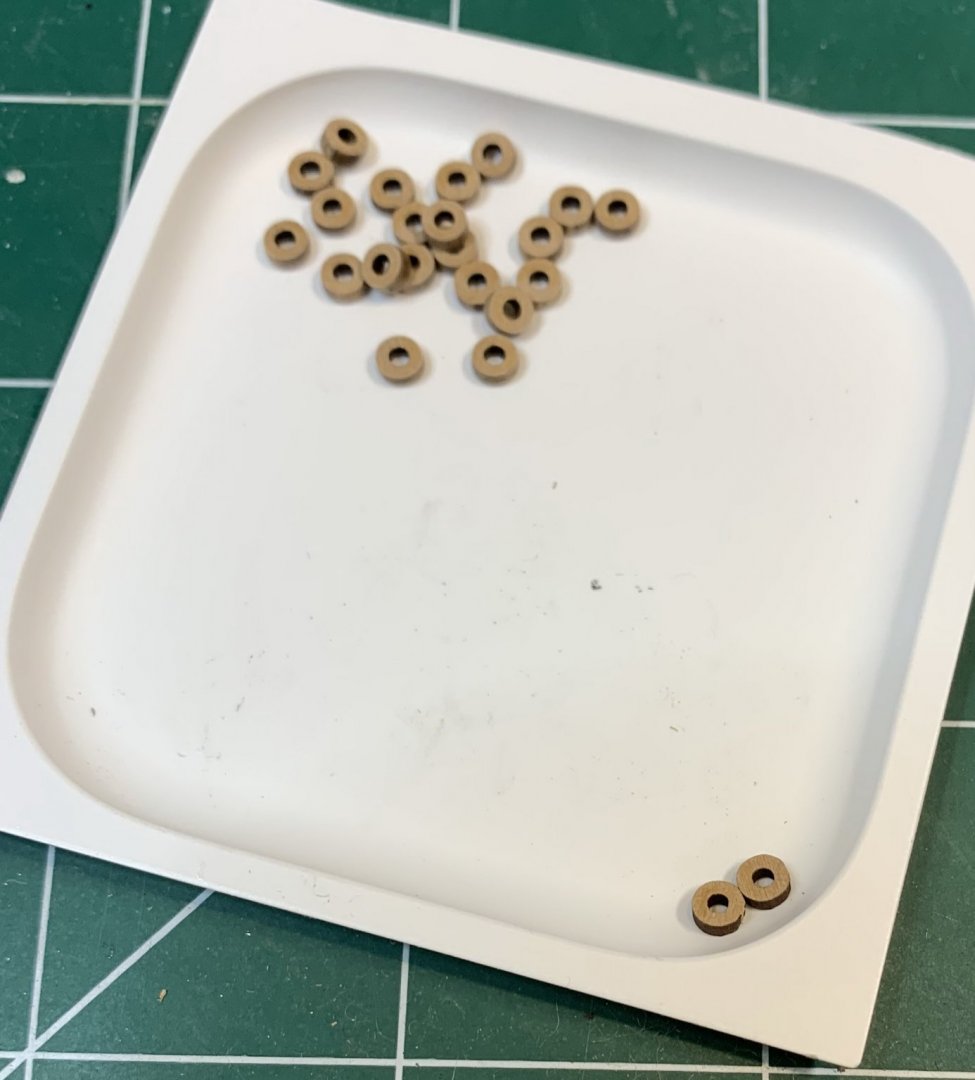
For no apparent reason, started to work on ship cannons. Searching thru the kit, i noticed how well kit parts were protected with plastic foliage.. 12 ship guns.... First i remove all burrs that were visible on guns... Then guns were dipped into blackening solvent, left for 20 seconds, removed and wiped. After that i polished all guns... Two polished guns and one not.. Light sanding was applied to all other gun parts to clean them out of laser cut burns or other damages.. The top one completed, the bottom is waiting its time.. It might need a bit more work but this will be done later. The back wheels were removed from sheet. Setup to remove laser burns from wheels is very simple... Two more to go... On some cannons, muzzle opening required a bit of widening to make it a bit more realistic. Happy modeling.


- 275 replies
-
- 9
-
-
- phoenix
- master korabel
- (and 1 more)