HOLIDAY DONATION DRIVE - SUPPORT MSW - DO YOUR PART TO KEEP THIS GREAT FORUM GOING! (89 donations so far out of 49,000 members - C'mon guys!)
×


moreplovac
-
Posts
794 -
Joined
-
Last visited
Content Type
Profiles
Forums
Gallery
Events
Everything posted by moreplovac
-
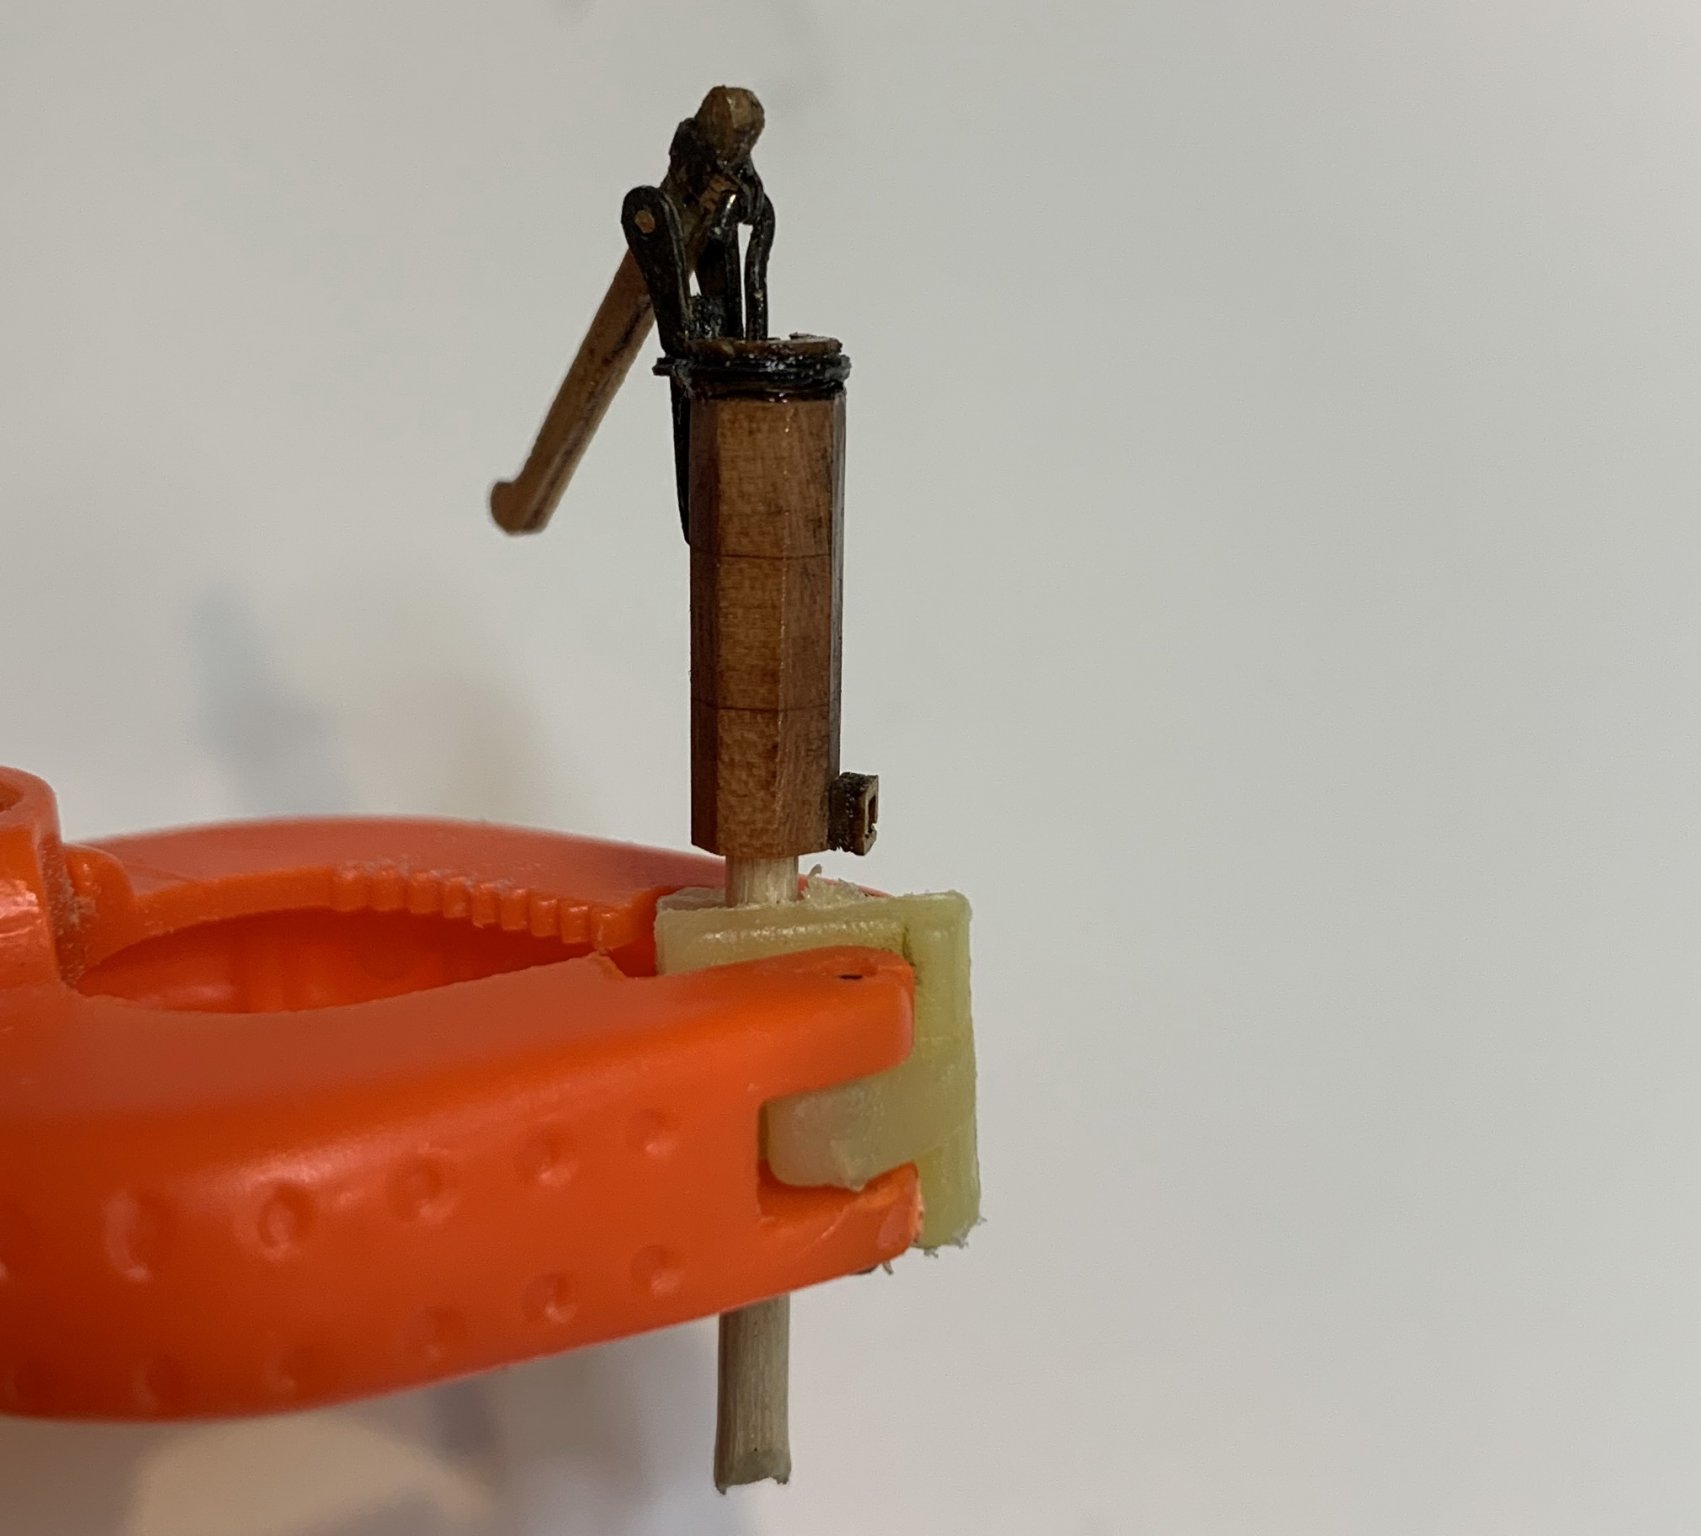
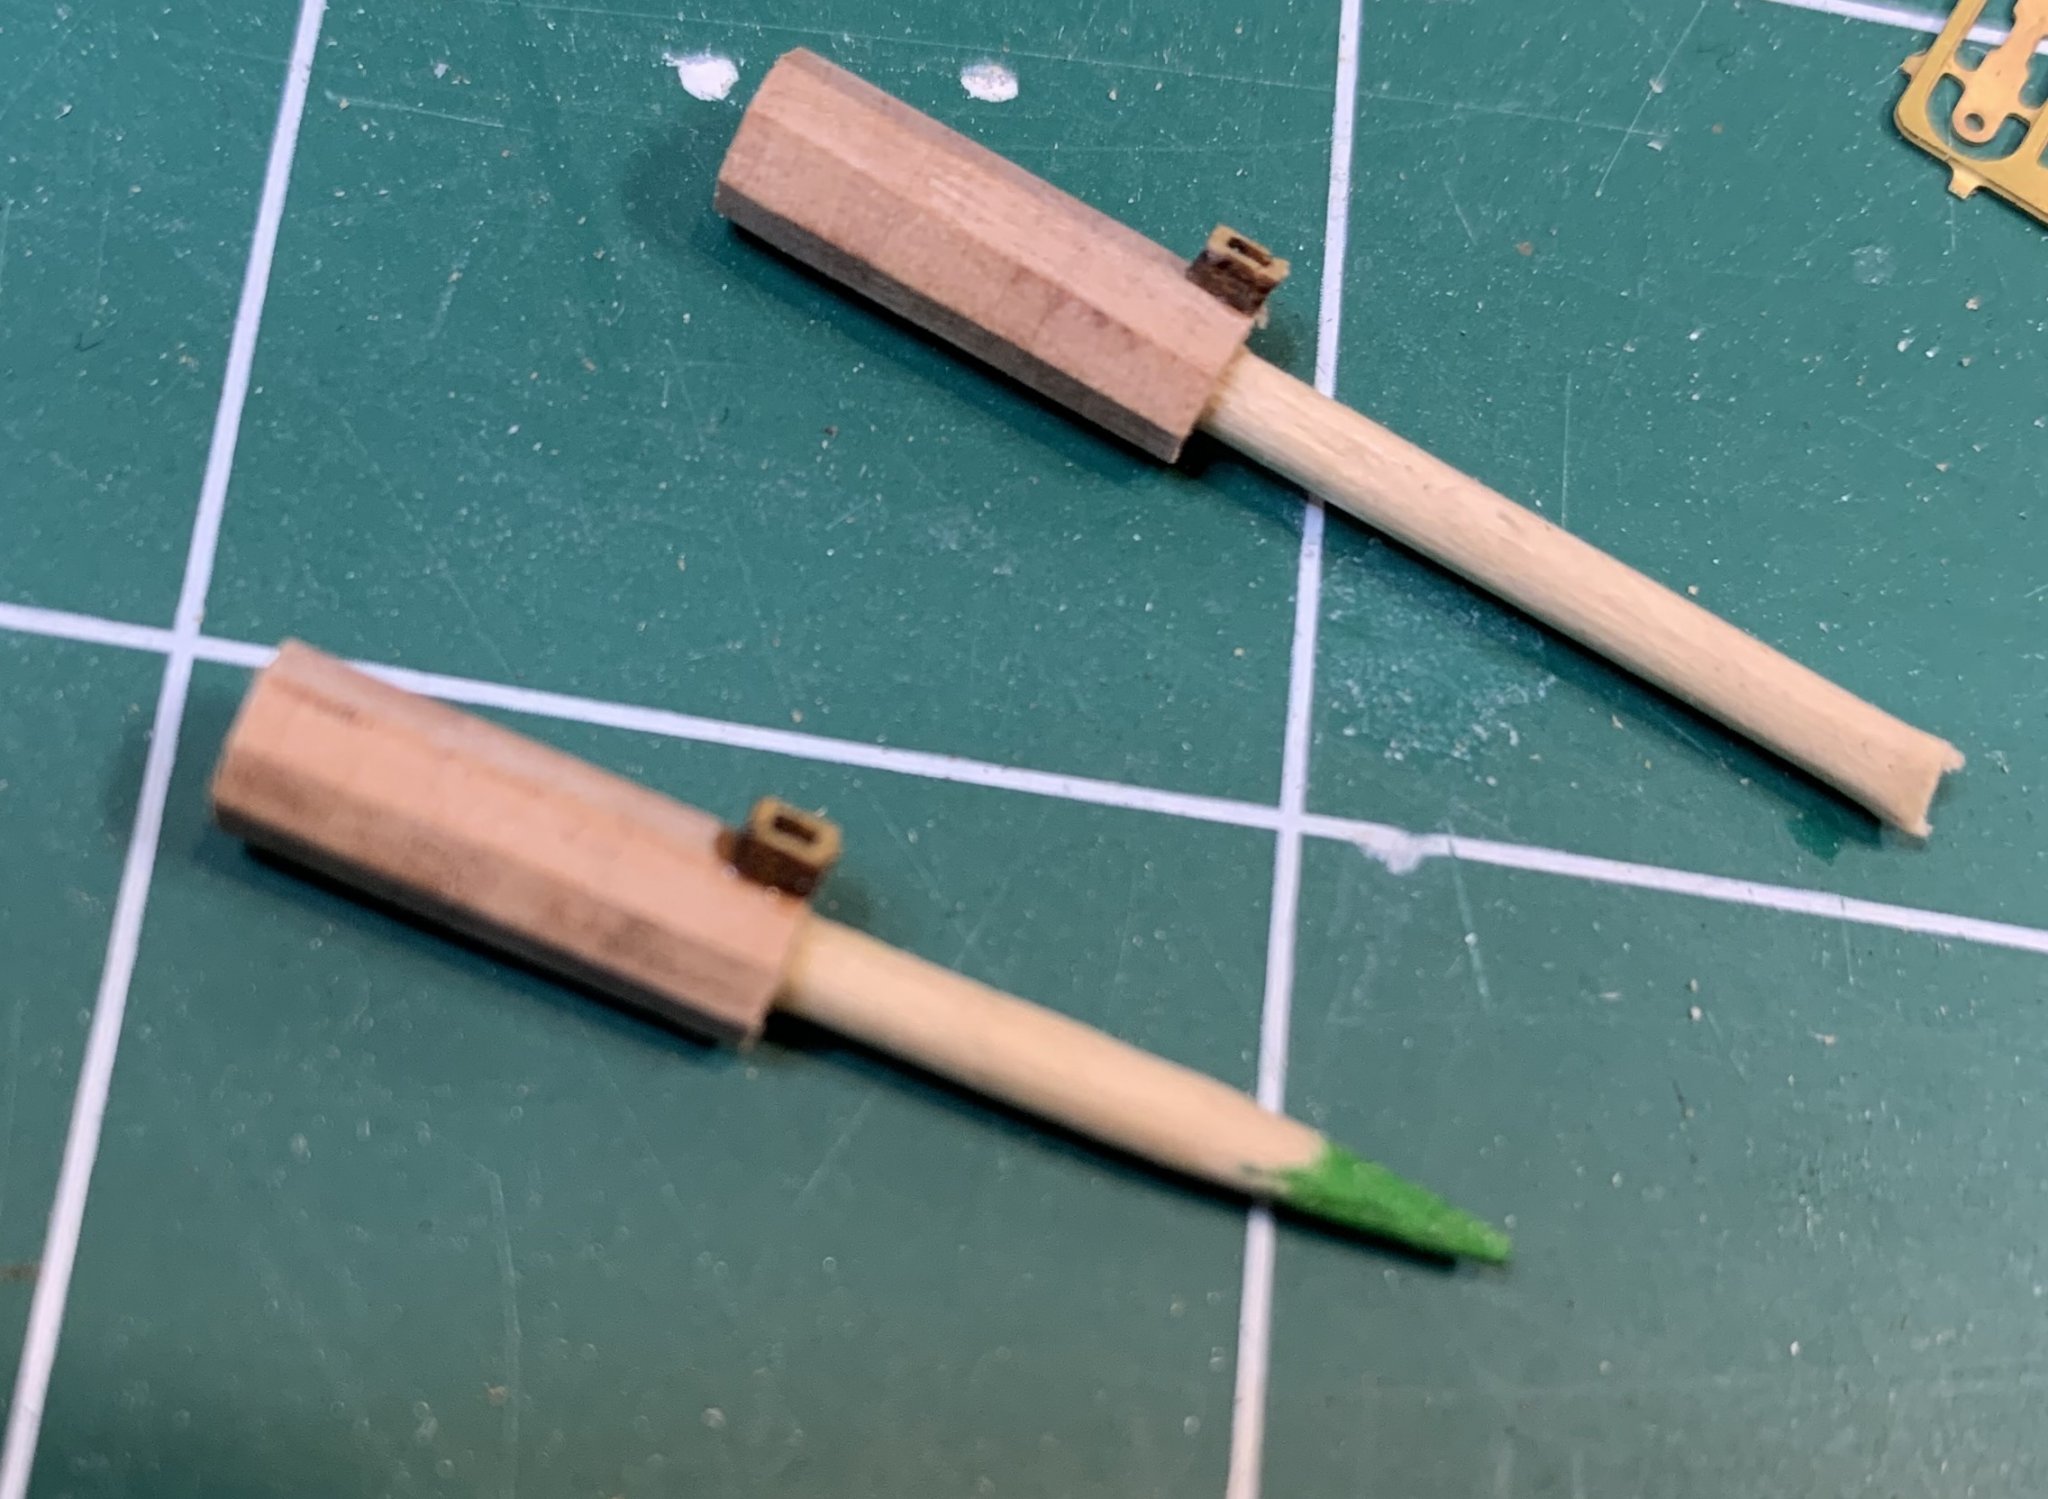
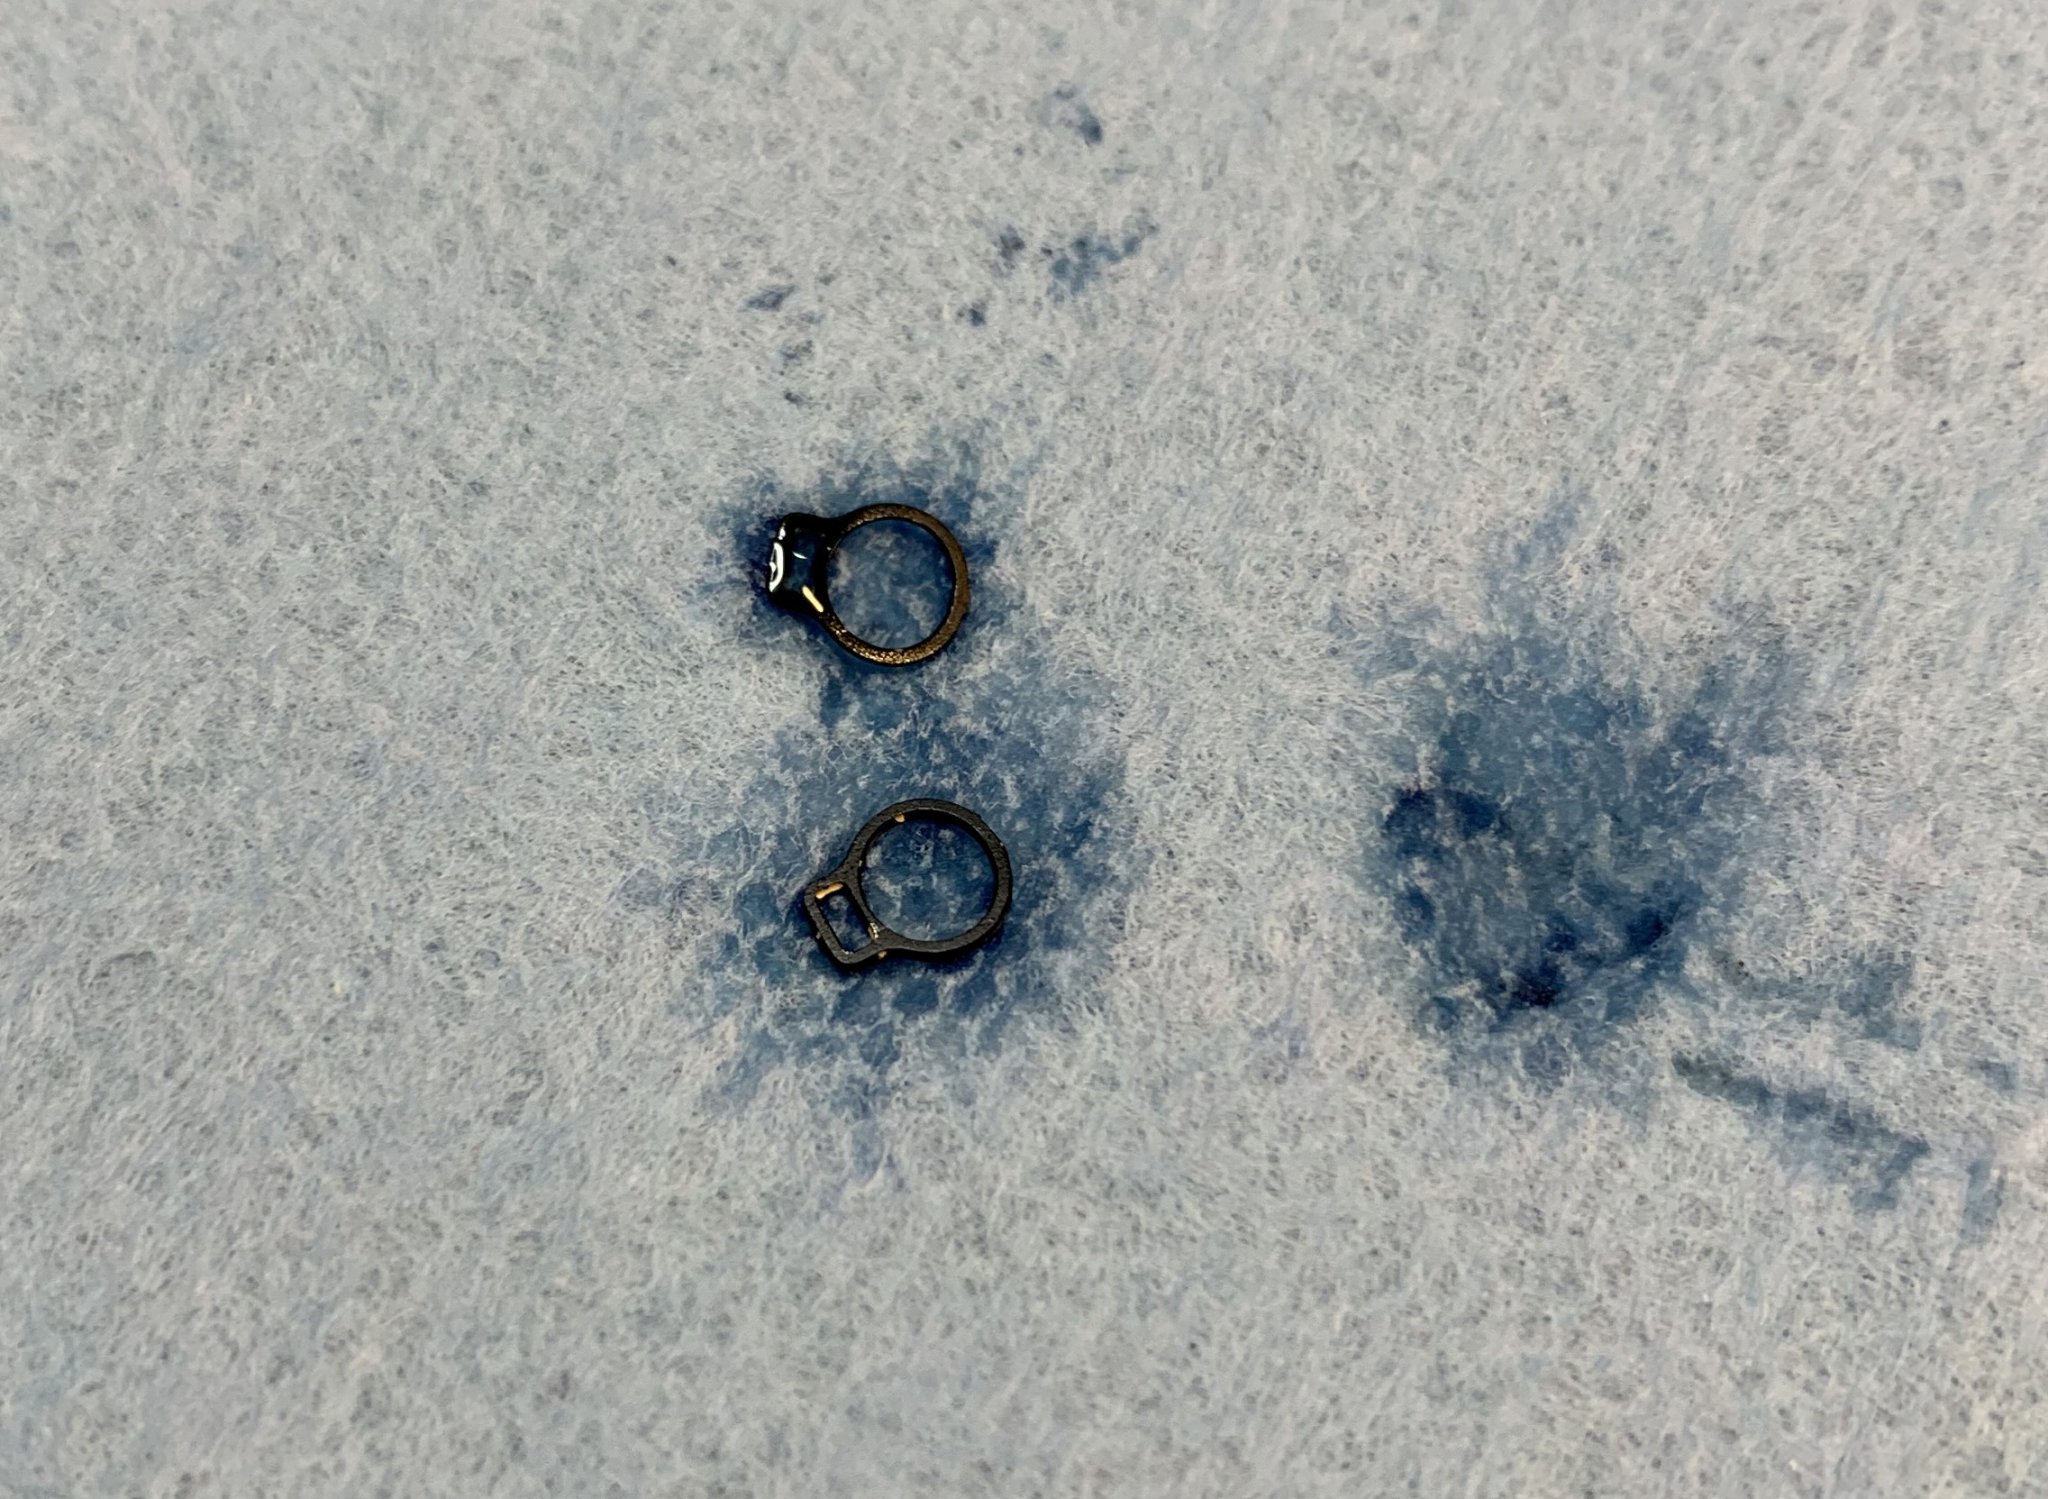
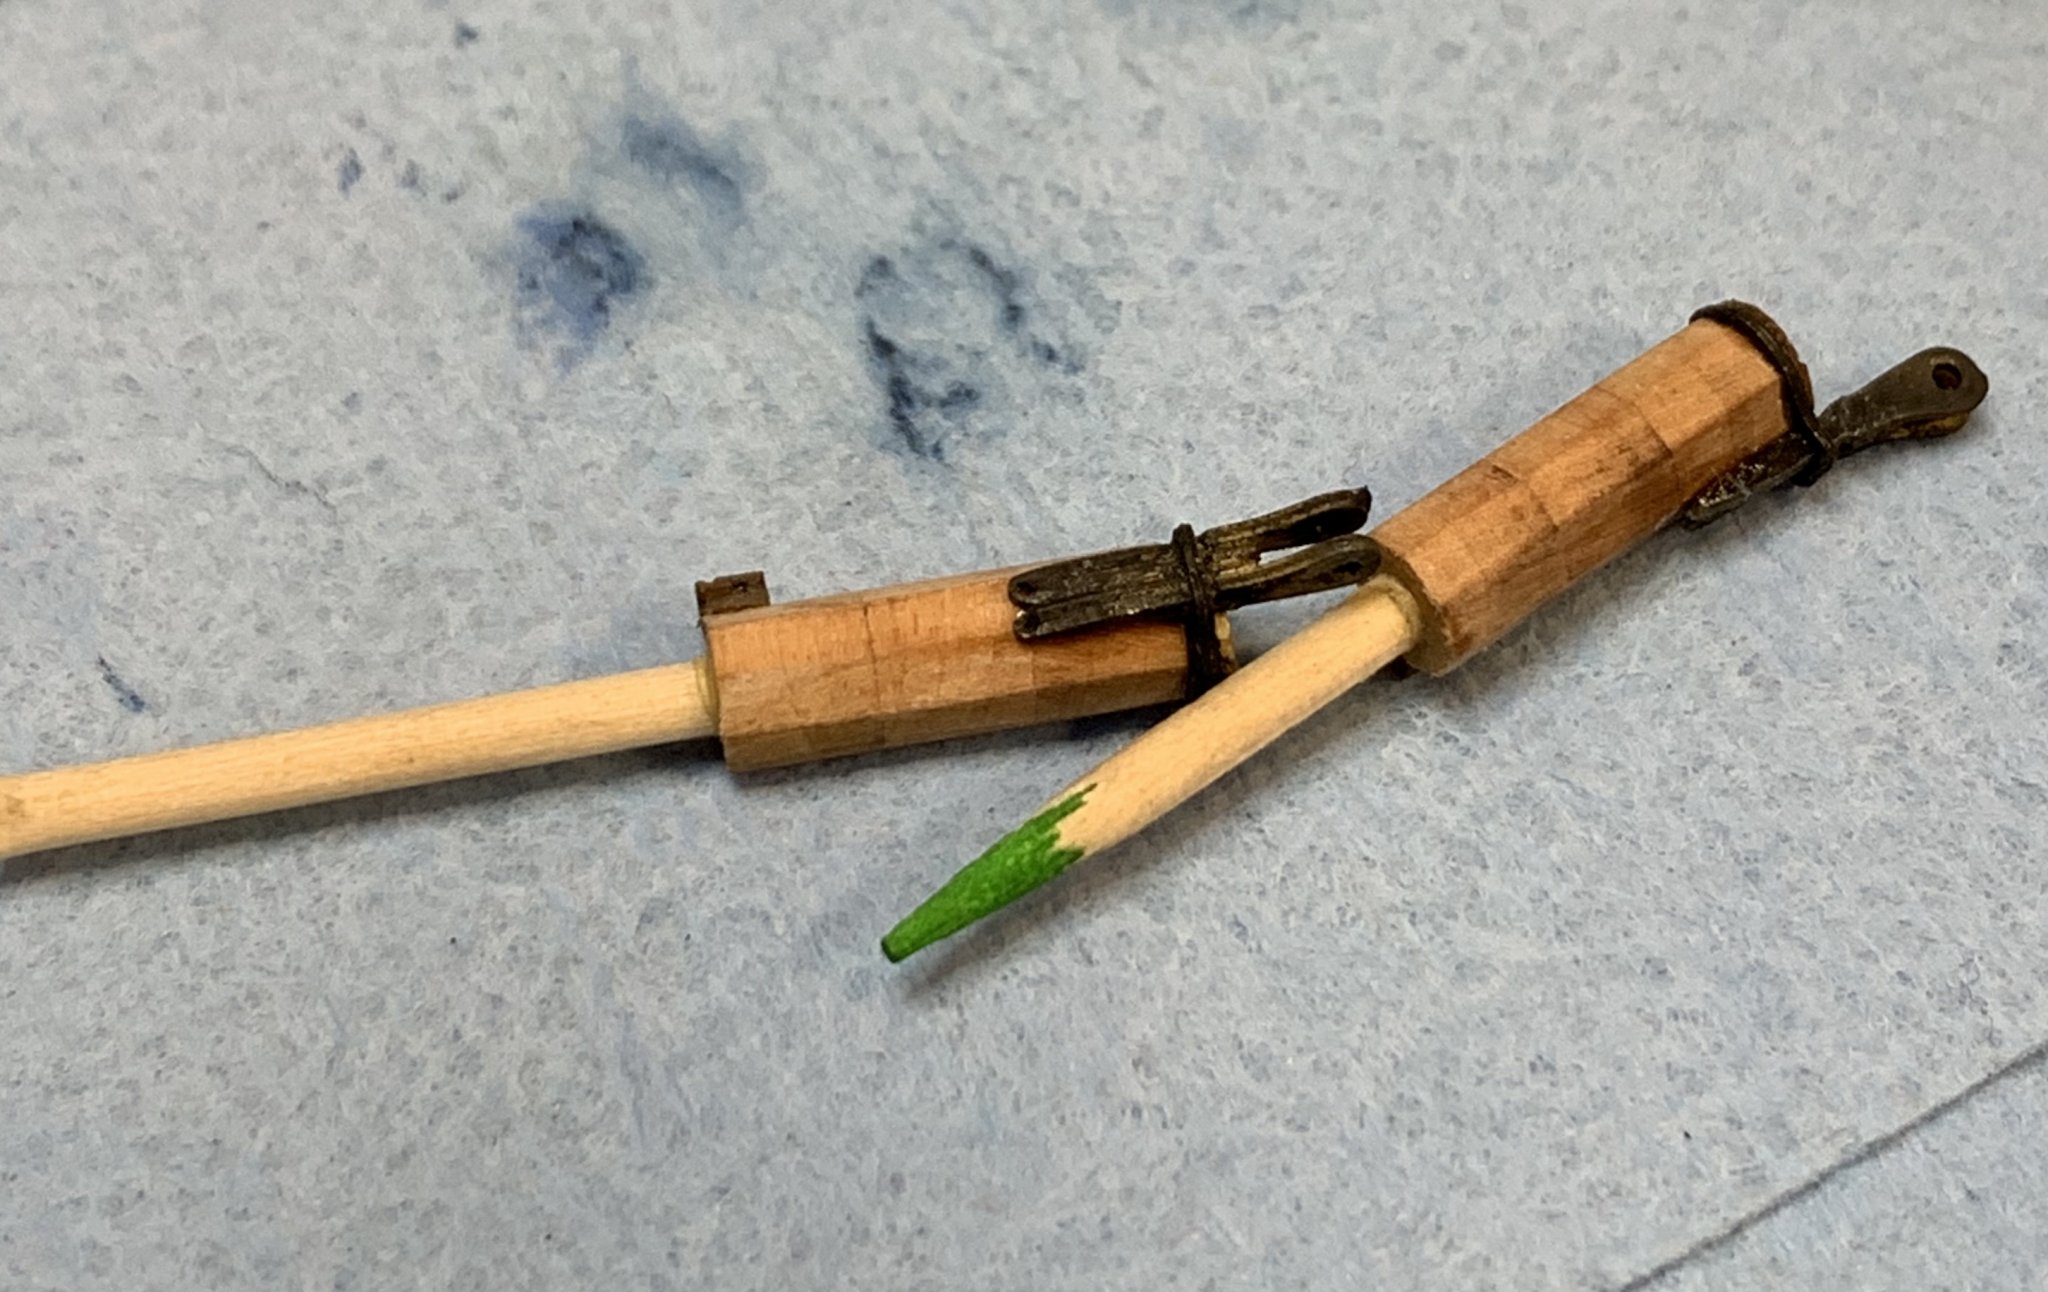
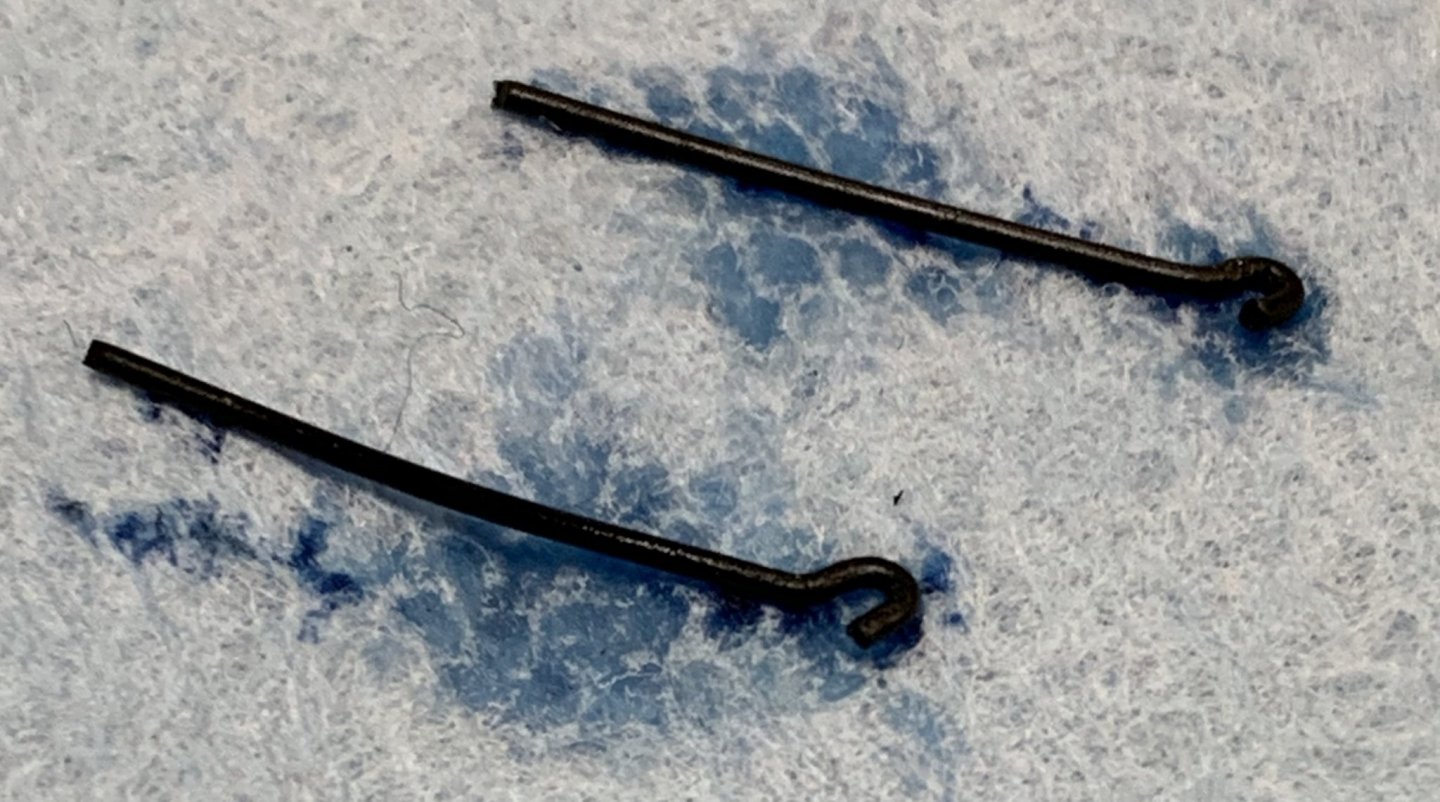
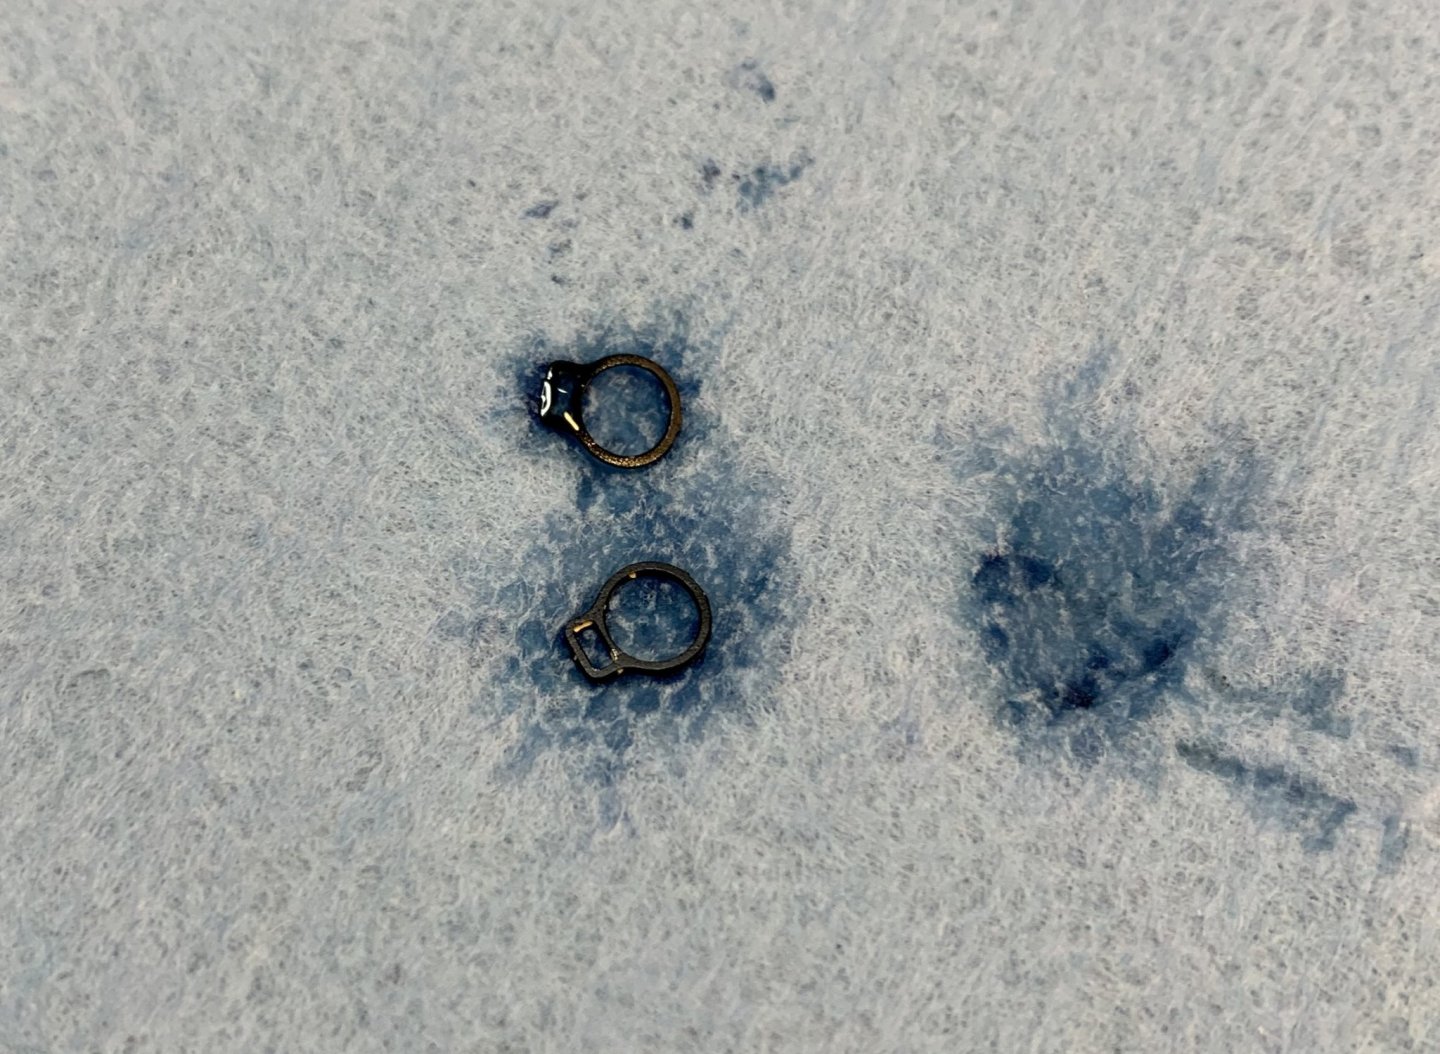
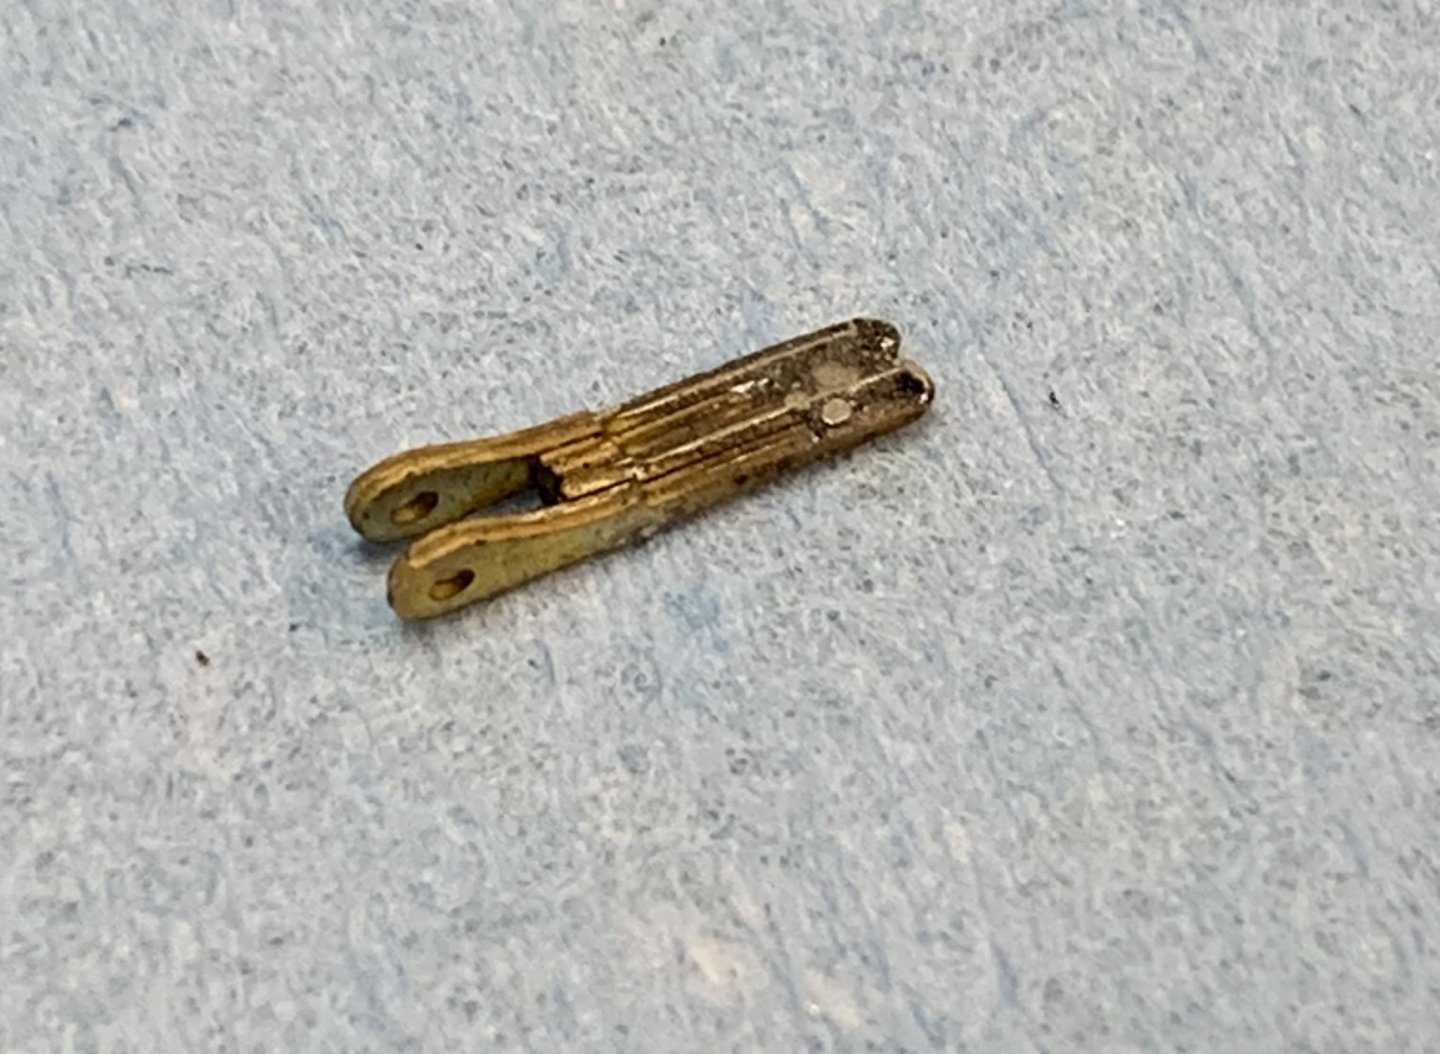
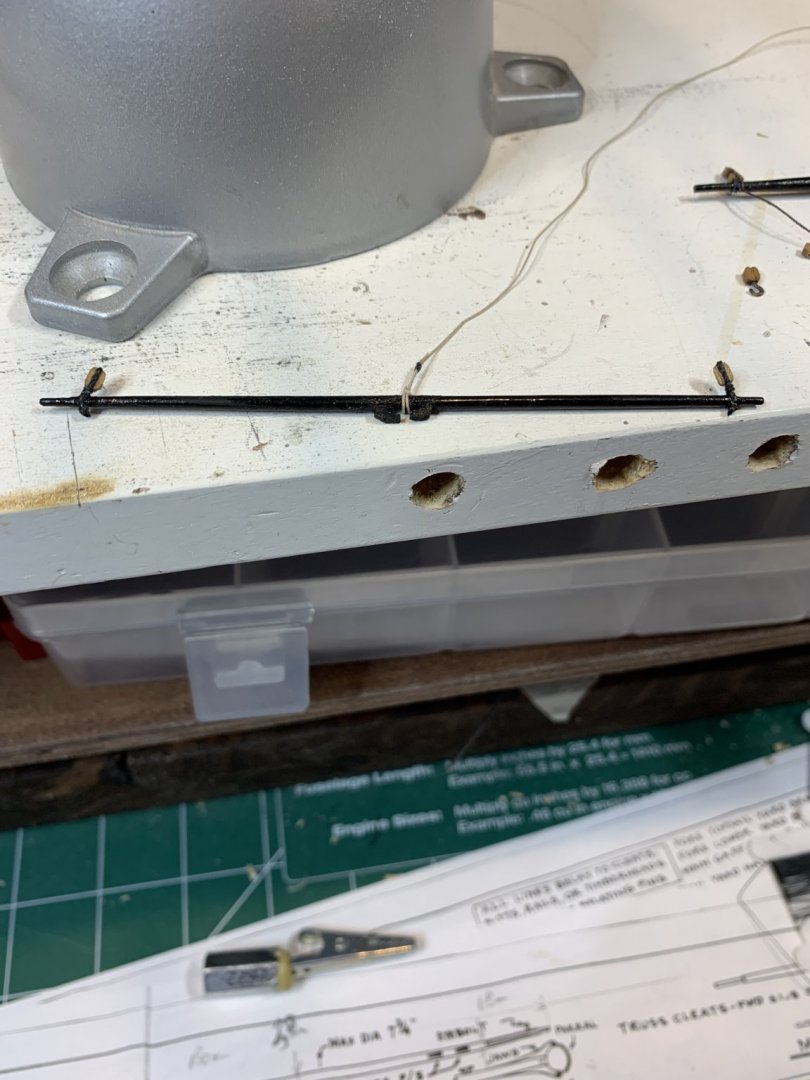
 The handle assembly process continued by making hooks... the wire was heated a bit to make it softer and the hooks was made, out of the kit provided wire. Actually this piece of wire comes in the plastic bag holding all required parts for a pump. Very well organized, so far.. Just a simple hook.. that was cleaned a bit for easy blackening.. After short bath in blackening solvent. I use Brass Black.. The pump handle assembled... The axle for handle support was cut 0.5 mm longer than needed and inserted into handle with pliers. Then it was squeezed with pliers to make tight bond.. The extra wire was cut and handle was put in final position. Both pumps completed.. And the layer of Danish oil was applied to pumps. Now they are ready for final installation... Happy modeling.
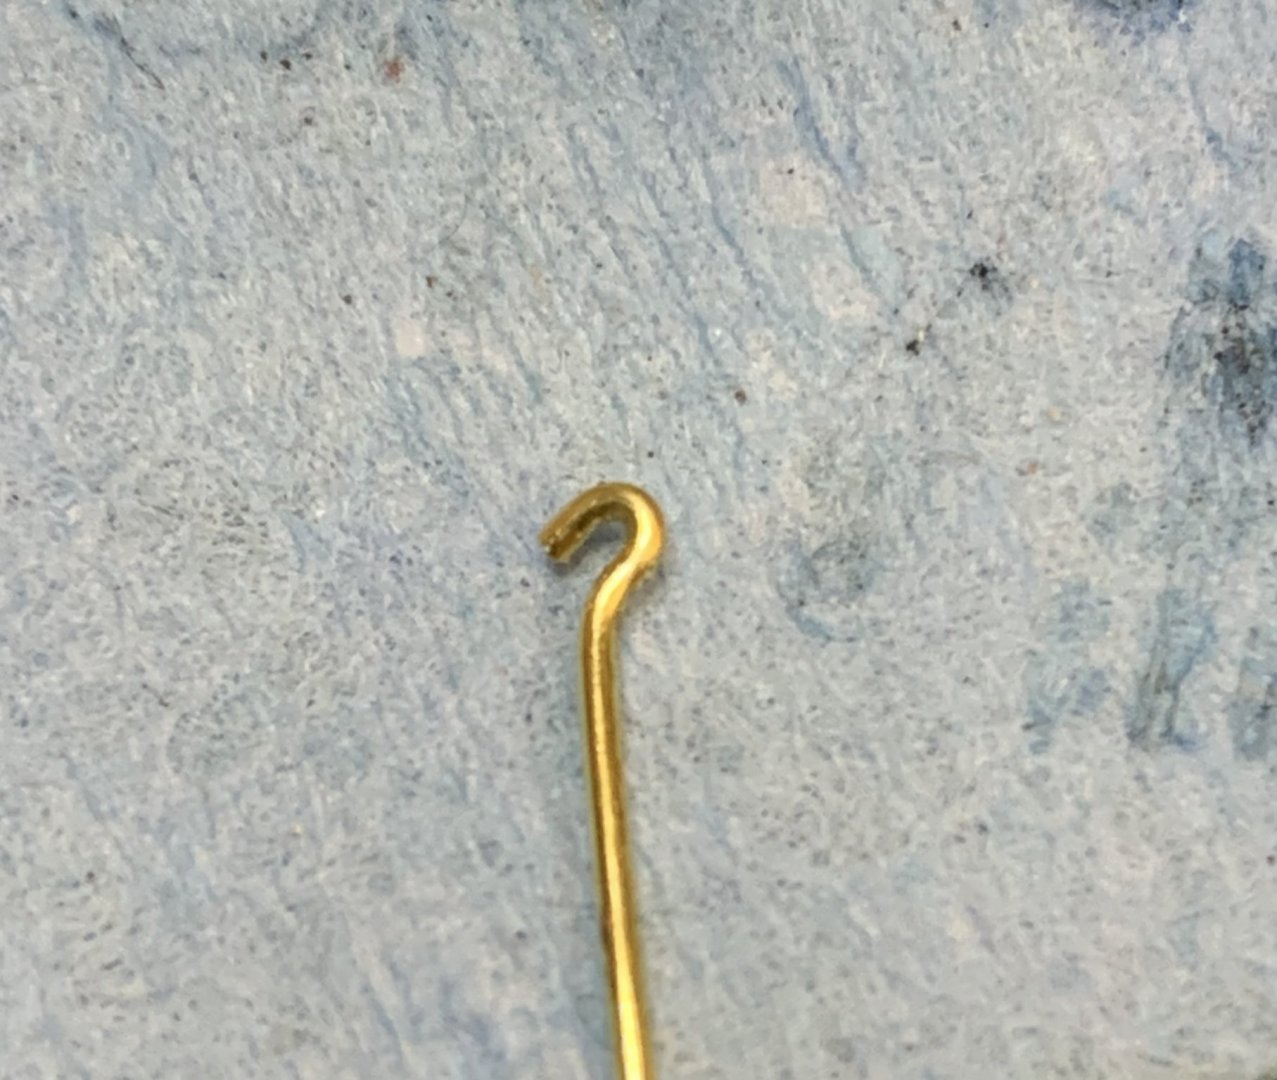


- 275 replies
-
- 12
-

-
- phoenix
- master korabel
- (and 1 more)
-
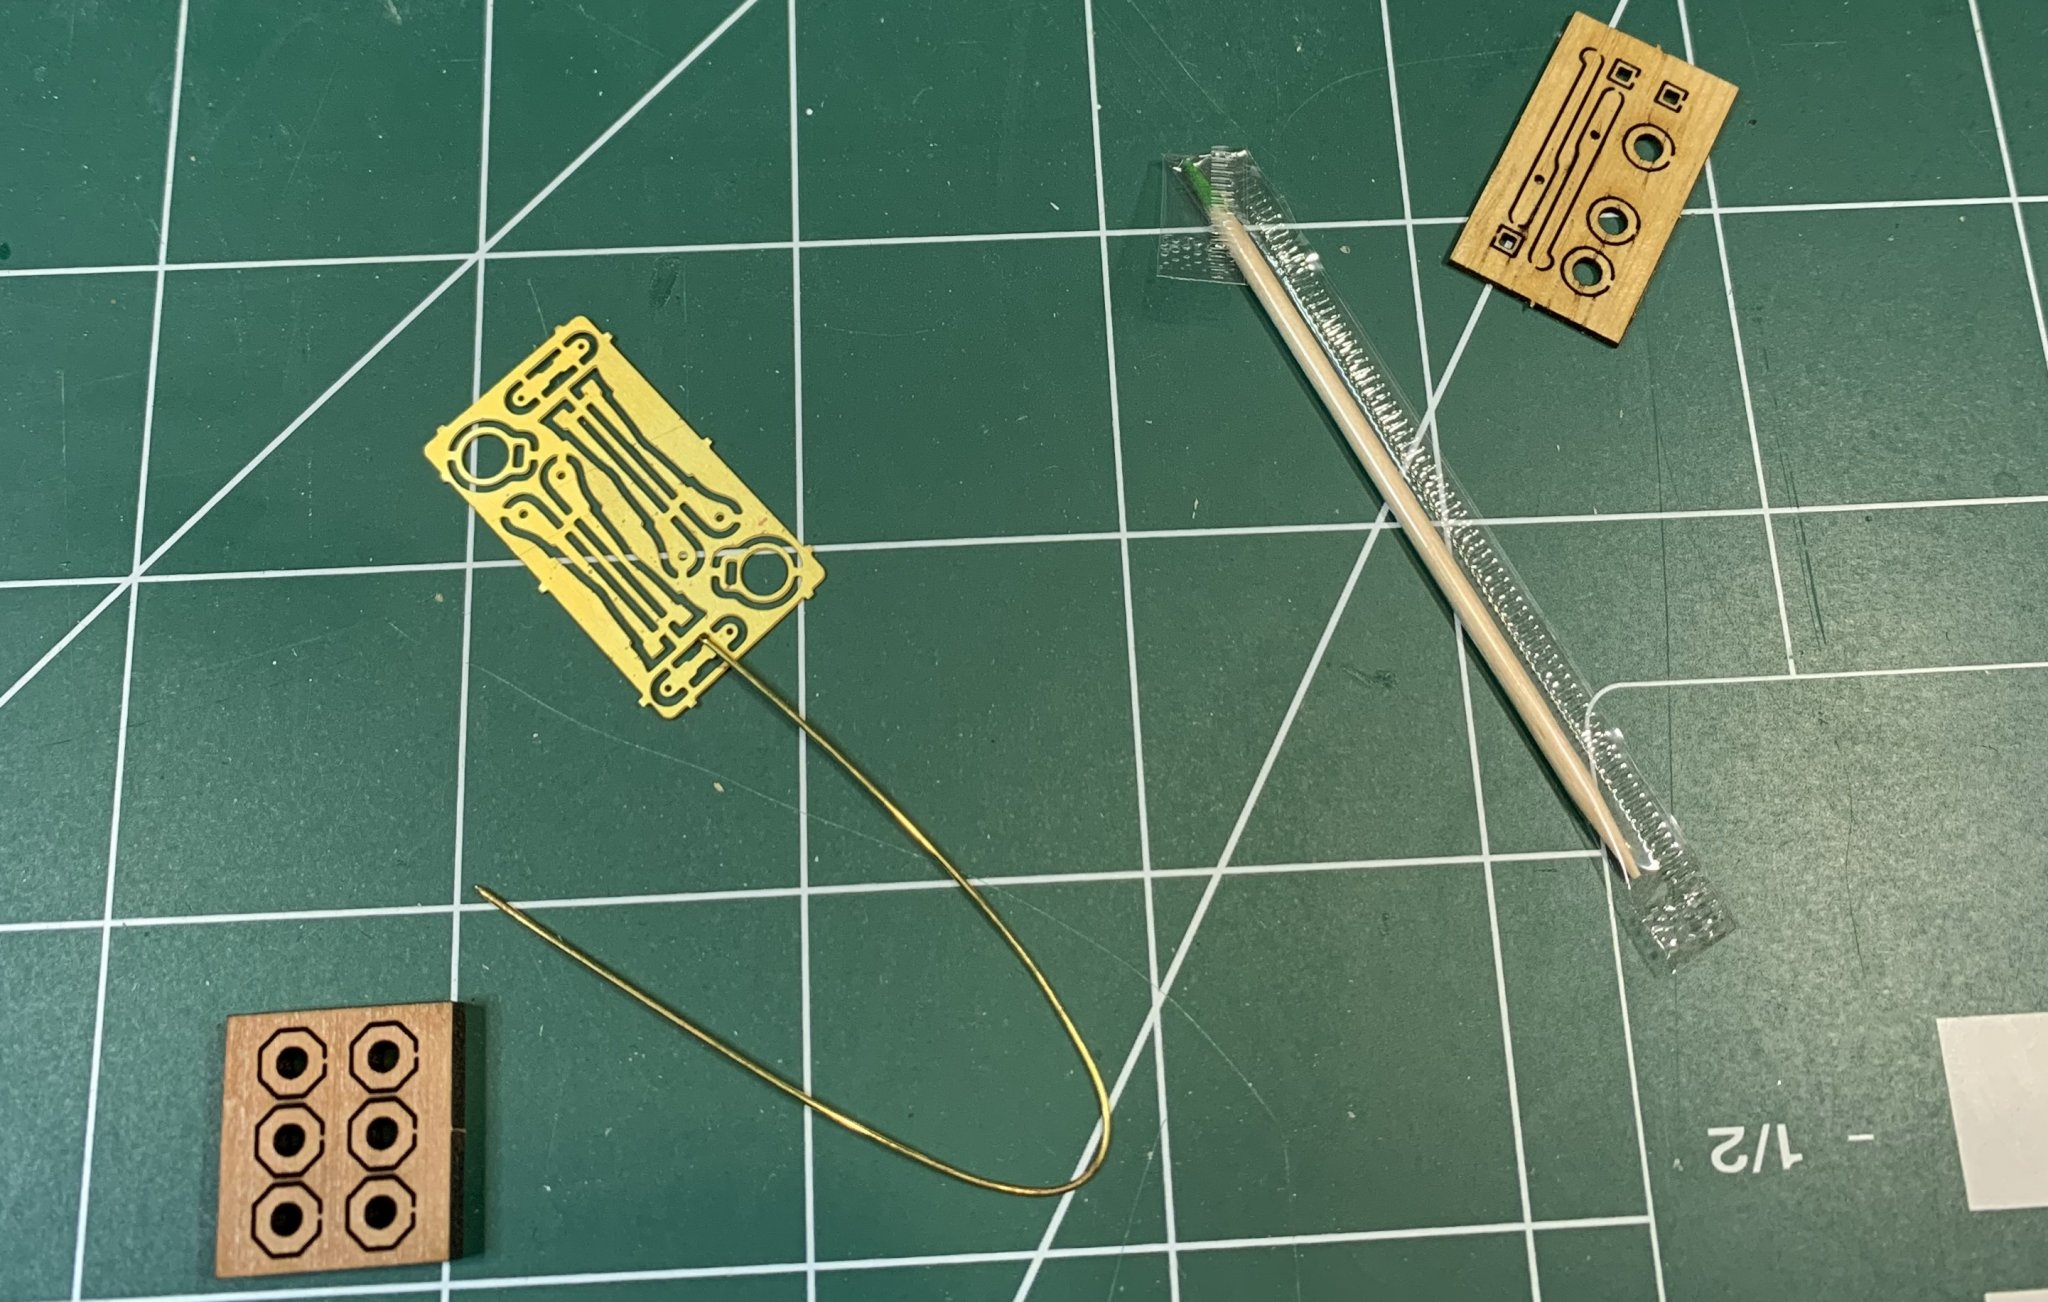
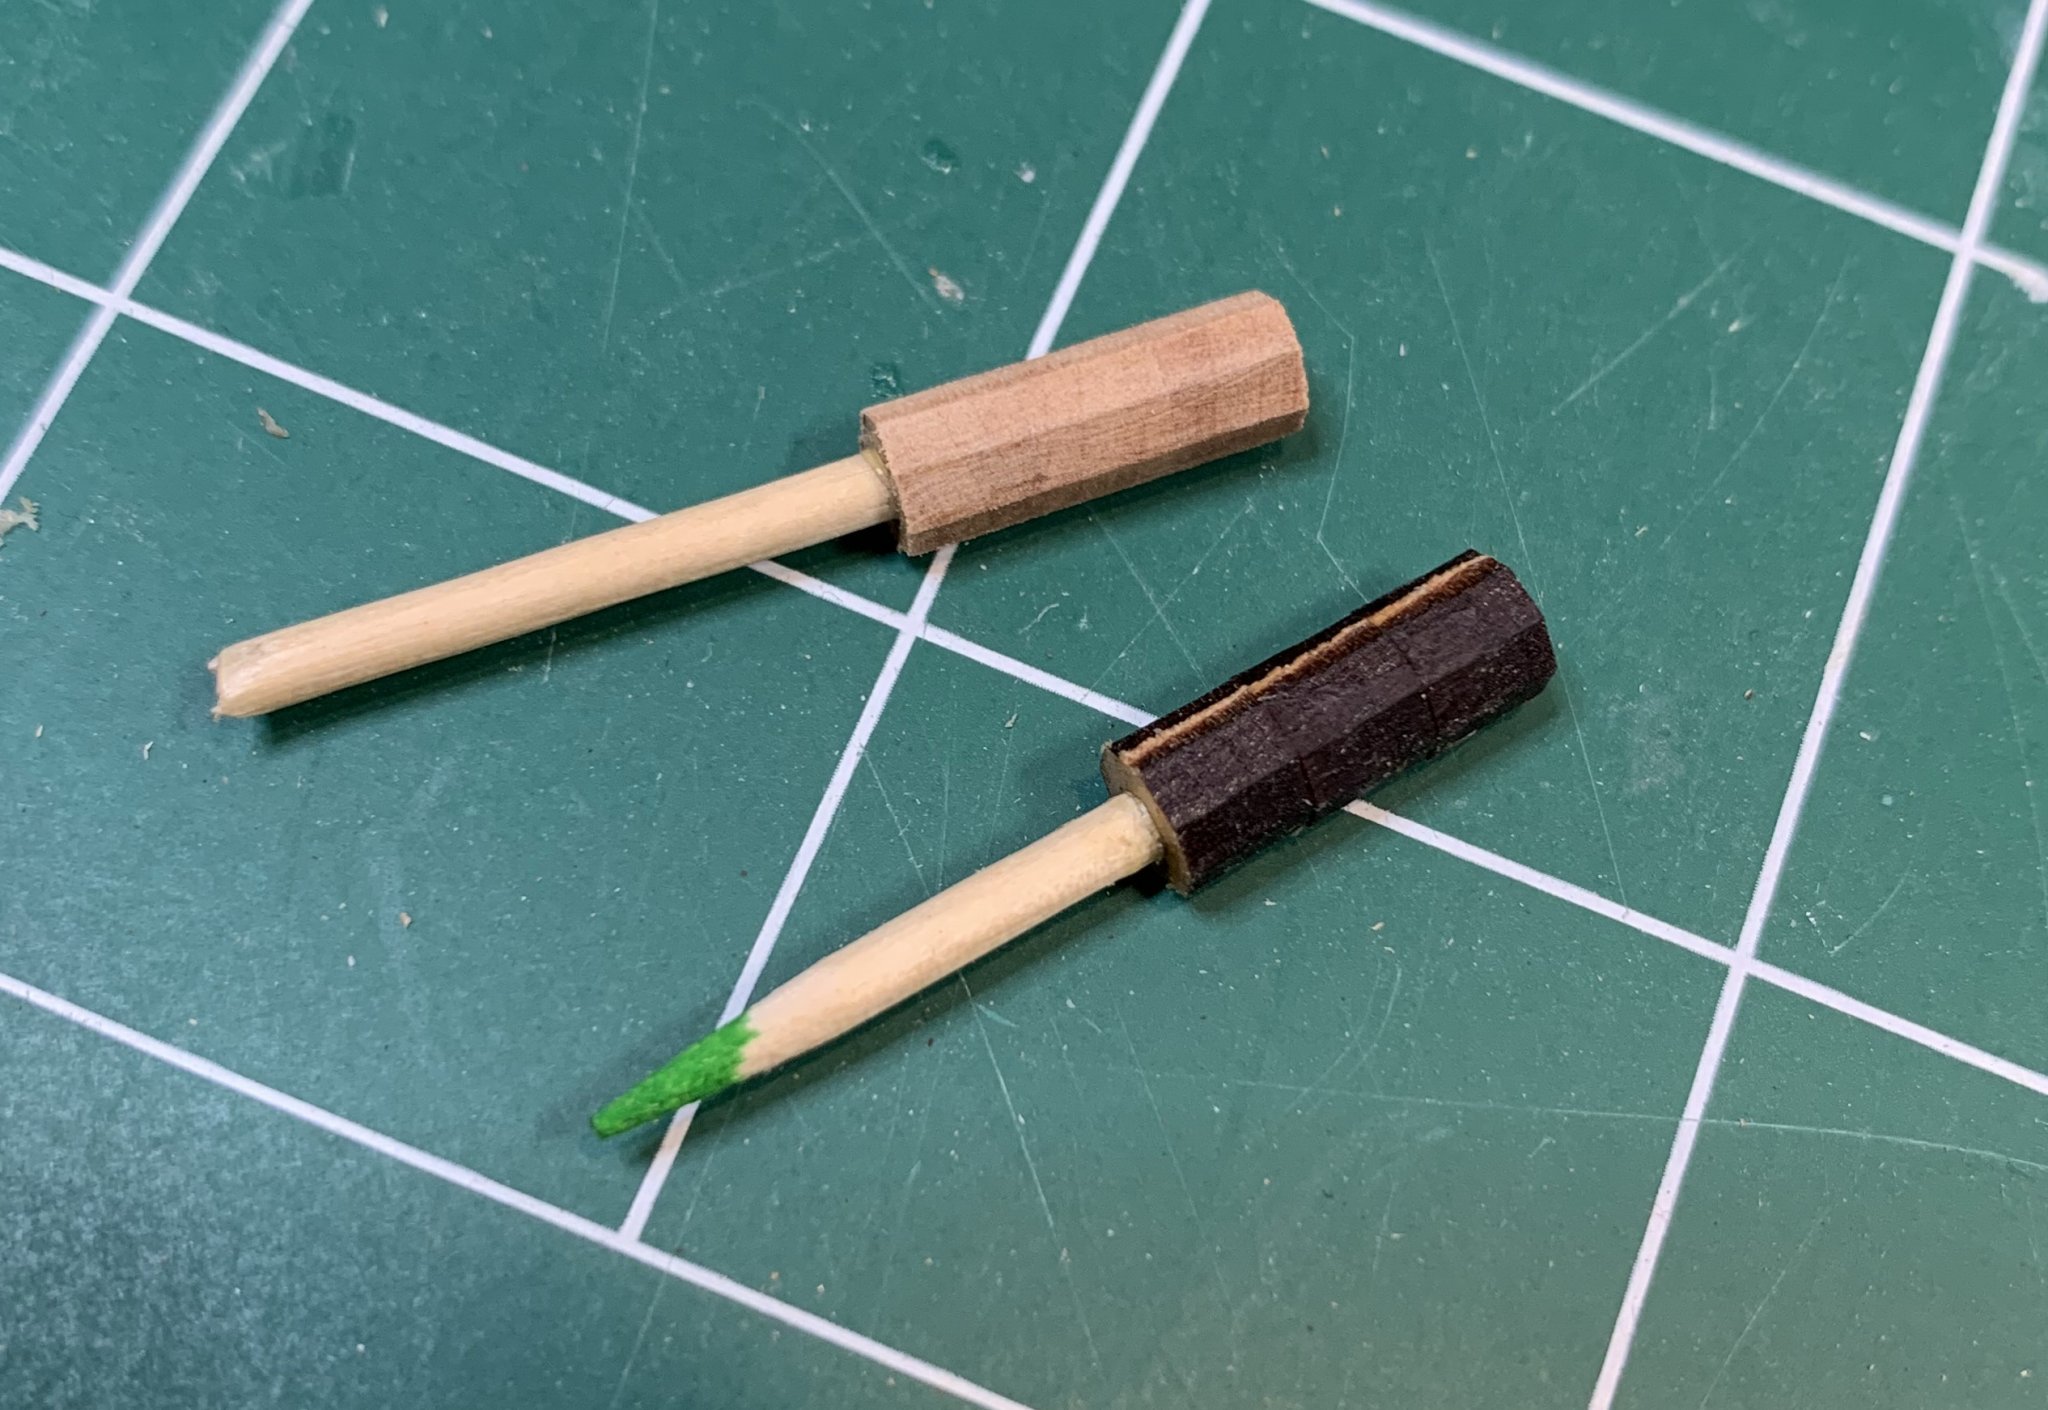
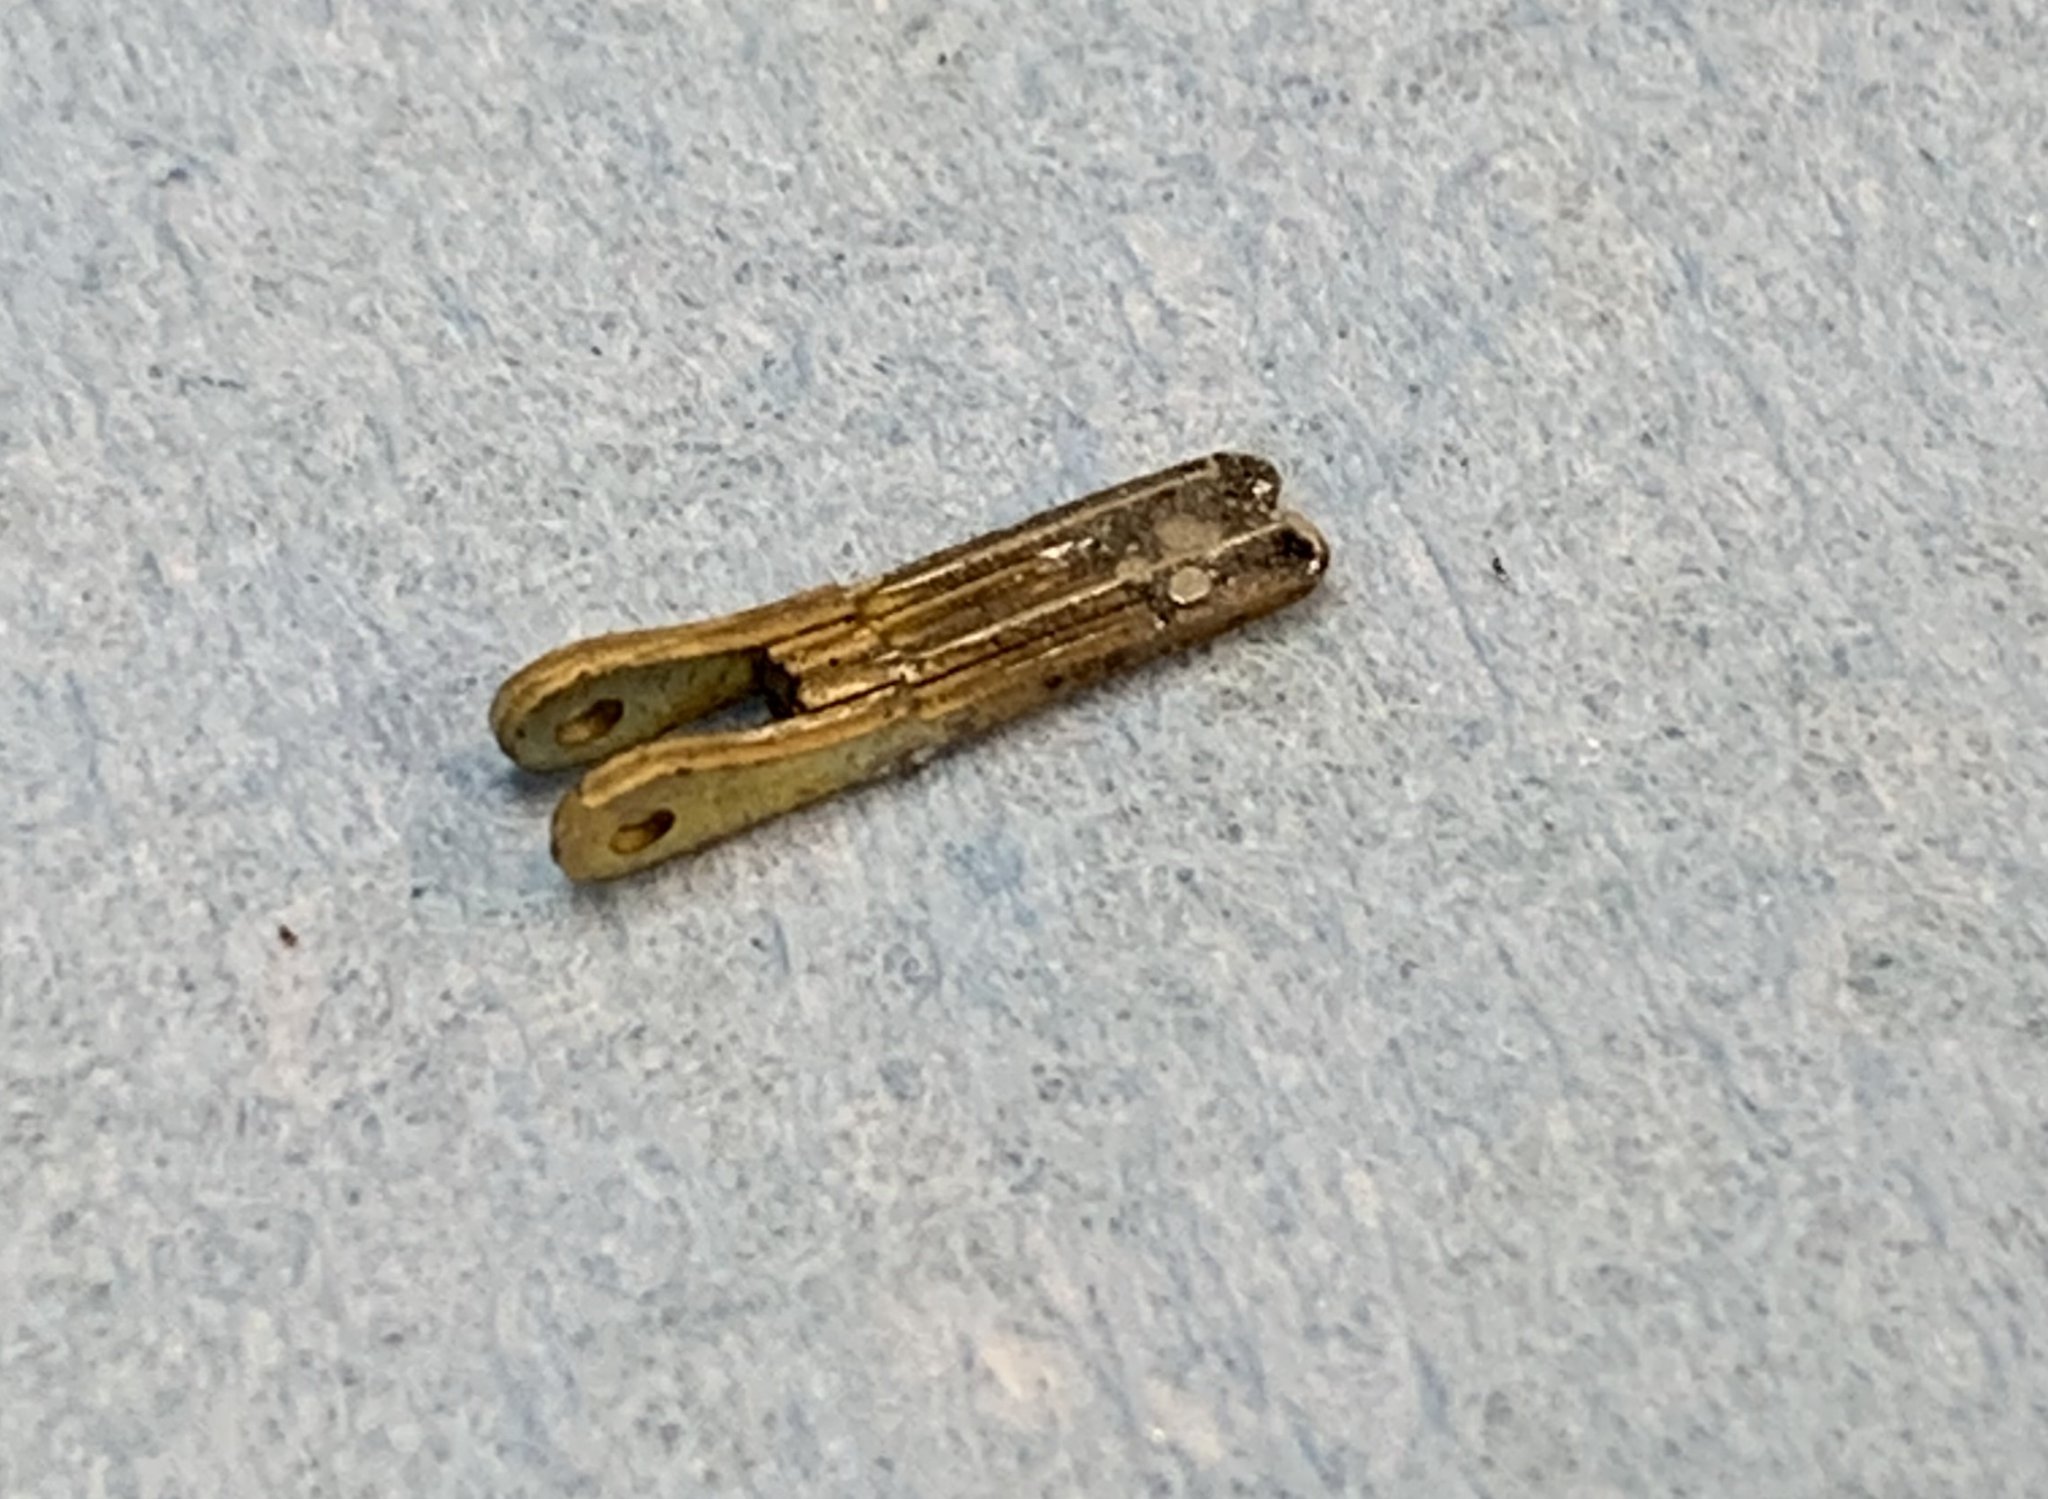
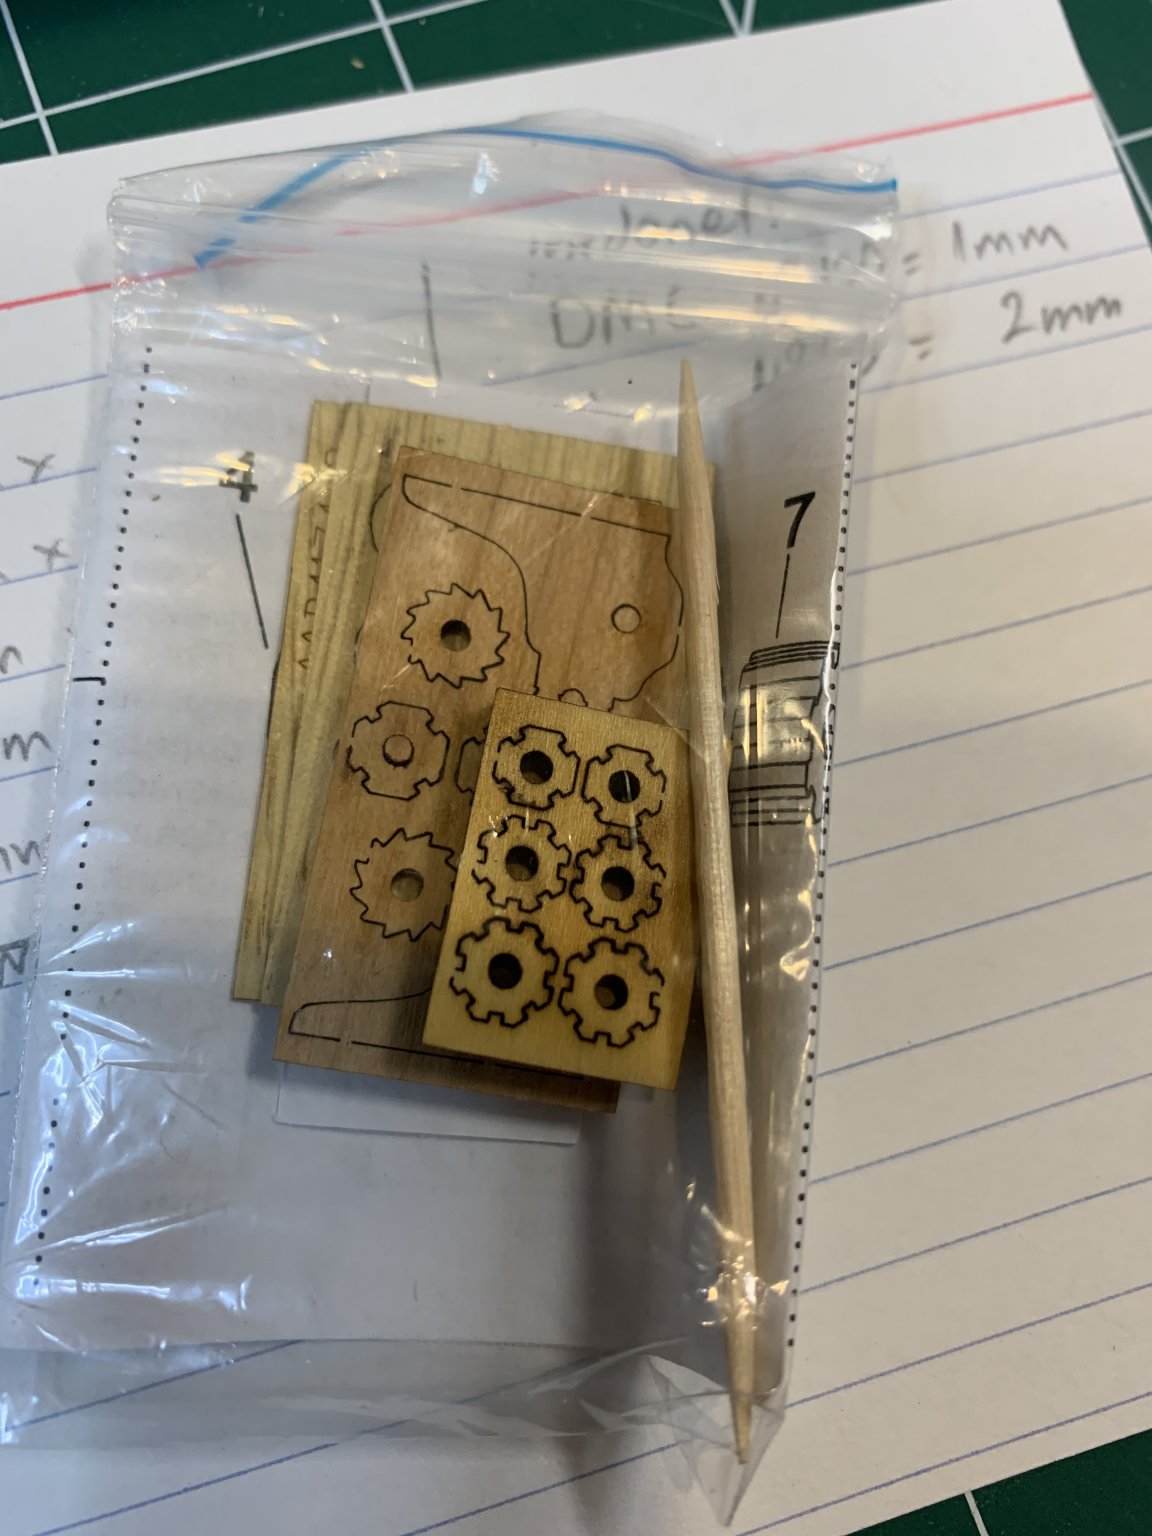
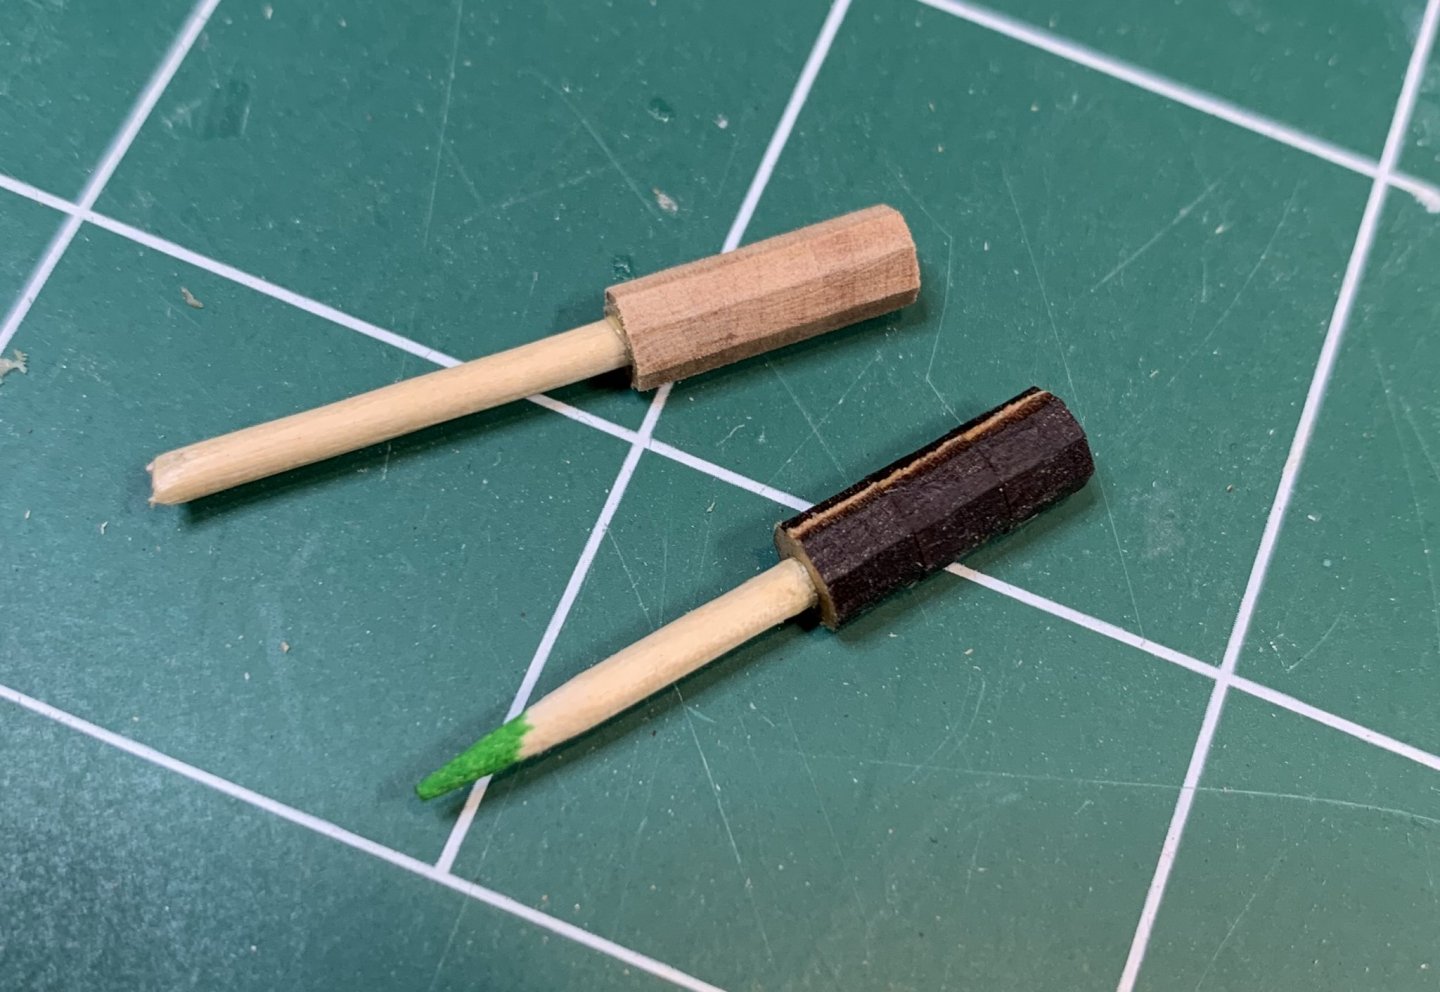
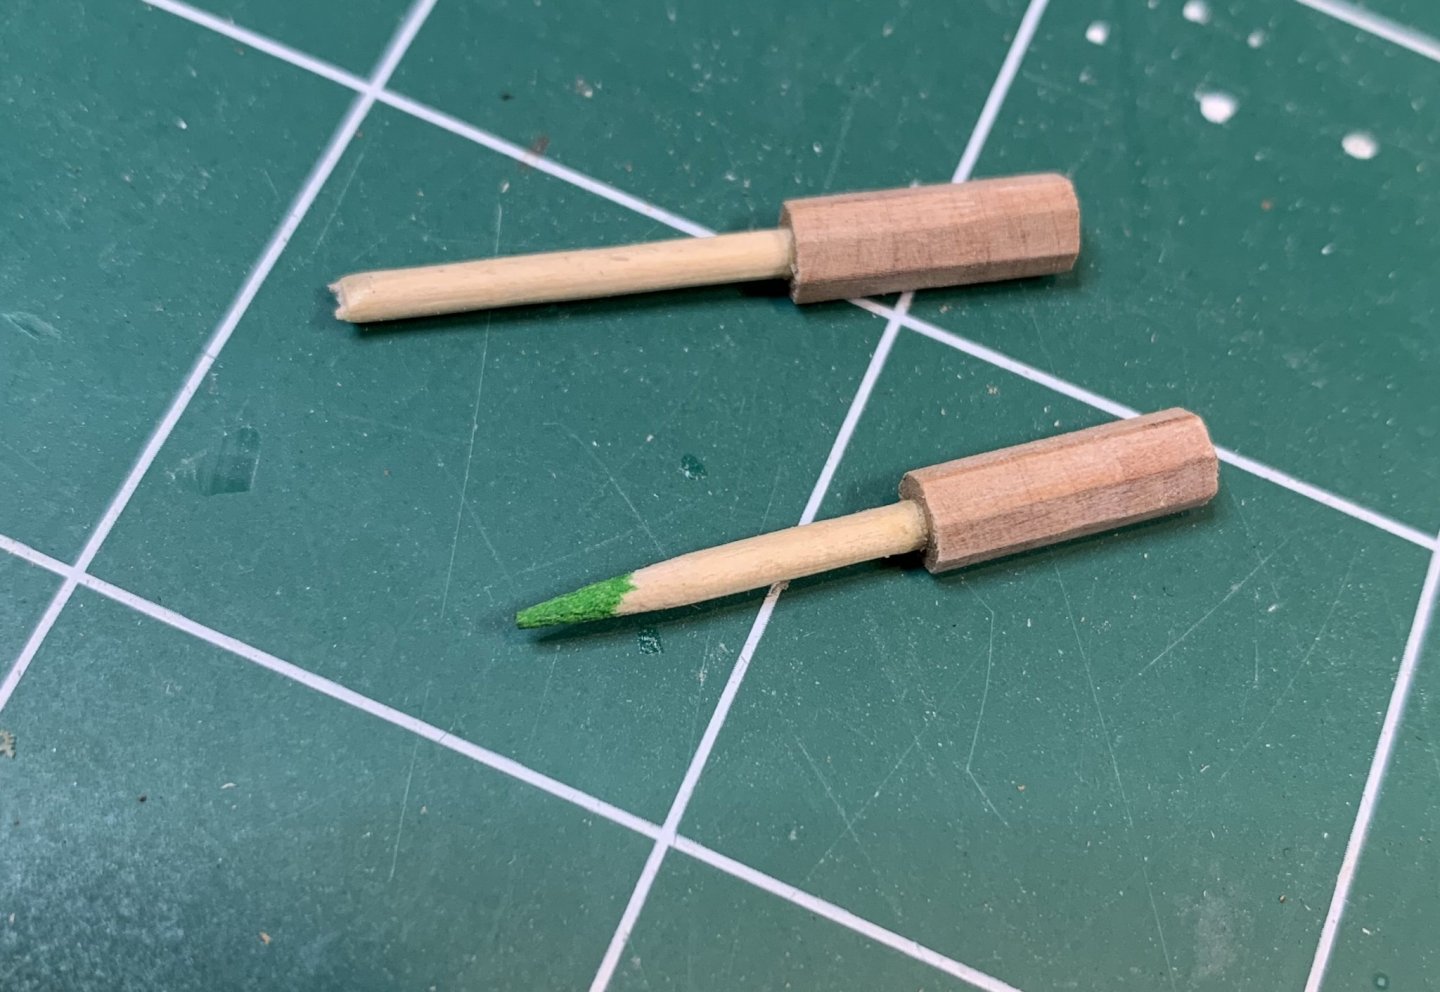
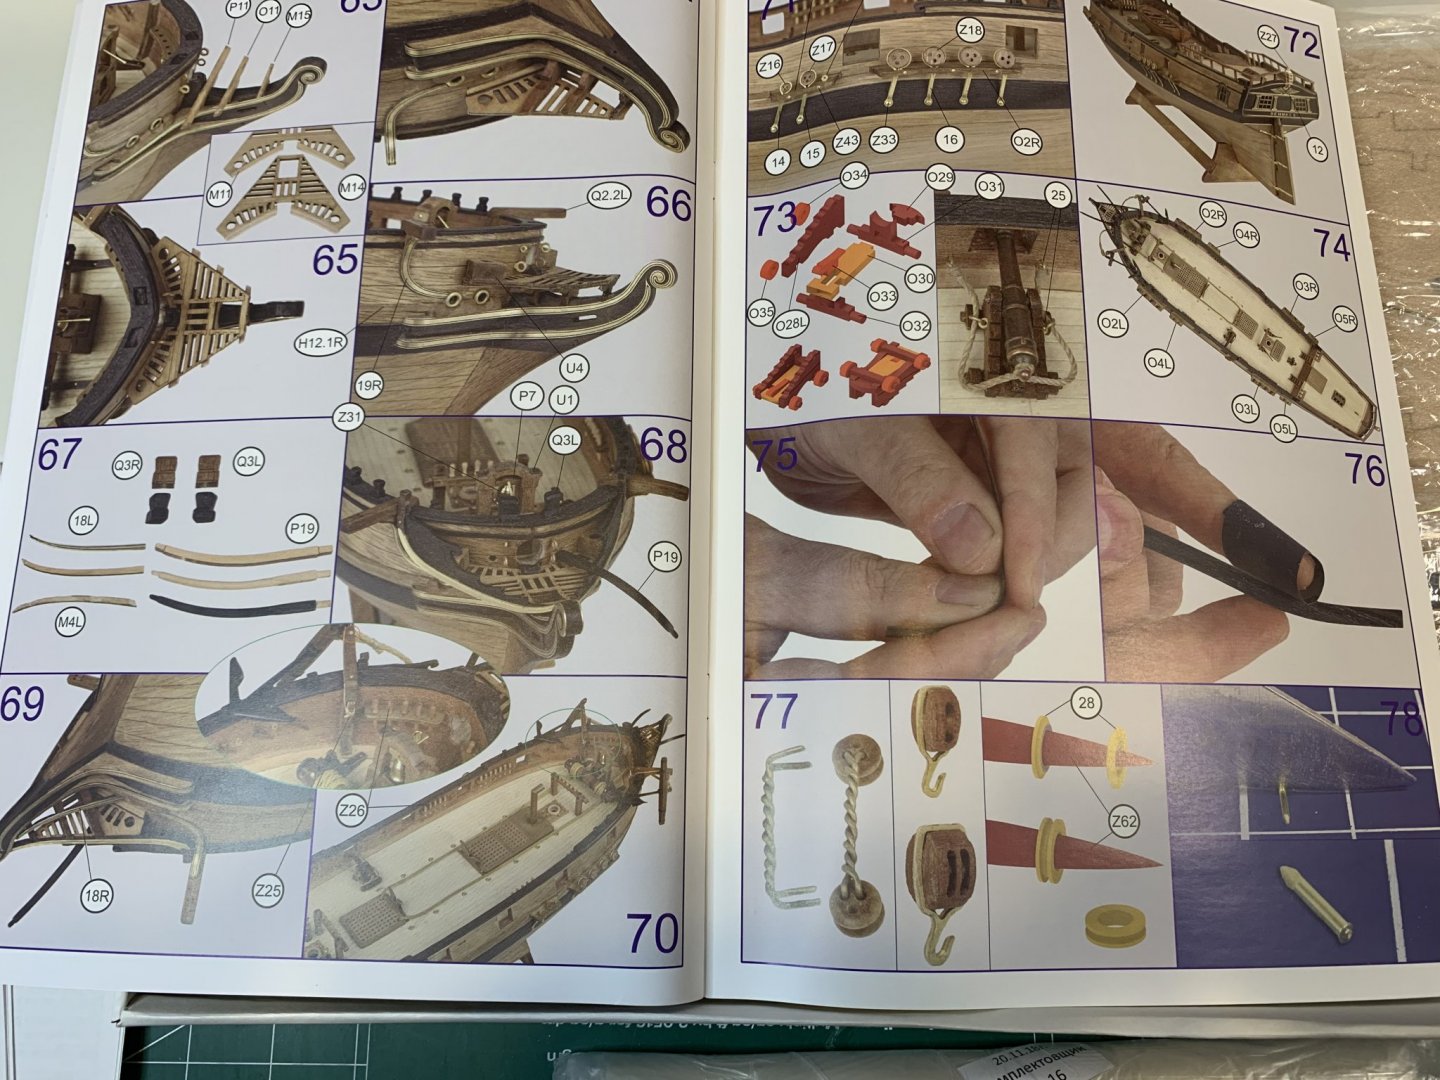
So, i started small, to taste the water.... with pumps. Here is all what you need to build pumps. A little building manual.. The pump body was assembled out of three parts, slide on a toothpick and glued together. A bit of a sanding to remove laser cut burns... The pump top was cut out and blackened.. Then the pump handle support were soldered together instead of using glue. It appears to hold better when soldered.. Then handle supports were attached to the pump, a bit of fitting was required... The handles were also assembled, light sanding was applied to remove laser burns. Now the handle assembly will be next. Happy modeling.


- 275 replies
-
- 11
-
-
- phoenix
- master korabel
- (and 1 more)
-
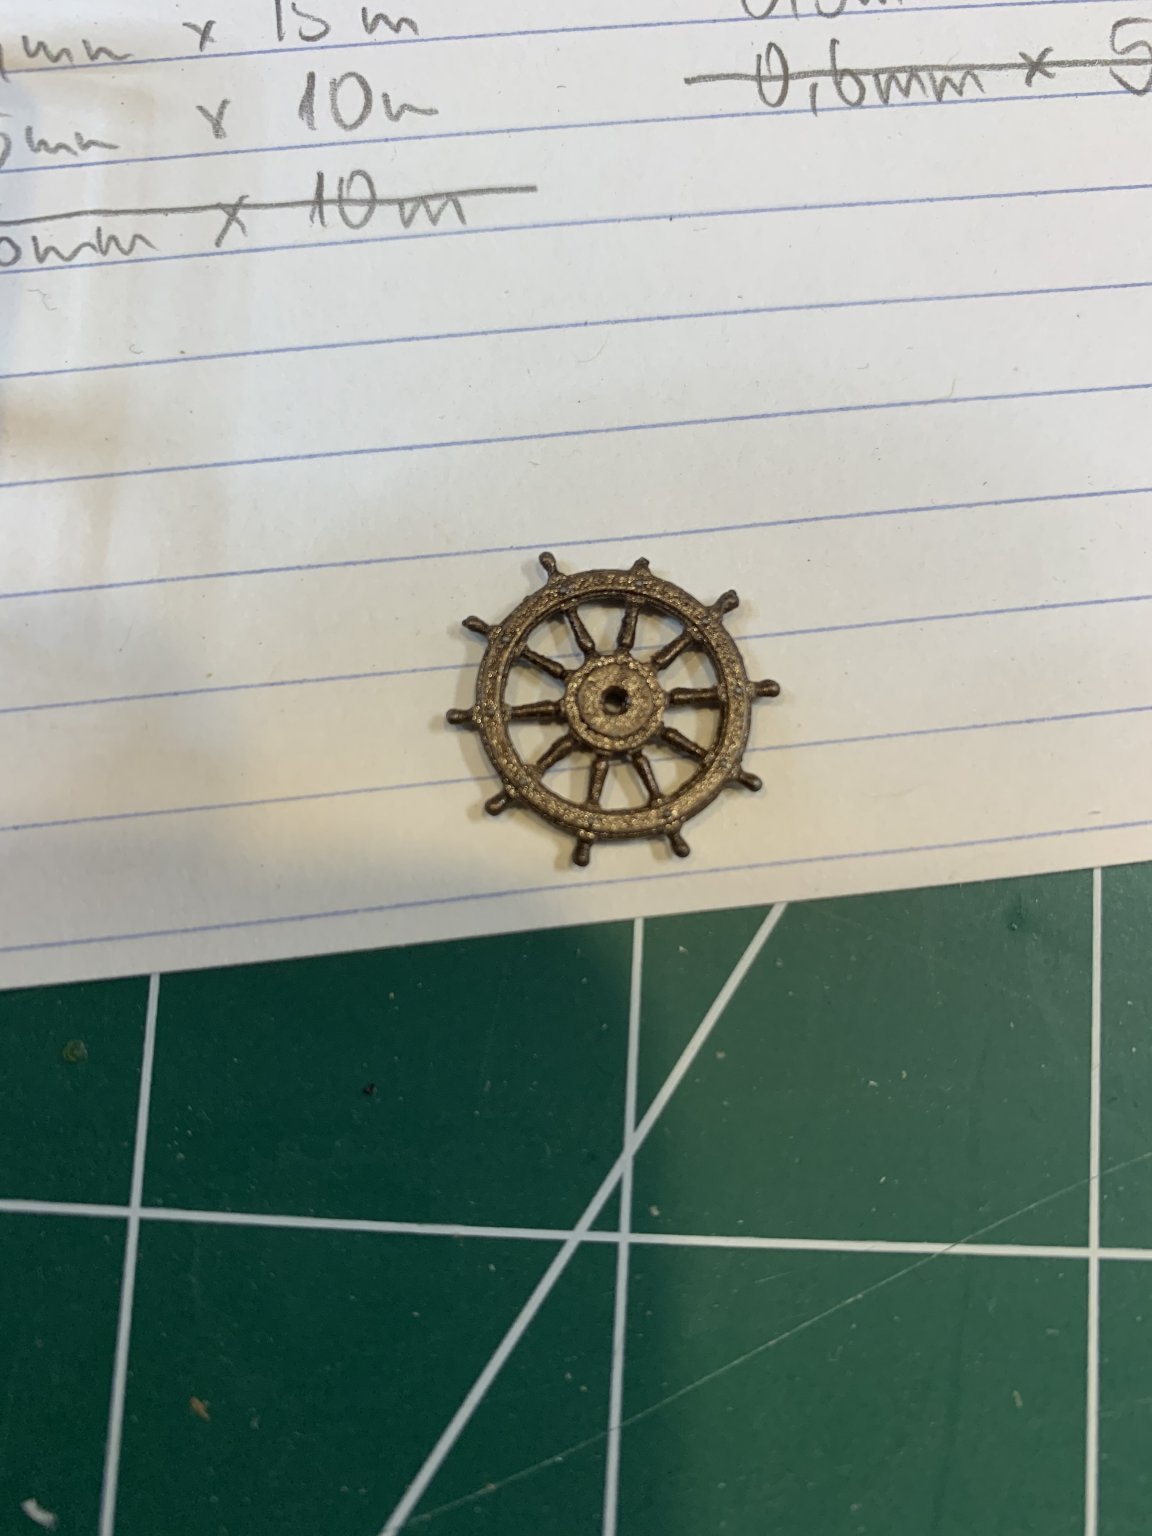
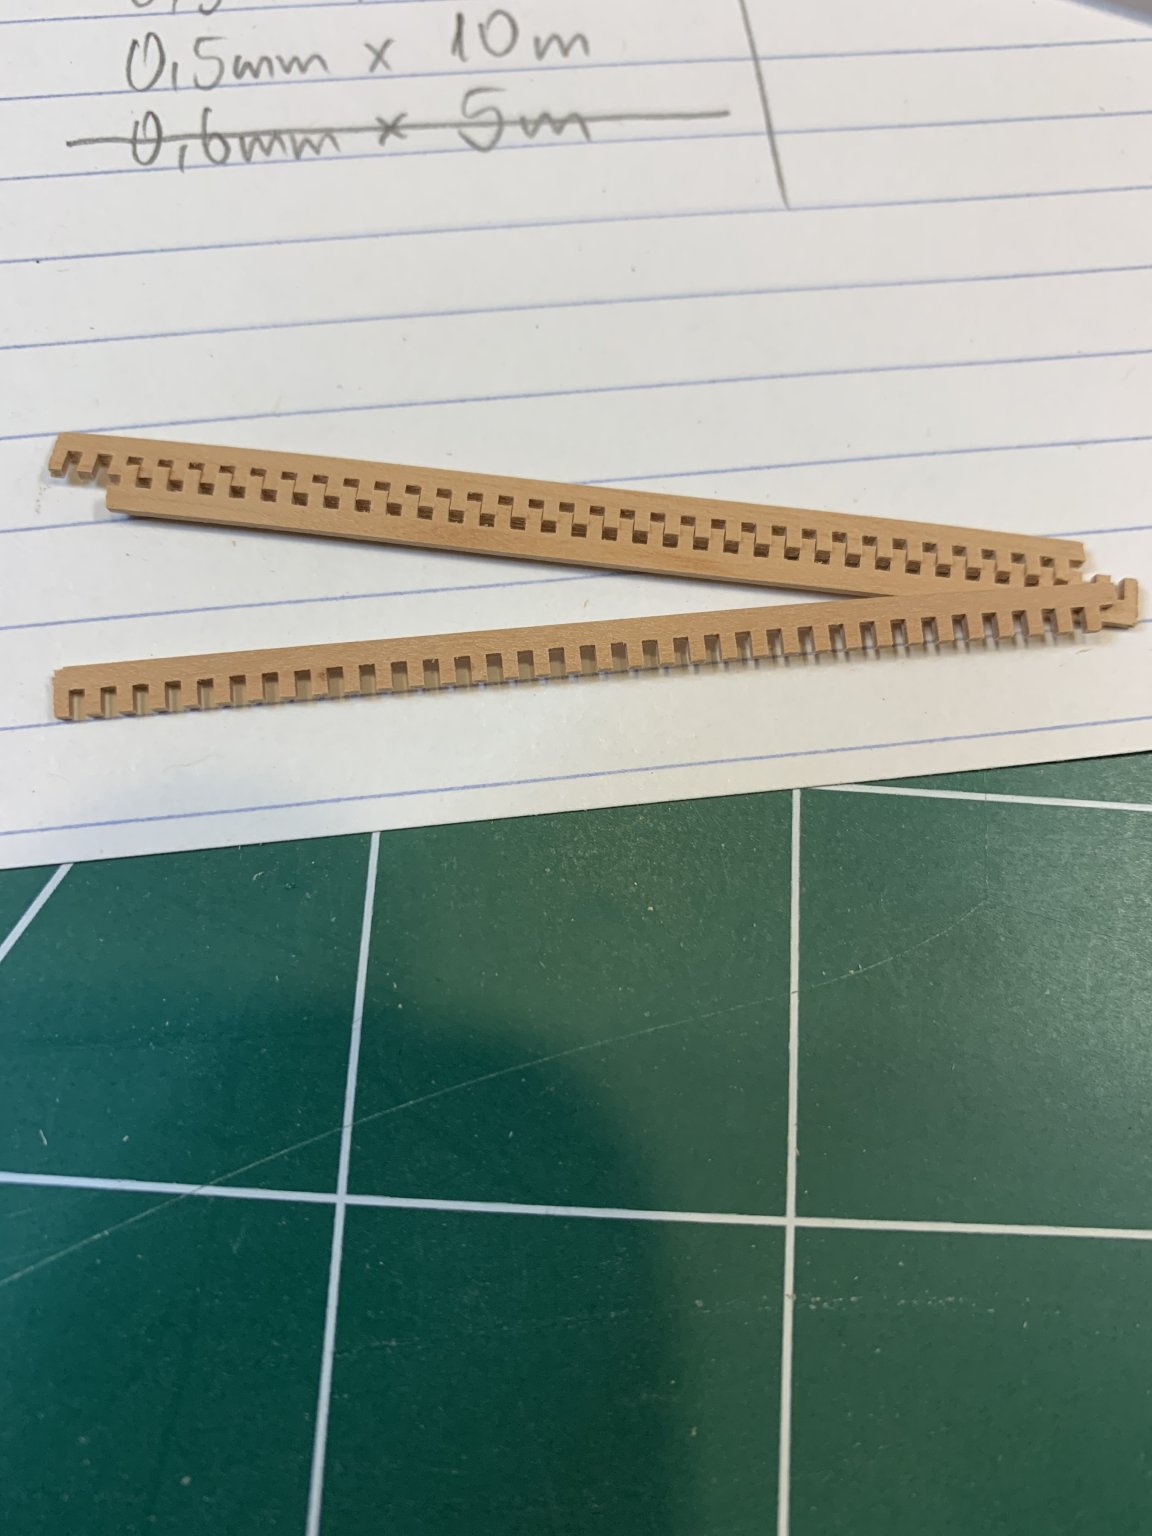
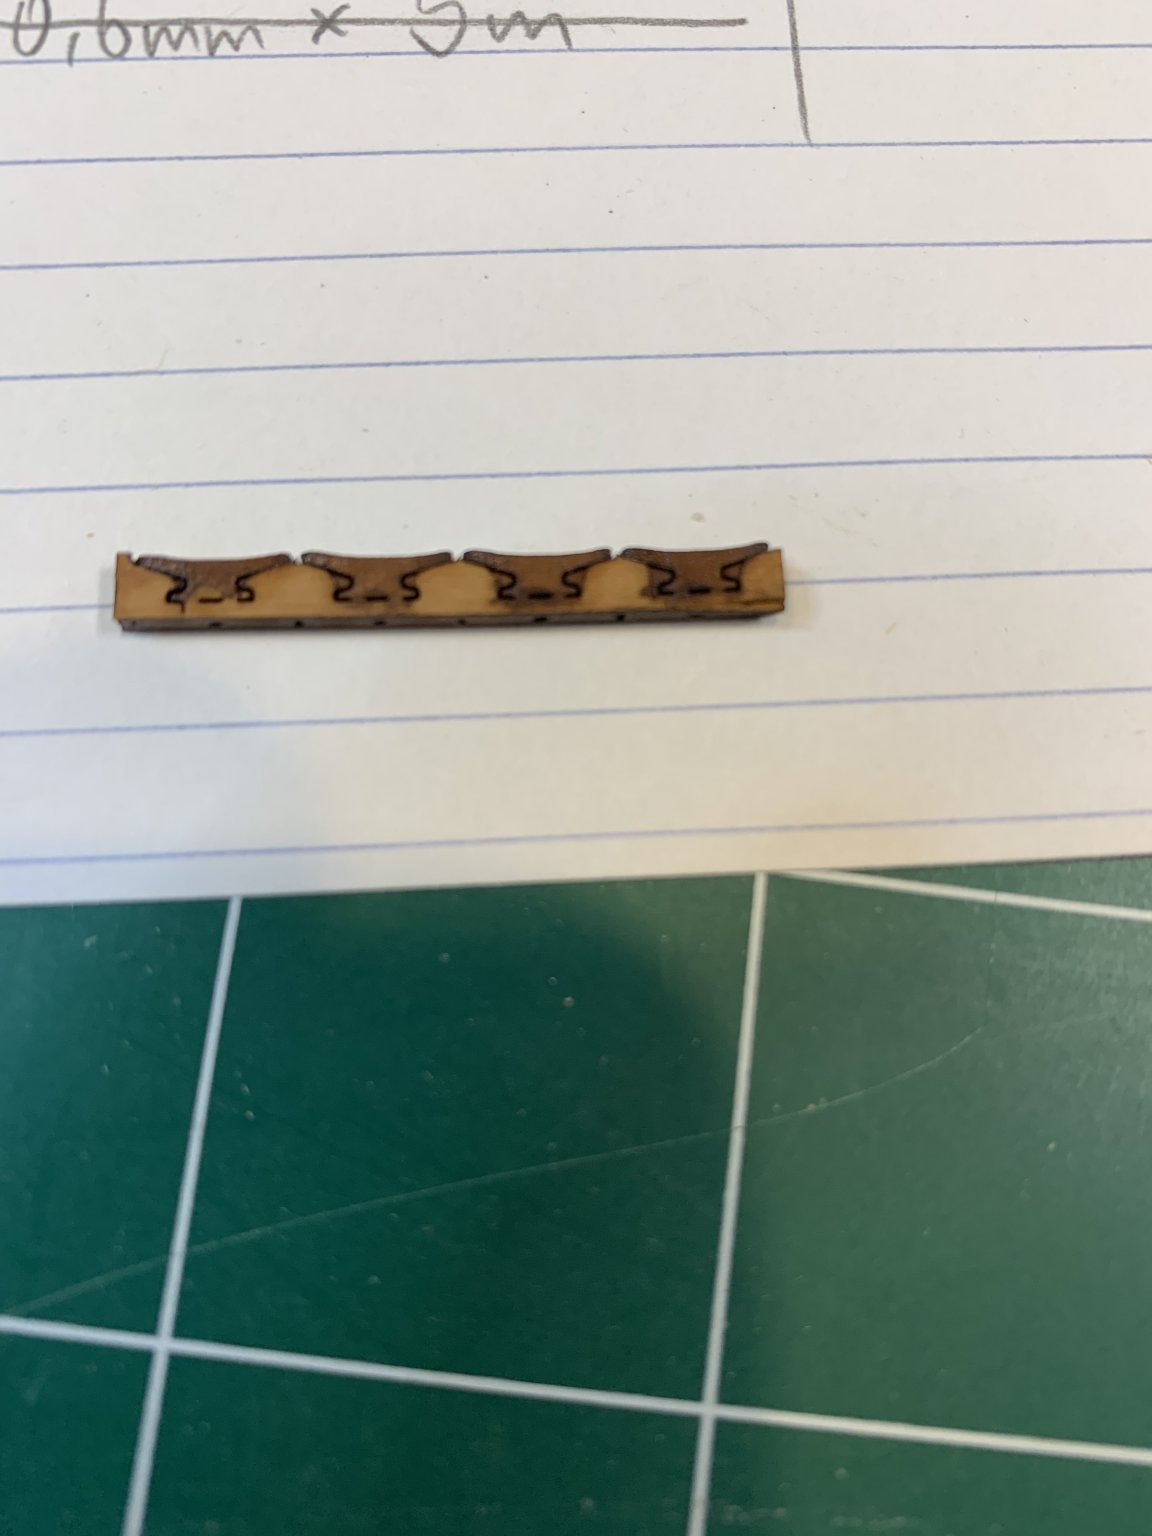
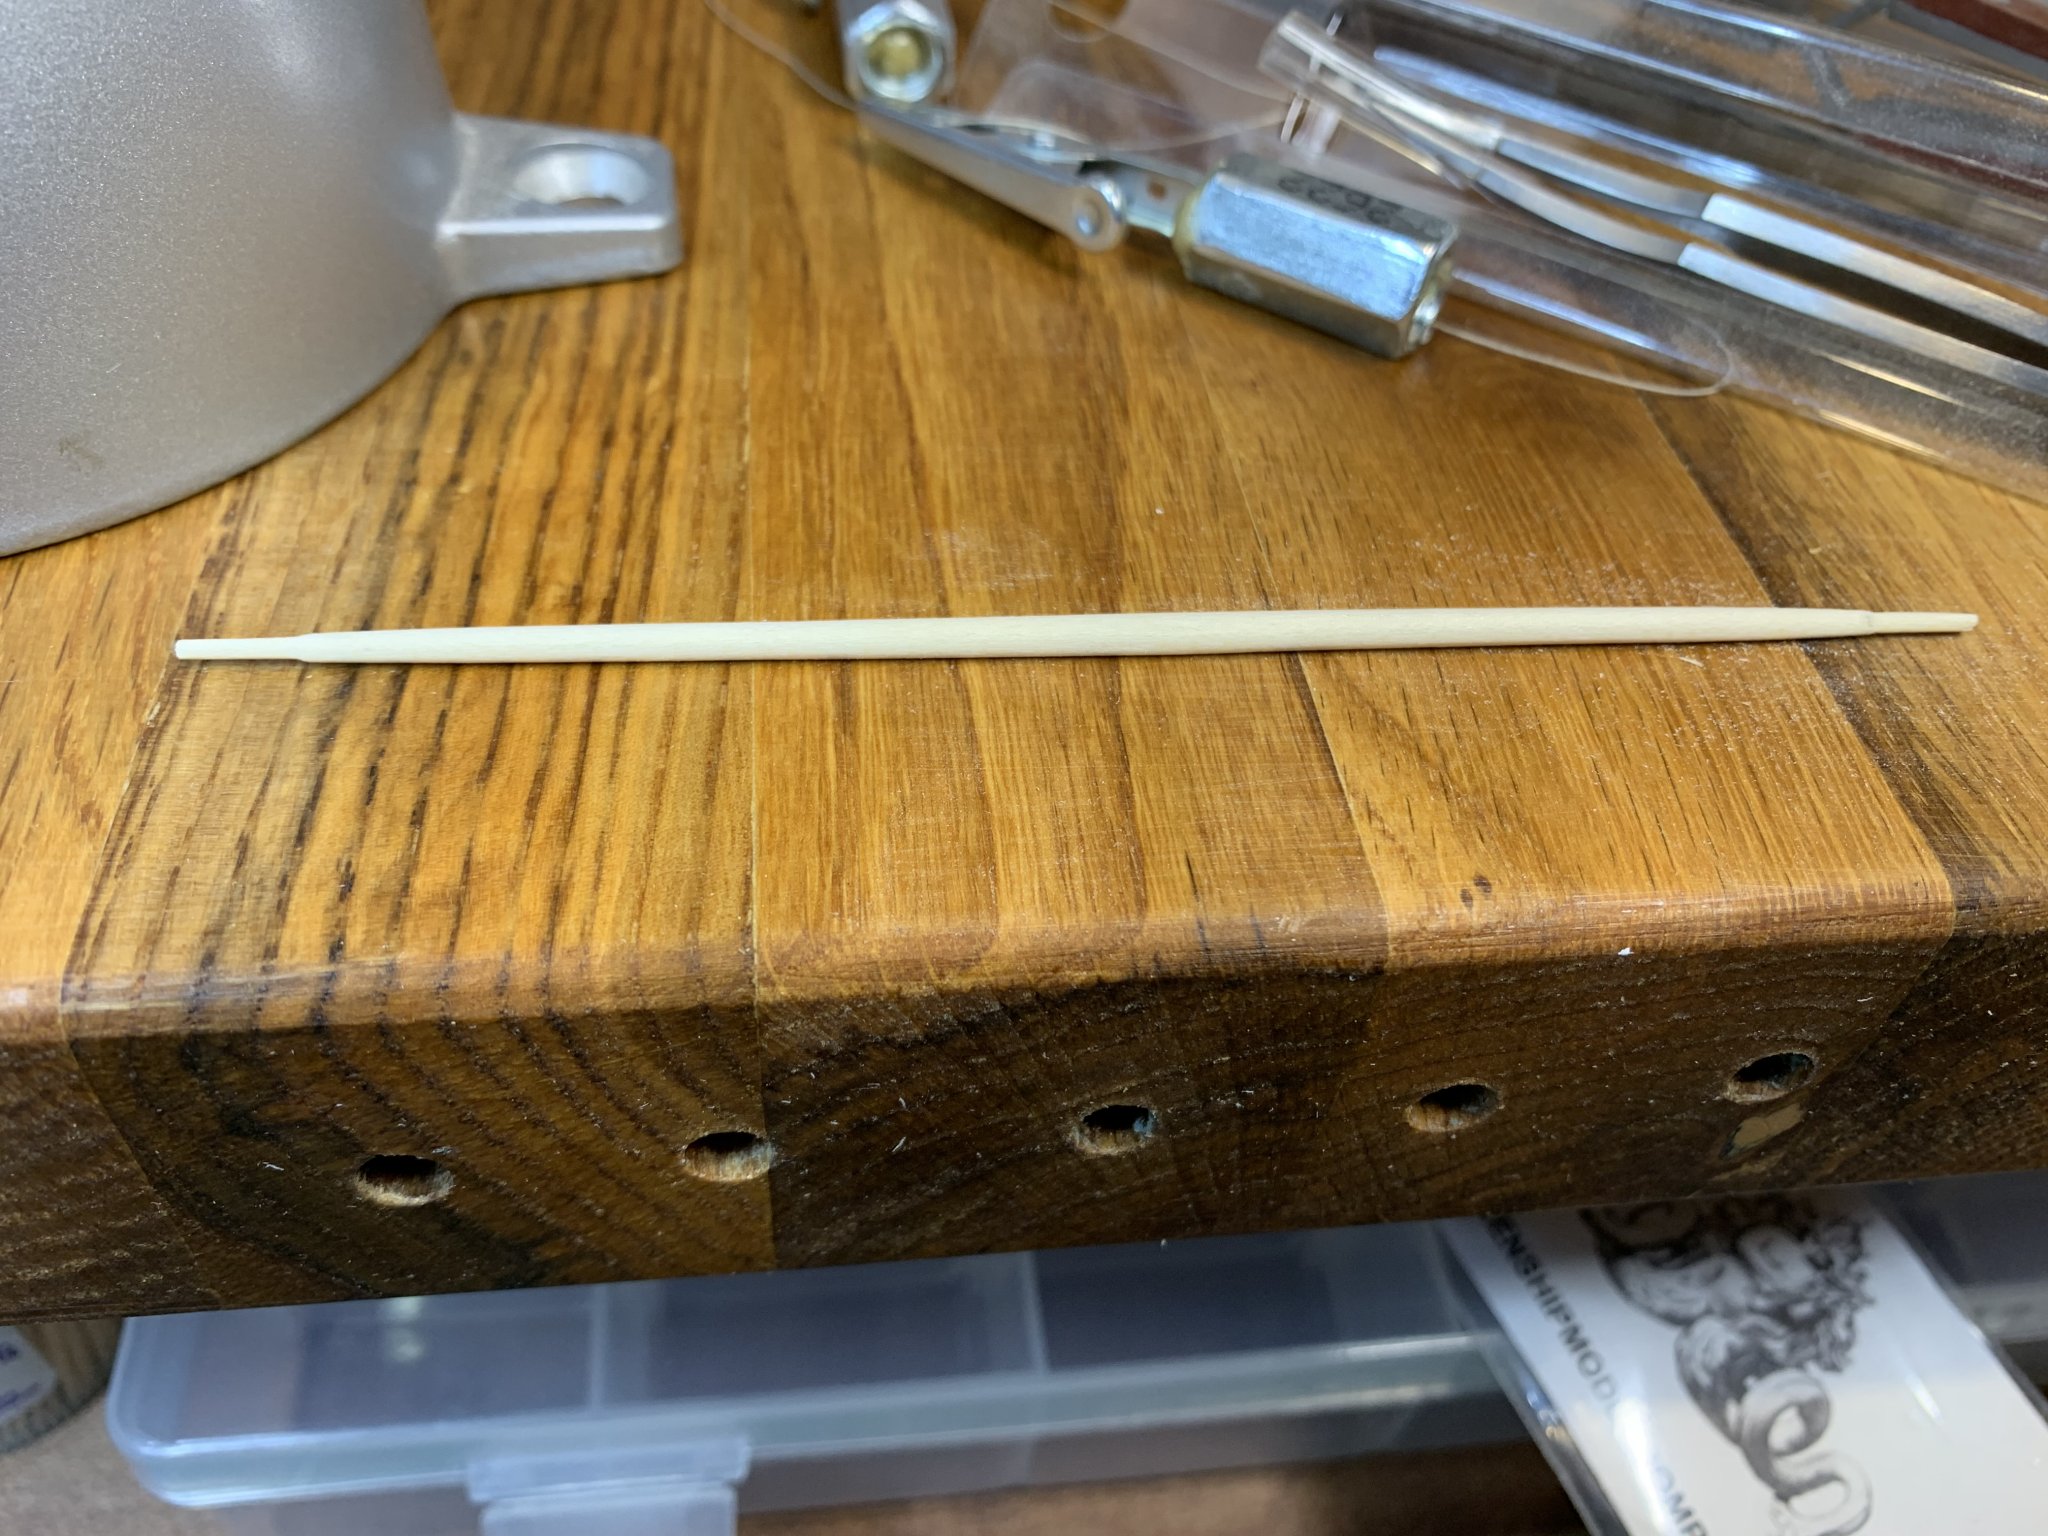
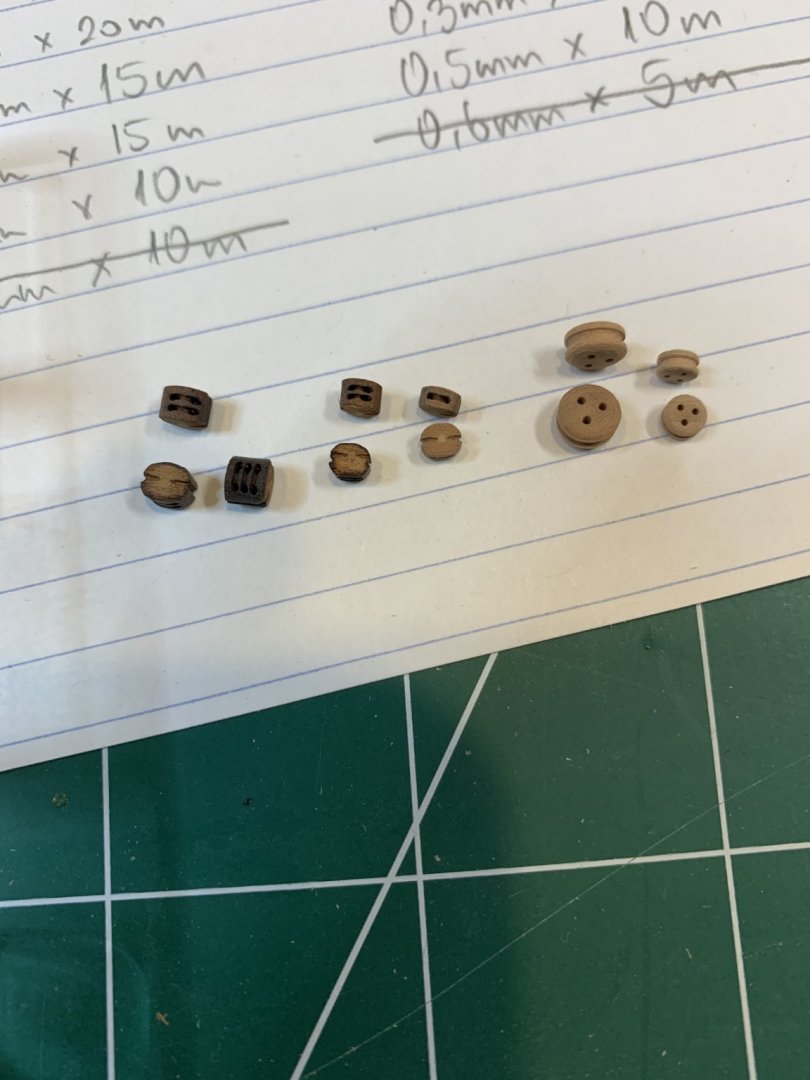
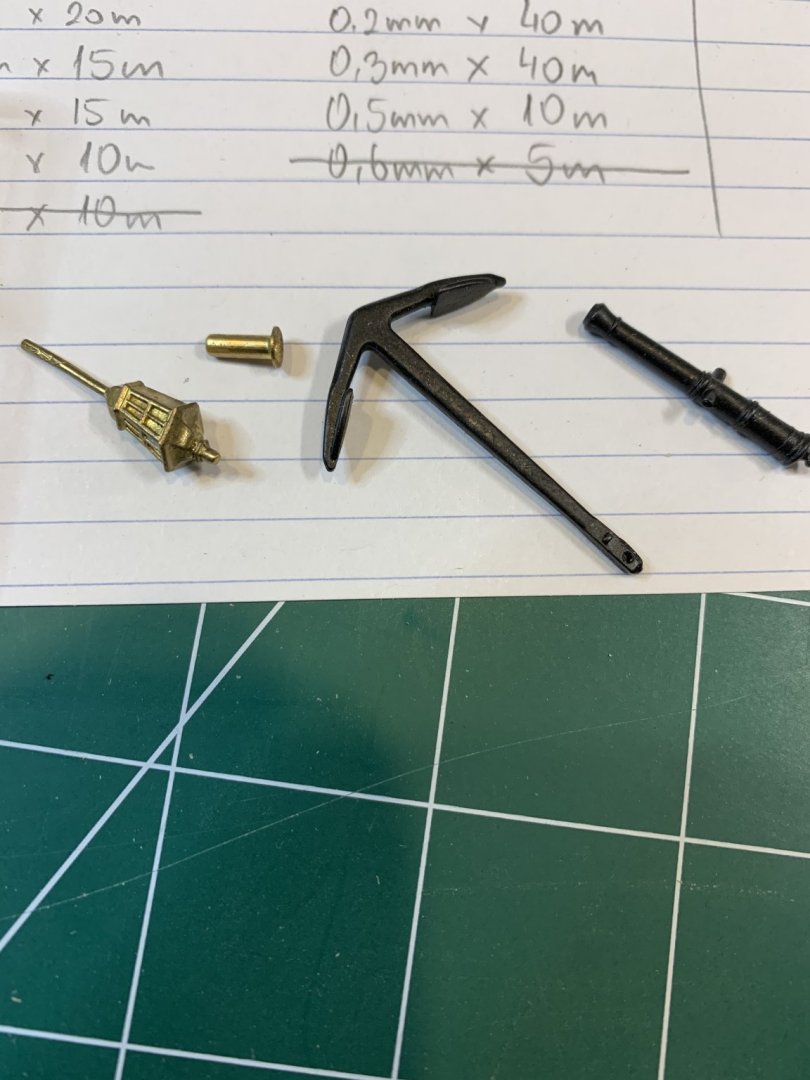
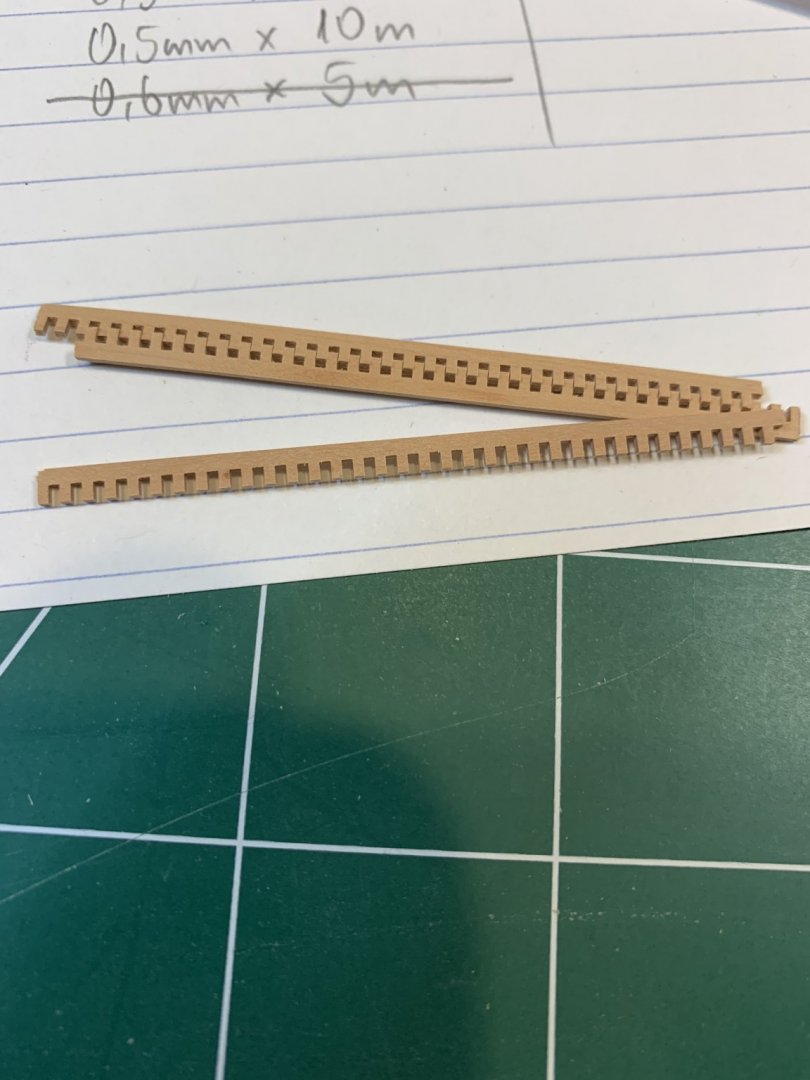
Few more pictures of kit context... One wheel handle is cracked; need a bit of hiding or repairing... Nicely build blocks.. Anchor, gun, lamp... Gratings... And yes, there is a toothpick included.. Happy modeling.


- 275 replies
-
- 9
-
-
- phoenix
- master korabel
- (and 1 more)
-
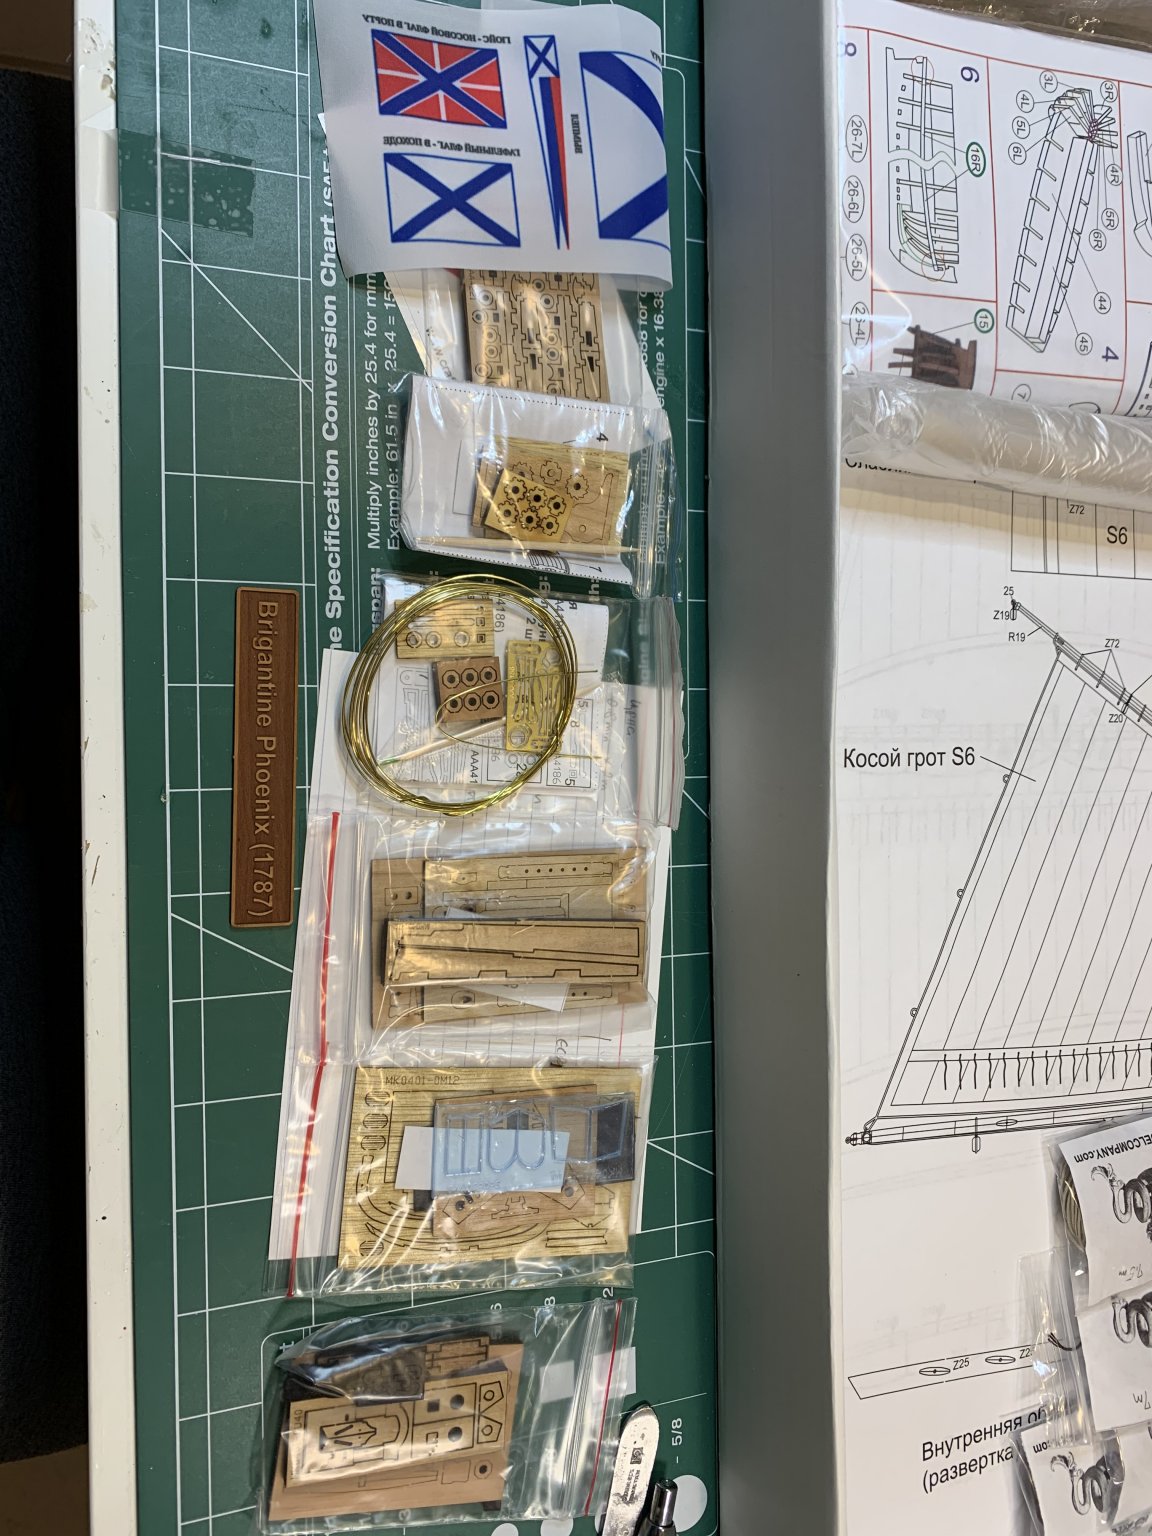
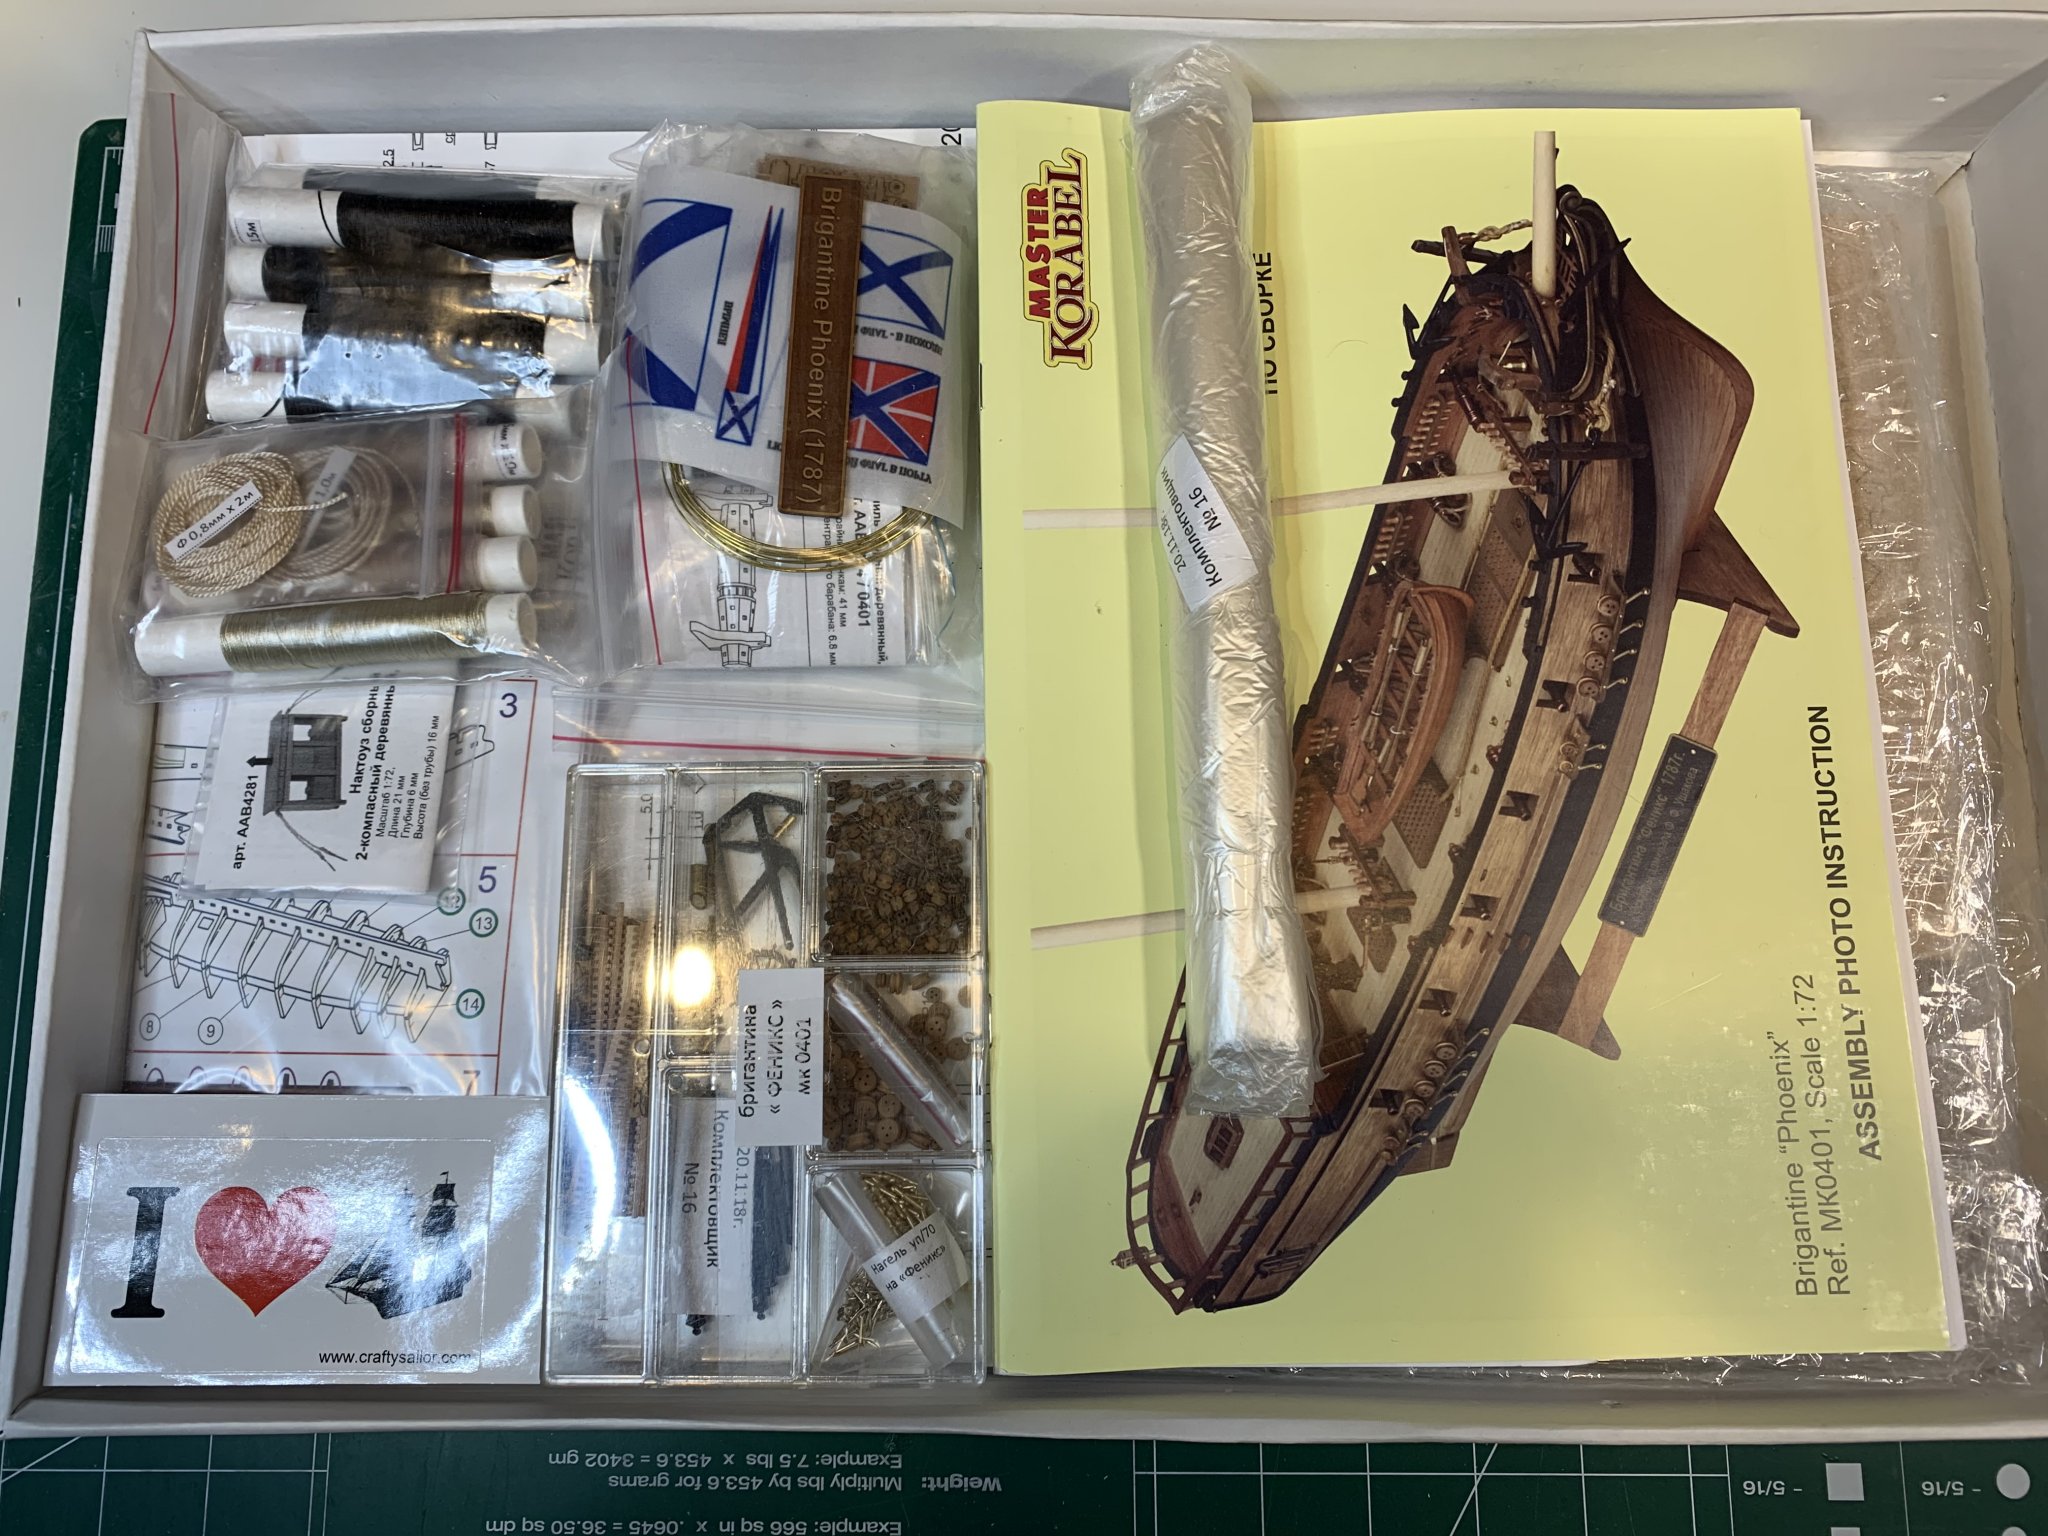
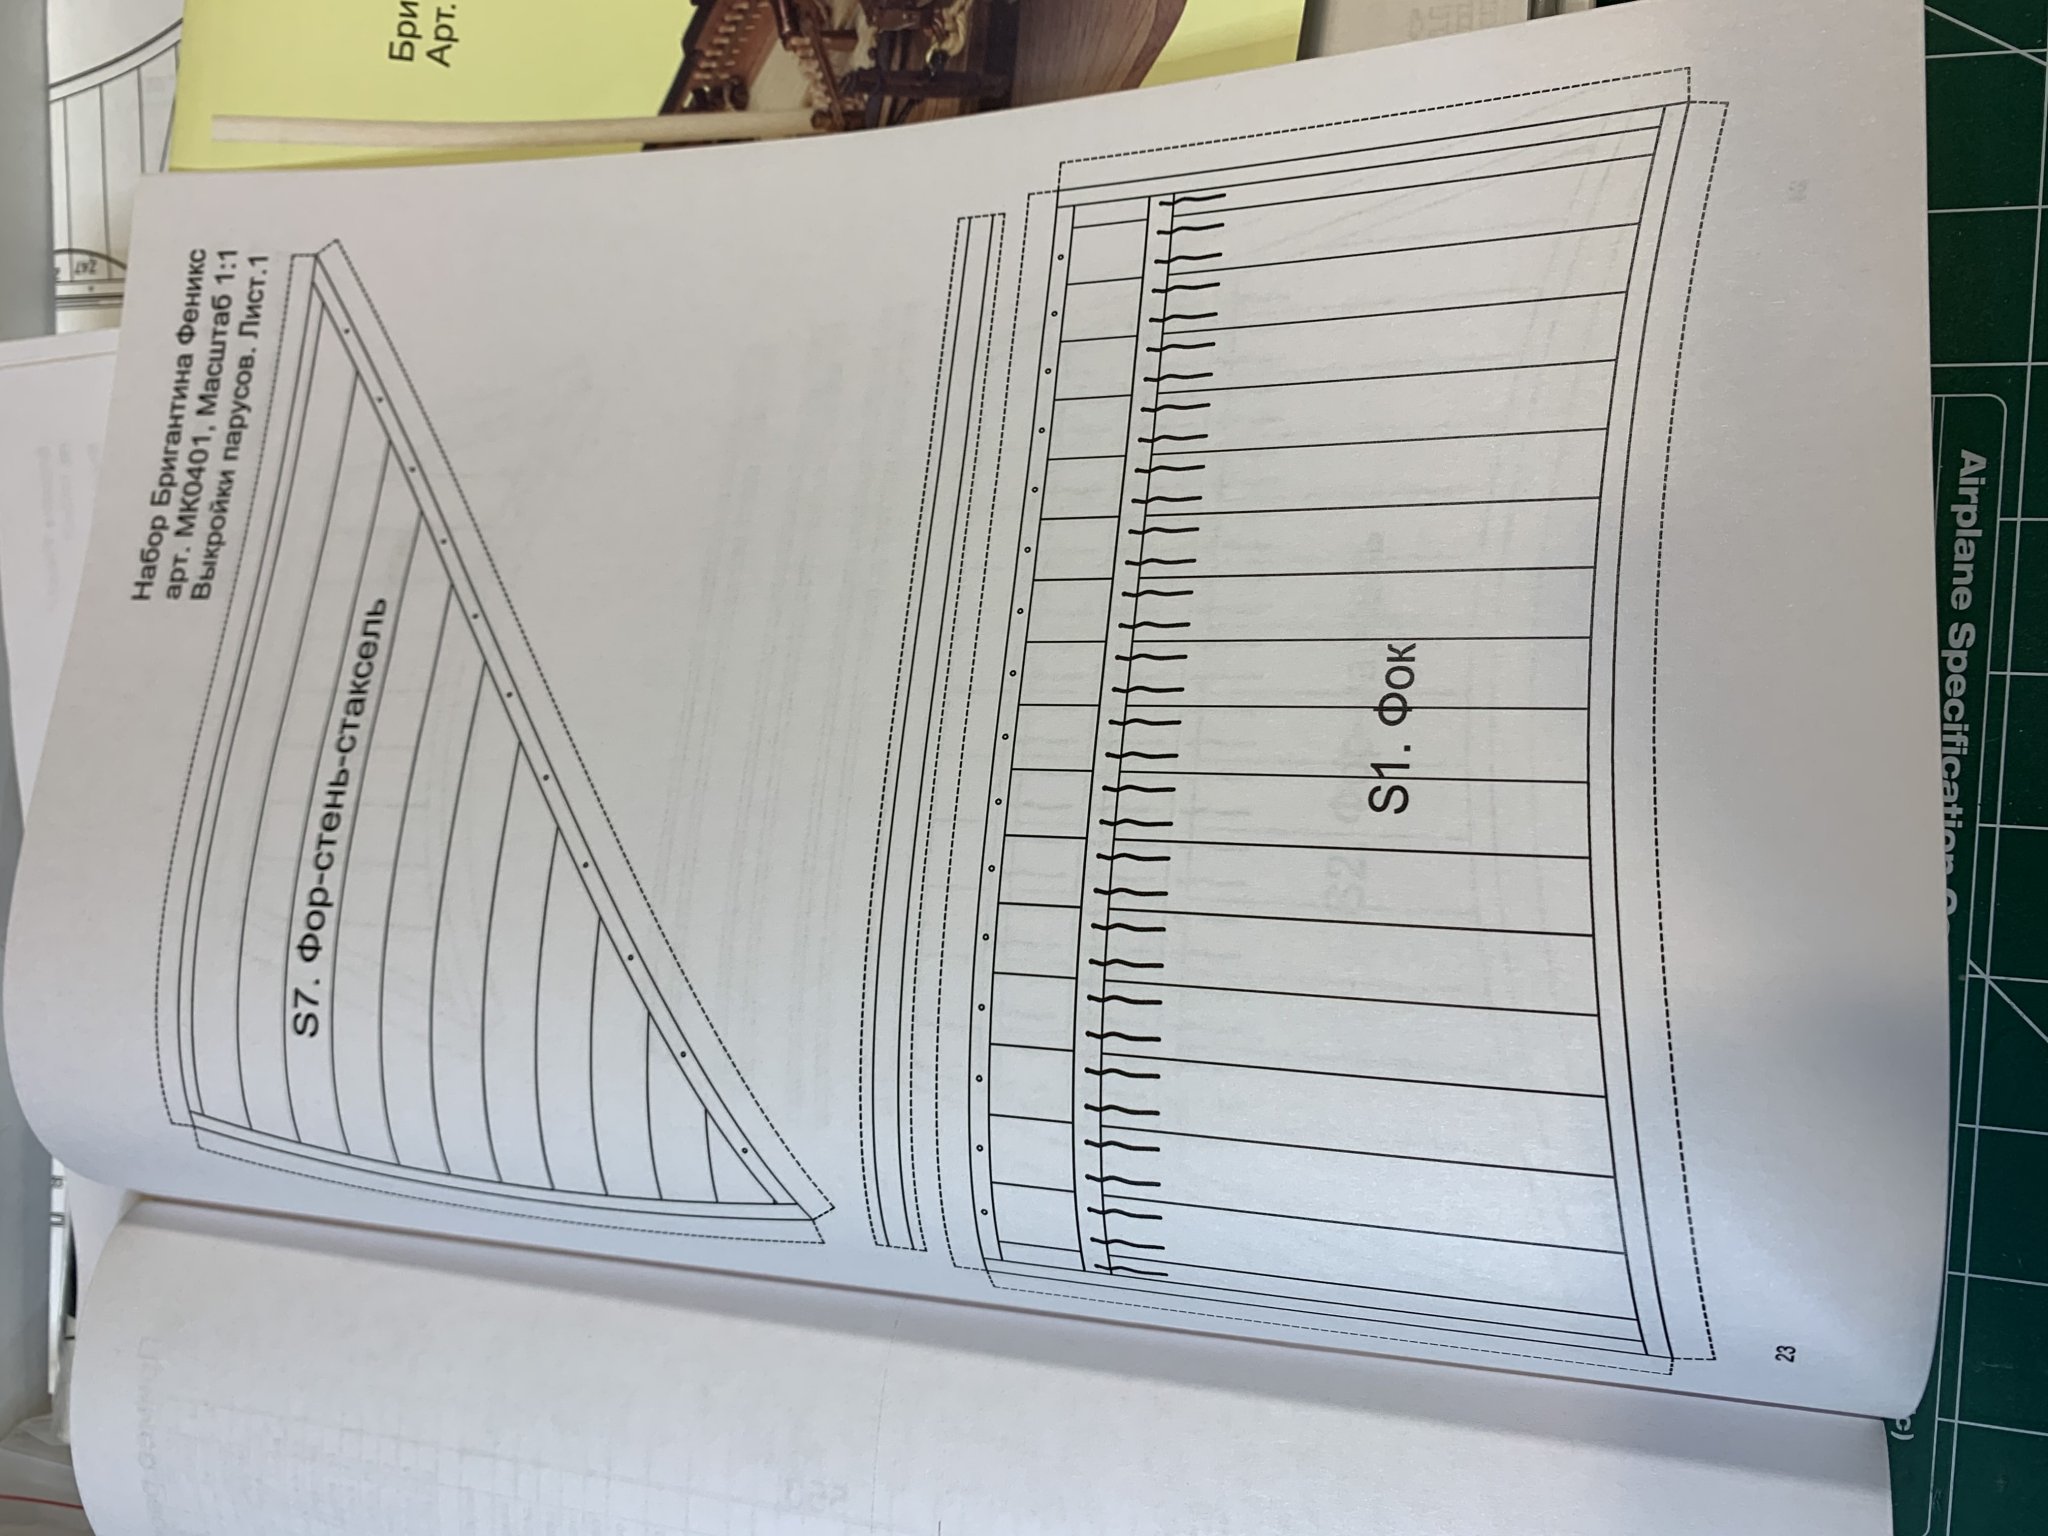
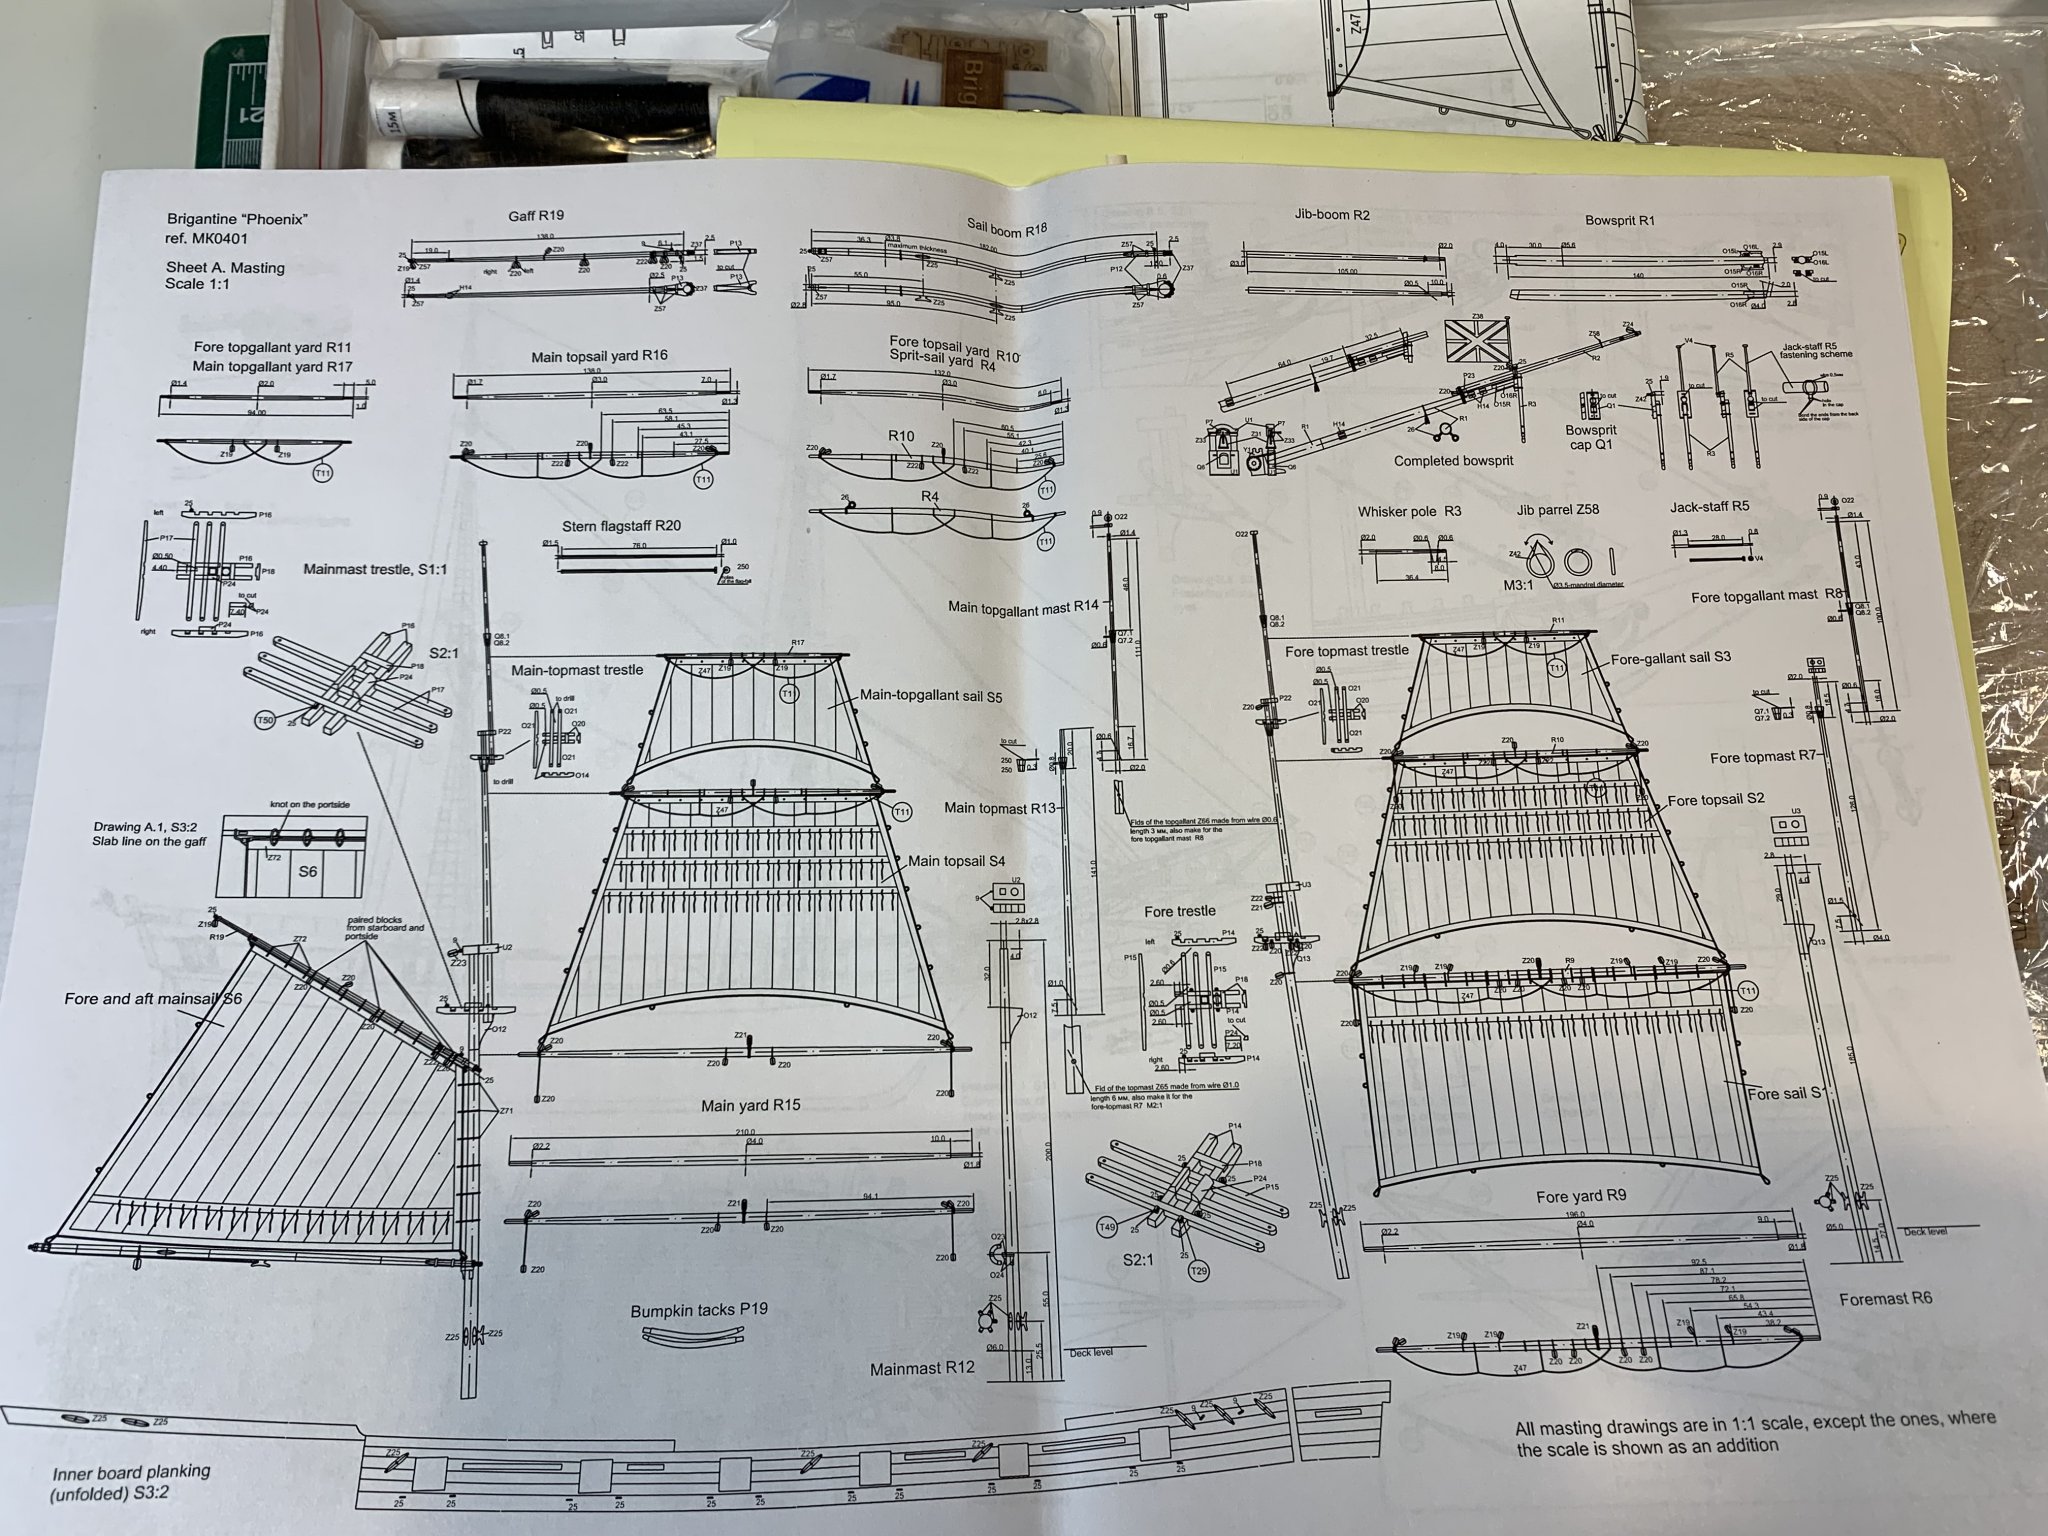
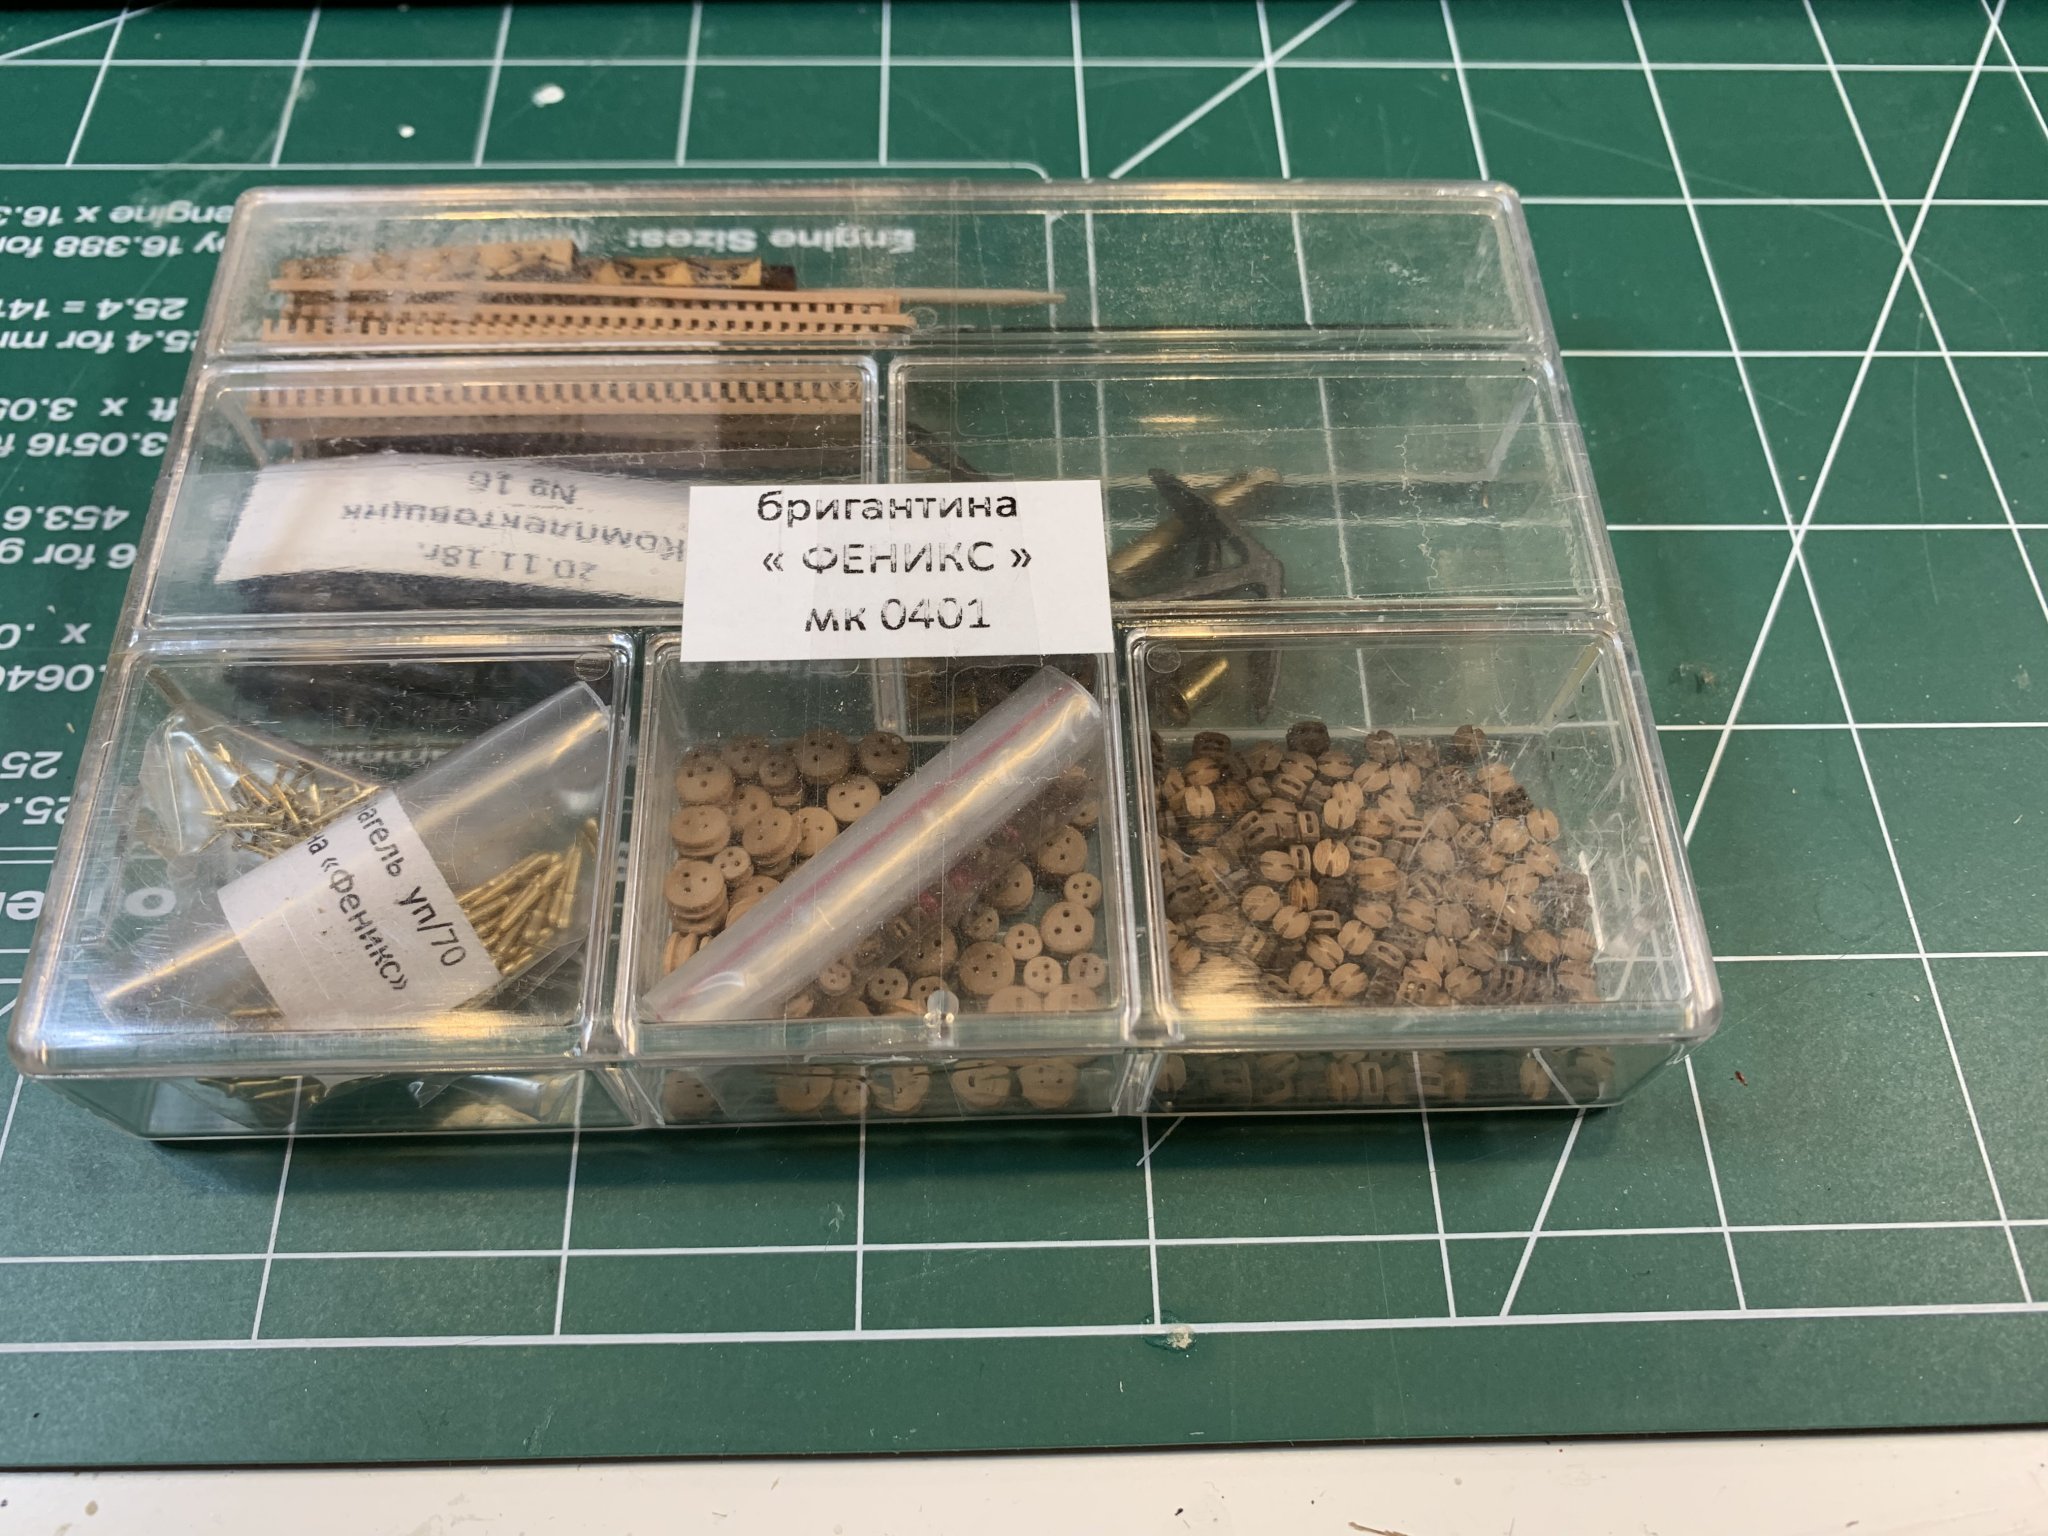
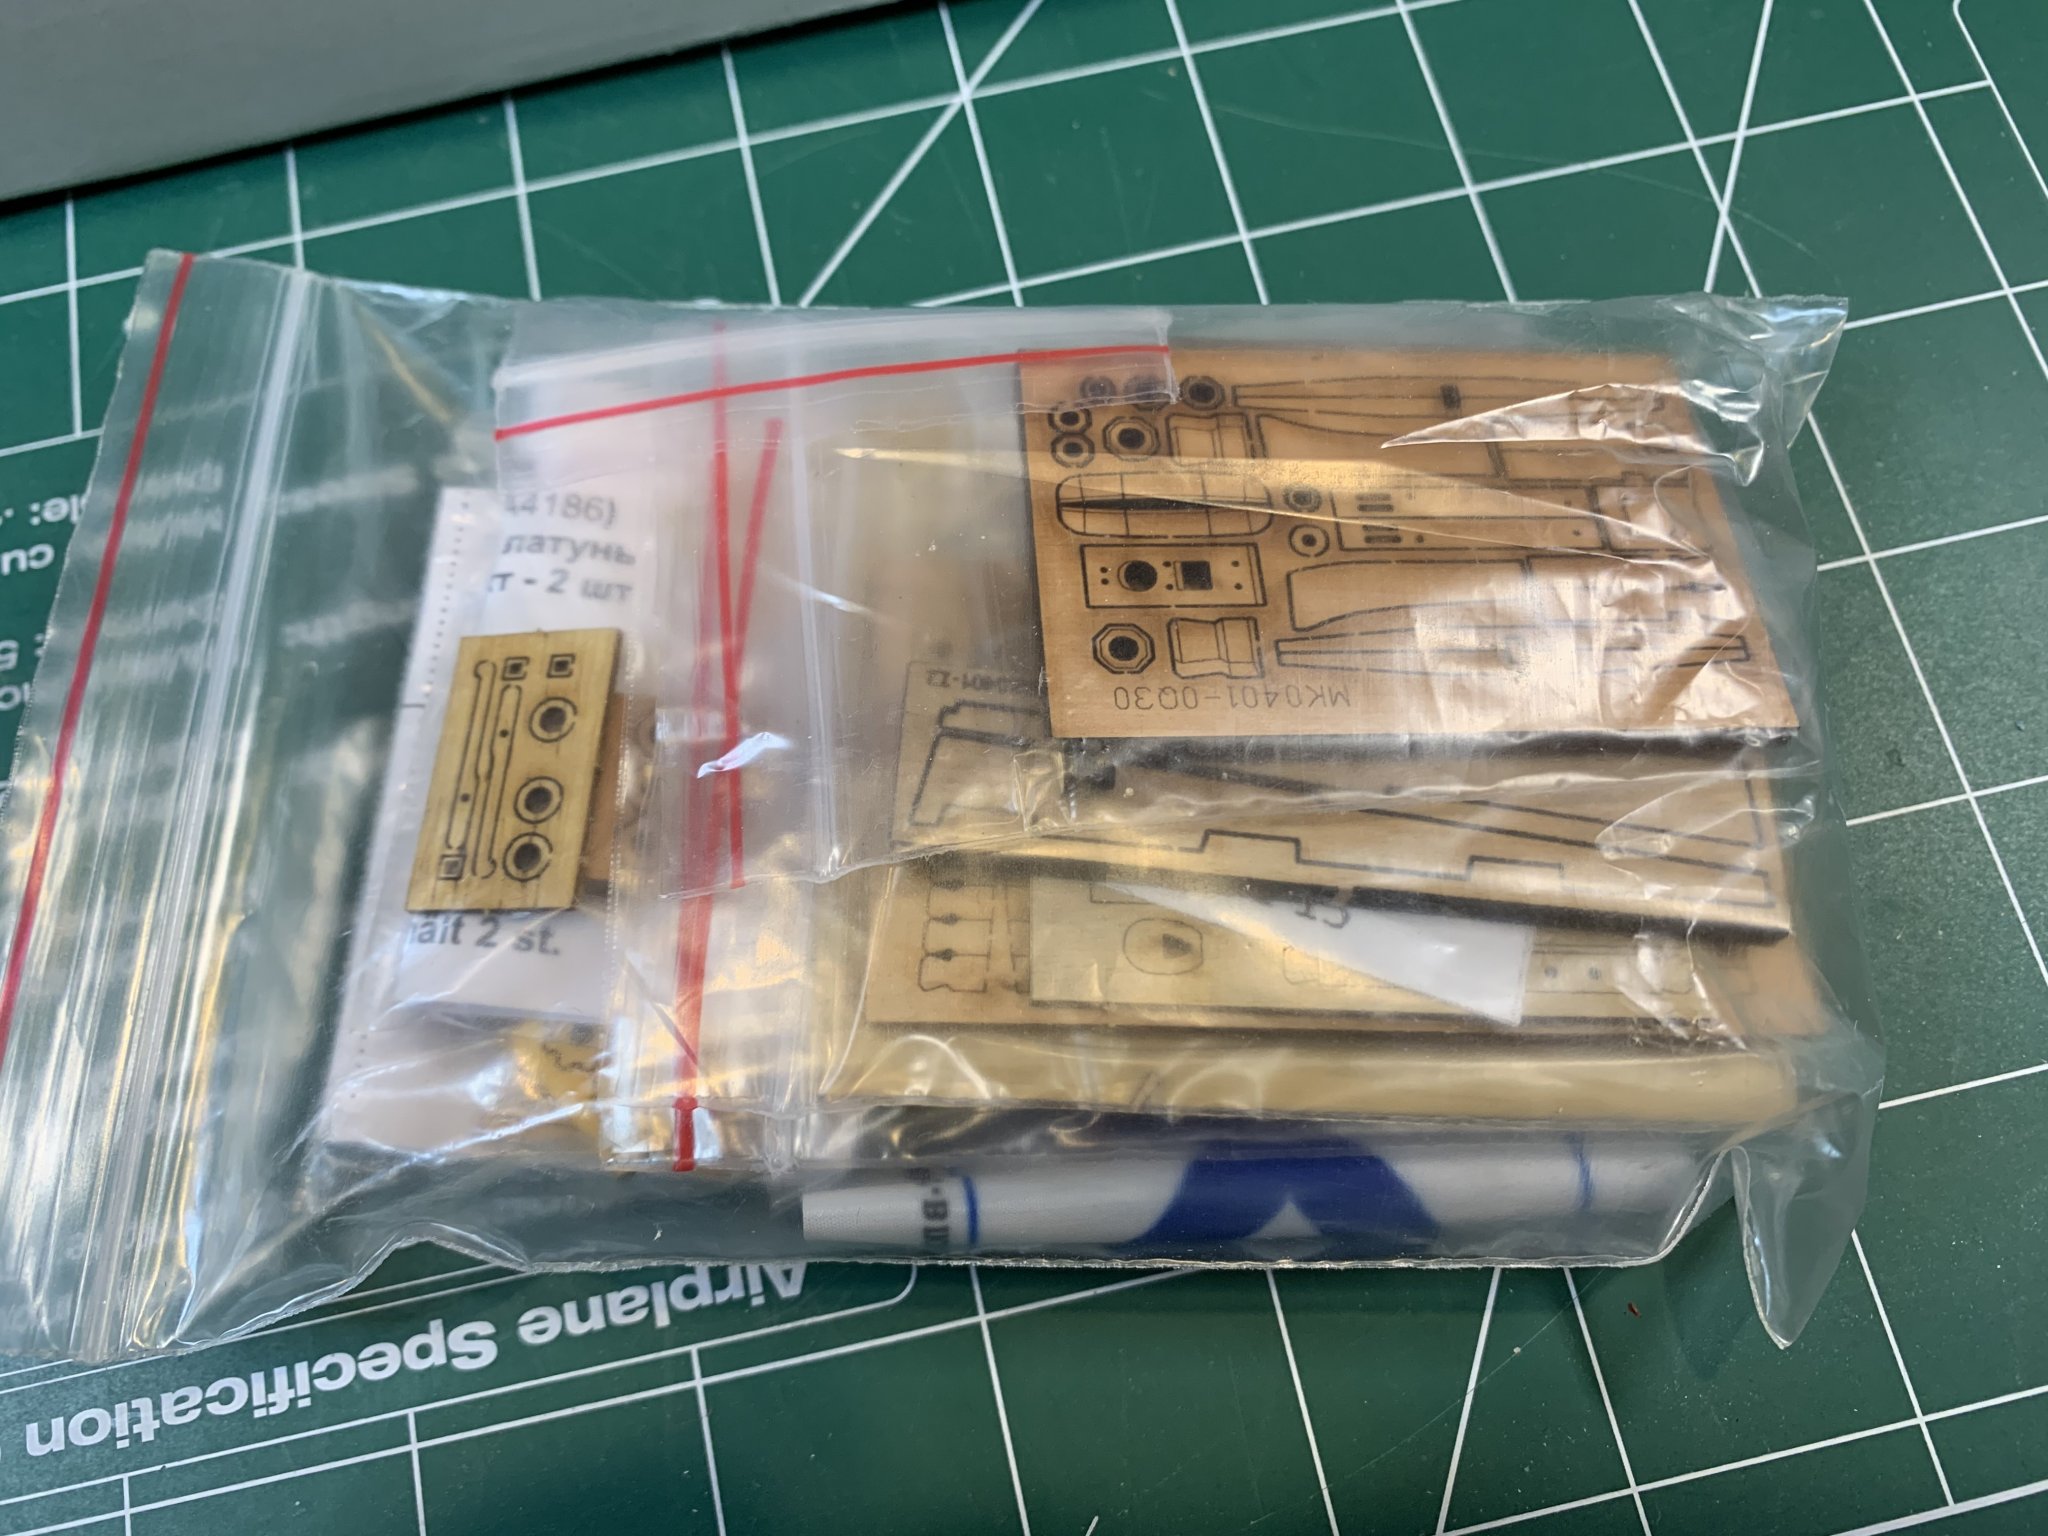
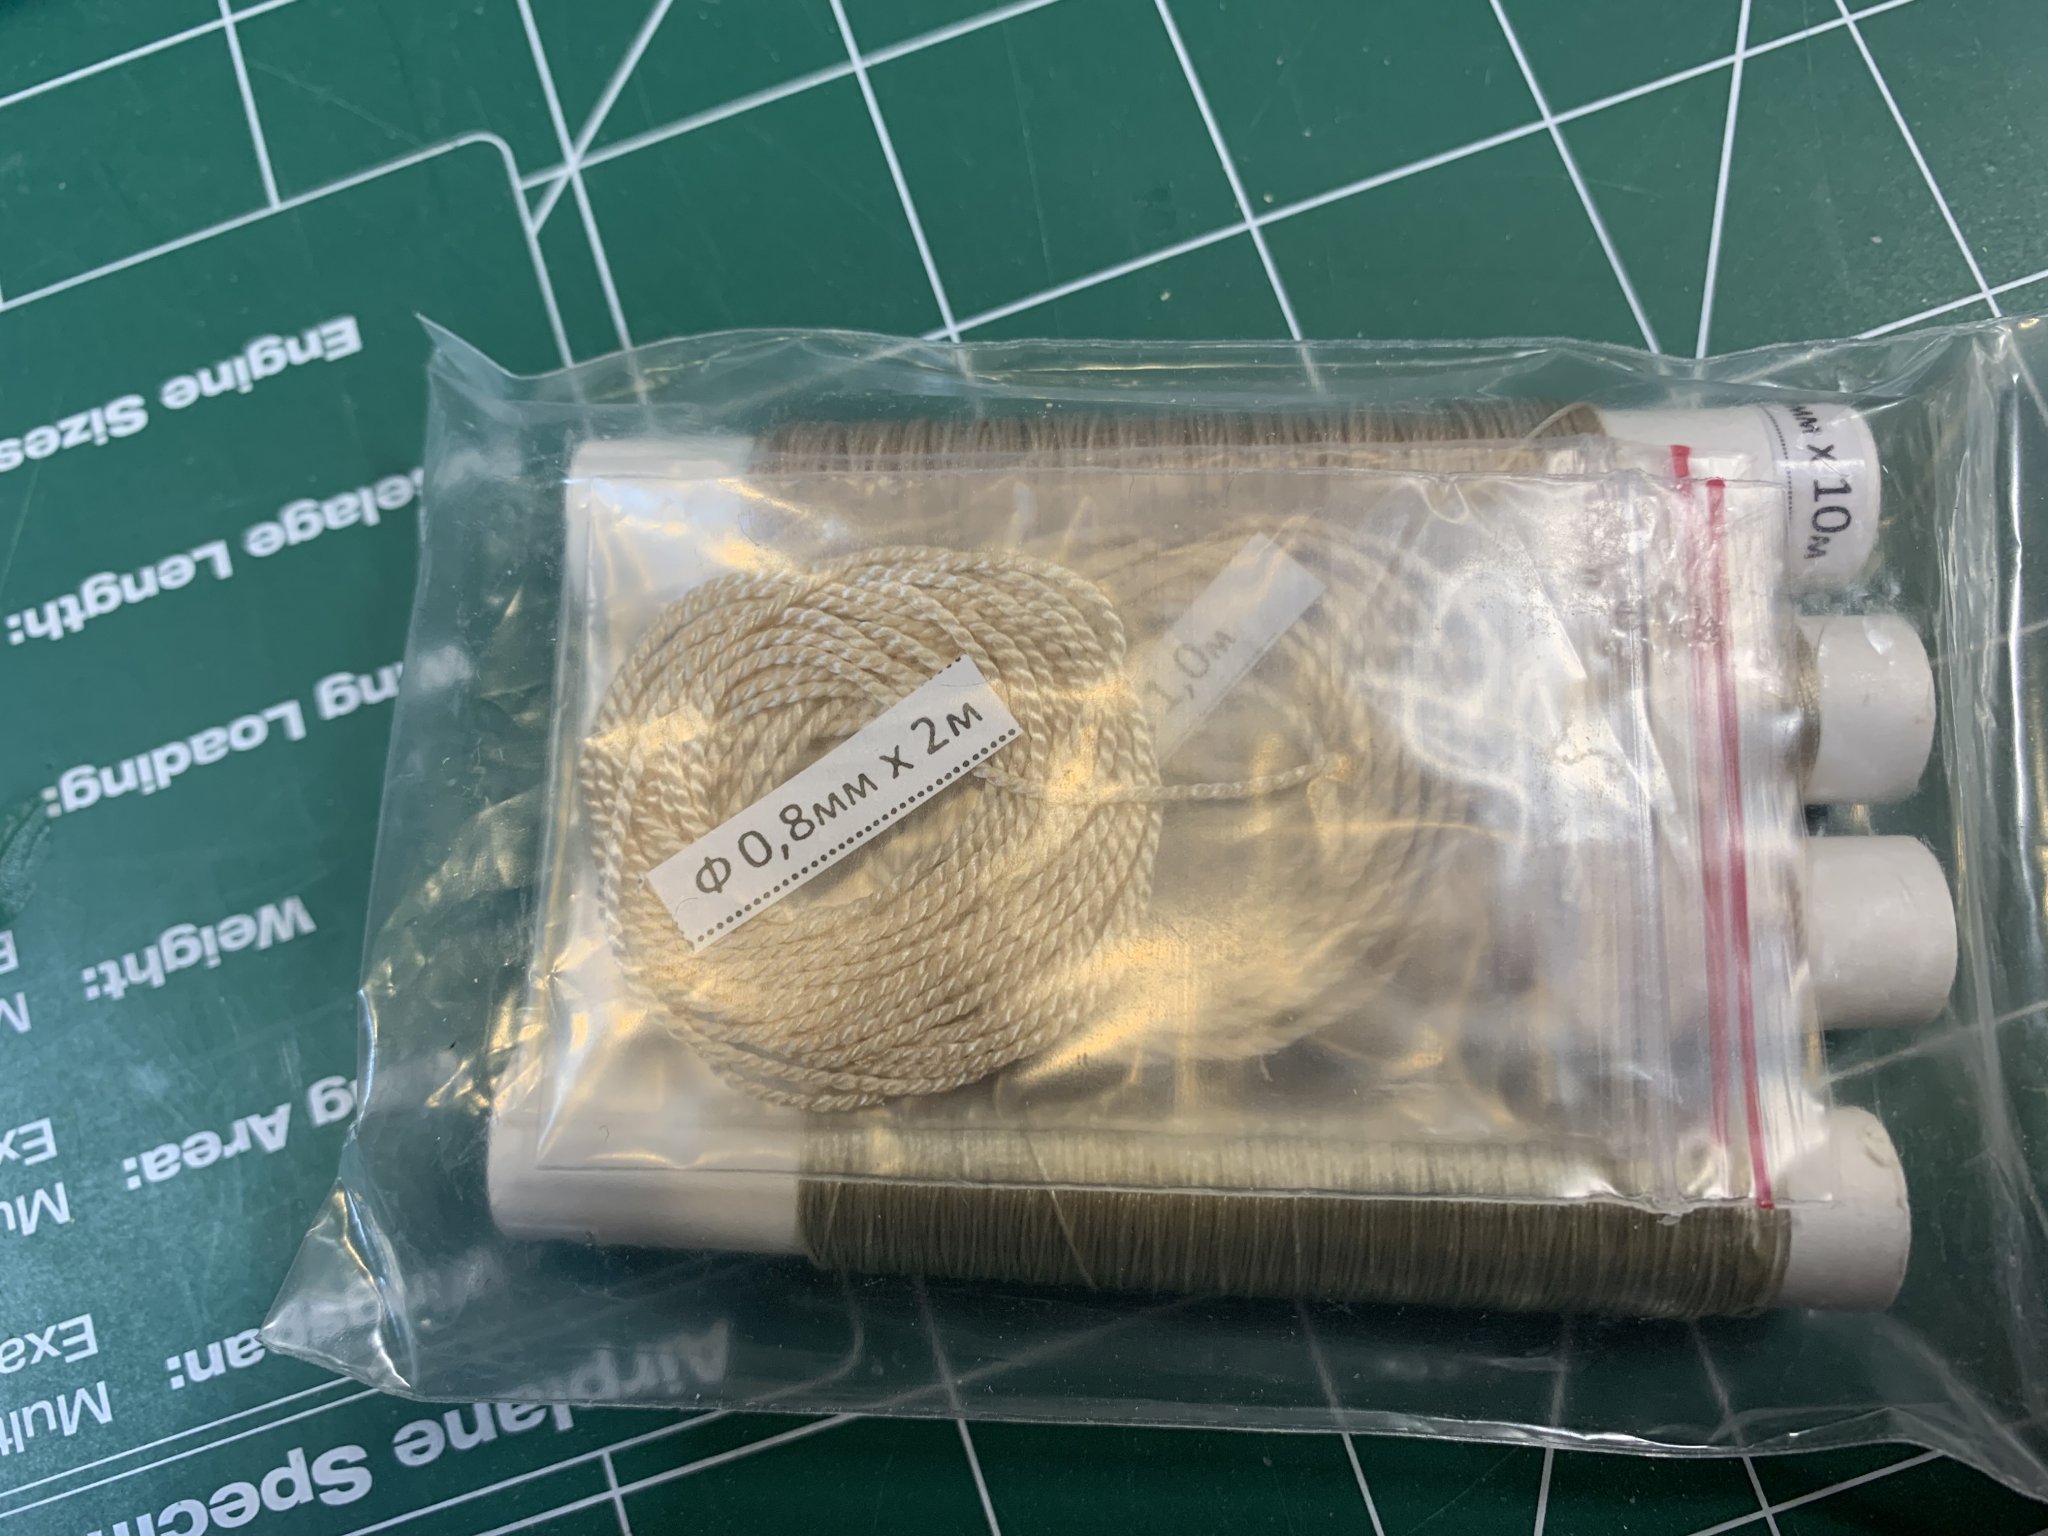
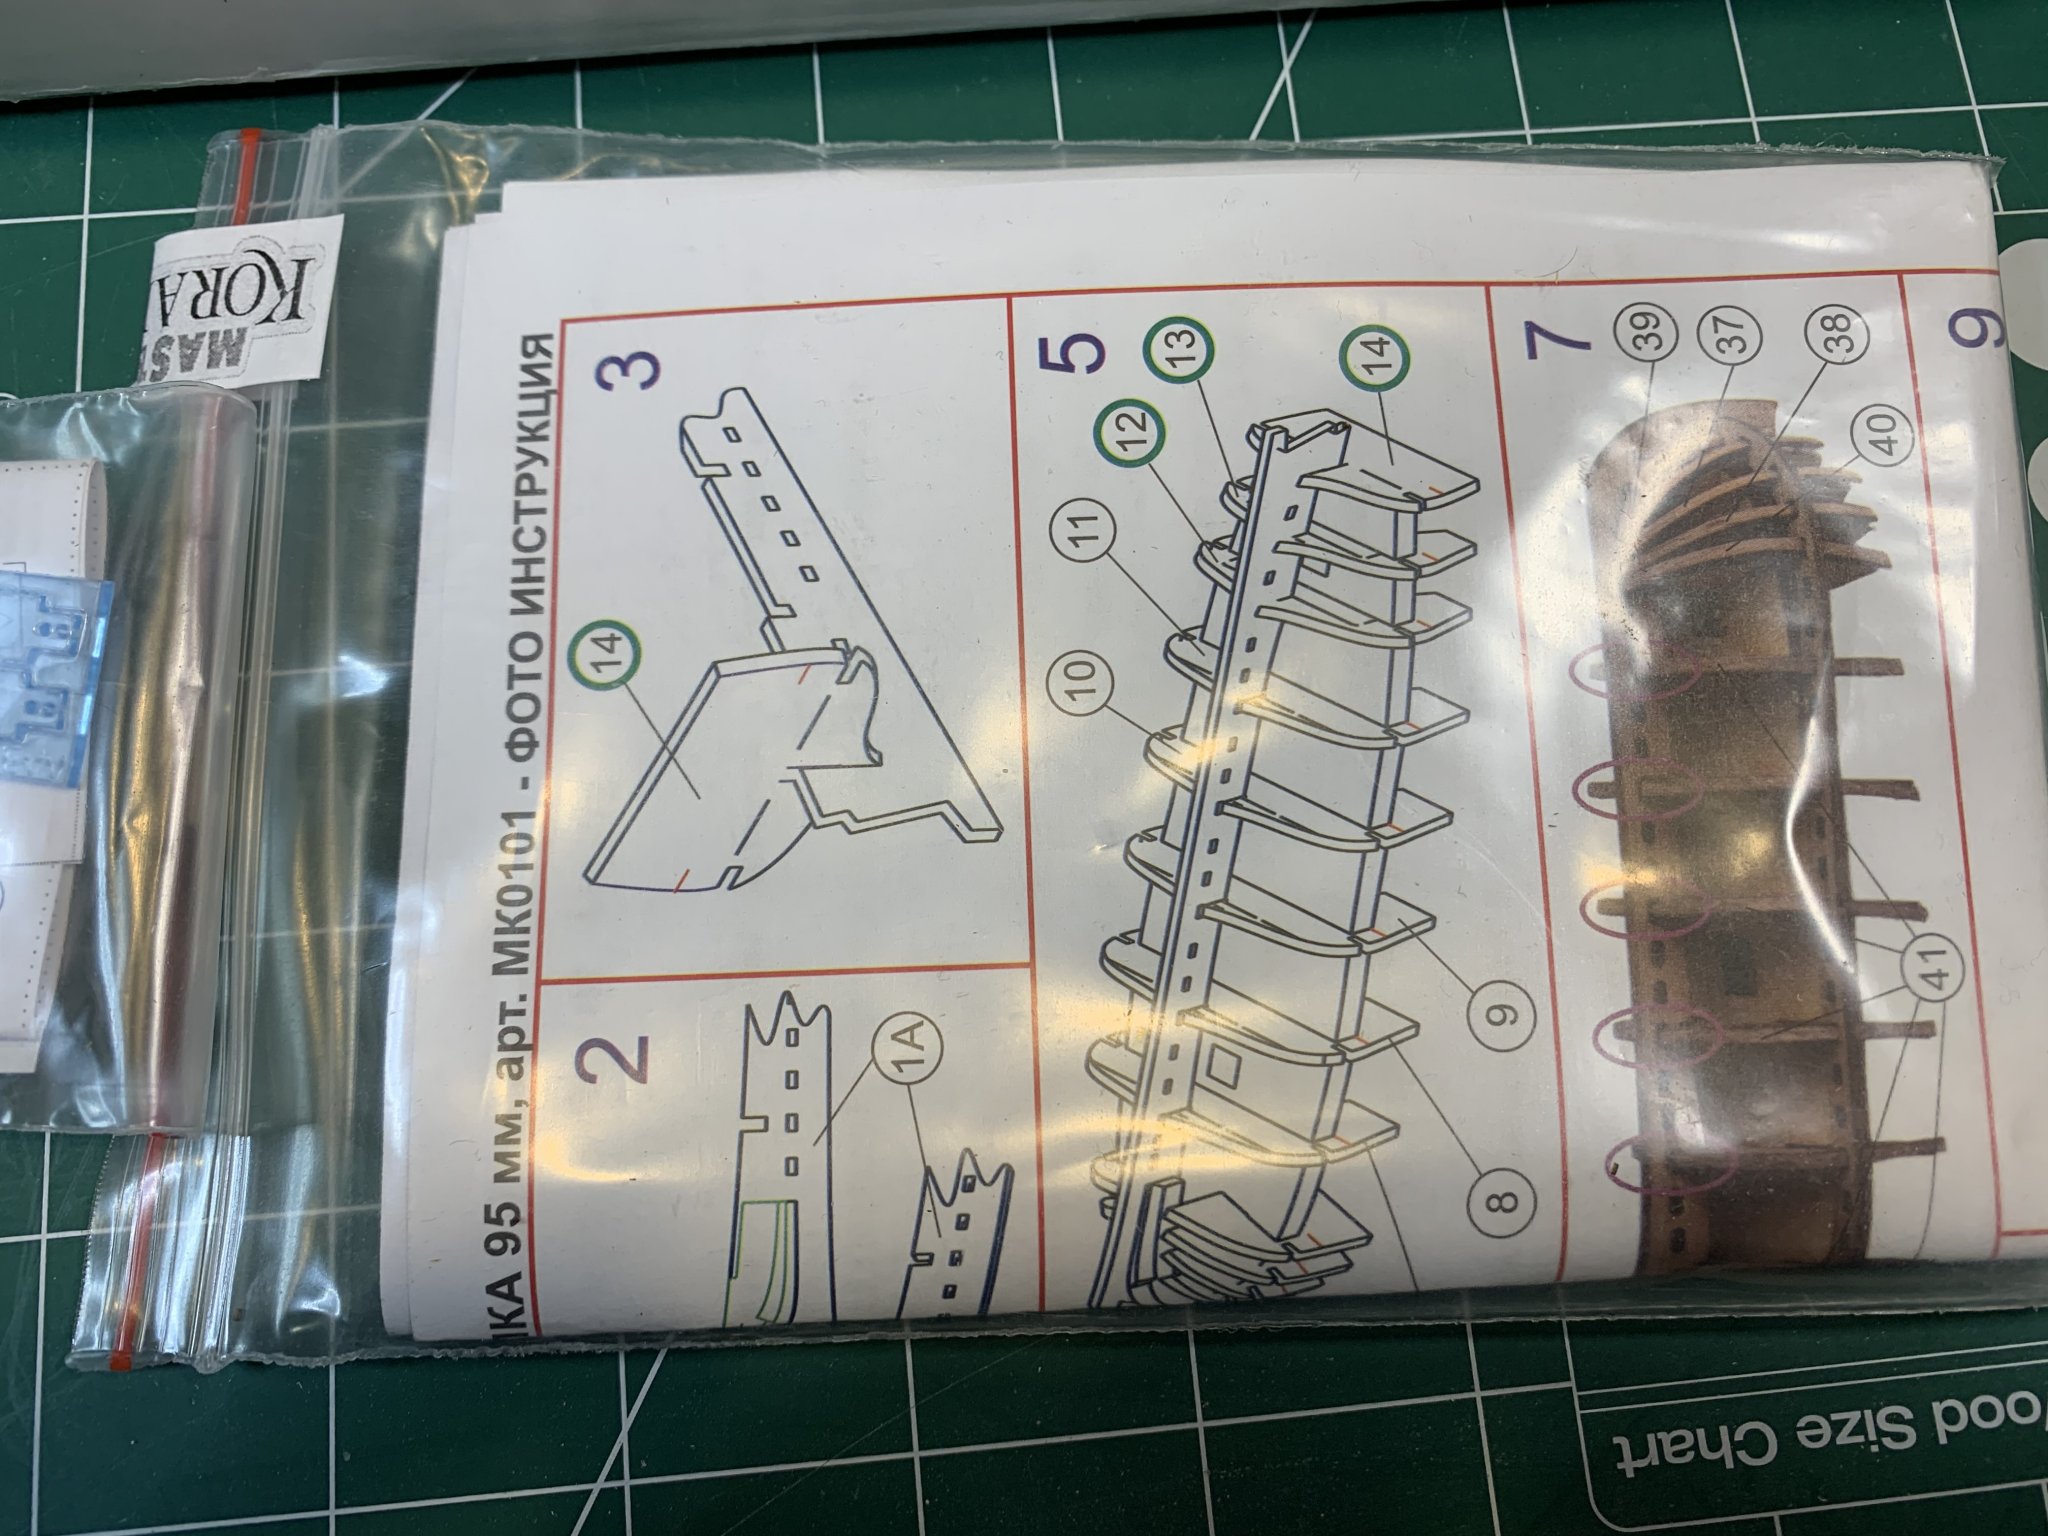
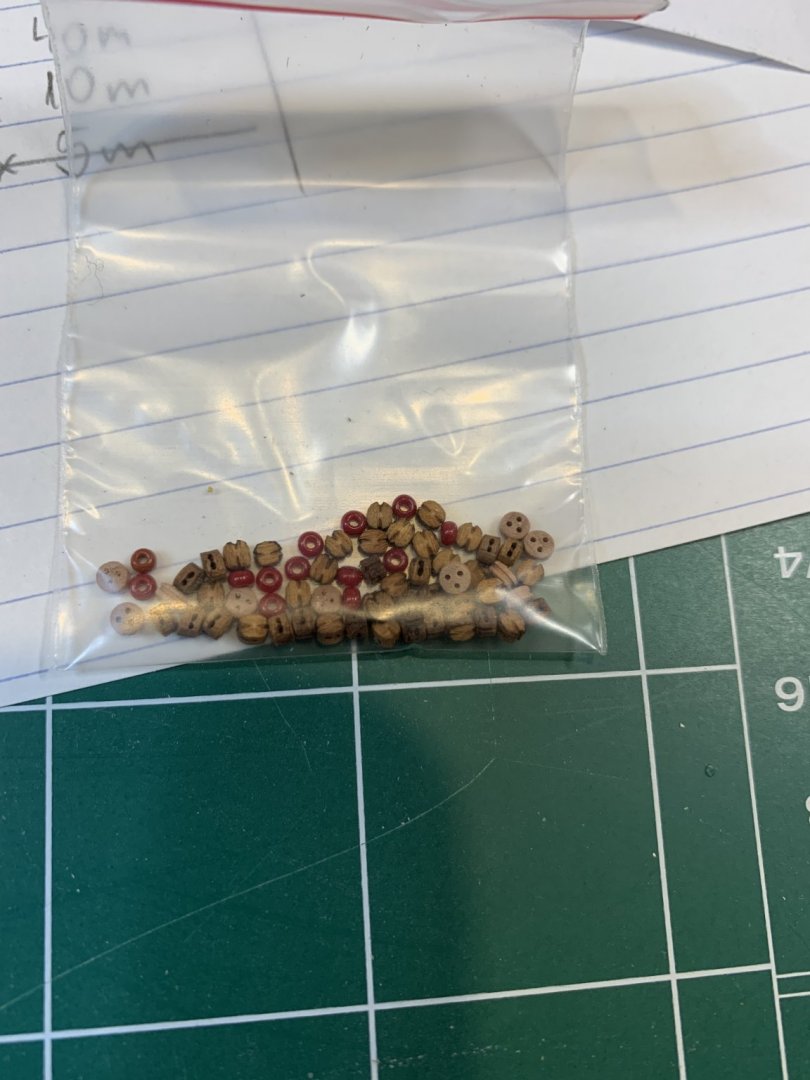
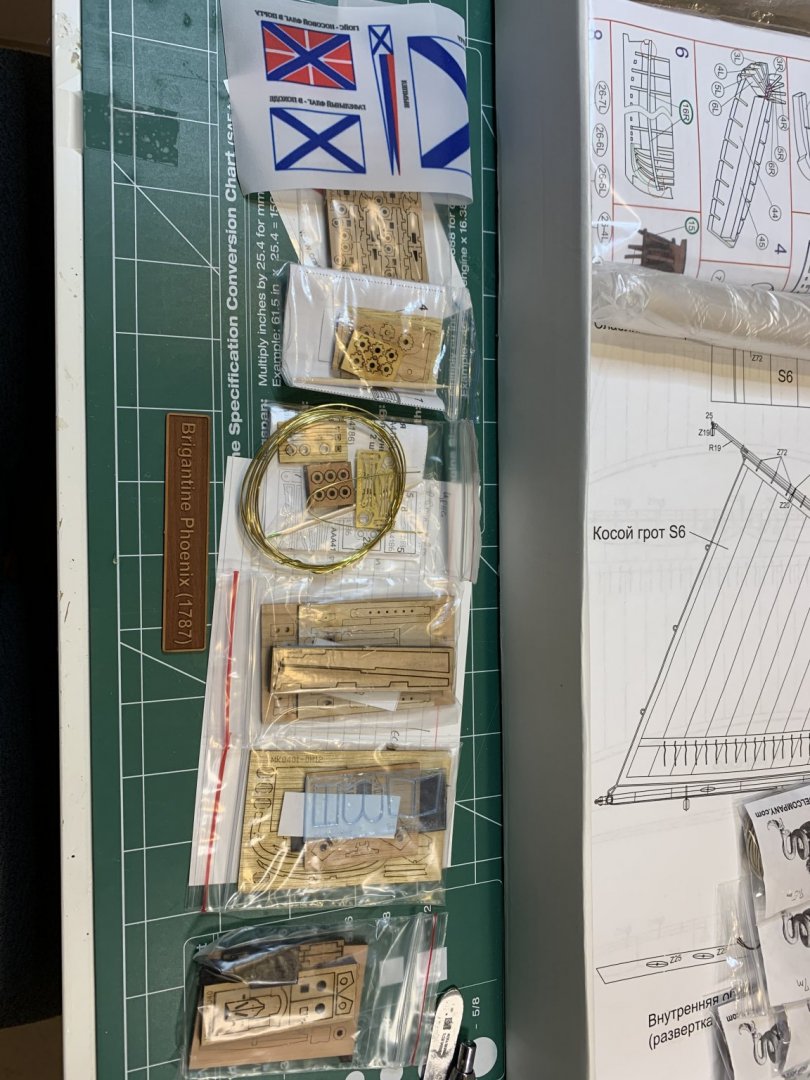
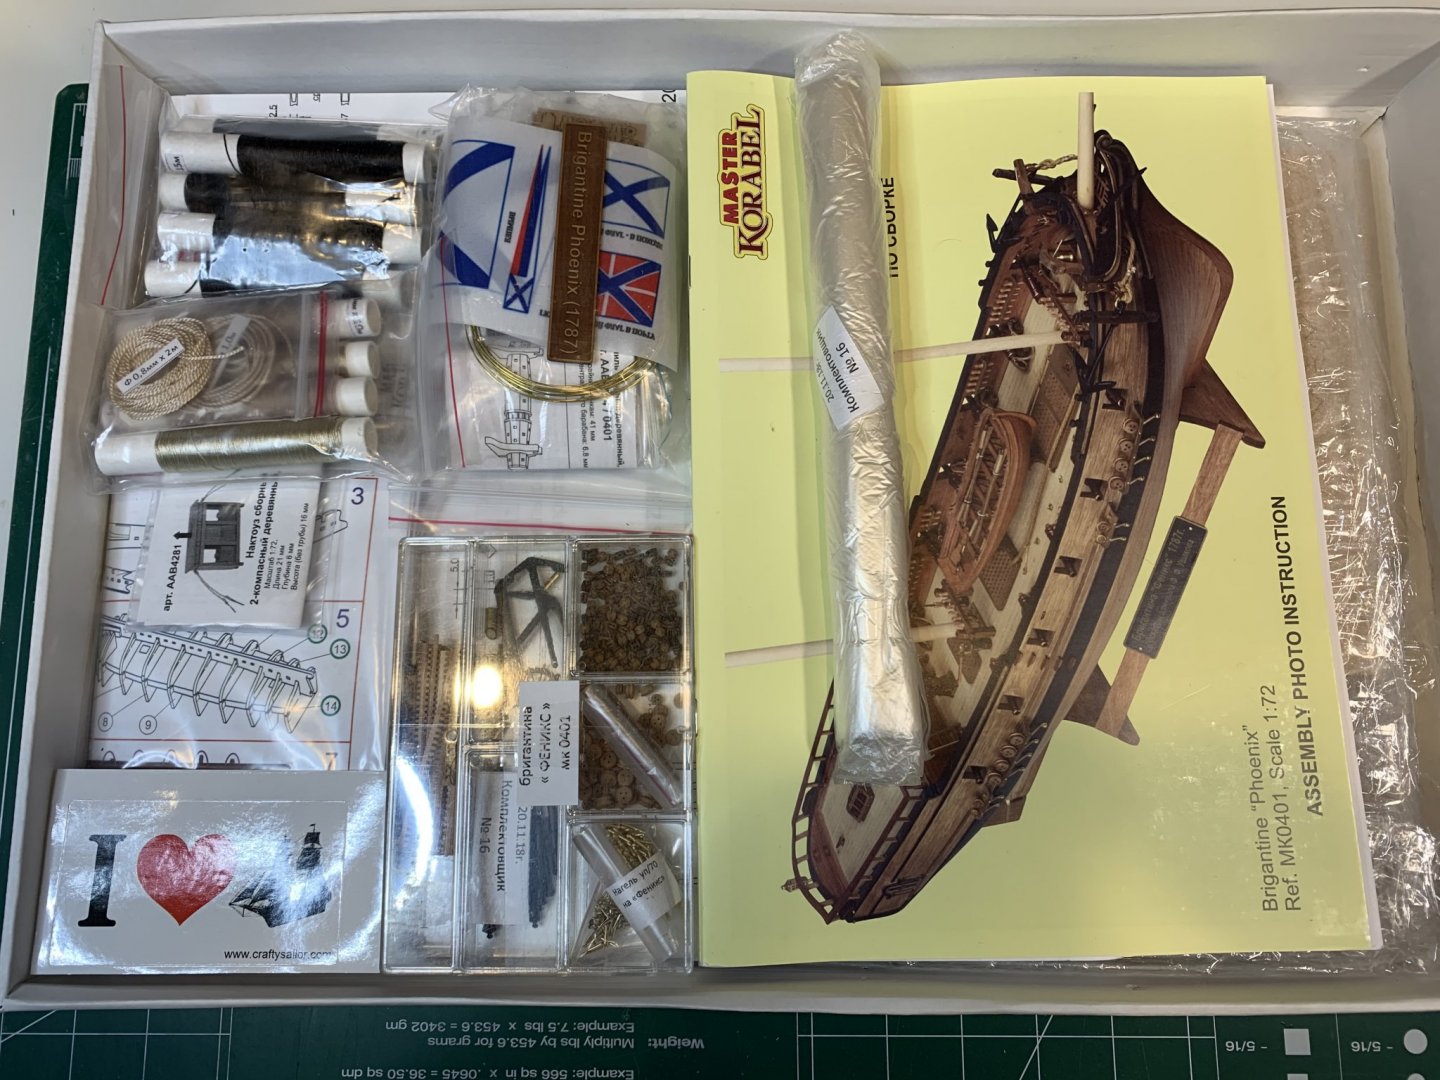
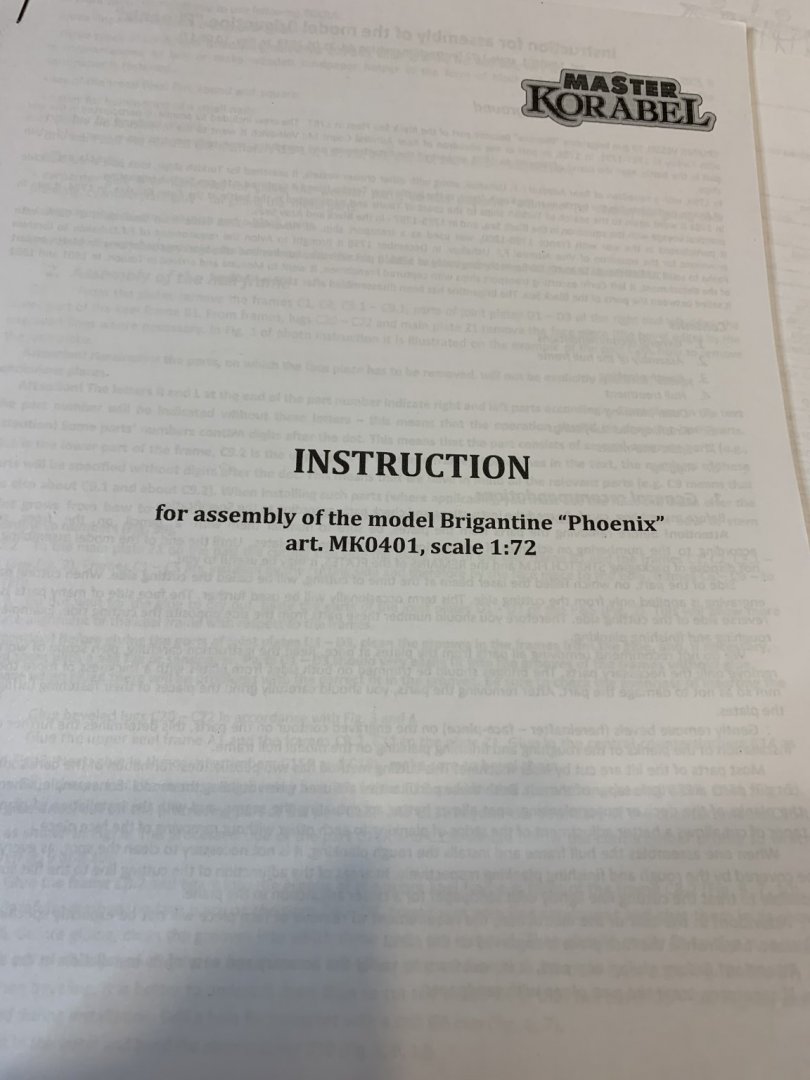
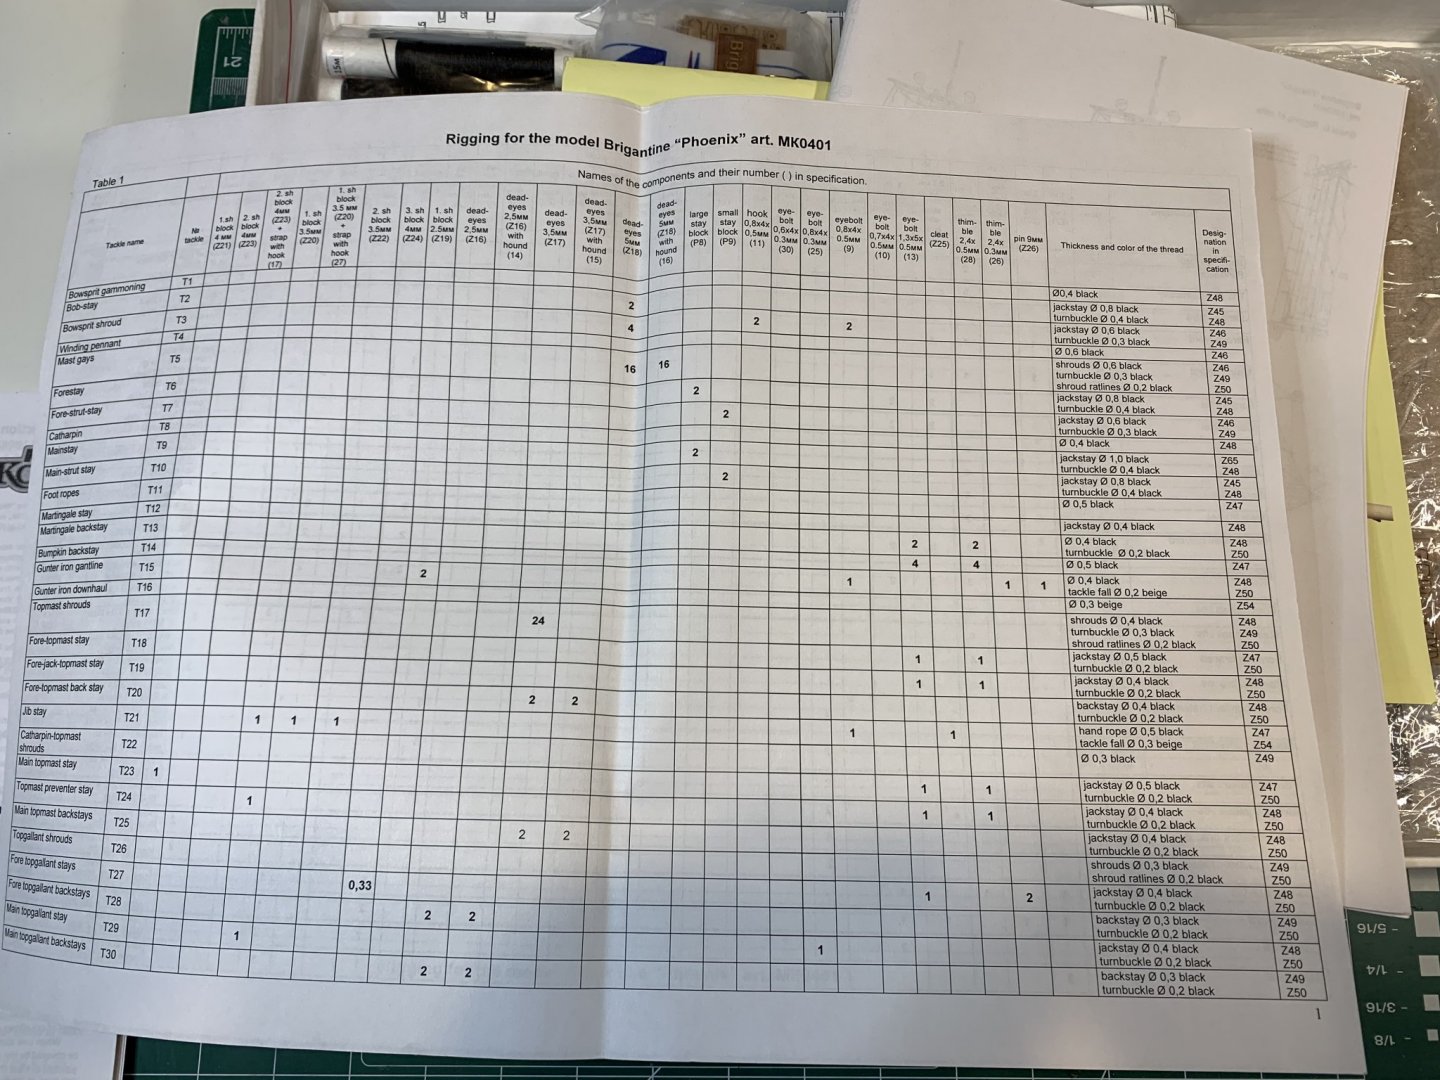
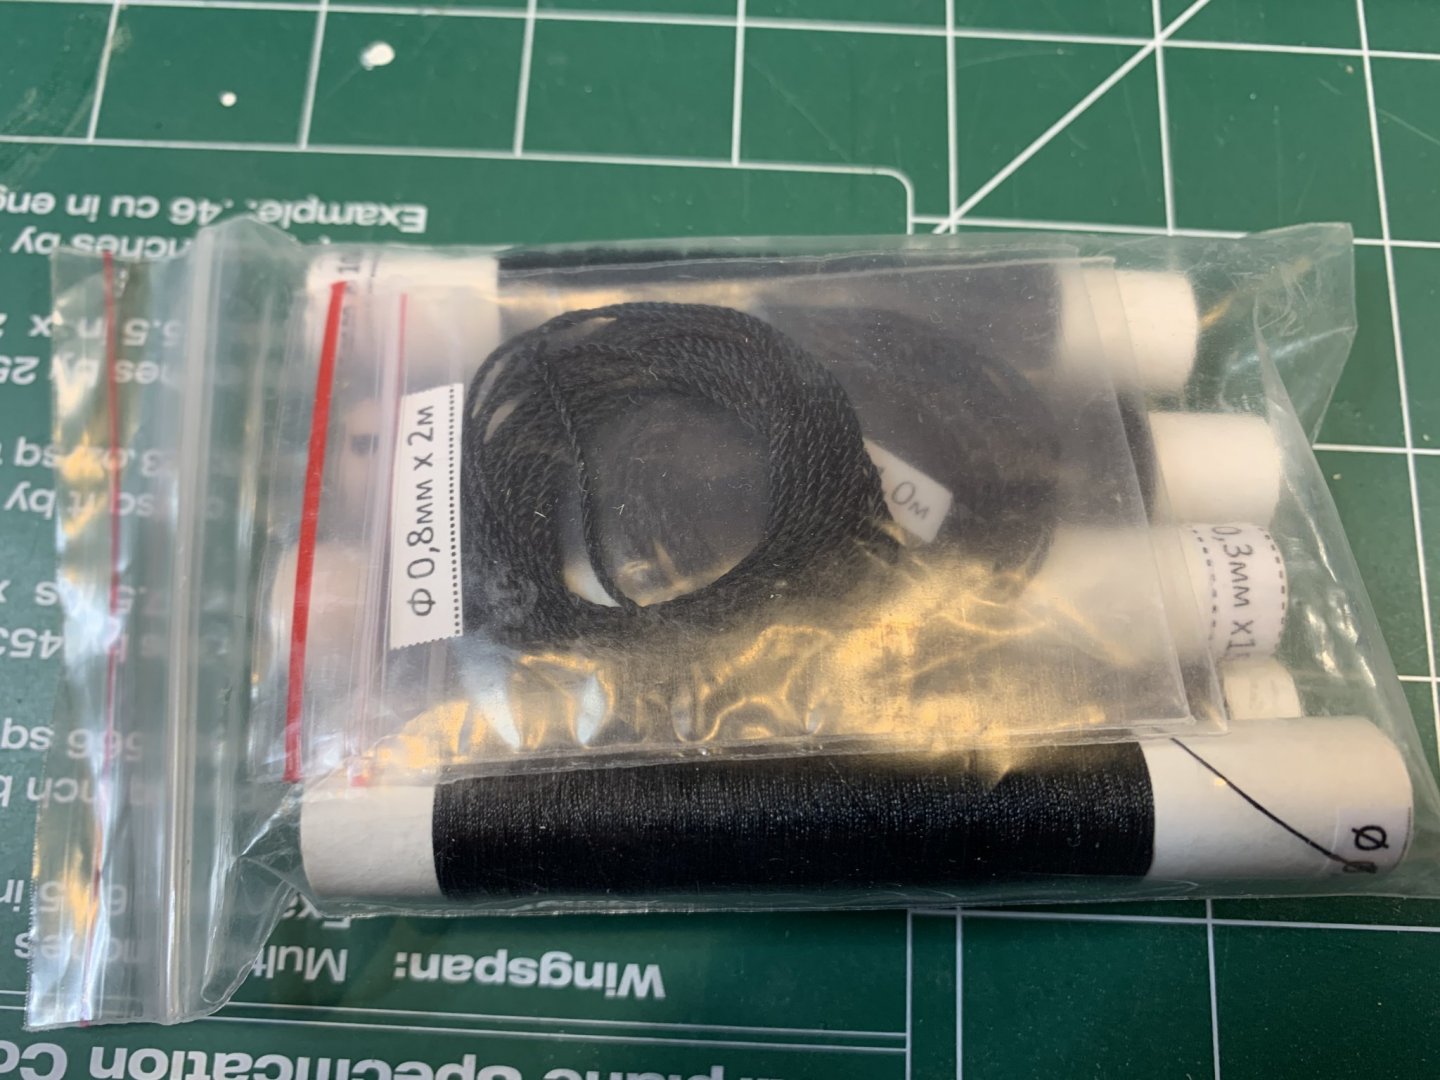
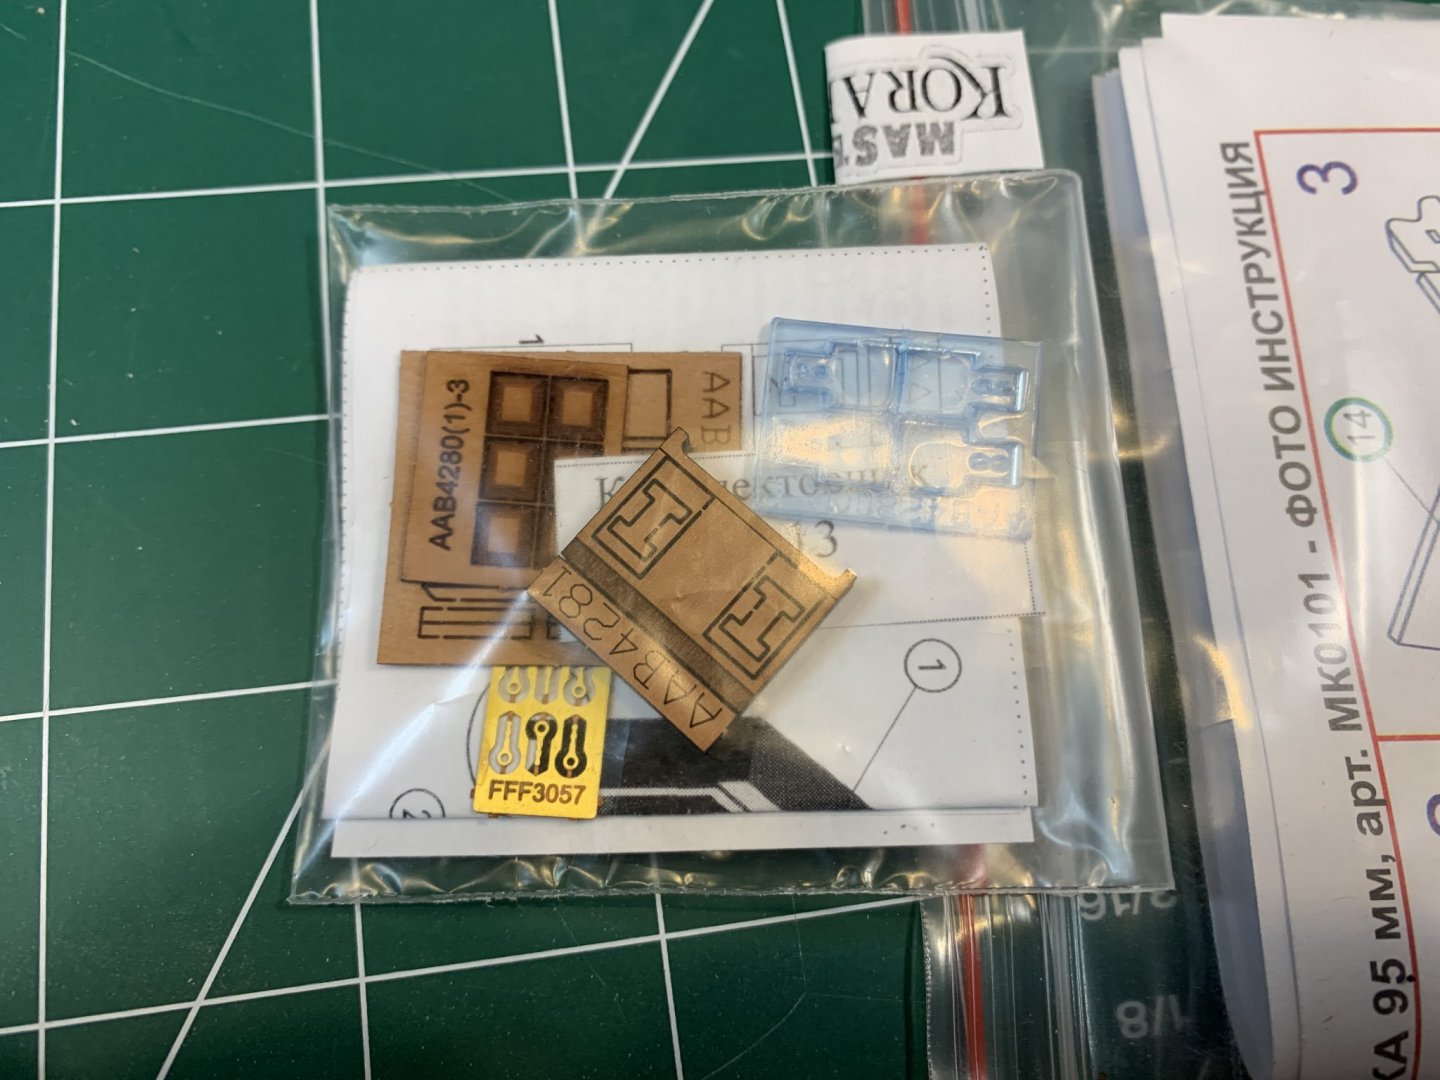
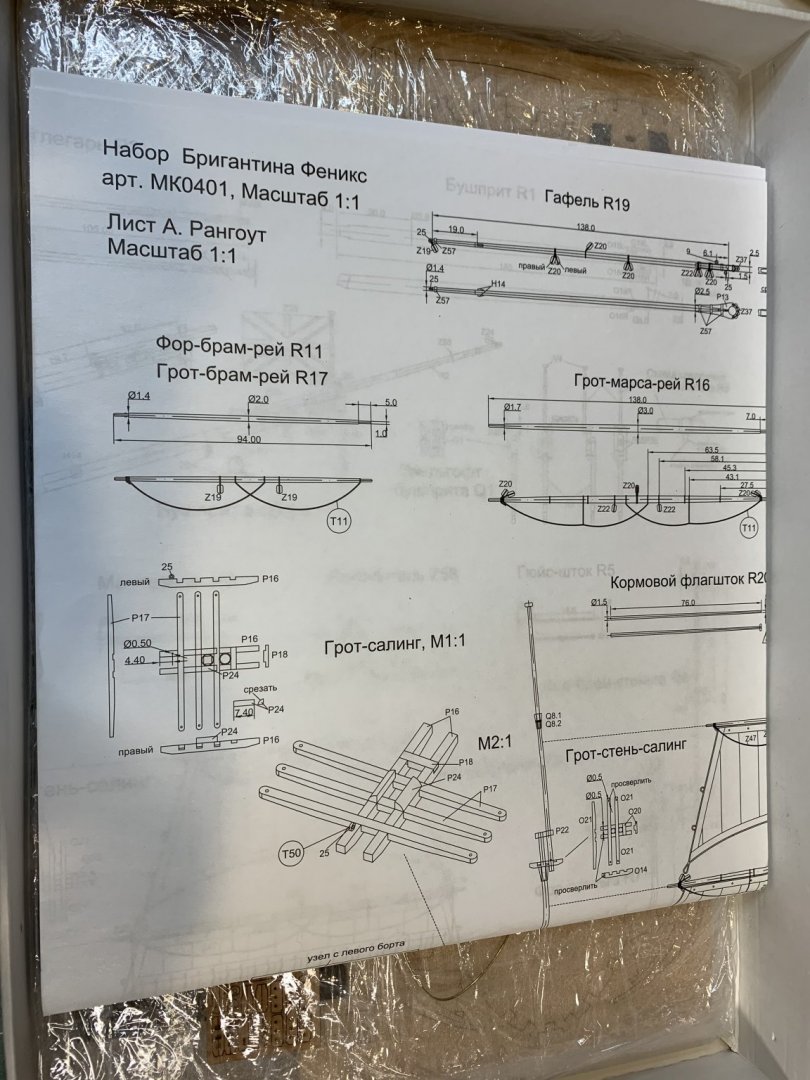
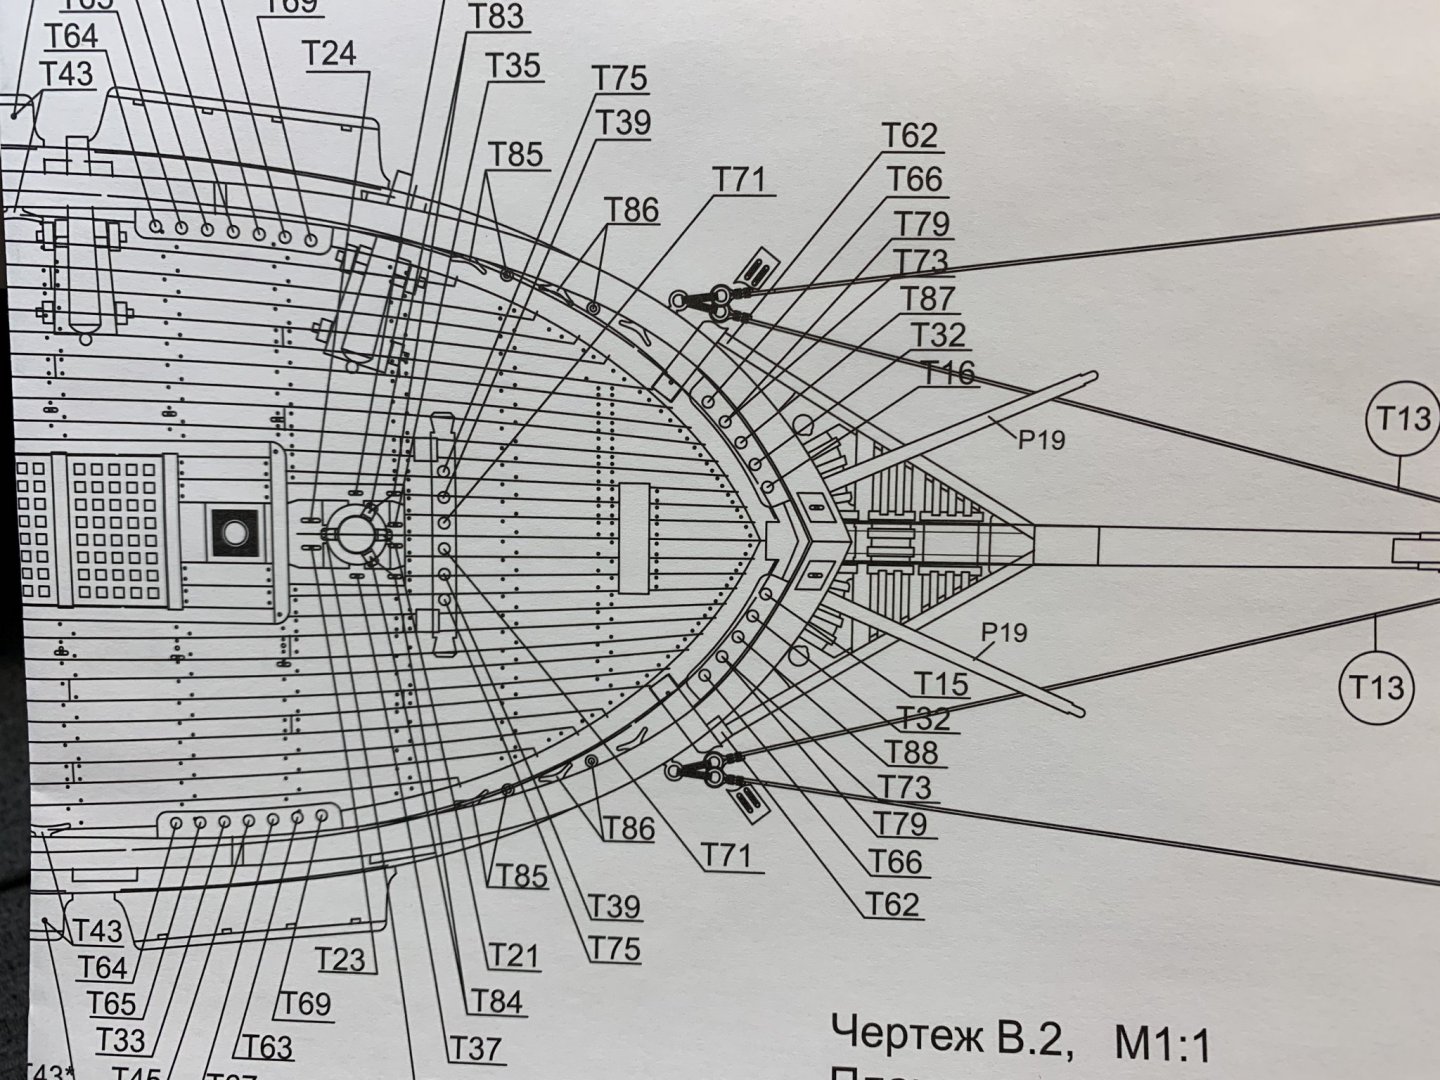
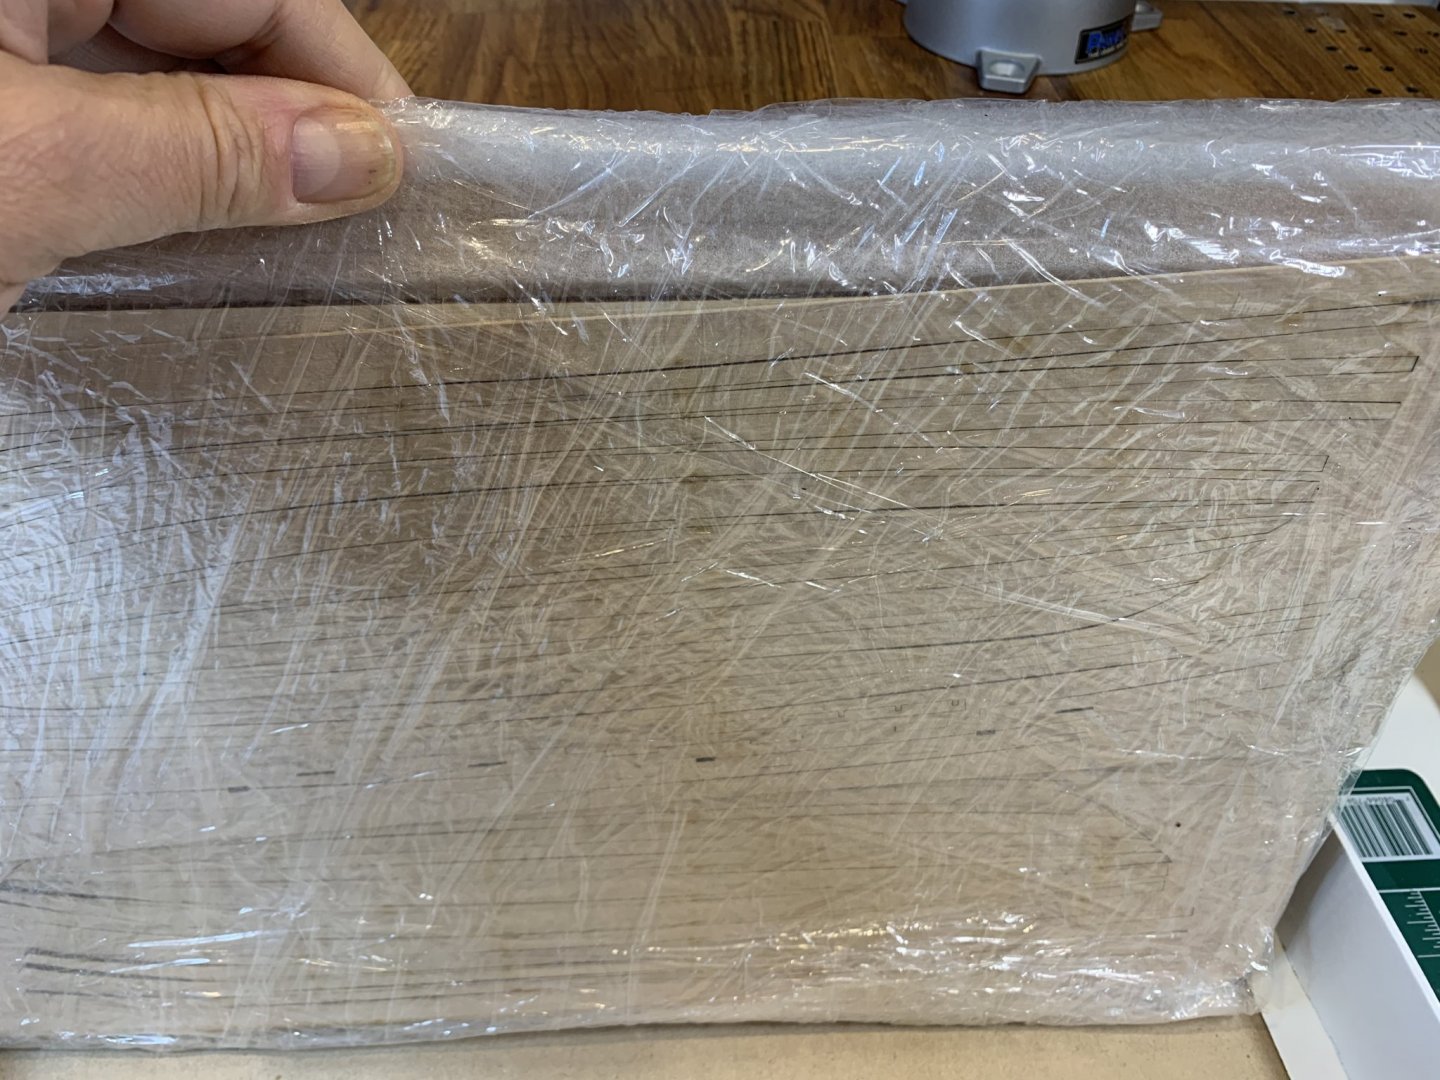
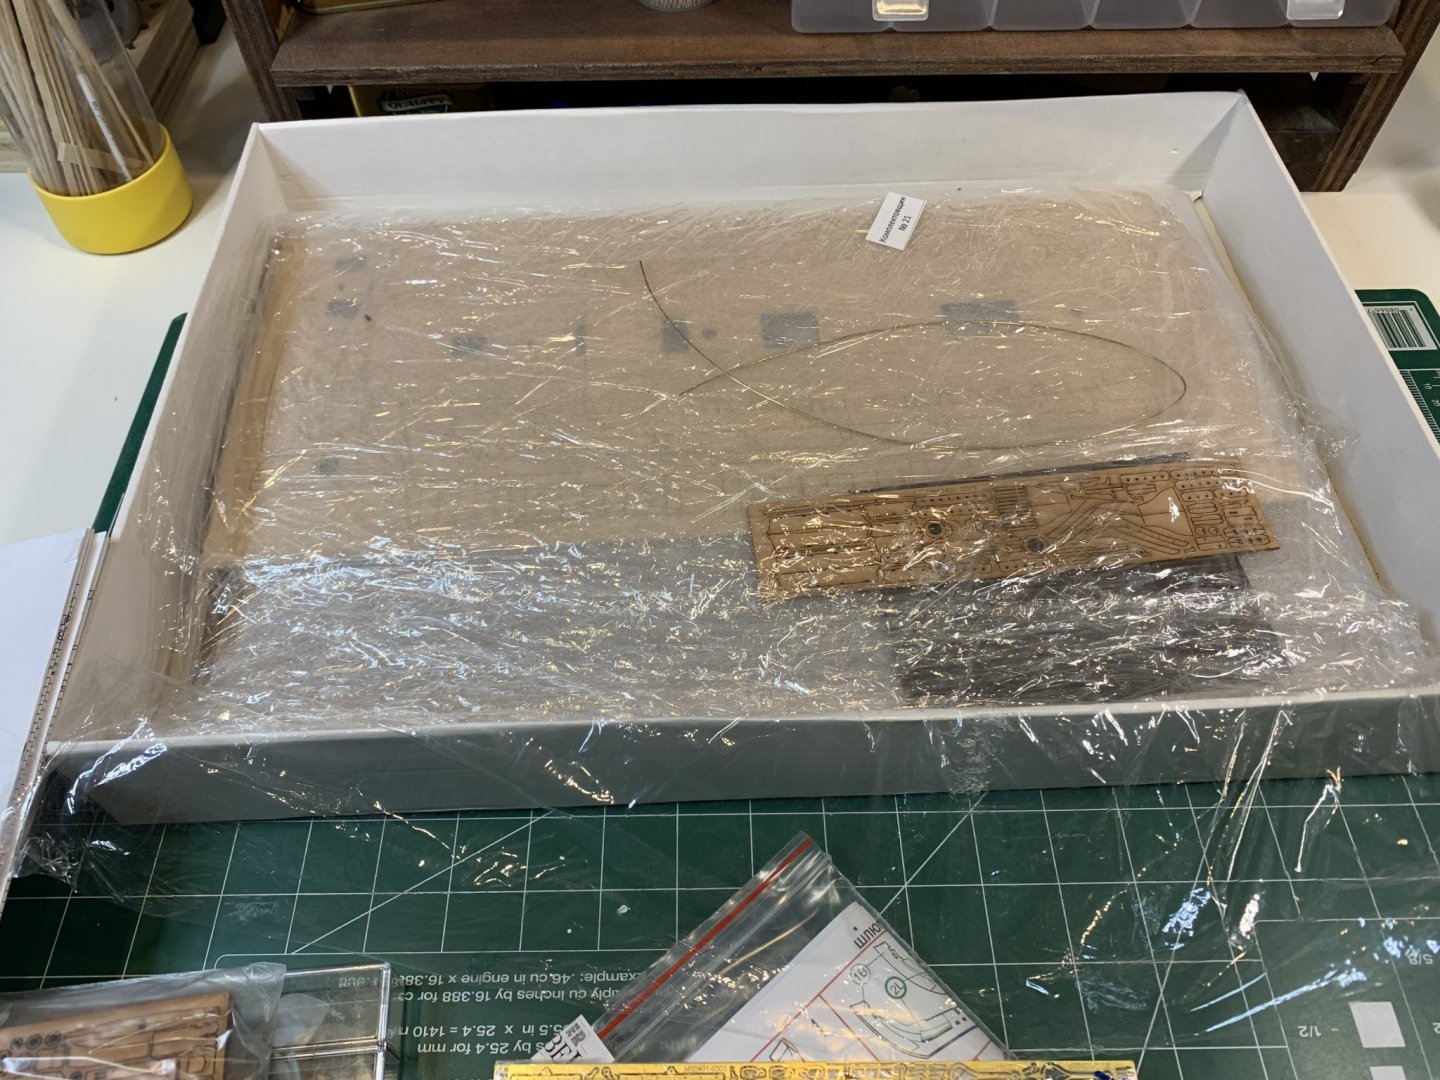
So, lets see what we have here.. The box.. Instructions in Russians.. ..and in English.. Rigging info... Translated plan, not in 1:1 scale dough.. Instruction booklet does not include rigging info... Material for making sails. There is an option to buy a fully completed sails if there is a desire for it.. Small parts.. of very good quality.. Ropes included in the kit.. More small parts.. Ship's boat... Original plans.. Cannot help and not to compare with some other manufacturer's build plan on which you cannot actually see all required details.. This plan just stands out very much in quality and precision. The laser cut parts are nicely protected and covered in plastic foliage to prevent breakage. So, that it is for start. Looking forward to actually get my hands dirty.. Happy modeling..


- 275 replies
-
- 13
-
-
- phoenix
- master korabel
- (and 1 more)
-
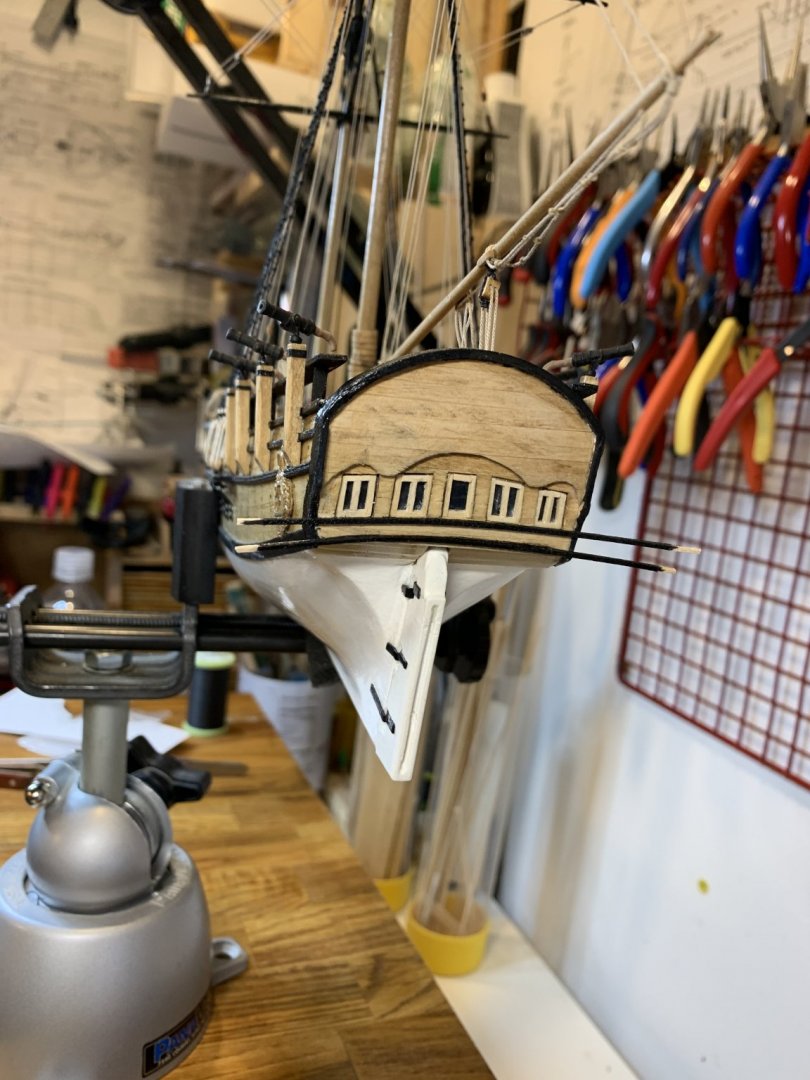
It is time to start a new build log. This time it was a close race between brigantine Phoenix and USS Syren. Since Phoenix kit has all laser cut parts, including planks, i was curious to see how this approach fits into hard-core, make-my-own planks state of mind... So, let see... This is a wooden model kit of the 12-gun brigantine "Phoenix" - cruising ship with a sailing arsenal of the brigantine, part of Black Sea Fleet of the Russian Empire. St. Andrew's flag Russia Ship class and type Cruising ship Type of sailing equipment brigantine Organization Black Sea Fleet Commissioned since 1787 in Russia Removed from the fleet Autumn 1803 Length between perpendiculars 24.4 m Mid- width width 7.3 m Draft 2.9 m Mover sail Crew 52 Total number of guns 12 guns Service history (obtained from Internet sources). A Greek built 12-gun brigantine Phoenix became a part of the Russian Black Sea fleet in 1787. With a war with Ottoman Empire pending, large number of Greek Corsair ships were purchased to strengthen the young Russian Black Sea fleet, in many cases the Greek crews were also hired into Russian service. Such ships were officially classified as “cruising ships” in Russian navy lists. The ship’s first war was the Russian-Turkish war of 1787-1791. In the summer of 1788, the ship under the command of warrant officer Georgy Nikiforovich Benardaki, as part of Rear-Admiral's squadron Count M. I. Voinovich , went to sea in search of the enemy. On July 3, 1788, the brigantine participated in the first naval battle of the Russian-Turkish war of 1787-1791 near Fidonisi between the fleets of Russia and the Ottoman Empire. In 1789, as part of squads and squadrons, she repeatedly went to sea to search for Turkish ships. In April 1790, the ship delivered supplies and materials from Kherson to Sevastopol. In May 1790, with the squadron of Rear Admiral F. F. Ushakov, along with other cruiser ships, searched for Turkish ships, participated in the blockade of Anapa, in the battle near the Kerch Strait (was in reserve). In August 1790, in a battle near the island of Tendra, captured 10 Turkish cannon brigantine. In October, the captured Turkish ships escorted to the Dnieper Liman to Ochakov. In November, together with the cruising ship “Clement Pope of Rome” was sent to cruise to the Rumelian coast in the Varna region - m. Kaliakria. They took two Turkish vessels Sakaleva and Tumbaz (captured flooded) from Varna, then returned to Sevastopol and brought the captured vessel Sakaleva there. In April 1791, ships again went to search for Turkish ships to the shores of Tavrida, and then to the Anatolian coast - from Sinop to Constantinople. April 1 sunk two Turkish vessels. In July, the ship in the squadron F. F. Ushakov went to sea. July 31, participated in the battle at Cape Kaliakria. In 1794, the Phoenix under the command of midshipman S. A. Belisarius with a squadron was on a practical voyage in the Black Sea, and in 1795-1797 in the Black and Azov Seas. In the war with France of 1798–1800, the ship under the command of Lieutenant L. F. Morskoi was used as a transport ship. In November 1798, the ship arrived from Sevastopol to Corfu with provisions for the squadron of Vice-Admiral F. F. Ushakov. In December 1798, FF Ushakov's demands to Ibrahim Pasha delivered to Avpona to send Turkish troops to storm Corfu, blocking the fortress. At the beginning of 1799 the ship was with a squadron at Corfu, escorting transport ships with captured Frenchmen, entered Messina and arrived in Toulon. In 1801 and 1802 the brigantine sailed between the ports of the Black Sea. In 1803, the ship was under the command of Lieutenant S. S. Karachinsky with the Nikolaev Nort, dismantled after 1803 in Nikolaev. Cruise Ship Commanders: G. N. Benardaki (1788–1791); S. A. Belisarius (1794-1798); LF Morskoy (1797-1802) [2] ; S. S. Karachinskaya (1803) [3] . Literature: Chernyshev A. А. Russian sailing fleet. Directory. - M .: Military Publishing, 2002. - T. 2. - 480 p. - (Ships and vessels of the Russian fleet). - 5000 copies - ISBN 5-203-01789-1 . Veselago F. F. The General Maritime List from the base of the fleet until 1917. - SPb. : Printing house of V. Demakova, 1890. - V. IV / The reign of Catherine II. K - S. - S. 31, 398. - 712 p. - (Military history library). A. B. Shirokorad. 200 Years of the Sailing Fleet of Russia / Ed. A. B. Vasiliev. - 2nd ed. - M .: “Veche”, 2007. - 448 p. - ISBN 978-5-9533-1517-3 . Model details: Scale 1:72. Assembled dimensions are (LxWxH) 23.25" x 8.5" x 17.25" (590mm x 220mm x 440mm ). All wooden parts are laser cut to simplify assembly. Hull design compensates for material deformations. Double plank-on-bulkhead hull. Final hull planks are made of anigre veneer. Historically accurate cast cannons with Russian Imperial crests. Laser etched deck made of maple veneer. High quality pearwood blocks. Multitude of highly detailed brass parts. Sail plans and cloth for sewing the sails. Silk screen flags. Different diameters of black and tan threads for standing and running rigging. Ship stand with two nameplates, one in English and one in Russian Binnacle. Ship's boat MK0101 is included. Ship plans (four large sheets) and translated plans in English. Assembly instructions in English. Made in Russia by Master Korabel Happy modeling.
- 275 replies
-
- 6
-
-
- phoenix
- master korabel
- (and 1 more)
-
Absolutely and challenge what to do next.. Thank you.
- 360 replies
-
- 1
-
-
- sultana
- model shipways
- (and 1 more)
-
Thank you, much appreciated.
-
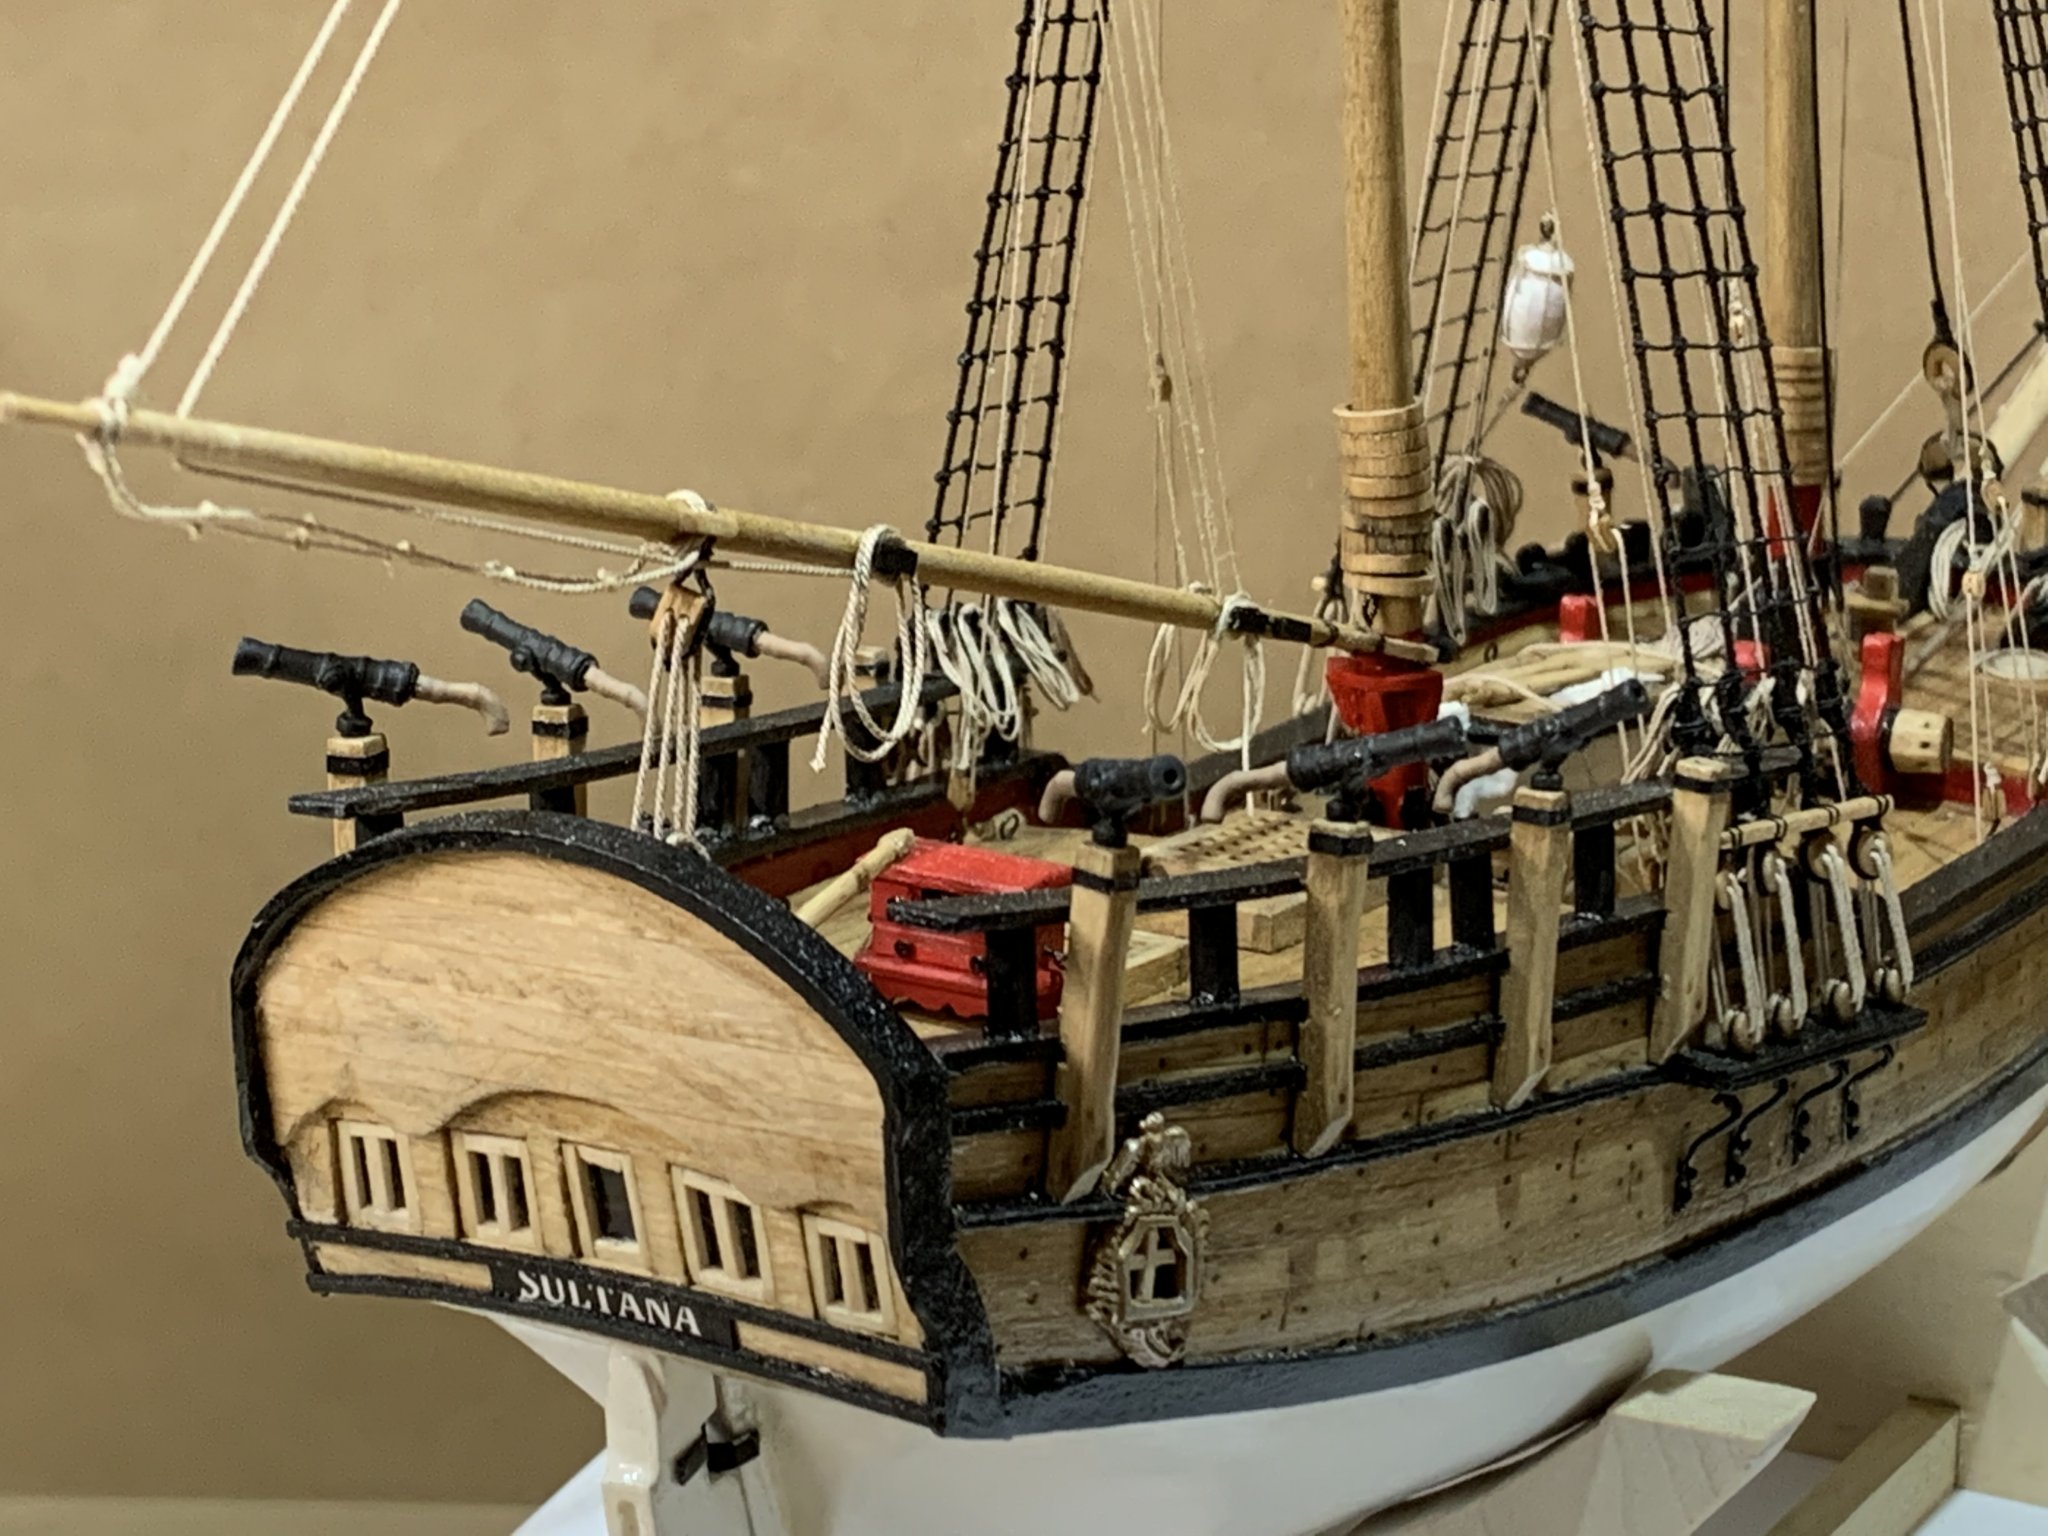
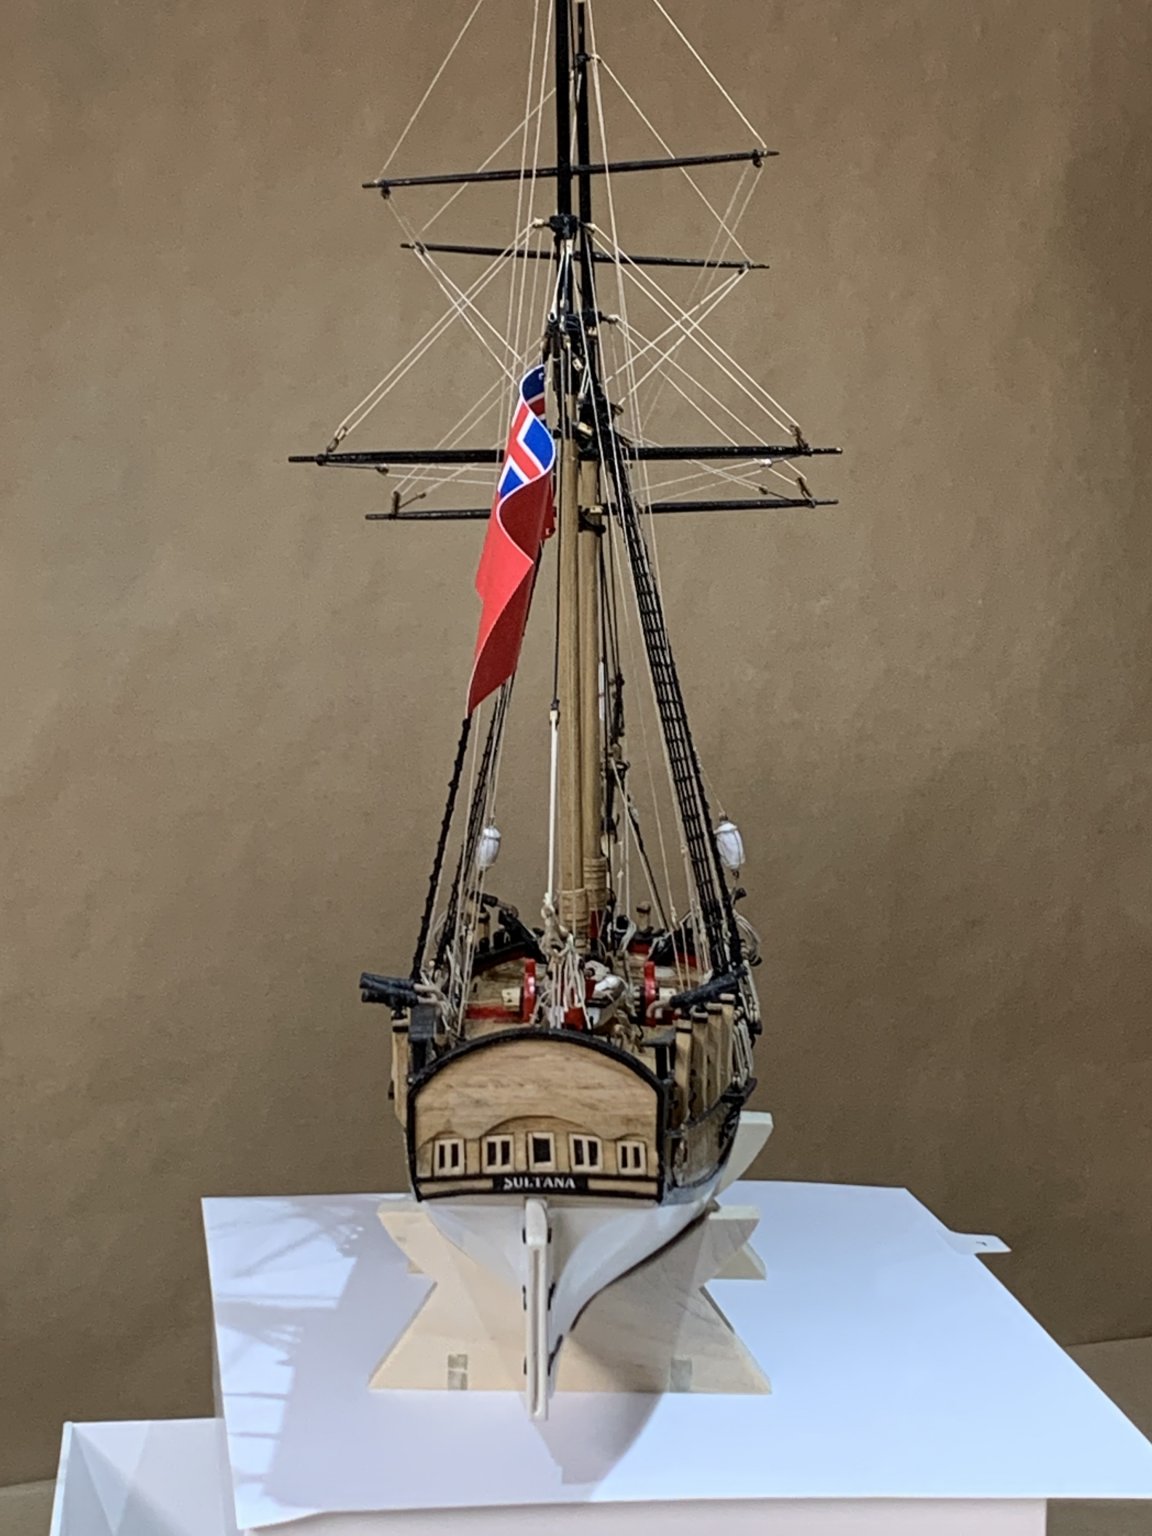
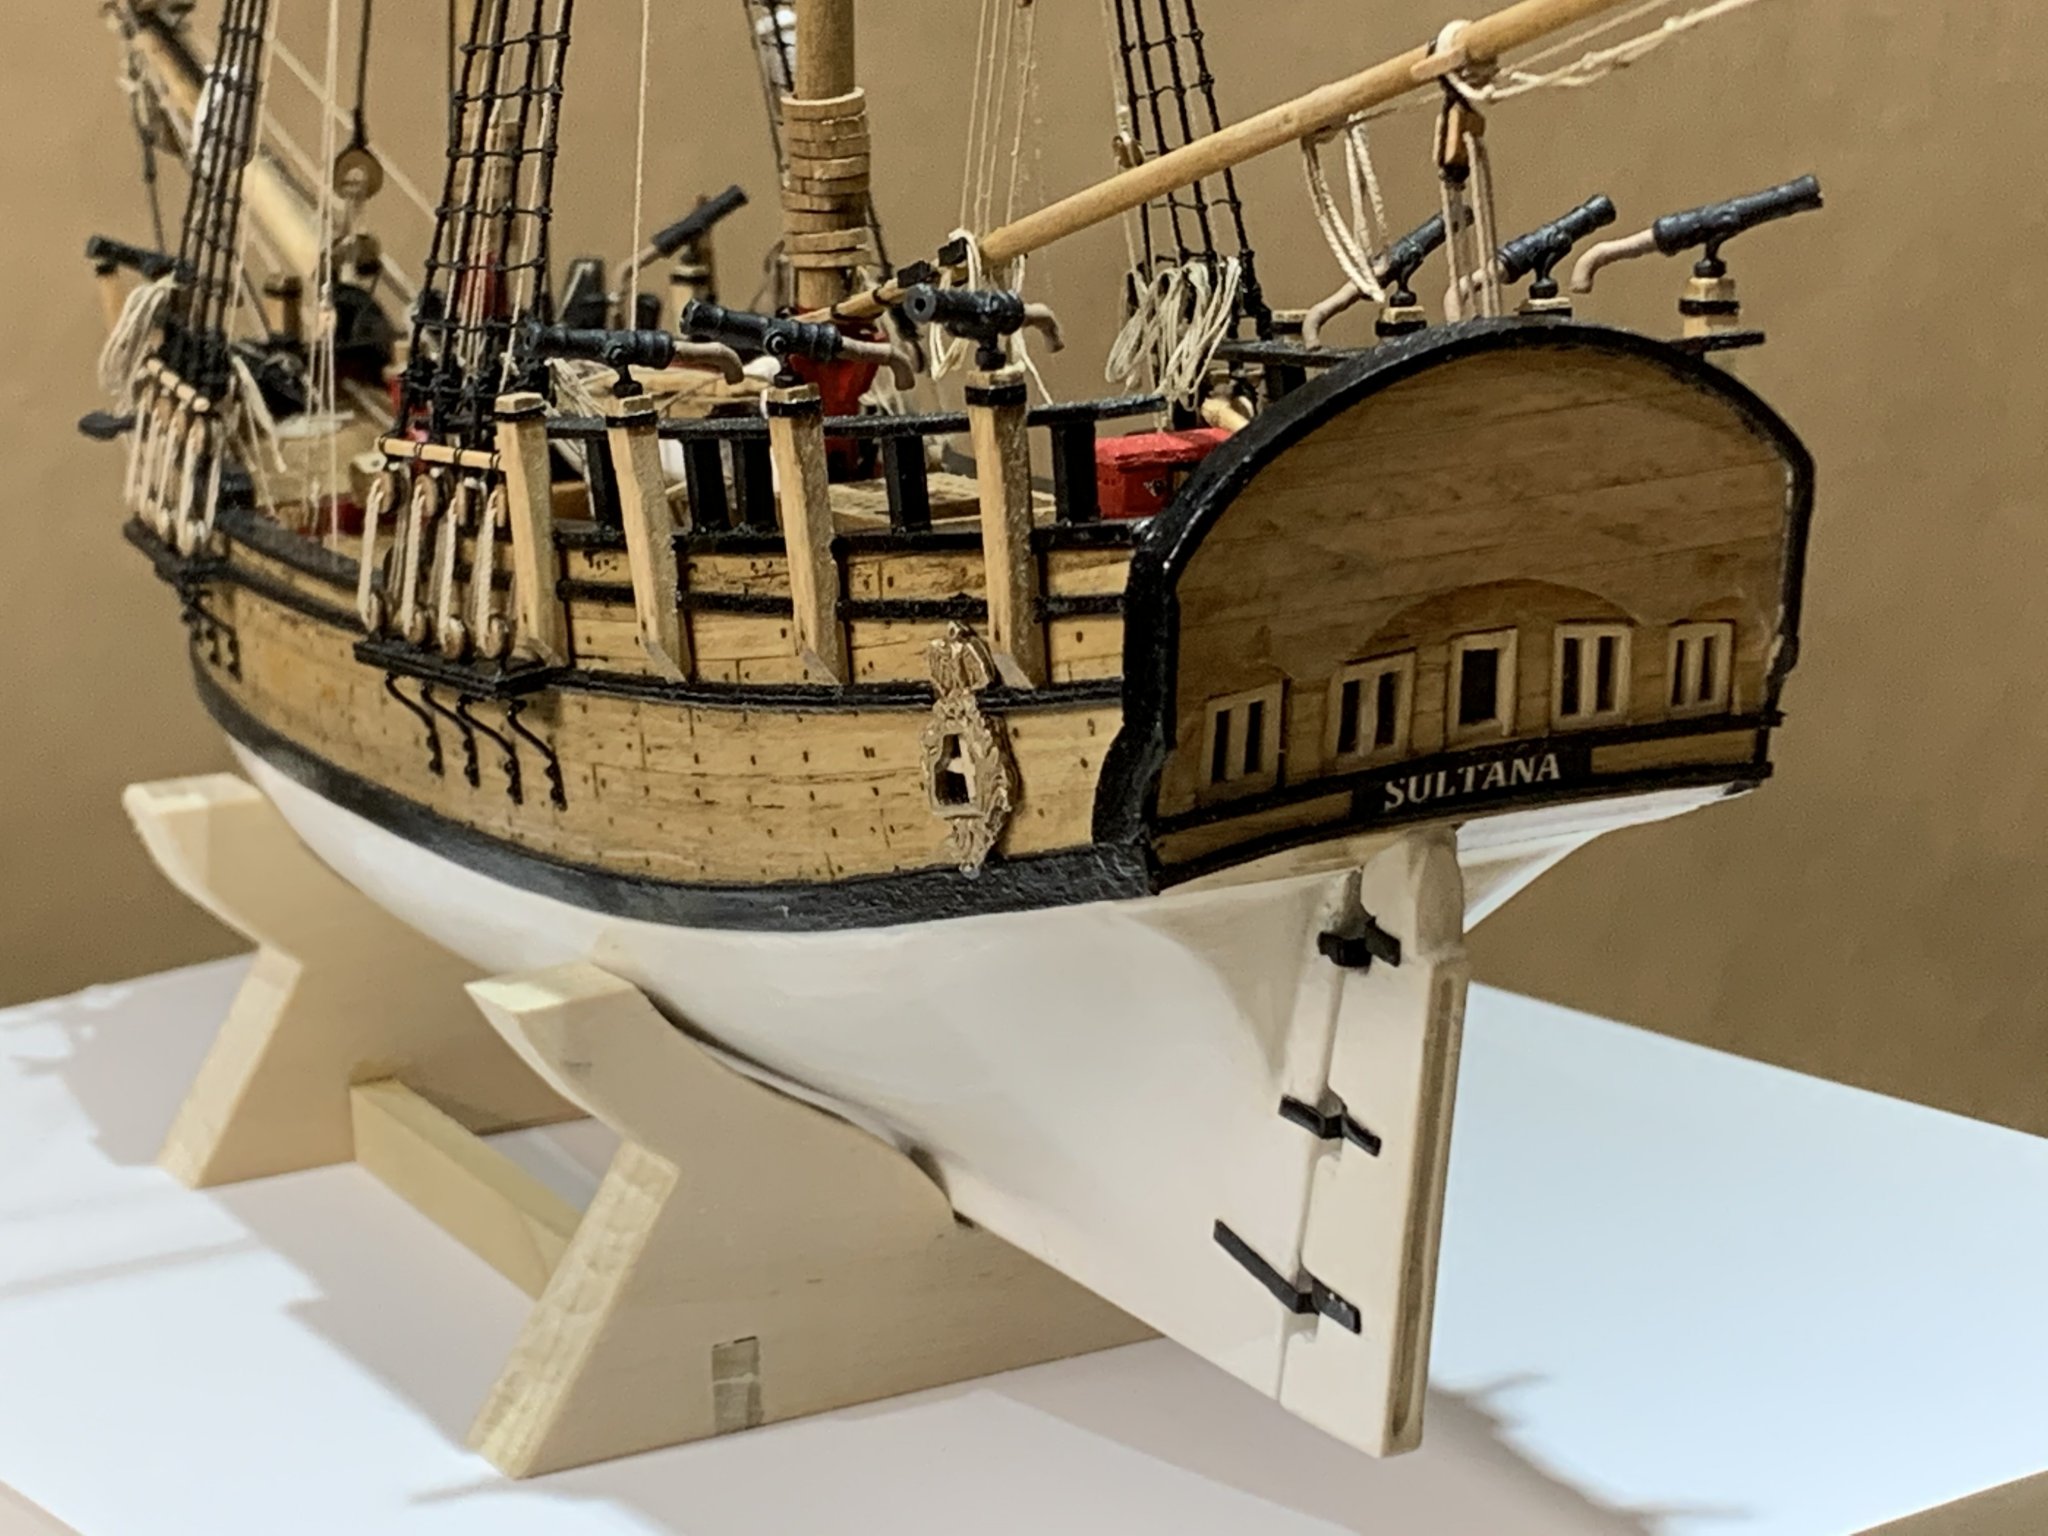
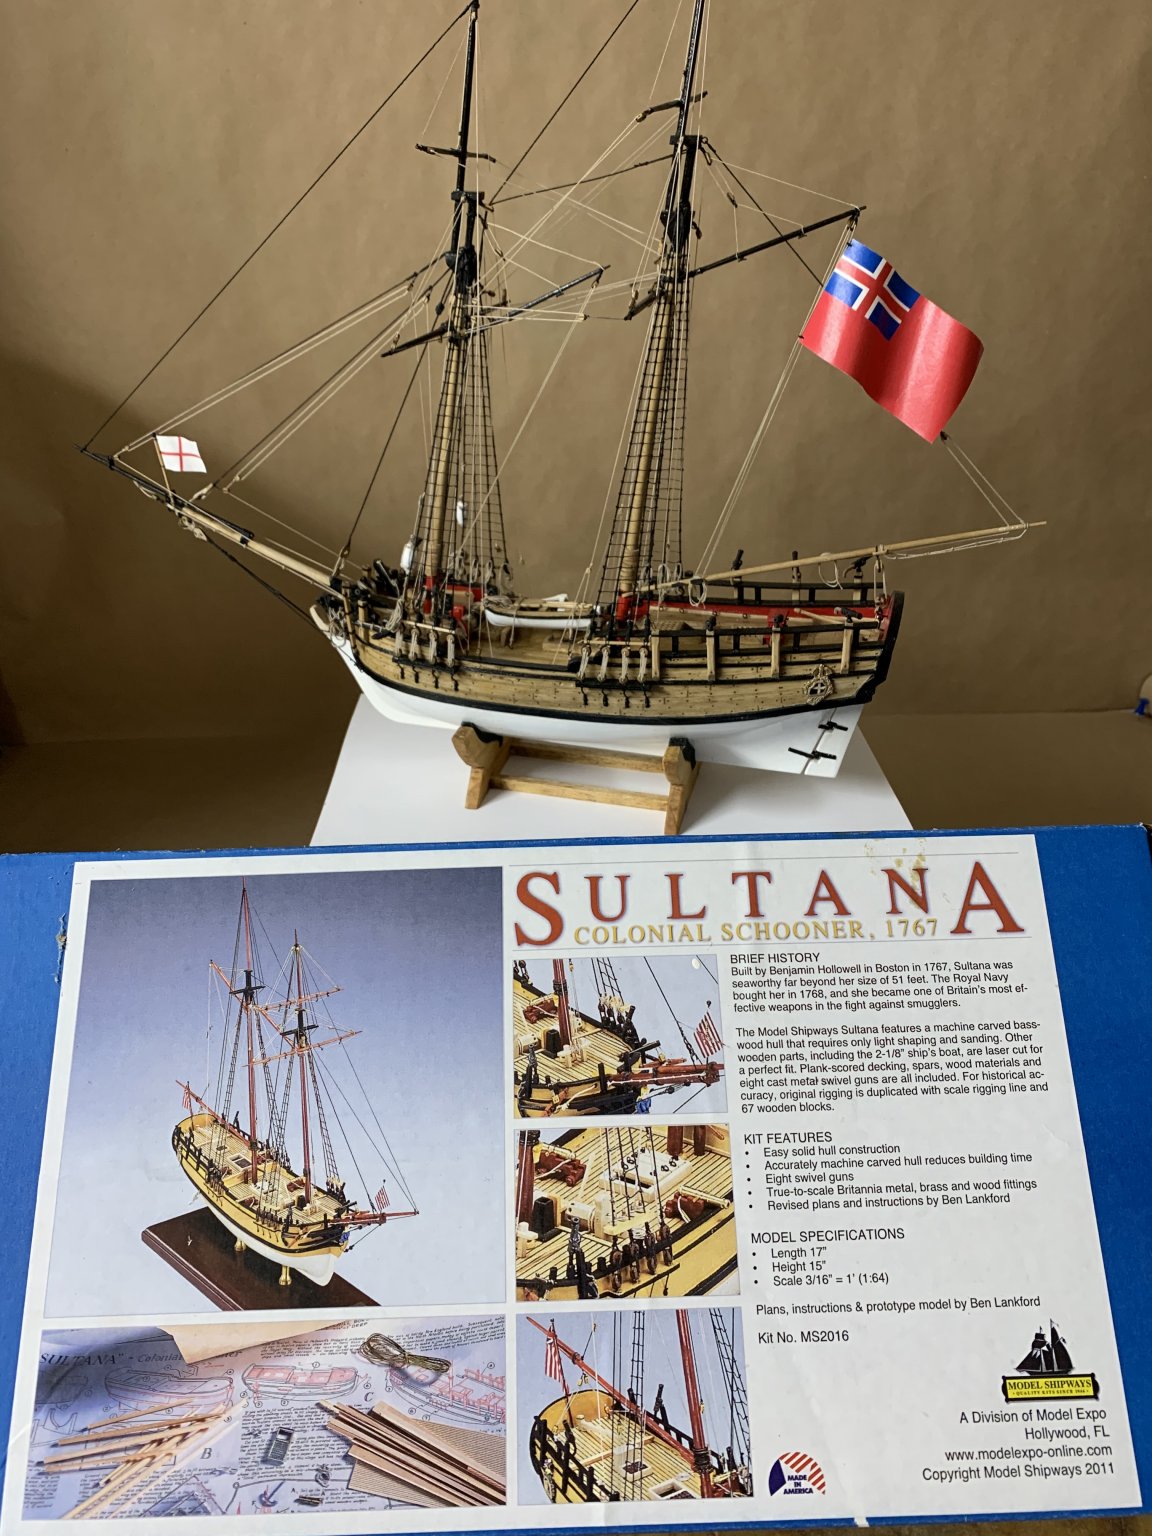
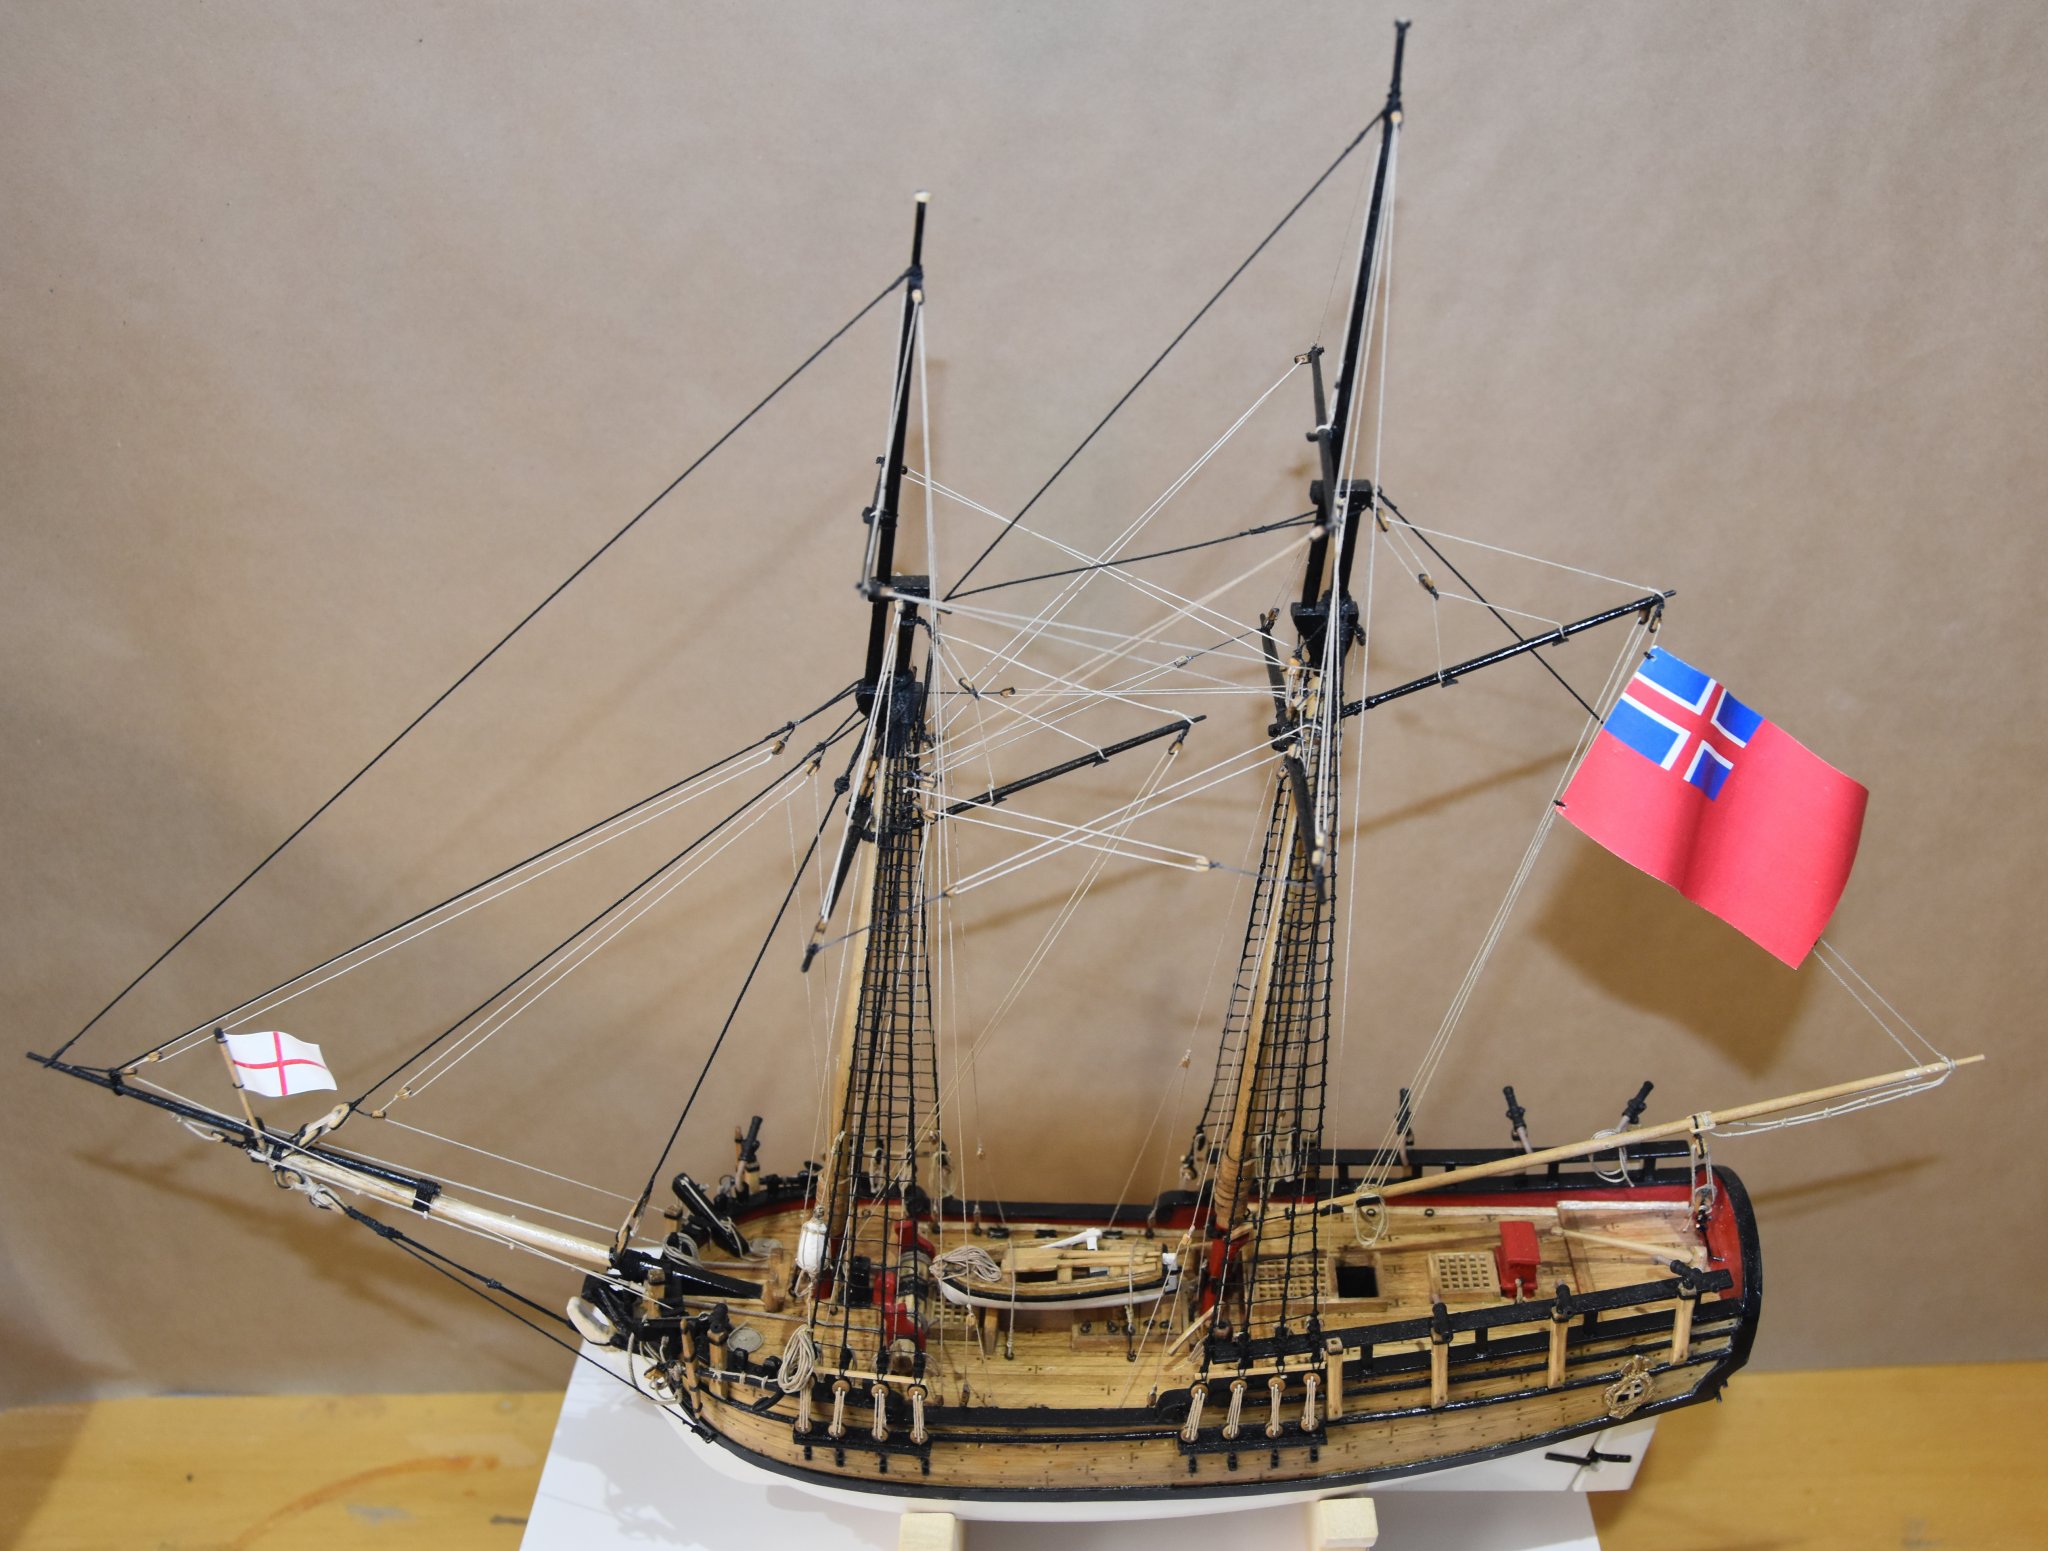
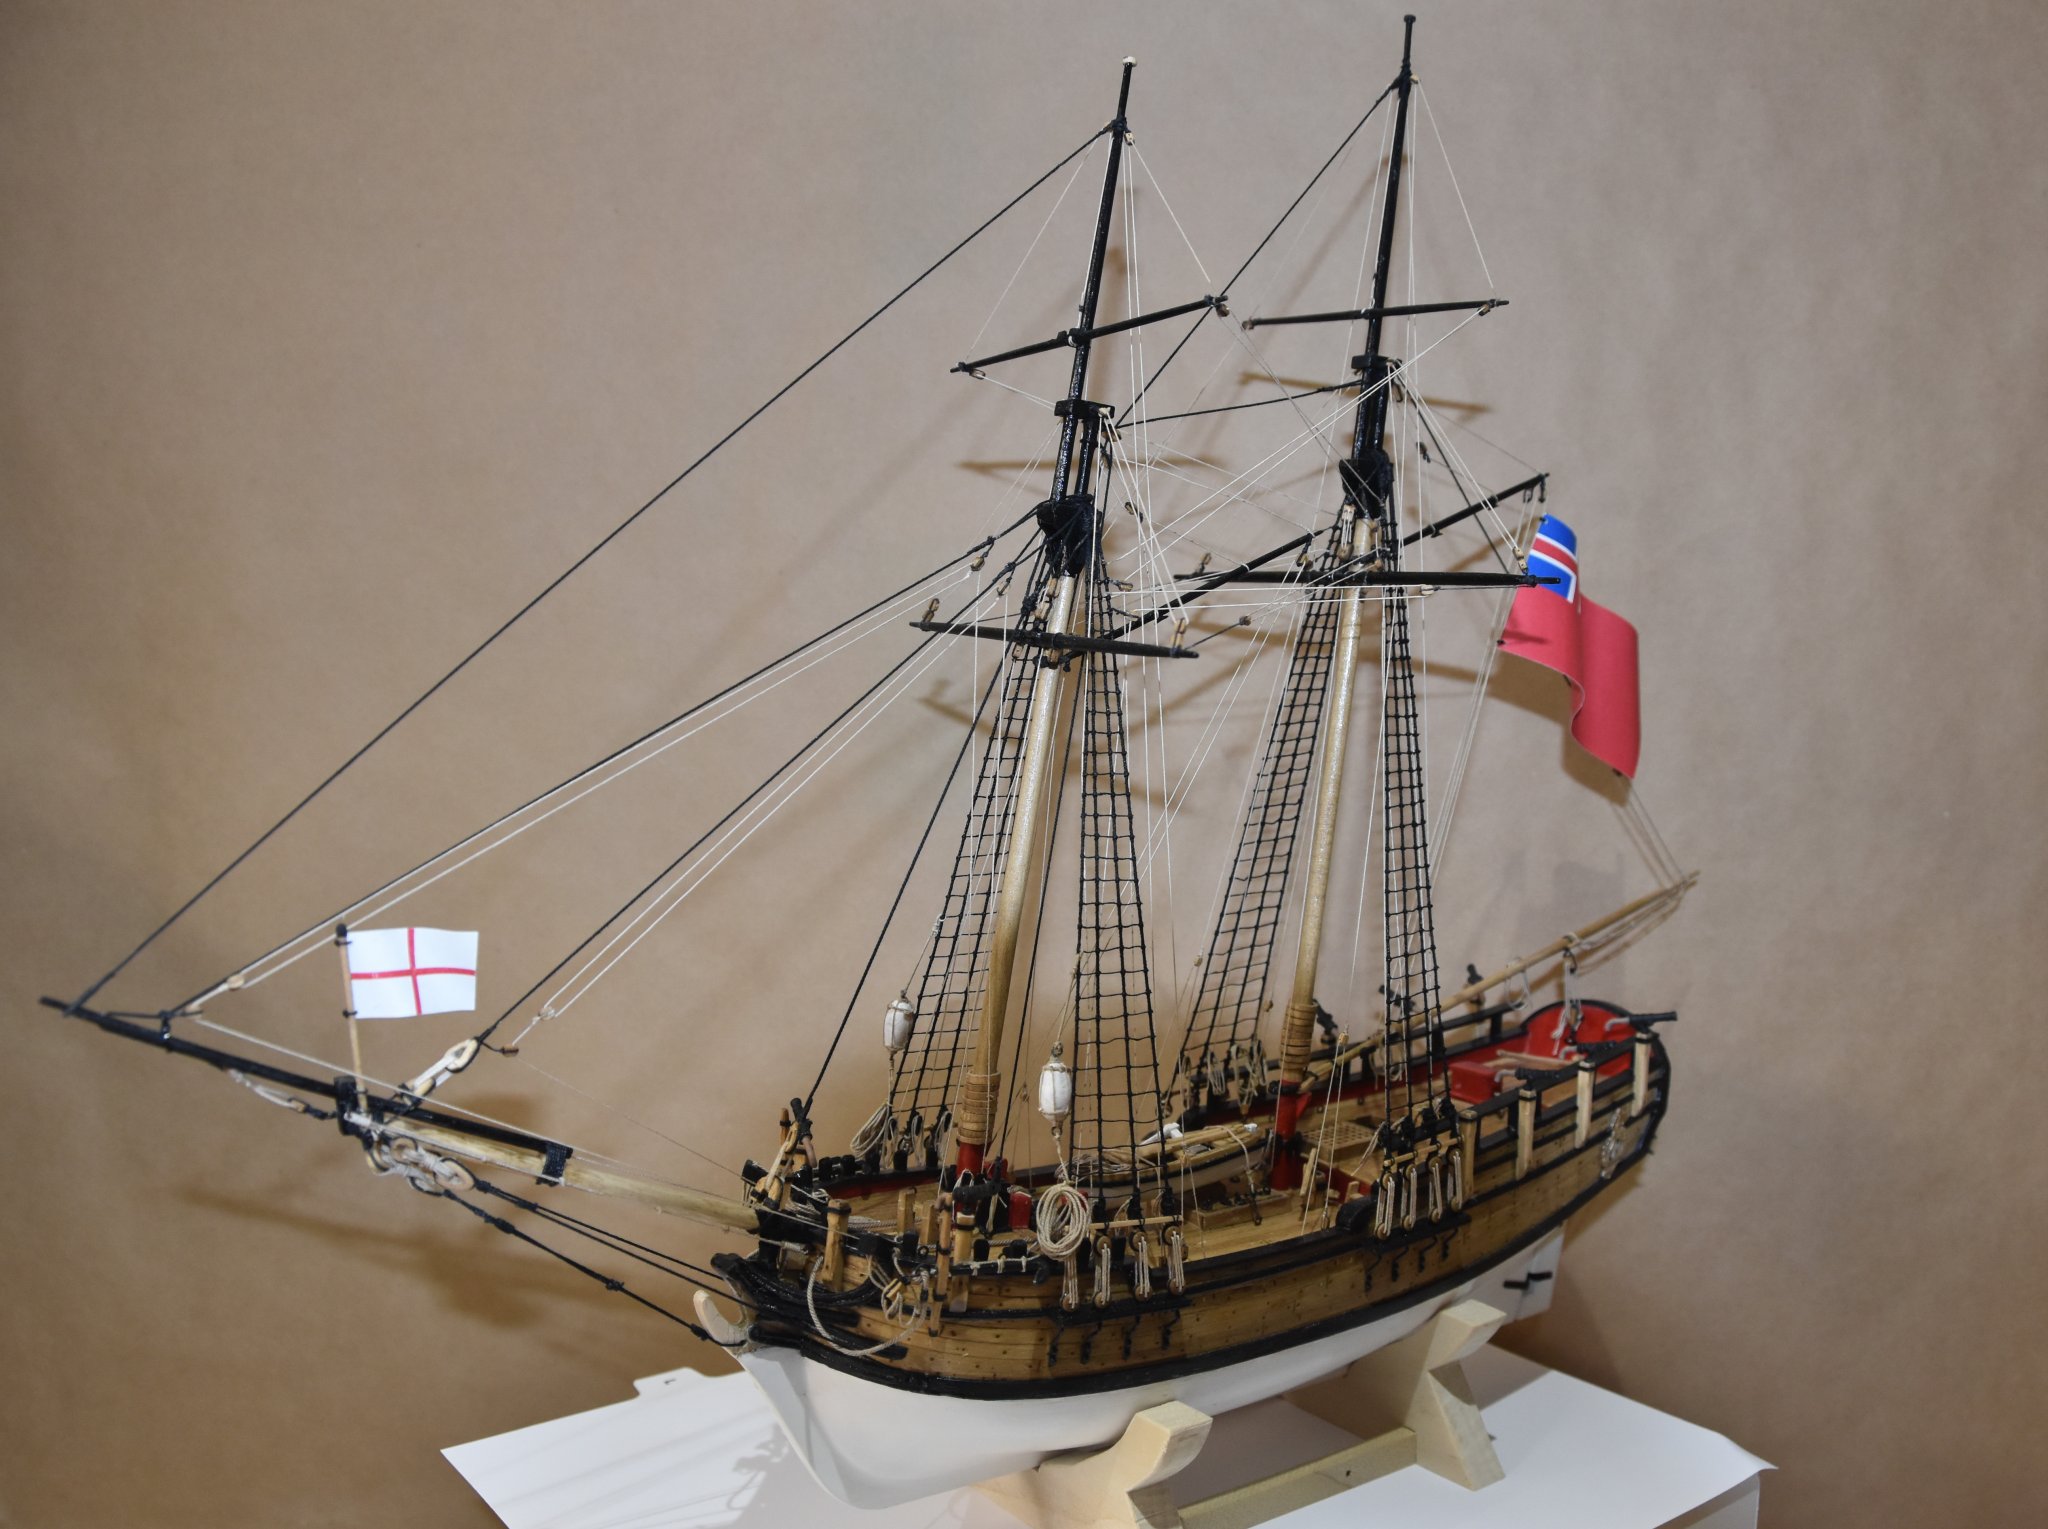
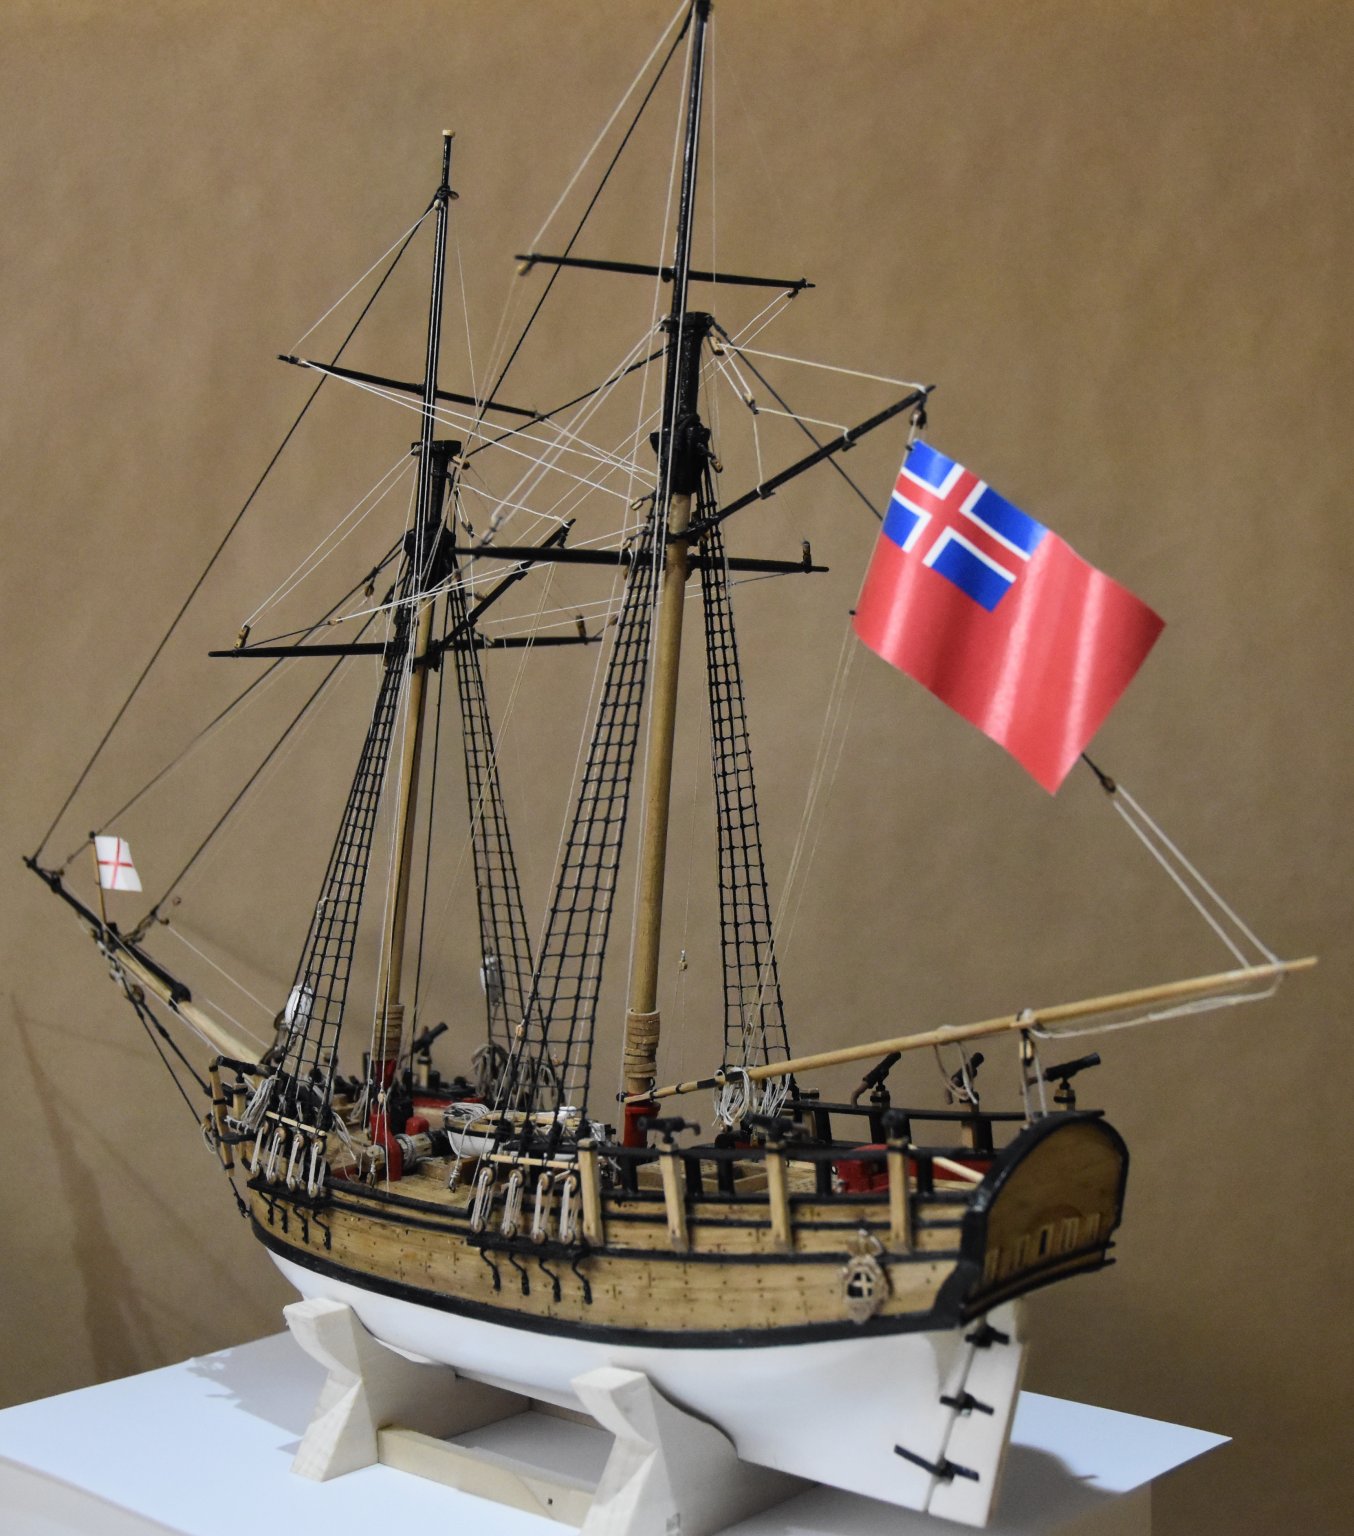
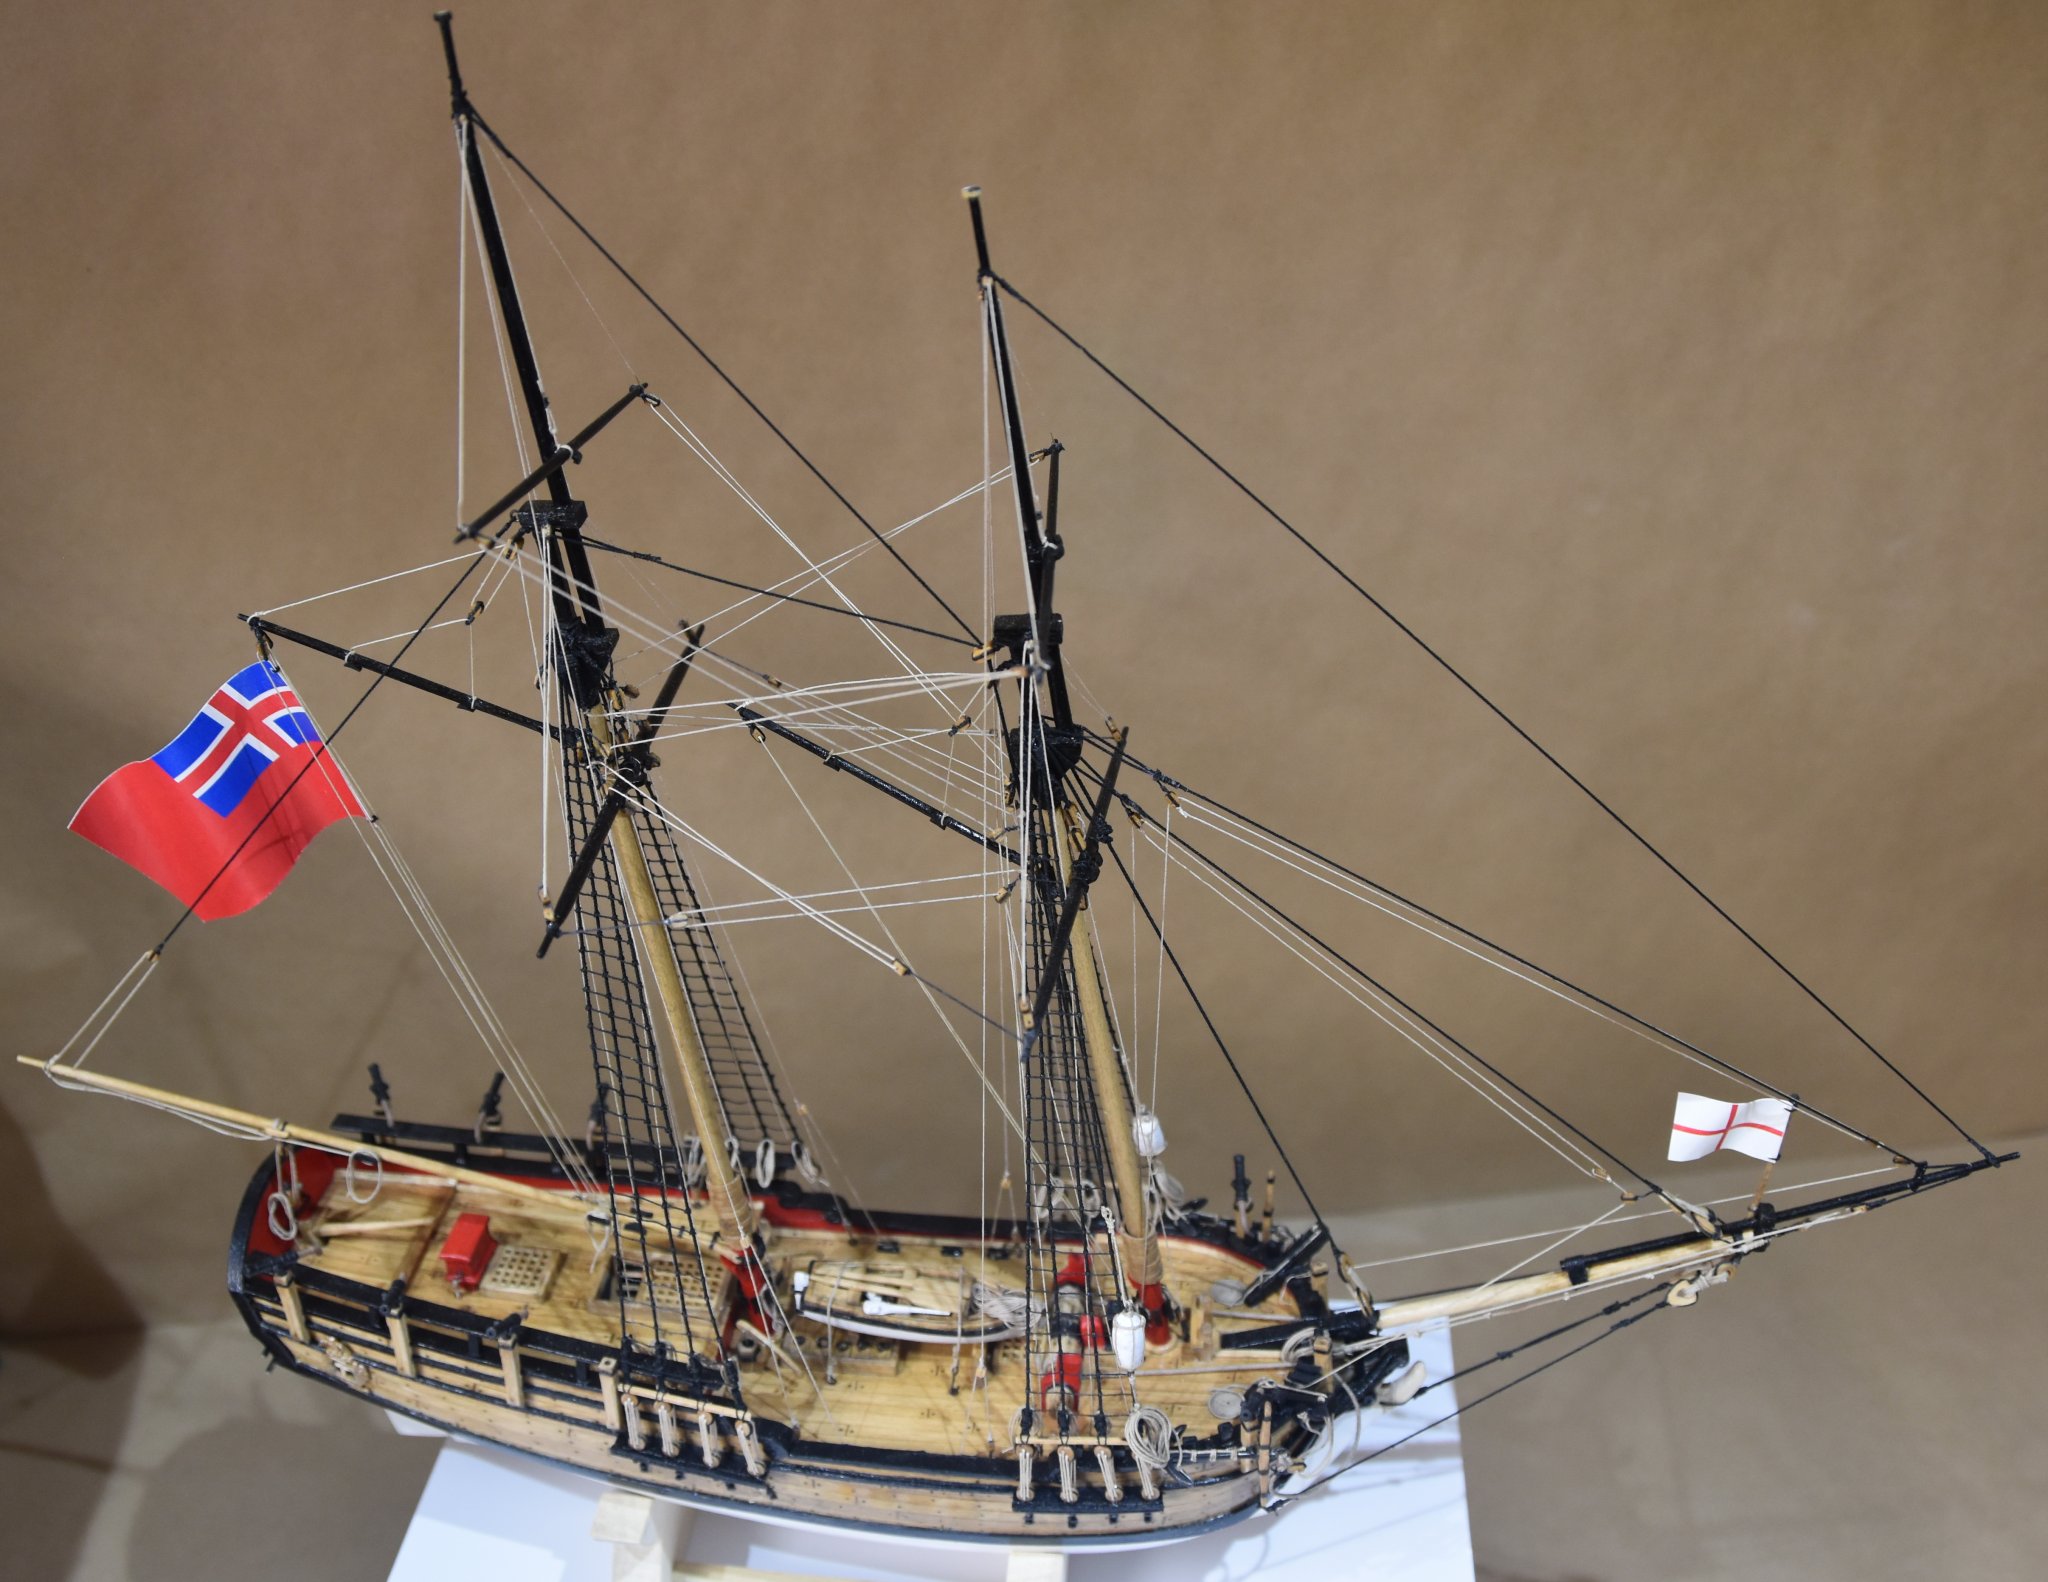
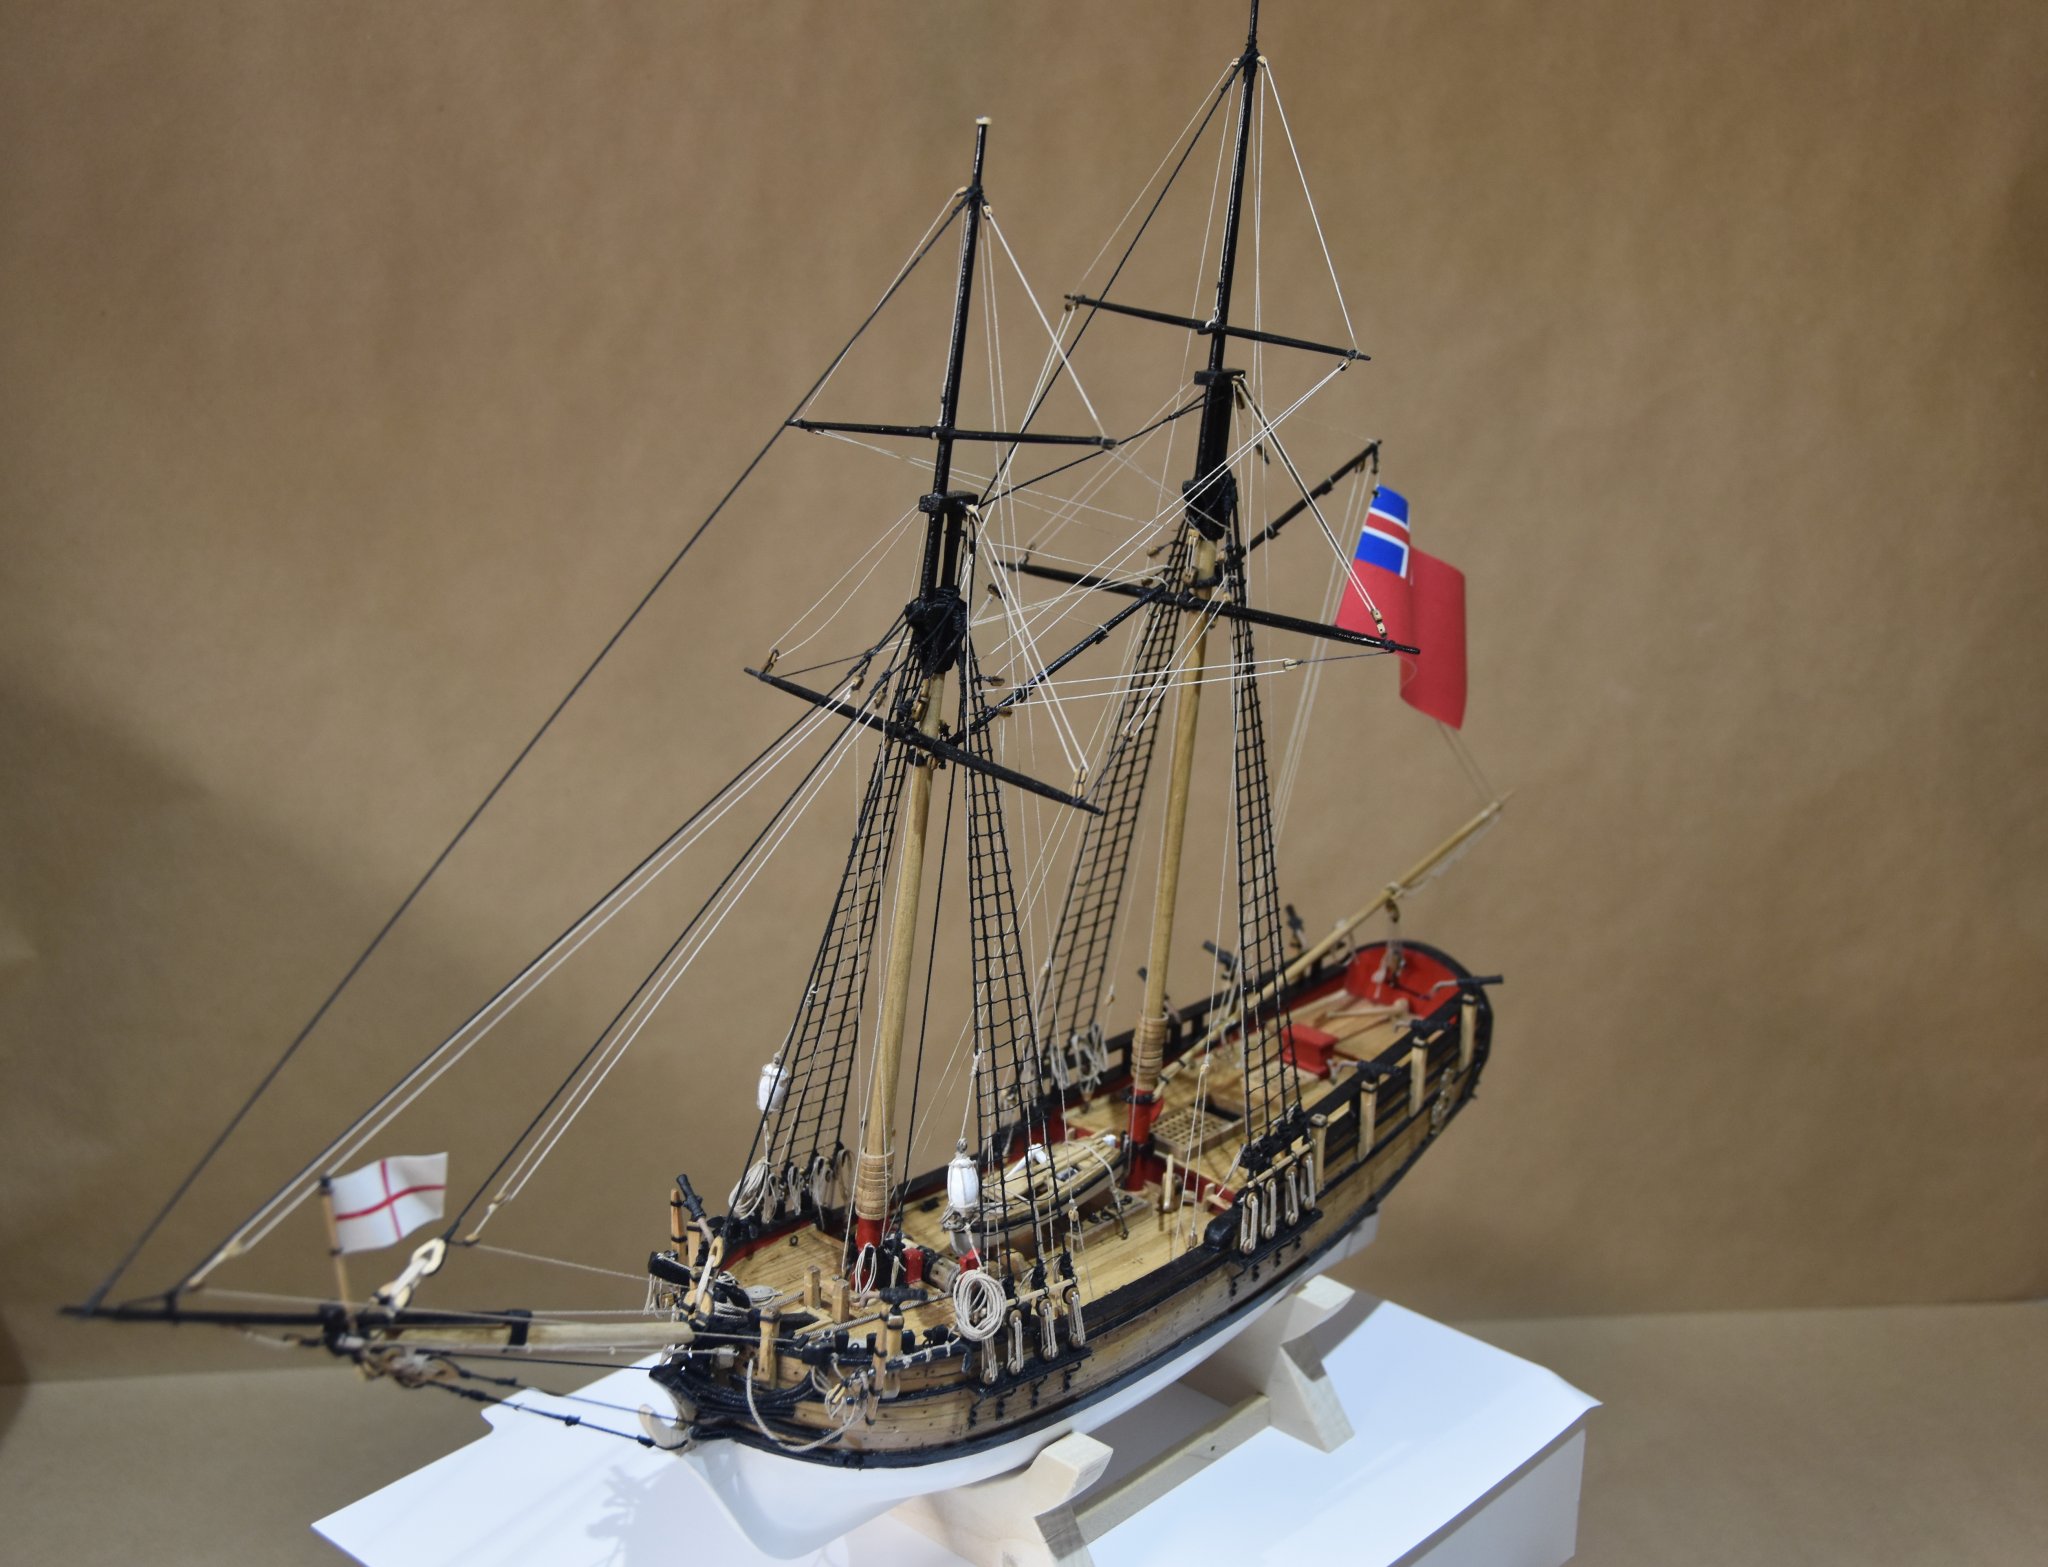
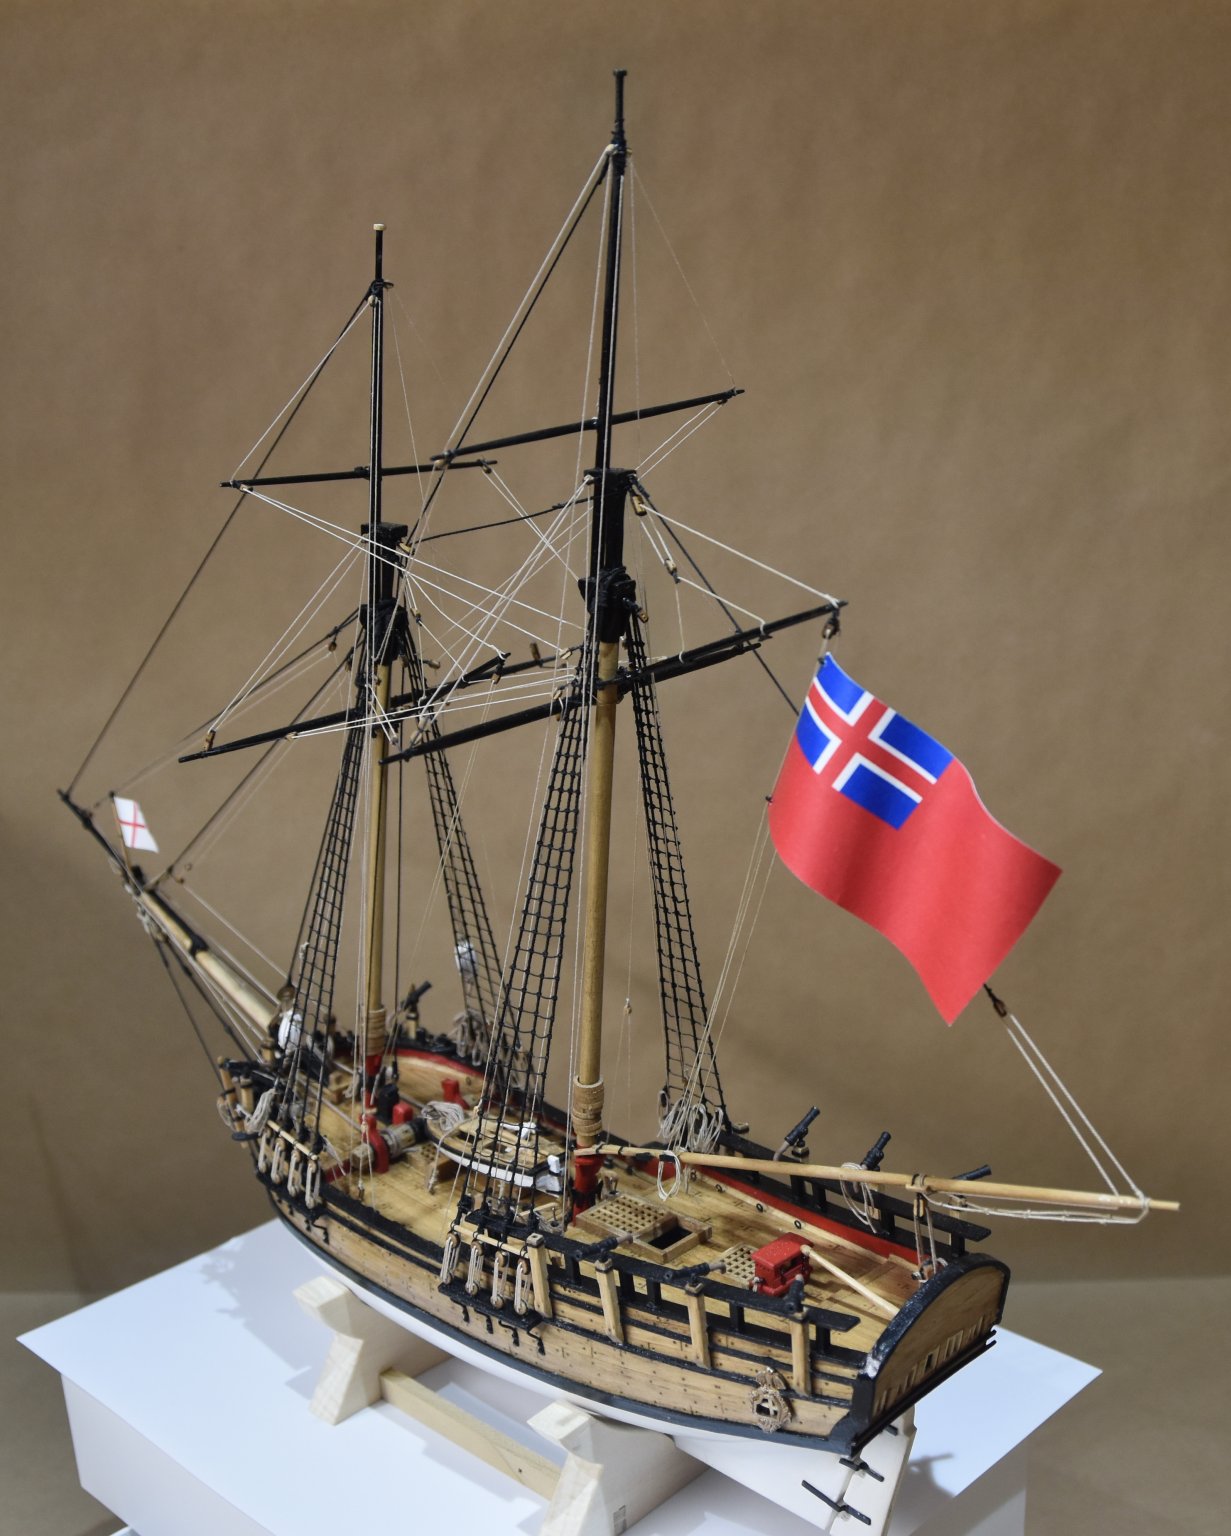
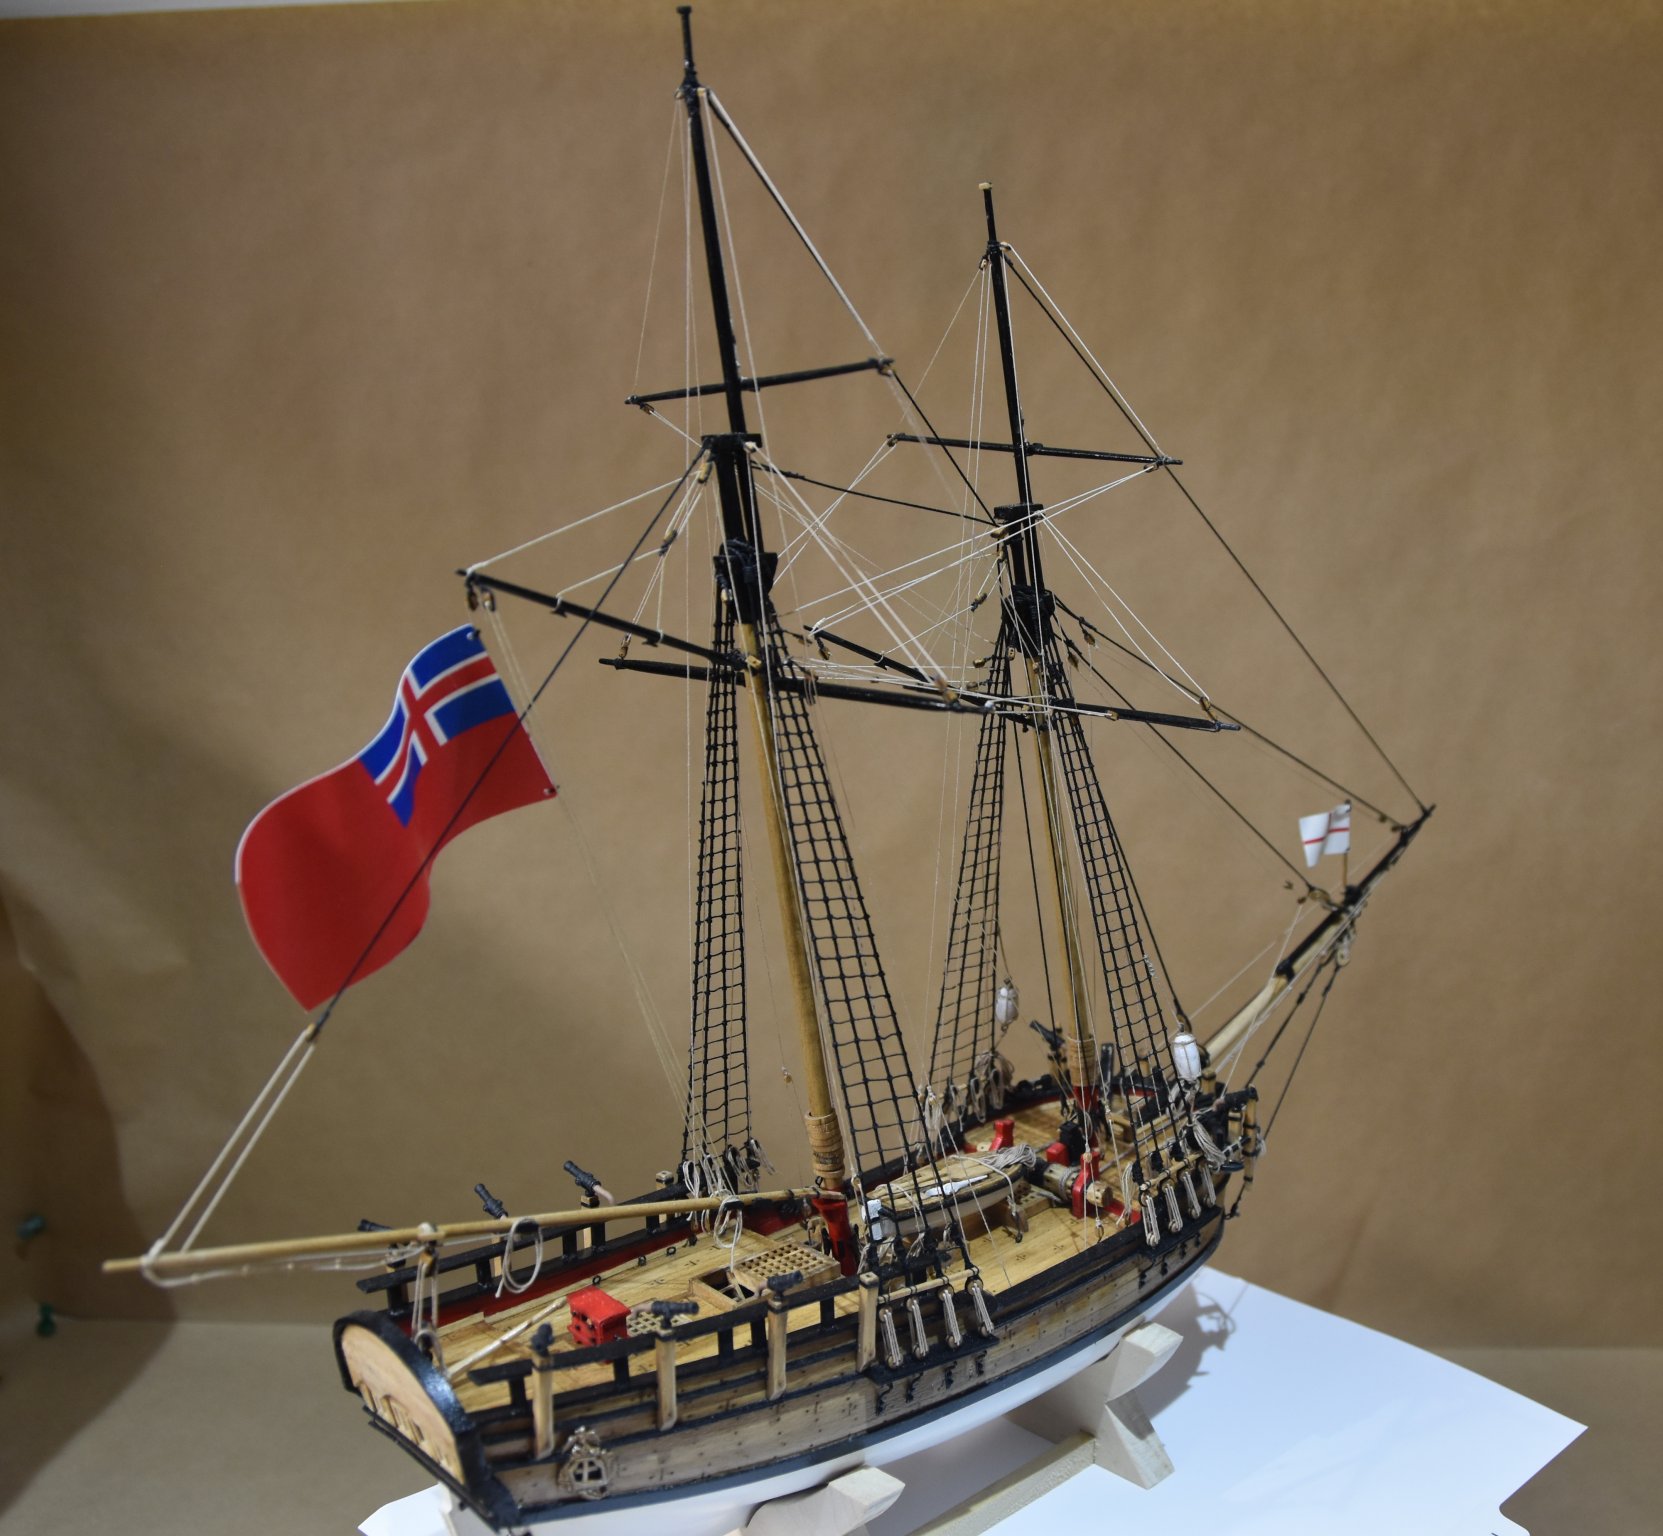
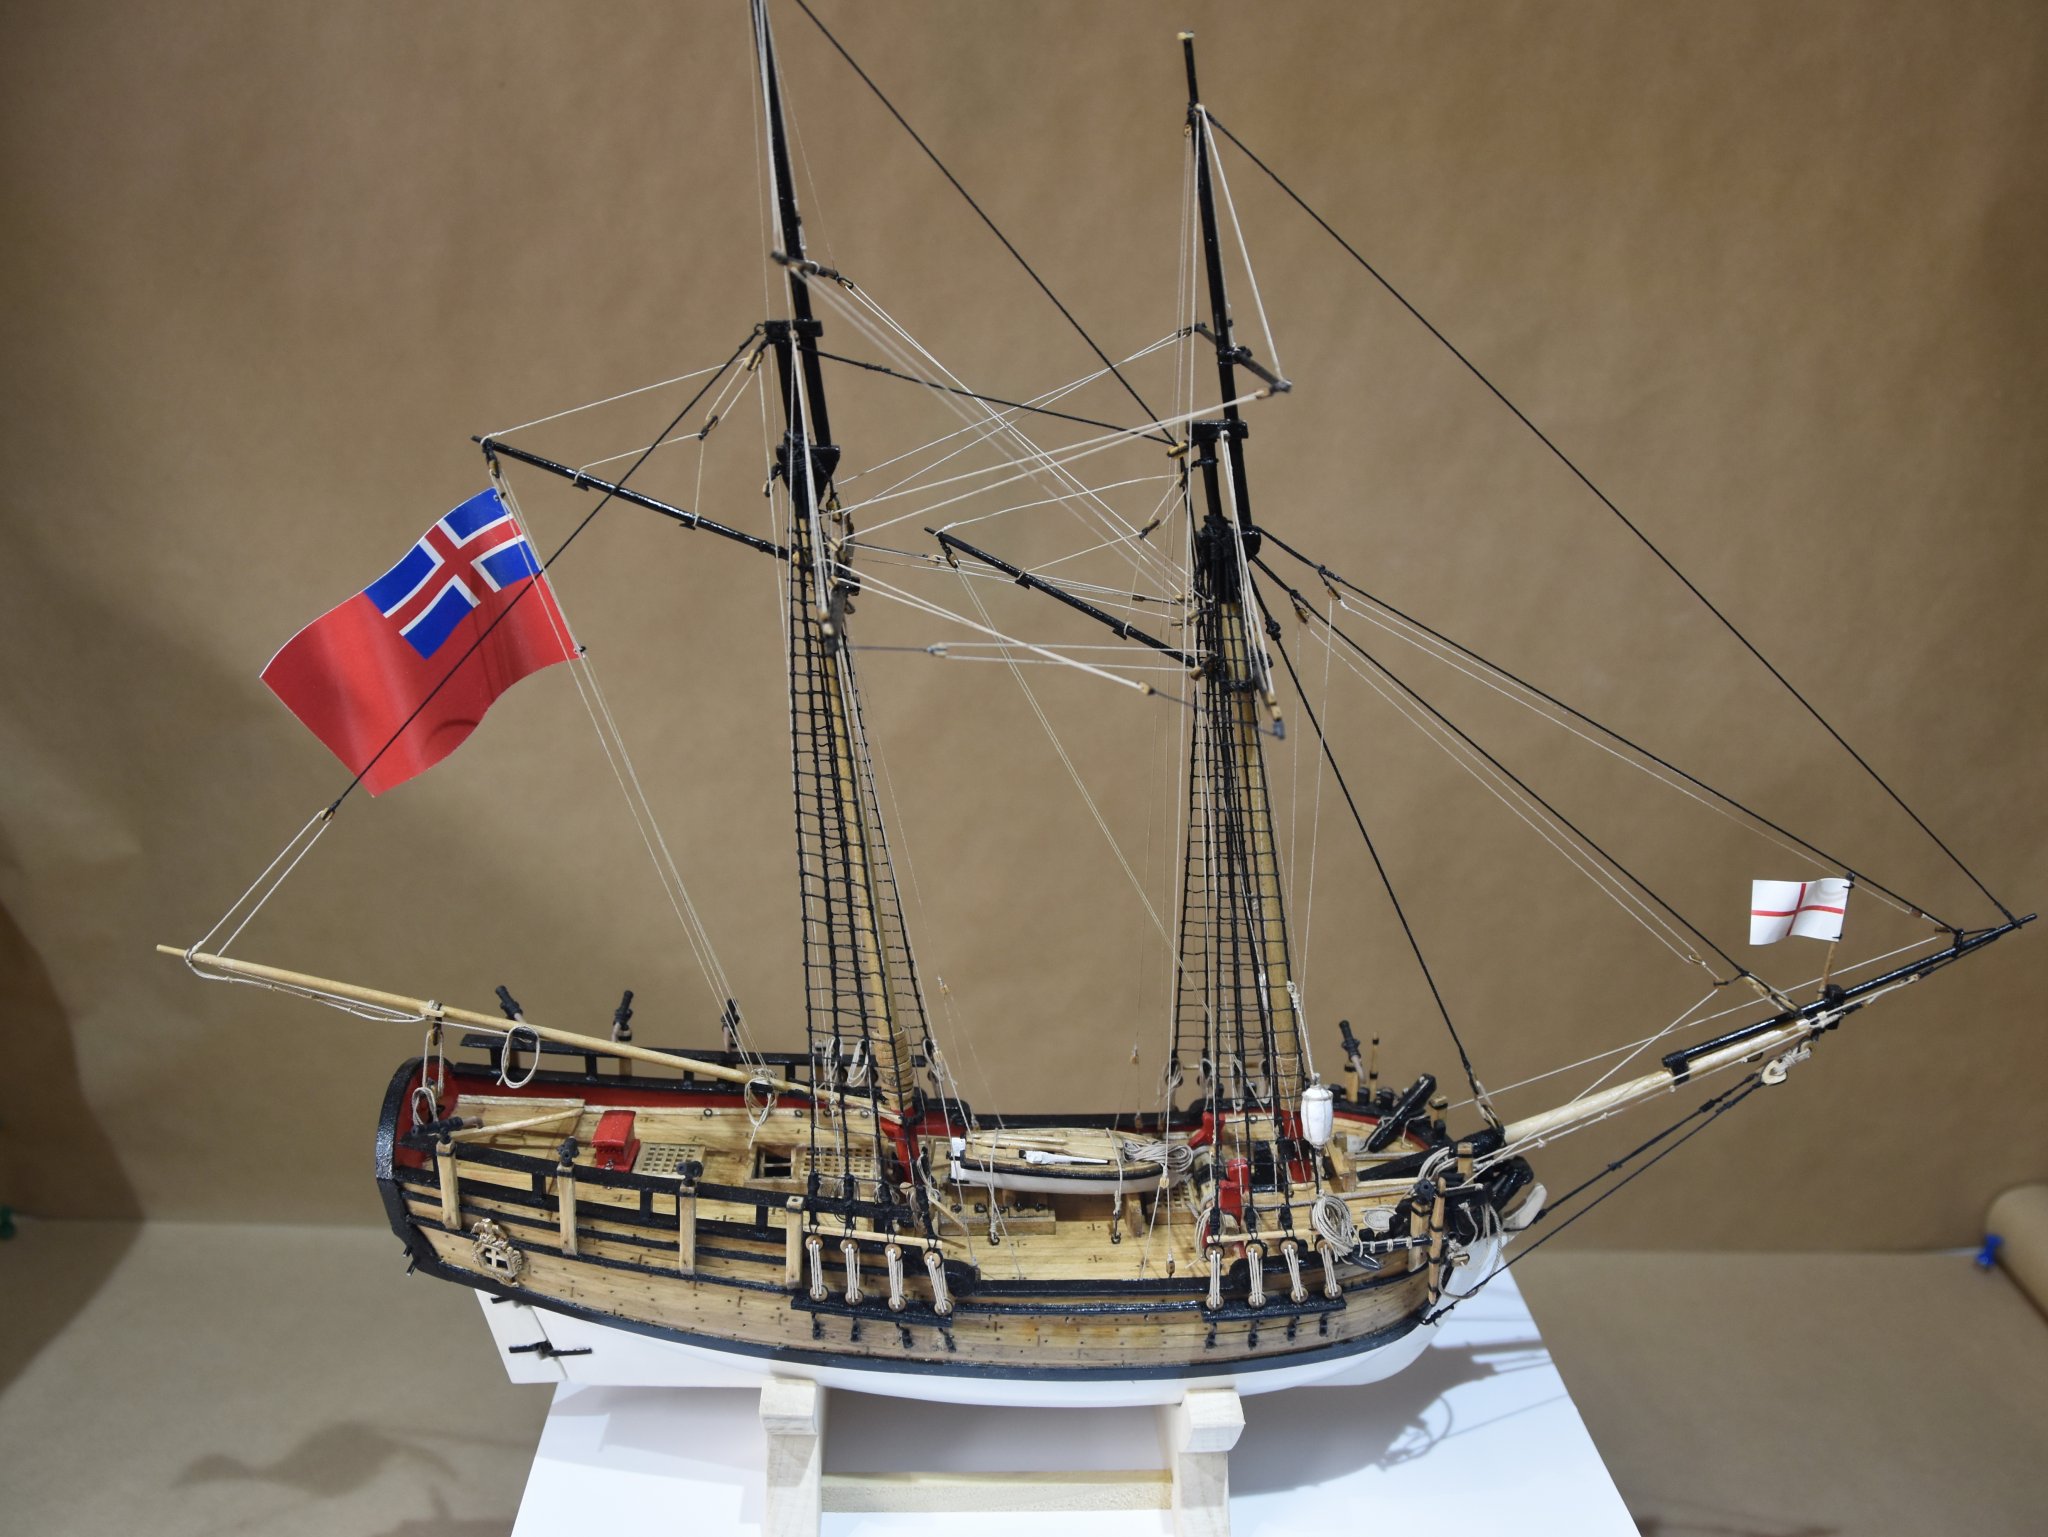
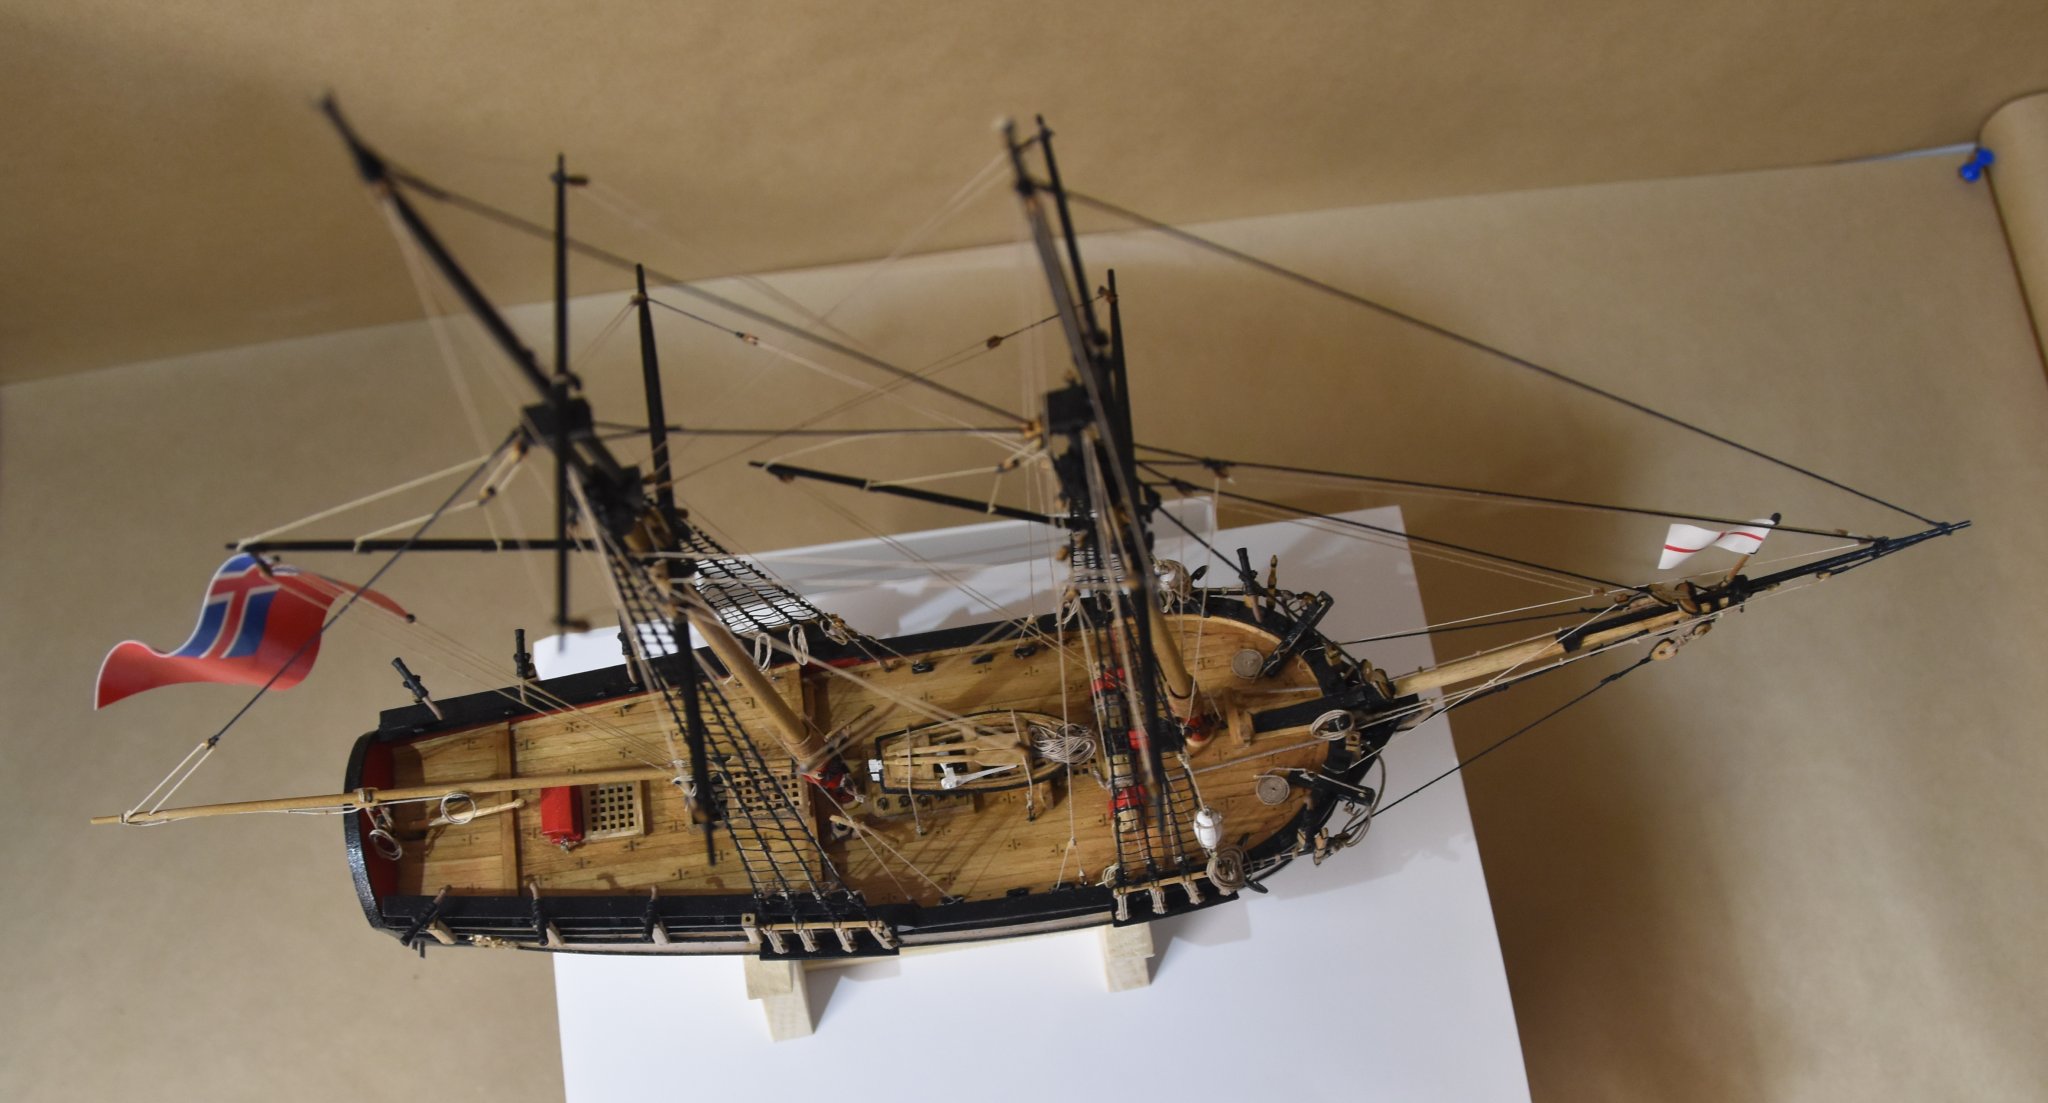
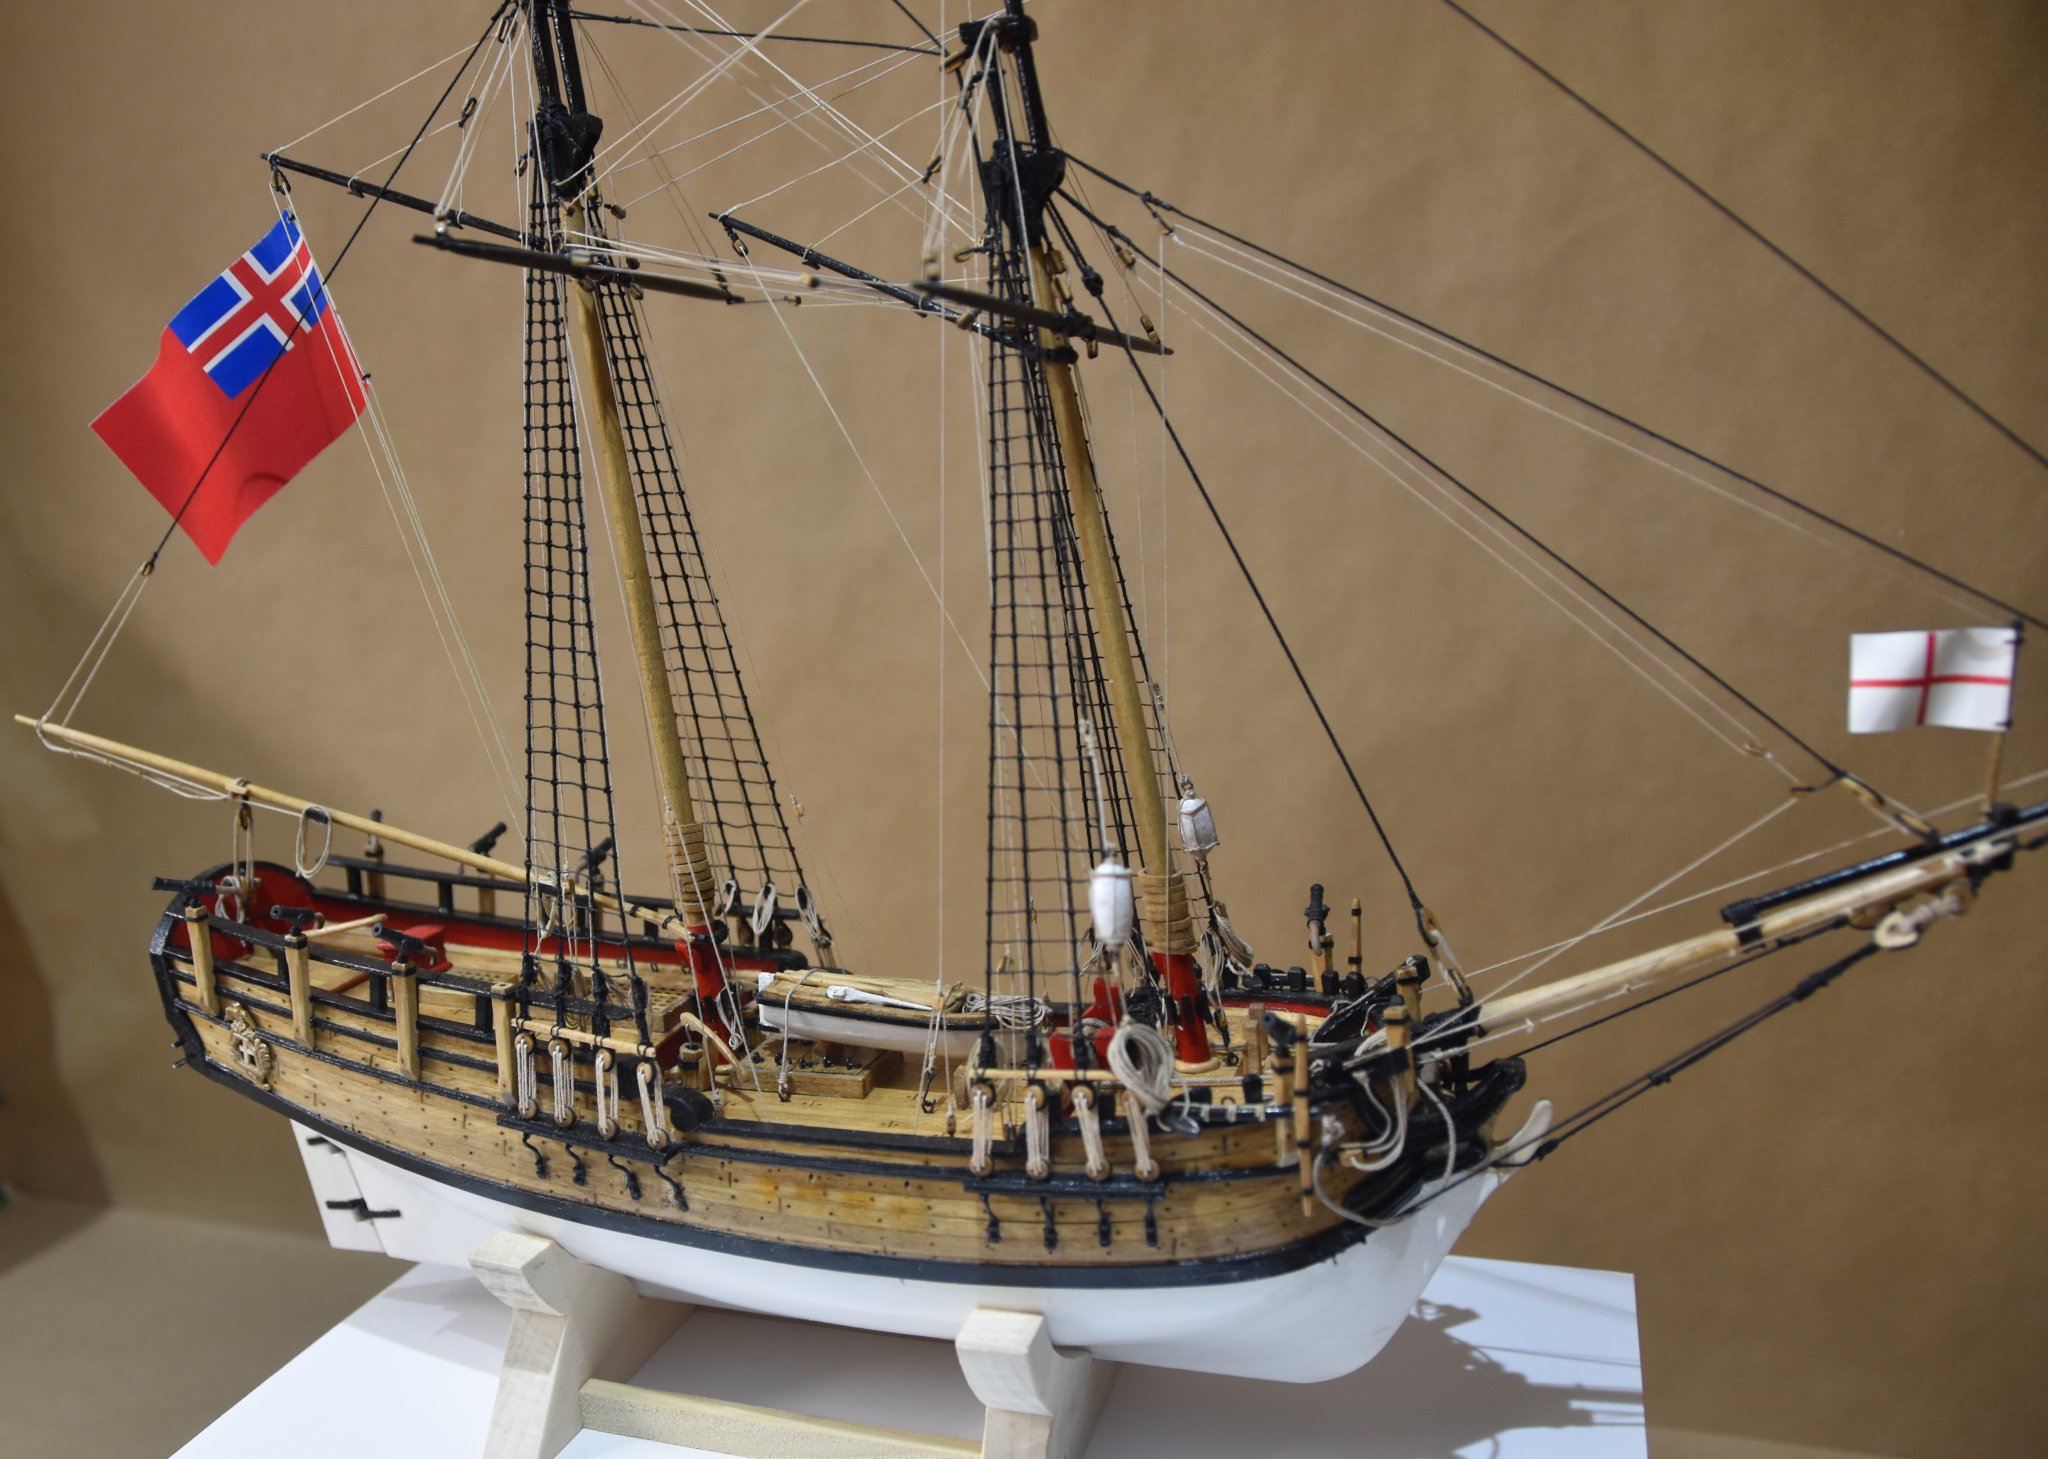
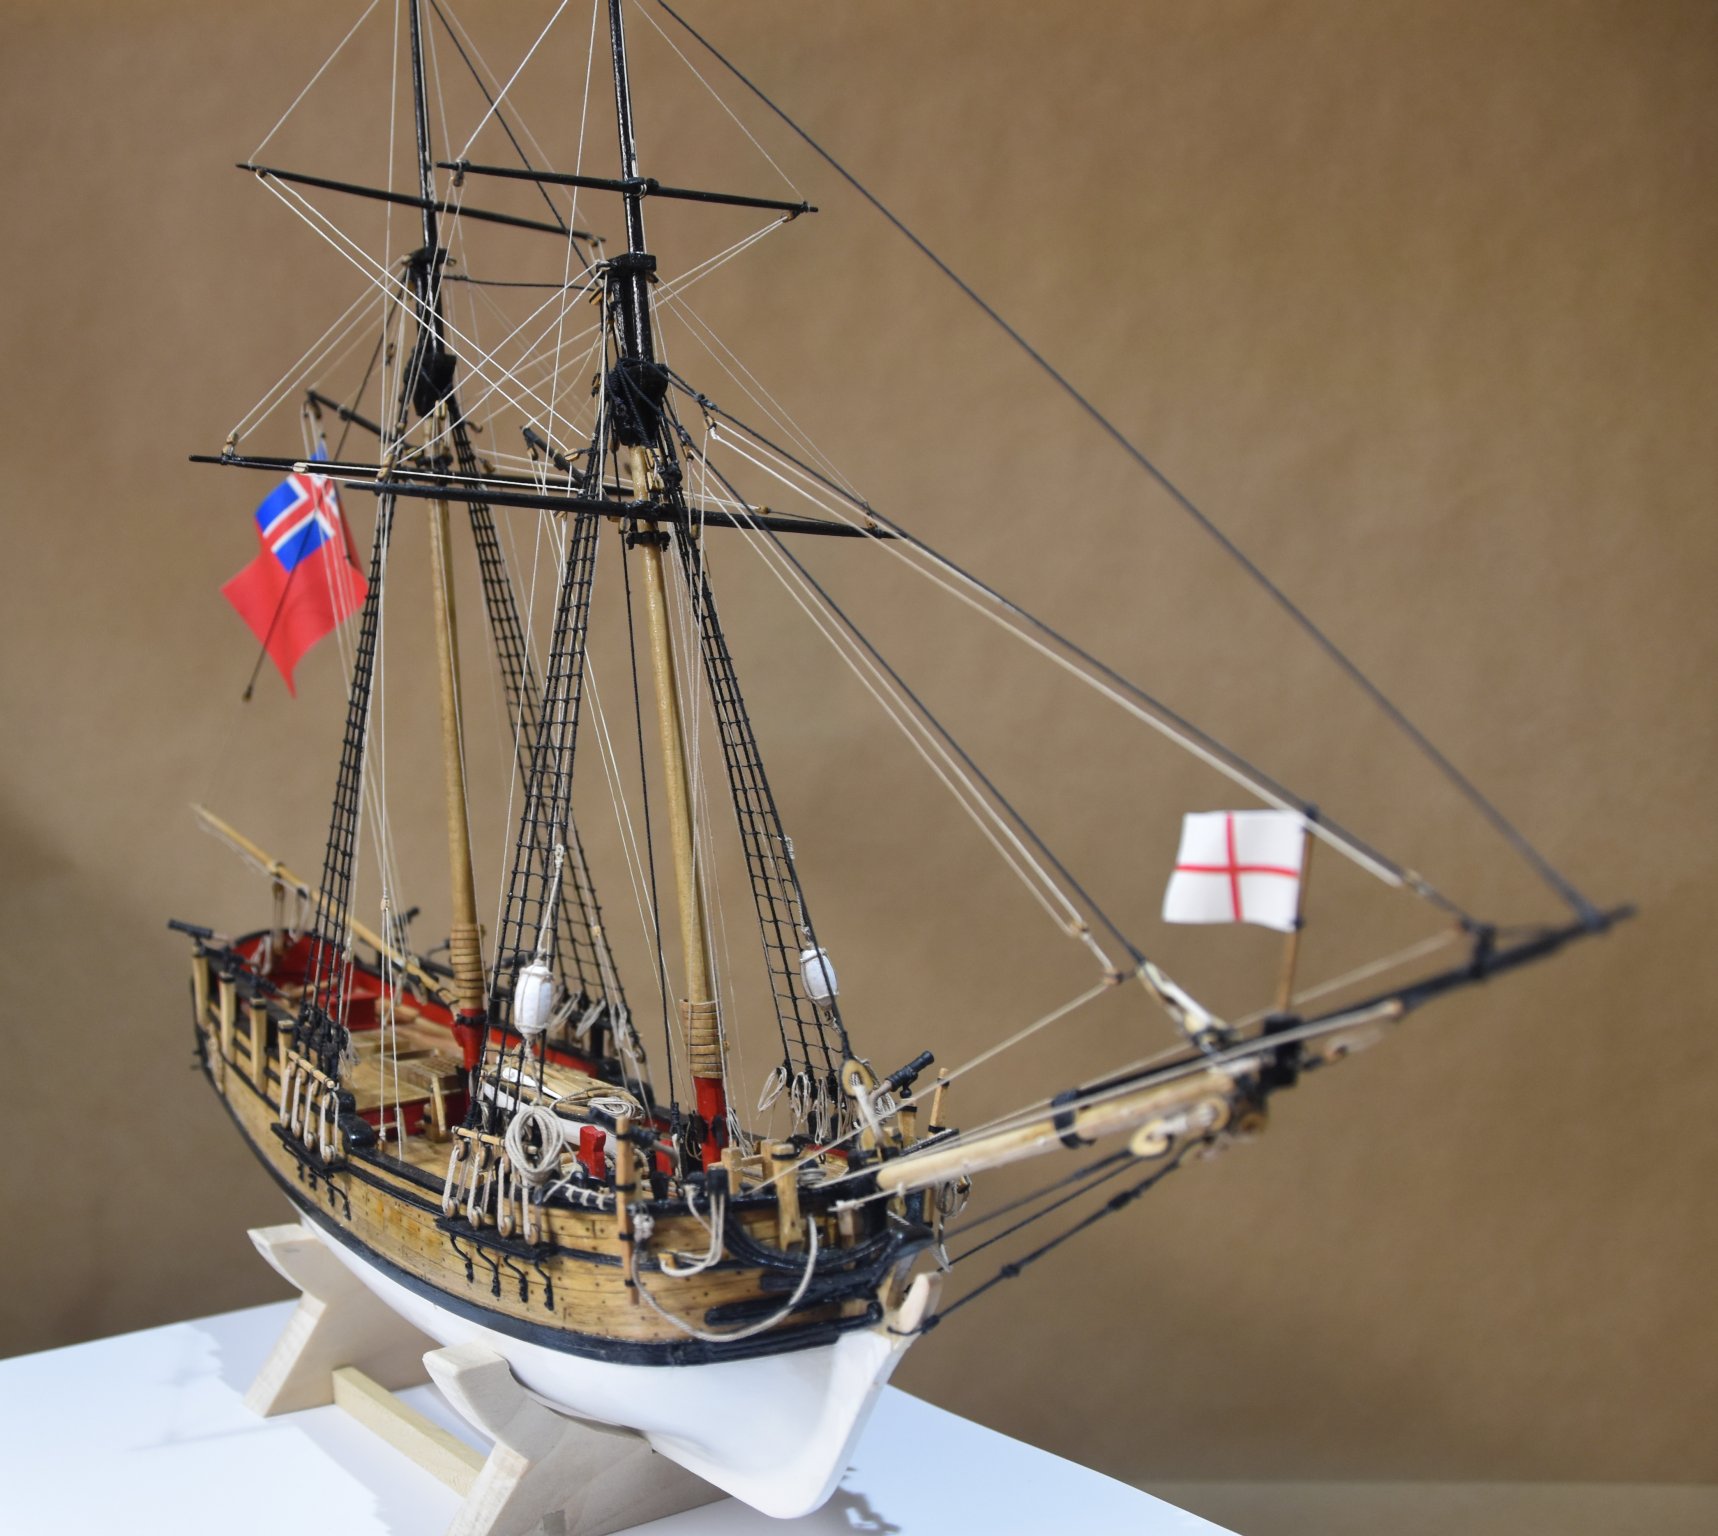
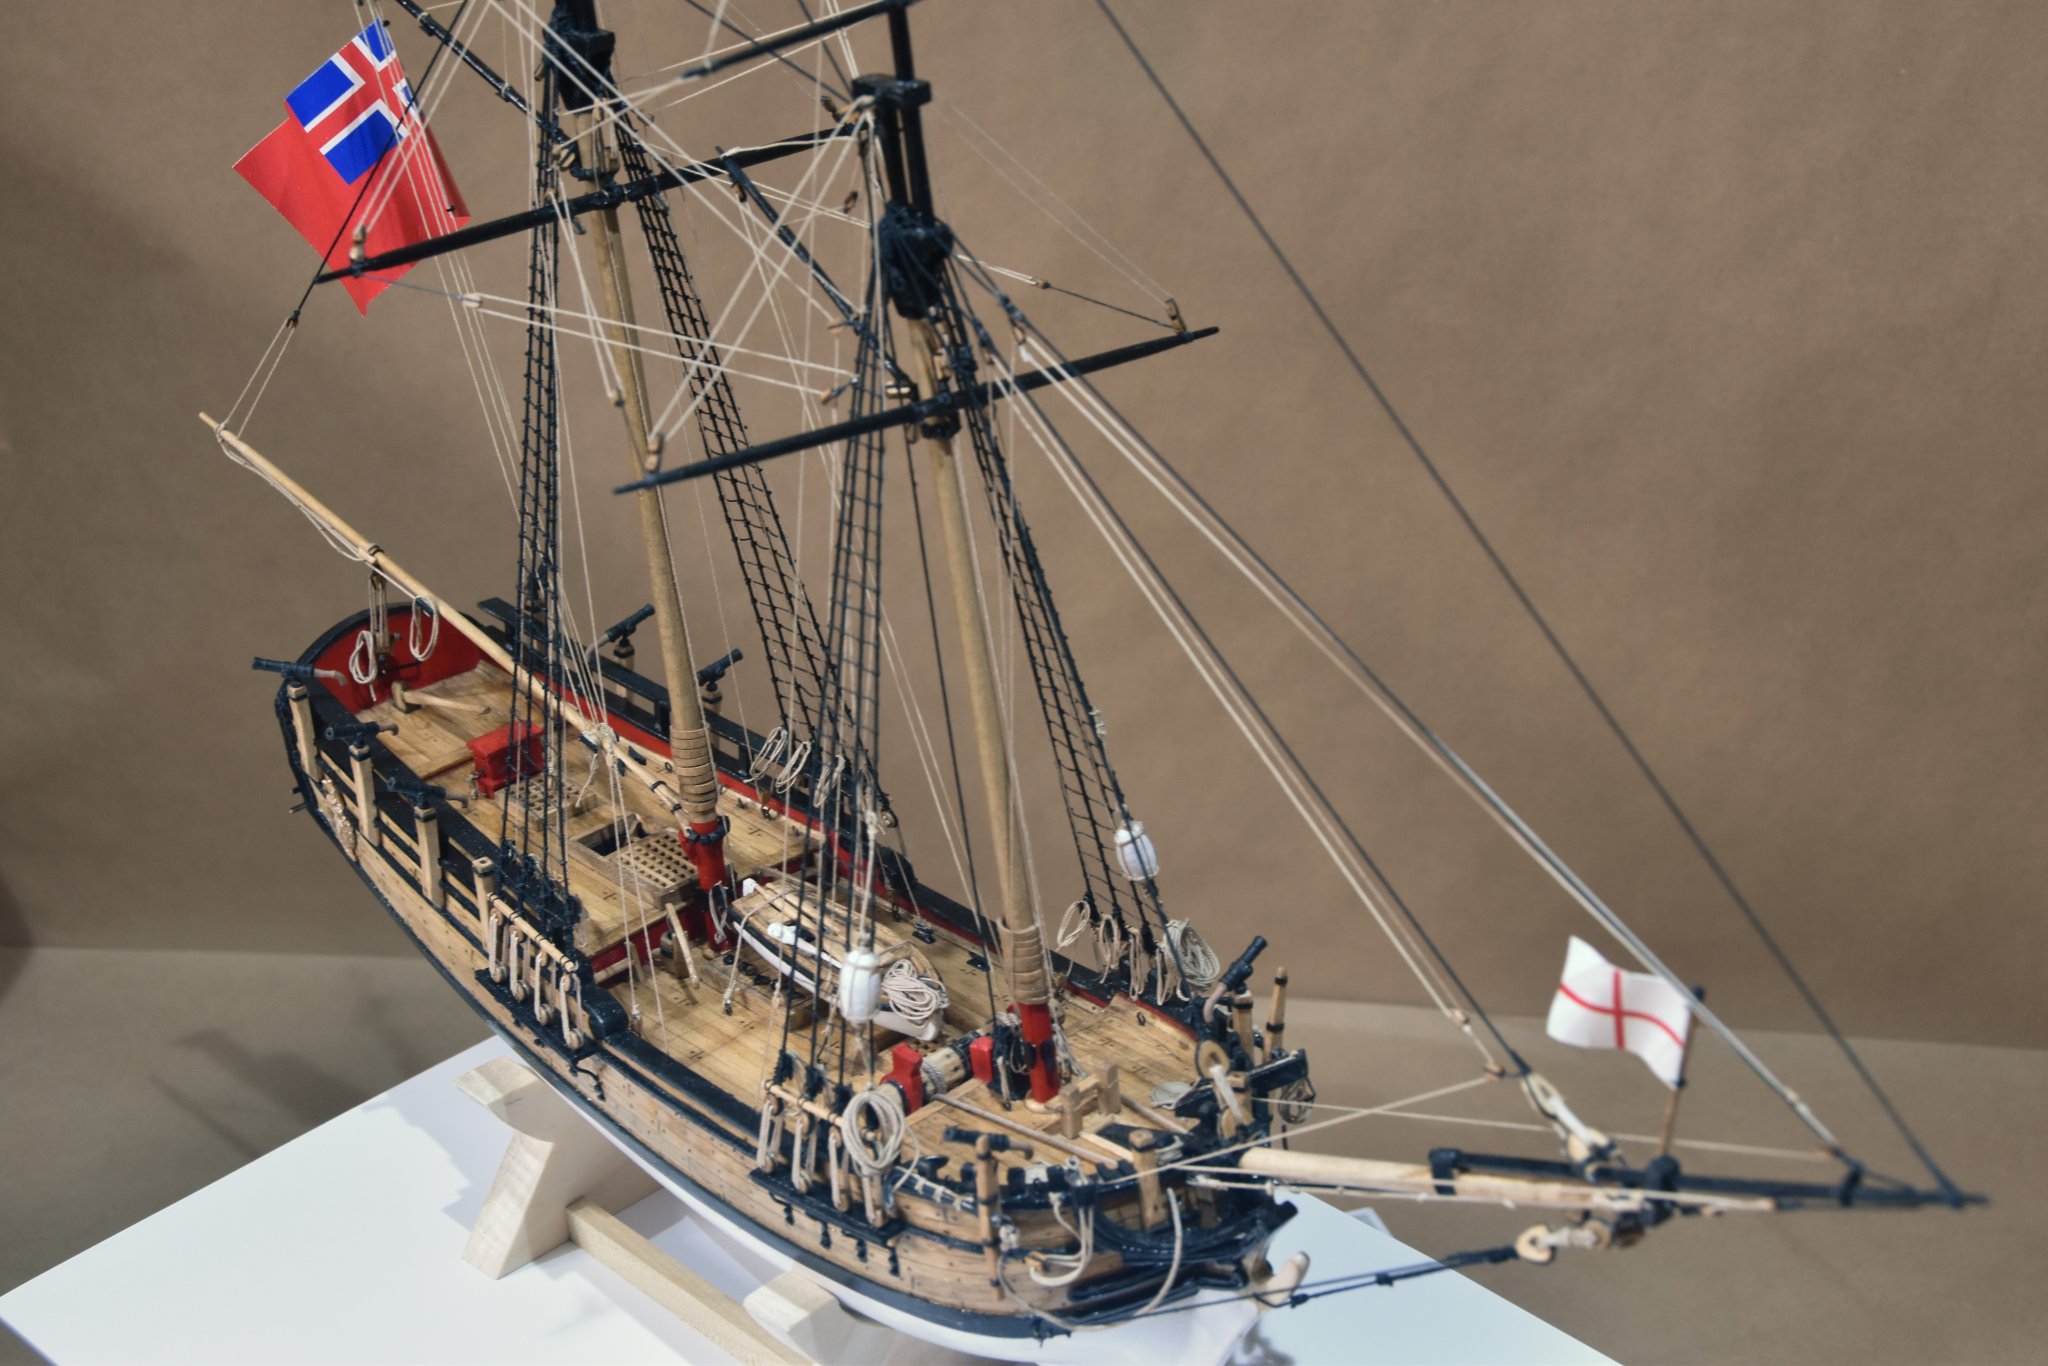
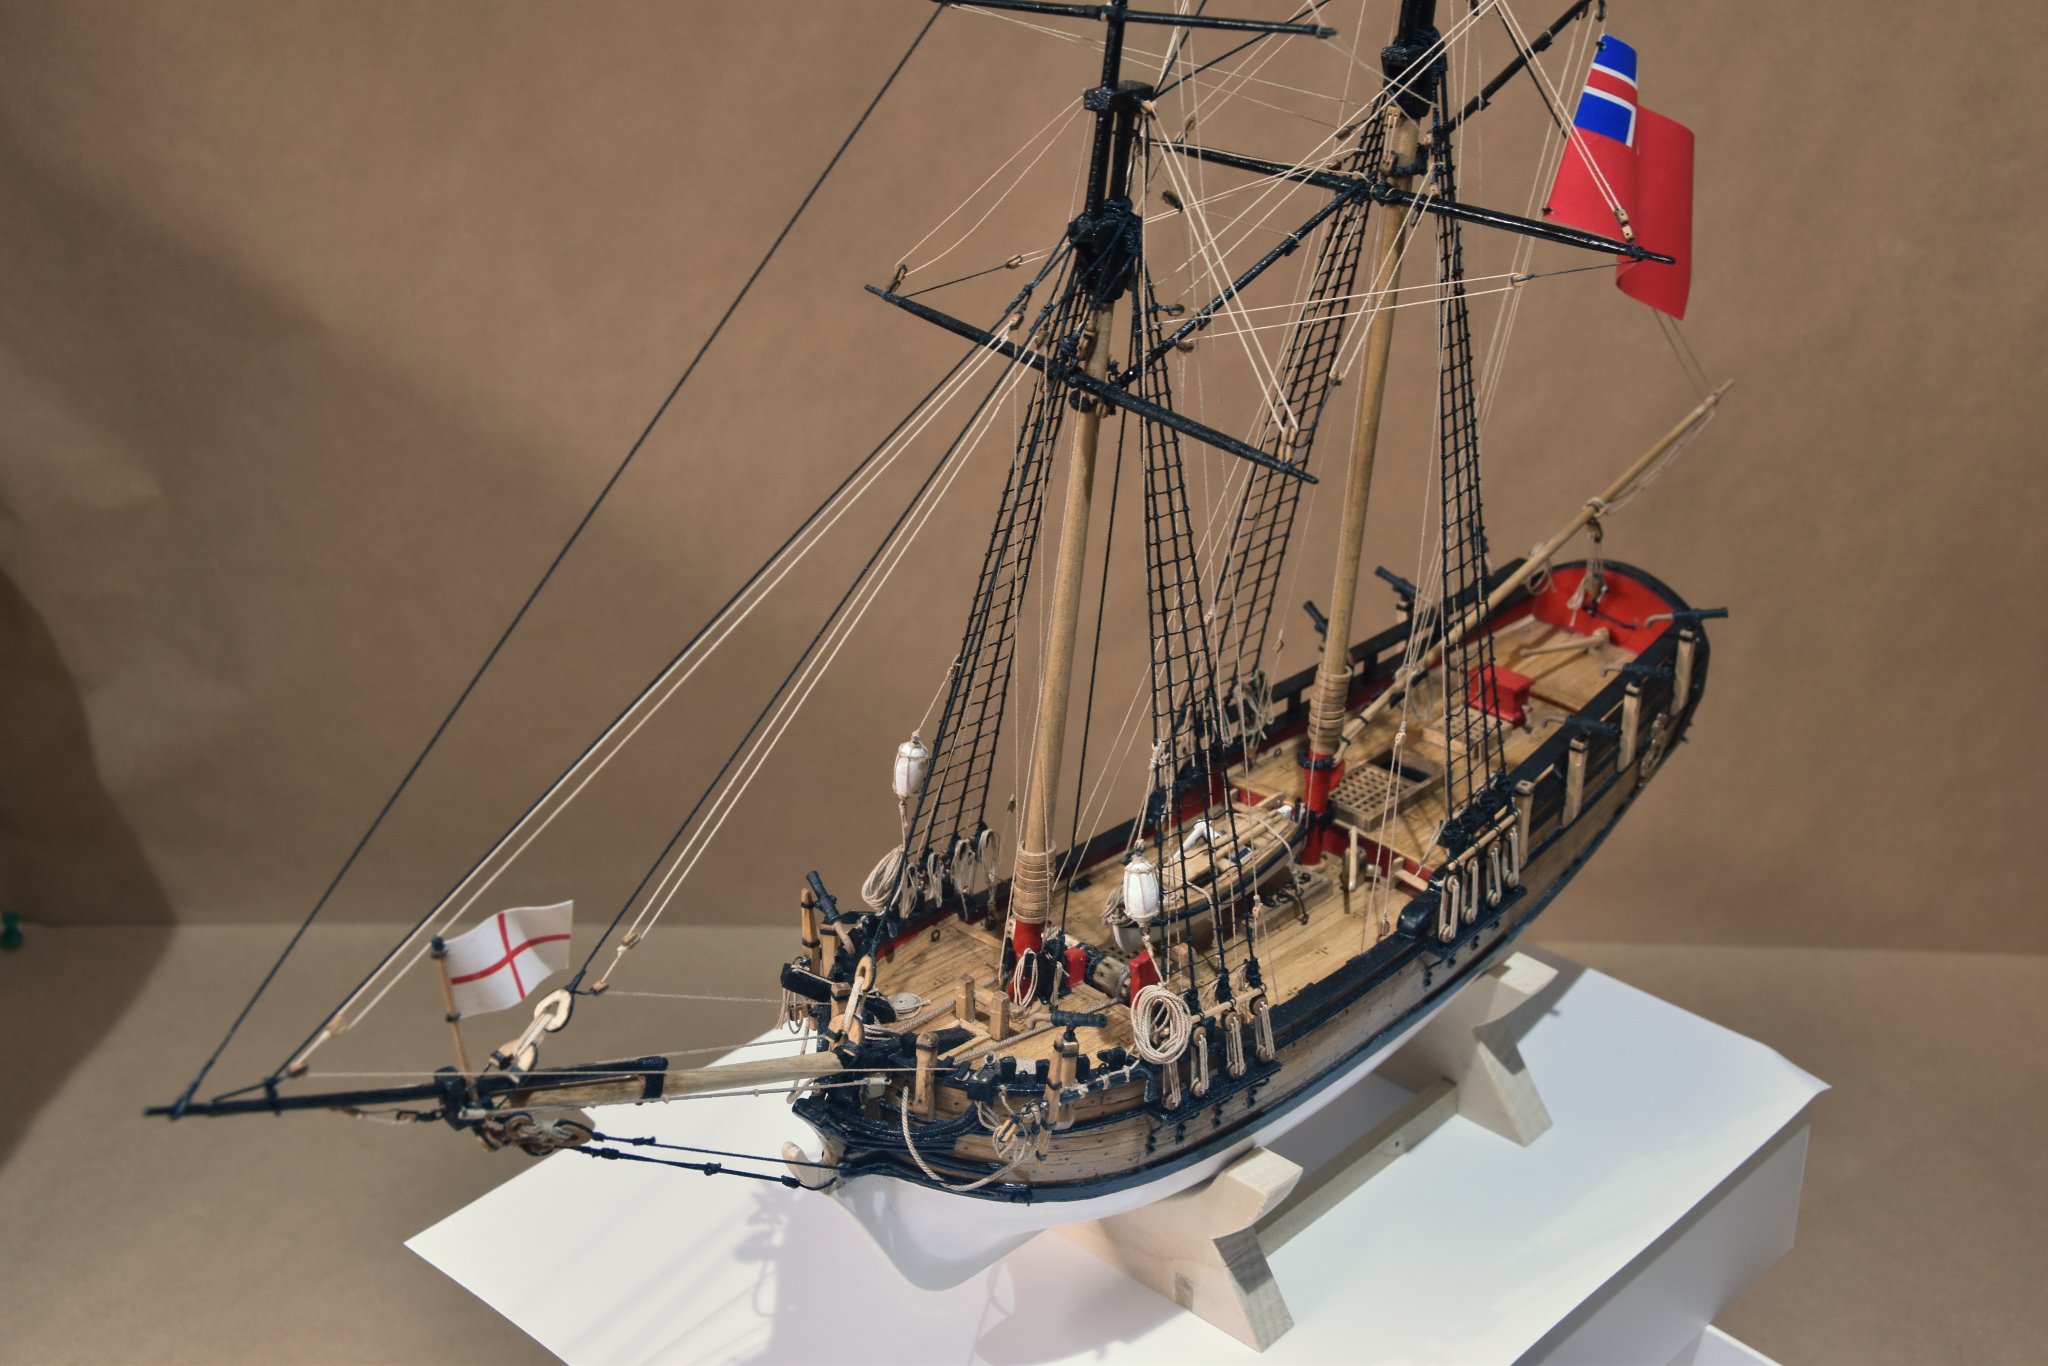
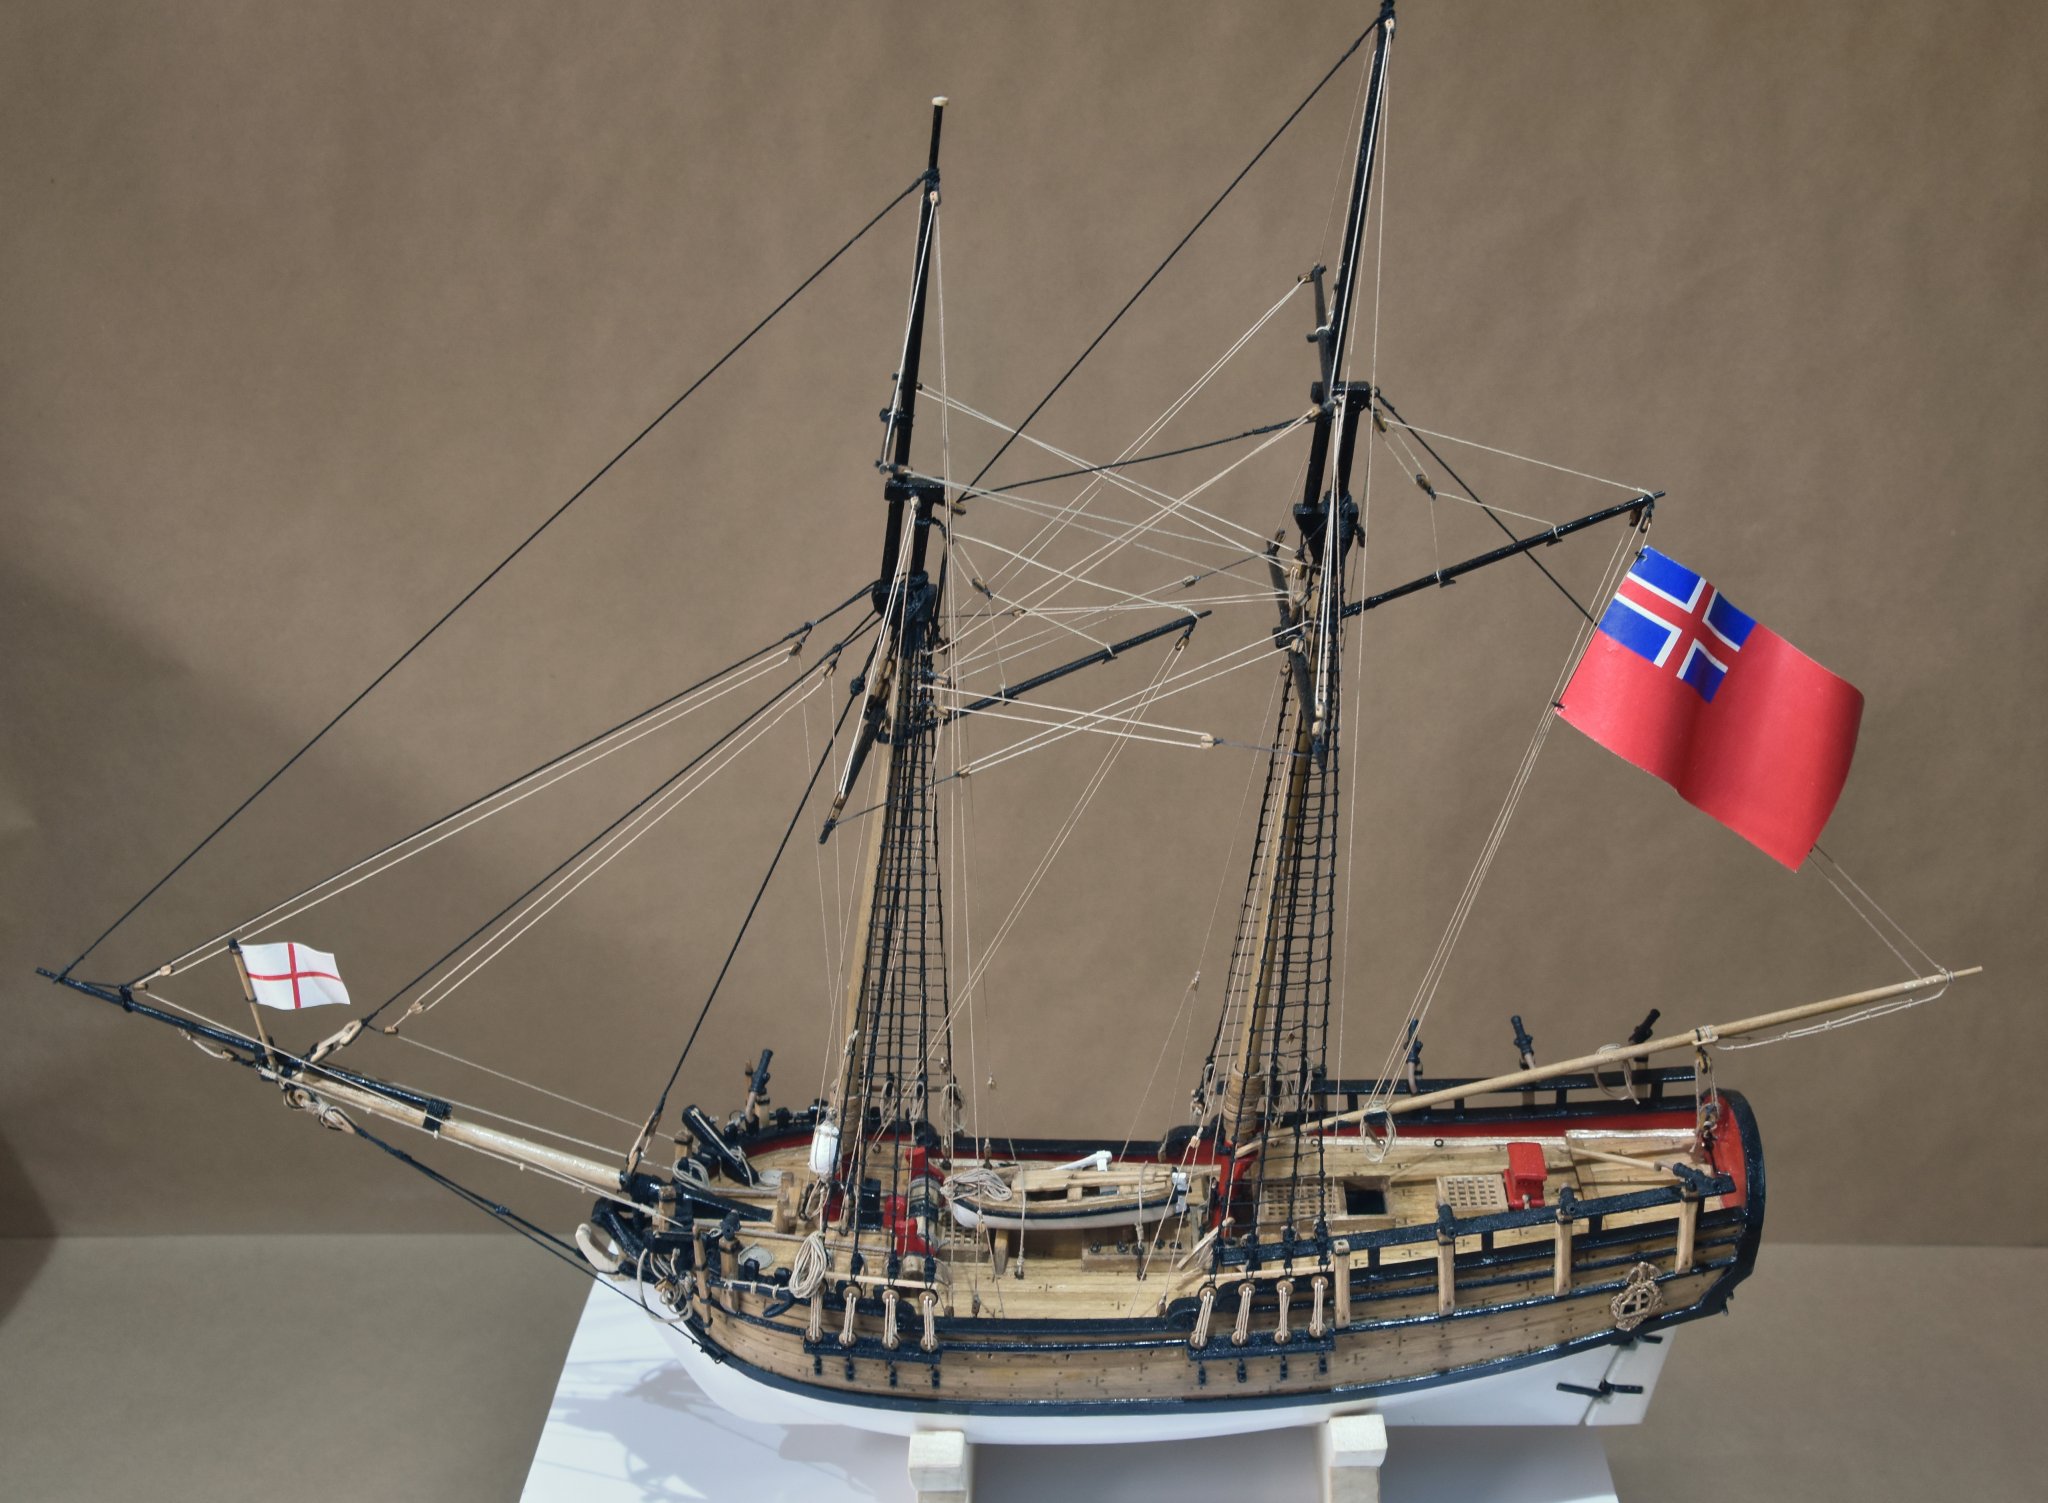
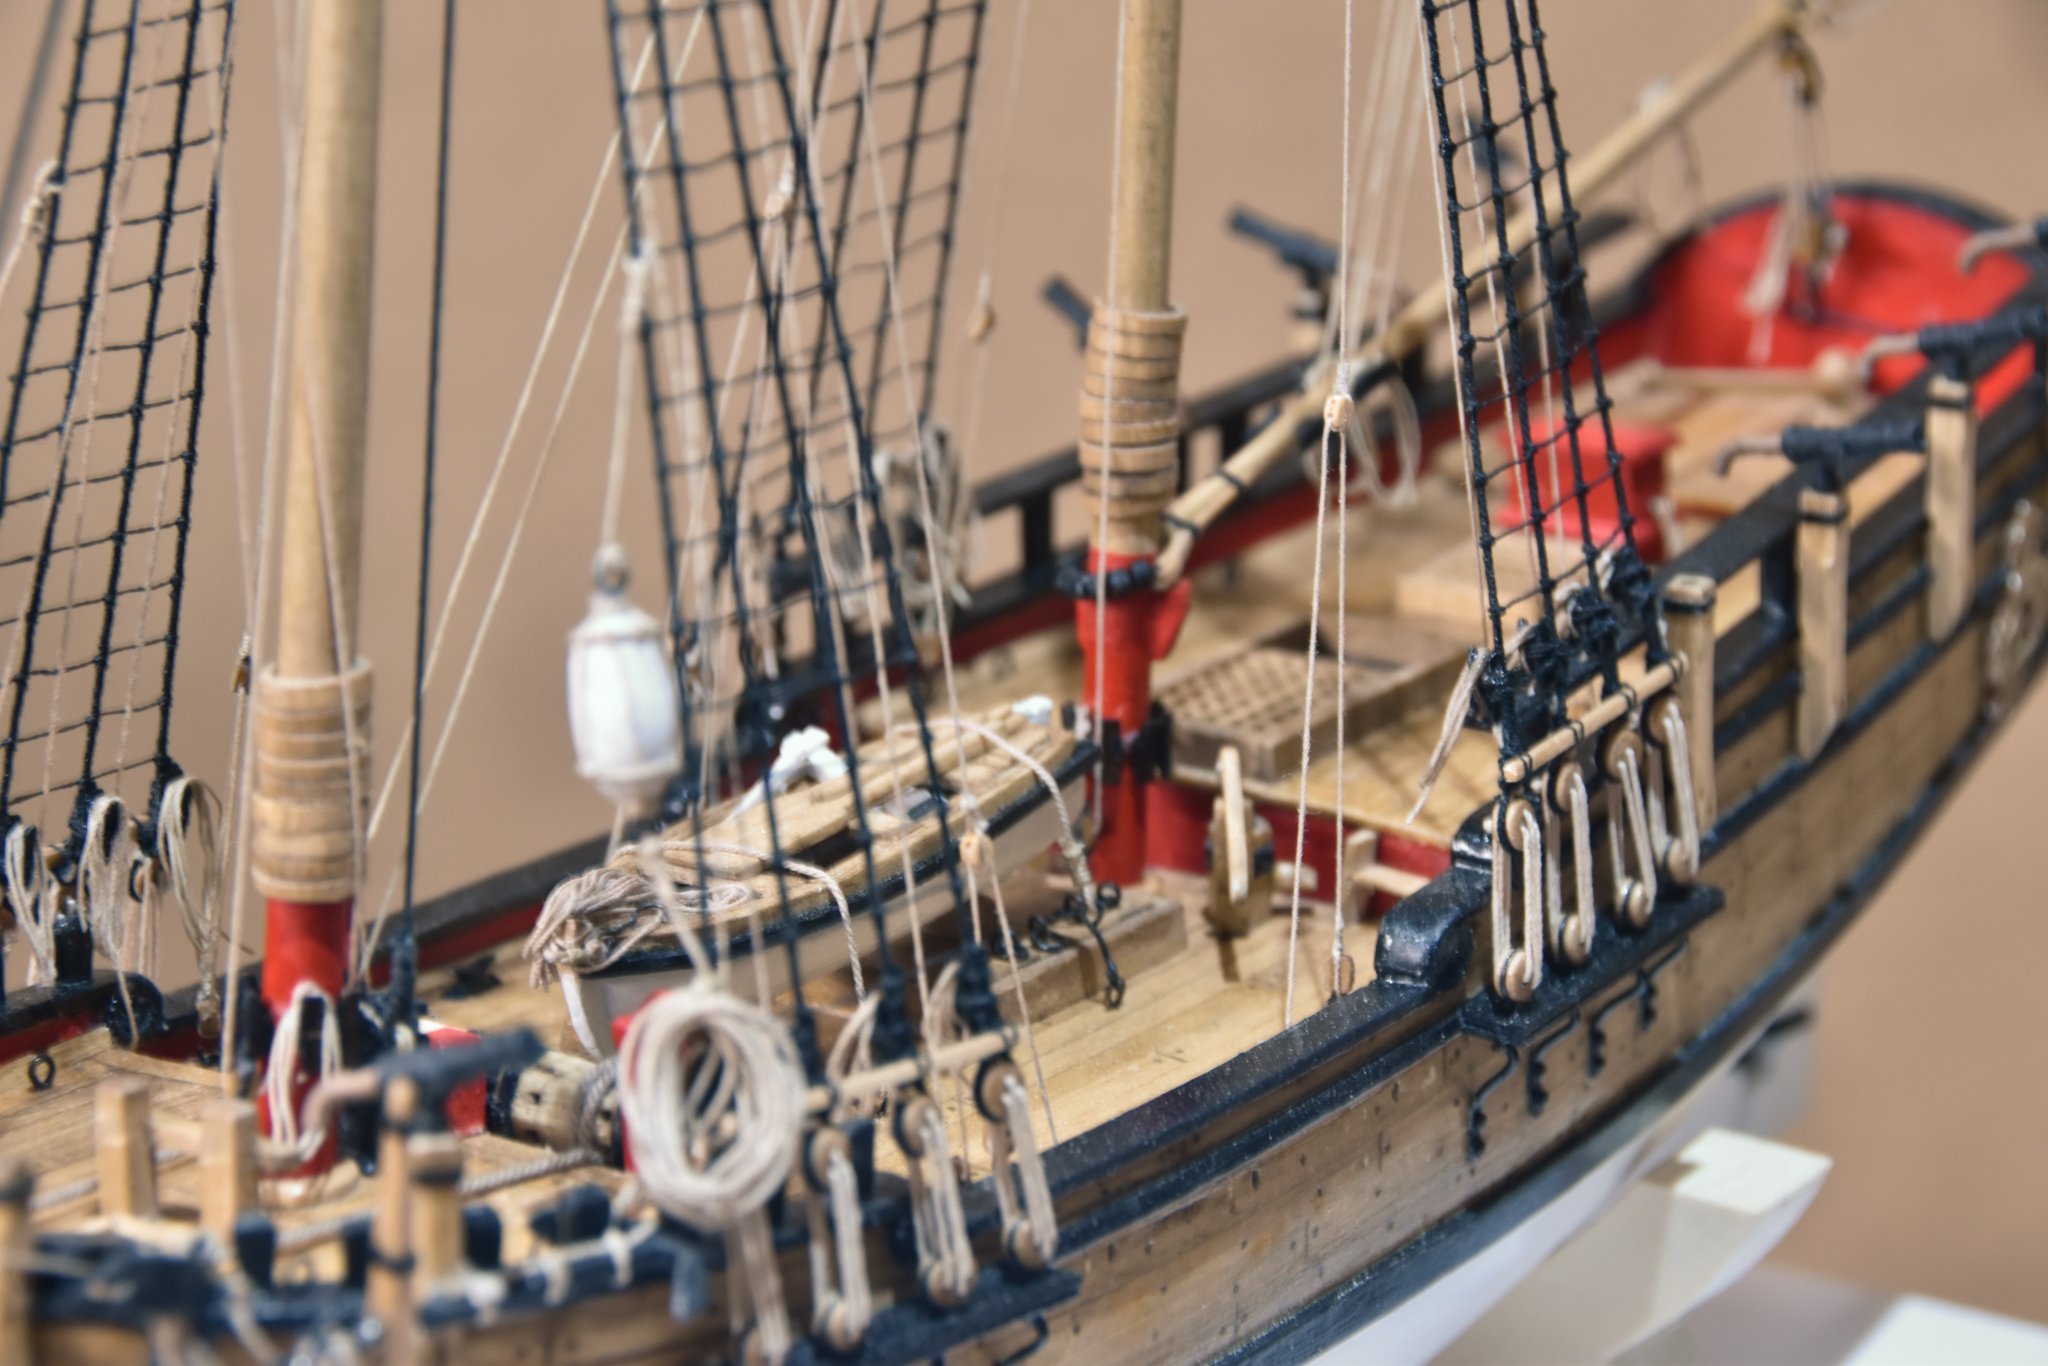
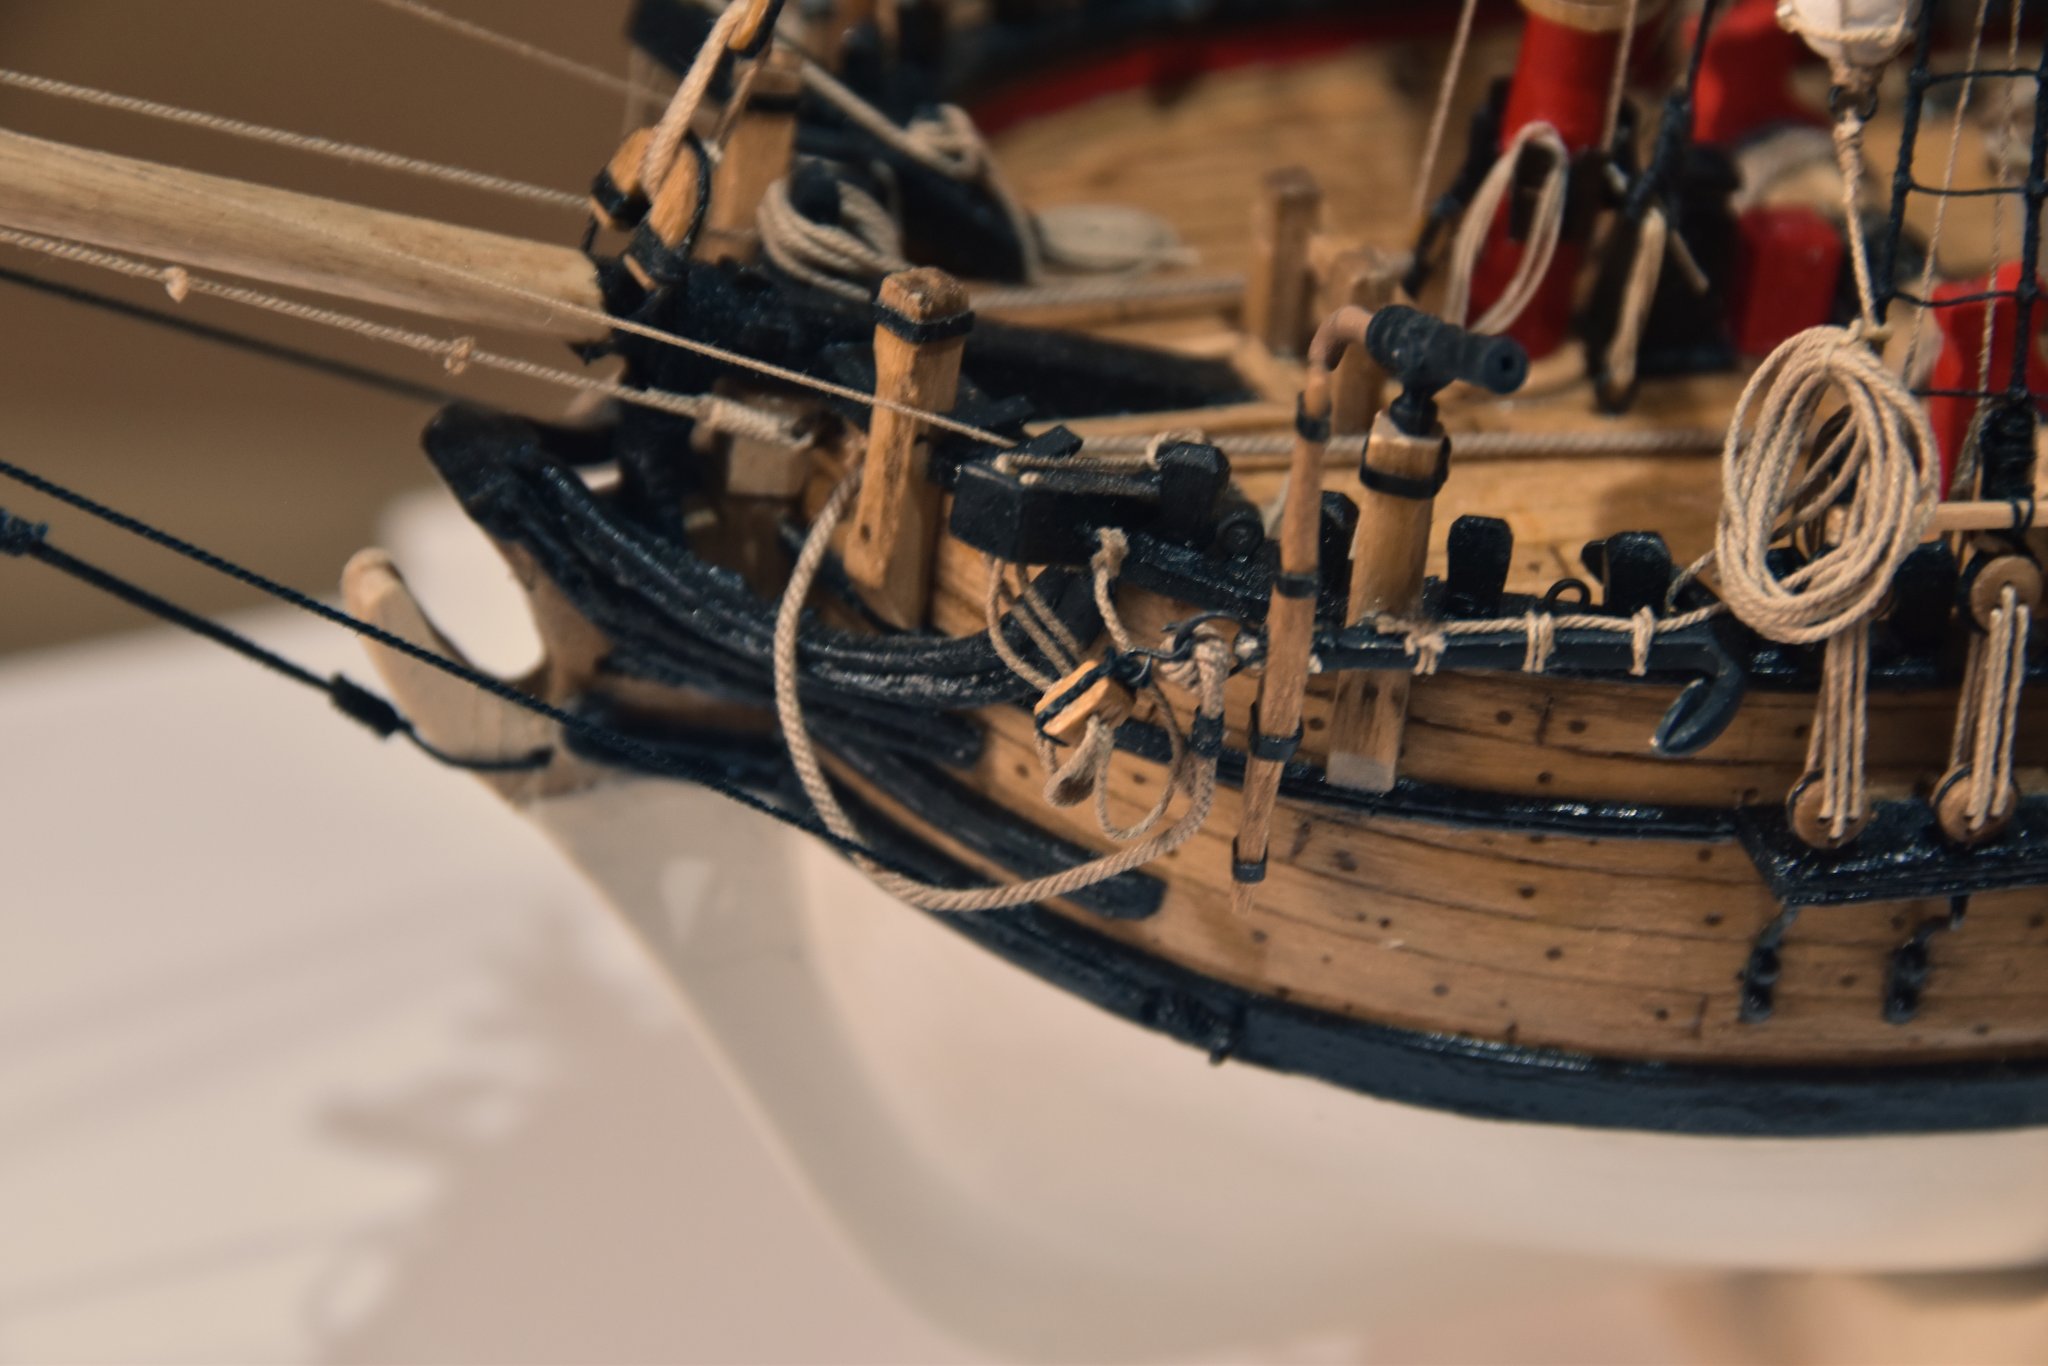
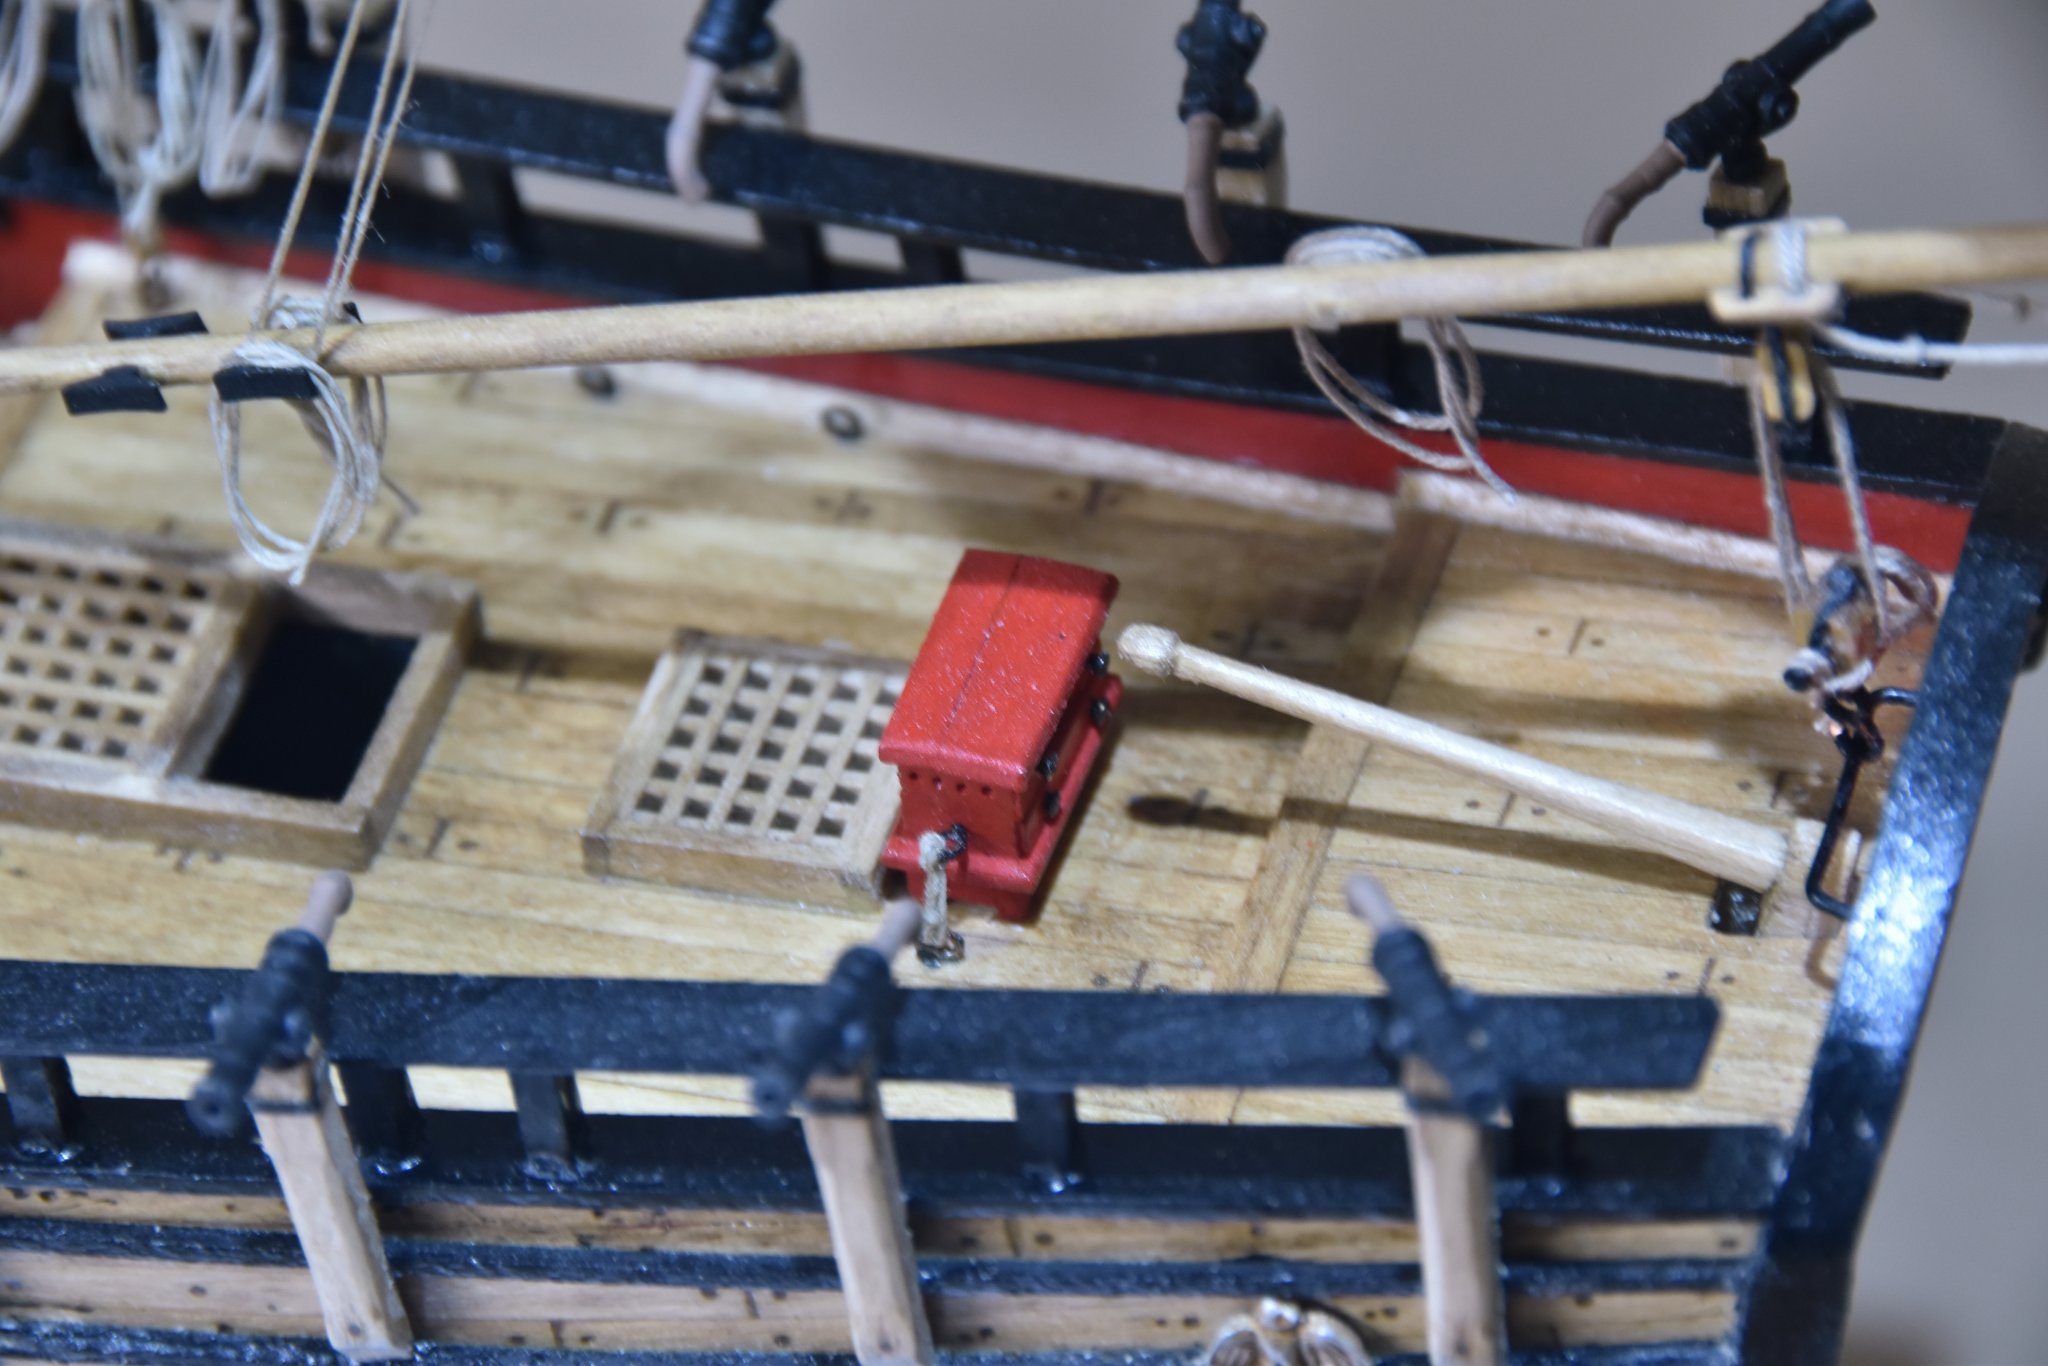
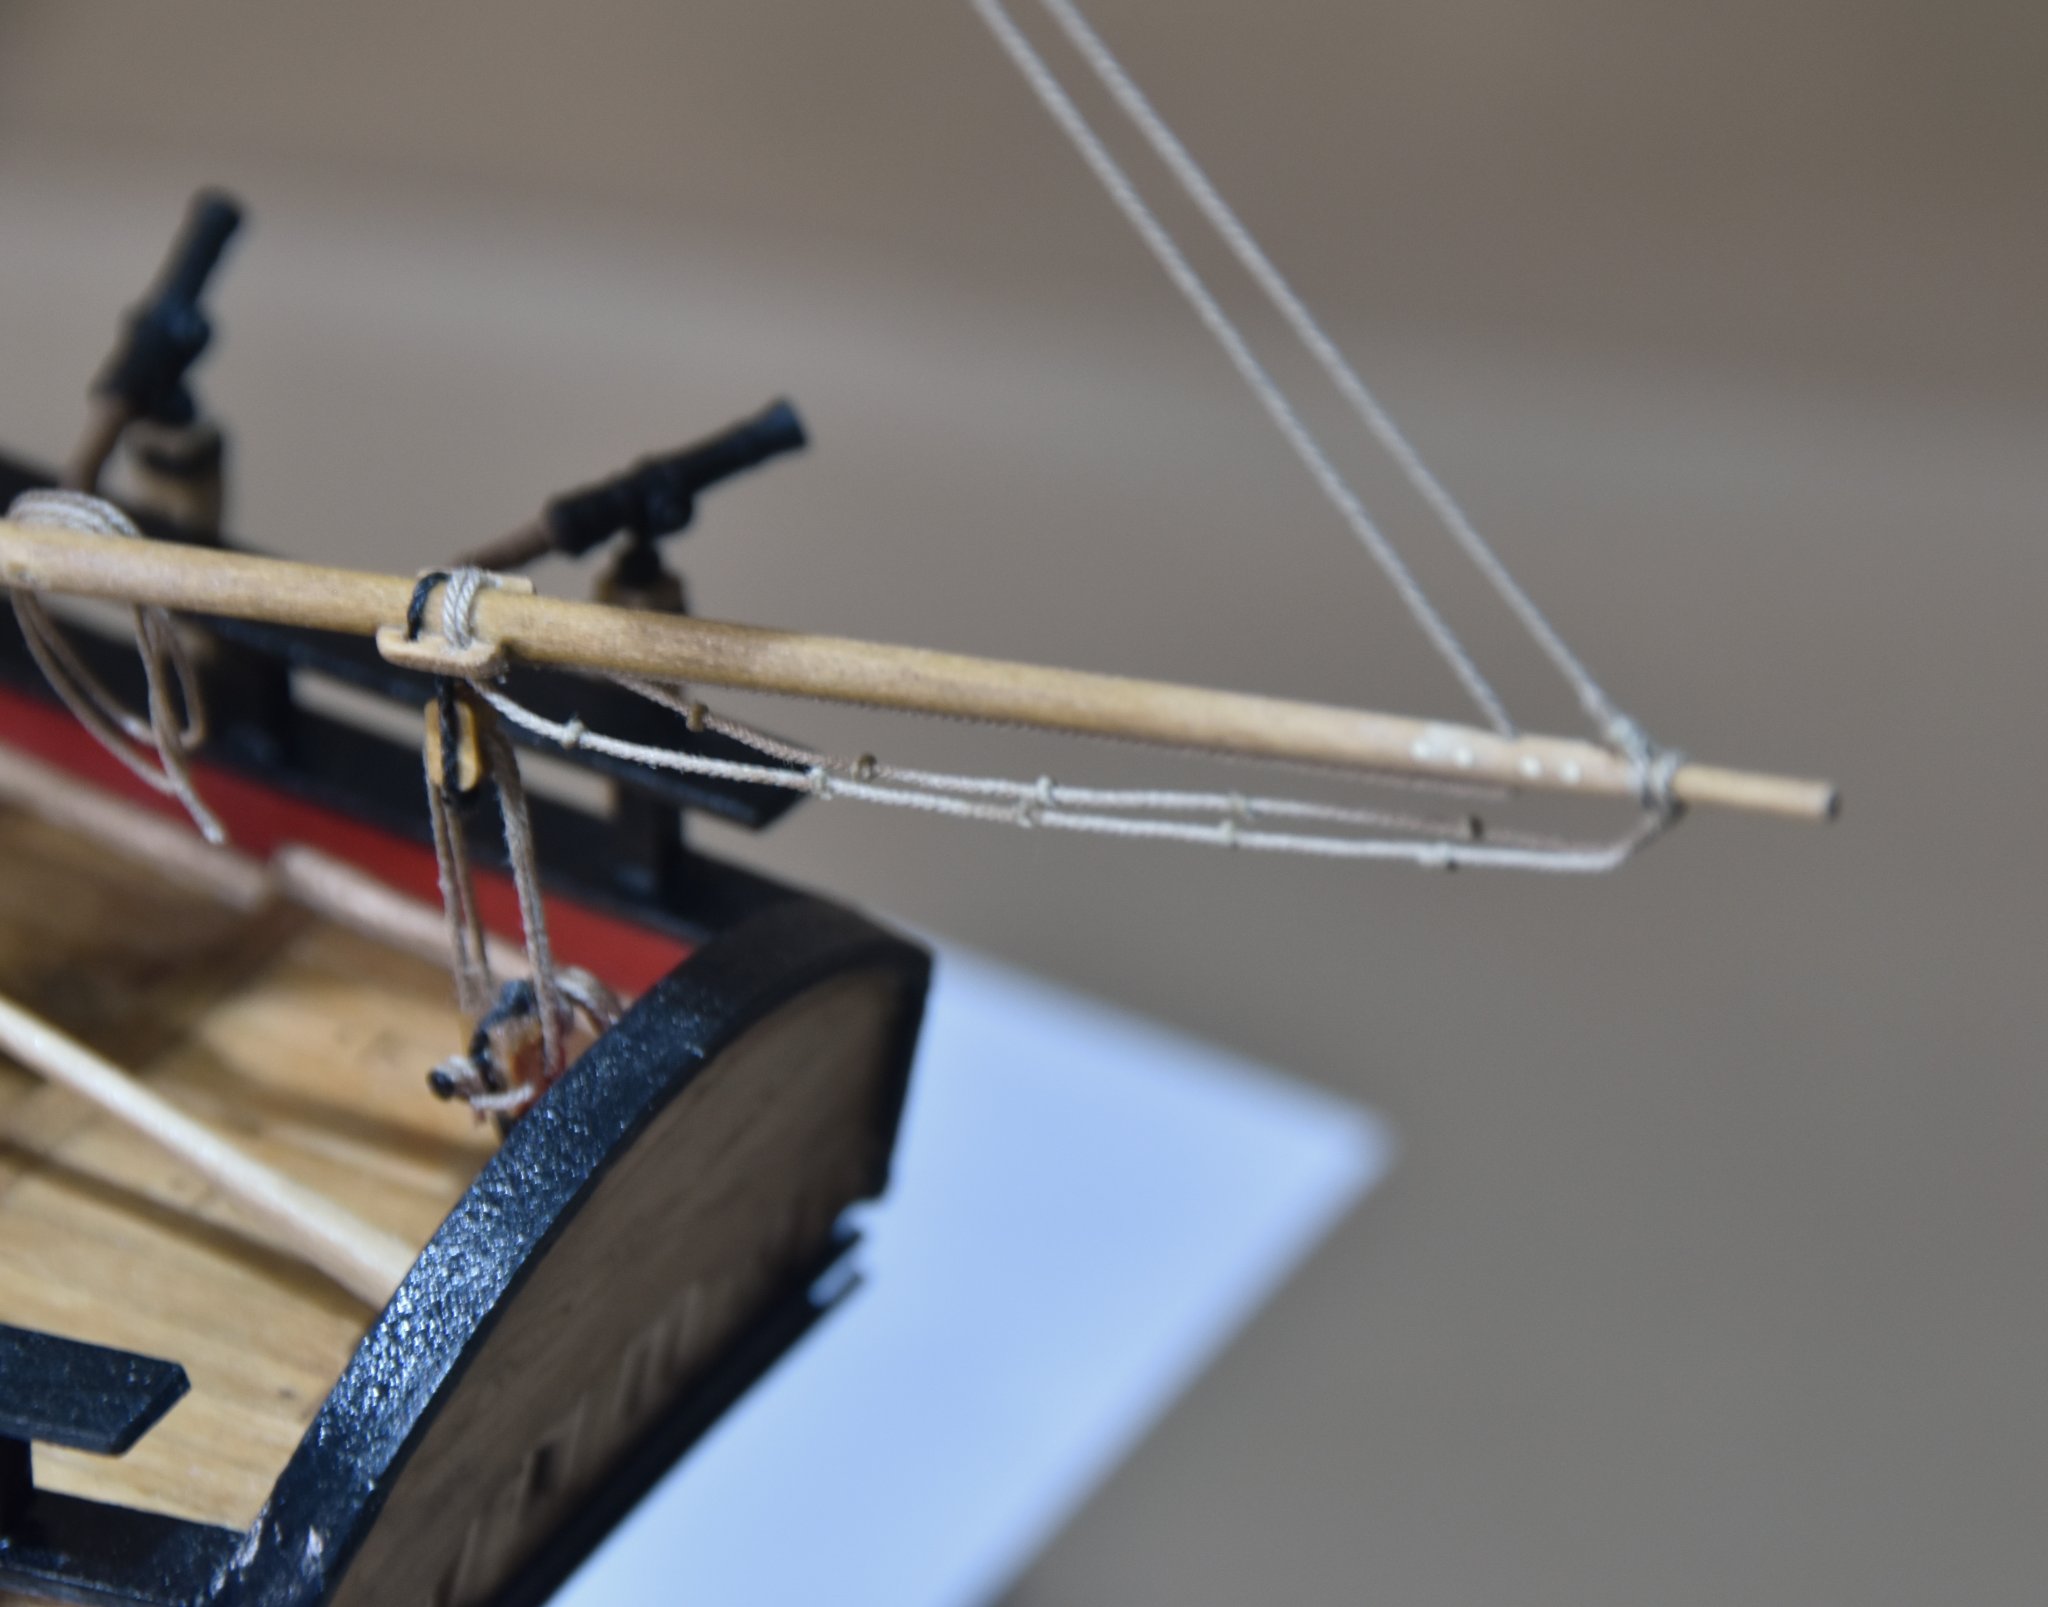
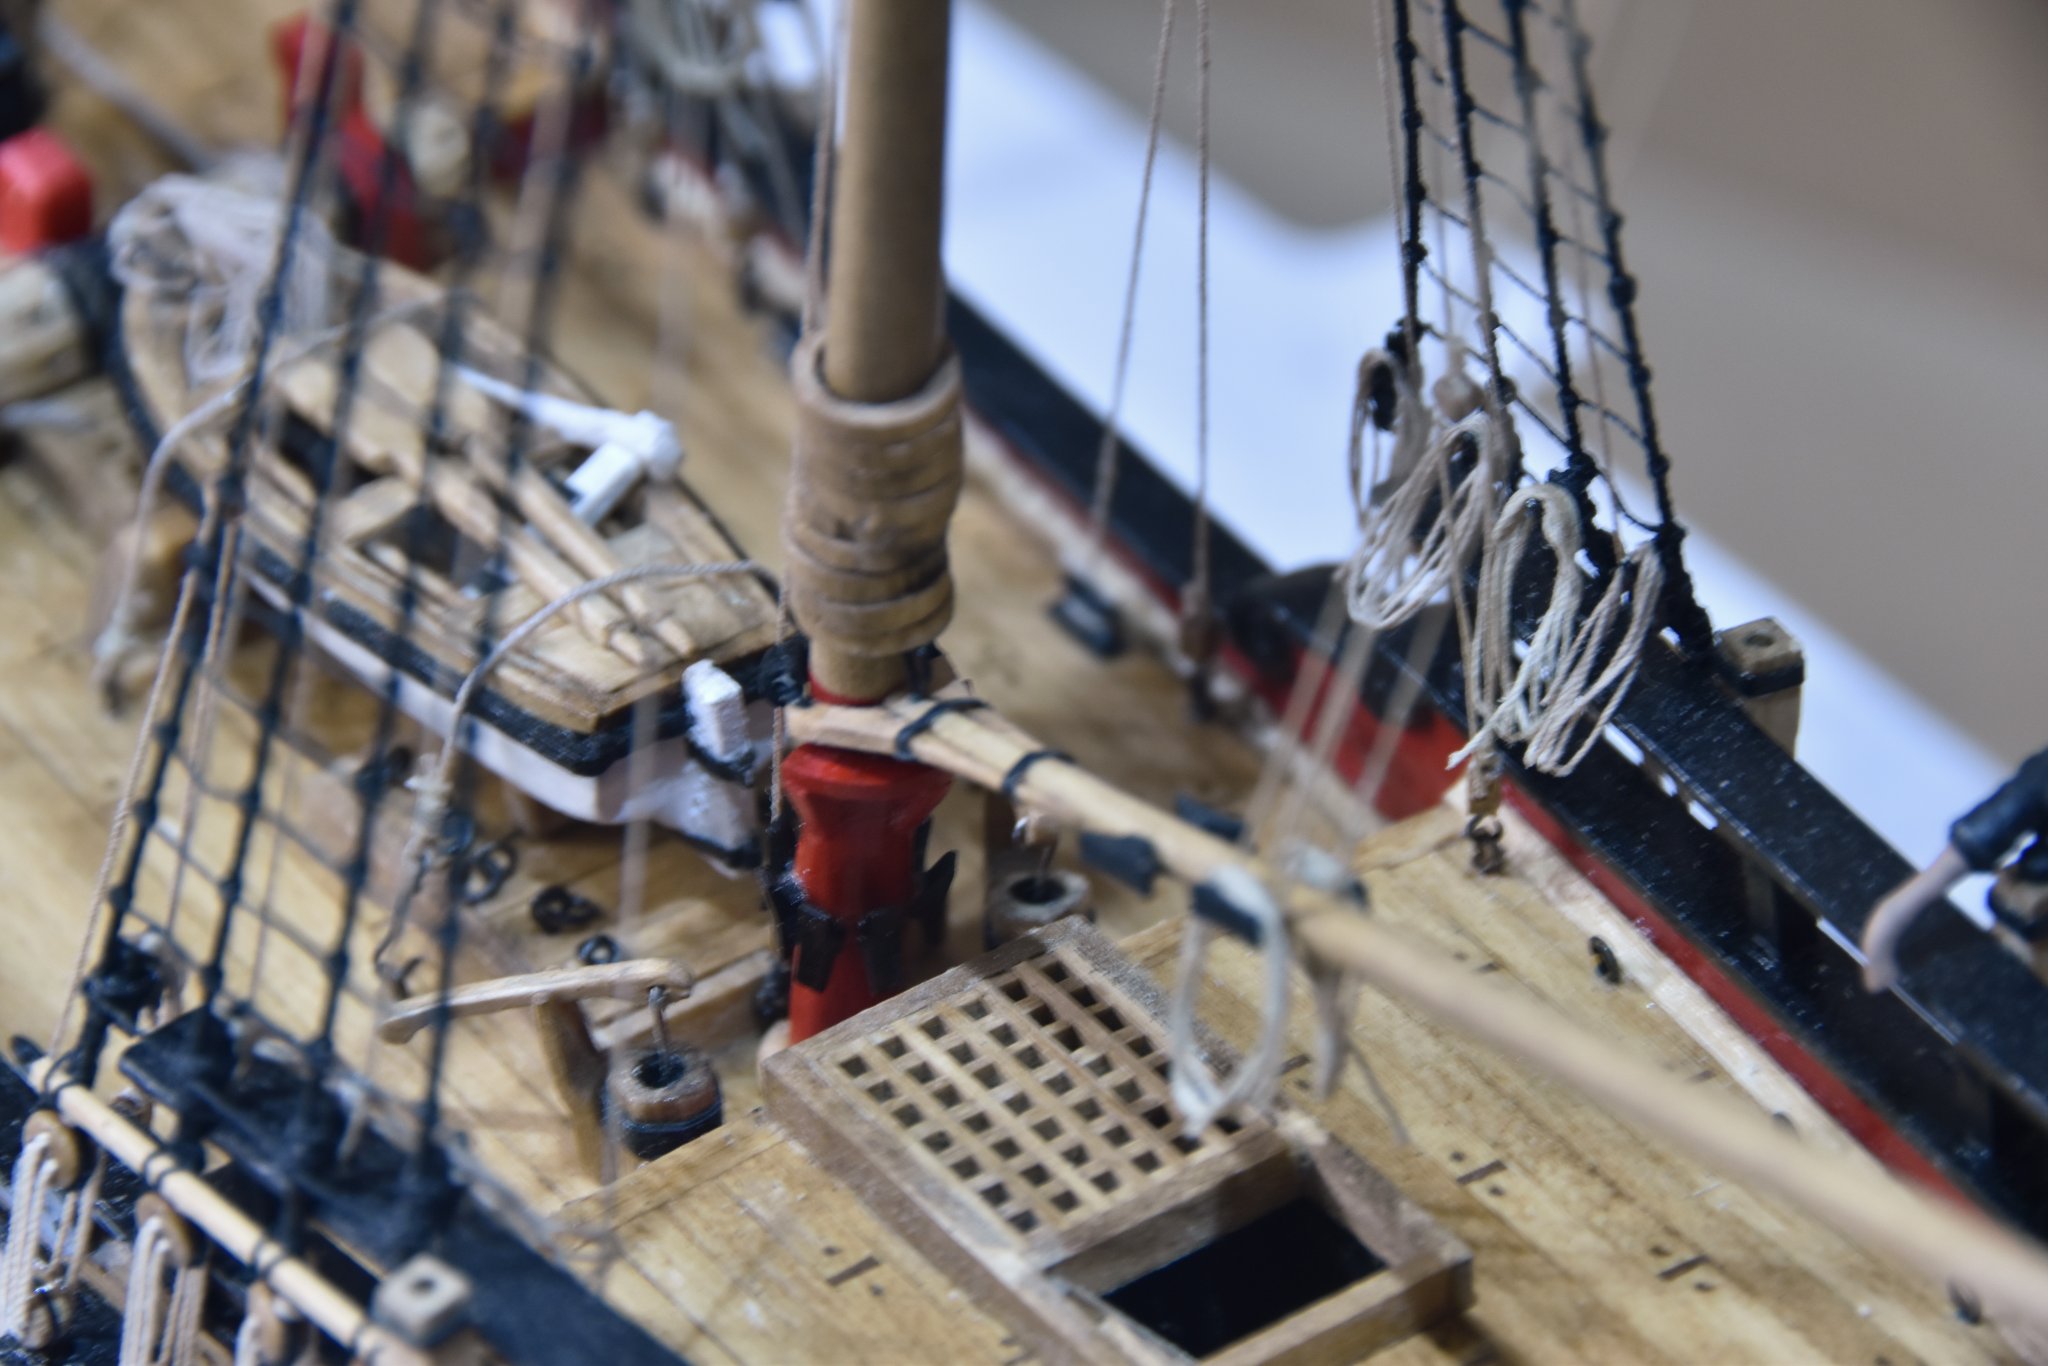
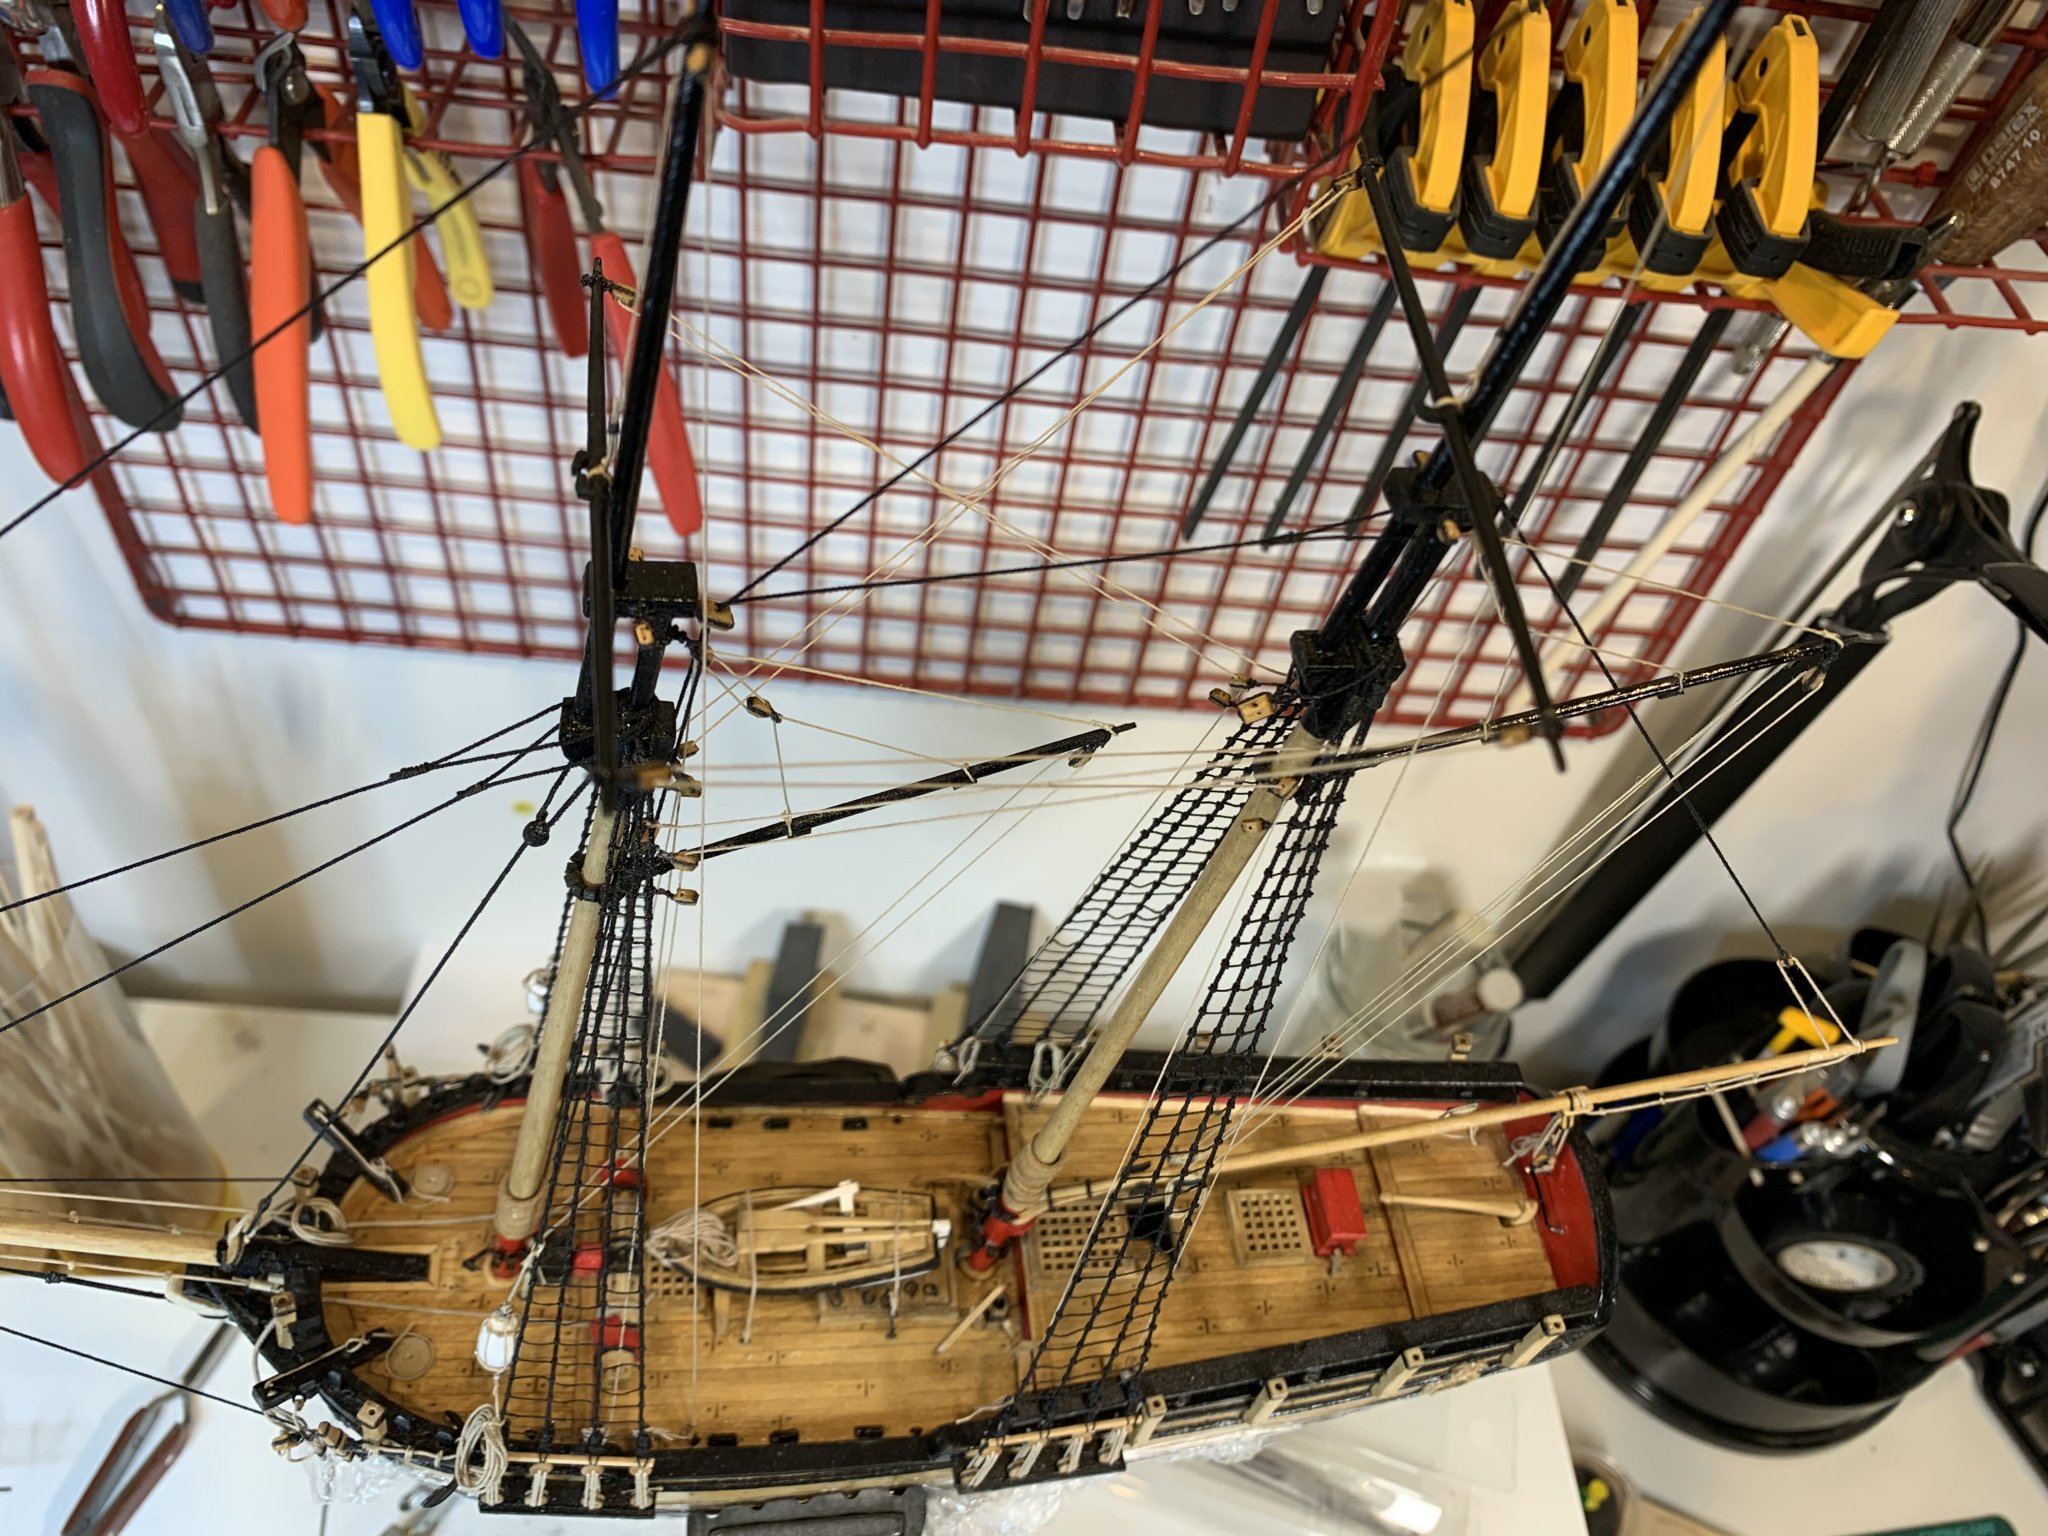
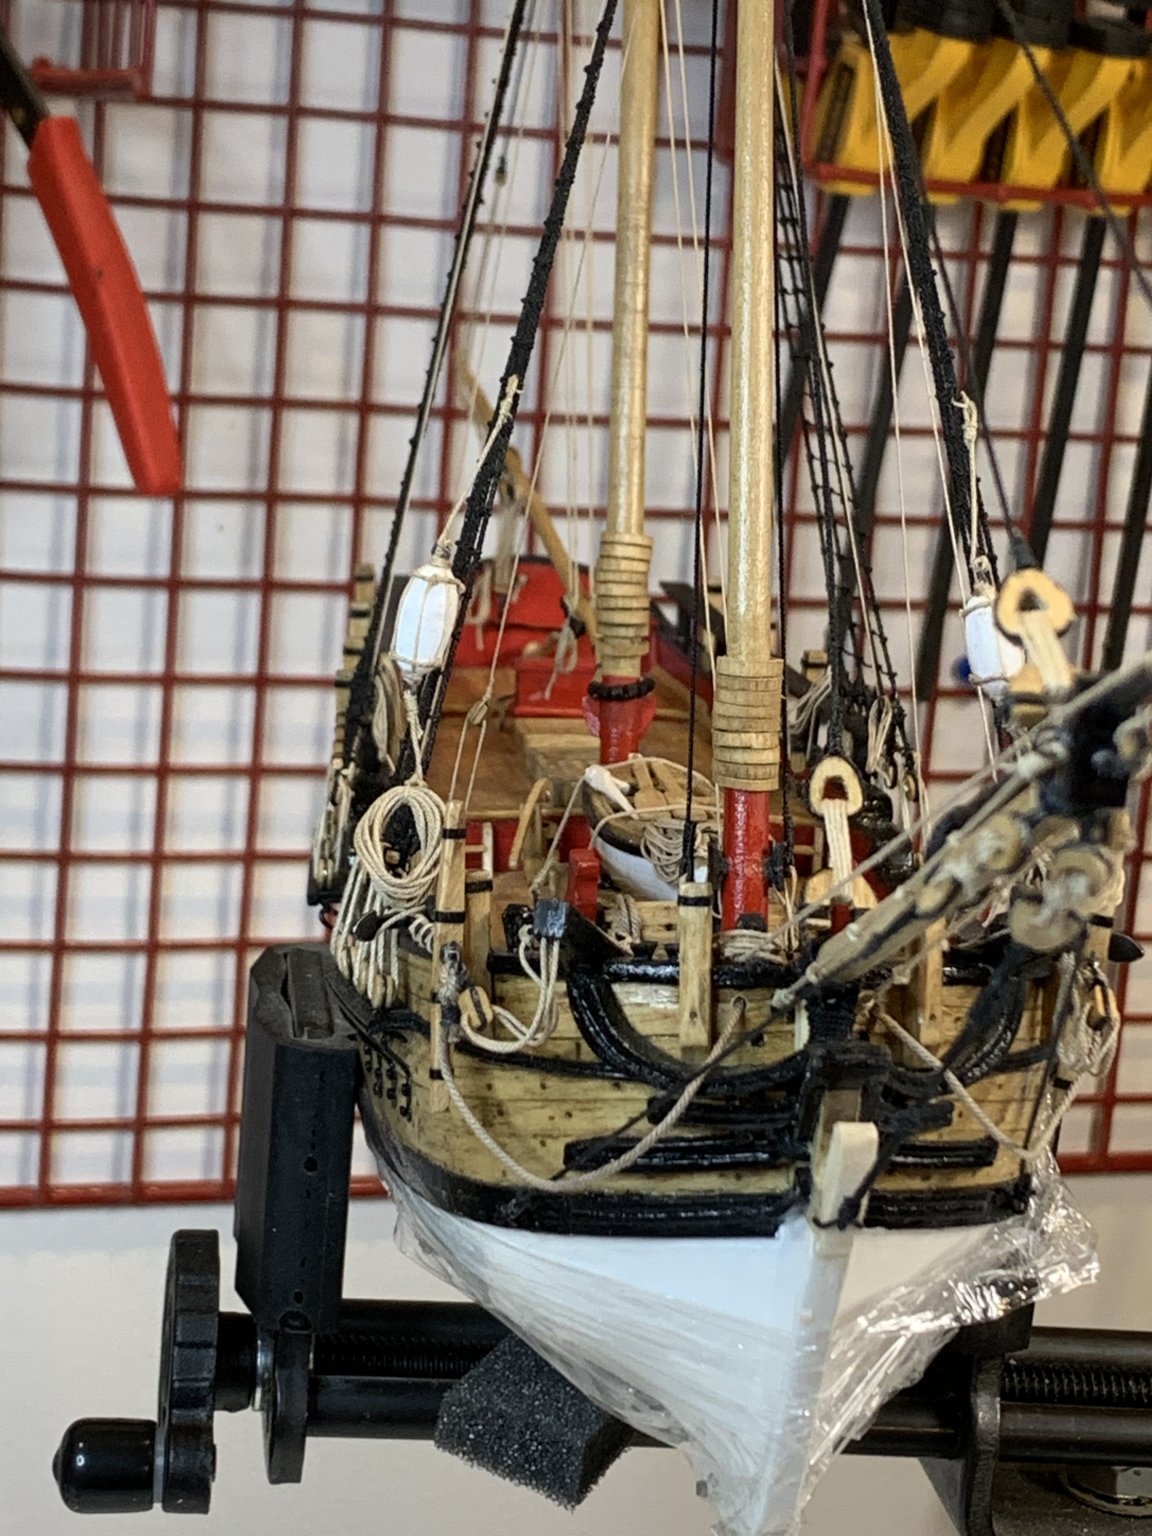
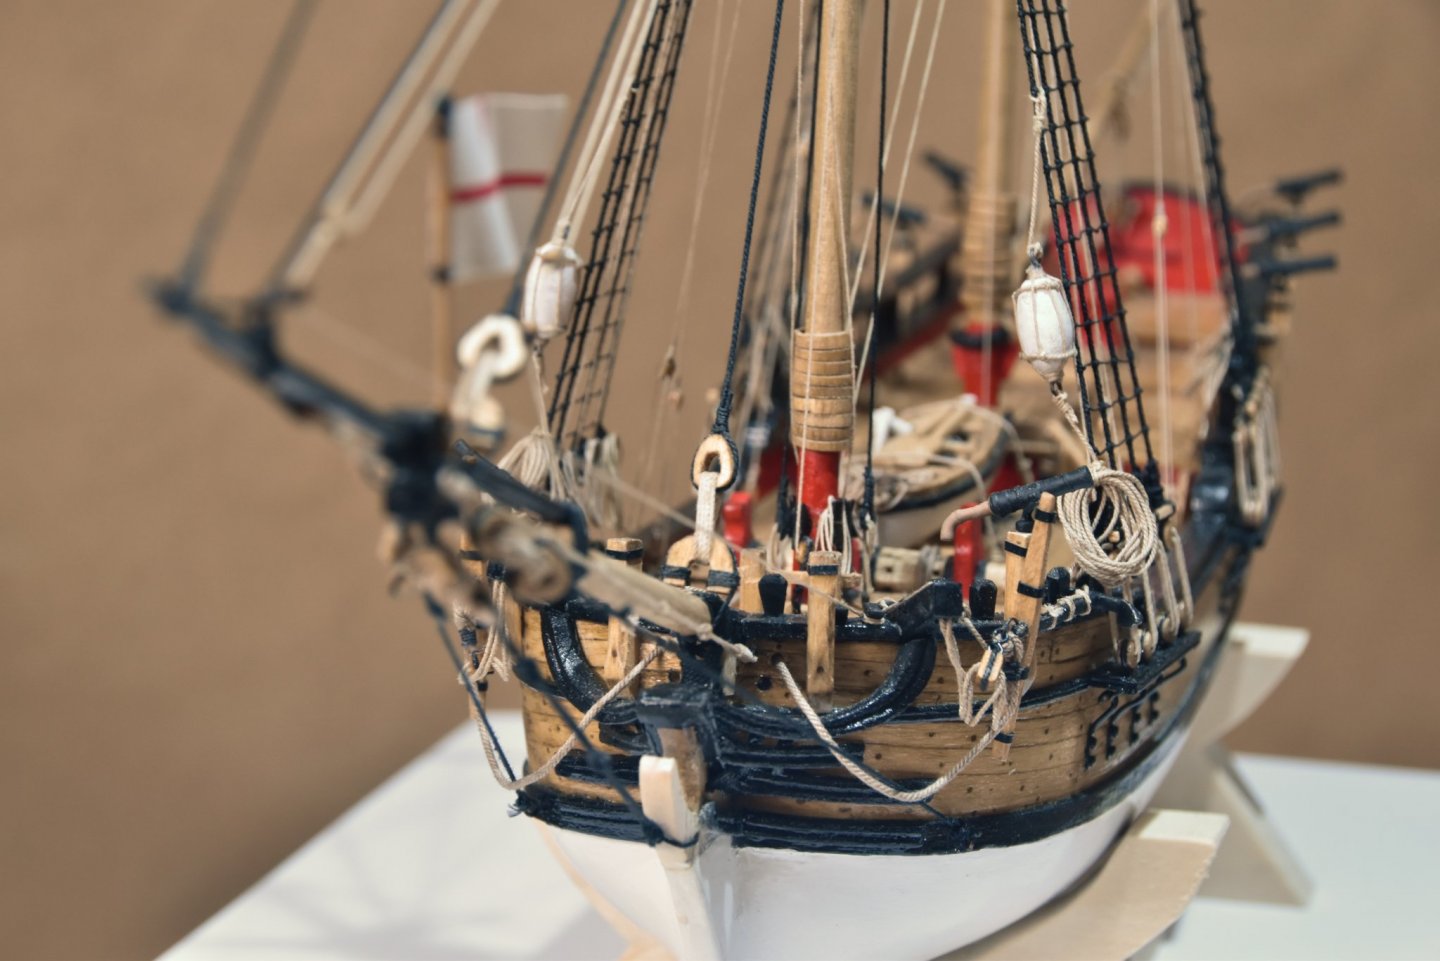
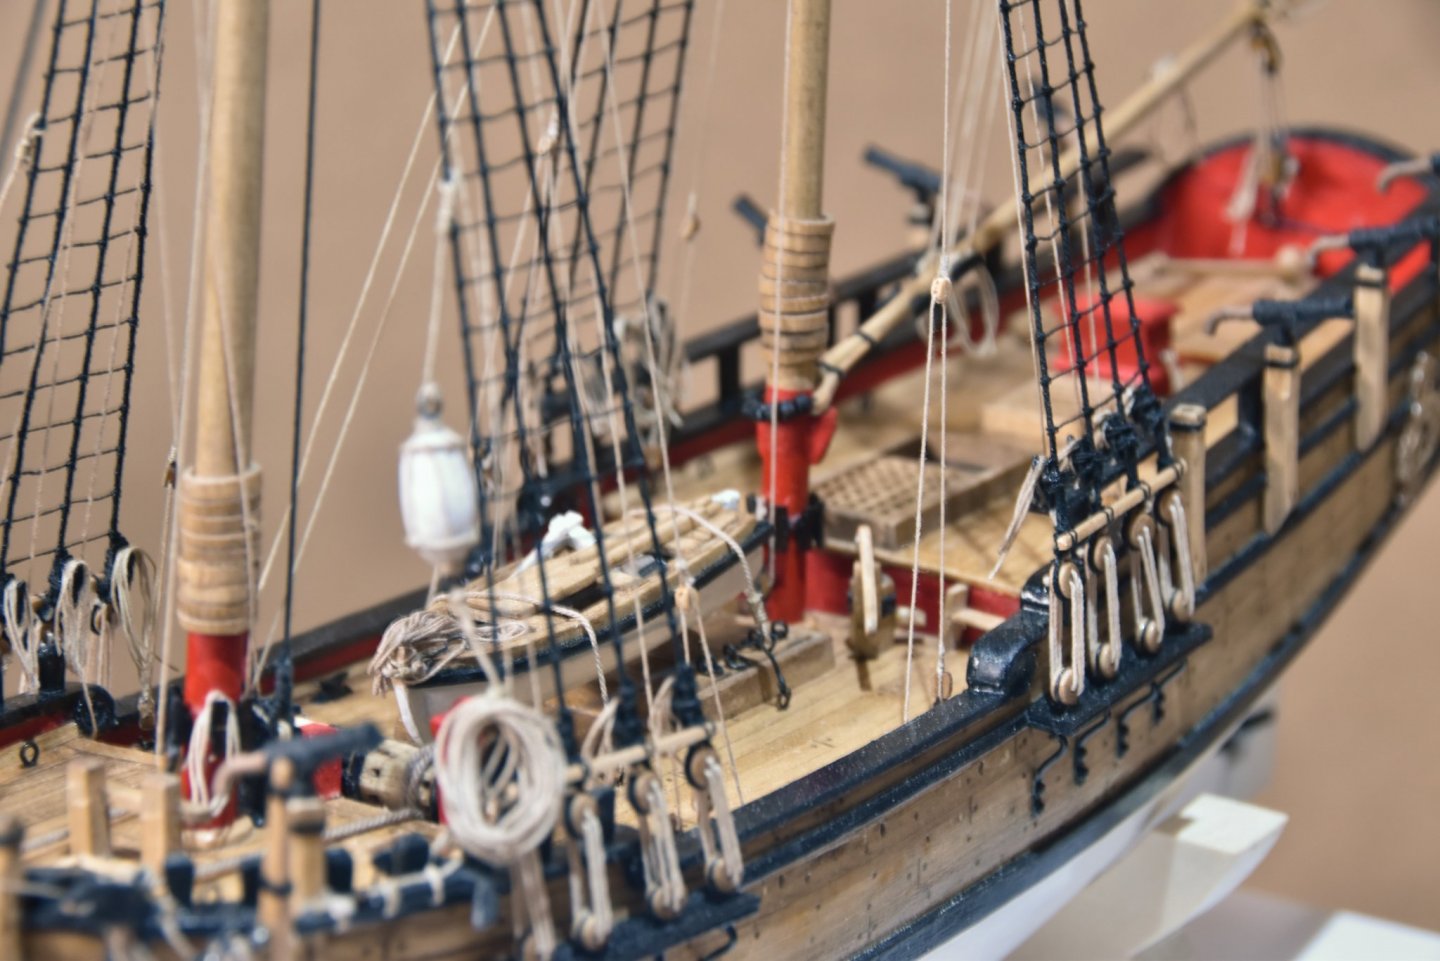
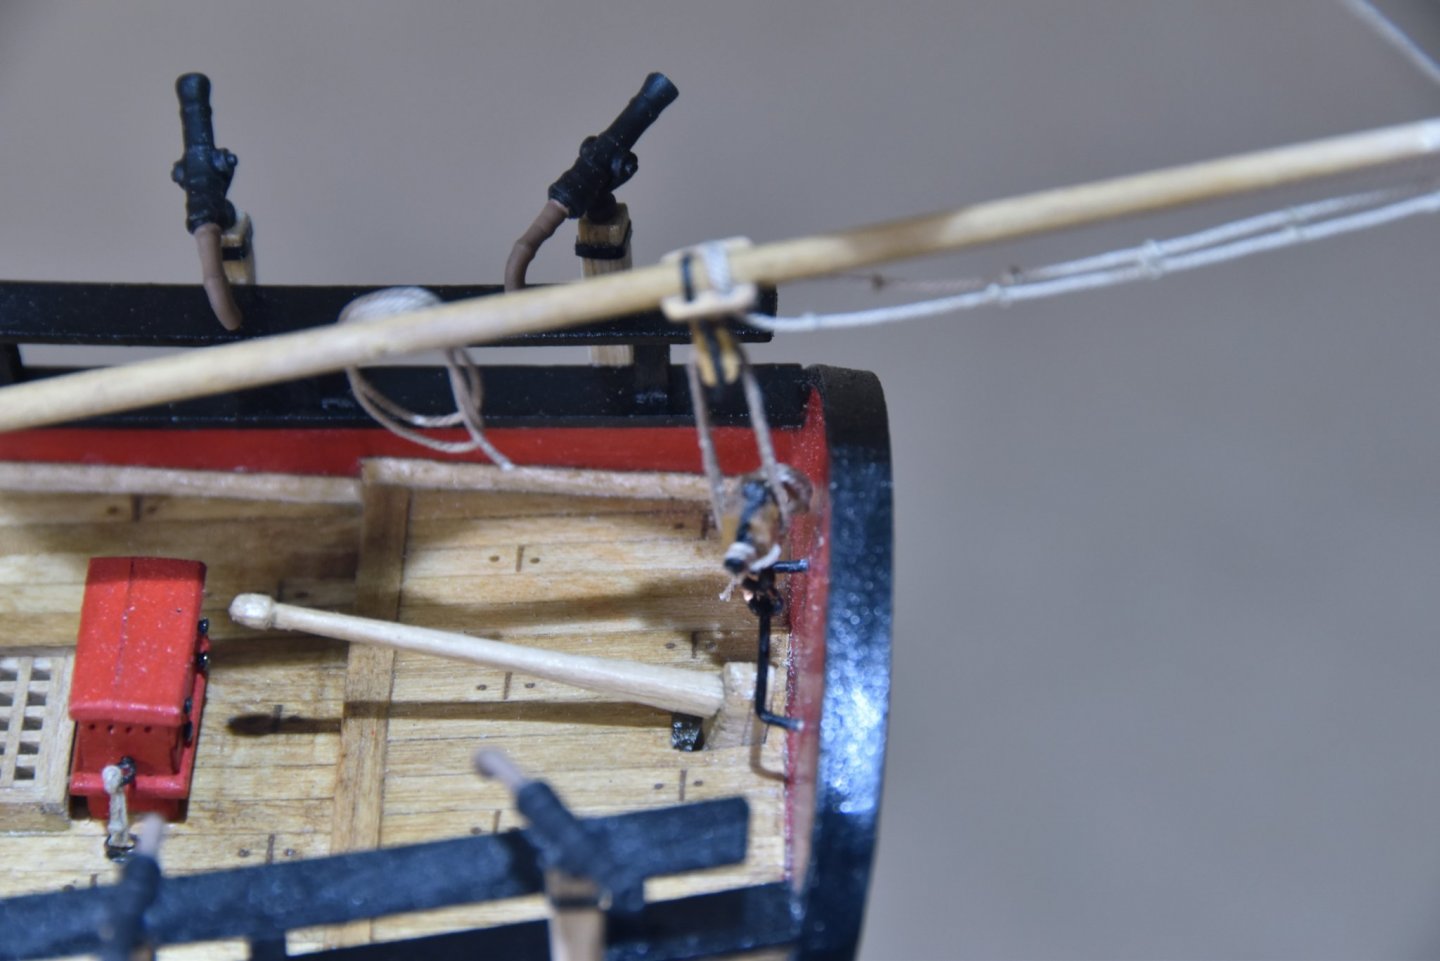
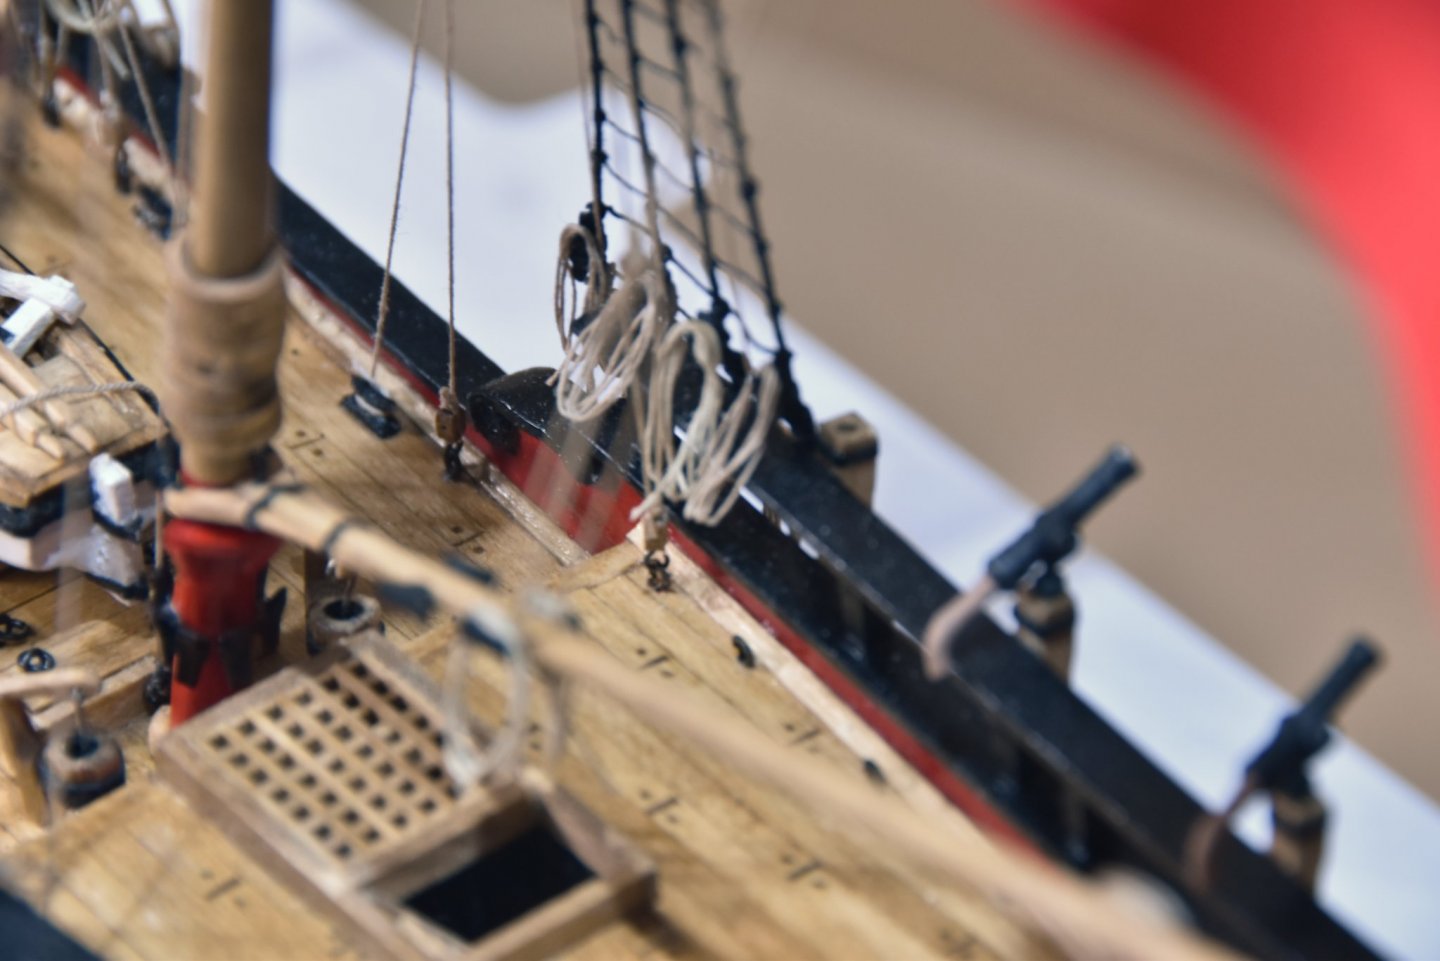
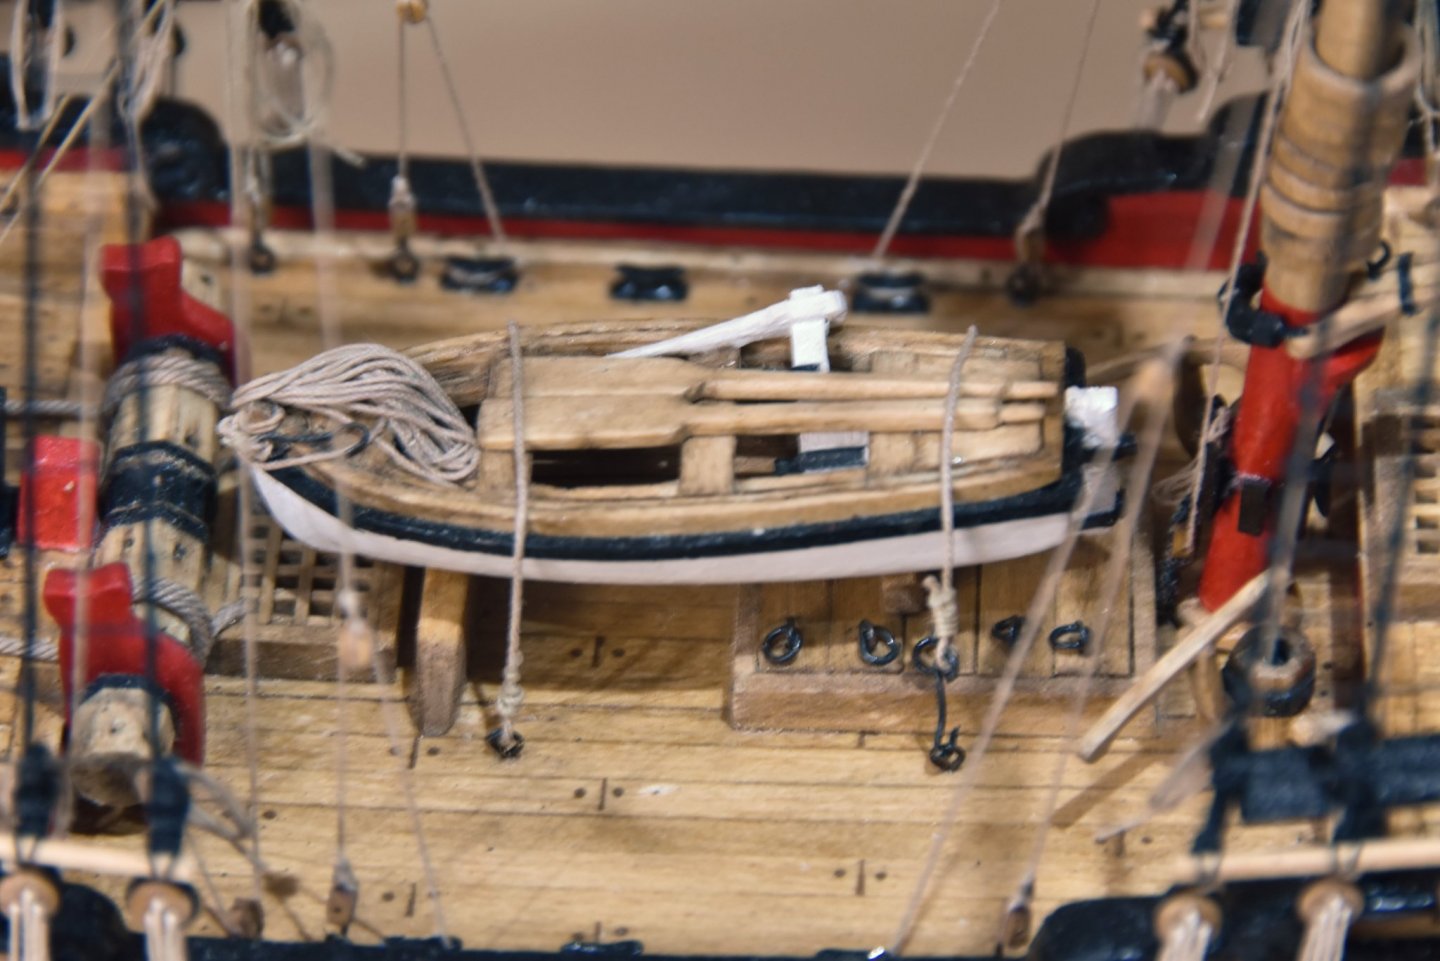
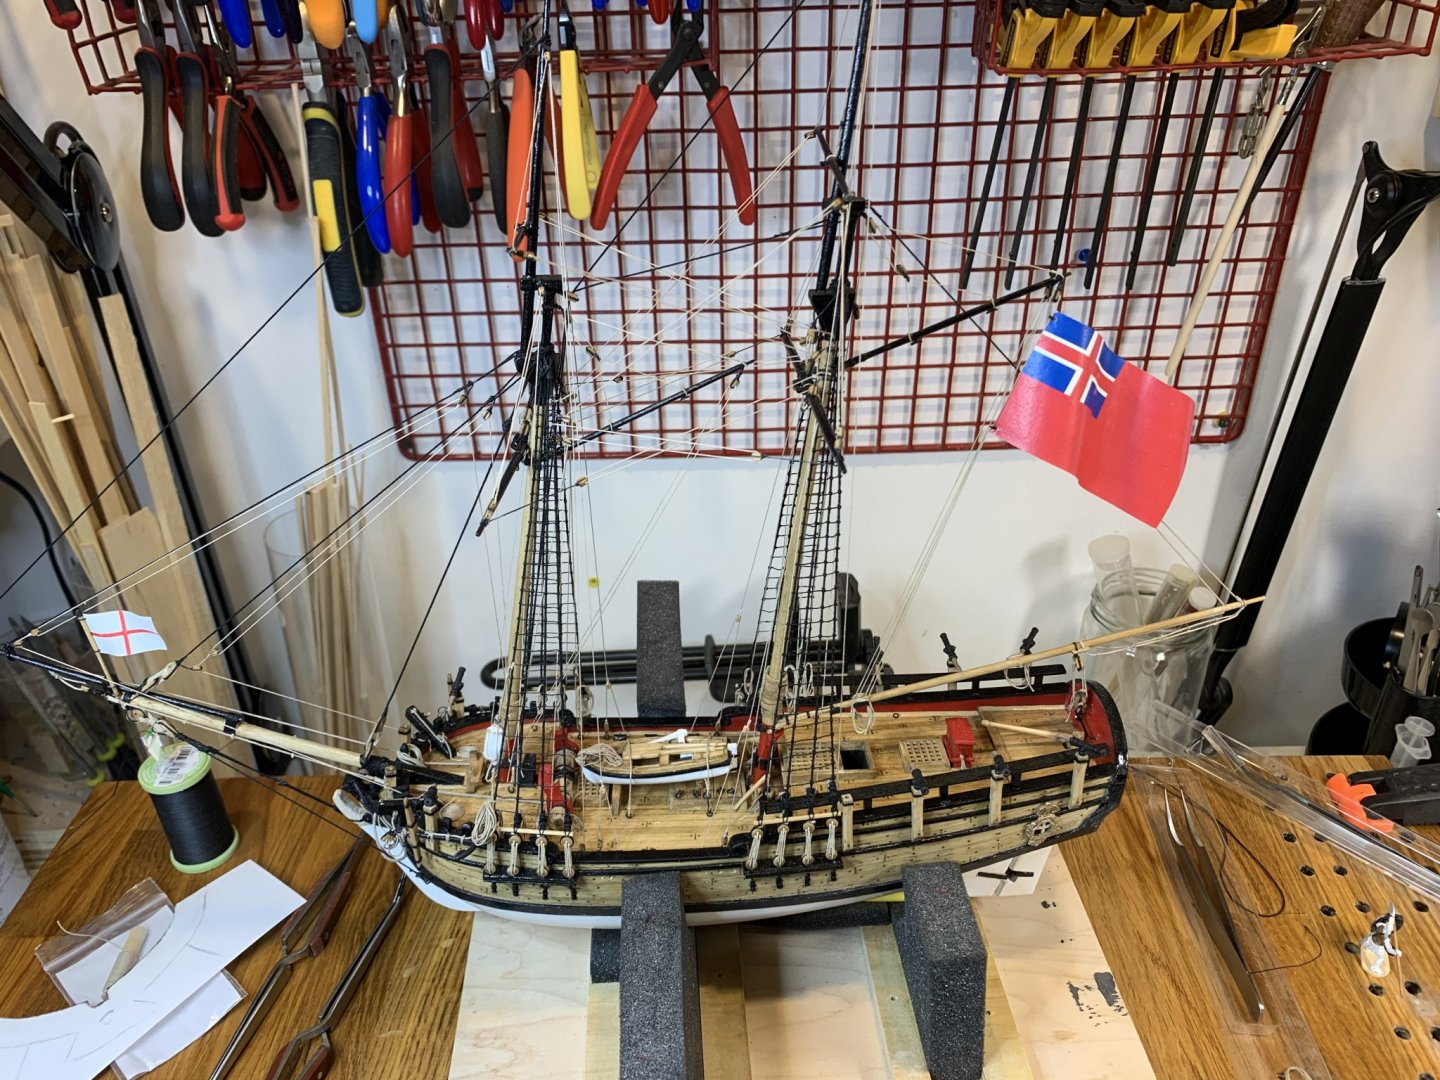
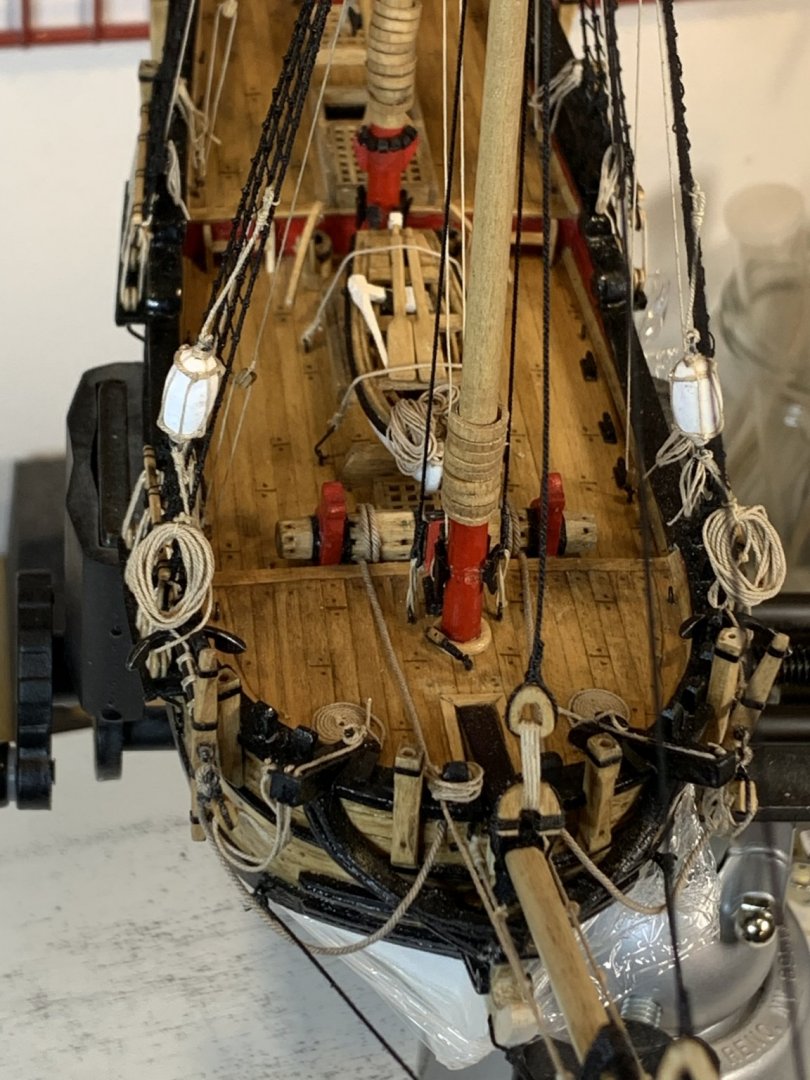
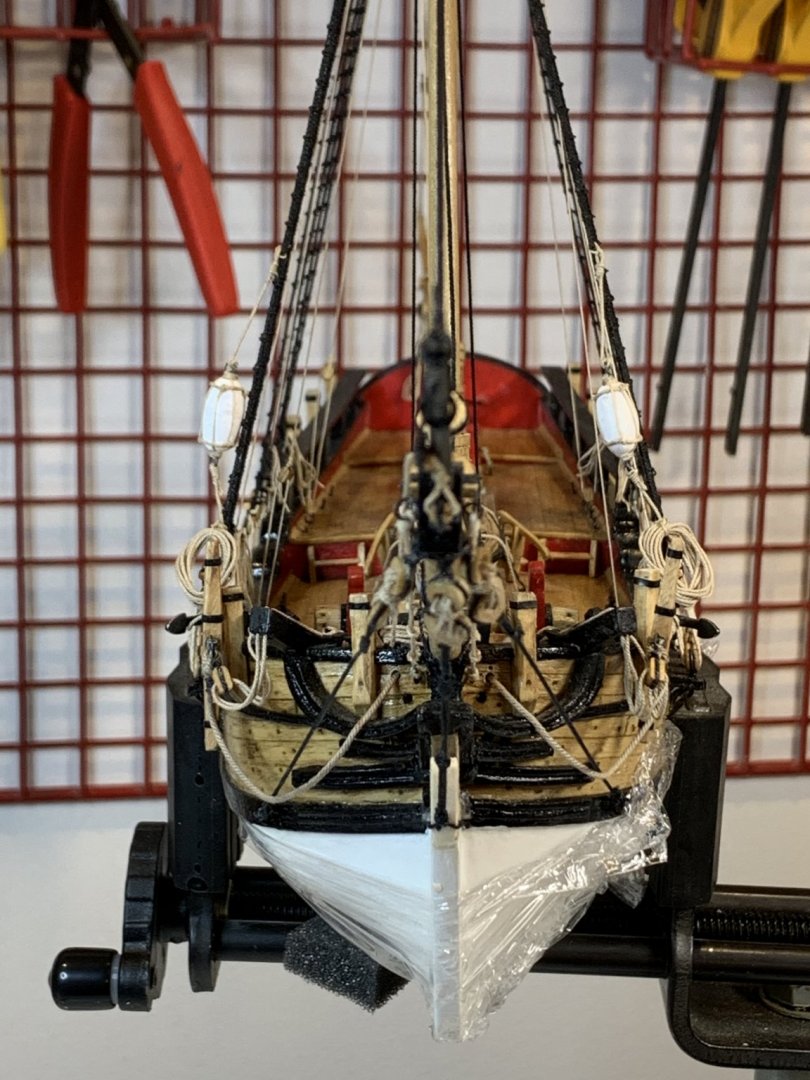
Well, that's about it. The building journey called Sultana has been completed. Started on March 2018, with long break, completed in February 2020. Plenty of modified parts, ropes, third-party wood pieces, scratch build details, custom metal parts have been applied to the model. Following Chuck's practicum and other modellers' build logs, Sultana reached the finished state. At the beginning i started to count modeling hours but gave up after approximately 40 hrs... It is still a hobby after all.. The model is very nice, not for beginners dough, regardless of the solid hood. By replacing the cheap ship details like gratings with some, CNC made parts, i believe this model will be a bit more desirable. I don't like the pedestal, it appears to be a bit cumbersome so in the future will replace it. Already had a holes made in the keel for the new one. At the end, would like to thank all builders on this great forum for building ideas, all other Sultana build logs and all members who followed my building adventure. So, here they are, the final pictures...


- 360 replies
-
- 5
-
-
- sultana
- model shipways
- (and 1 more)
-
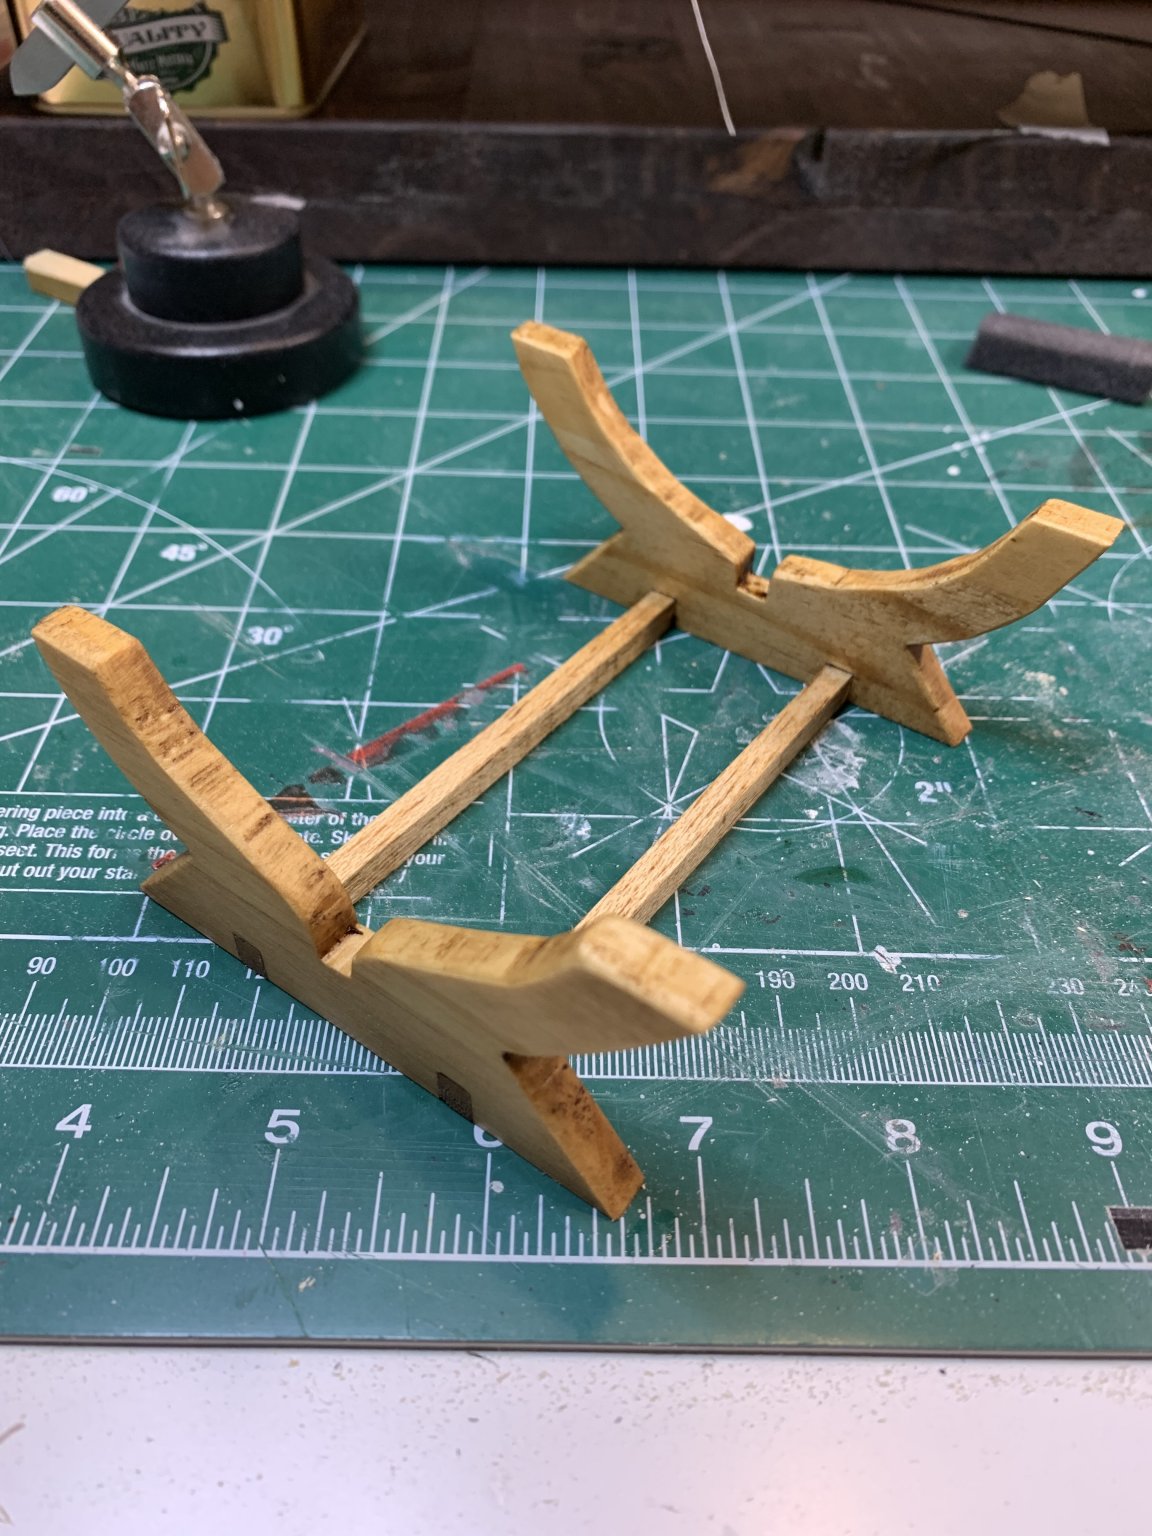
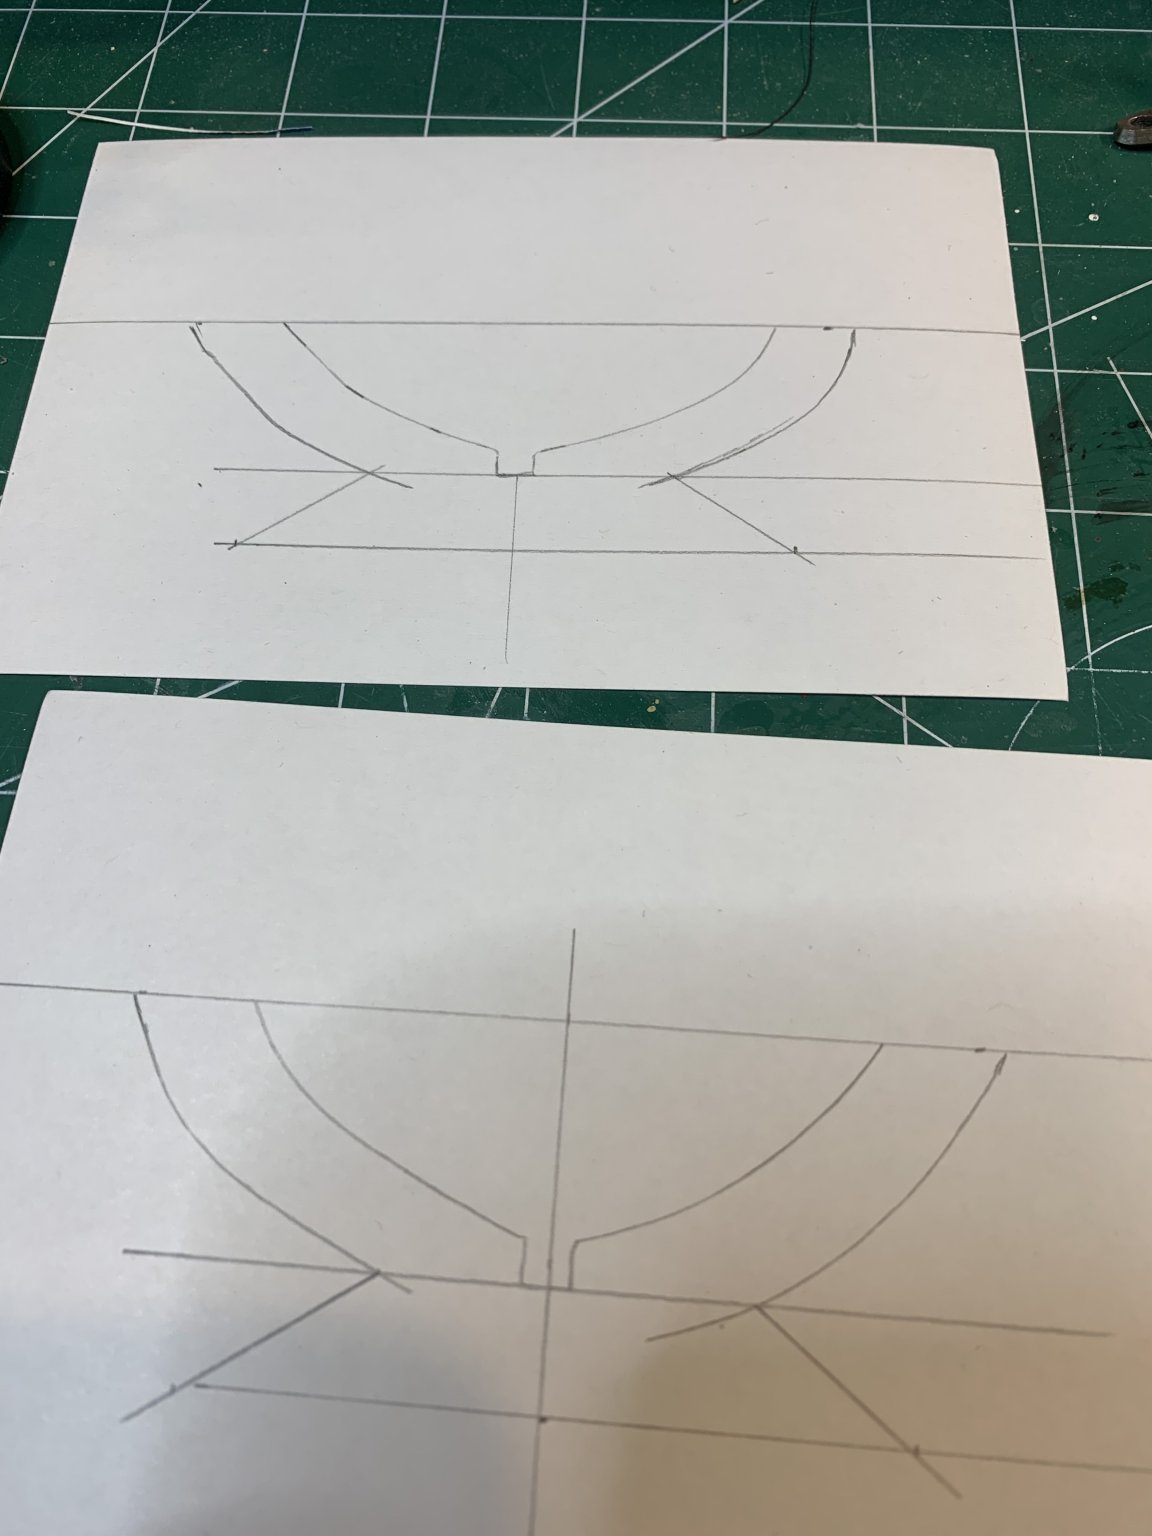
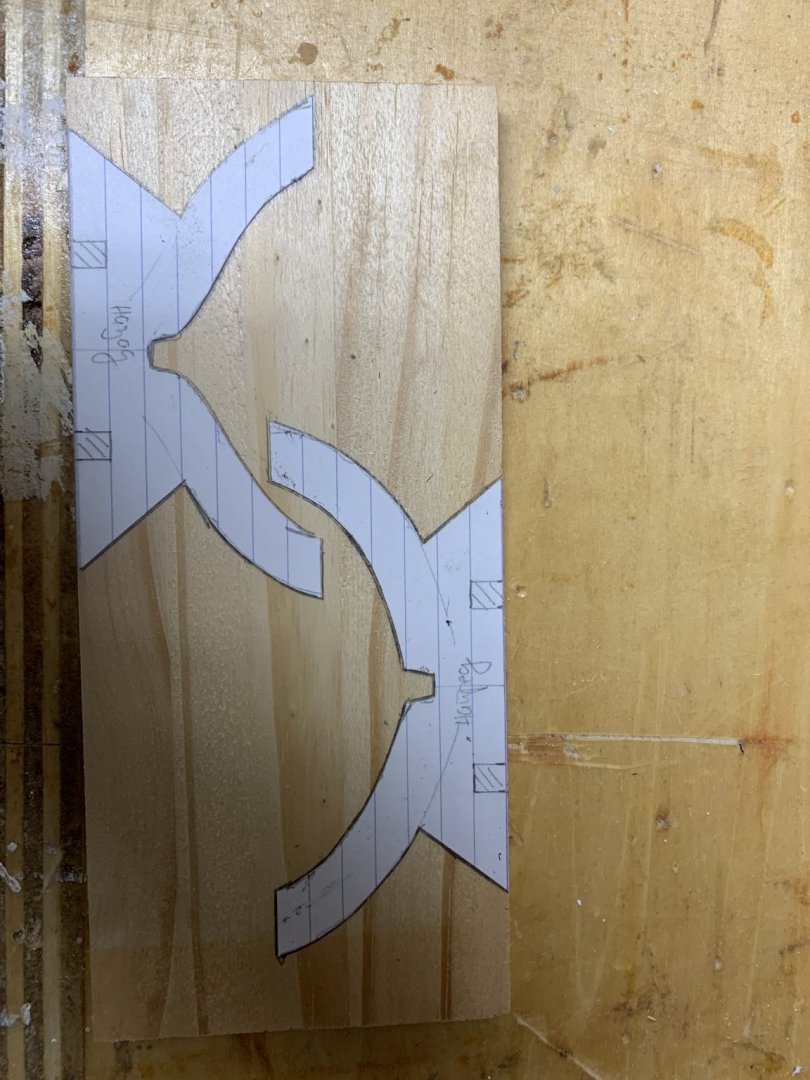
The molding was completed, now the ship name has to be made and attached. The pedestal was designed, the plan was glued to the board, and parts were cut. After some sanding, the pedestal was completed and a tiny layer of golden oak stain was applied. Happy modeling.

- 360 replies
-
- 3
-
-
- sultana
- model shipways
- (and 1 more)
-
Thanks; planned to use 3D but decided not to..
-
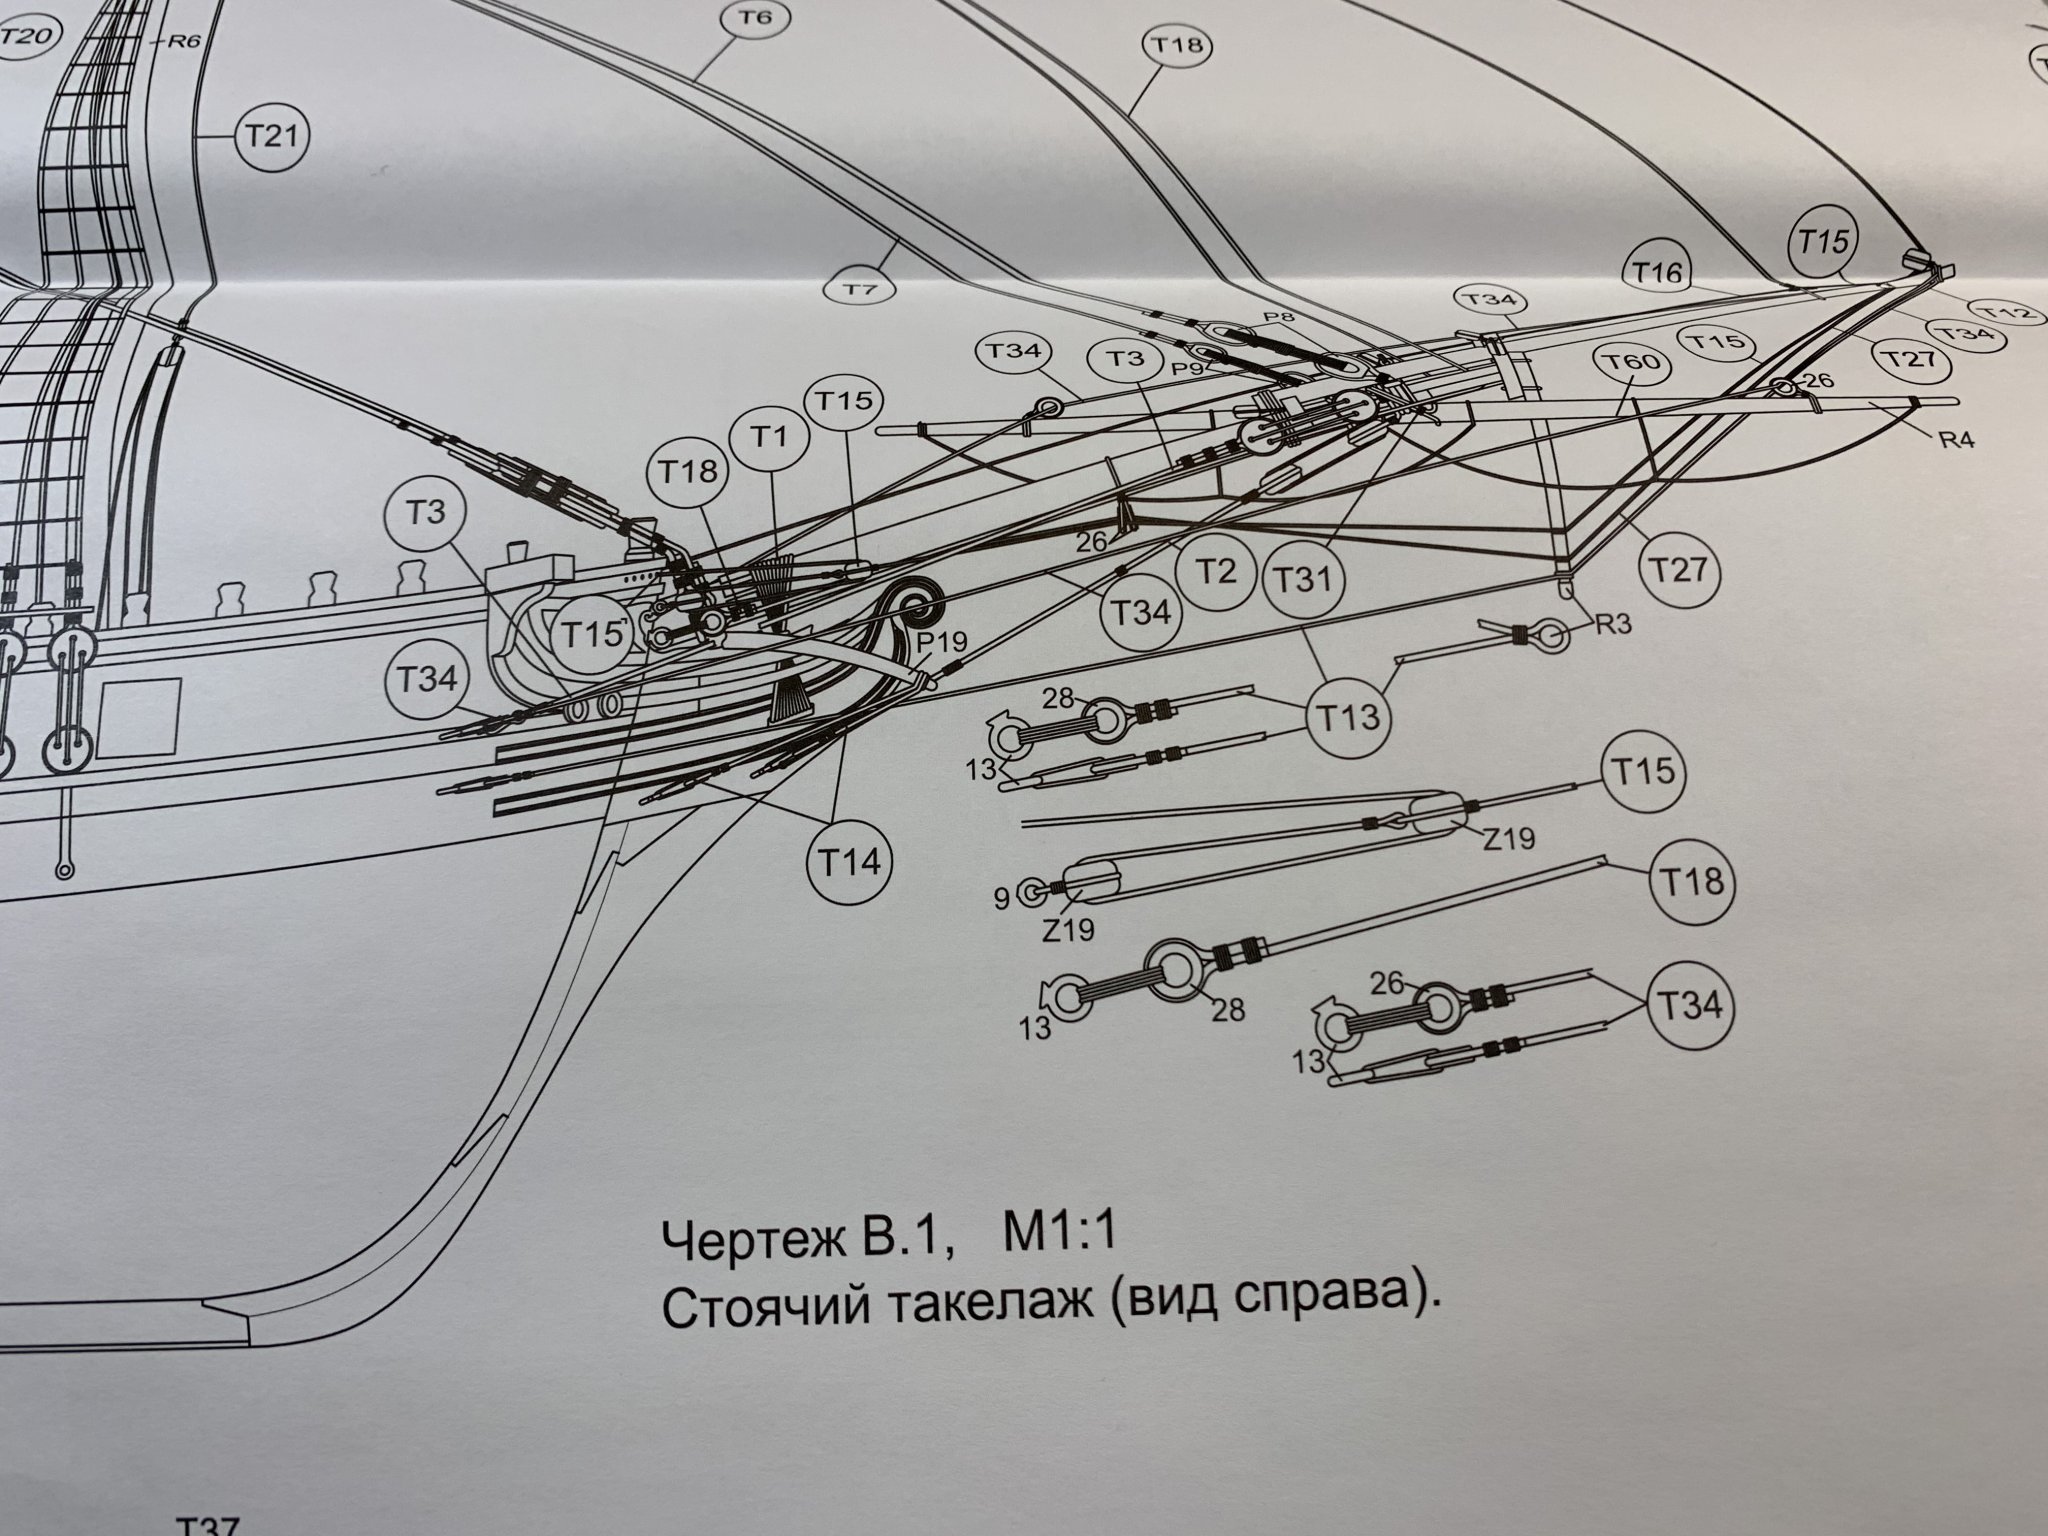
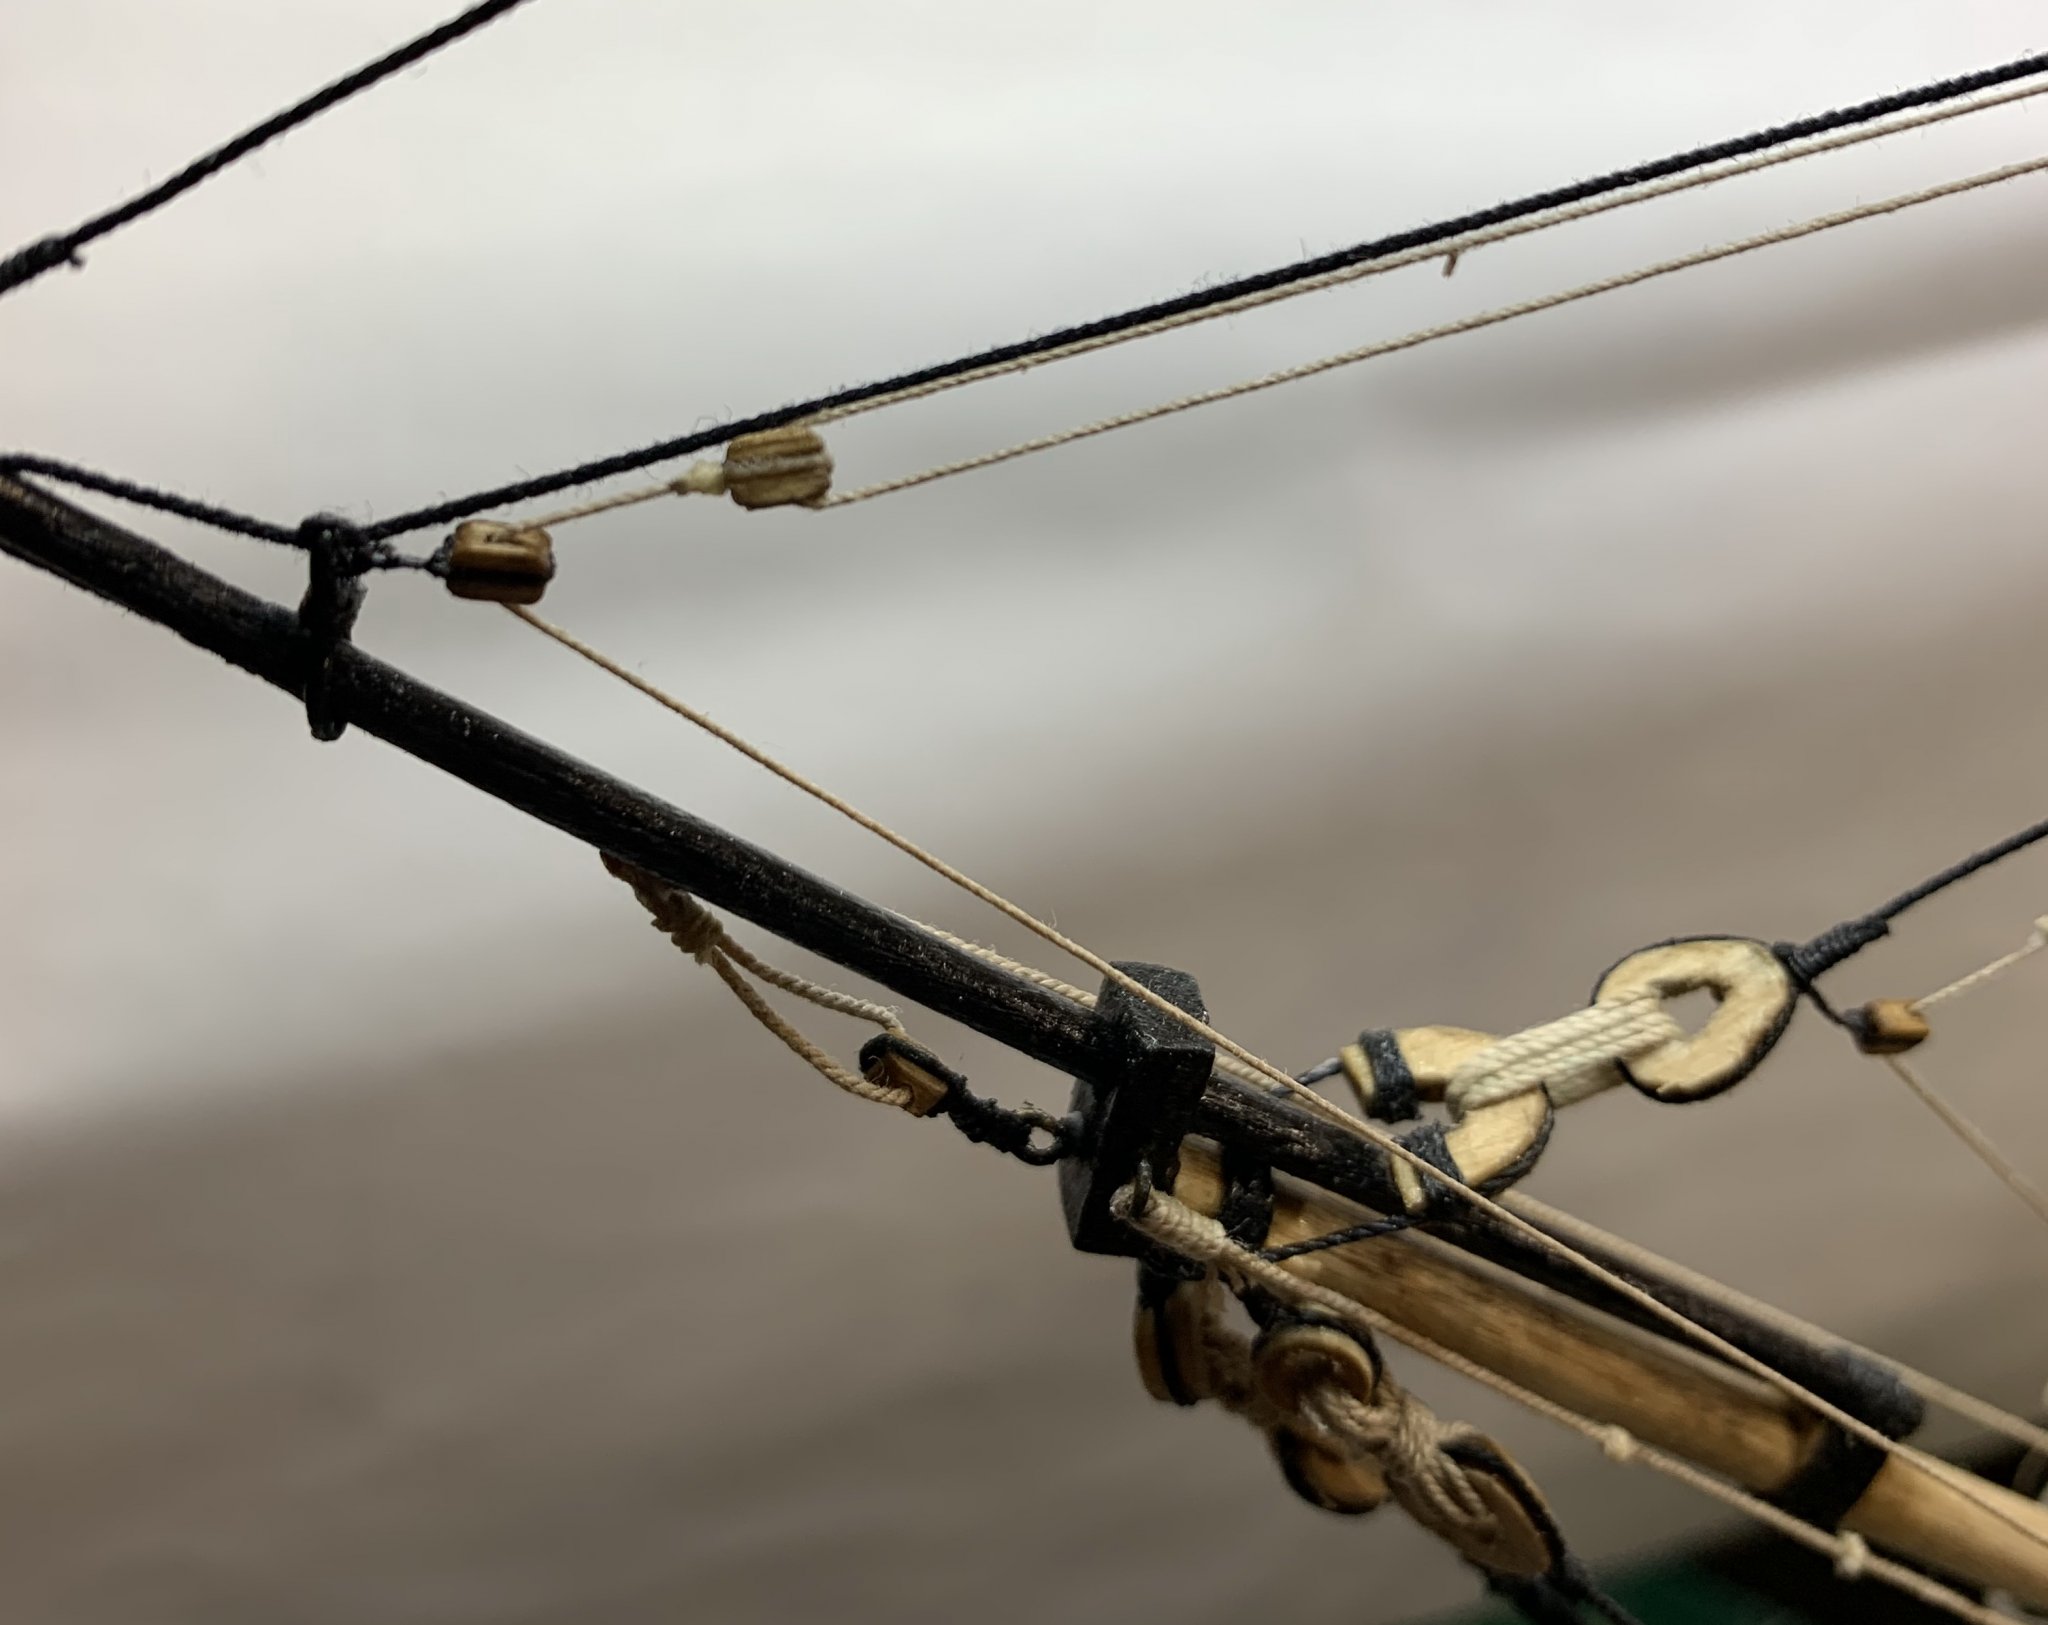
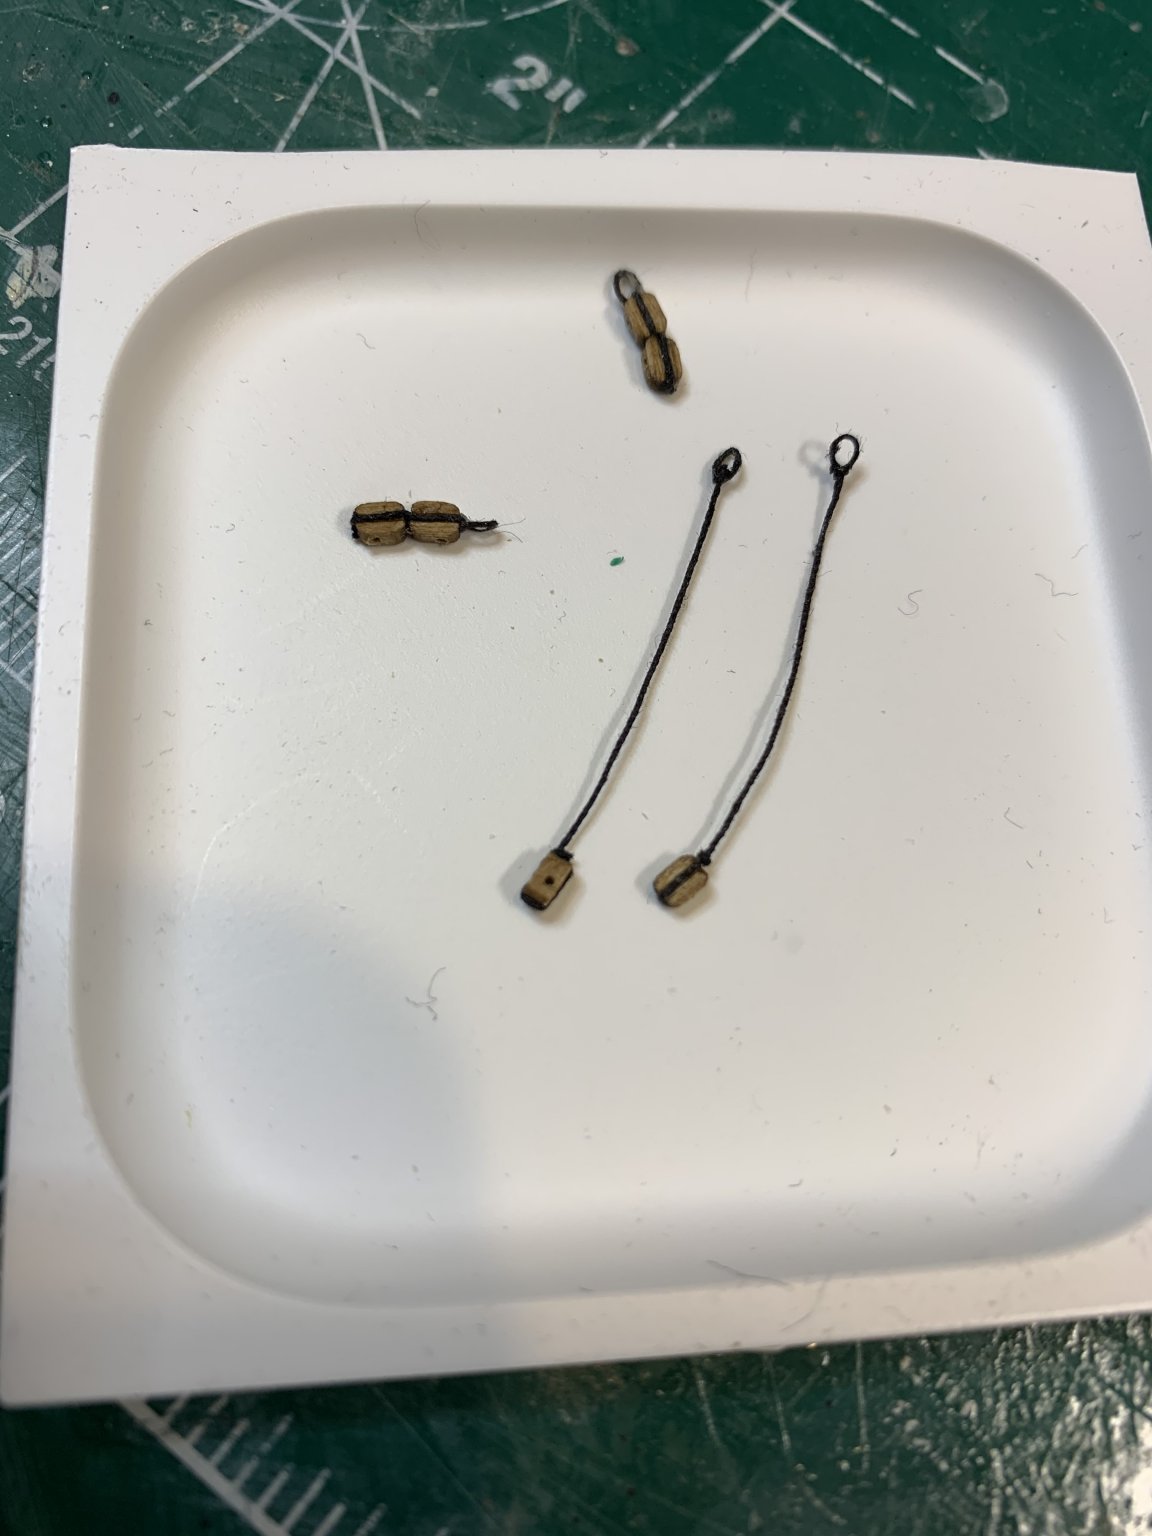
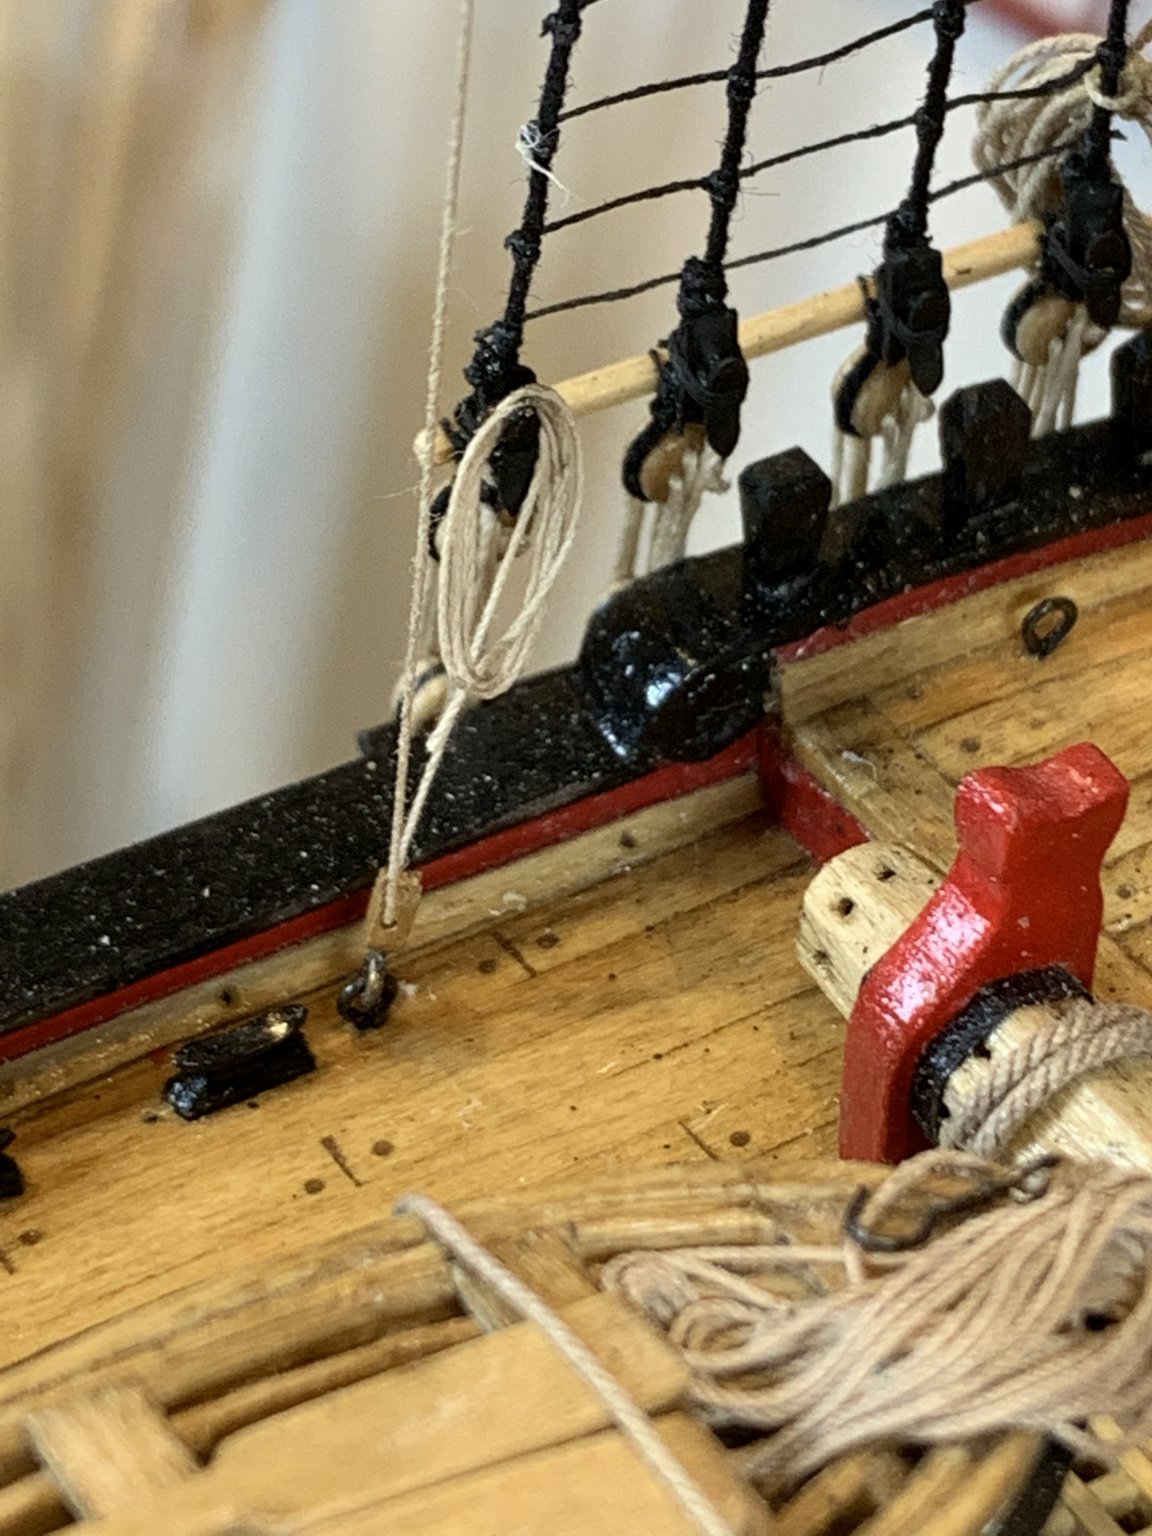
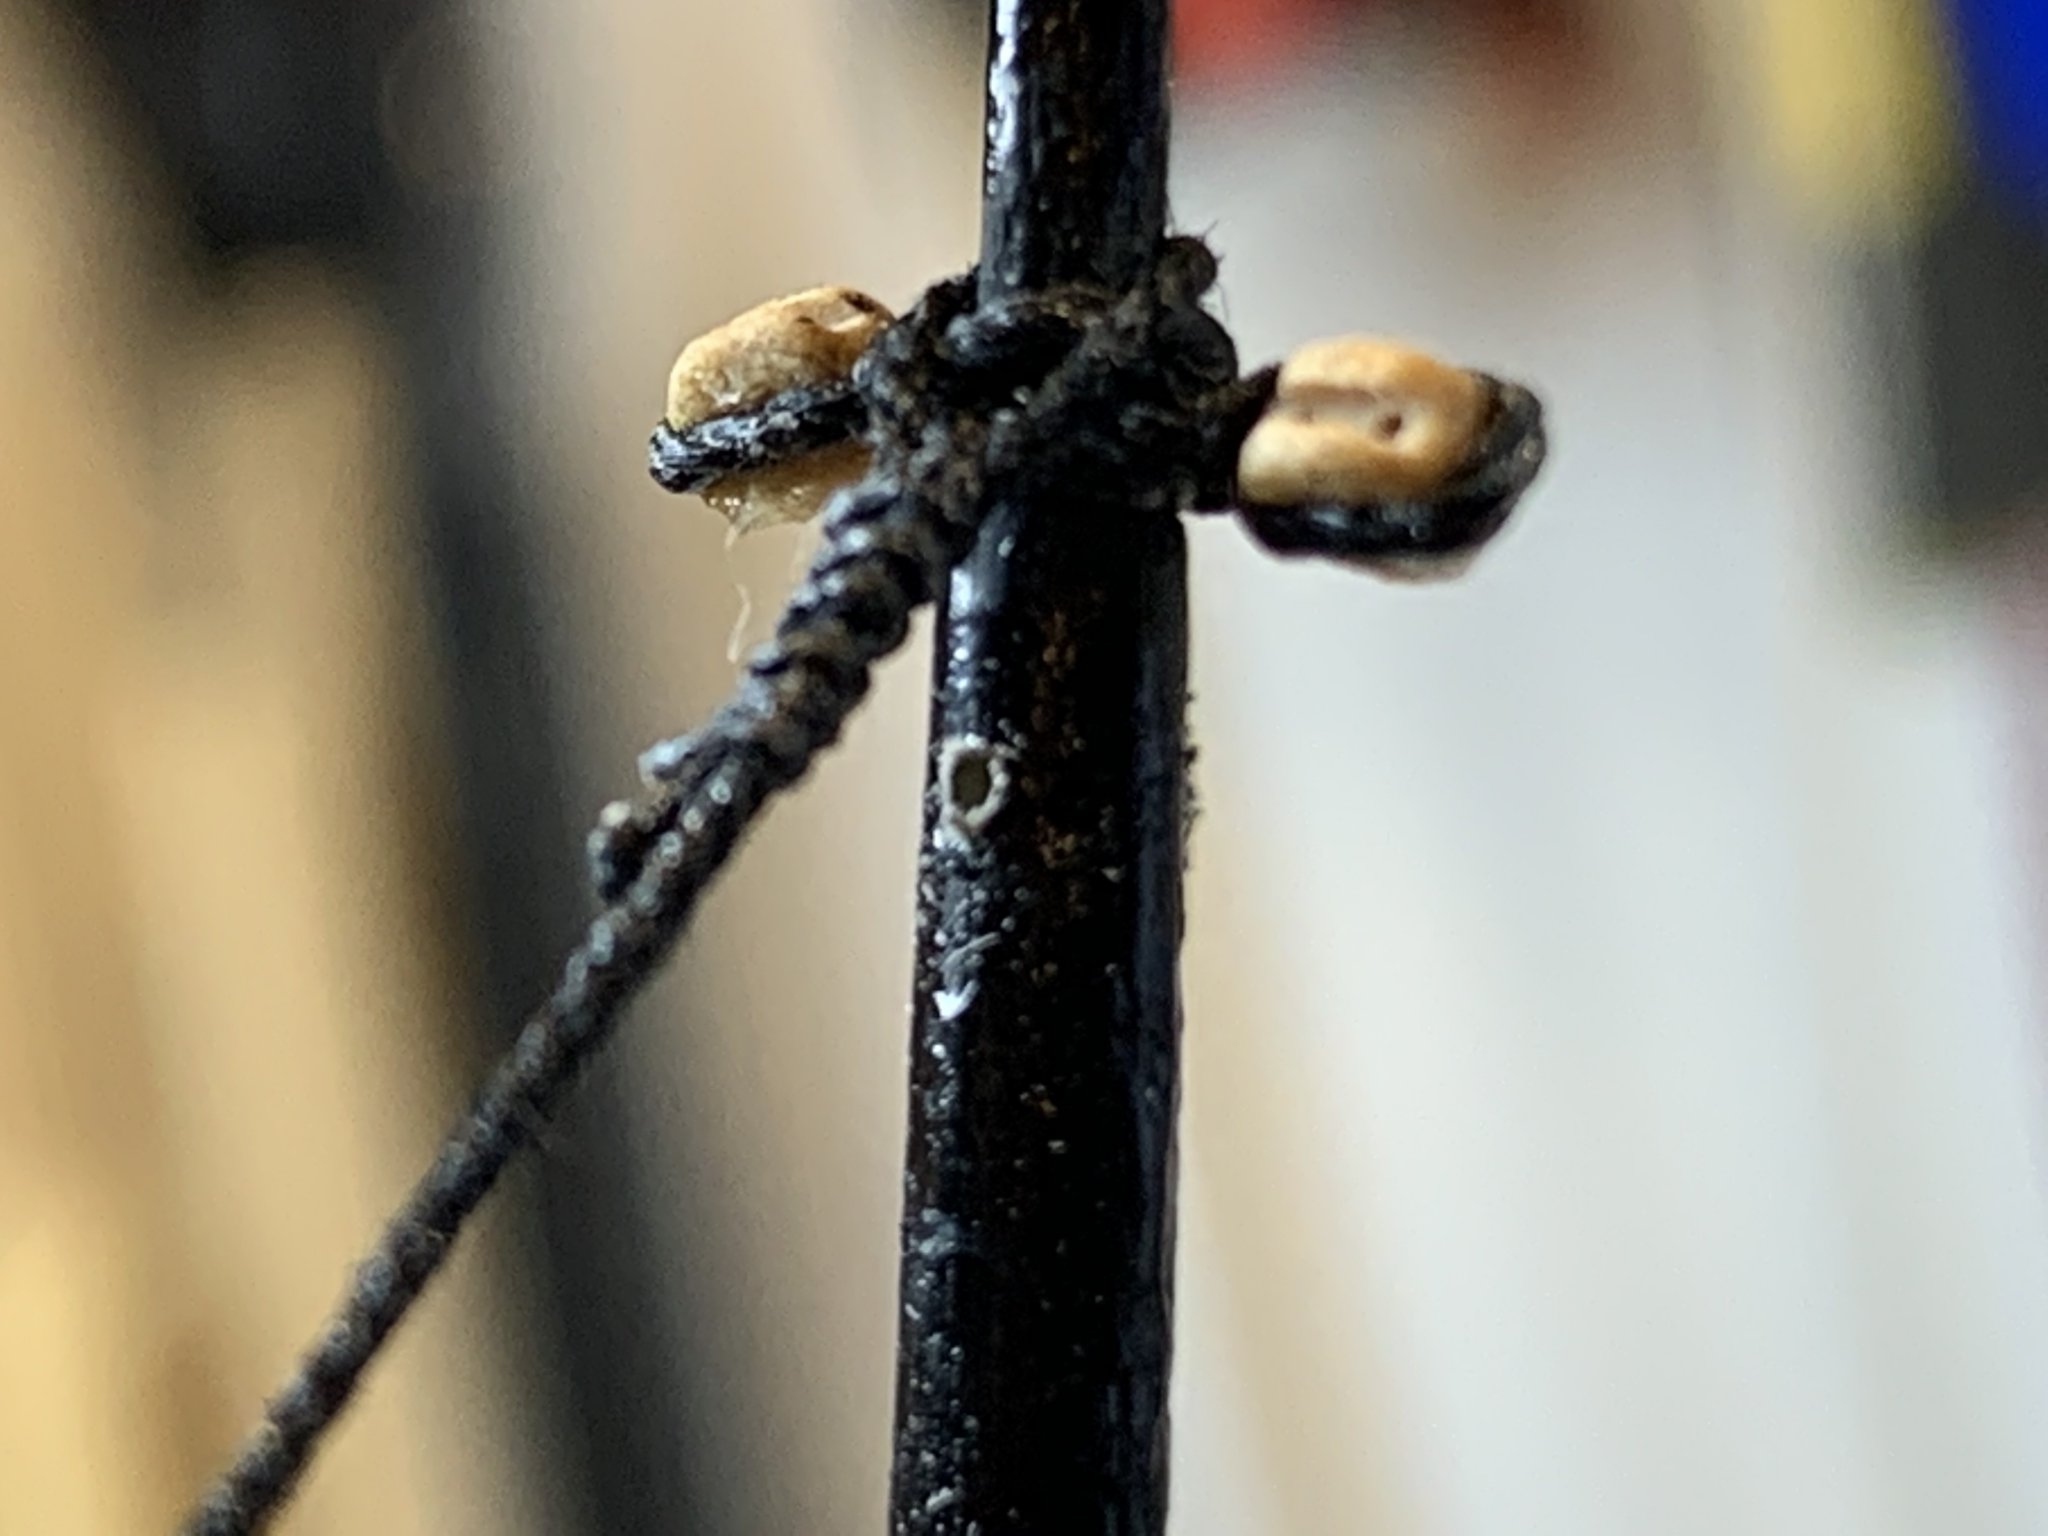
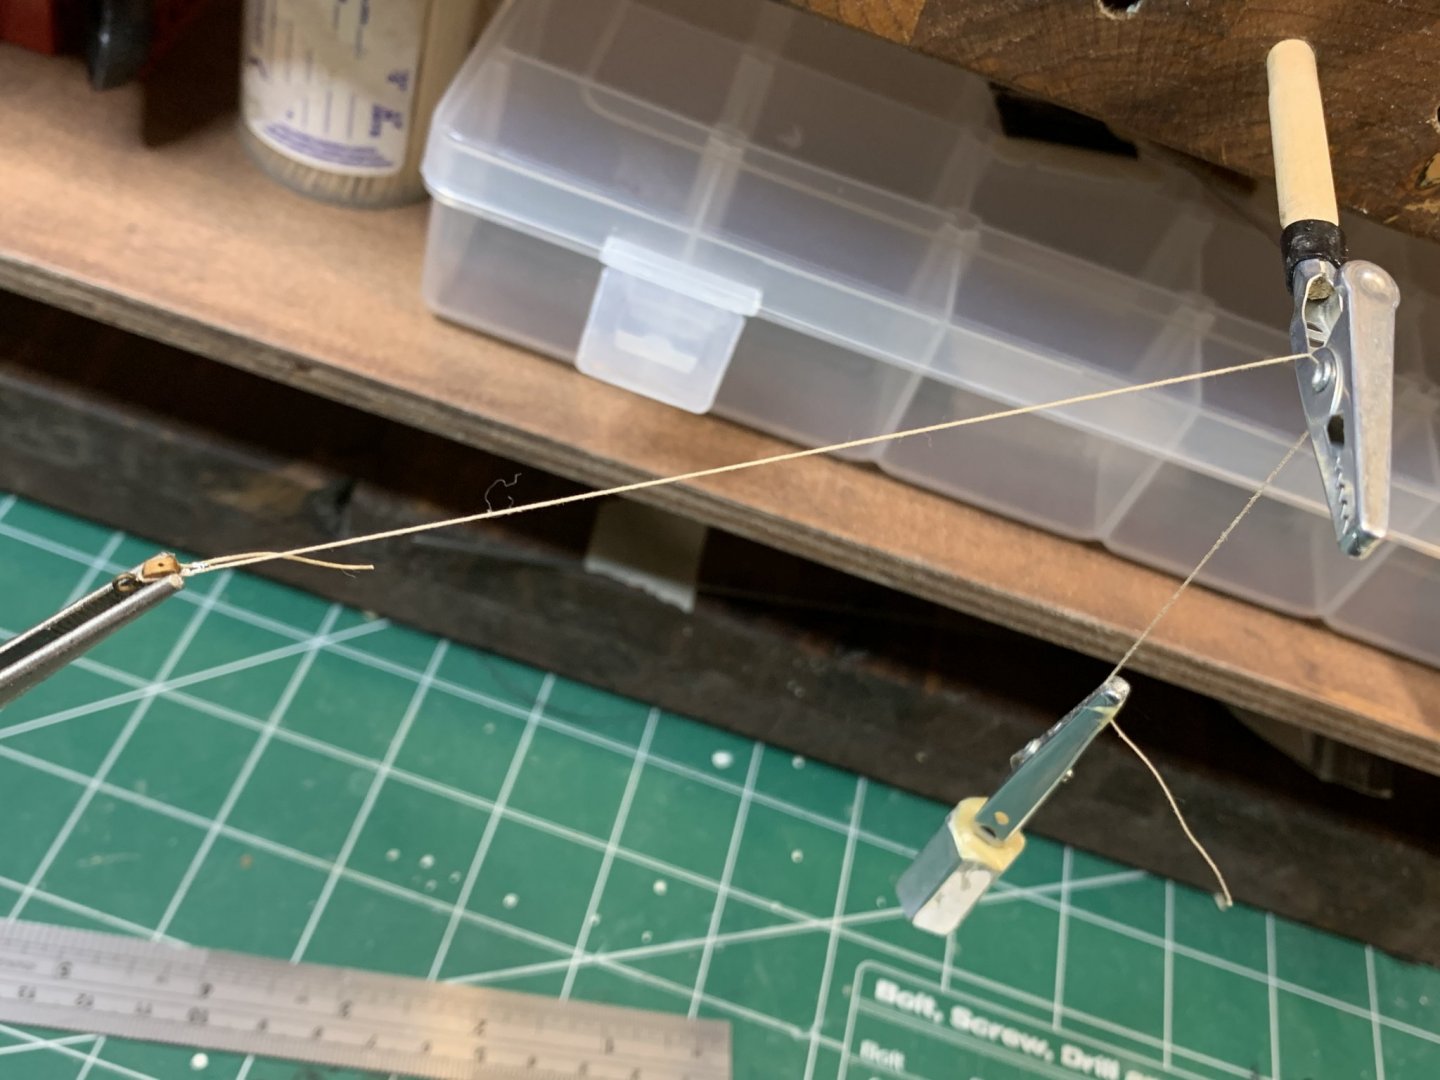
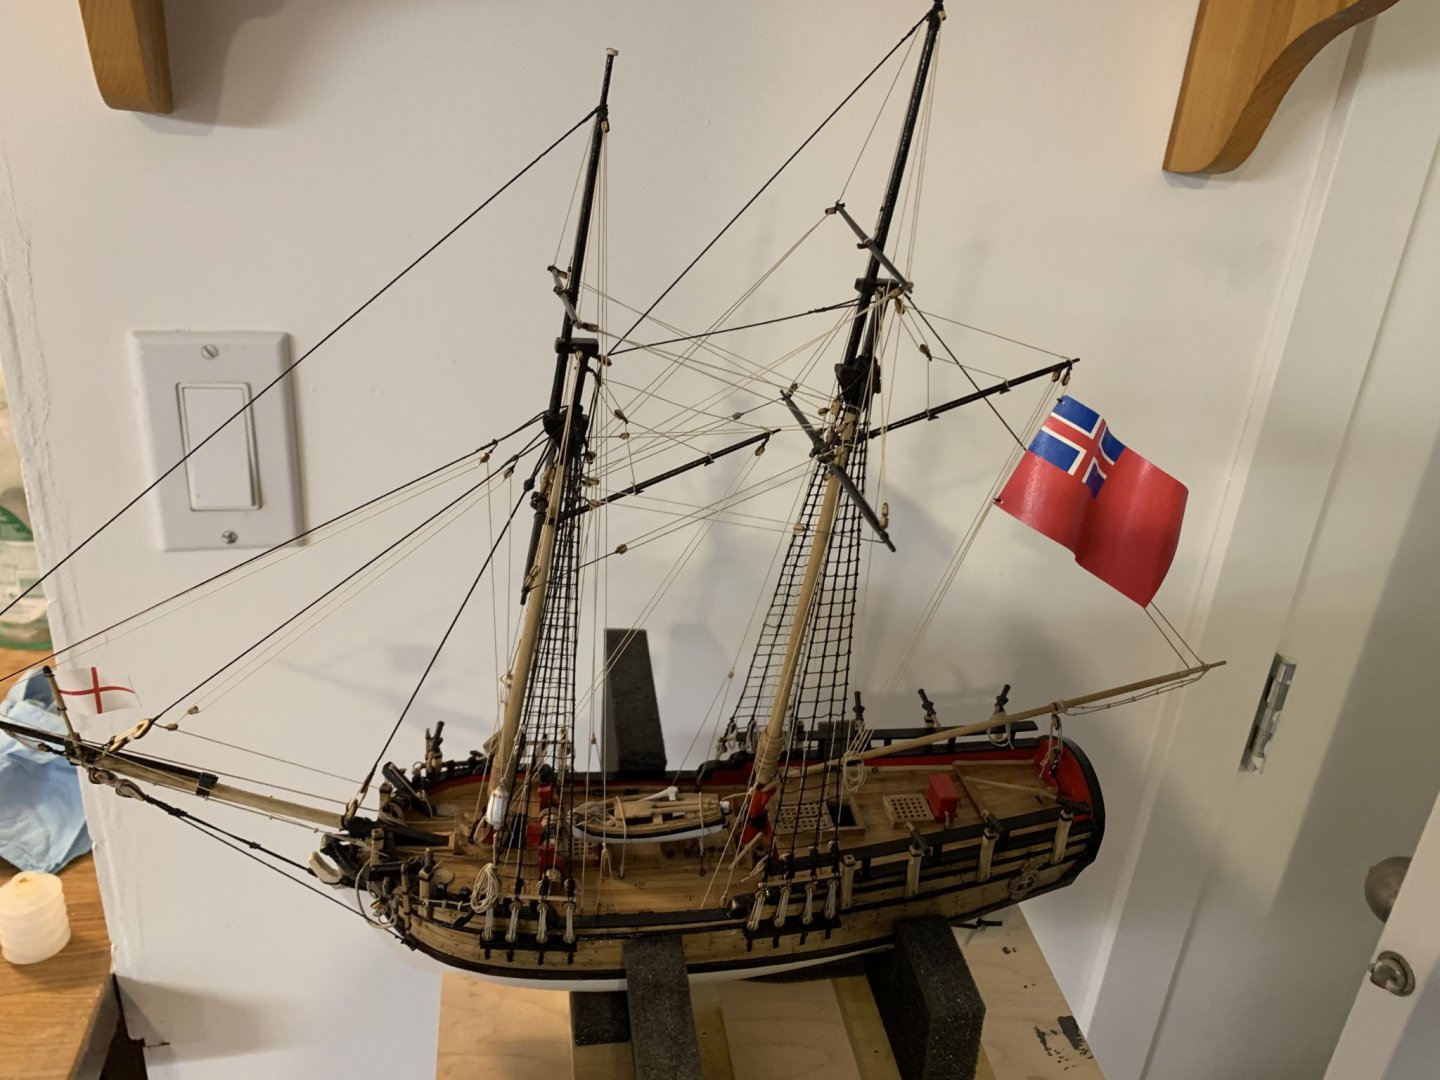
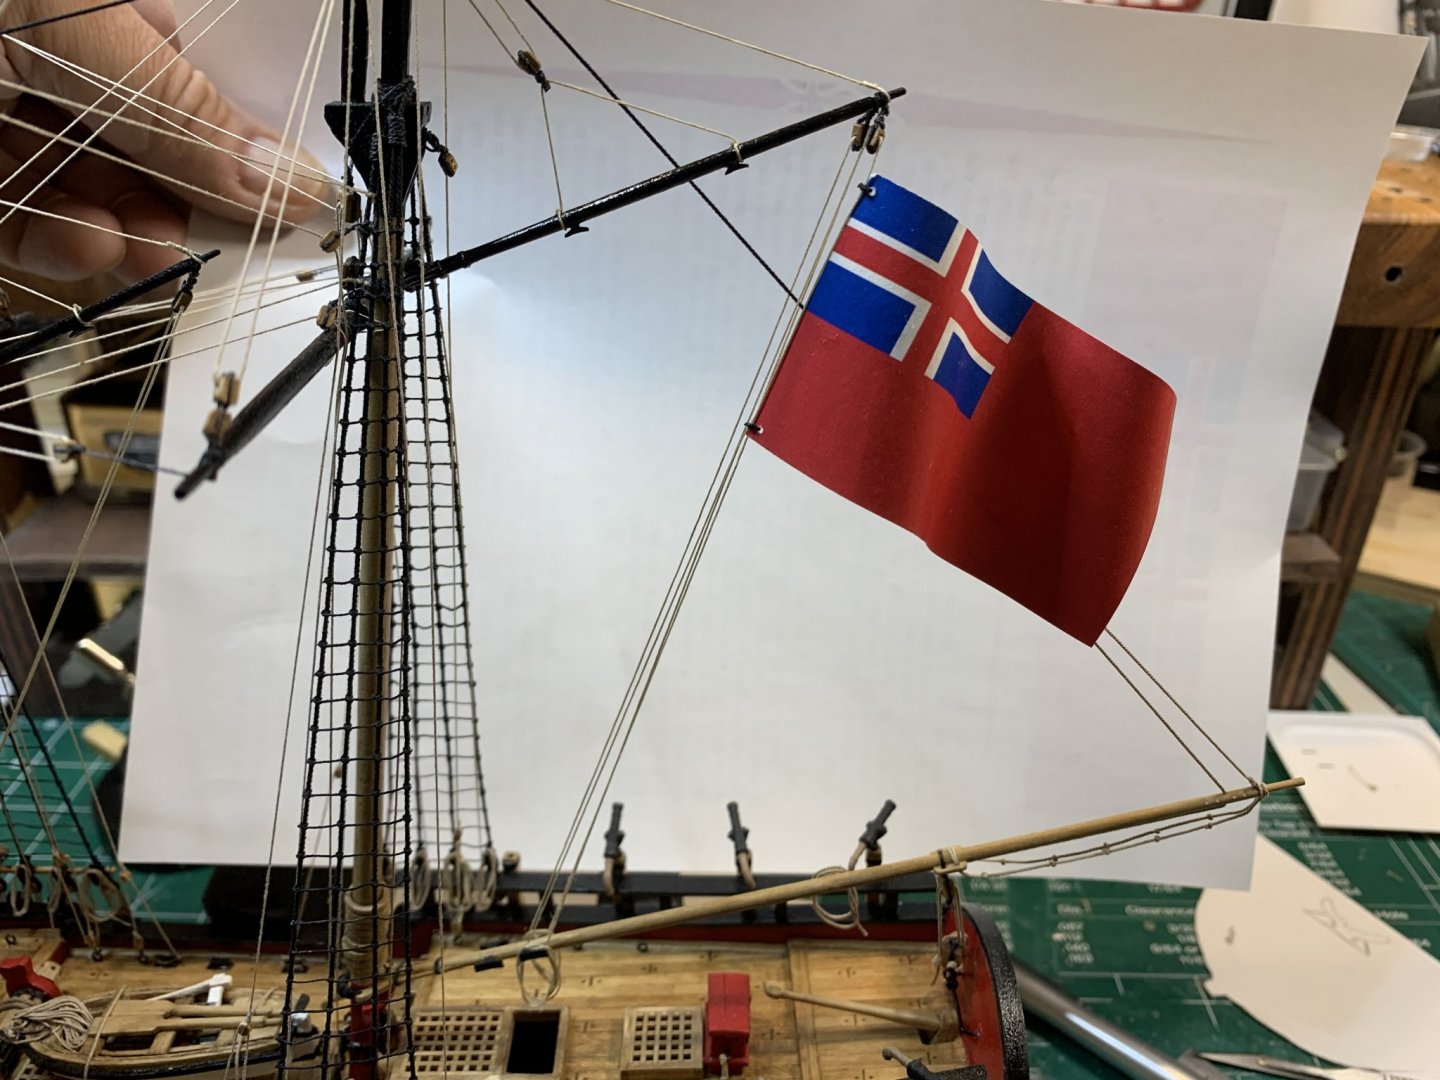
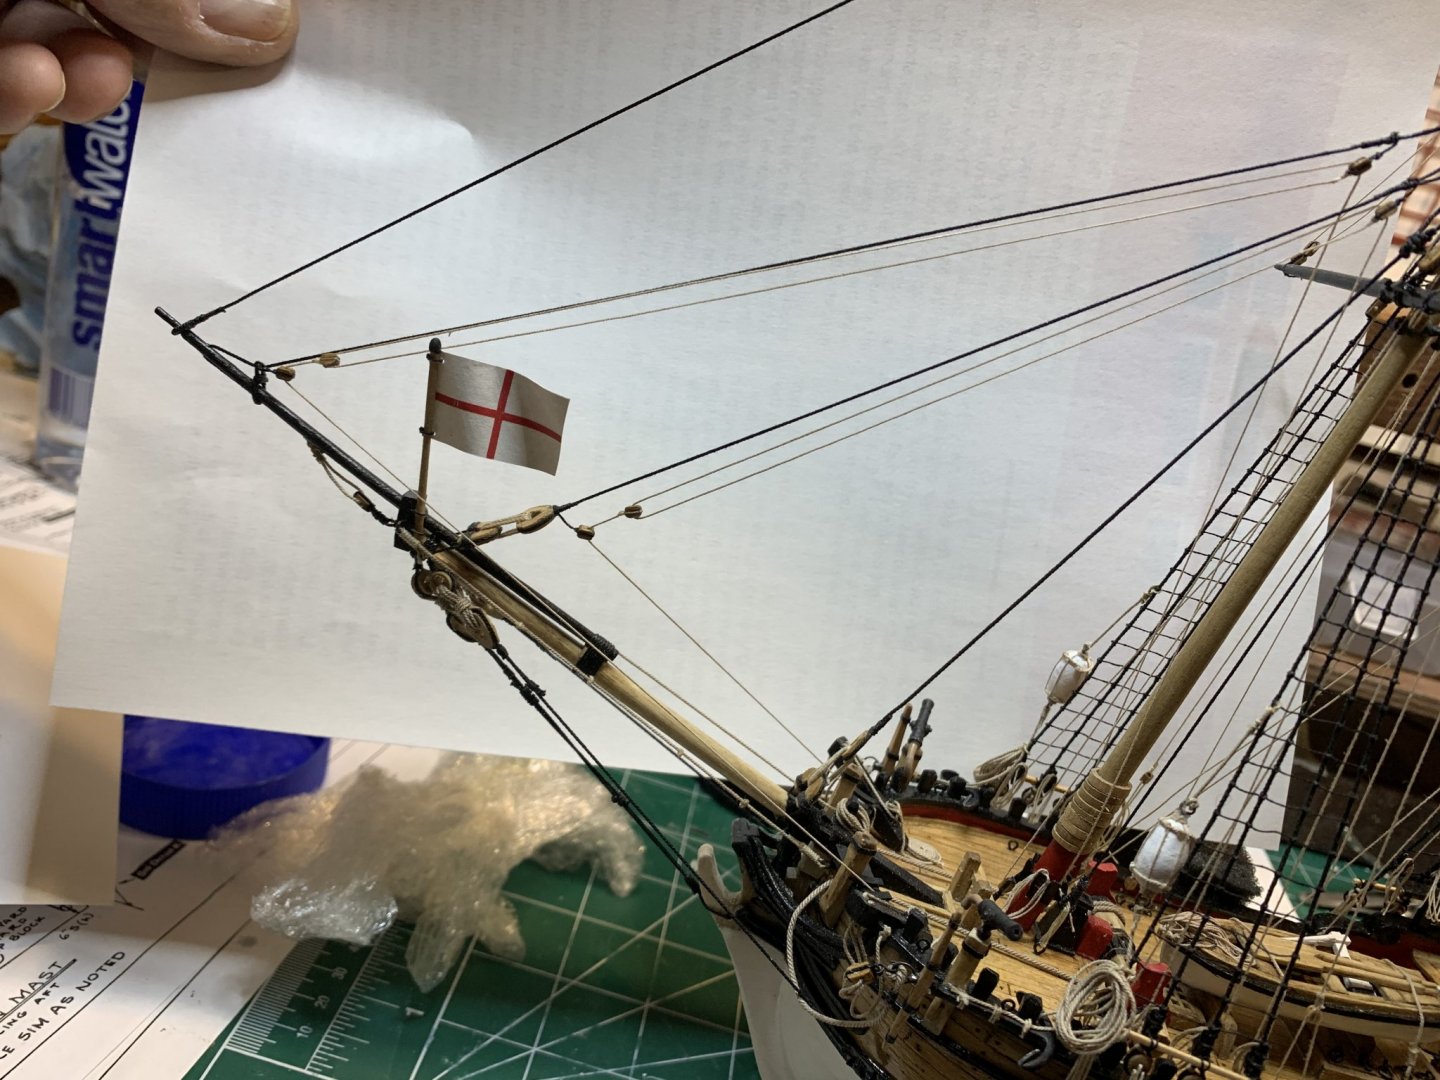
Well, that it is, last stretch of this beautiful small model Small setup used to make vangs. The vangs were rigged with .020 mm rigging line, a 2.5mm single blocks was seized on one end of the line. The tackle was seized on the same size block, that has a small hook in it. The hook was made of 28 gauge wire that was blackened. The hook was attached to the eye bolt on the deck. Then i worked on flags. Following practicum, the flags were printed and glued together. Then i made two small holes on the edges and wrapped the flag around wooden dowel to provide a bit of a natural look. Did not go too far since paper does not accept wrapping mistakes that good.. Apologies for clatter in the background, the final pictures will be better. Next started to work on pedestal.... still contemplating about the shape and this is just beginning. Happy modeling.

- 360 replies
-
- 6
-
-
- sultana
- model shipways
- (and 1 more)
-
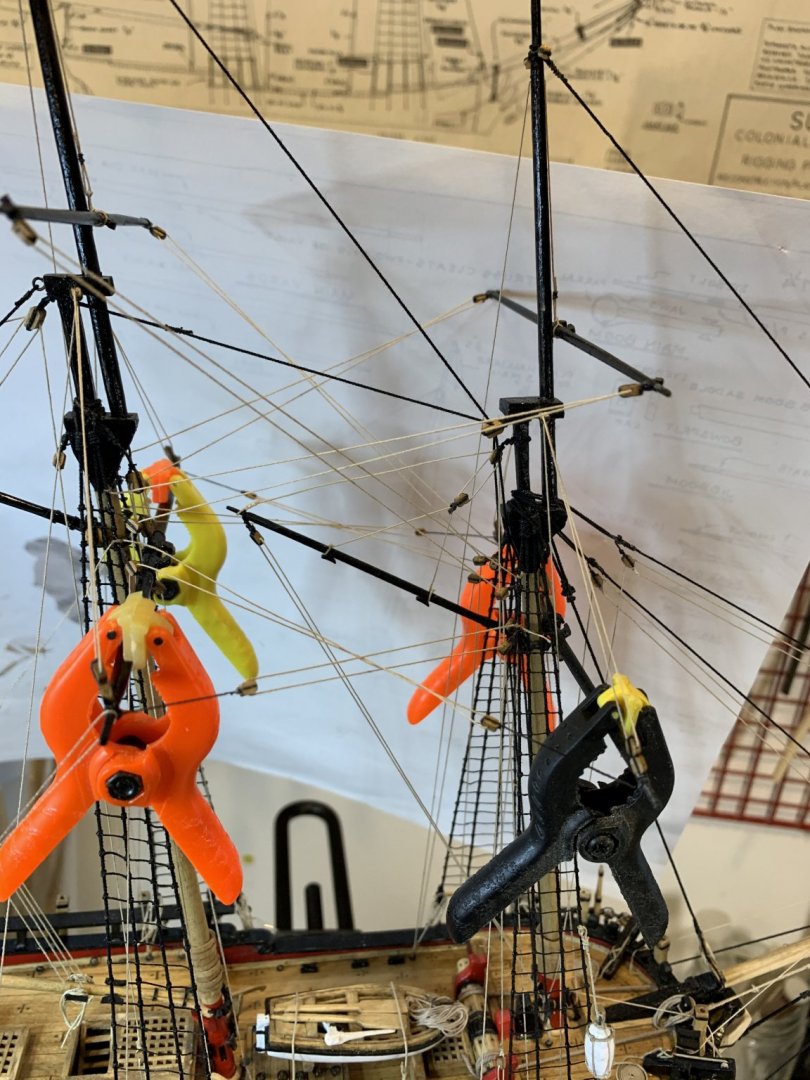
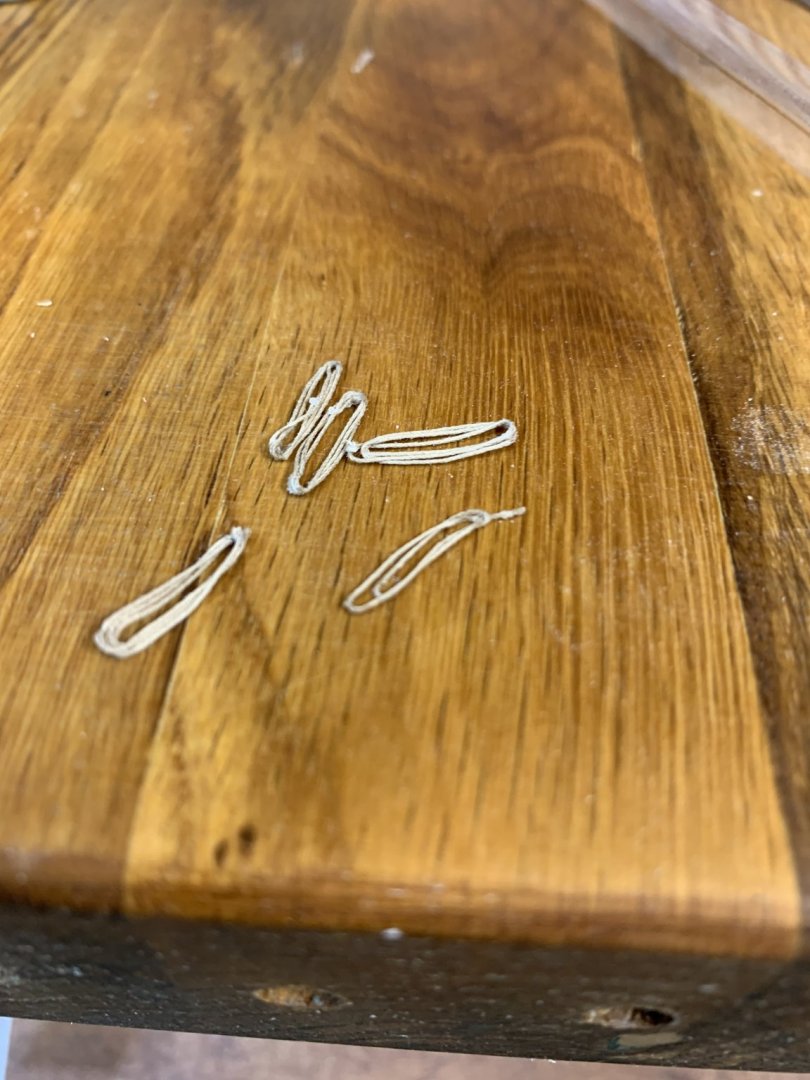
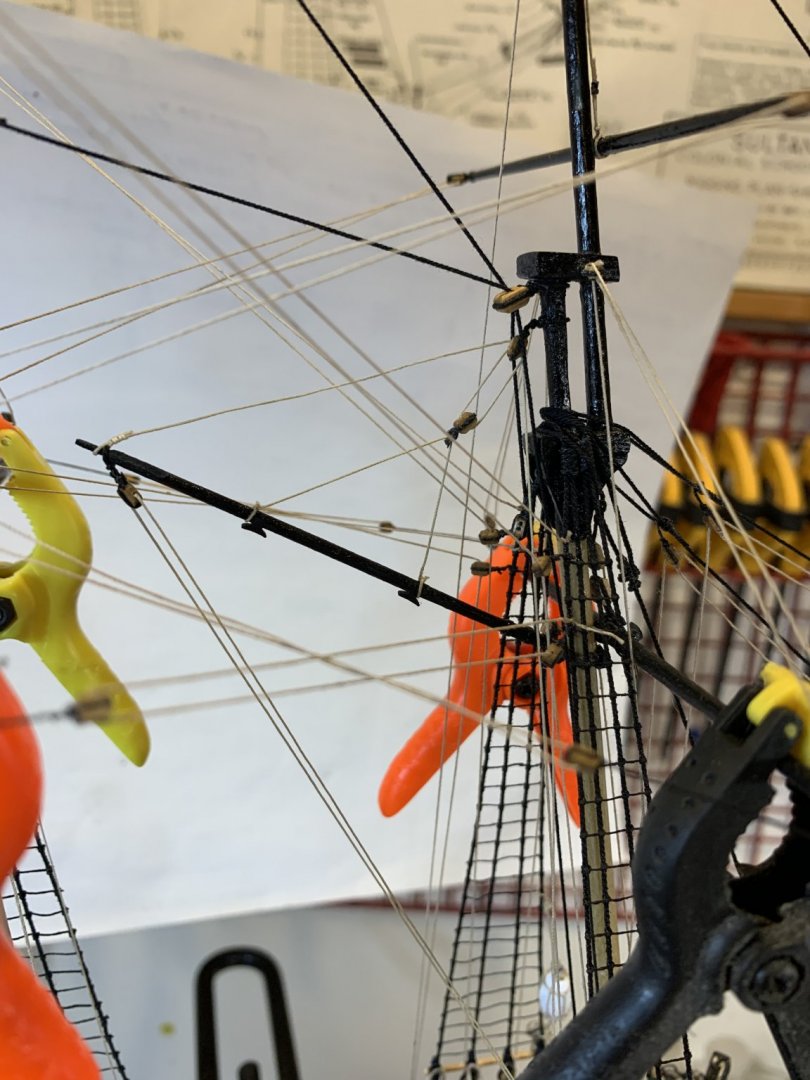
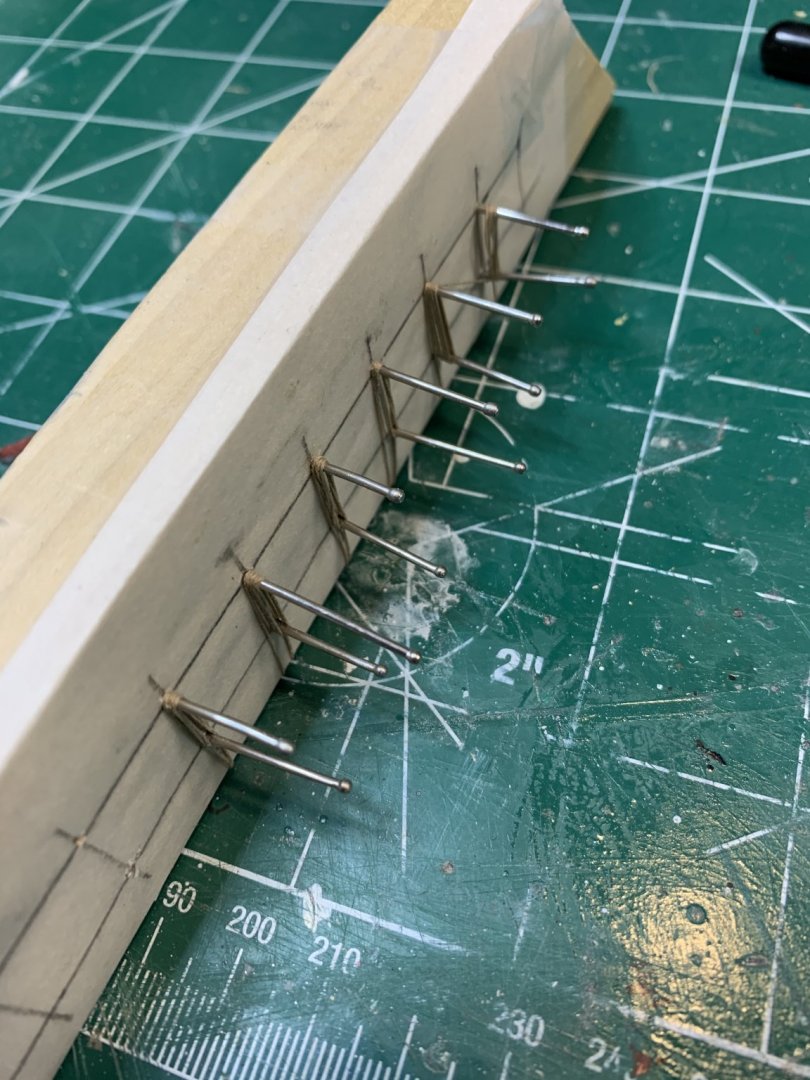
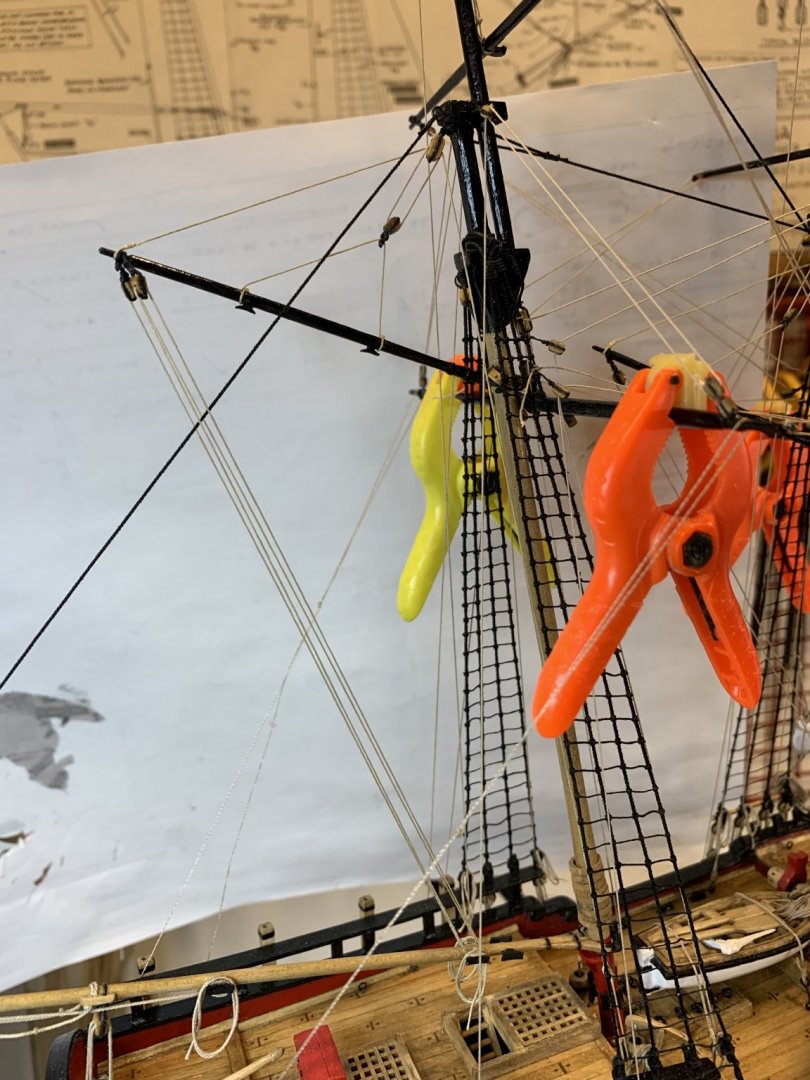
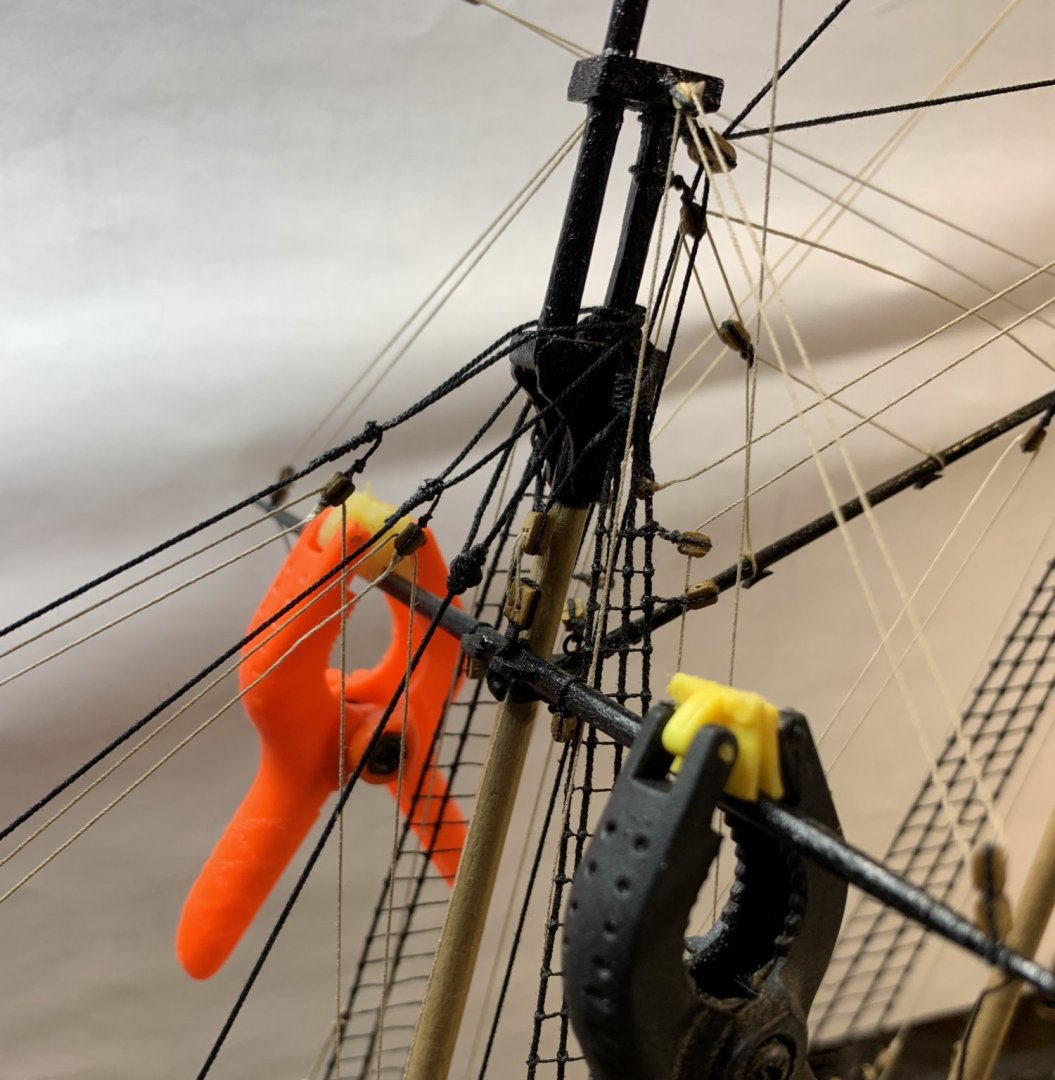
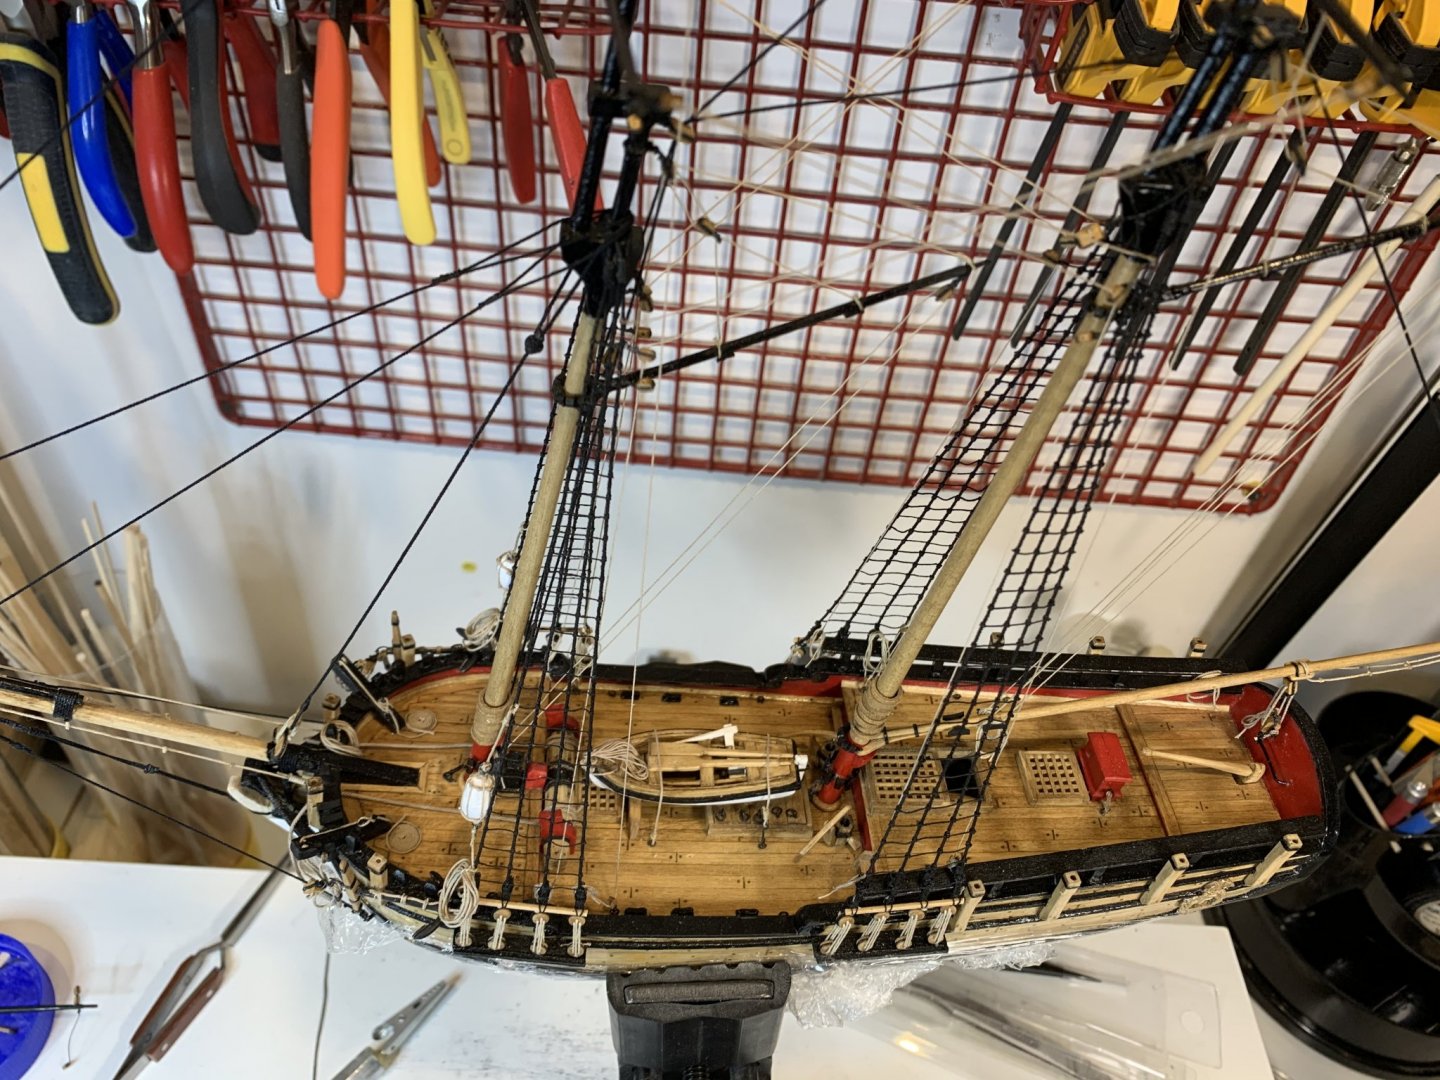
Continue working on lower yards, installing halliards, braces, top sail sheets and lifts. The small amount of diluted white glue was applied with a brush to all ropes to keep them tight. To make ropes straight, yards were pushed down with a help of a small clamps. Several rope hanks were created to finish up ropes that will be attached to cleaves. I used small template for this task, End results Happy modeling.
- 360 replies
-
- 2
-
-
- sultana
- model shipways
- (and 1 more)
-
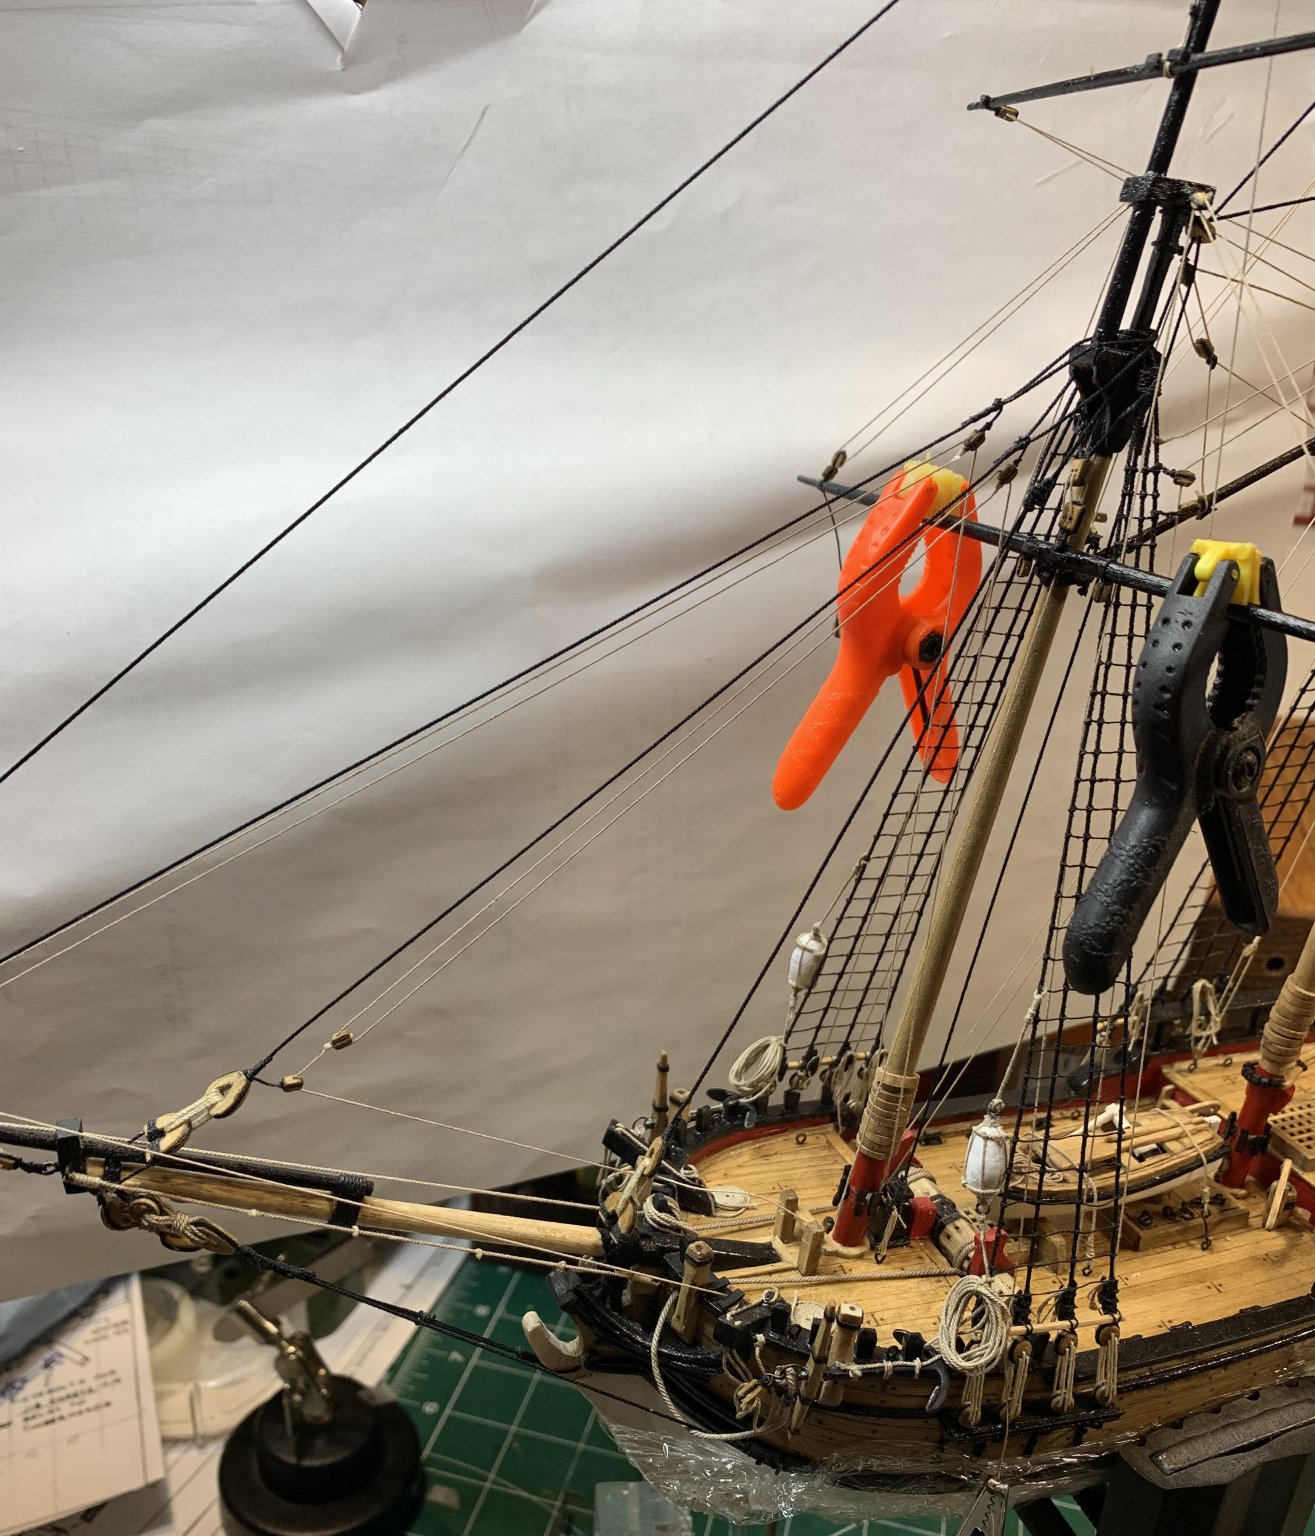
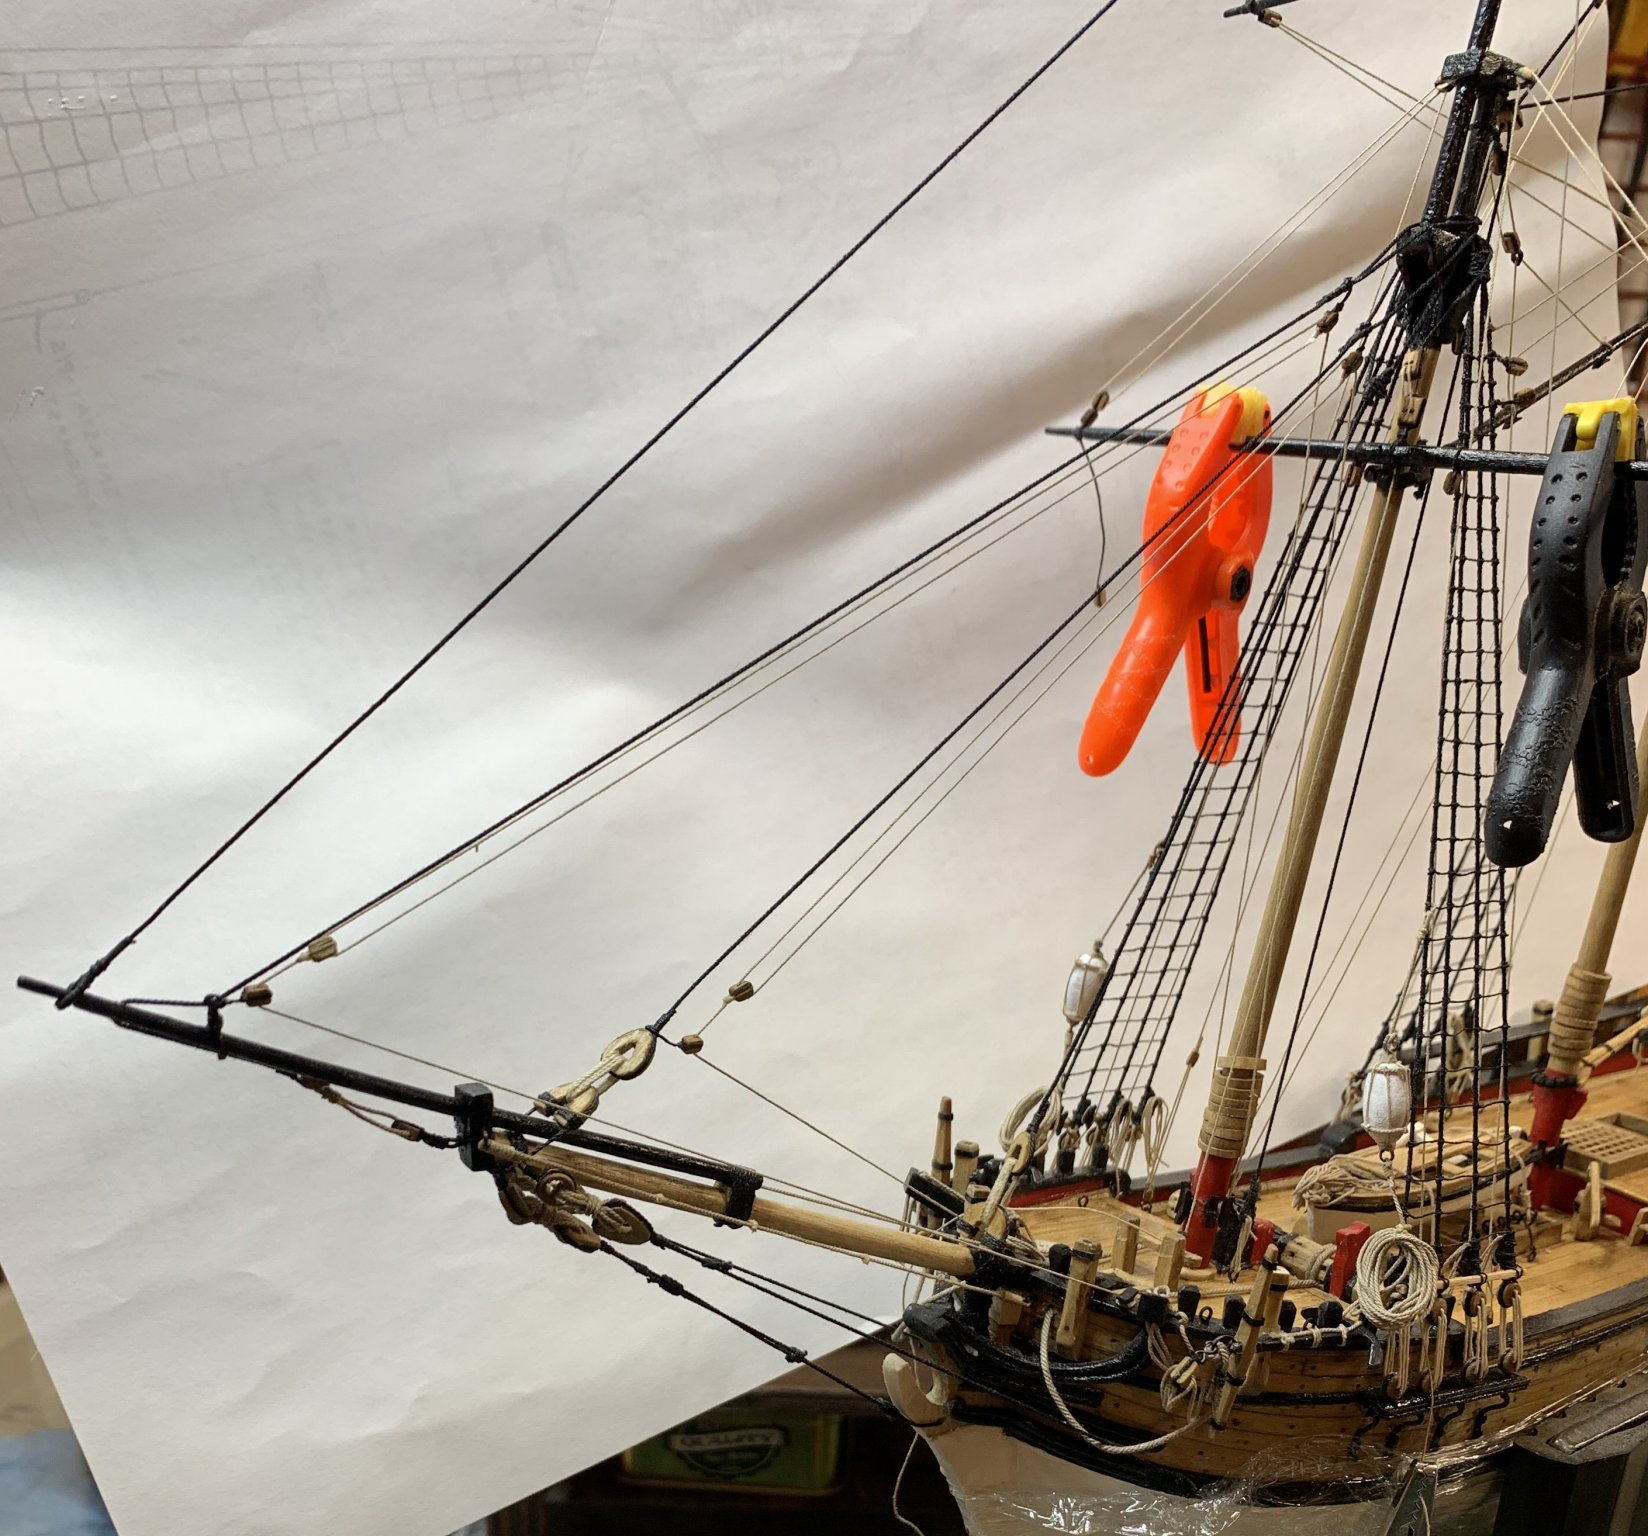
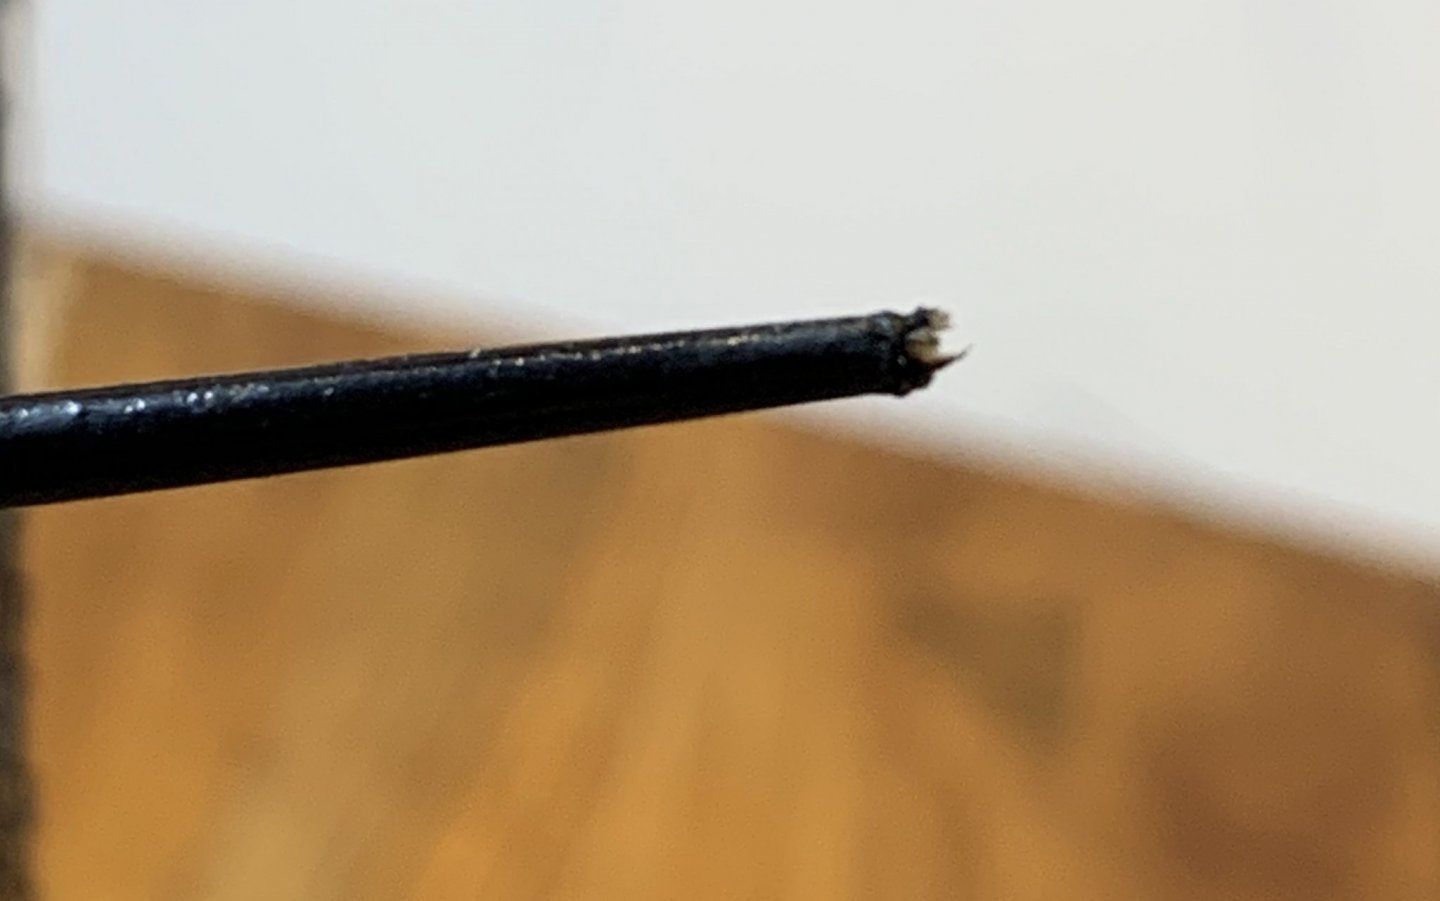
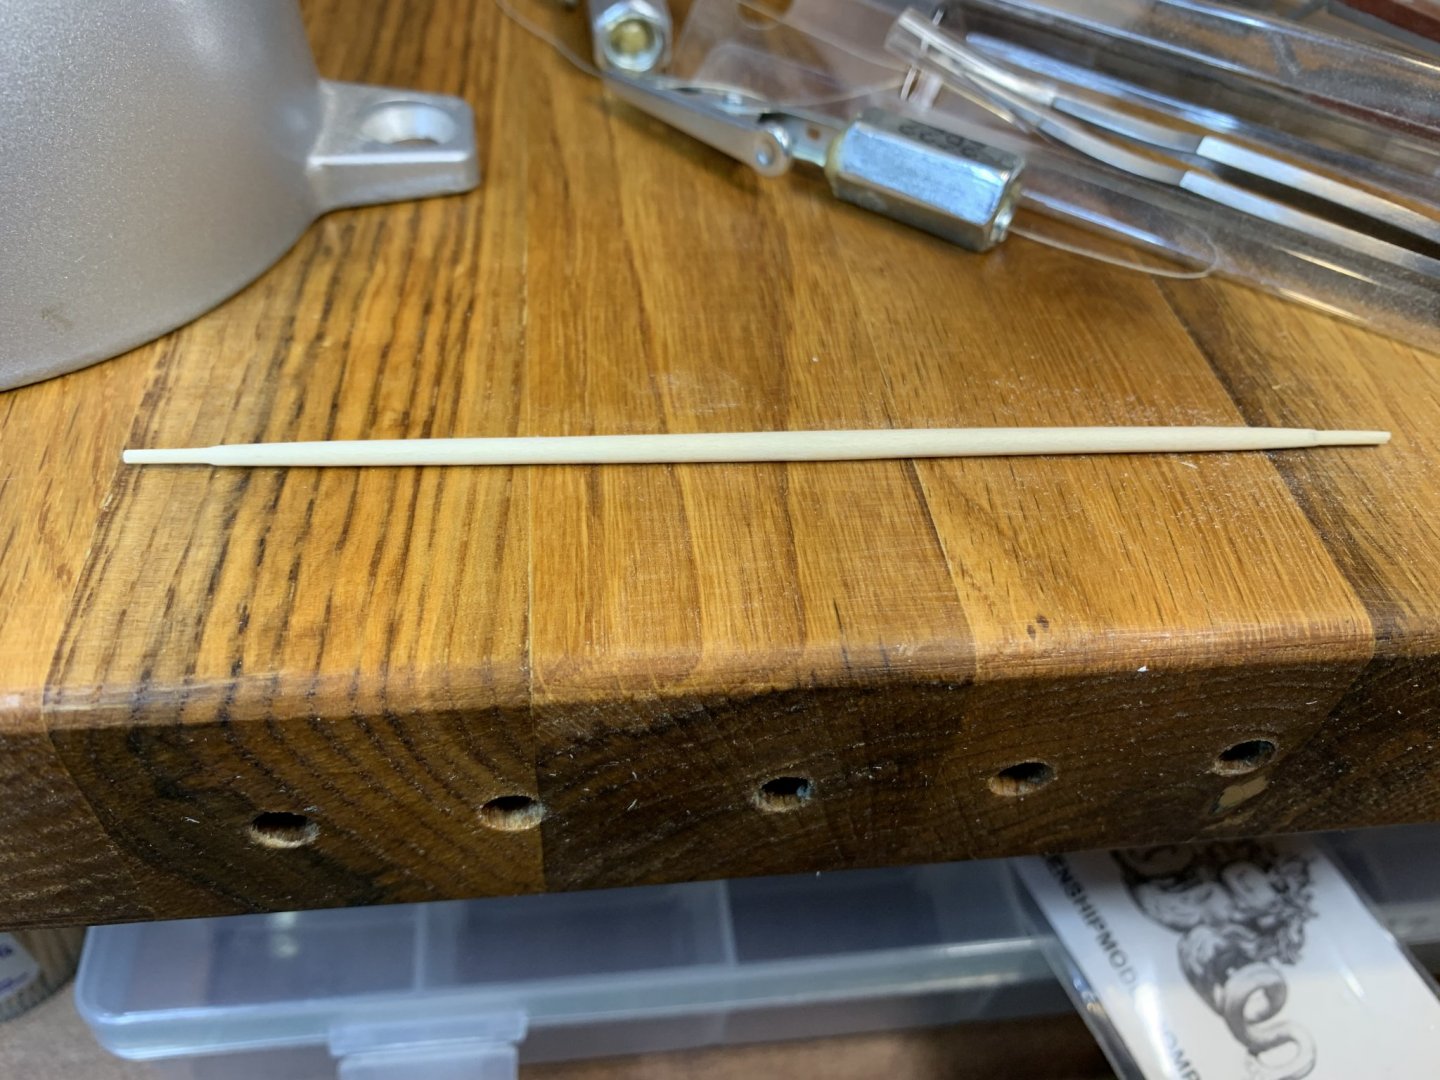
Small items, big hands, recipe for damage... One end of the lower yards snapped when attempted to run the rope thru block that was attached to it. Repair was not possible so replacing was the only option.. While i was carving yards, i made two extras, just in case. They came very handy... From the broken one, i removed all blocks with a help of acetone, painted and varnished a new yard and voila... few hrs more than planned we are back in business. Outer jib halliards, inner jib halliard, outer jib downhaul, inner jib downhaul were attached. I rigged the downhauls first. A single block was seized to the end of tan rigging line. The lines were run through the lower single blocks and belayed to the cleats on the rail on both side of the bowsprit. They will be finished with some rope coil later. I will make rope coils for all ropes at once. The jib halliards were done next. The halliards were stropped to the single blocks secured on the stays. From here they were run through the blocks on the end of each downhaul and back up to their originating blocks. Each halliard was run through these blocks and brought down to the deck and belayed them to a mast cleat. I lost one mast cleat so i had to make one from scratch. Tiny pieces i must say... Happy modeling.. Happy modeling..


- 360 replies
-
- 2
-
-
- sultana
- model shipways
- (and 1 more)
-
Very nice progress... Just wondering what type of saw blade are you using on your table saw? I have a DeWalt table saw would like to use for these type of cuts.. Thanks
- 50 replies
-
- 2
-
-
- rattlesnake
- brig
- (and 1 more)
-
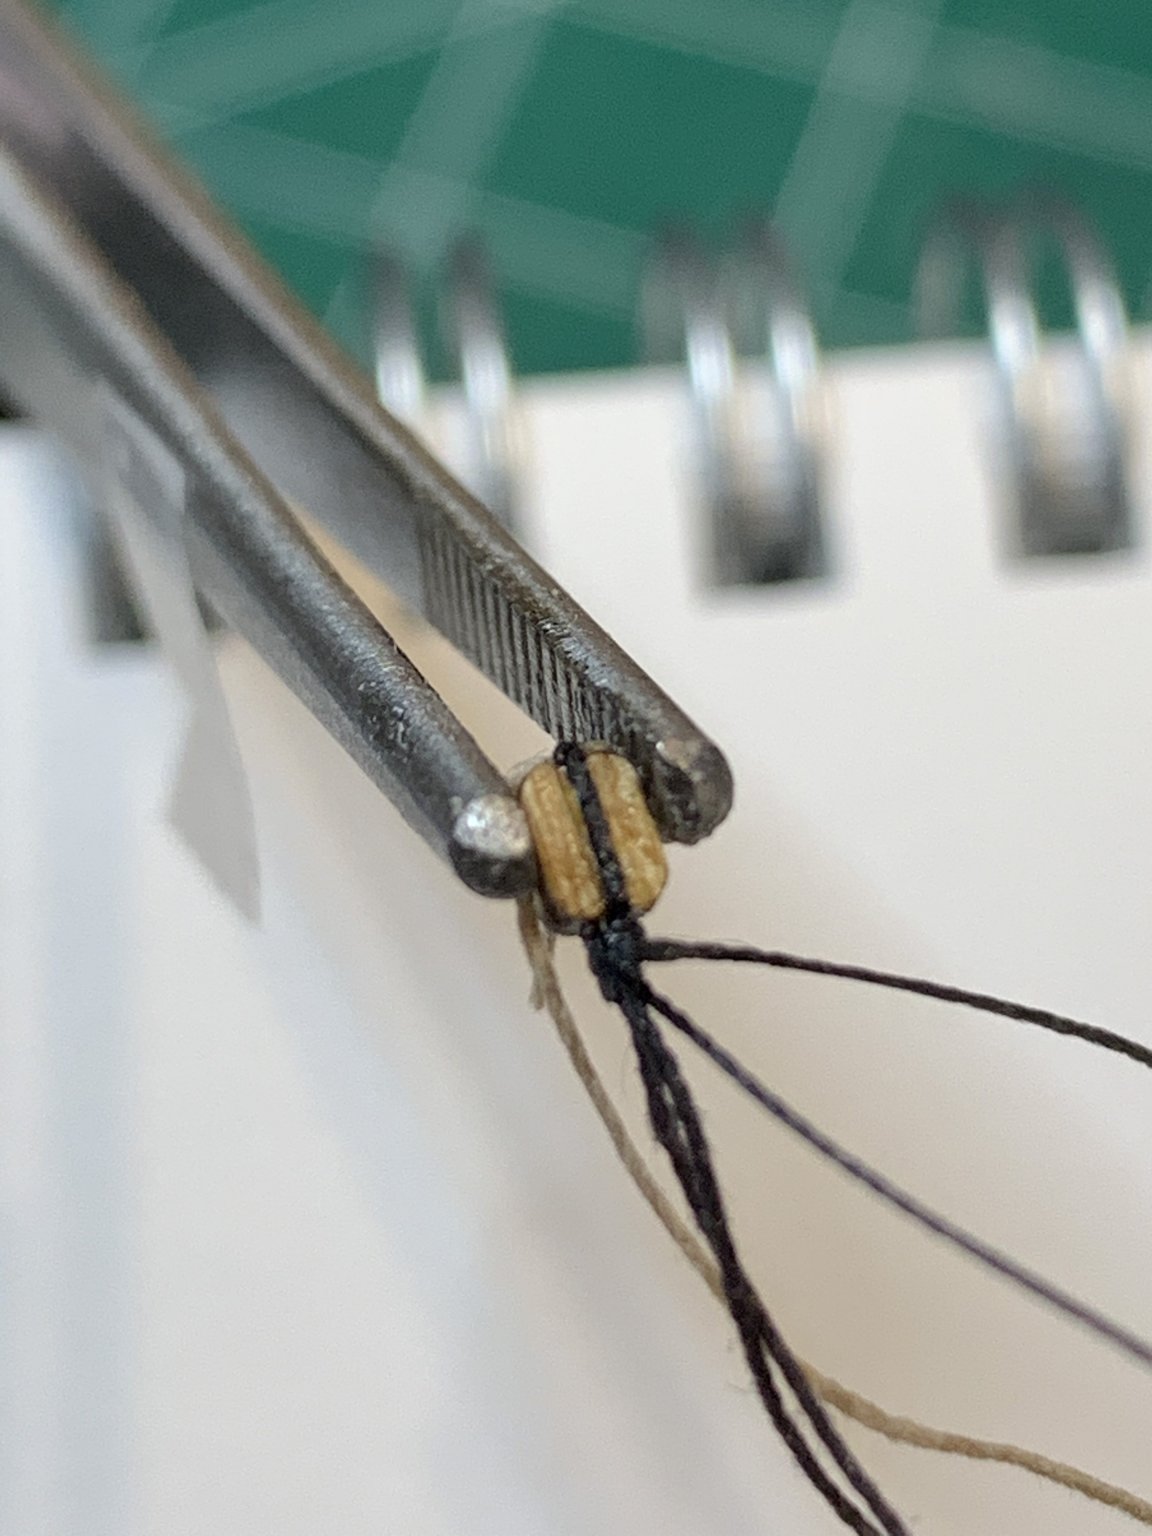
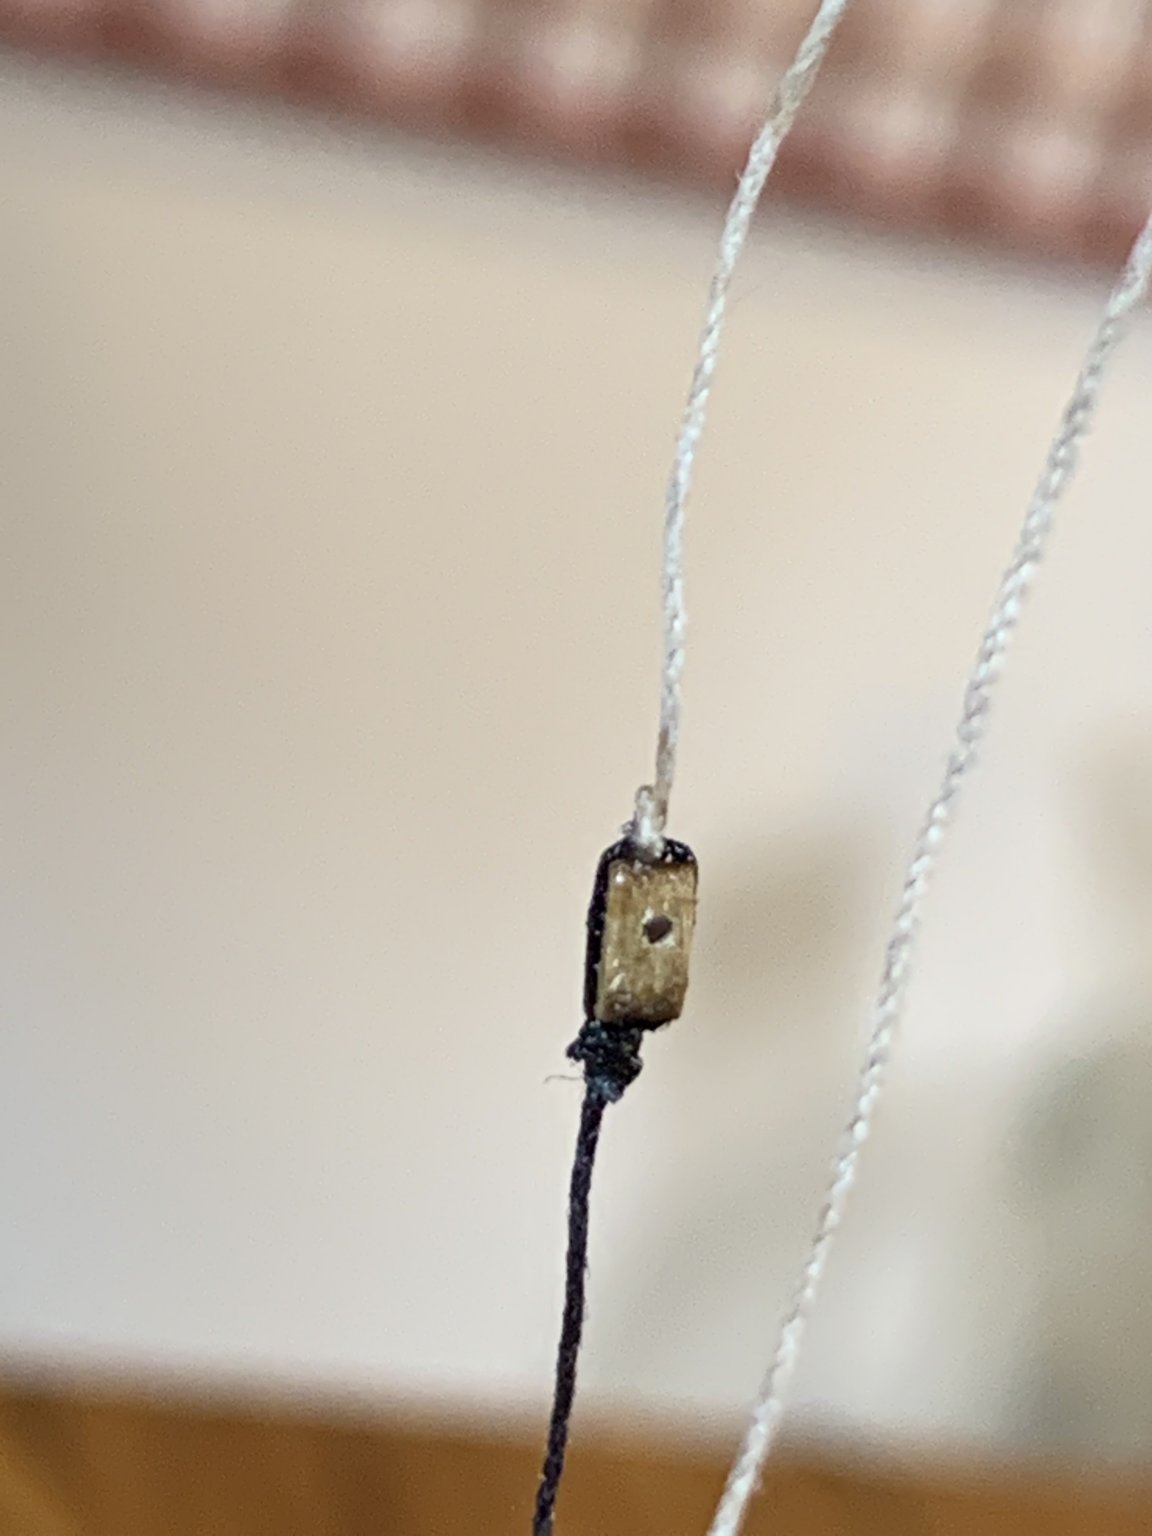
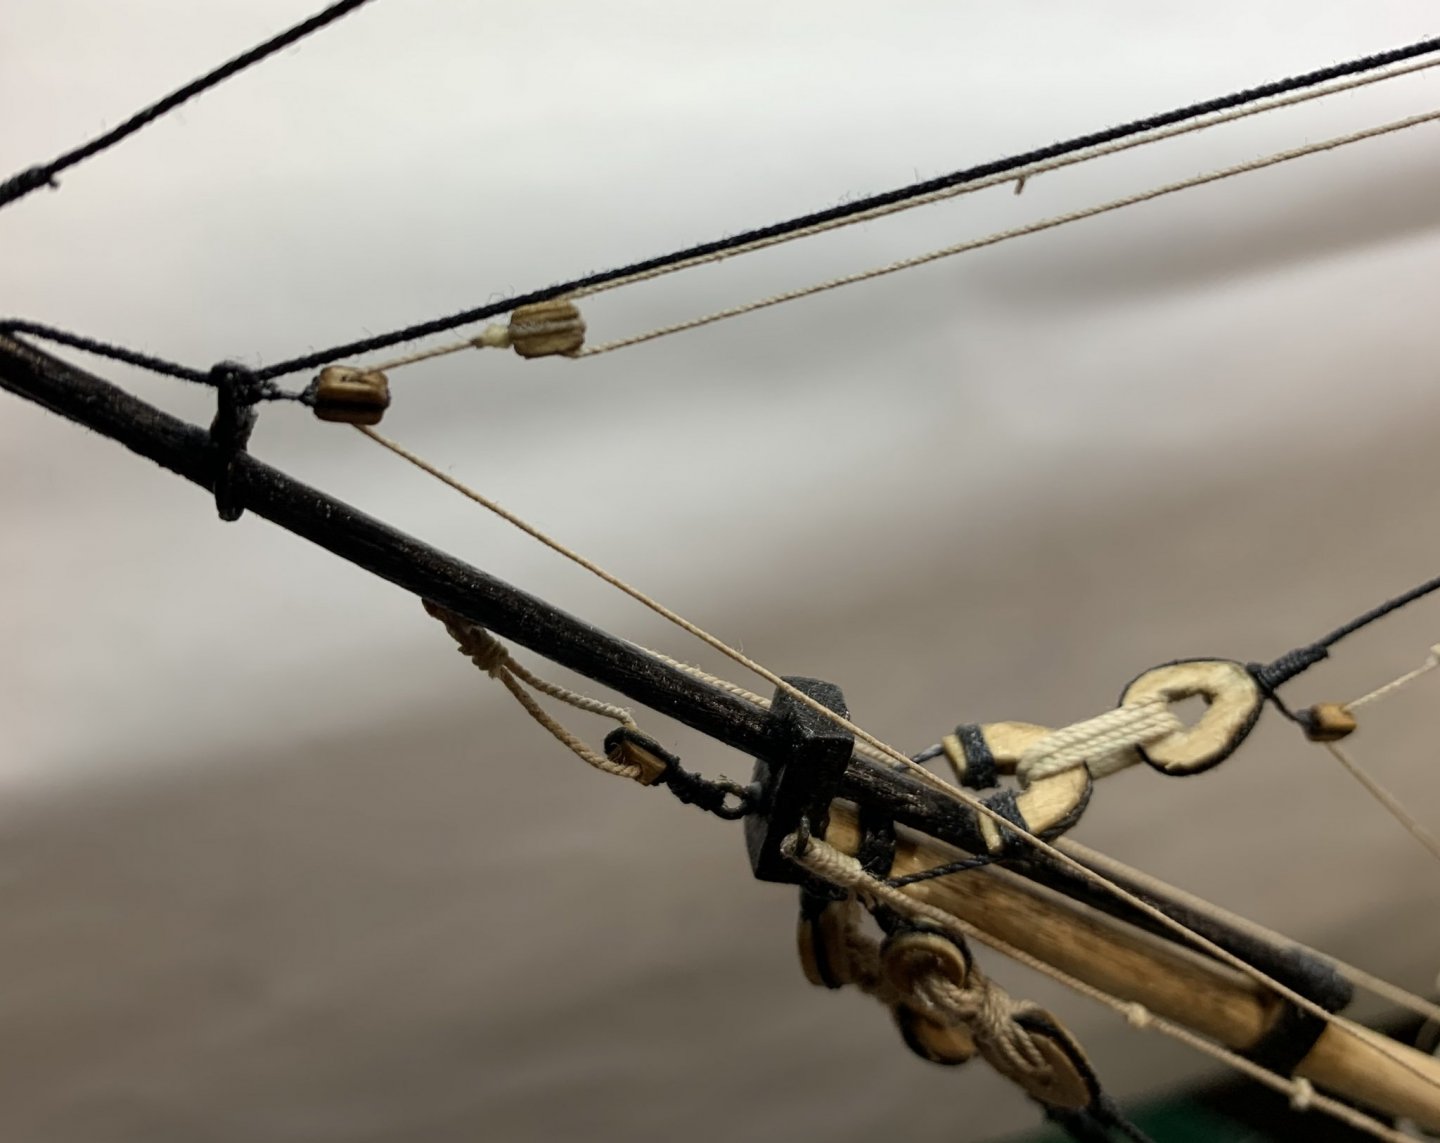
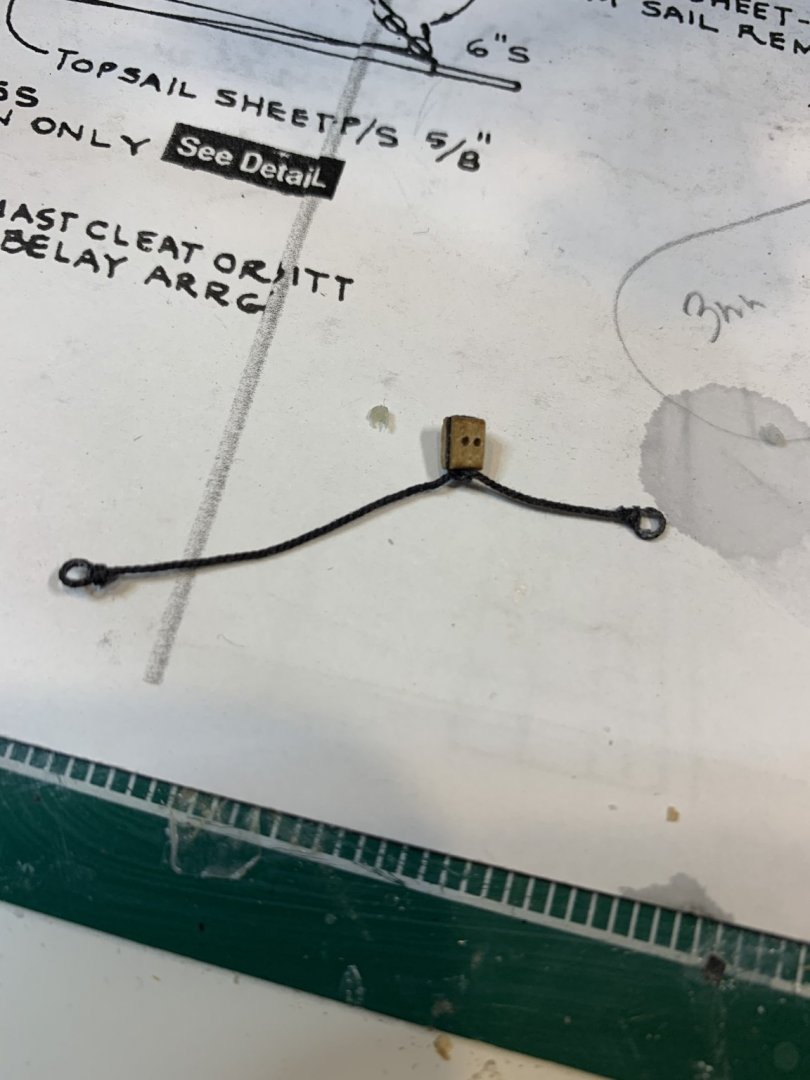
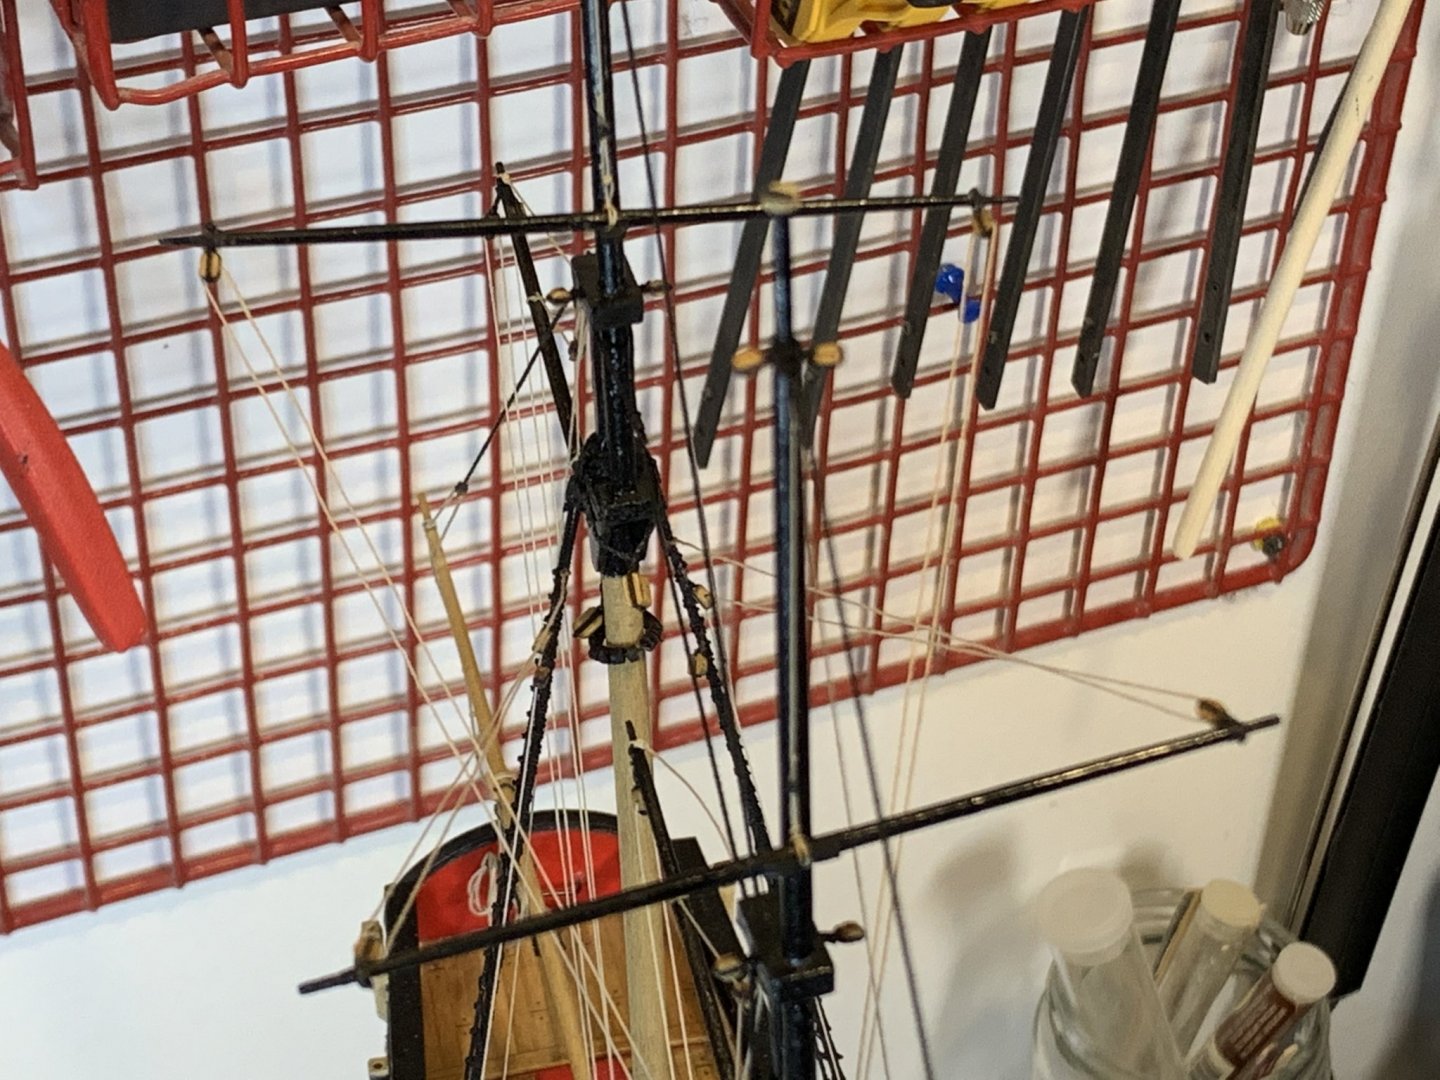
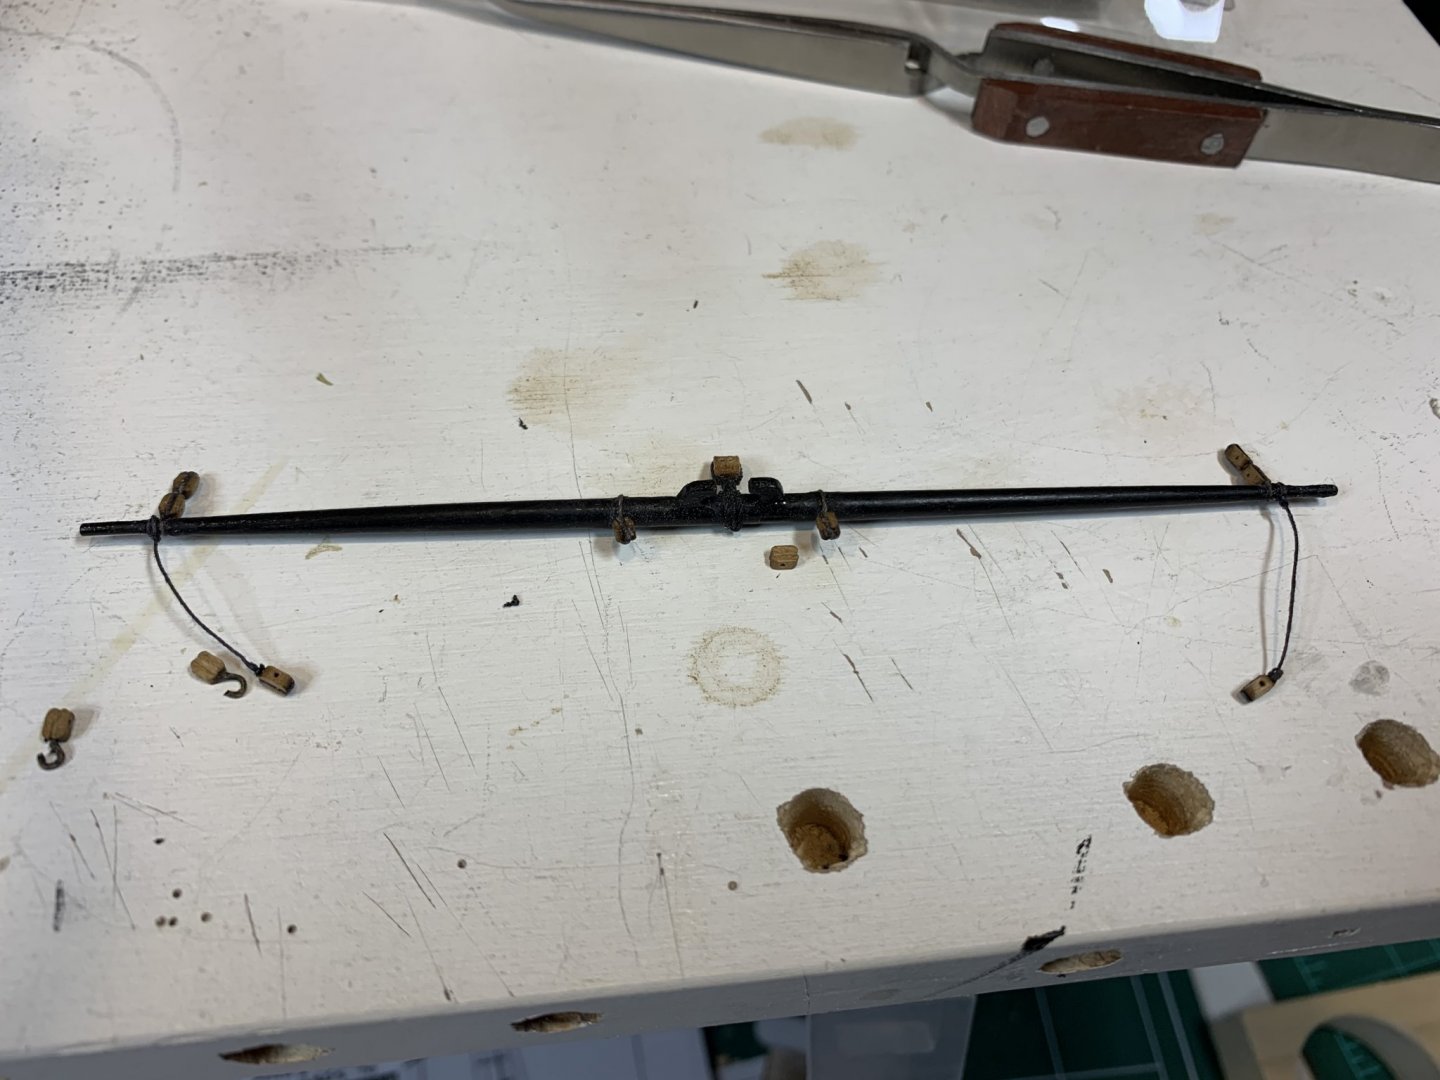
Final stretch of this interesting model or what we, soccer (or football) fan, would be saying, going into the 90th minute of the game... Finishing up lower yard construction... after shape it on mini lathe... a layer of flat black paint and varnish.. ... with all blocks and brace pedants attached... Brace pedants in process.. Blocks for inner and outer jib halliards were assembled and attached to the correct spot. A bit of a process of making a inner jib downhaul. Was not quite sure how to made this one, so after research and checking out some other modelers pictures, ended up doing it like this: The tan rope was glued to one end of the block and black rope was tighten around the block and tan rope. Then tan rope was seized in the usual way.. Happy modeling...


- 360 replies
-
- 3
-
-
- sultana
- model shipways
- (and 1 more)
-
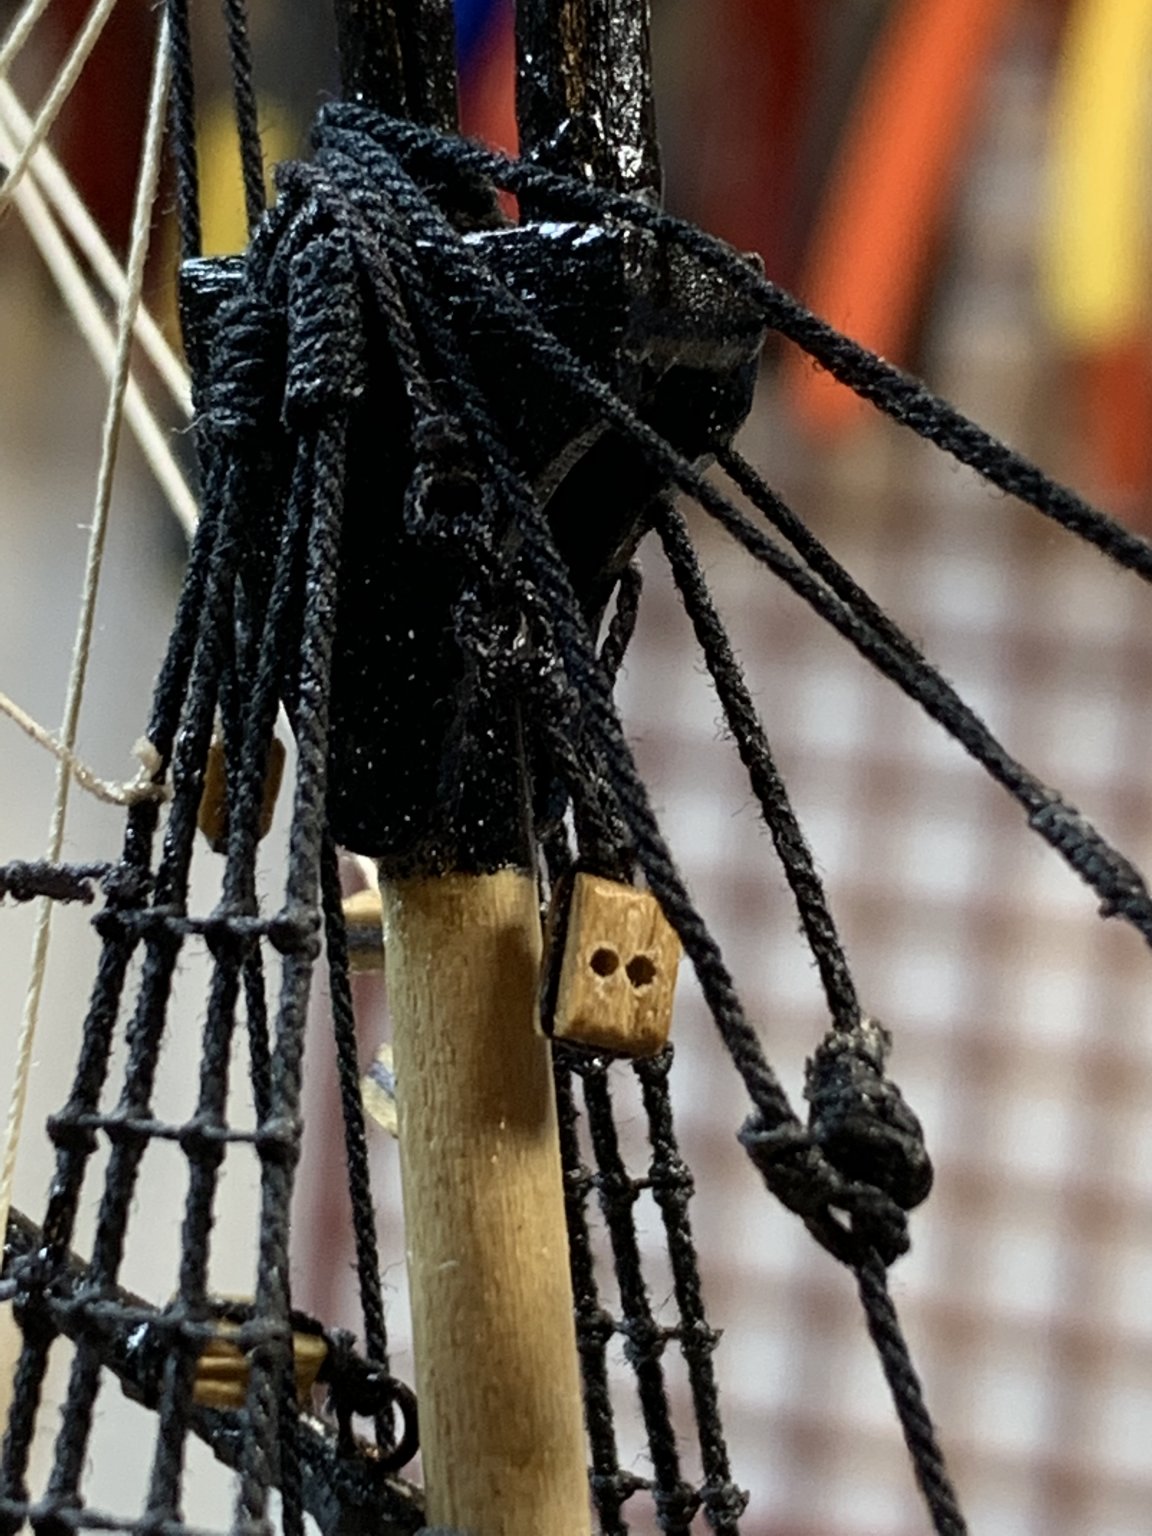
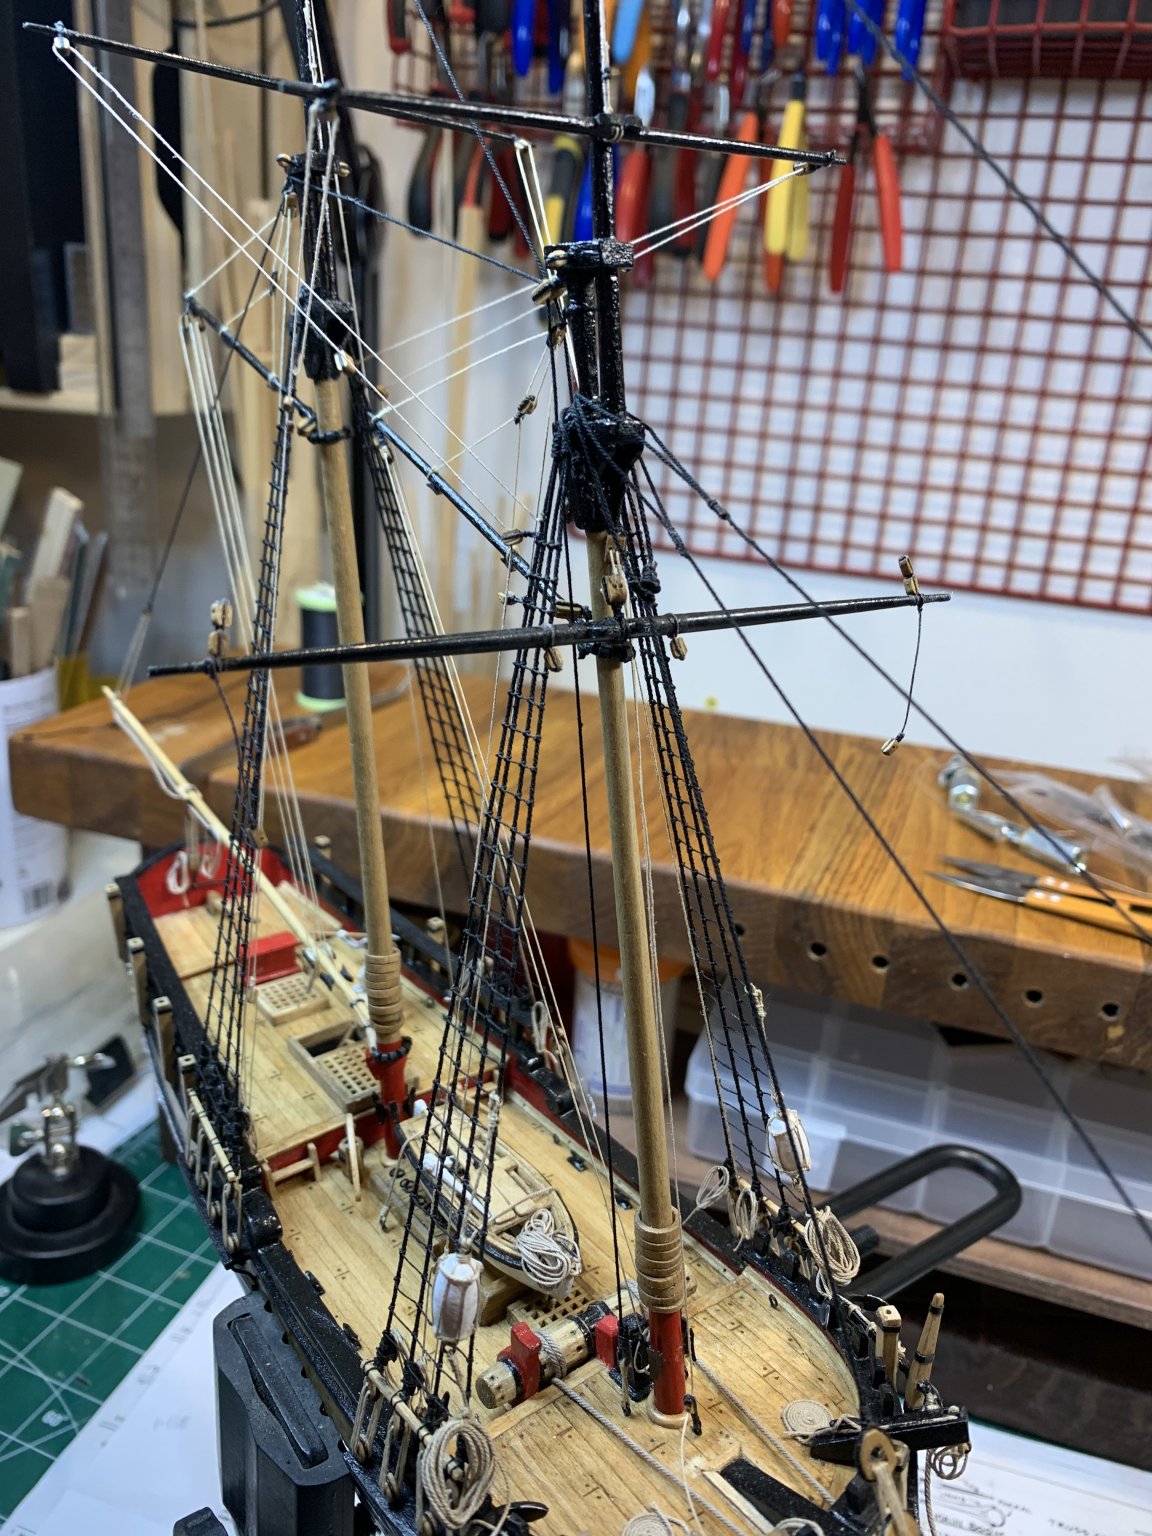
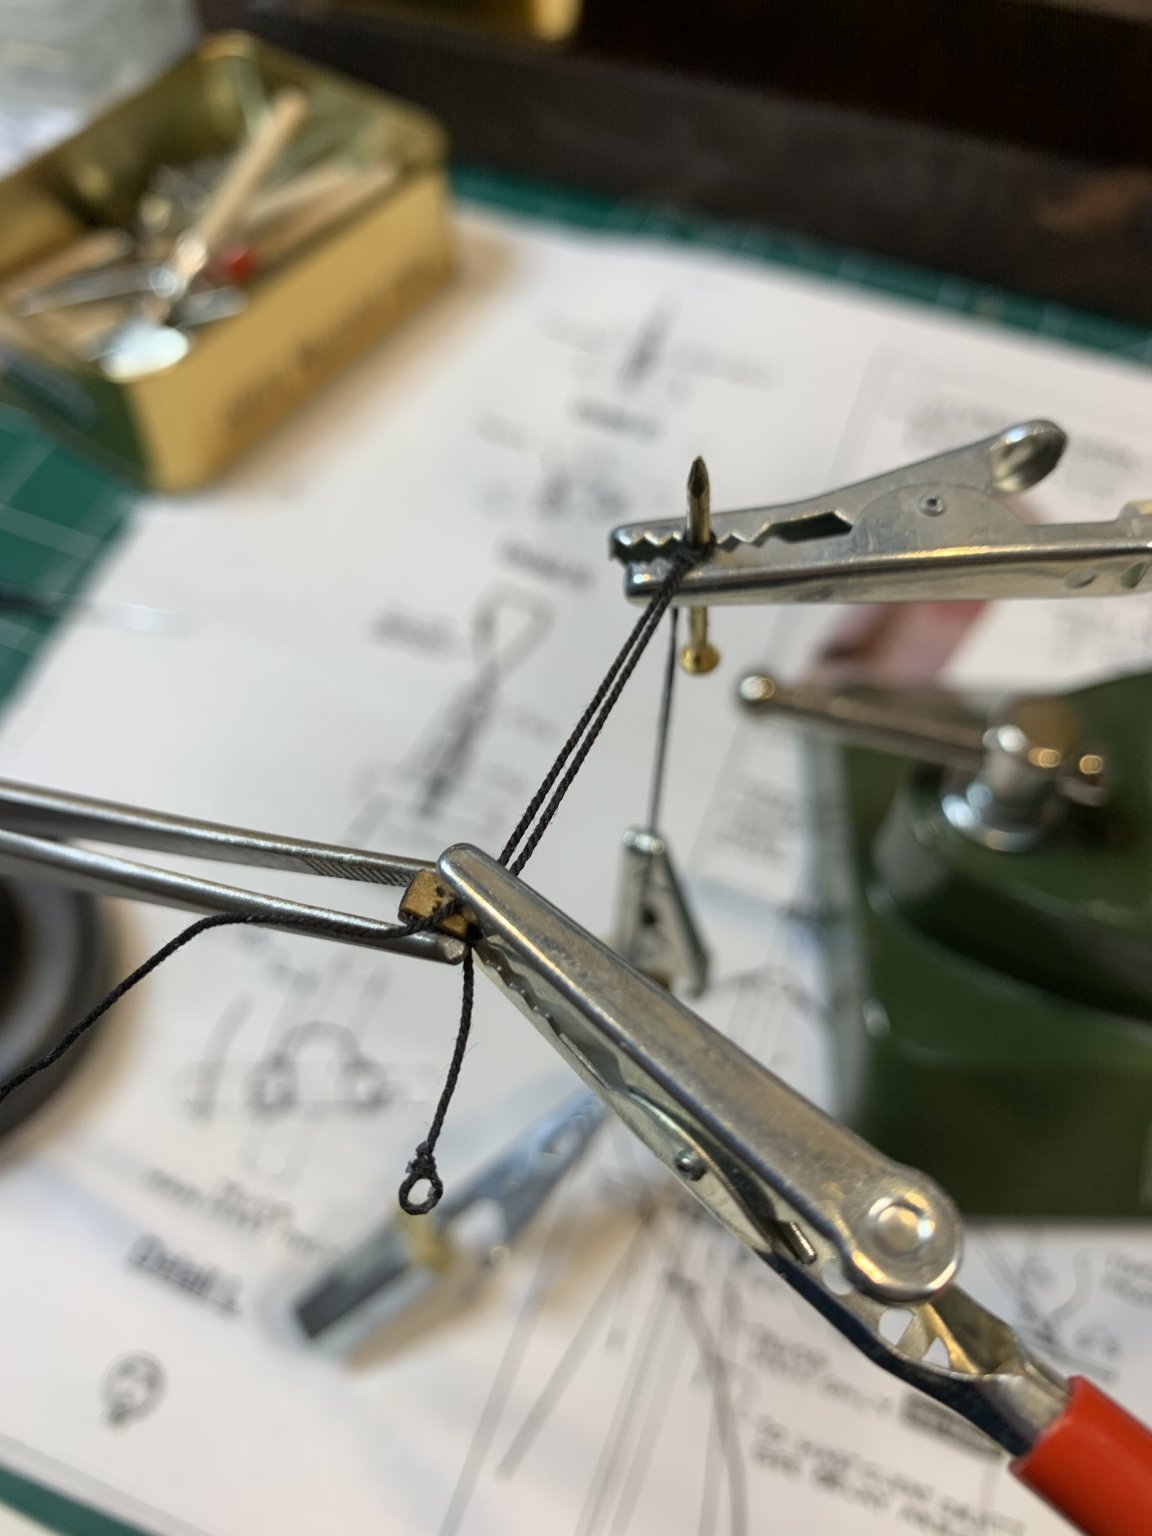
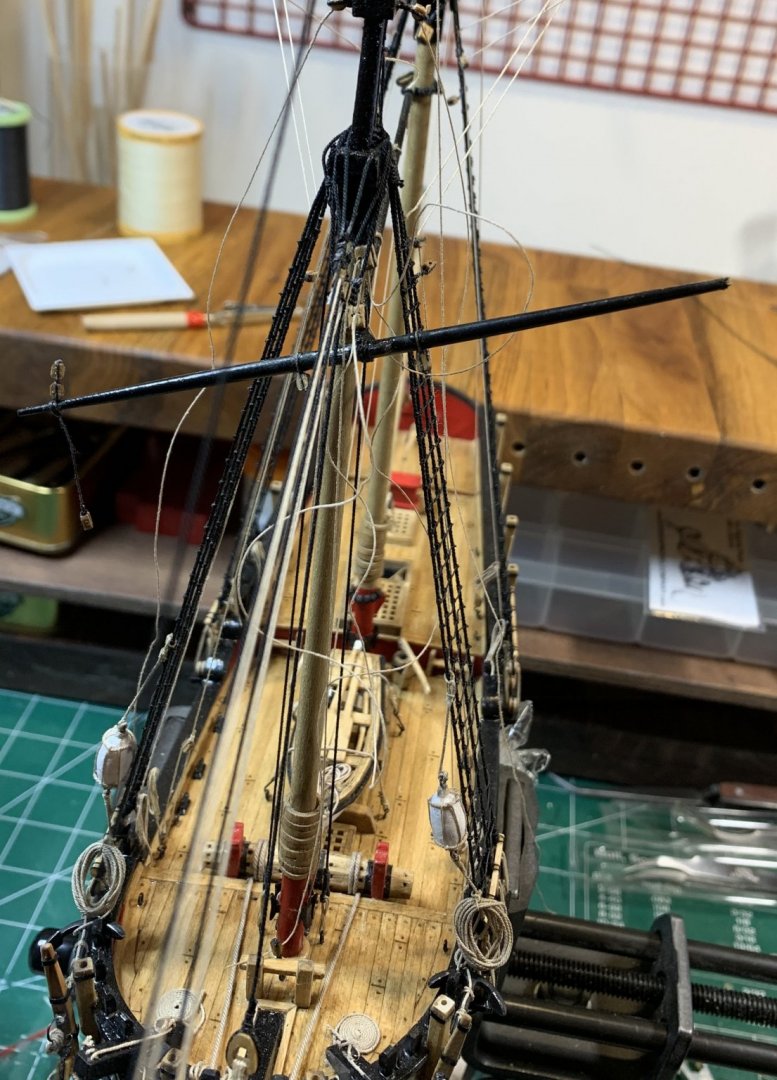
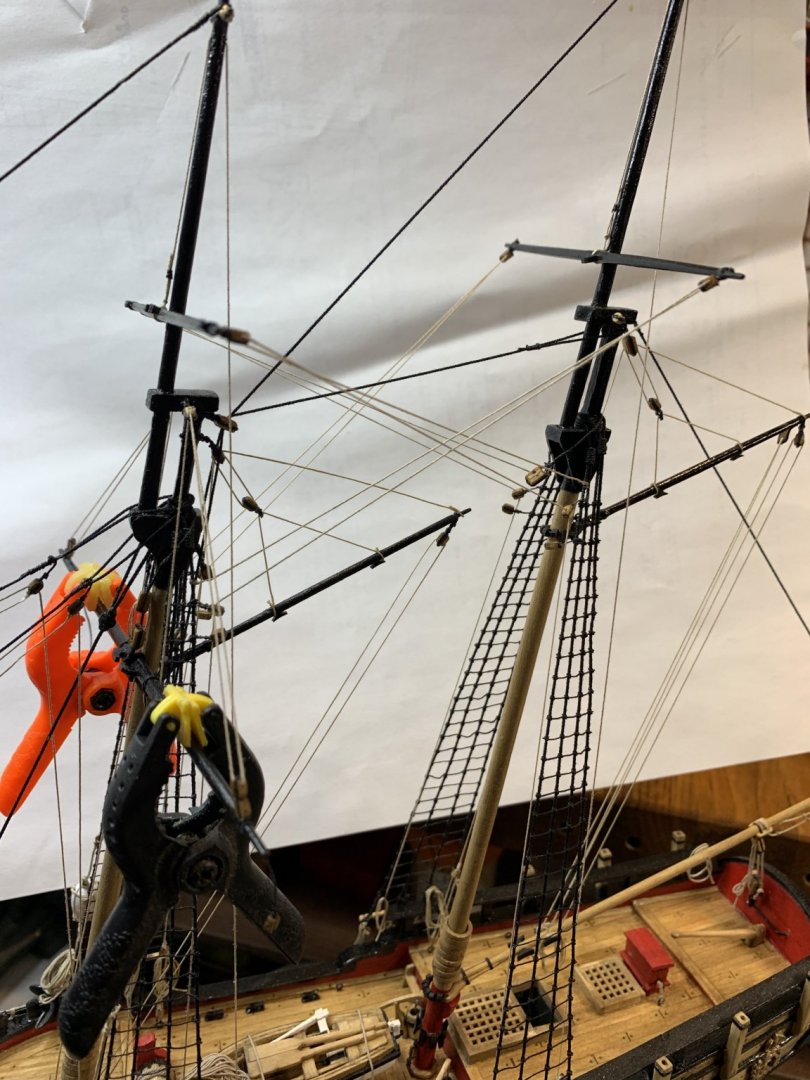
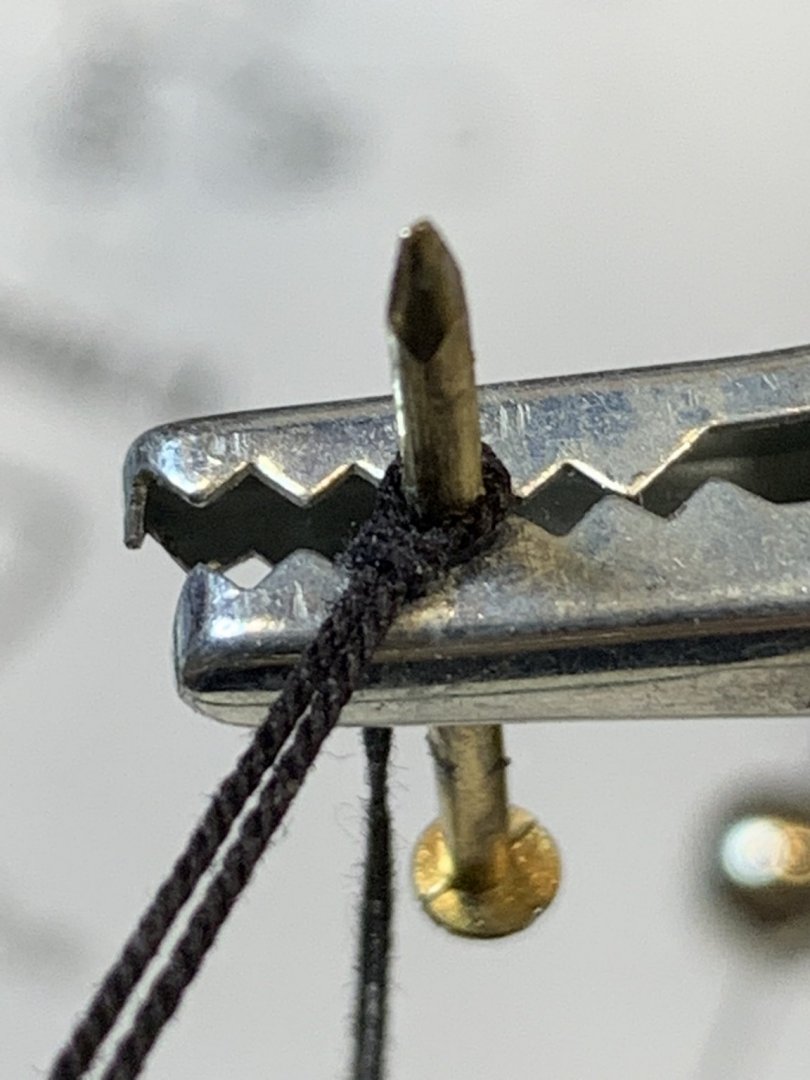
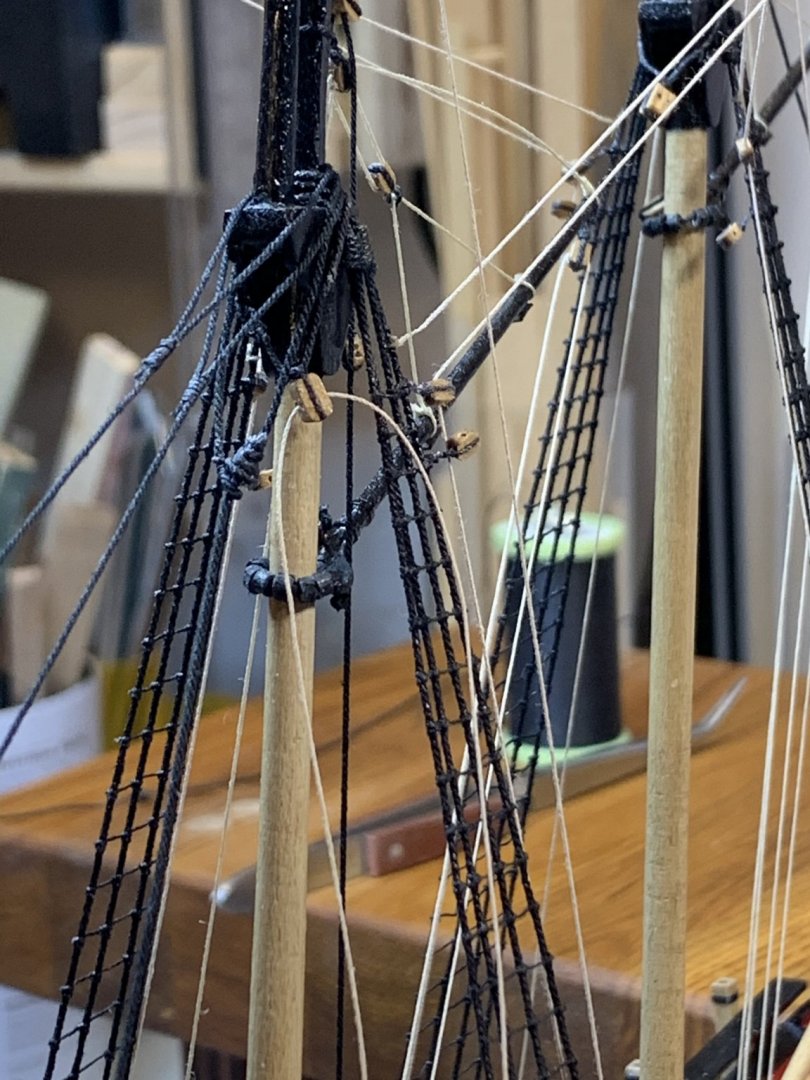
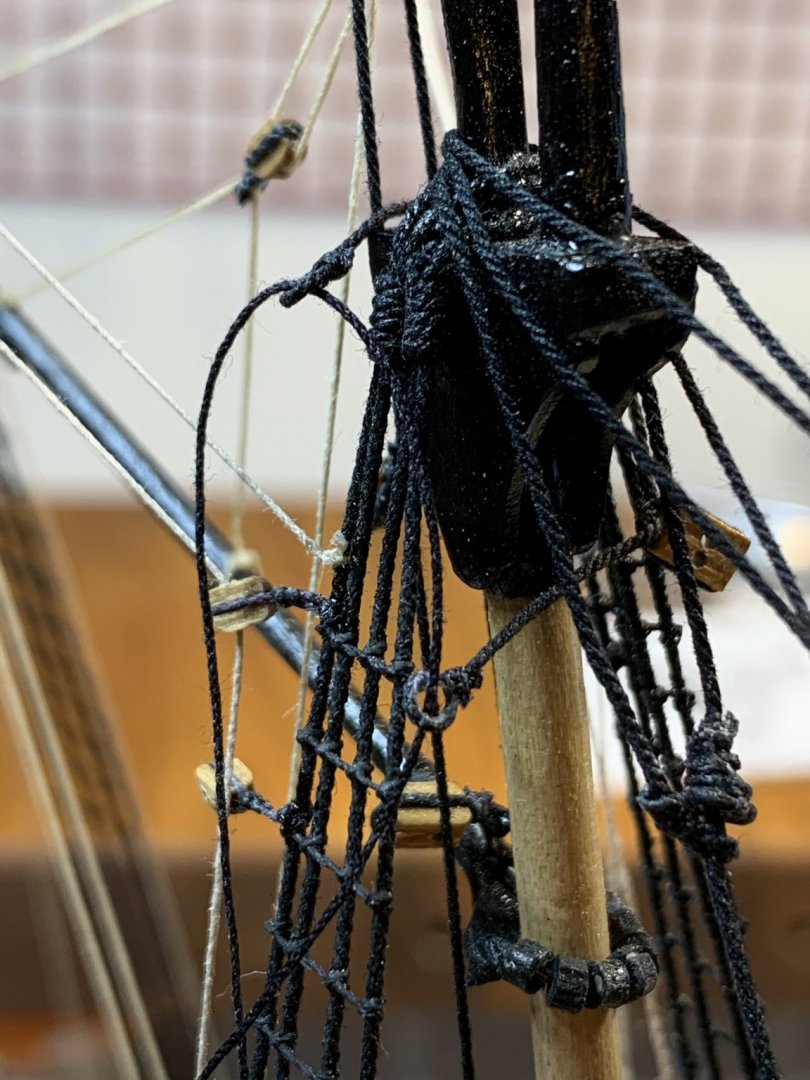
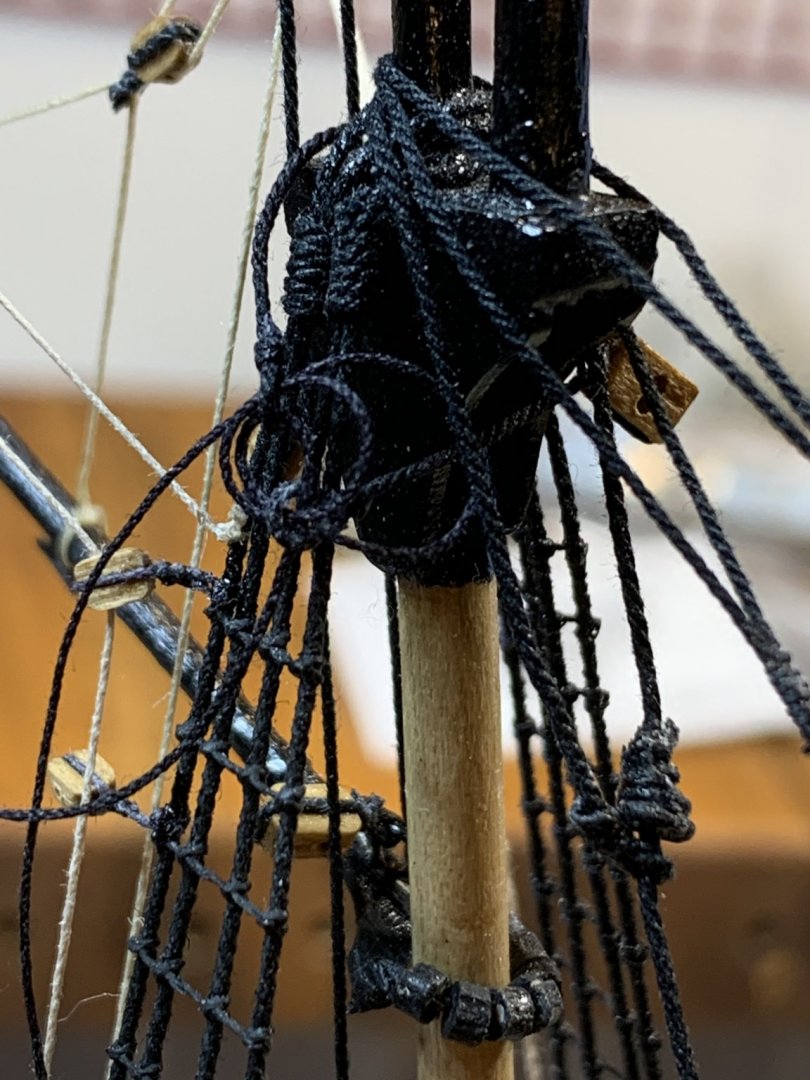
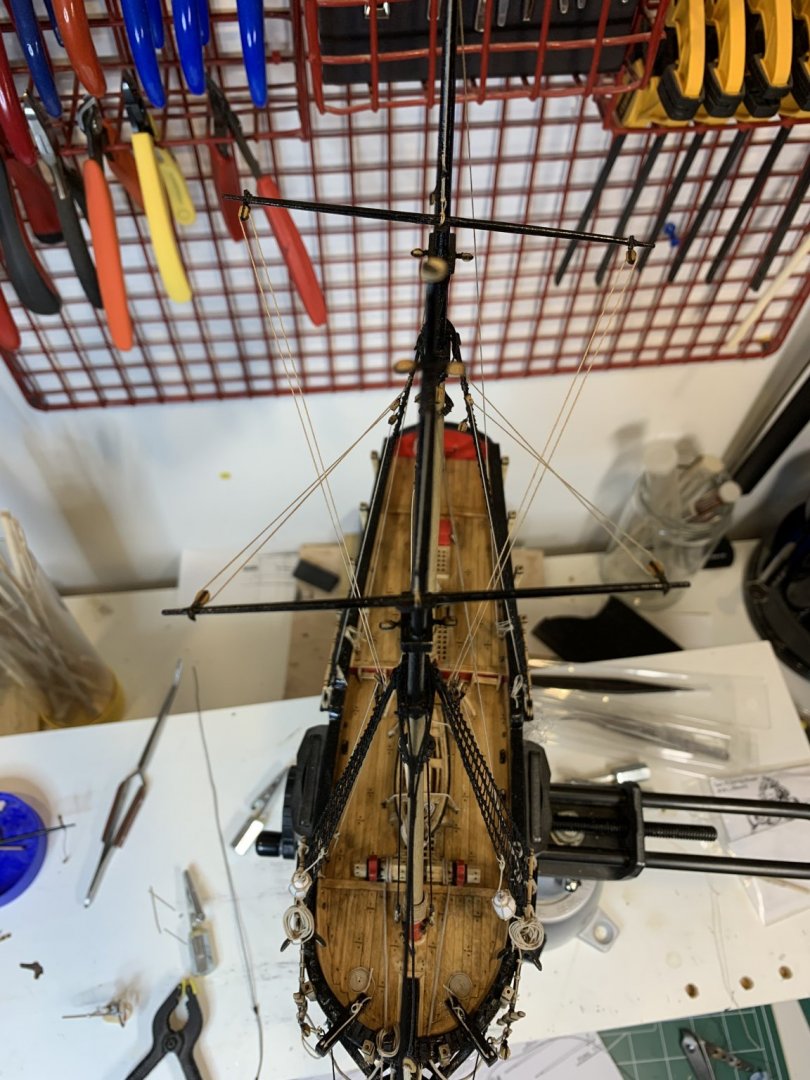
Work on a lower yard halliards started by making a sling using a simple setup: To avoid making a knots, i used two small weight hooked up to rope ends. The rope was twisted twisted around the other rope and small amount of CA was put on the seizing. The end result: Attaching it to the main mast was a bit of a tricky game, but successful.. Then the lower yard was erected... Happy modeling...


- 360 replies
-
- 2
-
-
- sultana
- model shipways
- (and 1 more)
-
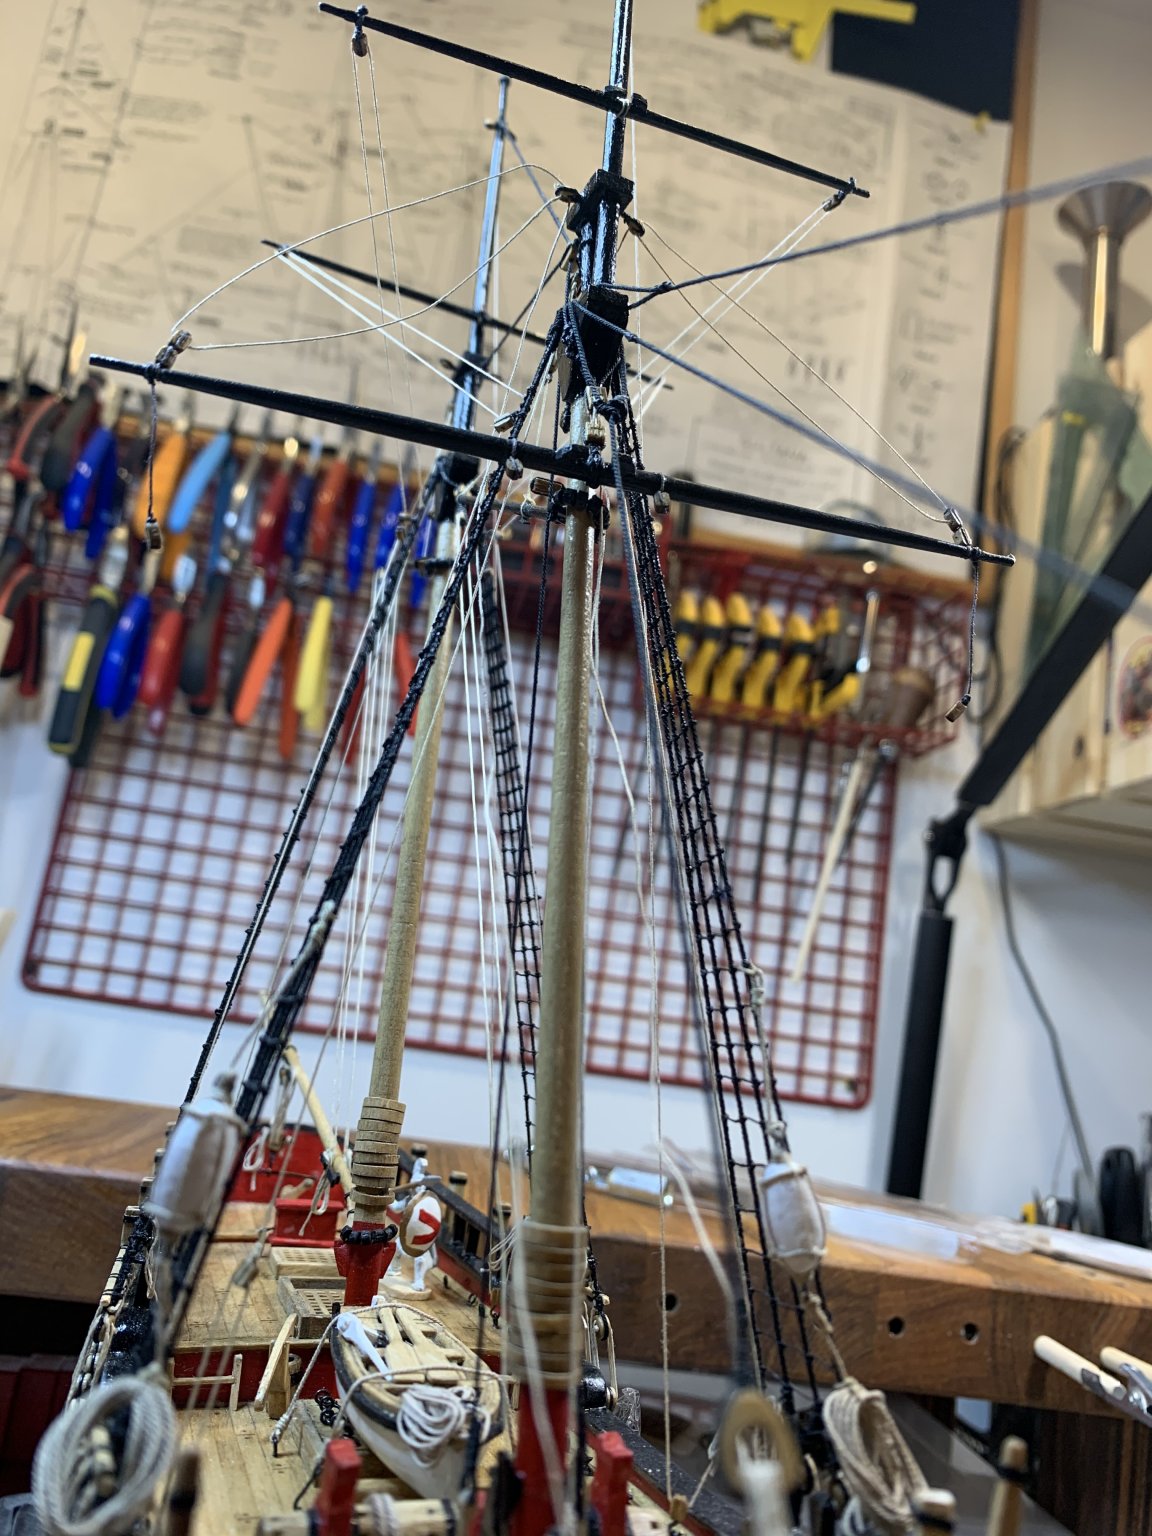
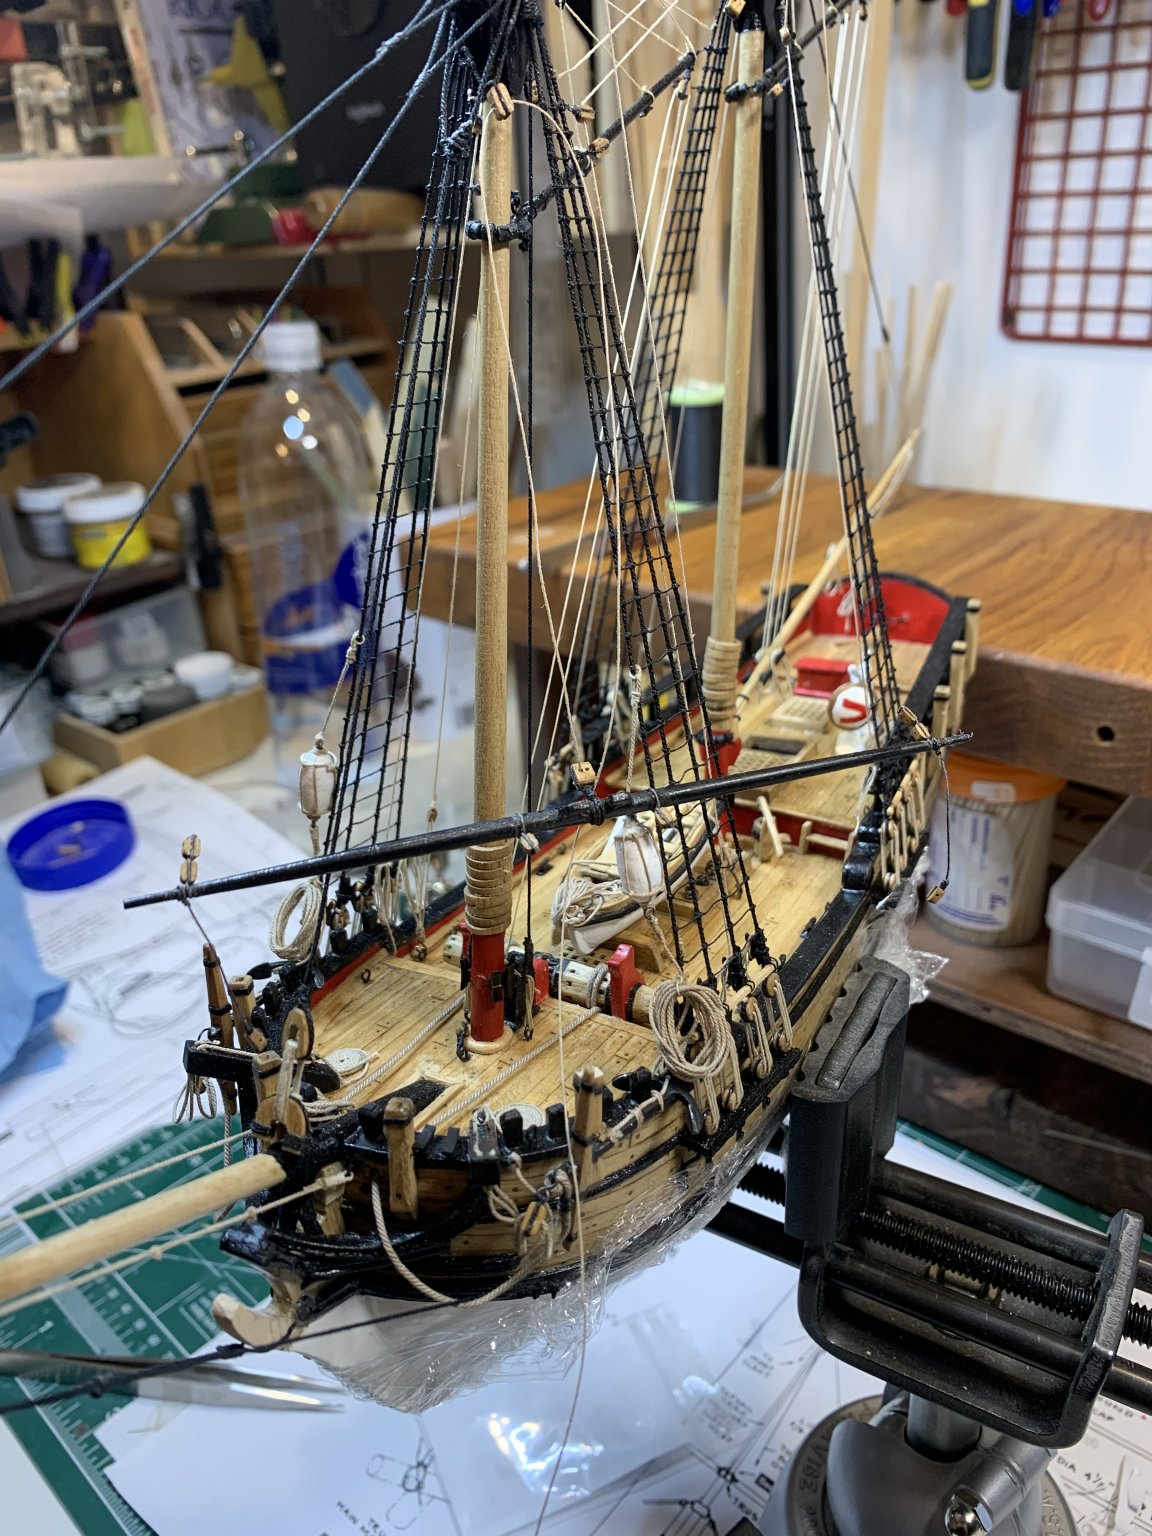
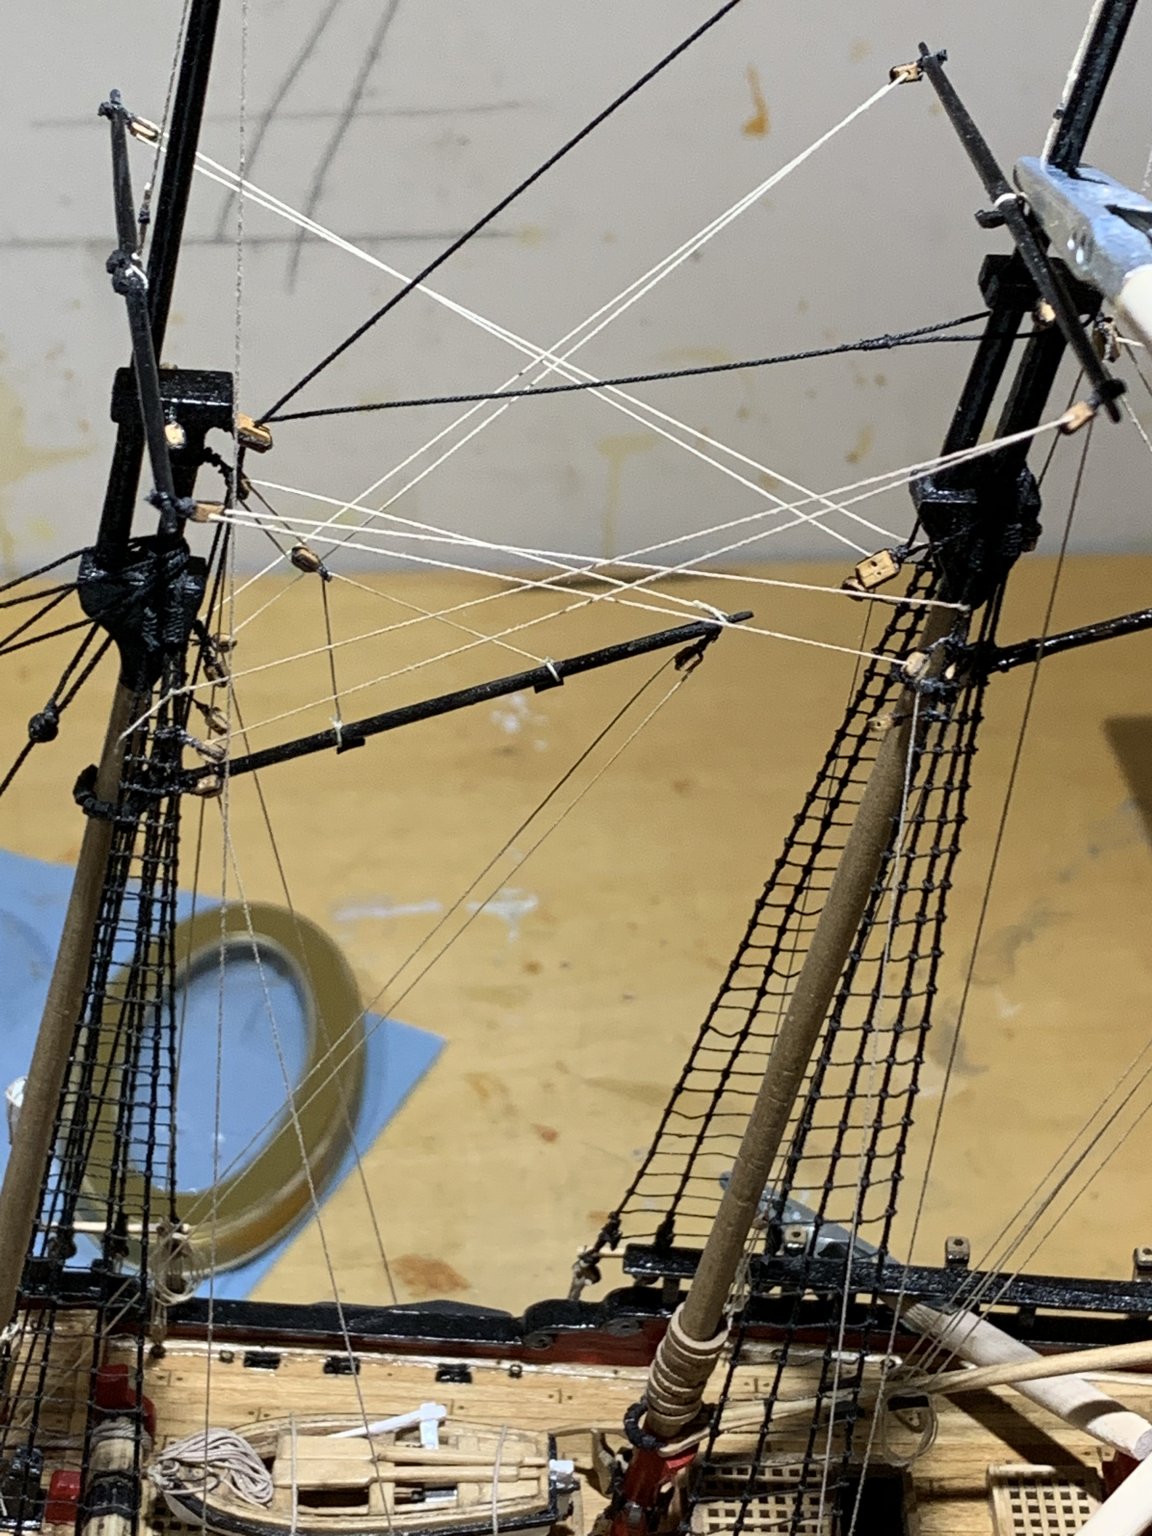
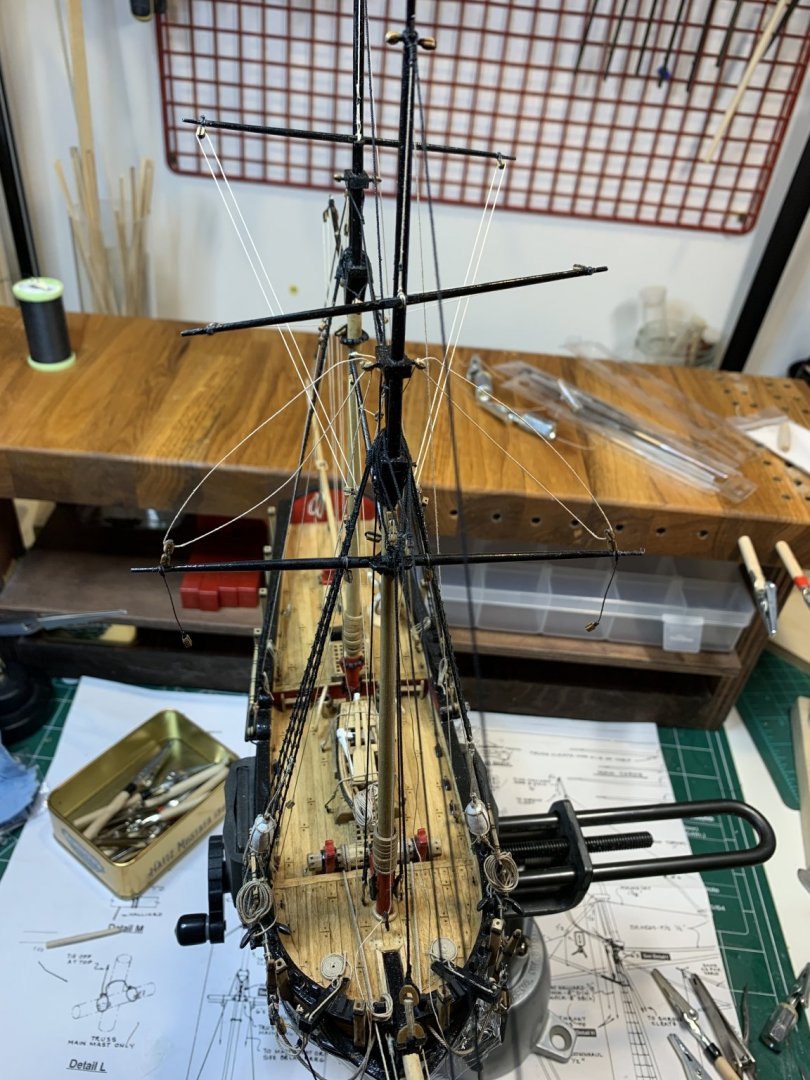
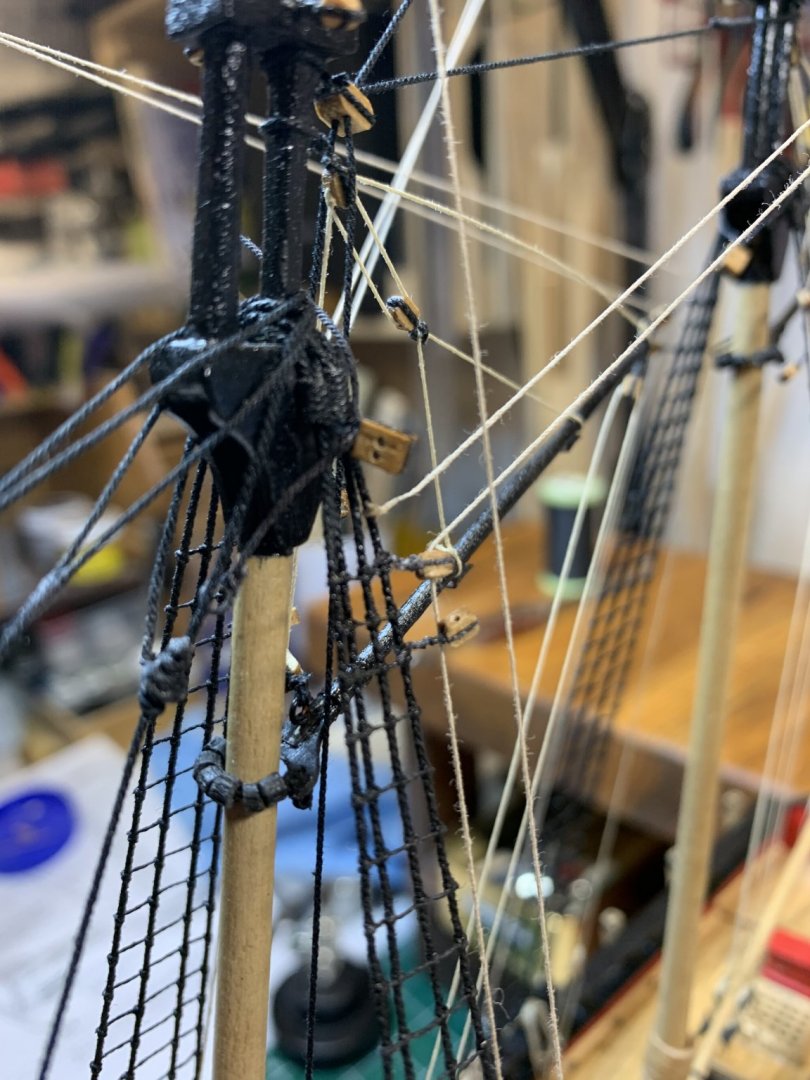
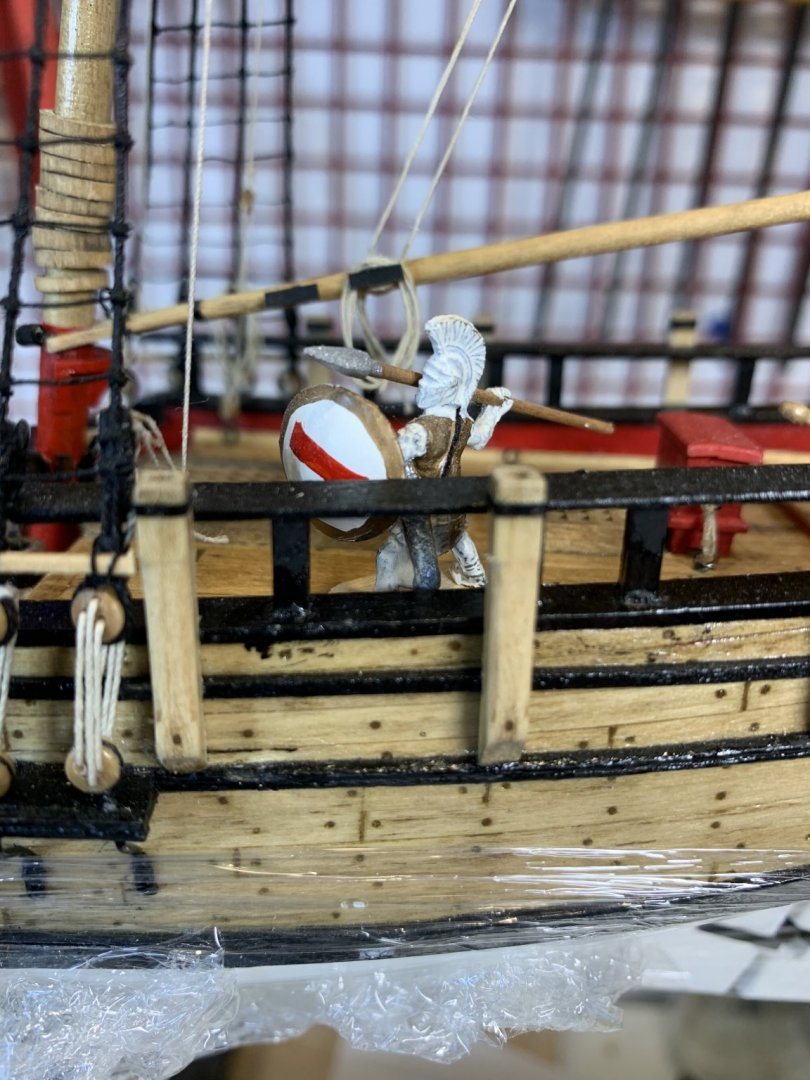
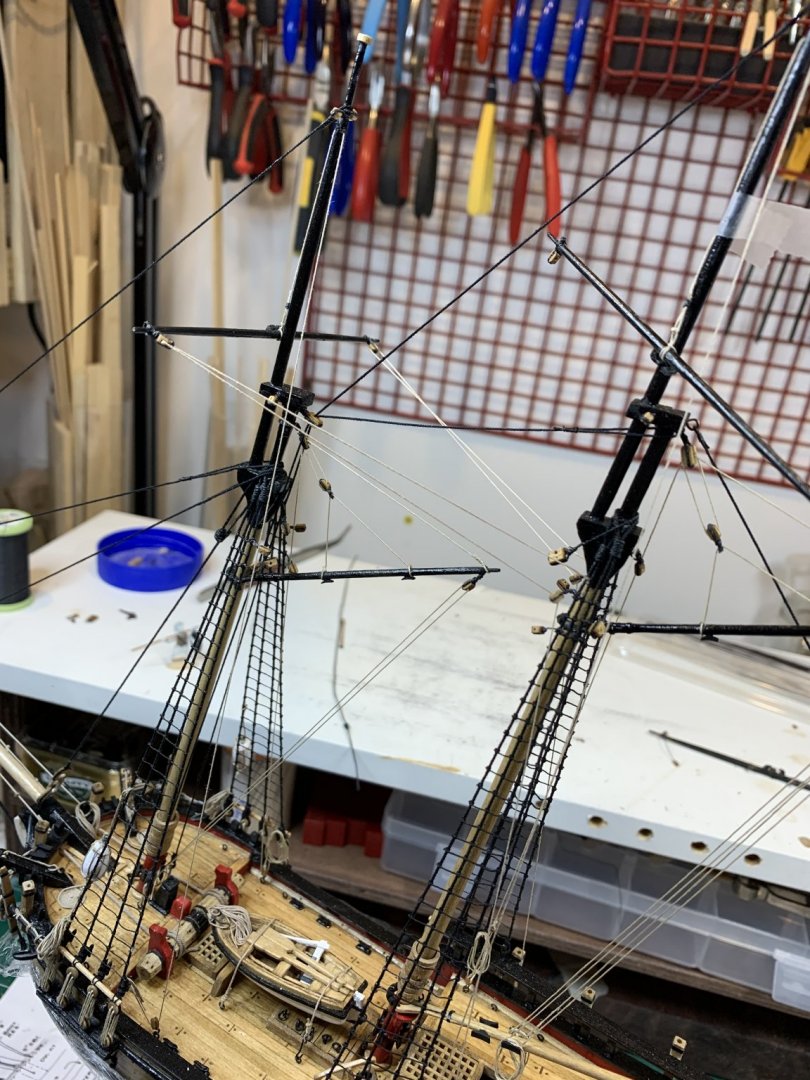
Continuing with rigging work... A bit of a challenge finding correct spot to finish up the rigging lines since, for my taste, the kit should be providing more clearer instruction. On the flip side, this forces me to do a bit of a research which is not bad thing at all... In the process i noticed the wrongly finished topsail yard lift rope so i need to correct that. Should have enough line left for this correction. And Spartan warrior is still here, making sure all is done to the standards... Happy modeling.


- 360 replies
-
- 2
-
-
- sultana
- model shipways
- (and 1 more)
-
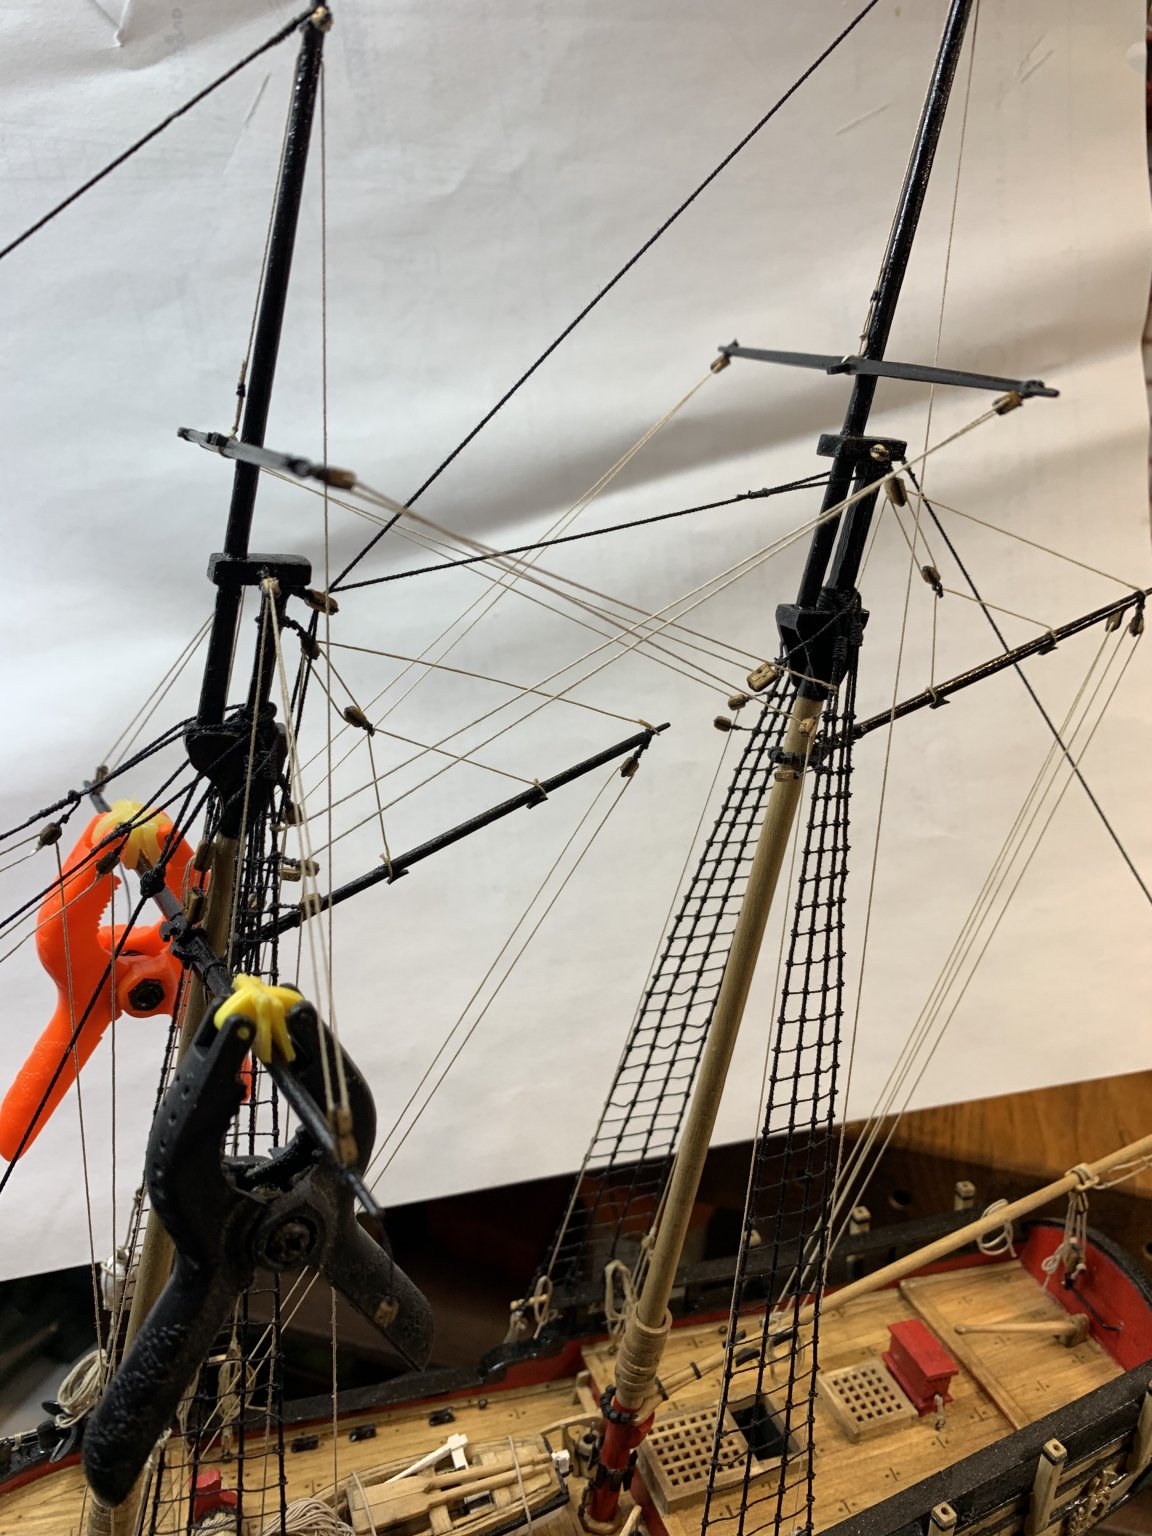
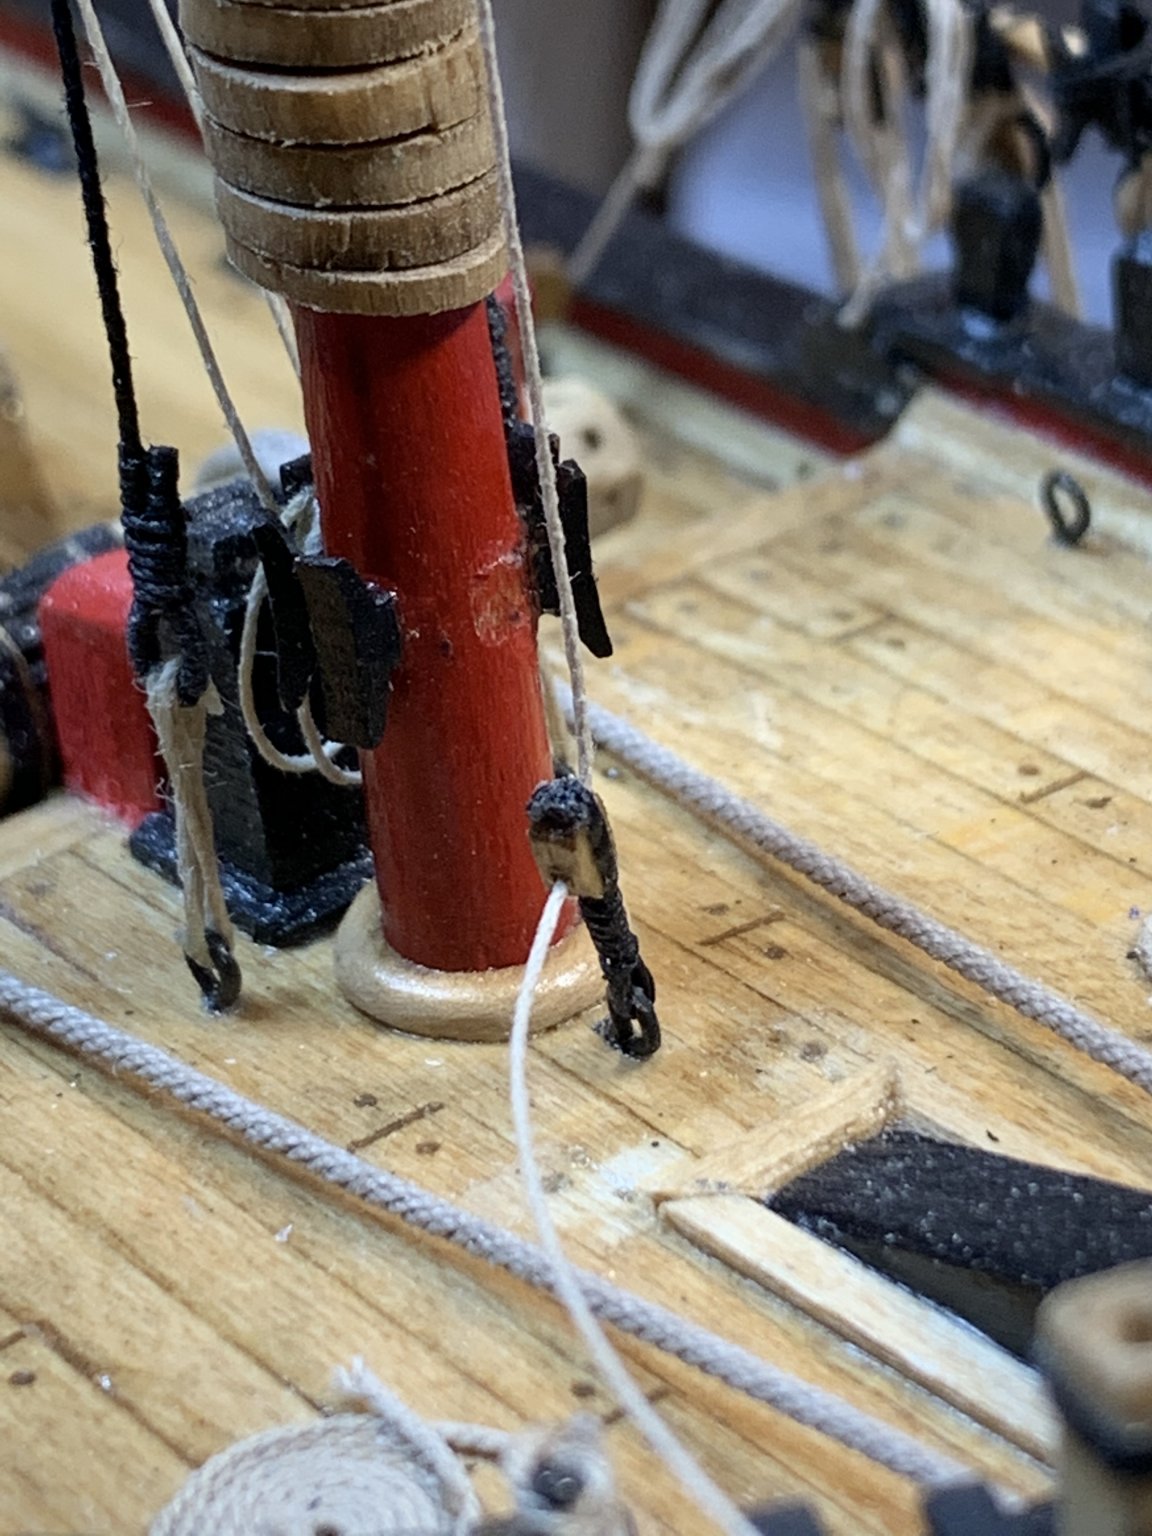
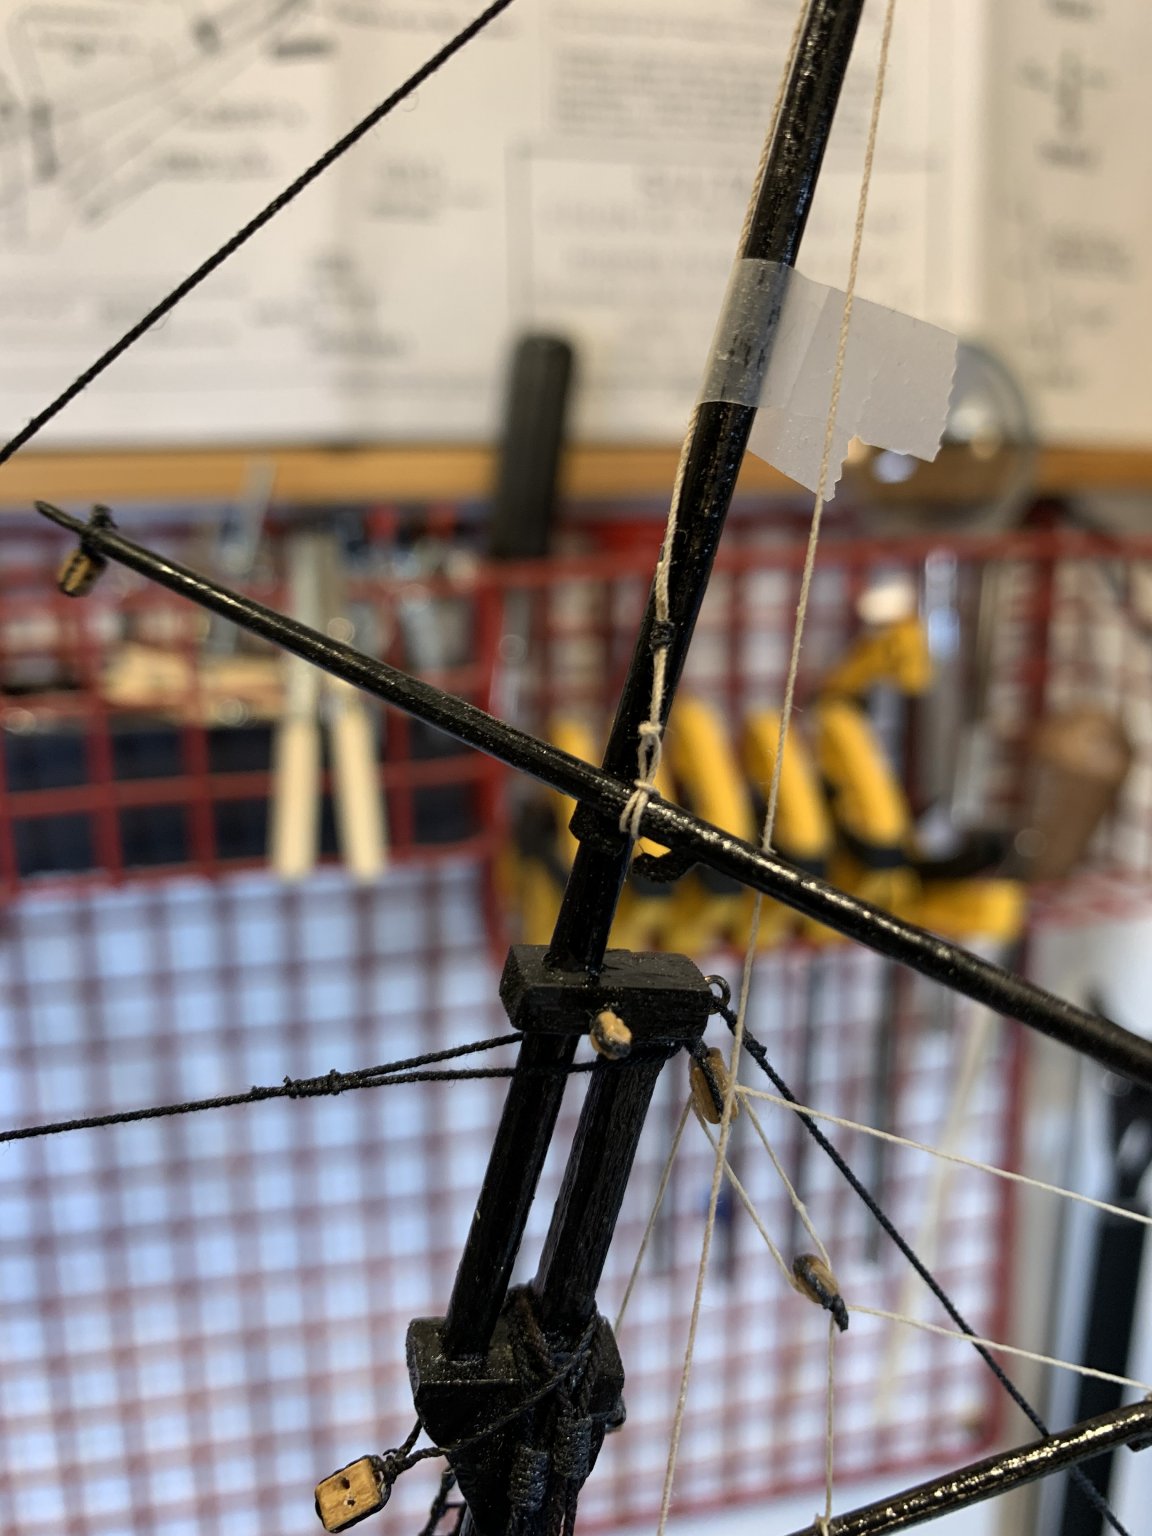
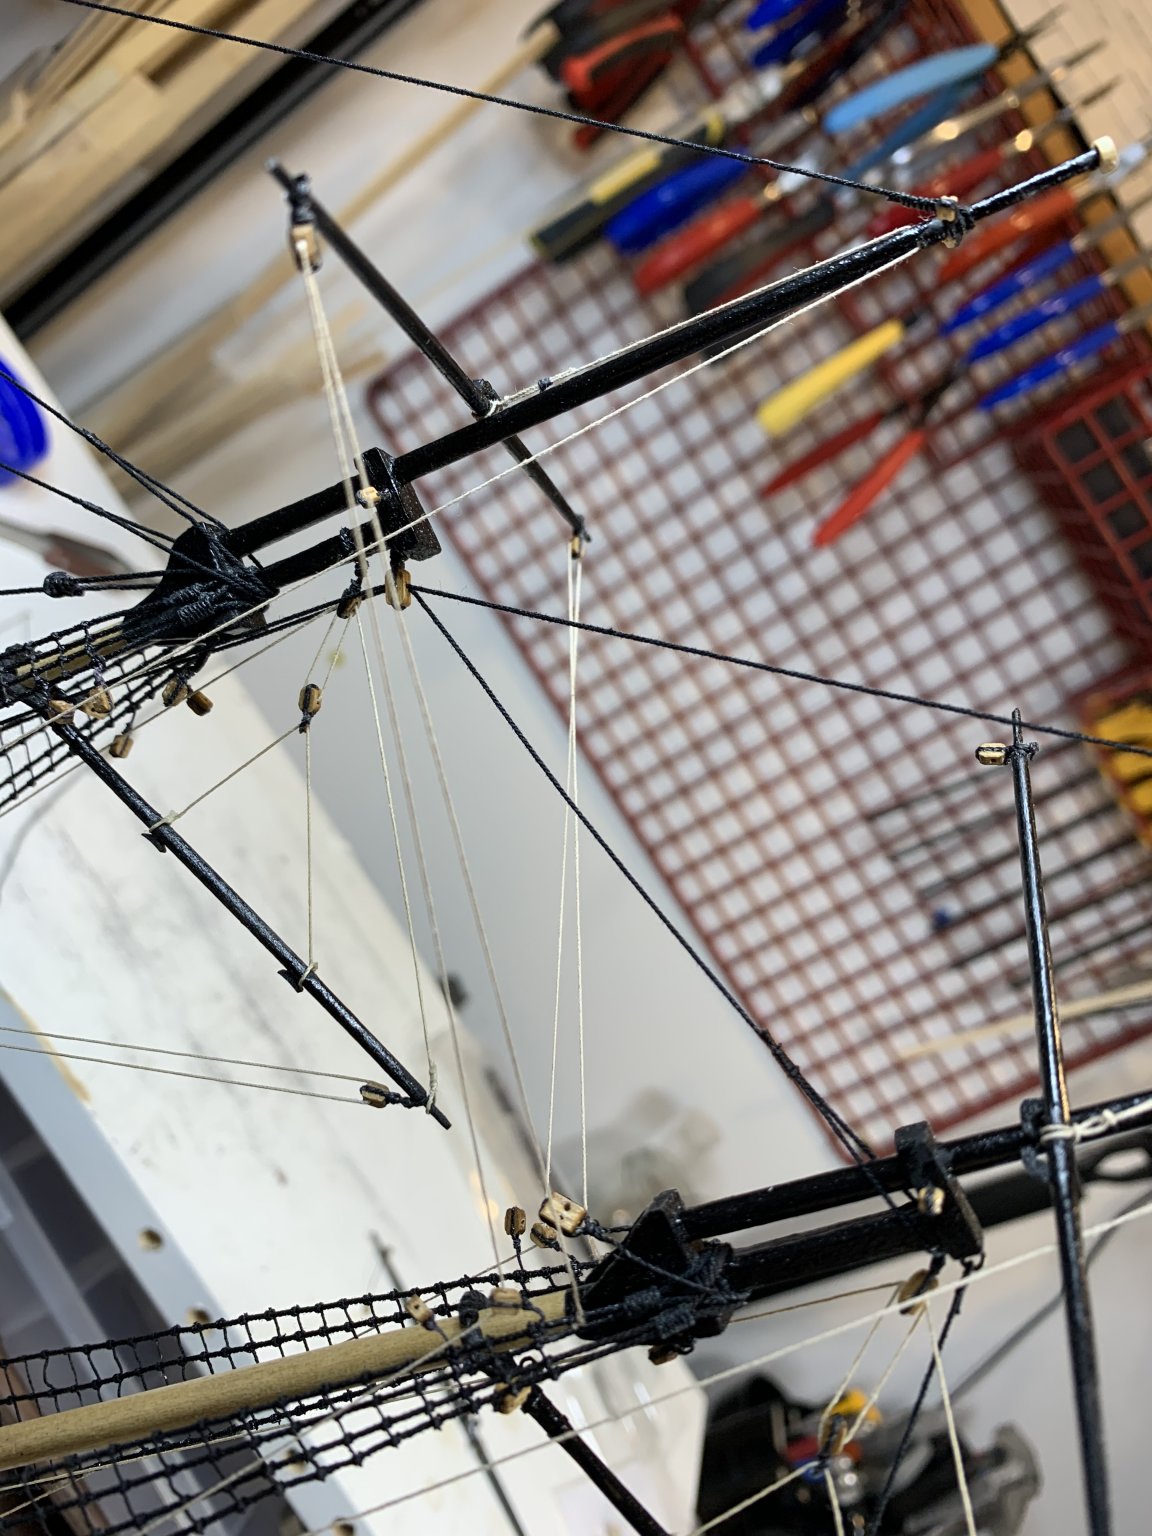
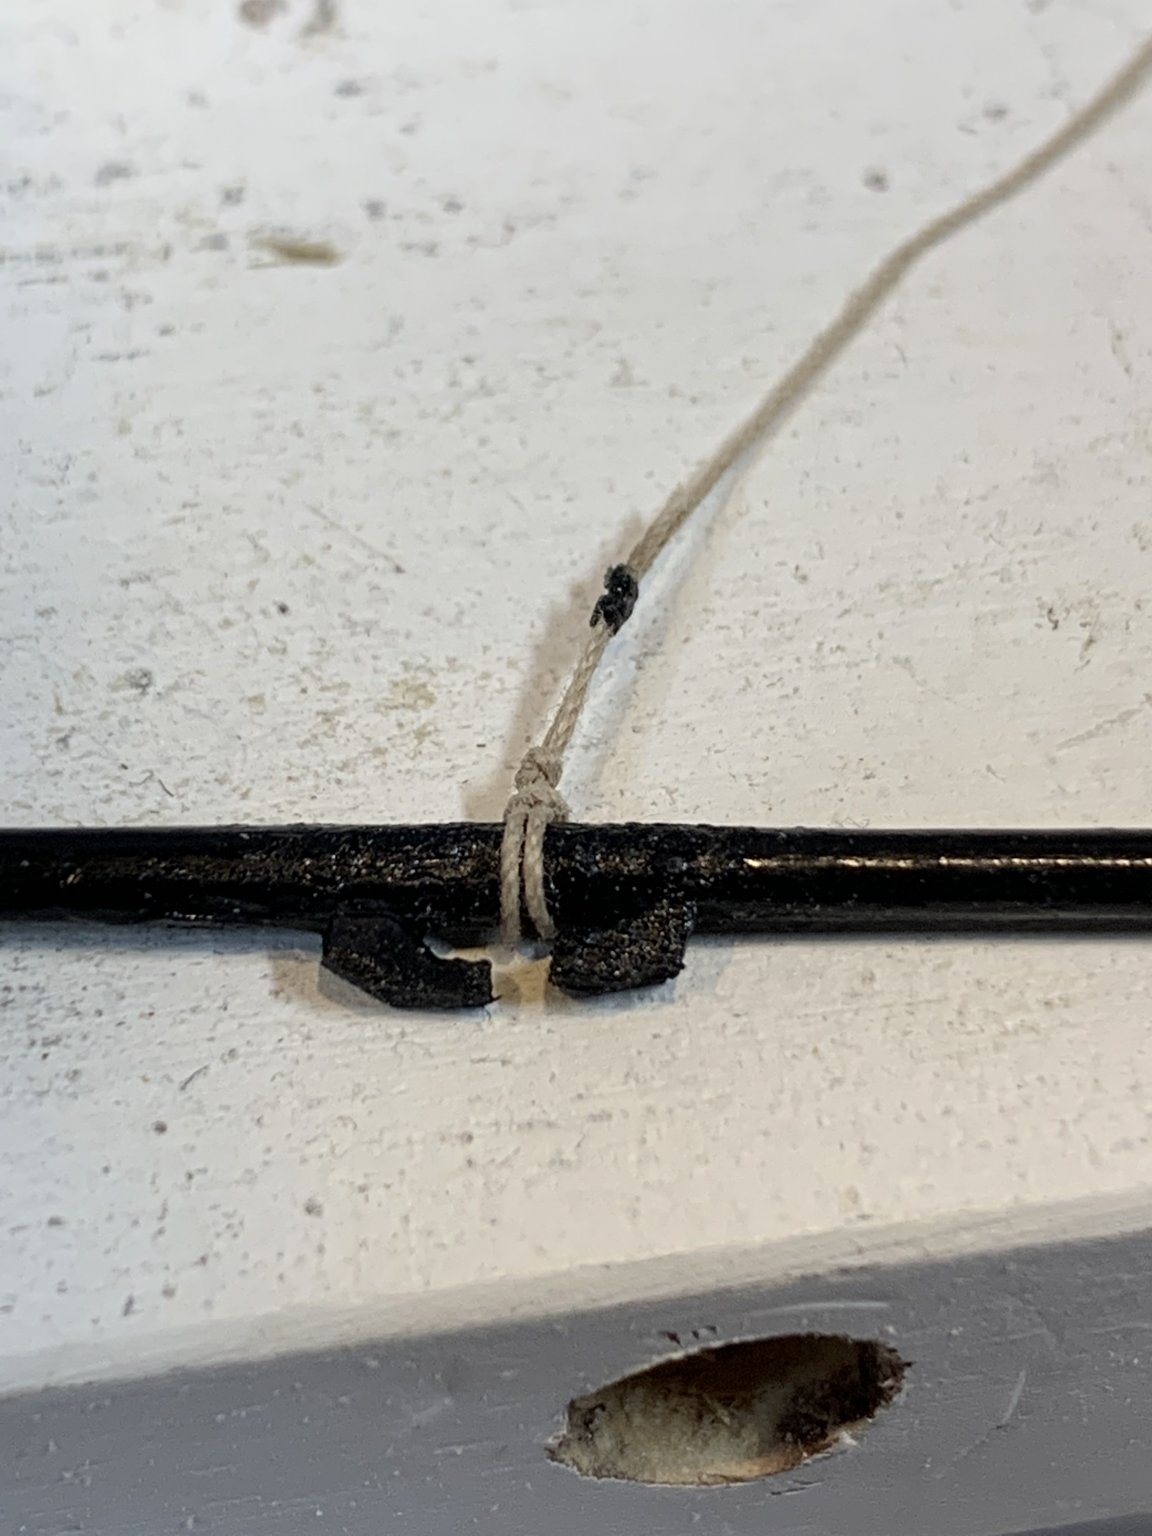
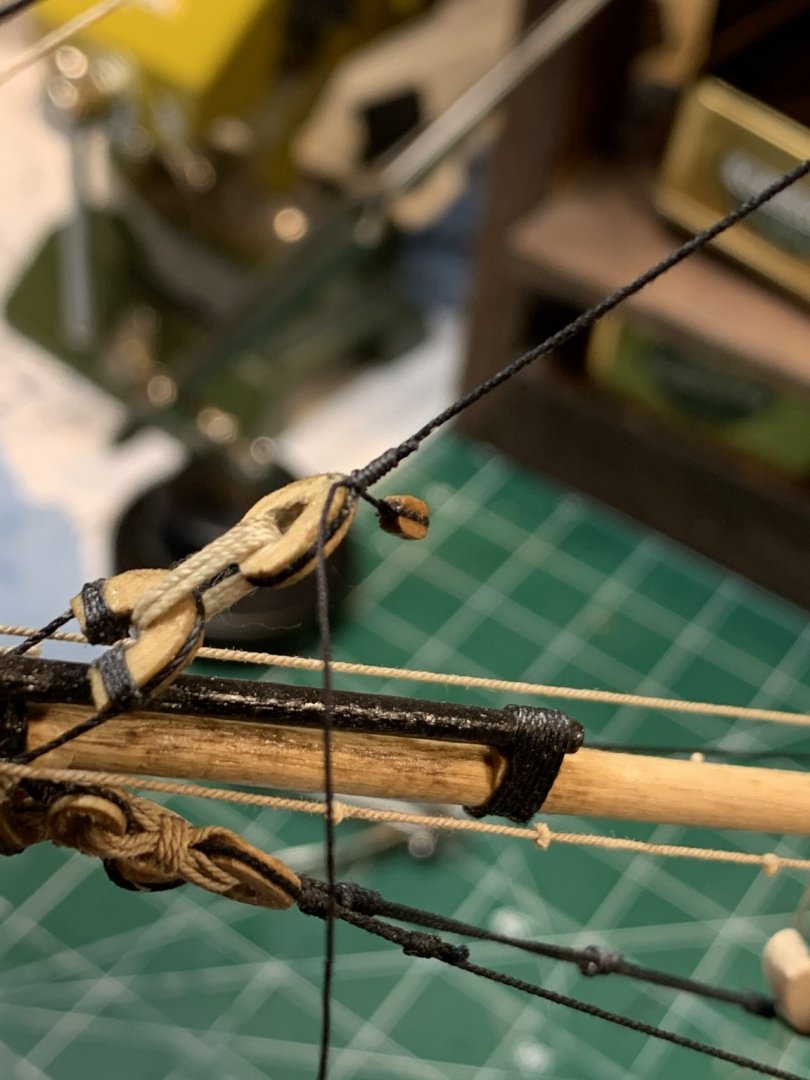
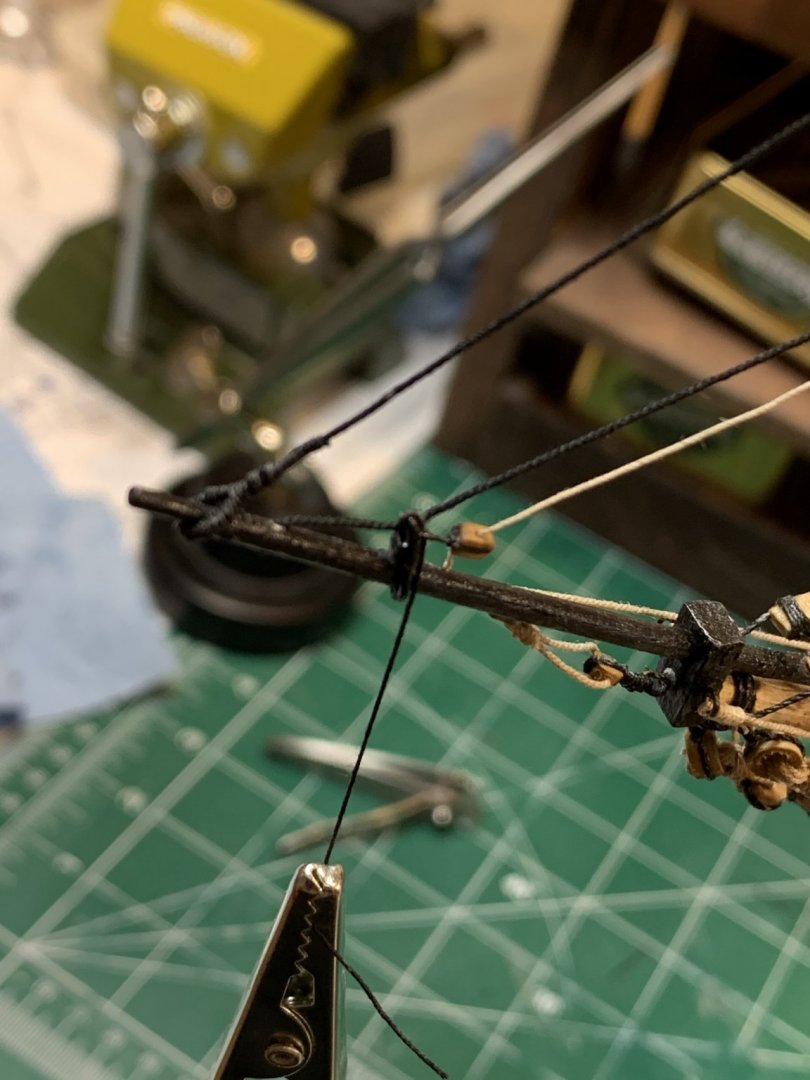
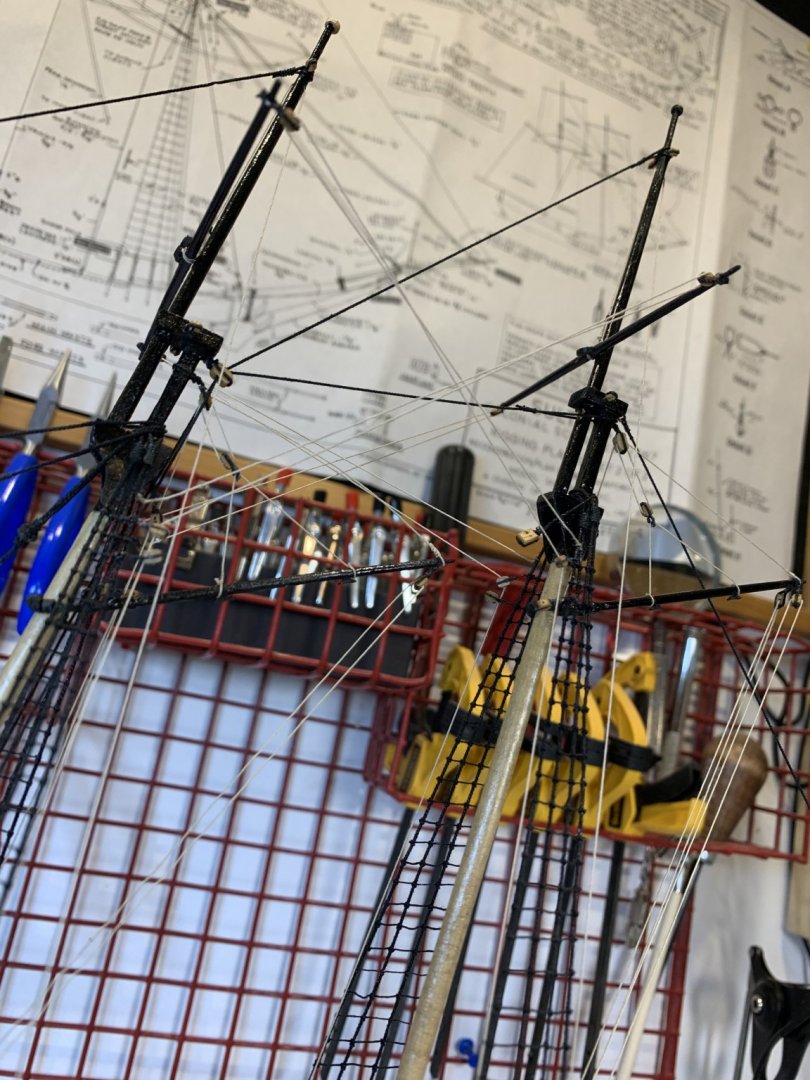
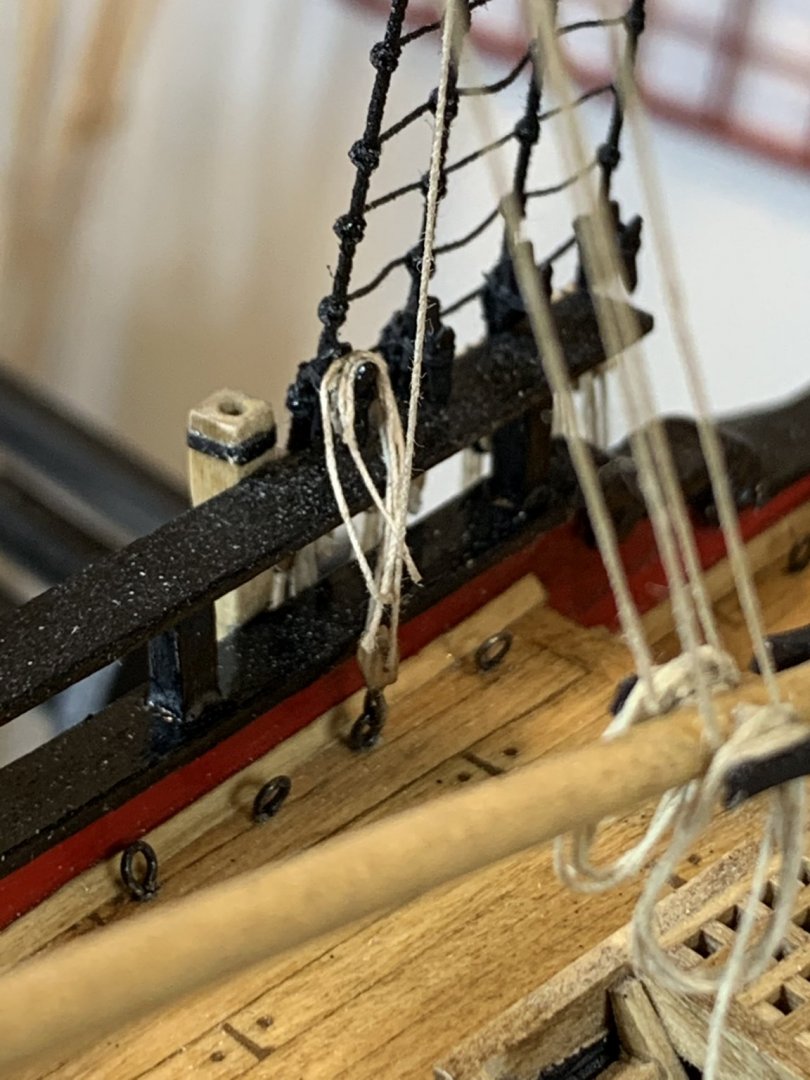
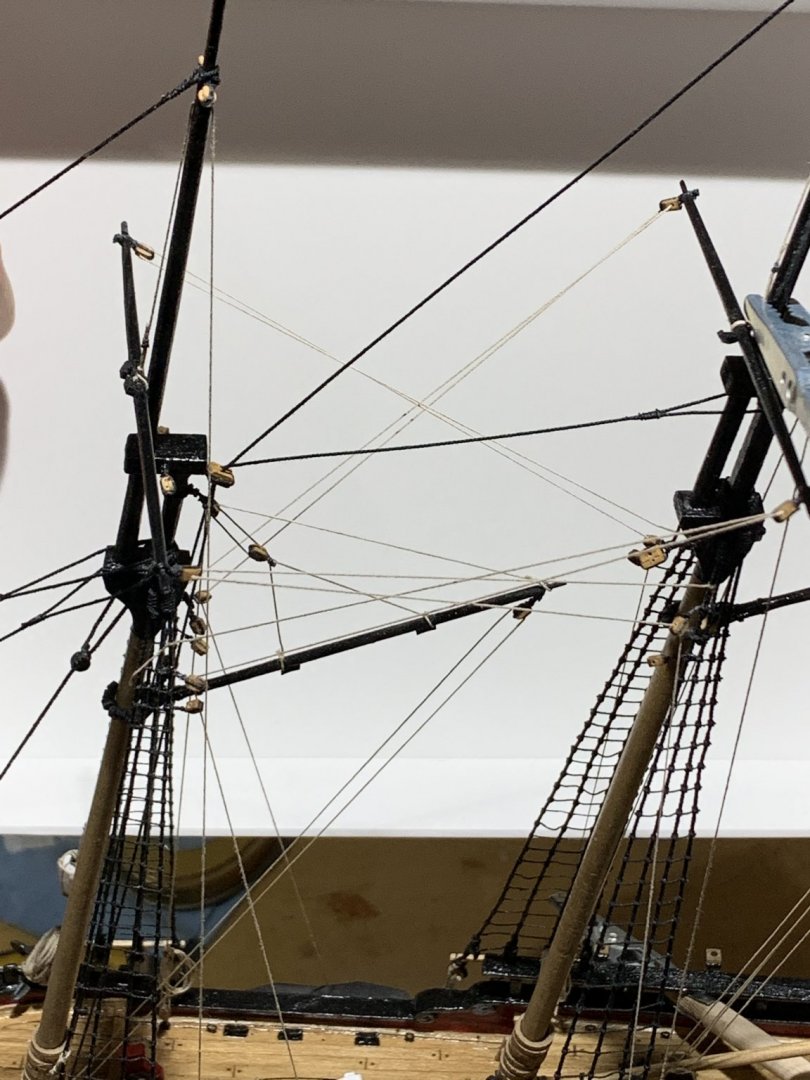
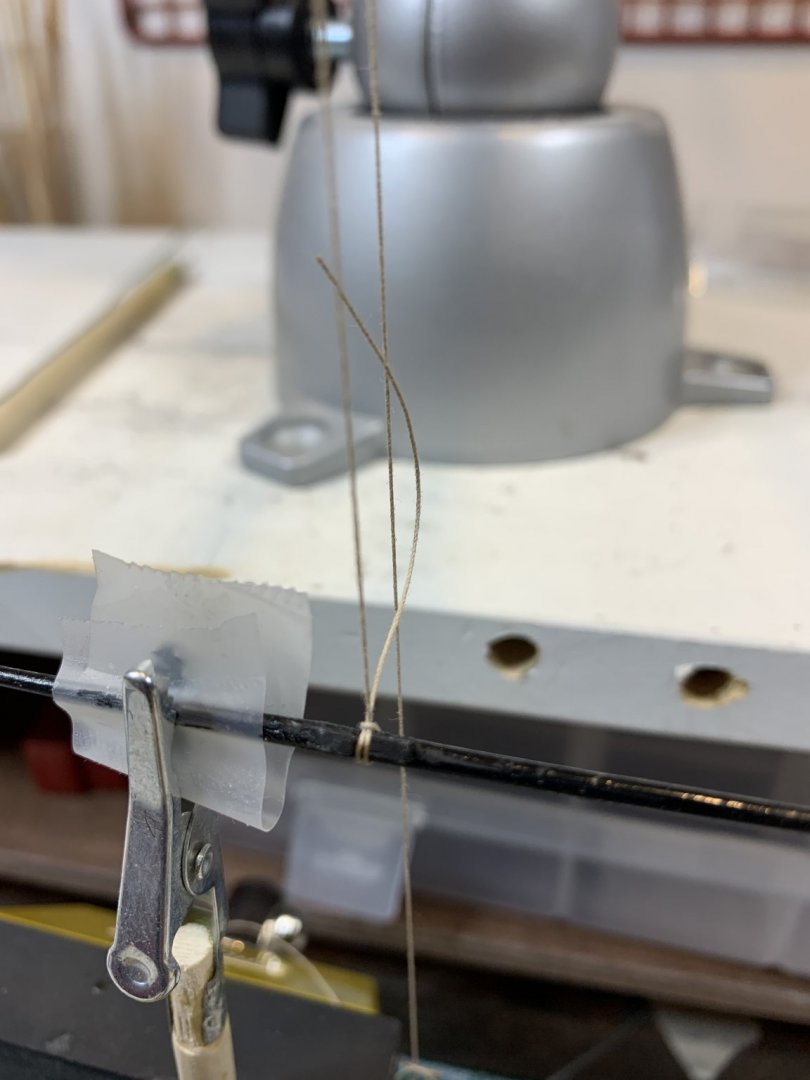
Rigging for yards continue.. It is very tedious work but for some weird reason i like it... The yard mounted and fixed with a piece of scotch tape, so it will keep its position while rigging work is in progress. The rigging was fixed with a hook, to the place on the deck. A small amount of rope coil rope was attached as well. For all rigging of this type, tan rope in .008mm diameter was used. Preparation of 2mm single blocks that will be attached to the topmast and will hold a rope for a lift... End for all rope were freeze with cyano glue in effort to drive them thru the blocks easily.. the small weight were attached to the end of lifts to make them straight and diluted white glue was applied to all ropes. This should prevent ropes to have a "hanging" effect.. My apologize for distracting background on some pictures; still need to clean up workshop from previous projects... Happy modeling...


- 360 replies
-
- 3
-
-
- sultana
- model shipways
- (and 1 more)
-
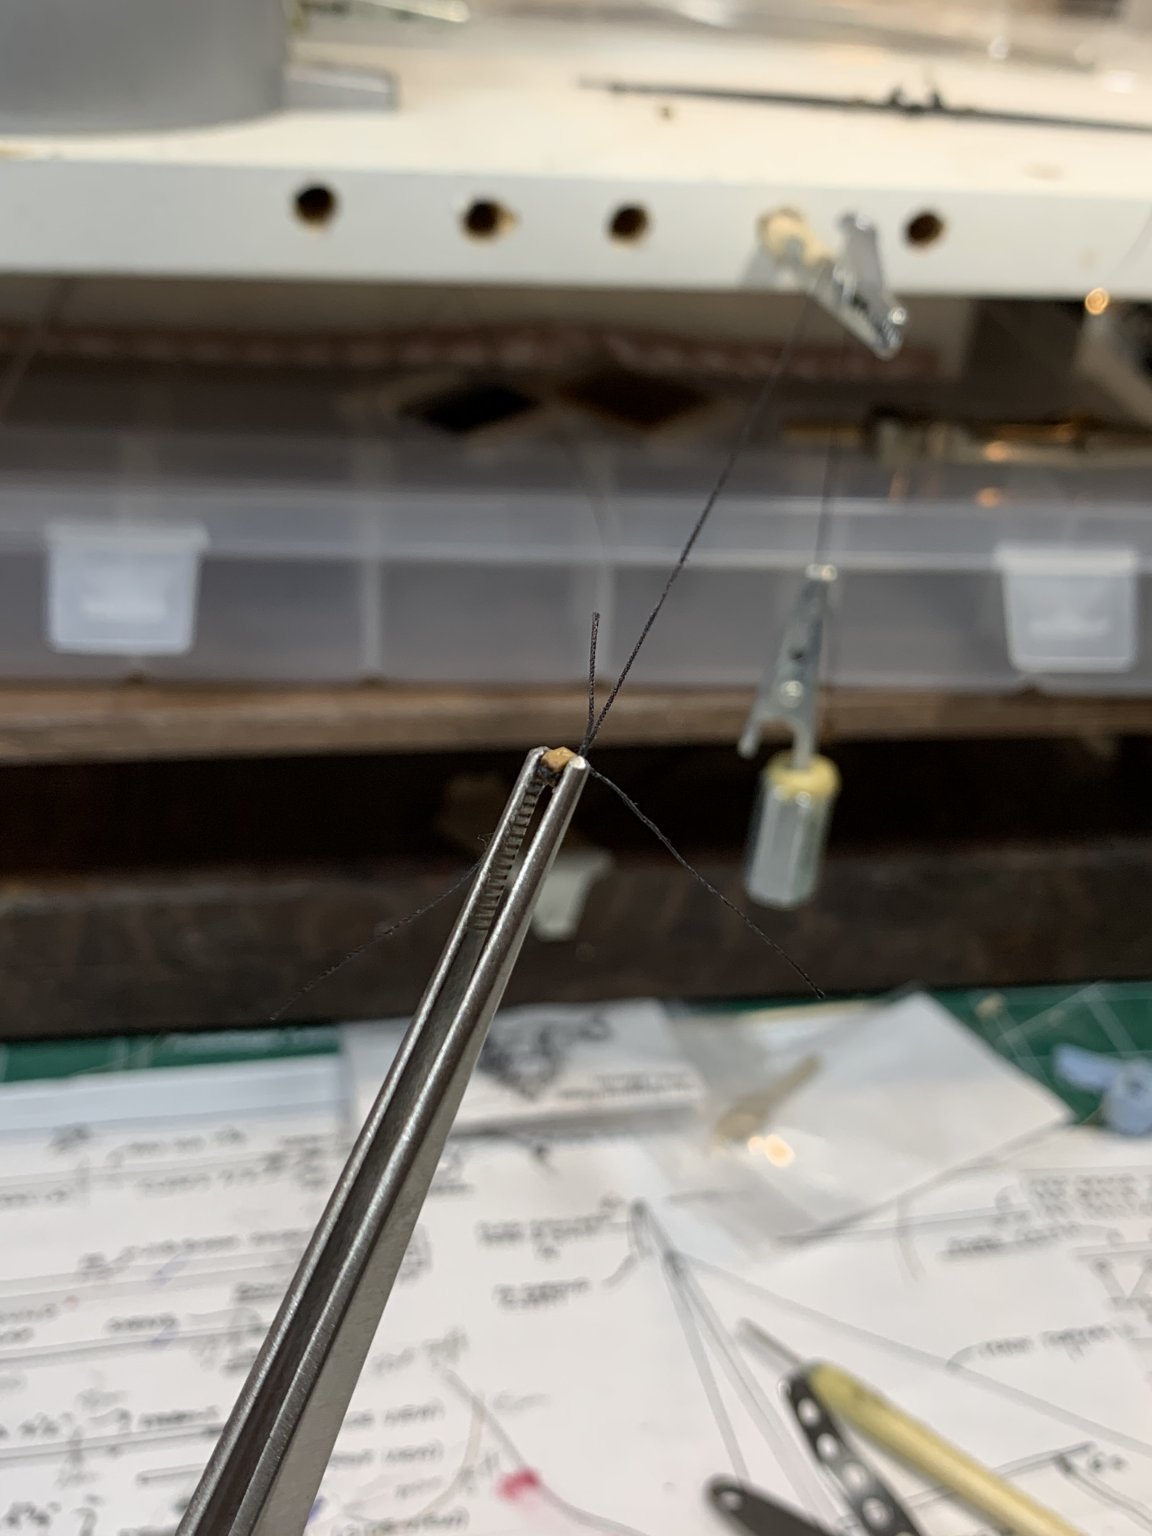
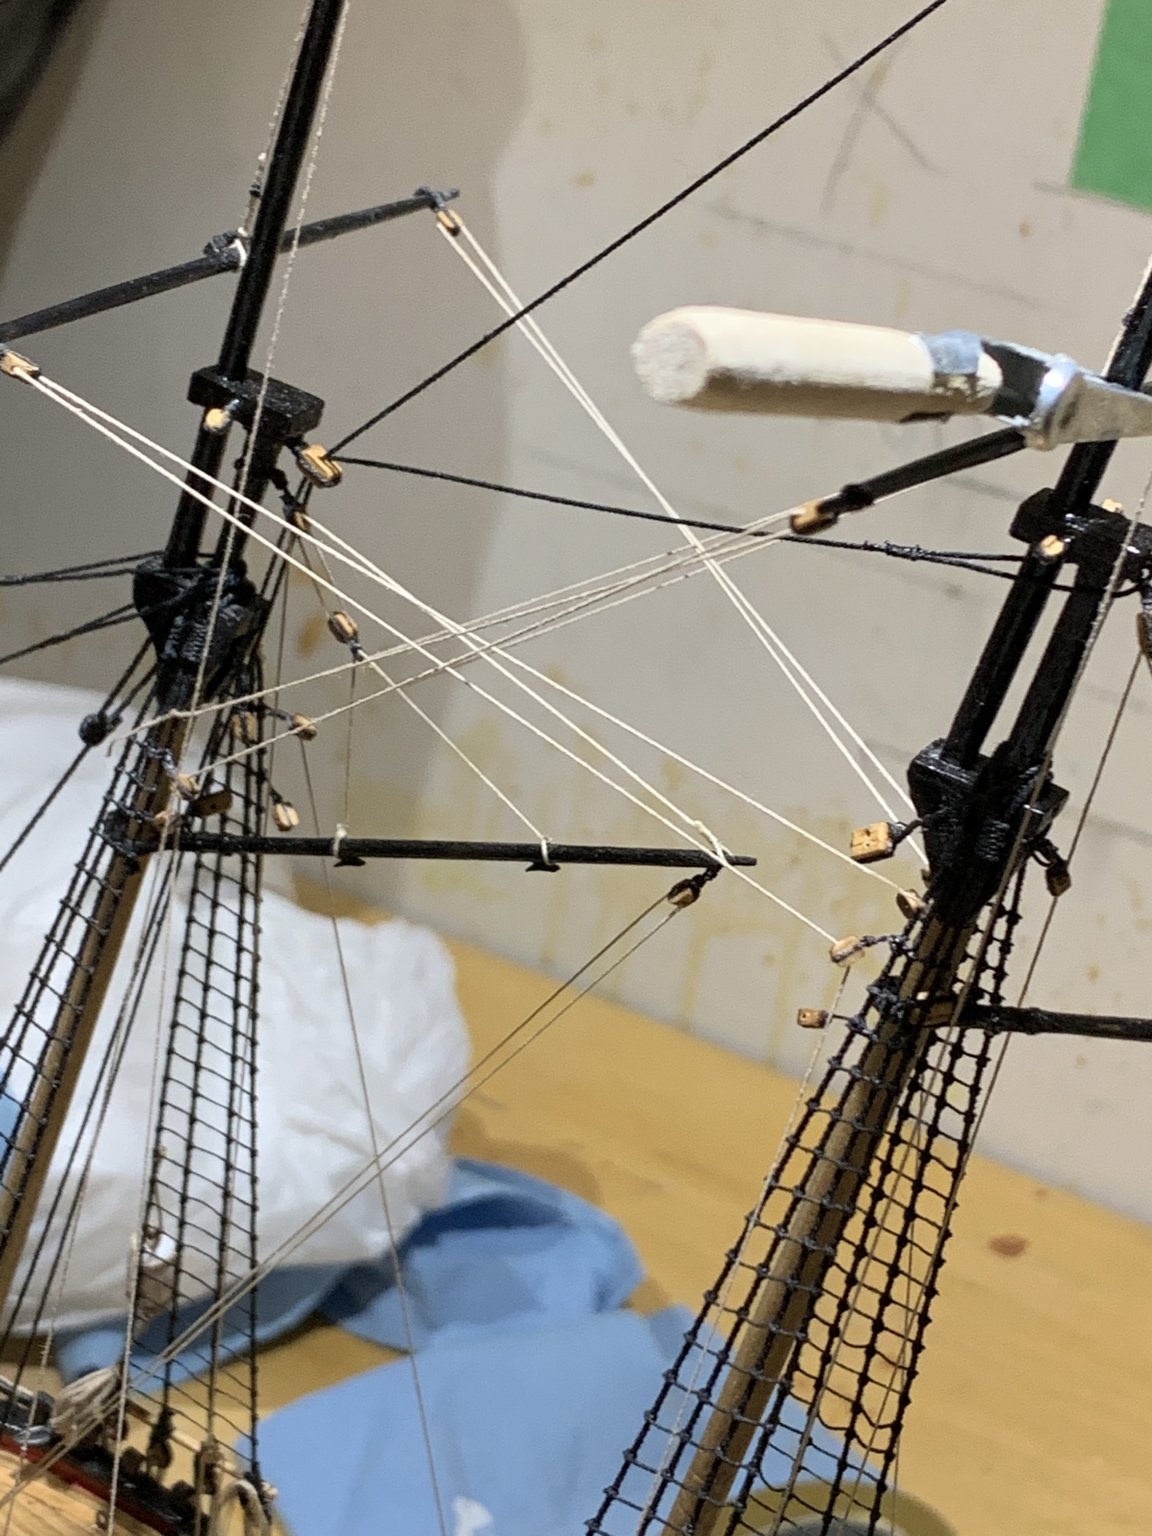
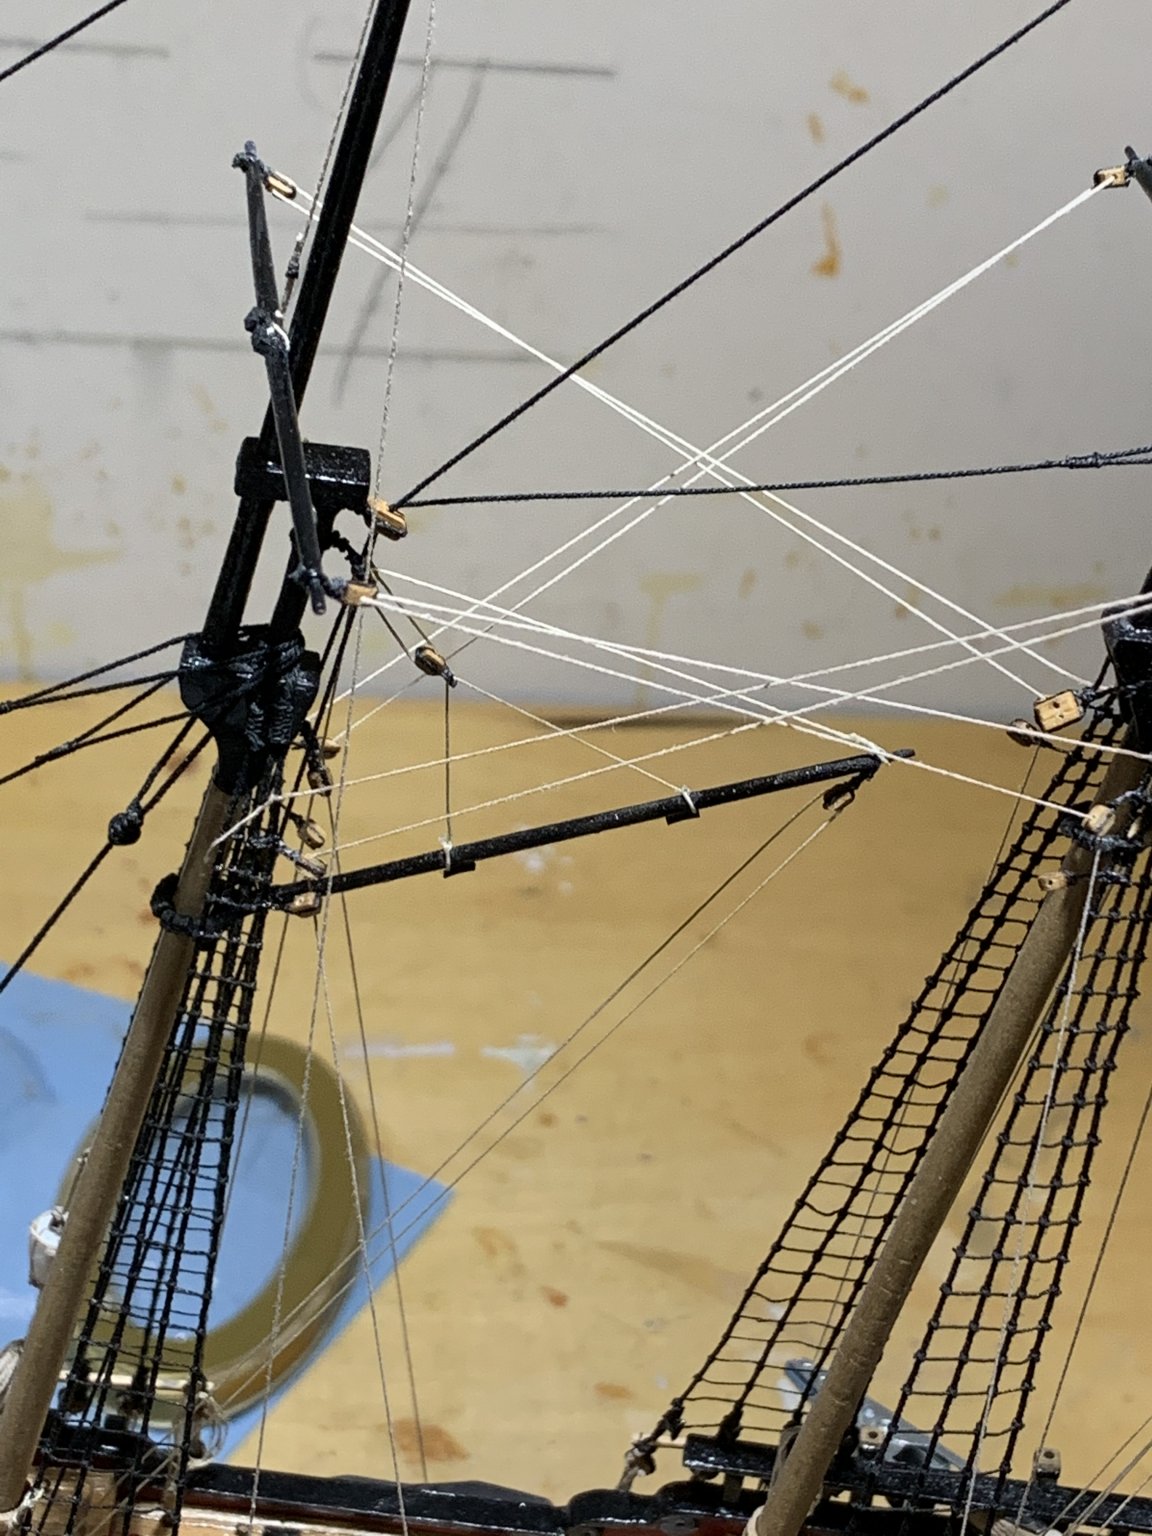
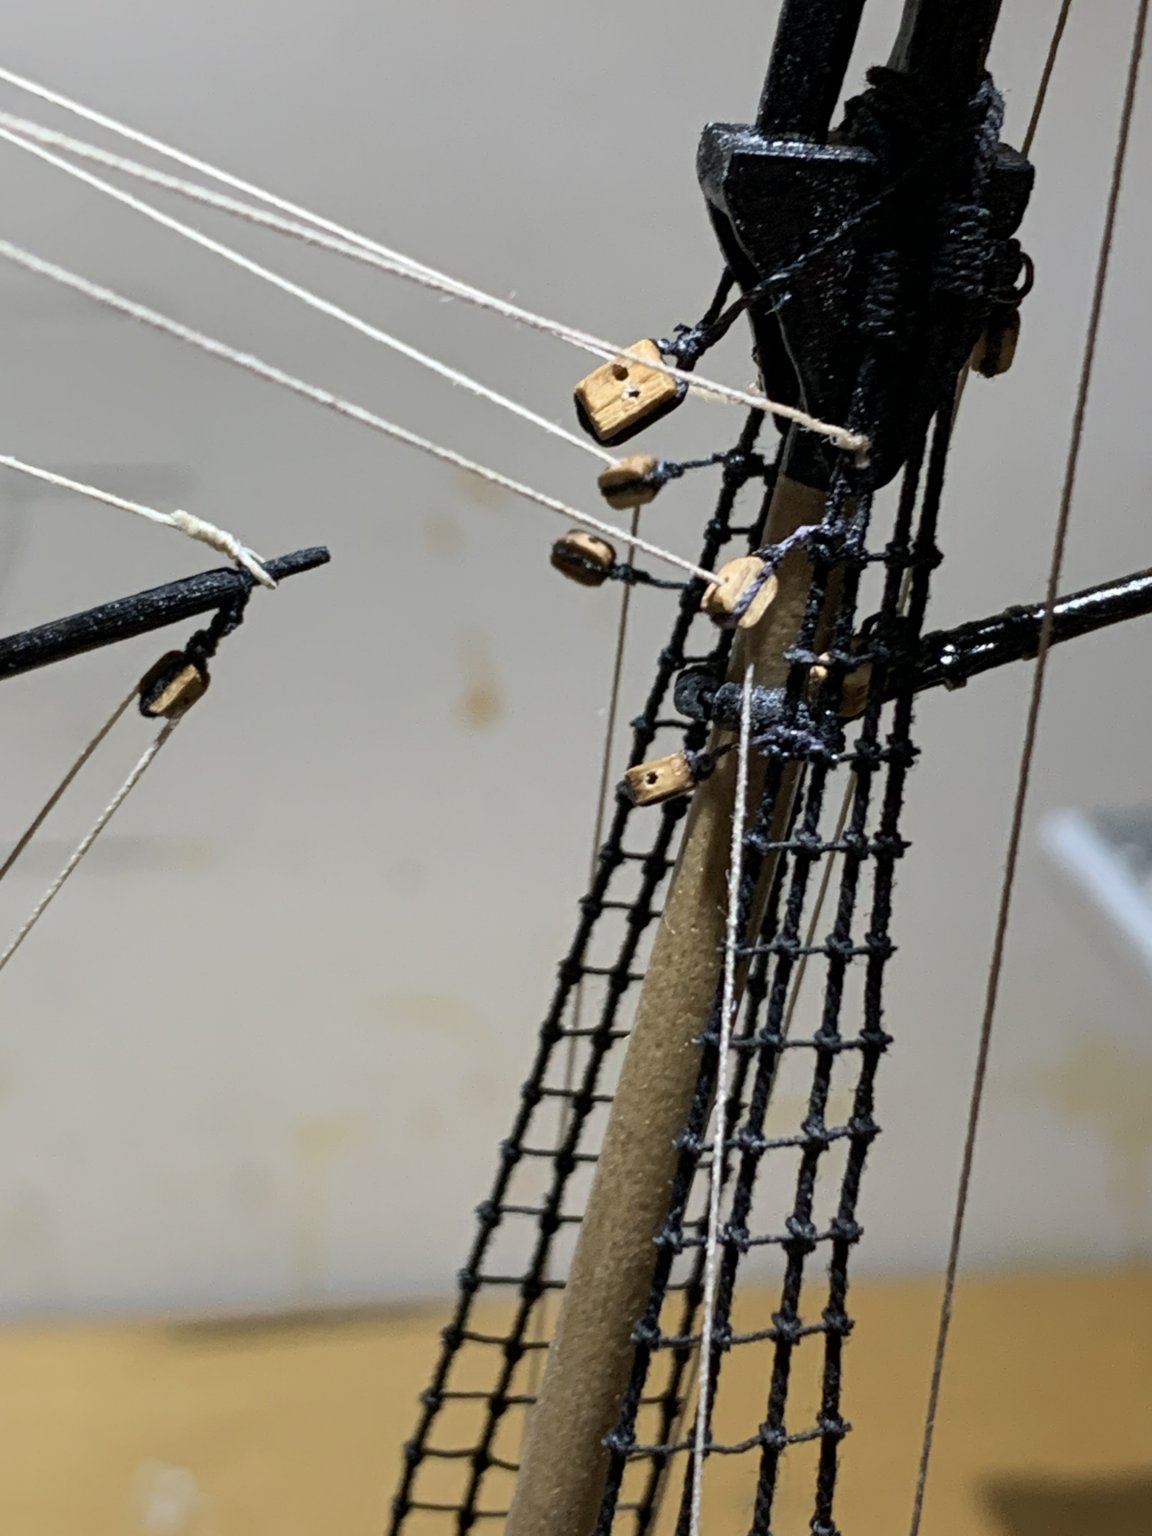
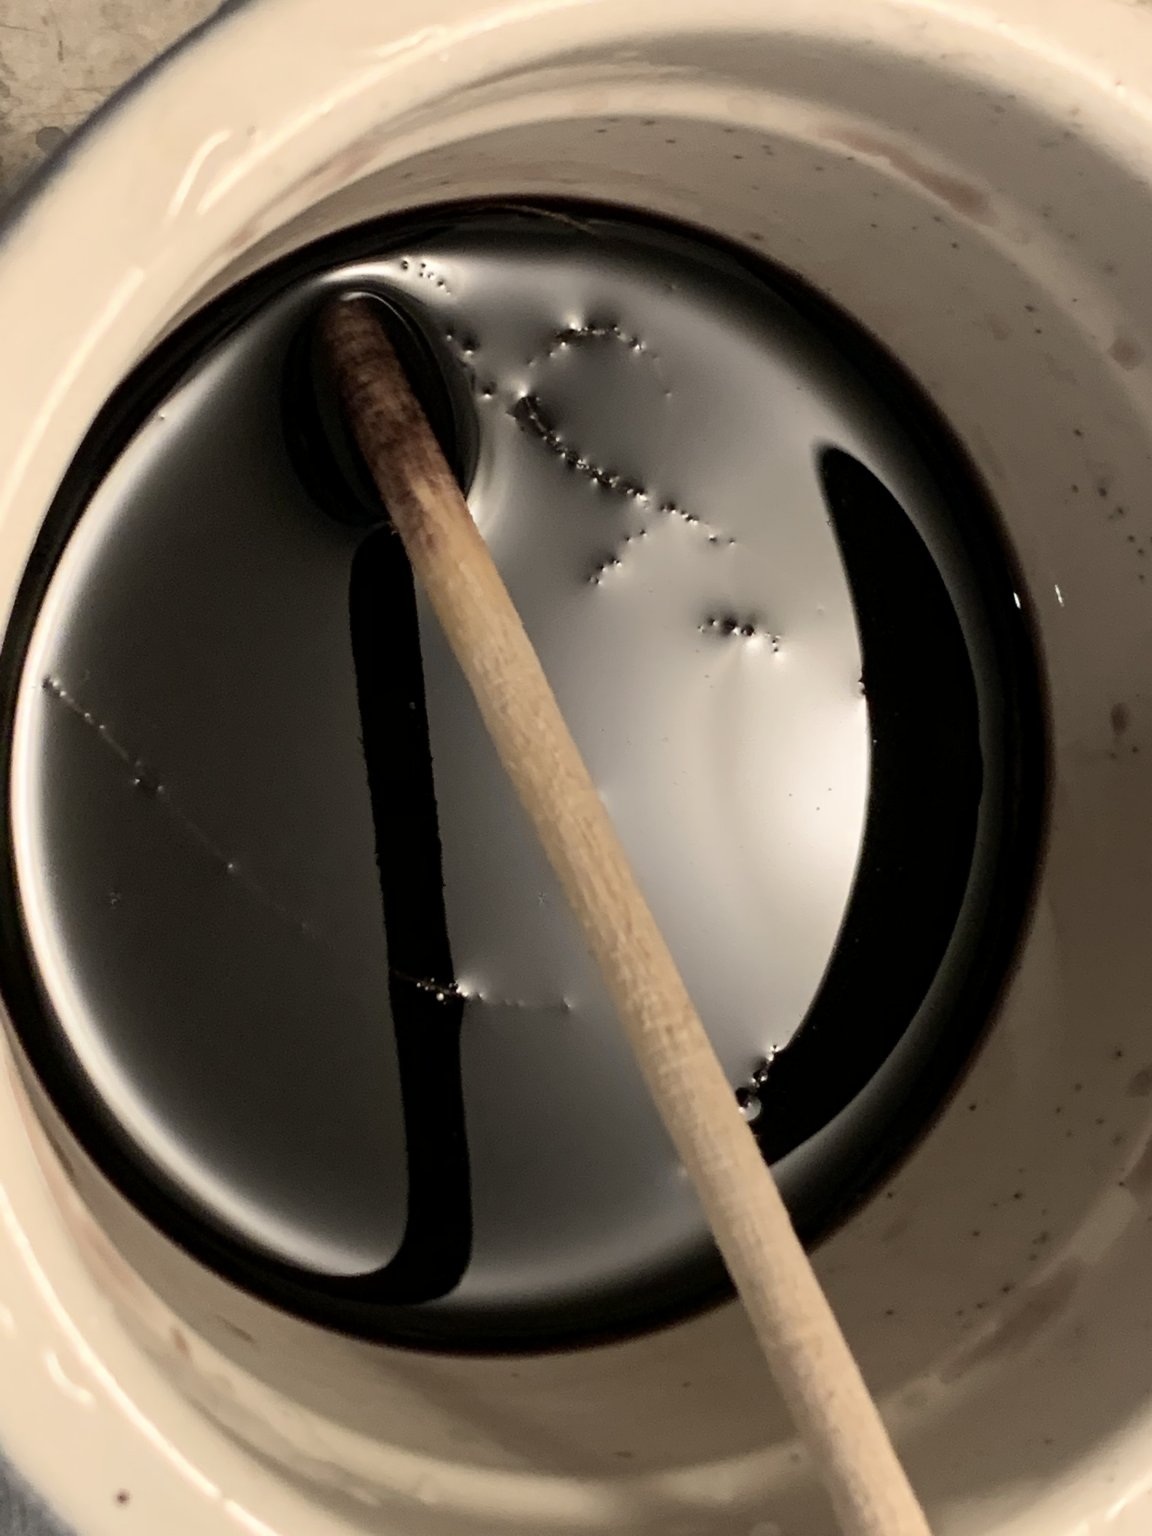
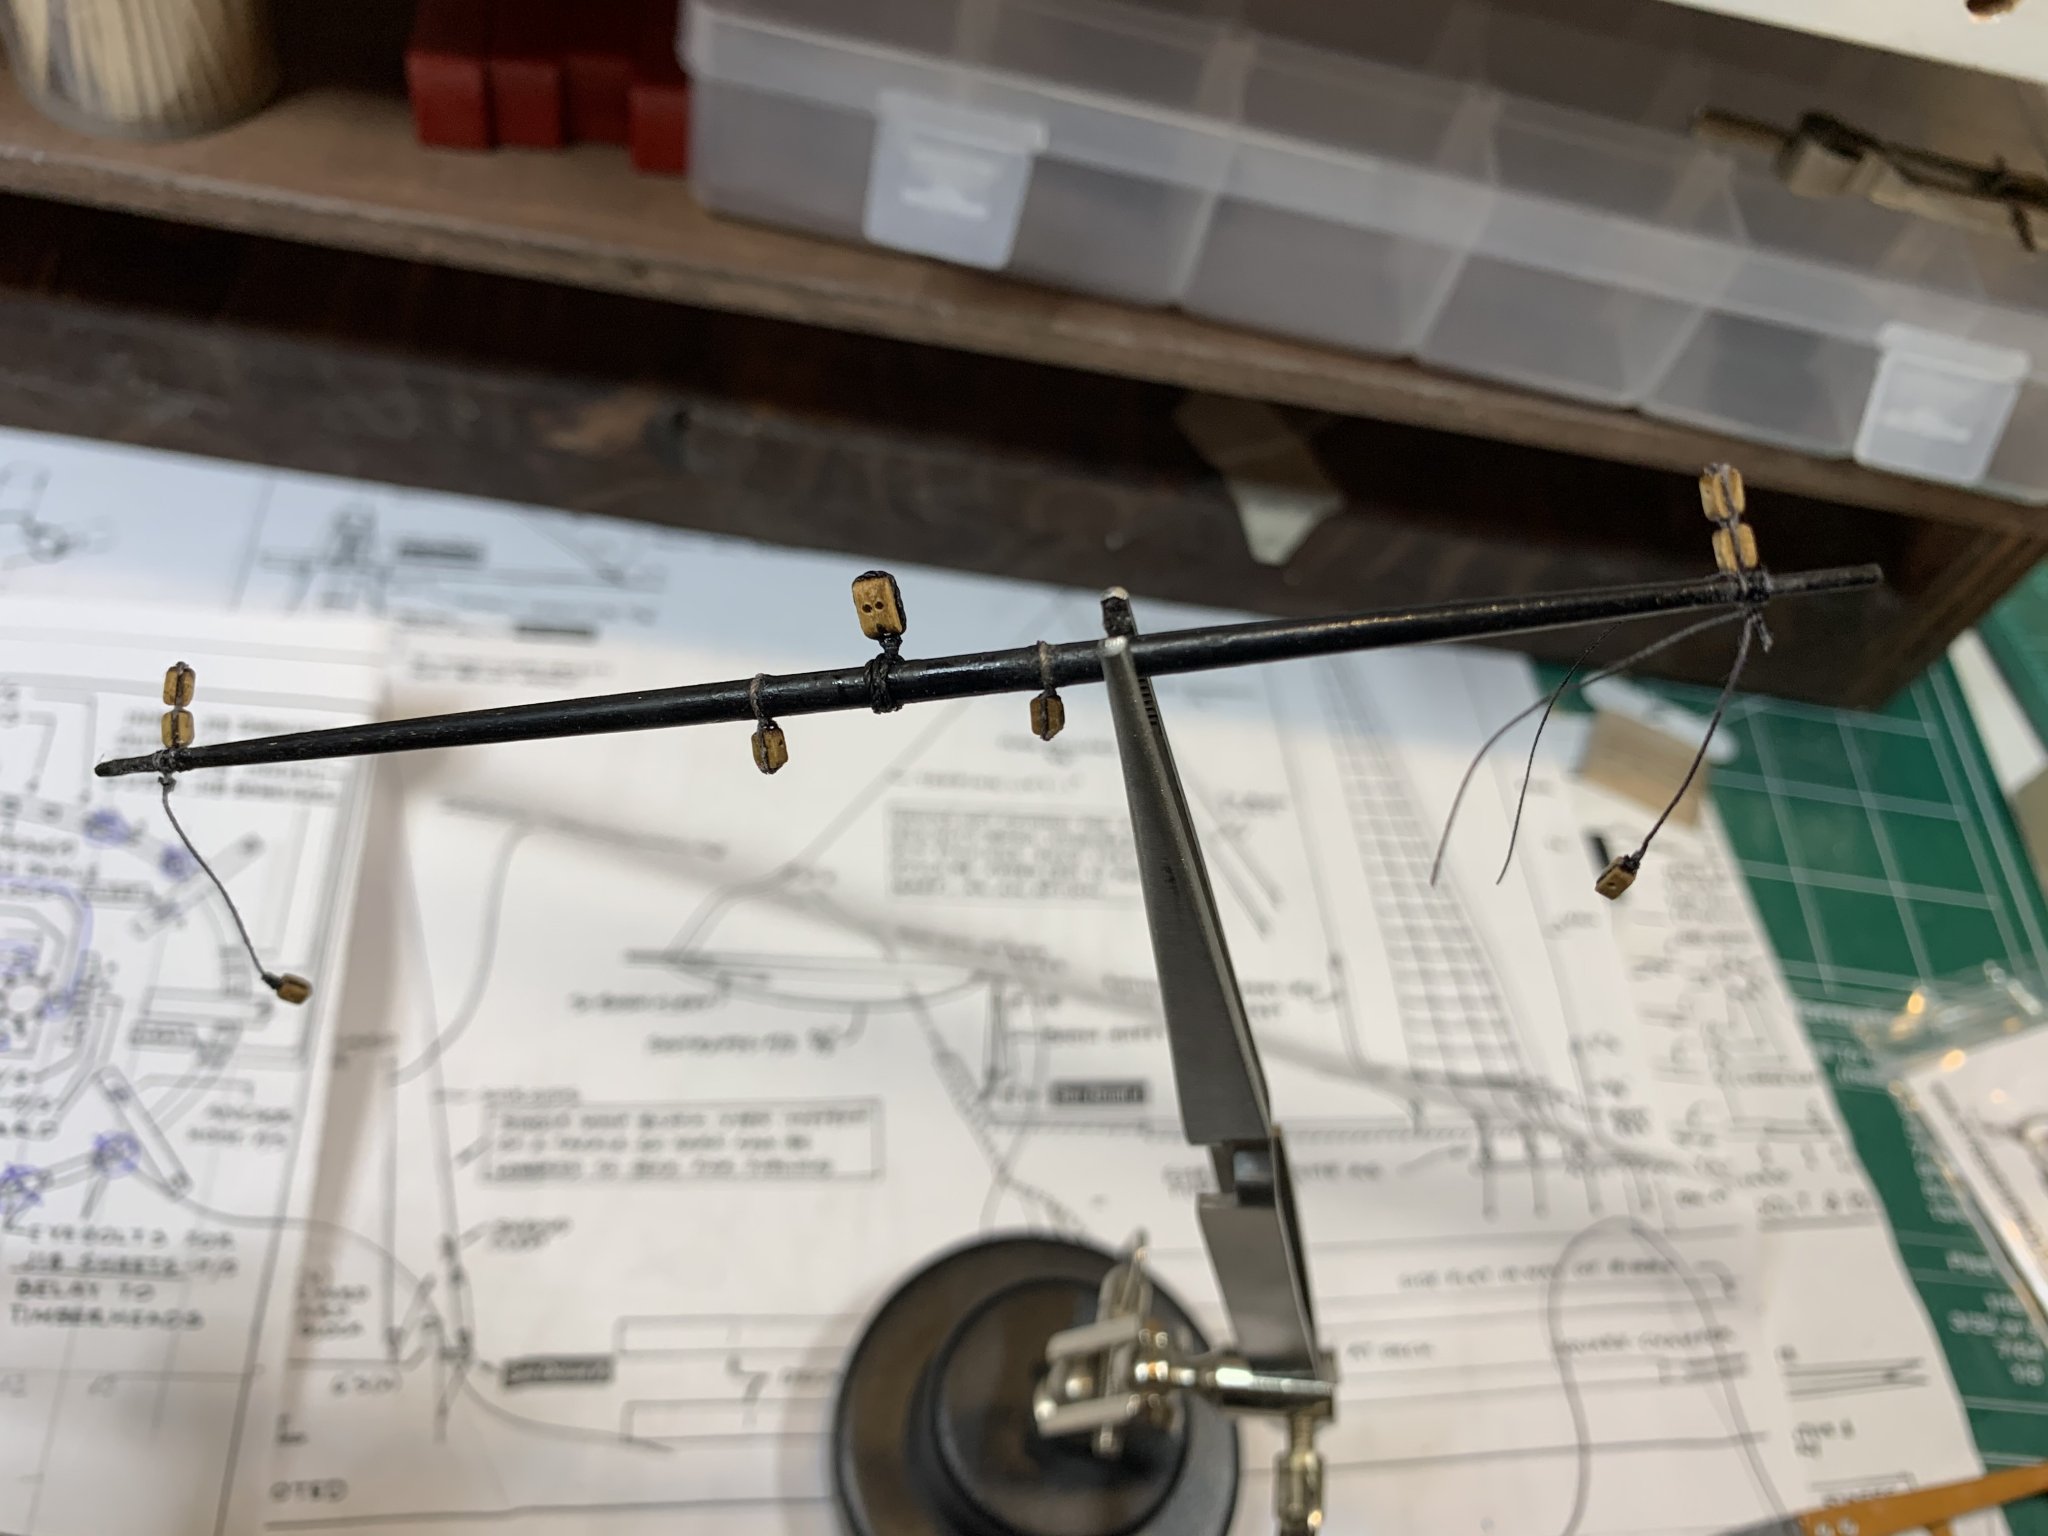
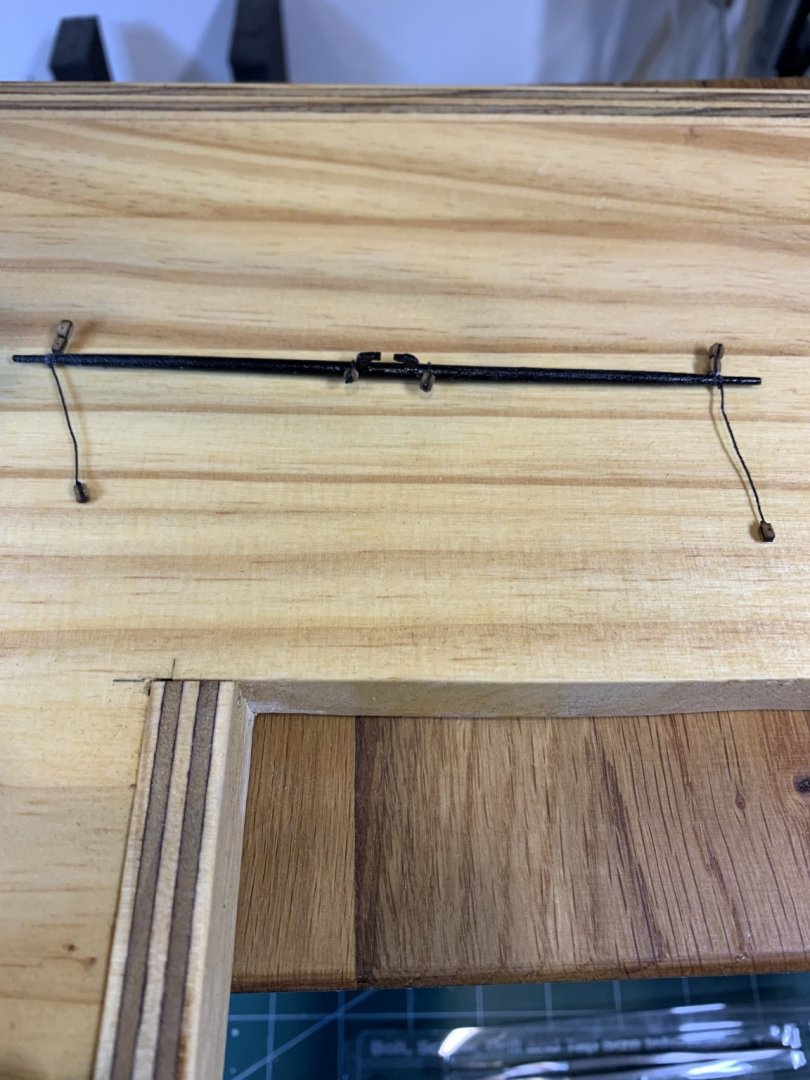
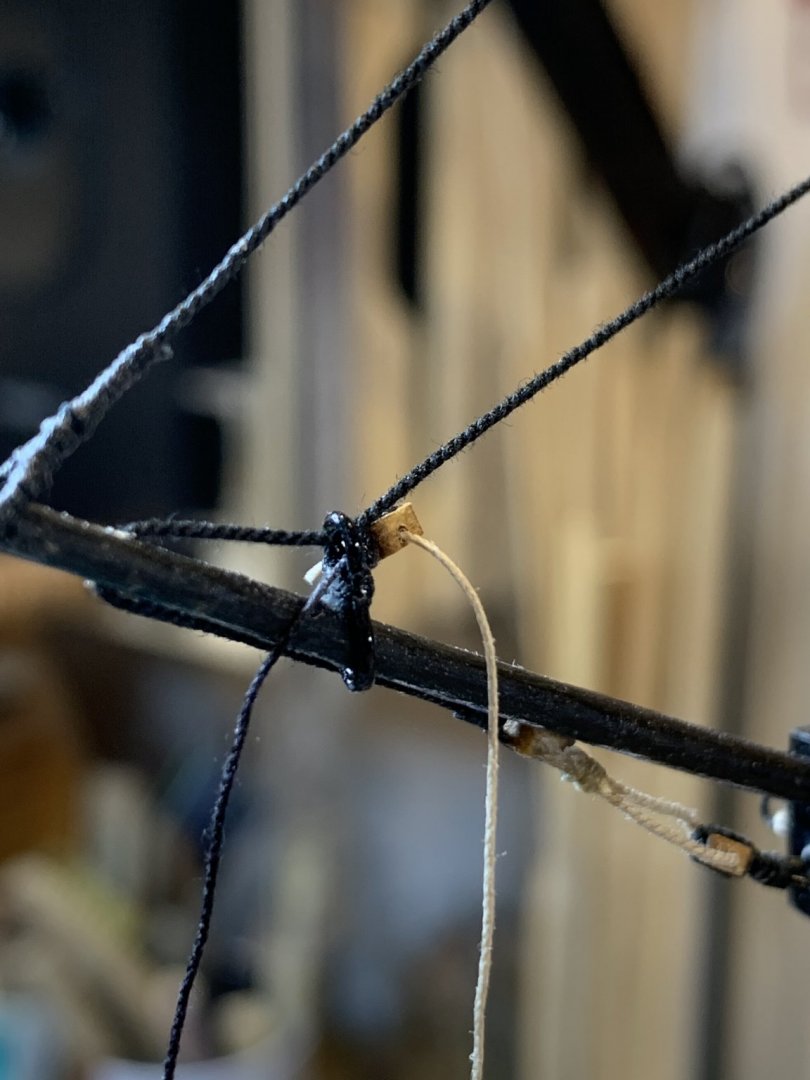
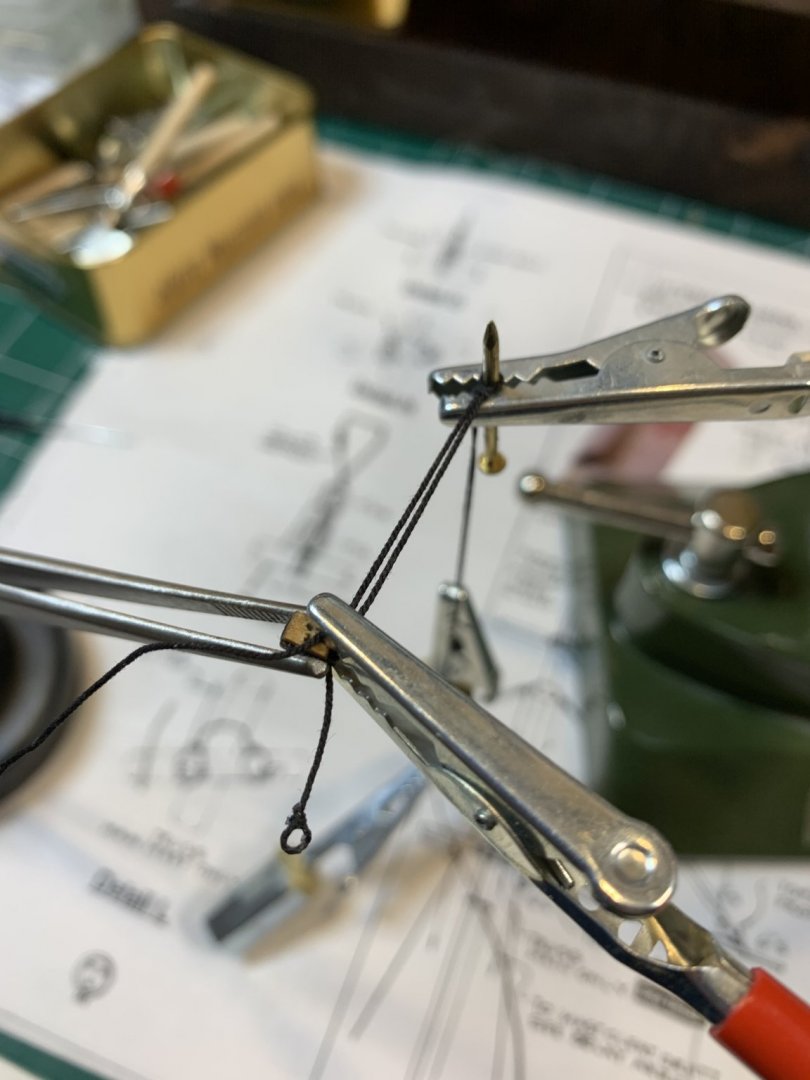
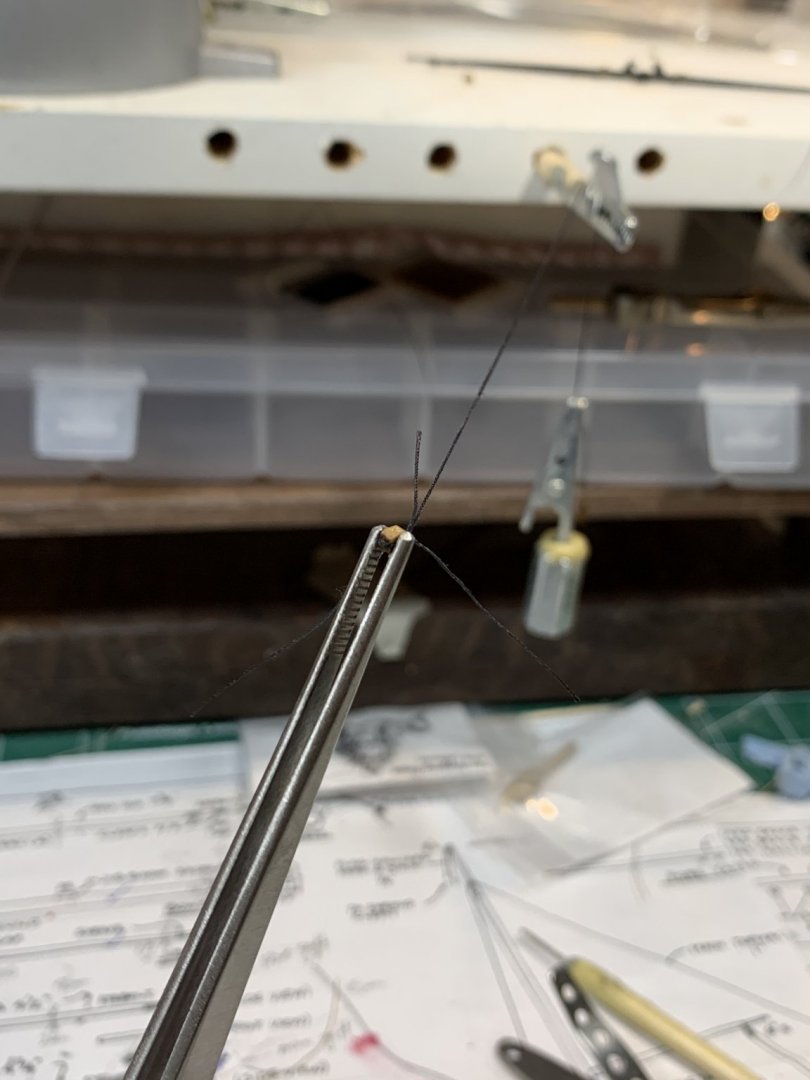
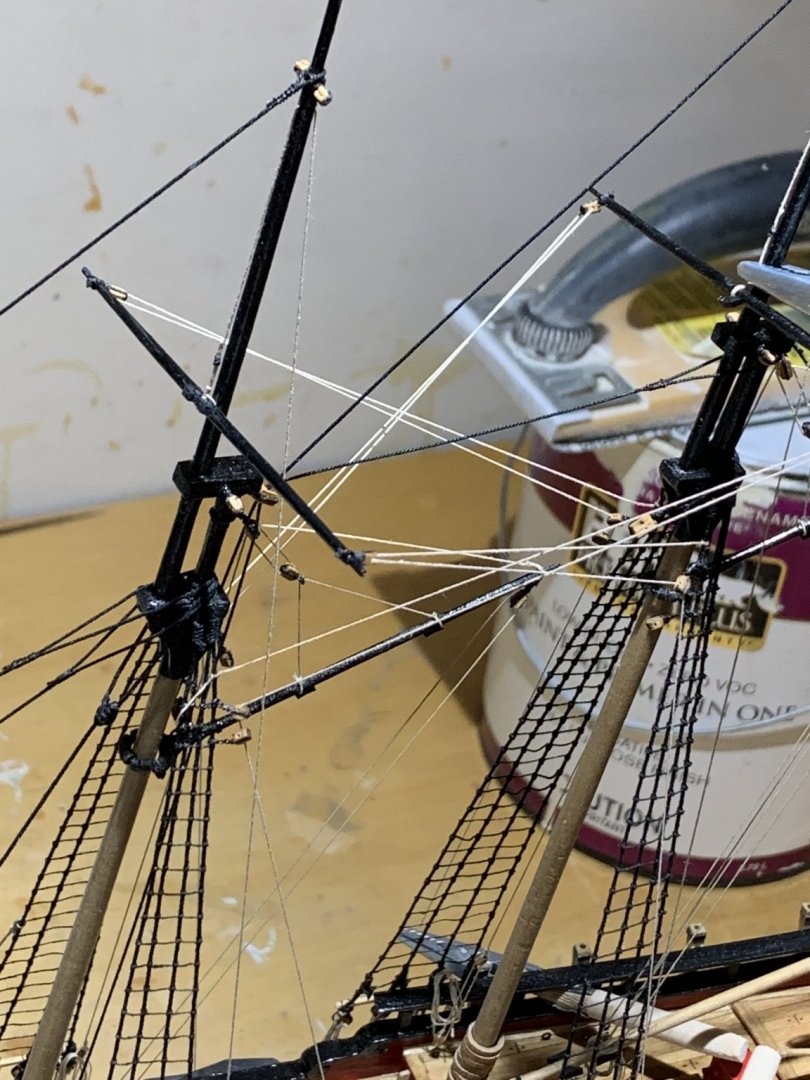
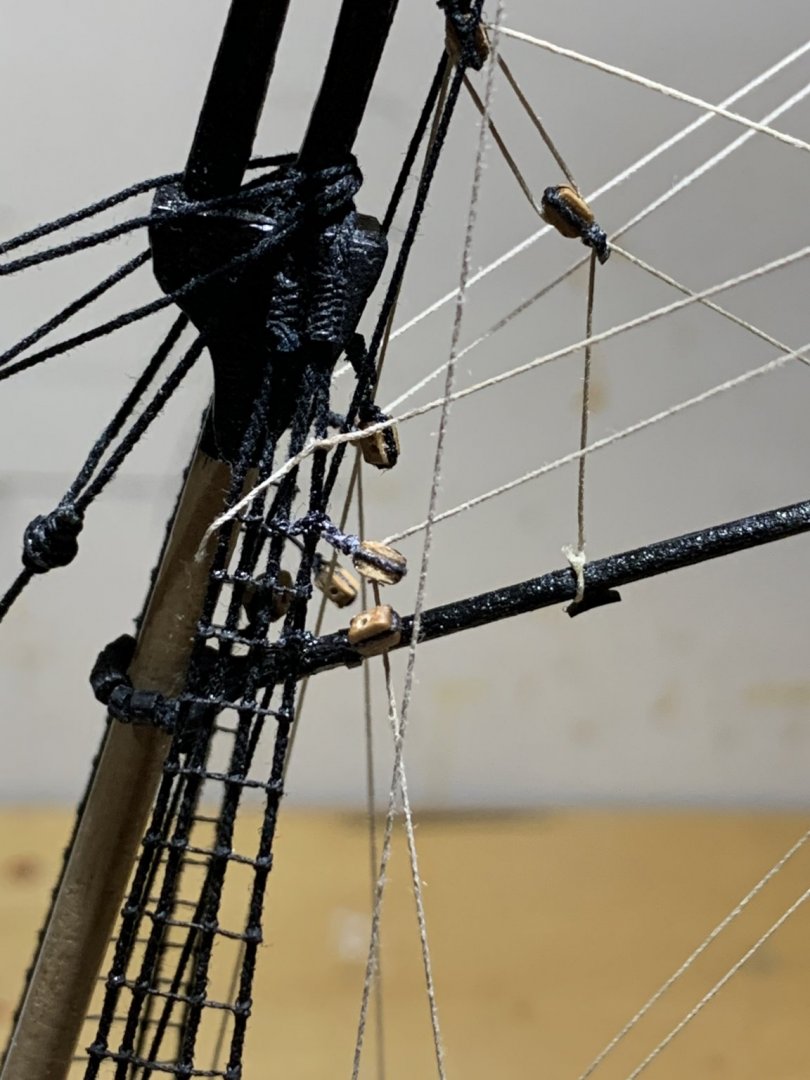
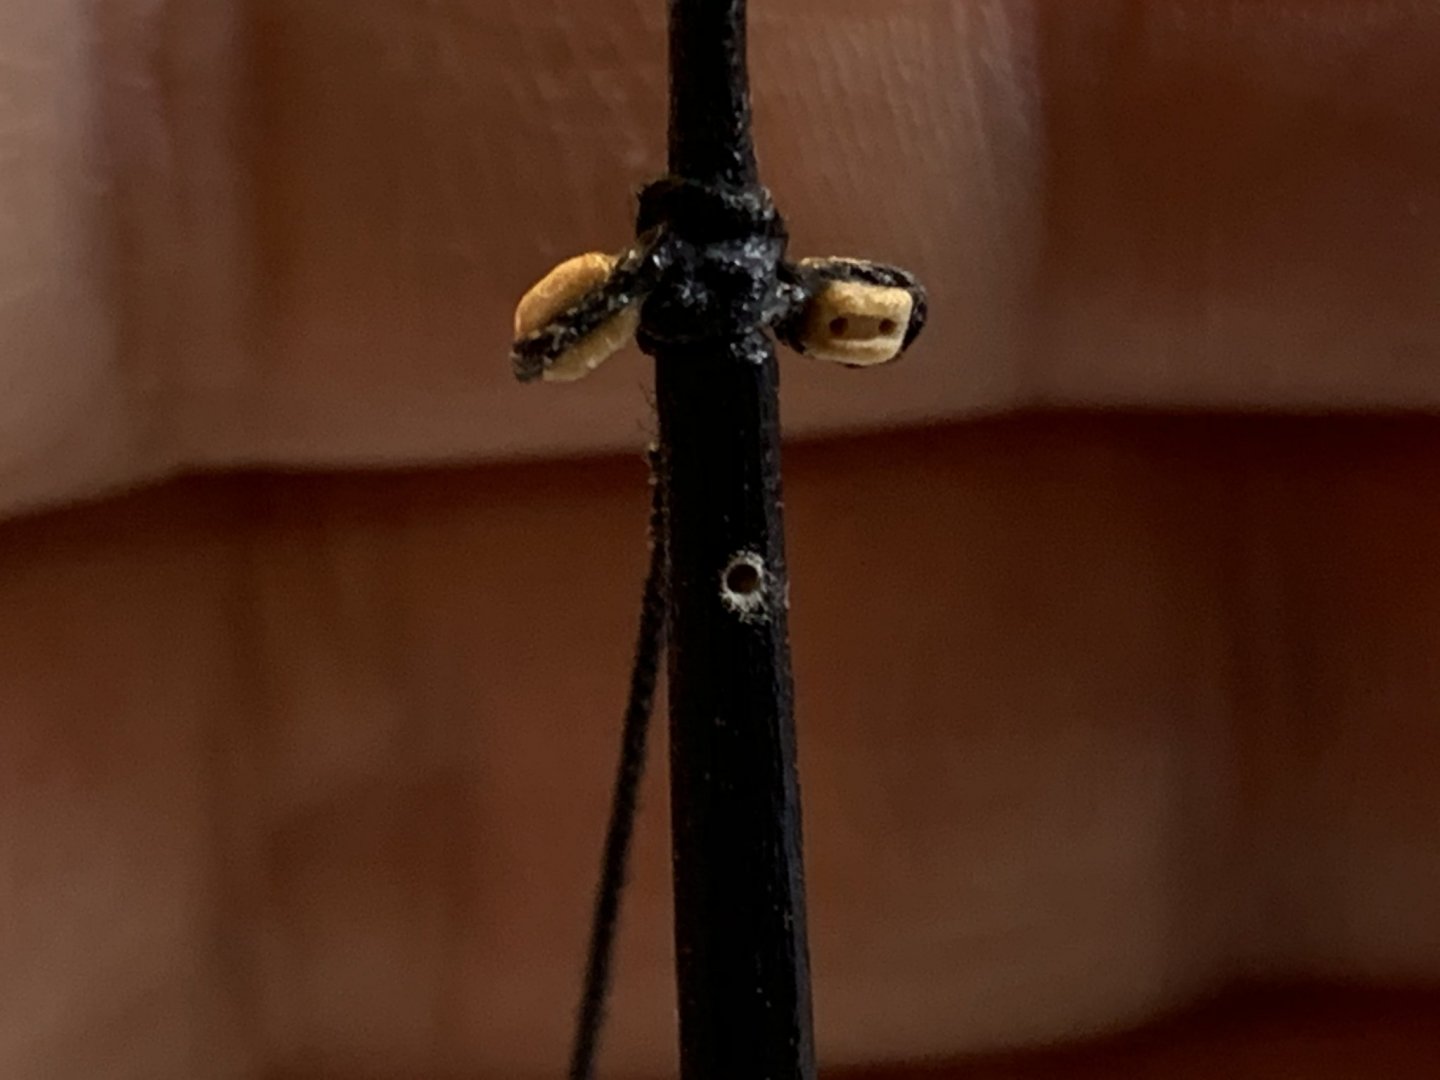
After a while, back in the shipyard... Continue with rigging, i had to color the tan rope, only one i had available in my yard.. The rope was dropped into diluted black tint. After few minutes the rope was colored to satisfactory shade and ready for use after drying thru the bounty paper. The rope was used to make brace pendants, .008mm rope with 2.5mm single block. Attached to the yard they looked very nice. The hole that will host the lift rope for topsail yard was a bit of a challenge to make since there were tons of other ropes on the way.. Zooming the completed hole by iphone was also a challenge but managed... The work continued attaching the rope that will assist lifting the yard... Here is setup for making it attached to the yard: The completed rope: Ropes will not look tight enough so i used a bit of diluted white glue, that was put on a rope with an old brush. Small home made weight was used to keep the rope straight during the process. So, that was all for today.. Happy modeling.


- 360 replies
-
- 2
-
-
- sultana
- model shipways
- (and 1 more)
-
Hi all i did not forget about my Sultana; just wrapping up some work around the house before rain season starts... Happy modeling.
- 360 replies
-
- 1
-
-
- sultana
- model shipways
- (and 1 more)