JGoff
-
Posts
59 -
Joined
-
Last visited
1 Follower

About JGoff

Recent Profile Visitors
1,883 profile views


.thumb.jpg.c459ce4140b54c12eddb8eedfd446df3.jpg)
-
 JGoff reacted to a post in a topic:
HMS Sphinx 1775 by Ronald-V - Vanguard Models - 1:64
JGoff reacted to a post in a topic:
HMS Sphinx 1775 by Ronald-V - Vanguard Models - 1:64
-
JGoff reacted to a post in a topic:
Lady Nelson by Lapinas - Amati/Victory Models - 1:64
-
JGoff reacted to a post in a topic:
HM Brig-Sloop Flirt 1782 by glbarlow - Vanguard Models
-
JGoff reacted to a post in a topic:
HMS Surprise 1796 (prototype) by James H - Vanguard Models - 1:64
-
glbarlow reacted to a post in a topic:
HM Brig-Sloop Flirt 1782 by glbarlow - Vanguard Models
-
JGoff reacted to a post in a topic:
HM Brig-Sloop Flirt 1782 by glbarlow - Vanguard Models
-
Yeah I purchased that on your recommendation in one of your many logs. By far one of the most useful purchases I have made. And great idea with the styrofoam to stabilize/hold the mast. I’ll have to utilize that next time!
-
JGoff reacted to a post in a topic:
HM Brig-Sloop Flirt 1782 by glbarlow - Vanguard Models
-
JGoff reacted to a post in a topic:
Chris Watton and Vanguard Models news and updates Volume 2
-
JGoff reacted to a post in a topic:
HM Brig-Sloop Flirt 1782 by glbarlow - Vanguard Models
-
JGoff reacted to a post in a topic:
HM Brig-Sloop Flirt 1782 by glbarlow - Vanguard Models
-
JGoff reacted to a post in a topic:
HM Brig-Sloop Flirt 1782 by glbarlow - Vanguard Models
-
CiscoH reacted to a post in a topic:
Lady Nelson by JGoff - Amati/Victory Models - 1:64 - First Ship Build
-
Nirvana reacted to a post in a topic:
Lady Nelson by JGoff - Amati/Victory Models - 1:64 - First Ship Build
-
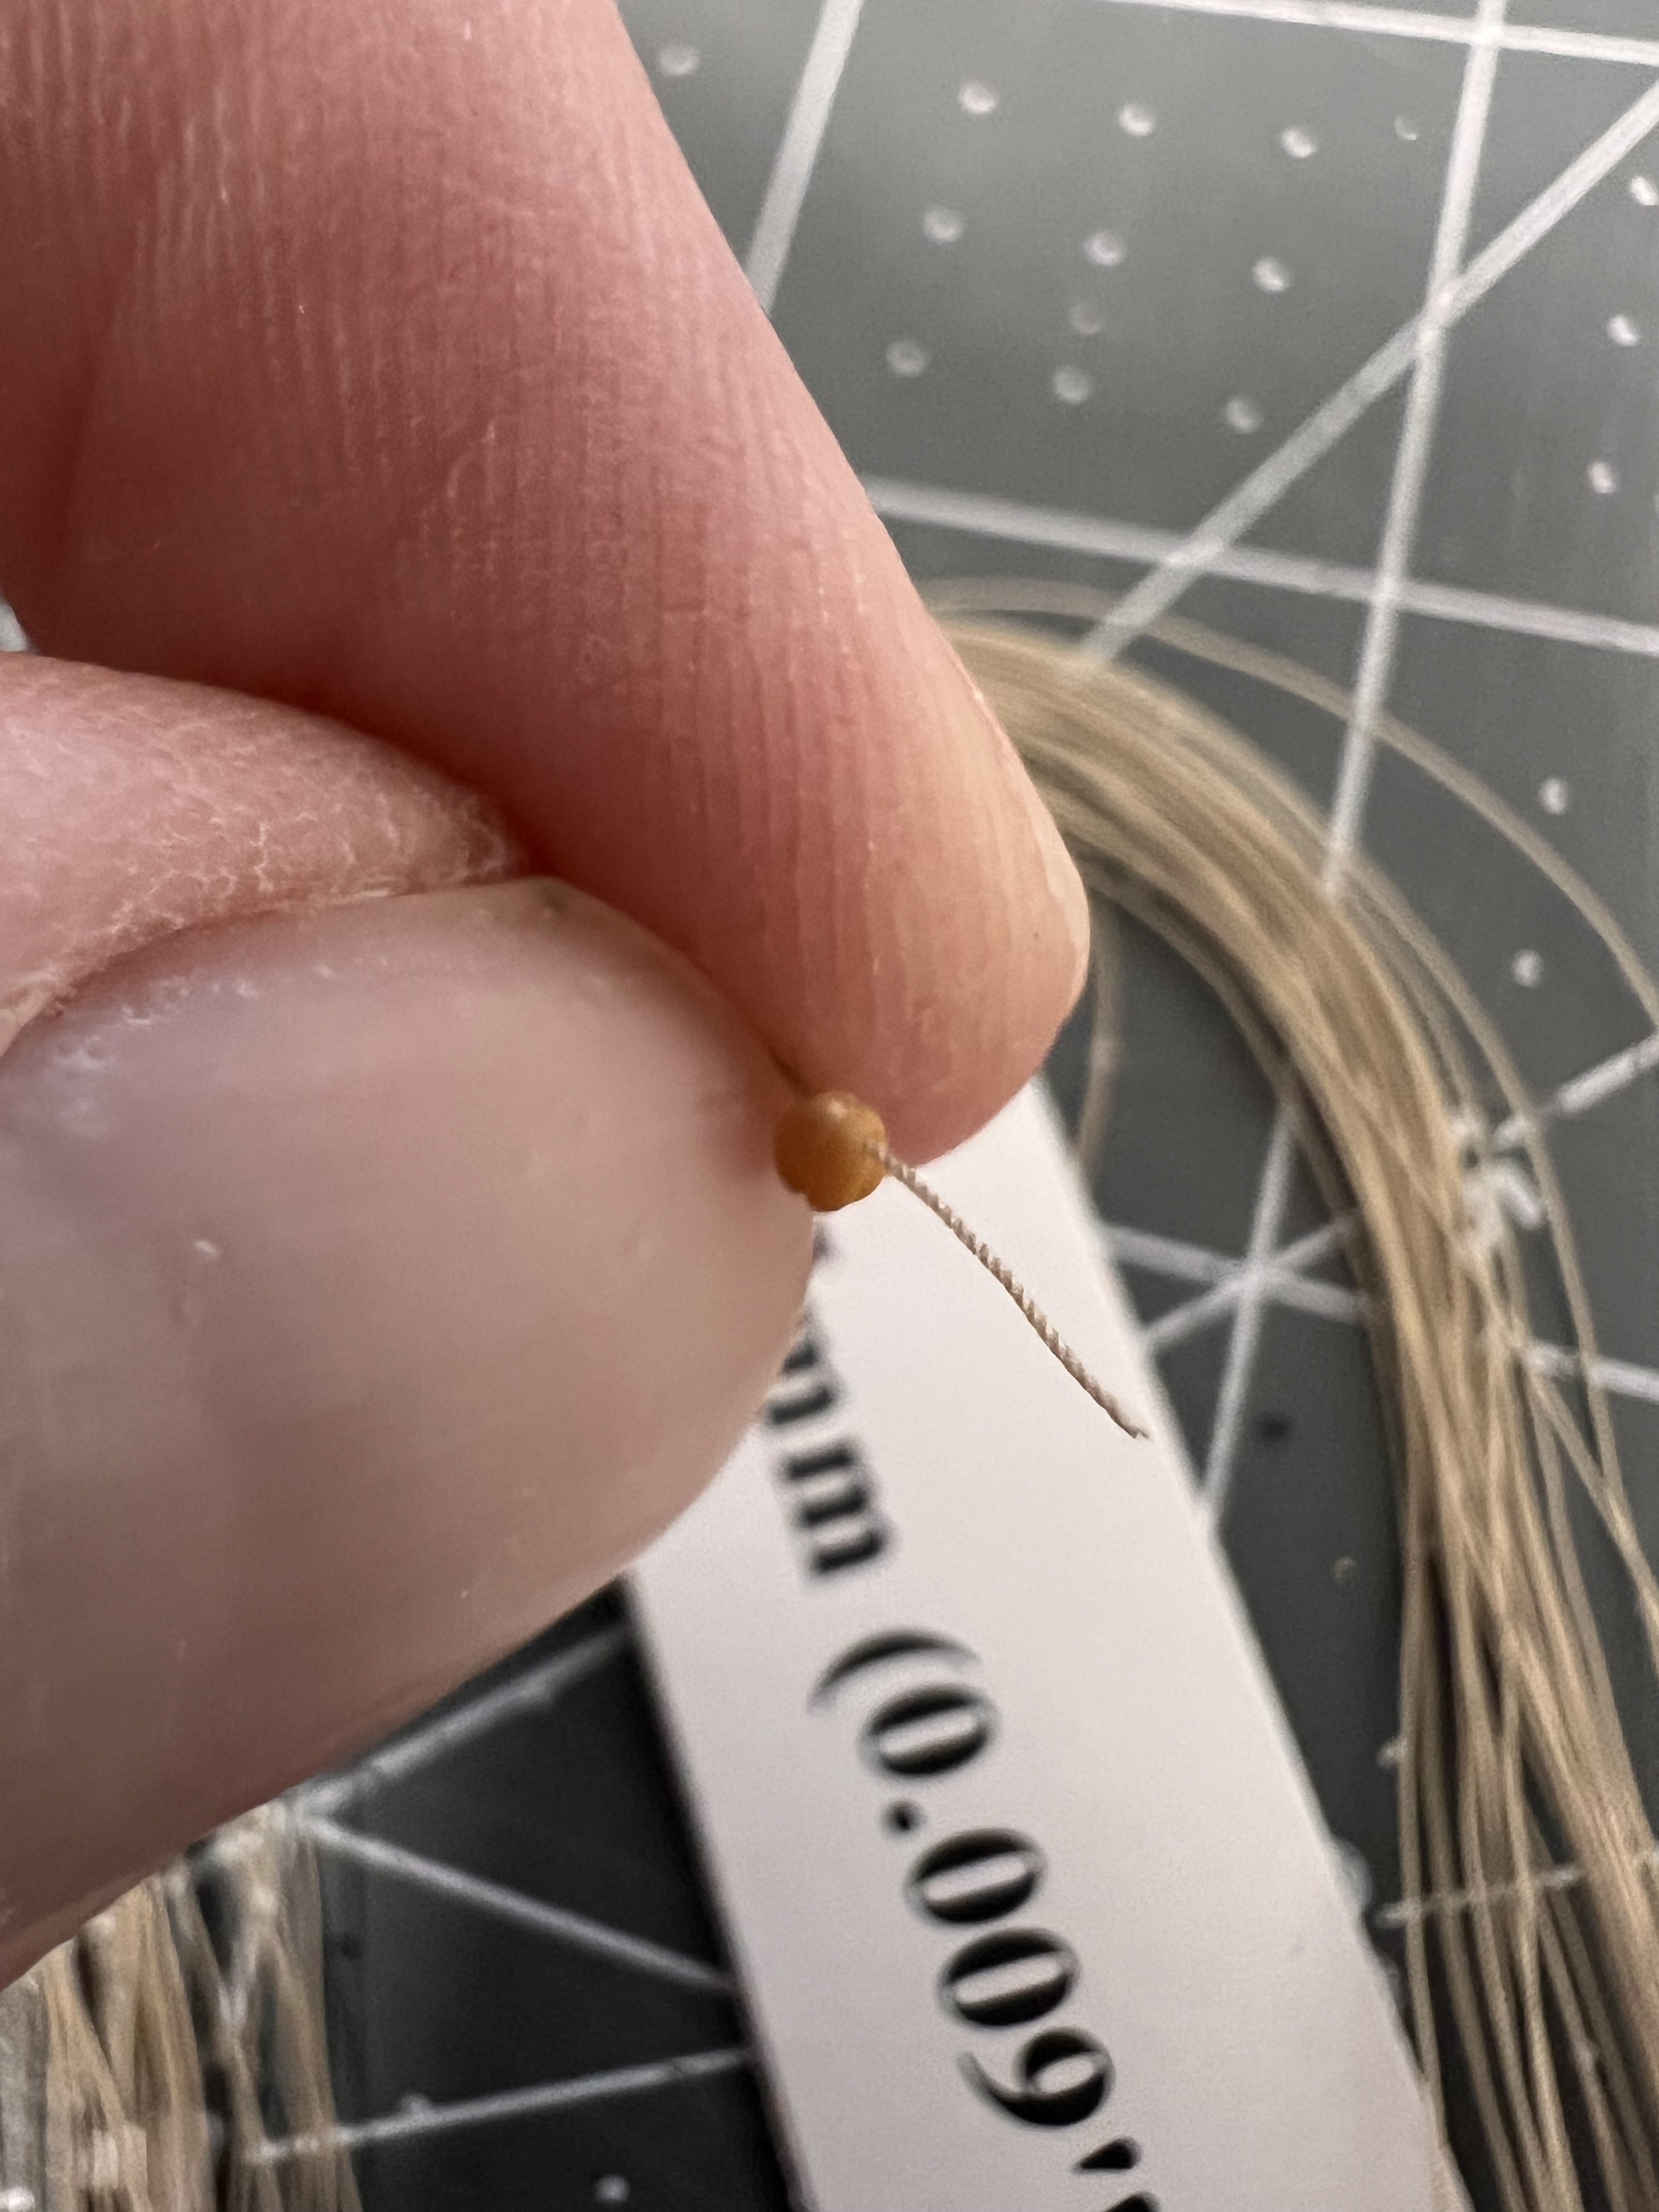
Just a brief update…rigging begins. For stripping blocks, I am using Chuck’s guide, Stropping Blocks. It is still a fiddly process for me, at least with this 3mm block from Syren and .25 mm rope from Ropes of Scale. One thing that I realized was the need to make sure the rope will go through the sheave(?), and in order for a .25 mm rope to pass through this block, I had to open up a little with a small drill bit. Thanks for dropping by.
- 83 replies
-
- 2
-
-
- Lady Nelson
- Amati
- (and 2 more)
-
Canute reacted to a post in a topic:
Napoleonic Era Miniatures by Thukydides - 1/700 & 1/1200 - 3D-Printed Hulls
-
Danstream reacted to a post in a topic:
Lady Nelson by JGoff - Amati/Victory Models - 1:64 - First Ship Build
-
Danstream reacted to a post in a topic:
Lady Nelson by JGoff - Amati/Victory Models - 1:64 - First Ship Build
-
Danstream reacted to a post in a topic:
Lady Nelson by JGoff - Amati/Victory Models - 1:64 - First Ship Build
-
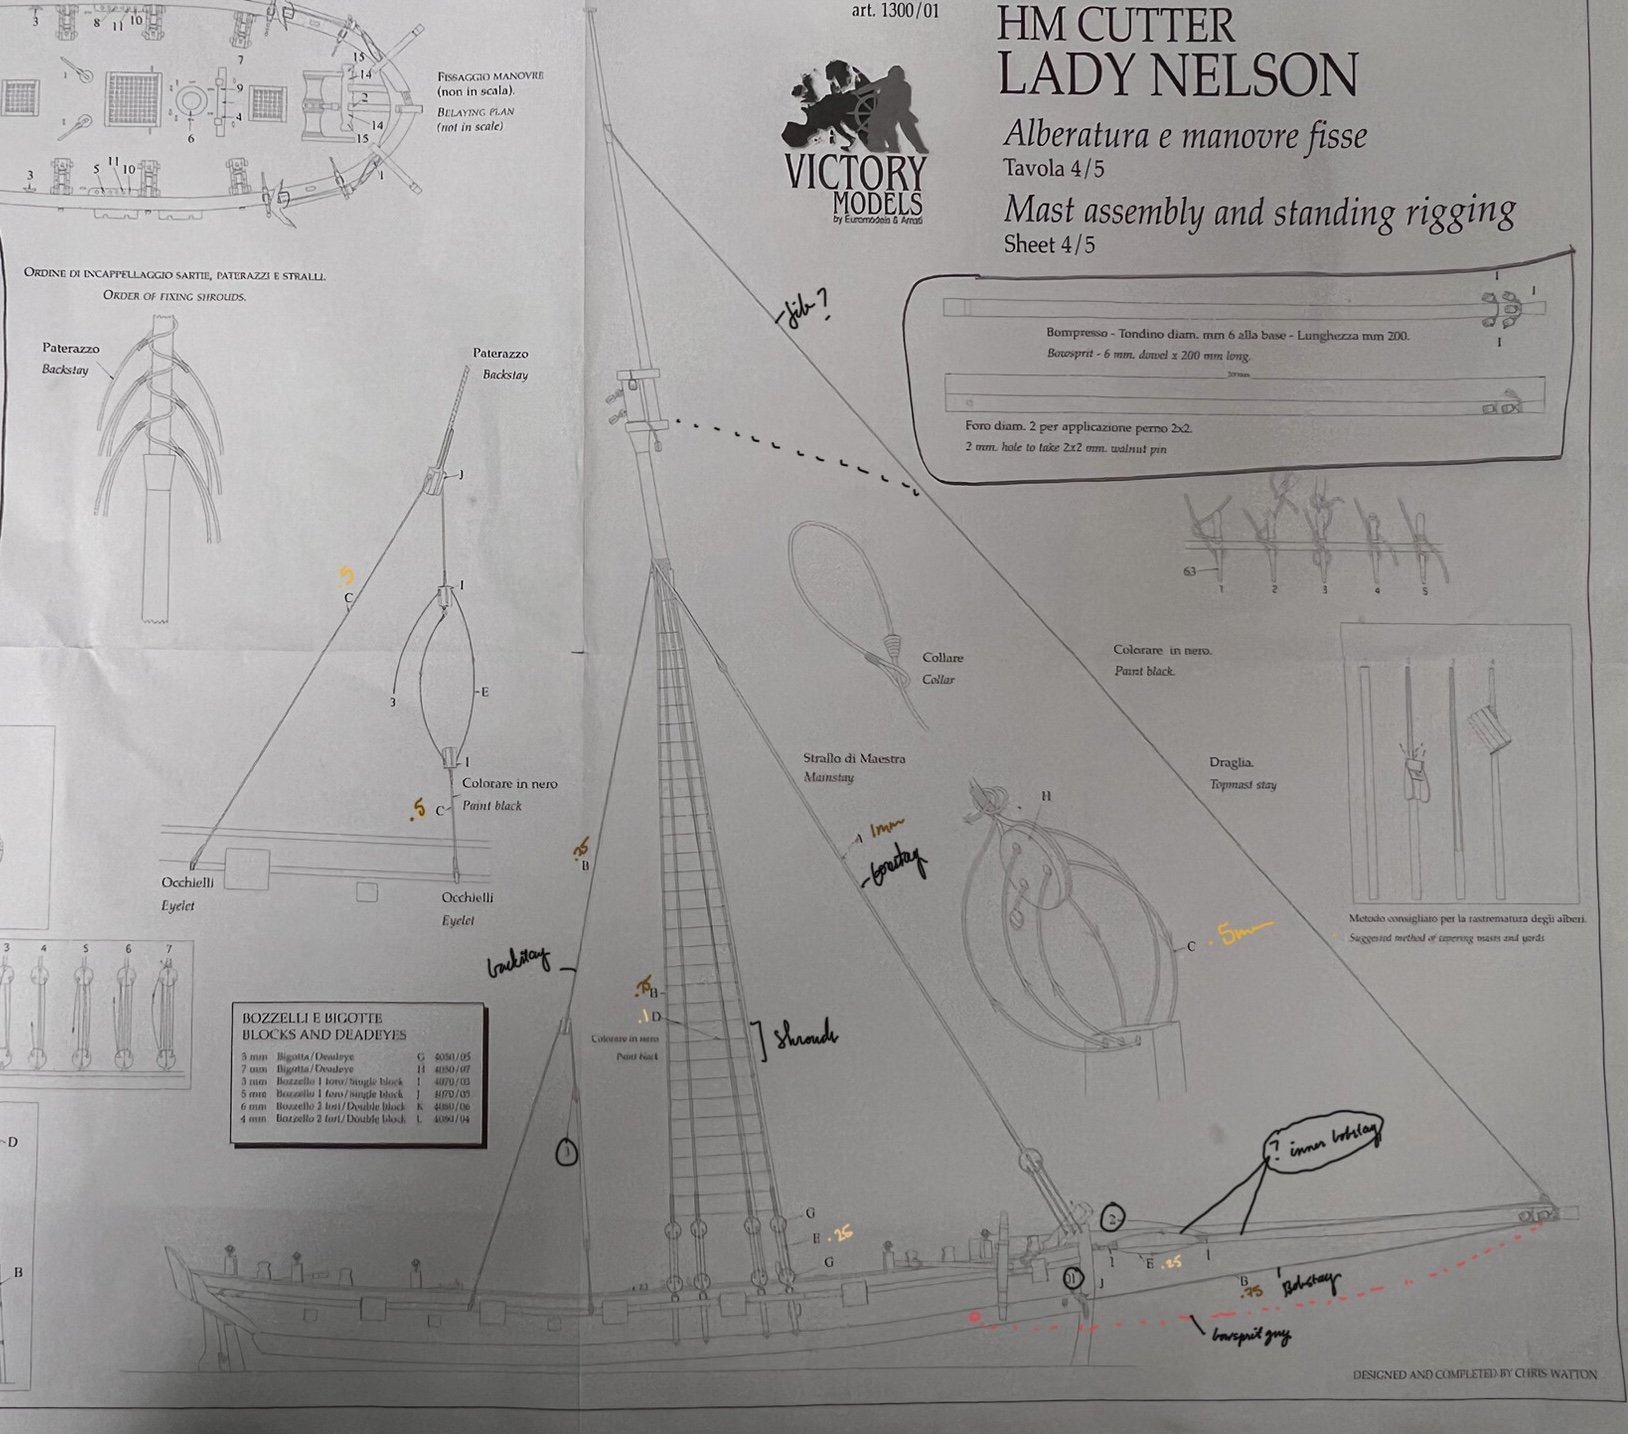
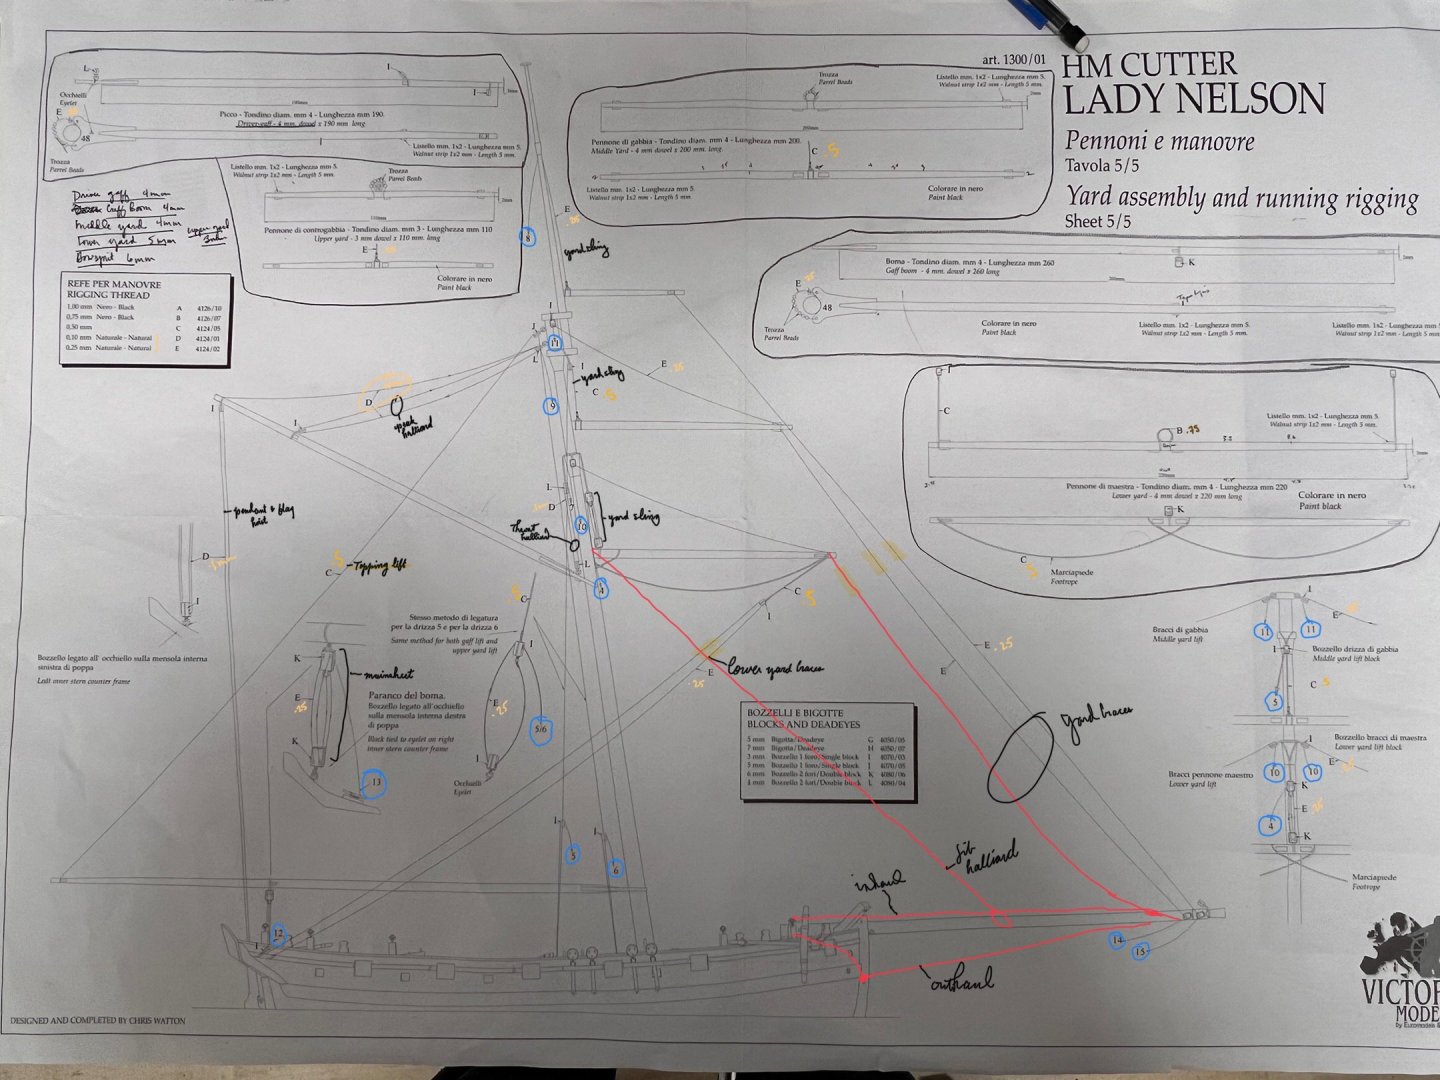
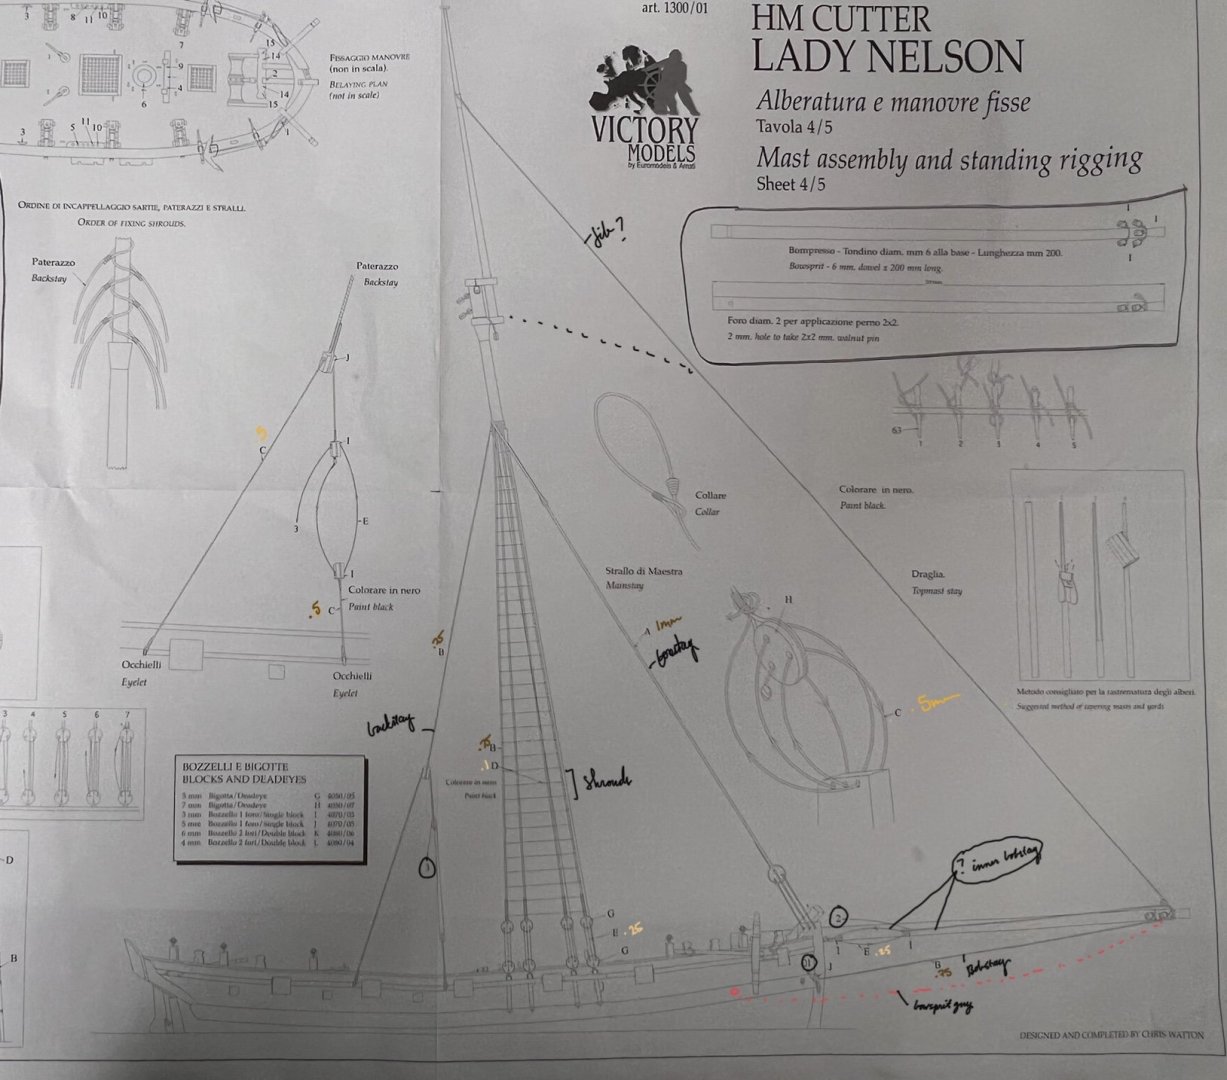
Thanks @glbarlow and @vossiewulf for the response. I do have the Peterrson book, which I have started studying and comparing to the Lady Nelson plans. I don’t have the plans for Cheerful but they might be worth going ahead and purchasing. I’m thinking I would like to do that for a next or future build anyway. I have started labeling the rigging on the plans and adding a few things from Peterrson. I’m not finished but thought to include as a reference: Im not quite sure what the bowsprit rigging is here. I thought maybe inhaul and outhaul but those are running rigging. So I’m thinking the inner bobstay? Anyone know?
- 83 replies
-
- 1
-
-
- Lady Nelson
- Amati
- (and 2 more)
-
Danstream reacted to a post in a topic:
Lady Nelson by JGoff - Amati/Victory Models - 1:64 - First Ship Build
-
Ryland Craze reacted to a post in a topic:
Lady Nelson by JGoff - Amati/Victory Models - 1:64 - First Ship Build
-
Jolly Jo reacted to a post in a topic:
Lady Nelson by JGoff - Amati/Victory Models - 1:64 - First Ship Build
-
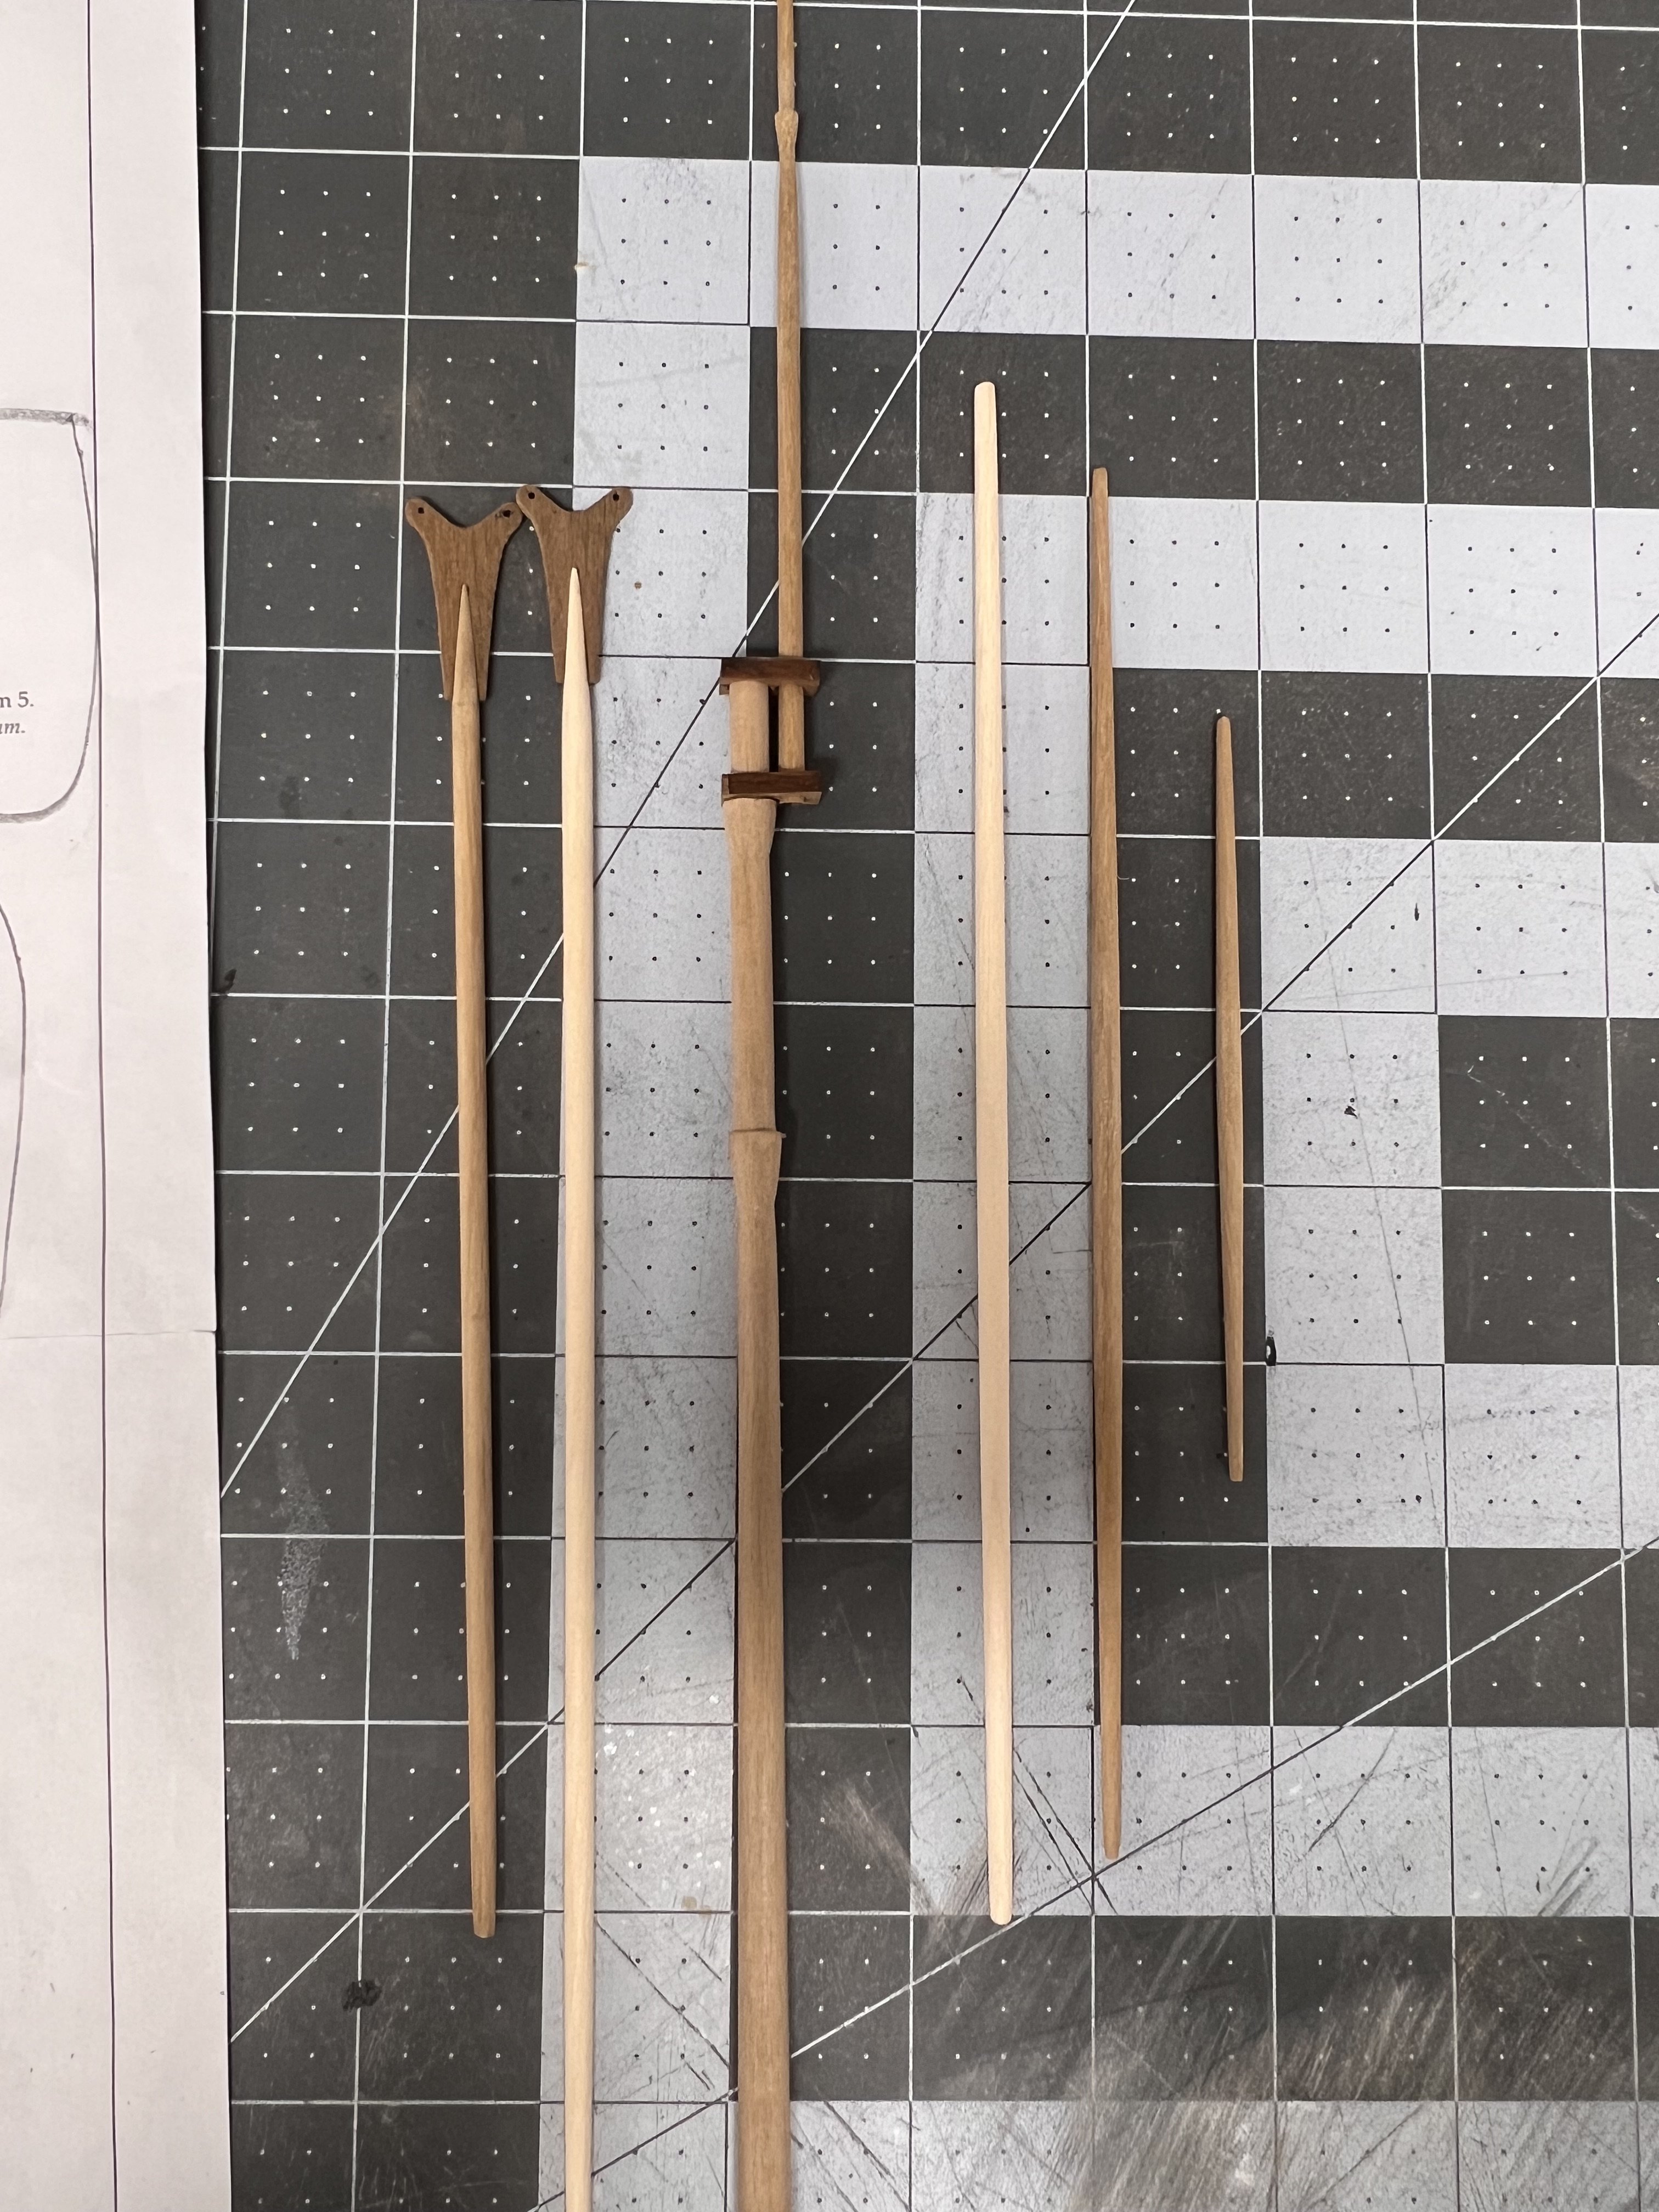
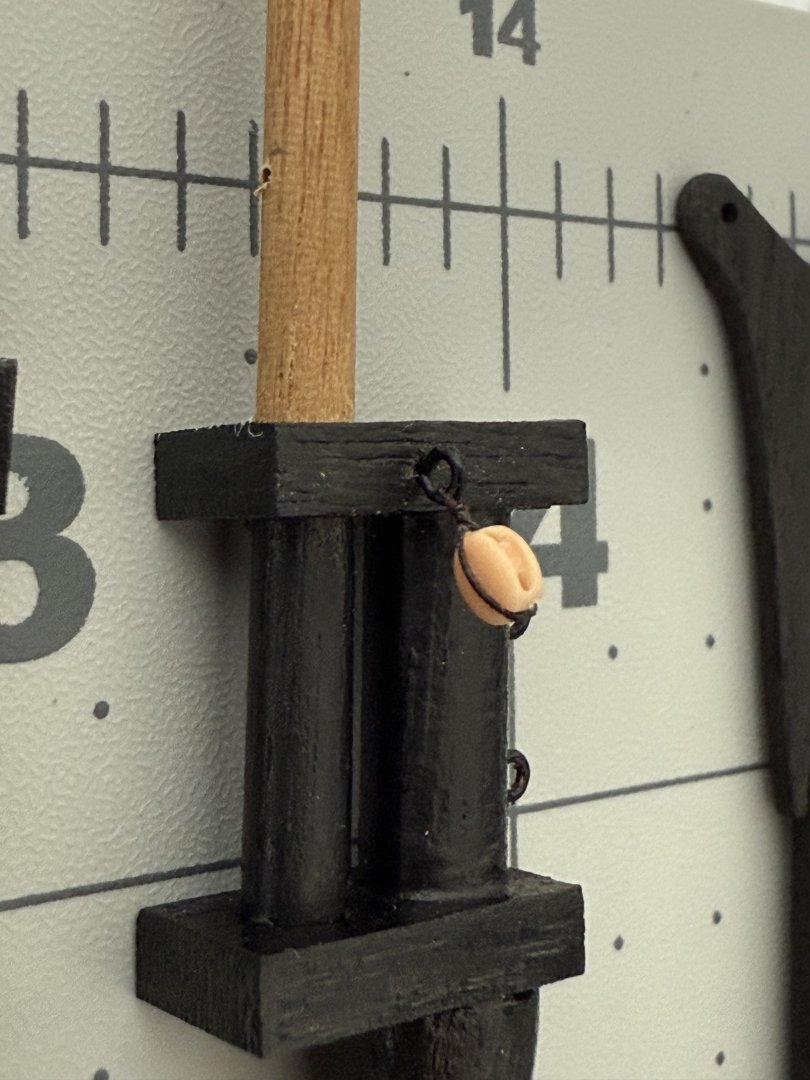
I’ve now finished tapering the mast, yards, gaff, and boom. Initially, I found this a bit daunting since I don’t have a lathe, but I came across a YouTube method that made sense to me. I divided the dowel into sections for the taper and, using a sanding block, rotated it while gradually working my way down. I also picked up some carving knives, which helped refine the taper and shape the top portion of the main mast. Next, I’ll start preparing everything for rigging and stropping blocks. Chuck has a great tutorial on stropping blocks that I plan to follow. It’s clear to me that the mast, yards, and rigging in this kit are a simplified version compared to a true cutter rig. I considered modifying everything for historical accuracy but, for now, I plan to follow the kit’s drawings. From my research, the plans seem to capture the fundamentals well. Of course, as I continue reading, I may decide to make adjustments.

- 83 replies
-
- 7
-
-
- Lady Nelson
- Amati
- (and 2 more)
-
This is really incredible work and the detail you achieve is quite surprising at such a small scale. Probably a really simple question, but what are using to apply the paint?
- 39 replies
-
- 2
-
-

-
- Black Seas
- wargaming
- (and 1 more)
-
Thanks Glenn. I had gotten that 24 gauge wire for that purpose. I wasn’t very pleased with my attempts with eyebolts but I’ll acknowledge I probably gave up too soon. Now the ring bolts I did make with that wire using your log. A big improvement over the kit supplied ones. I’m sure I’m not done with eyebolts yet, so I’ll transition to those for the remainder of the rigging. Thanks for the encouragement. And to all, thanks for the likes and for dropping by.
- 83 replies
-
- 2
-
-
- Lady Nelson
- Amati
- (and 2 more)
-
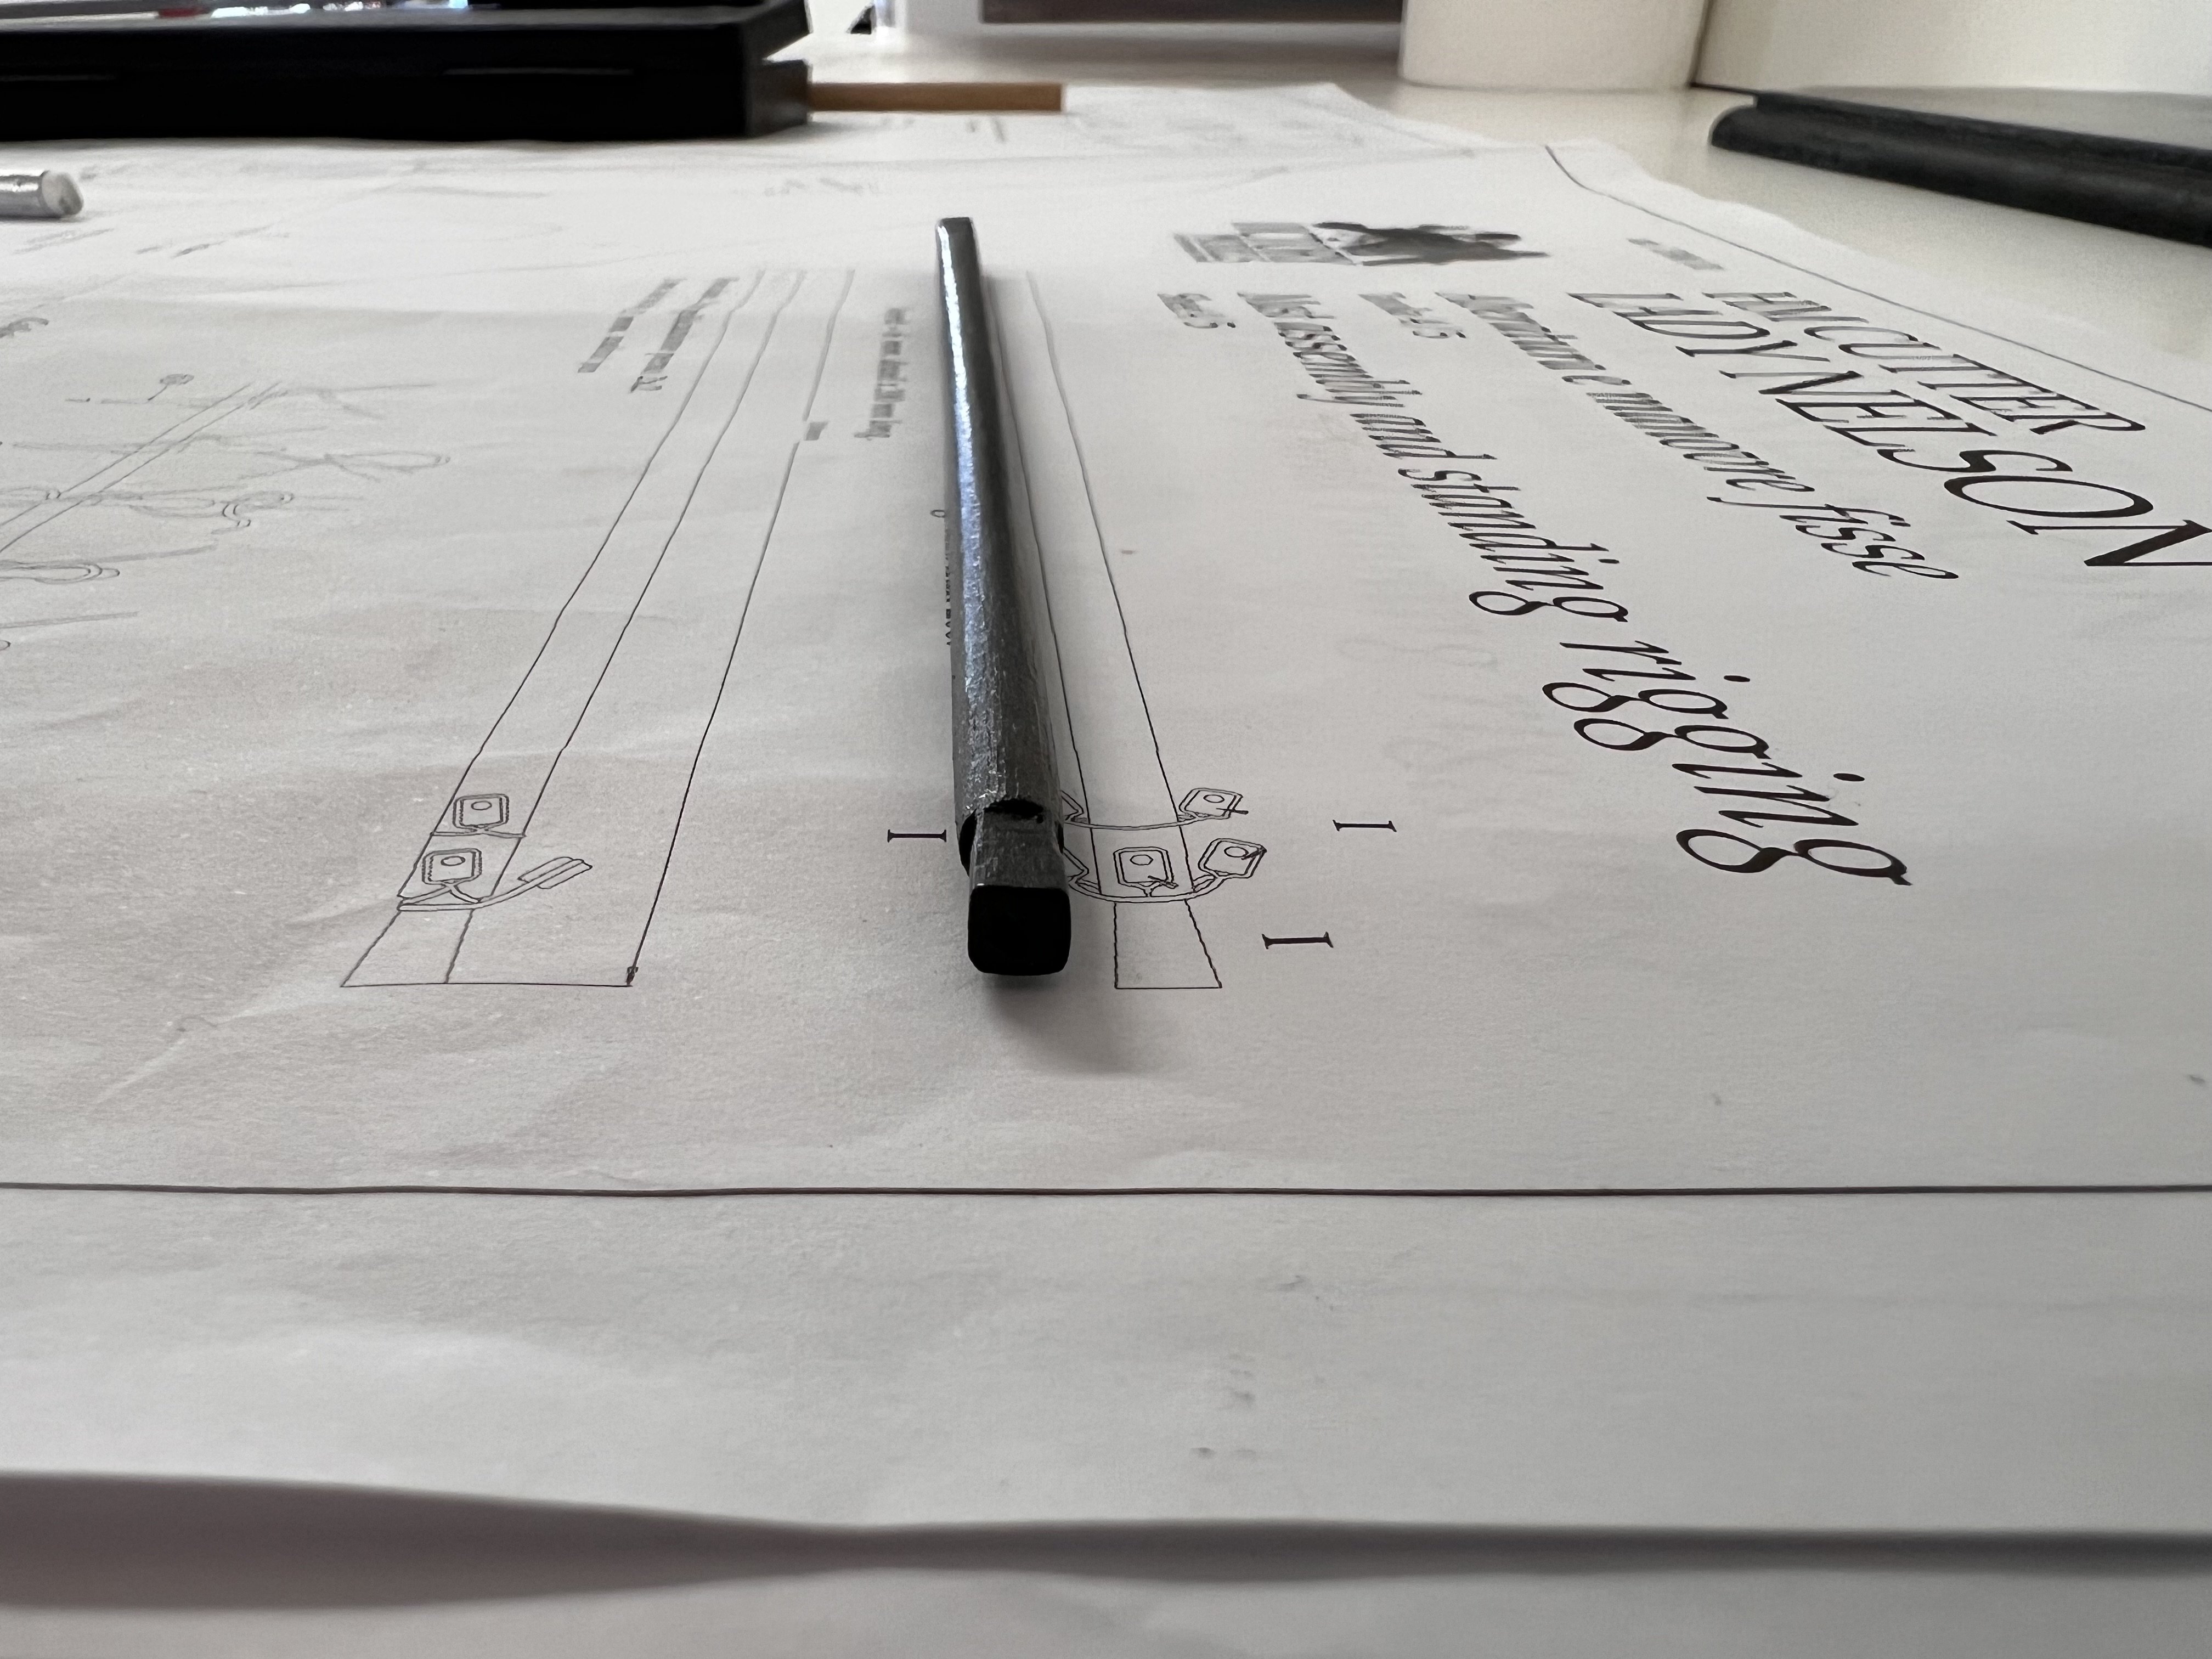
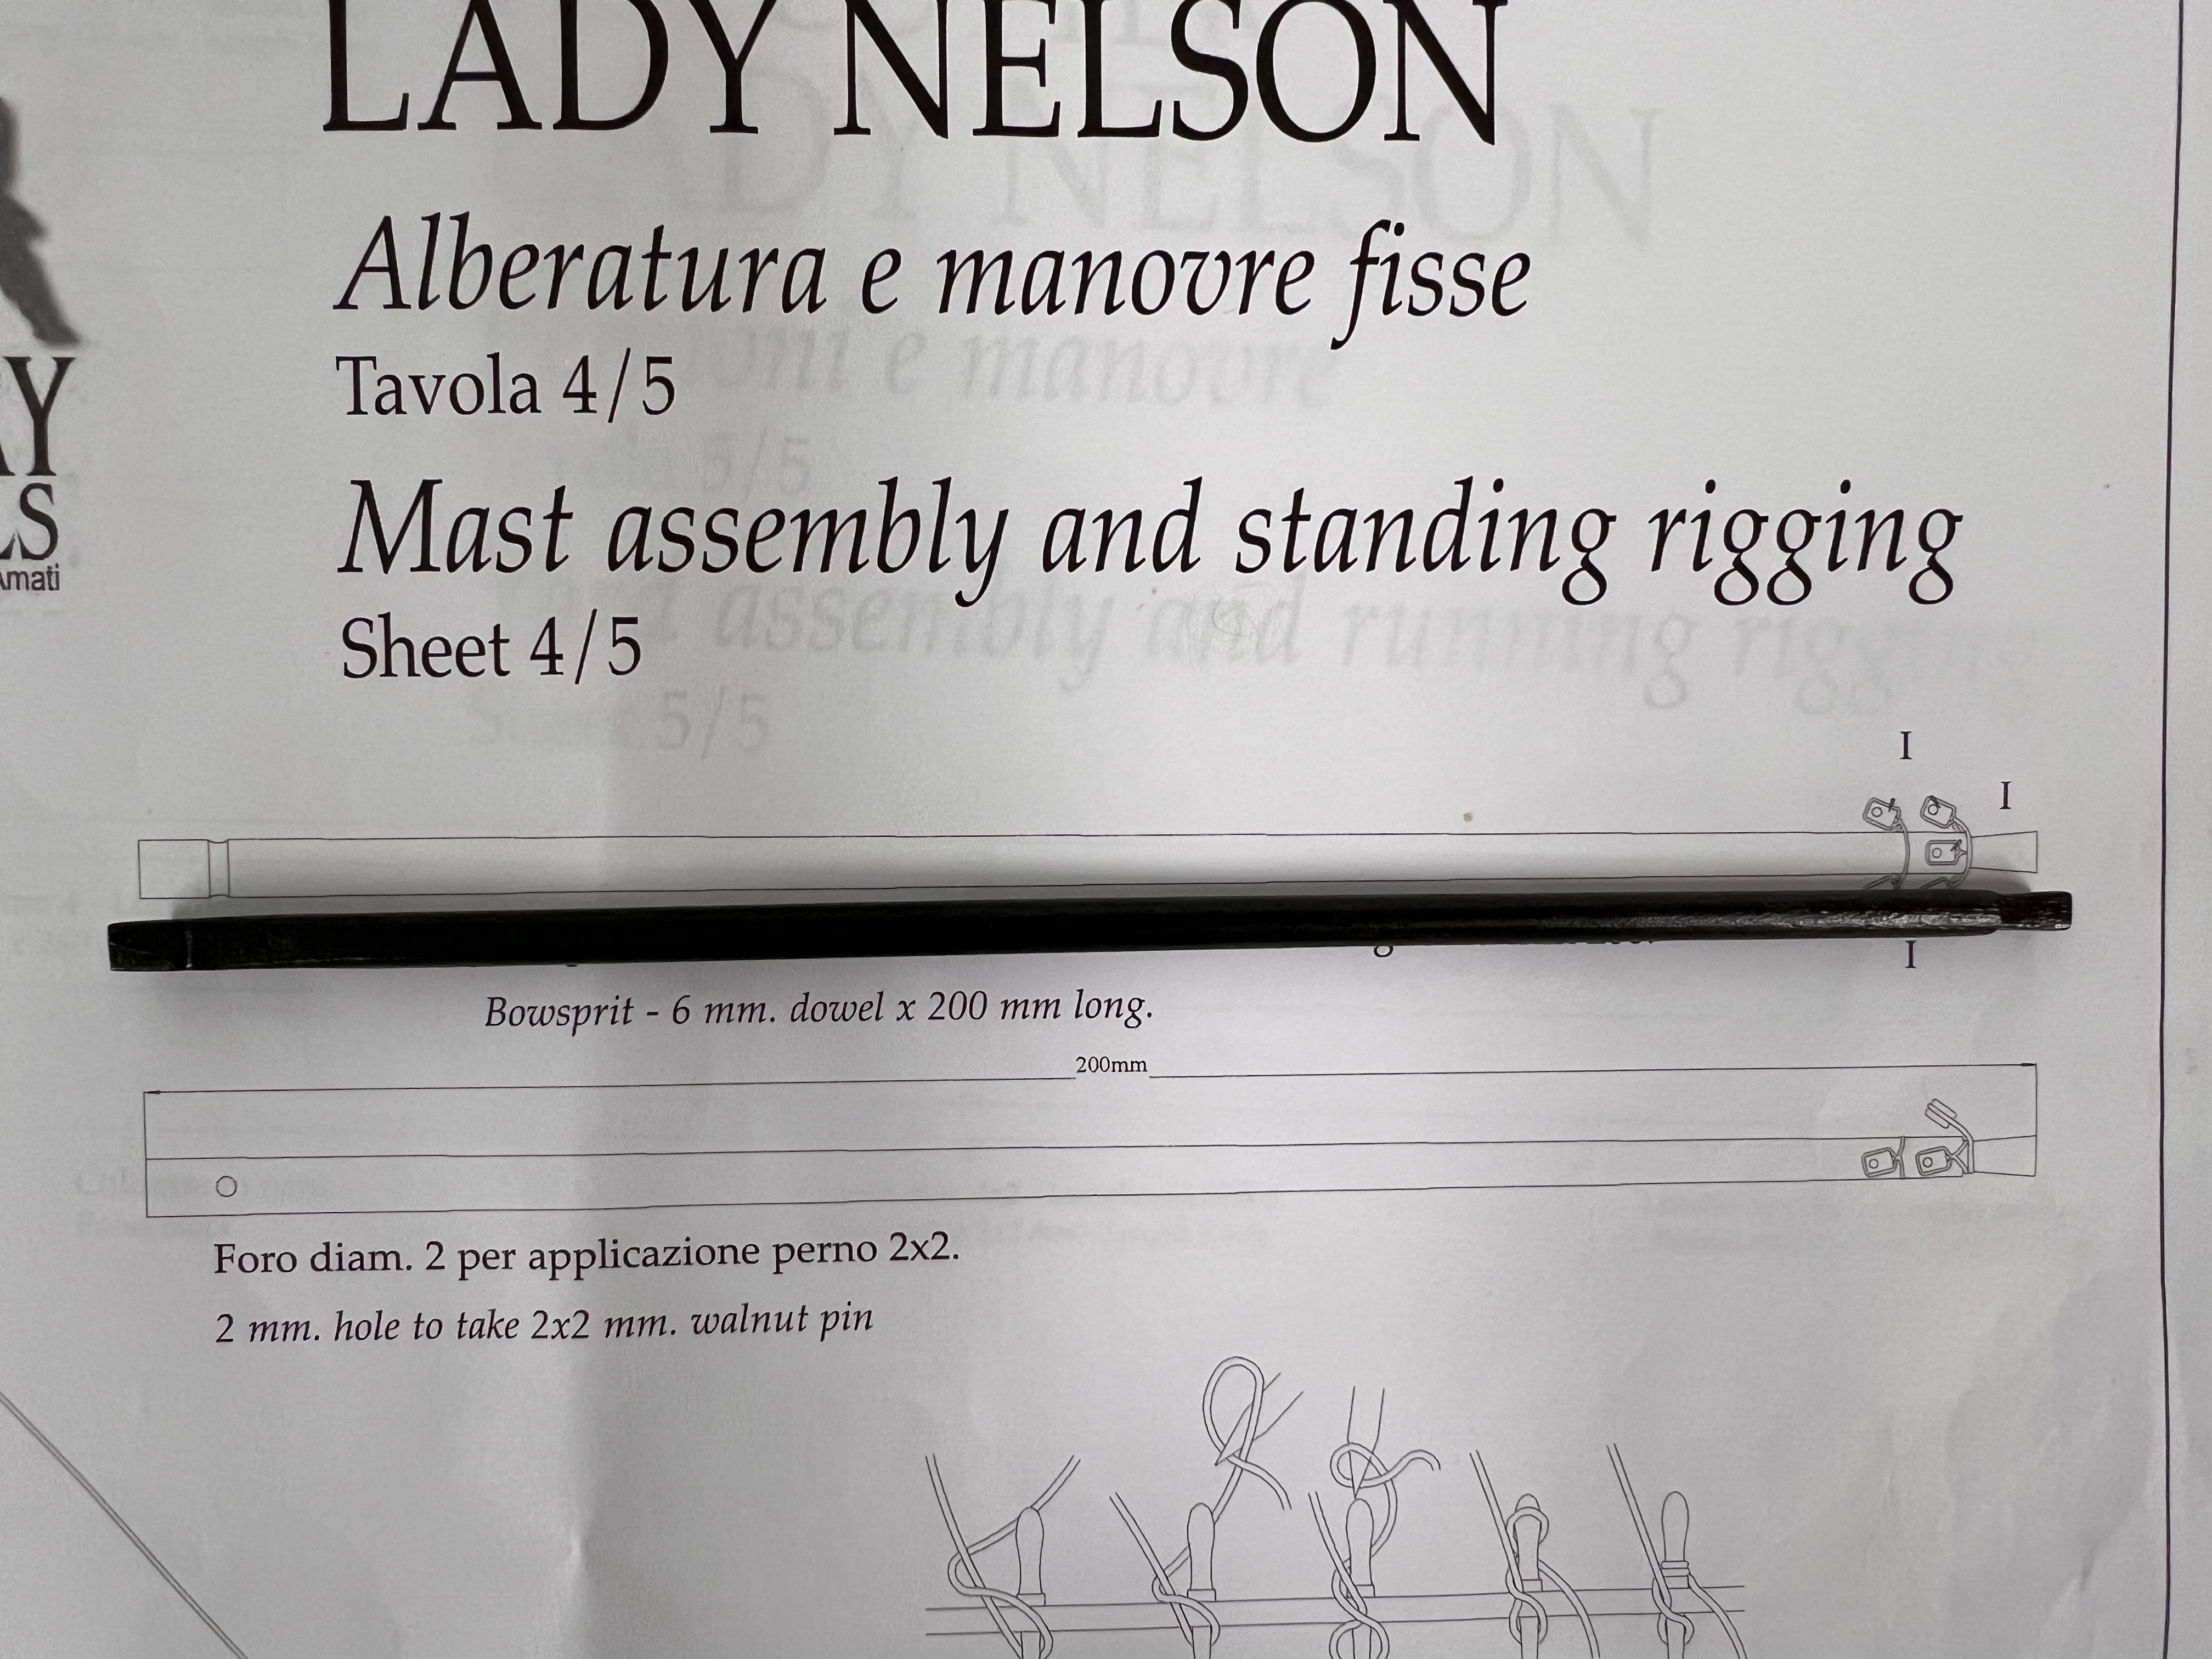
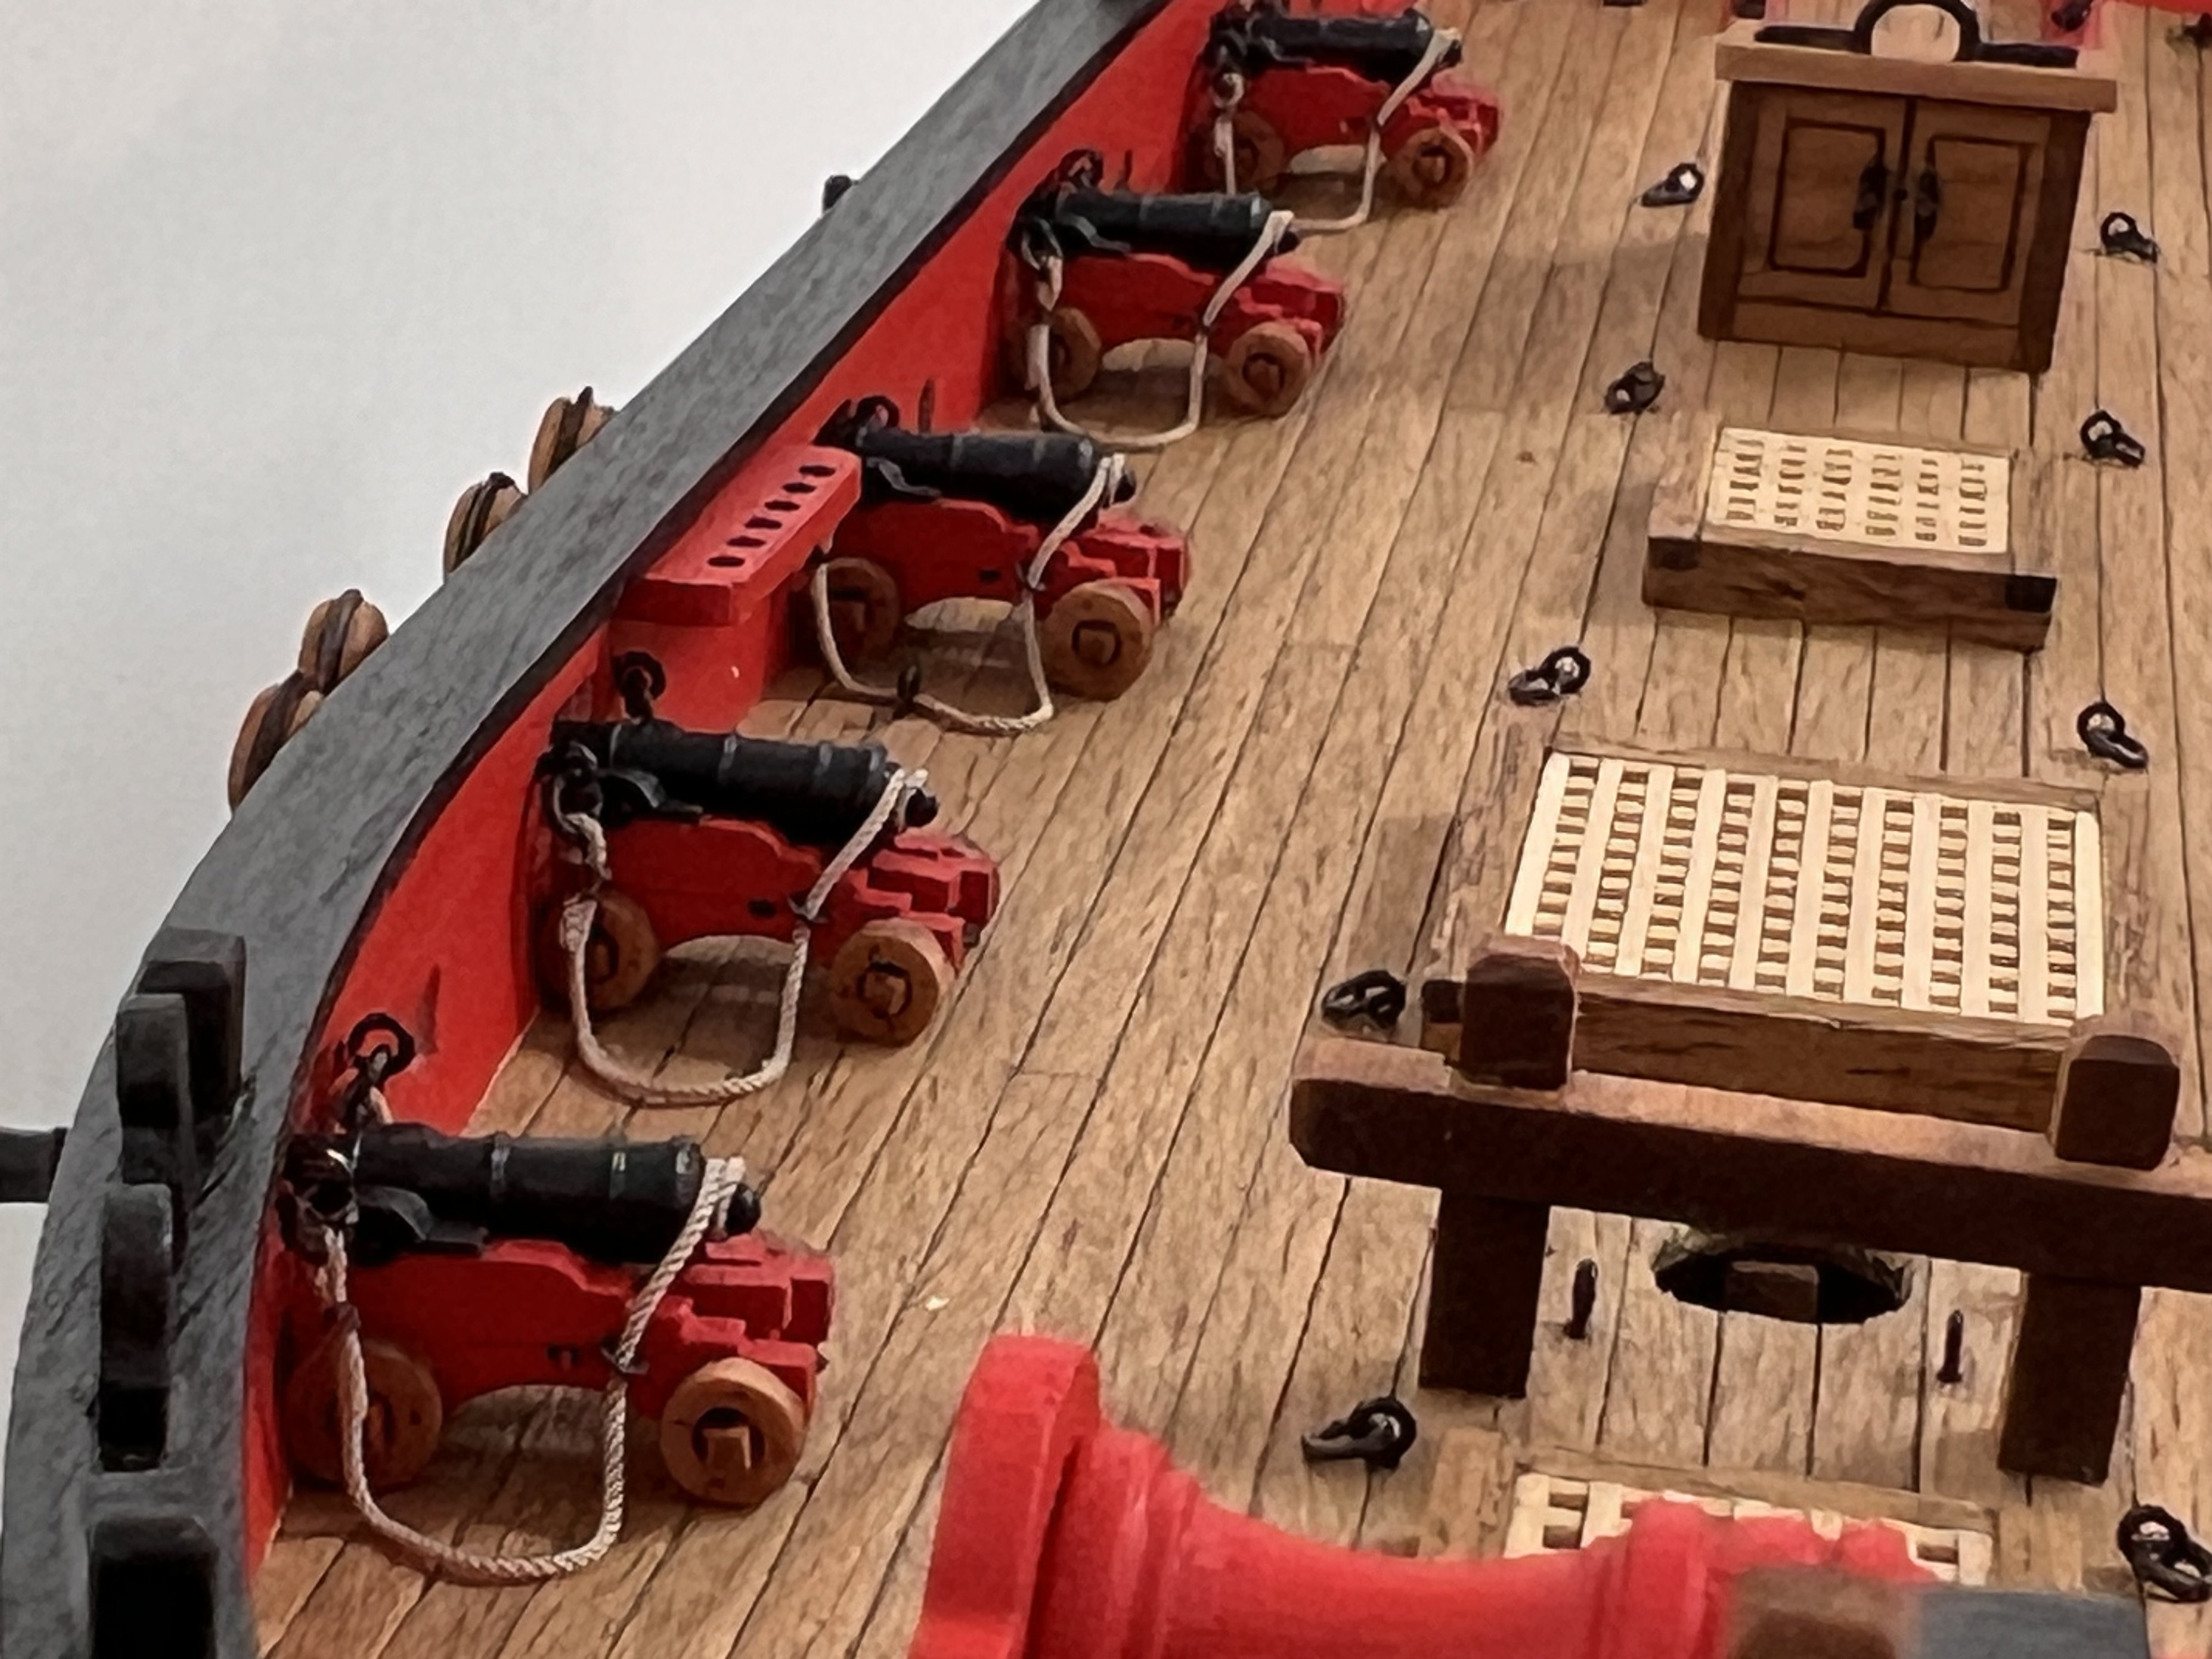
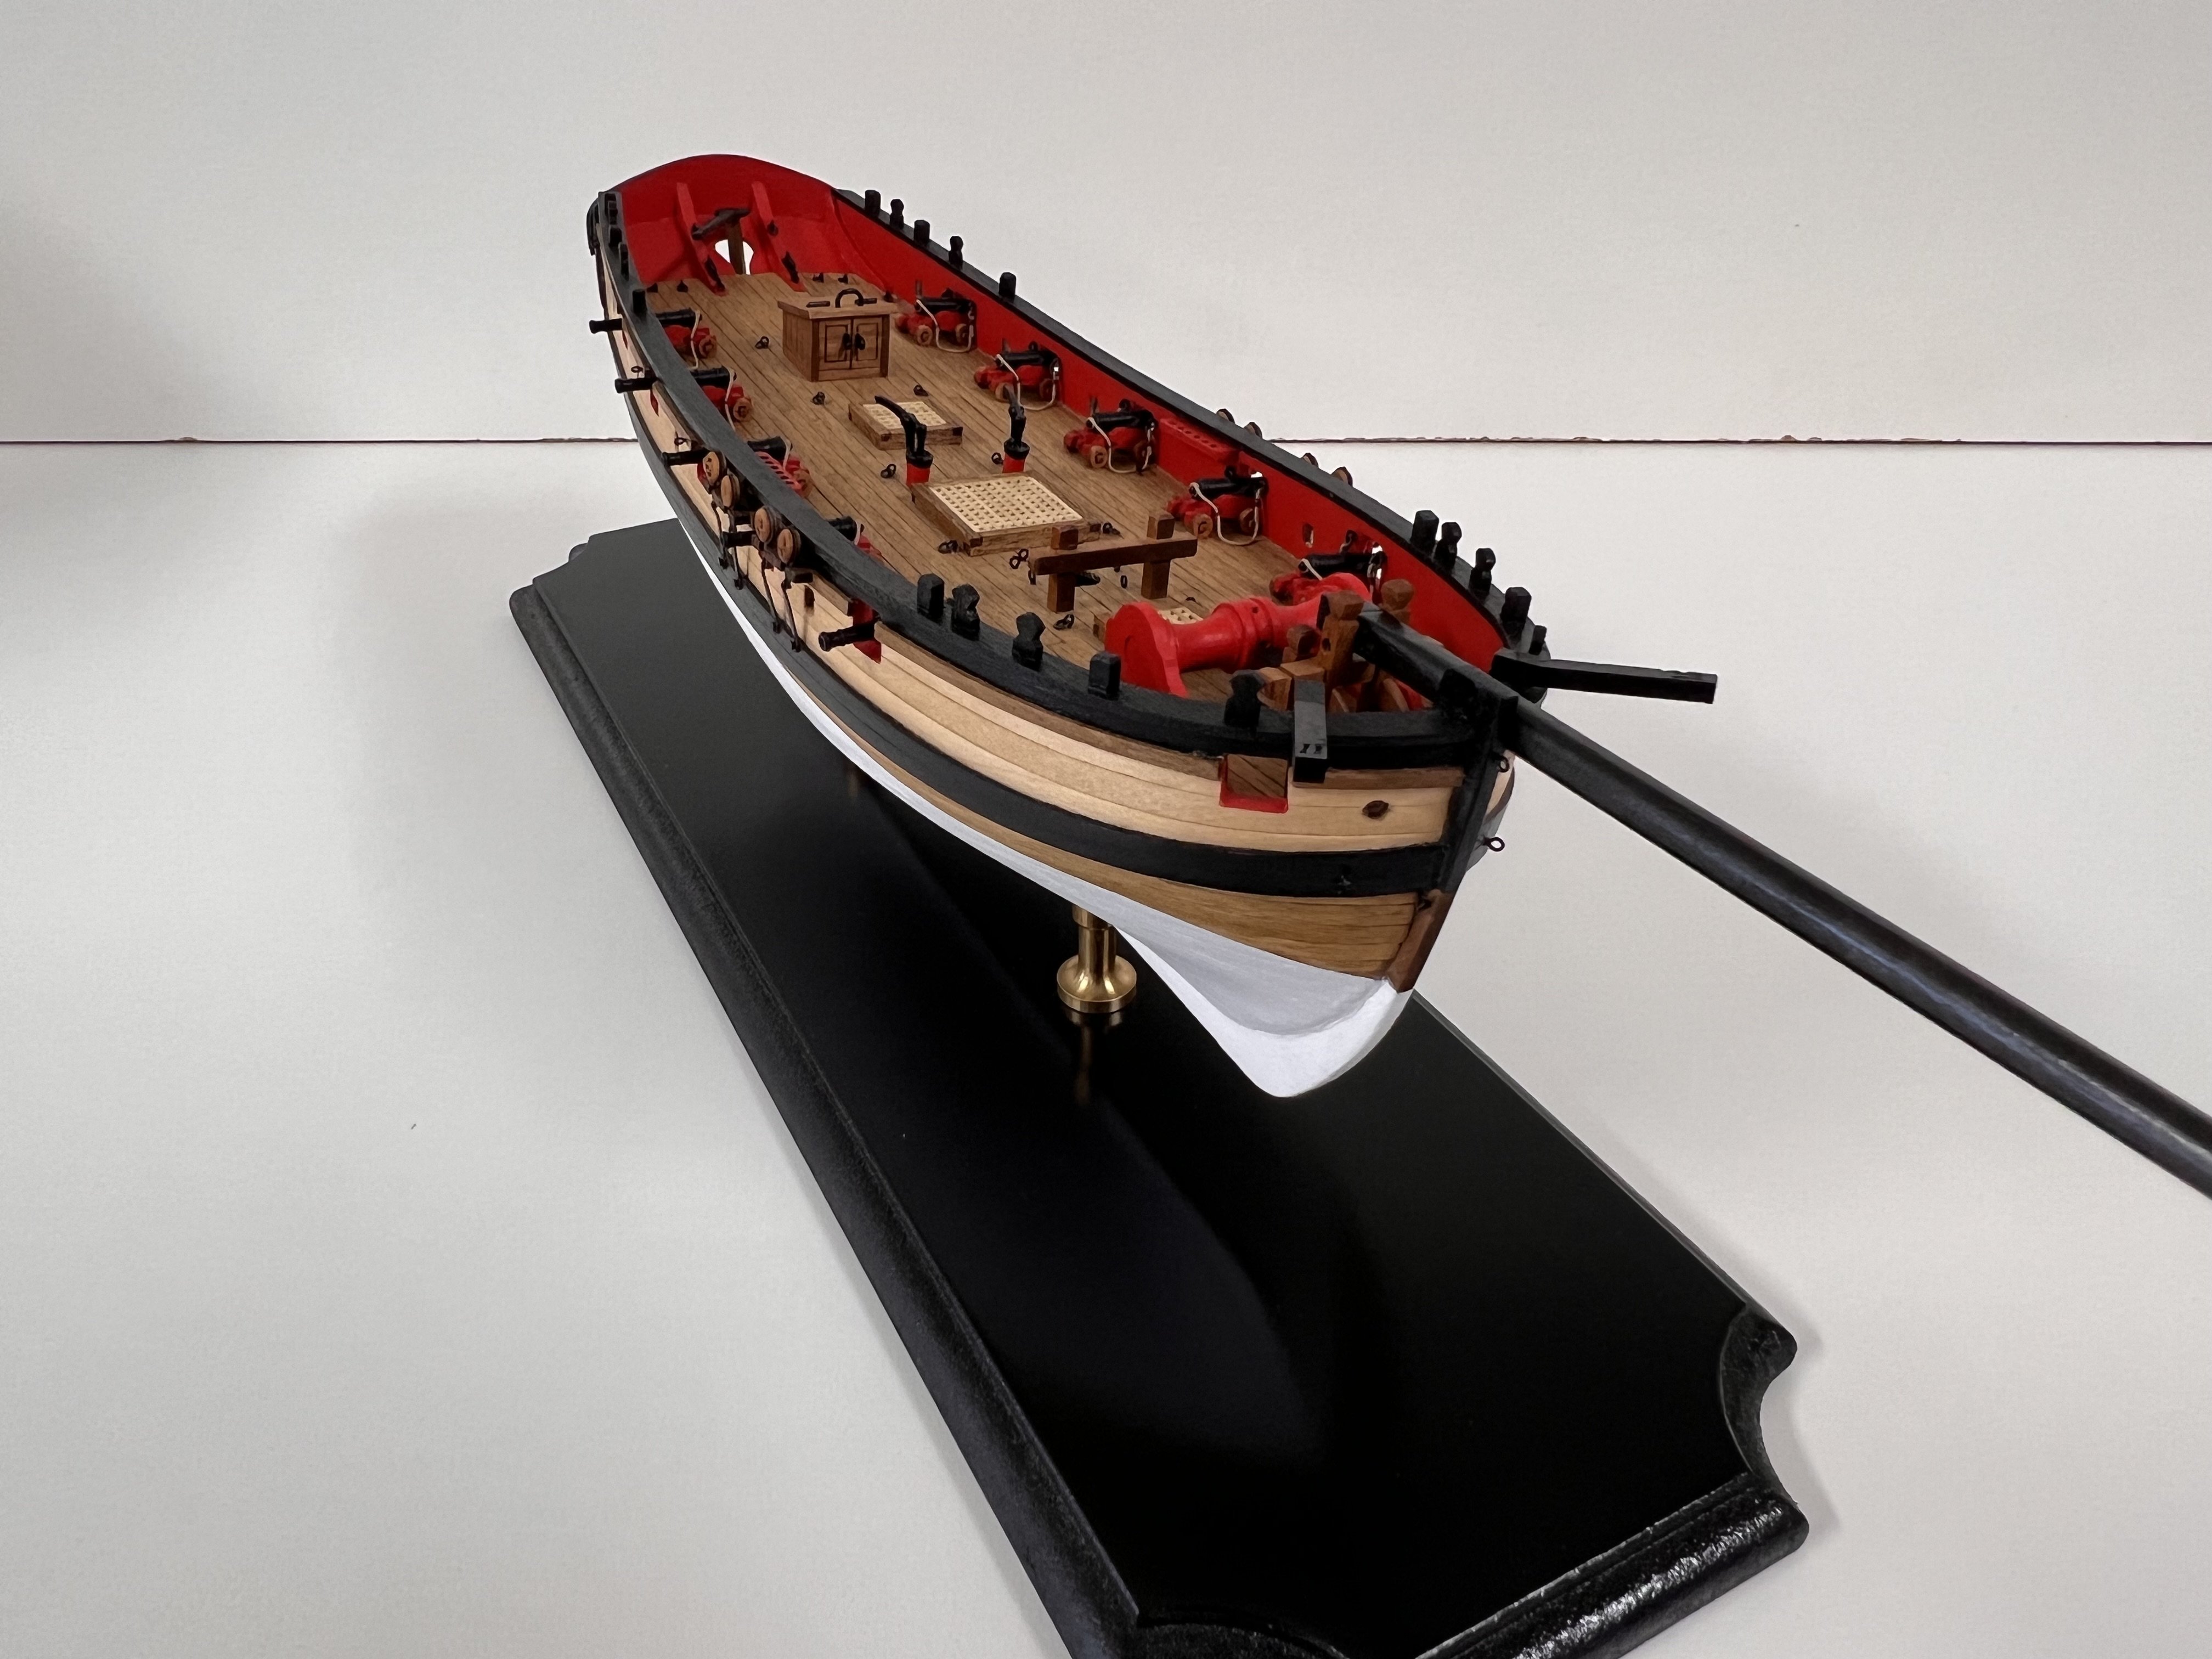
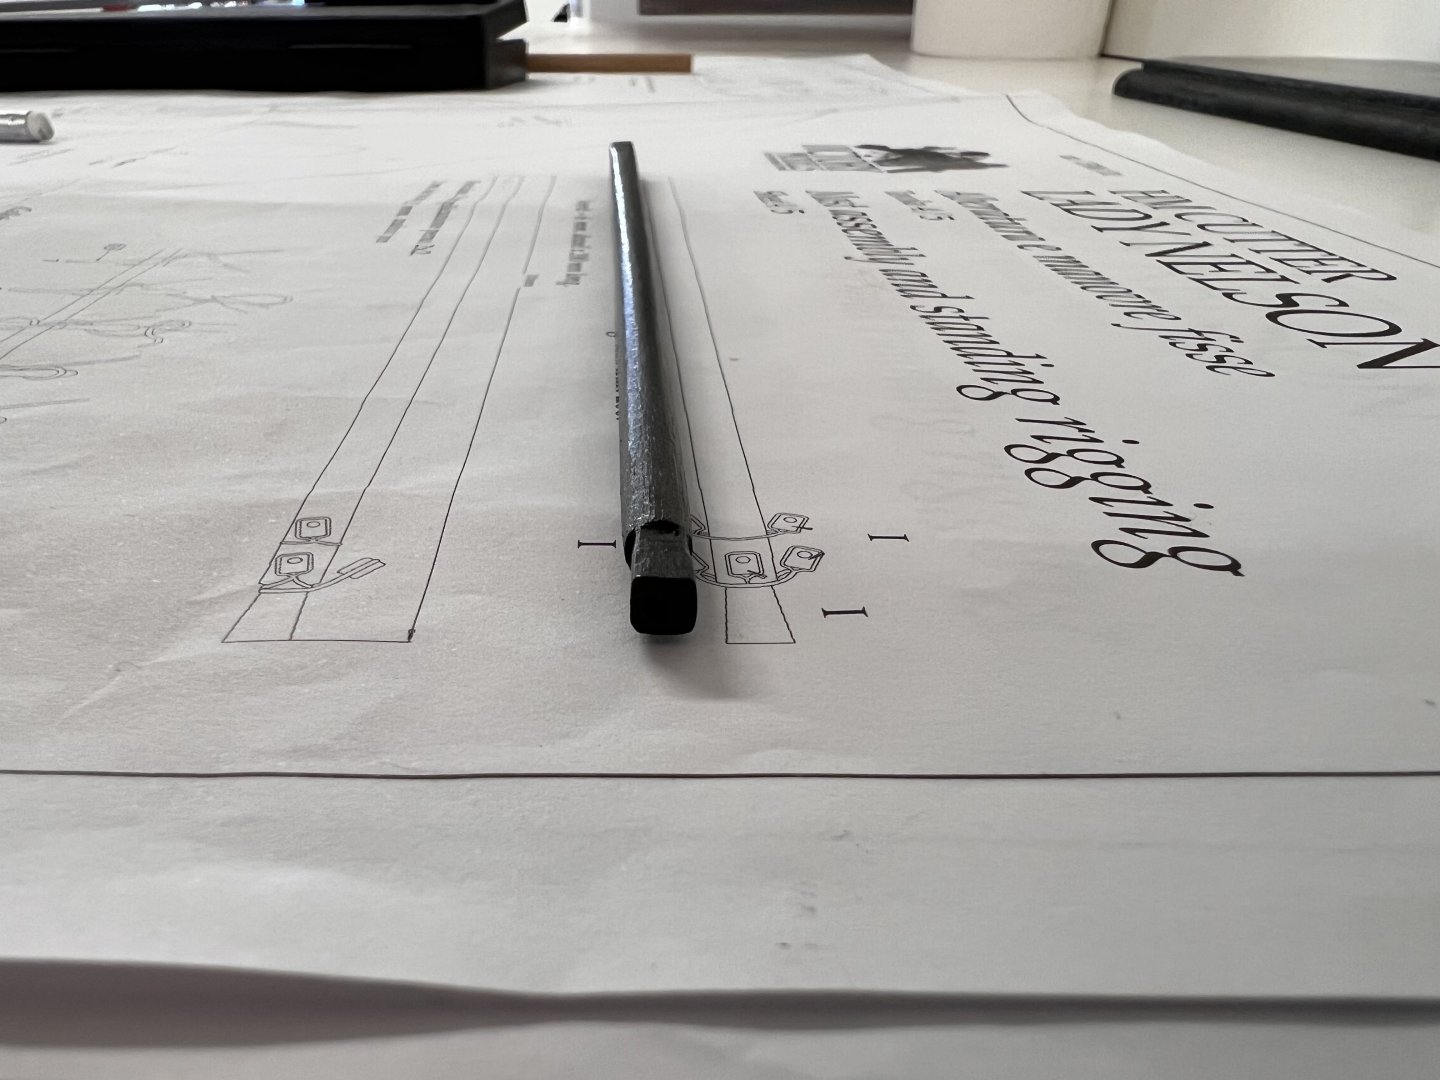
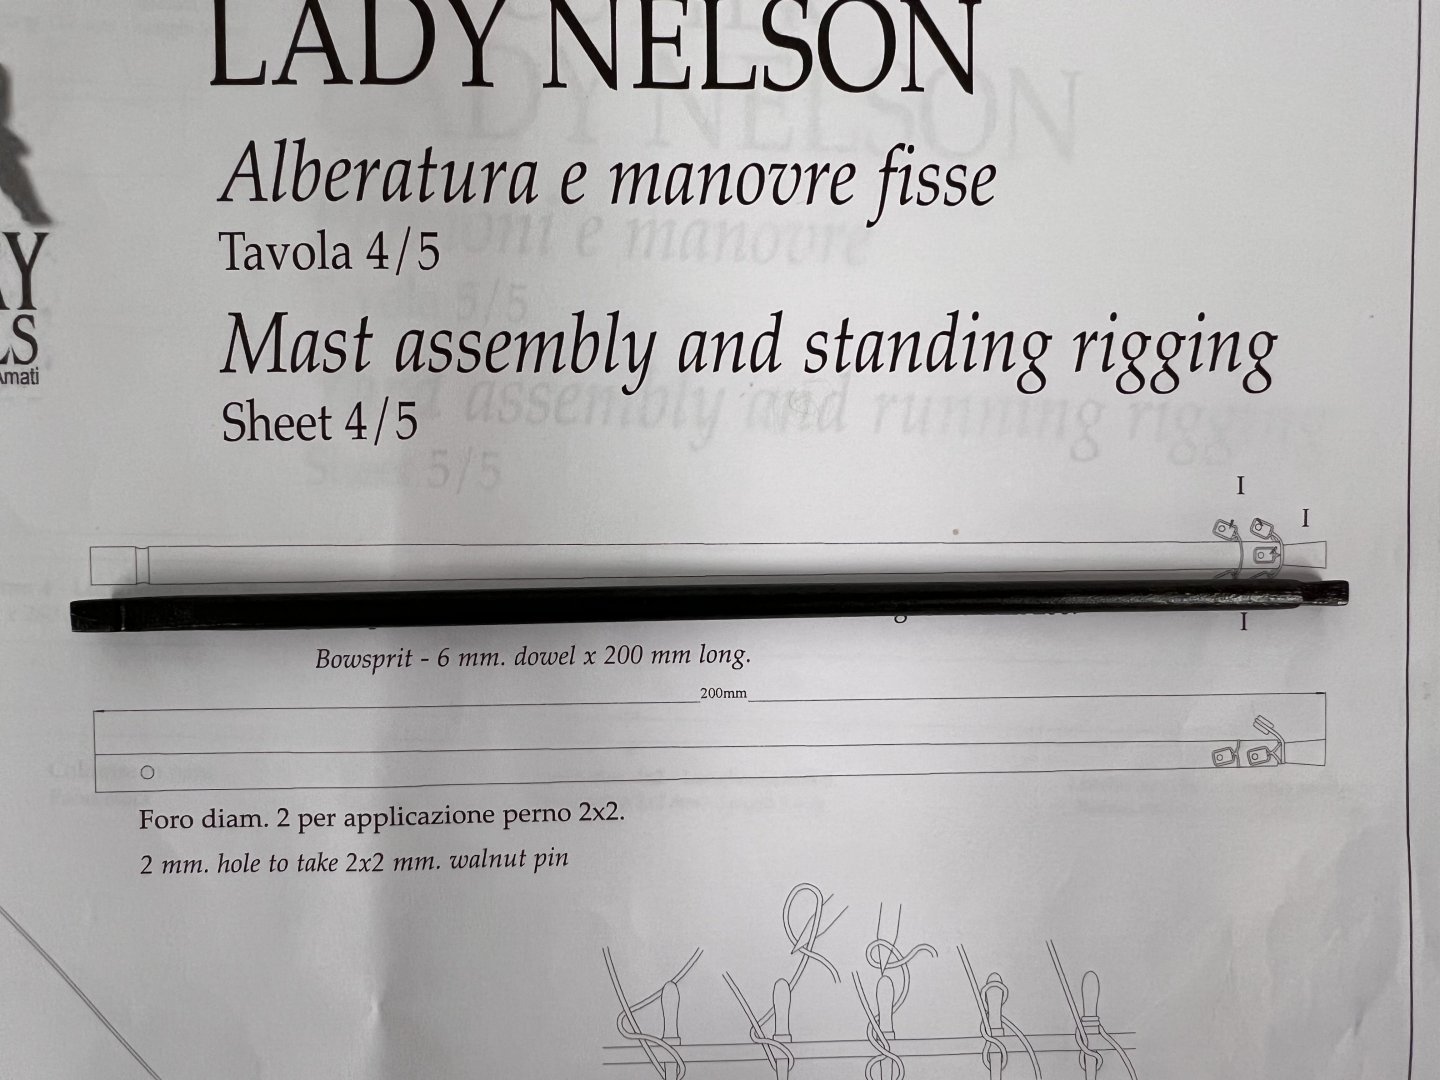
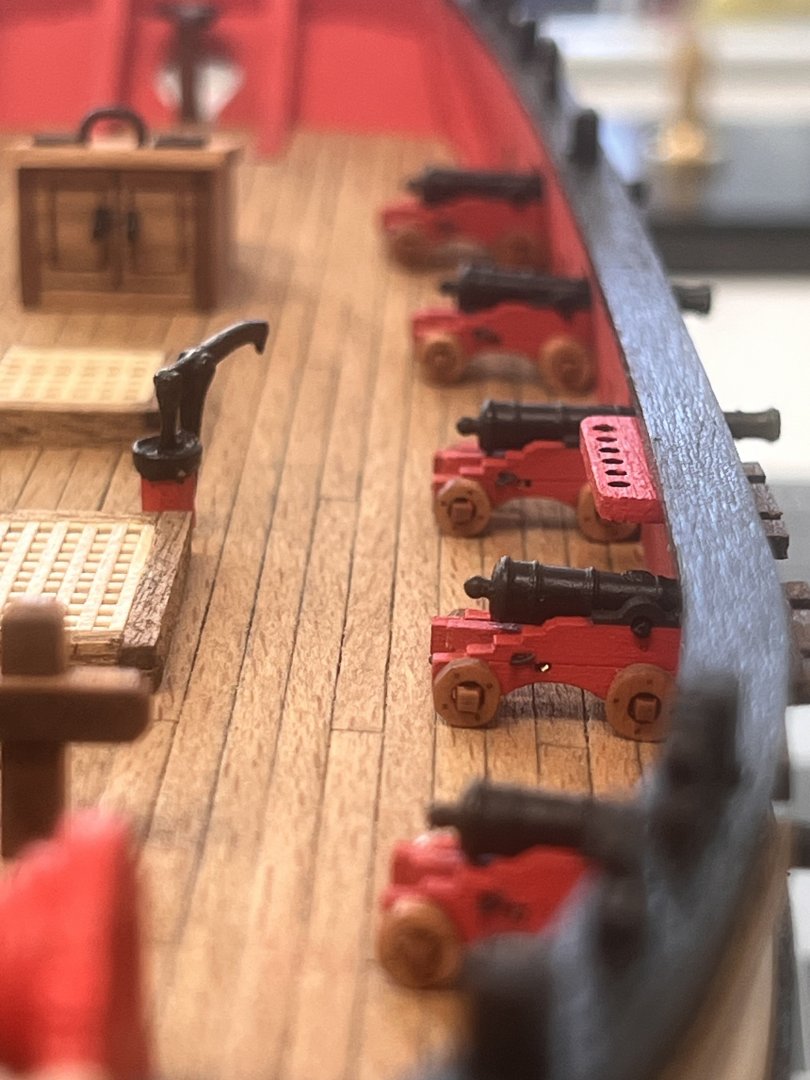
After some time away, I was finally able to put in a few solid hours this weekend. I’ve secured the breaching lines to the cannons but have decided to forgo the side and train tackles. I also shaped the bowsprit from square stock and have painted and seated it though it’s not yet glued and pinned - I’m still debating whether I’m satisfied with it or if I should start fresh with a second attempt. I’m also shifting my attention to the mast, yard and boom, considering the best approach for shaping them from the round stock included in the kit. Plenty to think through but it feels good to be back in the shipyard.


- 83 replies
-
- 7
-
-
- Lady Nelson
- Amati
- (and 2 more)
-
Thanks Dan! Of course, you are outpacing me, so I may be looking to you in the next few weeks.
- 83 replies
-
- 2
-
-
- Lady Nelson
- Amati
- (and 2 more)
-
Thanks! Yeah I am considering rigging gun tackles. I did purchase the 2mm blocks from Syren just in case I decided to go down that rabbit hole. Just so you appreciate the size of a 2mm block and threading the rope through is a patient endeavor. I’m using .25mm from Ropes of Scale.

- 83 replies
-
- 6
-
-
- Lady Nelson
- Amati
- (and 2 more)
-
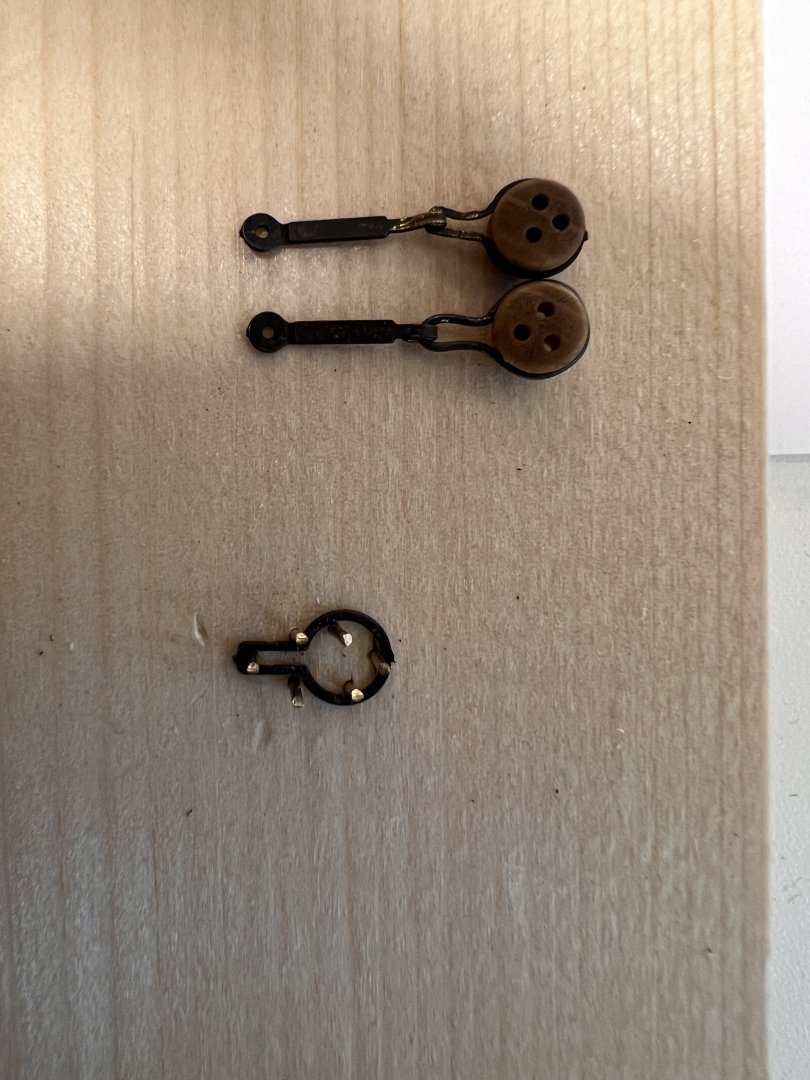
Life has been busy with many different responsibilities, so my time in the shipyard has not been as much as I would like. But I have finally painted and assembled all the cannons, which are the purchased 3lbrs from Vanguard. I will rig them with breech rope before gluing them to the deck. Next up I am working on the channels, and the strops for the deadeyes defeated me. After fighting with them for a while and splitting several in multiple places, I thought I might could do them with the 24 gauge wire that I had purchased. Making several attempts at that, consistency in size proved challenging so I made a little jig using one of the kit supplied strops, nails and a block of wood. The one at the top is with the kit supplied strop and below is with the 24 gauge wire. It still takes a little fiddling but the jig will offer some consistency and more dignified speech. Any thoughts on the use of the wire as a substitute? What do people generally use if they are making their own parts? Thanks for the input and dropping by!
- 83 replies
-
- 6
-
-
- Lady Nelson
- Amati
- (and 2 more)
-
I love the detail on the companionway. You (and Dan) are really elevating this build, and I look forward to what’s next.
- 39 replies
-
- 3
-
-
-
- Amati
- Victory Models
- (and 1 more)
-
Your work is absolutely stunning. It has been a joy to follow along, and I will look forward to your next ship!
- 840 replies
-
- 2
-
-
- winchelsea
- Syren Ship Model Company
- (and 1 more)
-
I’ll pull up a chair and hang around if you don’t mind. I have been appreciating the fact that you have dove right in to the work. The first layer of planking is looking good, and I’ll be interested to see how the pear turns out for your decking. What motivated you to choose pear?
- 39 replies
-
- 1
-
-
- Amati
- Victory Models
- (and 1 more)