HIPEXEC
-
Posts
2,698 -
Joined
-
Last visited
Content Type
Profiles
Forums
Gallery
Events
Everything posted by HIPEXEC
-
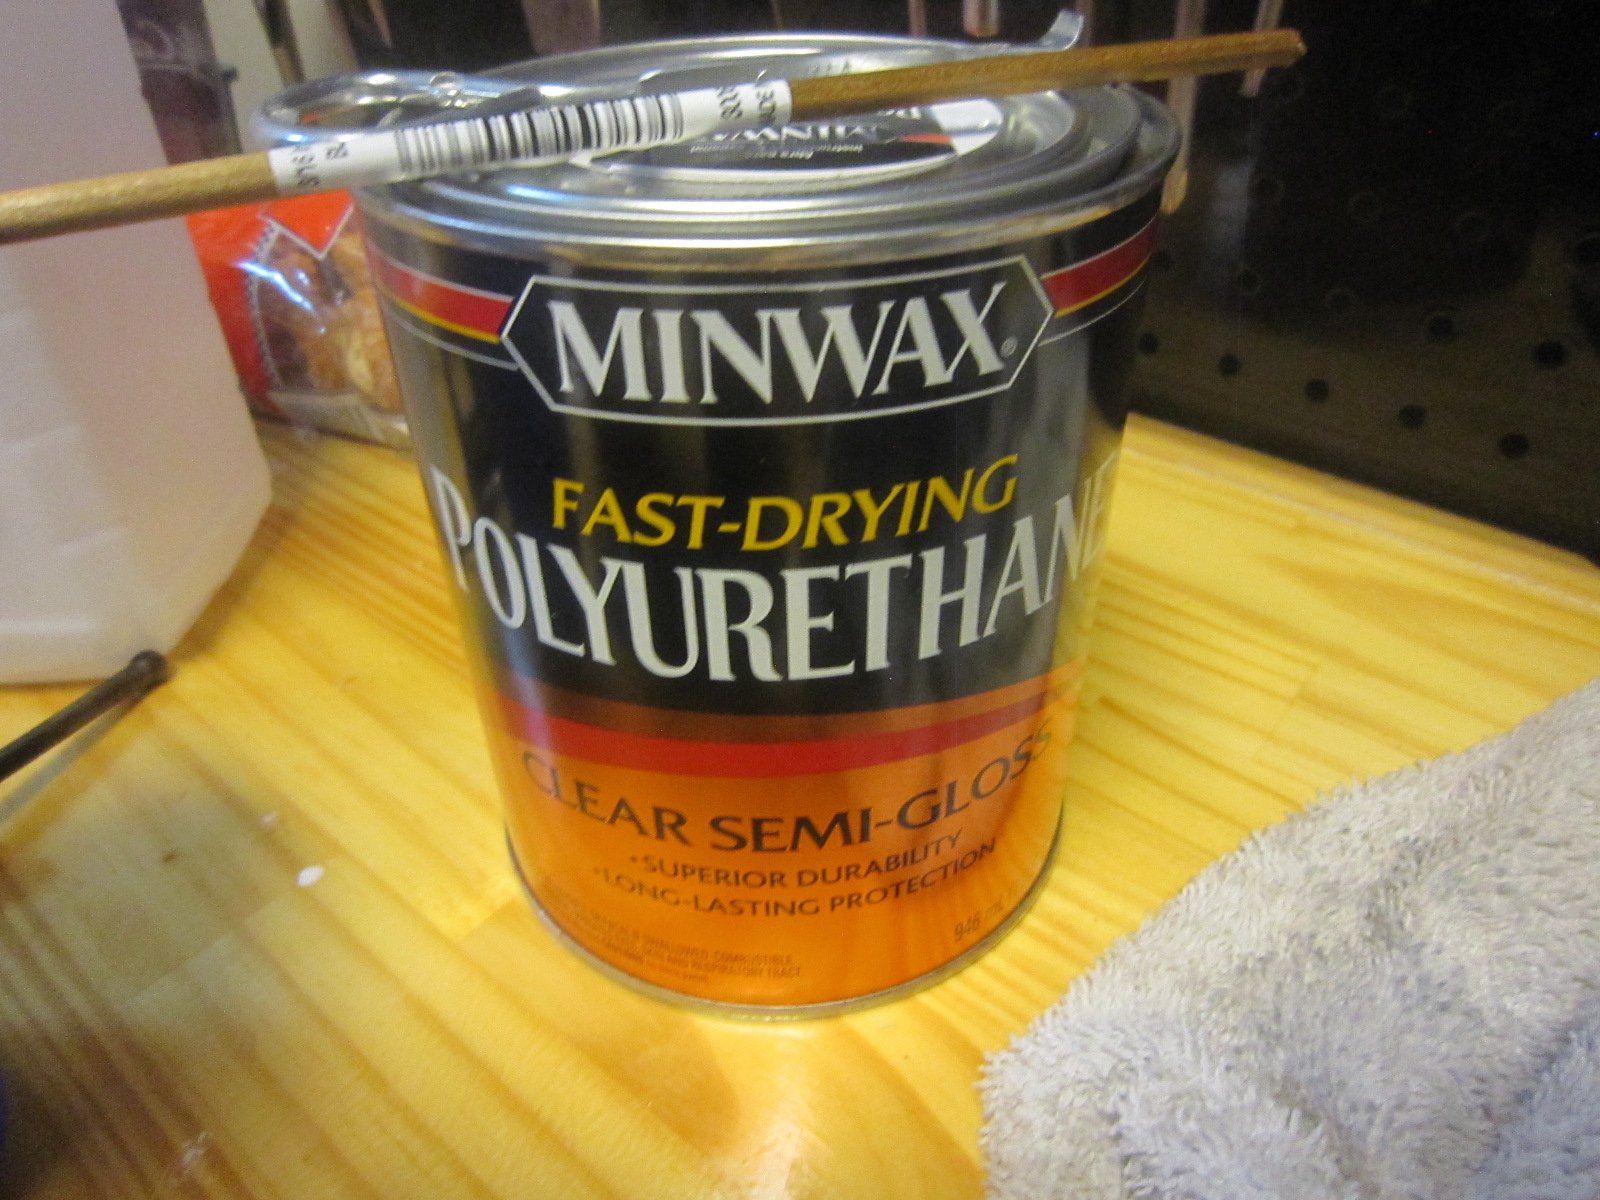
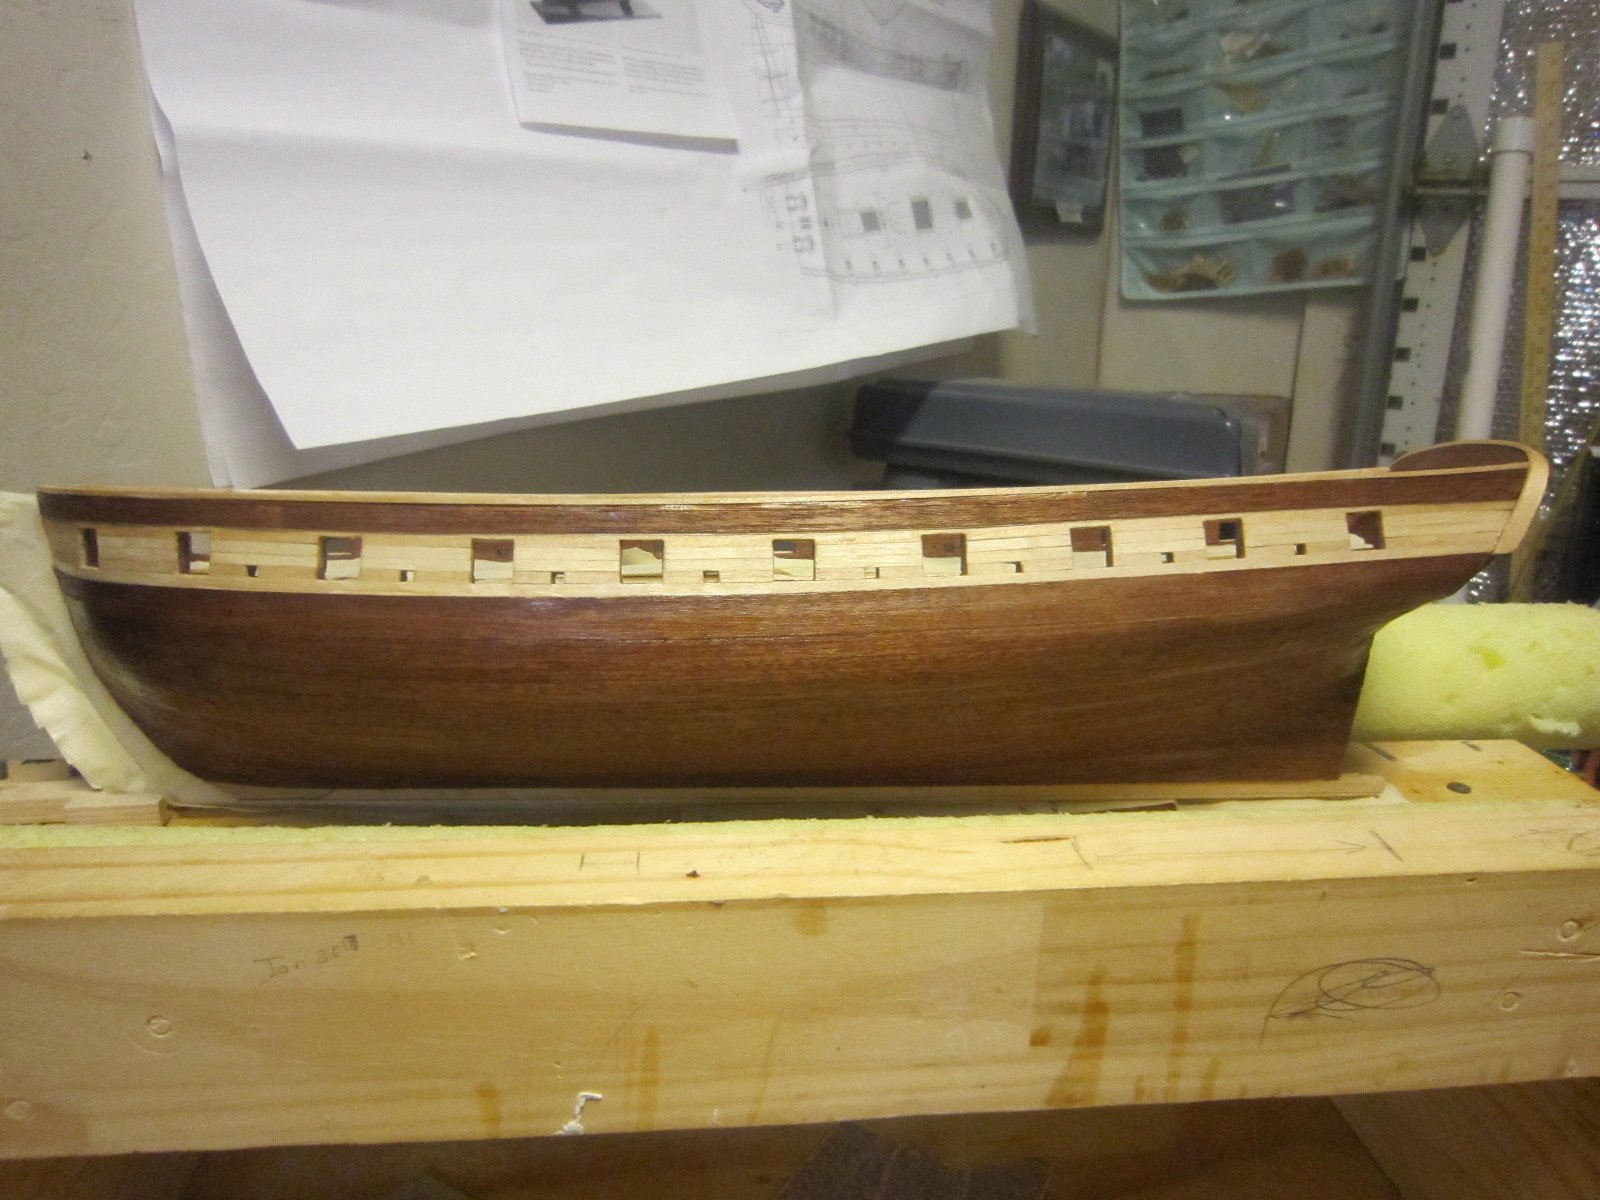
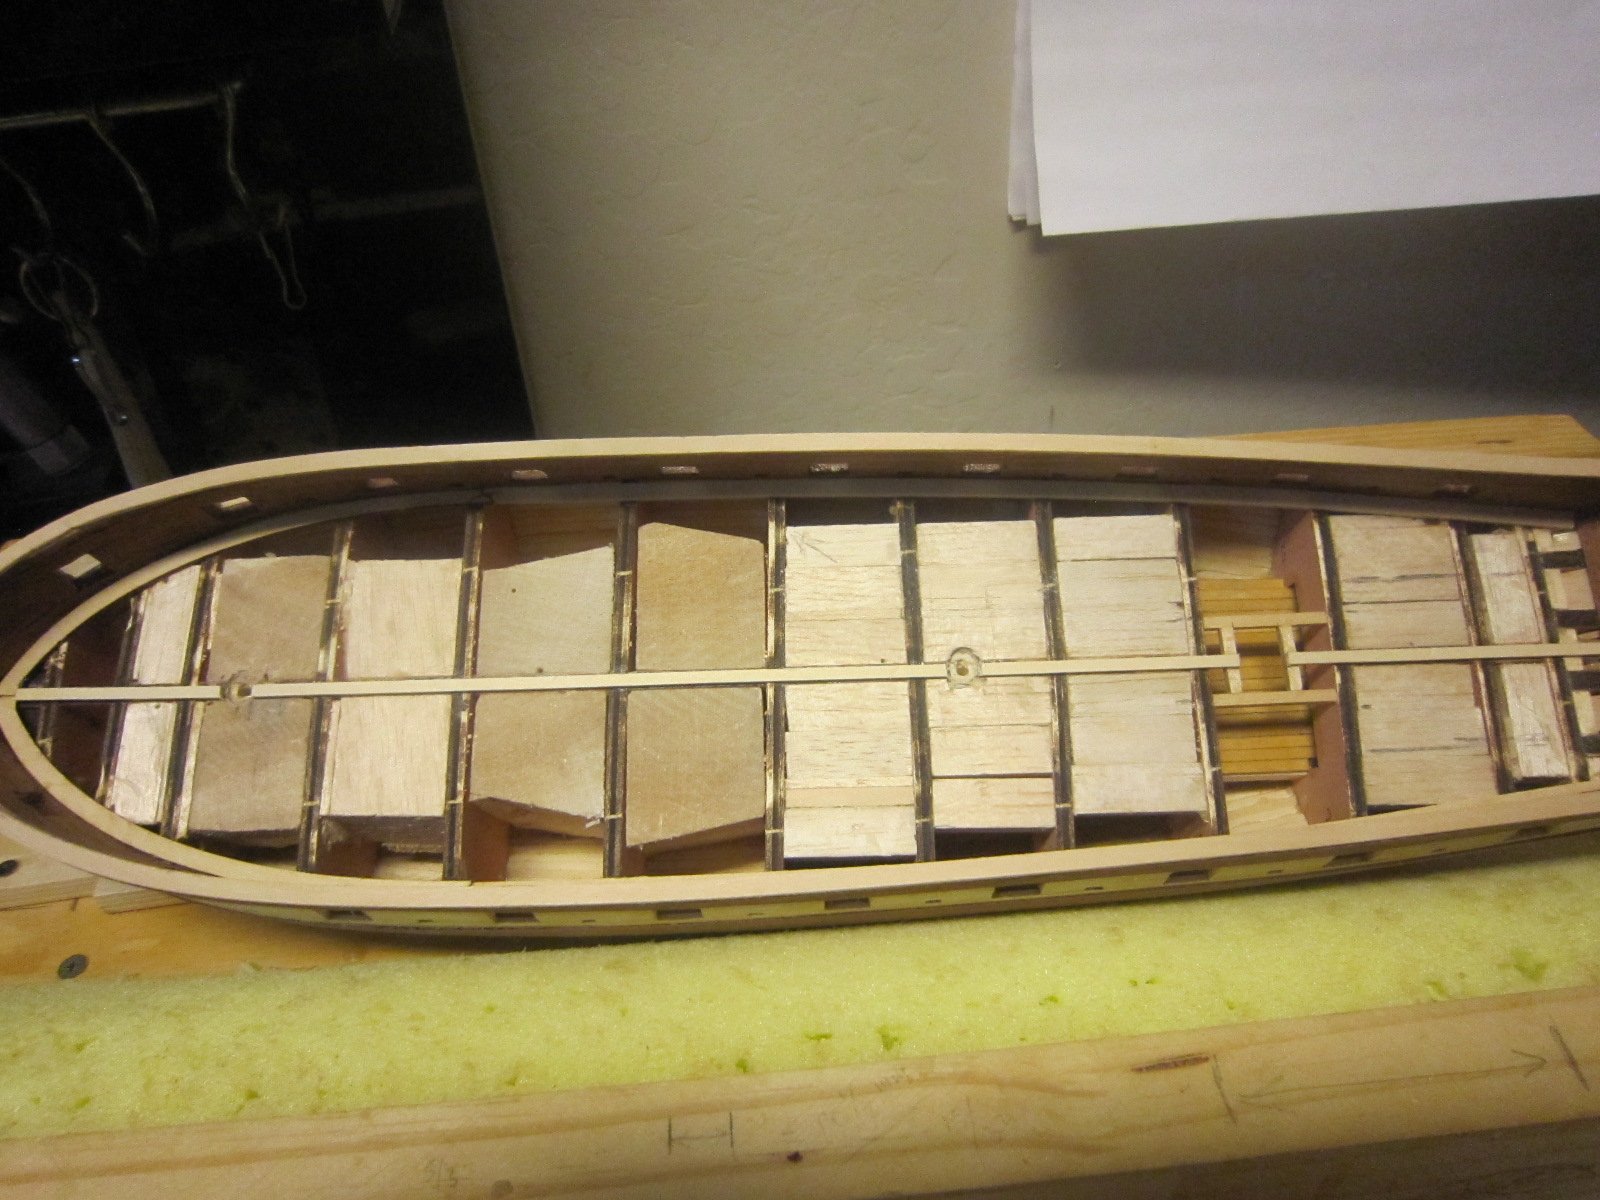
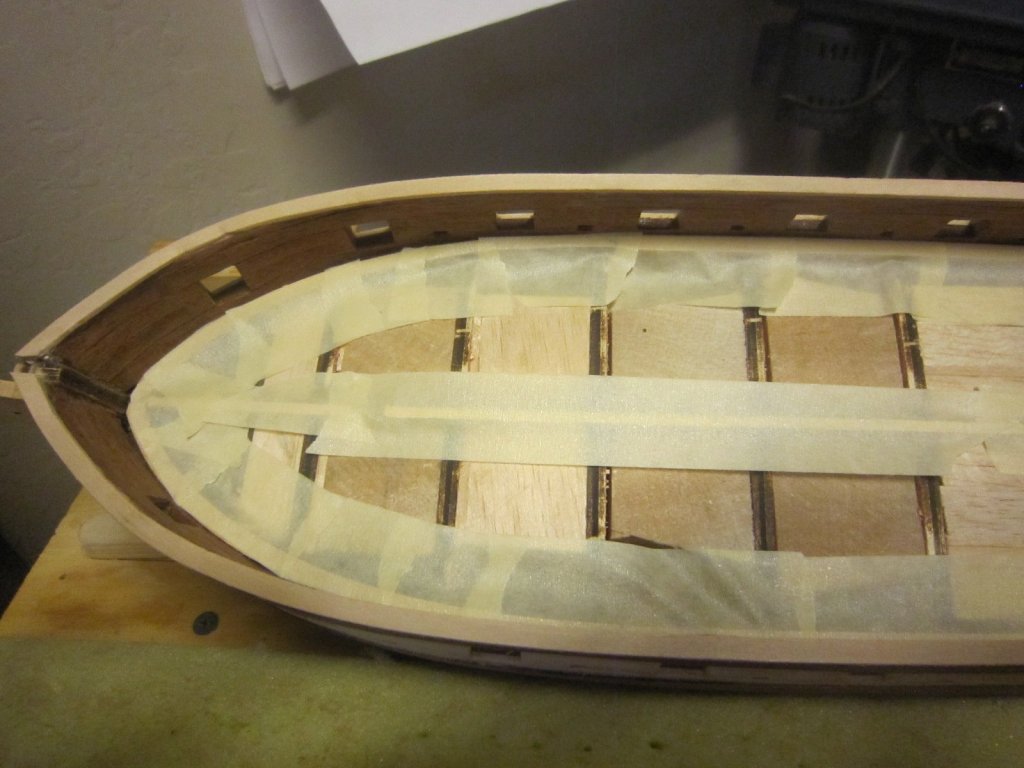
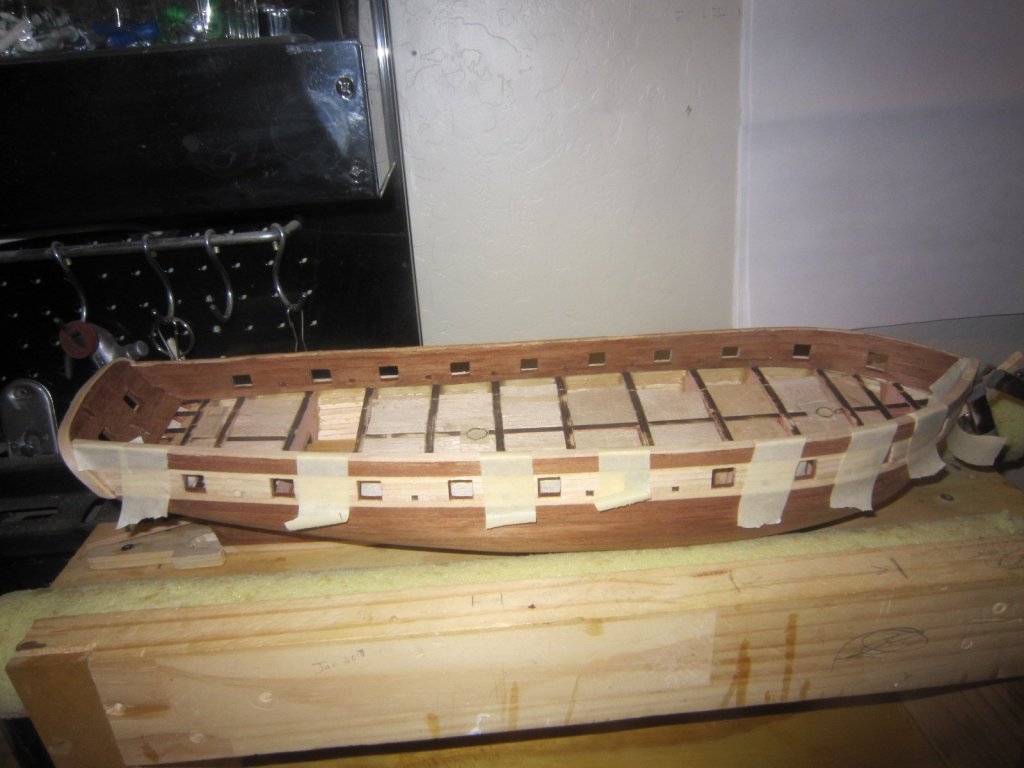
 I masked the bow stem and keel since I do not know what I am doing with them yet and varnished all the planks to seal them. I used semi-gloss clear poly.
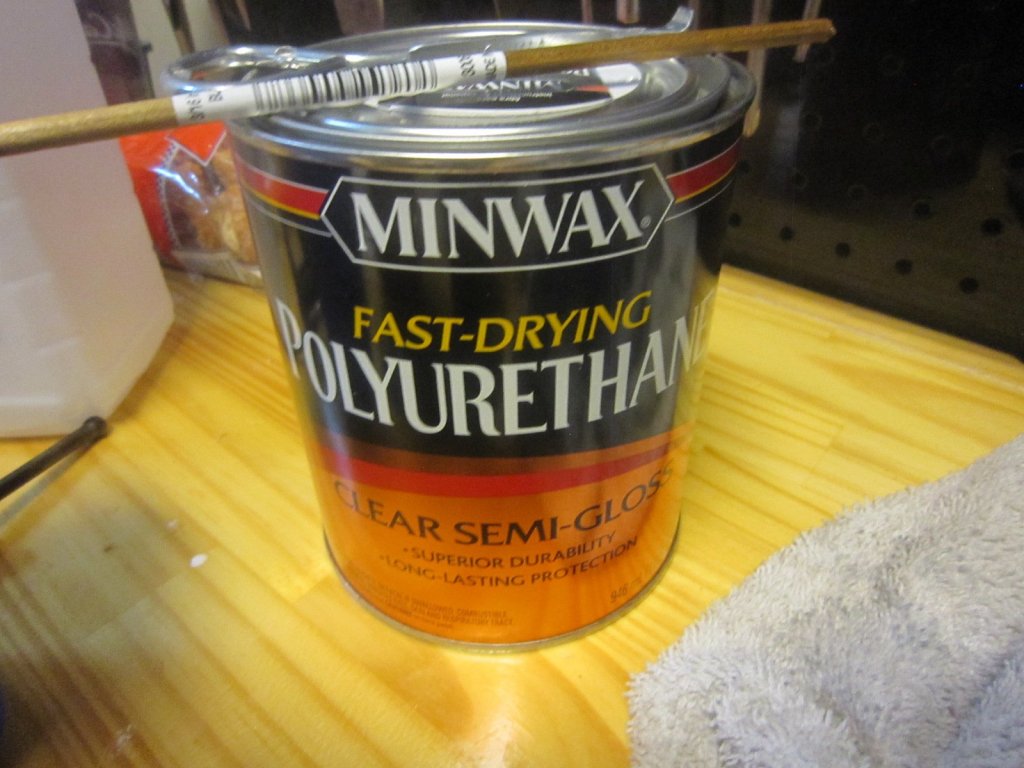

- 1,135 replies
-
- 11
-

-
- model shipways
- syren
- (and 2 more)
-
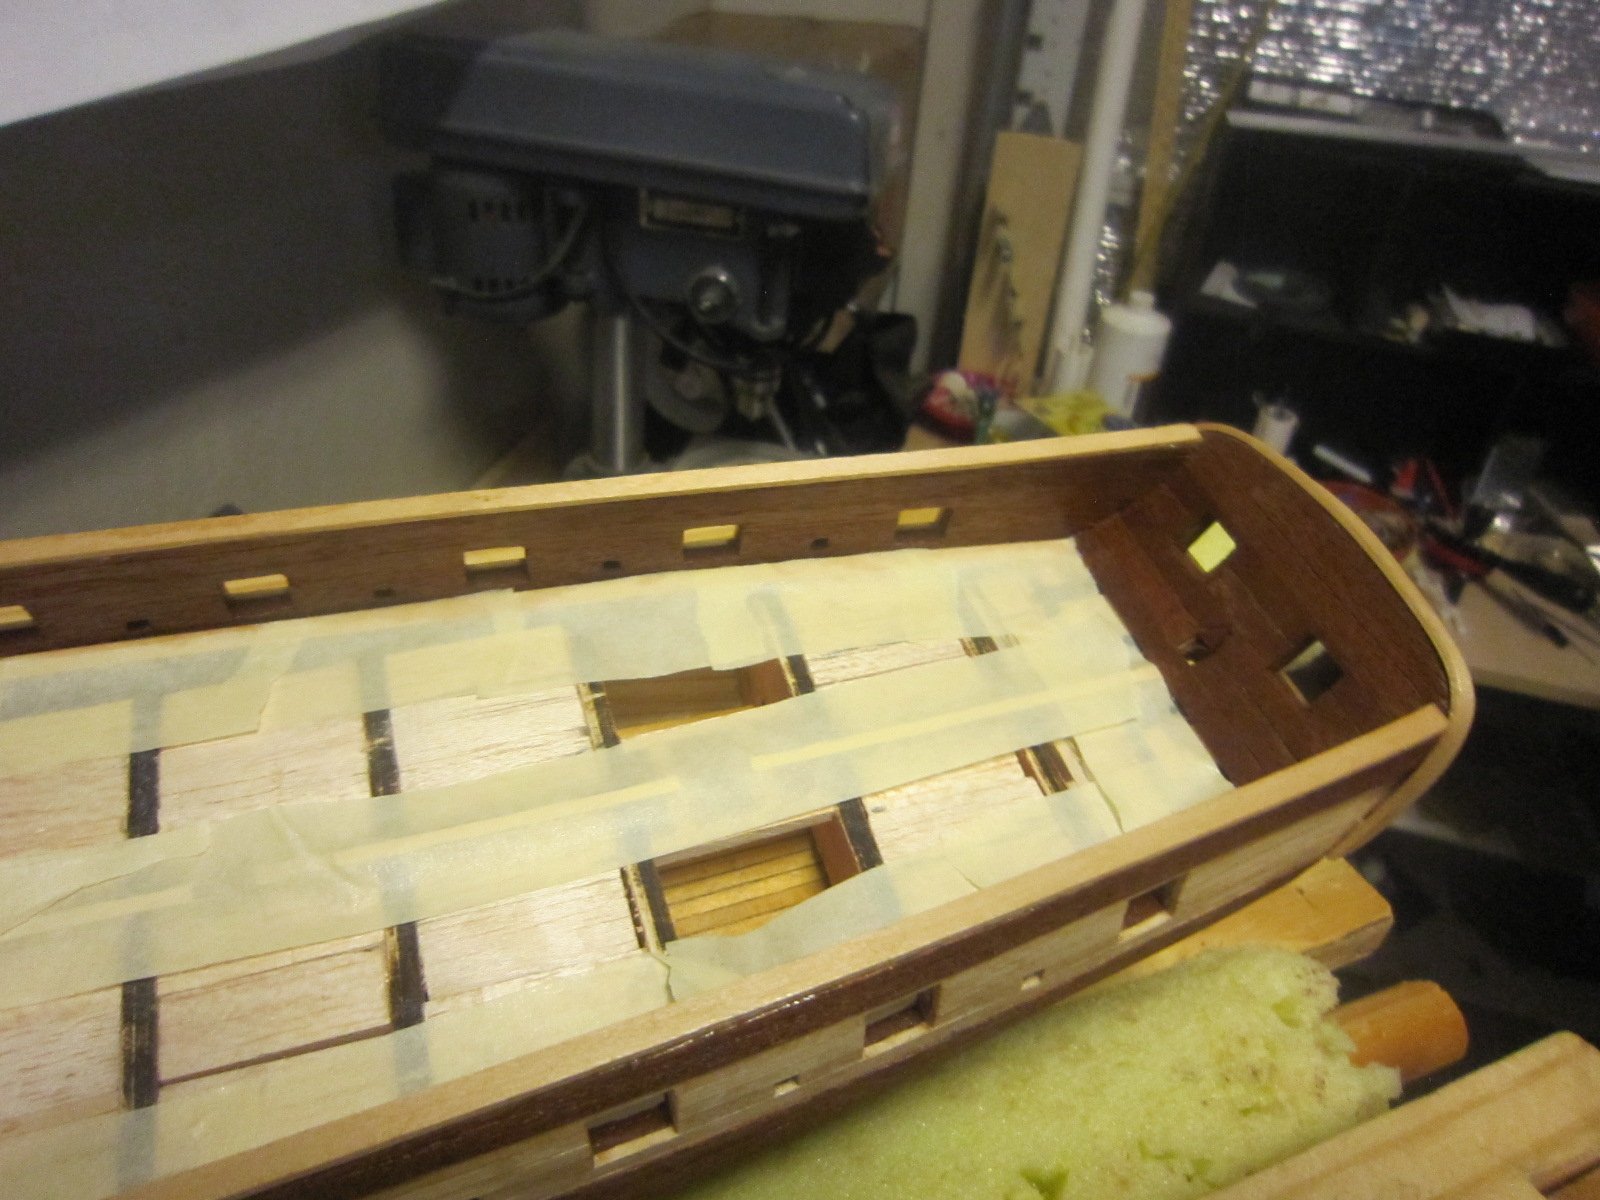
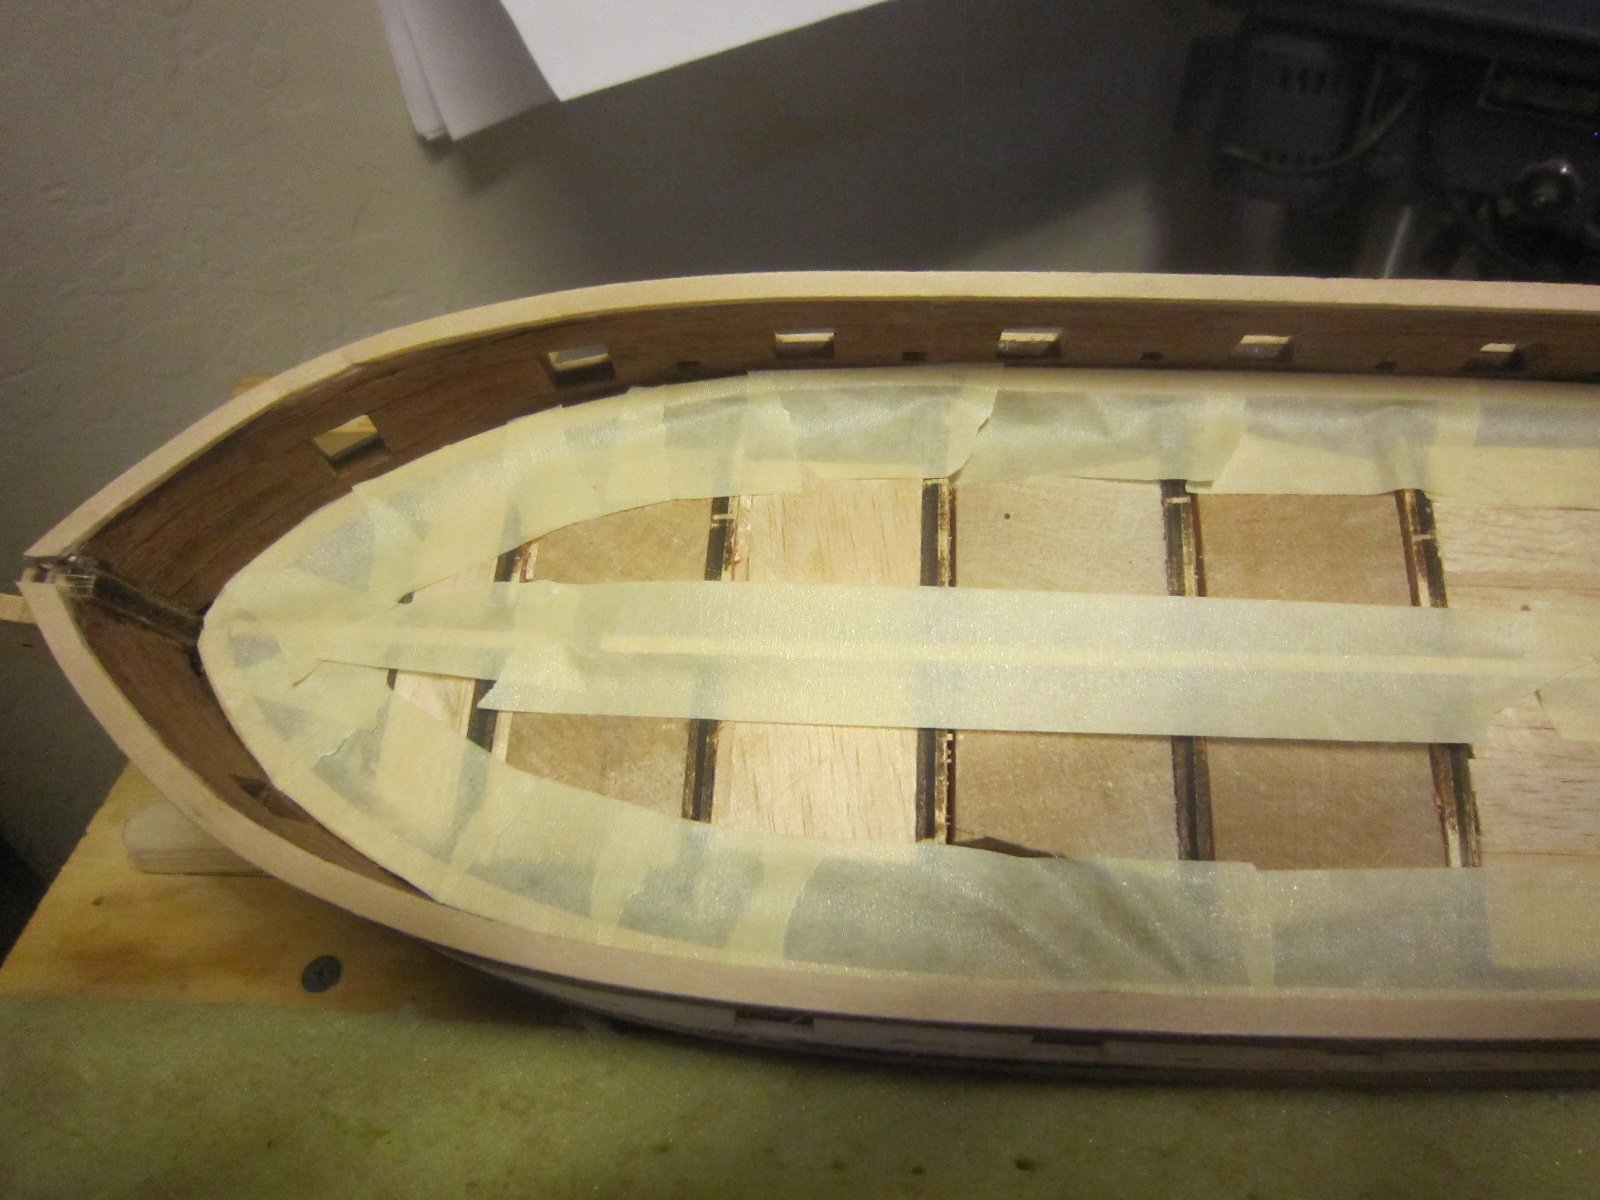
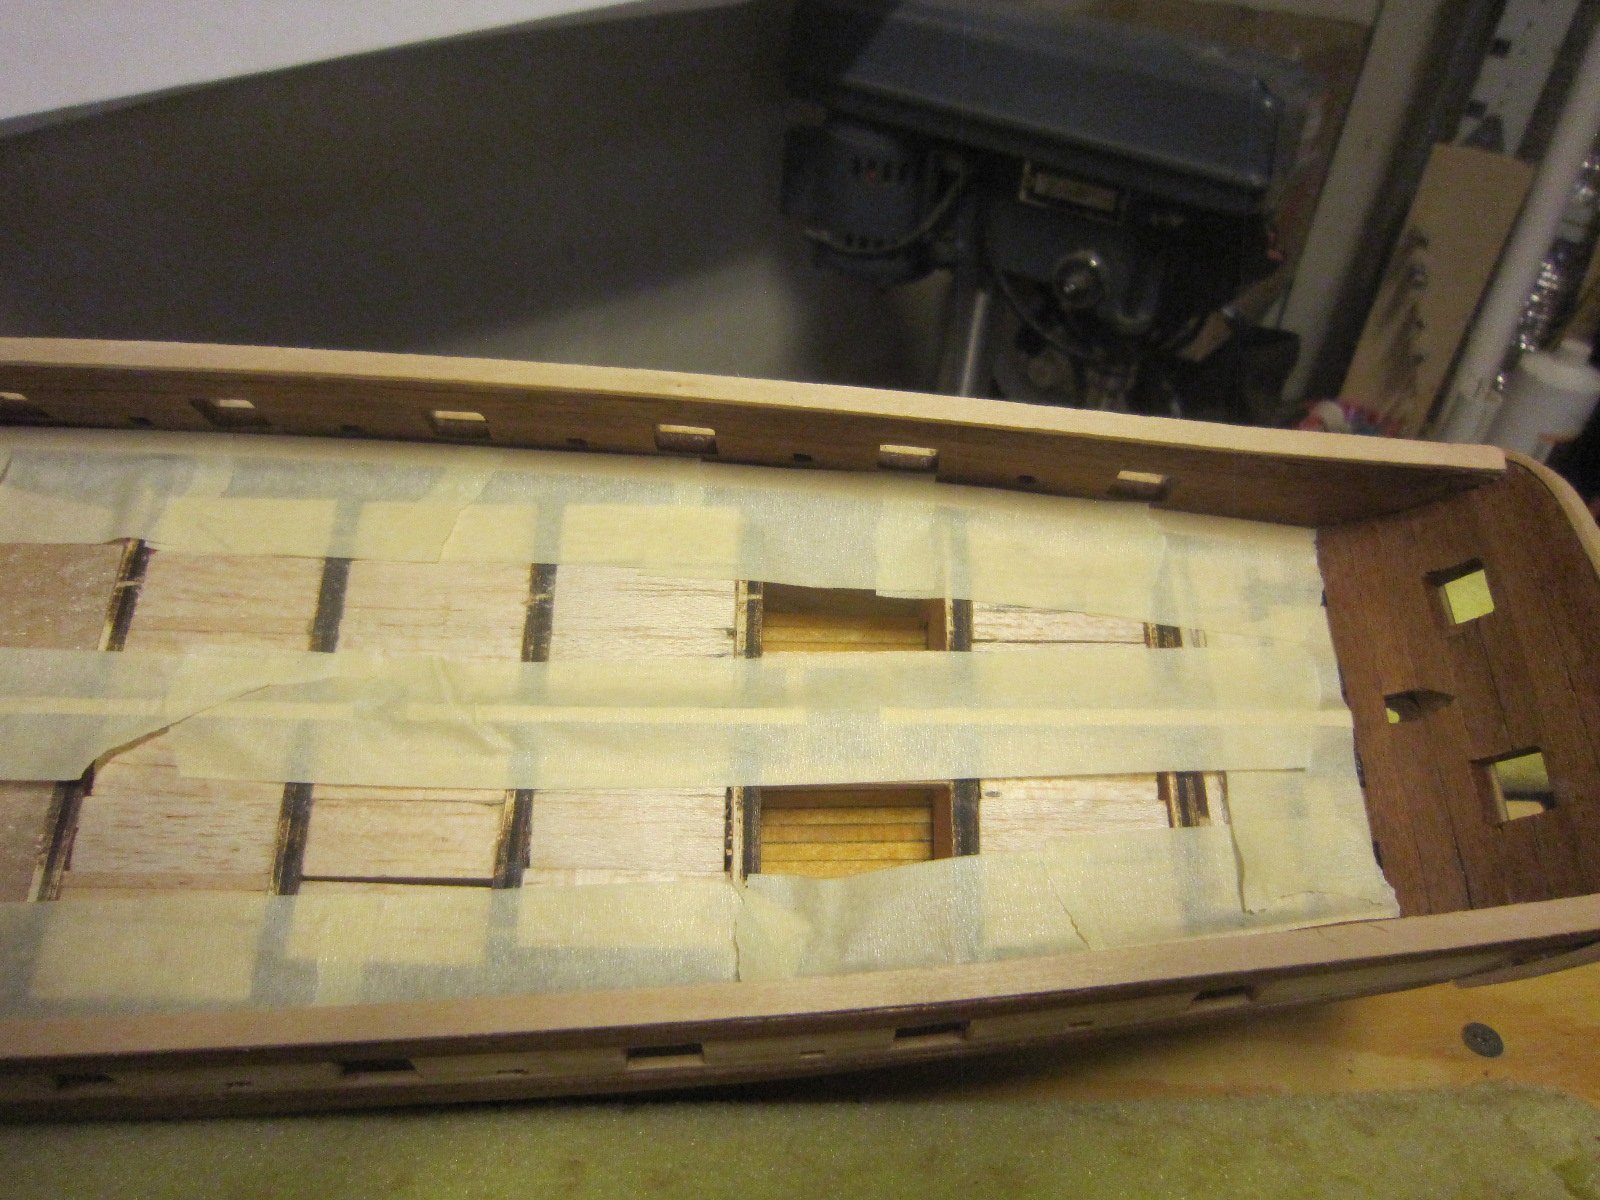
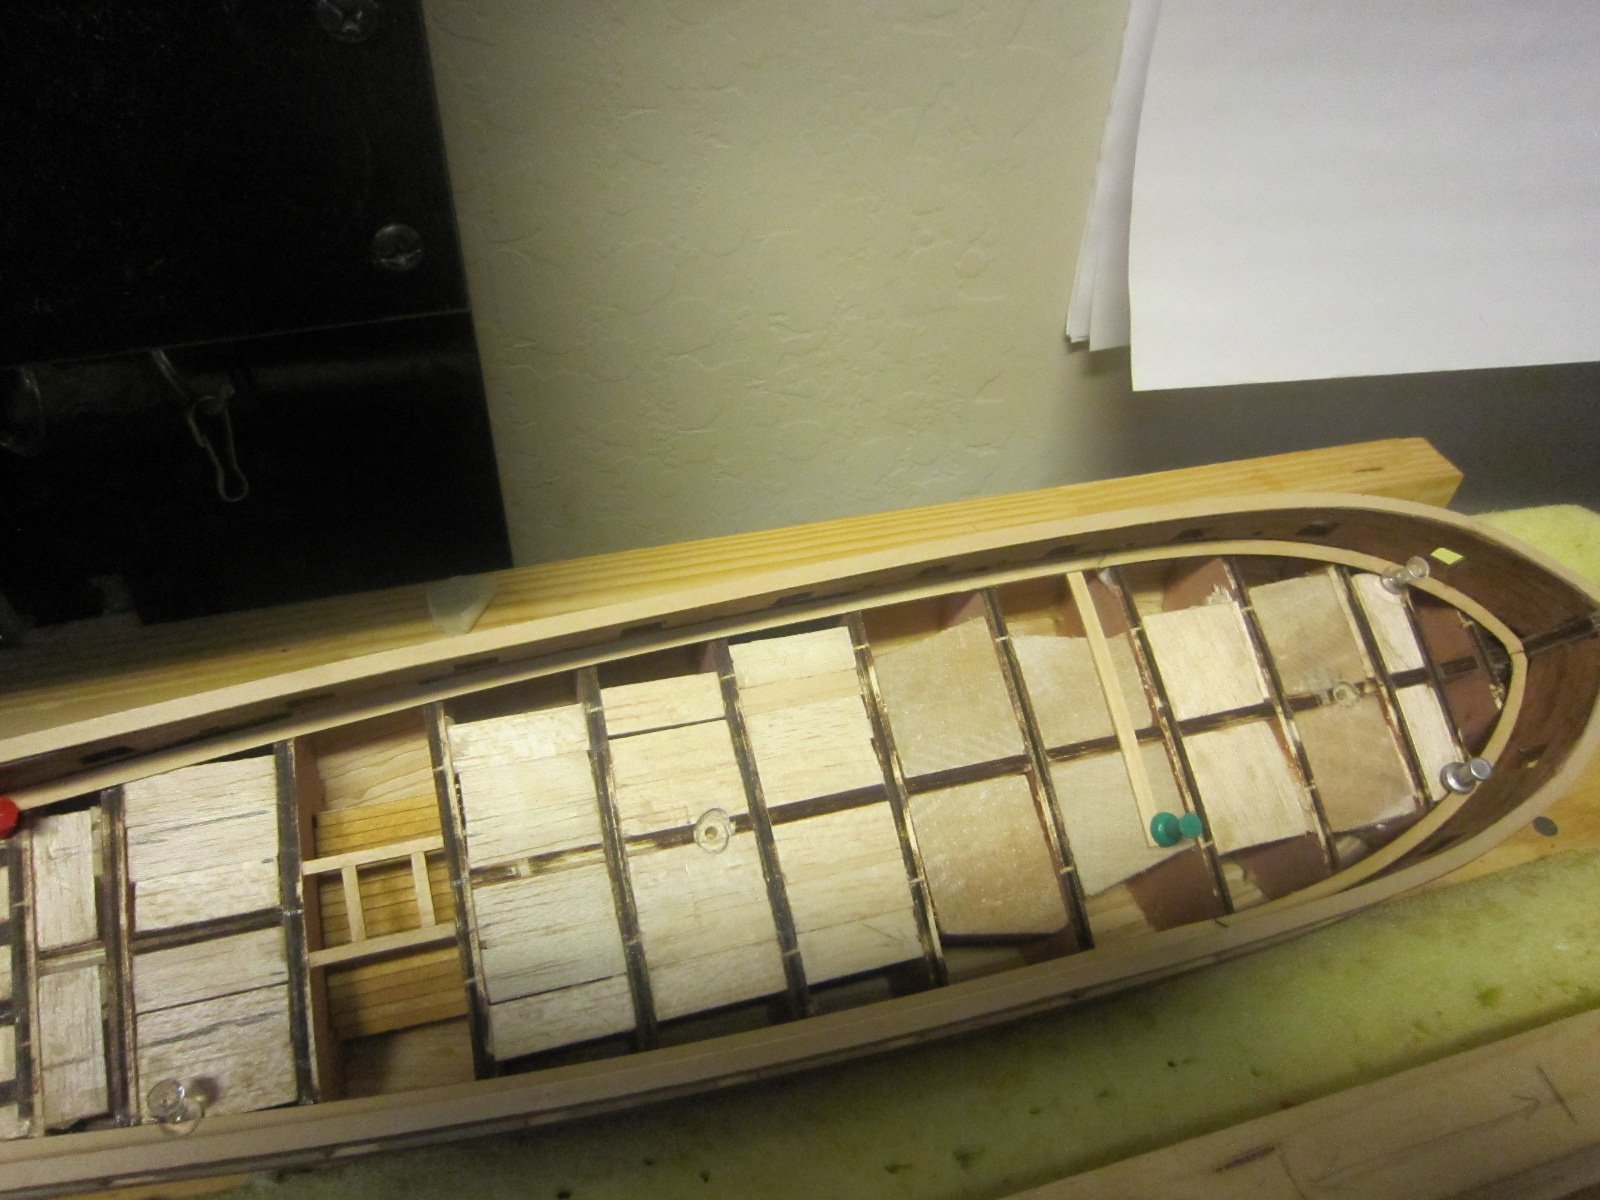
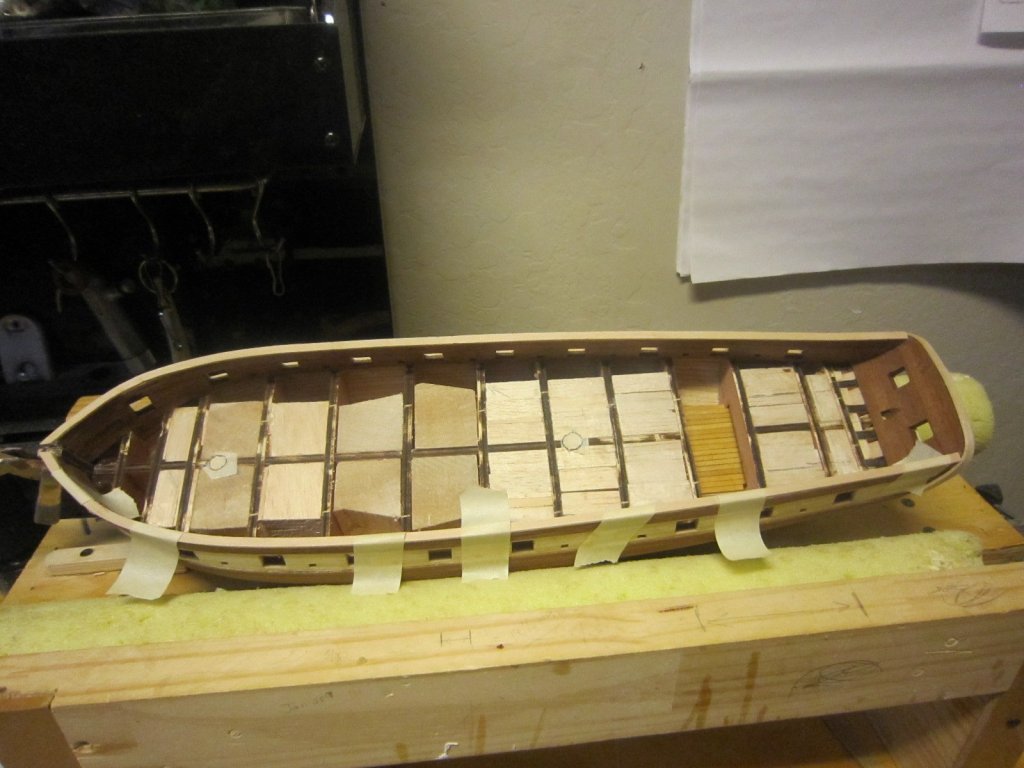
I decided to give all the veneer work a coat of varnish to "toughen" it up. It has a tendency to splinter when handled too much. The varnish will seal it. I've masked the few deck pieces I've installed since I don't want the deck varnished.

- 1,135 replies
-
- 8
-
-
- model shipways
- syren
- (and 2 more)
-
You are off to a great start. That's the neatest filler blocks I've ever seen. You should see my filler block mess. I'll be watching. Goos luck
-
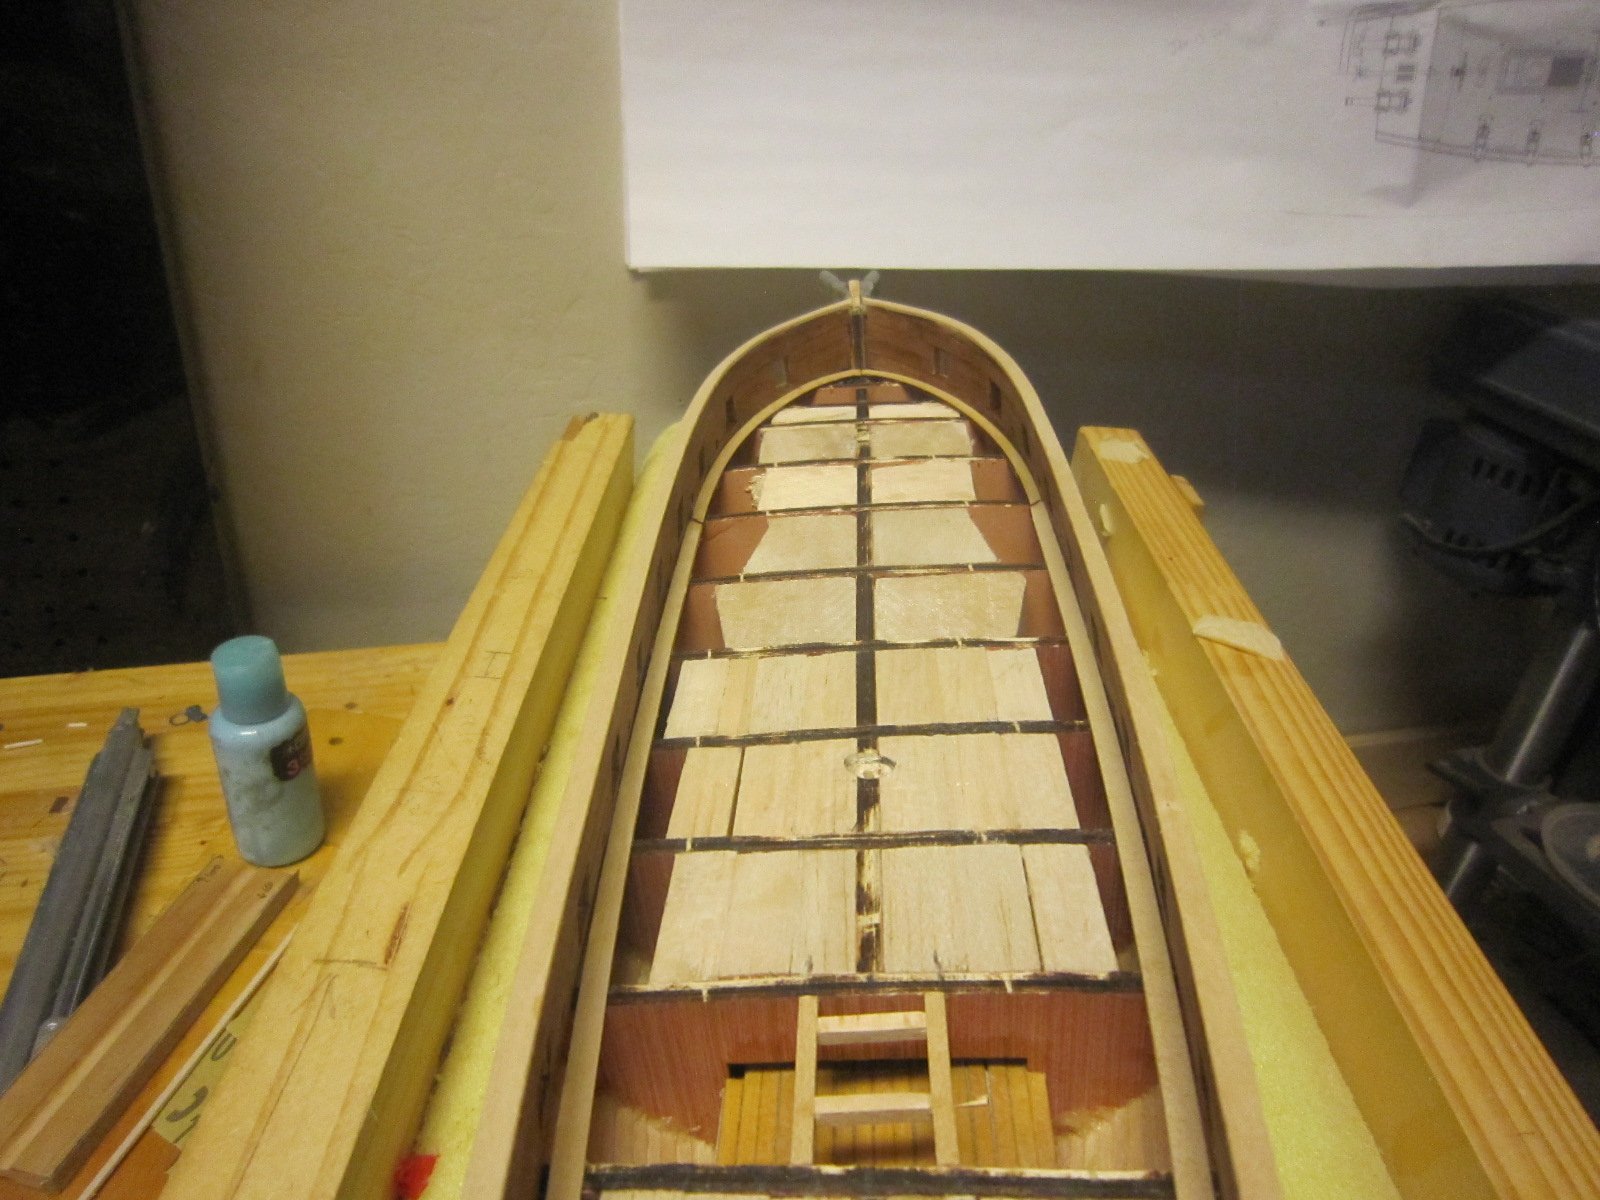
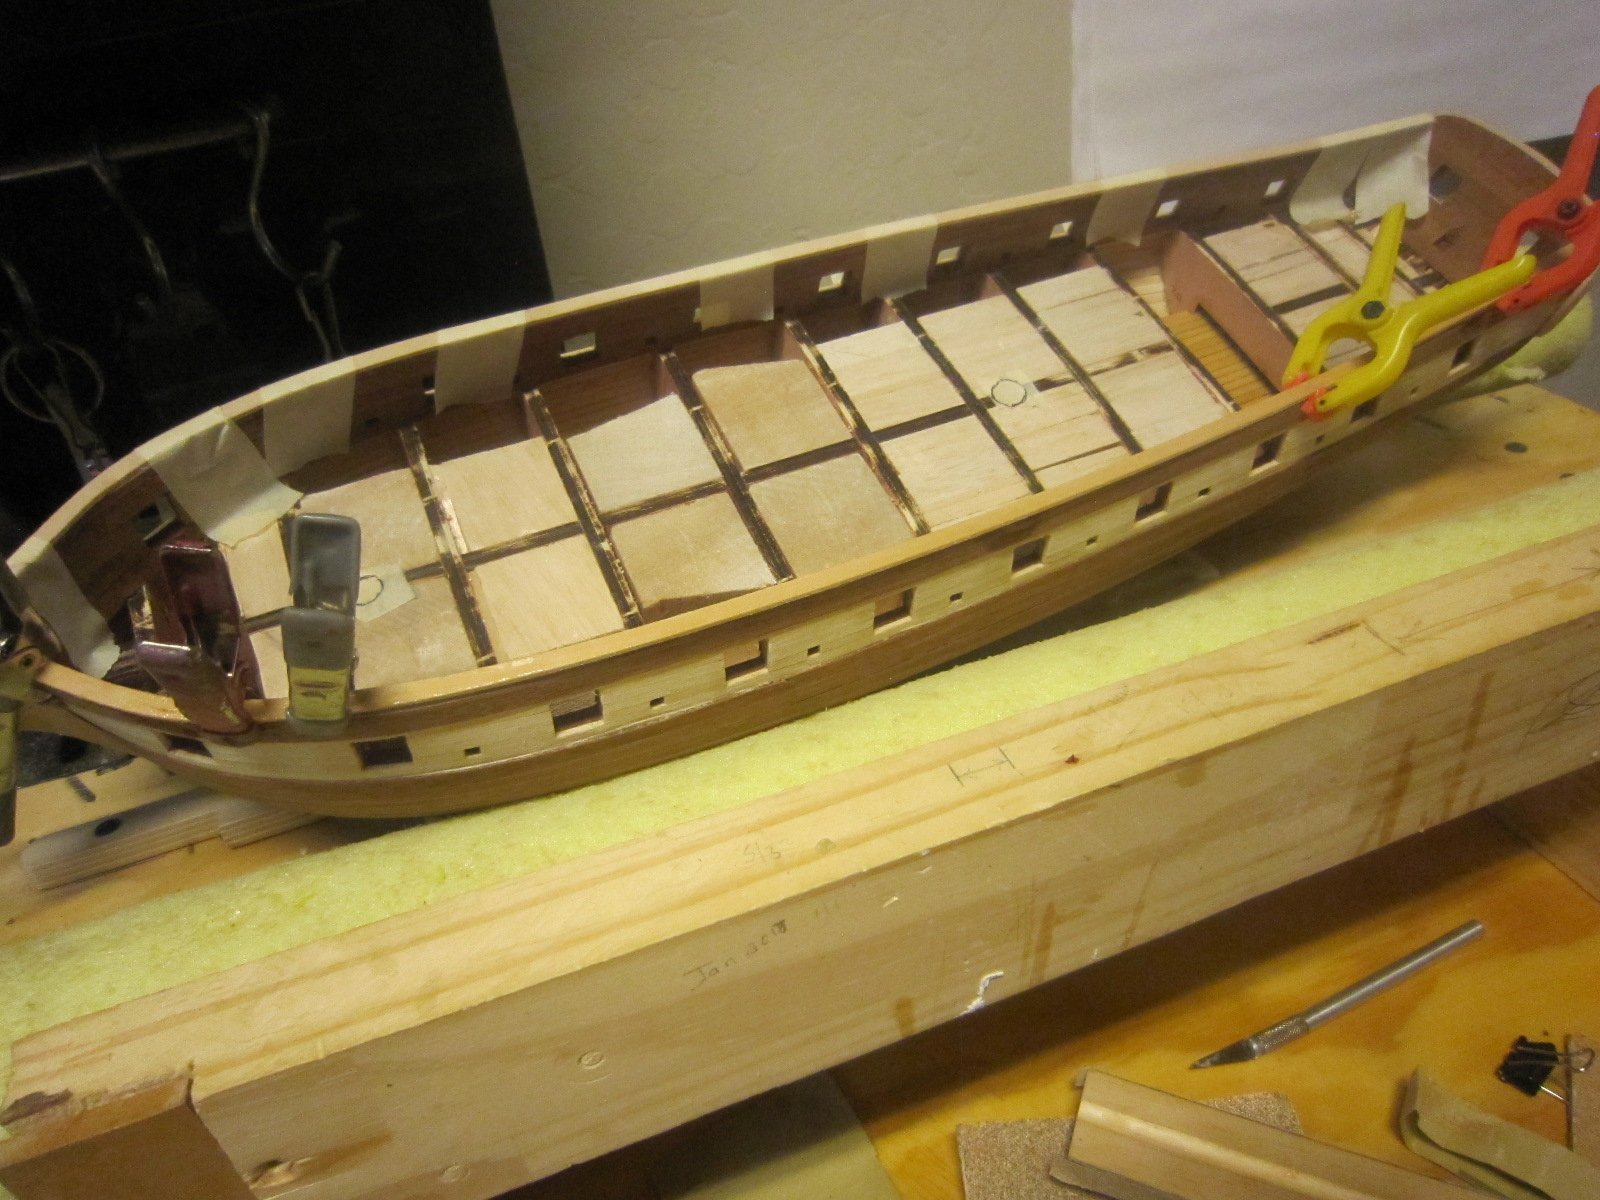
I glued the first deck plank right down the center.

- 1,135 replies
-
- 7
-
-
- model shipways
- syren
- (and 2 more)
-
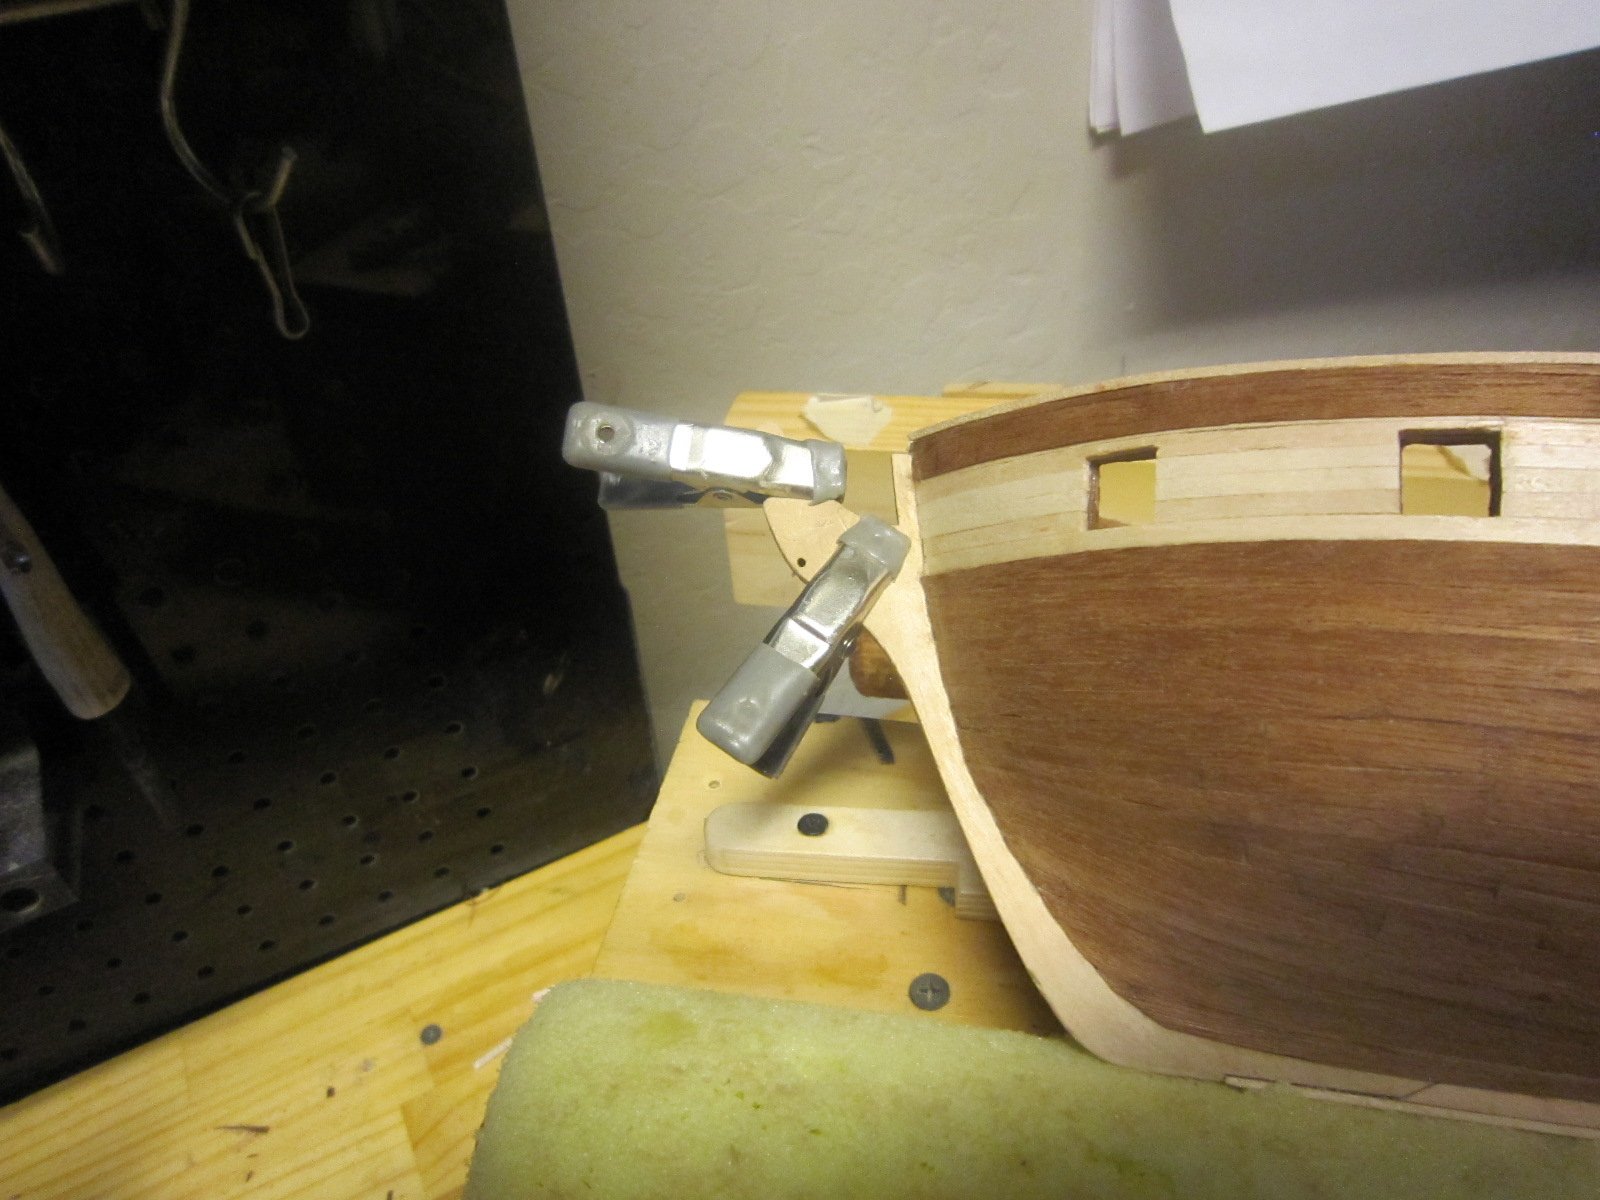
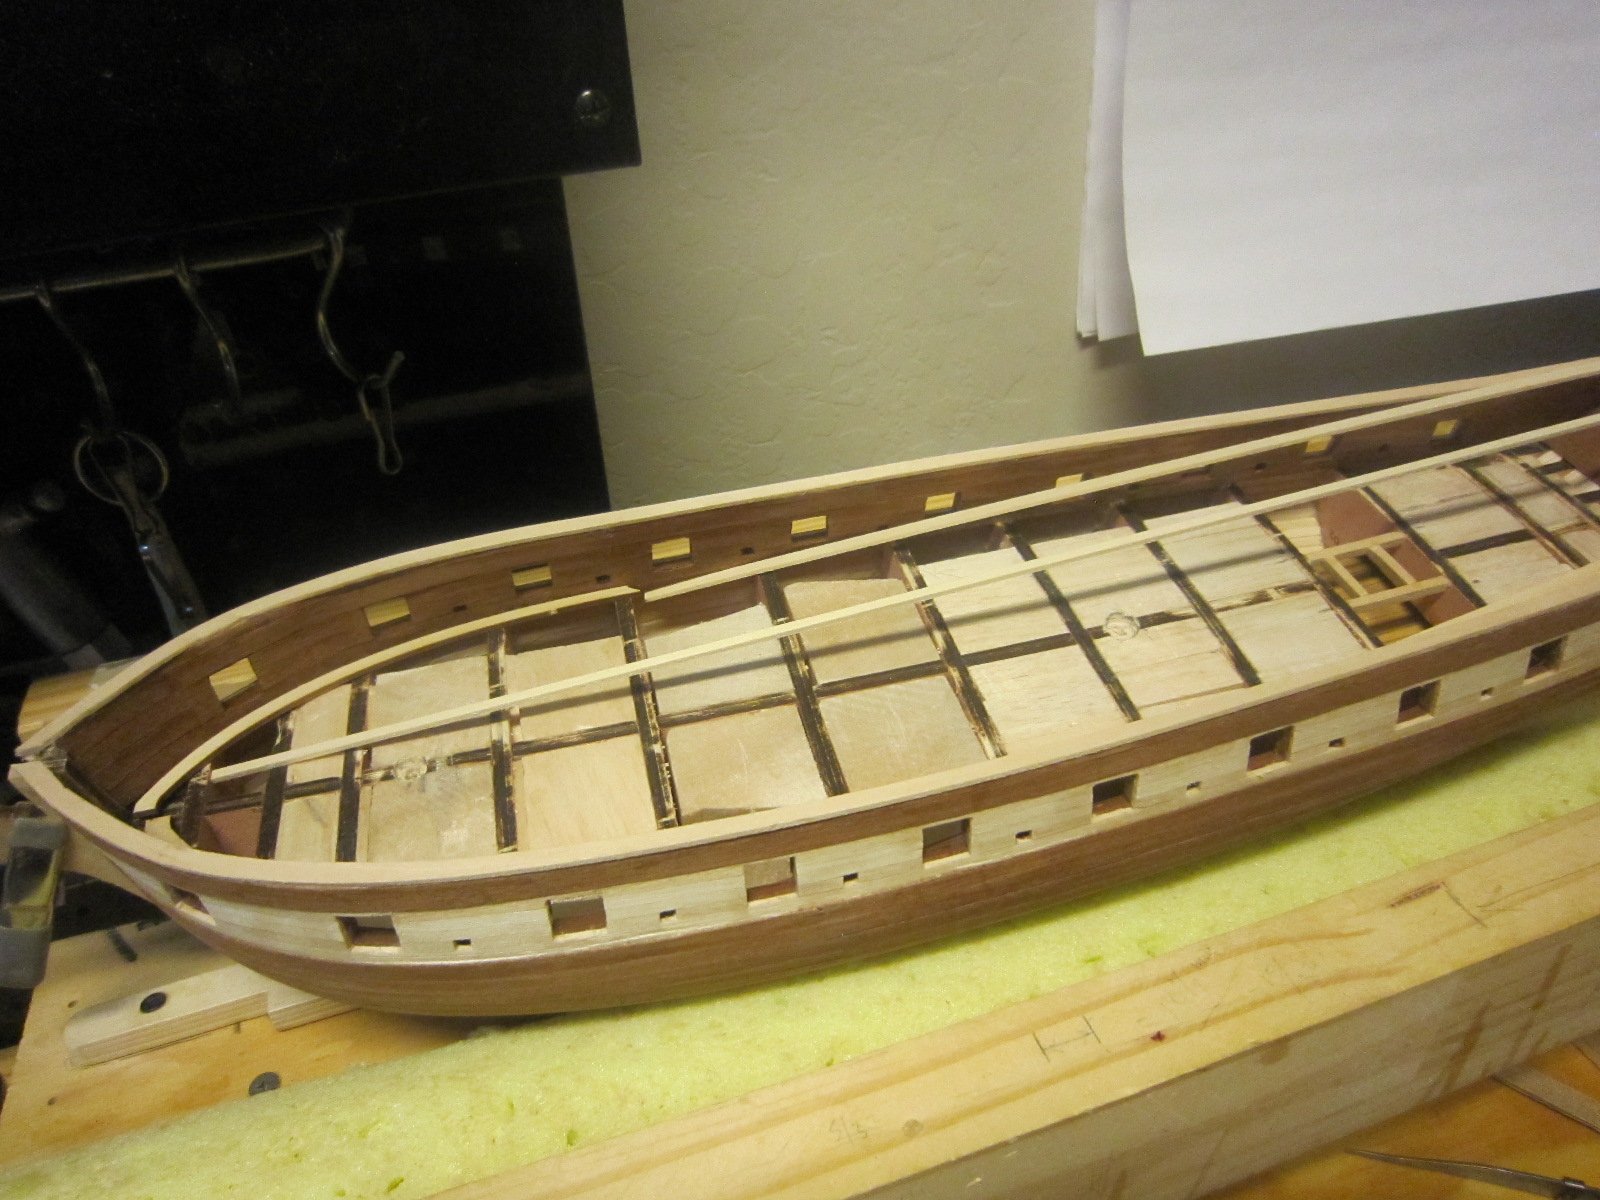
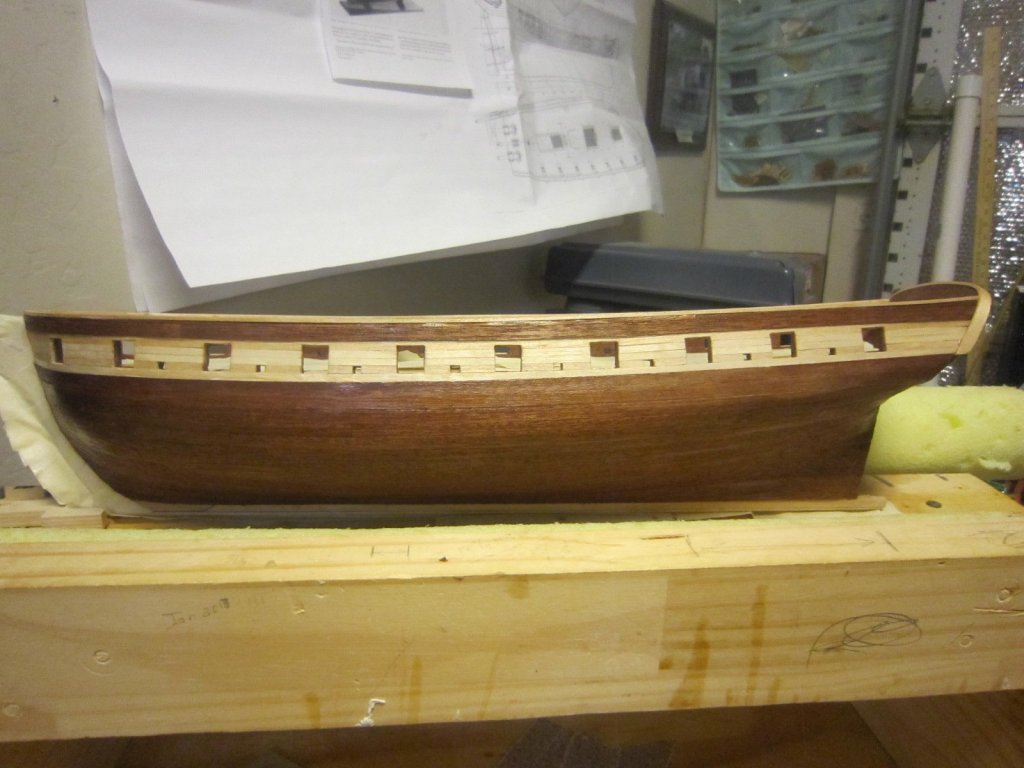
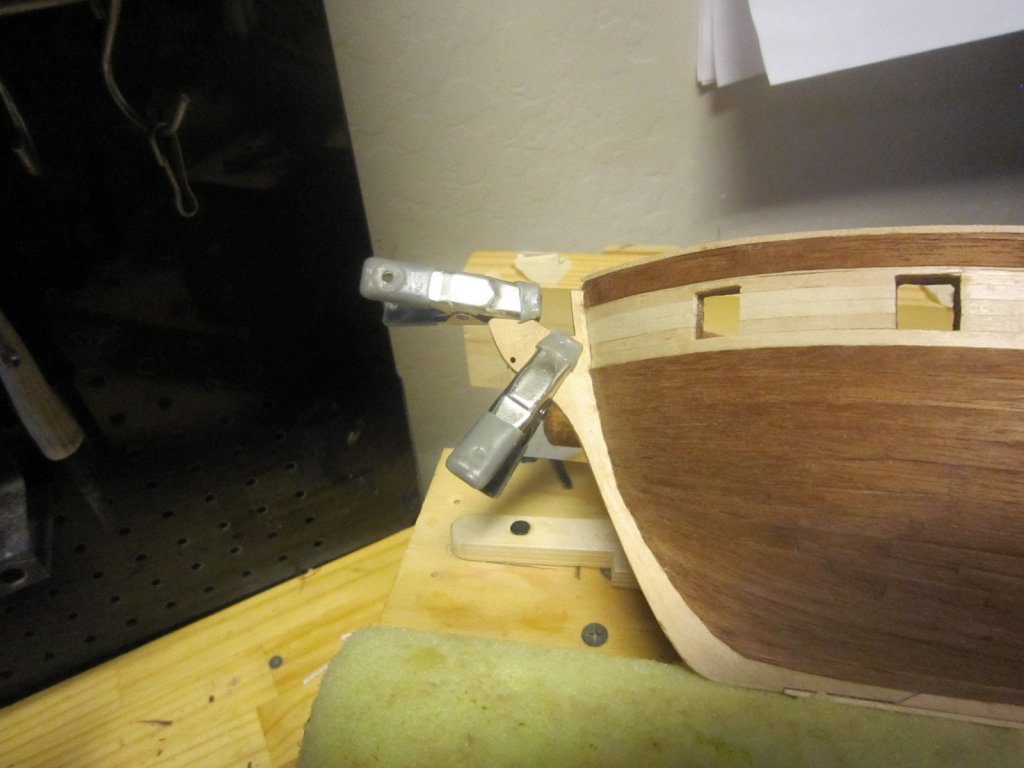
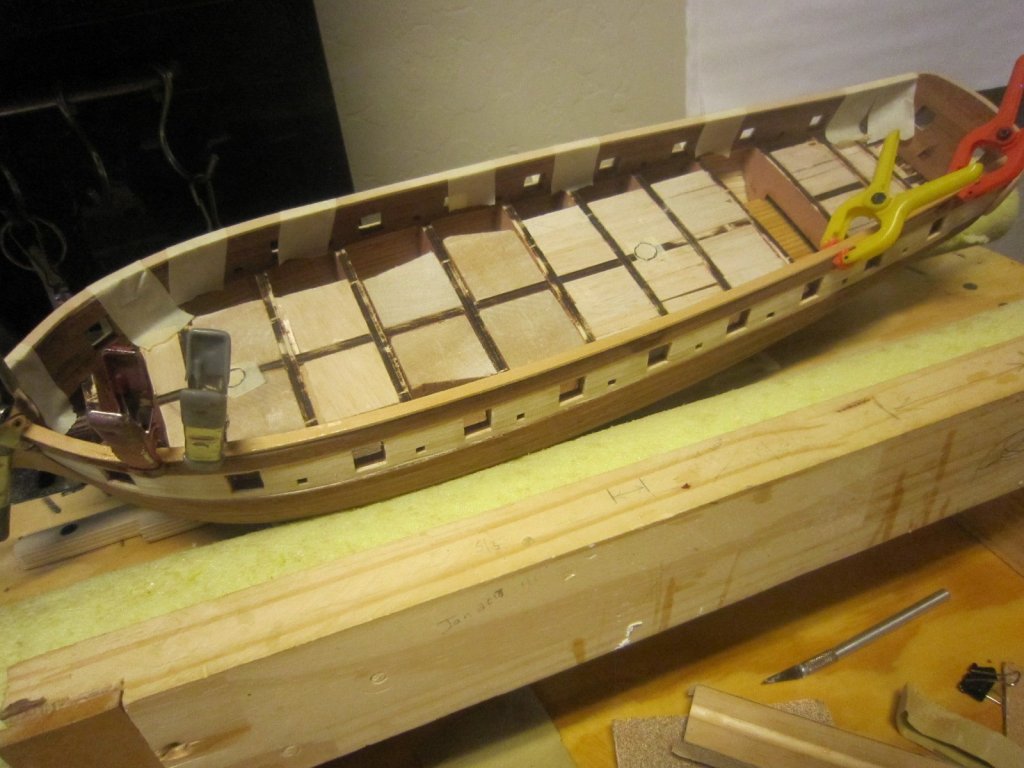
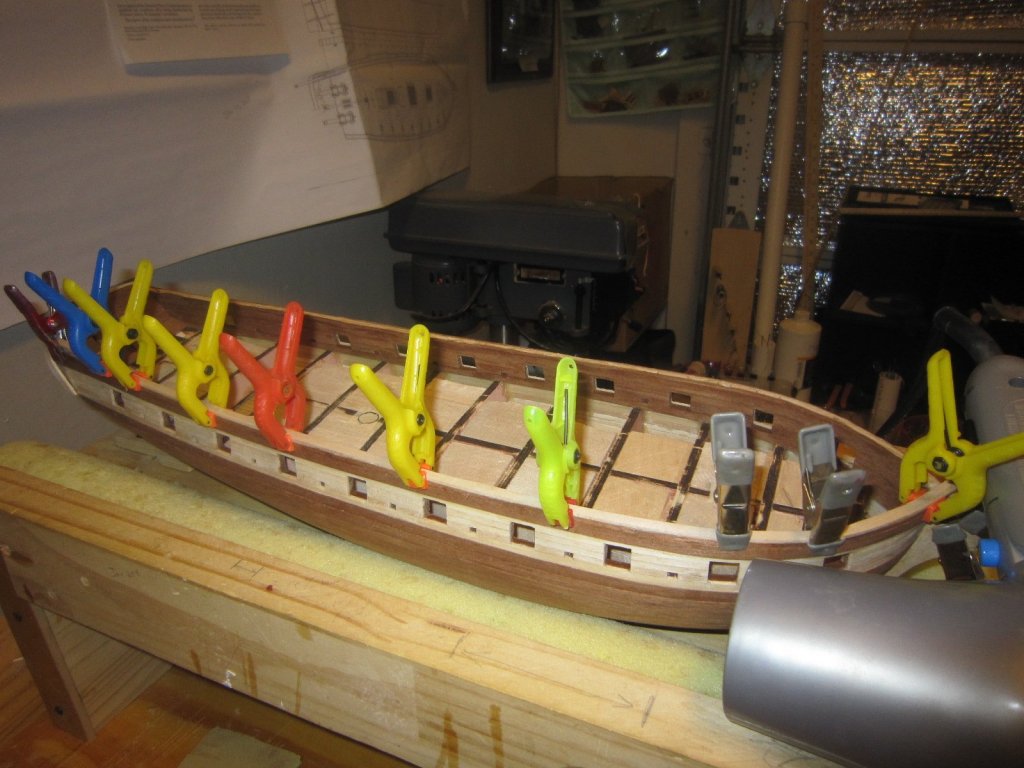
Well here's my hull without painting but it still gives the same dark/light look. I added some doo-dads to the stern to make it more pretty. The clamps on the bow are to show Heronguy that even at the state I'm in. The bowsprit is still vulnerable to breaking. I have been using these clamps since I broke off the bowsprit a while ago, but I still have to maneuver the hull where it could still be broken.


- 1,135 replies
-
- 8
-
-
- model shipways
- syren
- (and 2 more)
-
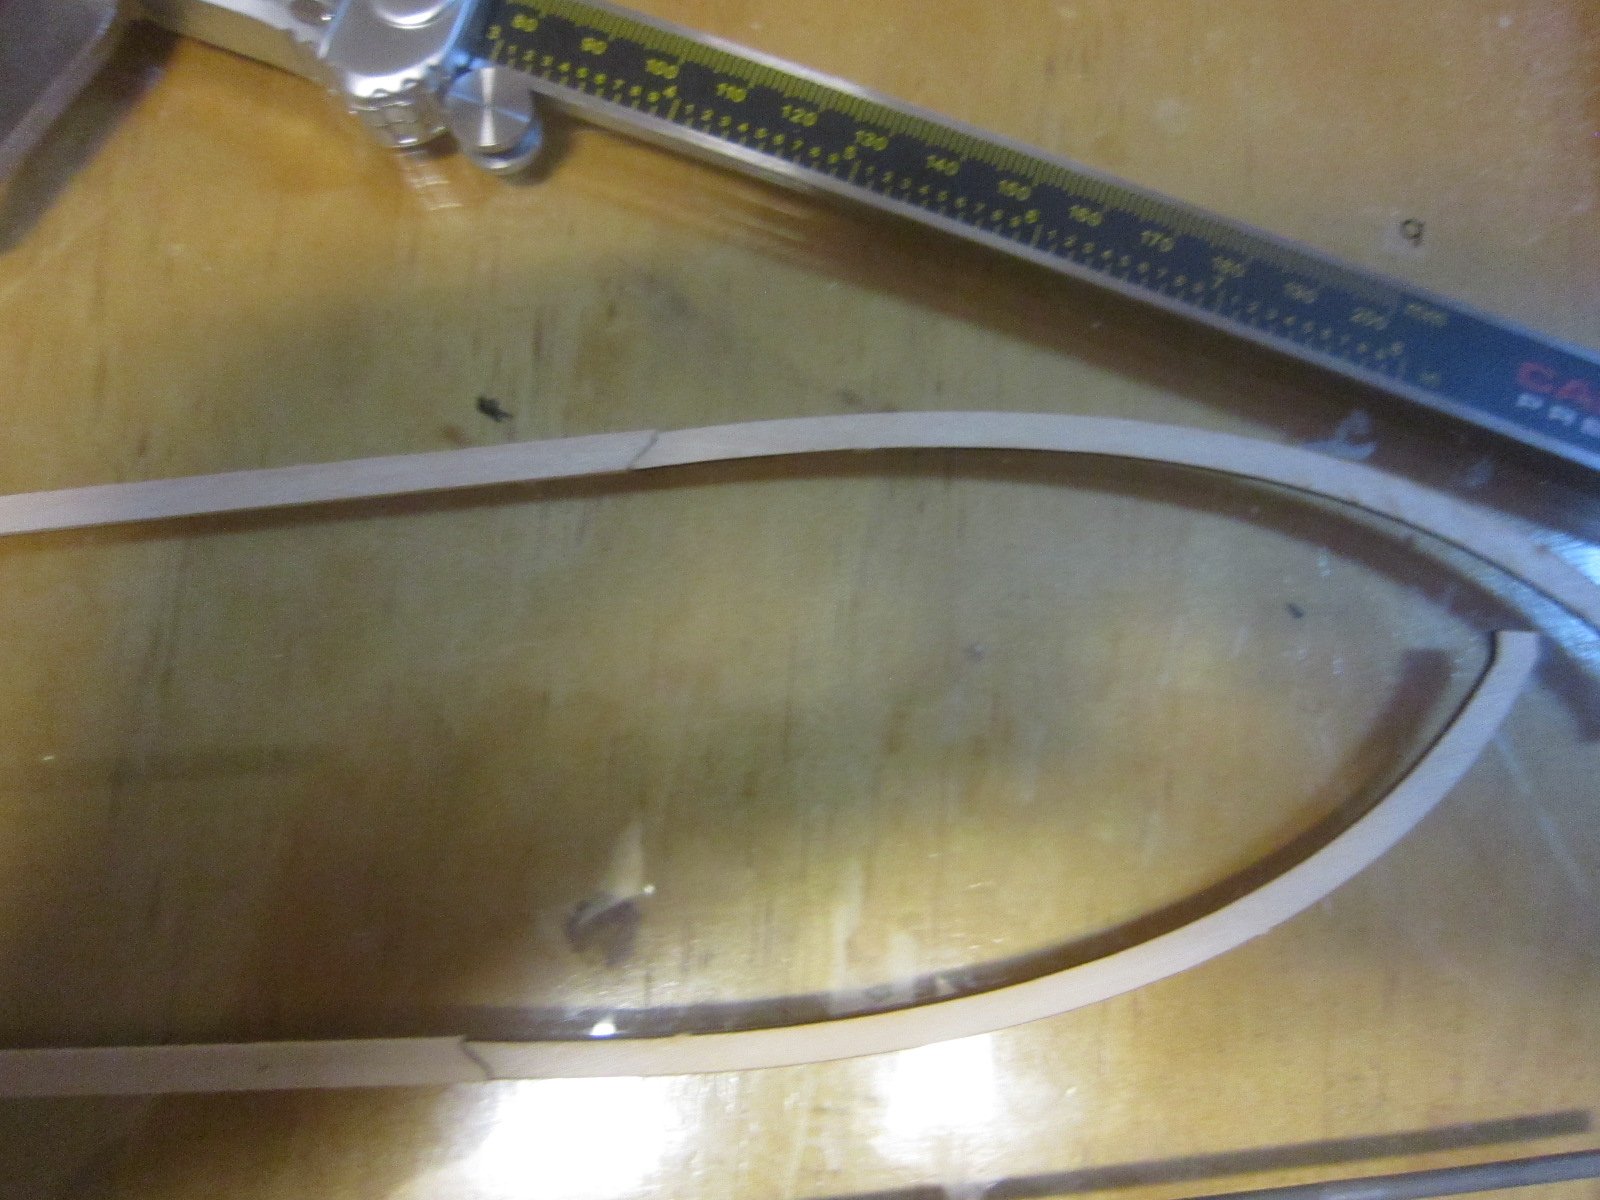
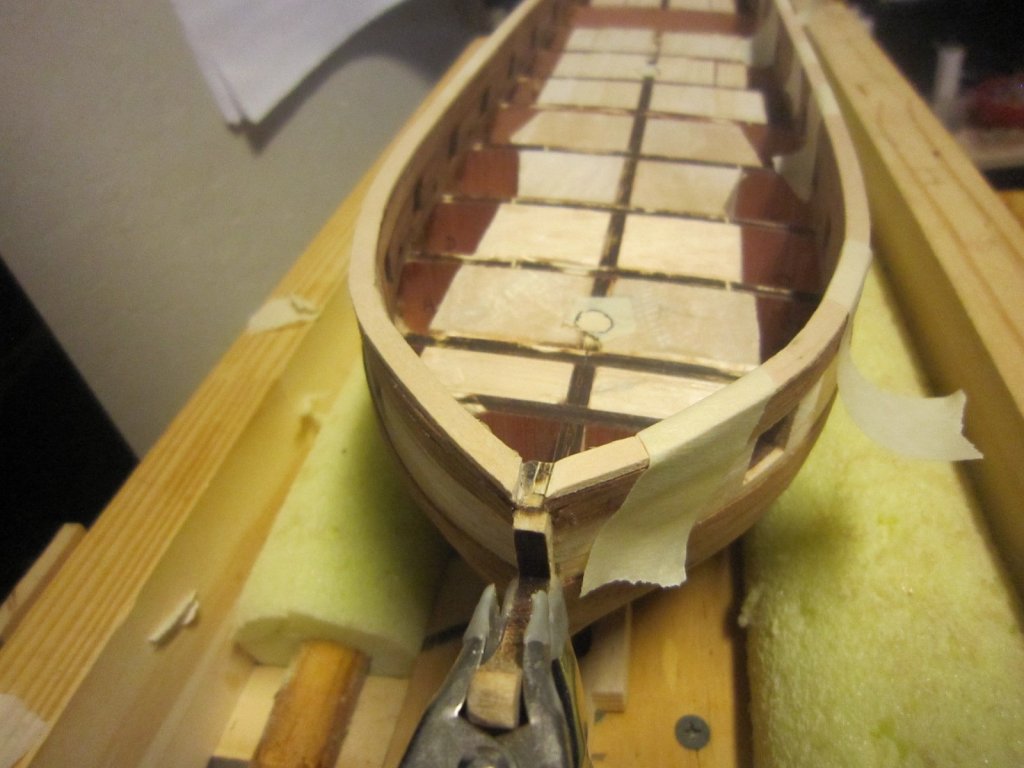
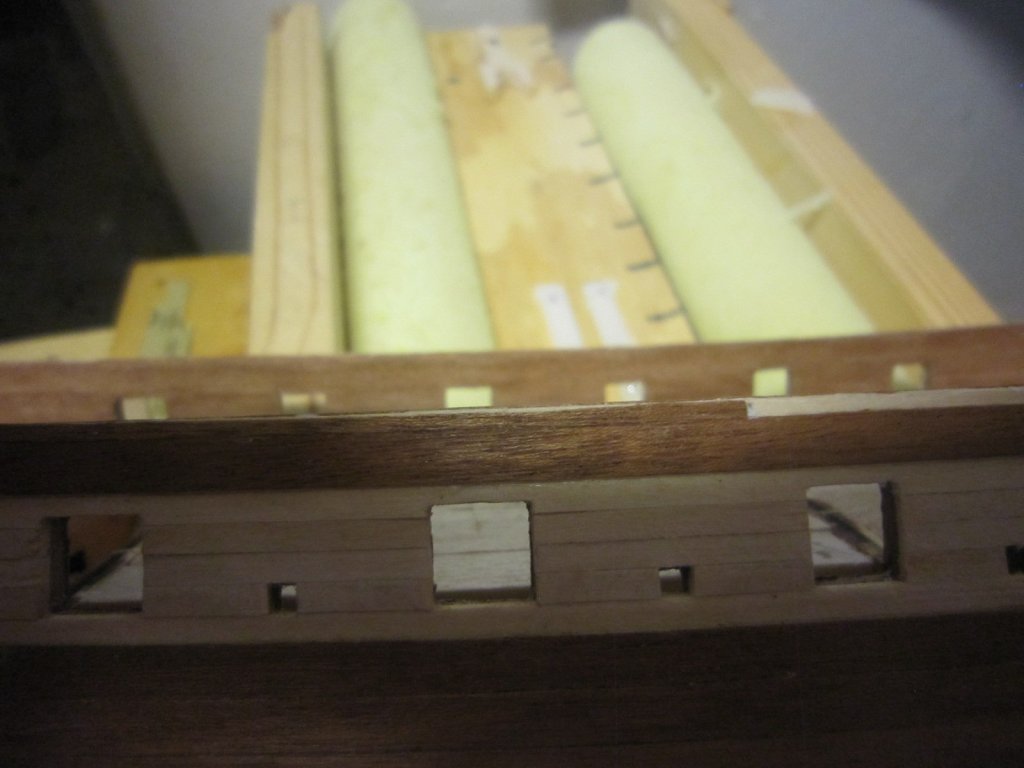
I glued on the margin planks with a little kentucky windage, forcing, bending and other acrobatics. It still isn't perfect but I have to eventually install waterways which should cover the small gaps.

- 1,135 replies
-
- 9
-
-
- model shipways
- syren
- (and 2 more)
-
It gets stronger after a while. I finally took all my supports off and I'm starting deck planking! This kit is a fragile mess until then. Nice recovery and repair
-
Frank, A guy named "GRIPHOS" is building a skipjack (Willie Bennet) and has questions about paint colors. Maybe you can help him Rich
-
I made the cut to match the laser cut pieces to my raw material. Tricky cut. Now I'll tweak the laser cut pieces to fit my hull. They are just a bit off.

- 1,135 replies
-
- 7
-
-
- model shipways
- syren
- (and 2 more)
-
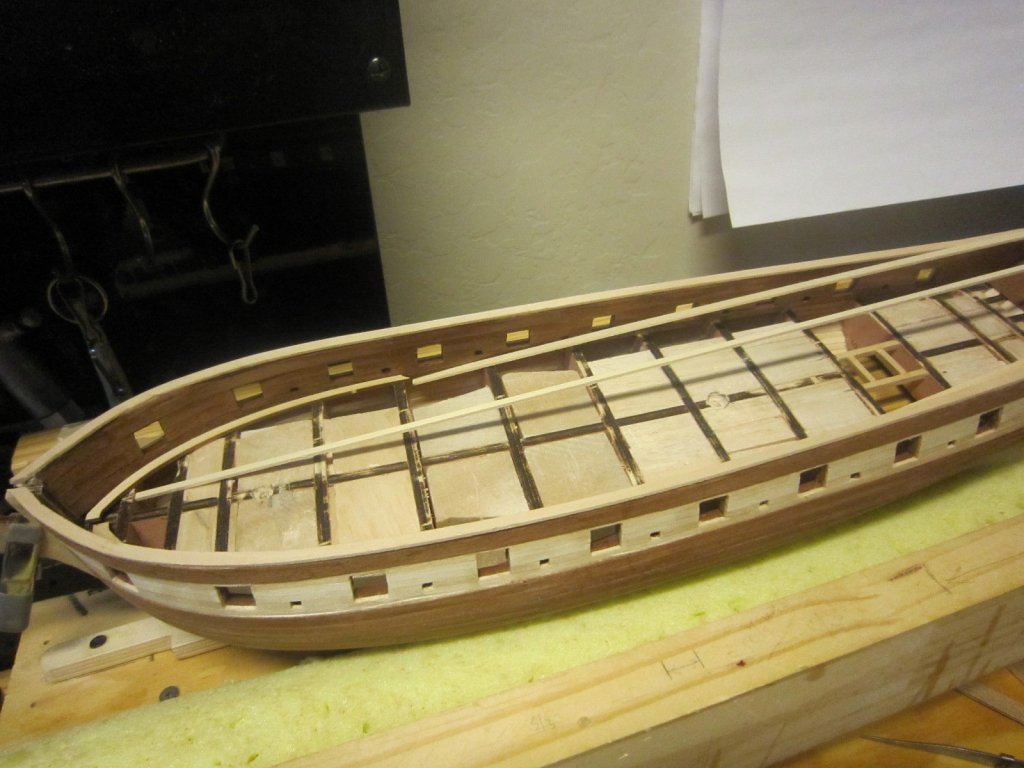
Now I'm prepping for planking the deck. I framed the companionway and a long time ago I pre-drilled the holes for the masts. The kit comes with two laser cut deck framing pieces for the forward part near the bow that don't quite match the curve of my hull. I'll have to tweak them.
- 1,135 replies
-
- 12
-
-
- model shipways
- syren
- (and 2 more)
-
Port side top rail is now glued on. I only see one place on the starboard rail that will need my attention when the glue dries. I don't like the way it sits there. It will take some filling and sanding to make it right. Top rails are much easier when they come laser cut in the box. Making them yourself is many times harder.
- 1,135 replies
-
- 10
-
-
- model shipways
- syren
- (and 2 more)
-
Starboard top rail glued and being held flush with masking tape. I now am tweaking the port top rail to get the curves exactly.
- 1,135 replies
-
- 11
-
-
- model shipways
- syren
- (and 2 more)
-
I'm fine tune bending the cap rail. Pre-bent was just a little off. By the way, I sanded down the bulkheads to make them just a bit thinner than the cap rail as per the instructions.
- 1,135 replies
-
- 8
-
-
- model shipways
- syren
- (and 2 more)
-
Wow! Nice work.
-
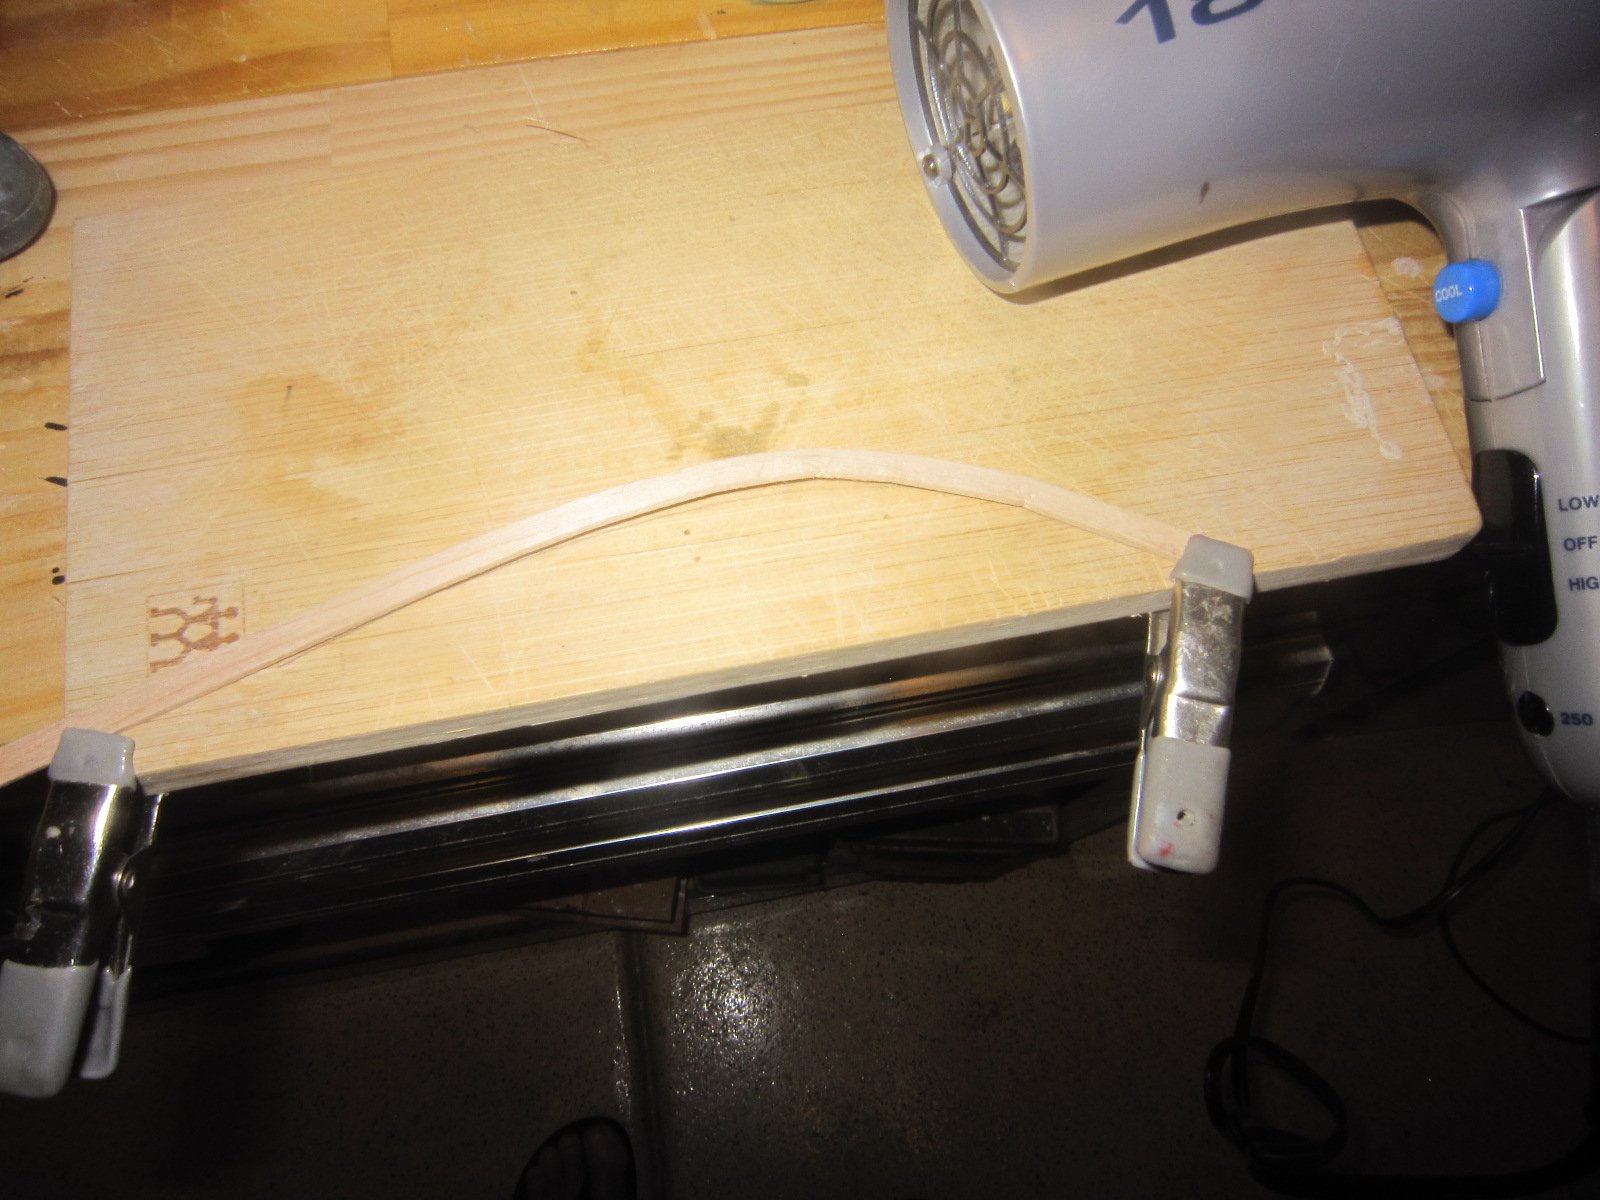
I'm using Chuck Passaro's method of flat or edge bending the cap rails. Only I did soak it for a little bit.

- 1,135 replies
-
- 8
-
-
- model shipways
- syren
- (and 2 more)
-
I'm finishing the hull planking for the sliver I left off because that edge under the cap rail would have been too delicate while I planked the entire hull. I'm also bending the cap rail. The cap rails have to be bent flat side up which is difficult.
- 1,135 replies
-
- 6
-
-
- model shipways
- syren
- (and 2 more)
-
I finished the basic trim on the transom. I'm not sure if I like it or not? I'll keep looking at it and tweaking it.

- 1,135 replies
-
- 8
-
-
- model shipways
- syren
- (and 2 more)
-
It's another beauty!
-
I just make my own. This way I can have all sorts of sizes and shapes to get into weird places.
- 12 replies
-
- 3
-
-
- sanding sticks
- files
- (and 1 more)
-
But with model ship building it's true. It's a challenge sometimes.
- 1,135 replies
-
- 2
-
-
- model shipways
- syren
- (and 2 more)
-
Yea! Old Farts Rule! I like that. By the way, your Connie looks great!
- 1,135 replies
-
- 1
-
-
- model shipways
- syren
- (and 2 more)
-
Cap trim on the transom is trickier than meets the eye. I got it on but I will have to do some artistic filling to make it look like I want it. Oh well, if it was easy anybody could do it.
- 1,135 replies
-
- 7
-
-
- model shipways
- syren
- (and 2 more)
-
Good recovery
-
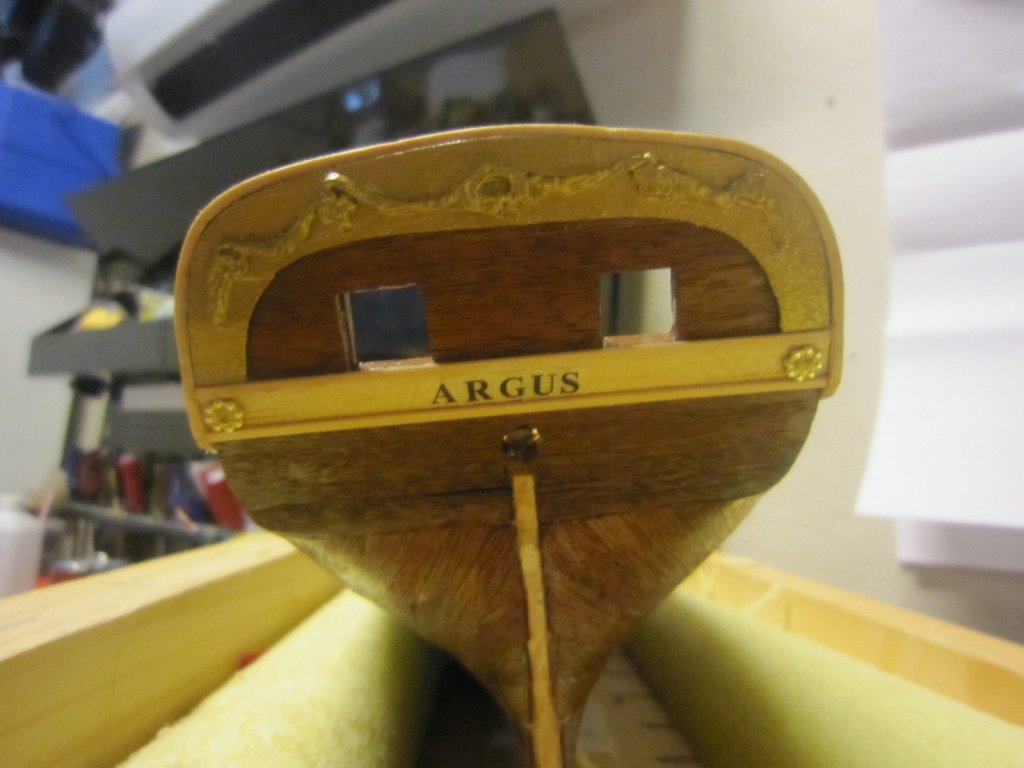
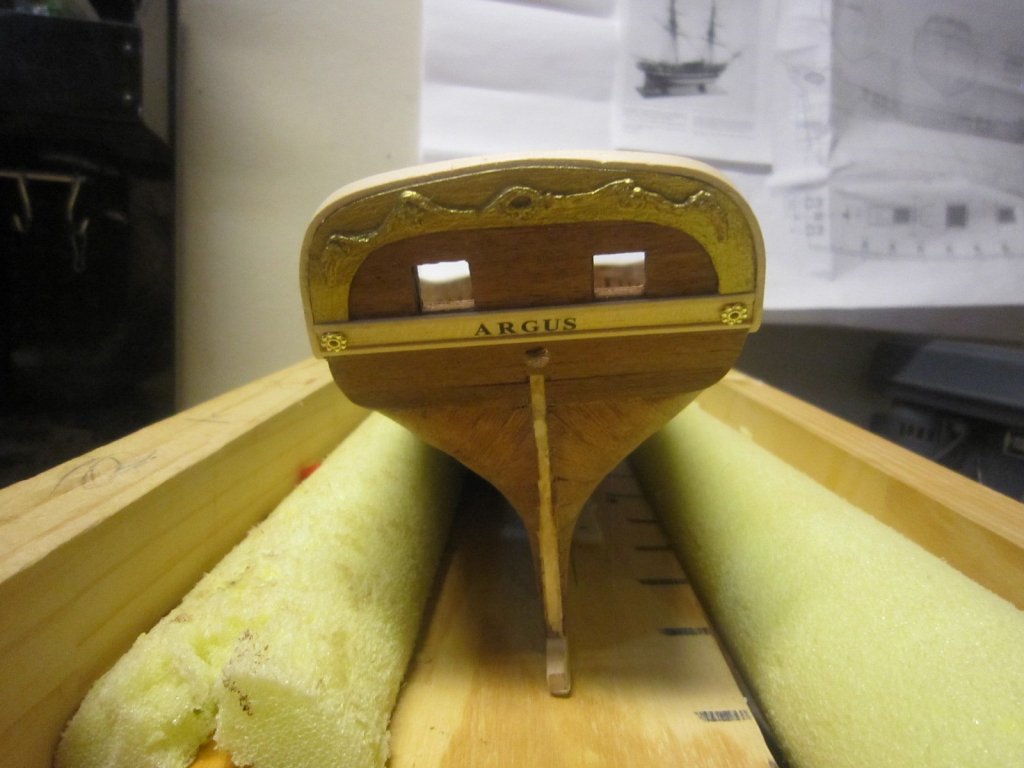
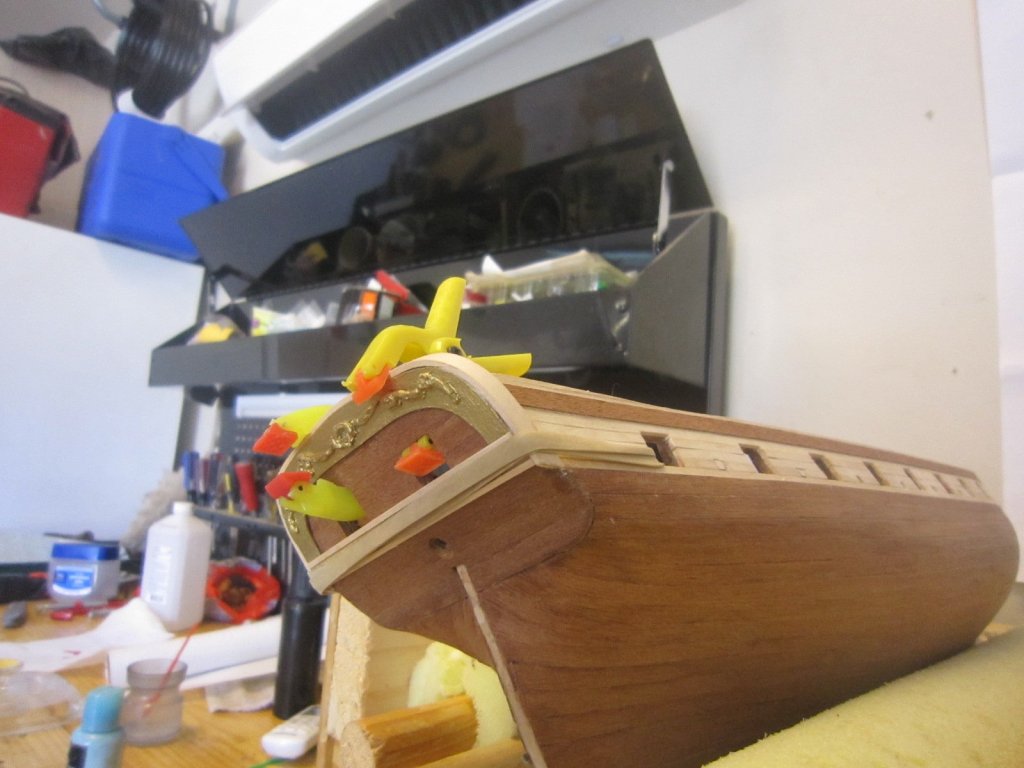
The instructions call for me to finish the stern trimmings and cap rail before plunging into installing the decking. I pre-made the gold piece a while ago. I'm pre-shaping the stern cap trim. I am also shopping for 1/8" letters for the name "ARGUS" since the kit only comes with "SYREN" letters. The gold trim piece has been glued but the cap is just snapped on for photo purposes.

- 1,135 replies
-
- 6
-
-
- model shipways
- syren
- (and 2 more)