HIPEXEC
-
Posts
2,698 -
Joined
-
Last visited
Content Type
Profiles
Forums
Gallery
Events
Everything posted by HIPEXEC
-
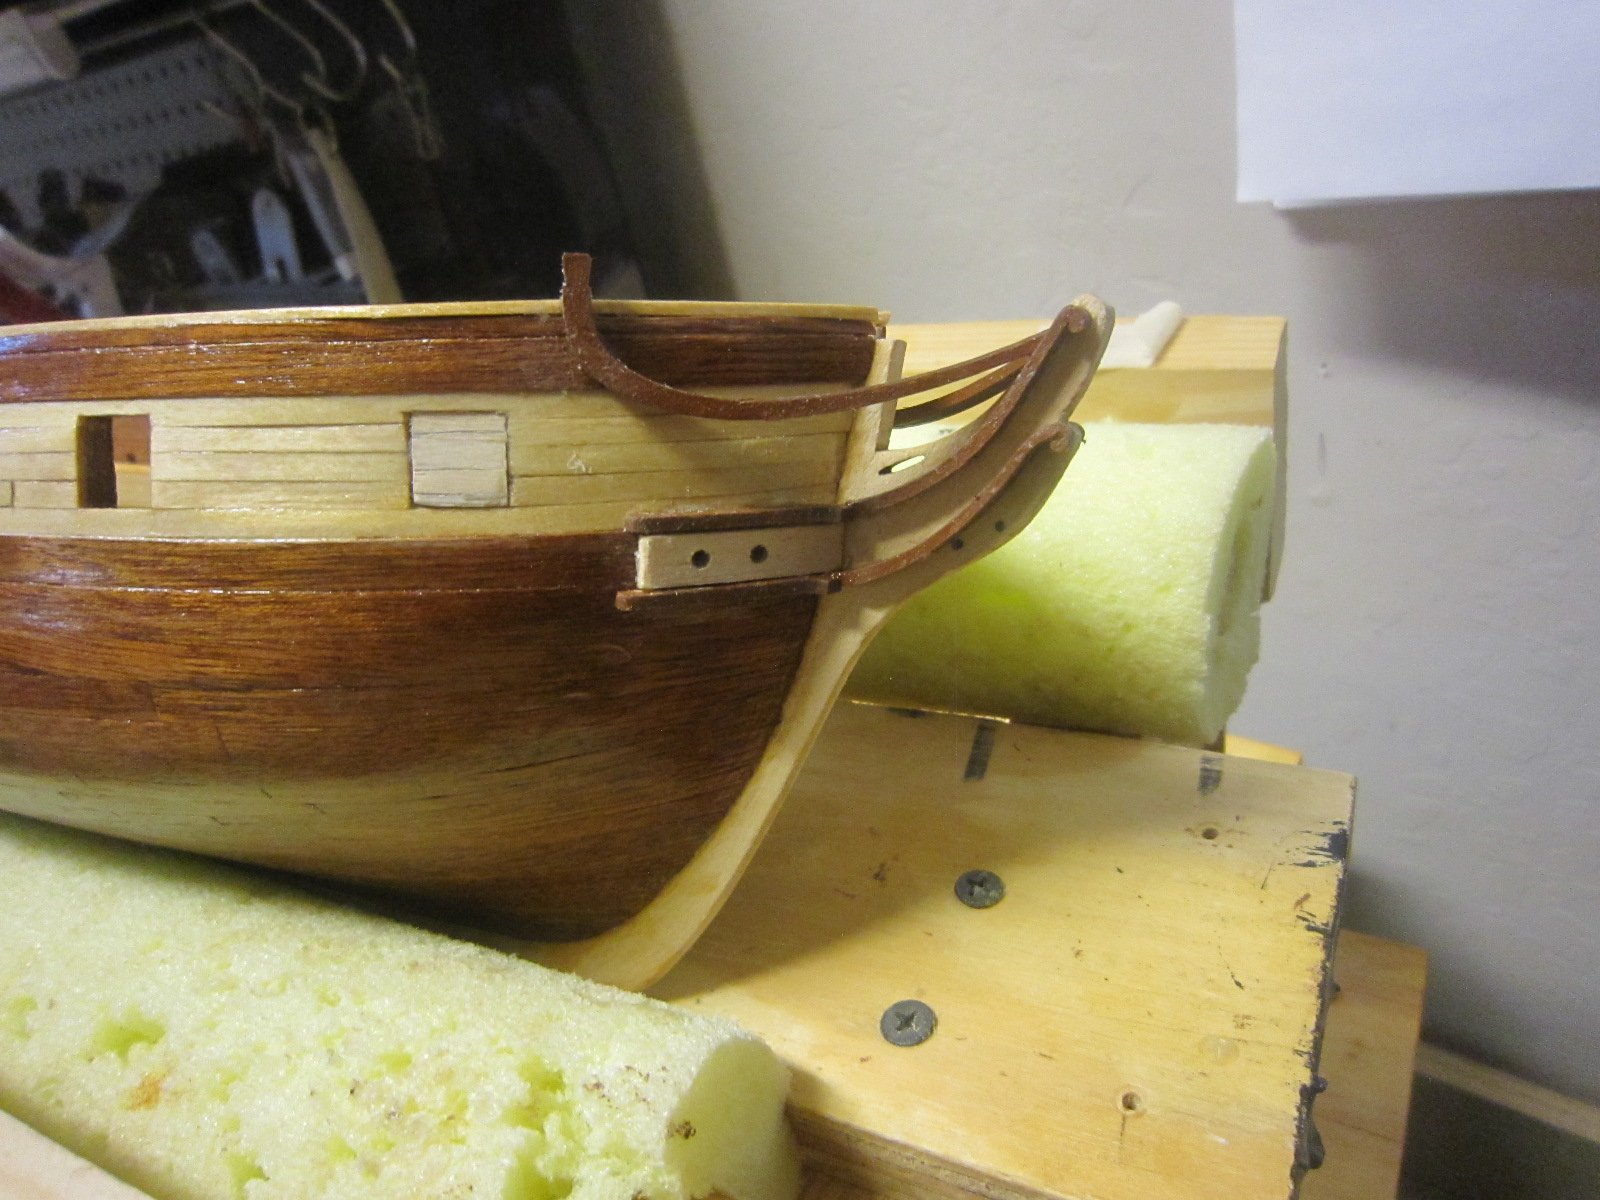
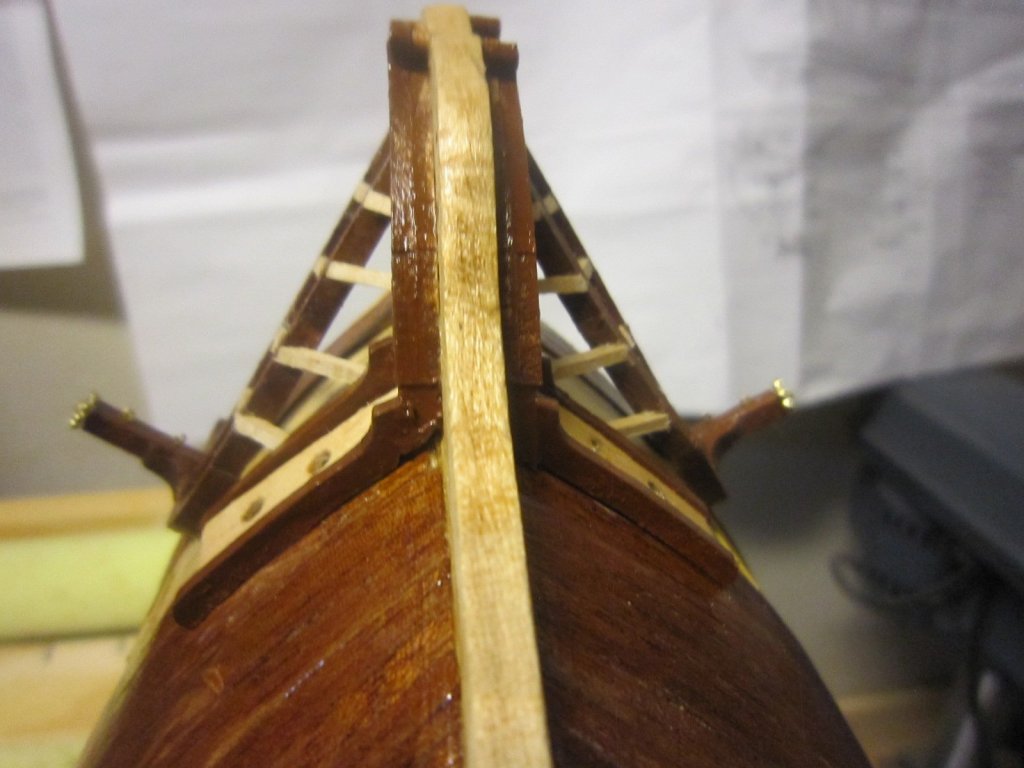
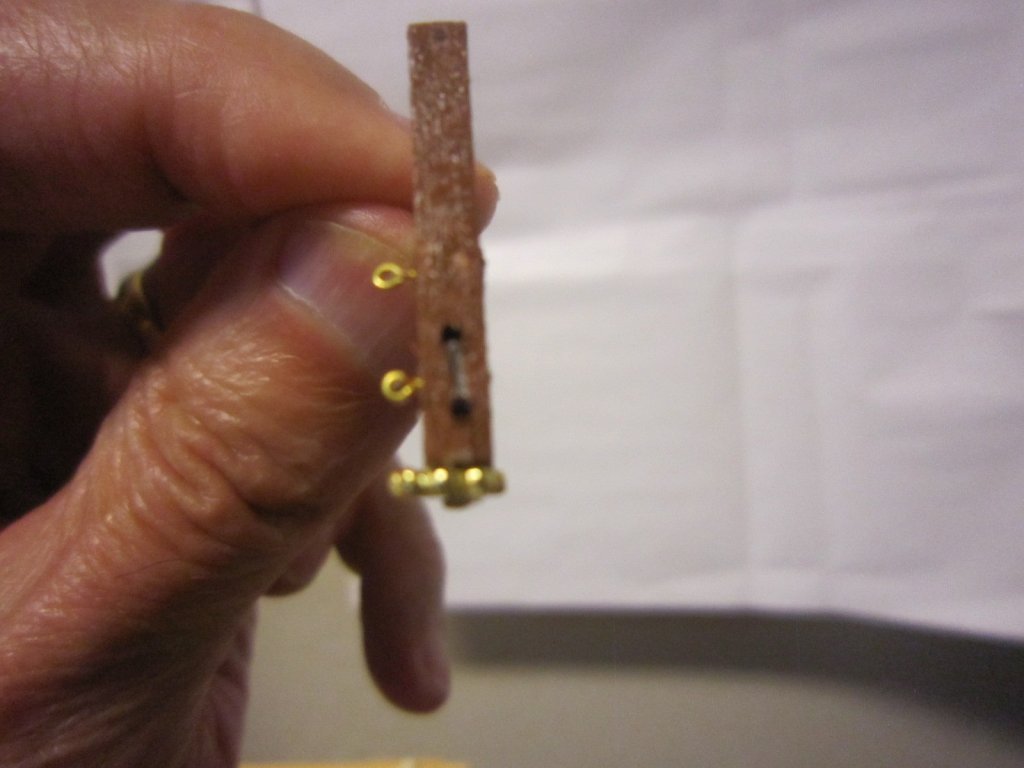
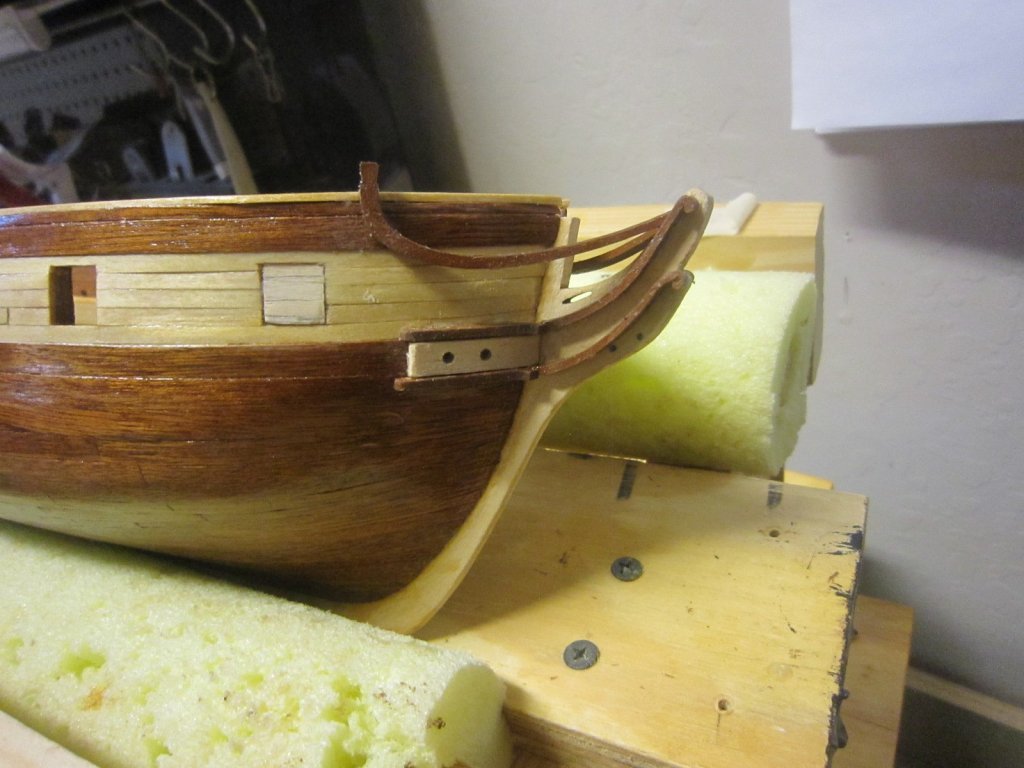
 I installed forward eye bolts for future rigging of the bowsprit since it would be almost impossible once the top rail is installed.
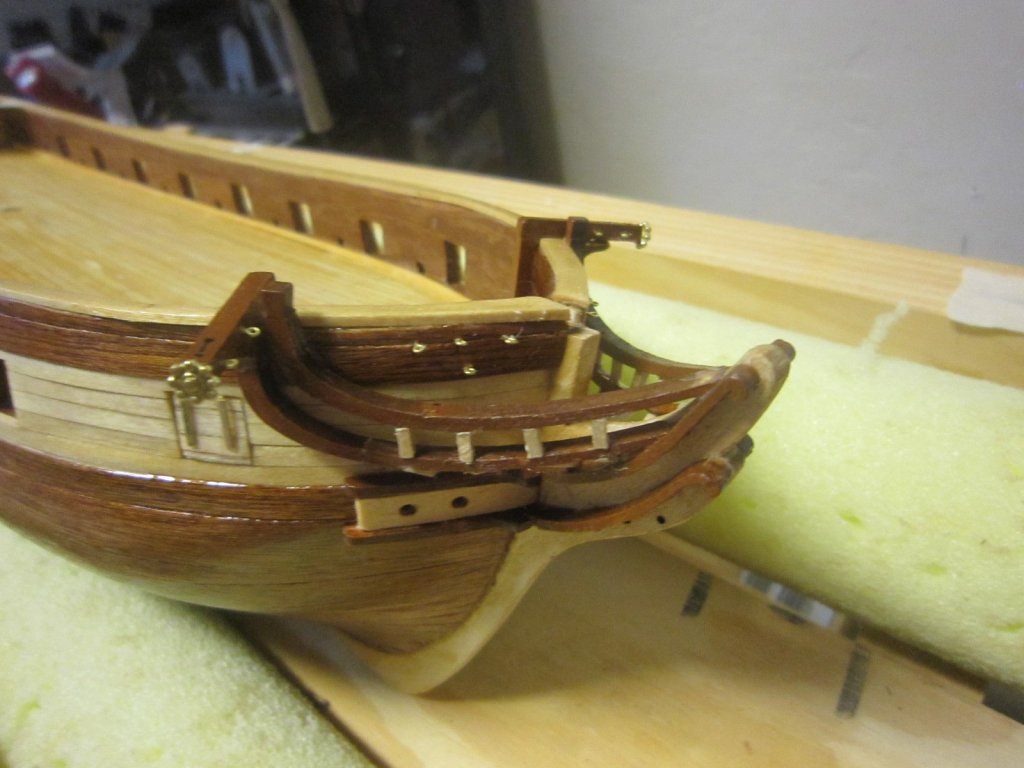
- 1,135 replies
-
- 5
-

-
- model shipways
- syren
- (and 2 more)
-
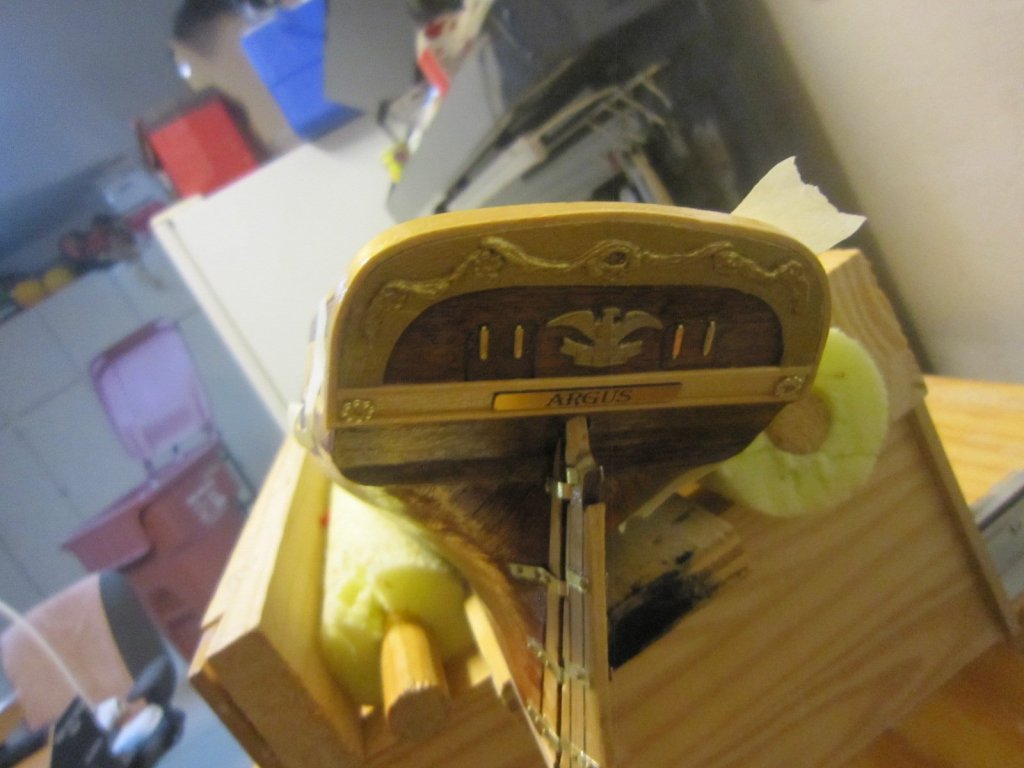
No, I varnish after everything is done even in sections. If I have to glue onto a varnished section, I scrape or sand the area clean, then re-varnish after glued. Most Syren builds are all painted which is the same as varnishing. No figure head on the Argus. As far as spacing goes, I check the pics on at least a dozen Syren builds and the spacing on them varies.
- 1,135 replies
-
- 2
-
-
- model shipways
- syren
- (and 2 more)
-
Upper and lower head timbers finished. These are tricky little devils. I must have cut ten times the number of pieces needed trying to get them perfectly symmetrical. Close, but not perfect. I tried. Top rails next.


- 1,135 replies
-
- 5
-
-
- model shipways
- syren
- (and 2 more)
-
Good luck and happy building
-
Your build looks great! Keep up the good work, but be very careful using power tools on your hull. Dremels can take off a huge amount of material in a blink of an eye and ruin your model very fast. You can't put back the material it took off.
-
I have installed the top layer of head timbers (the easy ones). Next comes the bottom timbers which will be much trickier. The have large angles to match.

- 1,135 replies
-
- 8
-
-
- model shipways
- syren
- (and 2 more)
-
Some more shipboard quotes I remember: "Sweepers.. Sweepers.. man your brooms. Clean sweep down fore and aft. Bring all burnable trash to the fantail." or "Make ready the special sea and anchor detail." All those memories come from 14 months of sea duty. Not bad for a Marine Aviator.
- 1,135 replies
-
- 2
-
-
- model shipways
- syren
- (and 2 more)
-
I've installed some hinges and given them a coat of varnish. The tricky Head Timbers and top rail are next.

- 1,135 replies
-
- 8
-
-
- model shipways
- syren
- (and 2 more)
-
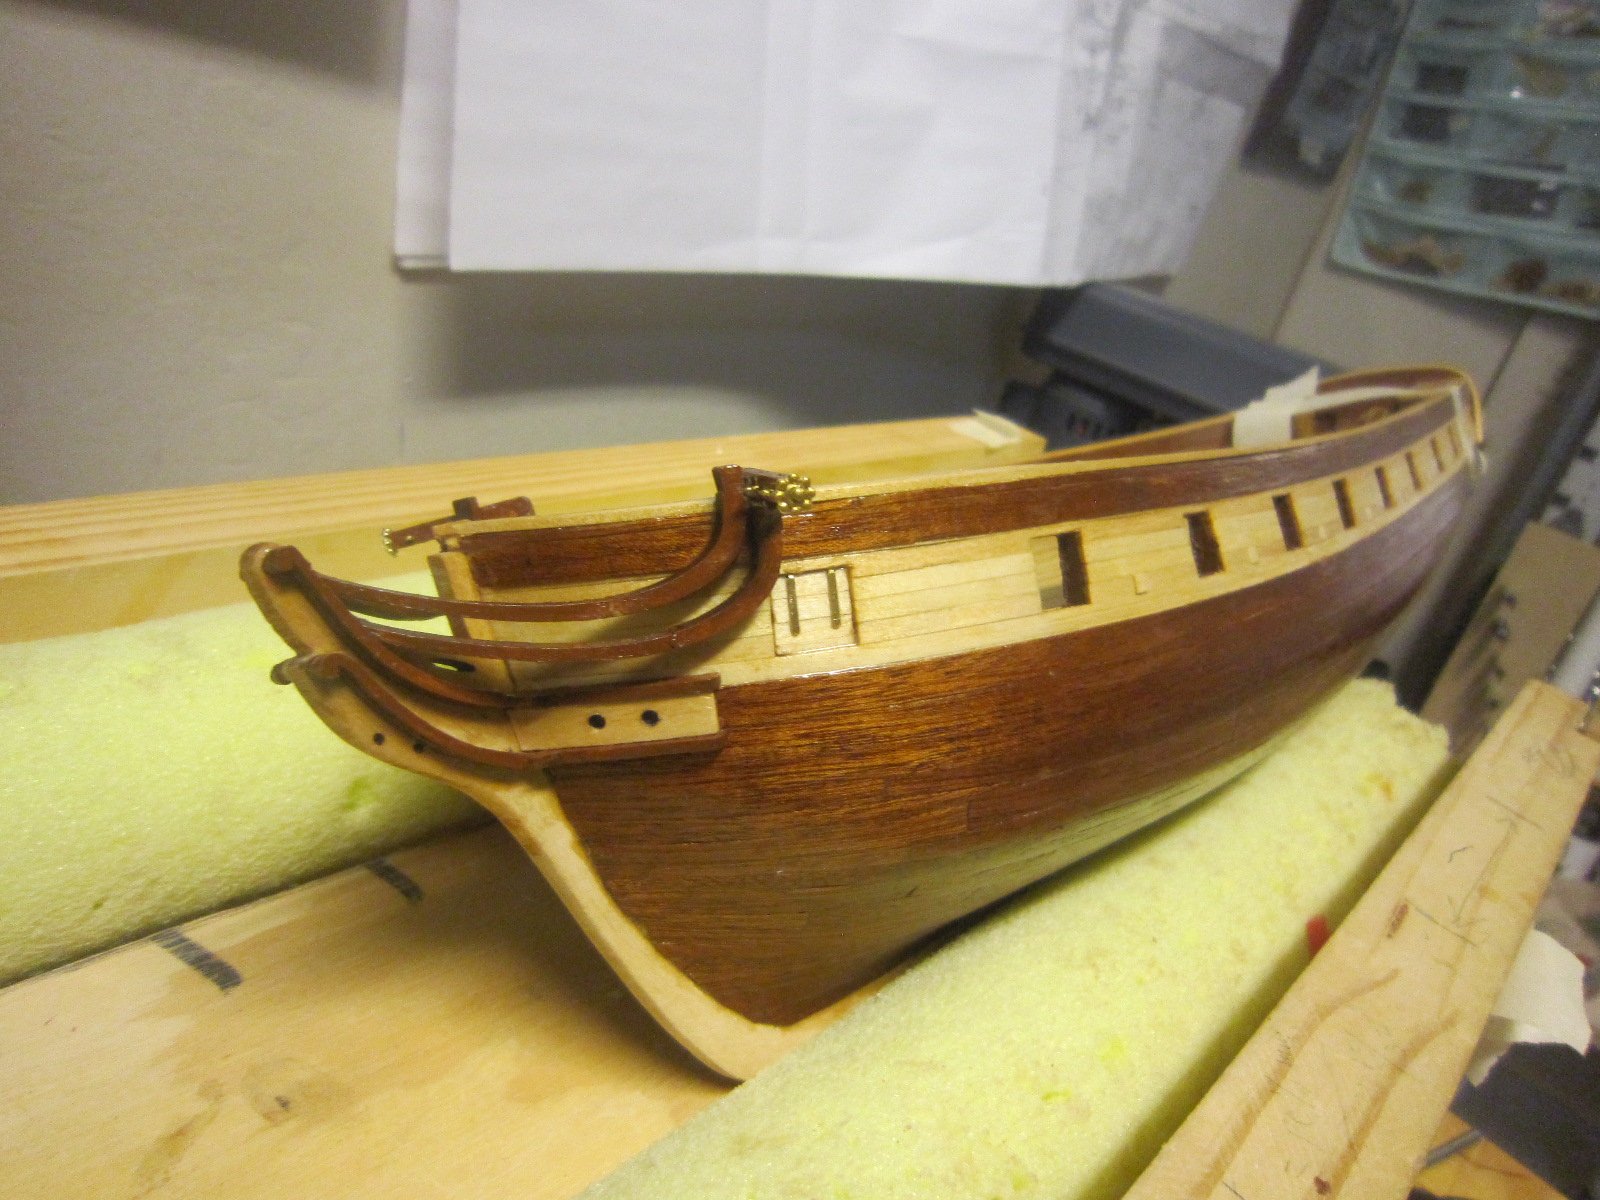
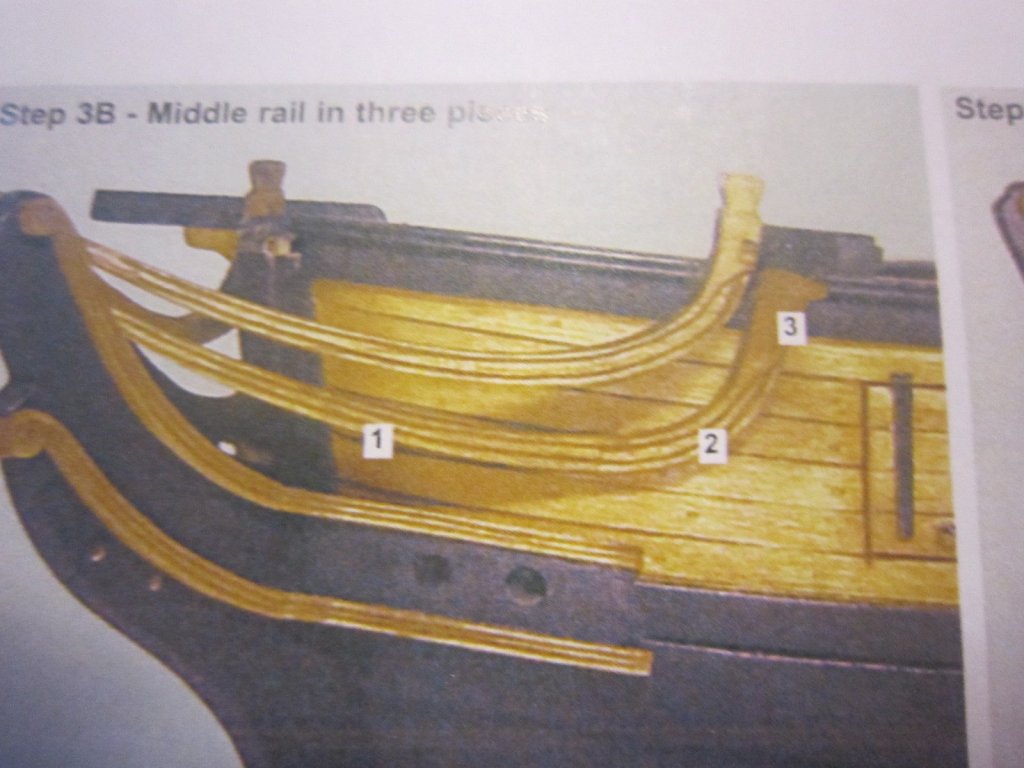
I just installed the starboard mid rail. I would have installed the port mid rail but it snapped in half as I was placing it. All the wood in this kit is very fragile. I've got to work on that ugly forward gun port lid. It needs hinges and some varnish.
- 1,135 replies
-
- 5
-
-
- model shipways
- syren
- (and 2 more)
-
Good to hear from you. Judy says hello, also. Rich
-
Thanks for the invite but I can't. BTW November 10th is the Marine Corps Birthday for your Nov 11th meeting. Semper Fi, Rich
- 1,135 replies
-
- 2
-
-
- model shipways
- syren
- (and 2 more)
-
I have not heard much from you and Anja lately. Is everything okay? Rich
-
Well I'm a Marine and Naval Aviator and If you read the beginning of my Argus build you got a taste of "to the shores of Tripoli." and the Marine's Mameluke sword. I still have mine. The Argus was Marine Lt Presley O Bannon's ship.
- 1,135 replies
-
- 3
-
-
- model shipways
- syren
- (and 2 more)
-
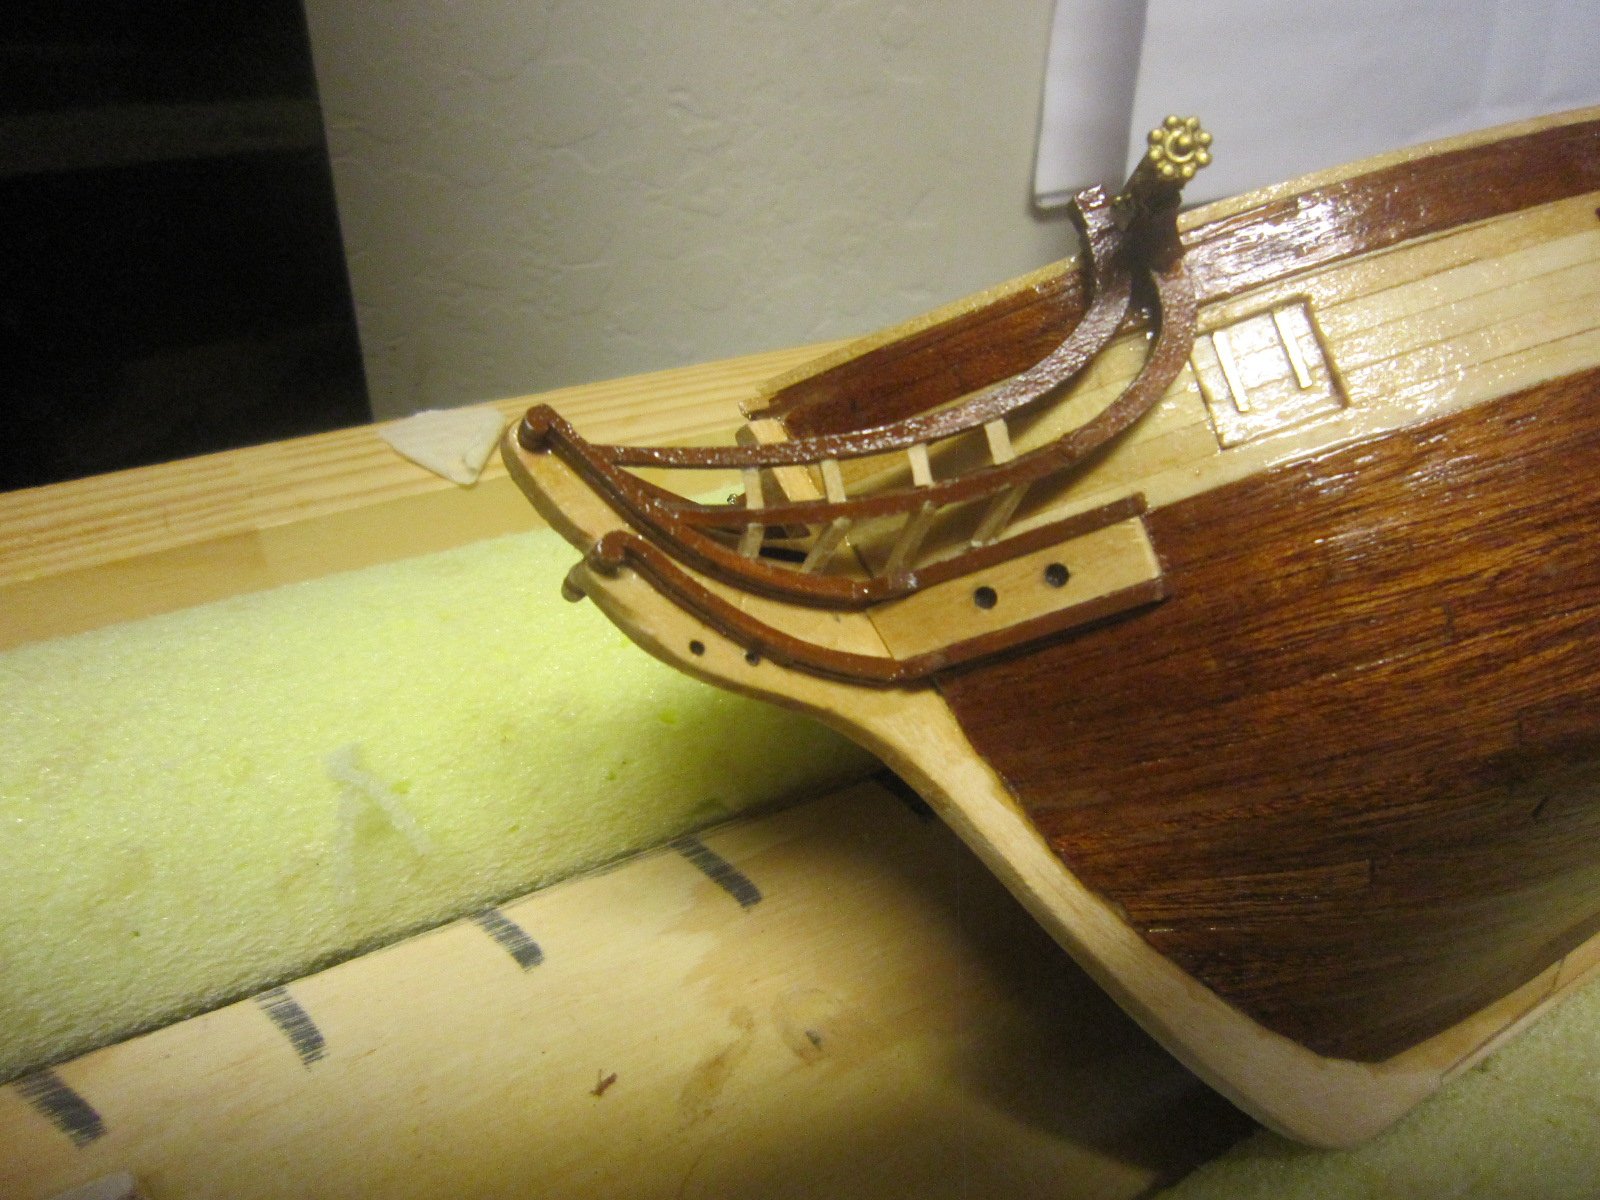
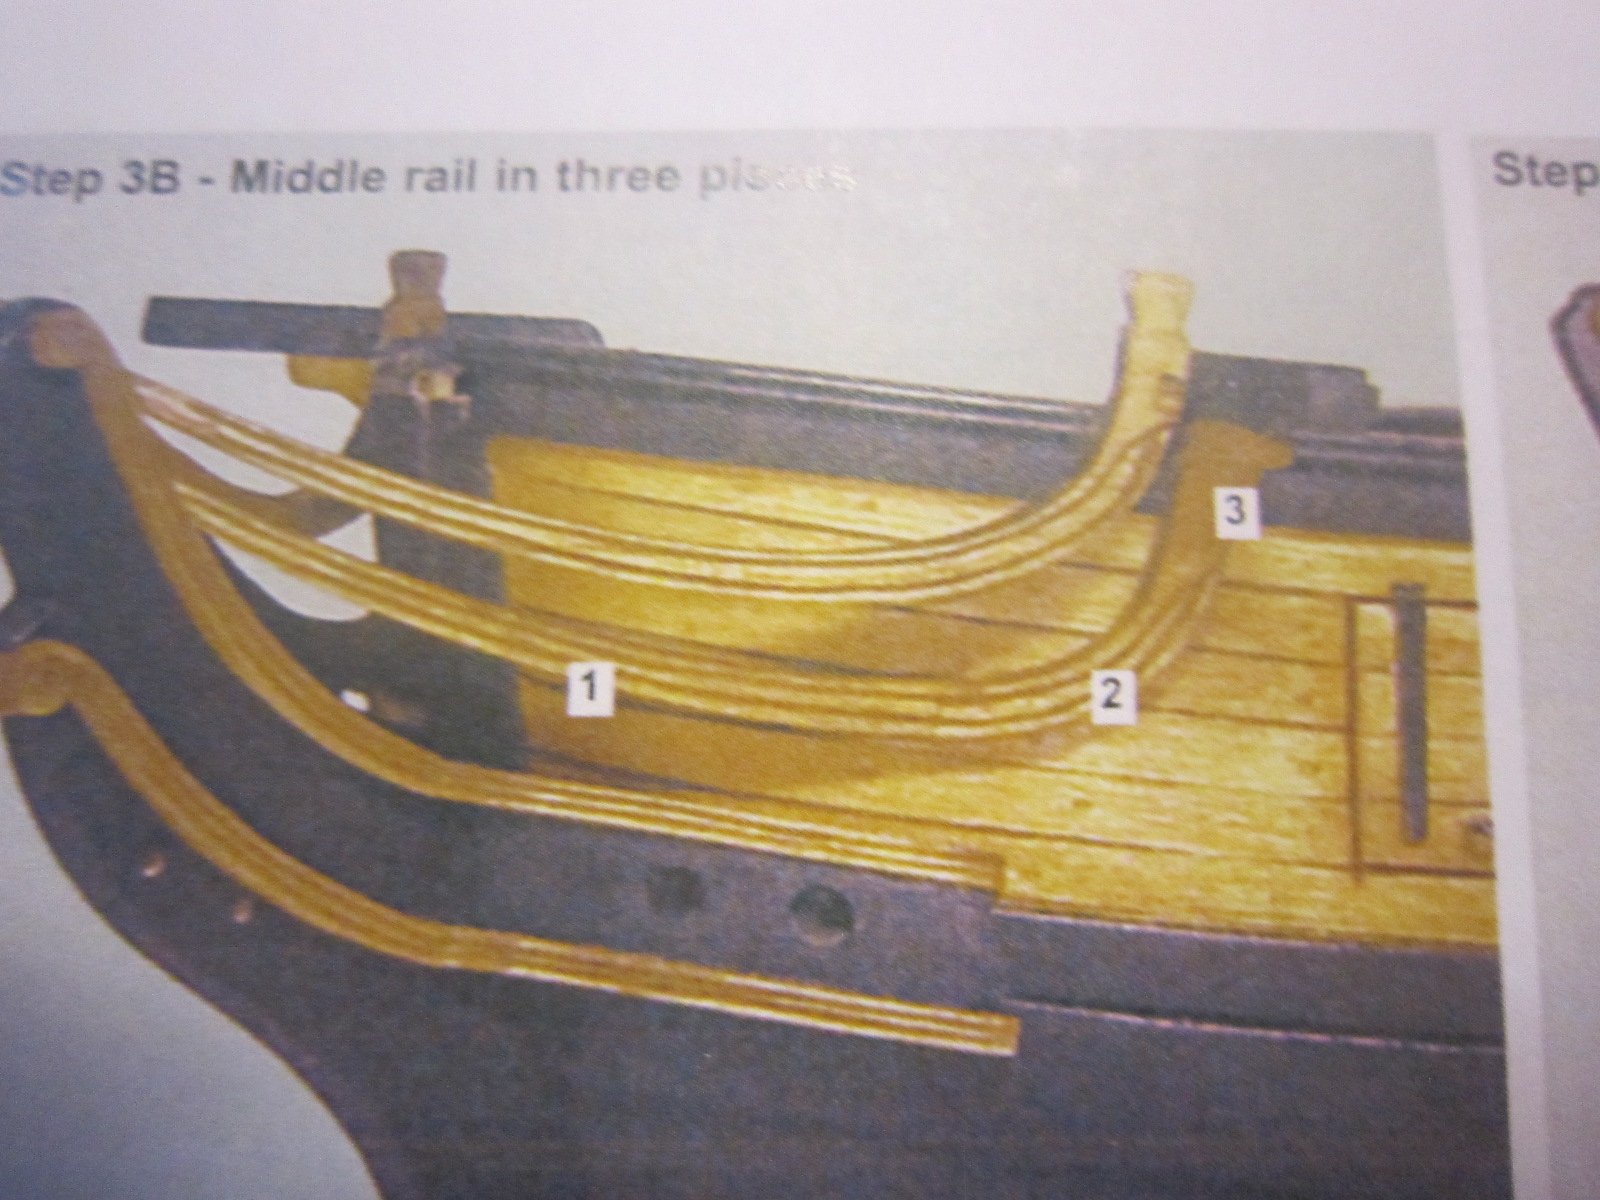
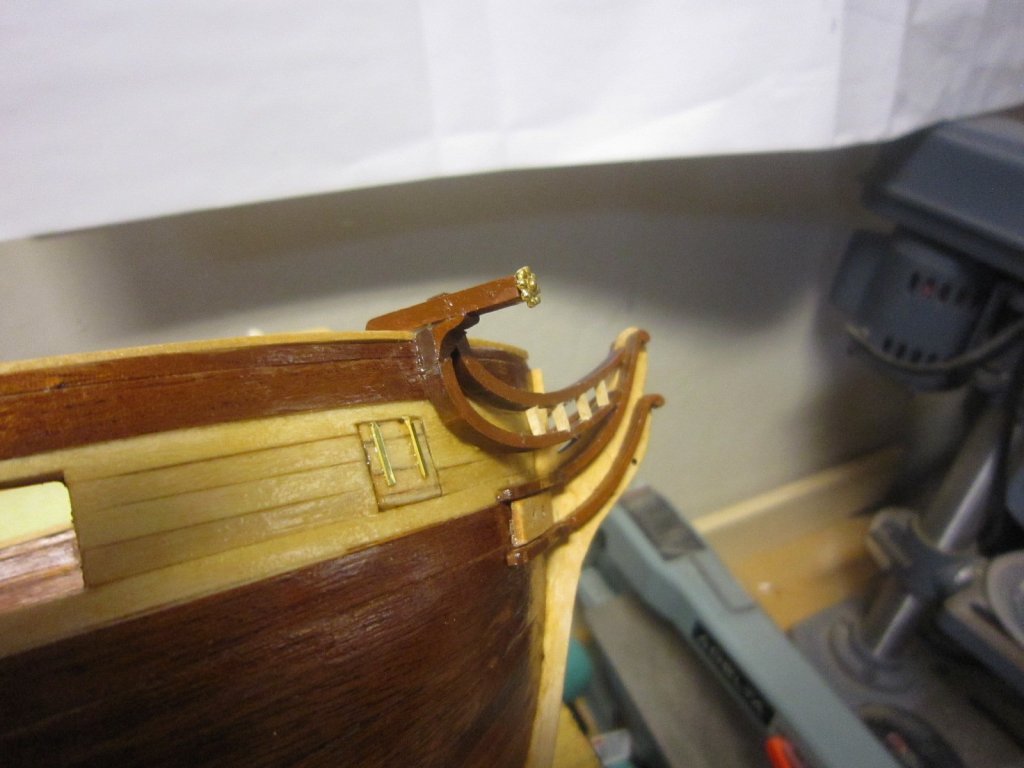
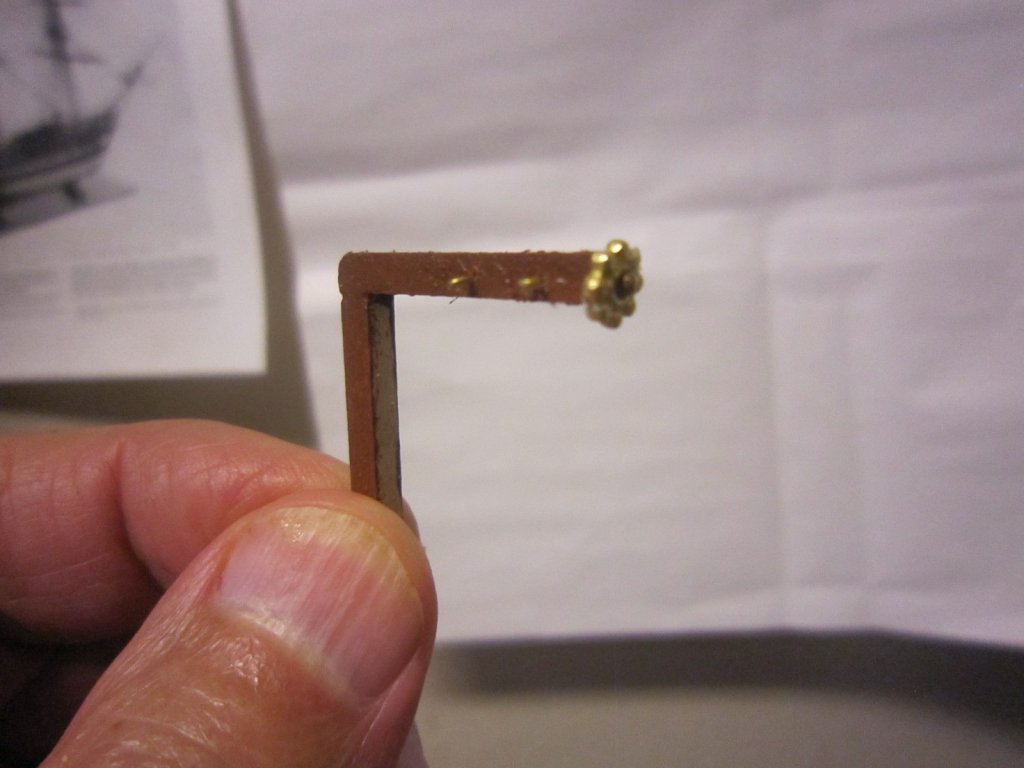
I added stuff to pretty up the catheads. I pinned as well as glued the two pieces together. I glued the three piece sections of the mid rail. Next, I will pin and glue on the cat heads and mid rails. I will leave off the called for cleats on the catheads since the cleats provided are of such poor quality they would not stay glue on. The slightest touch would knock them off

- 1,135 replies
-
- 8
-
-
- model shipways
- syren
- (and 2 more)
-
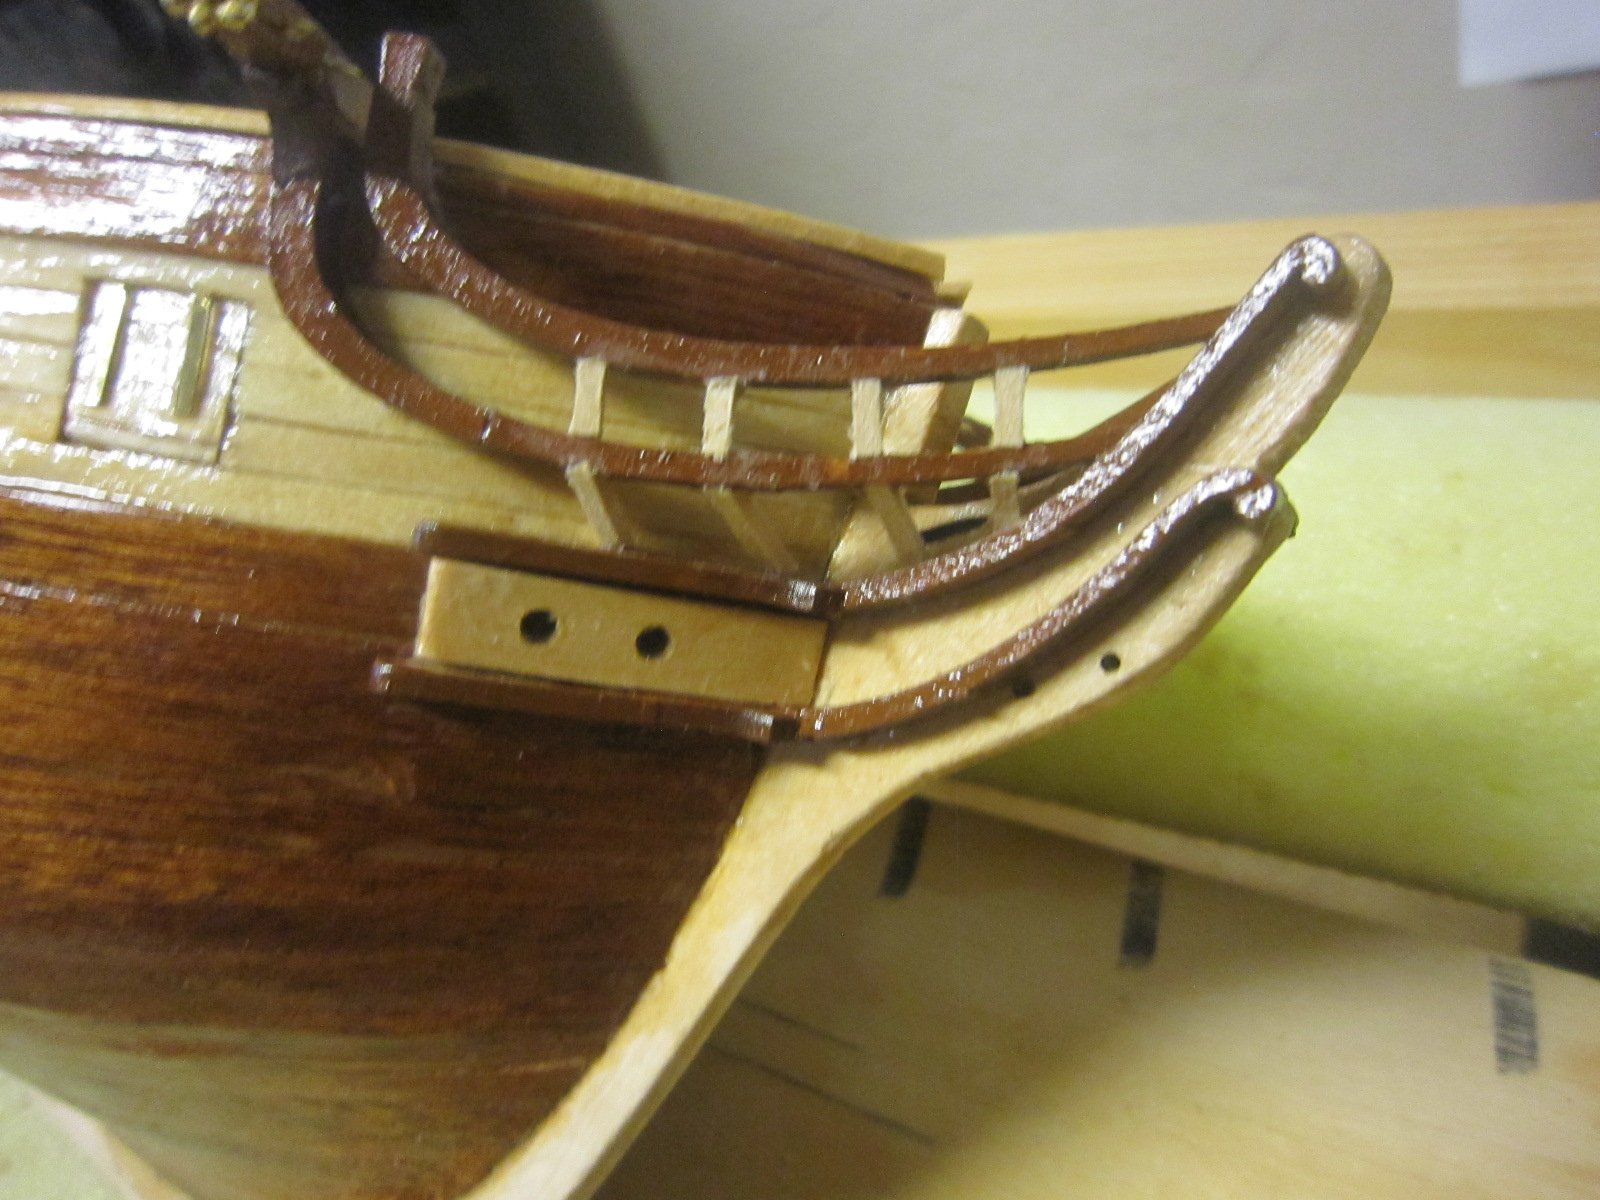
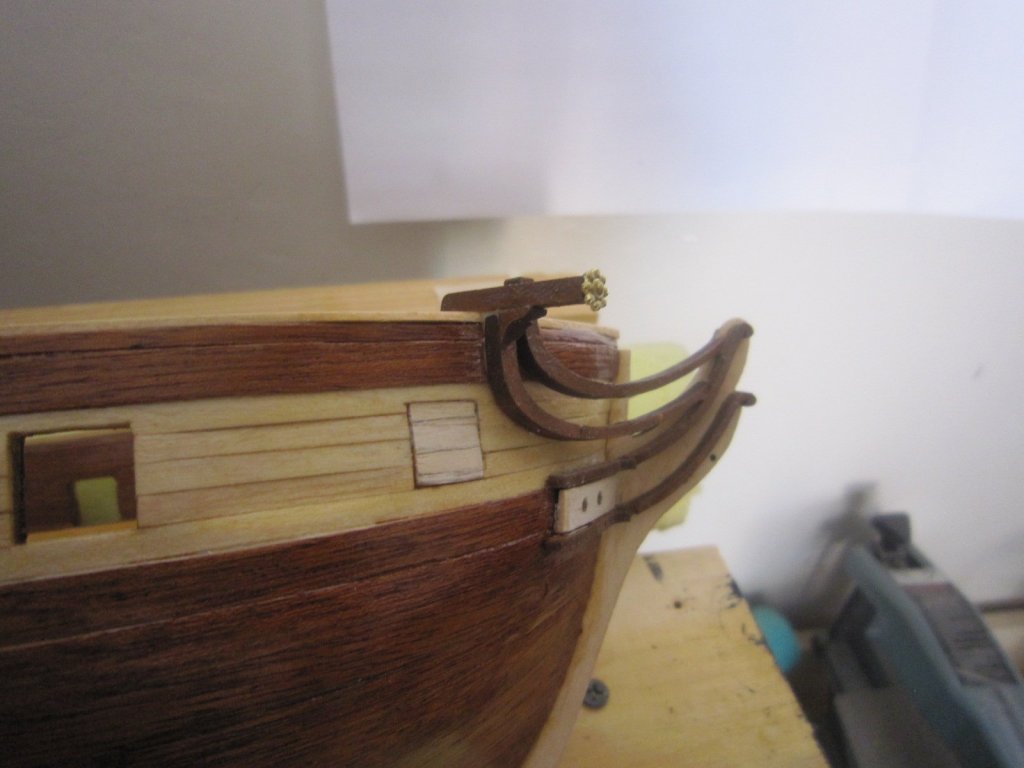
I roughed out the catheads. They have to have more work before installing them. They are just sitting in position and not glued

- 1,135 replies
-
- 10
-
-
- model shipways
- syren
- (and 2 more)
-
Now I'm paranoid and I keep checking symmetry. Looking at photos on this website give me a better more detailed look at the work than with my eye. Somehow photos on this site show every little detail. It's a good way to check your work.
- 1,135 replies
-
- 11
-
-
- model shipways
- syren
- (and 2 more)
-
I'm so jealous of your precision wood work that I broke down and will get a new precision saw. I've had enough with crooked cuts. Thanks for motivating me. Gorgeous work, Bob
- 682 replies
-
- 4
-
-
- halifax
- lumberyard
- (and 1 more)
-
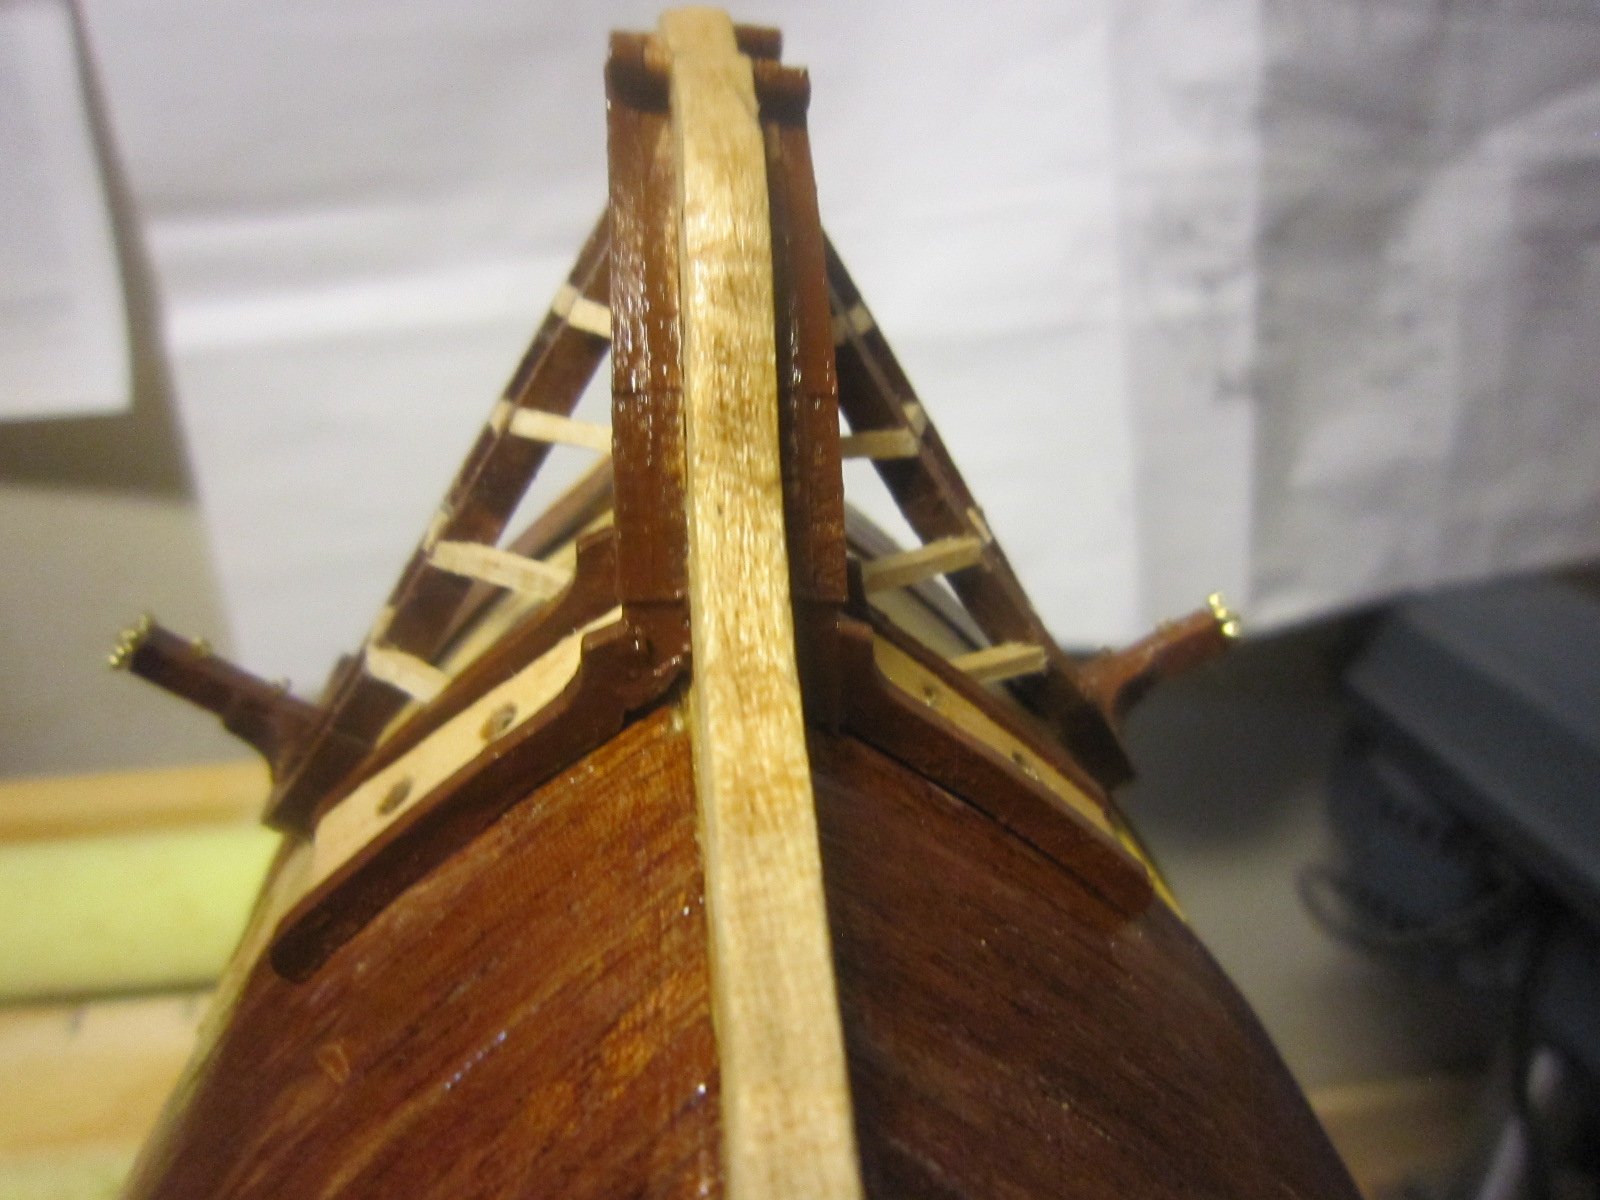
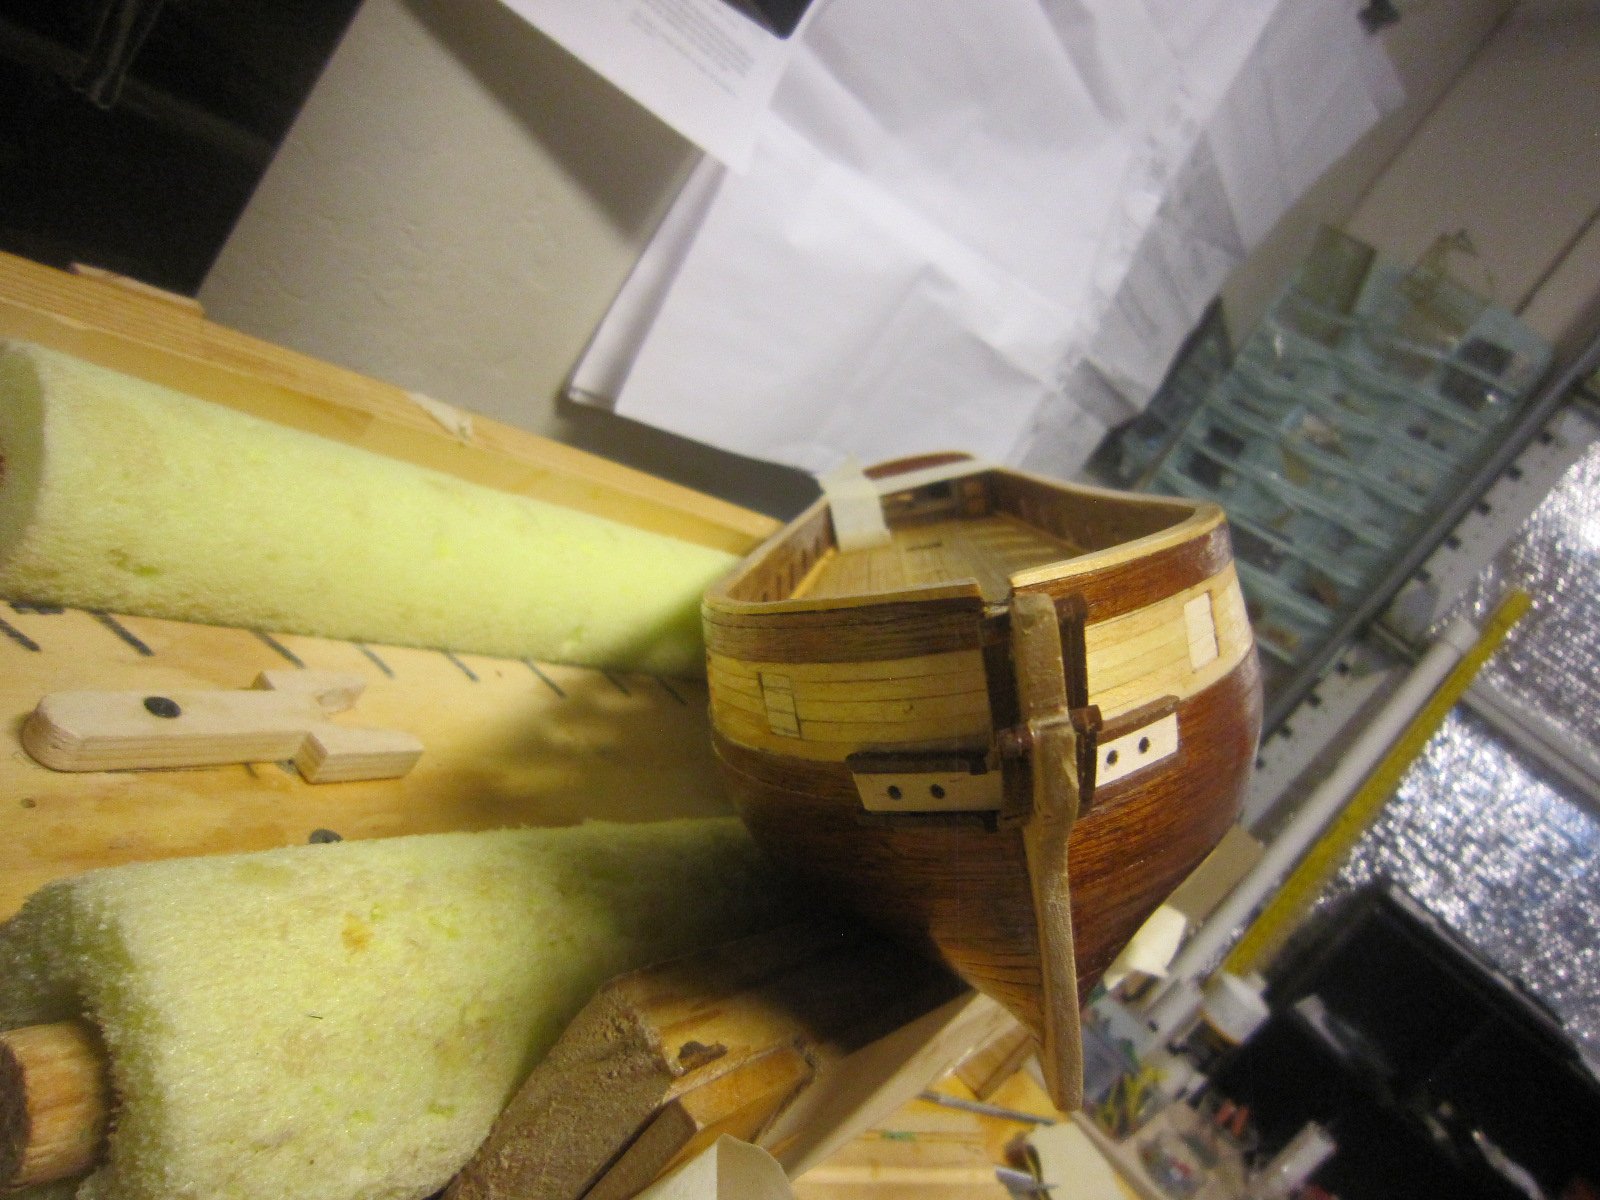
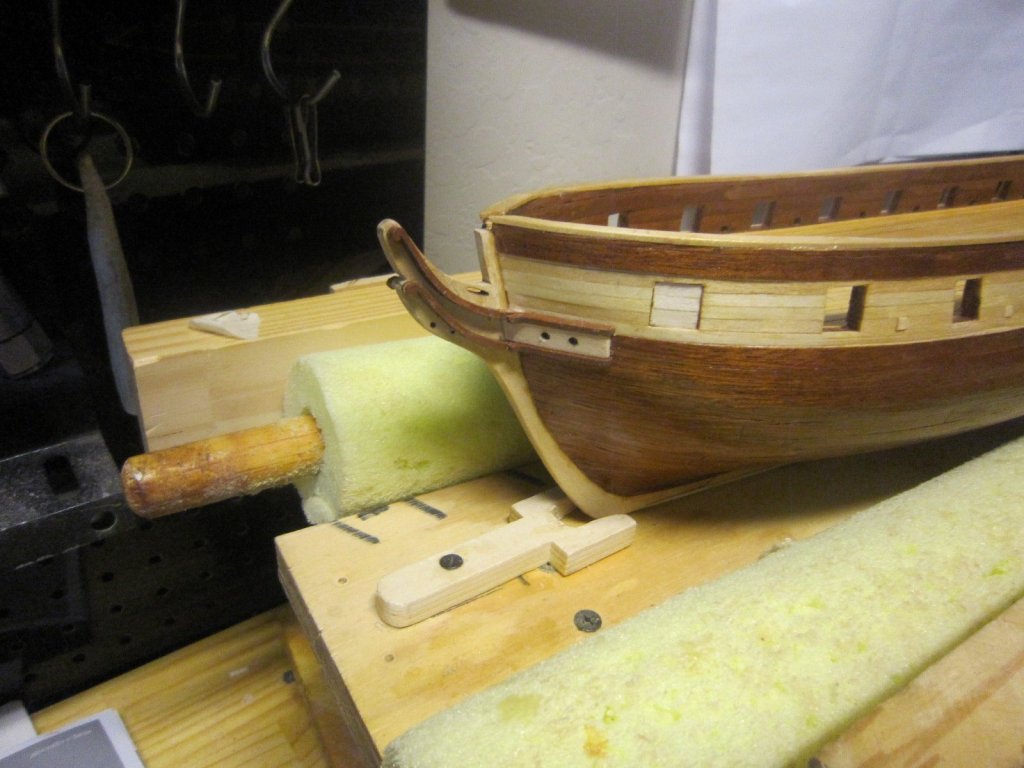
I've glued on the upper head rails with their knights head (timber heads)

- 1,135 replies
-
- 10
-
-
- model shipways
- syren
- (and 2 more)
-
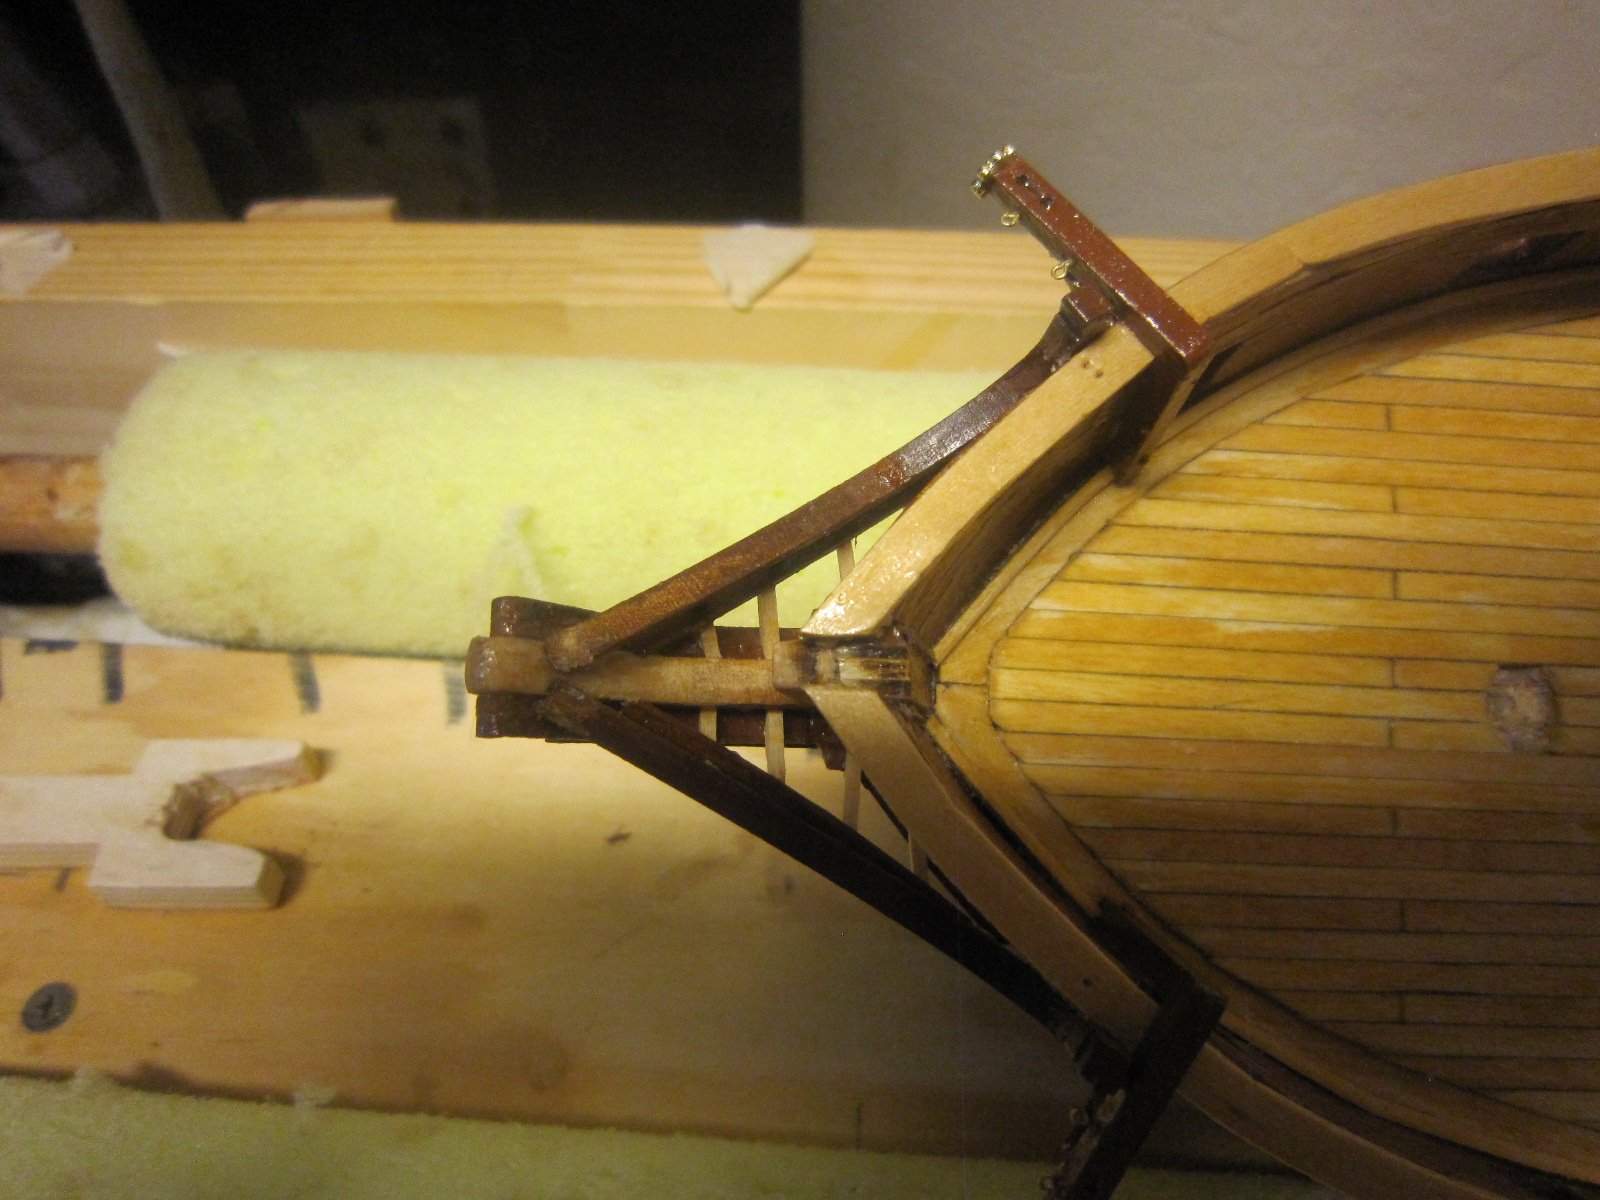
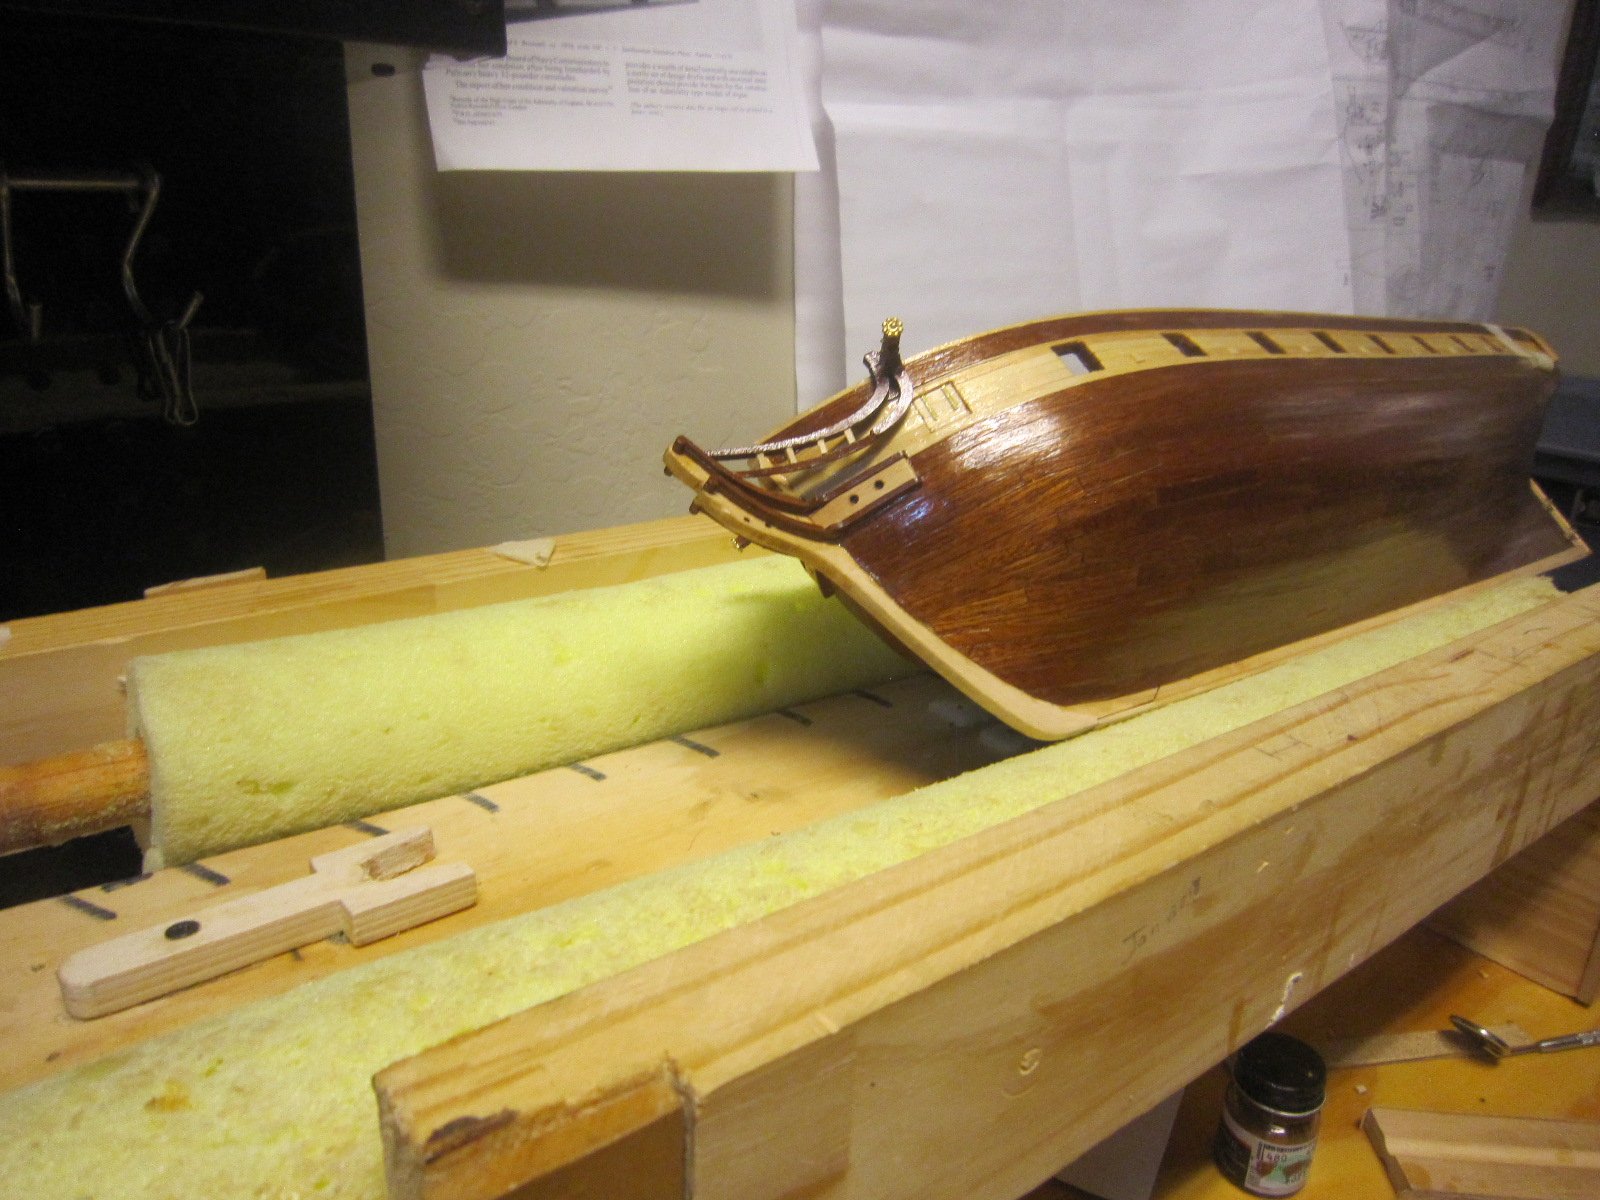
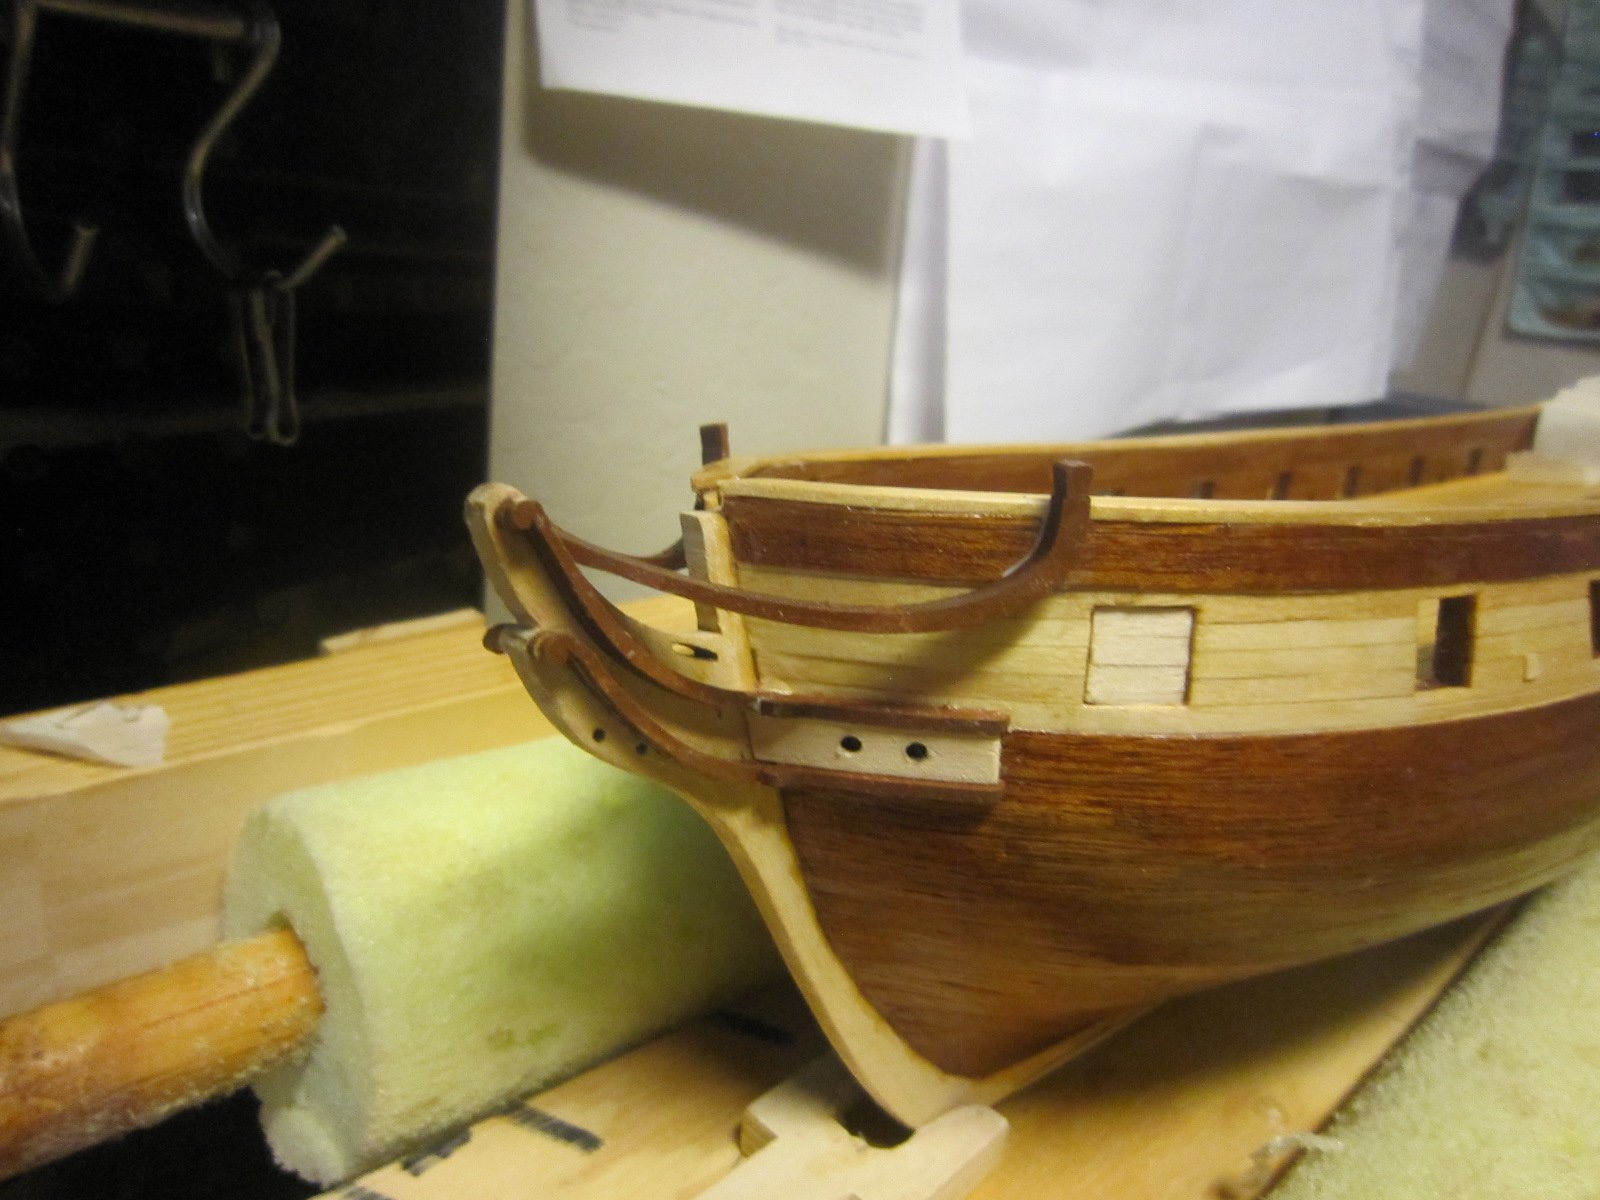
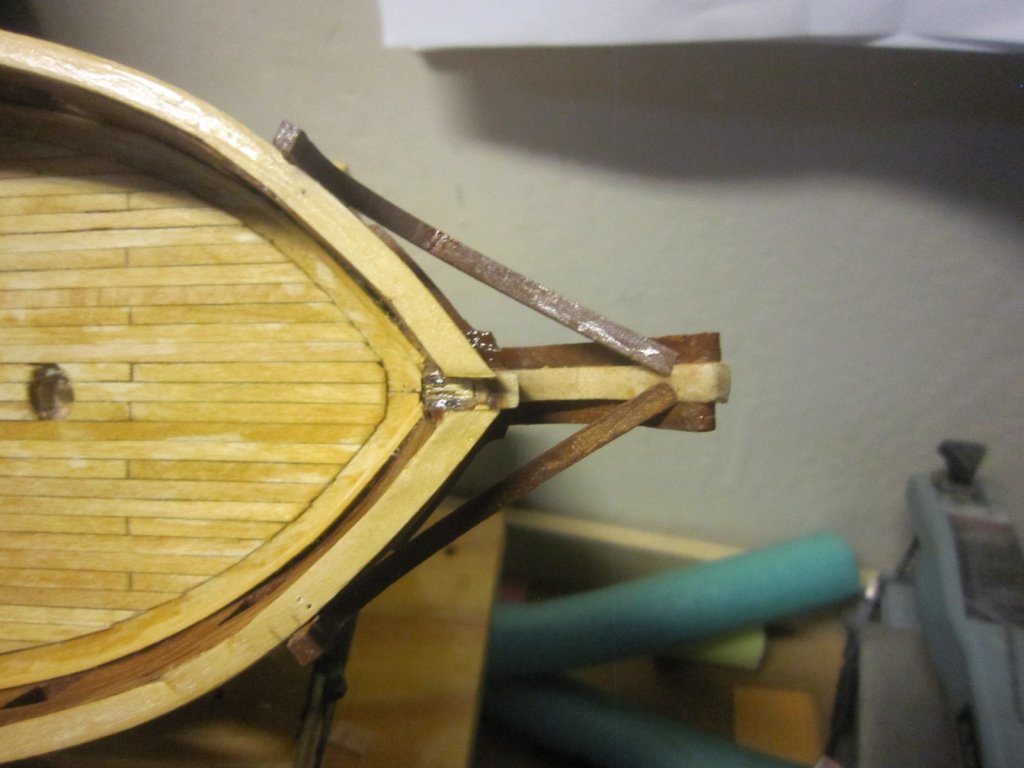
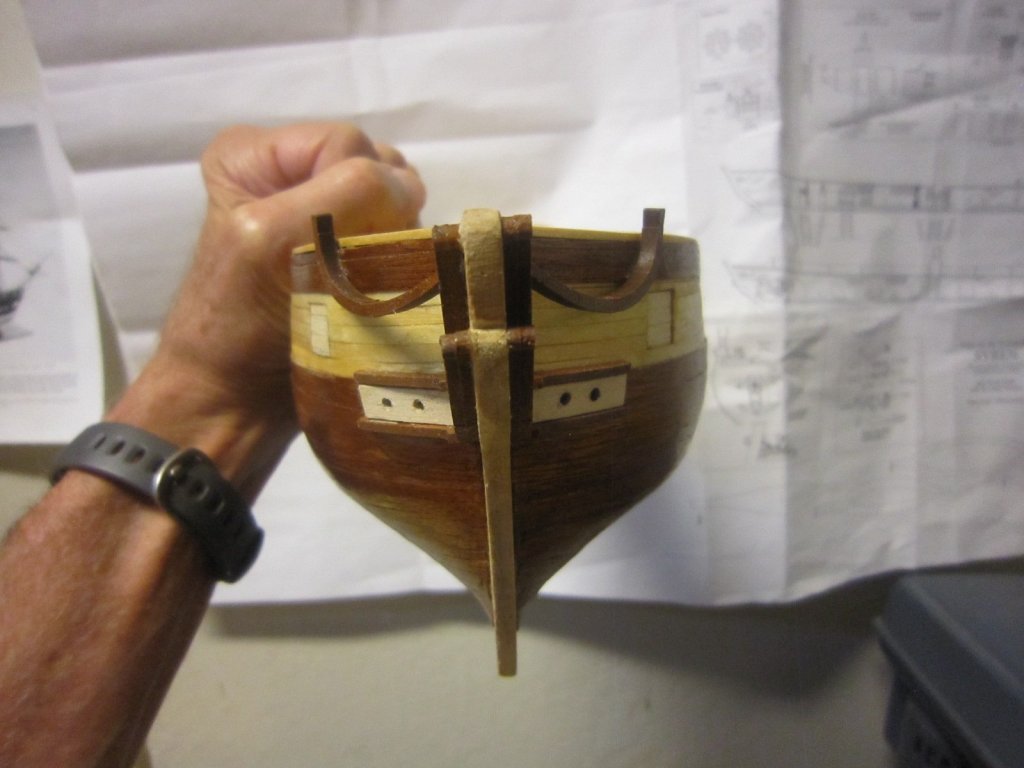
I started glueing pieces onto the bowsprit after days of designing the way I wanted to do it. I decided to just use contrasting colored wood instead of micro carving scrolls, etc. I carefully measured and marked everything and glued the port side pieces first then glued the starboard side pieces. Aaaargggh! After I glued the last piece on the starboard side I took a look from straight on...somehow one side was almost 1/16 off??? I quickly stripped the newly glued pieces of and cleaned them up then re-glued them so the bow was now symmetrical. The moral to this story is....keep checking balance when gluing port and starboard sides no matter how good all your marks are. One peep is worth a thousand pencil marks.

- 1,135 replies
-
- 7
-
-
- model shipways
- syren
- (and 2 more)
-
I had pre-varnished the veneer planks on the hull to protect them while I worked on the boat. Now I have to sand and scrape the varnish off in order to glue anything to it.
- 1,135 replies
-
- 4
-
-
- model shipways
- syren
- (and 2 more)
-
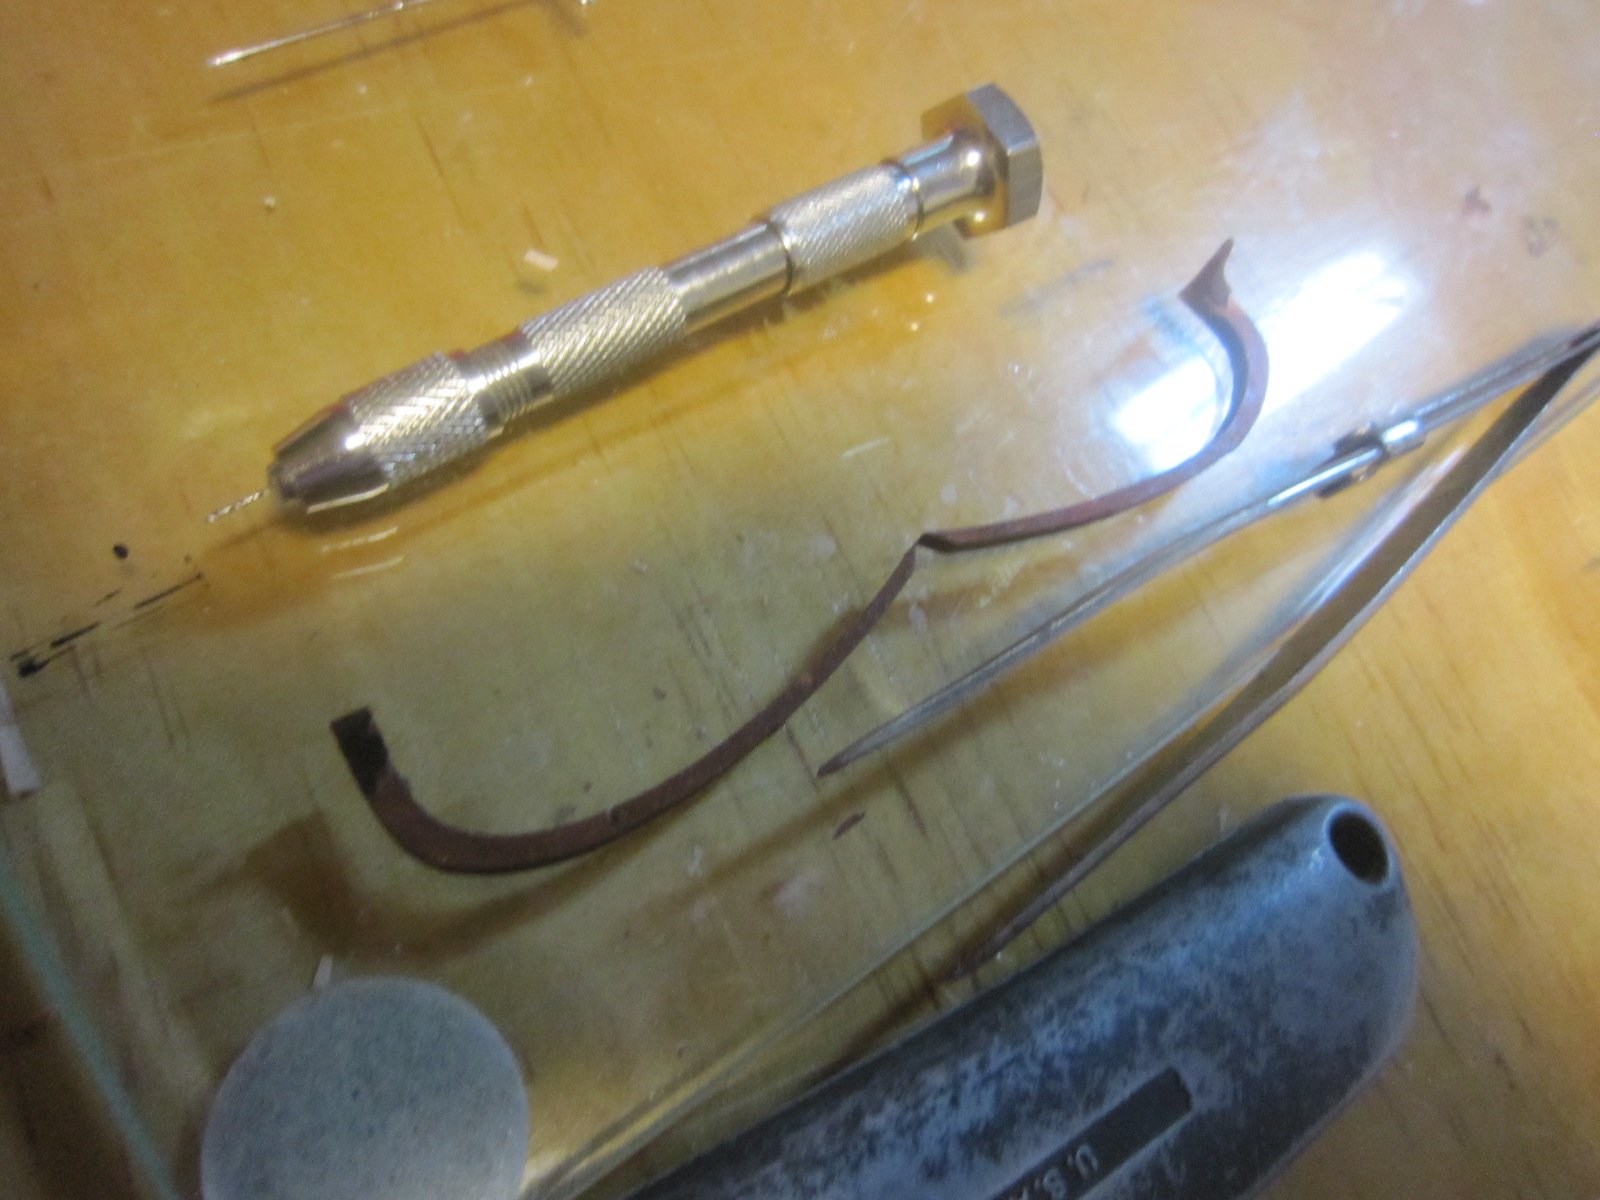
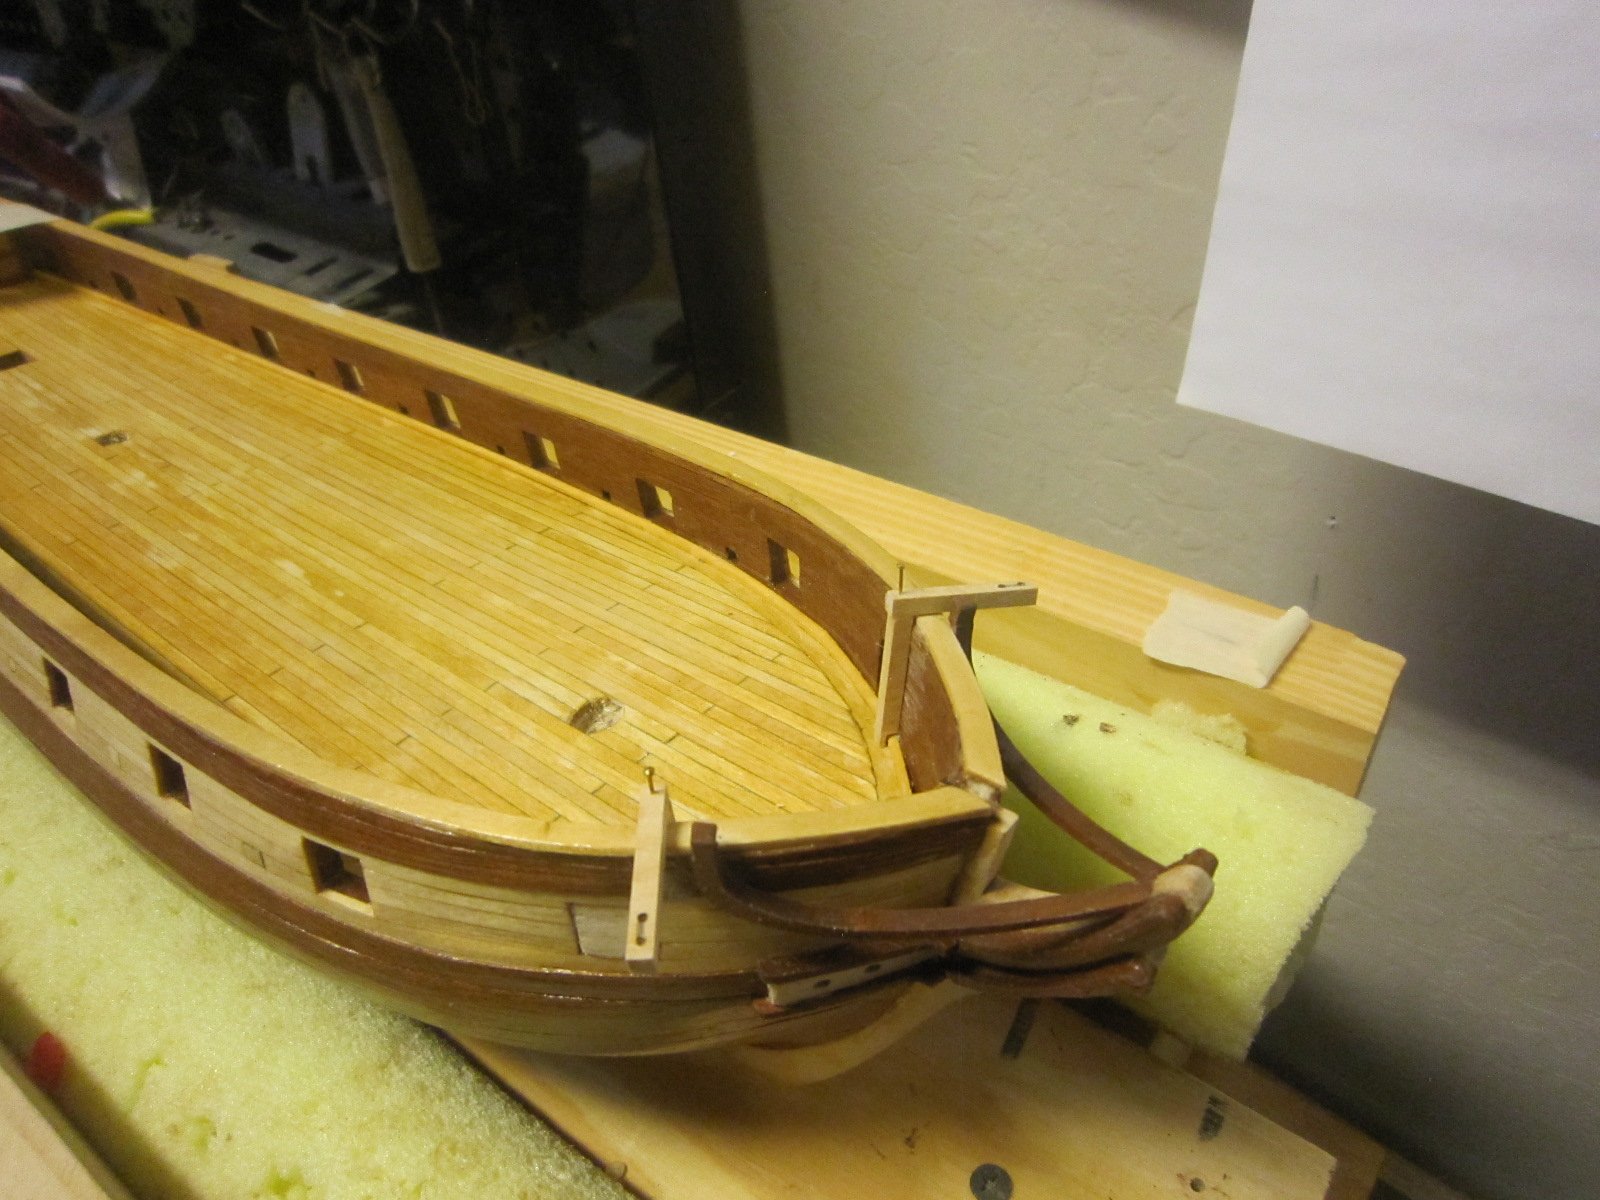
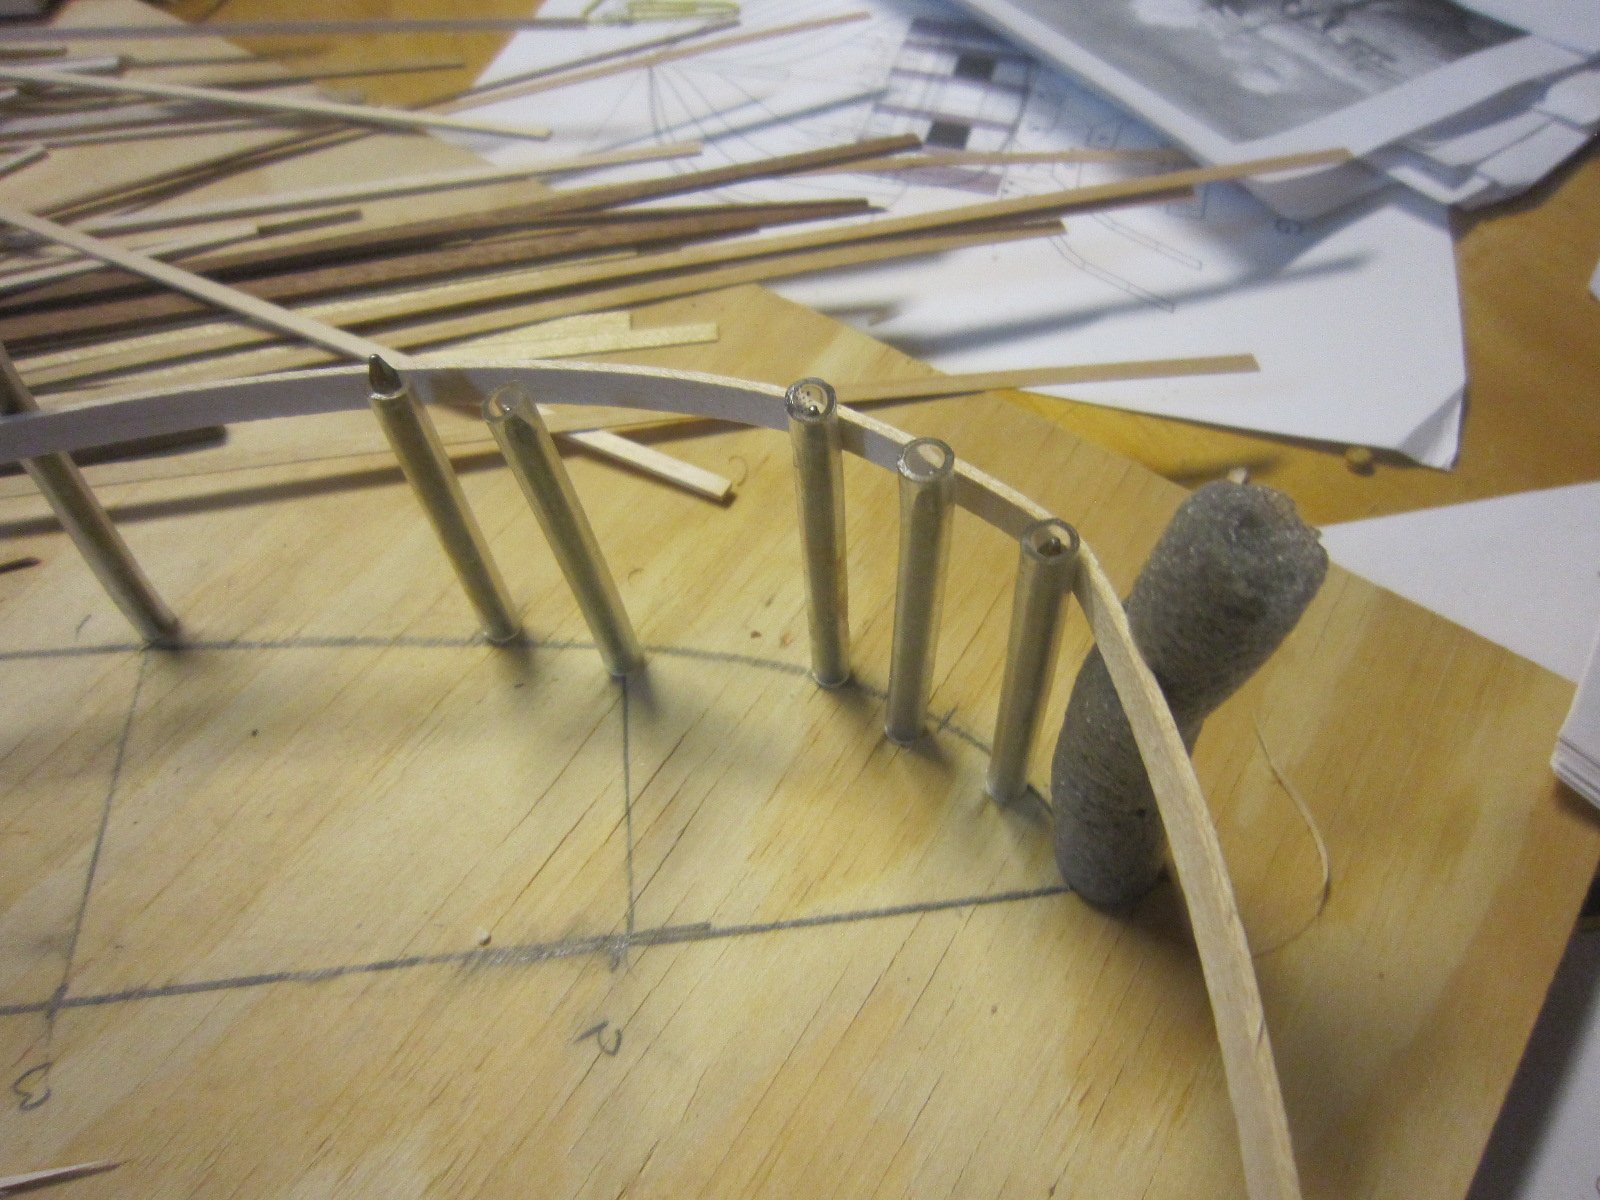
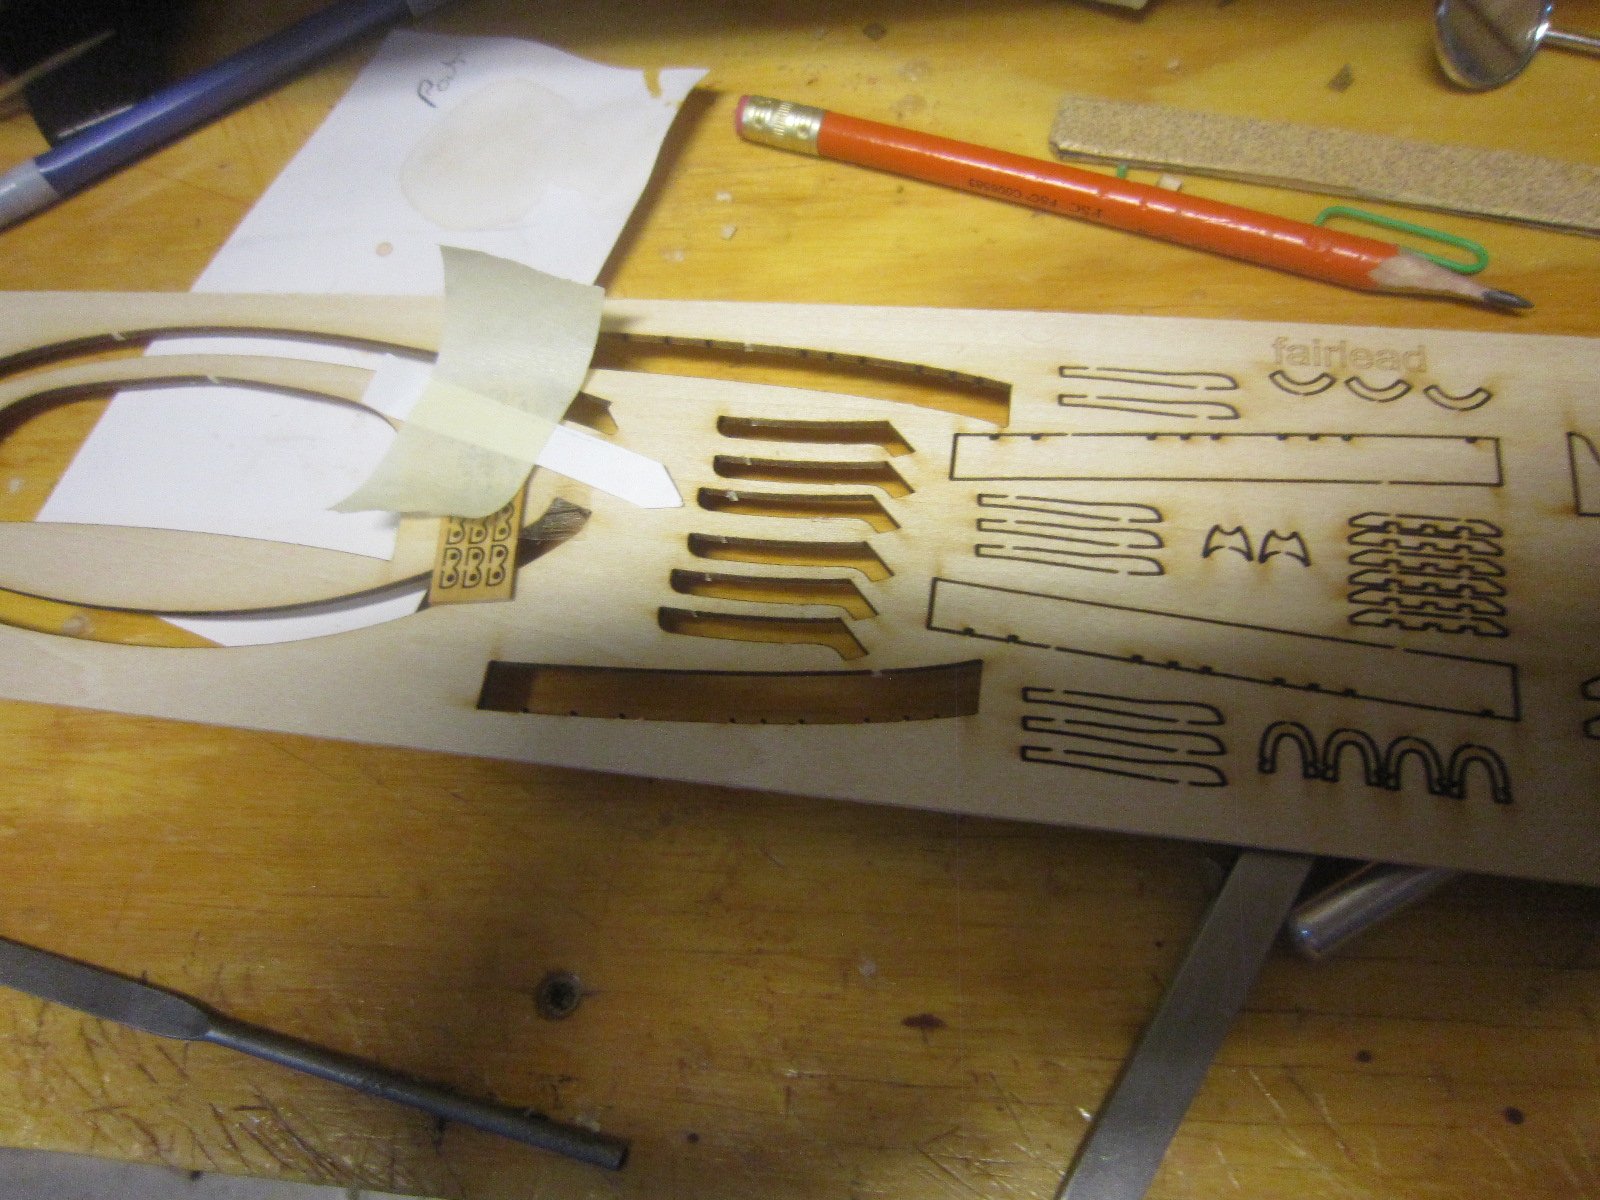
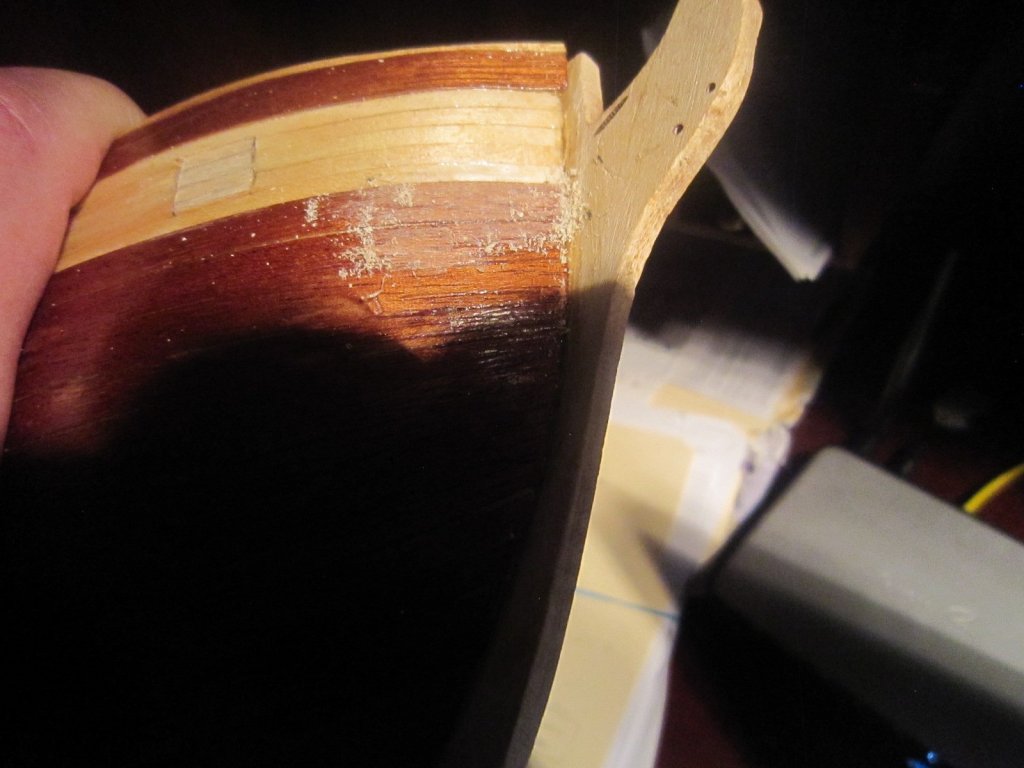
I've pre-bent the plank I'll be cutting for the hawse holes plank that sits between the "cheeks" on the forward hull. I'll select two small pieces that coincide with the exact shape of that section of hull. It's just a slight curve but enough so a straight piece will not lie flat.


- 1,135 replies
-
- 3
-
-
- model shipways
- syren
- (and 2 more)
-
Here's where the hull trim pieces come from for the hawse hole planks

- 1,135 replies
-
- 2
-
-
- model shipways
- syren
- (and 2 more)