Check out our new MSW Sponsor Innocraftsman
×


HIPEXEC
-
Posts
2,698 -
Joined
-
Last visited
Content Type
Profiles
Forums
Gallery
Events
Everything posted by HIPEXEC
-
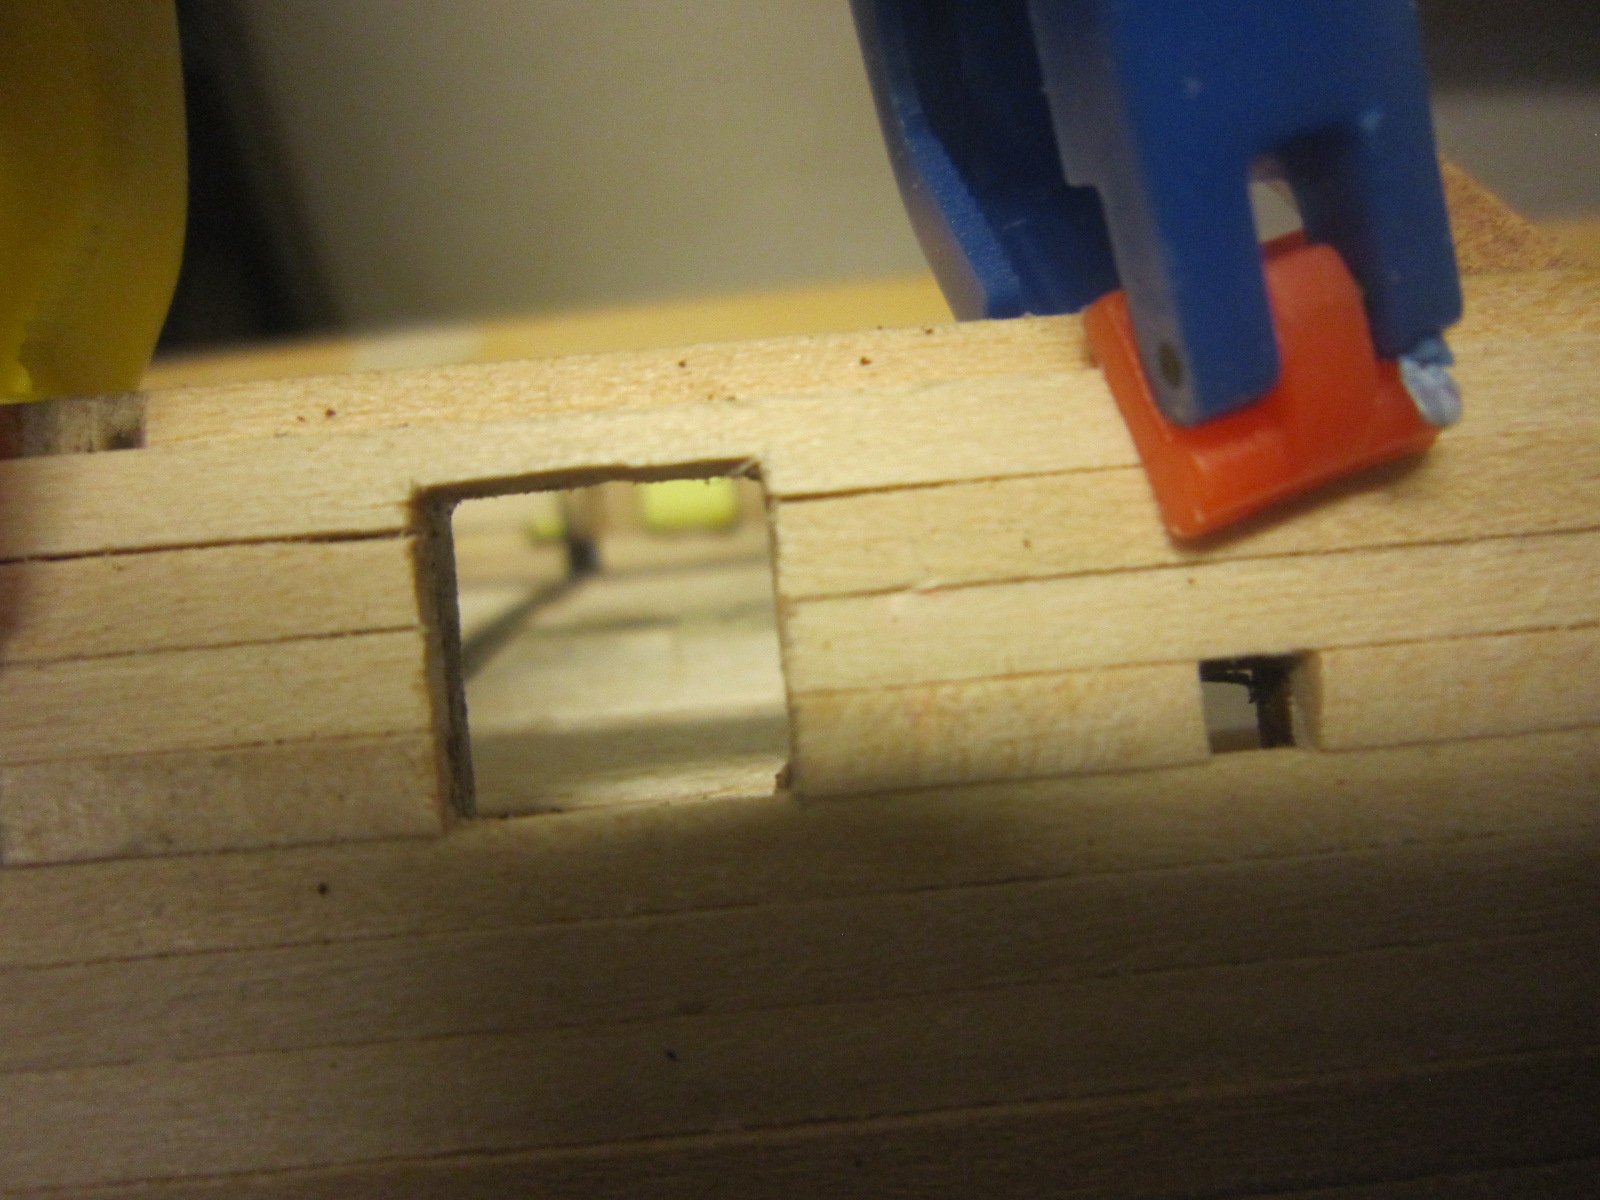
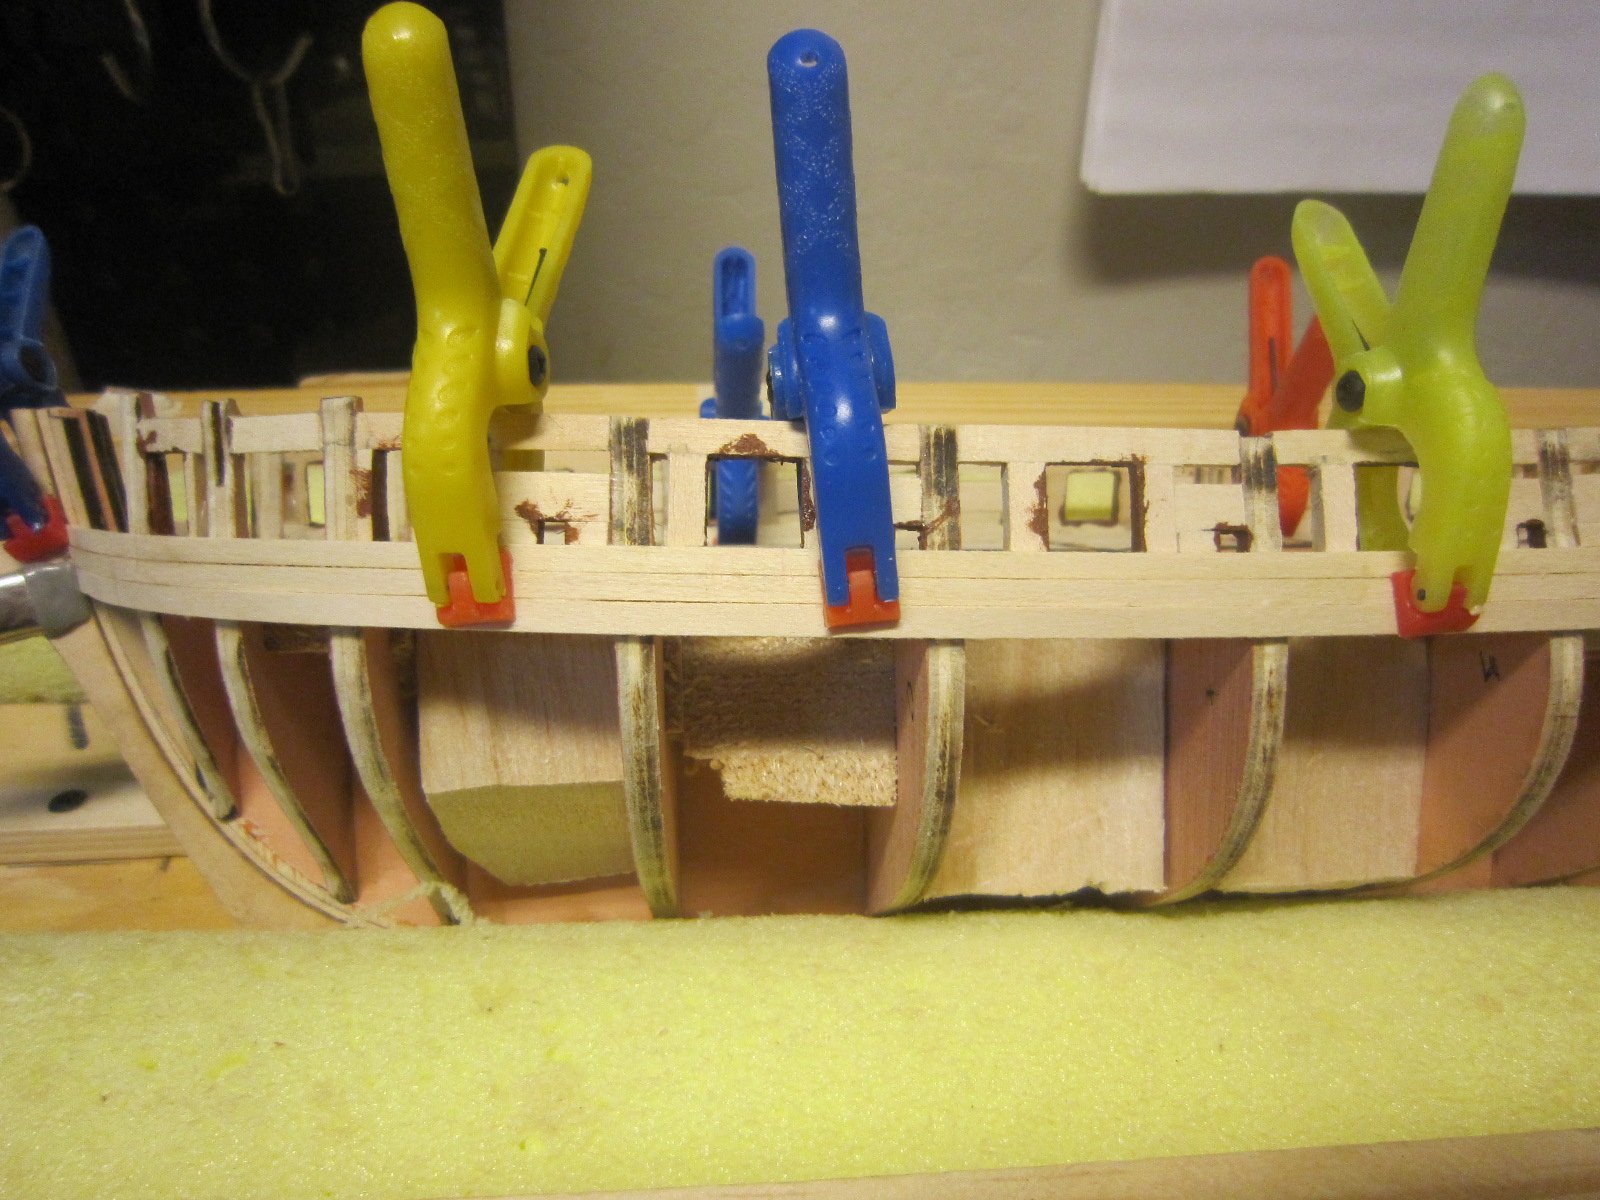
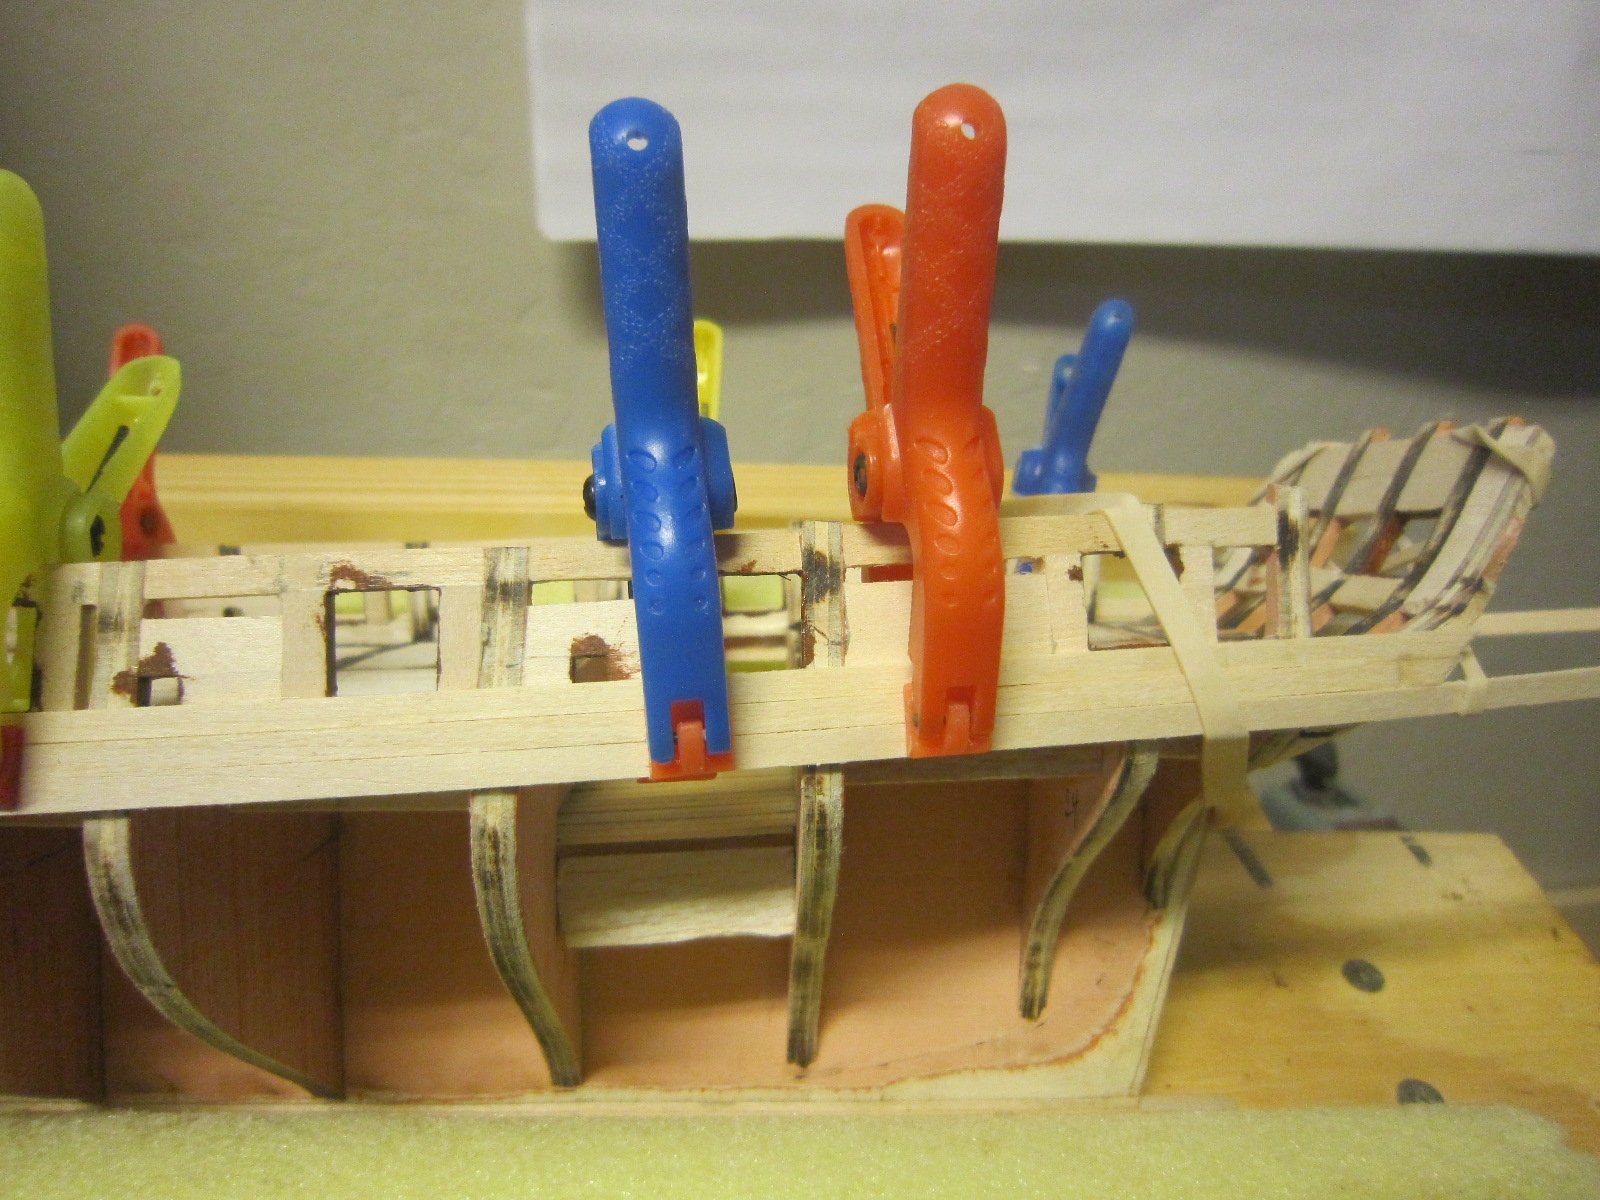
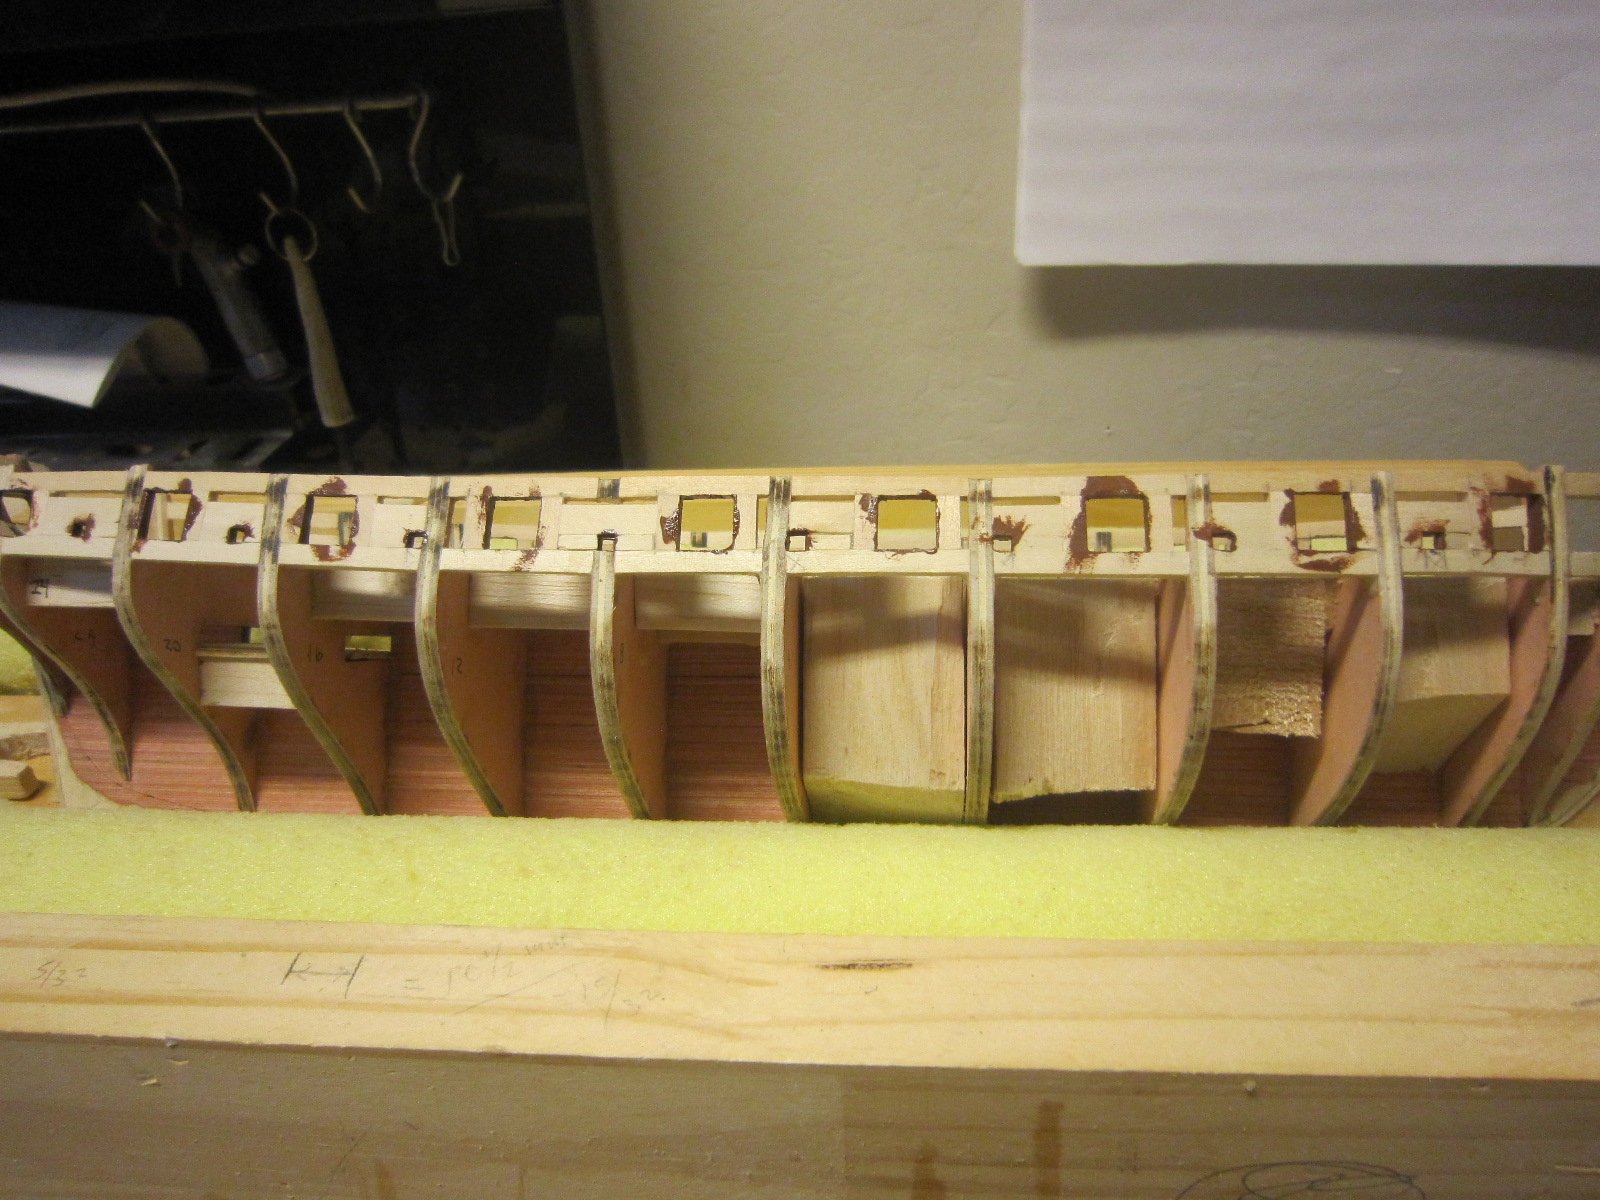
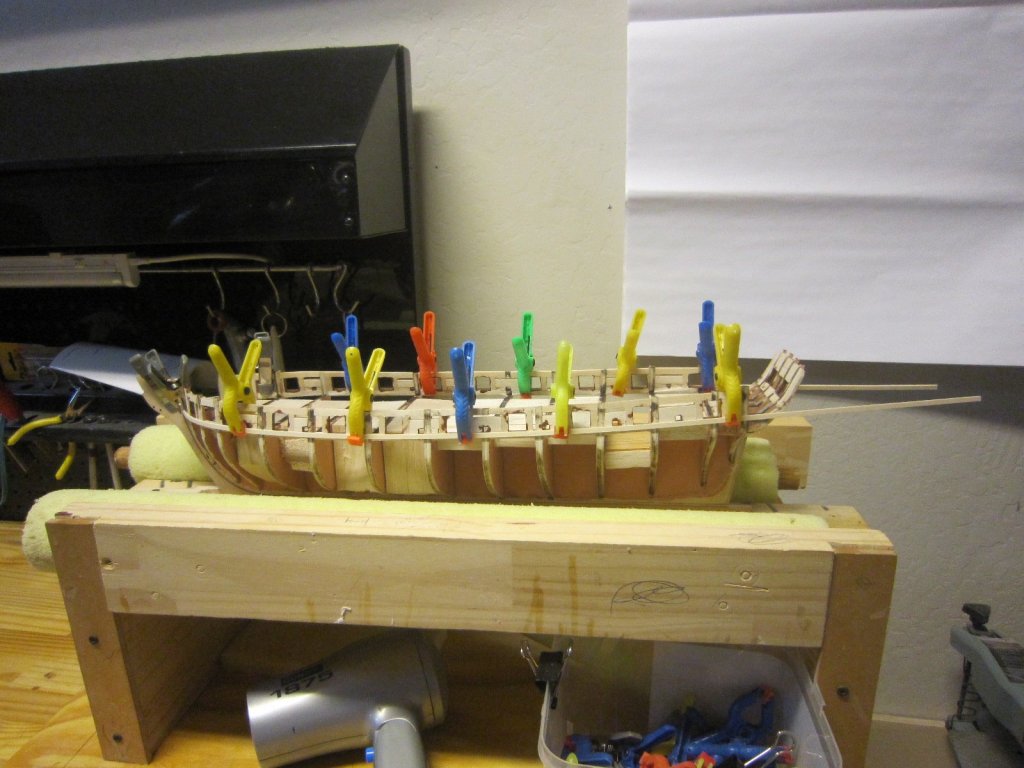
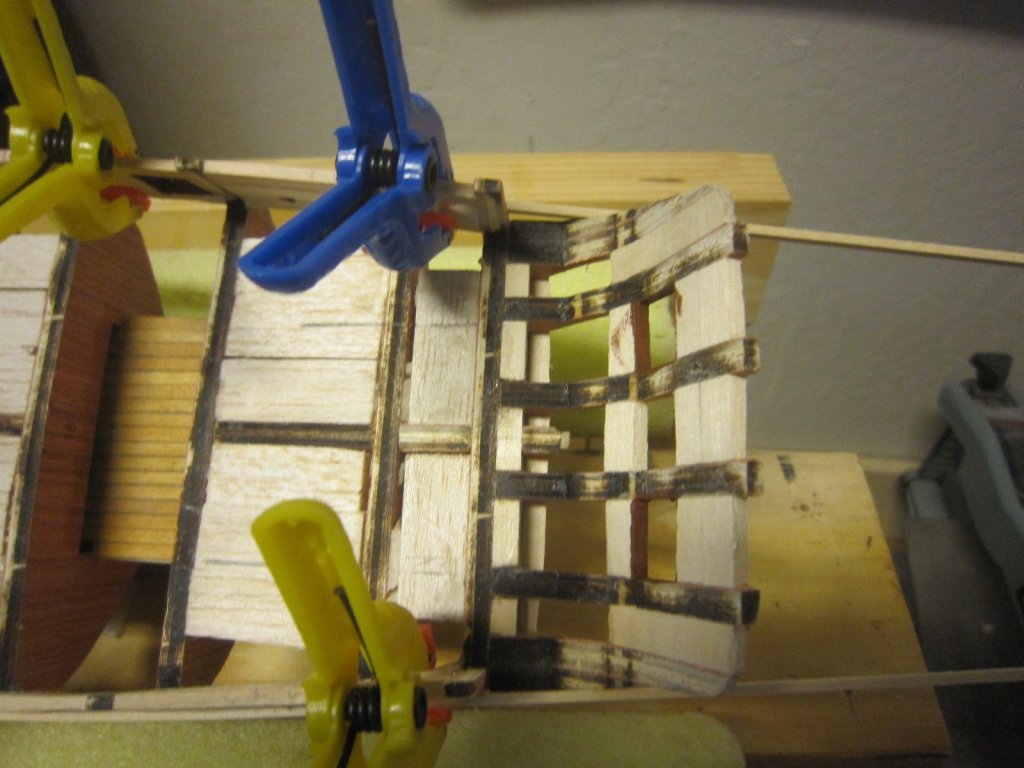
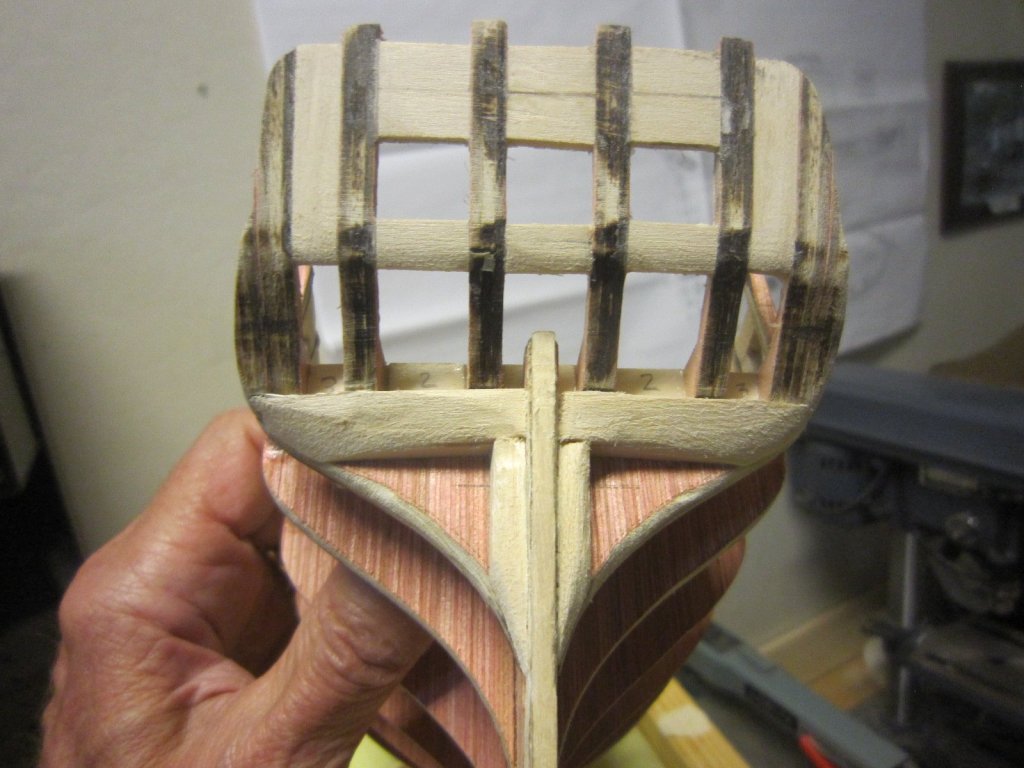
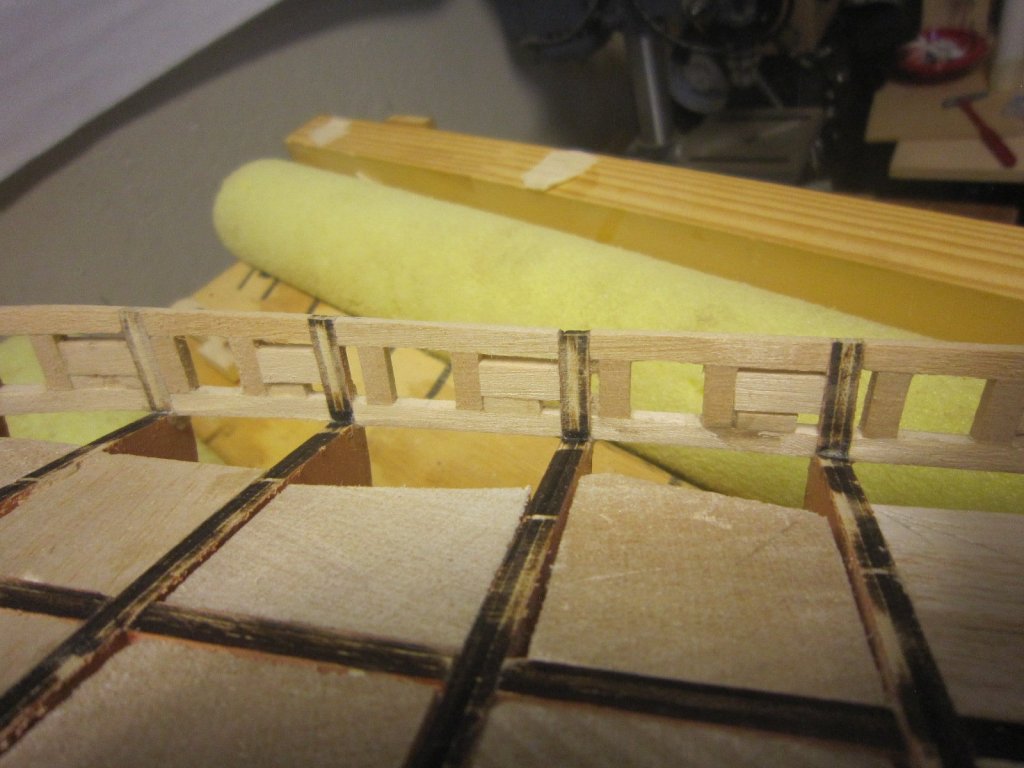
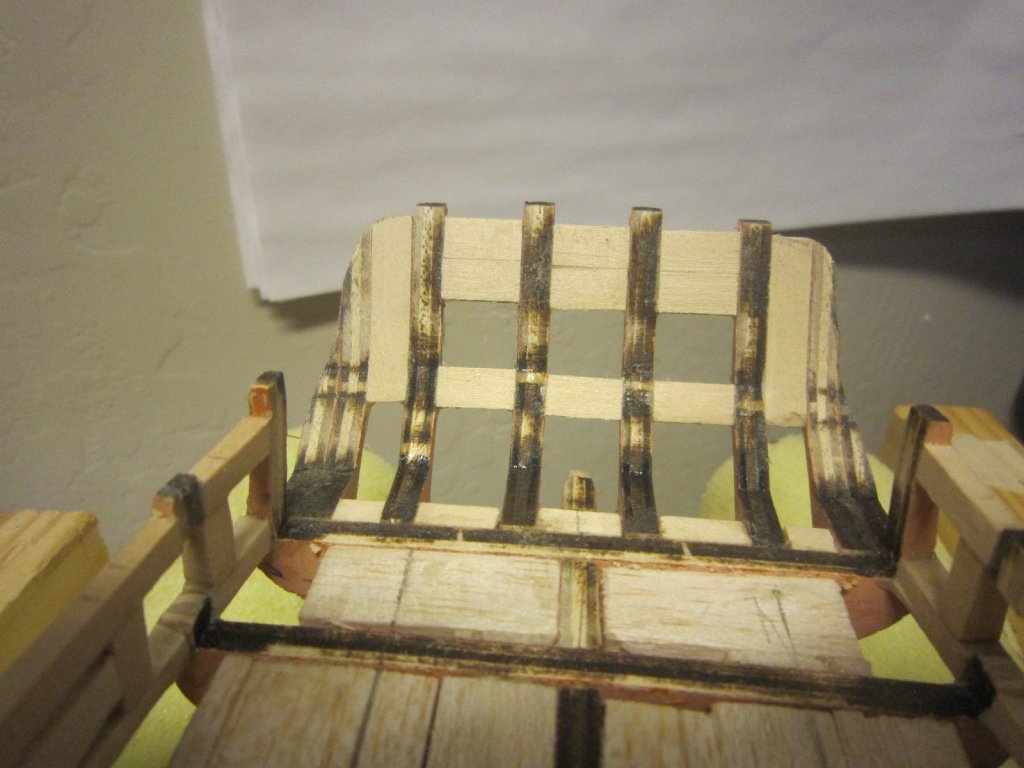
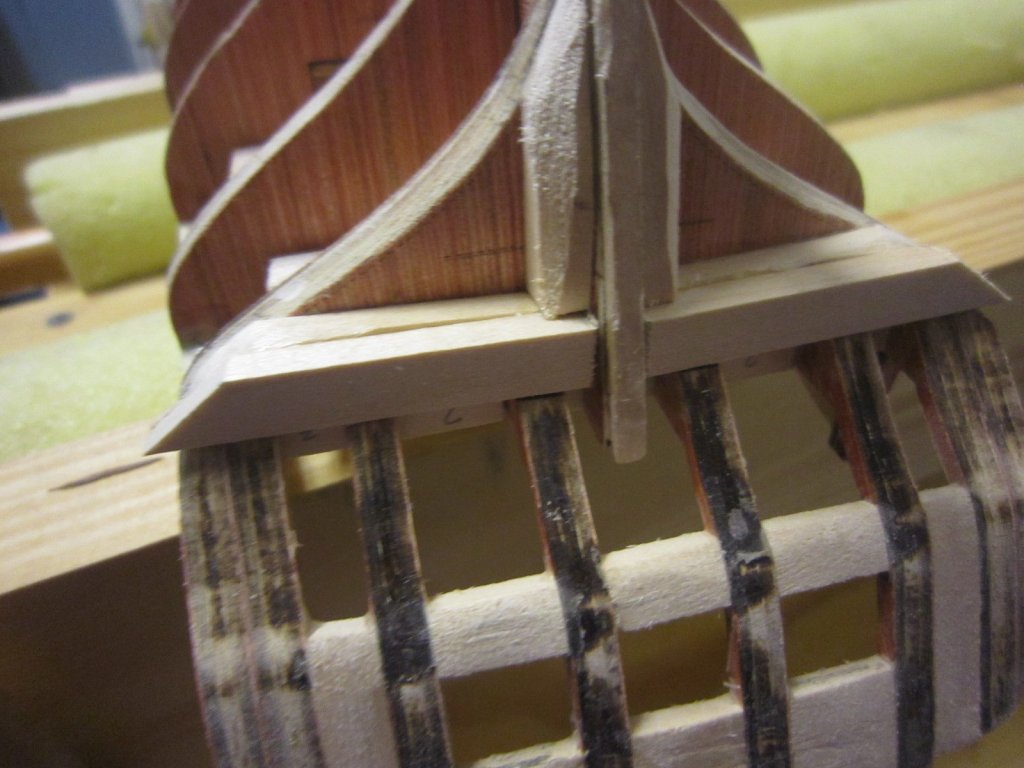
 Here I'm installing the trickiest plank yet...the top of the gunports plank. It required I carefully cuy out the top of each gunport so it conforms with the opening. I first just dry clamped the plank into position, then made the cuts with a sharp knife and sanding stick, then glued it into position.
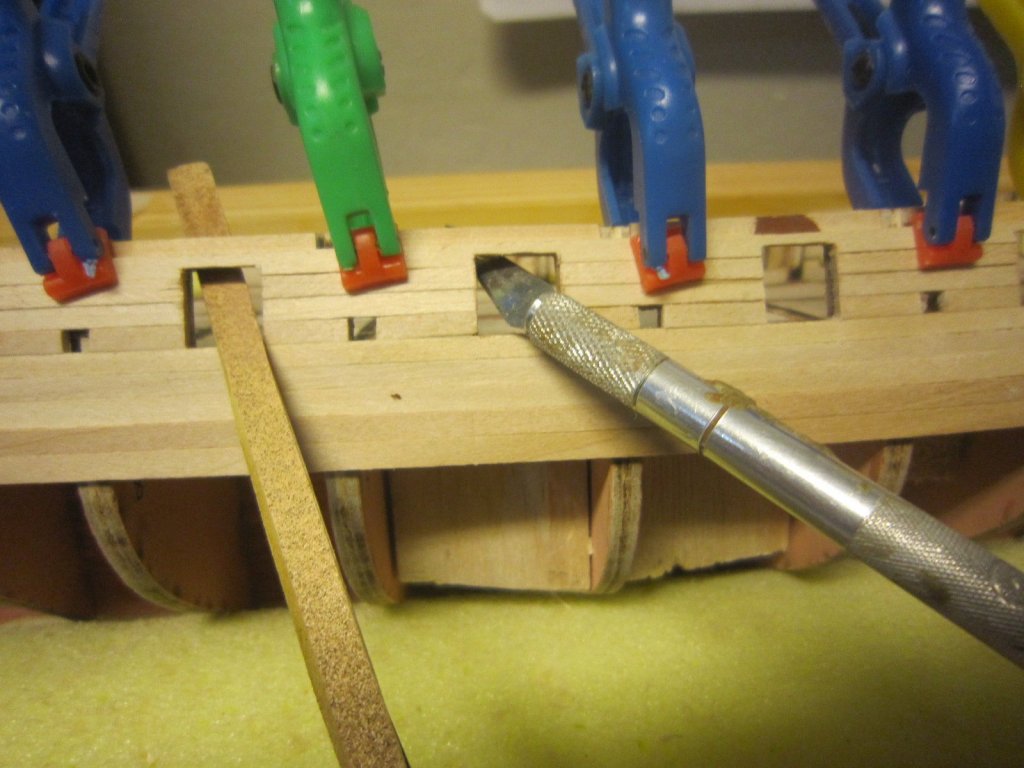


- 1,135 replies
-
- 13
-

-
- model shipways
- syren
- (and 2 more)
-
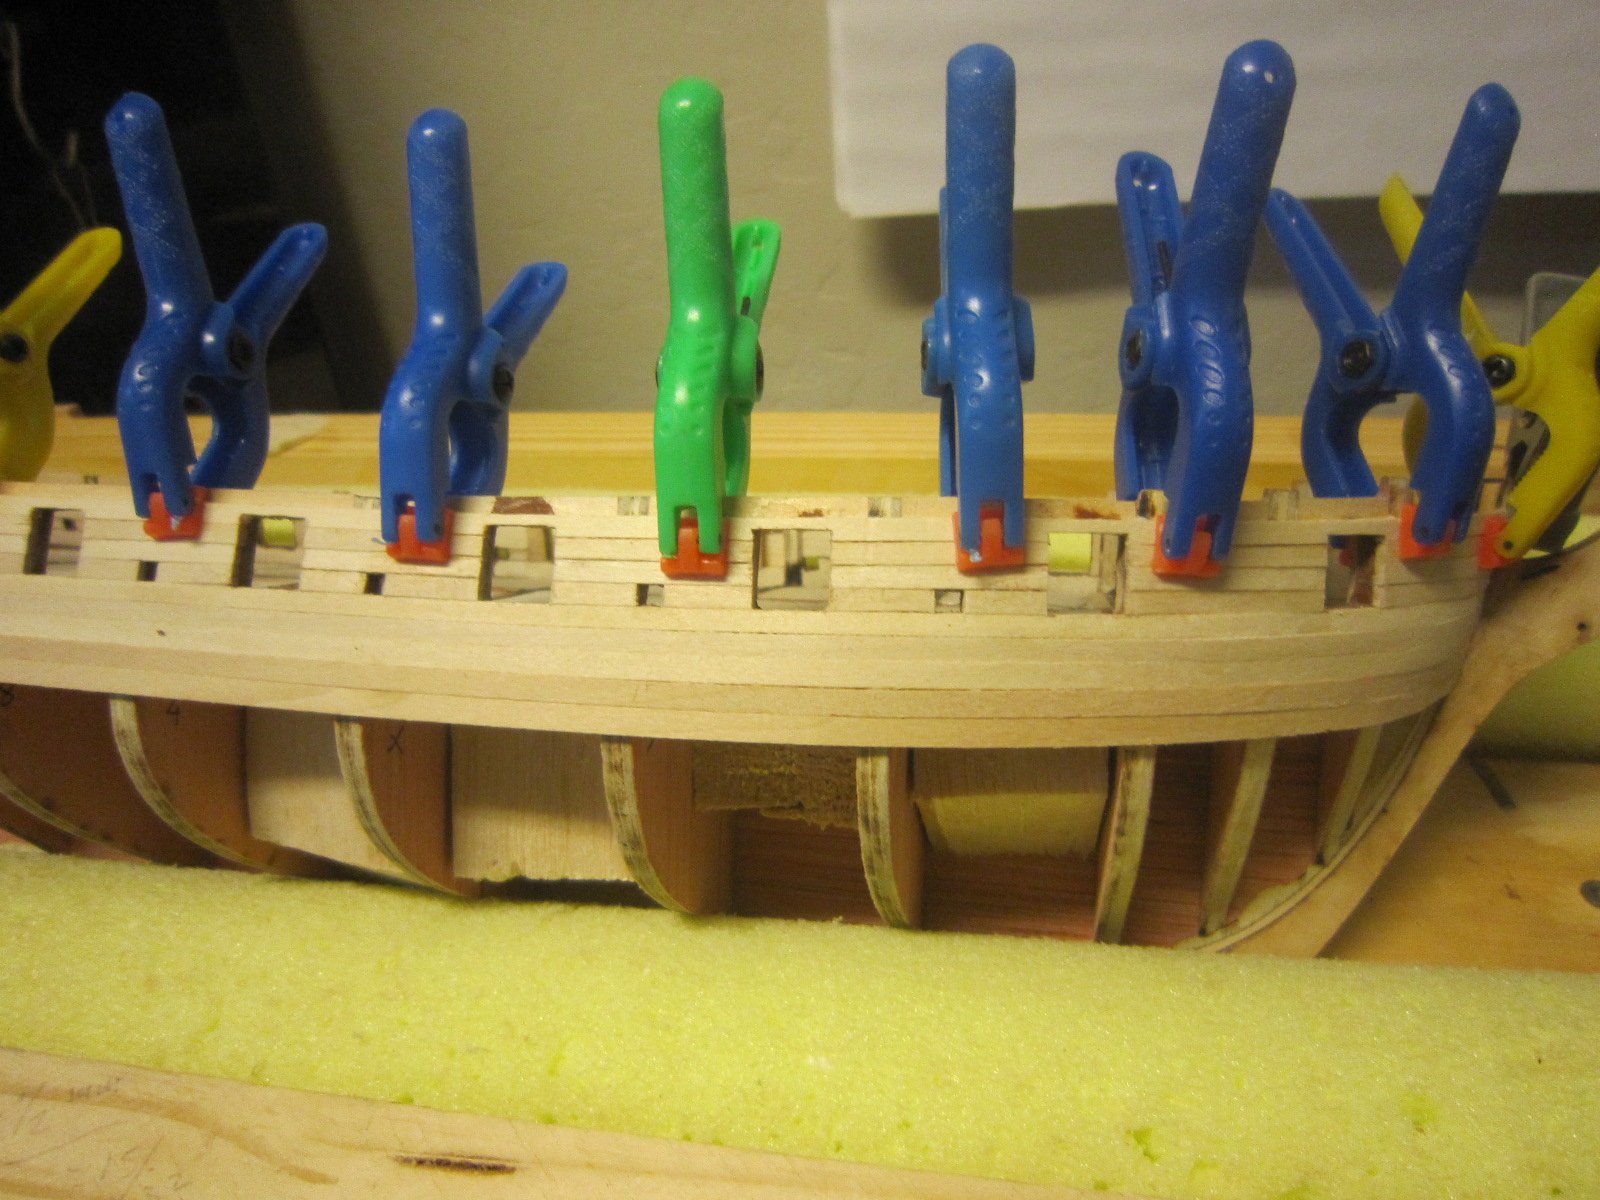
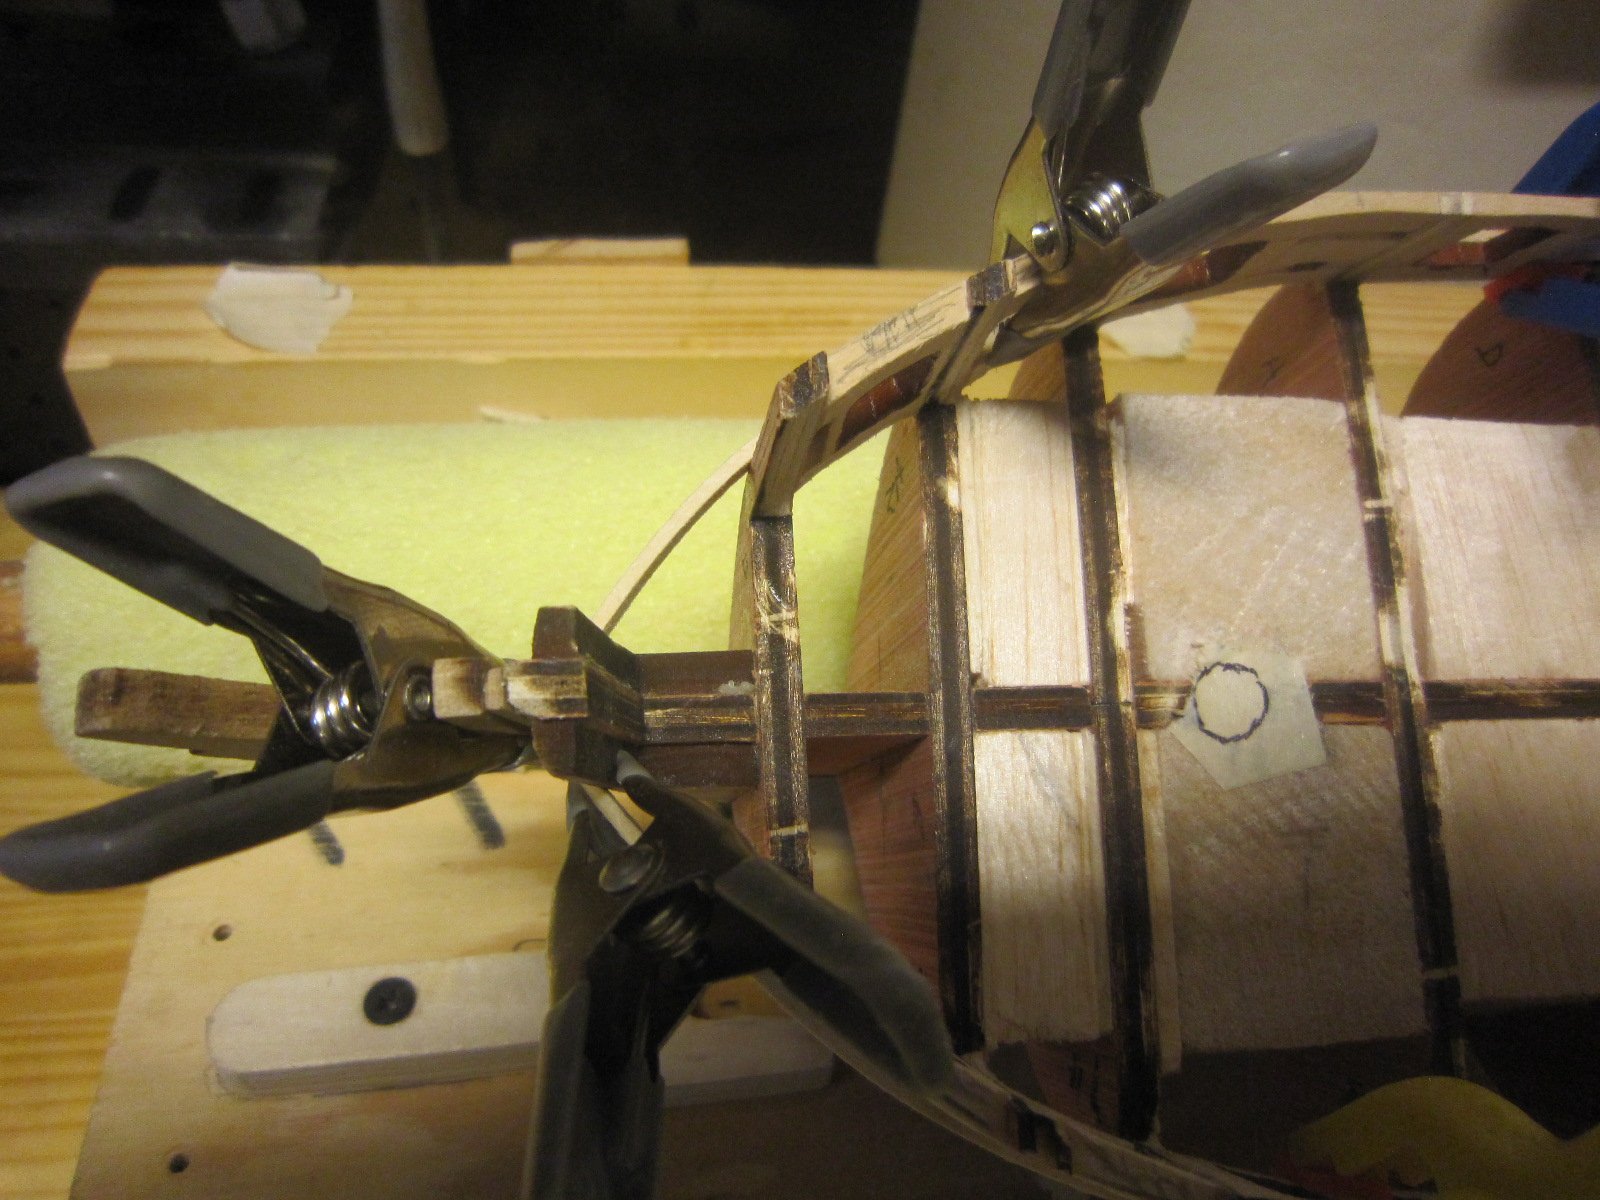
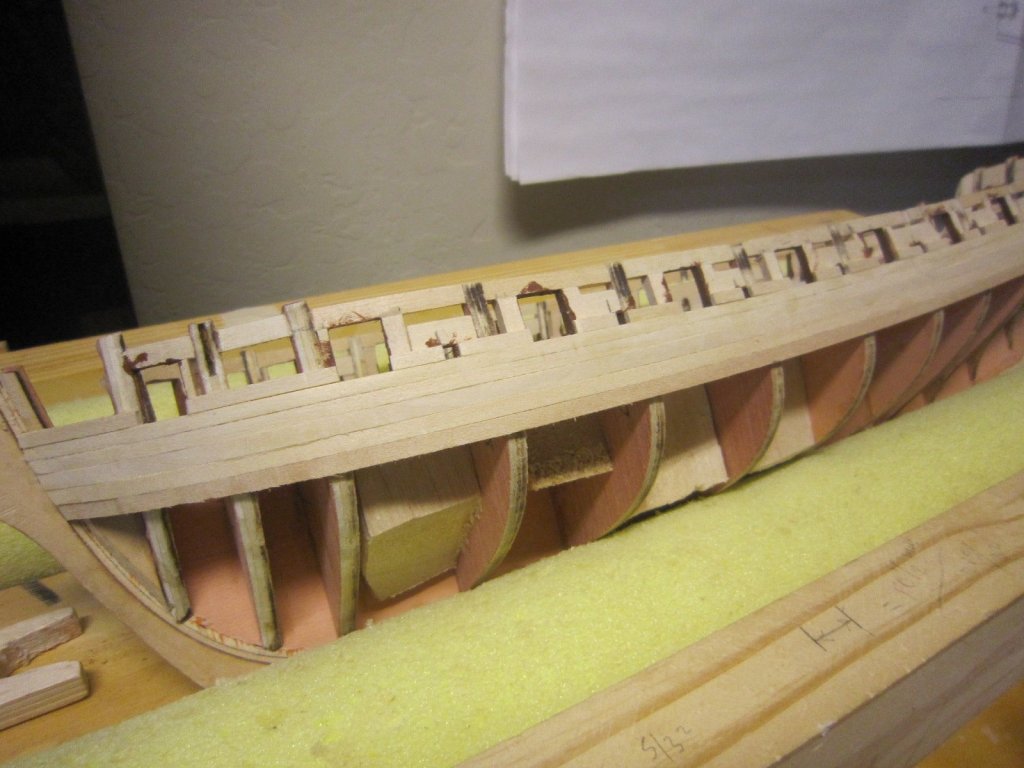
Another day...another course of planks. One plank course a day is all I can manage since I have to give the glue a chance to work.


- 1,135 replies
-
- 11
-
-
- model shipways
- syren
- (and 2 more)
-
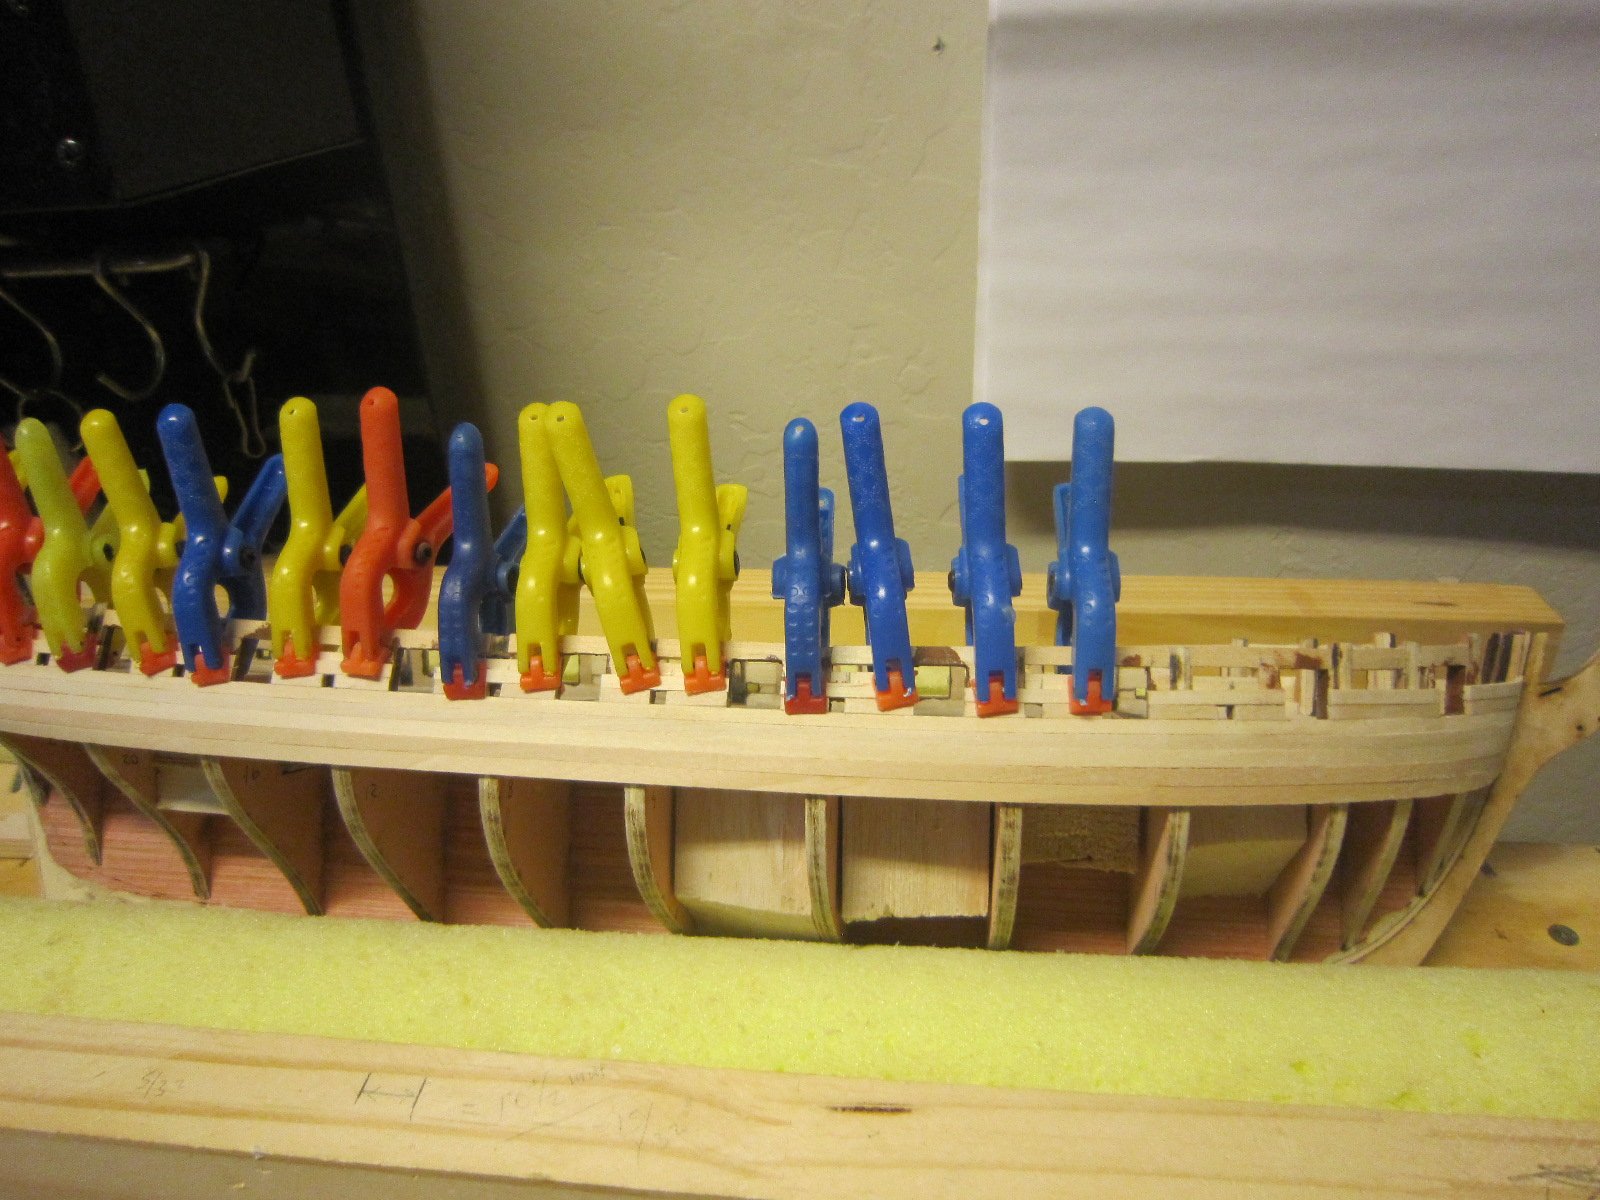
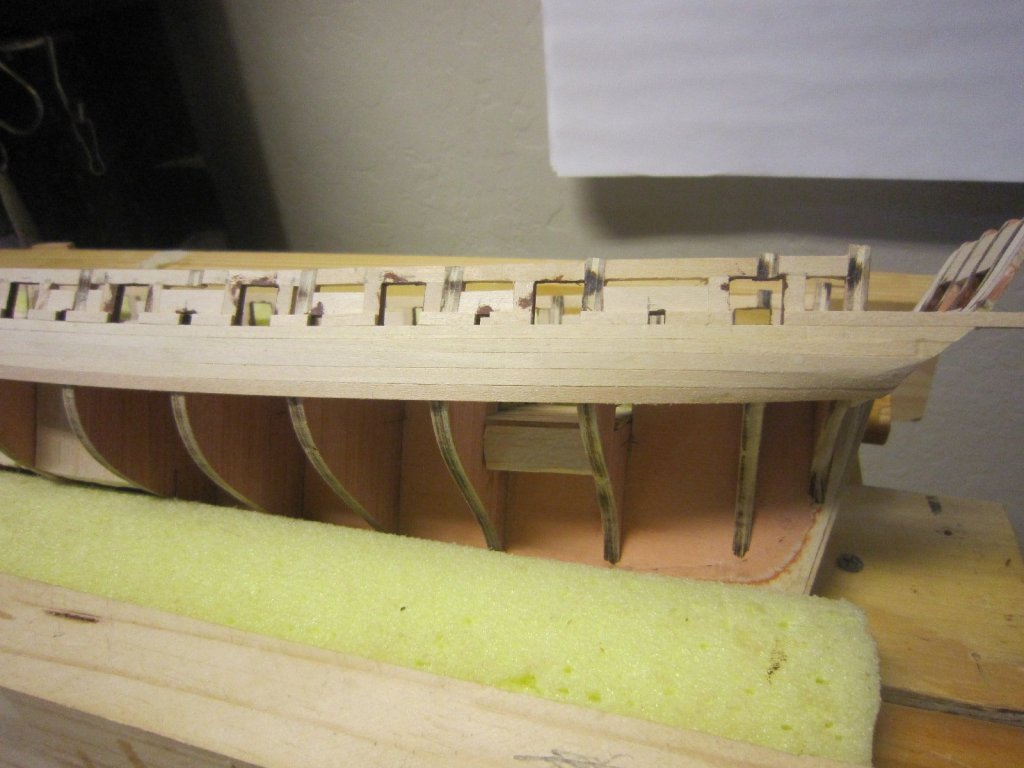
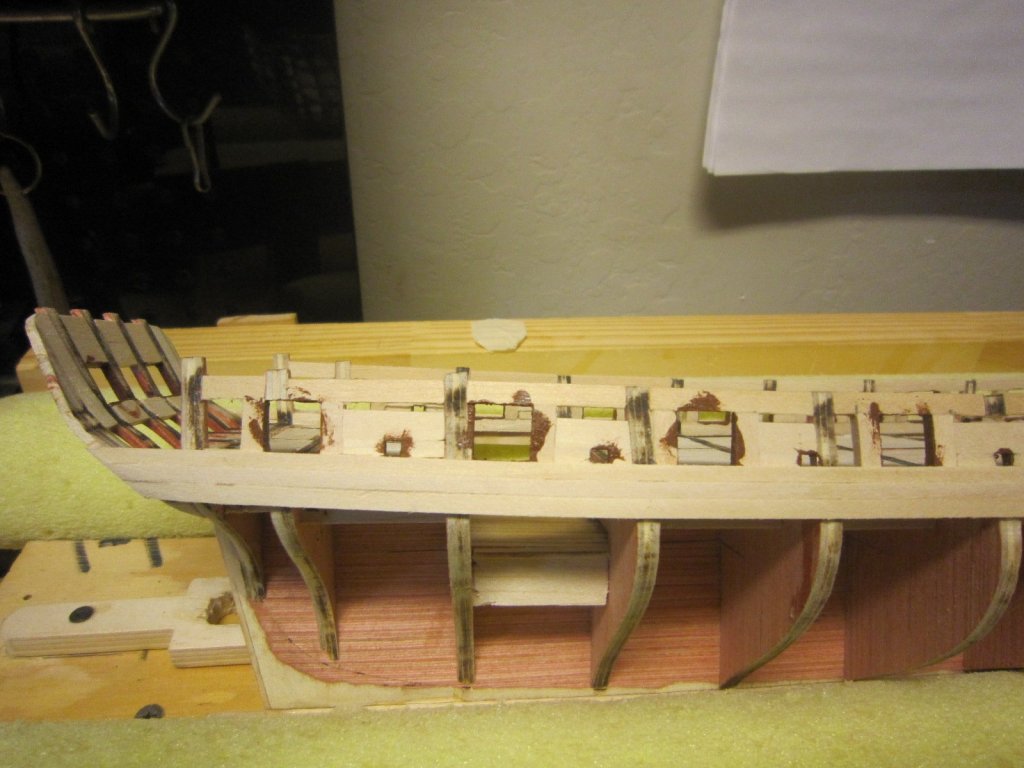
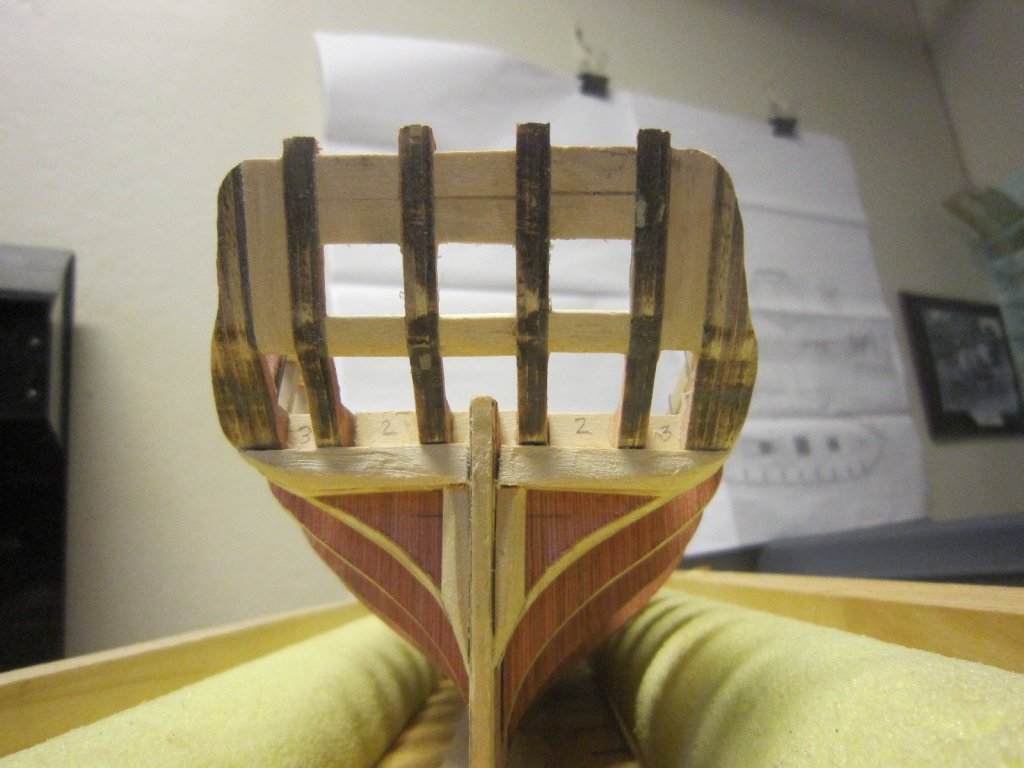
Well it took a while, but I finished the first plank course involving the gunports and sweep ports. That's a lot of cuts and none are quite perpendicular since the hull curves. They are all just a little bit off. Now for the same on the starboard side.
- 1,135 replies
-
- 9
-
-
- model shipways
- syren
- (and 2 more)
-
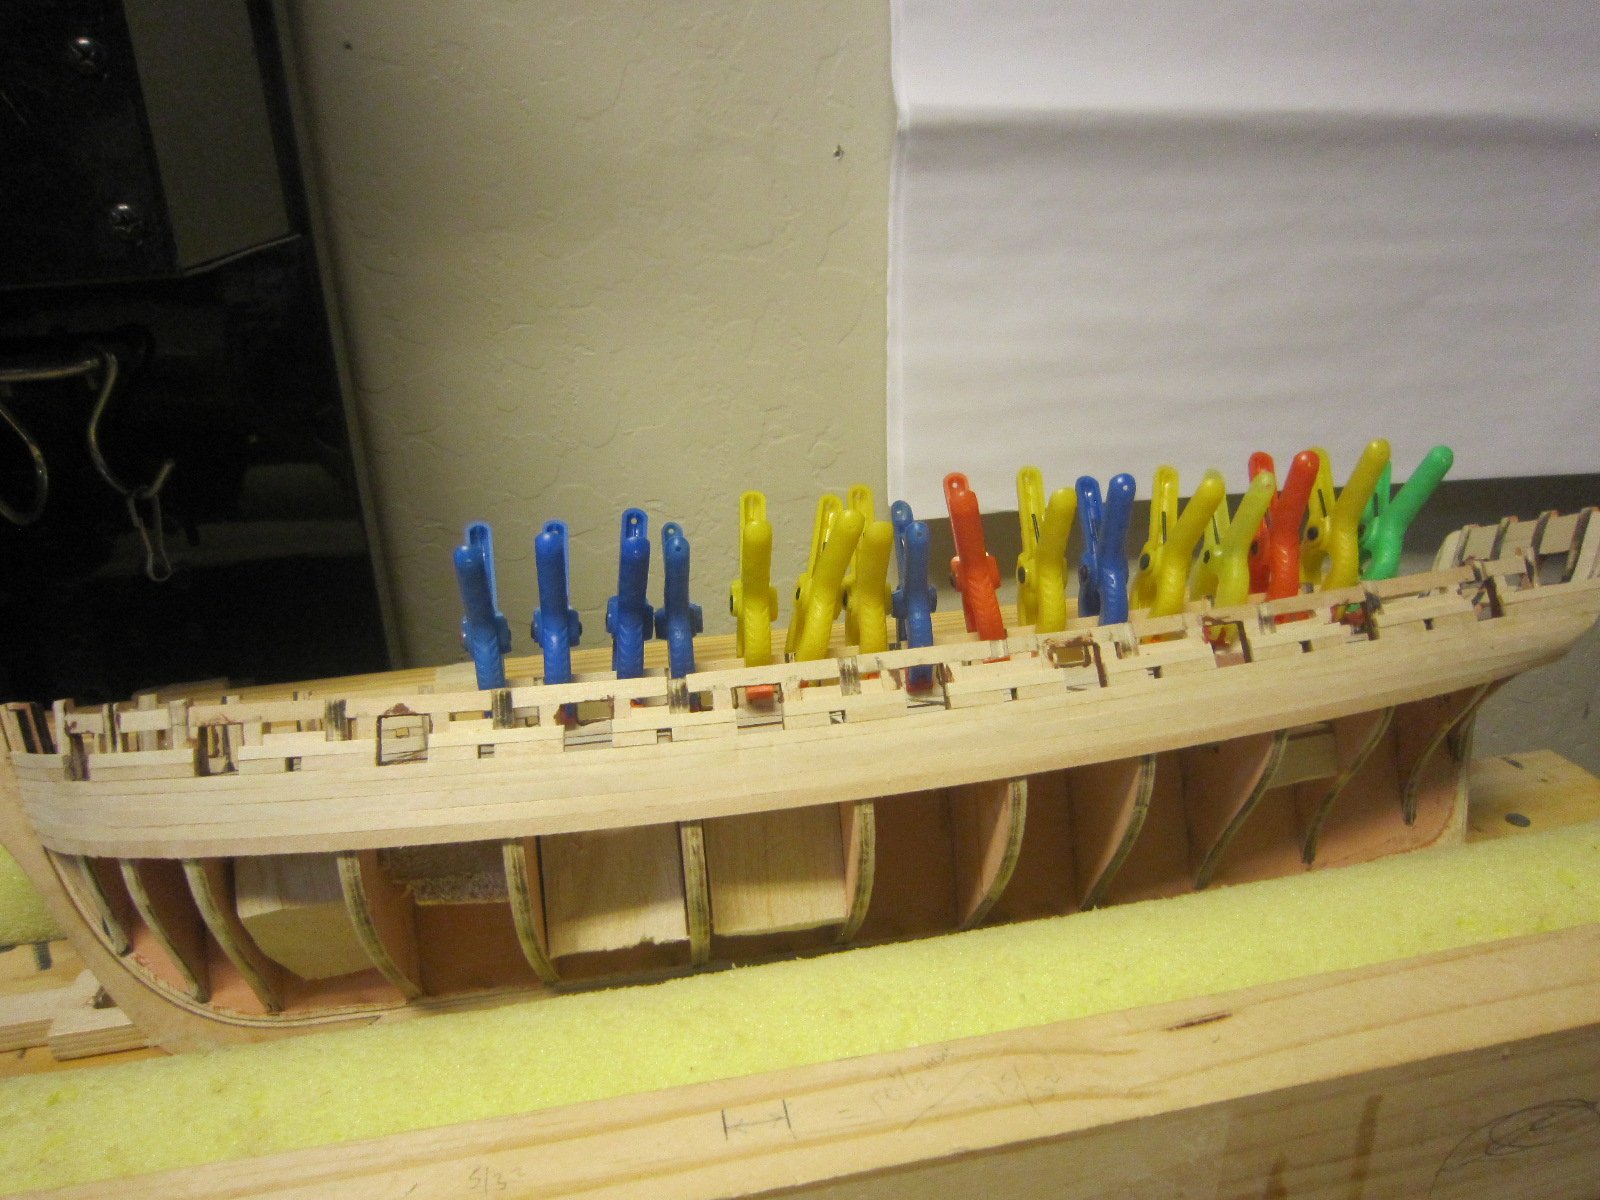
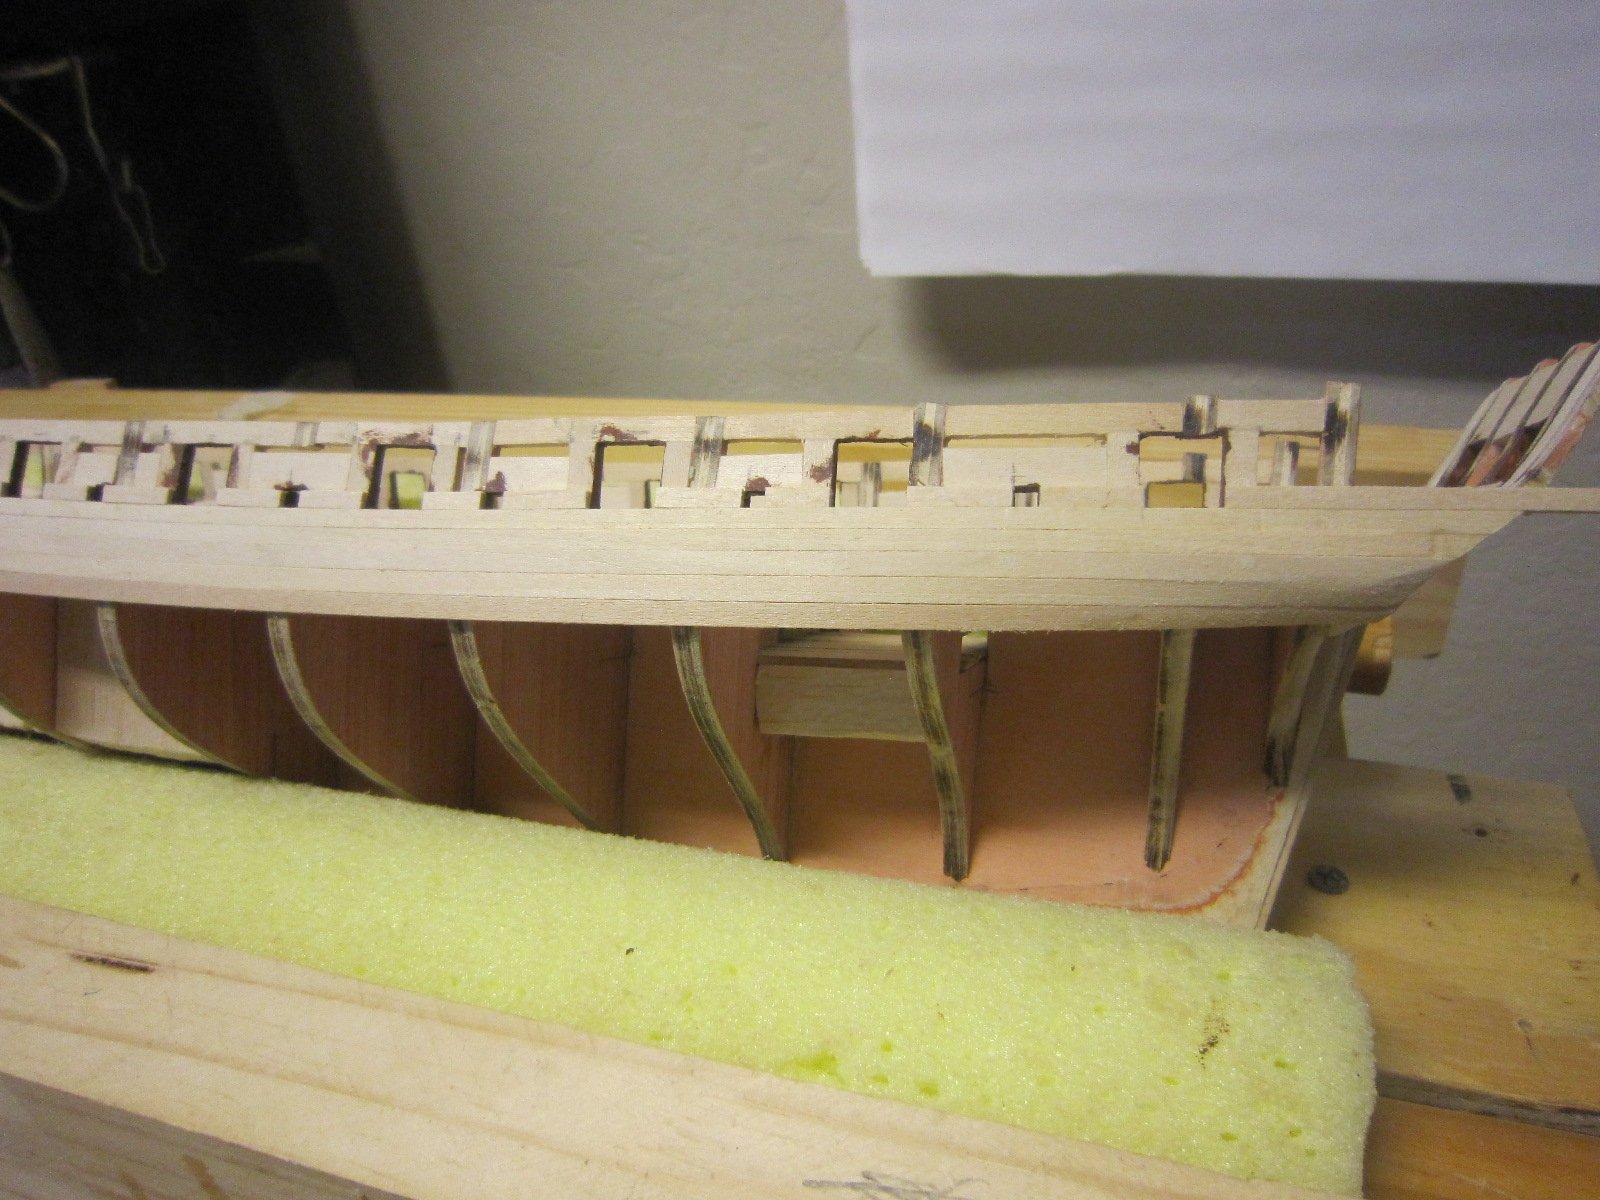
Planking the last wale before the intricate upper gunport planks.
- 1,135 replies
-
- 7
-
-
- model shipways
- syren
- (and 2 more)
-
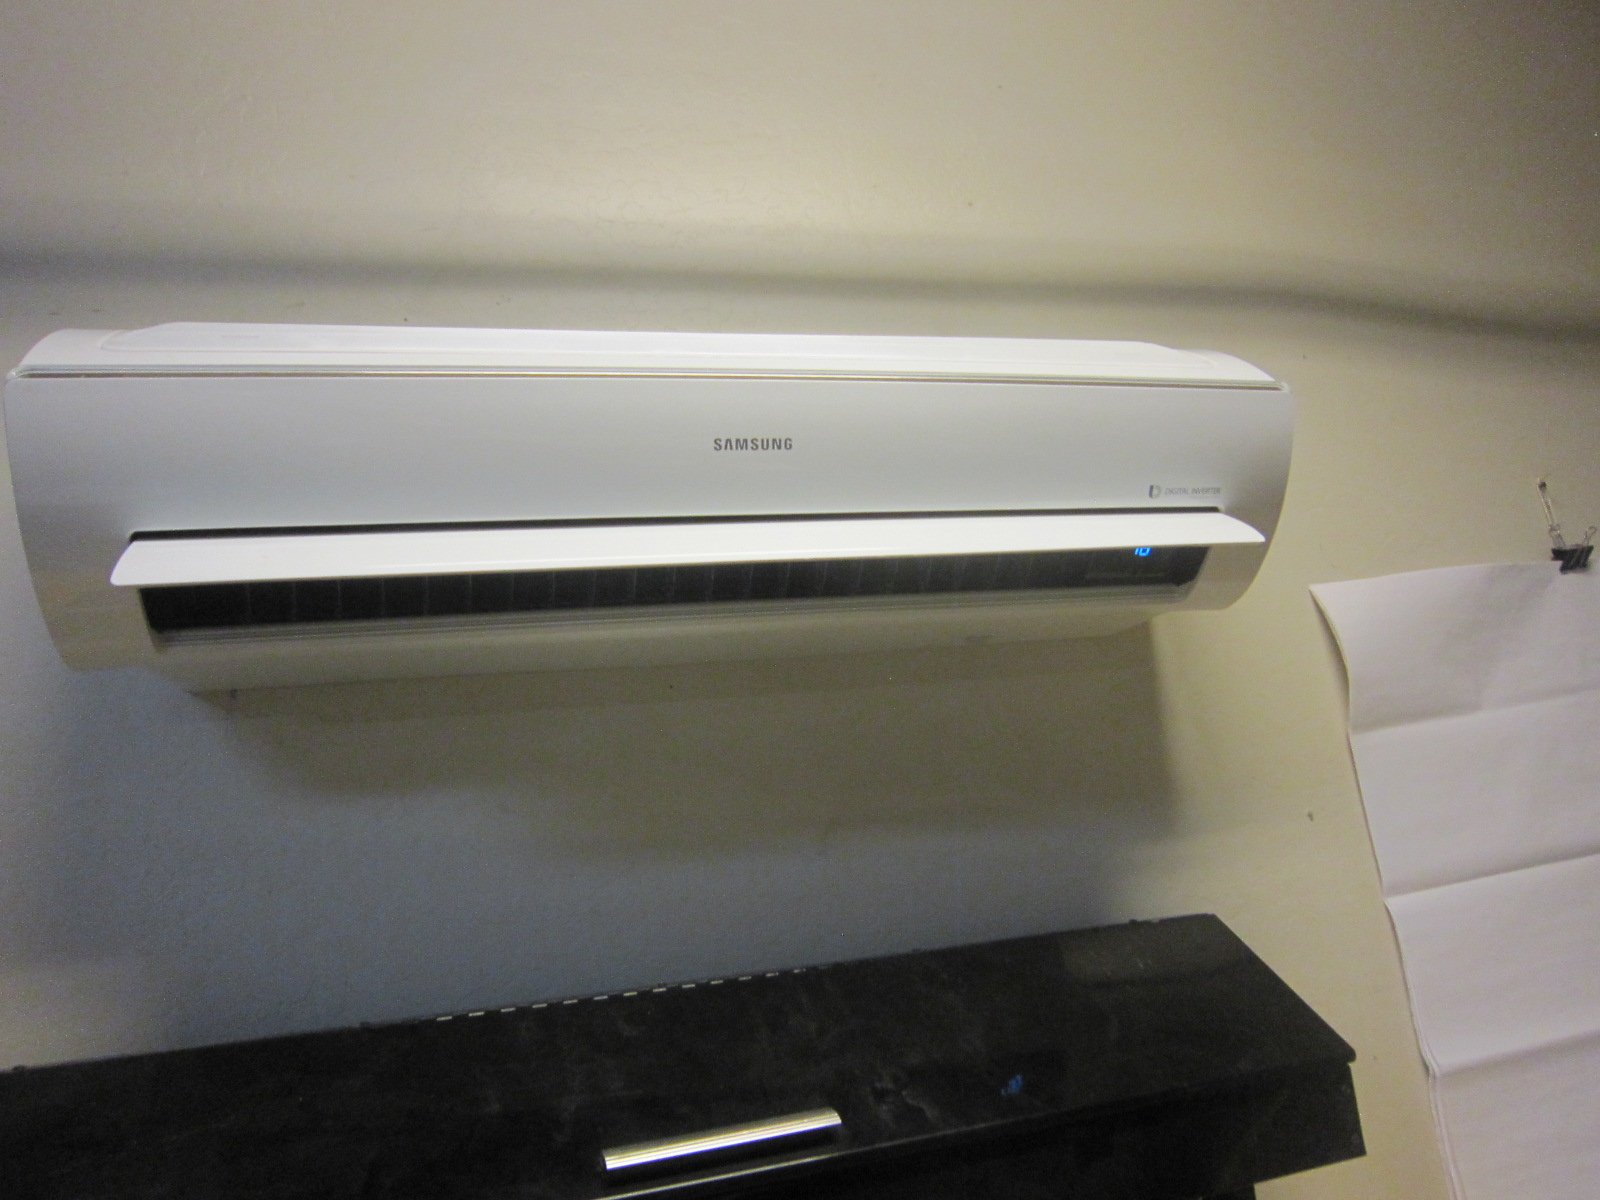
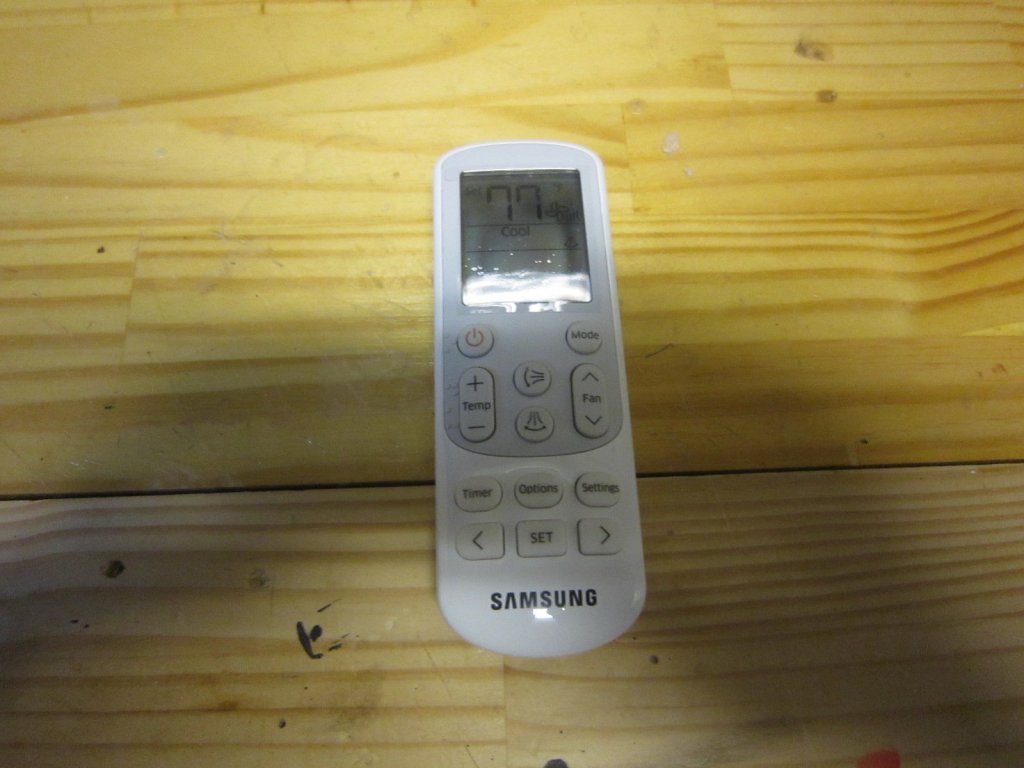
The AC is great. It even heats if it gets cold. BTW I tagged your build site since day one. Nice job.
- 1,135 replies
-
- 2
-
-
- model shipways
- syren
- (and 2 more)
-
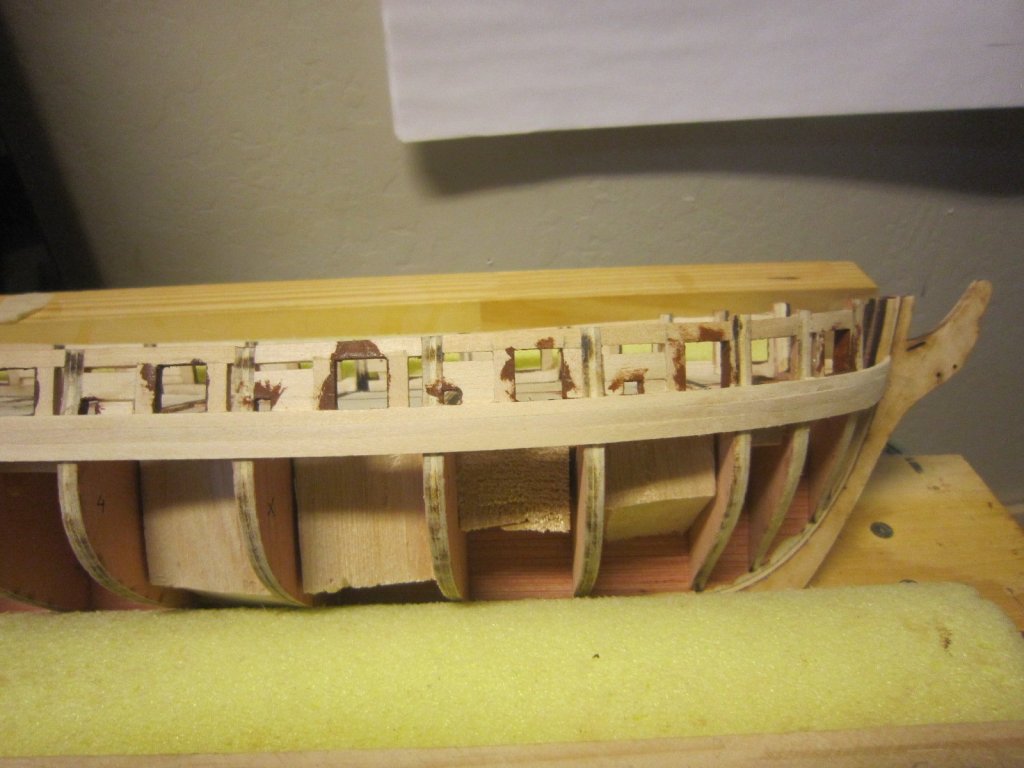
I just unclamped the first three courses both port and starboard and they came out nicely. Now for the more difficult planks
- 1,135 replies
-
- 12
-
-
- model shipways
- syren
- (and 2 more)
-
I've begun planking. Here's the upper wale and two smaller planks above the upper wale. These were relatively easy since there's not much twisting and beveling needed. They were pre-curved in my jig. Only slight beveling. Above these requires nice neat cuts around the gun ports and sweep ports. Below, tapering and beveling, curves and twists.


- 1,135 replies
-
- 10
-
-
- model shipways
- syren
- (and 2 more)
-
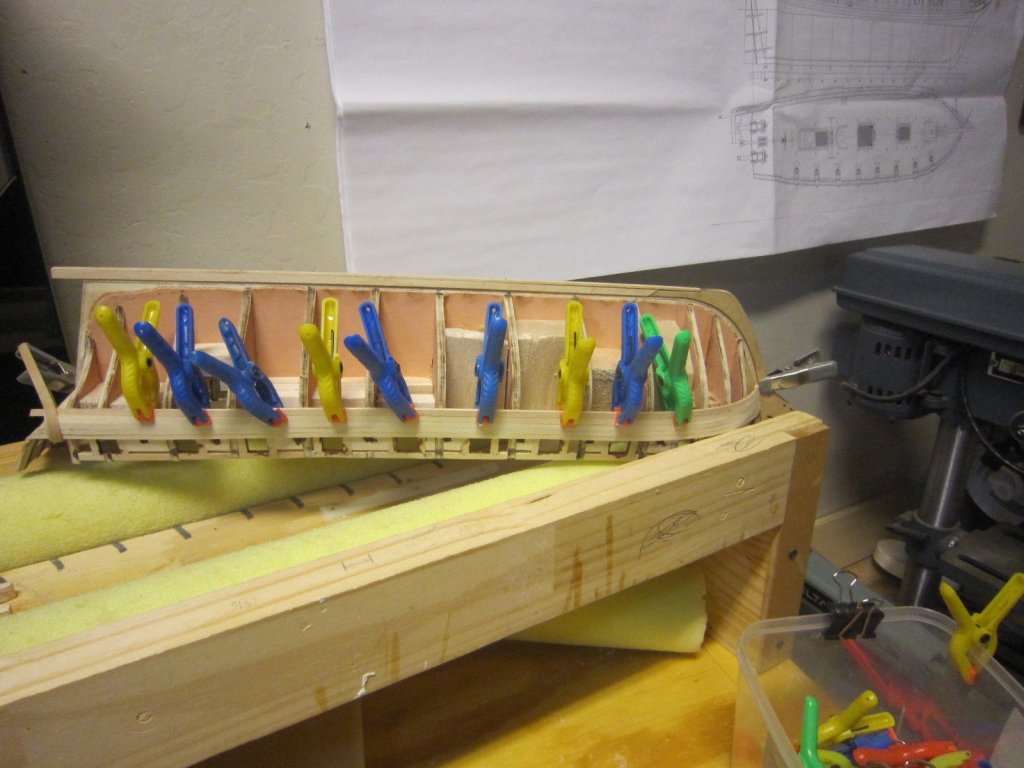
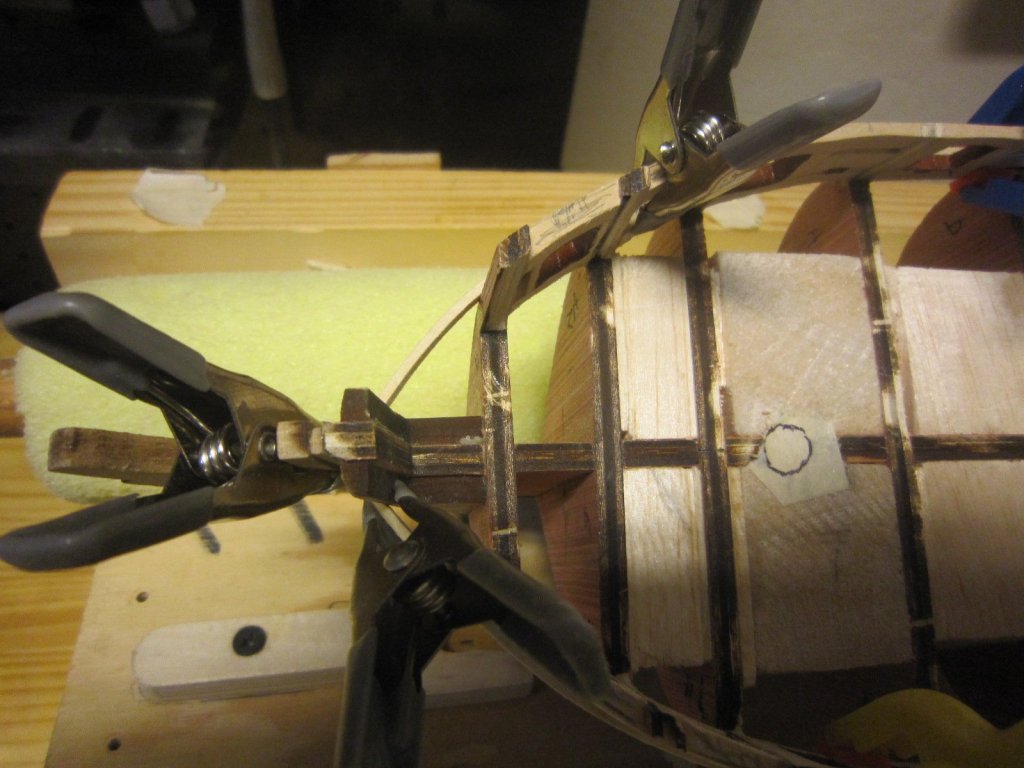
I've clamped (not glued) the first two planks after sitting in my jig overnight. Both sides seem to fit very snugly. I guess all my fairing and sanding has paid off. Since the planks have a small downward arch as well as a curve, I will leave them clamped for a while so they keep the arch. I'll assist with some hot air from a hair dryer.
- 1,135 replies
-
- 11
-
-
- model shipways
- syren
- (and 2 more)
-
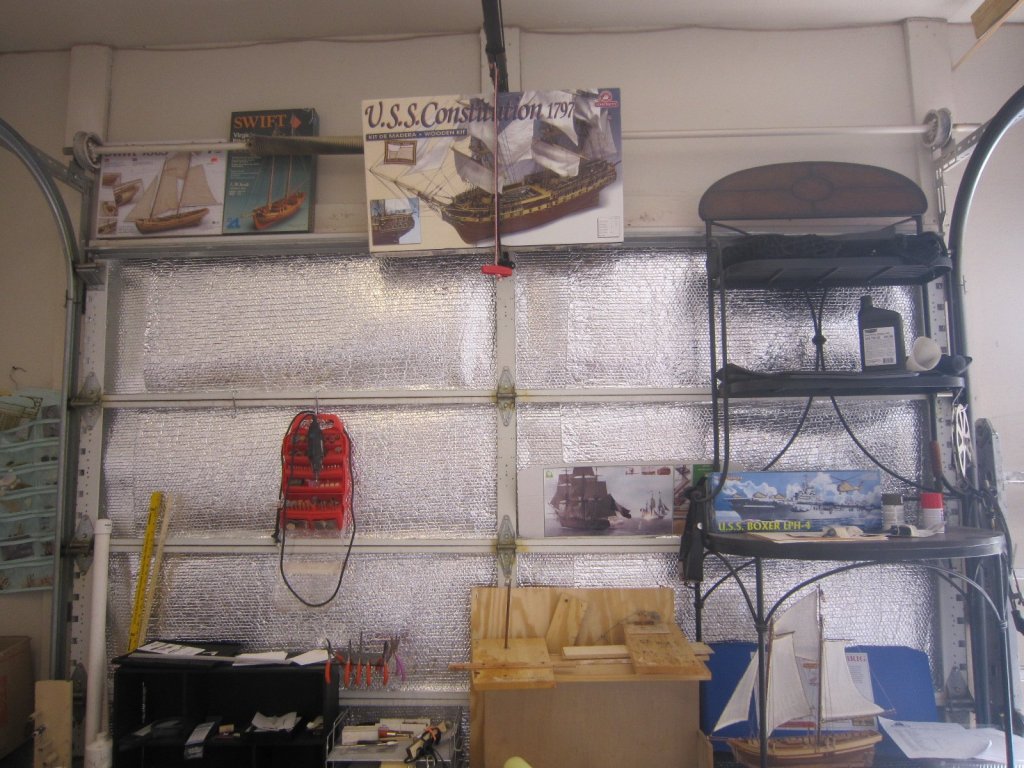
I like your shipyard! Good use of a closet. Good luck with Syren.
-
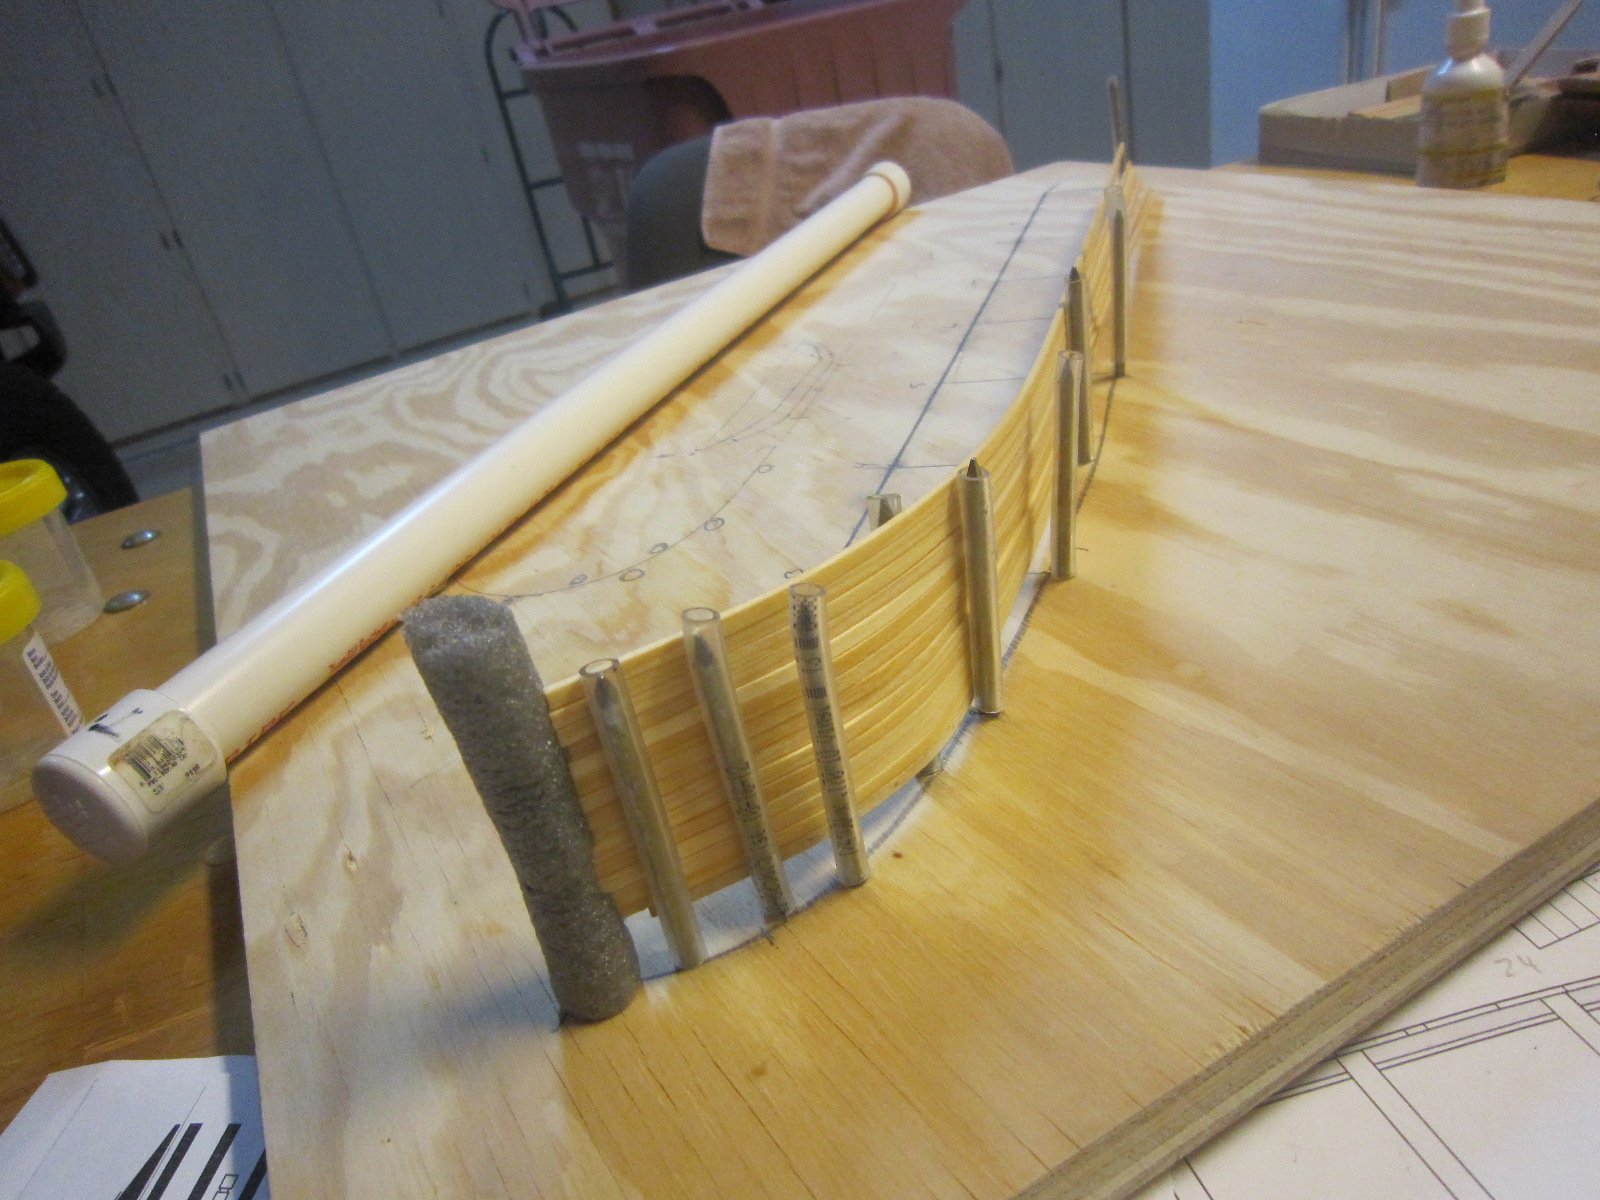
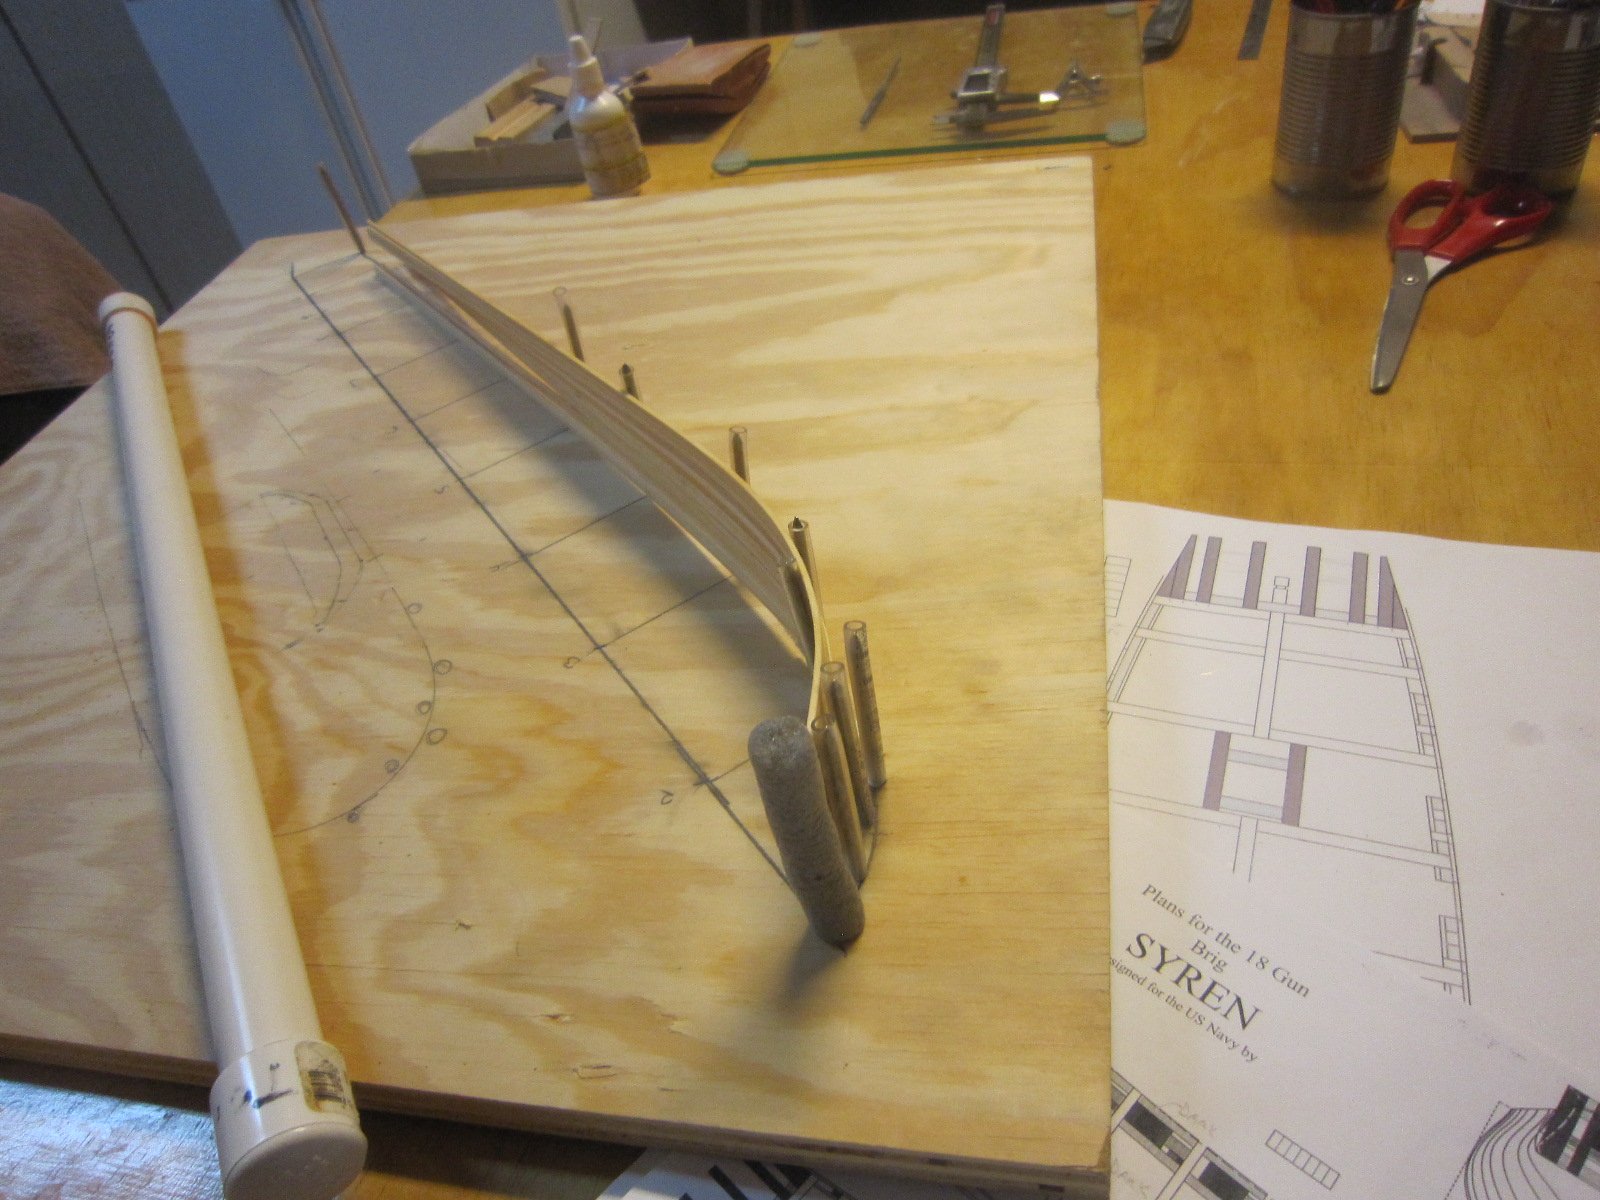
I'm pre-bending the first 14 planks. These are the planks about the wales and encompass the gunports. They are 1/8" Basswood and after a short soak, they bent without breaking! The pictures show my jig and soaking tube made of capped PVC pipe.


- 1,135 replies
-
- 10
-
-
- model shipways
- syren
- (and 2 more)
-
The instructions say to paint the inside of the gunports and sweep ports before planking, so I did. I am now getting all my planking equipment in order. Soaking tubes and jigs, etc.

- 1,135 replies
-
- 5
-
-
- model shipways
- syren
- (and 2 more)
-
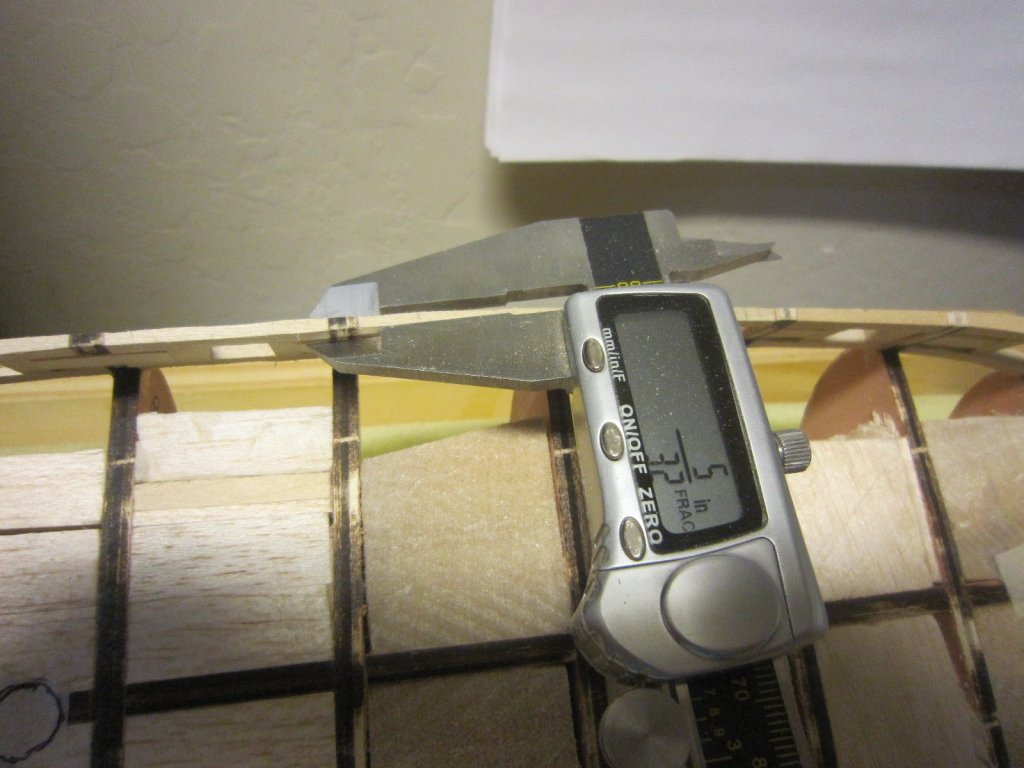
I finally got all the gunwales to 5/32" like the instructions said. That's a lot of sanding. Now I can concentrate on planking.
- 1,135 replies
-
- 5
-
-
- model shipways
- syren
- (and 2 more)
-
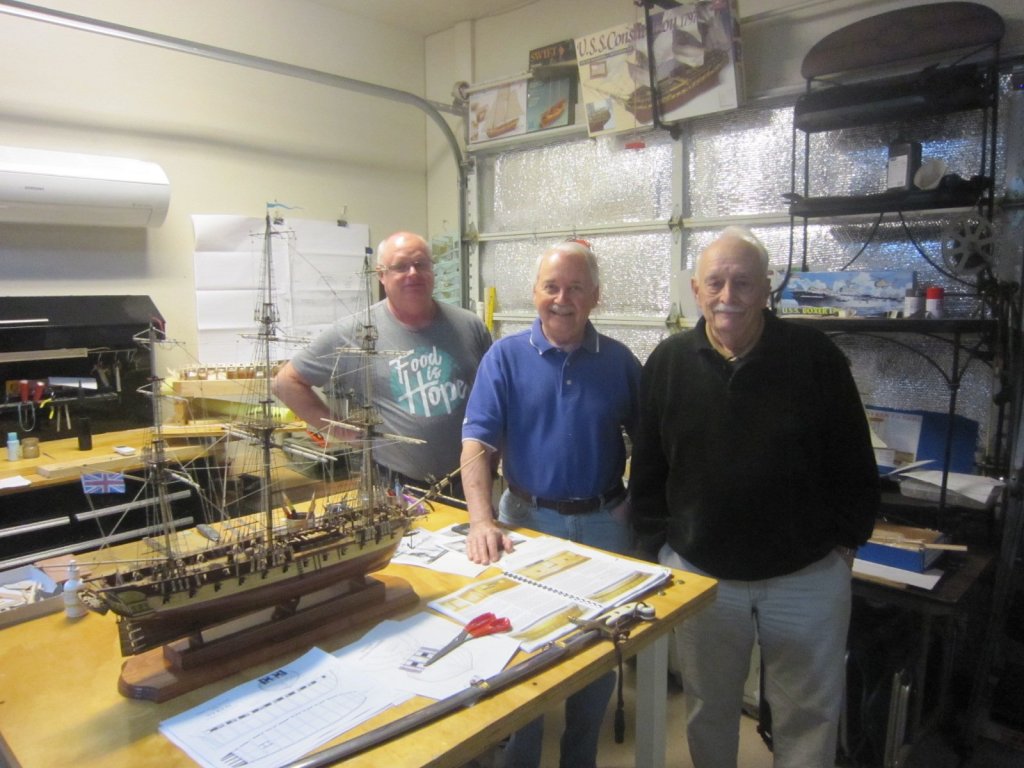
We just had a meeting of The Arizona Shipwrights at my garage shipyard. We welcome all model ship builders who live in Arizona to join our group. We get together once a month at one of our homes. It's educational and fun.
- 1,135 replies
-
- 9
-
-
- model shipways
- syren
- (and 2 more)
-
AAHHH! Cold air! Now I have to clean up the construction mess then get back to ship building.

- 1,135 replies
-
- 6
-
-
- model shipways
- syren
- (and 2 more)
-
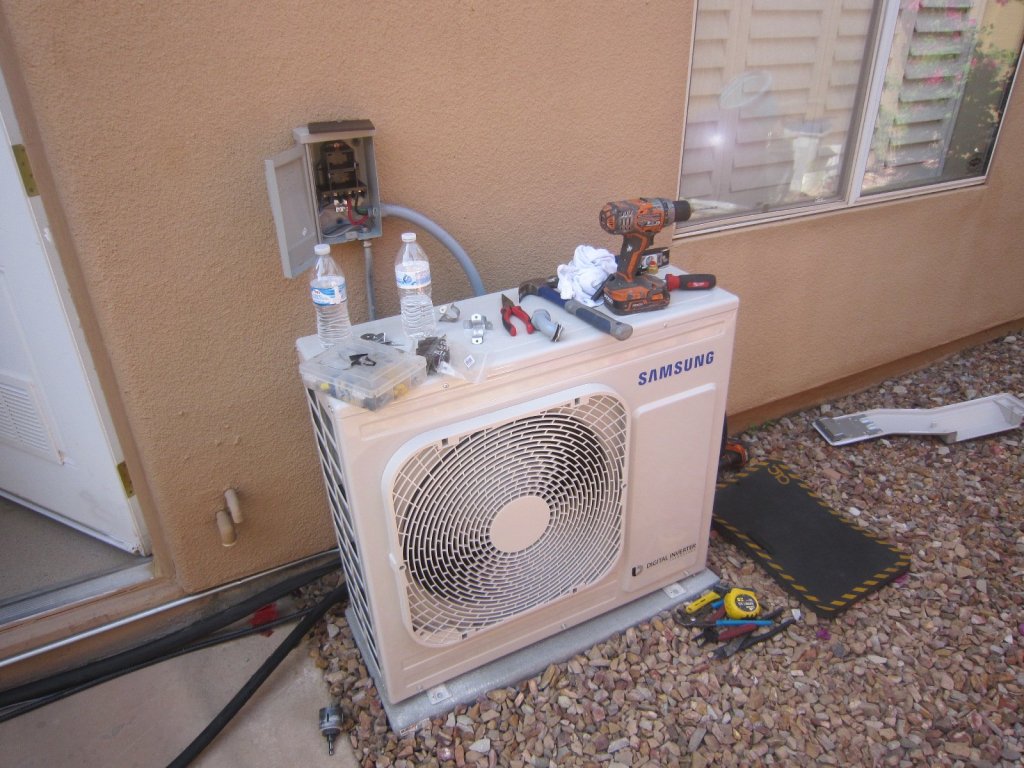
Time out from ship building while I install air conditioning in my Arizona garage. I insulated the garage doors, also. There's no working here without it in the summer.

- 1,135 replies
-
- 11
-
-
- model shipways
- syren
- (and 2 more)
-
Don I don't know yet. Where the black goes some dark wood and where the whitish planks go some nice blond wood. One thing I do know is the dark wood I pick as pretty as it is will not be Sapele. I had a terrible time planking my Connie with that stuff.
- 1,135 replies
-
- 5
-
-
- model shipways
- syren
- (and 2 more)
-
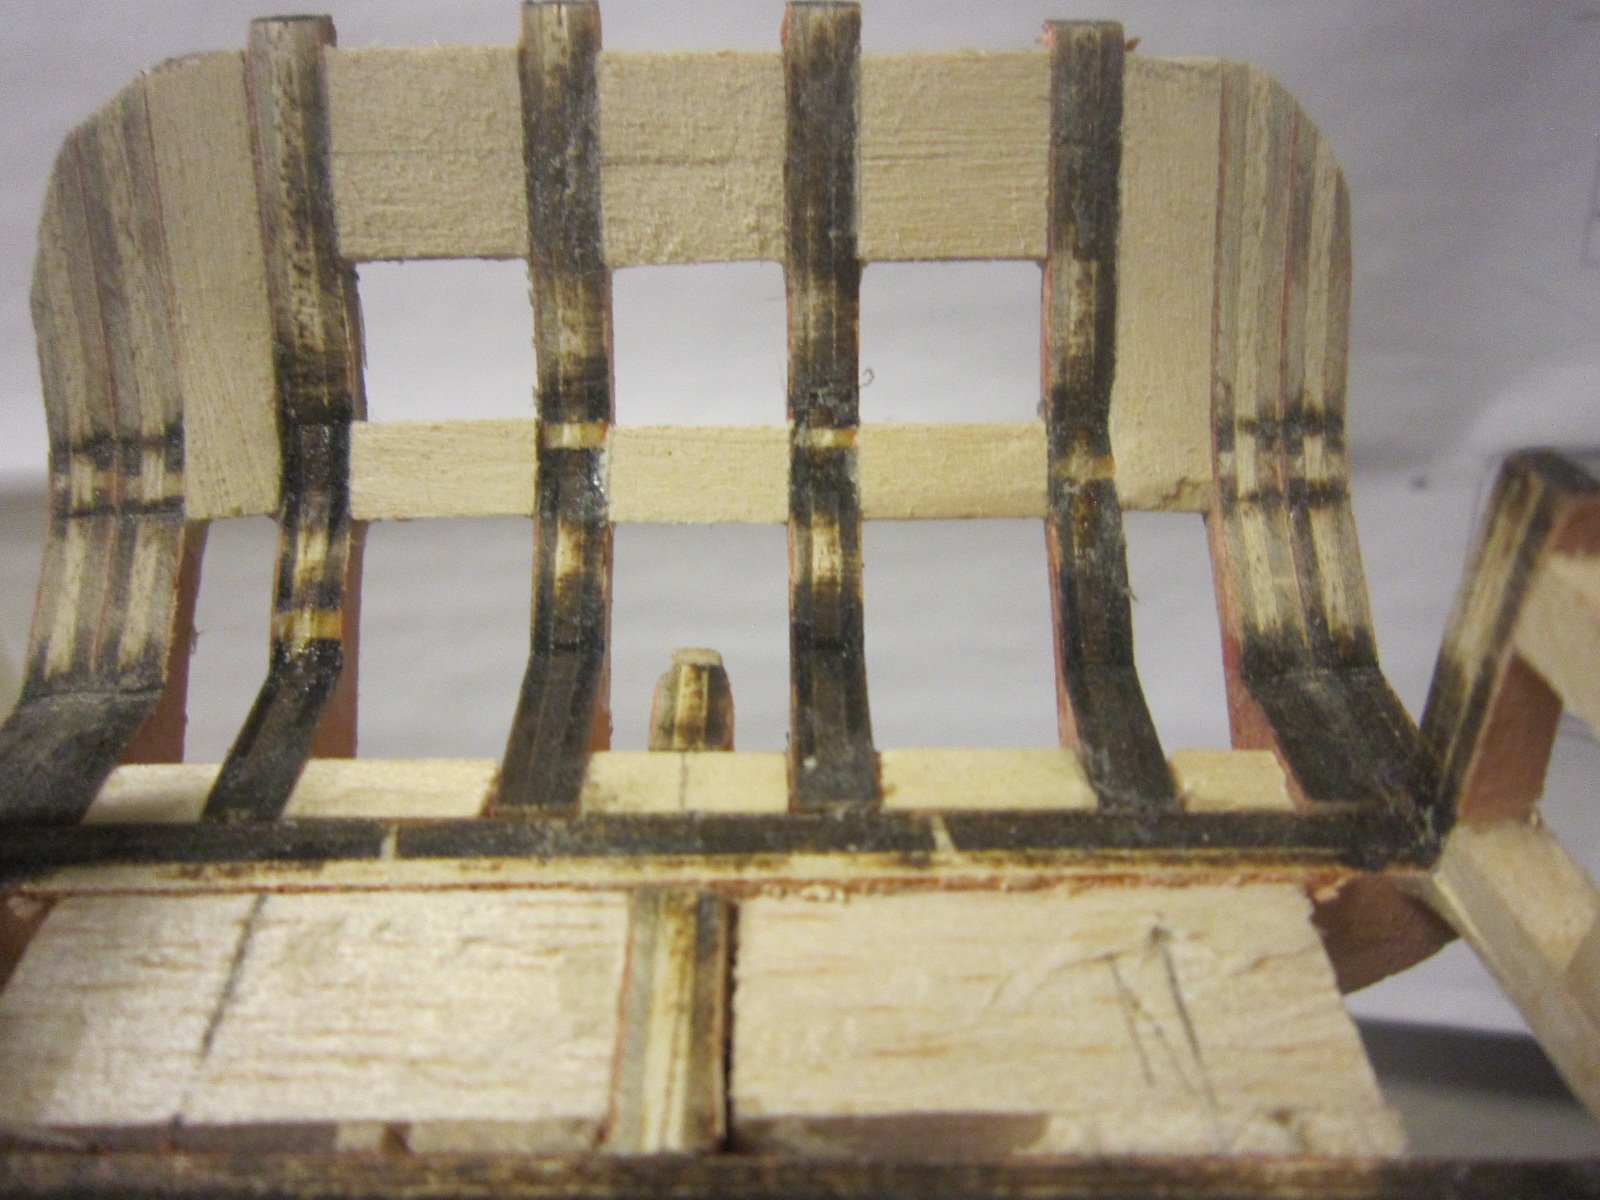
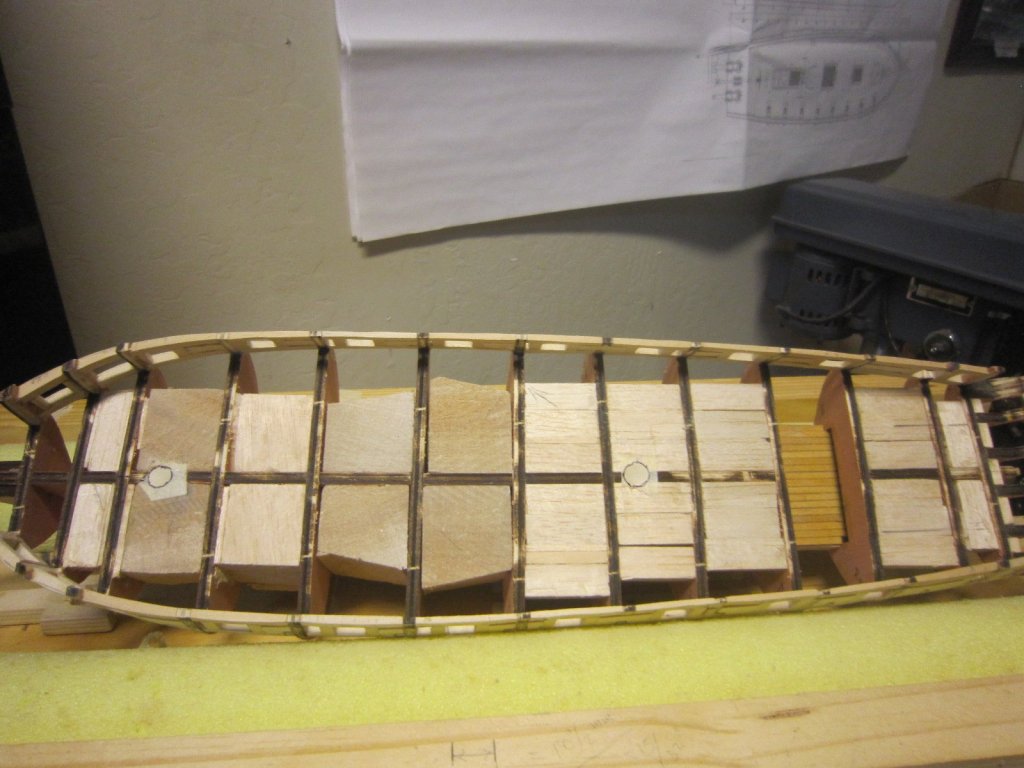
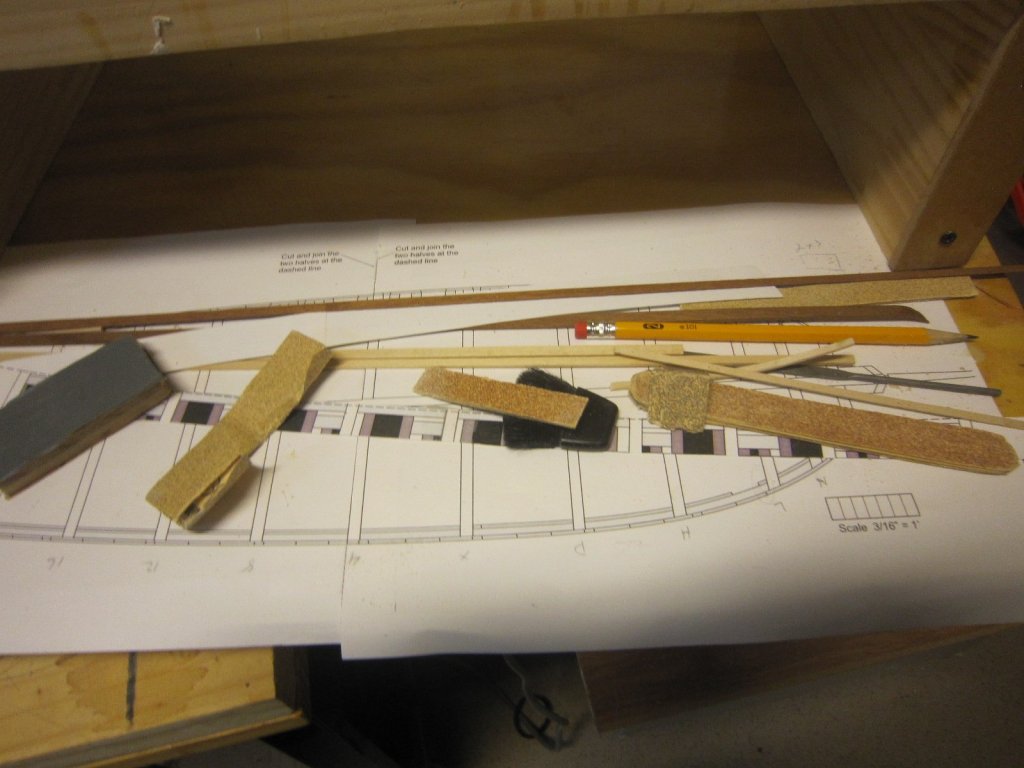
Very slow progress while sanding and fairing in preparation for planking. I've made an array of sanding blocks trying to get into all the cracks and crevices. Char still is there? I'm planning my own planking plan since I do not want to paint my ship and I do not want to copper it. I like looking at all the woodwork.
- 1,135 replies
-
- 8
-
-
- model shipways
- syren
- (and 2 more)
-
More sanding and shaping. I'm trying to get the shape of the whole stern correct. It's not easy.
- 1,135 replies
-
- 9
-
-
- model shipways
- syren
- (and 2 more)
-
Good luck!
-
I glued on more filler blocks to the base of the stern. I still haven't figured out how I'm going to skin this cat. Also more sanding! I think some of this char goes all the way through!

- 1,135 replies
-
- 8
-
-
- model shipways
- syren
- (and 2 more)