HOLIDAY DONATION DRIVE - SUPPORT MSW - DO YOUR PART TO KEEP THIS GREAT FORUM GOING! (83 donations so far out of 49,000 members - C'mon guys!)
×


HIPEXEC
-
Posts
2,698 -
Joined
-
Last visited
Content Type
Profiles
Forums
Gallery
Events
Everything posted by HIPEXEC
-
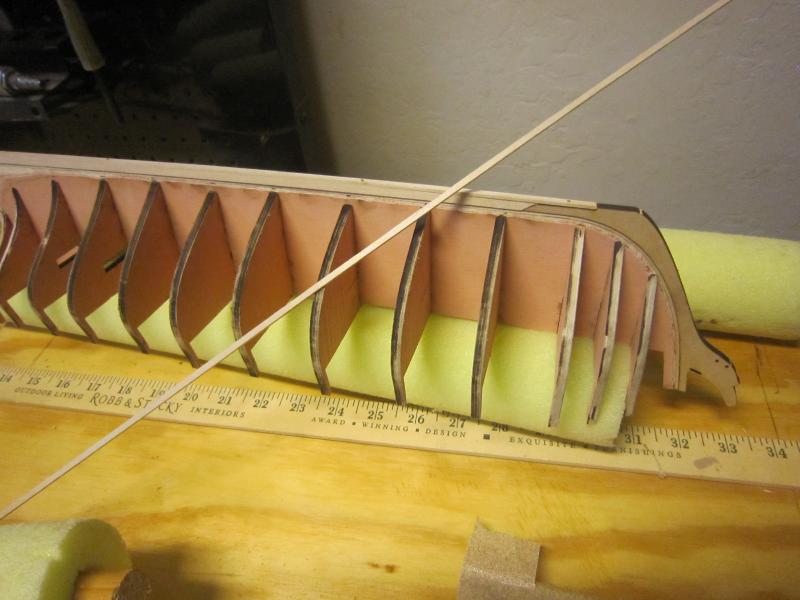
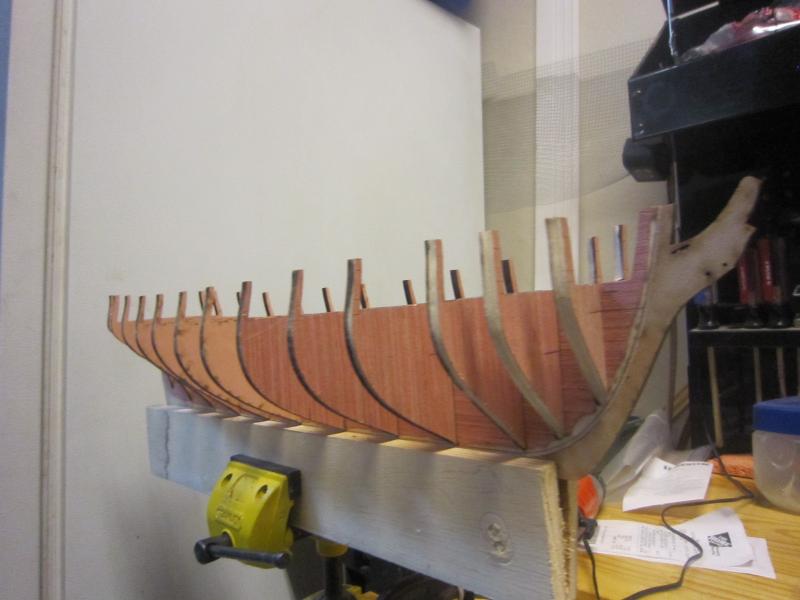
 I finished the bulkhead fillers as per the instructions. I had the hardest time keeping the keel straight. It never got very warped, but just enough to drive me crazy. I tweaked it and tweaked it until finally it is straight! I might add some more filler when I am planking if I think it will help glue the planks on. Also, my fillers don't look as pretty as the instructions, but I think it is all hidden from view anyway.
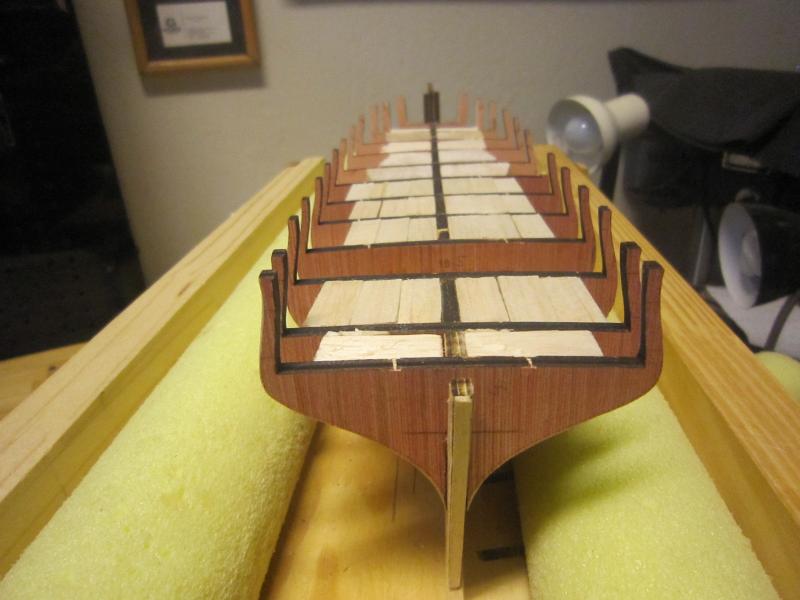
- 1,135 replies
-
- 10
-

-
- model shipways
- syren
- (and 2 more)
-
Well, the keel started off straight, but managed to develop a slight warp during the placing of the bulkheads and spacers. So, as per the instructions, I fabricated a 3/16" slot using some straight lumber I had and am continuing to add bulkhead fillers. The keel is now straight, but I check it after each set of fillers.

- 1,135 replies
-
- 11
-
-
- model shipways
- syren
- (and 2 more)
-
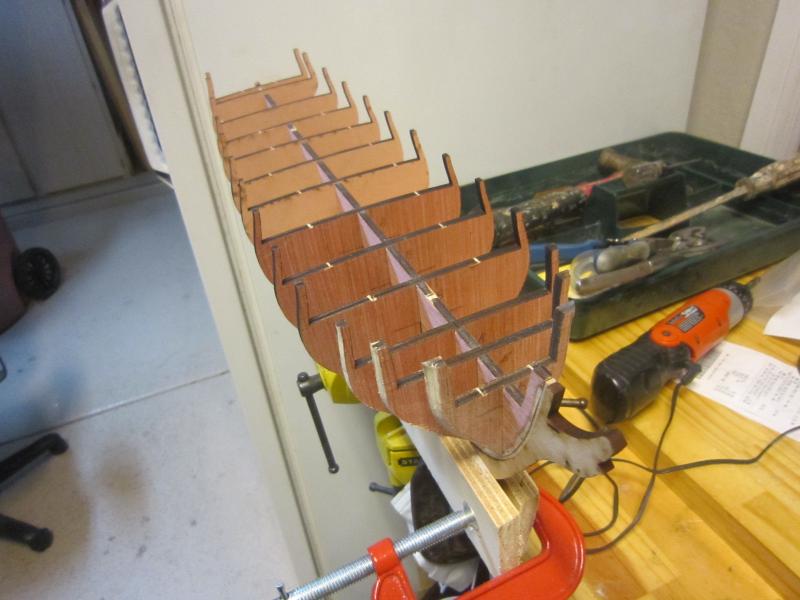
As per the instructions, I stained the lower deck Golden Oak. Now I will finish bracing the bulkheads

- 1,135 replies
-
- 8
-
-
- model shipways
- syren
- (and 2 more)
-
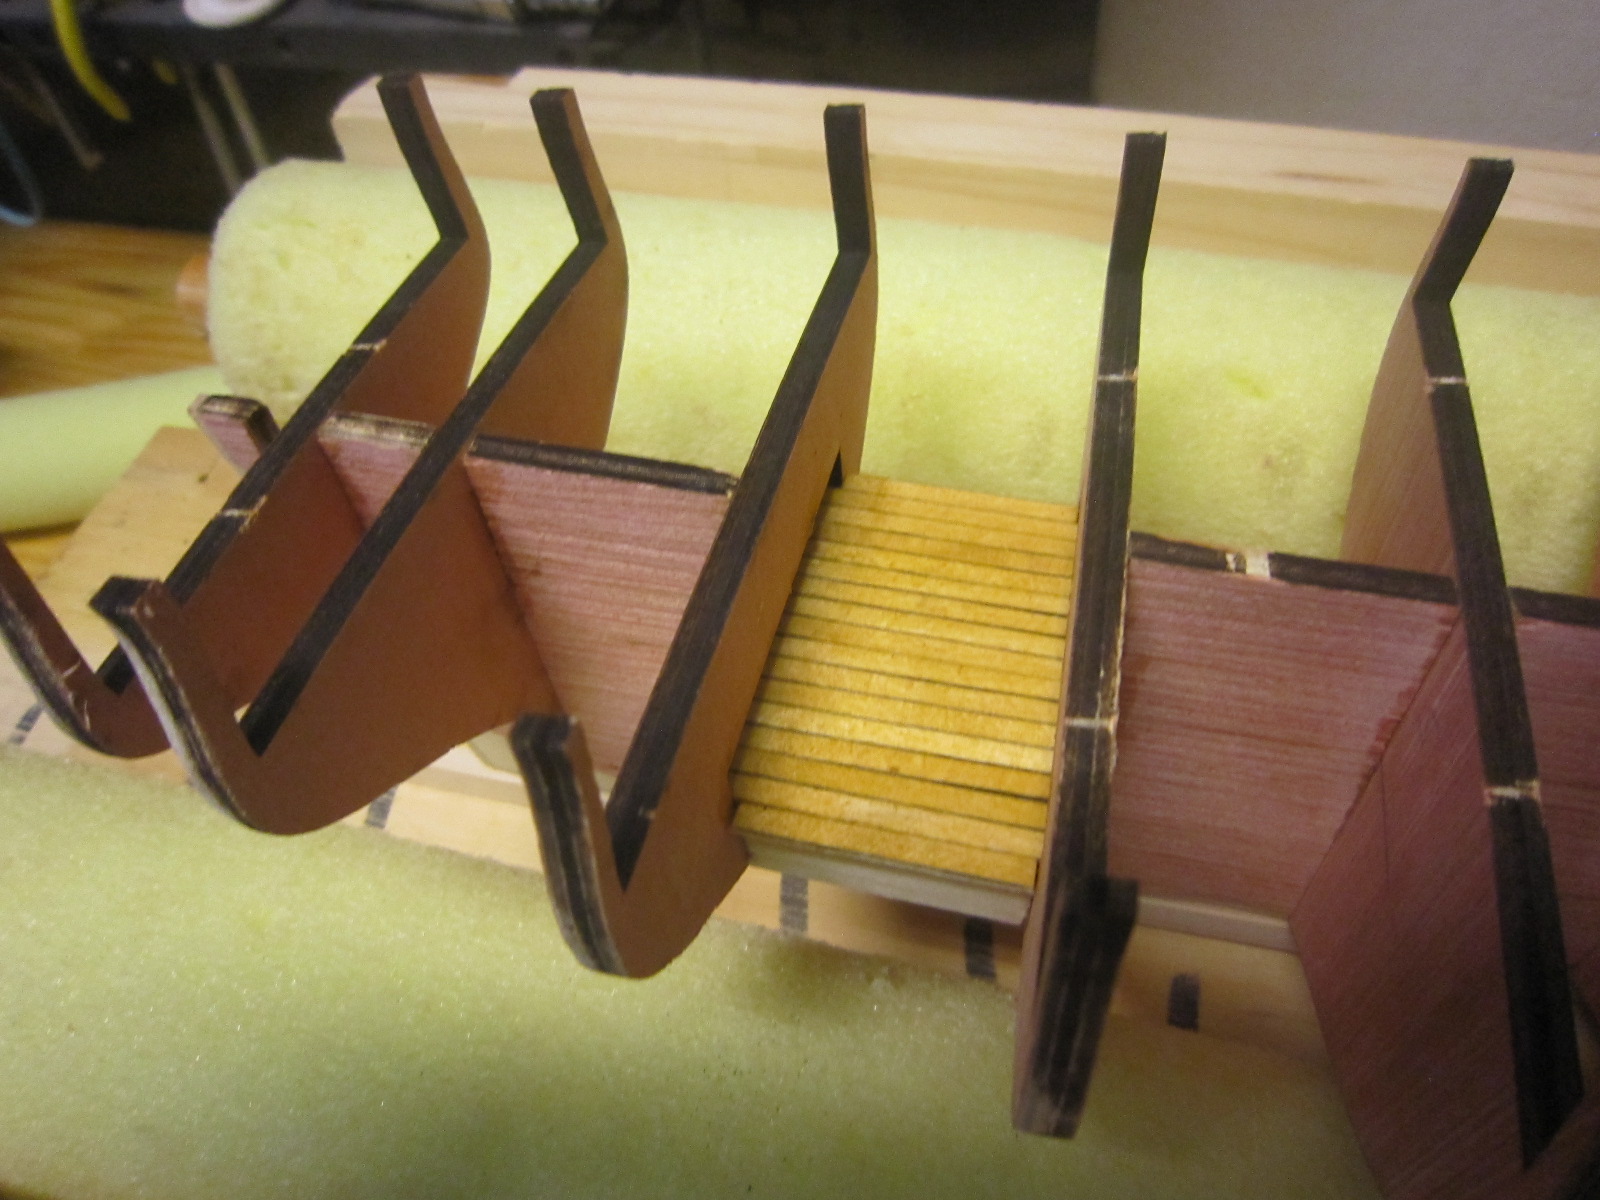
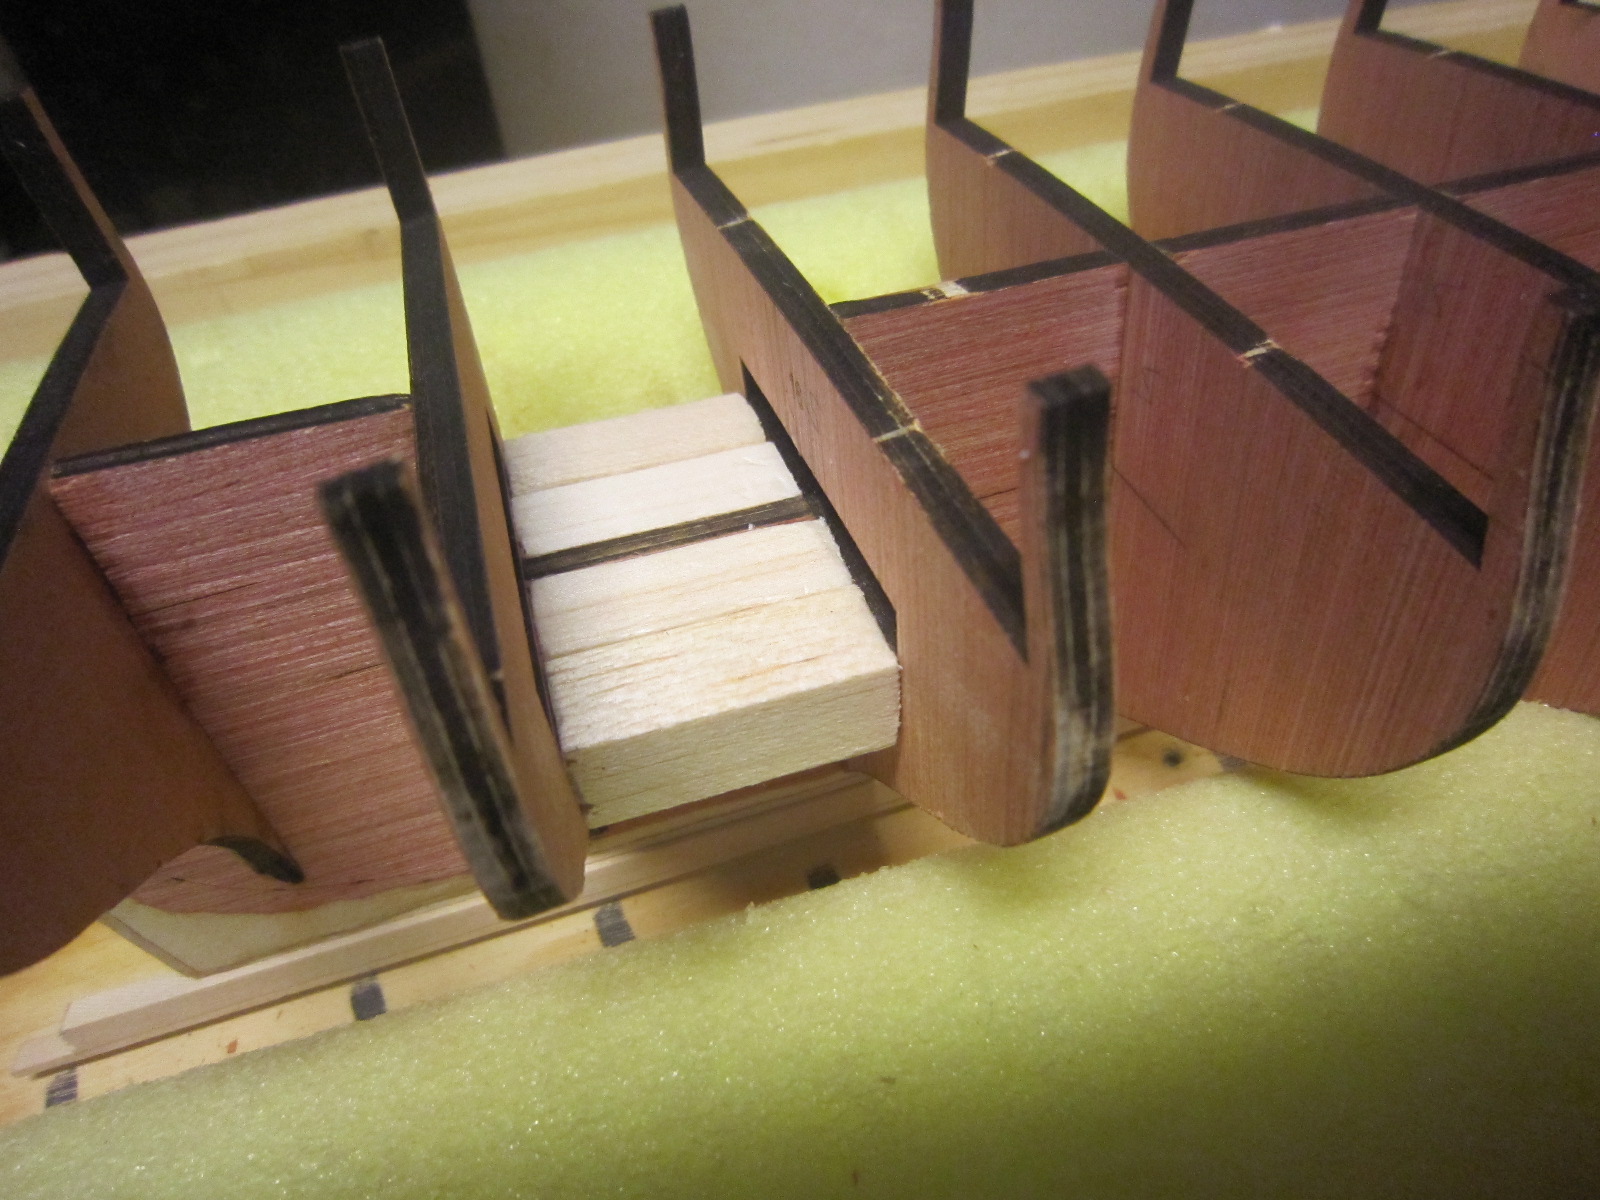
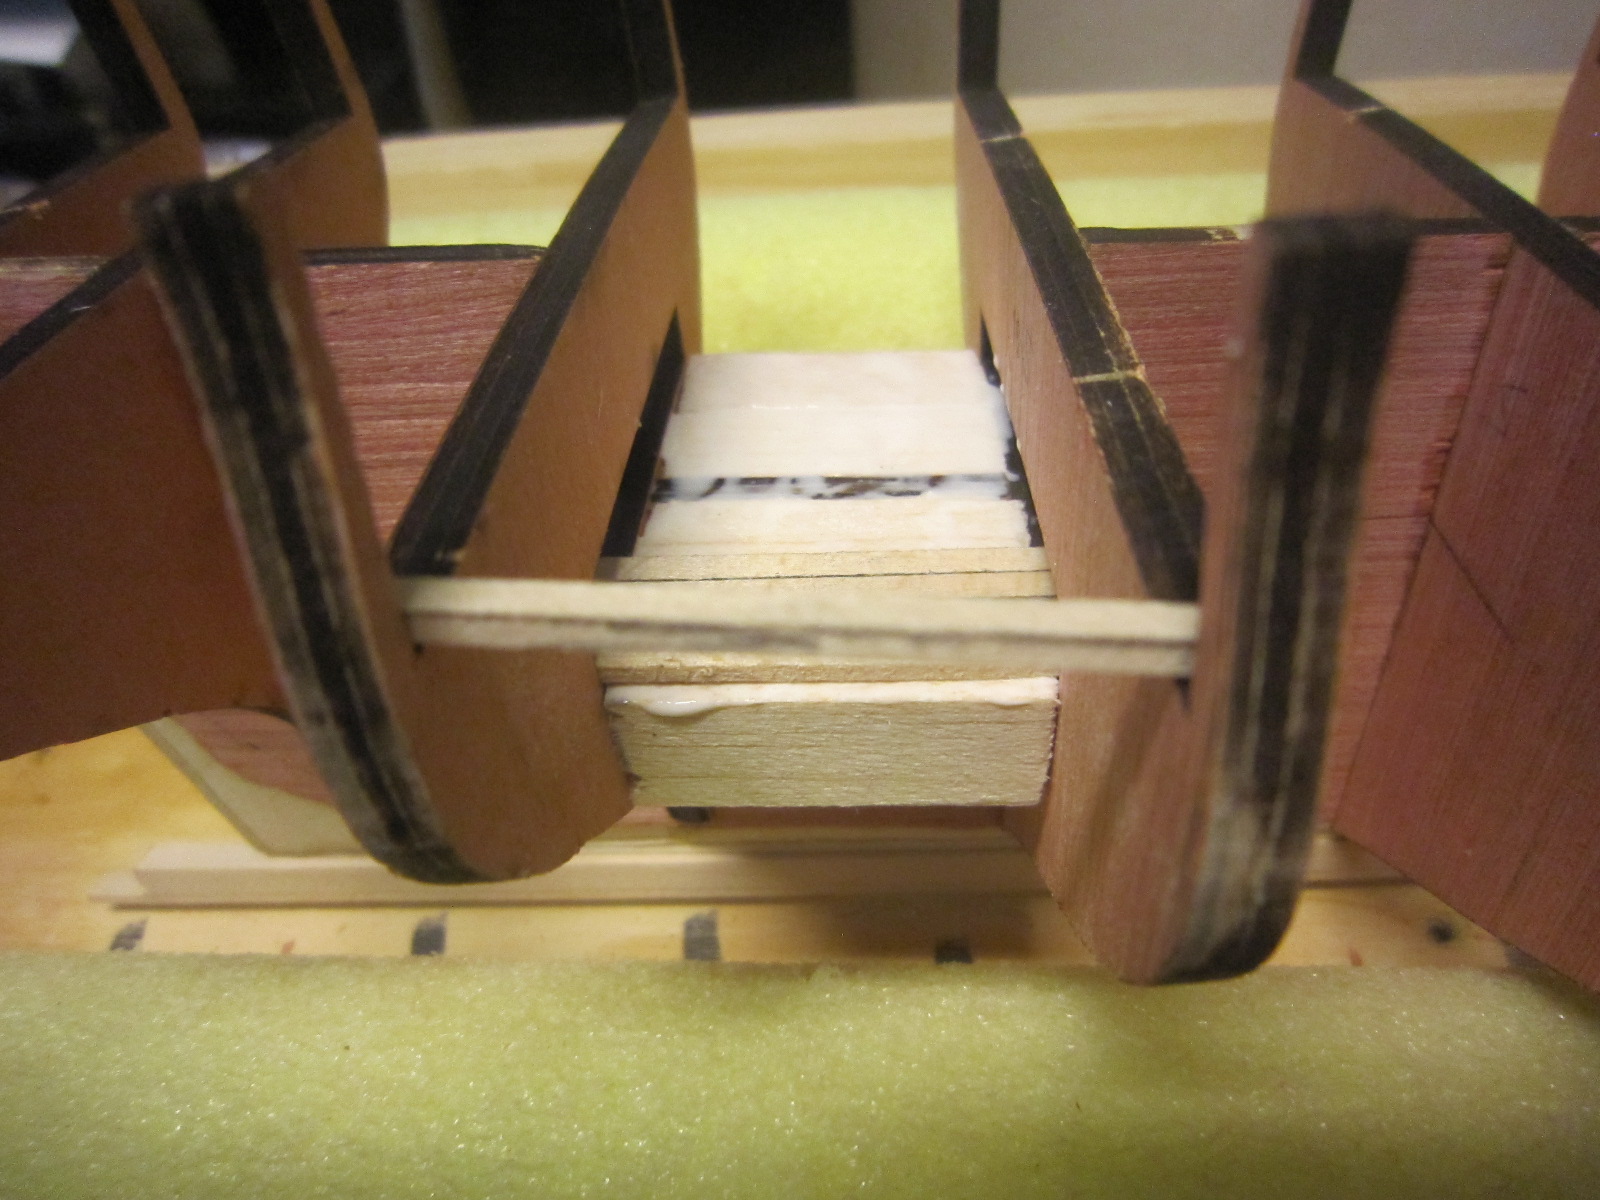
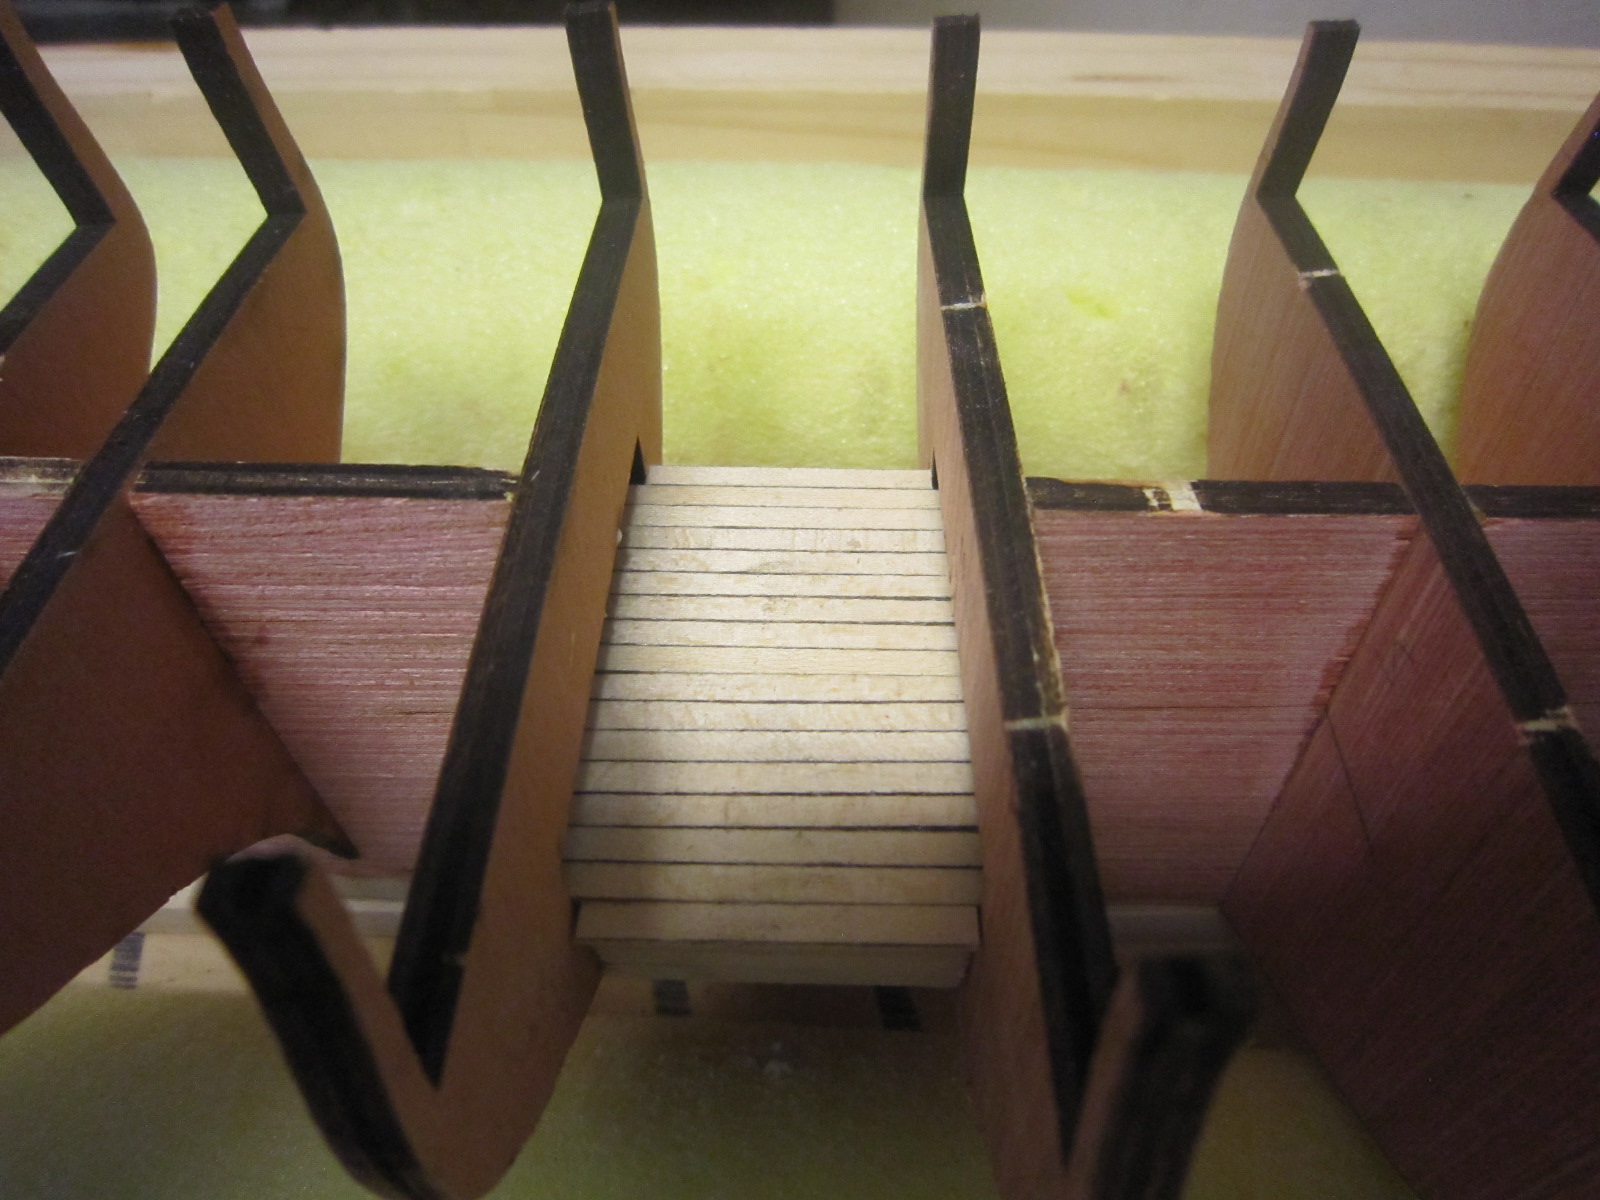
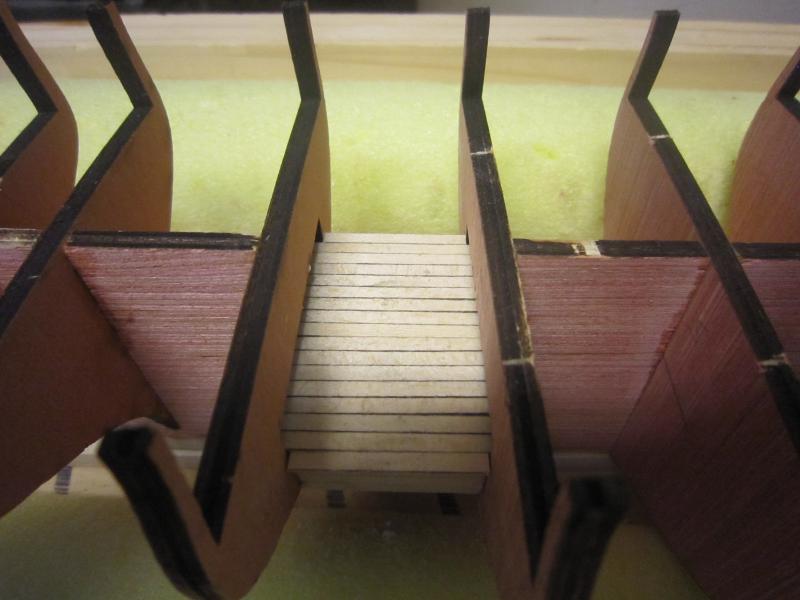
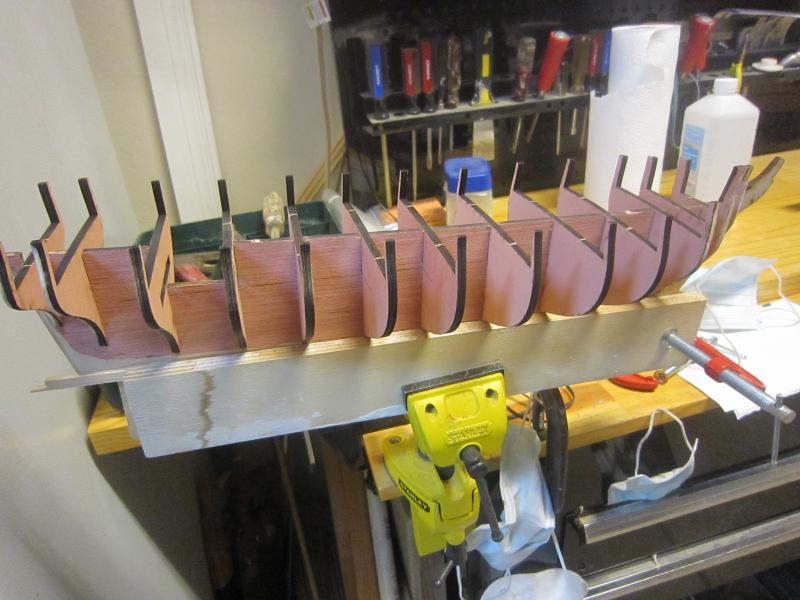
I started gluing filler blocks between the bulkheads for stiffening. This set simulates the lower deck which I planked. The instructions said to run a pencil along the edge of each plank to simulate caulking. After the glue dries the instructions said to stain the deck Golden Oak. Even though you will barely be able see see a tiny bit if the lower deck through an open hatch, I've done this on all my models.


- 1,135 replies
-
- 9
-
-
- model shipways
- syren
- (and 2 more)
-
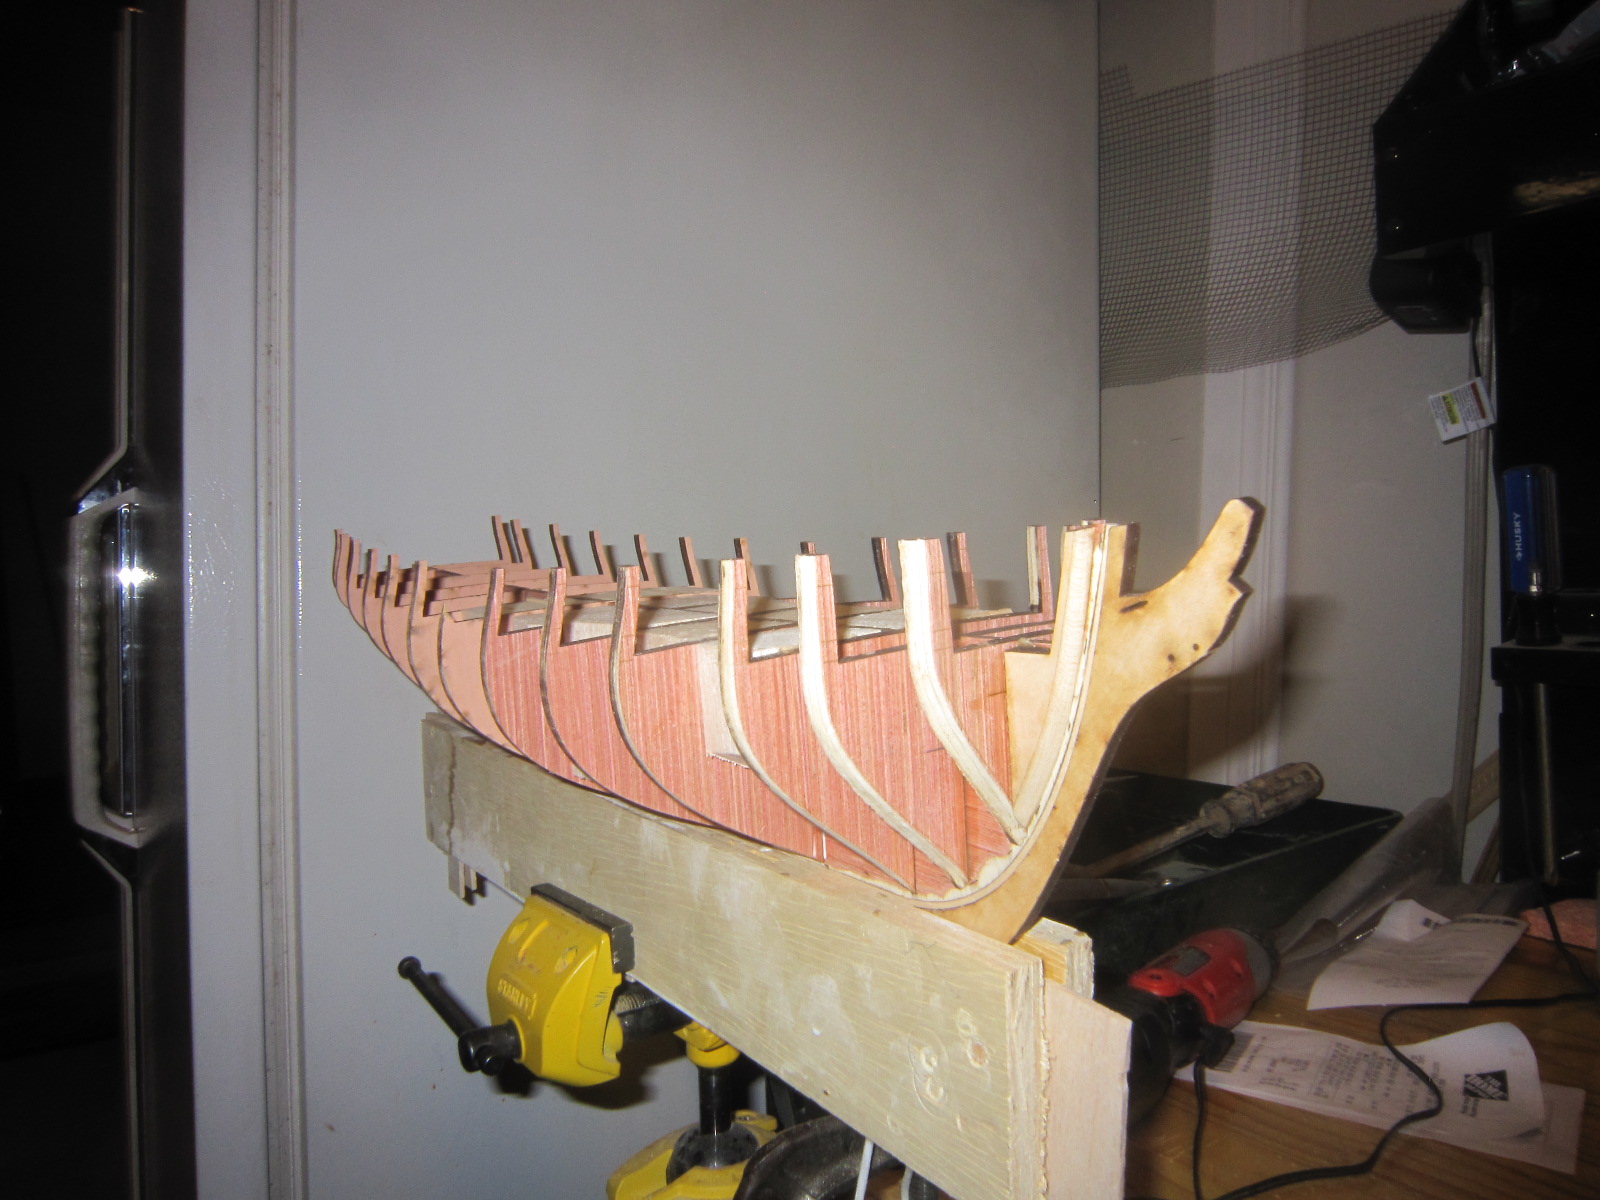
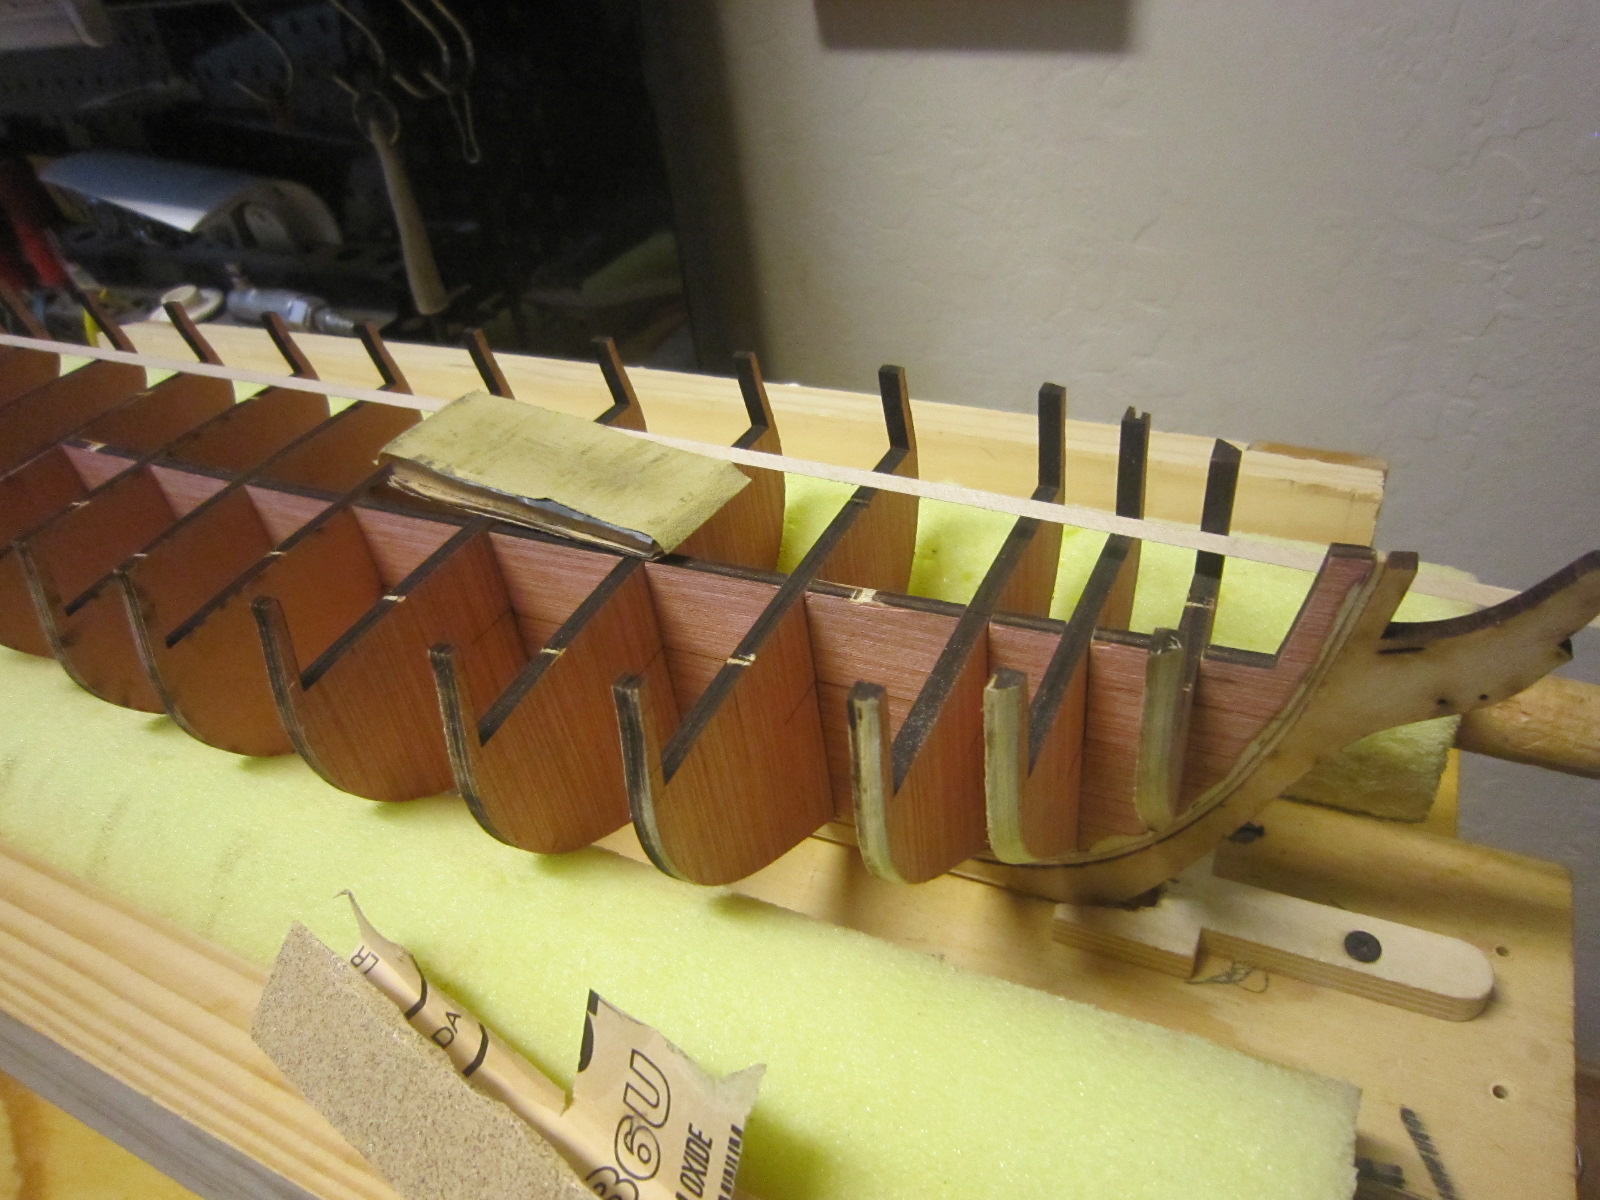
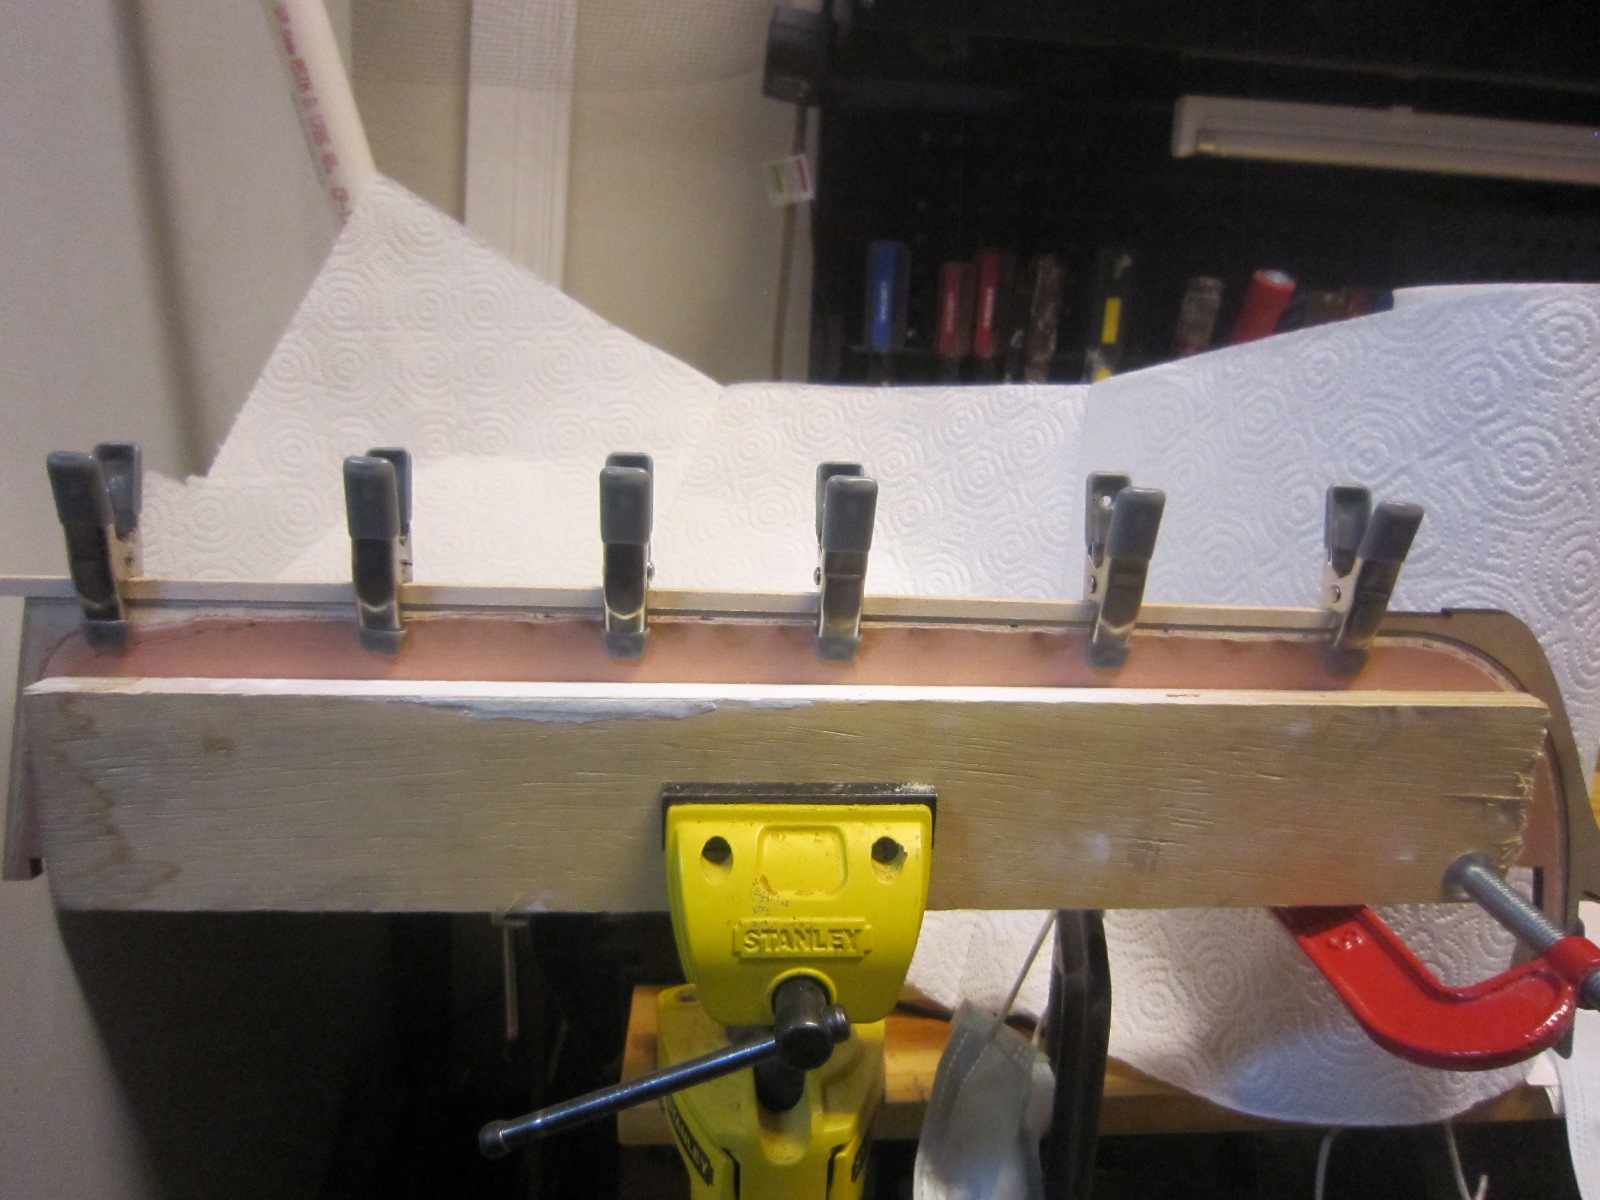
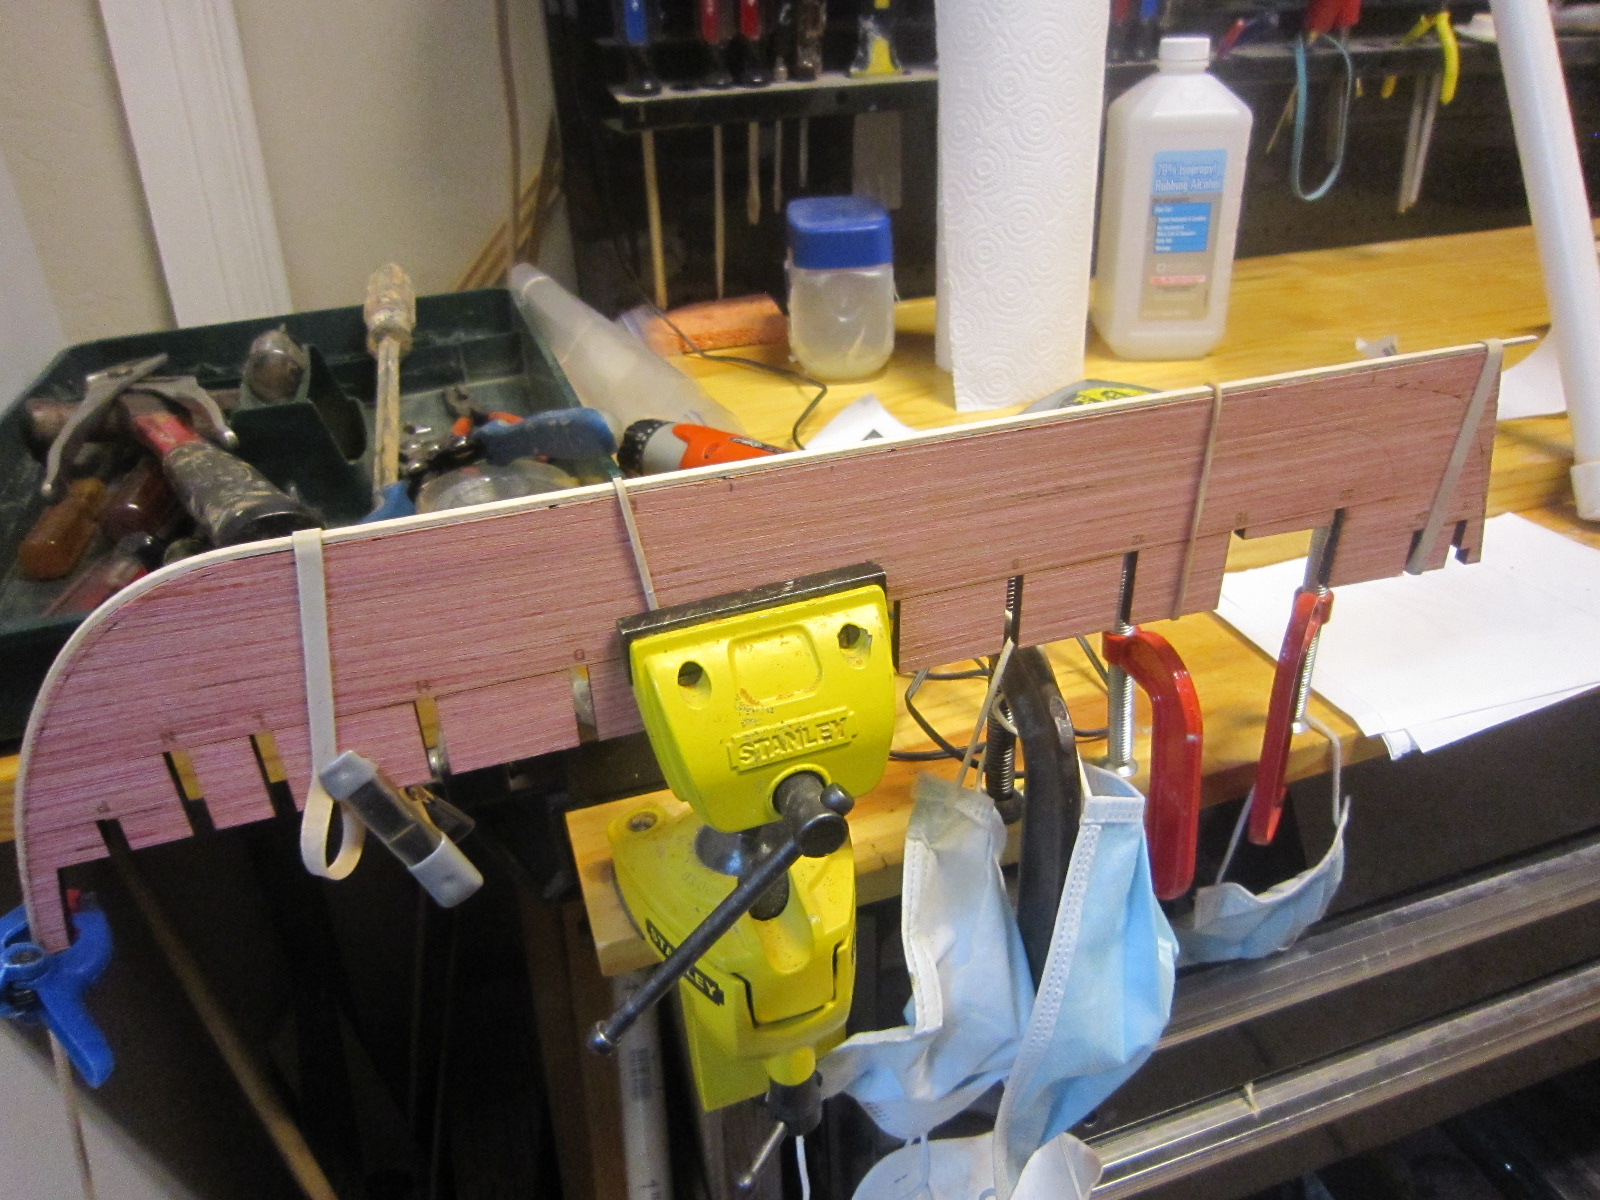
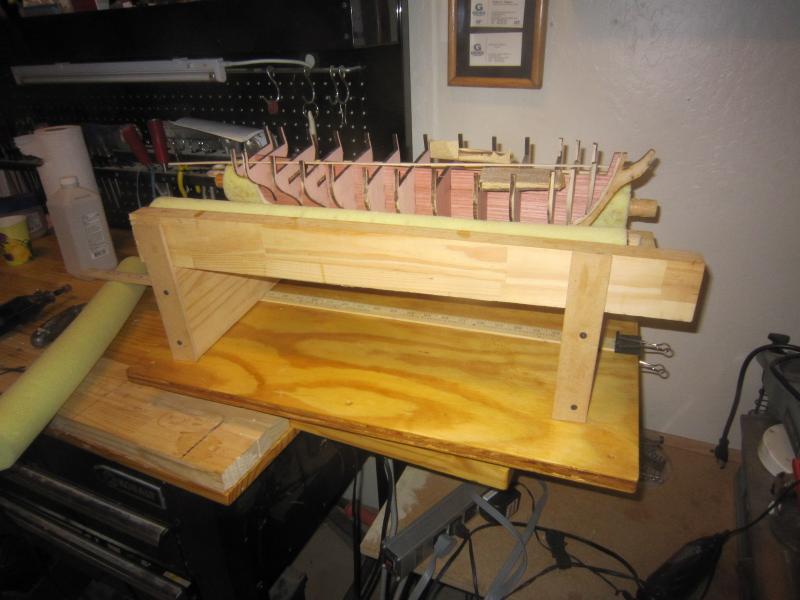
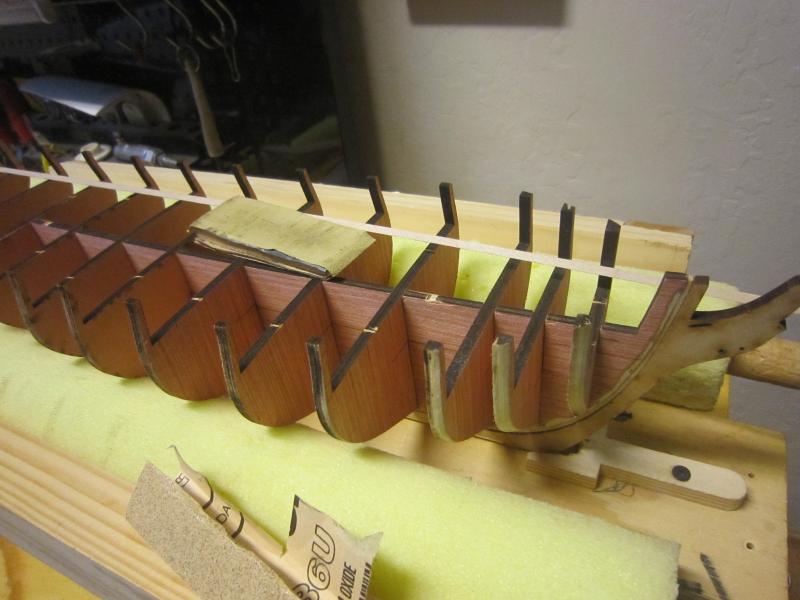
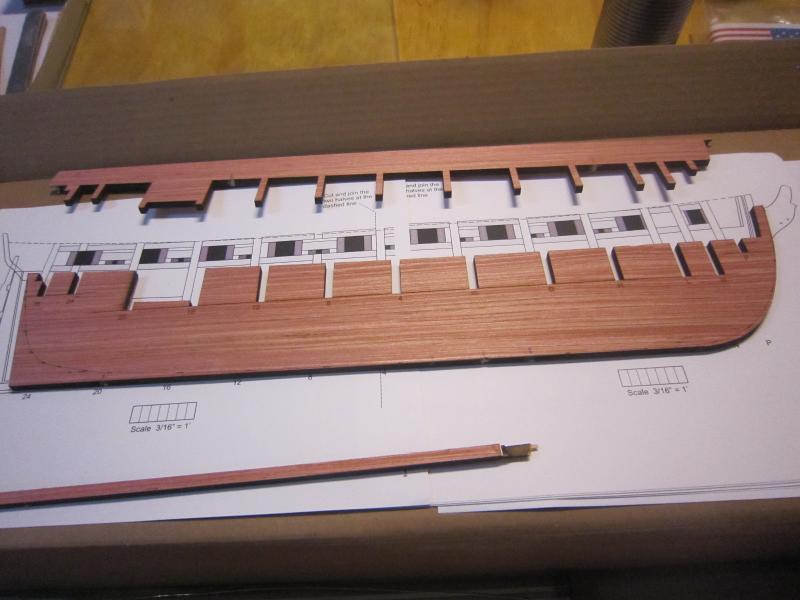
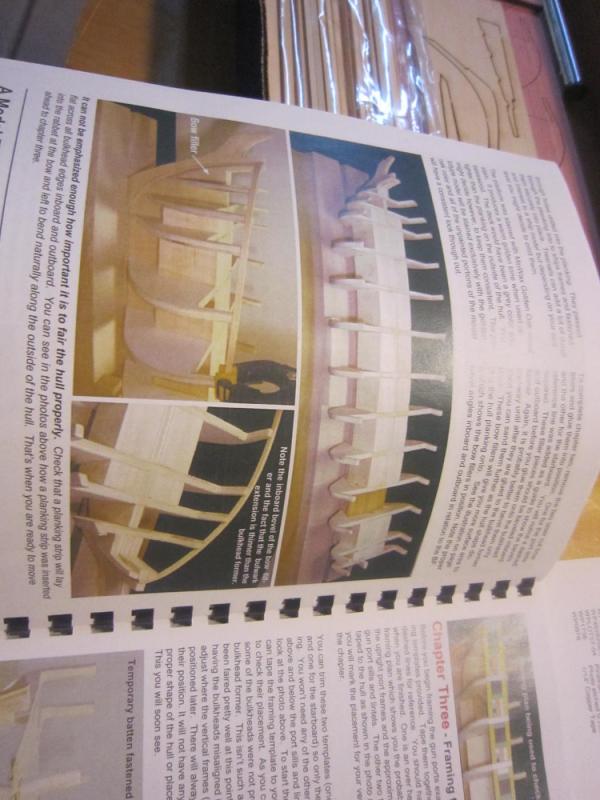
I am continuing to bevel the bulkheads both outside and inside the bulwarks. I am holding the ship in a cradle I built for my Connie since I work standing up. I finally clamped the keel to set up gluing the bulkheads in place. One bulkhead doesn't want to sit square, so I will make a small spacer to slip in place to square it up. Gluing them is a big step, so I will sit and look at it for a while before fixing them in place. I want to make sure everything is lined up, level, and straight. After that comes filler blocks to strengthen the whole structure.
- 1,135 replies
-
- 11
-
-
- model shipways
- syren
- (and 2 more)
-
Red Paint or Red Ochre
HIPEXEC replied to davyboy's topic in Painting, finishing and weathering products and techniques
Thanks for bringing this up. I did not want to paint my wales bright red. Red ocre is more like what I envision. Thanks! -
I dry fitted all the bulkheads. It got easier with each bulkhead. The laser cutting is excellent otherwise some of the bulkheads would have snapped in places. High quality laser cutting! Yeah!!!! I also rough beveled the bulkhead edges to facilitate planking. They help by providing markings to help locate the beveling. Next step will be fine tuning the bulkhead beveling. Even though nothing is glued....it's great to see a ship taking form.
- 1,135 replies
-
- 12
-
-
- model shipways
- syren
- (and 2 more)
-
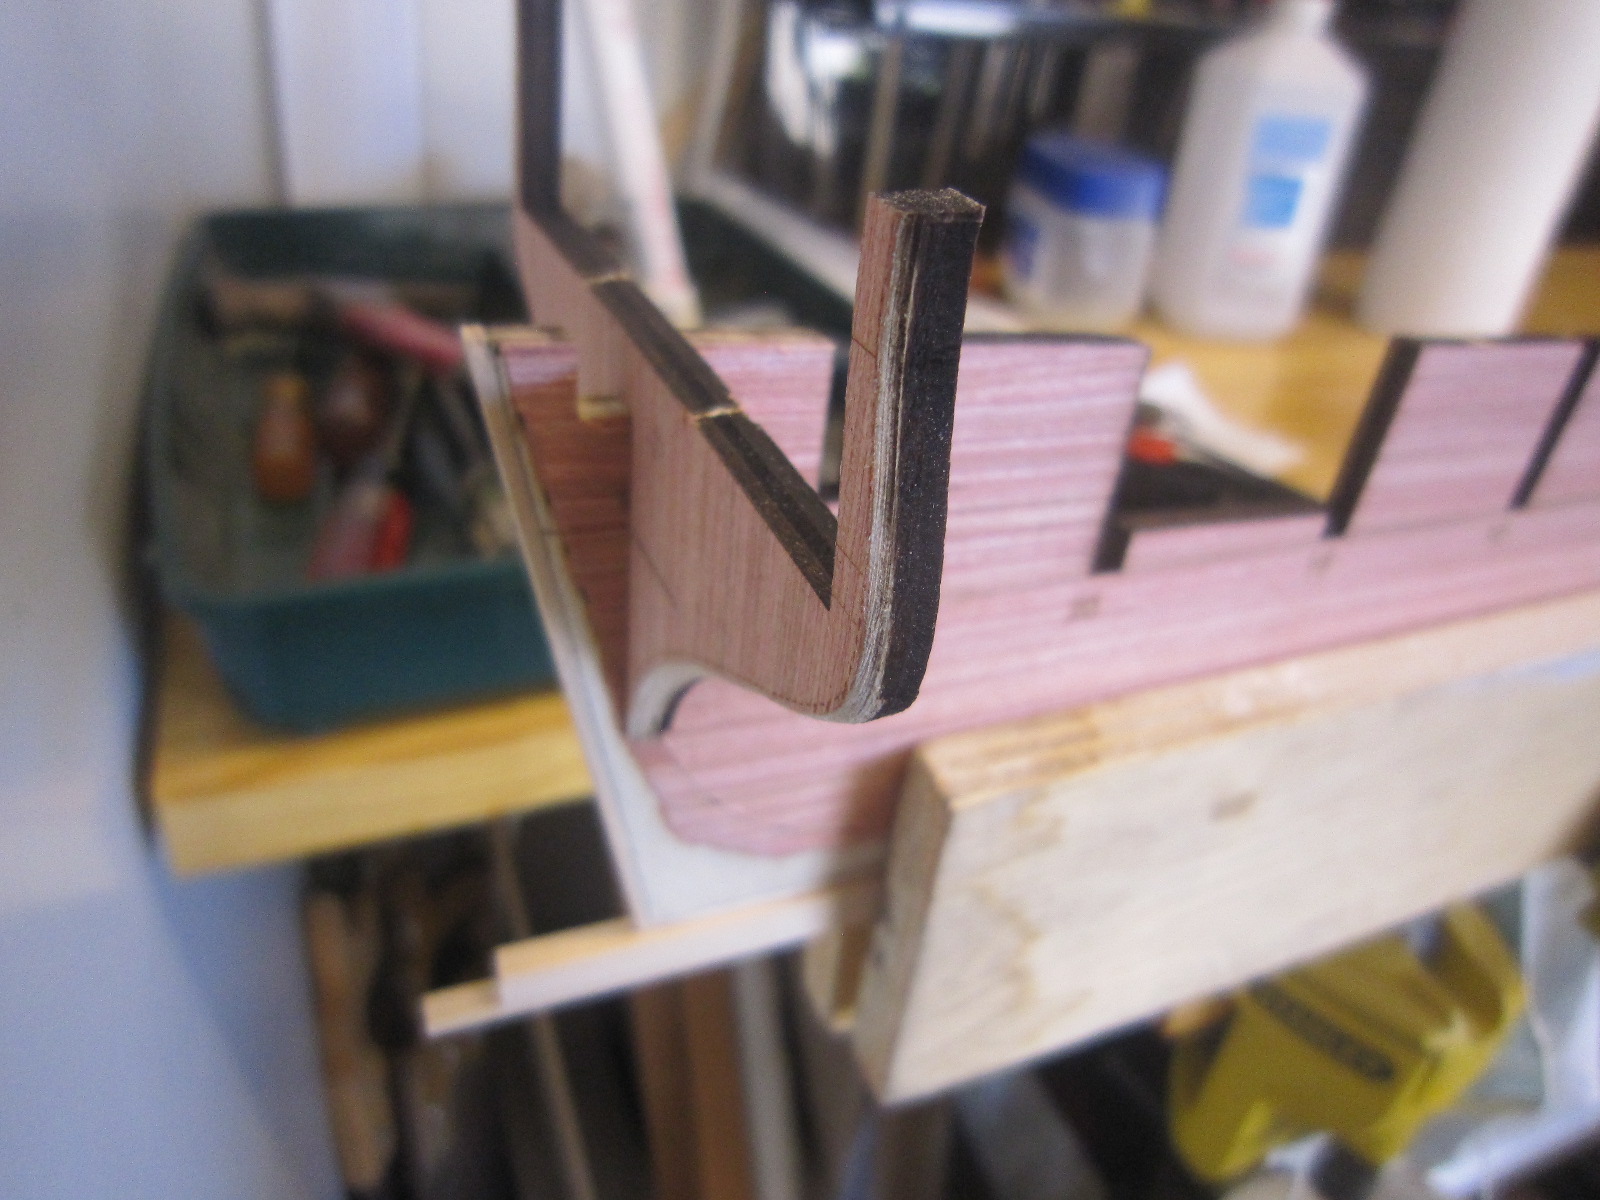
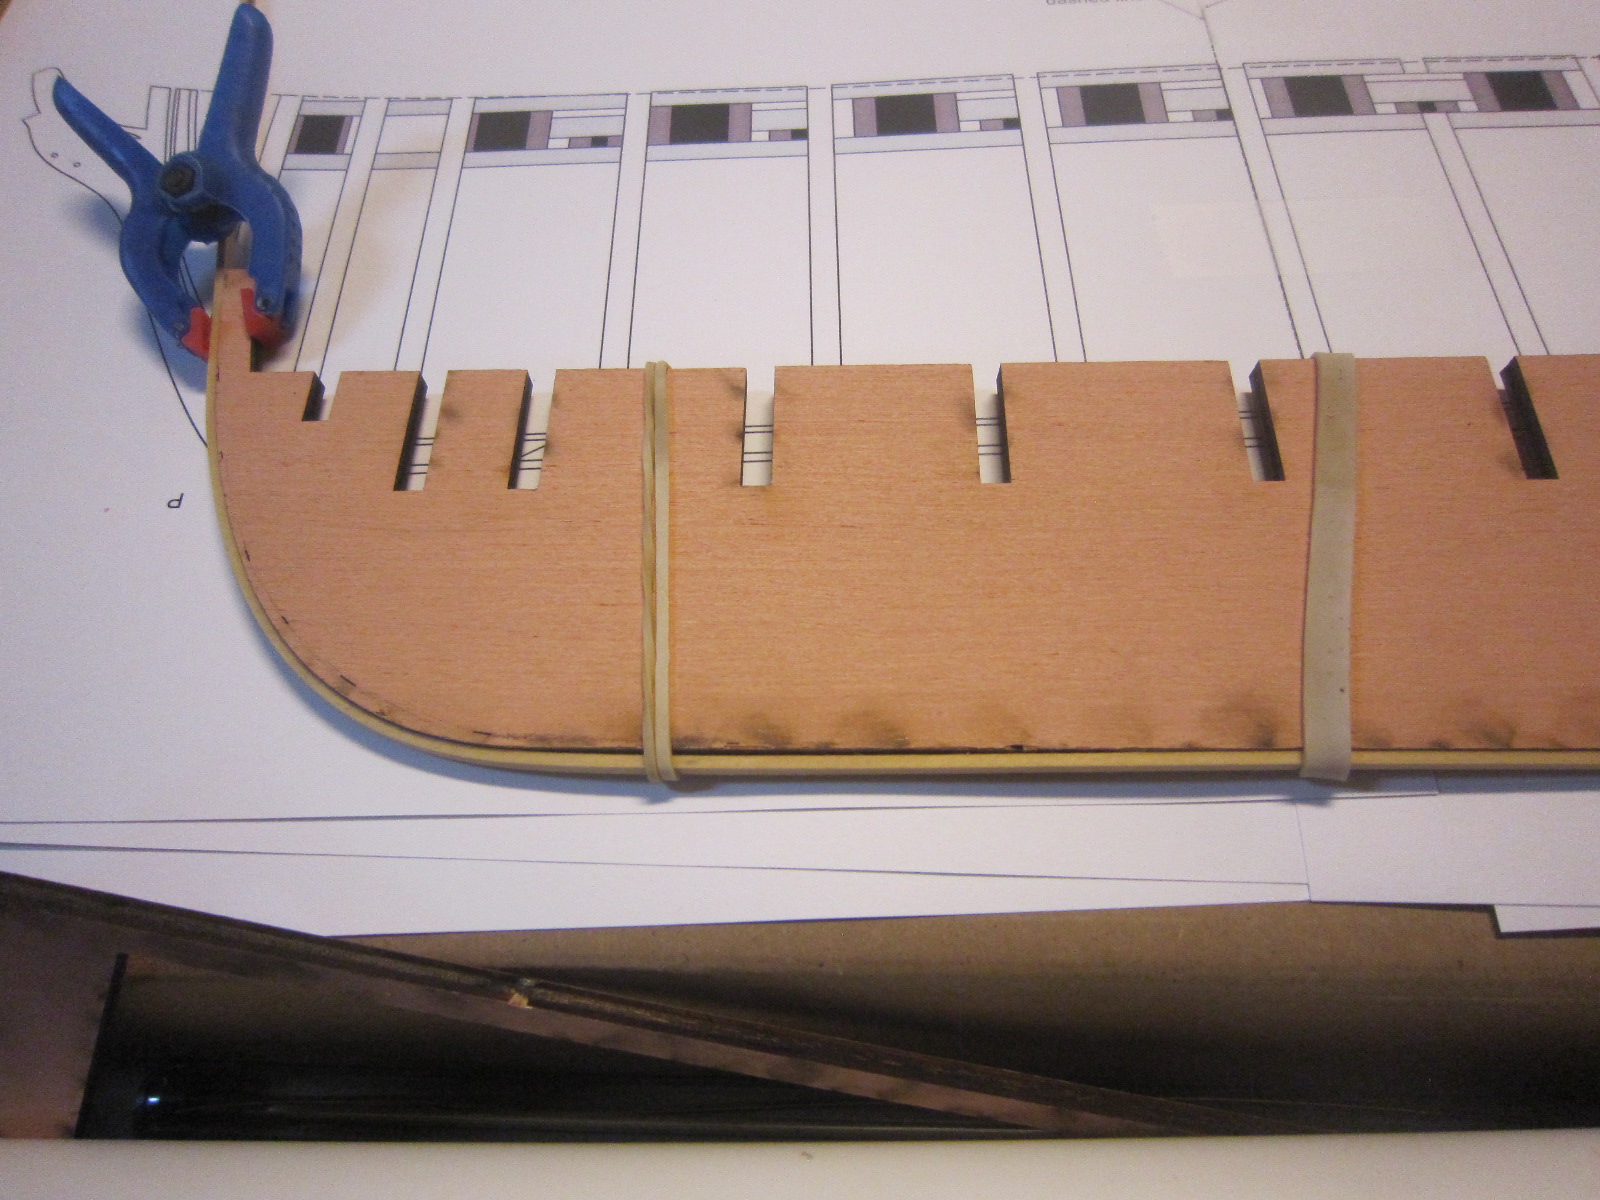
I prepared and dry installed the first bulkhead. Very tedious work since there is a fragile quality to each bulkhead. I rough beveled the bulkhead to approximate the proper planking angle. The kit provides some markings to make beveling more accurate. I used sandpaper and files to get rid of the charring and allow a tight fit to the bulkhead former.

- 1,135 replies
-
- 7
-
-
- model shipways
- syren
- (and 2 more)
-
I tacked on the false keel since the instructions say to NOT glue it on until after coppering. Actually it said tape it on but I thought the tape will keep coming loose hence I tacked it using tiny, short nails which will easily pry off.
- 1,135 replies
-
- 6
-
-
- model shipways
- syren
- (and 2 more)
-
I just glued on the keel making sure there is equal distance on each side of the rabbet strip. Stern post goes on after planking.

- 1,135 replies
-
- 9
-
-
- model shipways
- syren
- (and 2 more)
-
Yep, I rigged the guns on my Connie off the ship, too. Much easier.
- 742 replies
-
- 4
-
-
- constitution
- frigate
- (and 1 more)
-
I just glued the stem knee to the rabbet strip being very careful to keep it centered with equal distance on either side for correct planking space. I shall add the keel piece next, but hold off on the stern piece until after planking as per the instructions. This is a mistake I made on all my previous models and it made planking a lot harder. Good tip, Chuck
- 1,135 replies
-
- 11
-
-
- model shipways
- syren
- (and 2 more)
-
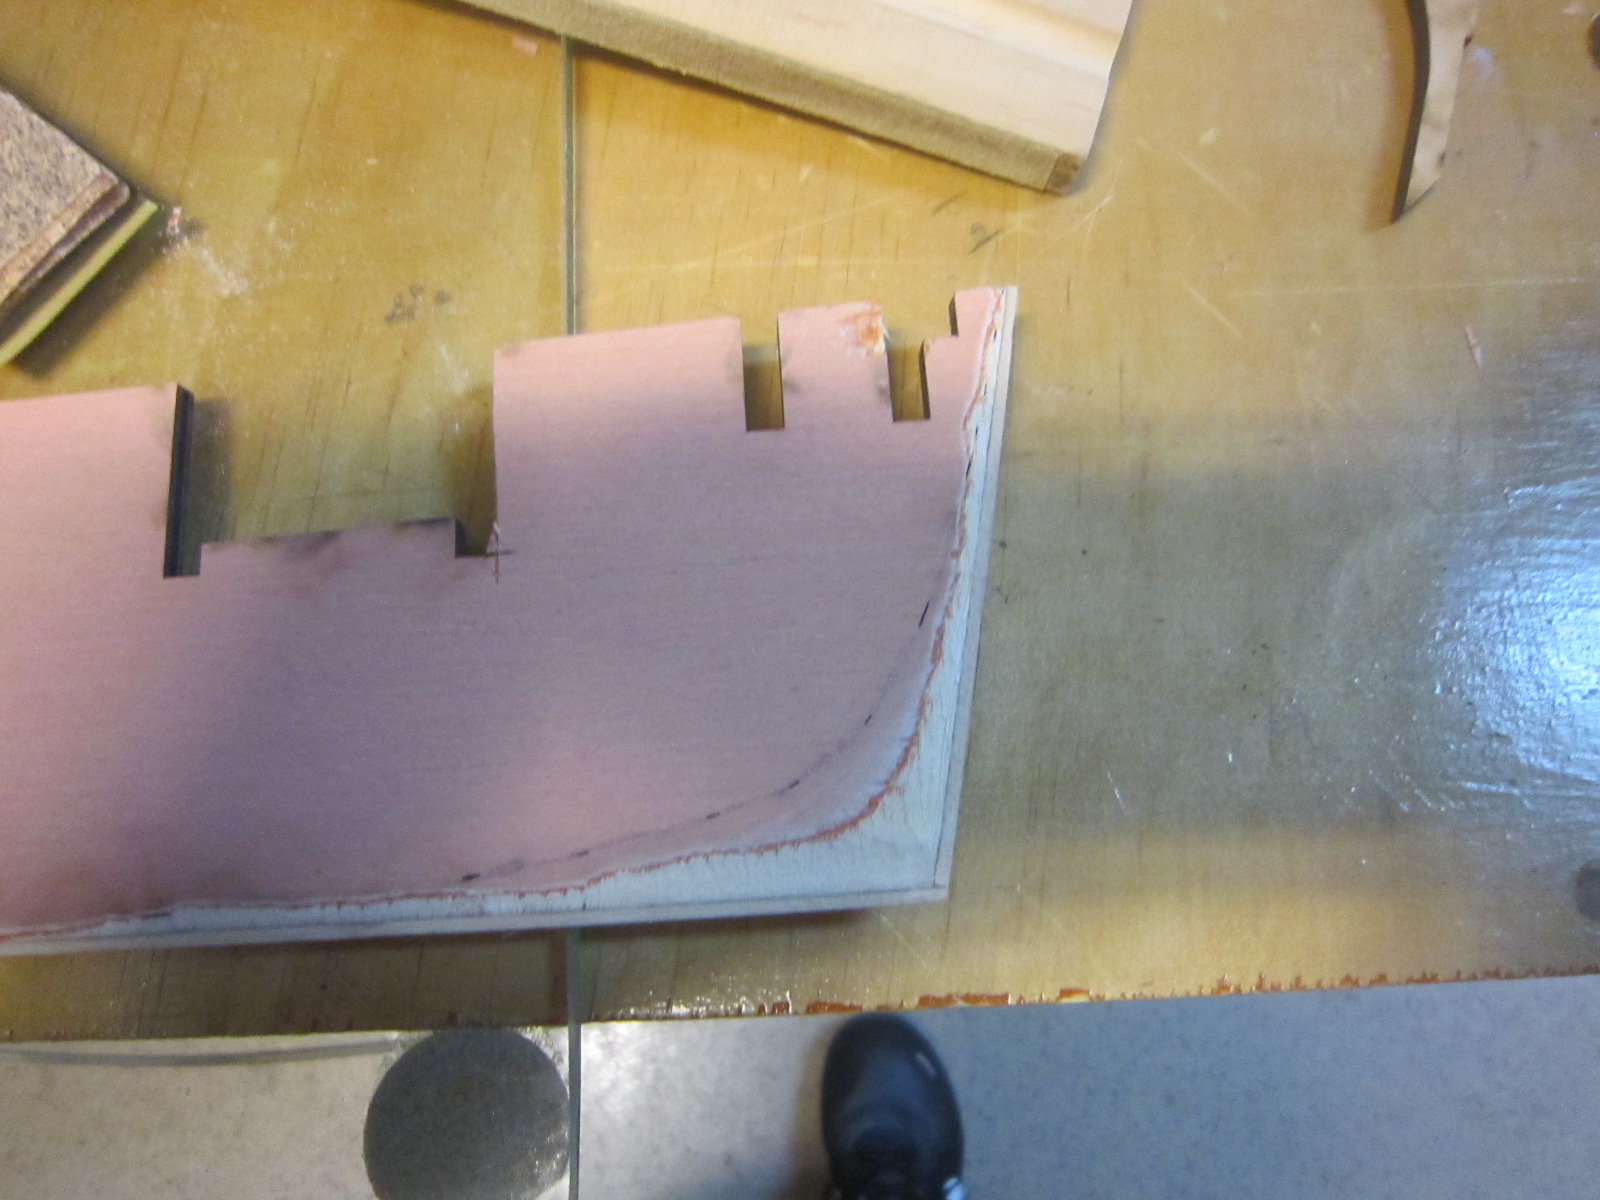
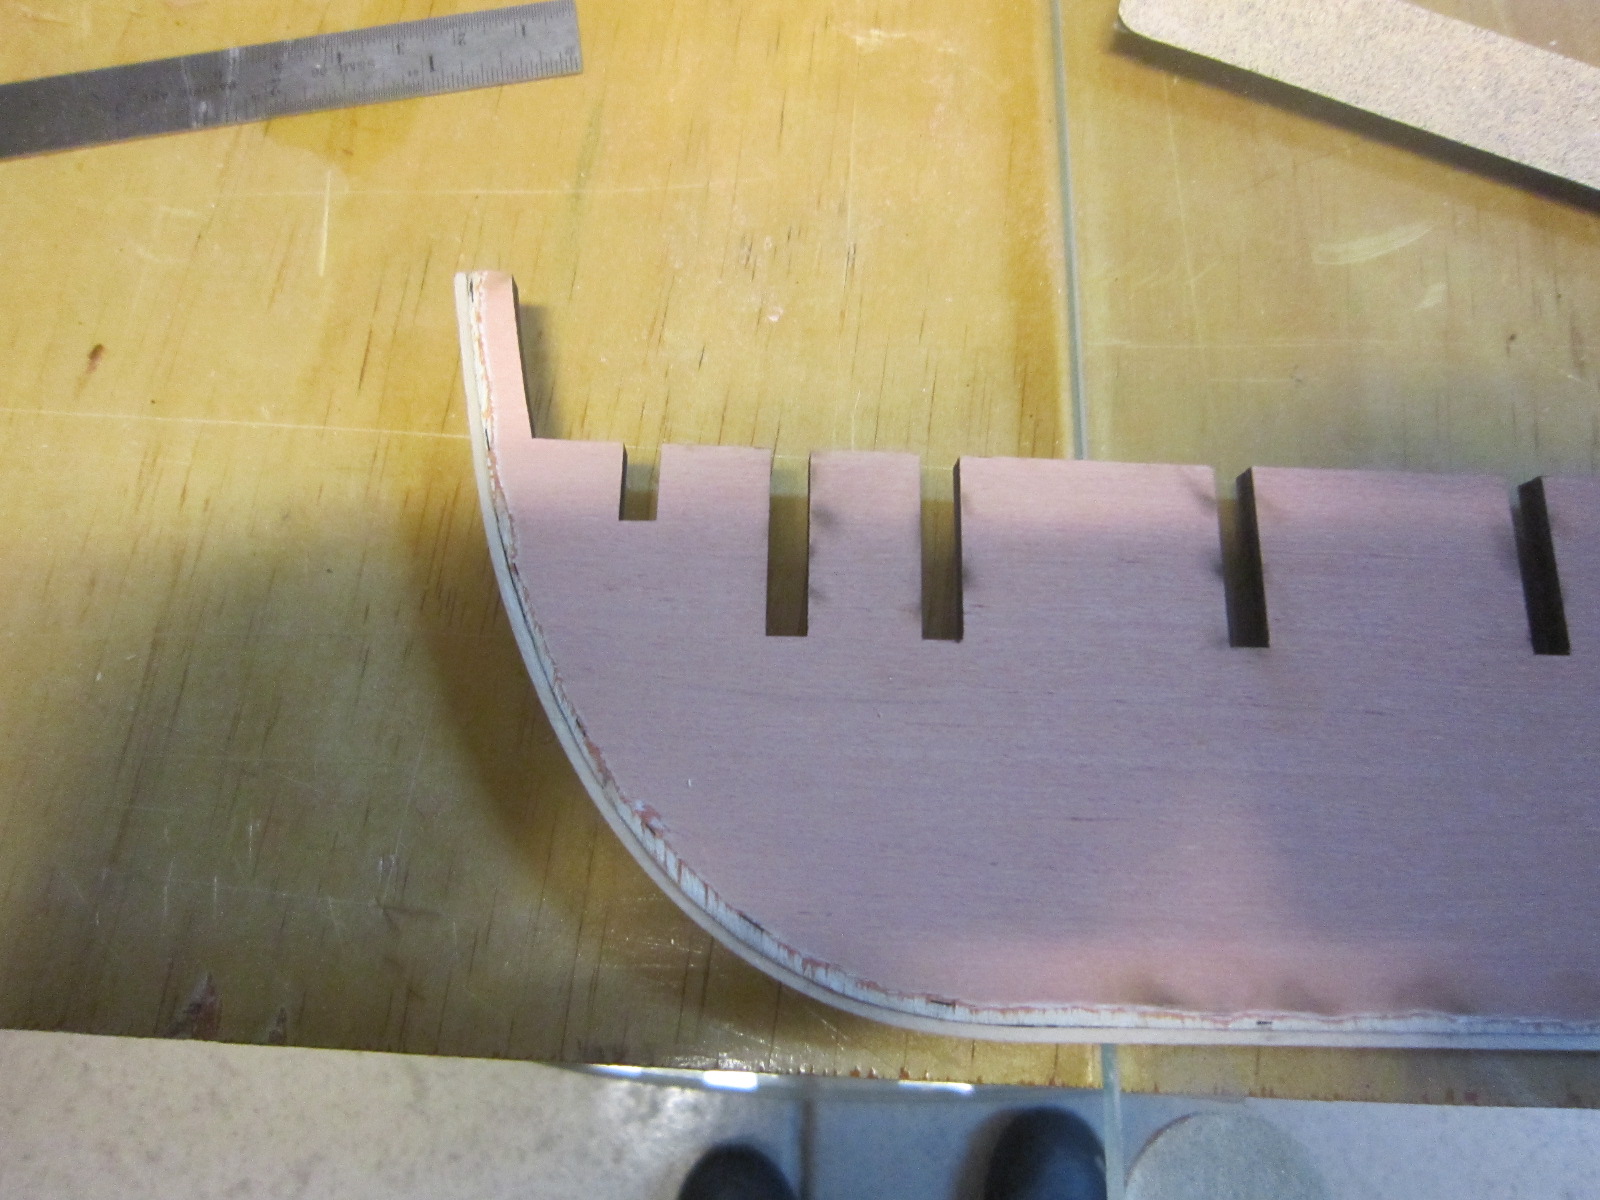
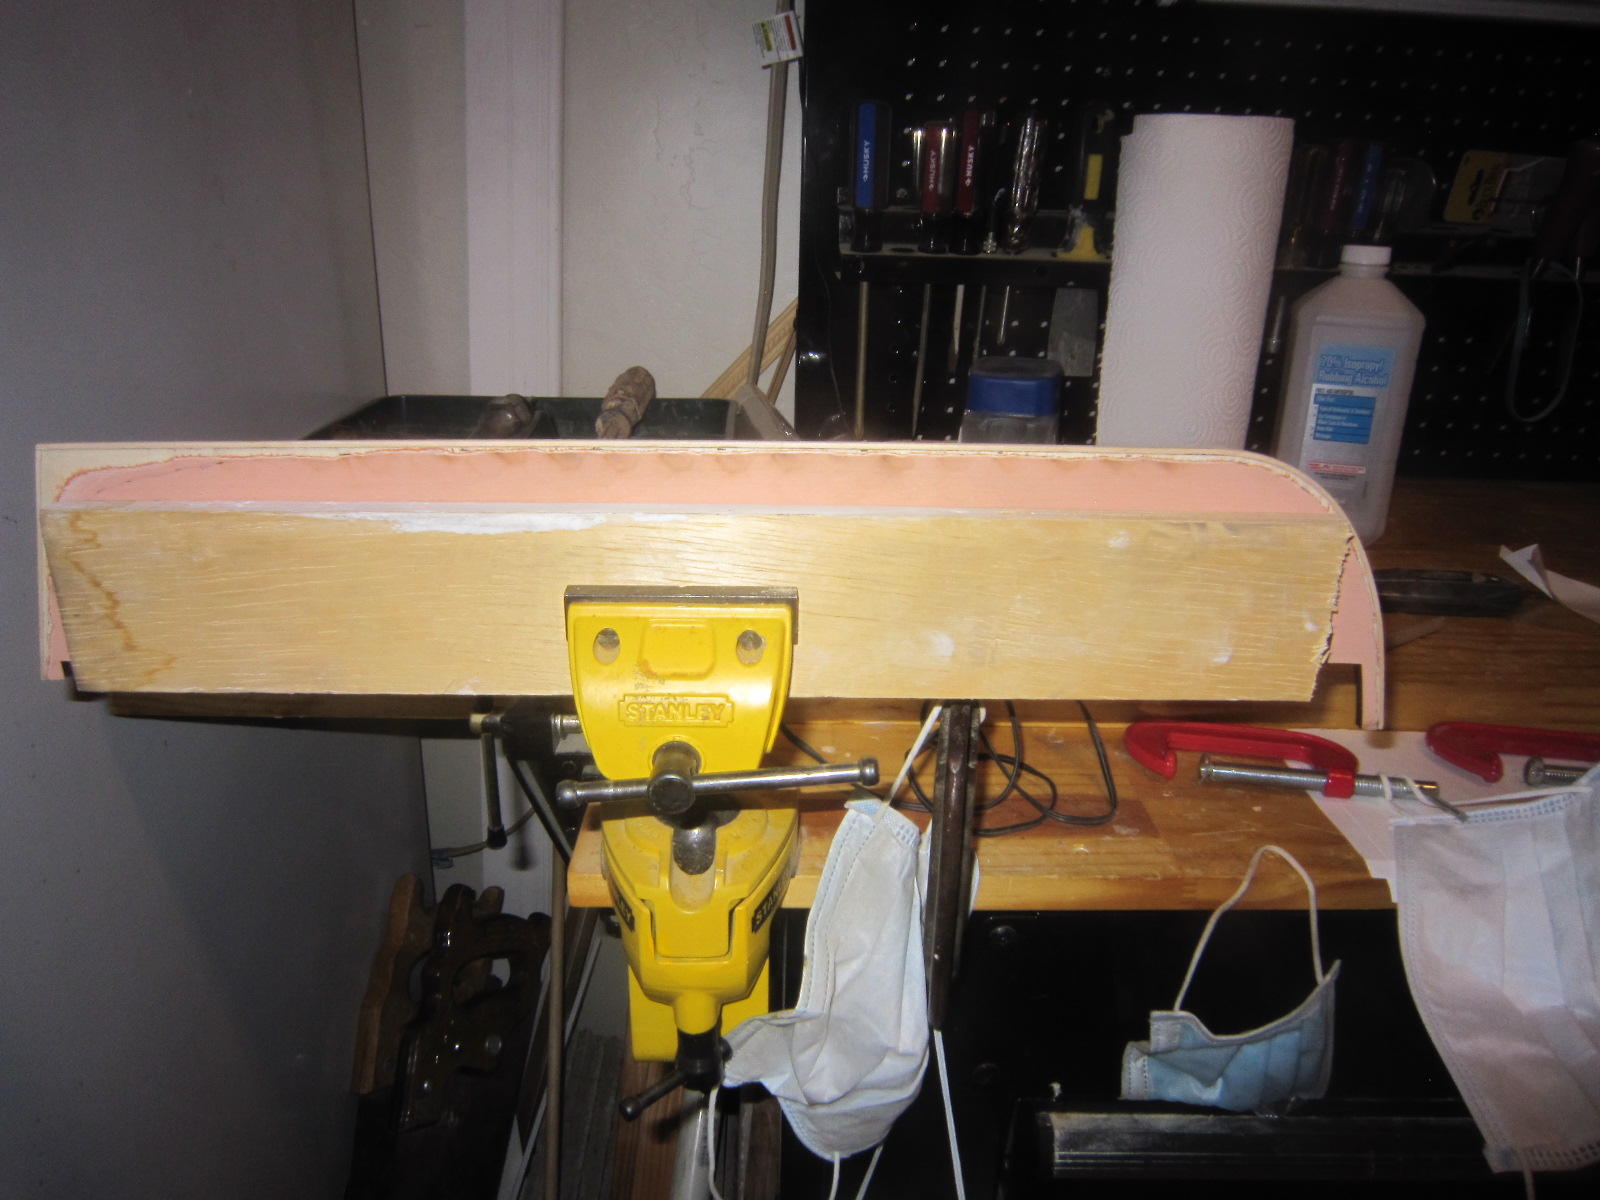
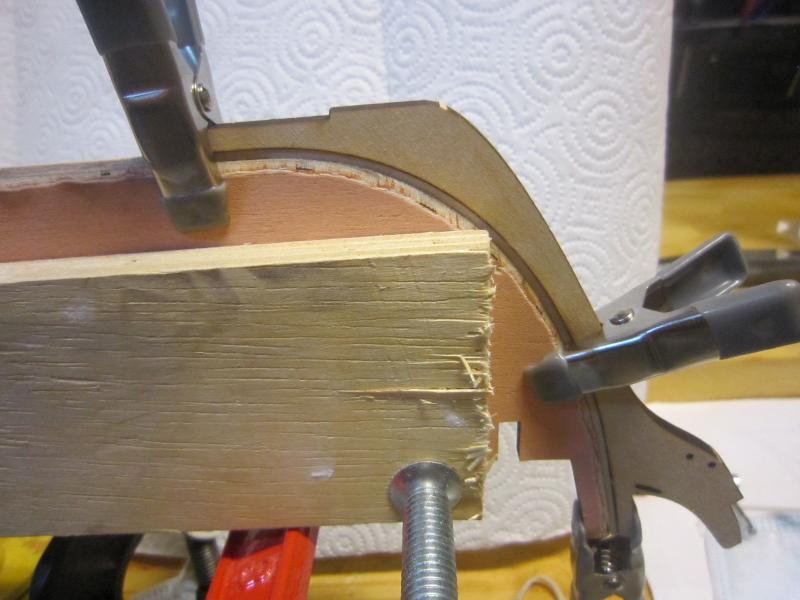
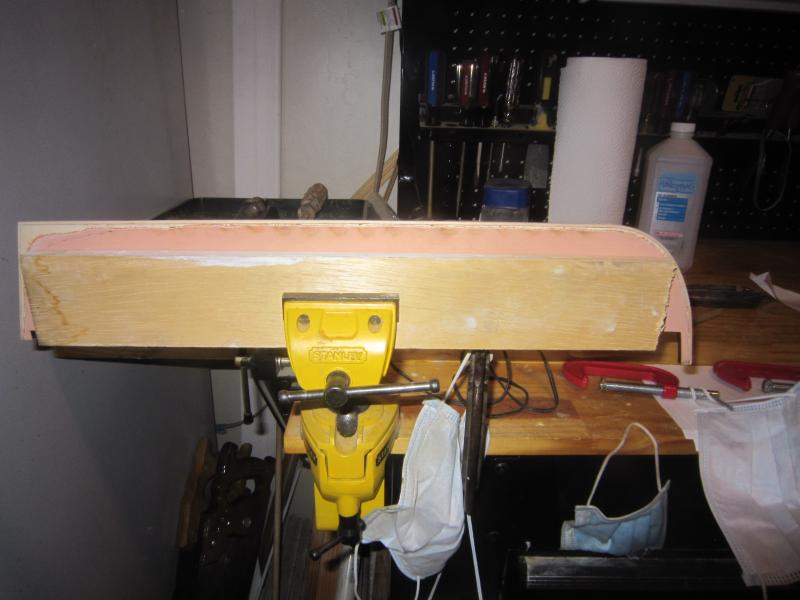
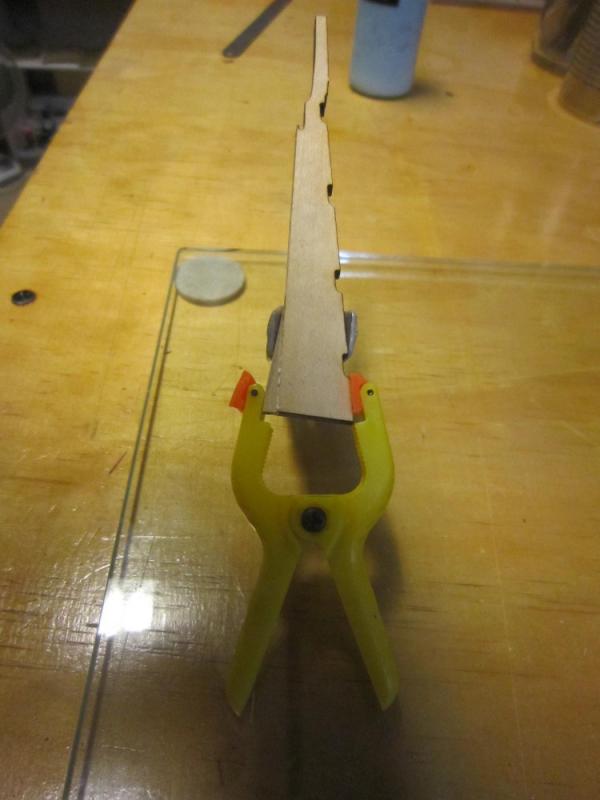
I formed the bearding area between the line and rabbet strip. I tried carving it with poor success, so I sanded it. I've now placed the bulkhead former between two one inch boards in a vise to make it perfectly straight while I glue on the keel, stem and stern.
- 1,135 replies
-
- 9
-
-
- model shipways
- syren
- (and 2 more)
-
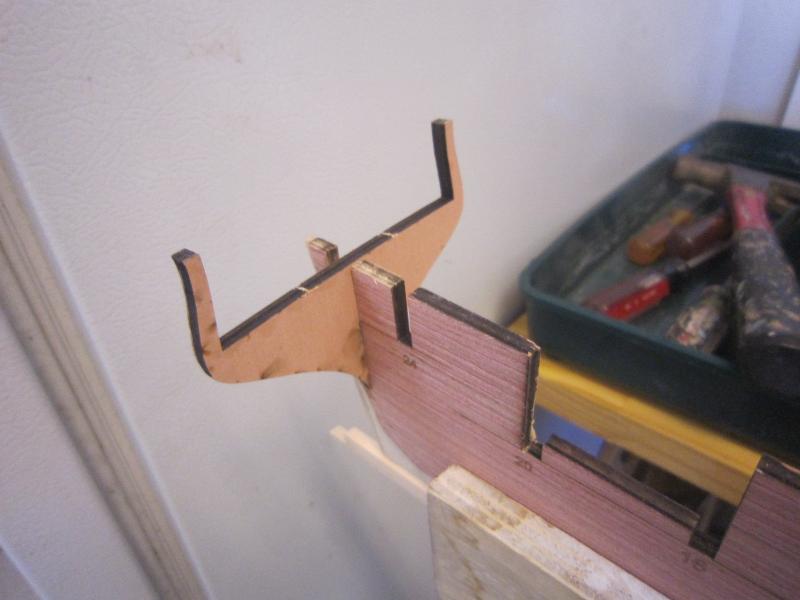
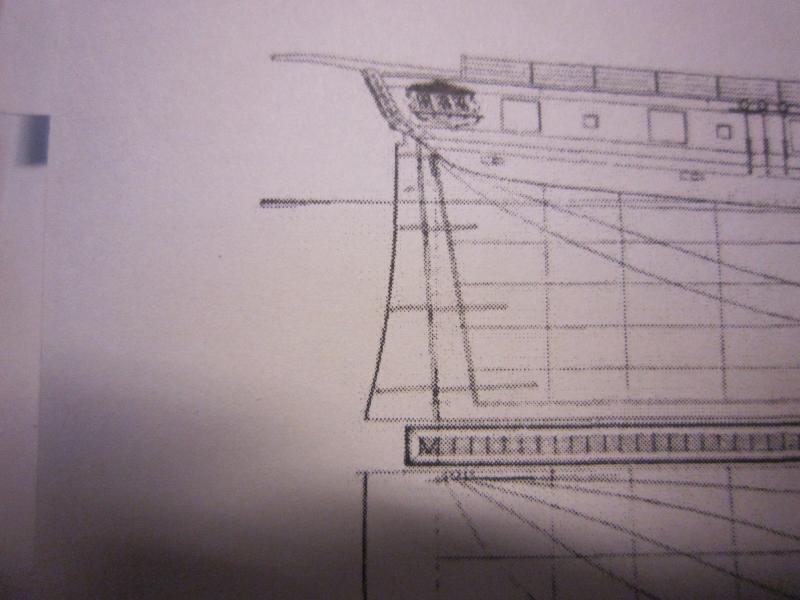
Chuck has helped me with excellent sources for the Argus. There are many small differences. The rudder being one of them By the way, the quarter badge is a fake to make the brig seem like a larger frigate at a distance. Early camouflage.
- 1,135 replies
-
- 4
-
-
- model shipways
- syren
- (and 2 more)
-
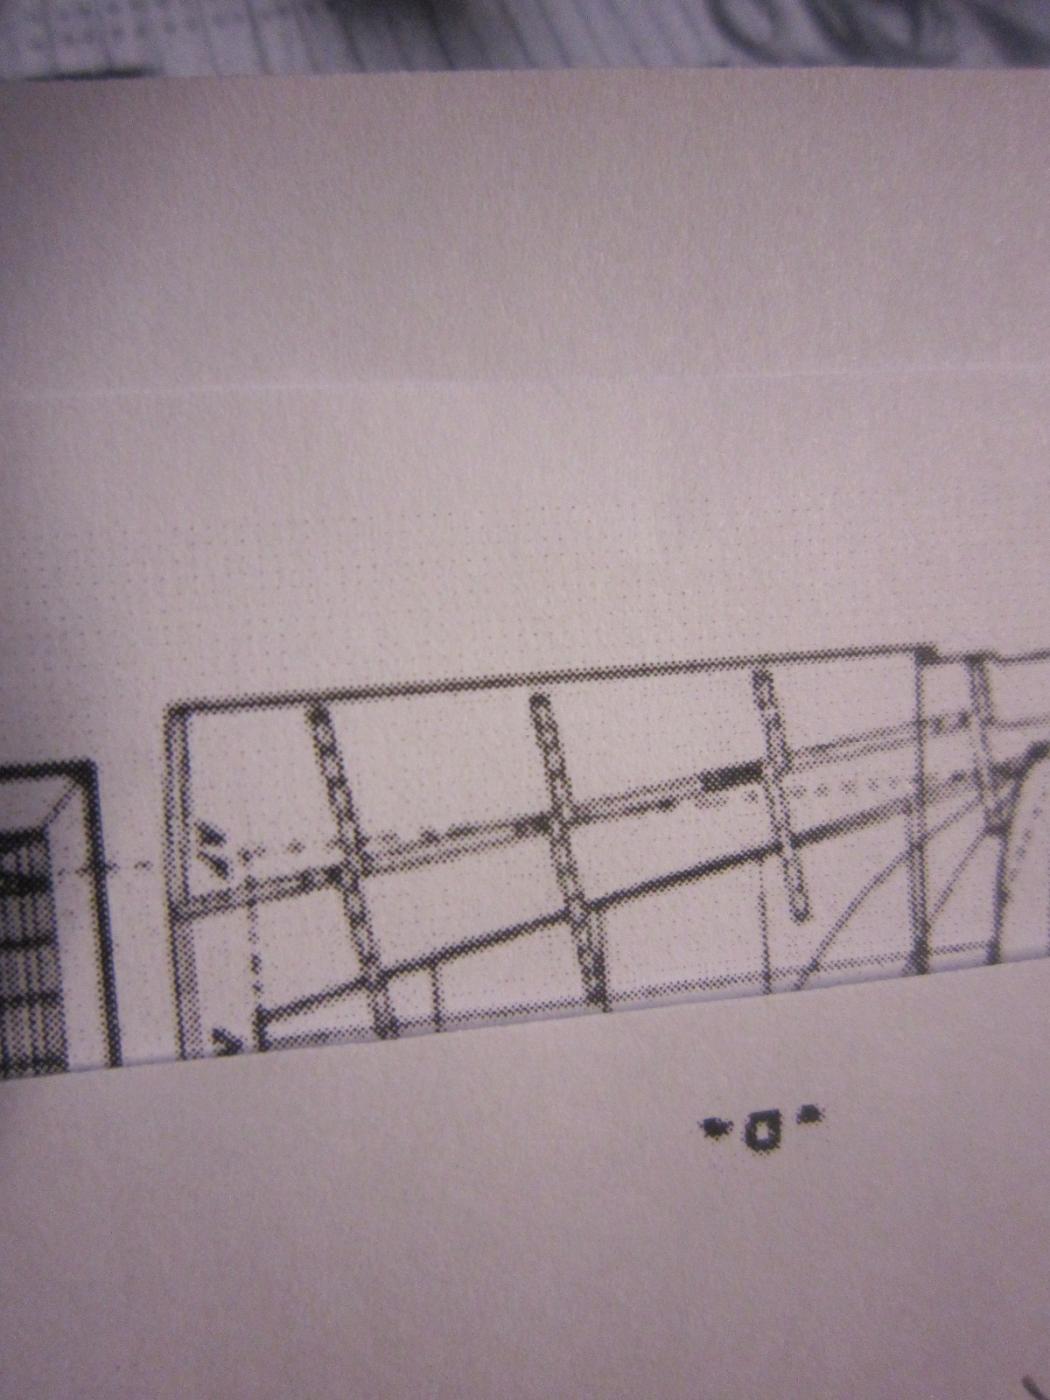
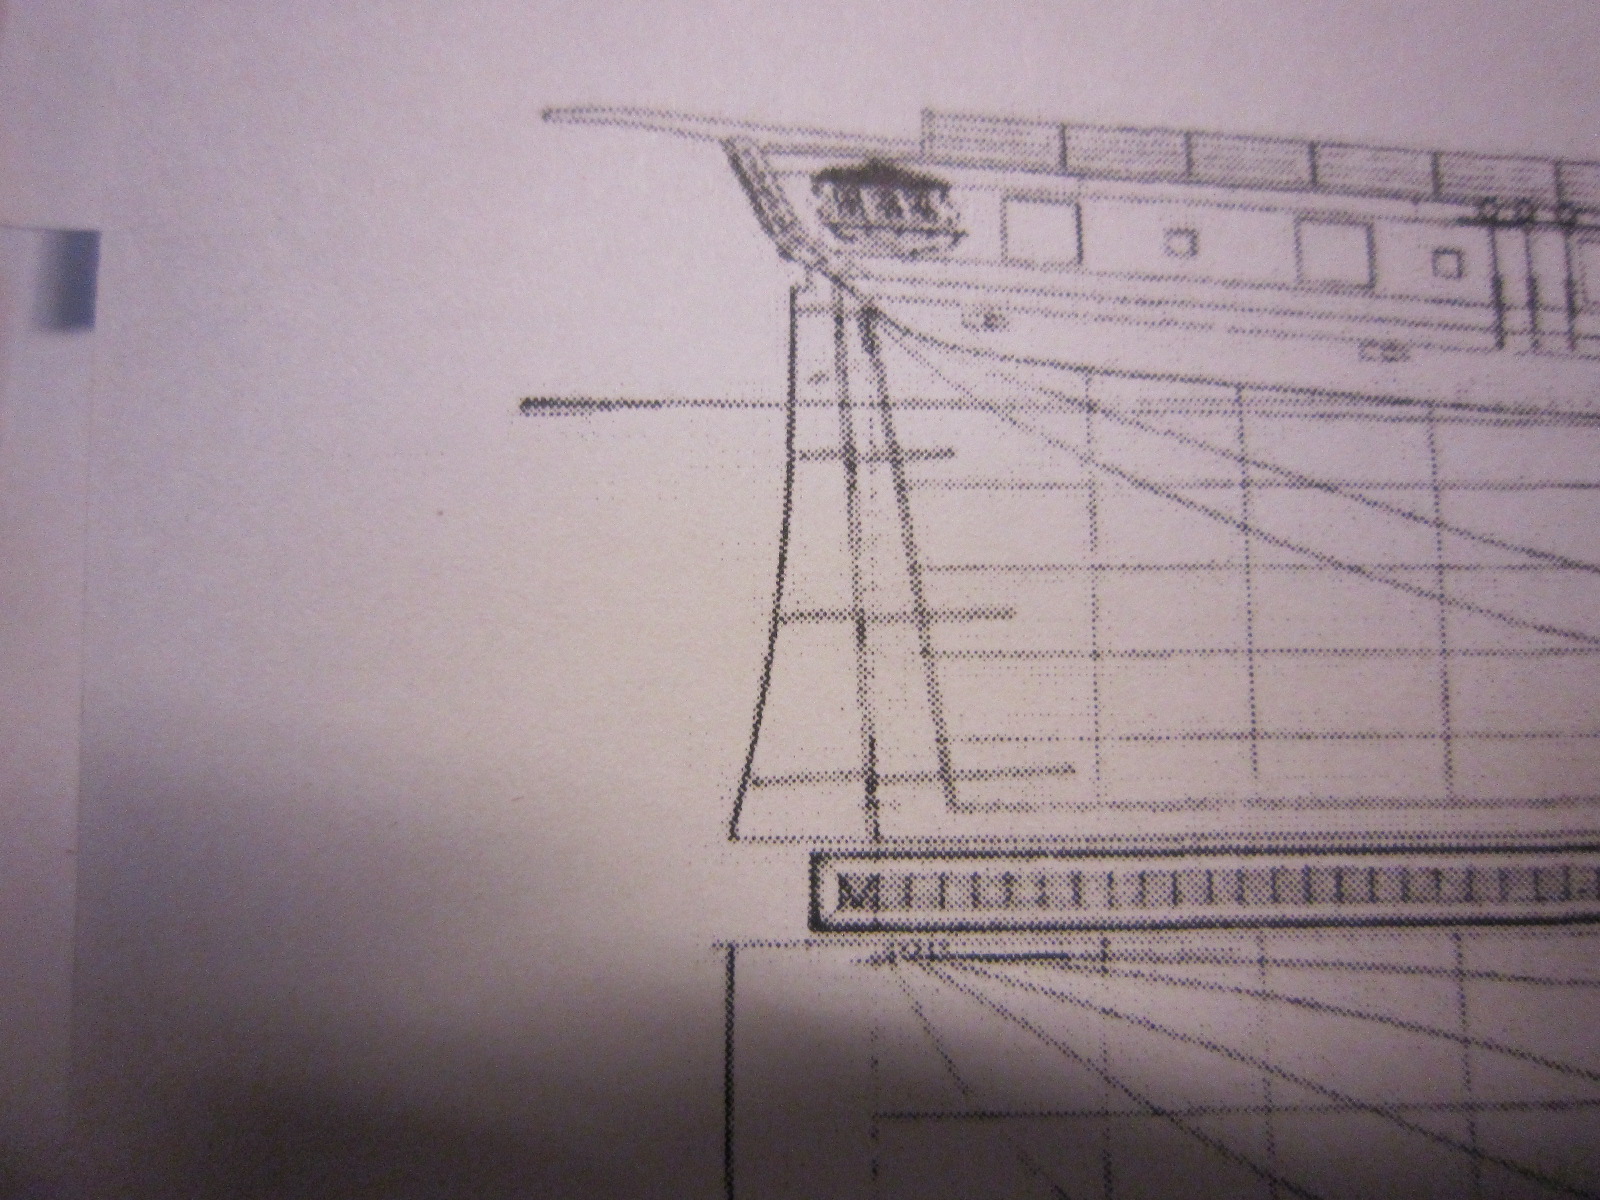
Here's the Argus' flaired rudder next to the print of the straight Syren rudder

- 1,135 replies
-
- 11
-
-
- model shipways
- syren
- (and 2 more)
-
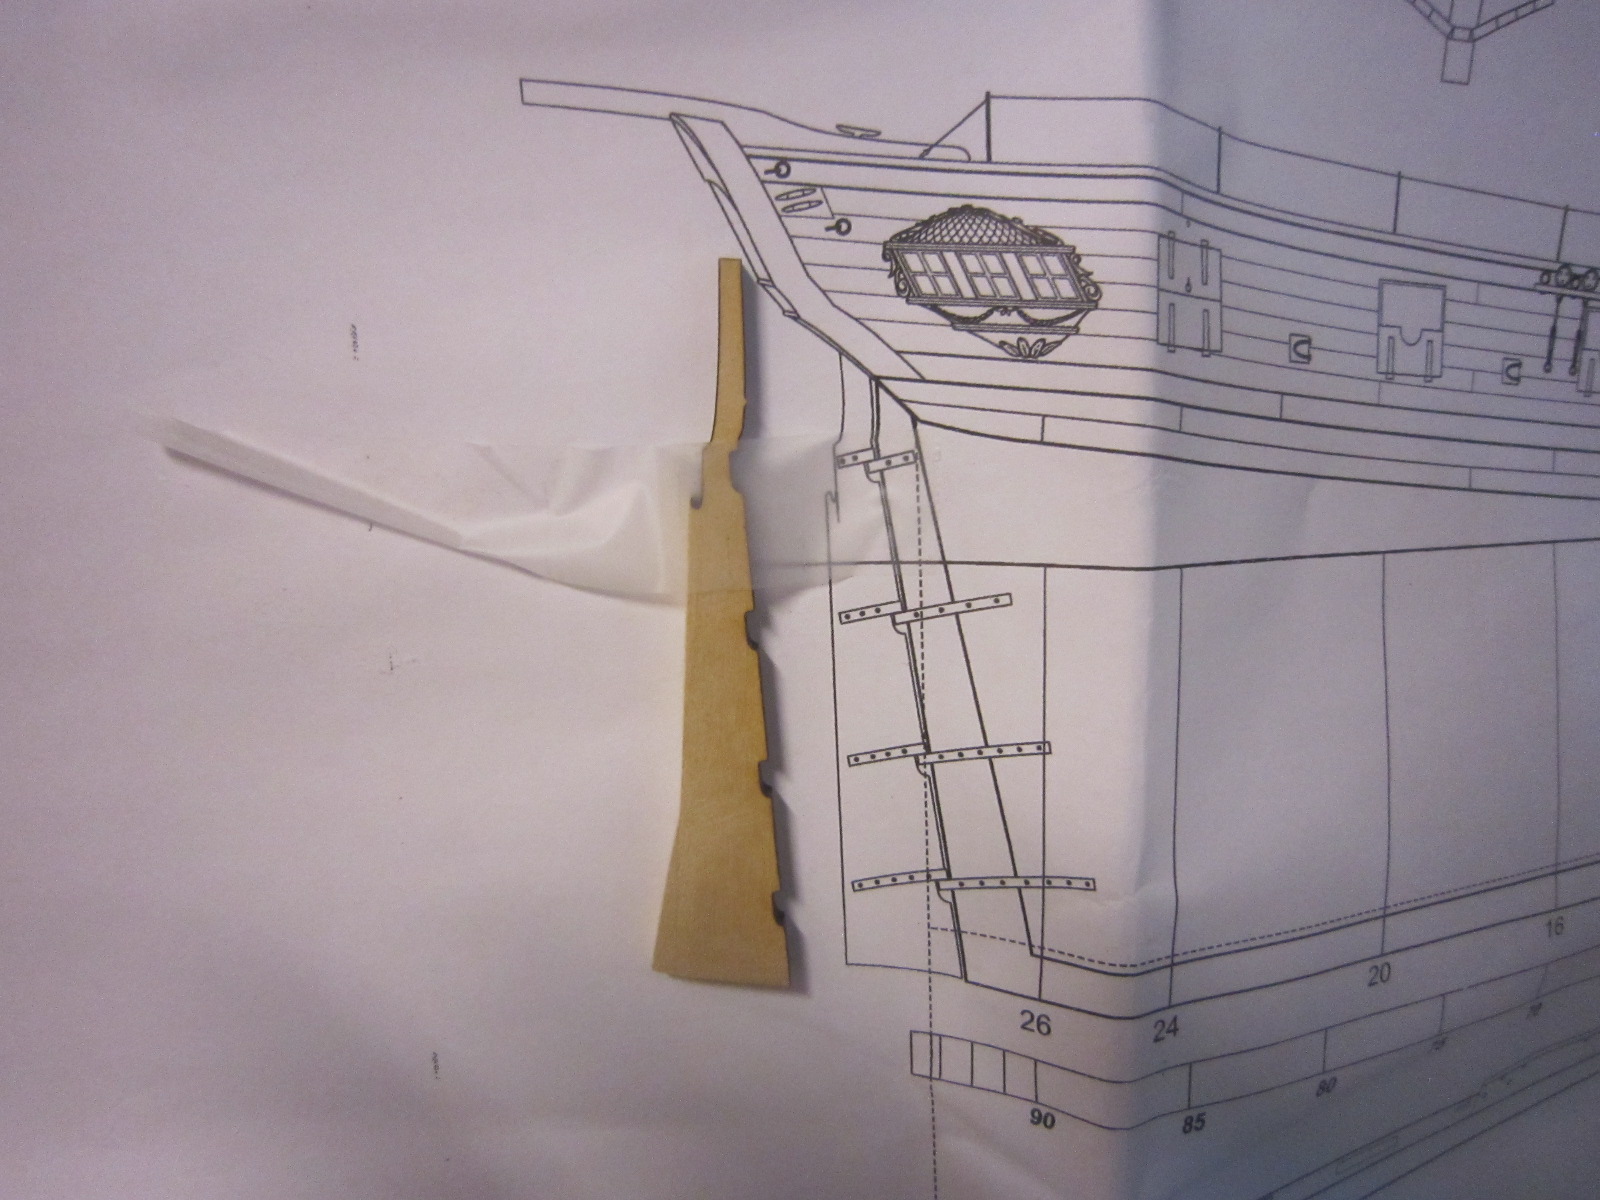
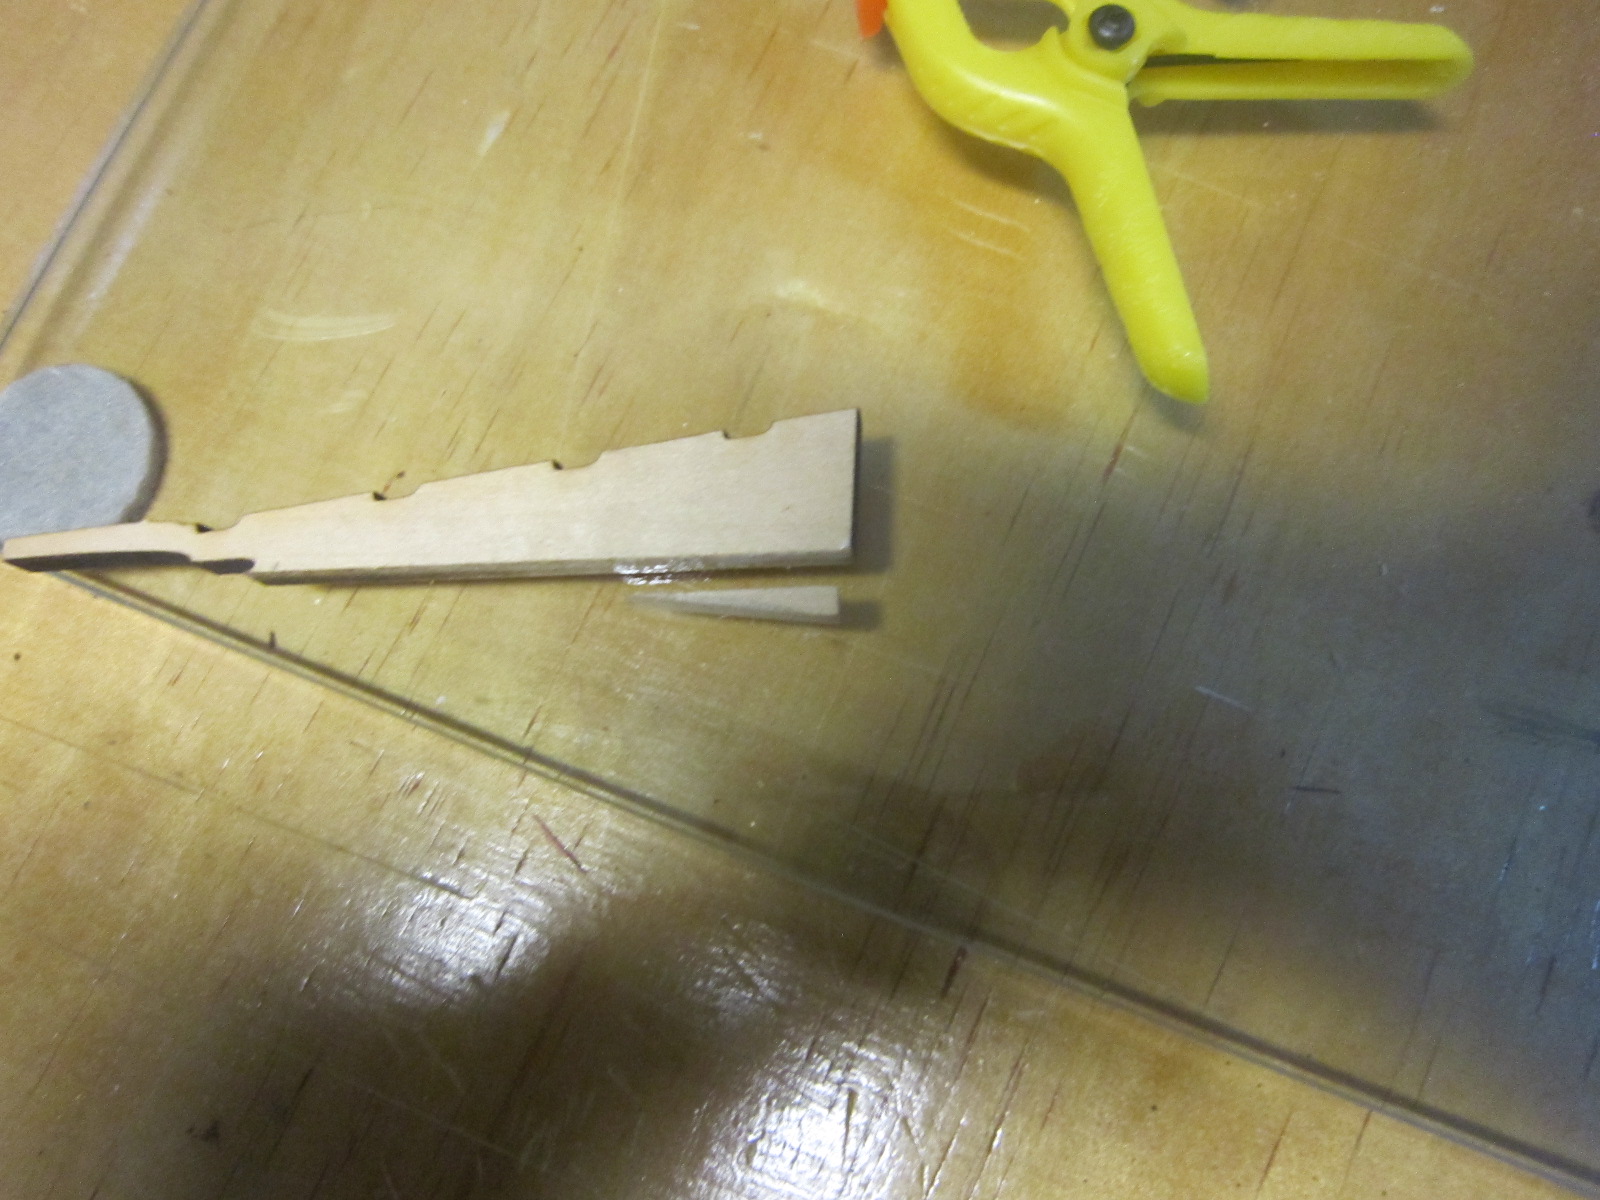
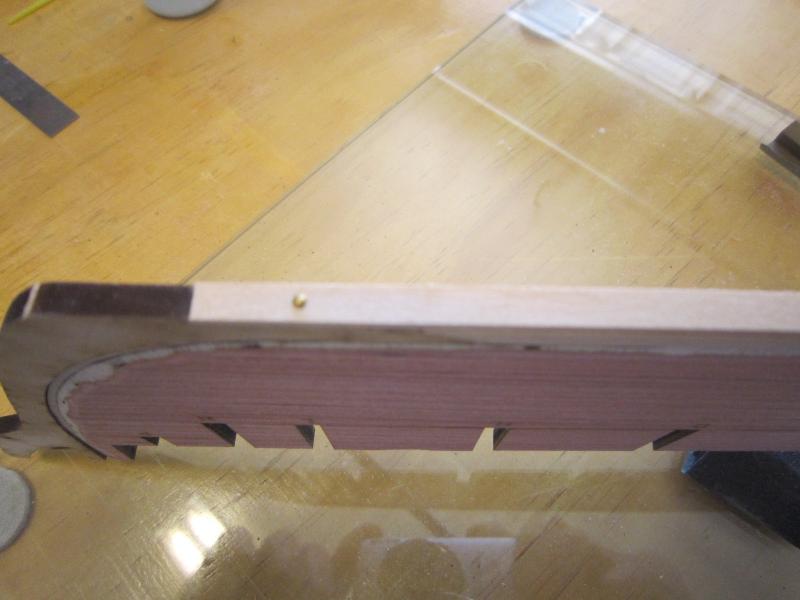
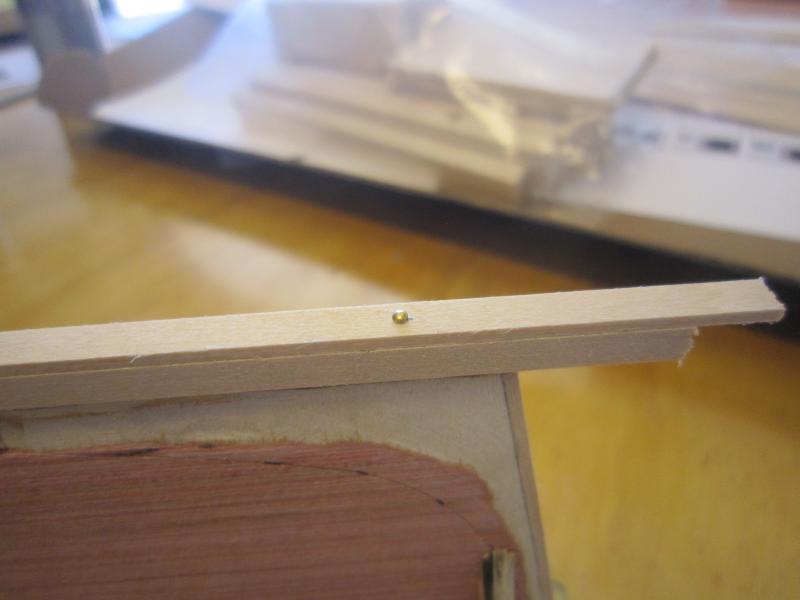
Since I can't stand just waiting for glue to dry, so I decided to modify the rudder. Syren's rudder slants straight down while the Argus's rudder has a flare at the bottom. So, I formed and glued a small triangular piece to the base of the kit's rudder which I will shape into the Argus rudder


- 1,135 replies
-
- 13
-
-
- model shipways
- syren
- (and 2 more)
-
Gluing on the rabbet strip. First I sanded off the "char" left by laser cutting to give the glue a better hold. After applying PVA glue, I made sure strip was centered on the piece. than clamped and rubber banded it in place. By the way, Chuck Passaro who designed this kit is being very supportive in my attempt to make it into the Argus. Thank you Chuck.


- 1,135 replies
-
- 12
-
-
- model shipways
- syren
- (and 2 more)
-
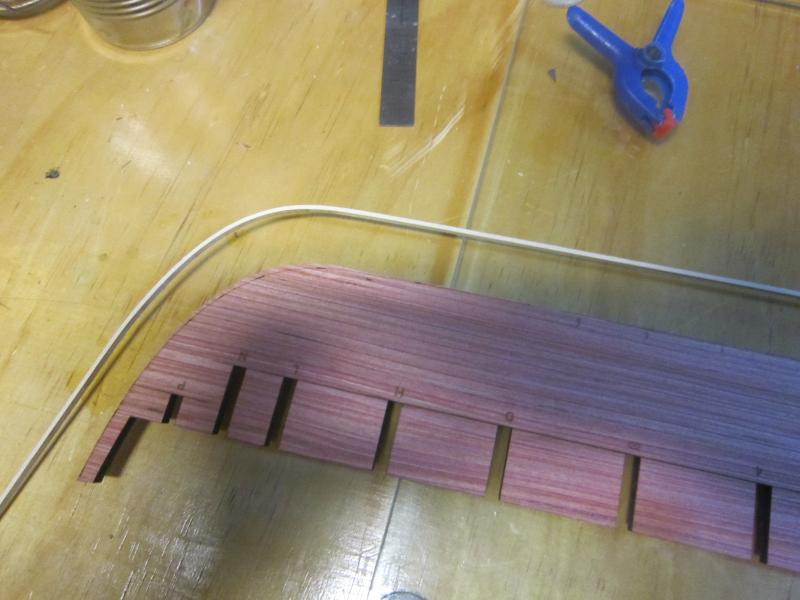
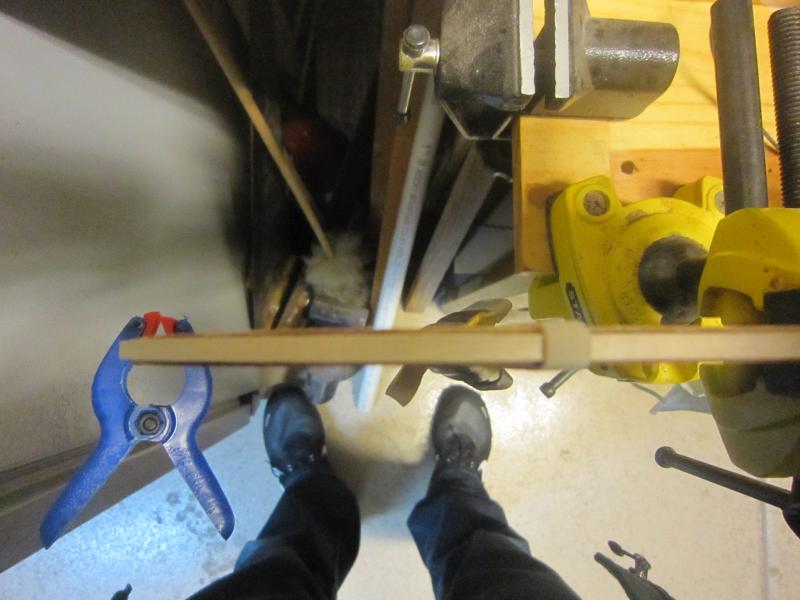
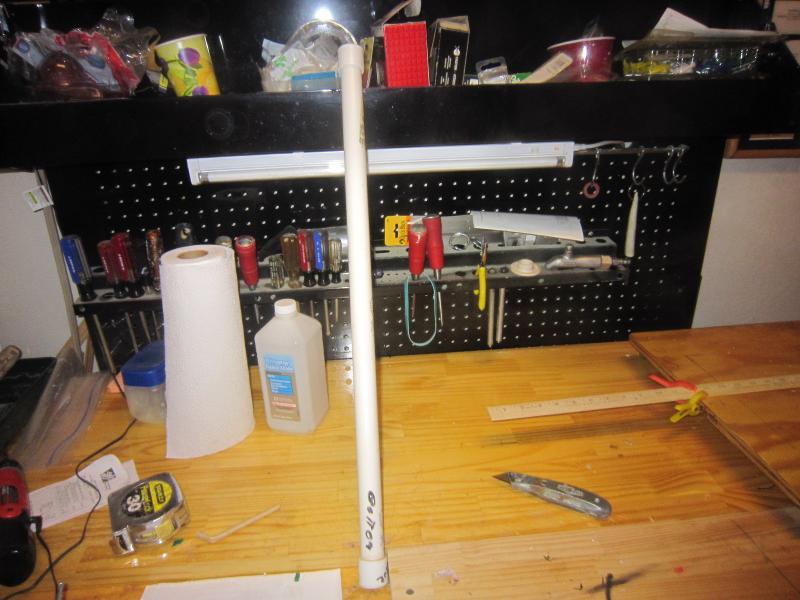
I'm adding the rabbet strip. The instructions said soak the strip 10 minutes, which I did, and the strip bent beautifully! I will leave it set overnight then glue it. Once the glue sets I will carve the bearding line. I've made space for the planks on the keel, stem and stern on two previous models but I didn't know the terms rabbet and bearding. See, you can teach an old dog new tricks. The pipe in the picture is one of my soaking tubes...just PVC pipe with end caps.

- 1,135 replies
-
- 16
-
-
- model shipways
- syren
- (and 2 more)
-
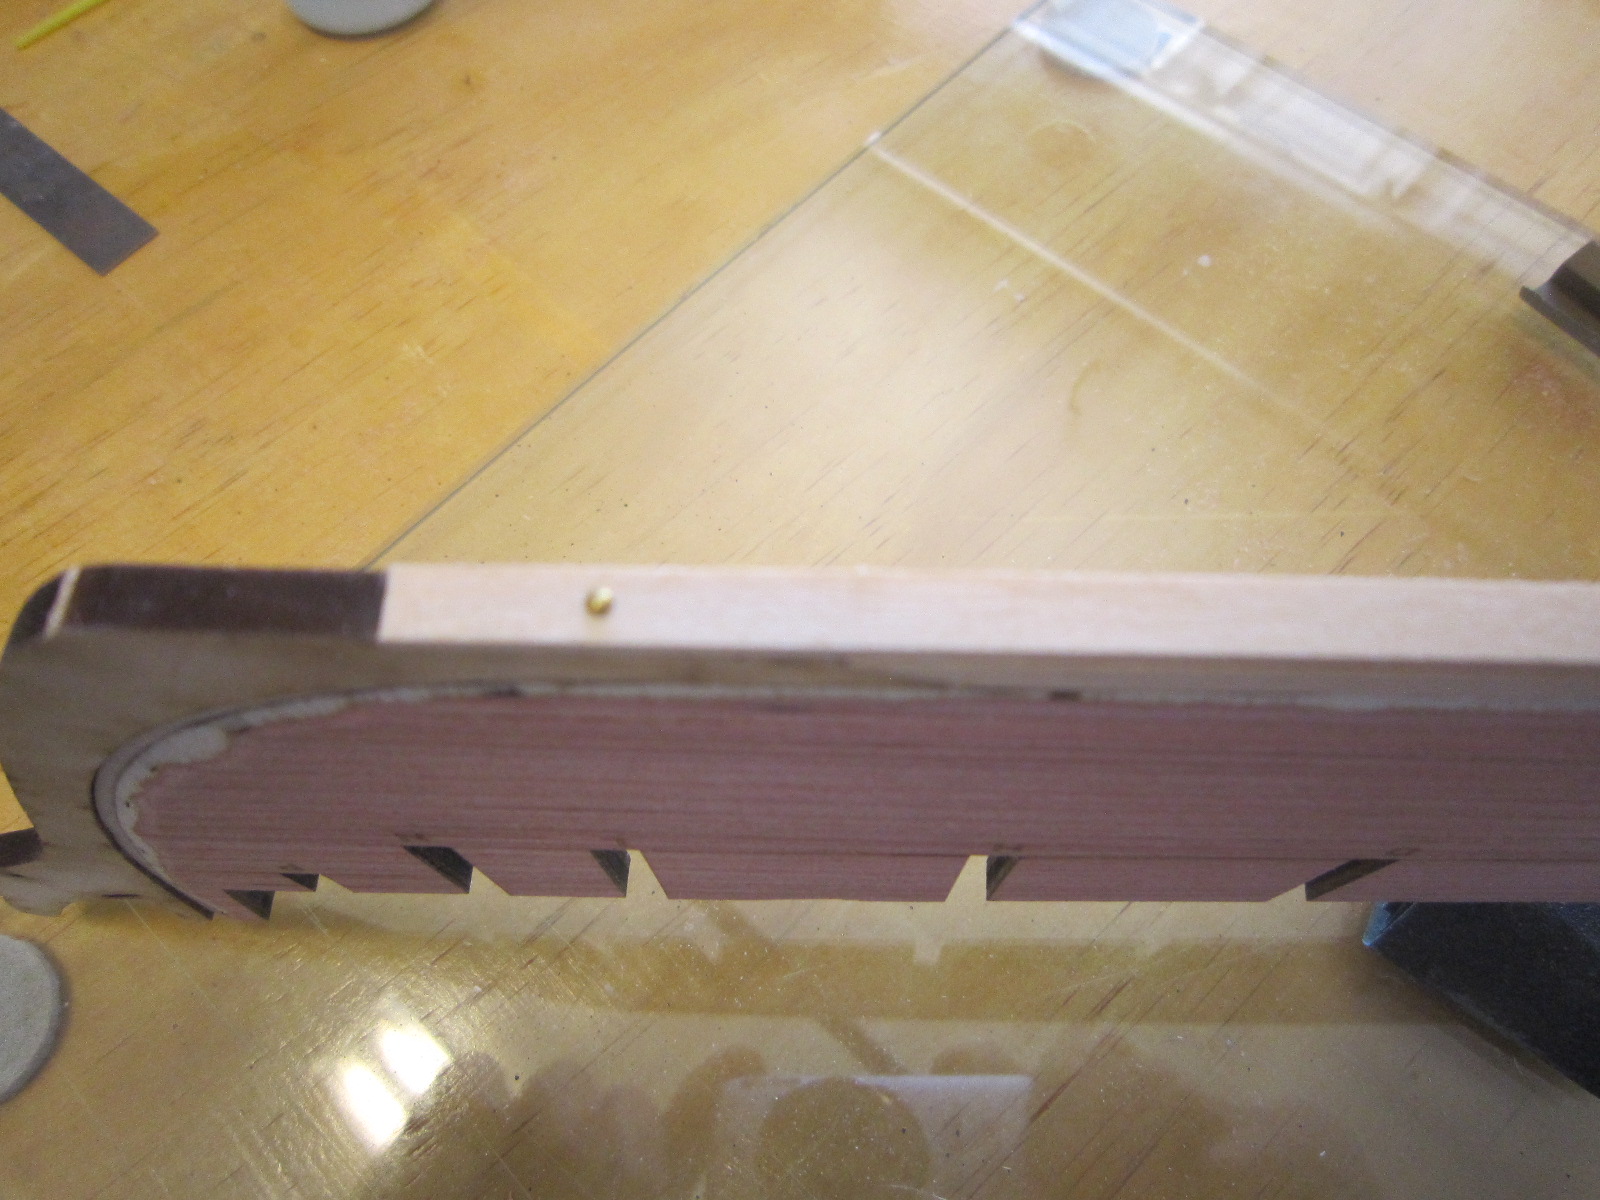
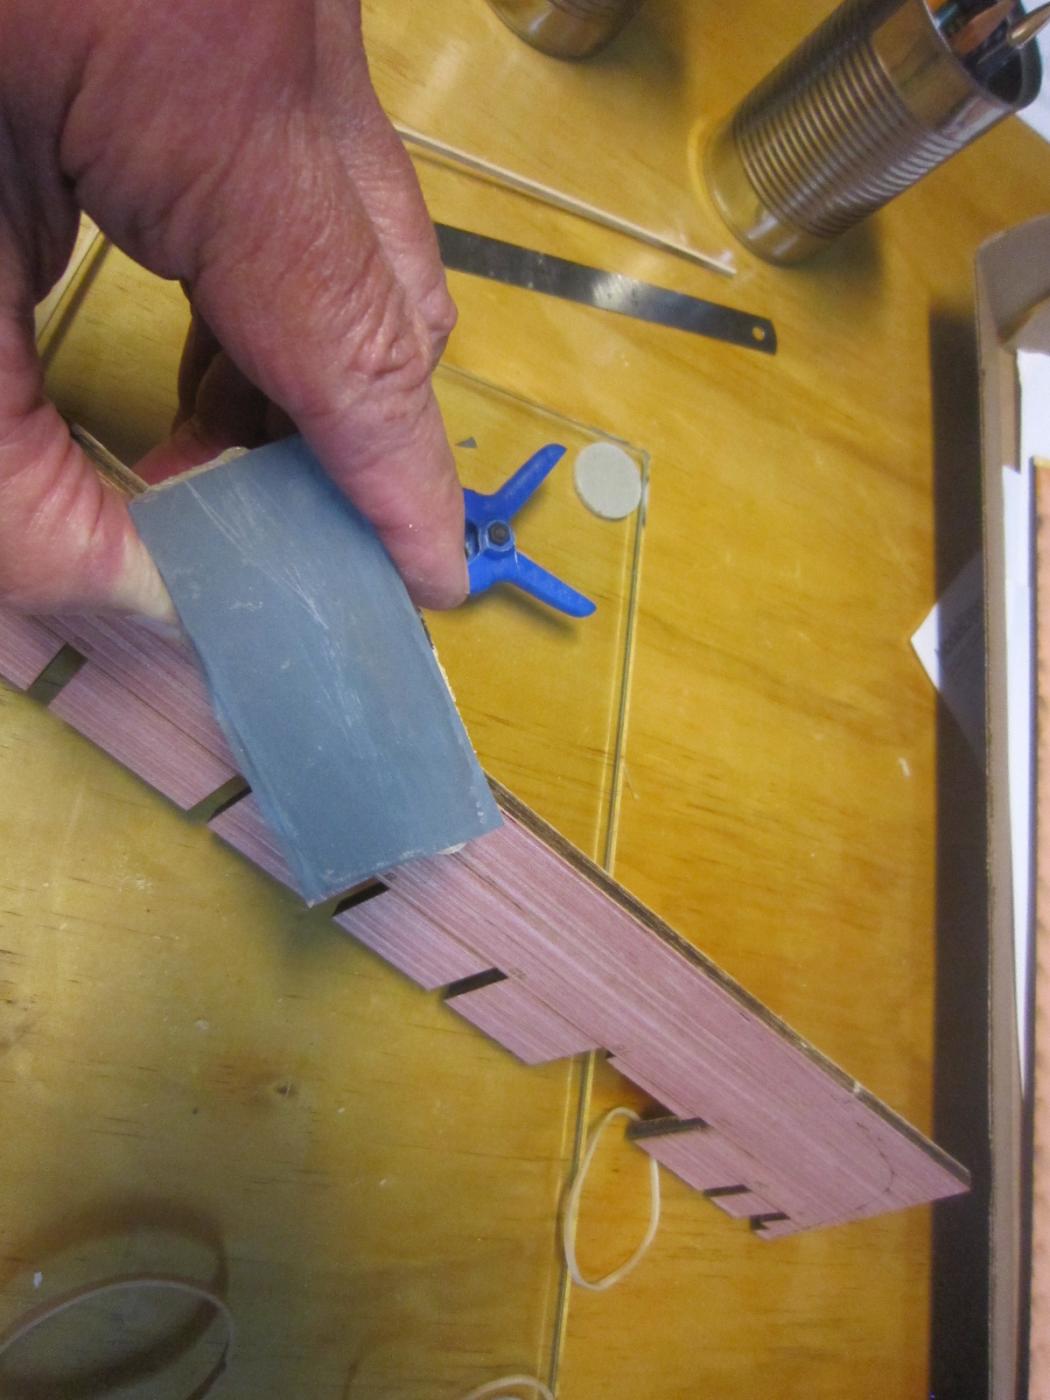
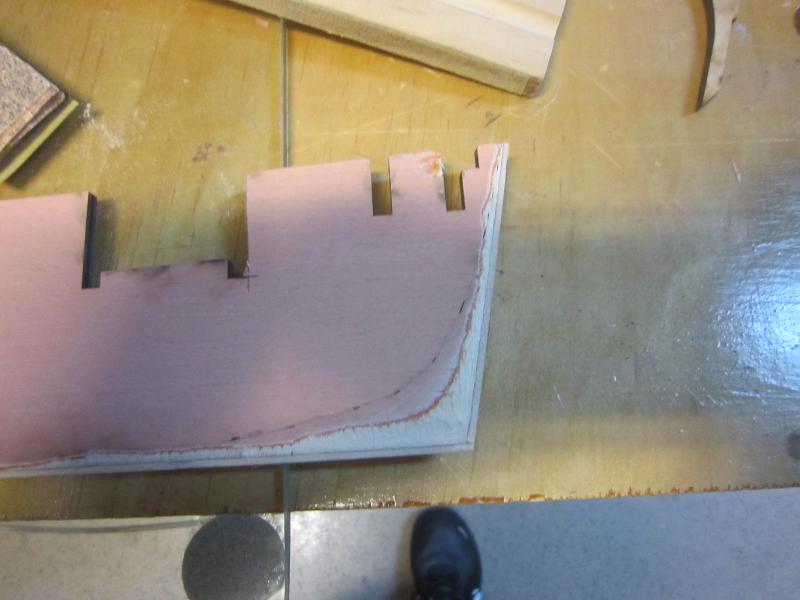
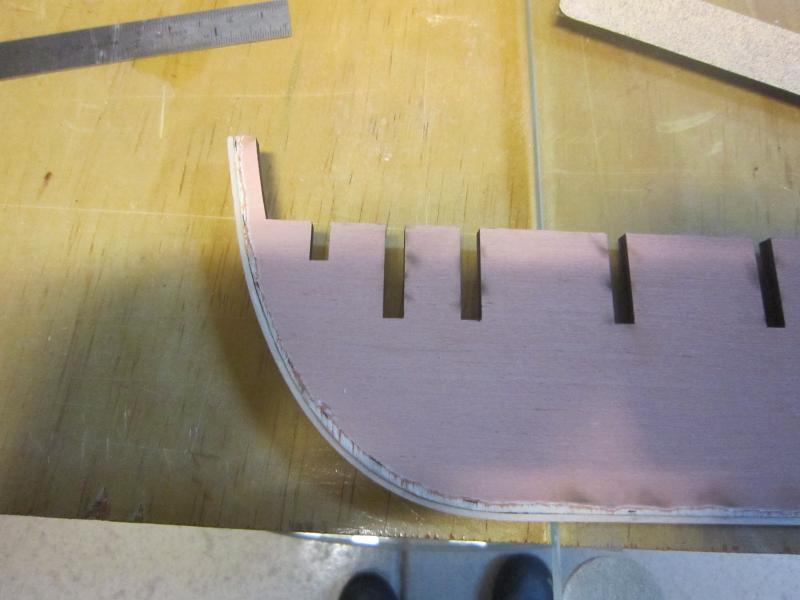
How do you eat an elephant?......"Start chewing on the toe!" I cut out my first piece. Excellent laser cuts except for one vertical. I had to cut it myself since the laser didn't go all the way through. I've got to stop and paste together some templates provided, then figure out how to use them. Very little warping, but I put the piece under a flat piece of glass to make it perfect.
- 1,135 replies
-
- 13
-
-
- model shipways
- syren
- (and 2 more)
-
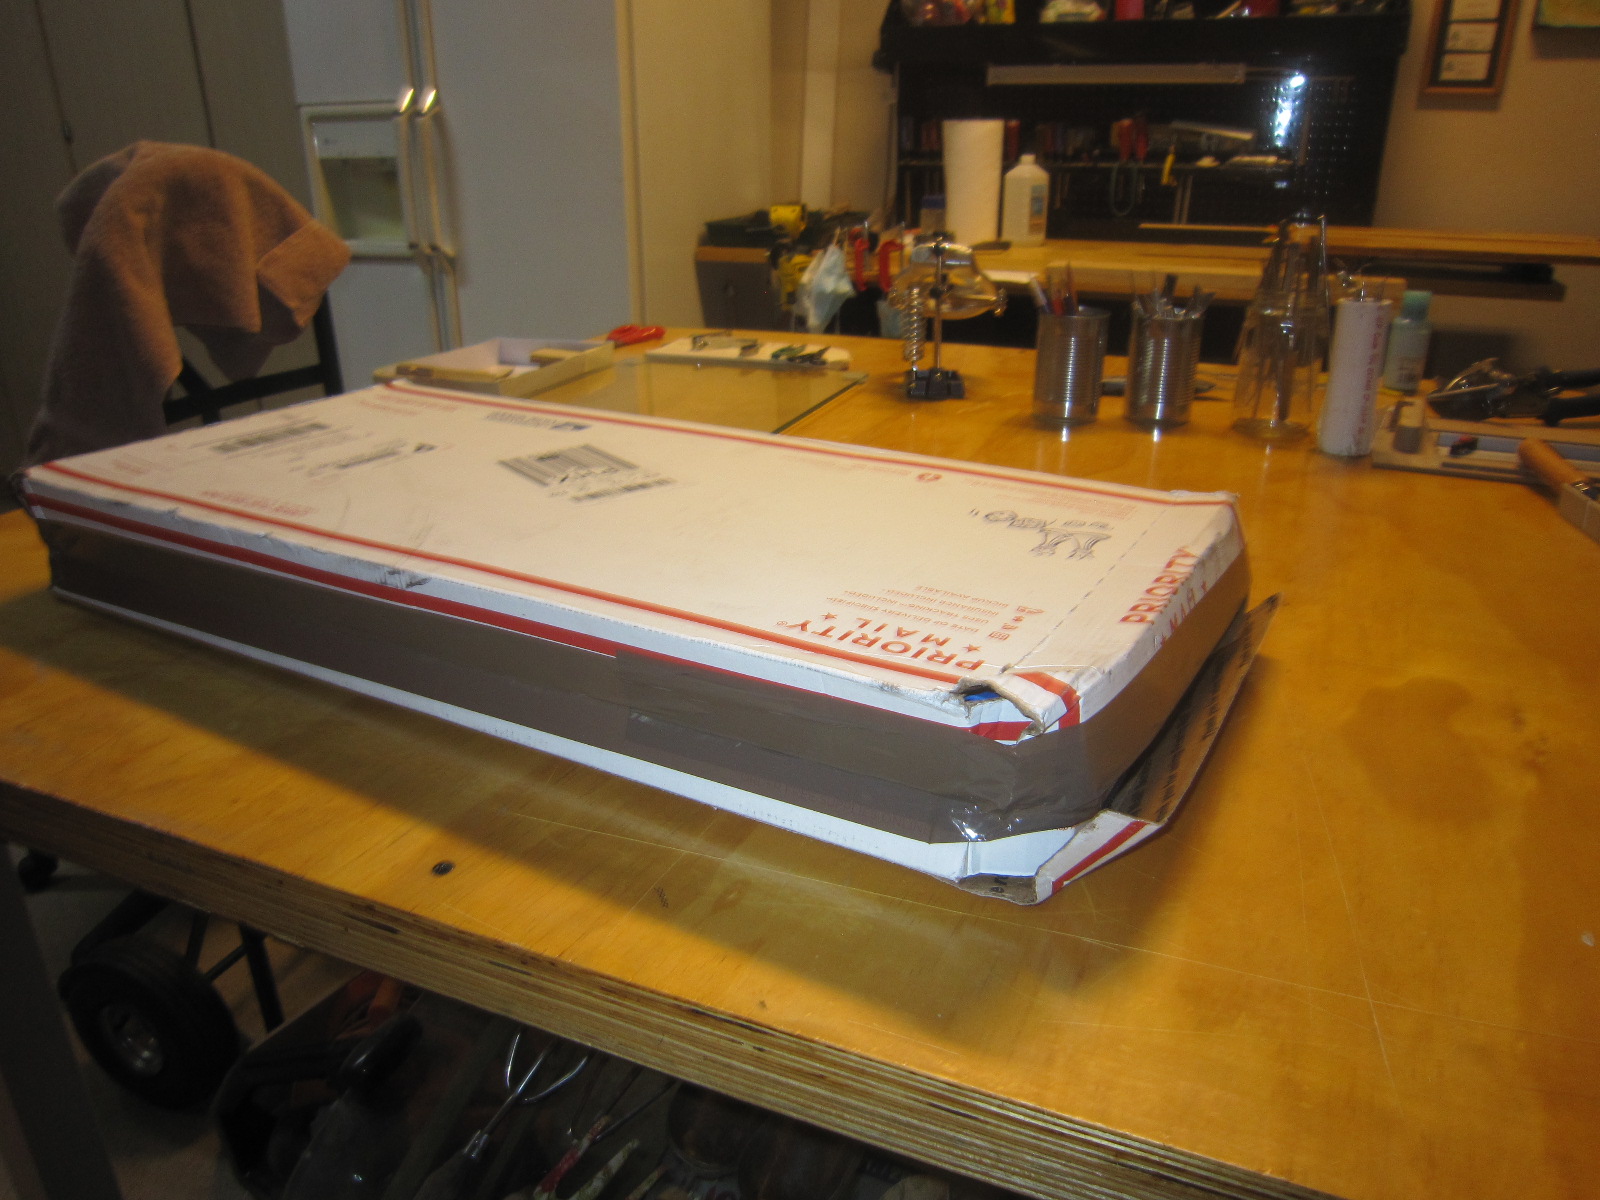
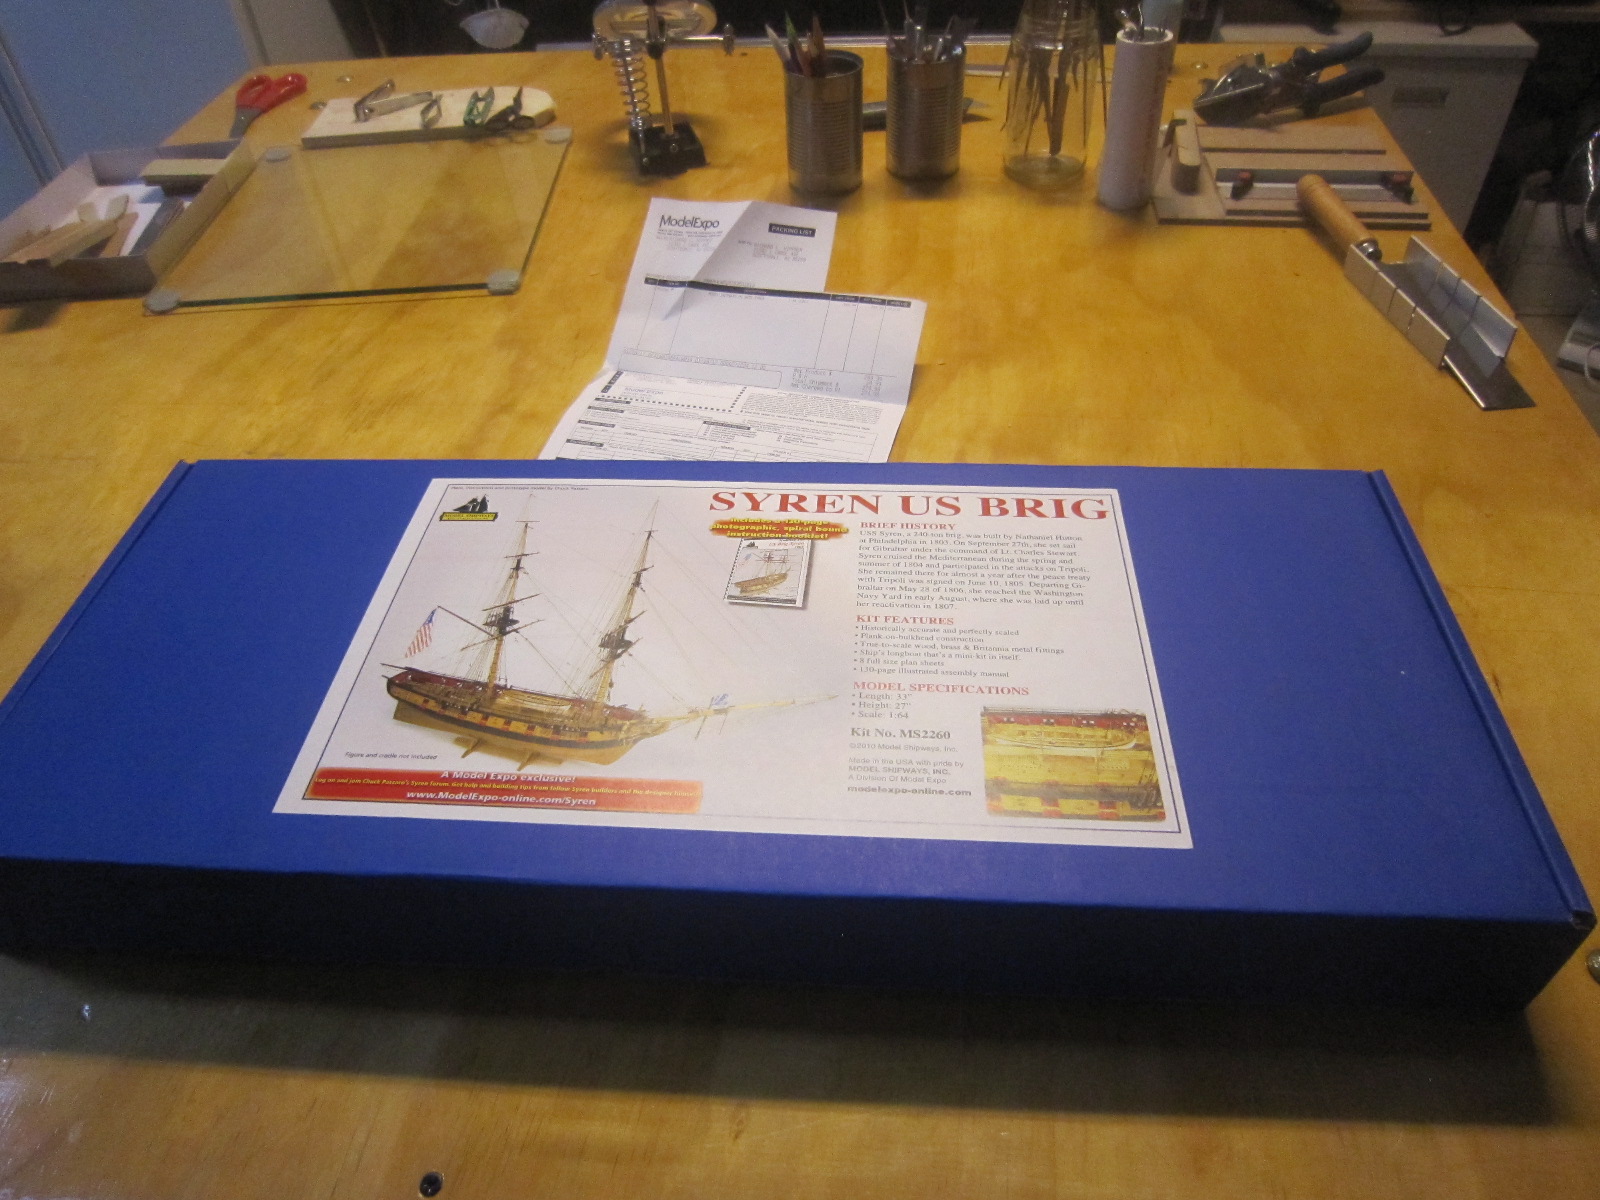
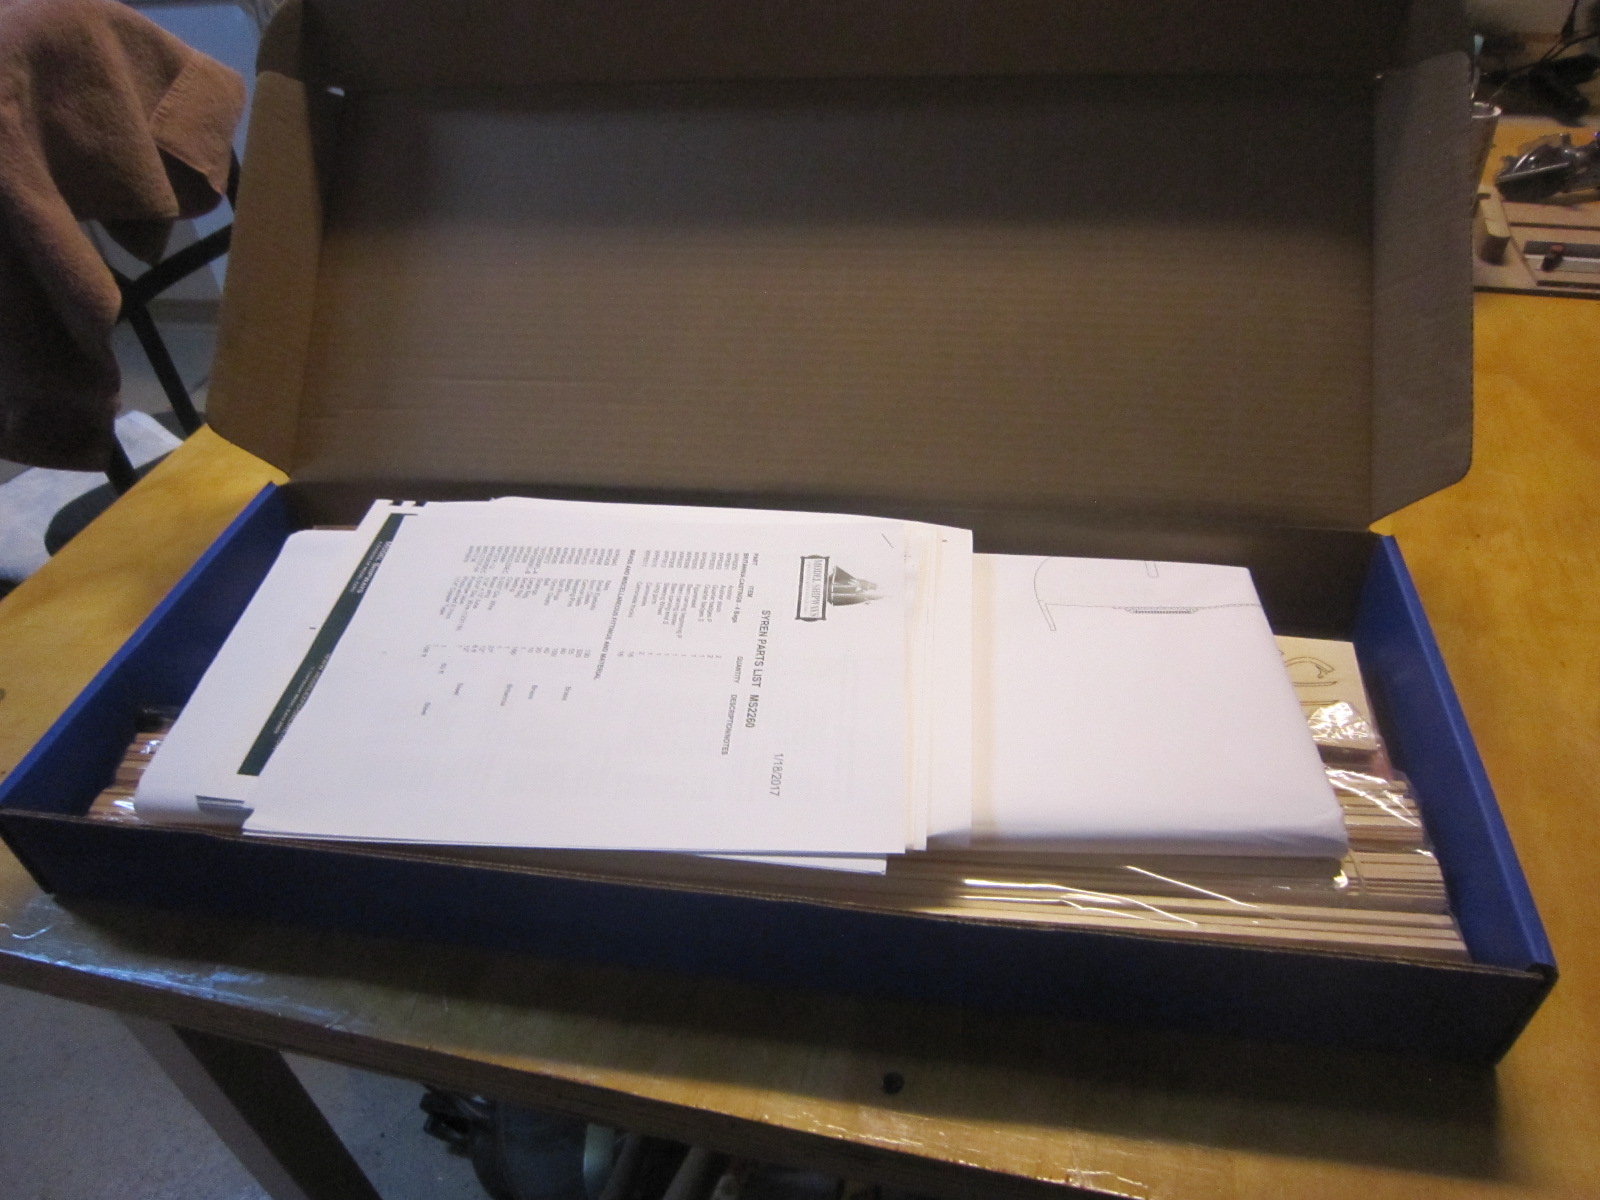
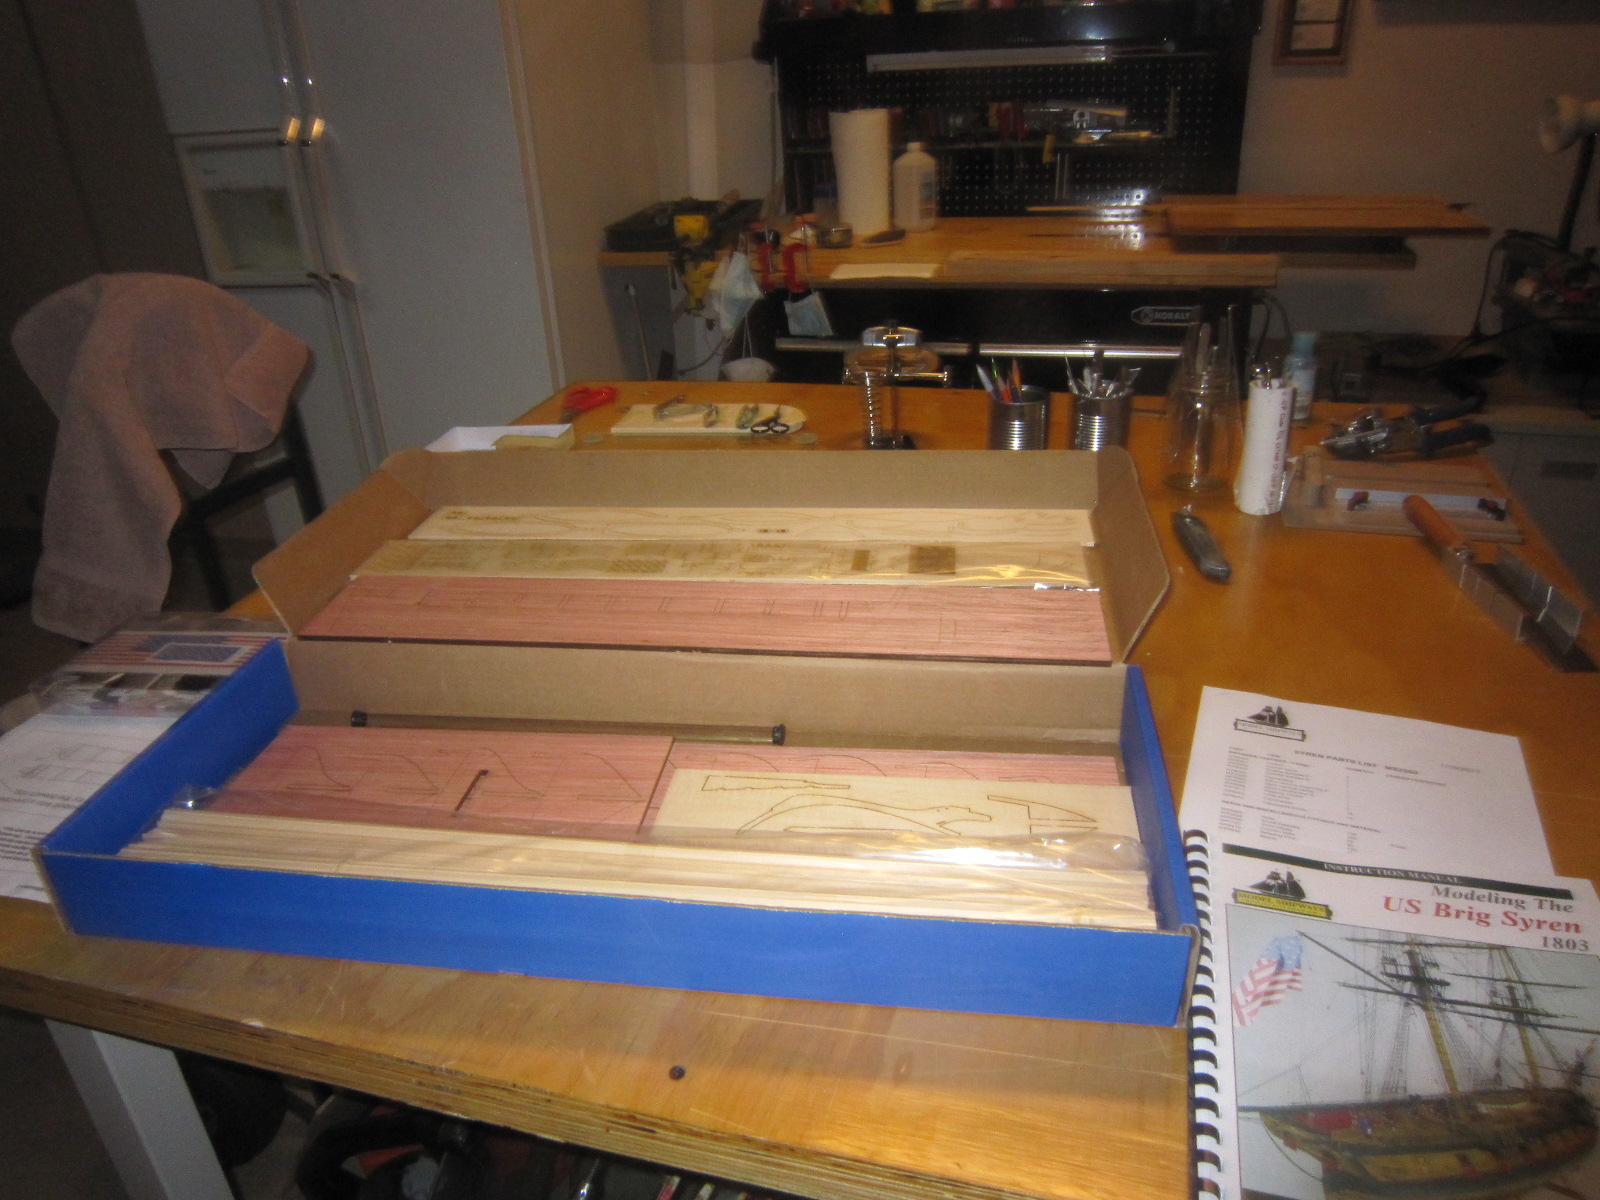
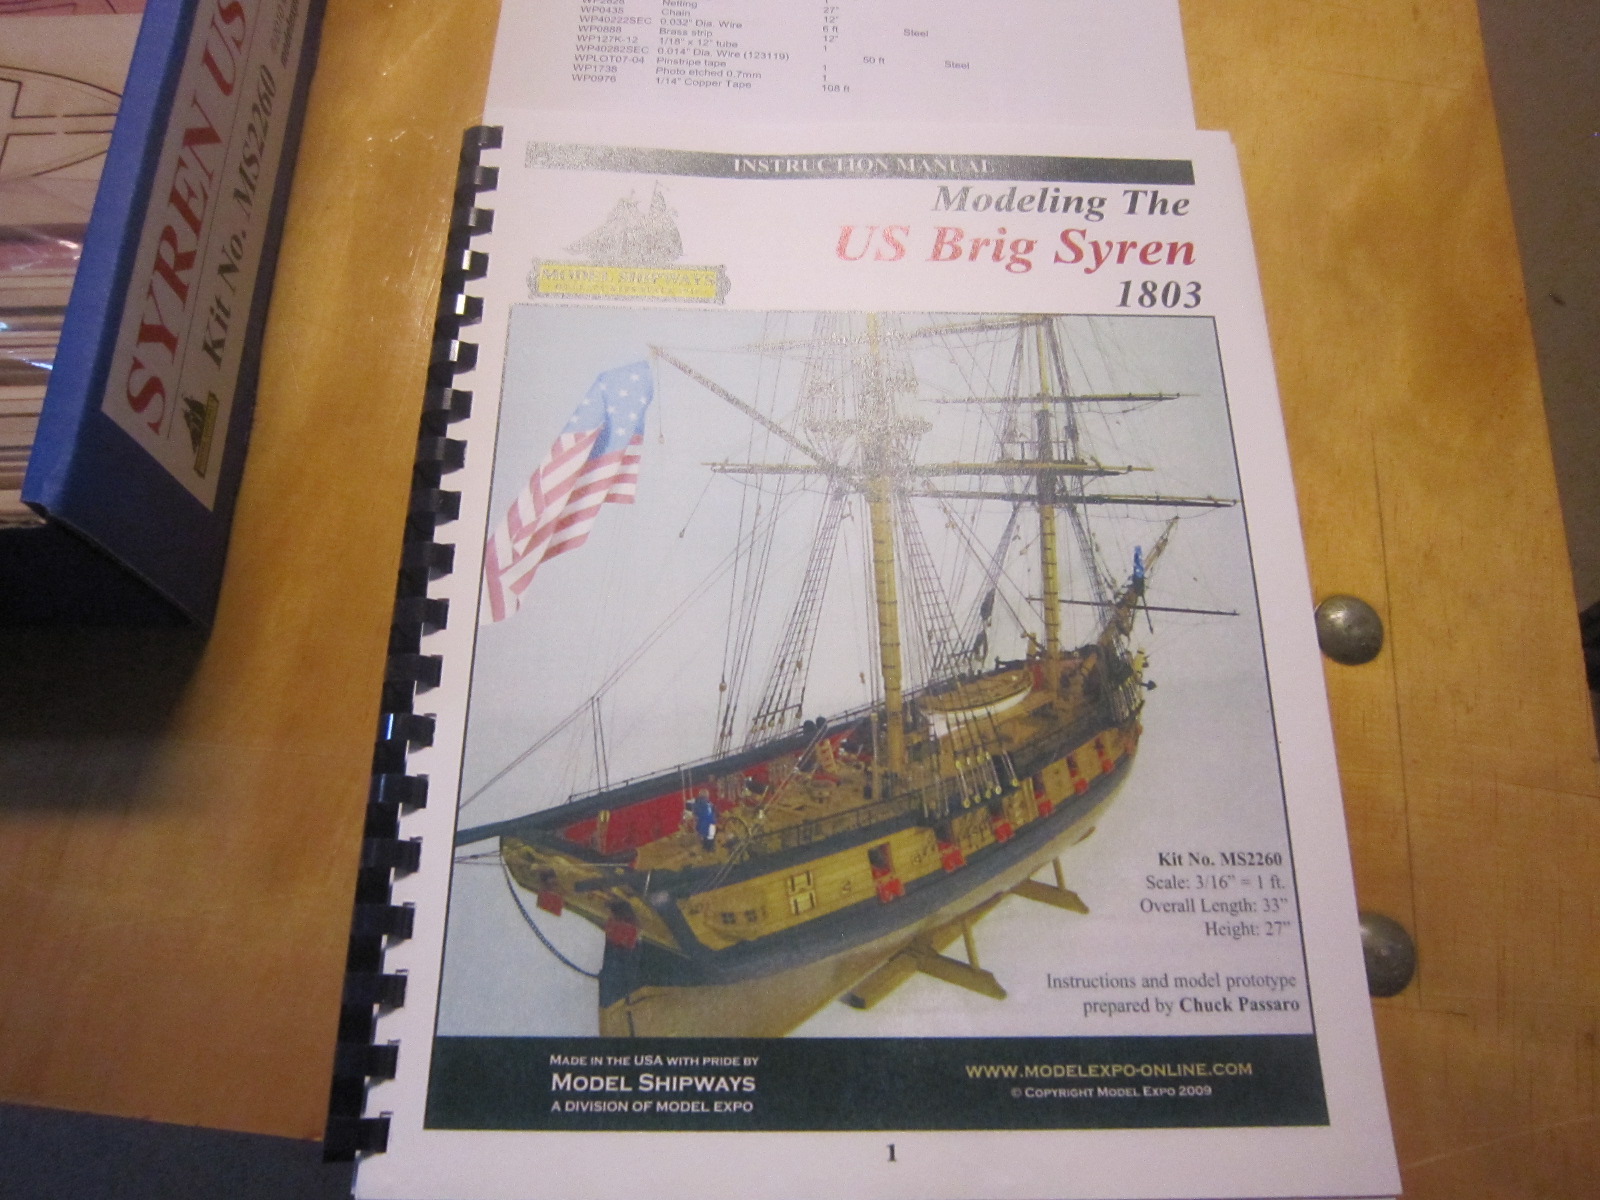
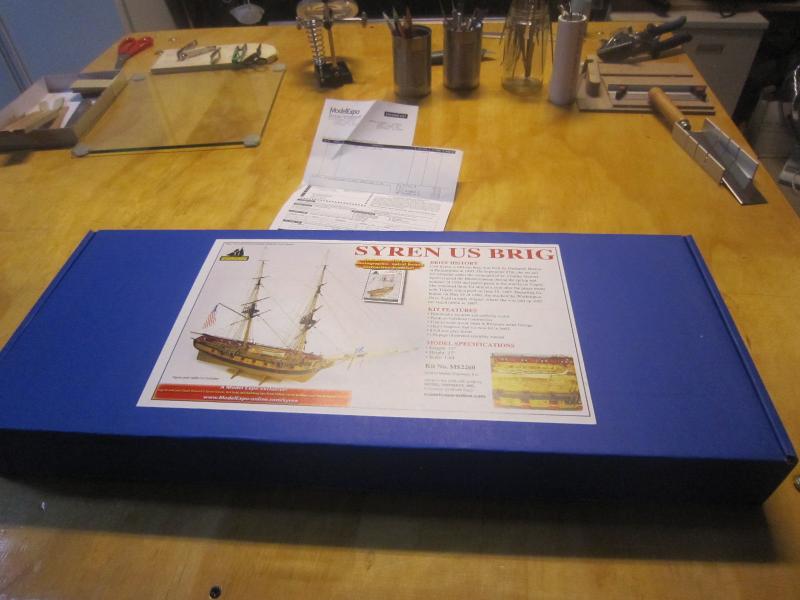
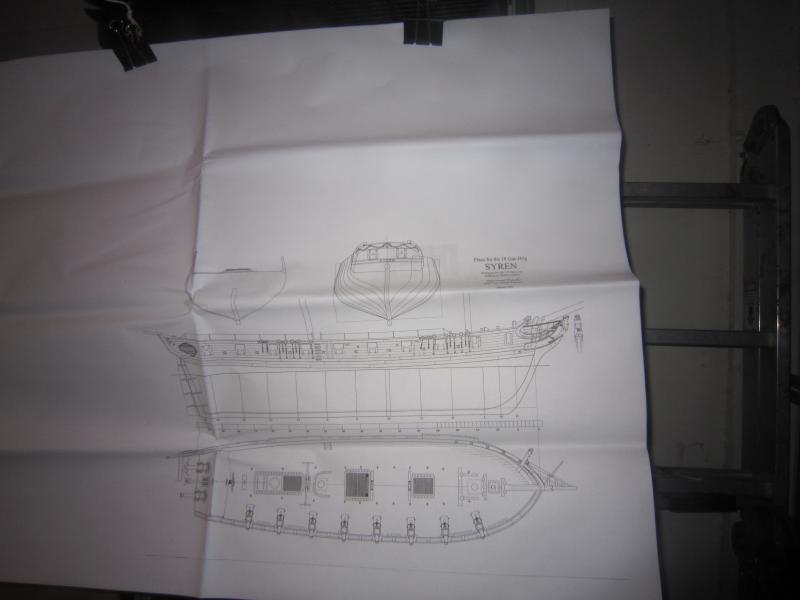
Hooray!!! My kit arrived via USPS from Model Expo. Outer box a little beat up but kit is okay. I have to admit this model ship building is an addiction. With no kit to work on I was pacing the deck looking for things to do. I even contemplated tweaking my Connie that has been dormant for almost two years. I'll spend some time checking the inventory against what's in the box. Then I will read the very, very comprehensive instruction book. It looks like the most detailed instructions I have ever seen in a kit. The 1:1 drawings look very detailed. Compared to the lack of instructions and drawings from that banned kit of the HMS Surprise, this is heaven.


- 1,135 replies
-
- 16
-
-
- model shipways
- syren
- (and 2 more)
-
Try printable flags. there are several websites
-
Where can I get TINY letters for my ship?
HIPEXEC replied to Brenticus's topic in Plastic model kits
Try "Starfighter Decals). I ordered $15 worth My problem is how do I transfer those tiny tiny decals without destroying them? They are so small I need a magnifier to read them . -
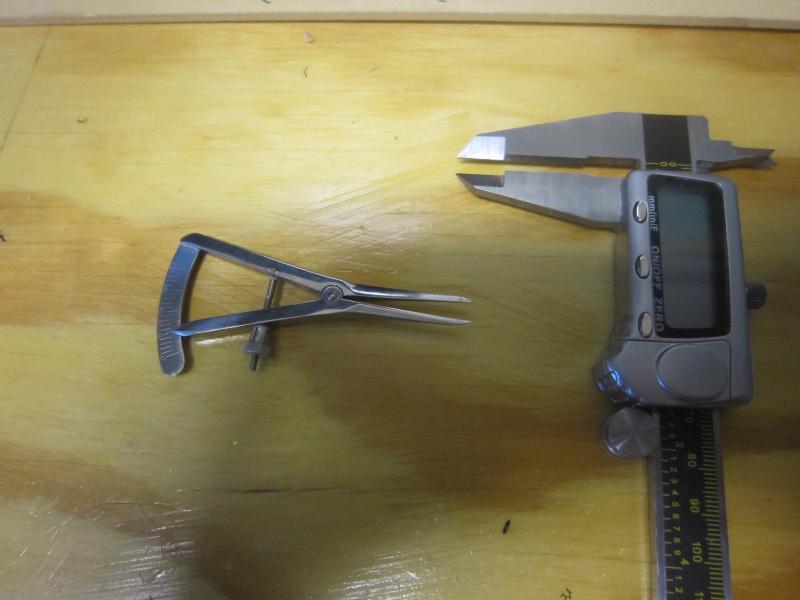
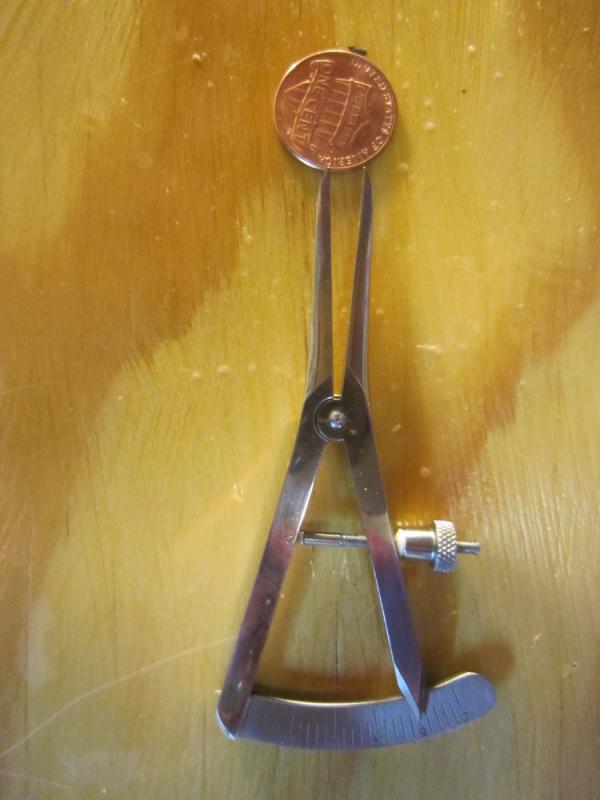
I love your mini tools. I just got this mini caliper from a surgeon who does micro surgery. It'll come in handy measuring in tight places where my giant caliper won't go.
- 100 replies
-
- 11
-
-
I just got this mini caliper from a surgeon friend of mine who does micro surgery. They will help in trying to measure in tight places.


- 1,135 replies
-
- 8
-
-
- model shipways
- syren
- (and 2 more)