HOLIDAY DONATION DRIVE - SUPPORT MSW - DO YOUR PART TO KEEP THIS GREAT FORUM GOING! (Only 72 donations so far out of 49,000 members - Can we at least get 100? C'mon guys!)
×


HIPEXEC
-
Posts
2,698 -
Joined
-
Last visited
Content Type
Profiles
Forums
Gallery
Events
Everything posted by HIPEXEC
-
 That was my first model and I had no idea about quality. I just now looked at it and realized I could have filed the flattened edges of the squashed end to make them look neater, but it didn't dawn on me back then.
 -
I think I squashed the thing in my vice grips tightened down full. It isn't pretty, but it was flat enough to drill that hole.
- 84 replies
-
- 1
-

-
- swift
- artesania latina
- (and 1 more)
-
Finished both sides sweep port tops. I'll wait until tomorrow to sand and fair them before gluing on the sweep port sides.
- 1,135 replies
-
- 8
-
-
- model shipways
- syren
- (and 2 more)
-
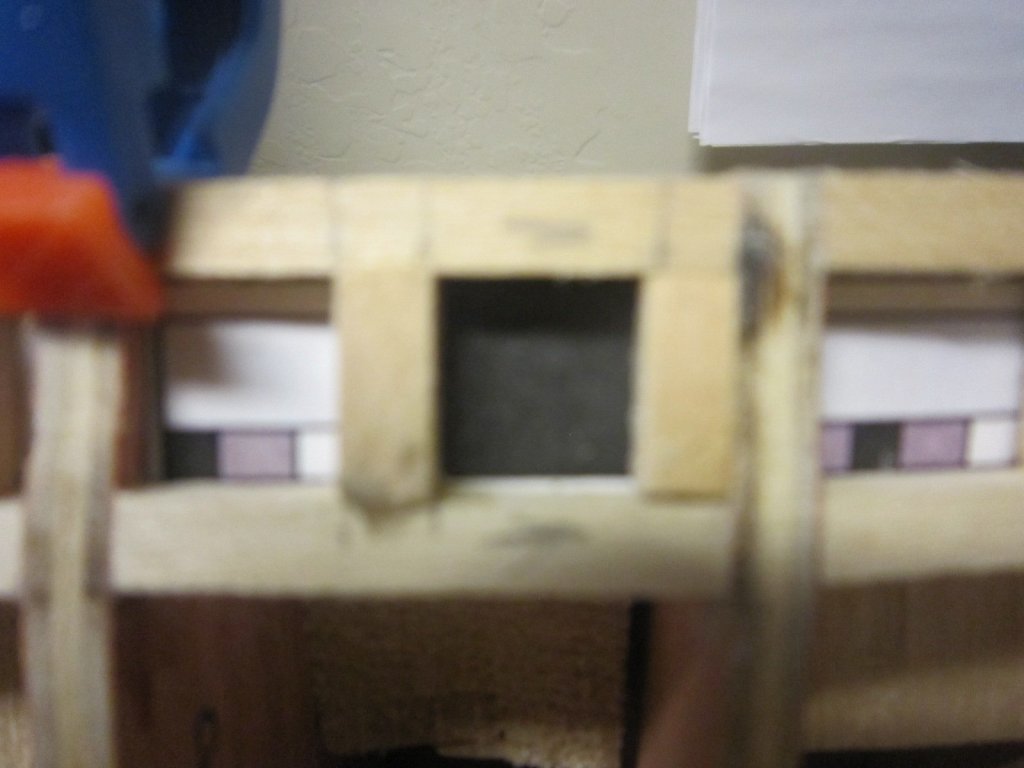
I'm installing the tops for the sweep ports. Seems like an overkill since the ports are 1/8" x 1/8" and the top is 1/4"? Oh well it will give me more surface for gluing planks.
- 1,135 replies
-
- 6
-
-
- model shipways
- syren
- (and 2 more)
-
Yes...these two are at #8. Don't worry...these things are now strong as an ox unlike when they were first installed.
- 1,135 replies
-
- 2
-
-
- model shipways
- syren
- (and 2 more)
-
Believe it or not, I had to remove another pair of bulkhead extensions to make room for the sixteen sweep ports. This ship comes with 16 very long oars or sweeps and there will be 16 sweep ports installed.
- 1,135 replies
-
- 4
-
-
- model shipways
- syren
- (and 2 more)
-
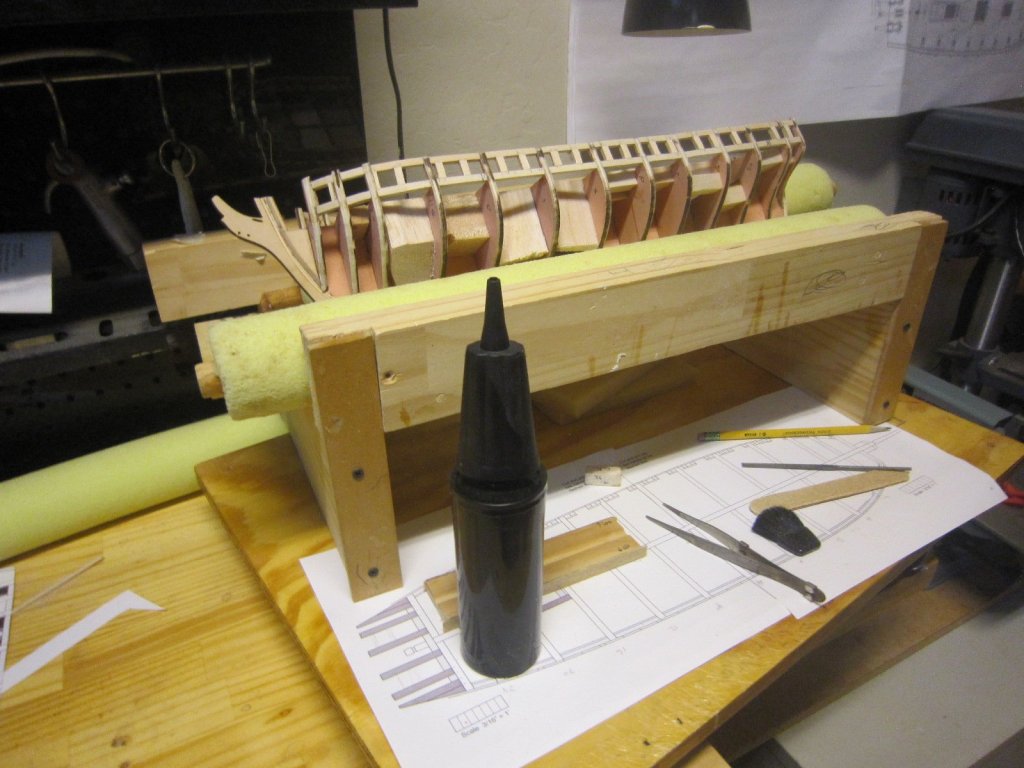
Use a mask when sanding. Some of that wood is dangerous to your health.
-
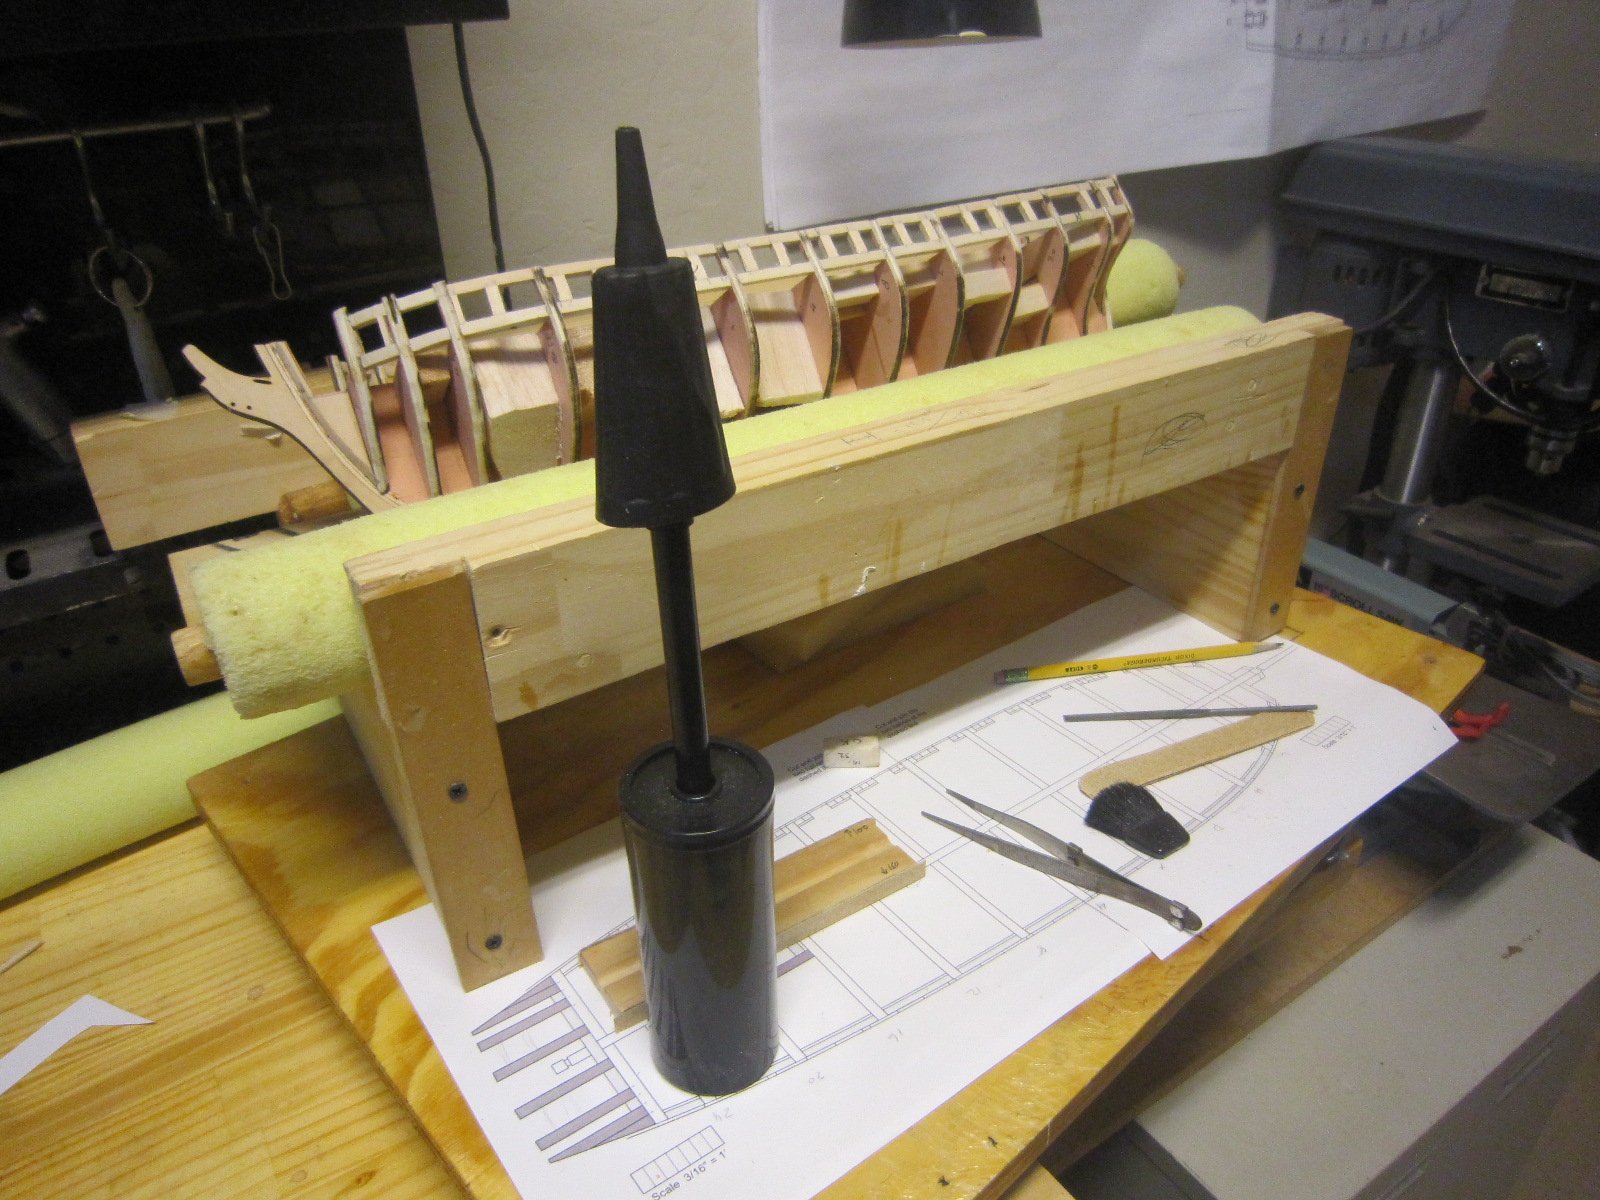
Finished sanding and fairing the port side. That rocket ship looking thing is a kids balloon blow up pump. Since I sand with a mask, I use that to blow off the saw dust.

- 1,135 replies
-
- 9
-
-
- model shipways
- syren
- (and 2 more)
-
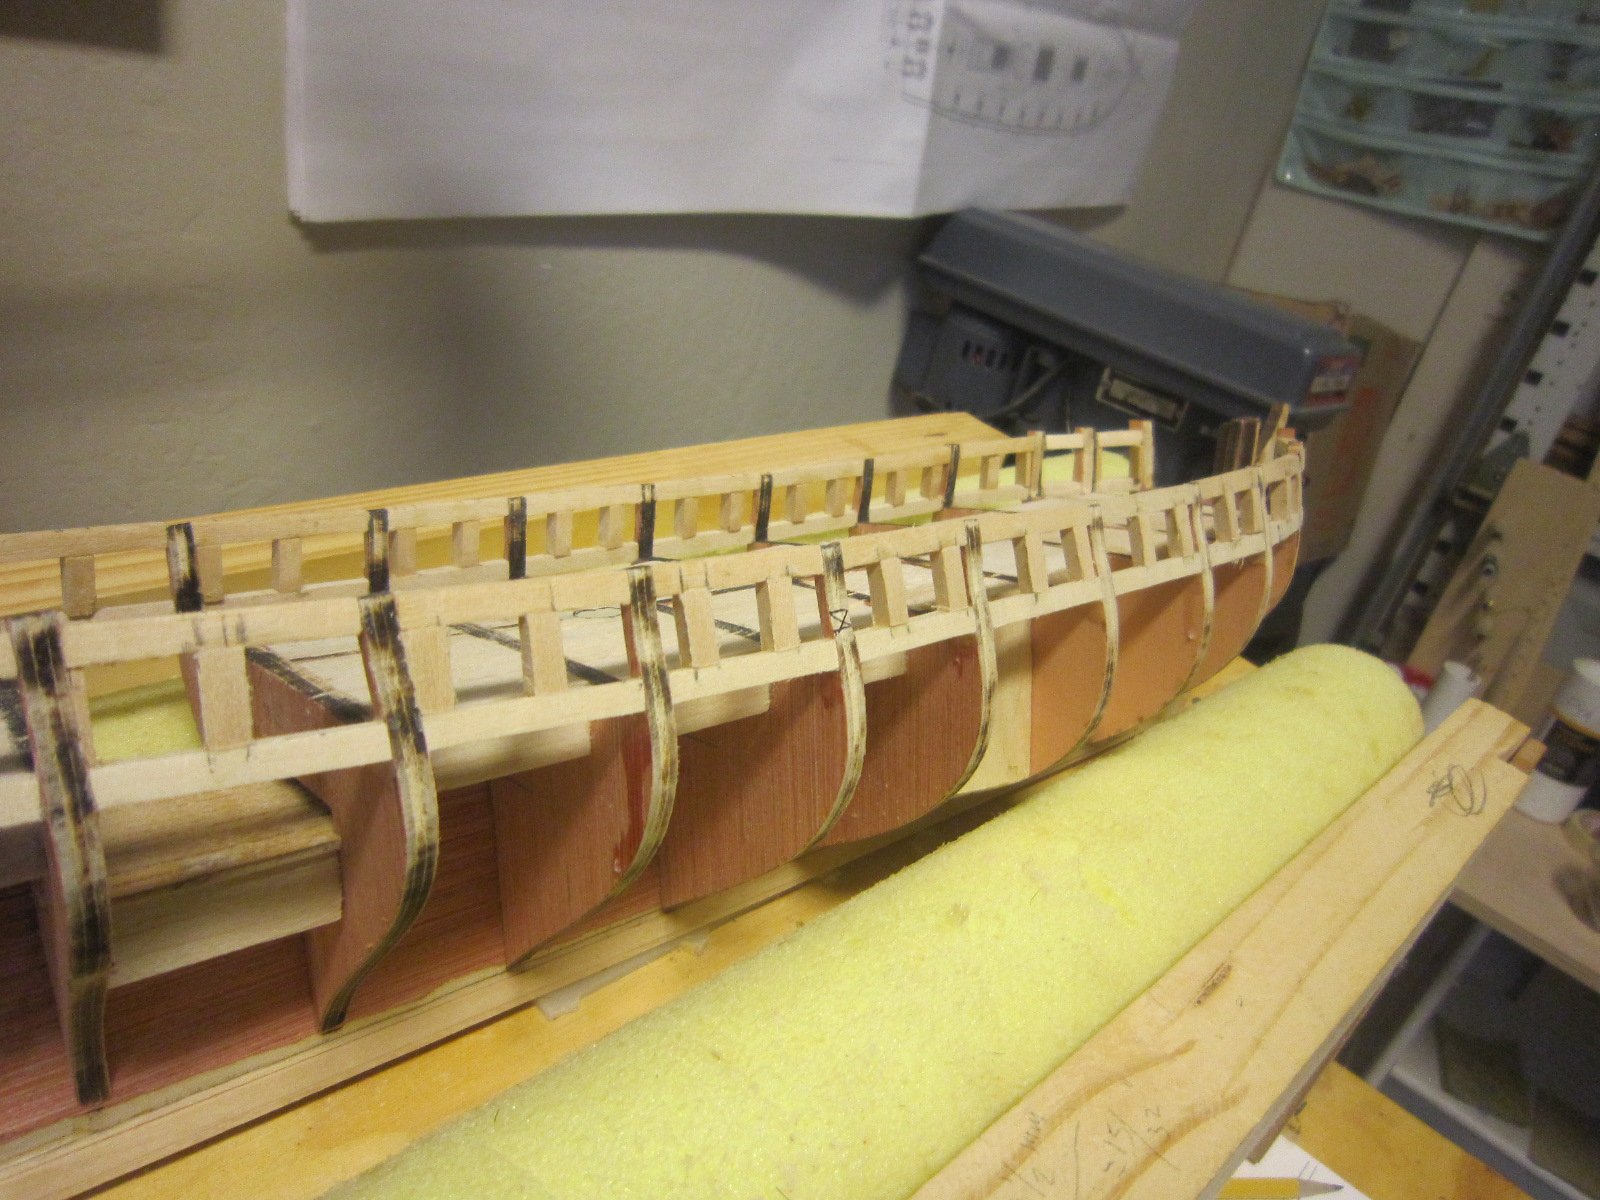
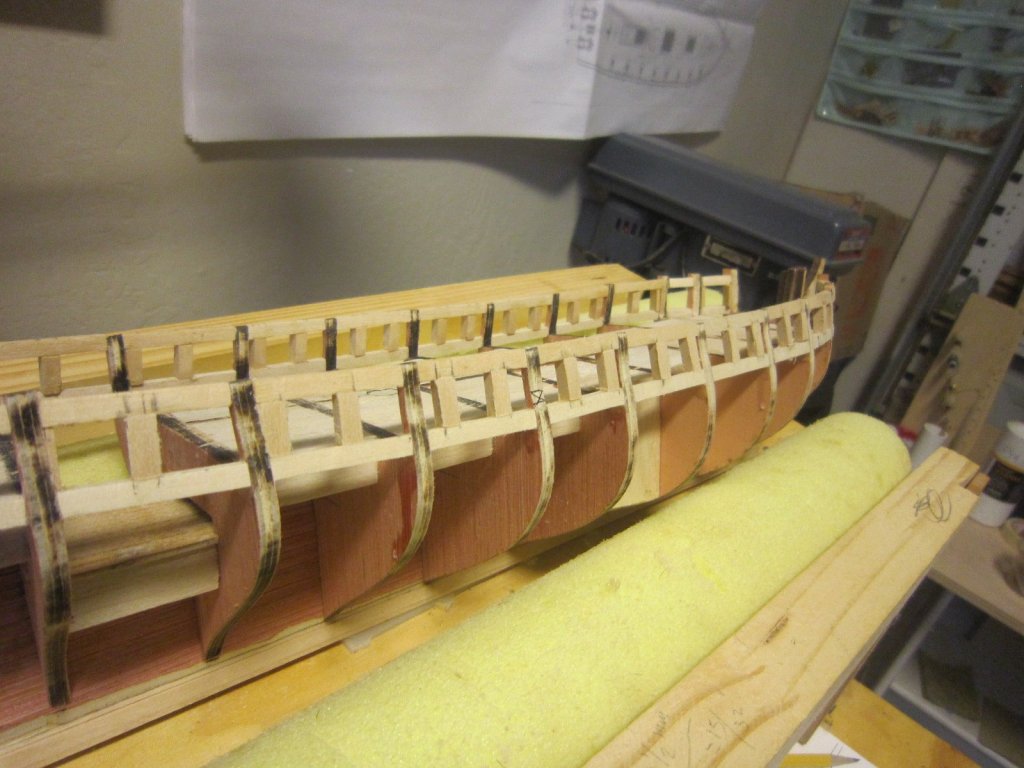
Sanded and faired the starboard side inside and out. Much easier than the initial fairing. Port side tomorrow.

- 1,135 replies
-
- 12
-
-
- model shipways
- syren
- (and 2 more)
-
I cut the aft bulkhead and got no warping this time. I sanded the cuts ad glued and clamped gunport sides. After the glue sets I shall begin sanding and fairing the gunport sides.


- 1,135 replies
-
- 11
-
-
- model shipways
- syren
- (and 2 more)
-
Port side gunport walls roughed in except for the end port where I have to saw through the last bulkhead extension. I'll wait for the PVA glue to do its magic and cut it tomorrow.

- 1,135 replies
-
- 7
-
-
- model shipways
- syren
- (and 2 more)
-
Moving right along I started installing the port side gunport sides.
- 1,135 replies
-
- 6
-
-
- model shipways
- syren
- (and 2 more)
-
The door has been disconnected since I moved in 5 years ago. Thanks for the tip, though.
- 1,135 replies
-
- 3
-
-
- model shipways
- syren
- (and 2 more)
-
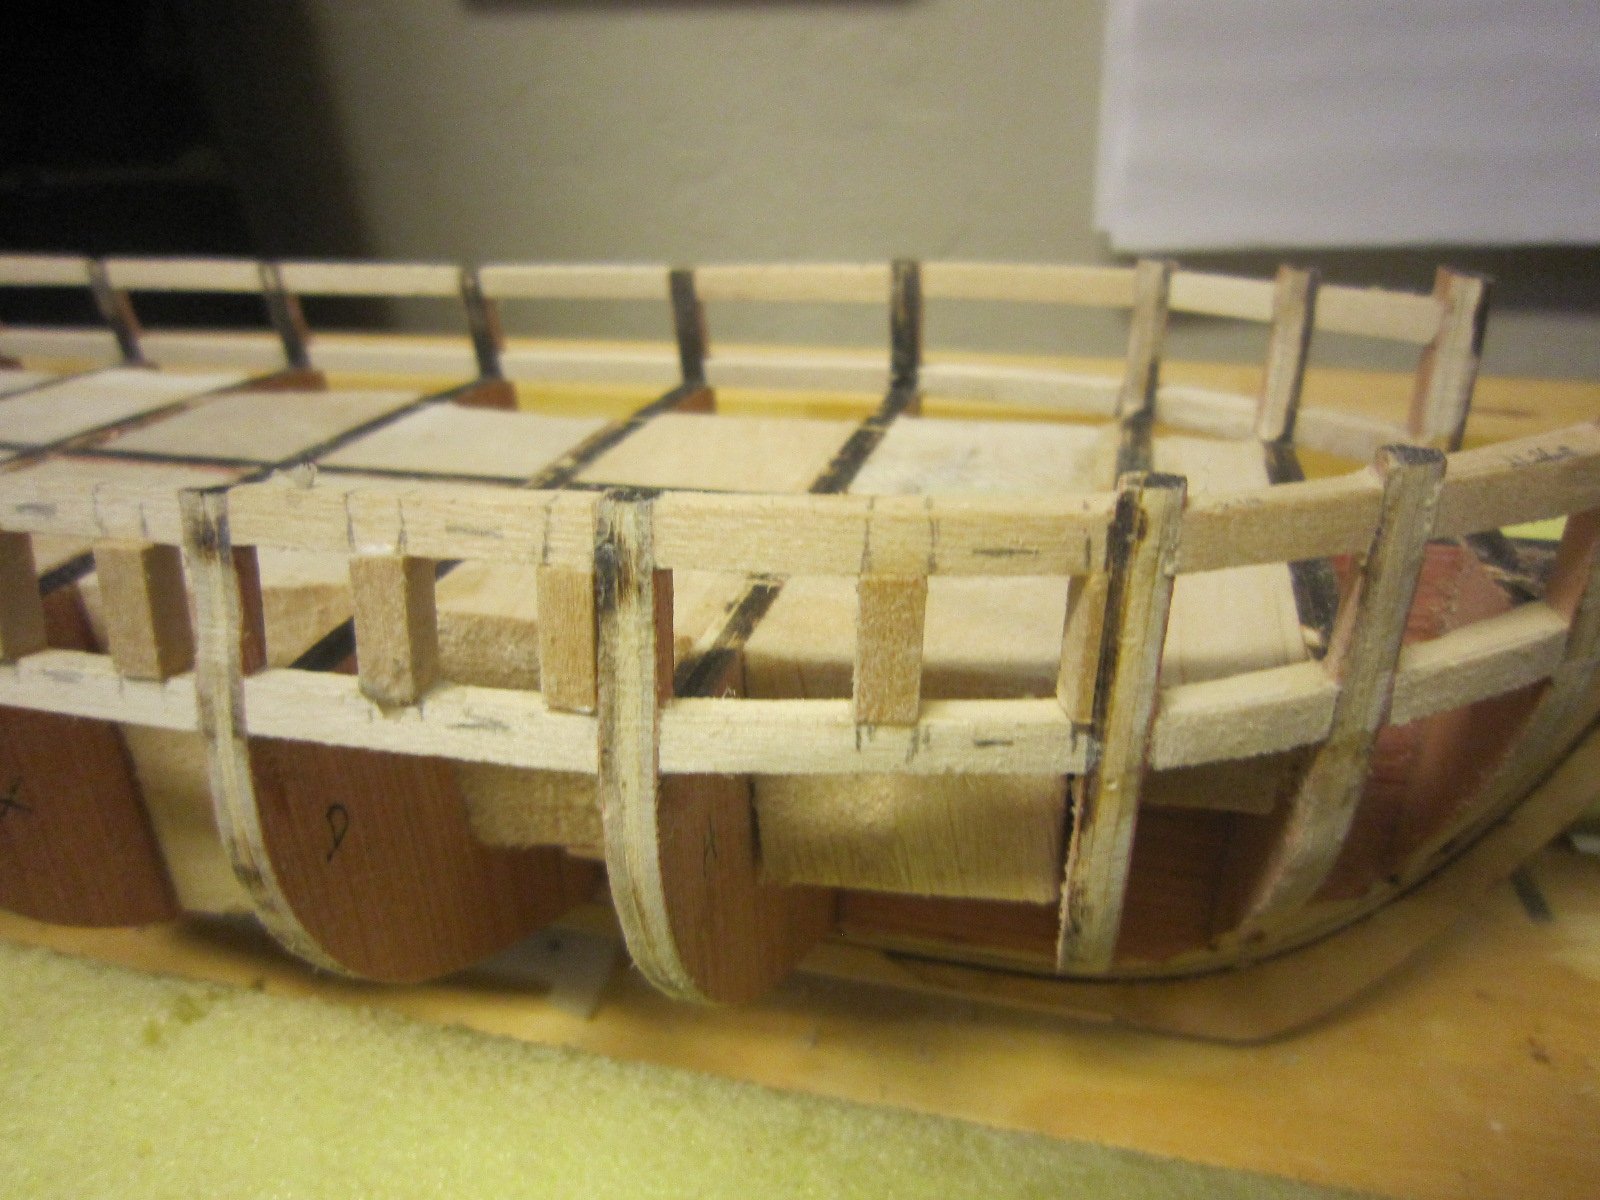
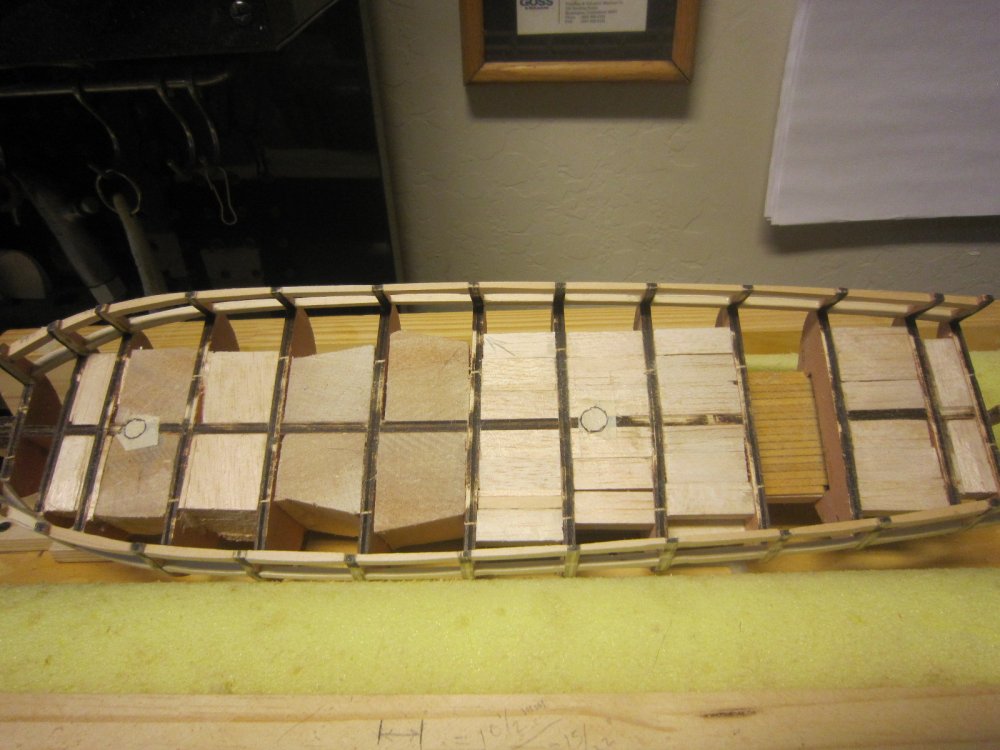
Hallelujah! All my starboard side gunports match the supplied template!
- 1,135 replies
-
- 14
-
-
- model shipways
- syren
- (and 2 more)
-
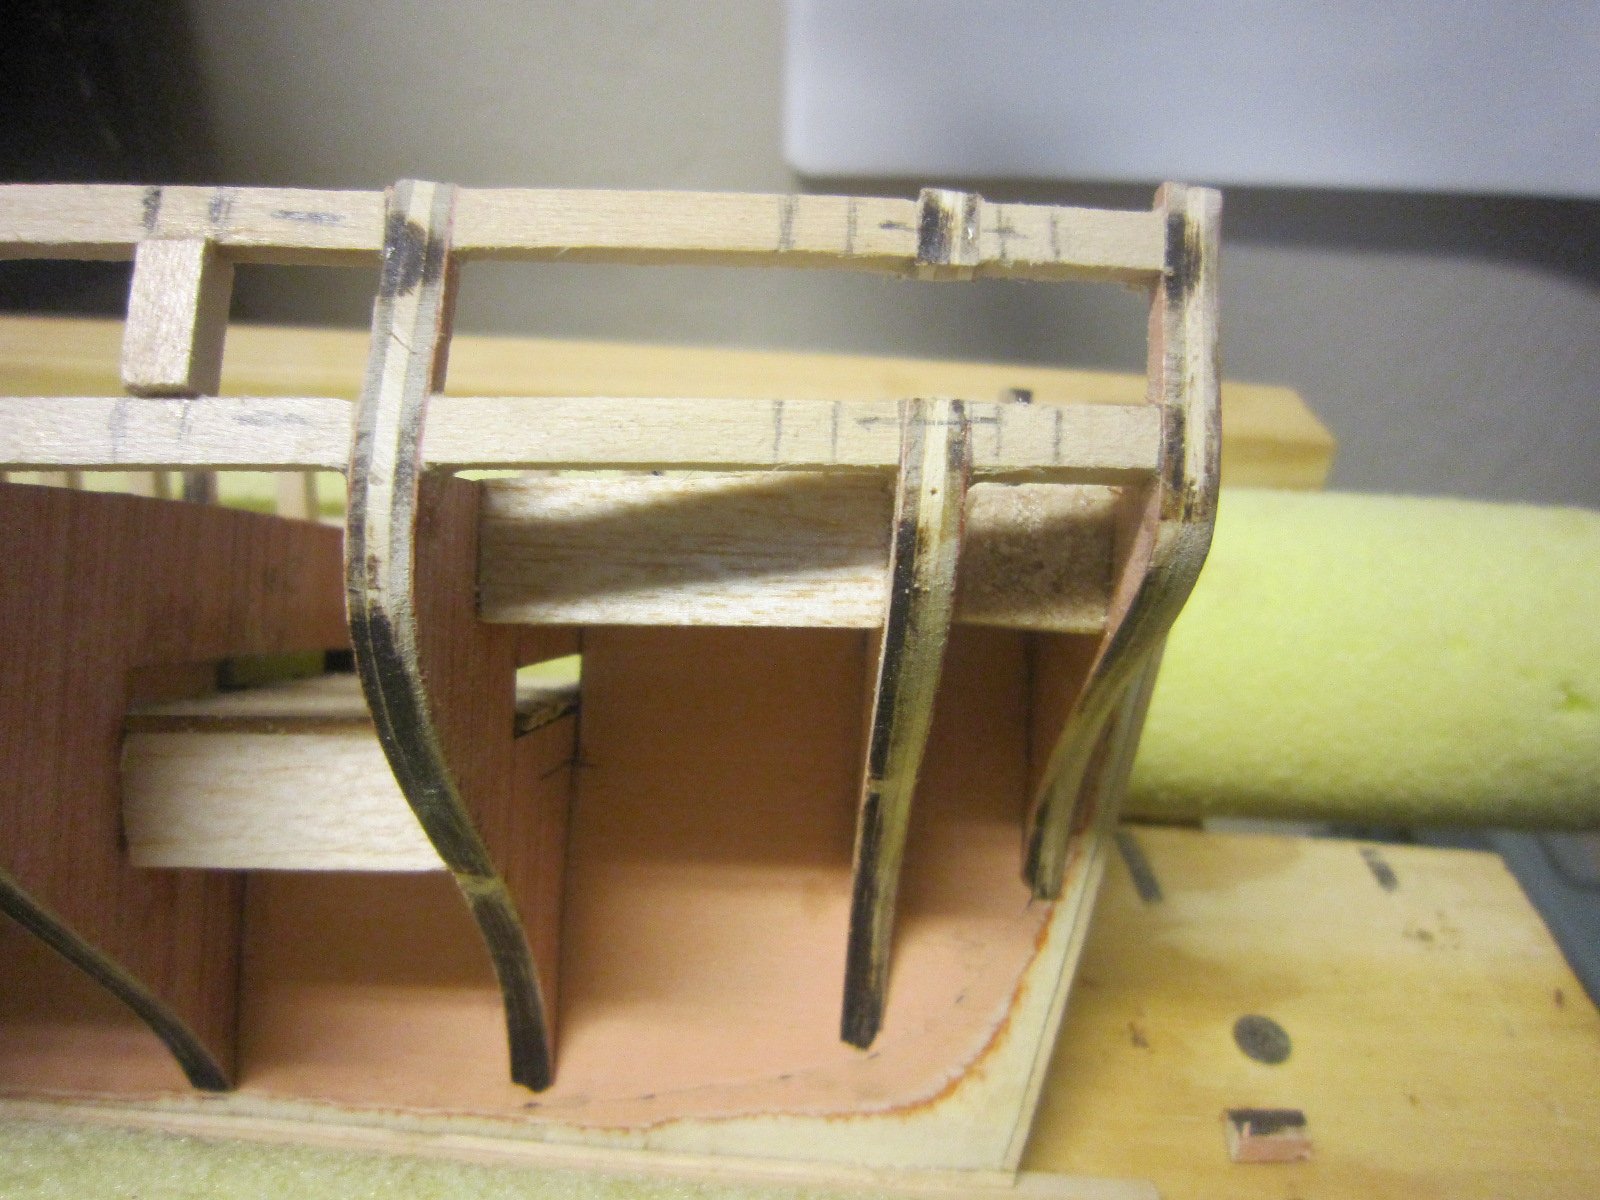
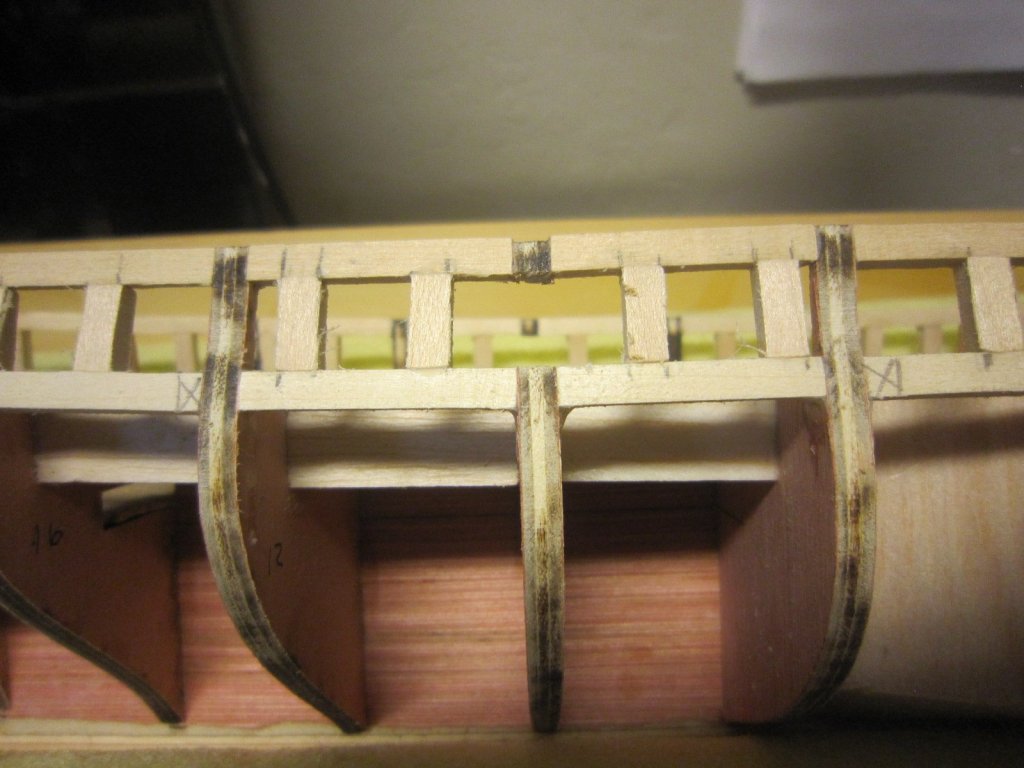
Here's the aft gunport repair. It looks straight now. I guess I made one or more lintels too snug and they put lateral stress along the whole series of lintels. When the bulkhead was cut it allowed the stress to relieve itself with an upward bulge. Moral of the story....do not make lintels too snug.
- 1,135 replies
-
- 10
-
-
- model shipways
- syren
- (and 2 more)
-
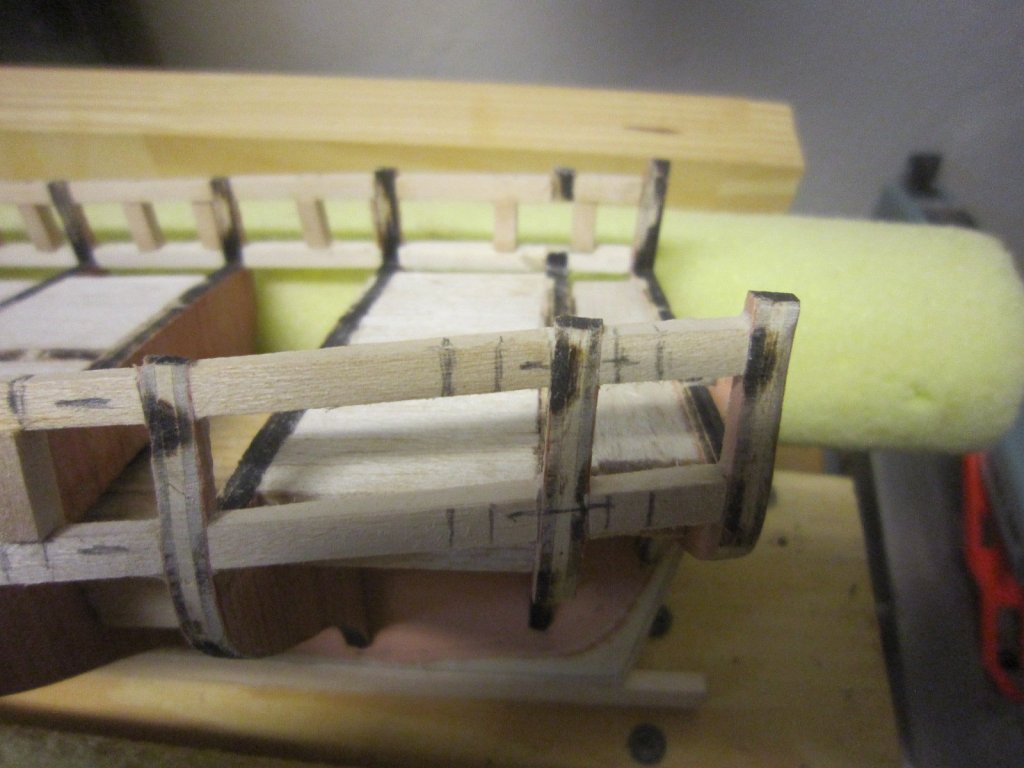
Believe it or not, that lintel warped upward after I cut the frame so I rebuilt the whole aft end to take out the warp. It's glued and clamped as we speak. I'll let you know how it works out.
- 1,135 replies
-
- 4
-
-
- model shipways
- syren
- (and 2 more)
-
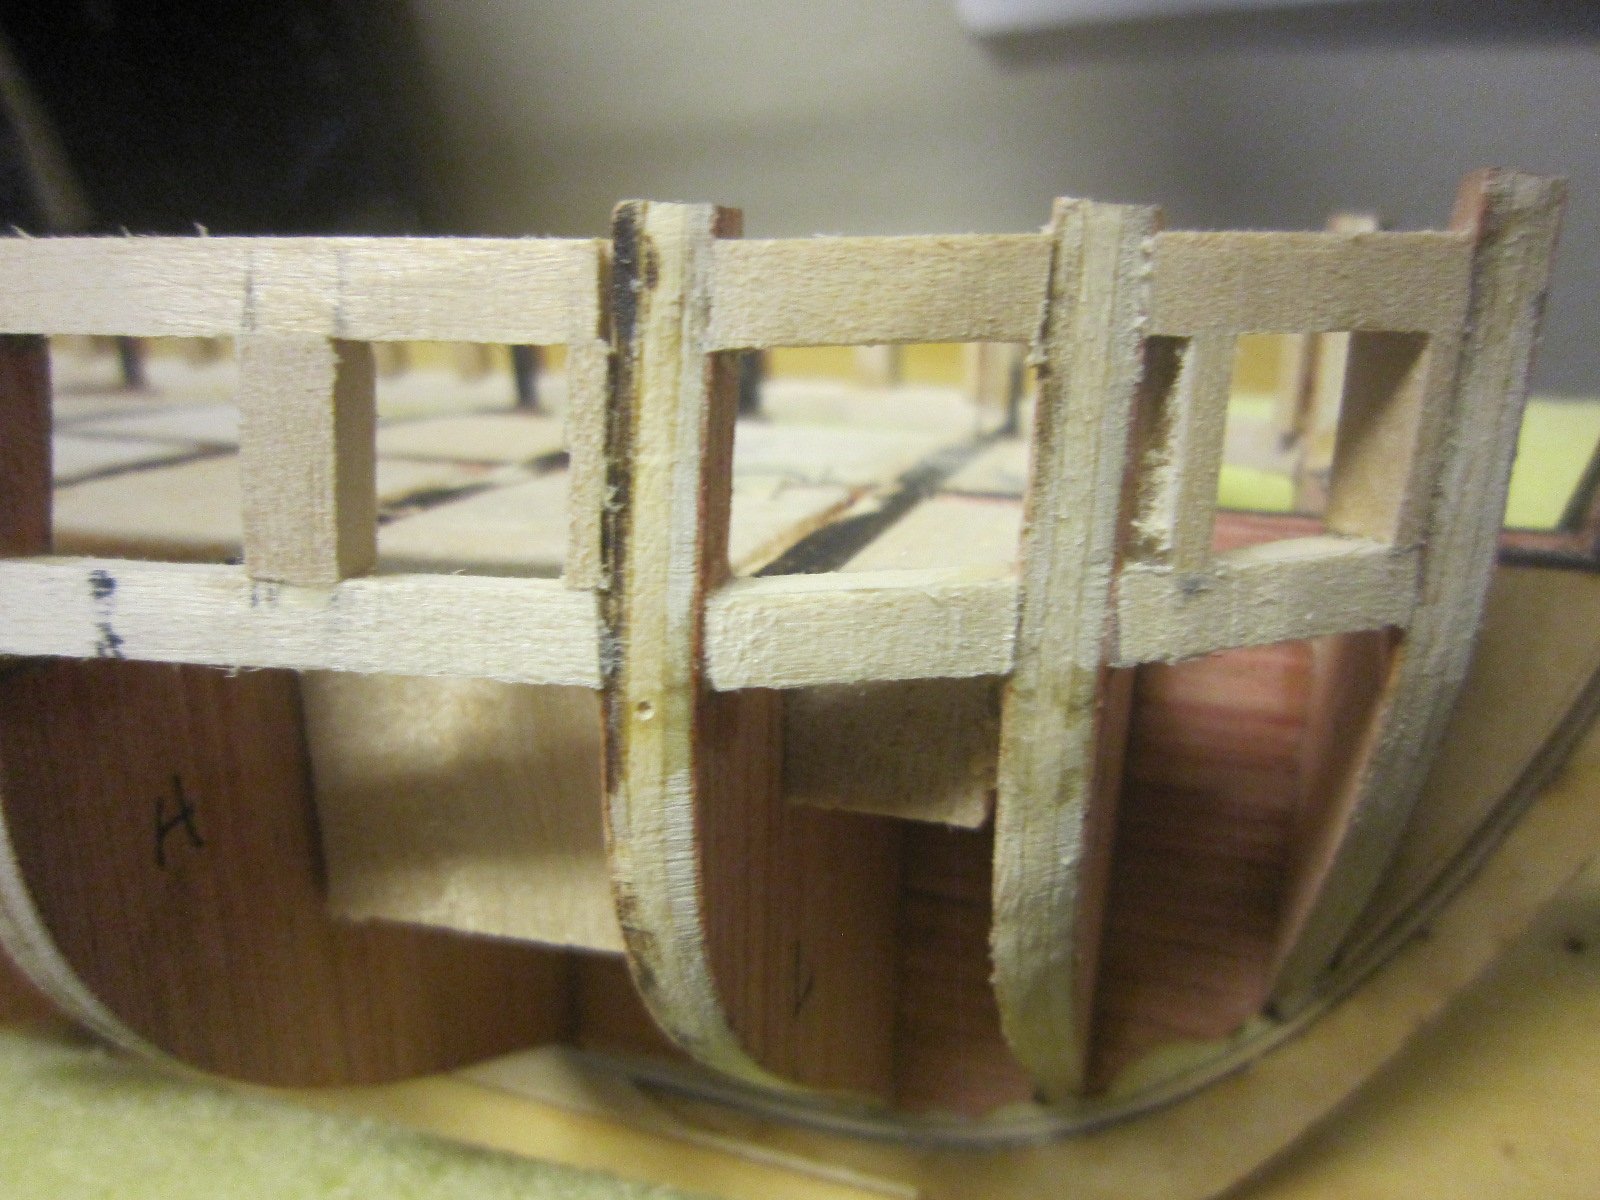
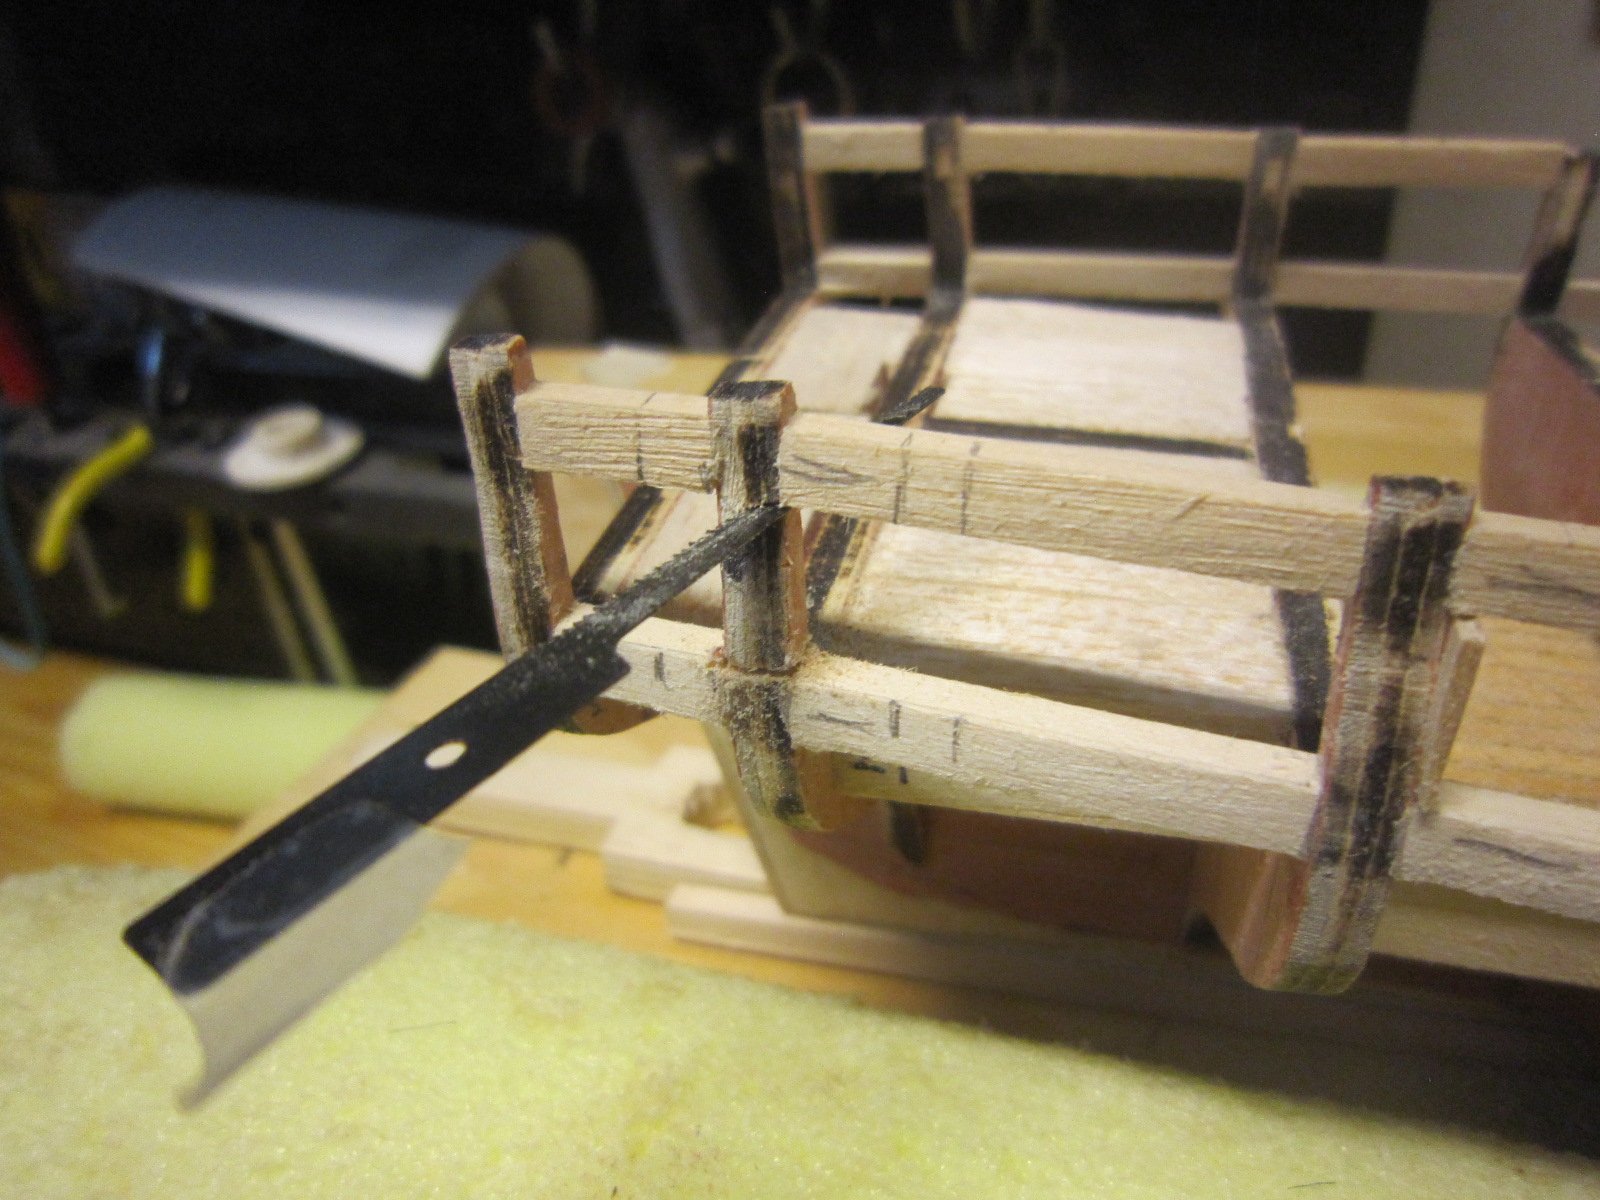
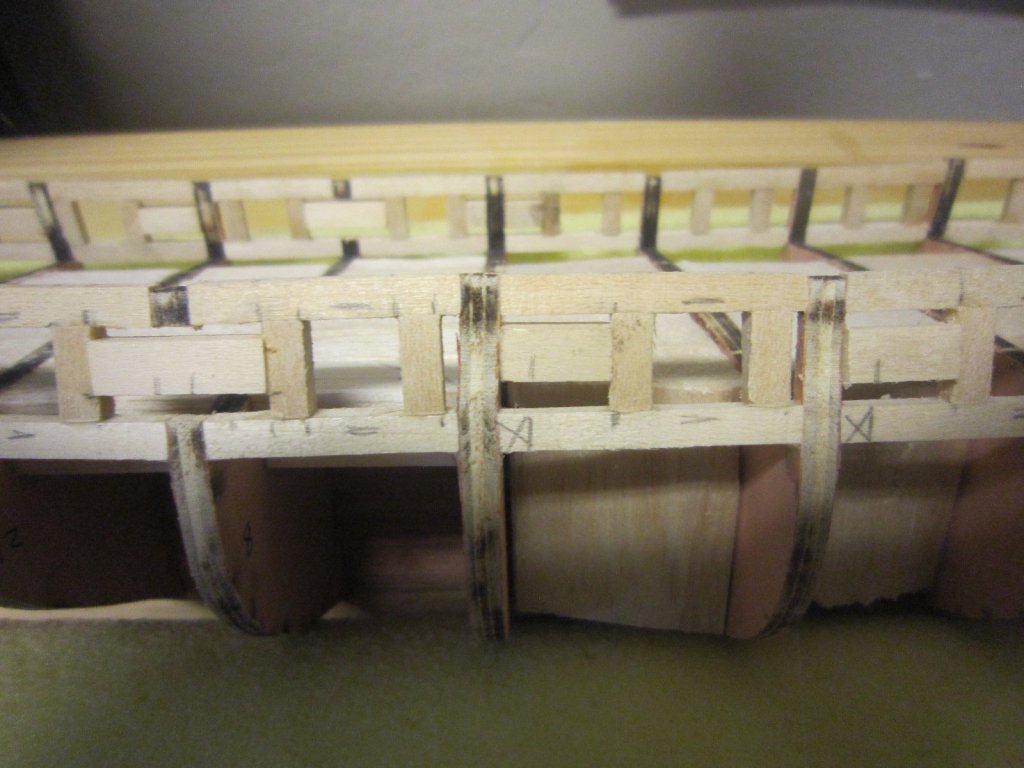
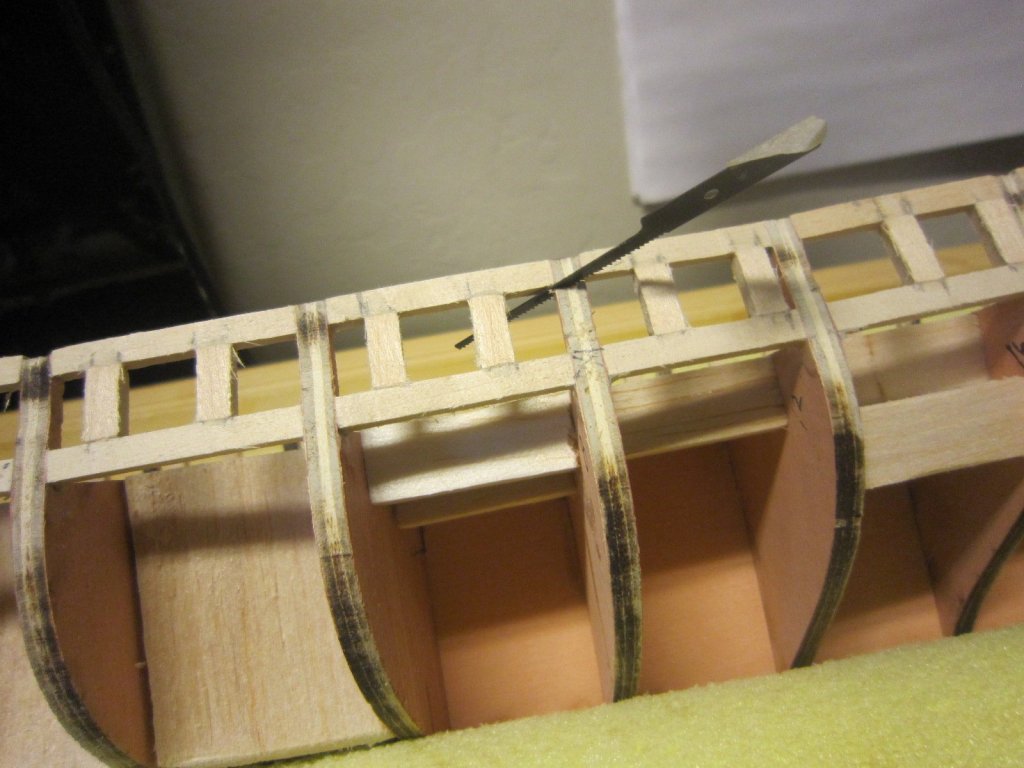
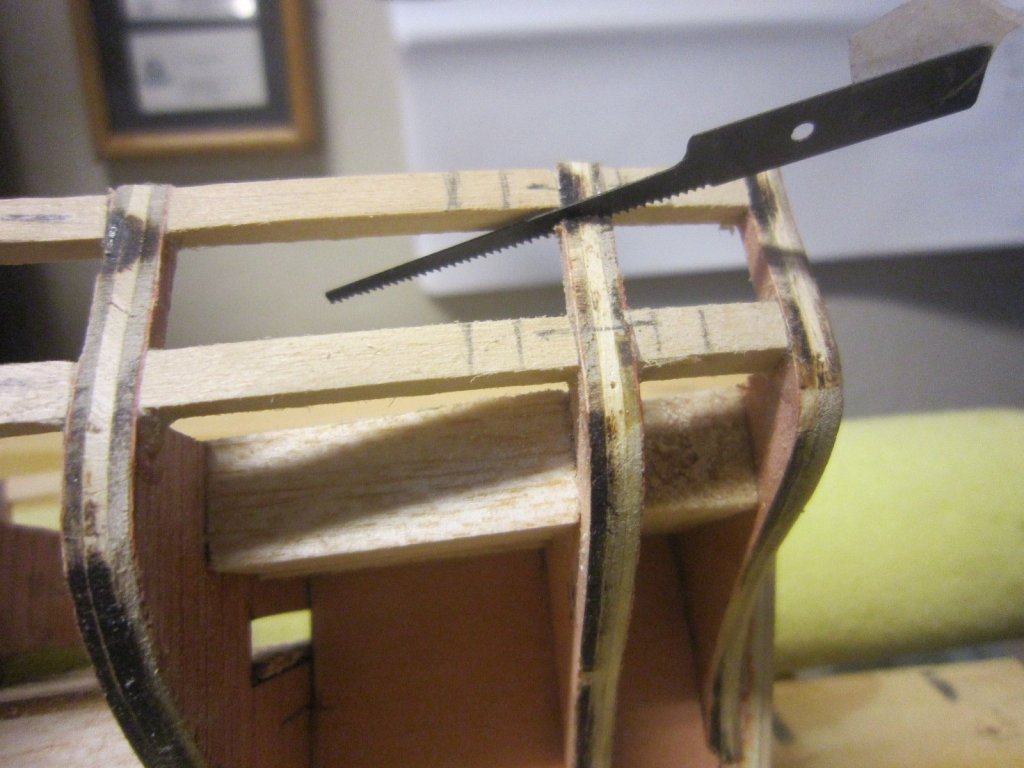
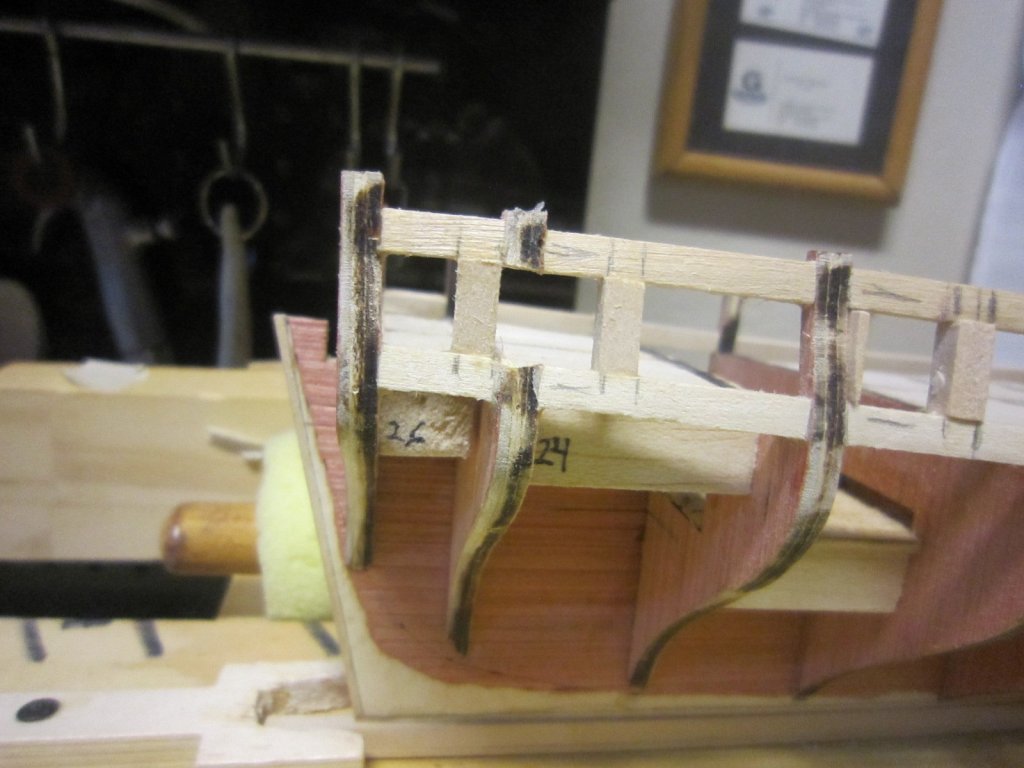
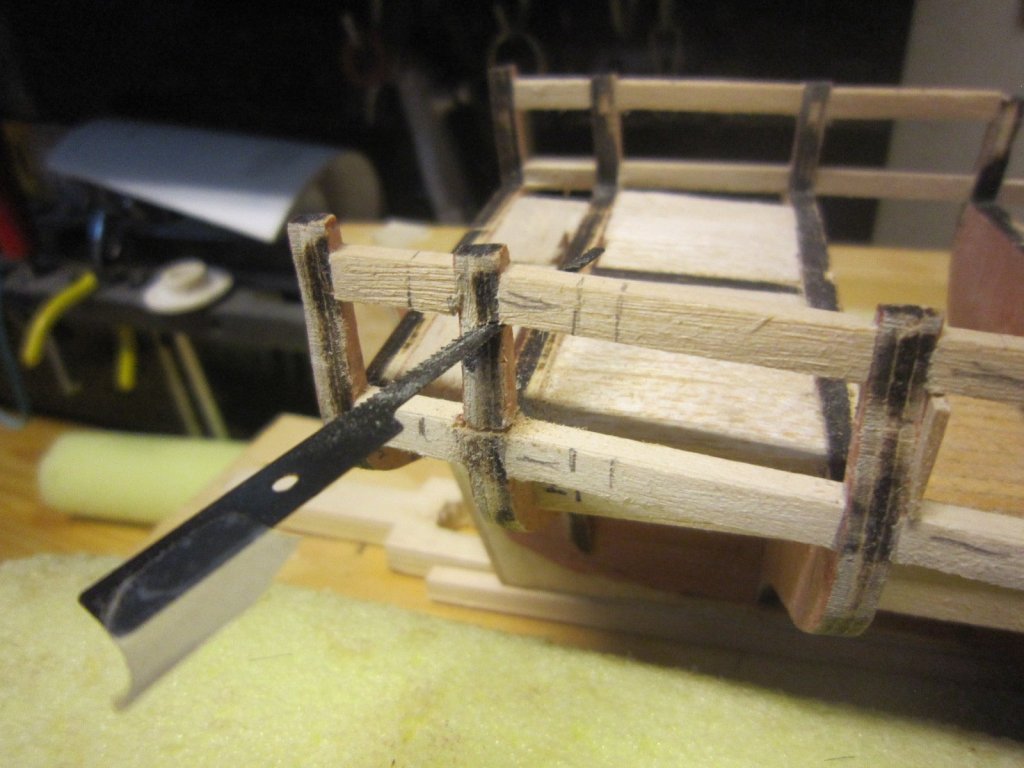
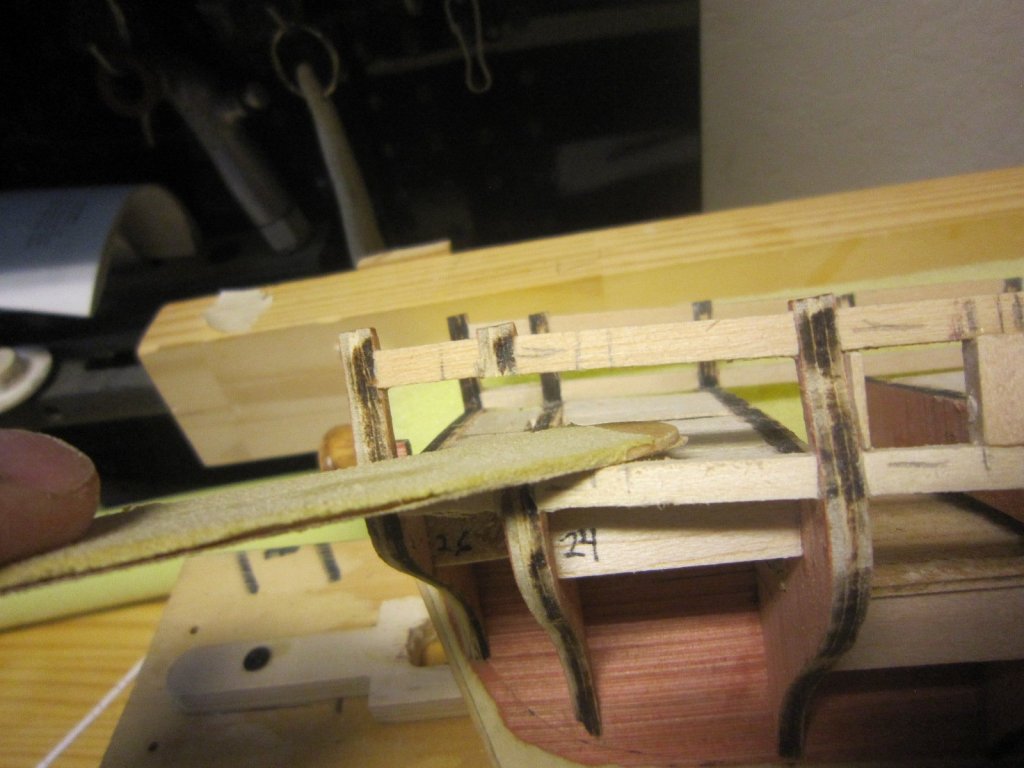
The instructions said to wait until the last frame before sawing bulkhead #24 because the structure will now be very strong. They were right. I had no trouble sawing through the bulkhead frame. If you remember....these same frames were very fragile when first installed. I then lightly sand the frame smooth, so I can glue the the gunport sides. These side do not appear to be square with the frame.
- 1,135 replies
-
- 8
-
-
- model shipways
- syren
- (and 2 more)
-
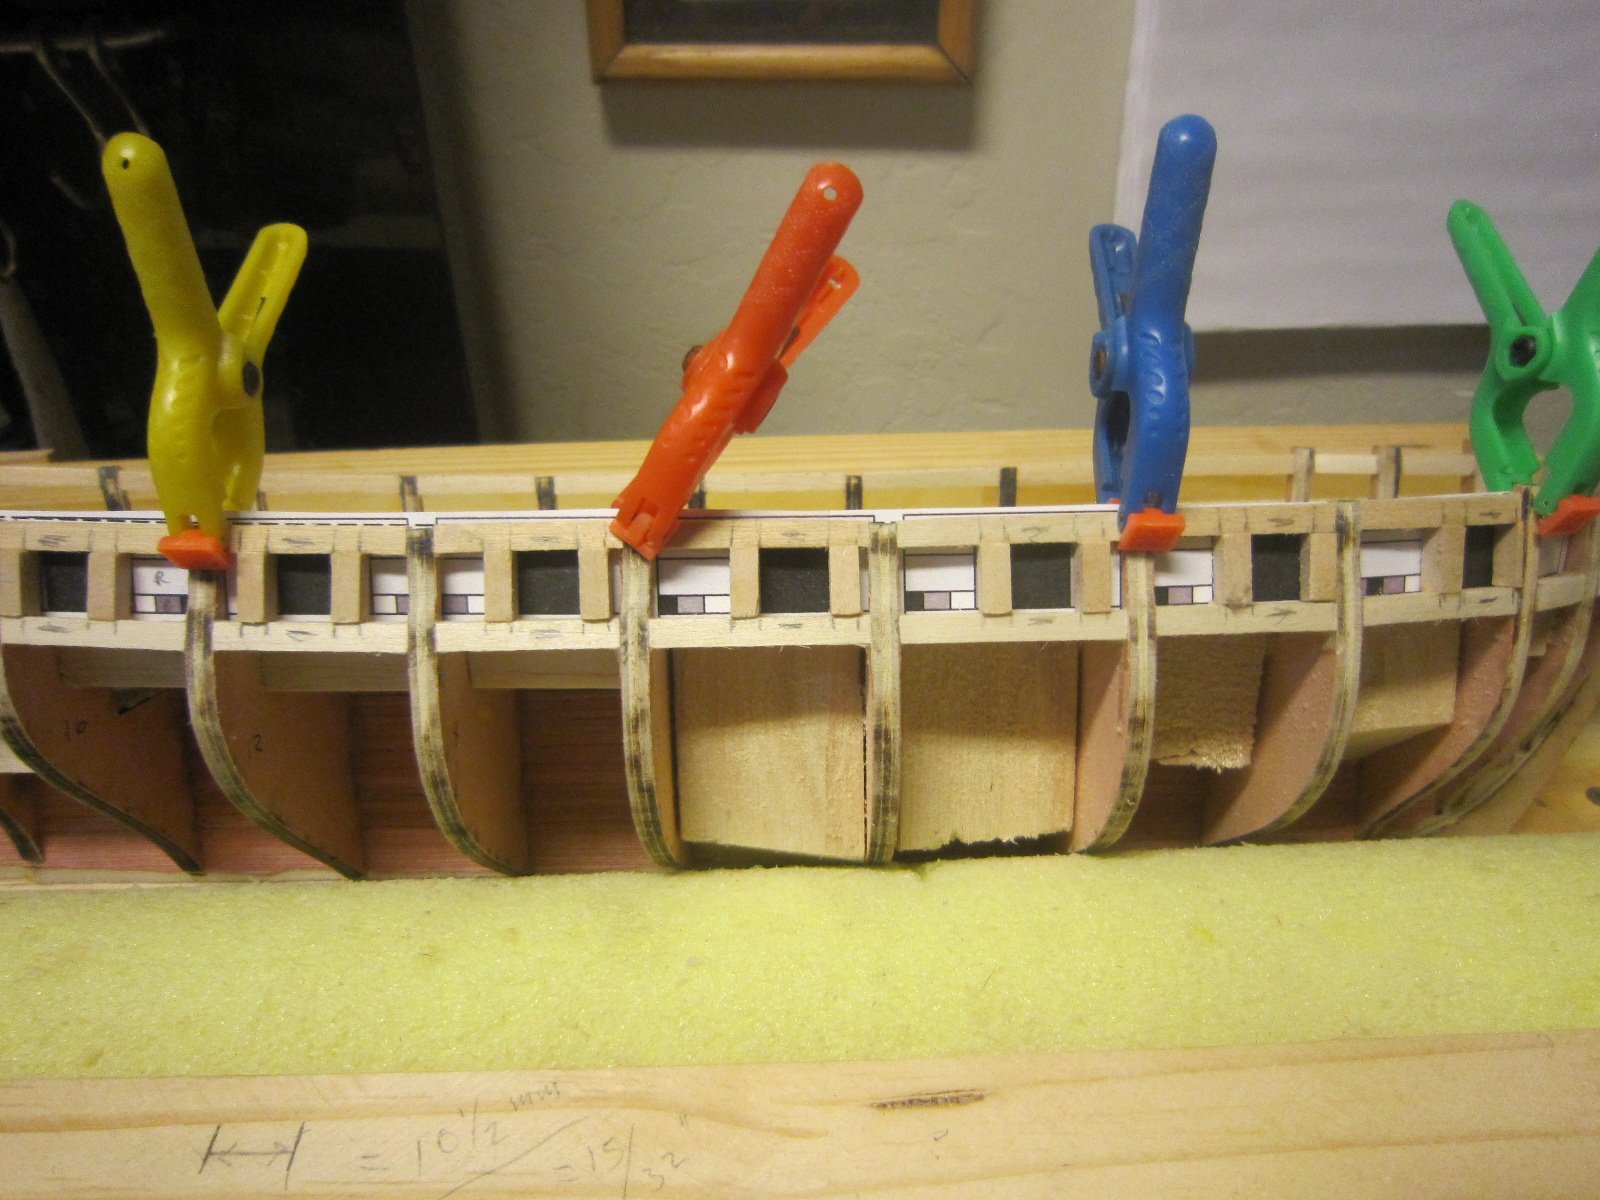
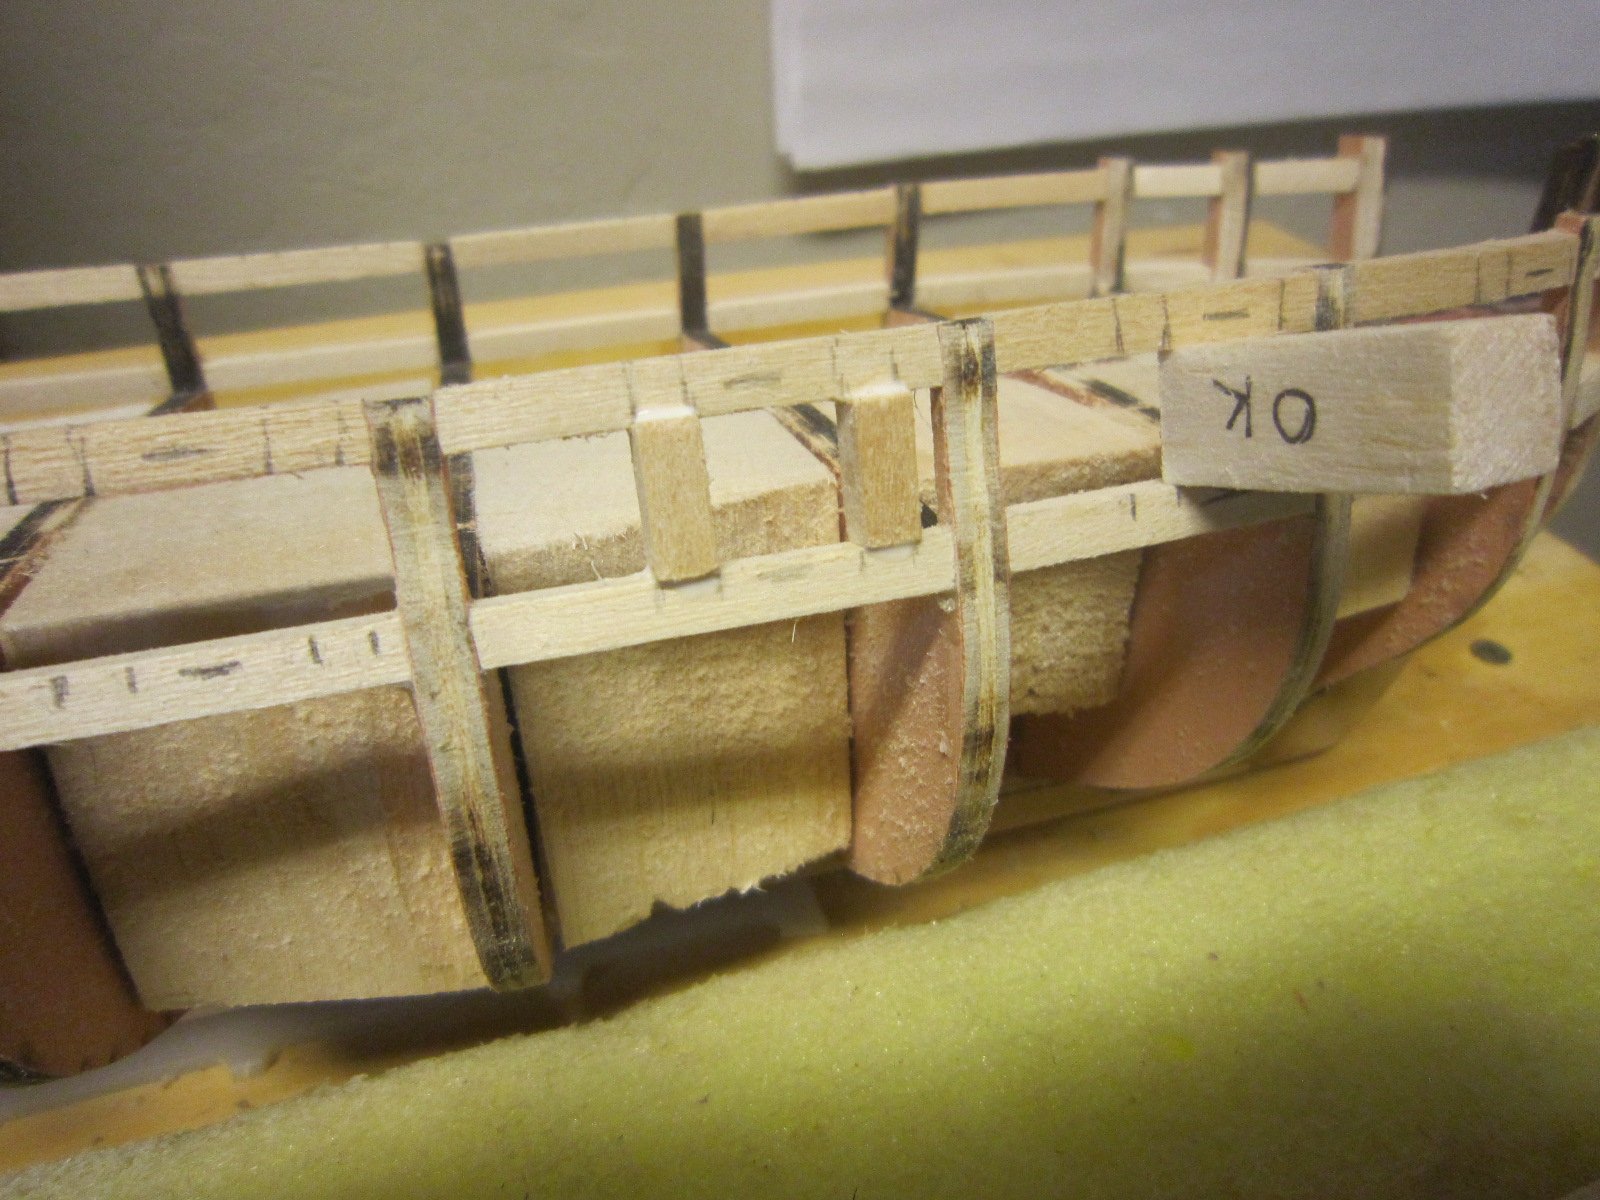
I glued in the first gunport sides. Some sides are not as thick as most. The great news is there will only be a small amount of sanding to fair these pieces once installed since they are almost net size.


- 1,135 replies
-
- 11
-
-
- model shipways
- syren
- (and 2 more)
-
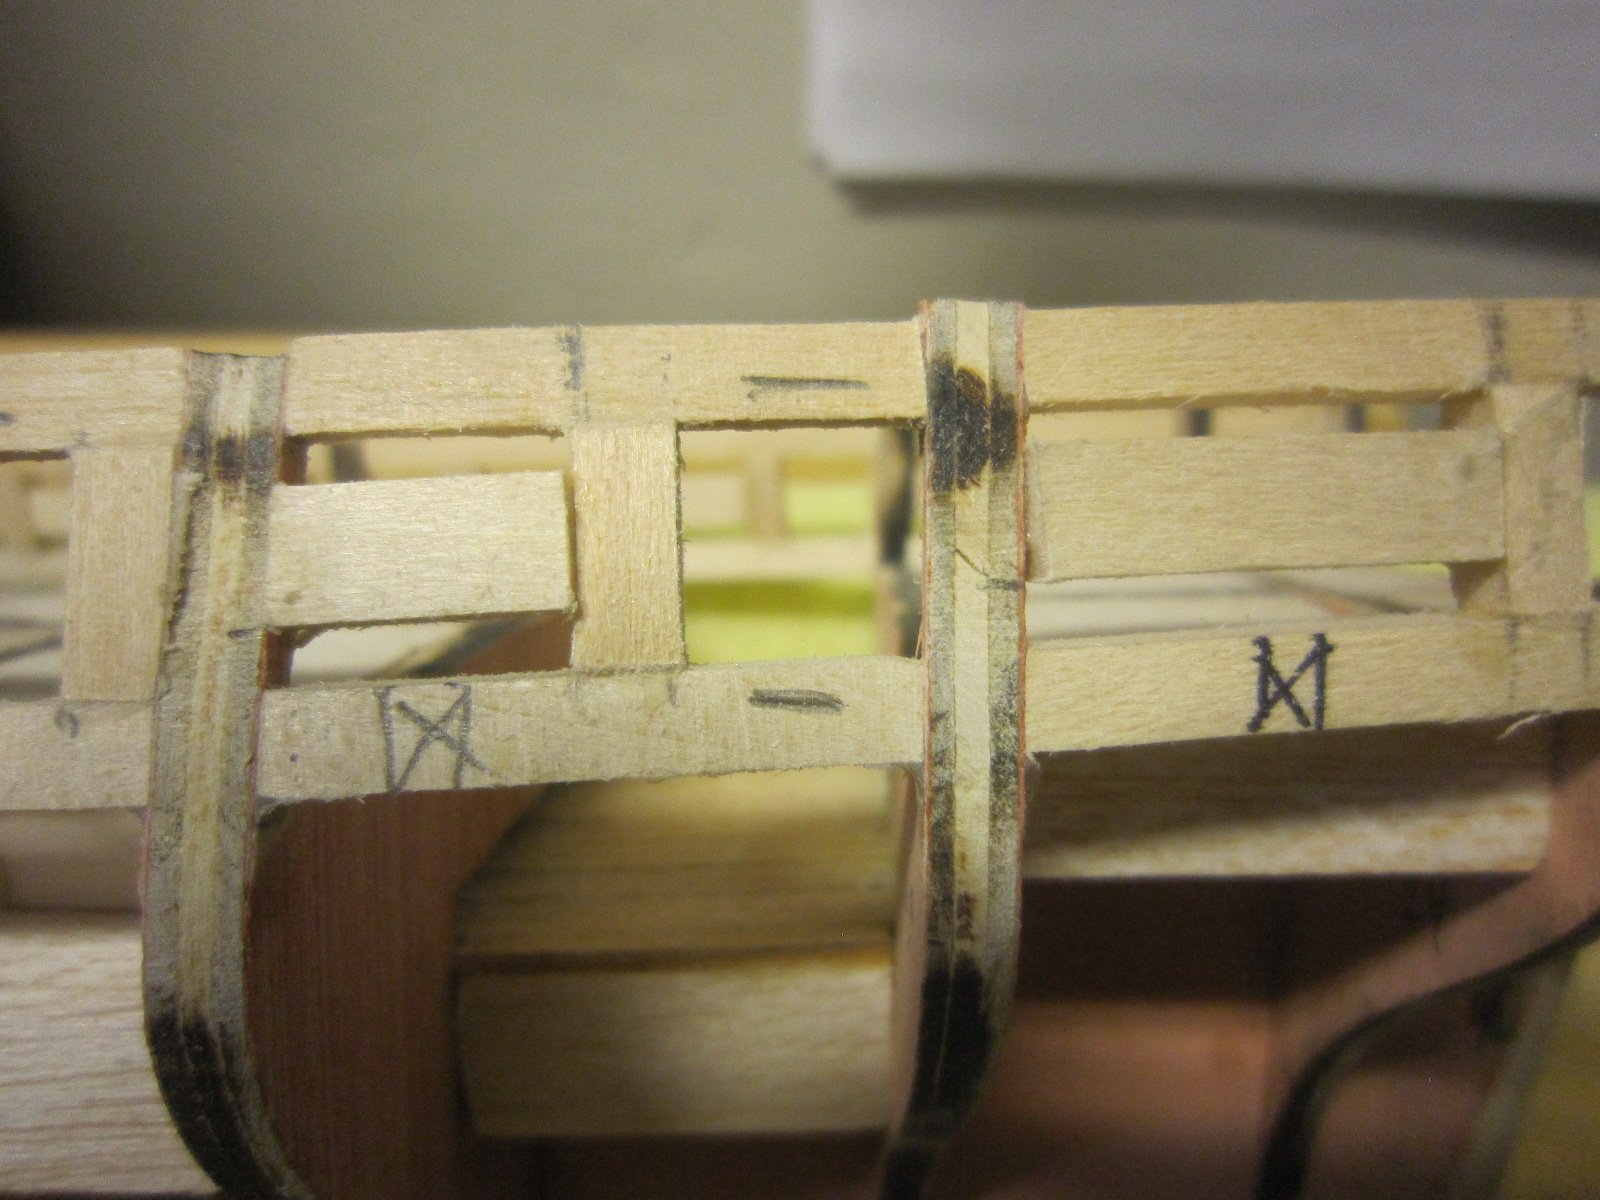
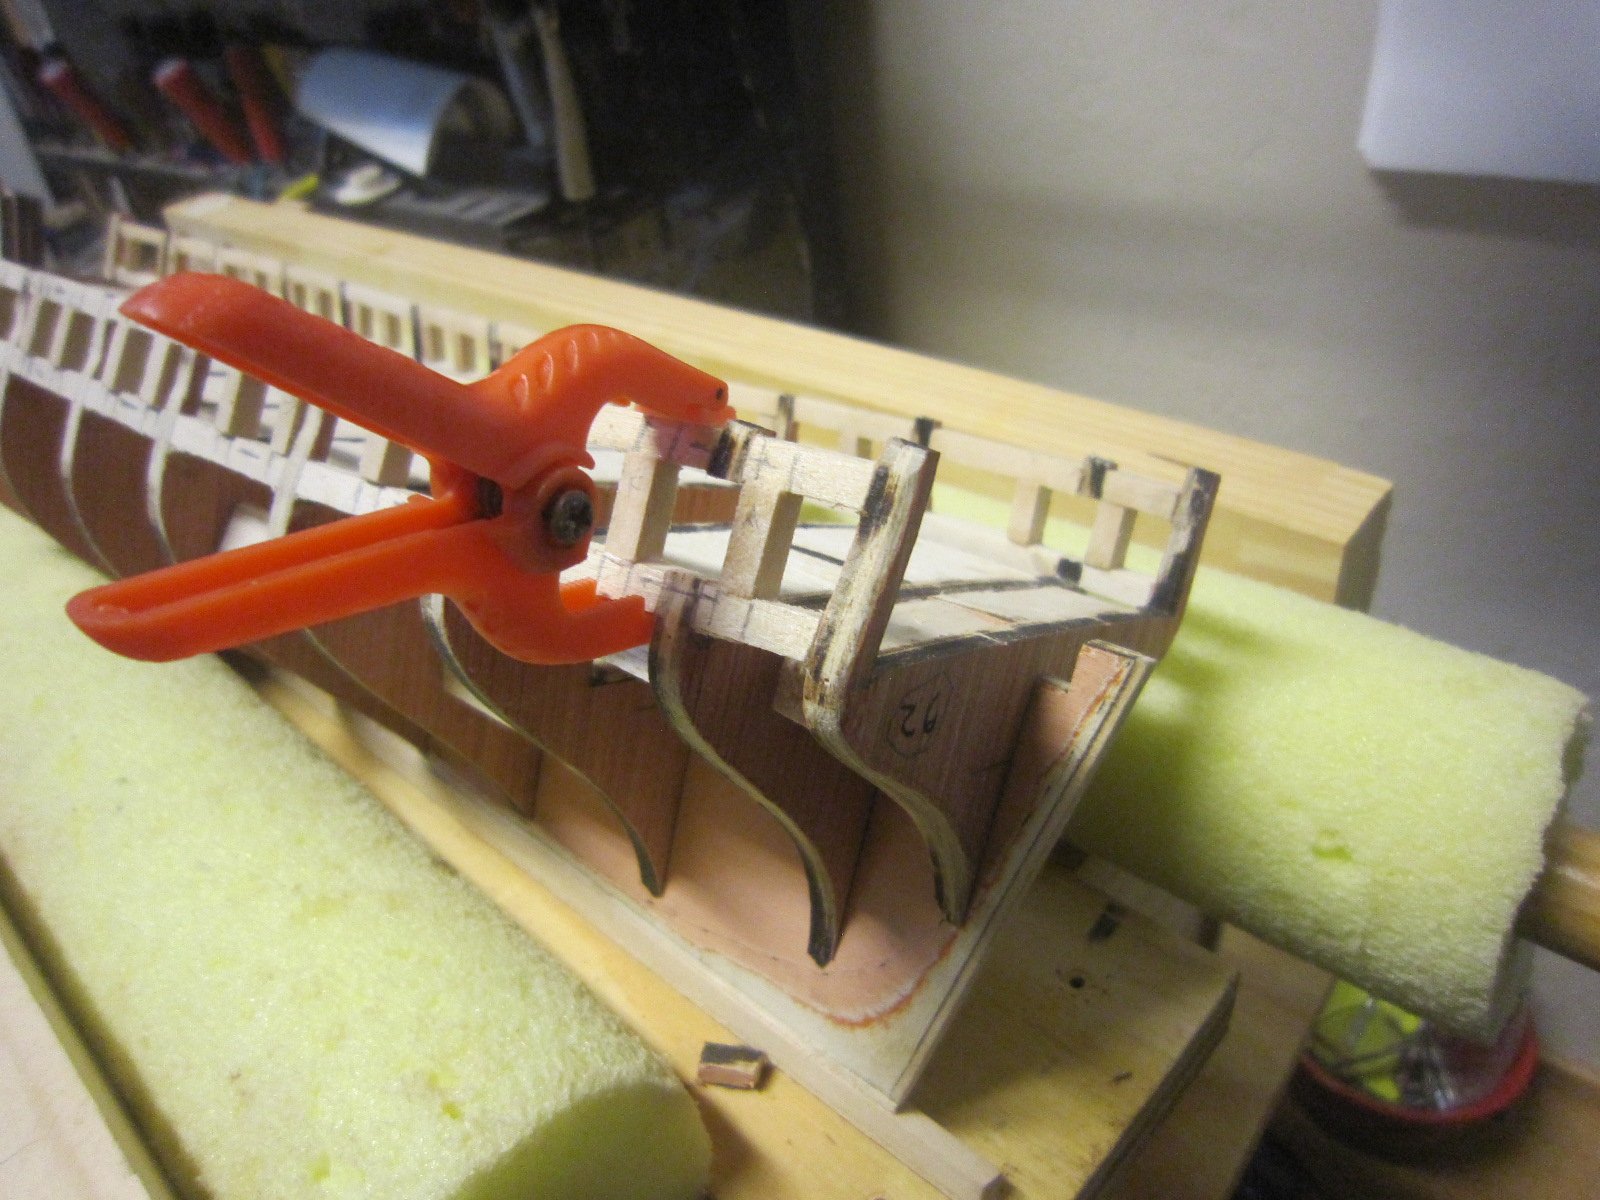
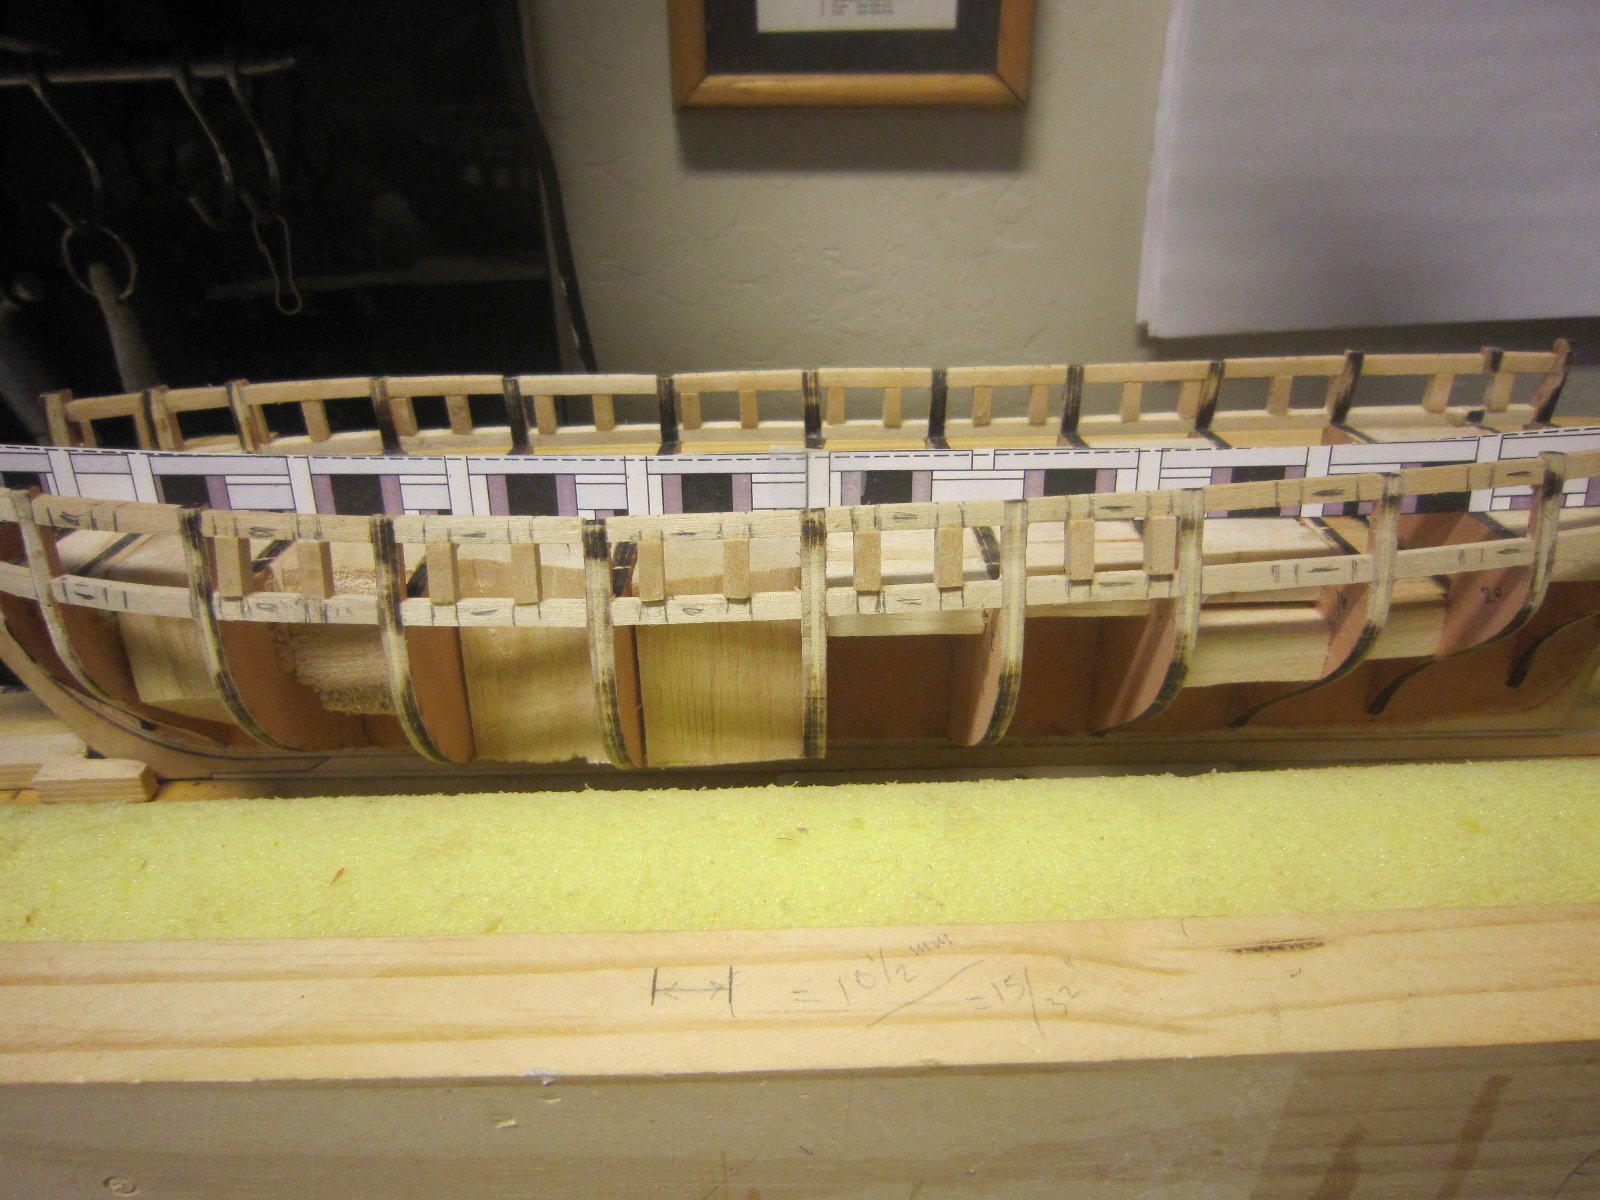
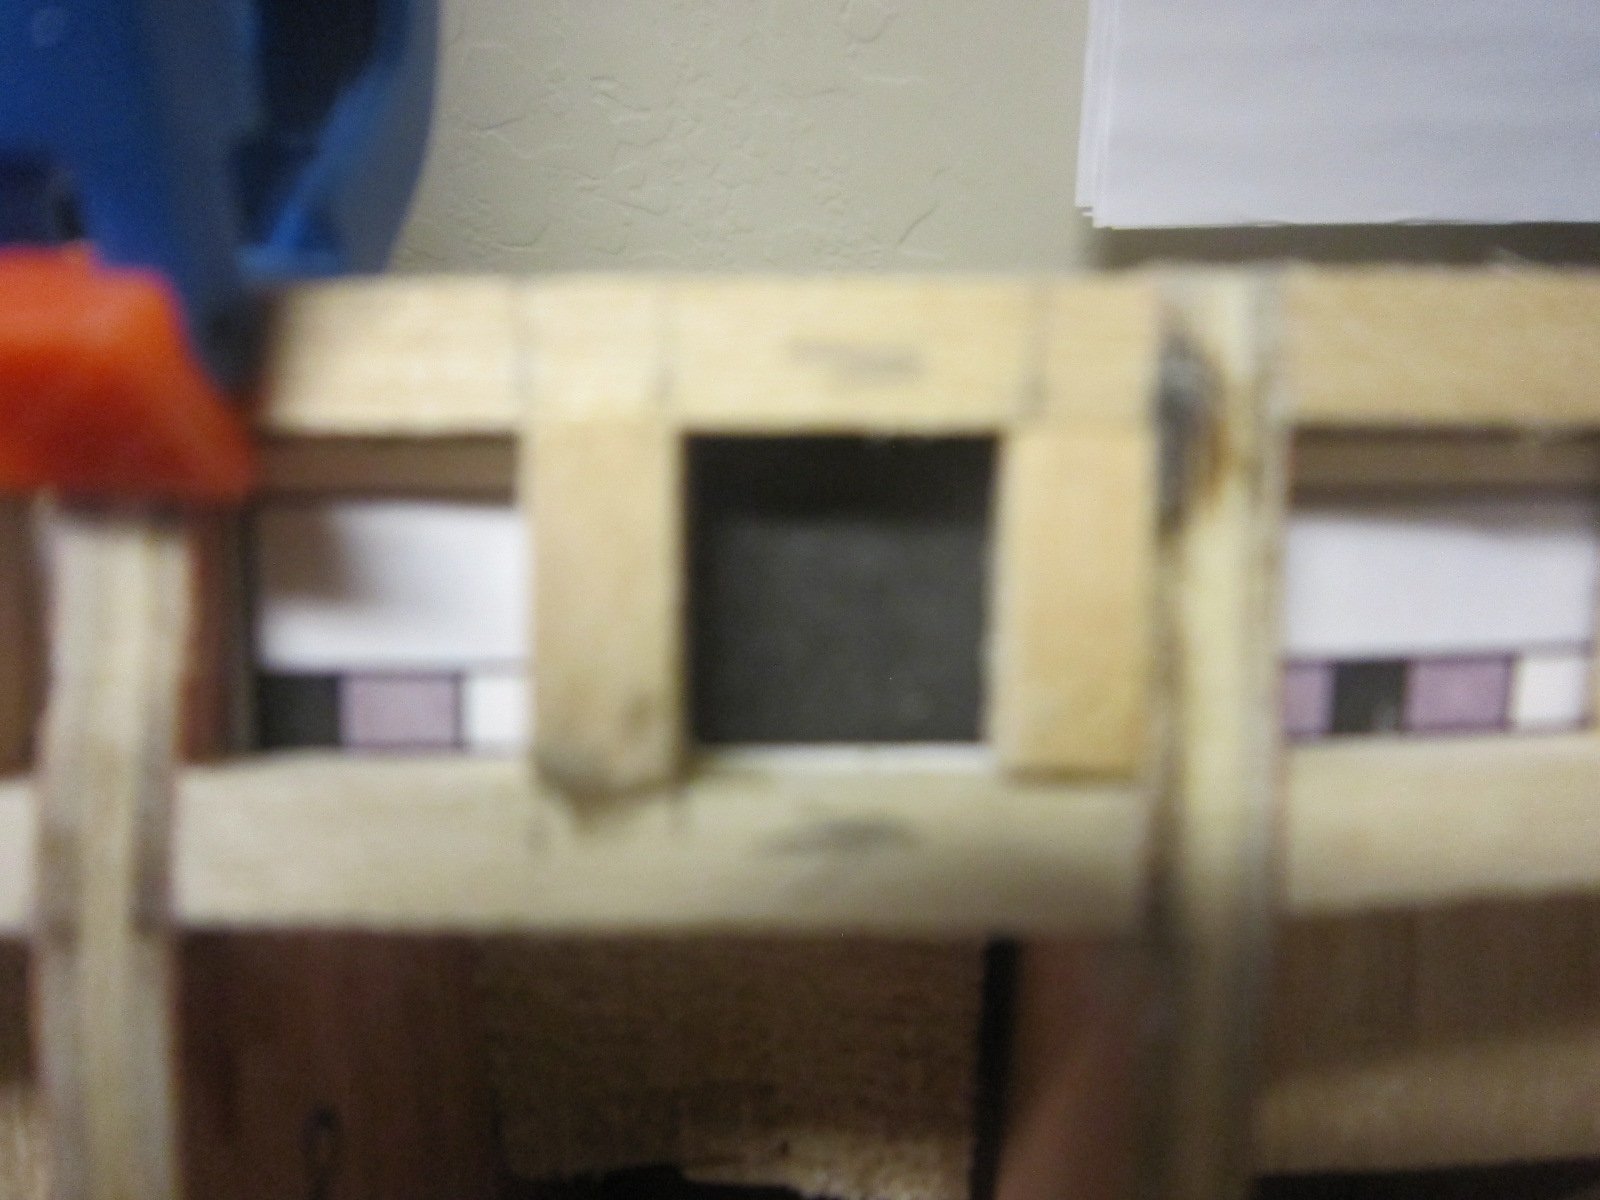
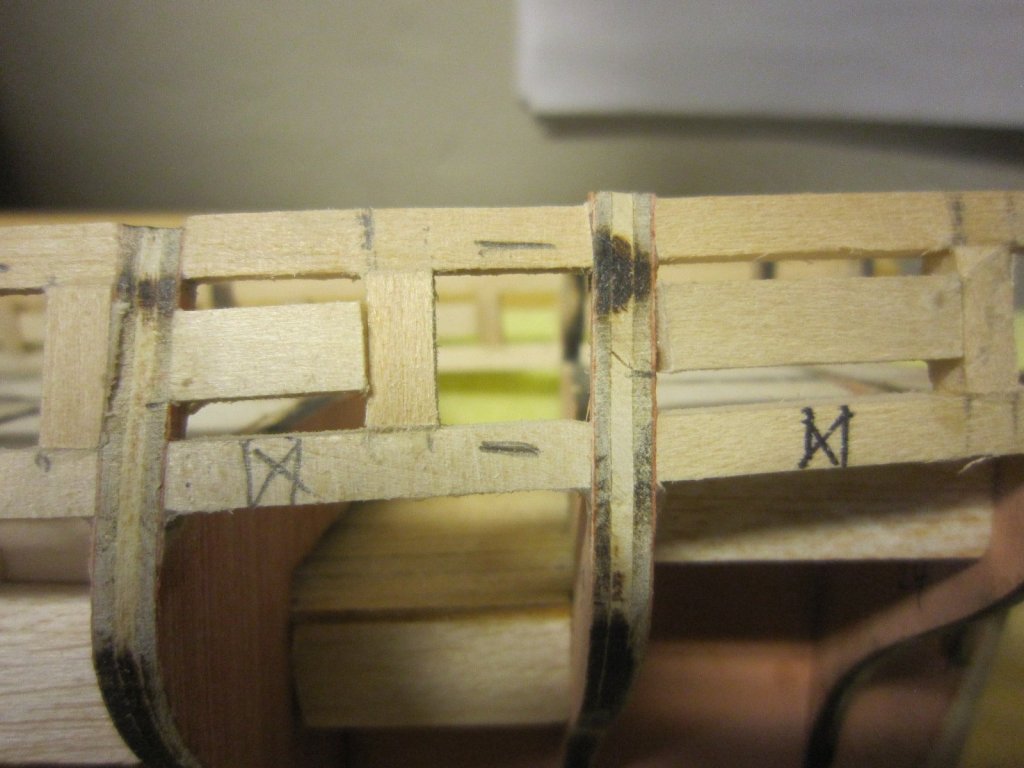
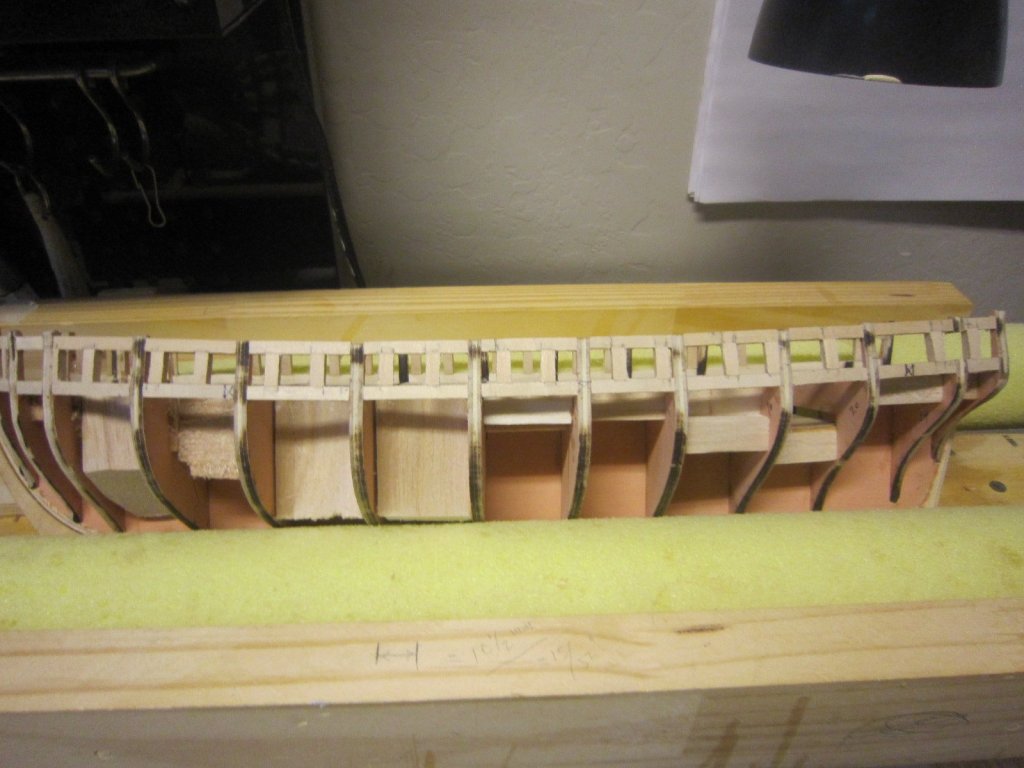
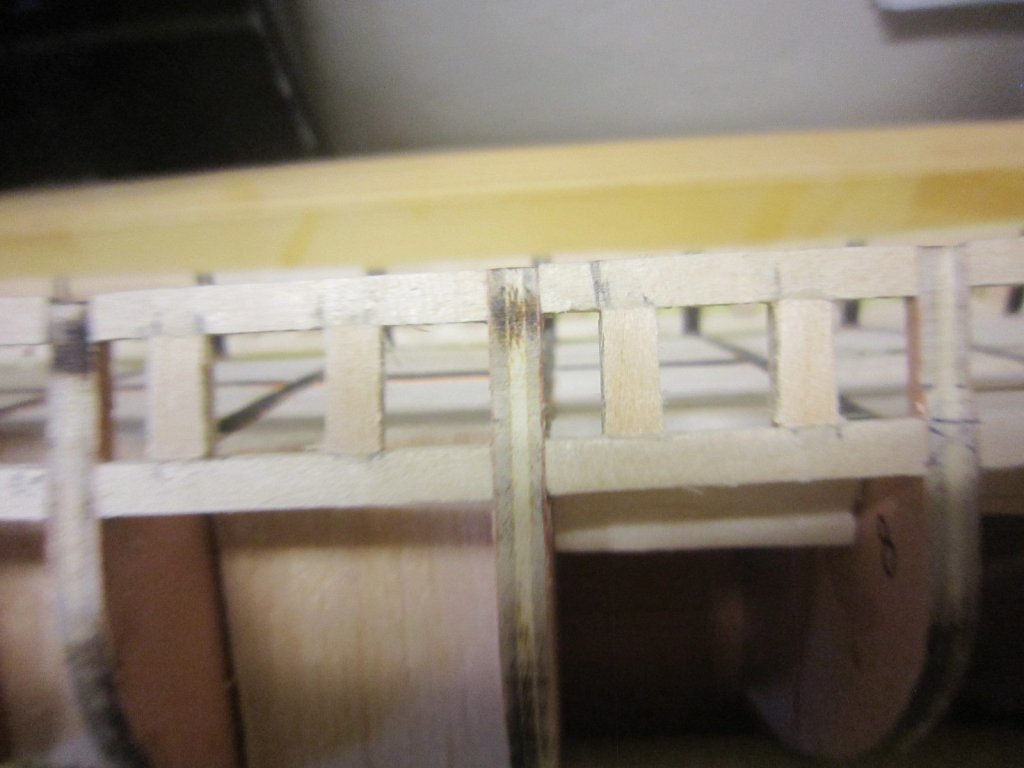
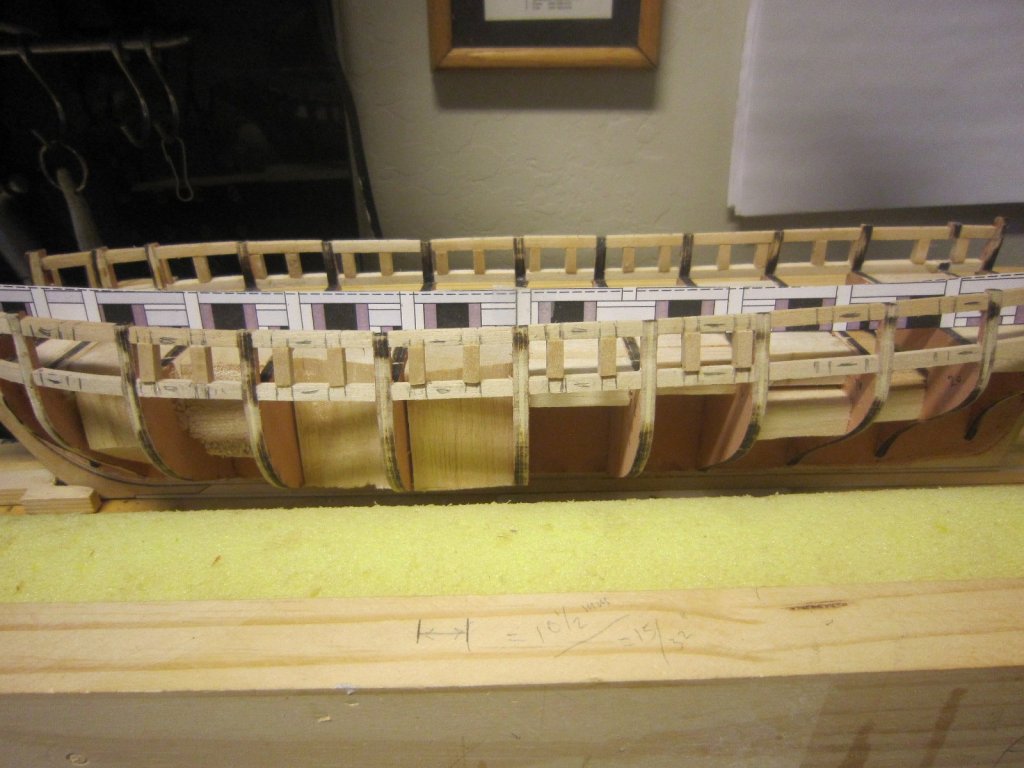
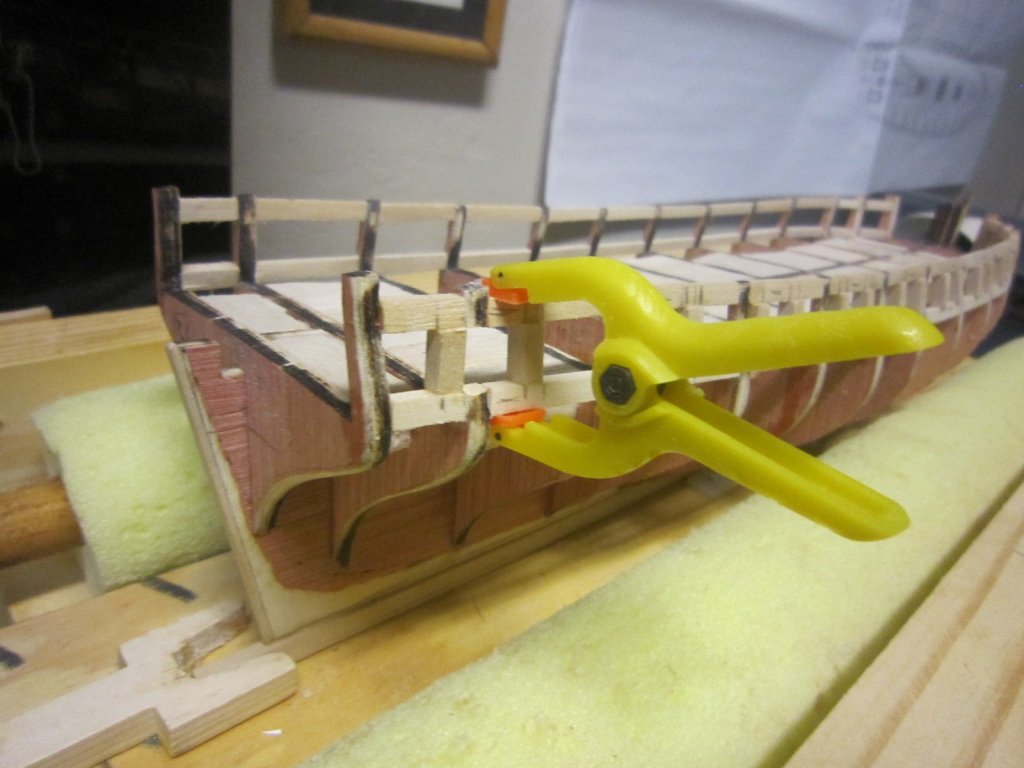
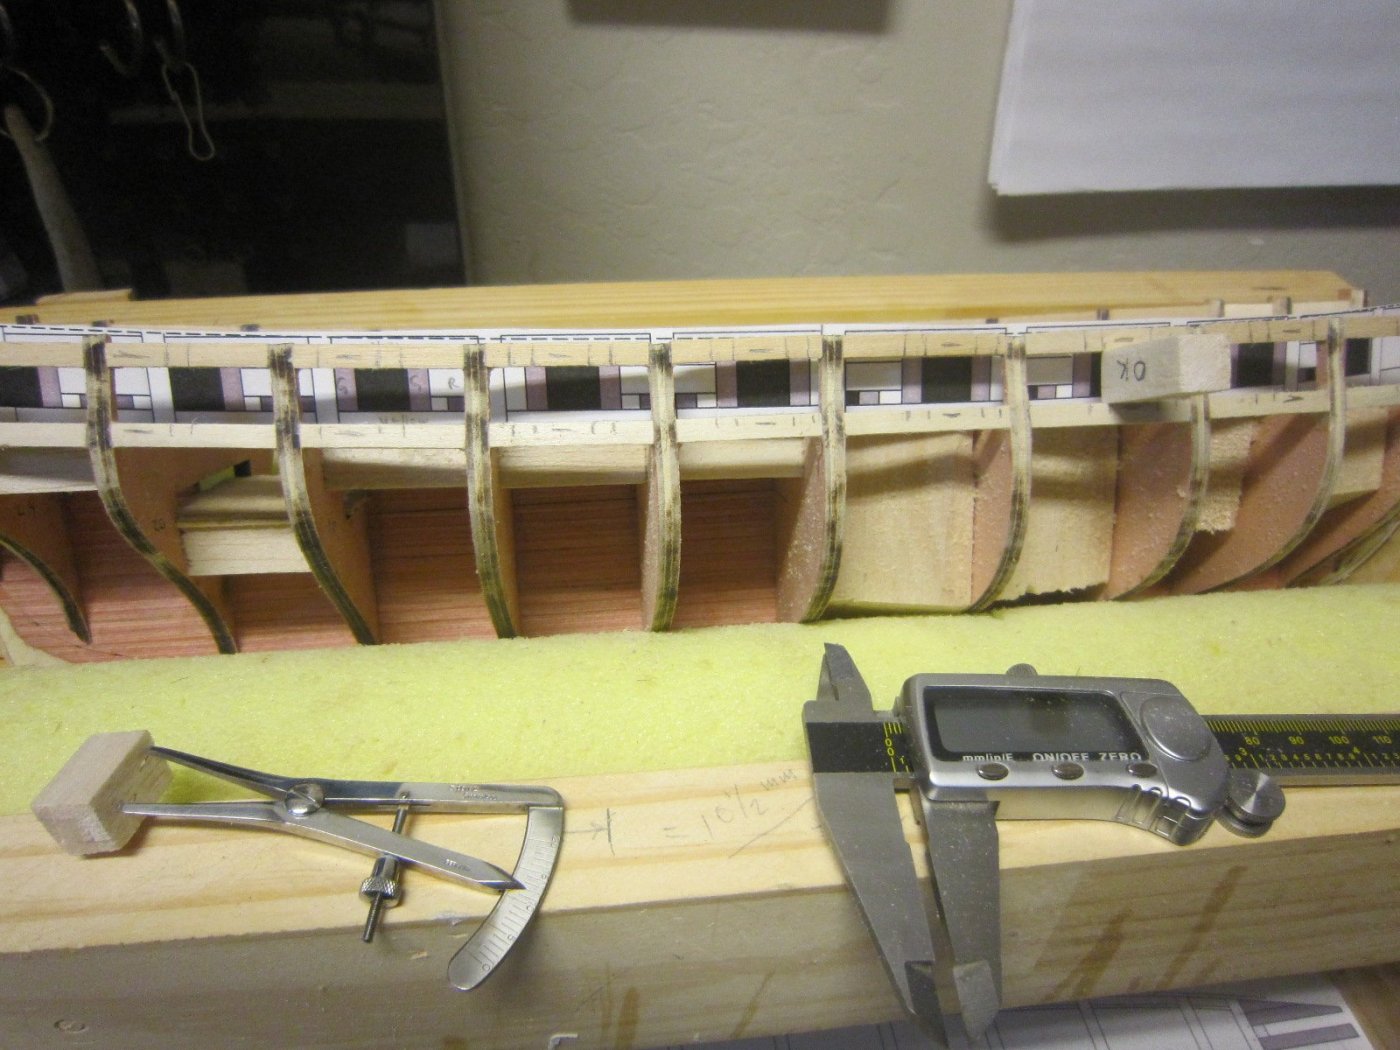
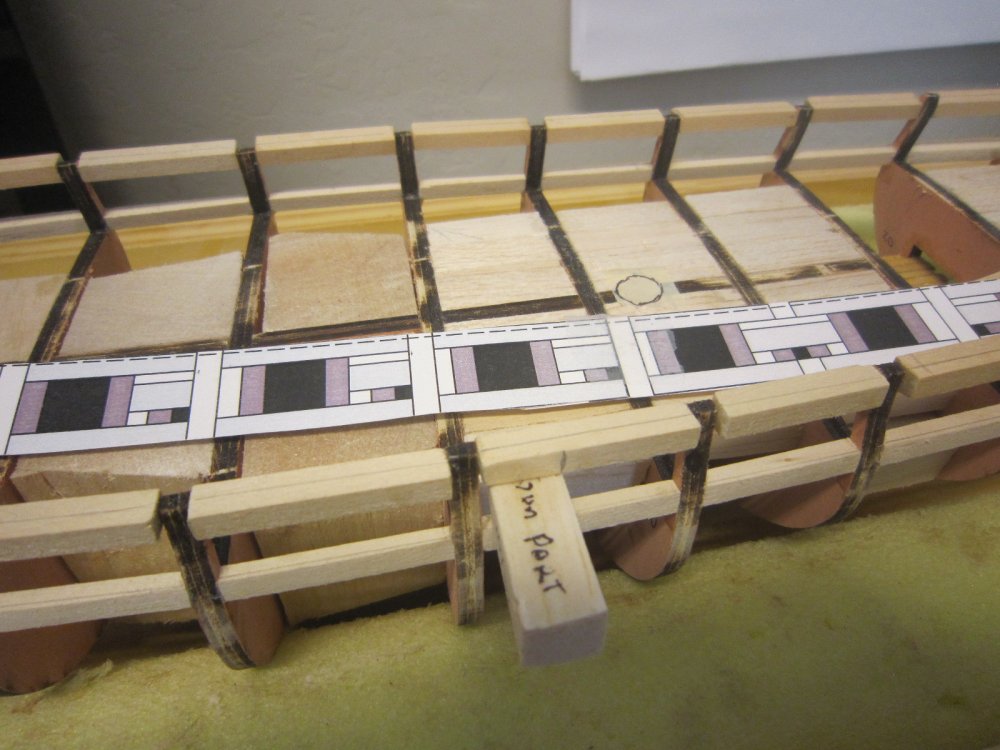
I used the port and starboard templates provided to mark the gunport sides. I was surprised that it was a harder task than meets the eye. The goal is to get gunport symmetry, but on a couple I had to tweak them a millimeter or so? Go figure. This frame is as straight and square as I can make it, but it is off just a tiny bit? (I placed the template in the photo just to show you what it looks like. When making the marks it has to be fixed up tight to the gunwale.)
- 1,135 replies
-
- 8
-
-
- model shipways
- syren
- (and 2 more)
-
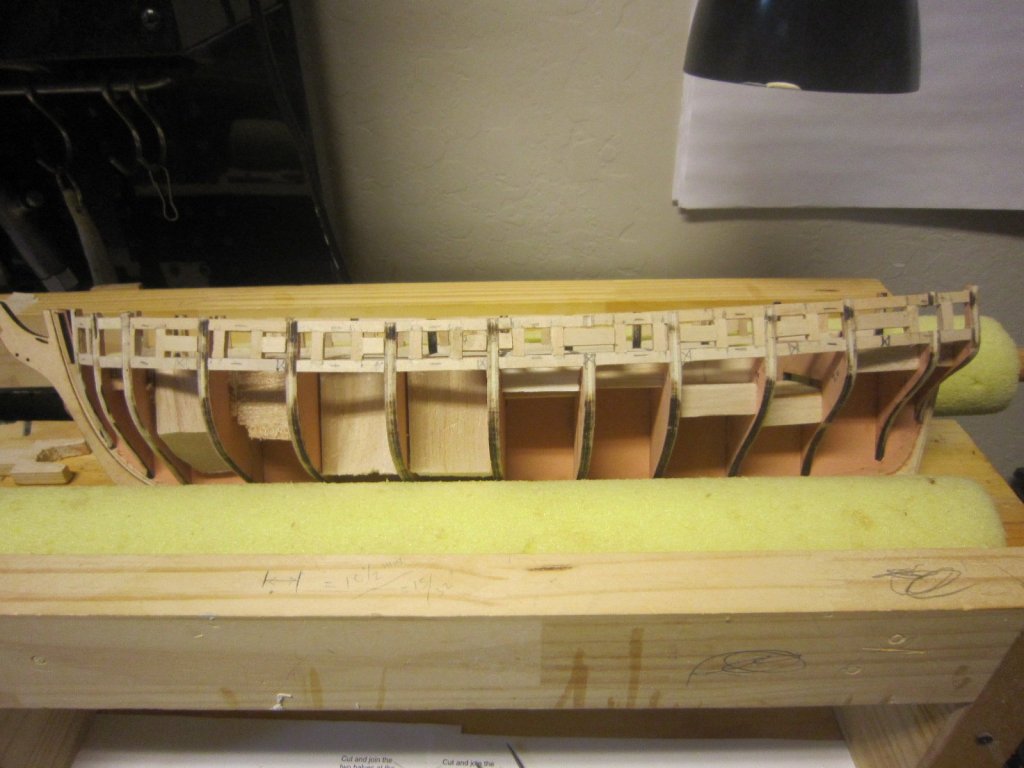
Still sanding lintels. My shop looks like it snowed and I'm not finished.
- 1,135 replies
-
- 10
-
-
- model shipways
- syren
- (and 2 more)
-
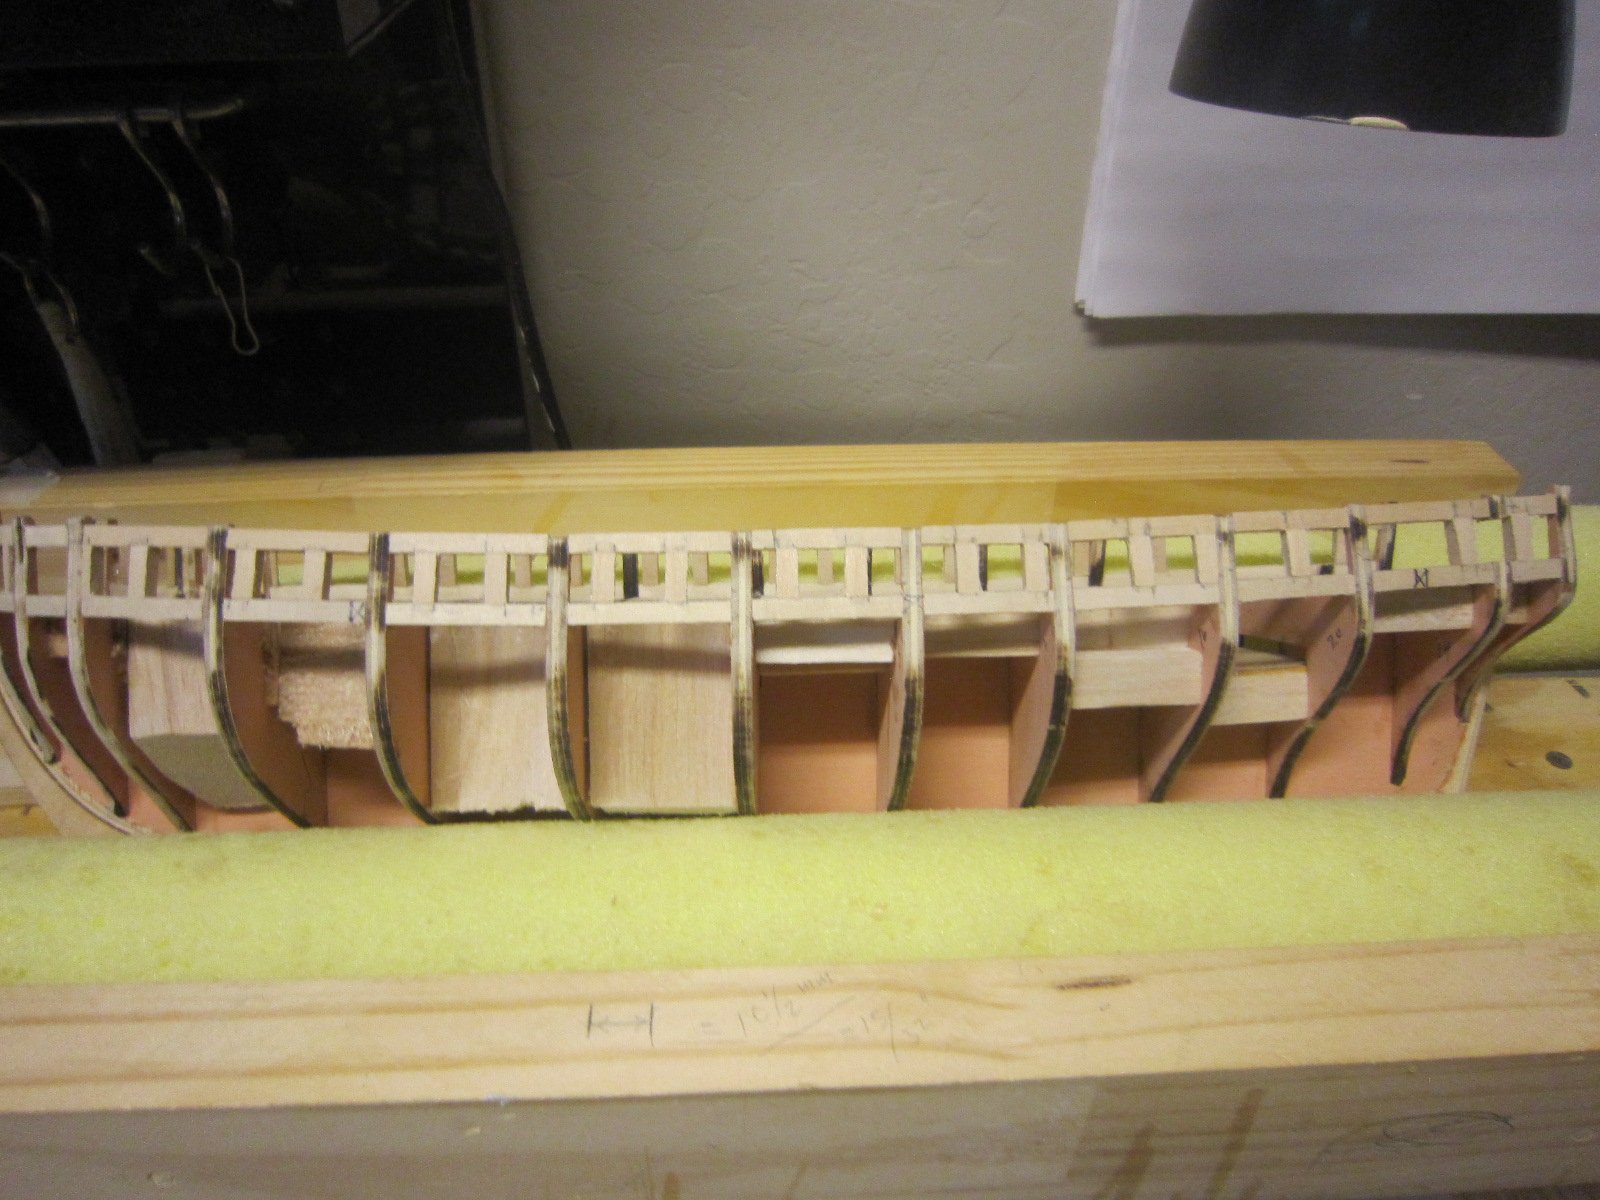
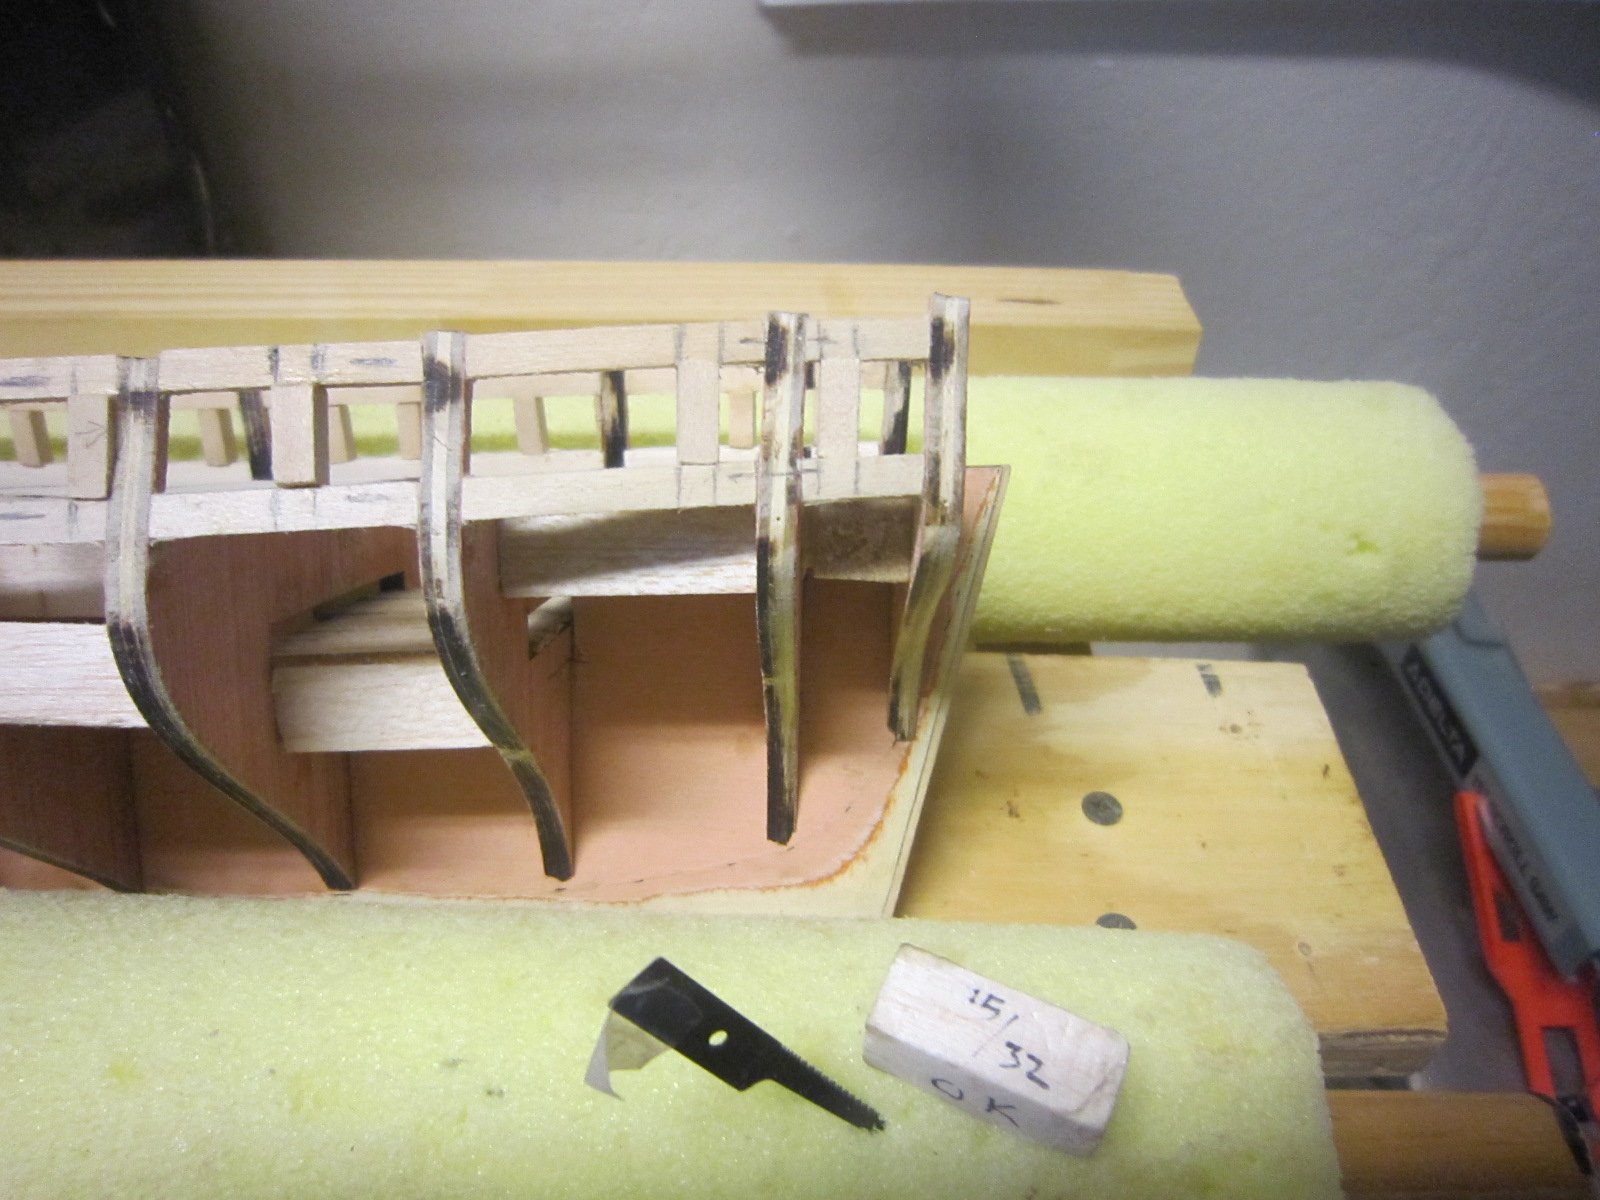
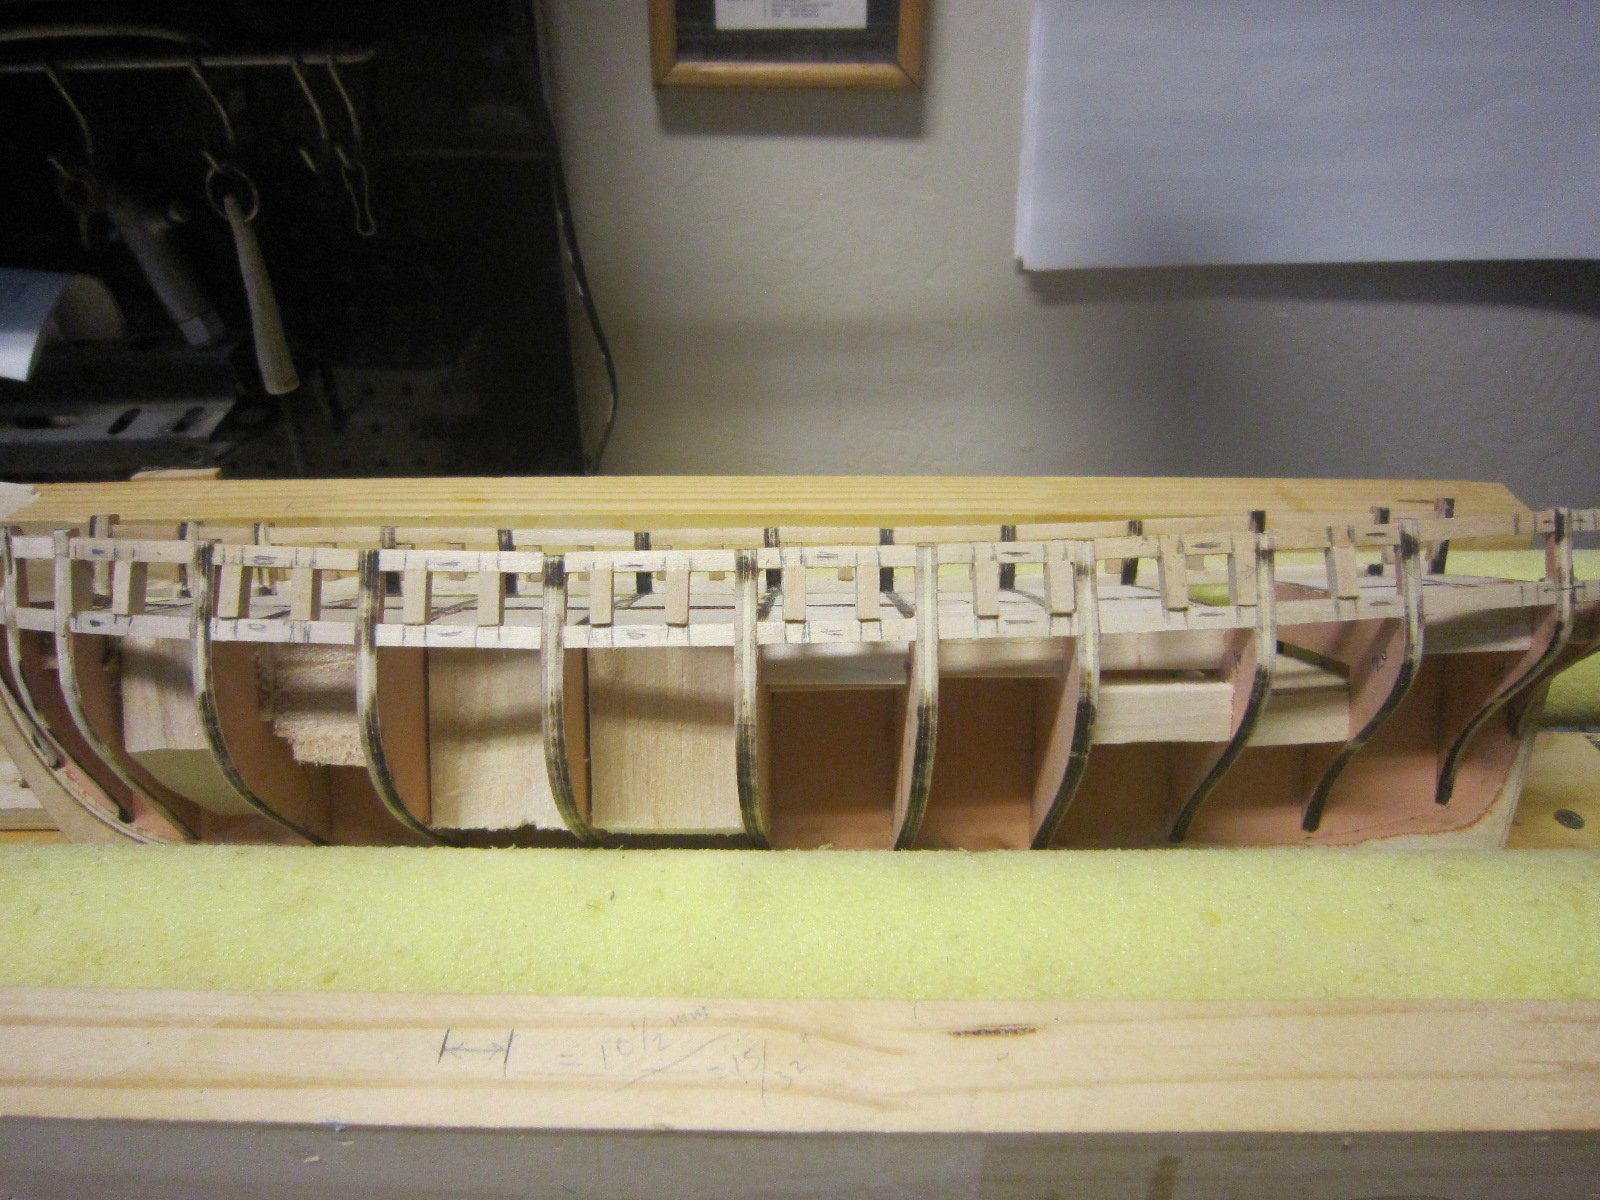
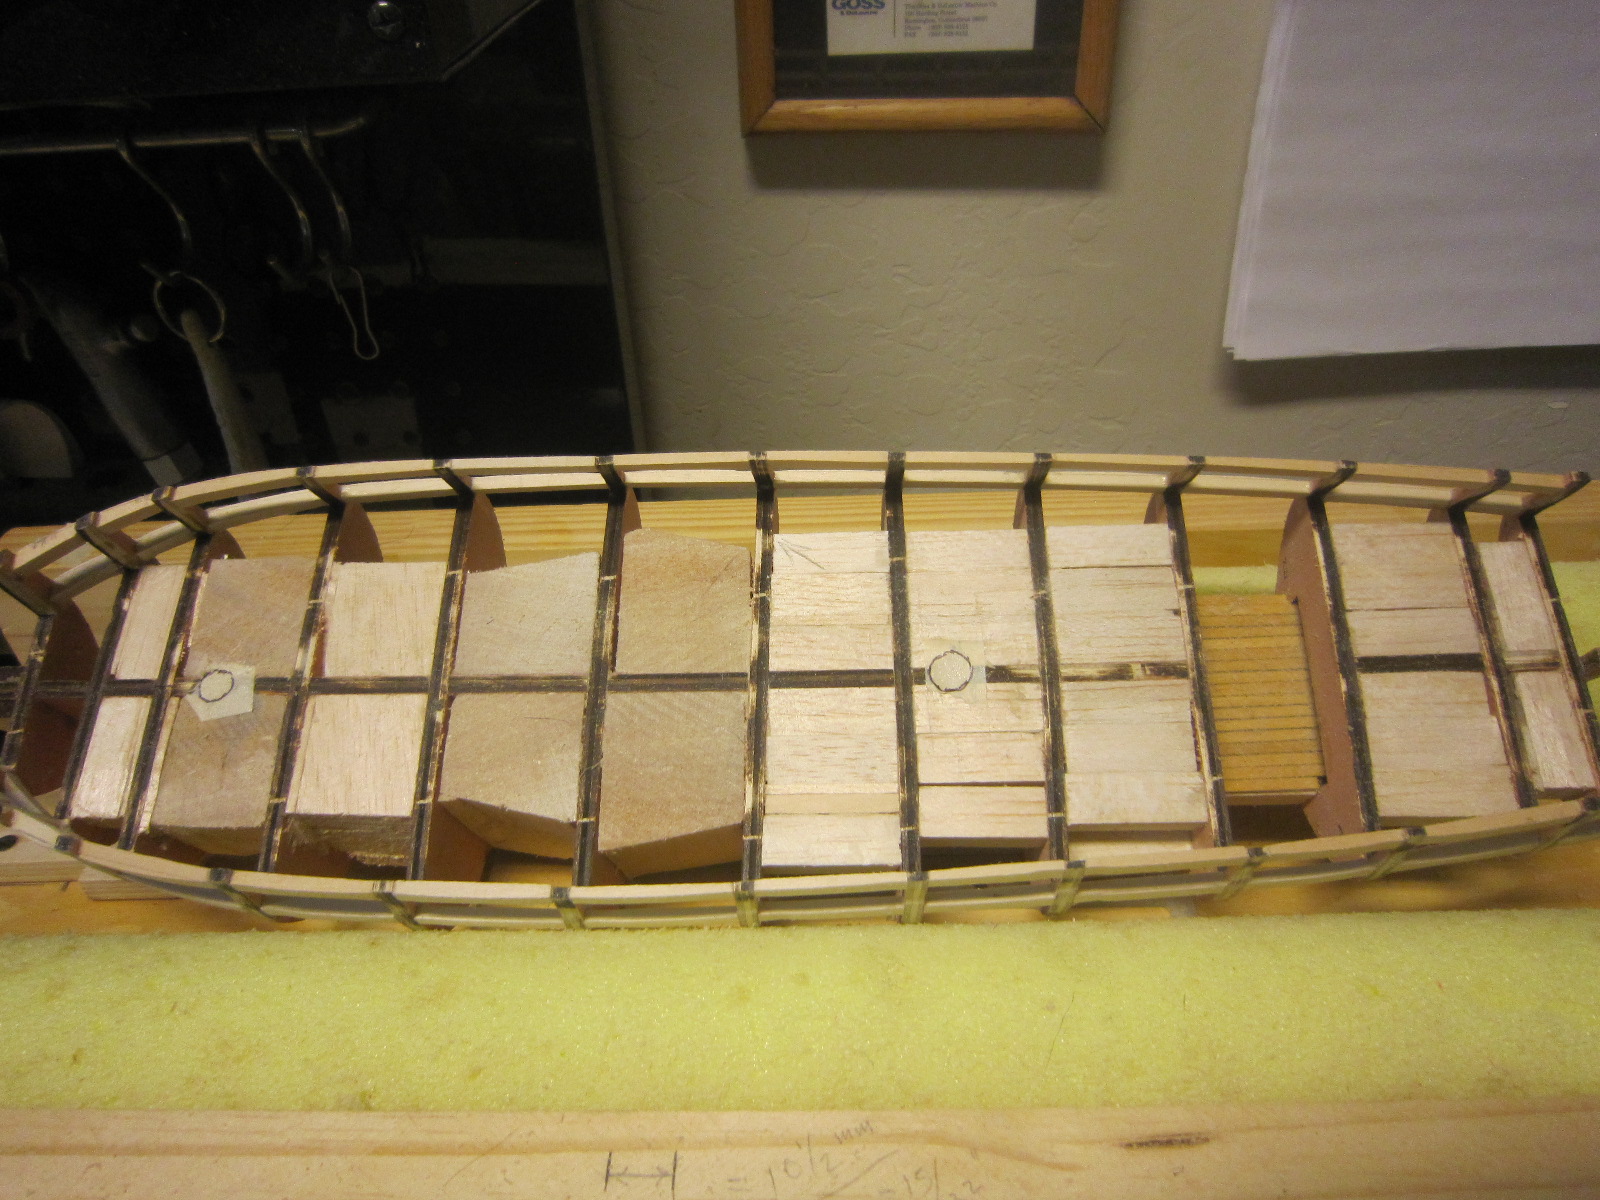
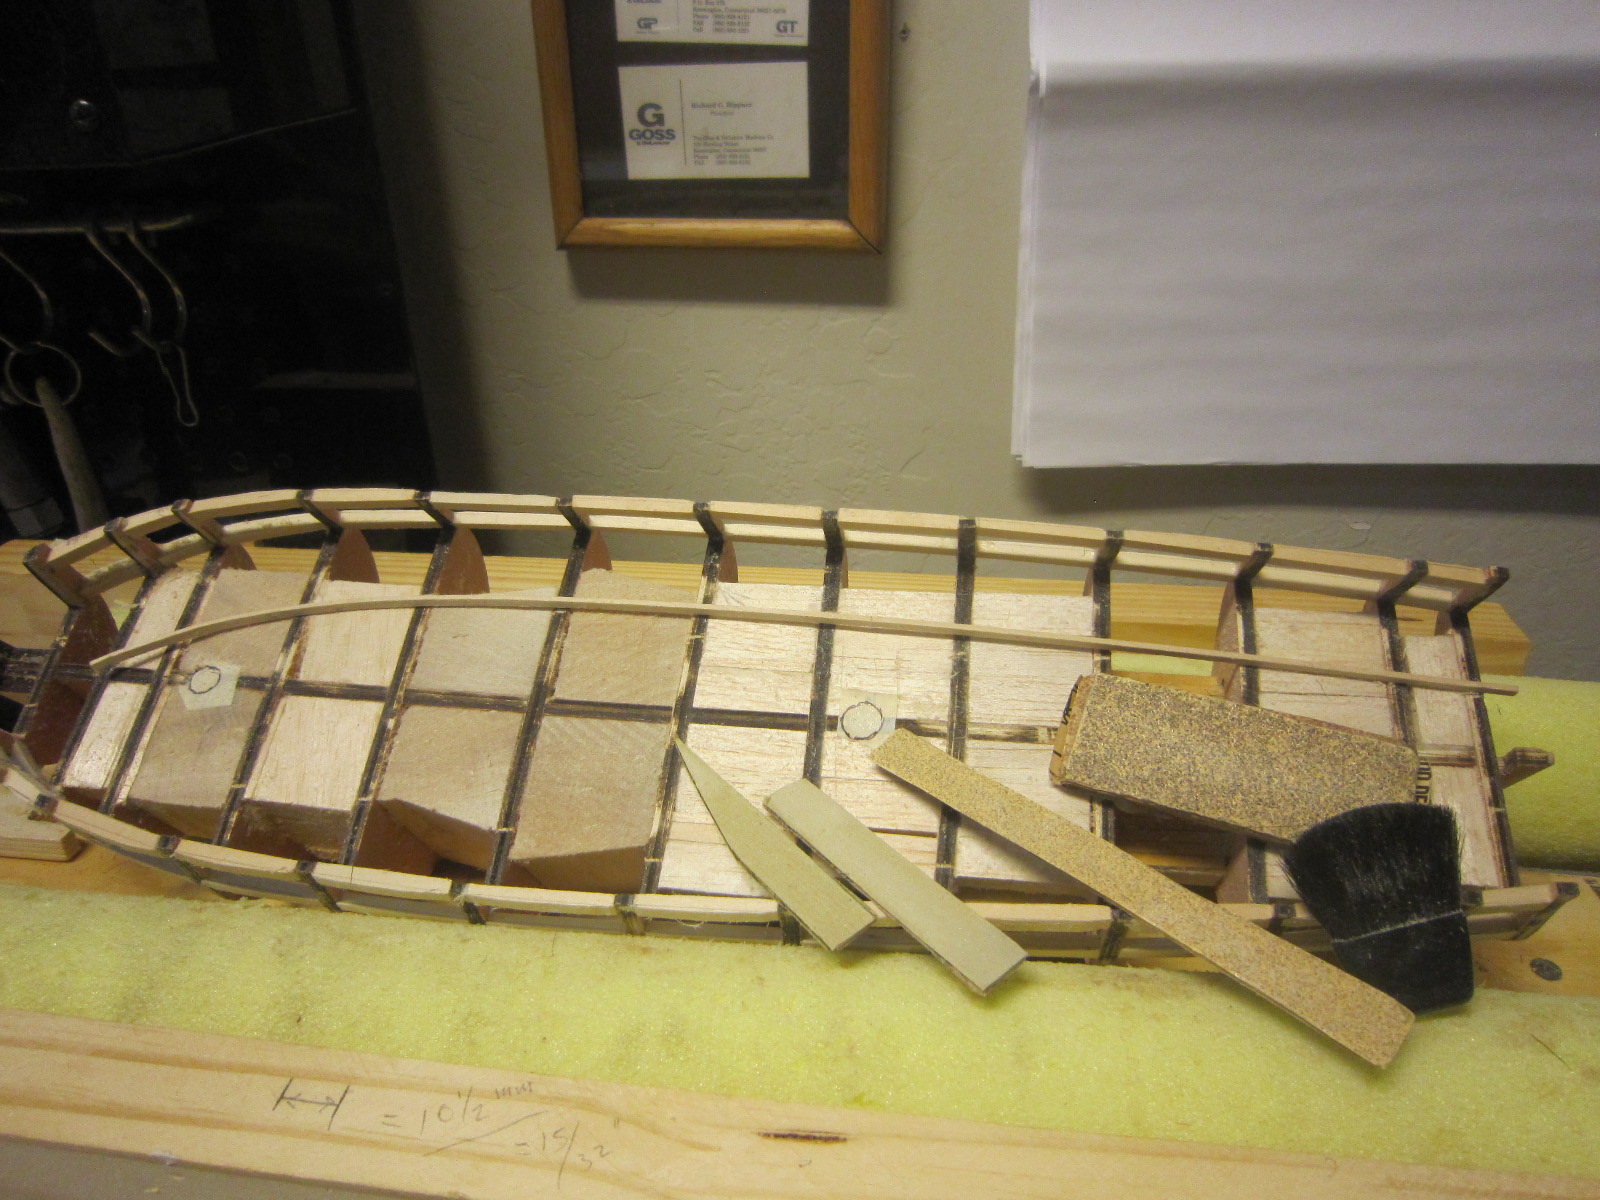
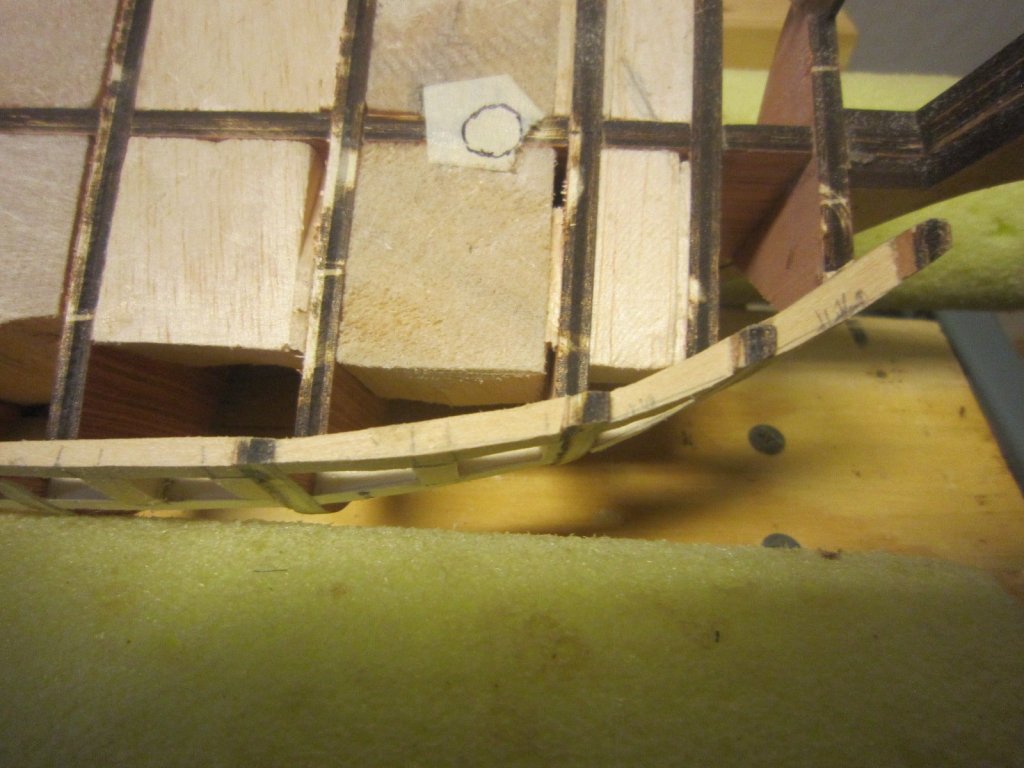
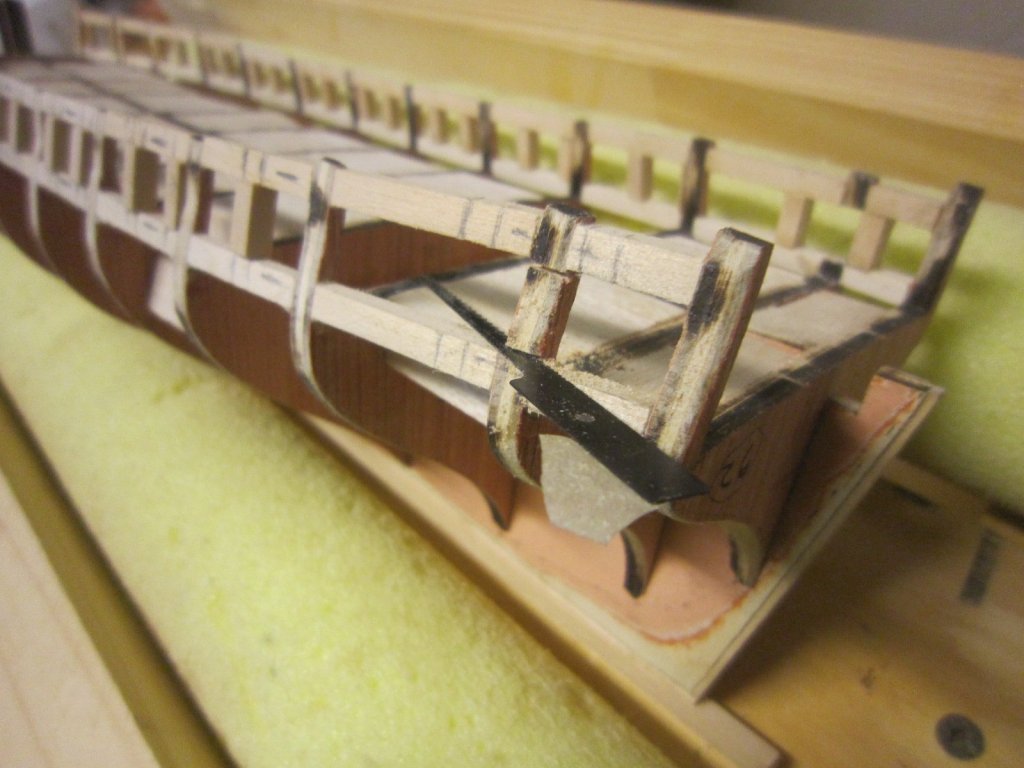
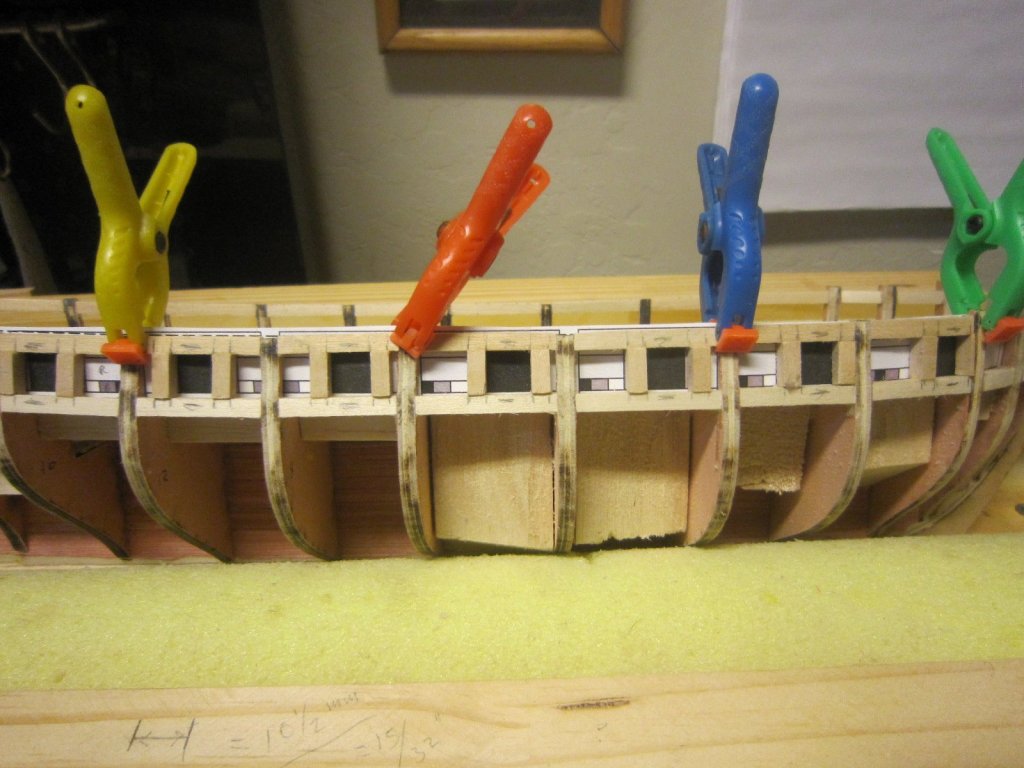
Let the fairing begin! There was a tremendous amount of excess material on the lintels, so I rough faired the lintels with my Dremel, and now the tedious task of smooth fairing the lintels on both sides. In the pic you can see the bent plank I use for a gage along with the various sanding sticks I use.

- 1,135 replies
-
- 9
-
-
- model shipways
- syren
- (and 2 more)
-
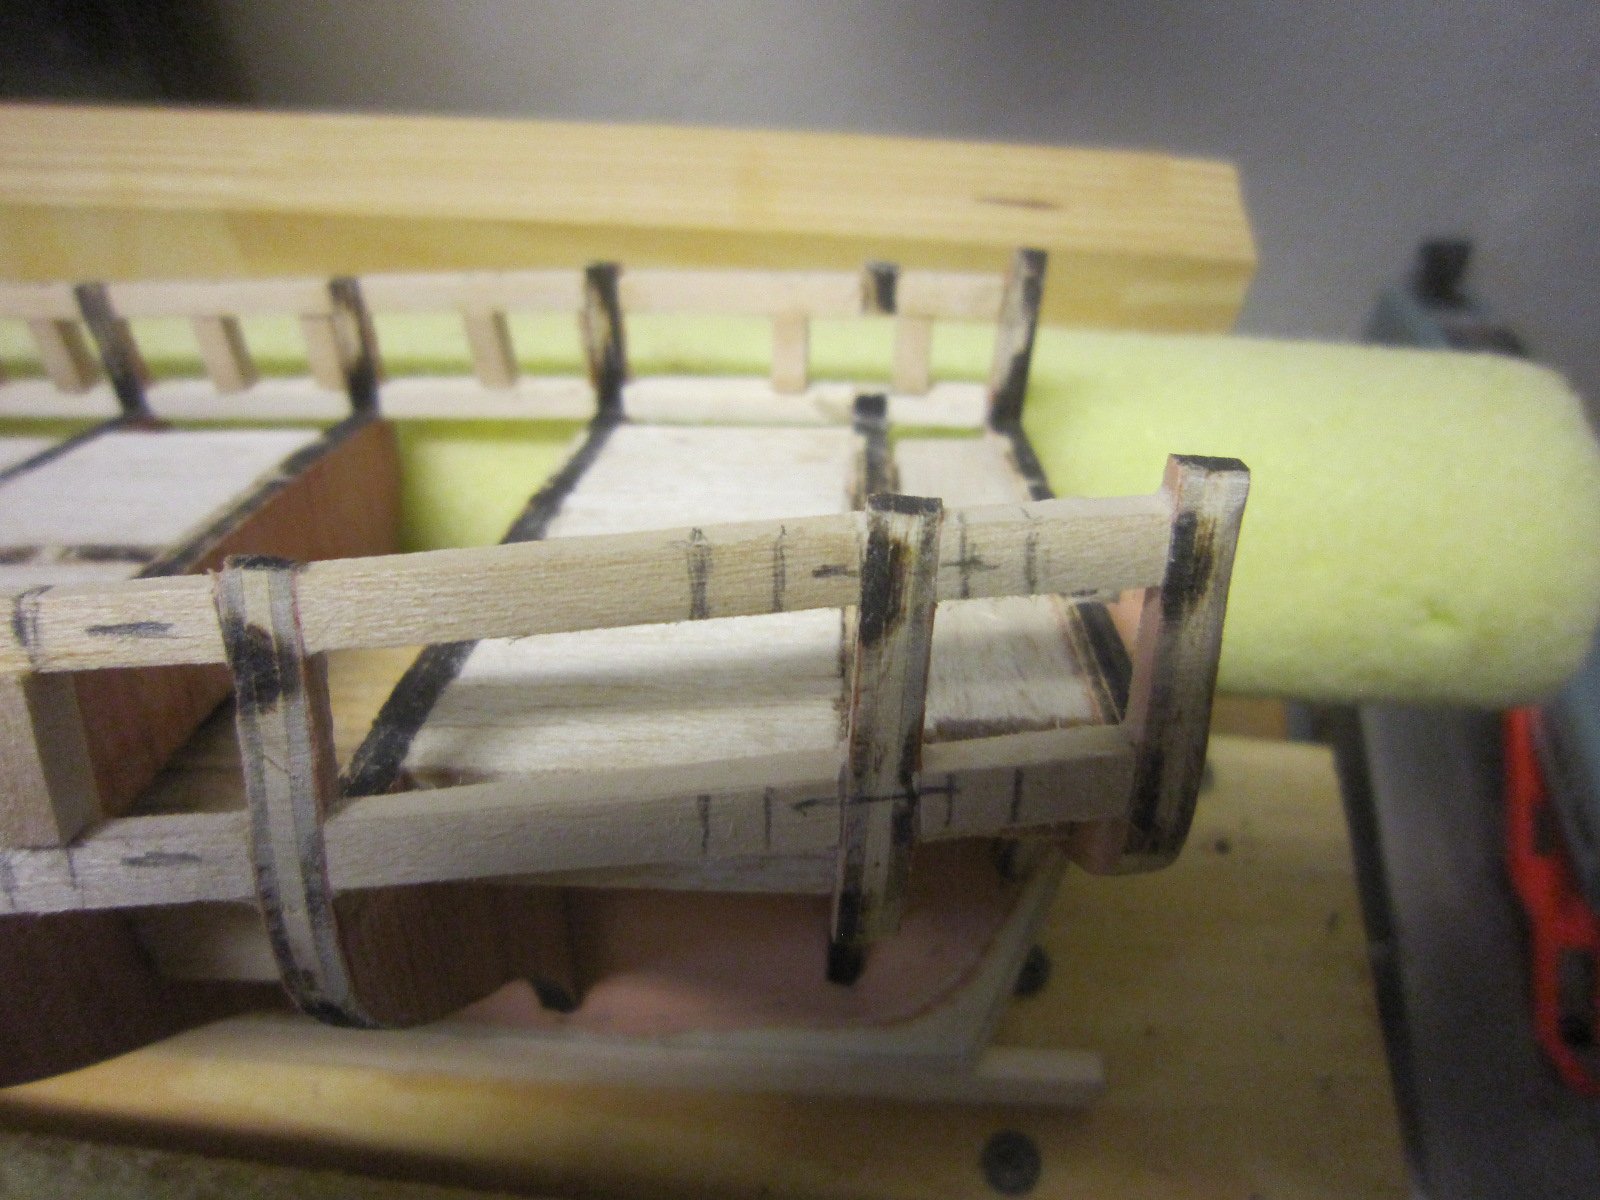
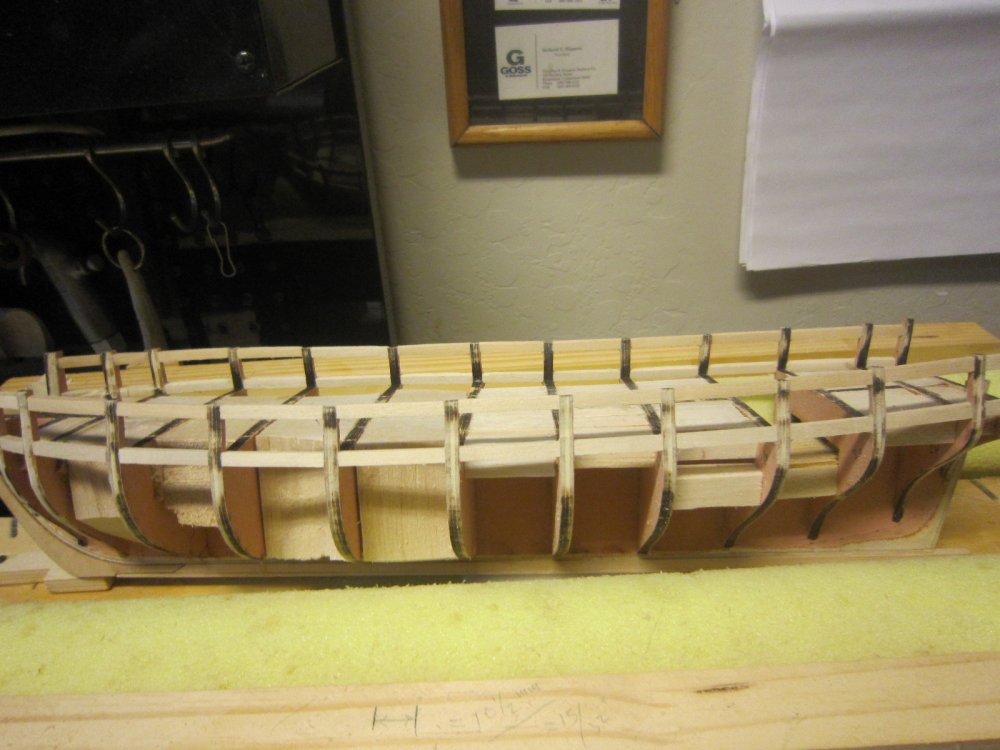
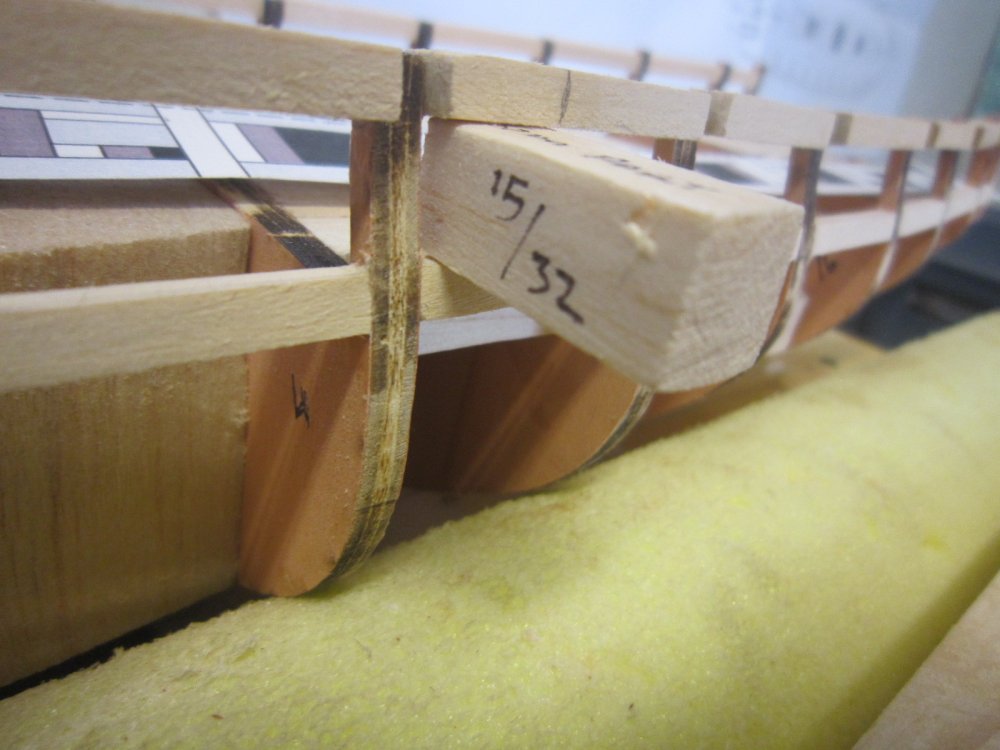
I'm working up the energy to start sanding, so to still stay busy without sanding, I built a 15/32" X 15/32" square jig to help me when I start making the gunport sides. Somehow using a jig to supplement my eyeballs will give me square gunports.
- 1,135 replies
-
- 13
-
-
- model shipways
- syren
- (and 2 more)