HOLIDAY DONATION DRIVE - SUPPORT MSW - DO YOUR PART TO KEEP THIS GREAT FORUM GOING! (Only 72 donations so far out of 49,000 members - Can we at least get 100? C'mon guys!)
×


HIPEXEC
-
Posts
2,698 -
Joined
-
Last visited
Content Type
Profiles
Forums
Gallery
Events
Everything posted by HIPEXEC
-
 Clever repair
 -
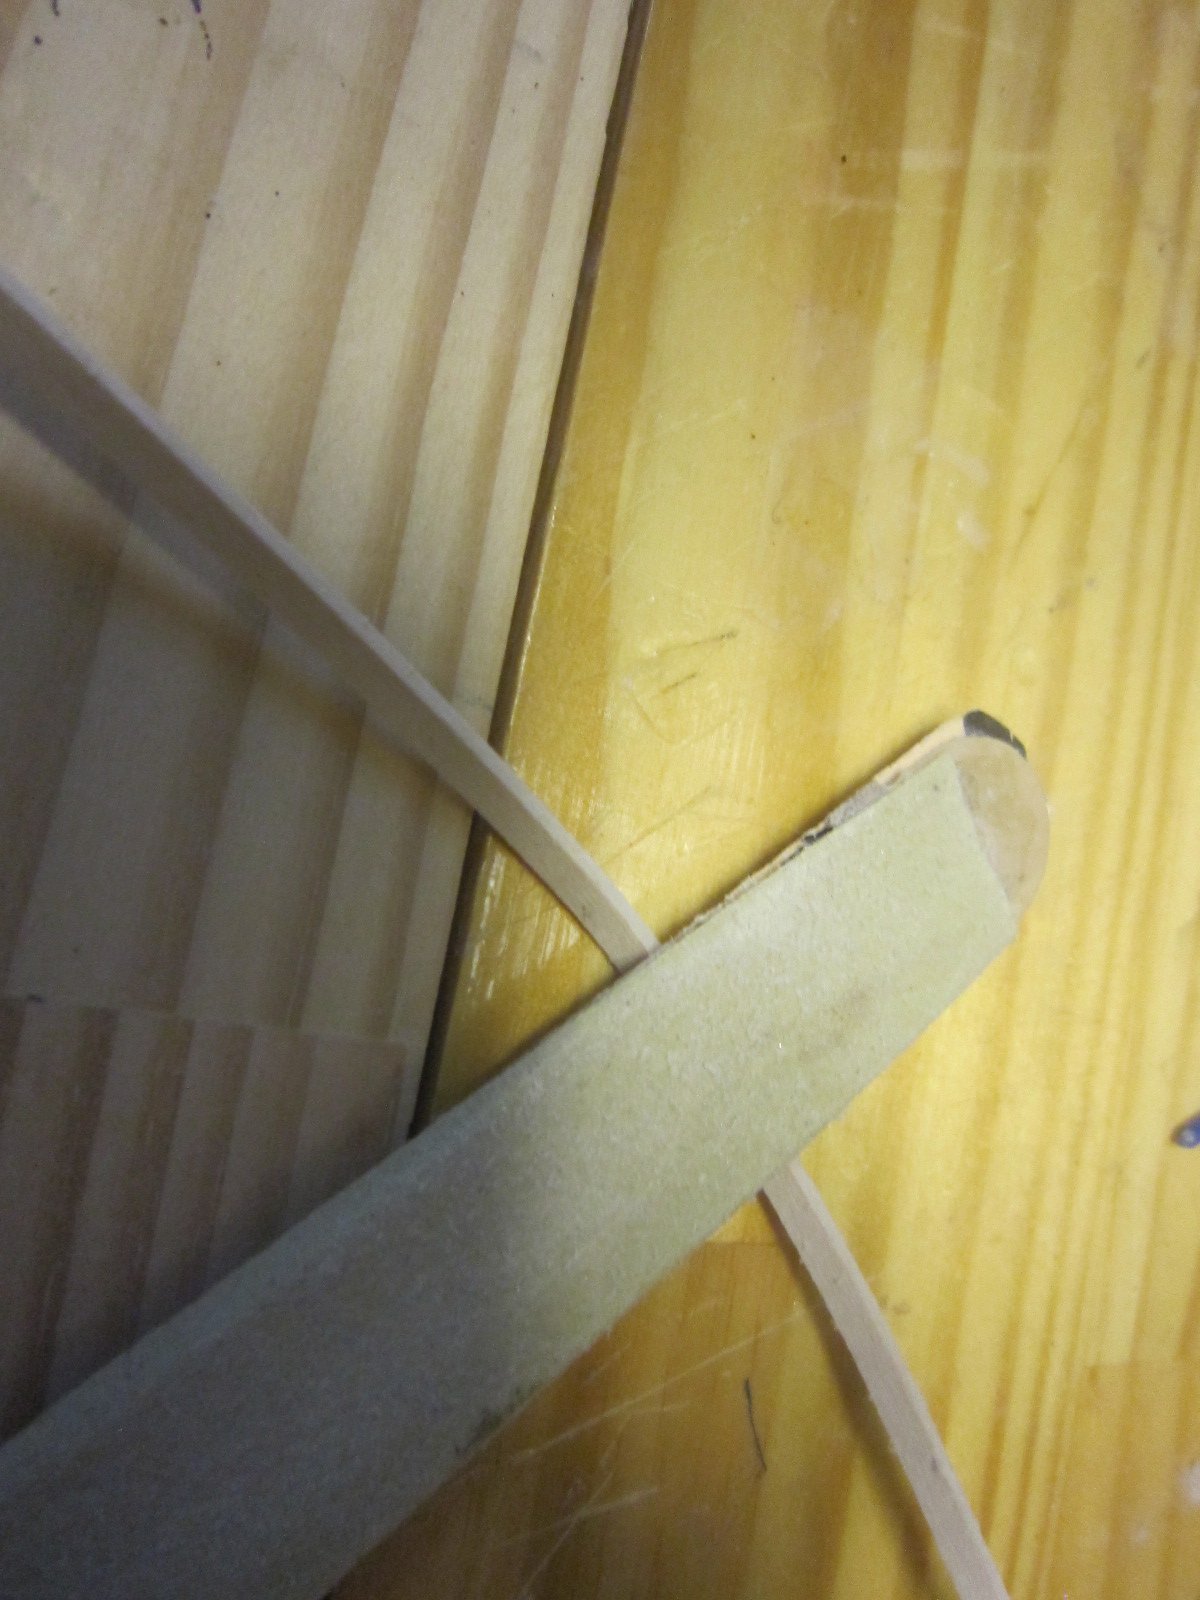
The first picture is of a pre-bent, pre-twisted, pre-beveled plank. The next photo shows this plank freshly glued in place. Notice...it doesn't need clamps!

- 1,135 replies
-
- 12
-

-
- model shipways
- syren
- (and 2 more)
-
Another pair of planks. so far so good with just the usual problems attached to planking
- 1,135 replies
-
- 5
-
-
- model shipways
- syren
- (and 2 more)
-
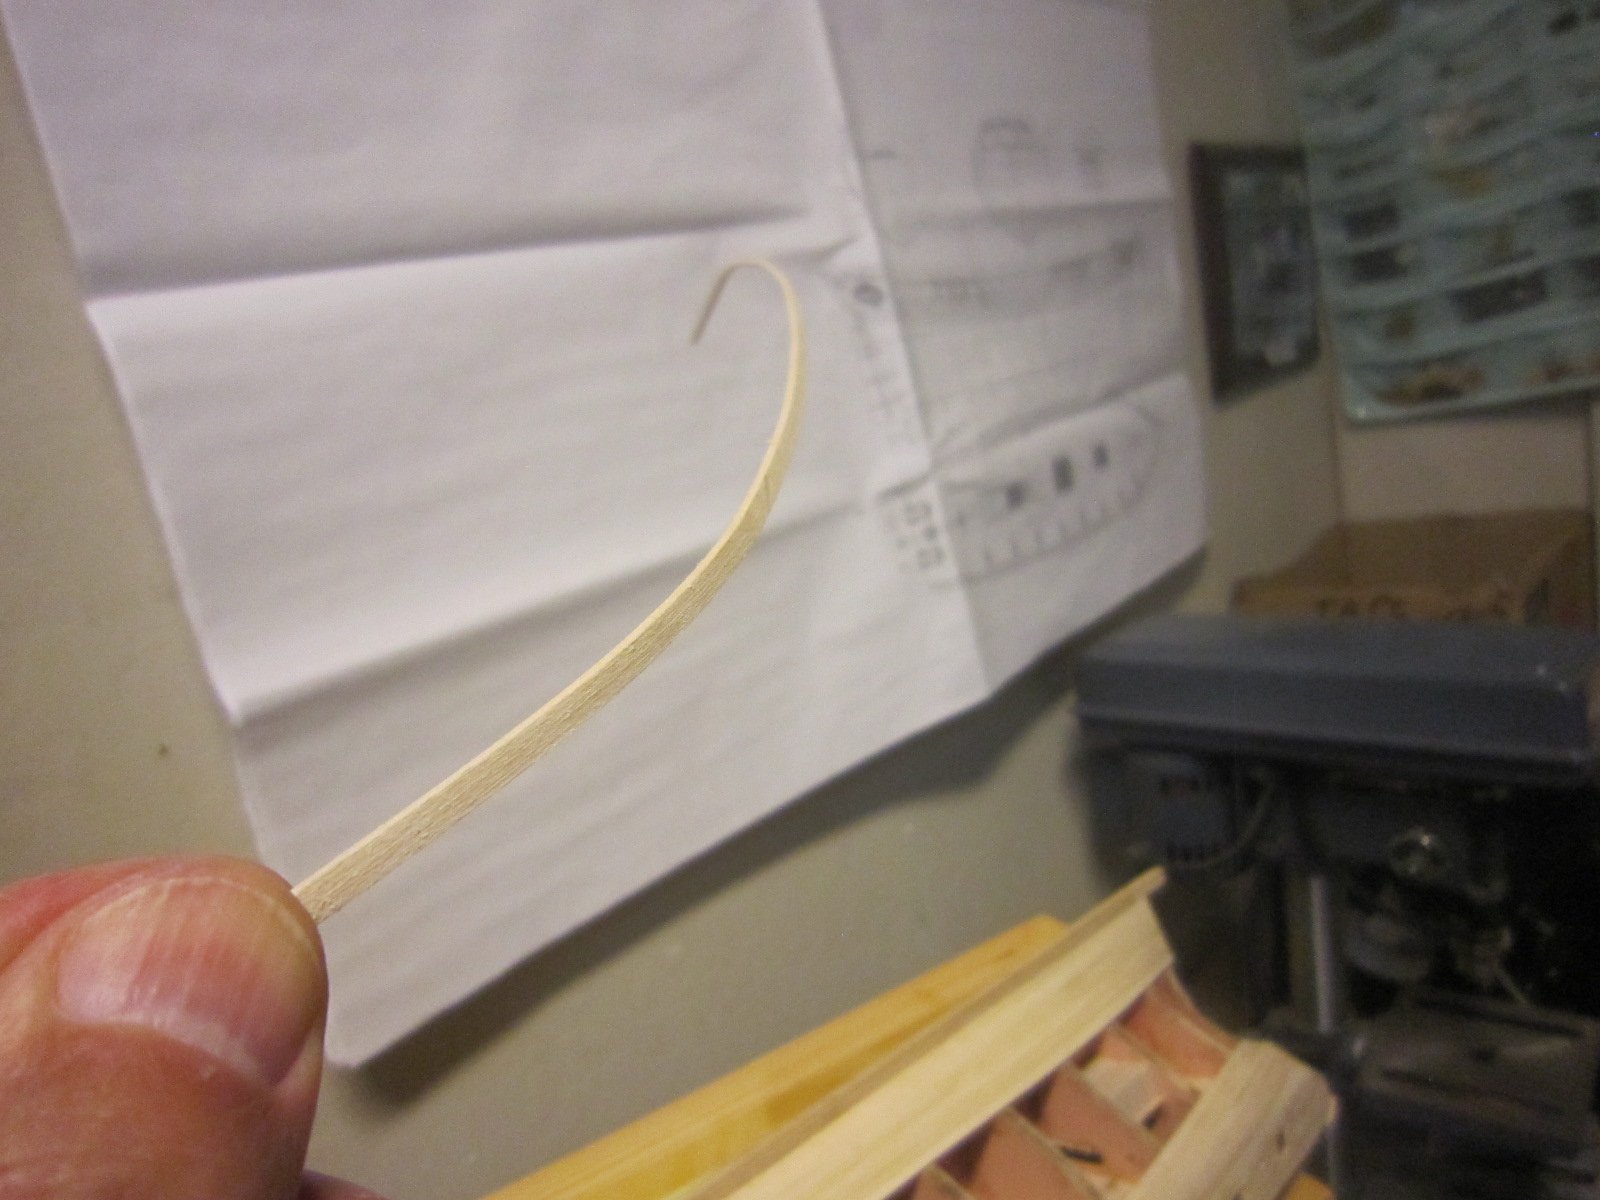
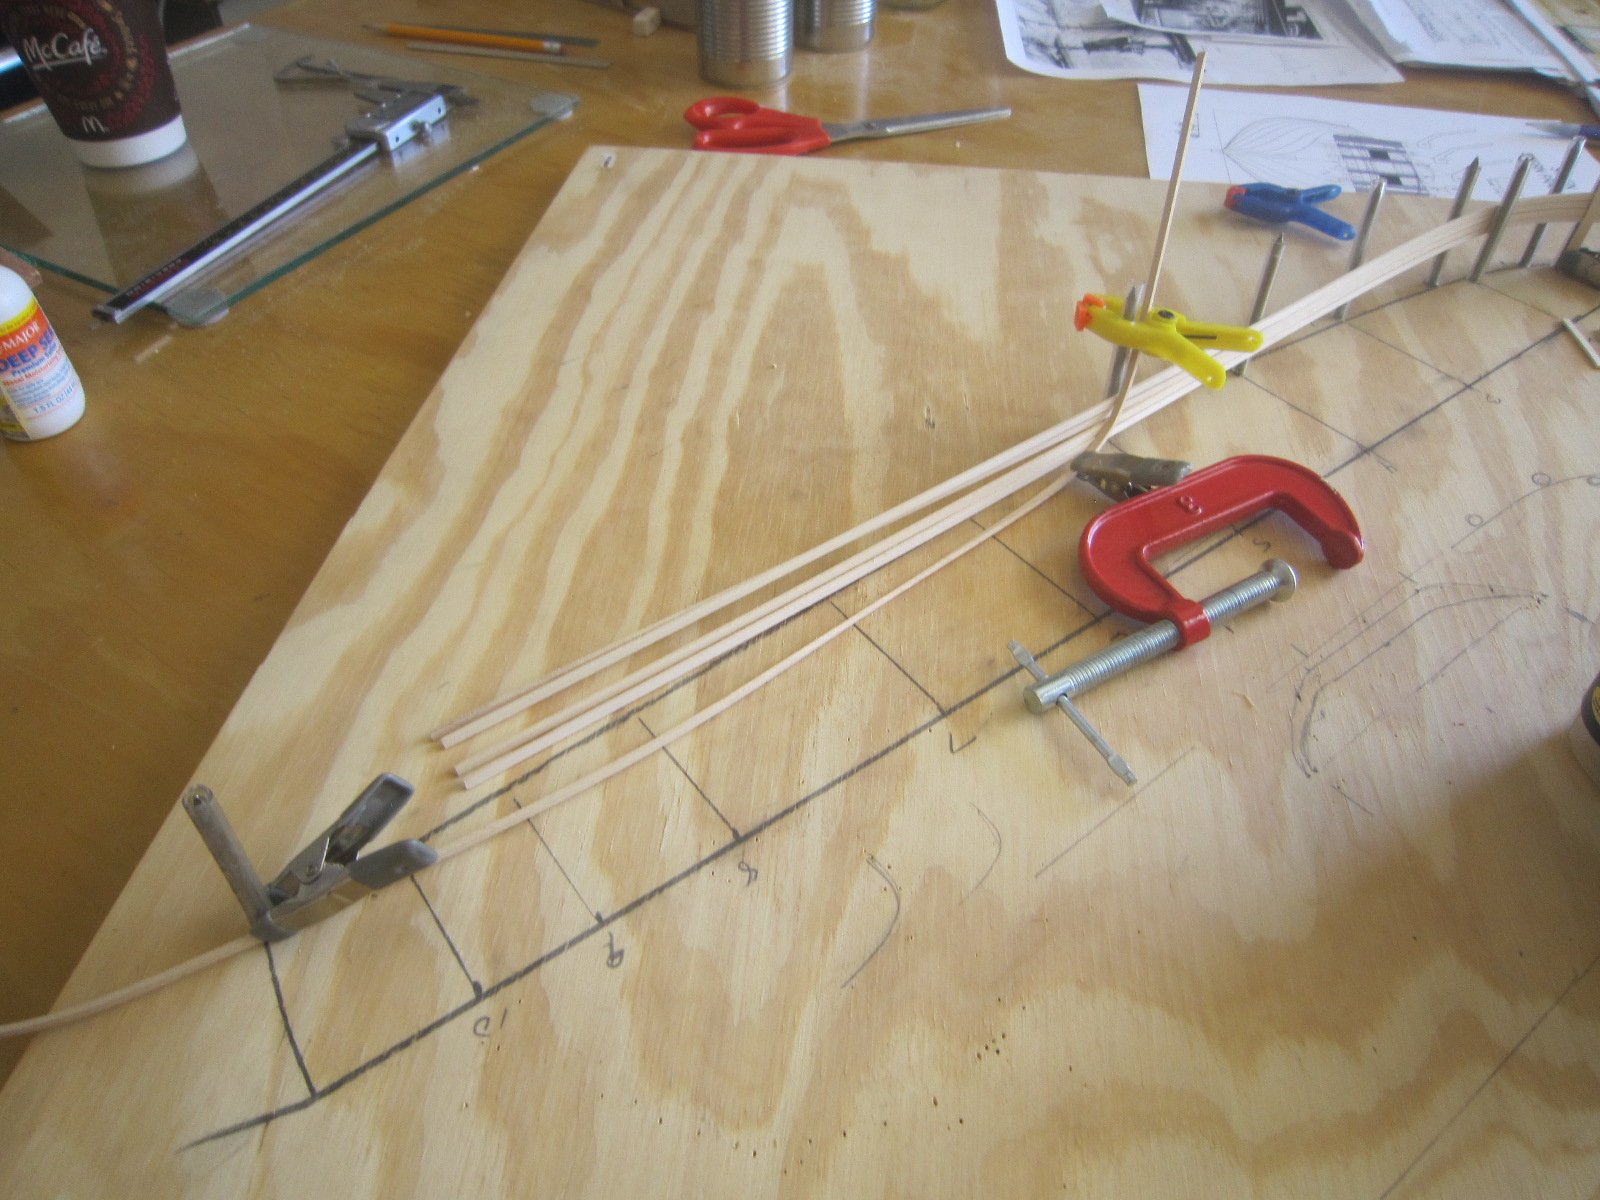
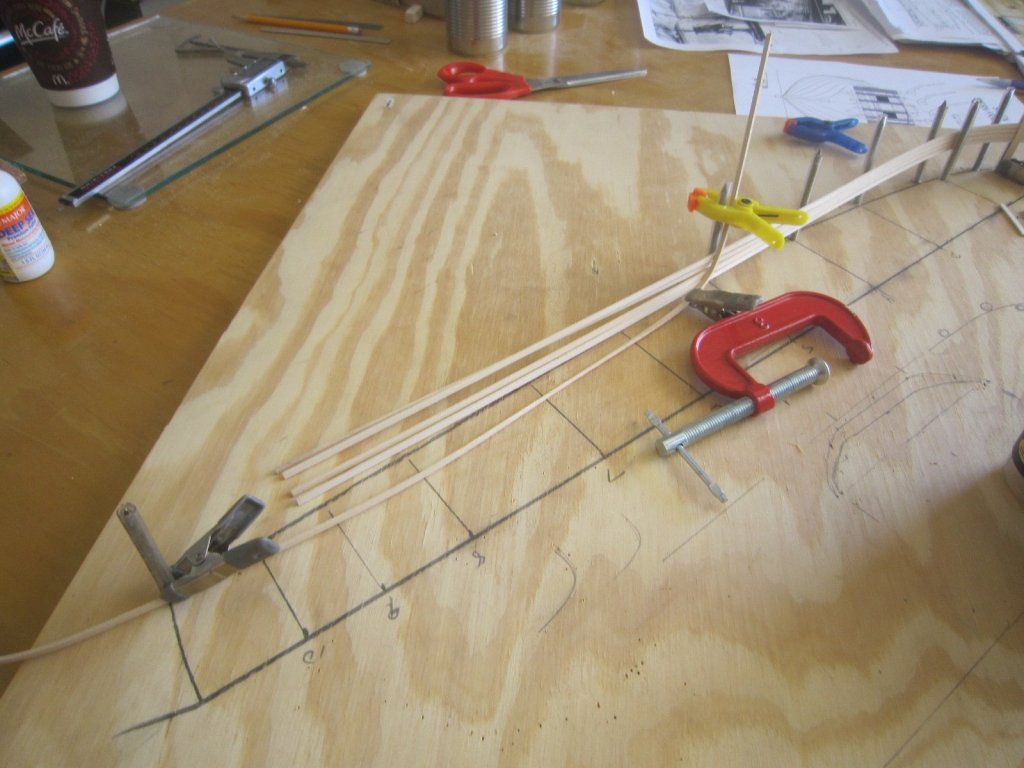
While the glue dries on my last plank, I'm wet pre-forming two planks putting the last bends, twists and curves before beveling and later tapering.
- 1,135 replies
-
- 15
-
-
- model shipways
- syren
- (and 2 more)
-
I love the way my planks fit into place after all the pre-bending, twisting, beveling and wet pre-fitting I do. The fully prepared plank virtually snaps into place even without glue. I've come a long way from the first models where I wrestled with planks forcing them into place.


- 1,135 replies
-
- 12
-
-
- model shipways
- syren
- (and 2 more)
-
Another plank. I'm showing all progress in case someone really wants to see how long this planking process takes me and why. On many logs they show the beginning of the planking process...then wham....they show the whole hull planked. If it only was that easy.
- 1,135 replies
-
- 13
-
-
- model shipways
- syren
- (and 2 more)
-
I can see Captain Billy Tyne on the bridge. Nice work
- 956 replies
-
- 4
-
-
- andrea gail
- trawler
- (and 1 more)
-
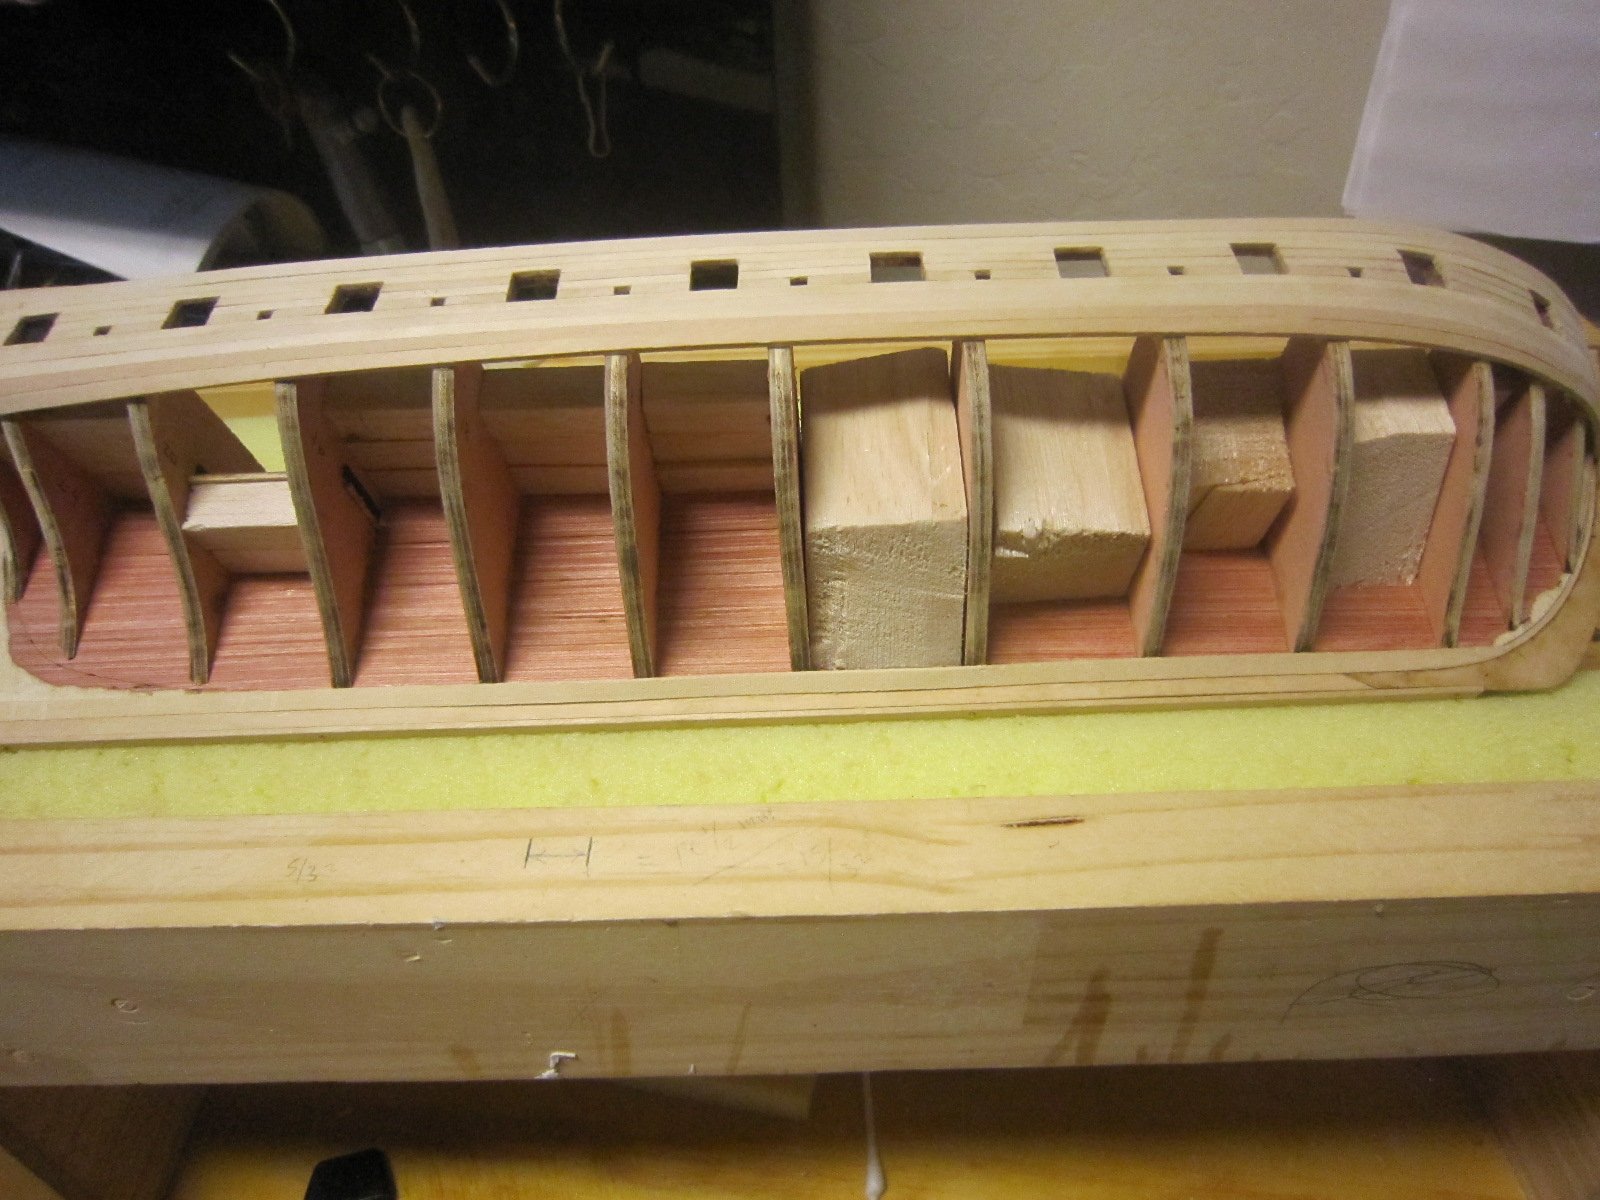
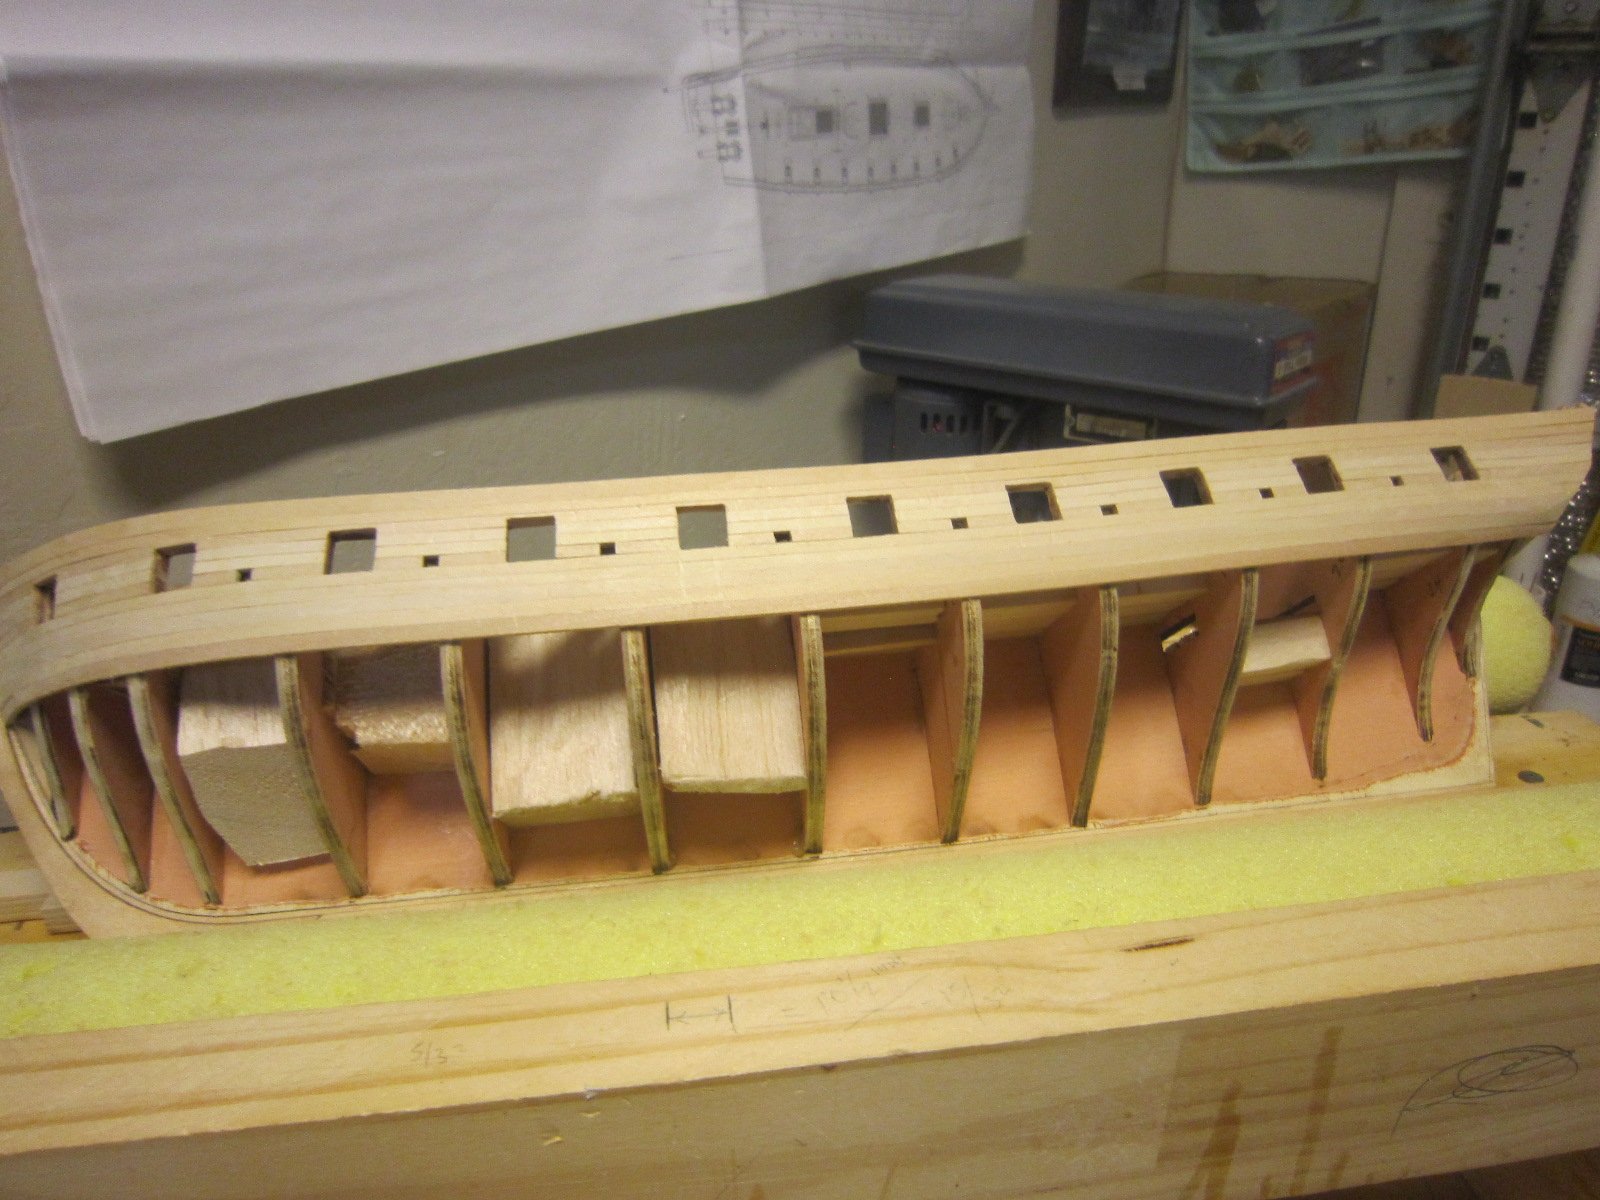
Balsa as bow/stern filler
HIPEXEC replied to Roks82's topic in Building, Framing, Planking and plating a ships hull and deck
Balsa seemed to work for me in past models. -
Yes....both up and down. I'll have to start tapering soon.

- 1,135 replies
-
- 12
-
-
- model shipways
- syren
- (and 2 more)
-
Very nice gun rigging
-
I'm showing pictures of plank progression since the plans do not have detailed pictures as the planking progresses. The center part of the hull is always the trickiest part, so I will take photos along the way so maybe it can help others building this kit.

- 1,135 replies
-
- 9
-
-
- model shipways
- syren
- (and 2 more)
-
1/8" a day. That's slow planking. So, I'm still bending, shaping and gluing planks. Pre-shaping the plank on the hull really makes the gluing part easy. No forcing at all.

- 1,135 replies
-
- 9
-
-
- model shipways
- syren
- (and 2 more)
-
I just finished gluing the port and starboard garboard planks. By pre-shaping them, they just snapped into place.

- 1,135 replies
-
- 10
-
-
- model shipways
- syren
- (and 2 more)
-
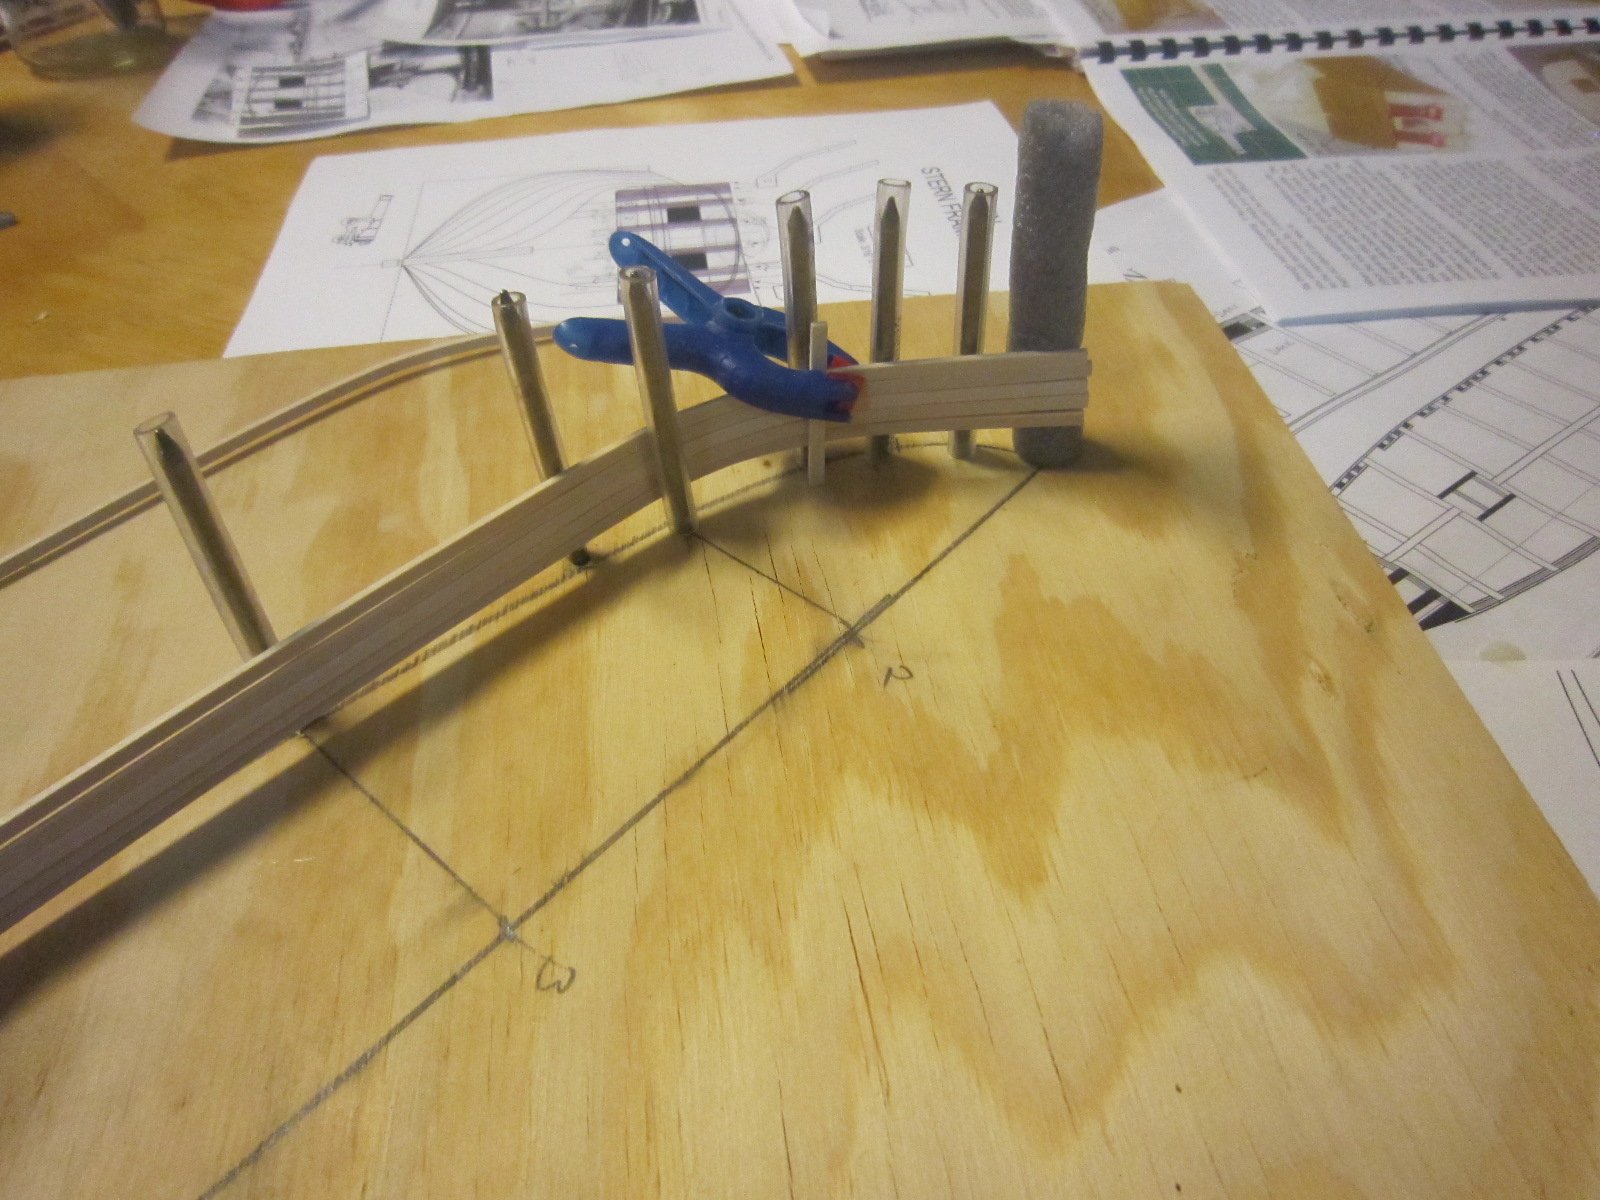
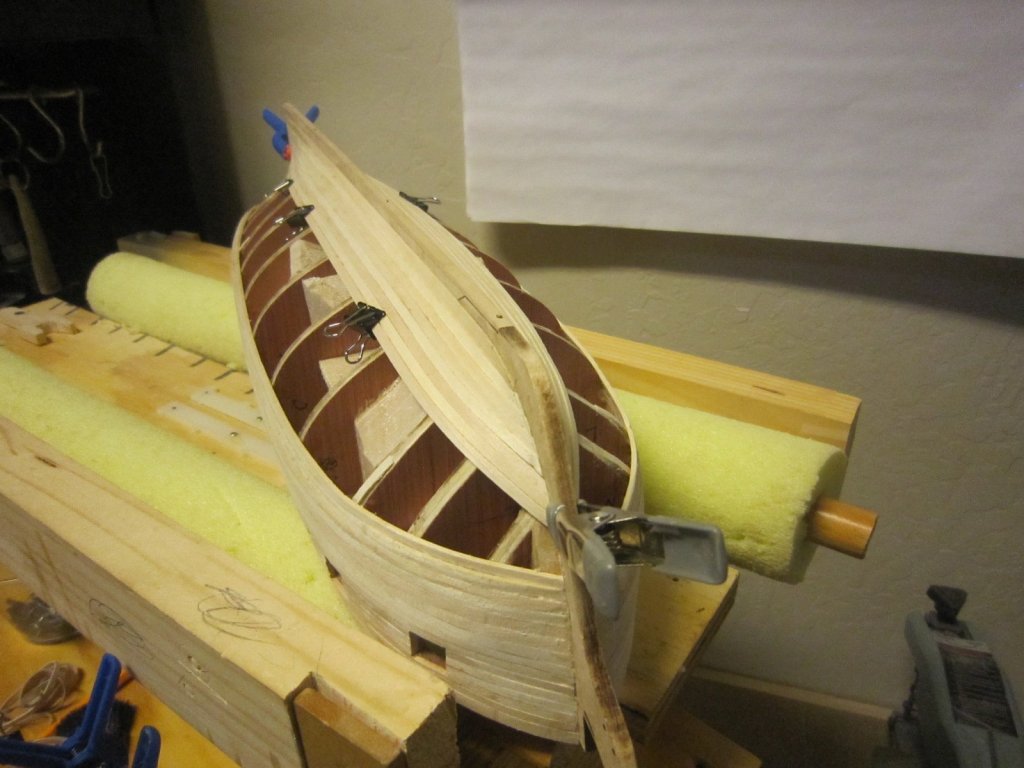
Now I'm shaping the first garboard plank. It goes from vertical to past 45 back to vertical

- 1,135 replies
-
- 8
-
-
- model shipways
- syren
- (and 2 more)
-
Here I'm bending and twisting a plank in several directions so it will easily fit on the hull. Most of the planks from now on will need the same treatment.
- 1,135 replies
-
- 8
-
-
- model shipways
- syren
- (and 2 more)
-
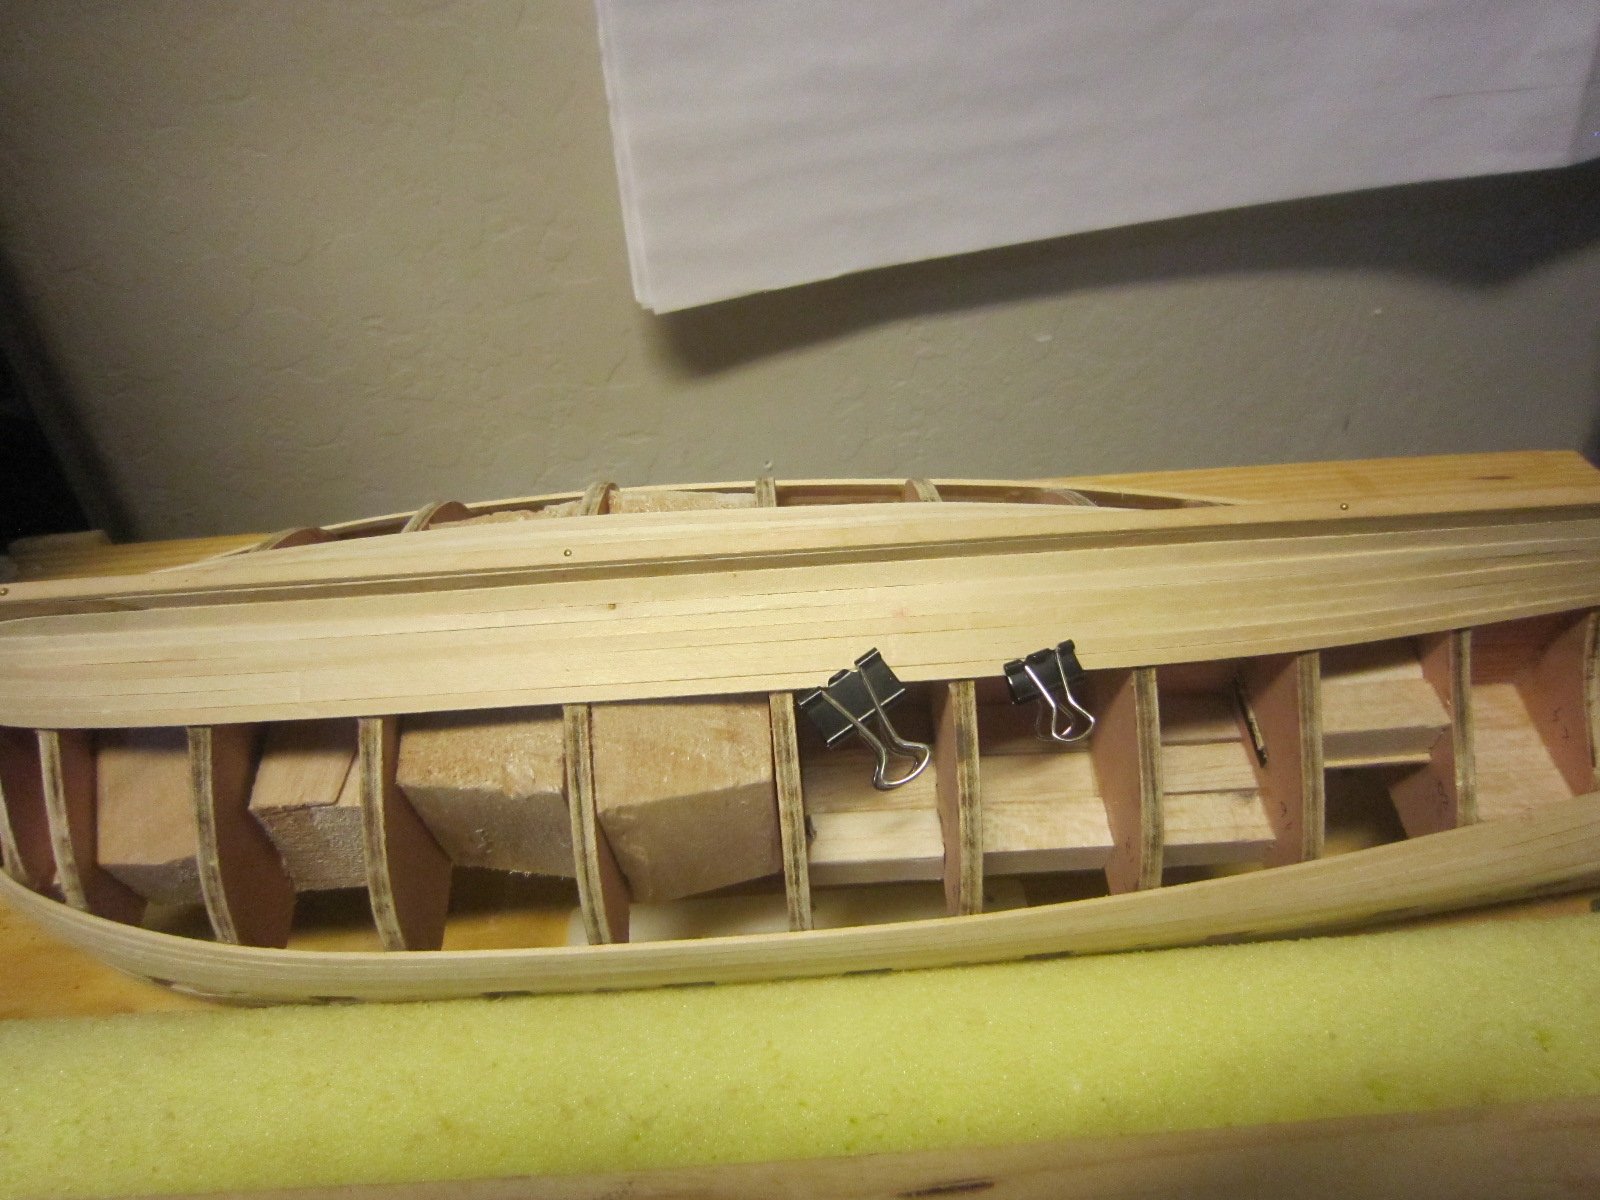
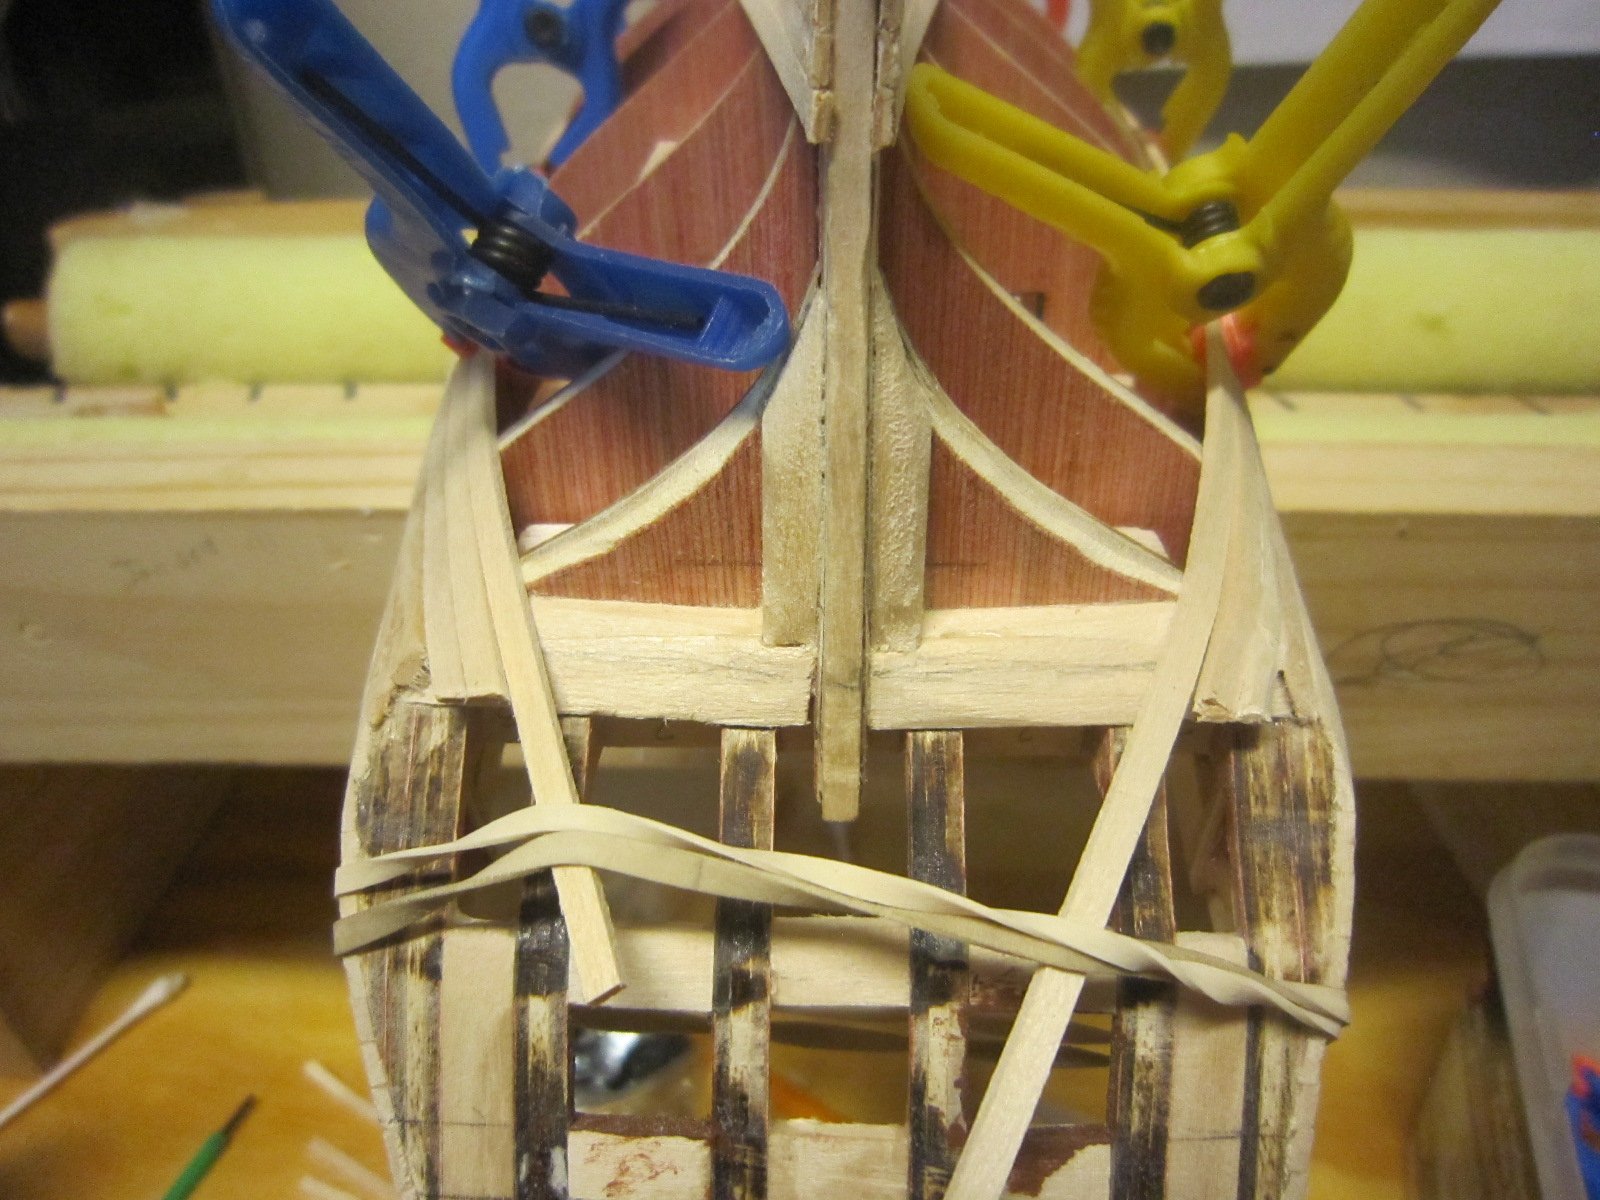
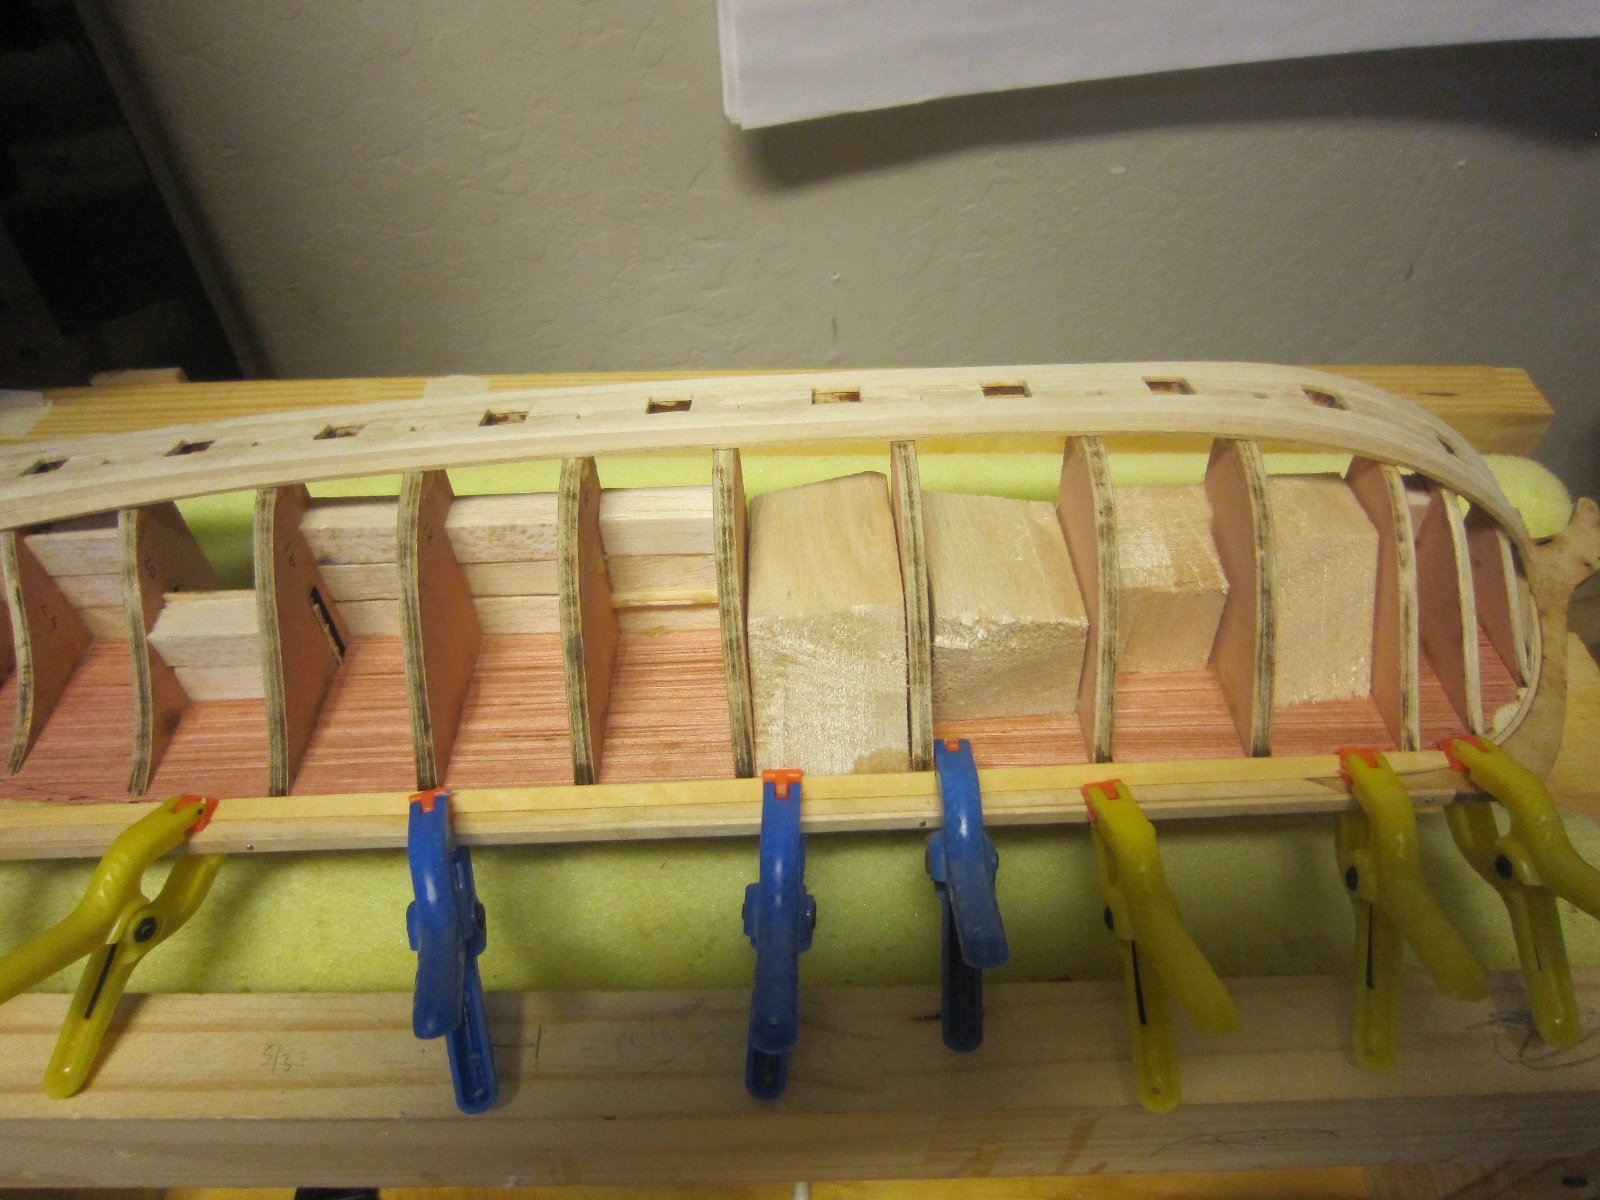
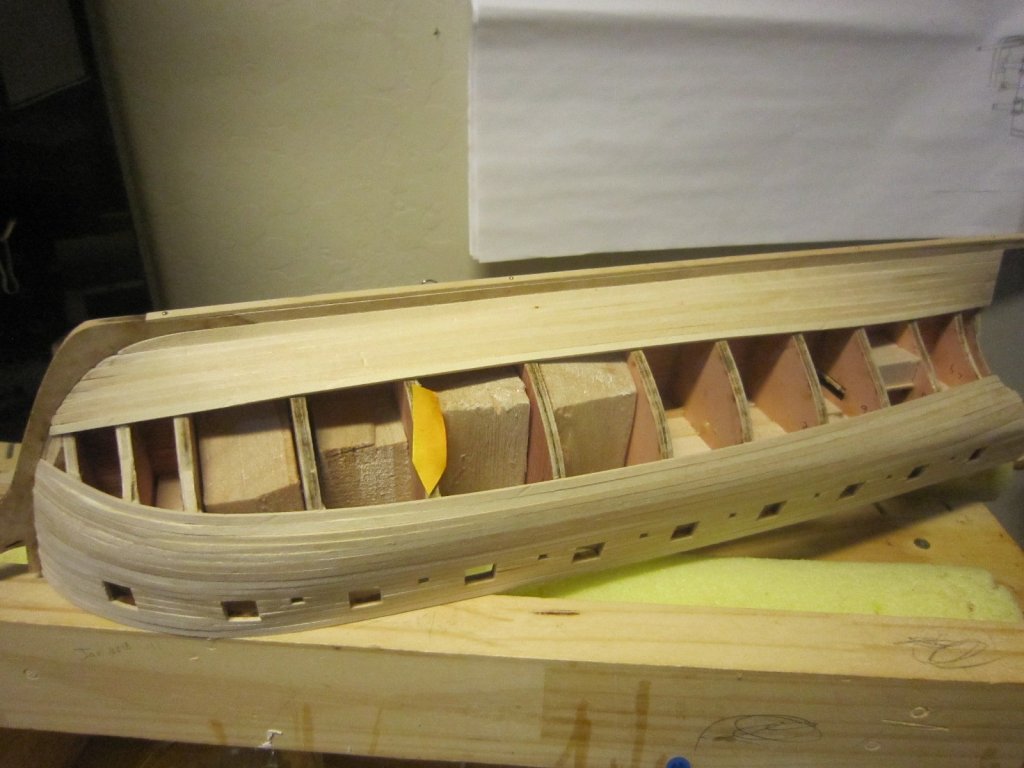
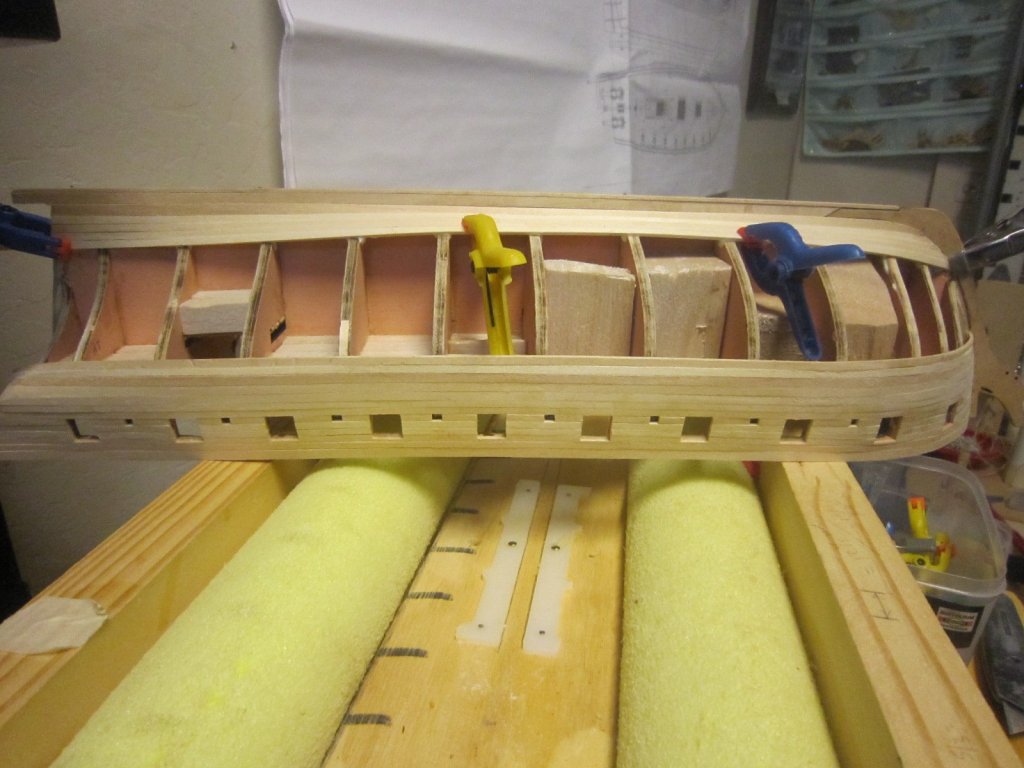
With all the manipulating the hull while planking, the center section of the transom came un-glued. It'll be good the get the transom planked to protect it.
- 1,135 replies
-
- 7
-
-
- model shipways
- syren
- (and 2 more)
-
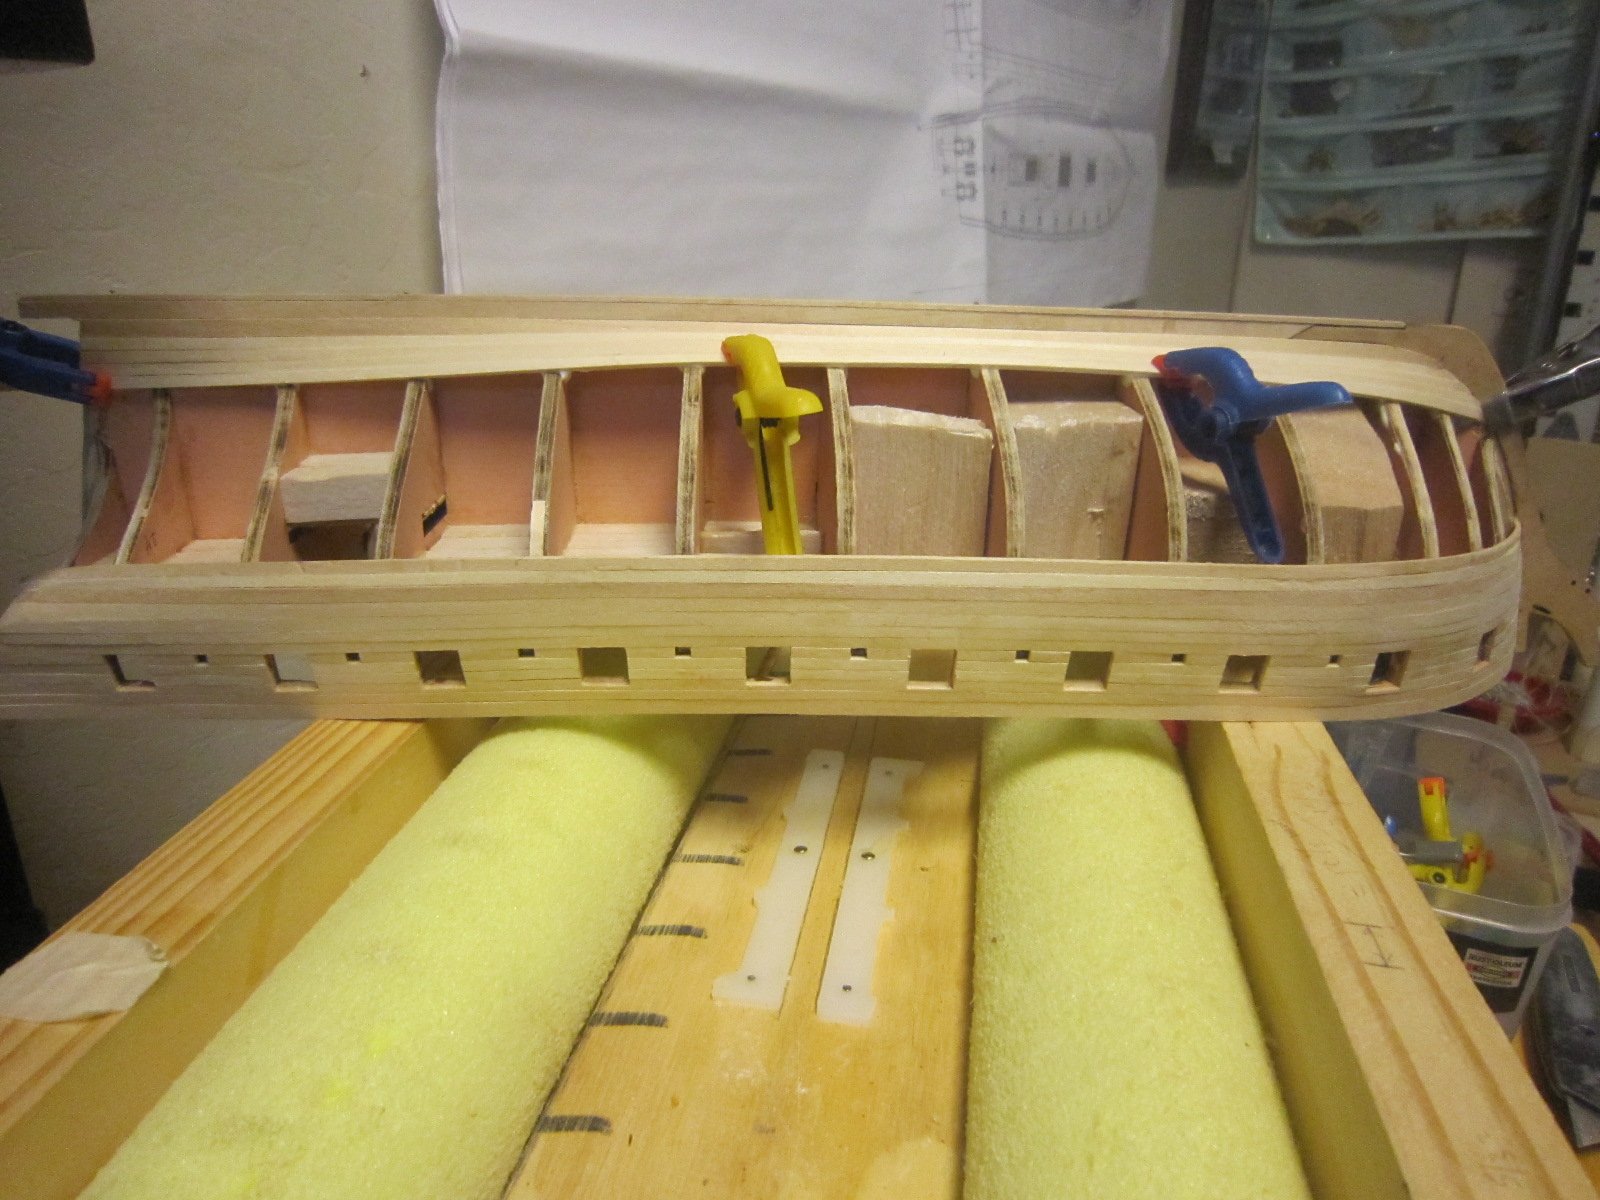
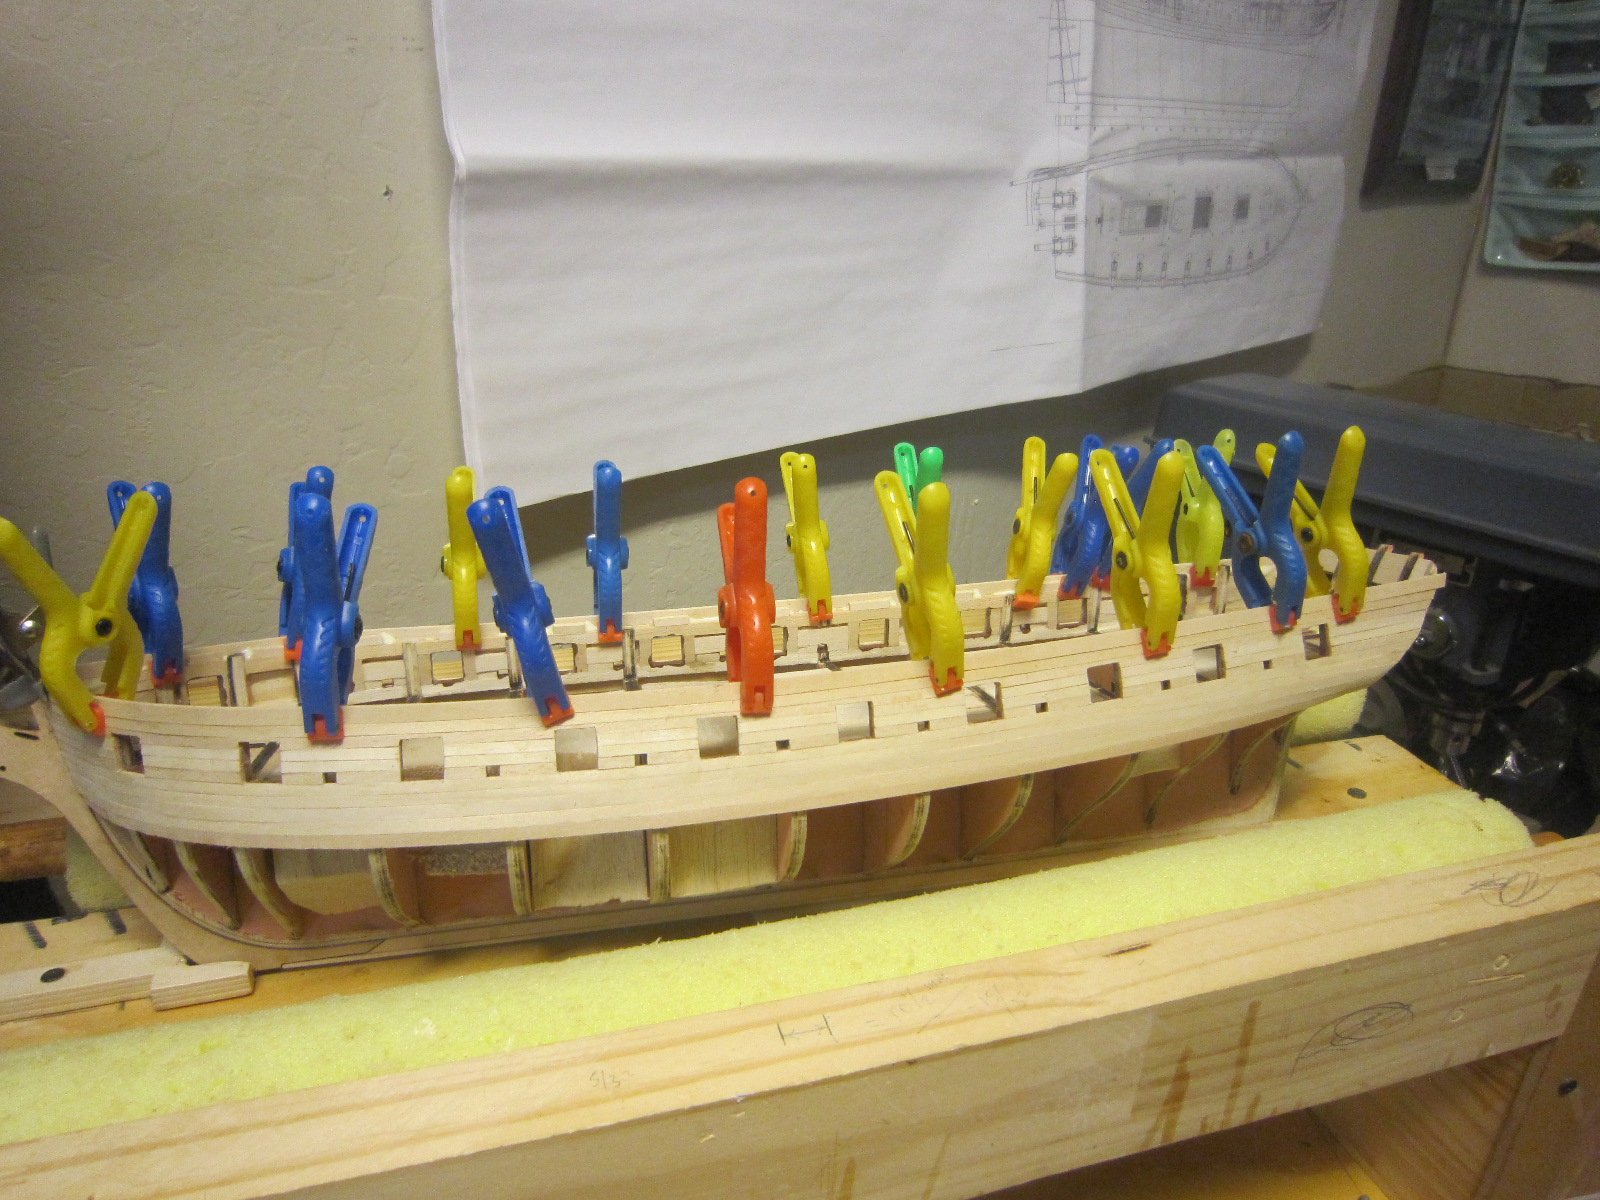
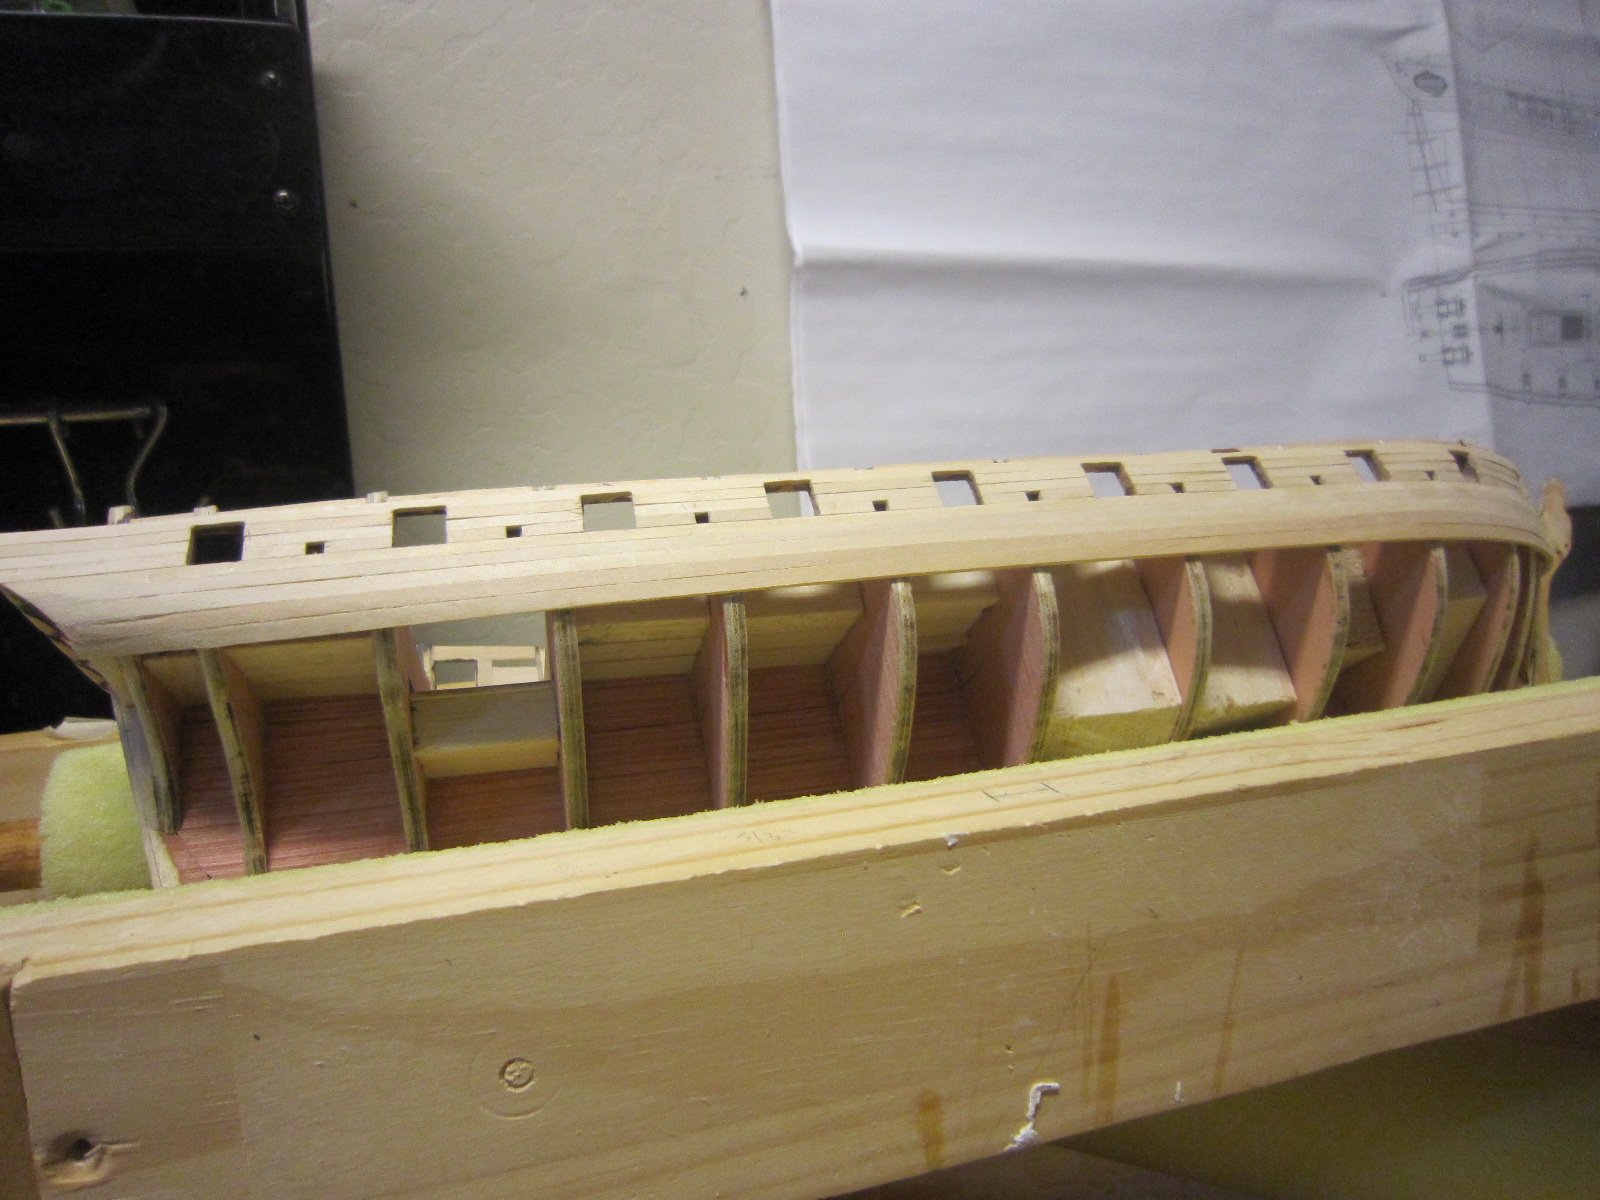
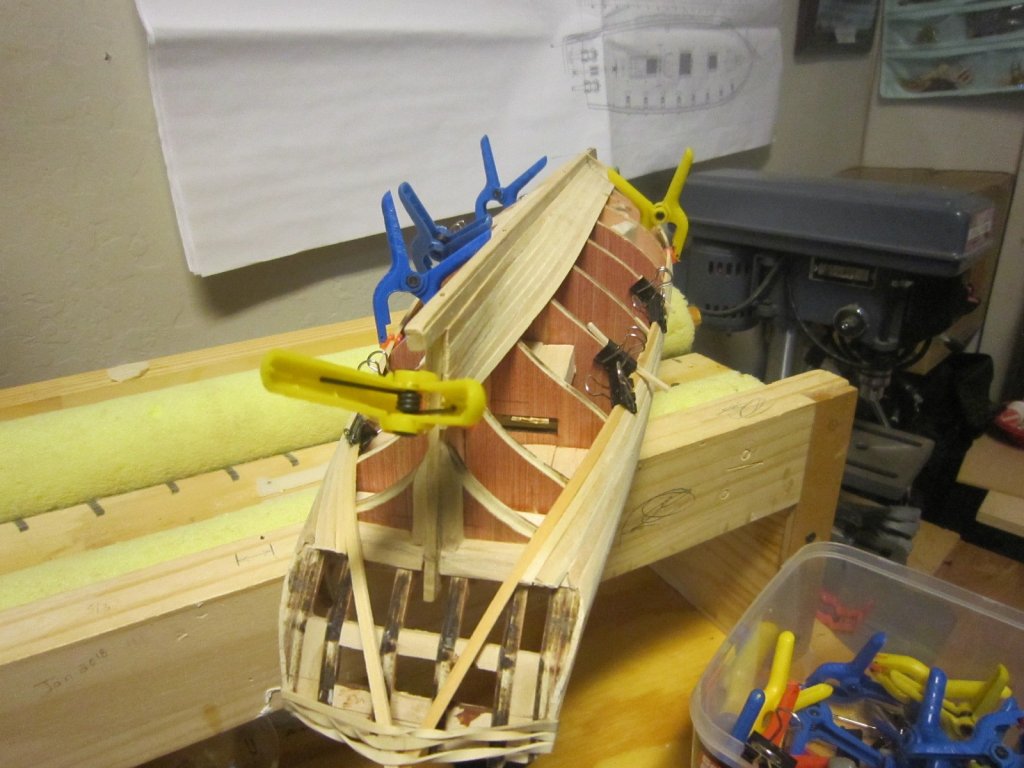
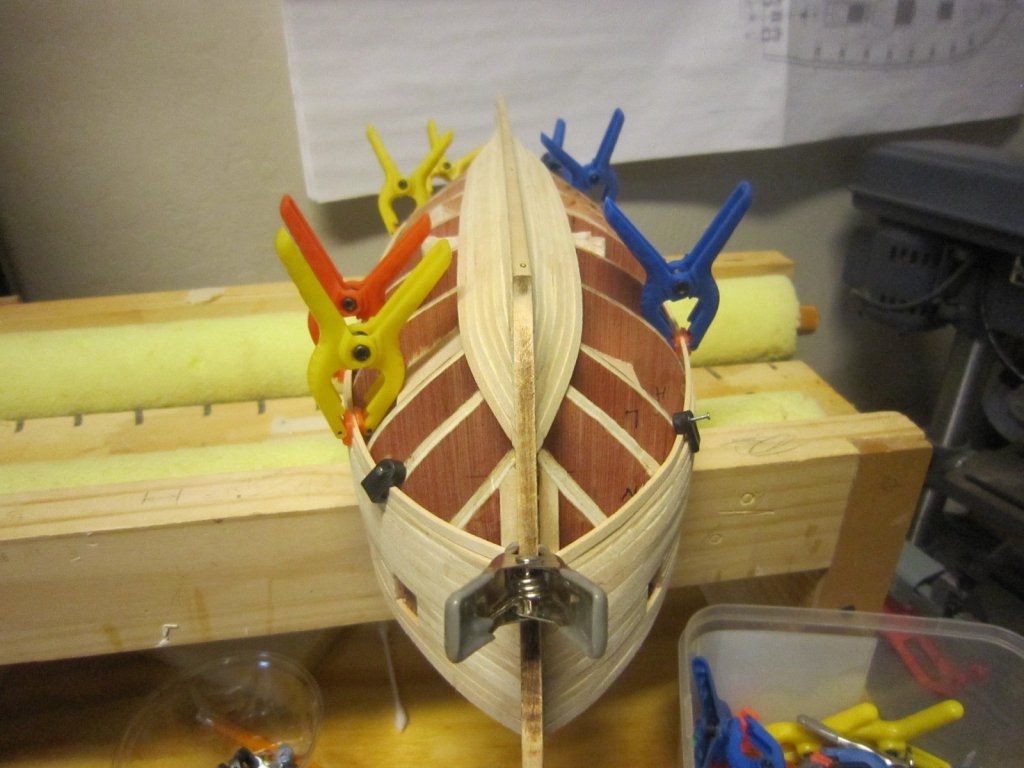
Here's the upper planks without clamps. They look pretty good without any sanding if I say so myself.

- 1,135 replies
-
- 10
-
-
- model shipways
- syren
- (and 2 more)
-
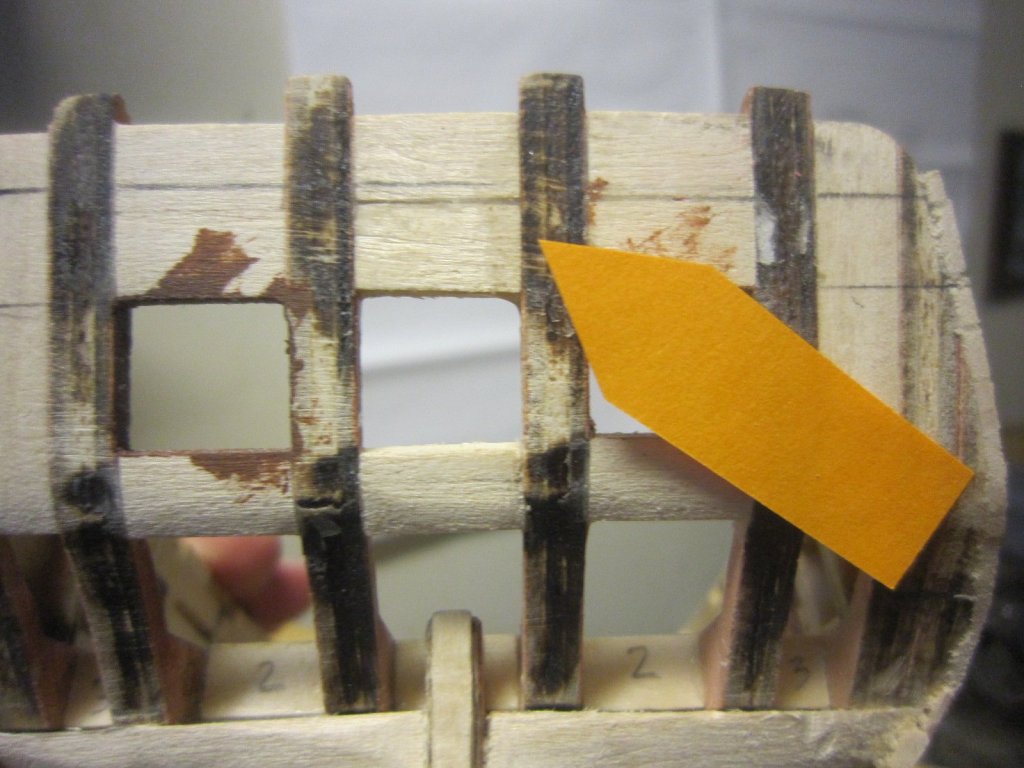
My Syren plywood was heavily charred and very difficult to sand off. In some places I never removed all of the char. Good luck with your build.
-
I've installed the last upper planks. I've made a slight mod to the plans which I will explain later. I also noticed that one side is 1/32 higher than the other? Go figure. It's an east fix with some sanding, but with all the careful measuring I did for the first plank, something must have slipped in the first gluing.

- 1,135 replies
-
- 9
-
-
- model shipways
- syren
- (and 2 more)
-
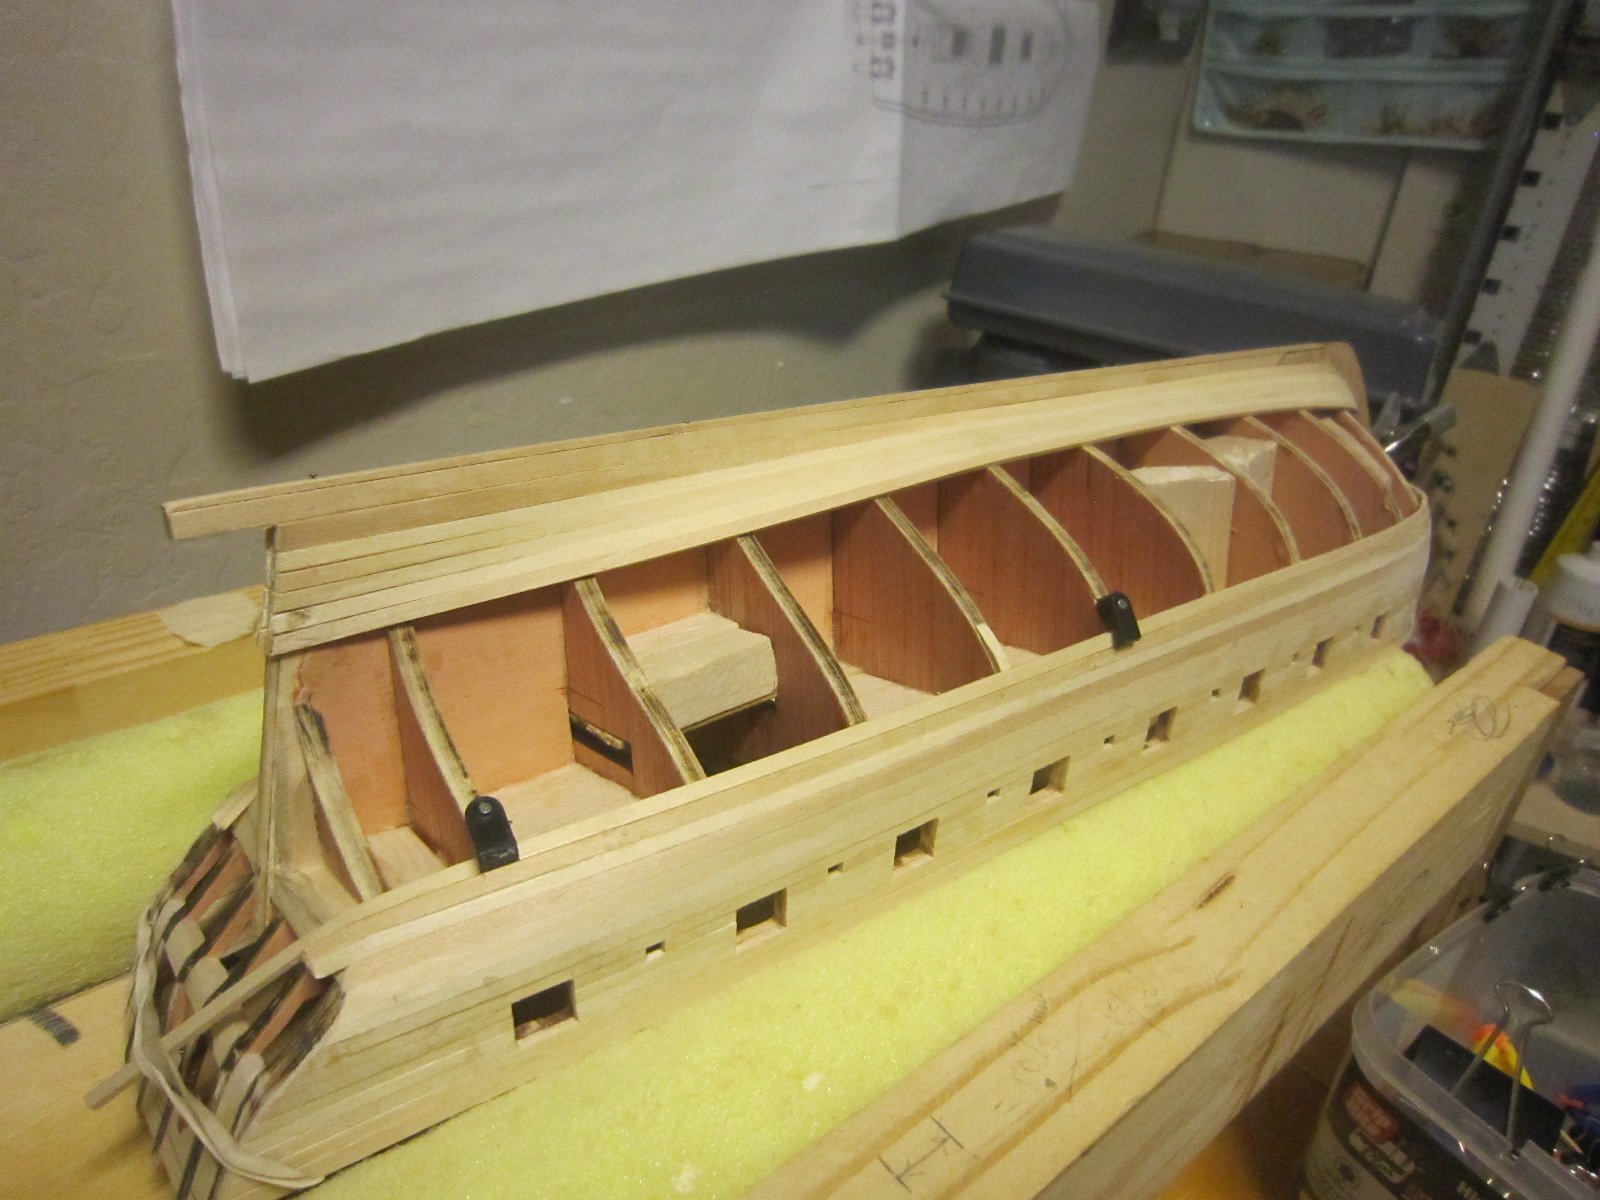
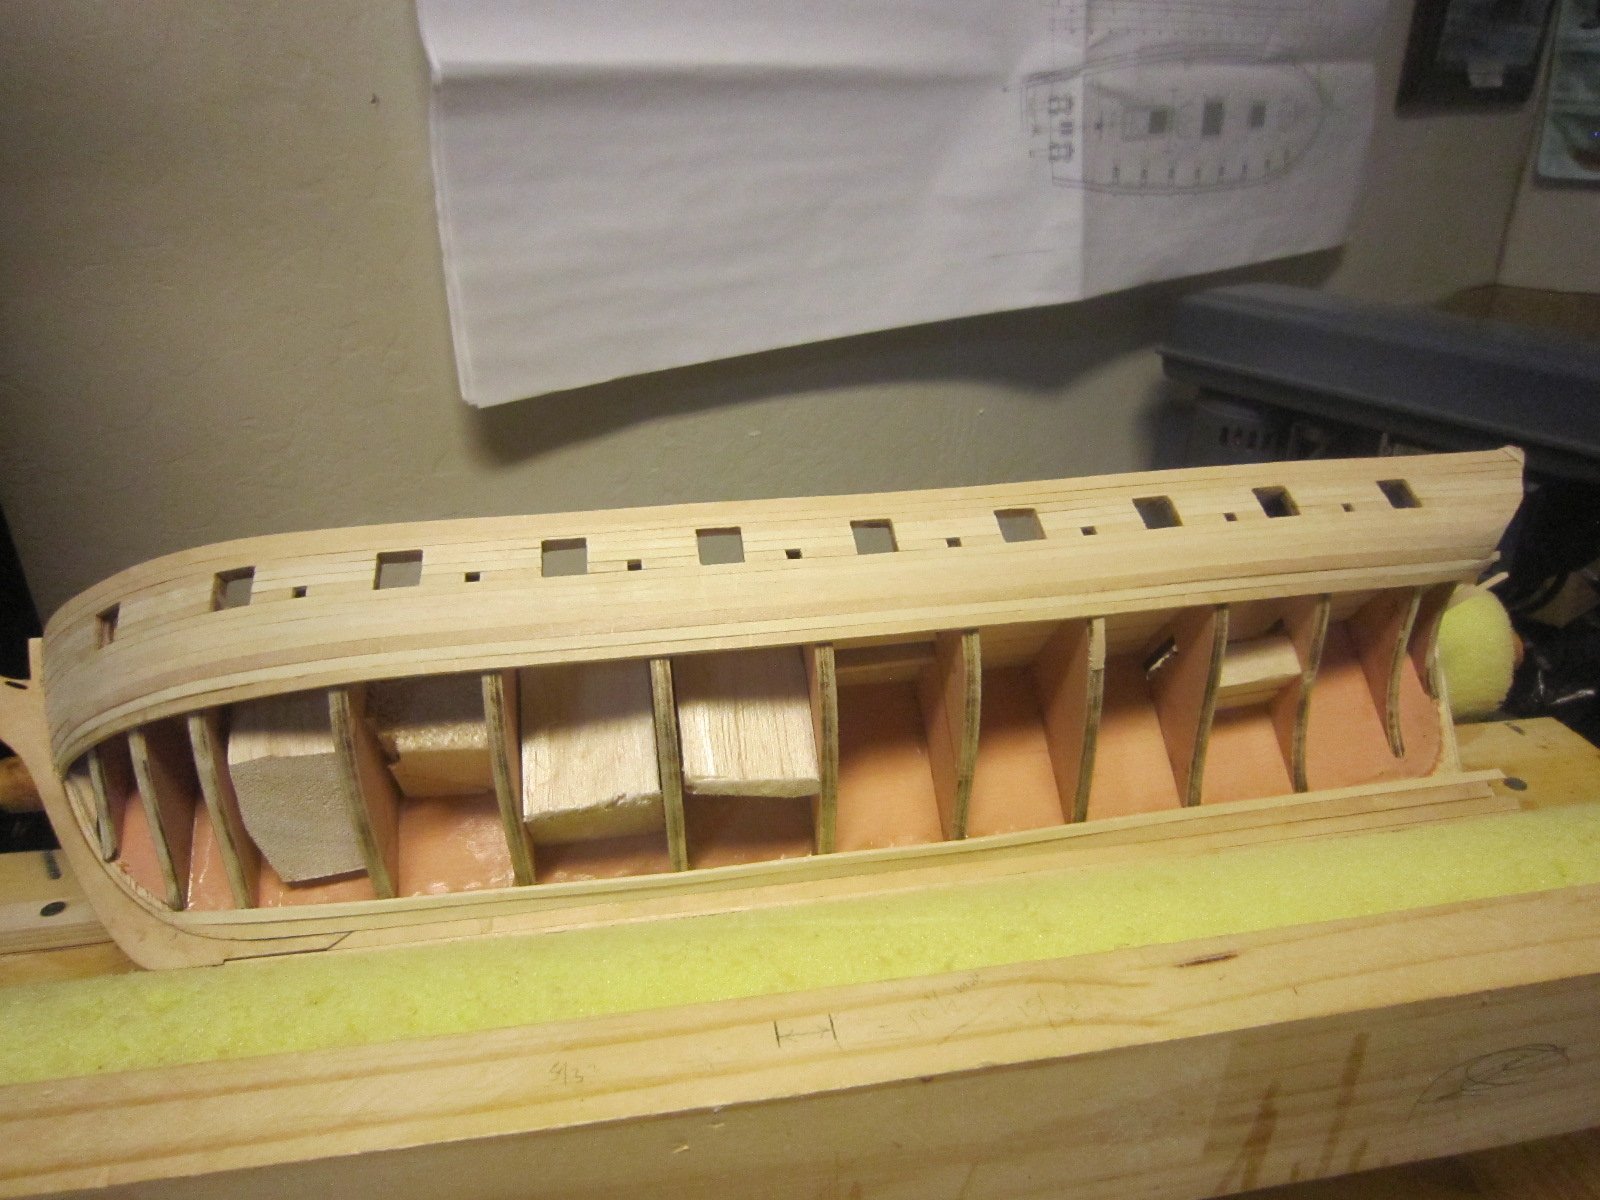
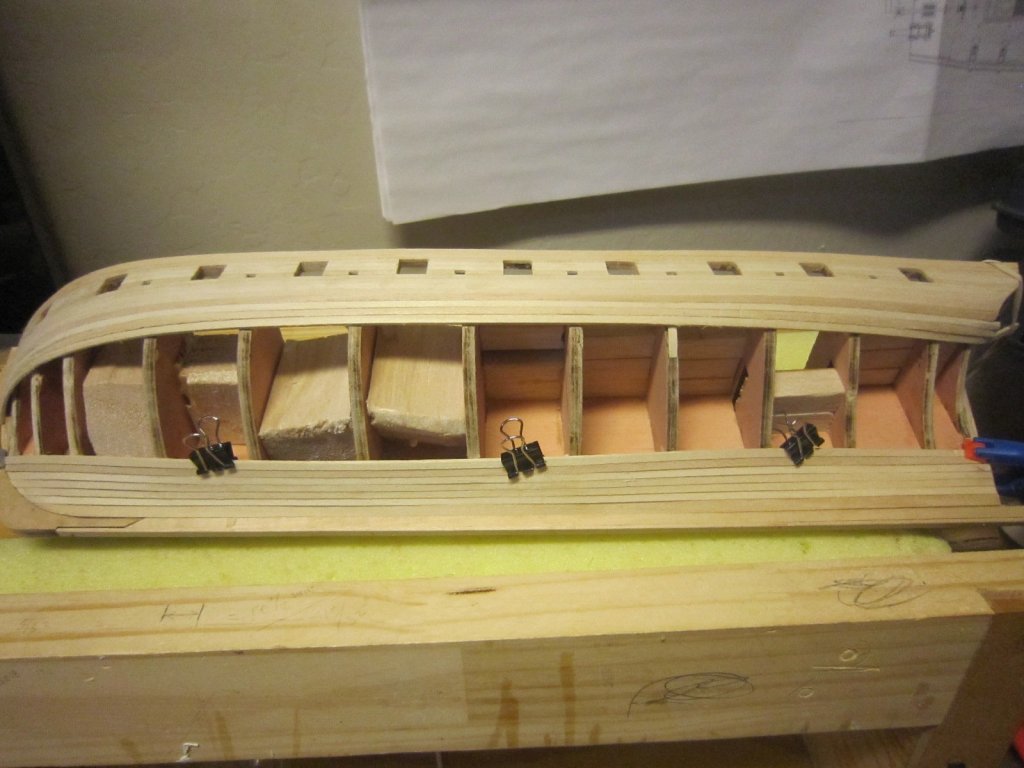
With the clamps off it's starting to look like a ship

- 1,135 replies
-
- 10
-
-
- model shipways
- syren
- (and 2 more)