


HIPEXEC
-
Posts
2,698 -
Joined
-
Last visited
Content Type
Profiles
Forums
Gallery
Events
Posts posted by HIPEXEC
-
-
-
Whatever you do....do it carefully! Think and plan it. Good luck.
-
Here I go again! Having to play chess with a poorly fitting piece provided by Constructo.. The pre-cut stern is about 2mm too big in the vertical even though I built the frame exactly as it appeared in the plans. Now I have to "play chess" all the way to the last page to make sure I don't cut off too much to finish the veneer planks. If the plan called for me to finish it with full size planks...it will fit. So now I stop and think and thinks and think.
I'm going to skip the stern and frame the lower gunports while I think.

-
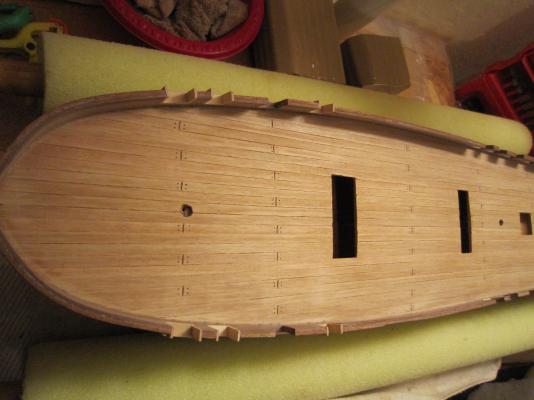
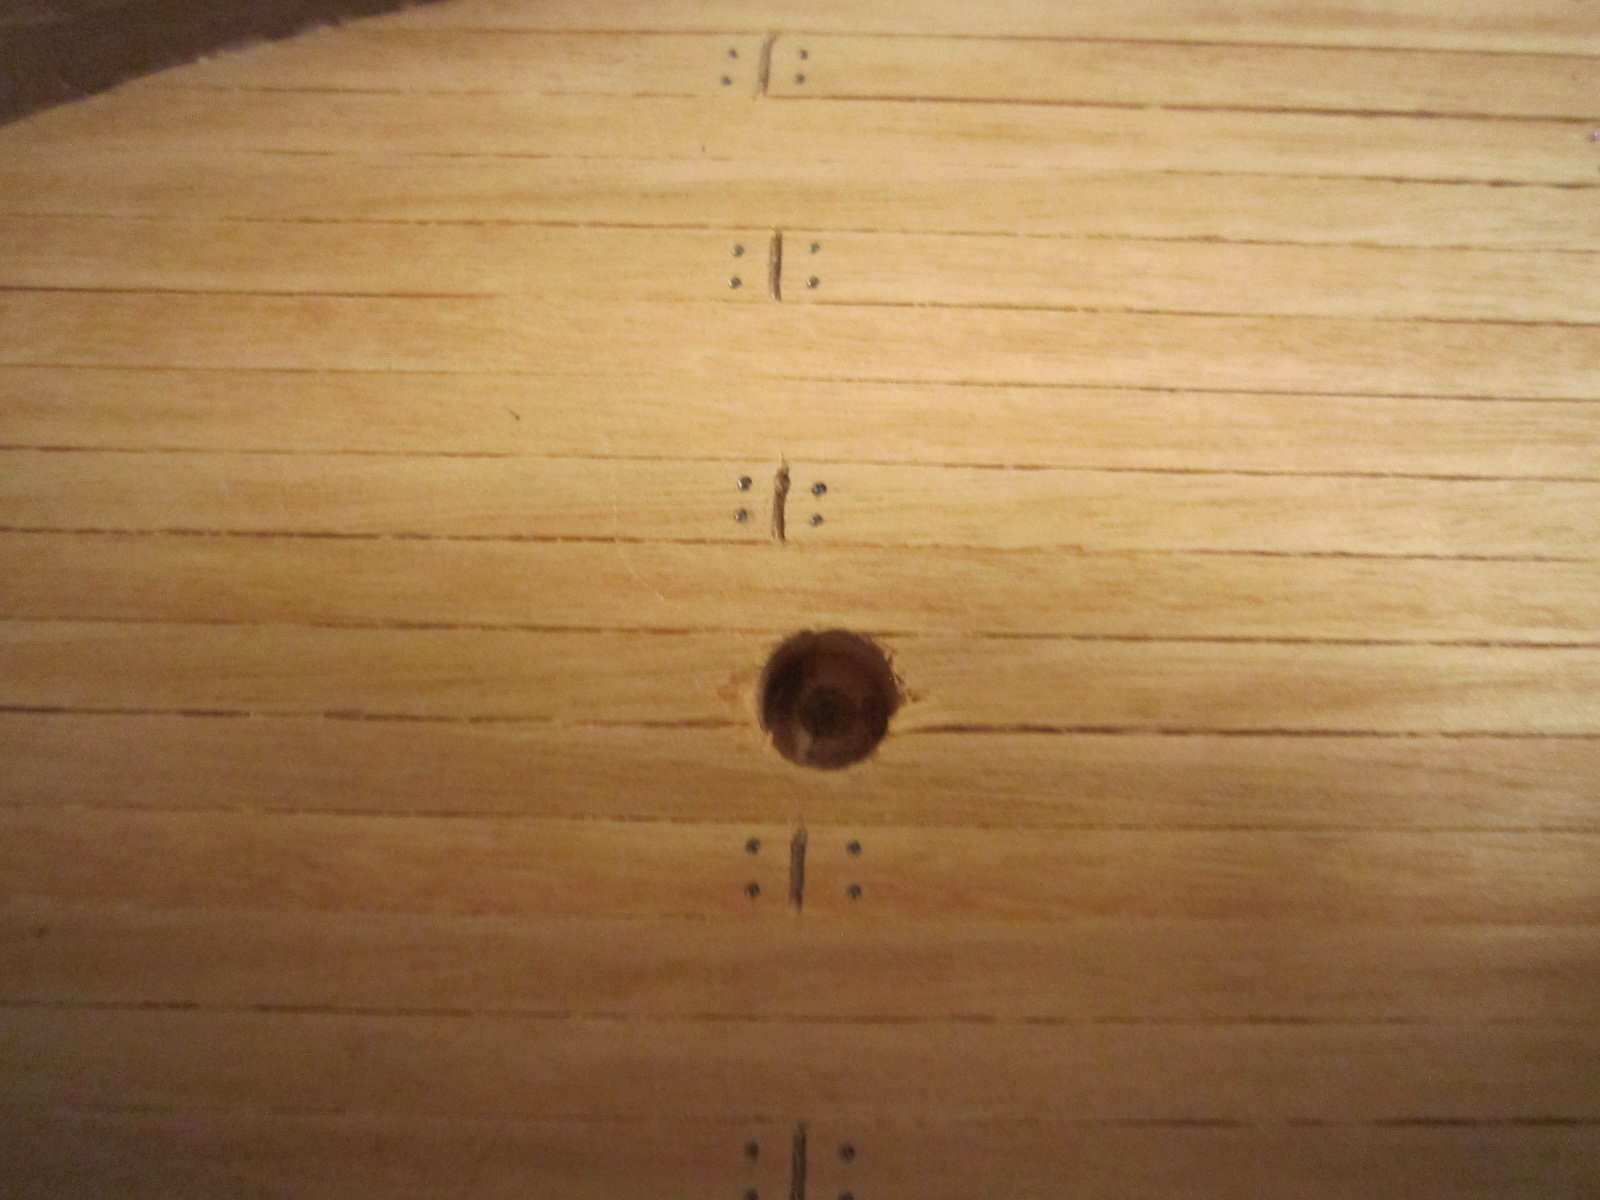
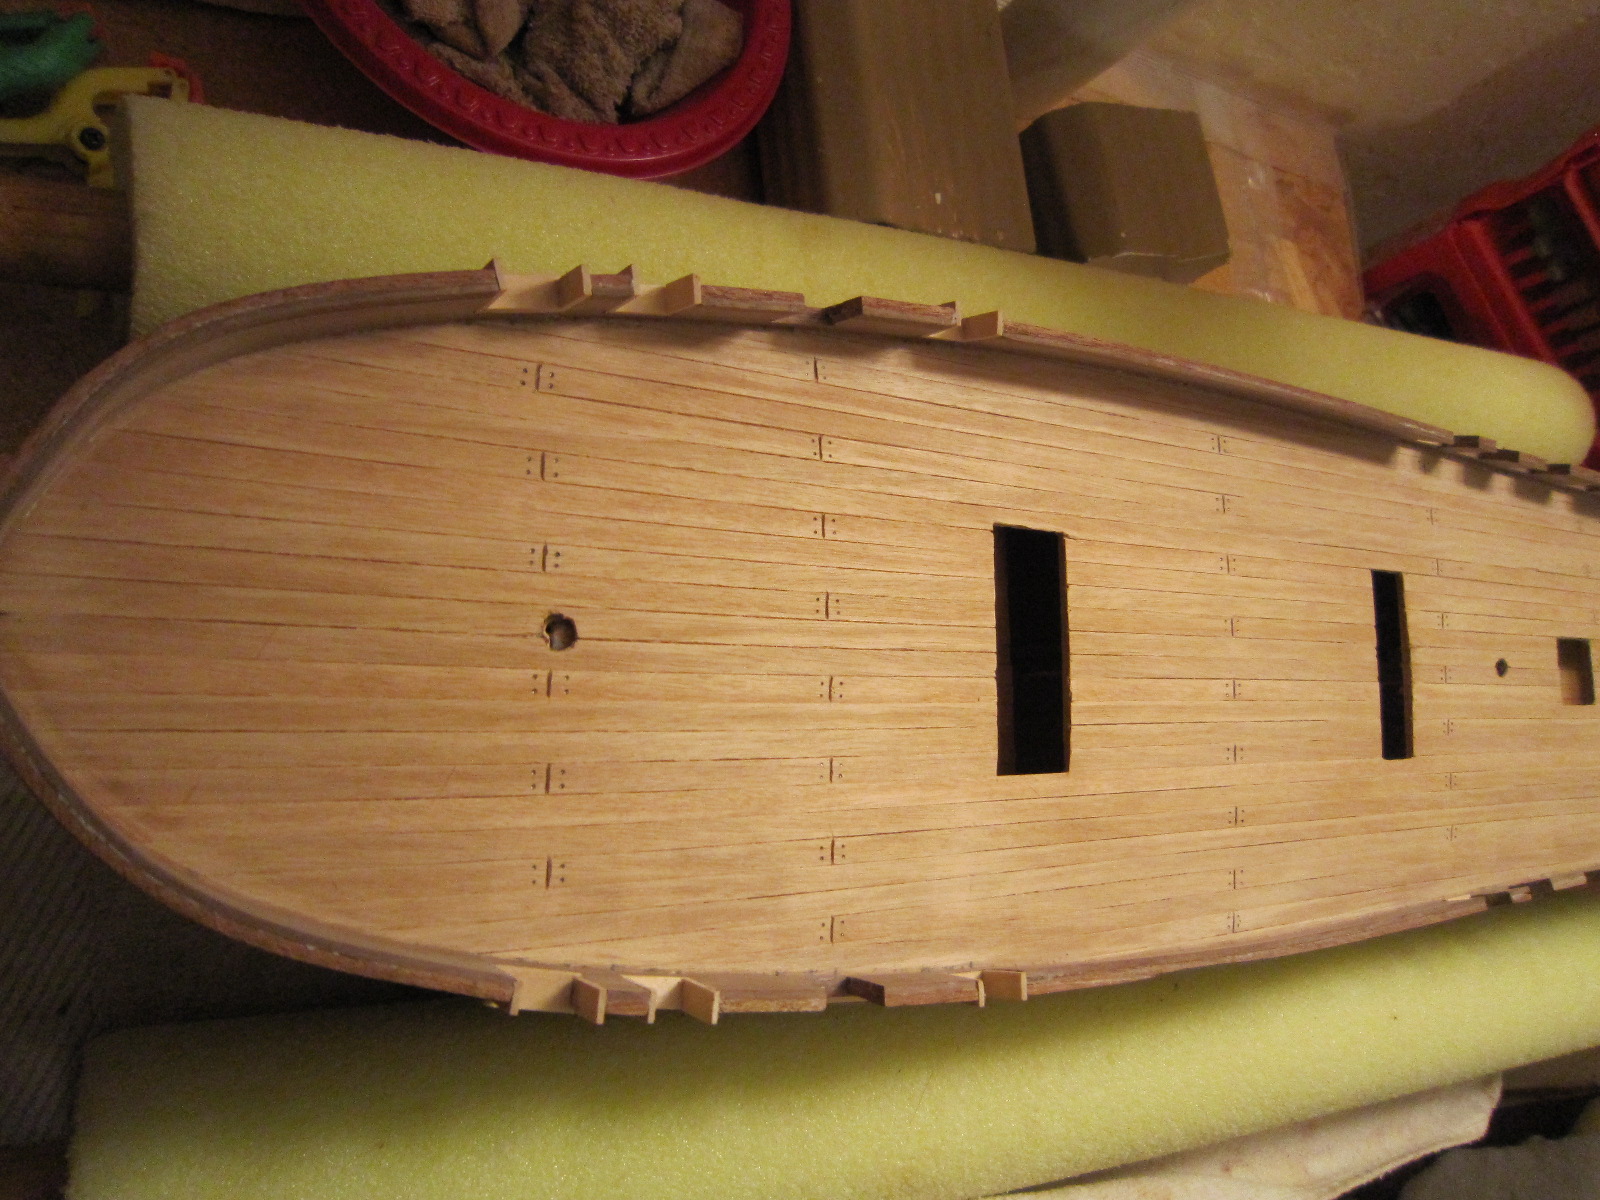
I used a number two pencil sharpened to a very sharp point. I sharpened the pencil between each row to make the nails and seams as tight as possible. It turned out well for my level of building skills (second build). Some of the very advanced builders go to great lengths with deck planks.
-
-
Don't breathe any wood saw dust! You can get very good masks at Ace Hardware or even Home Depot. Whatever you do, don't breathe the dust from the many exotic woods we use.
-
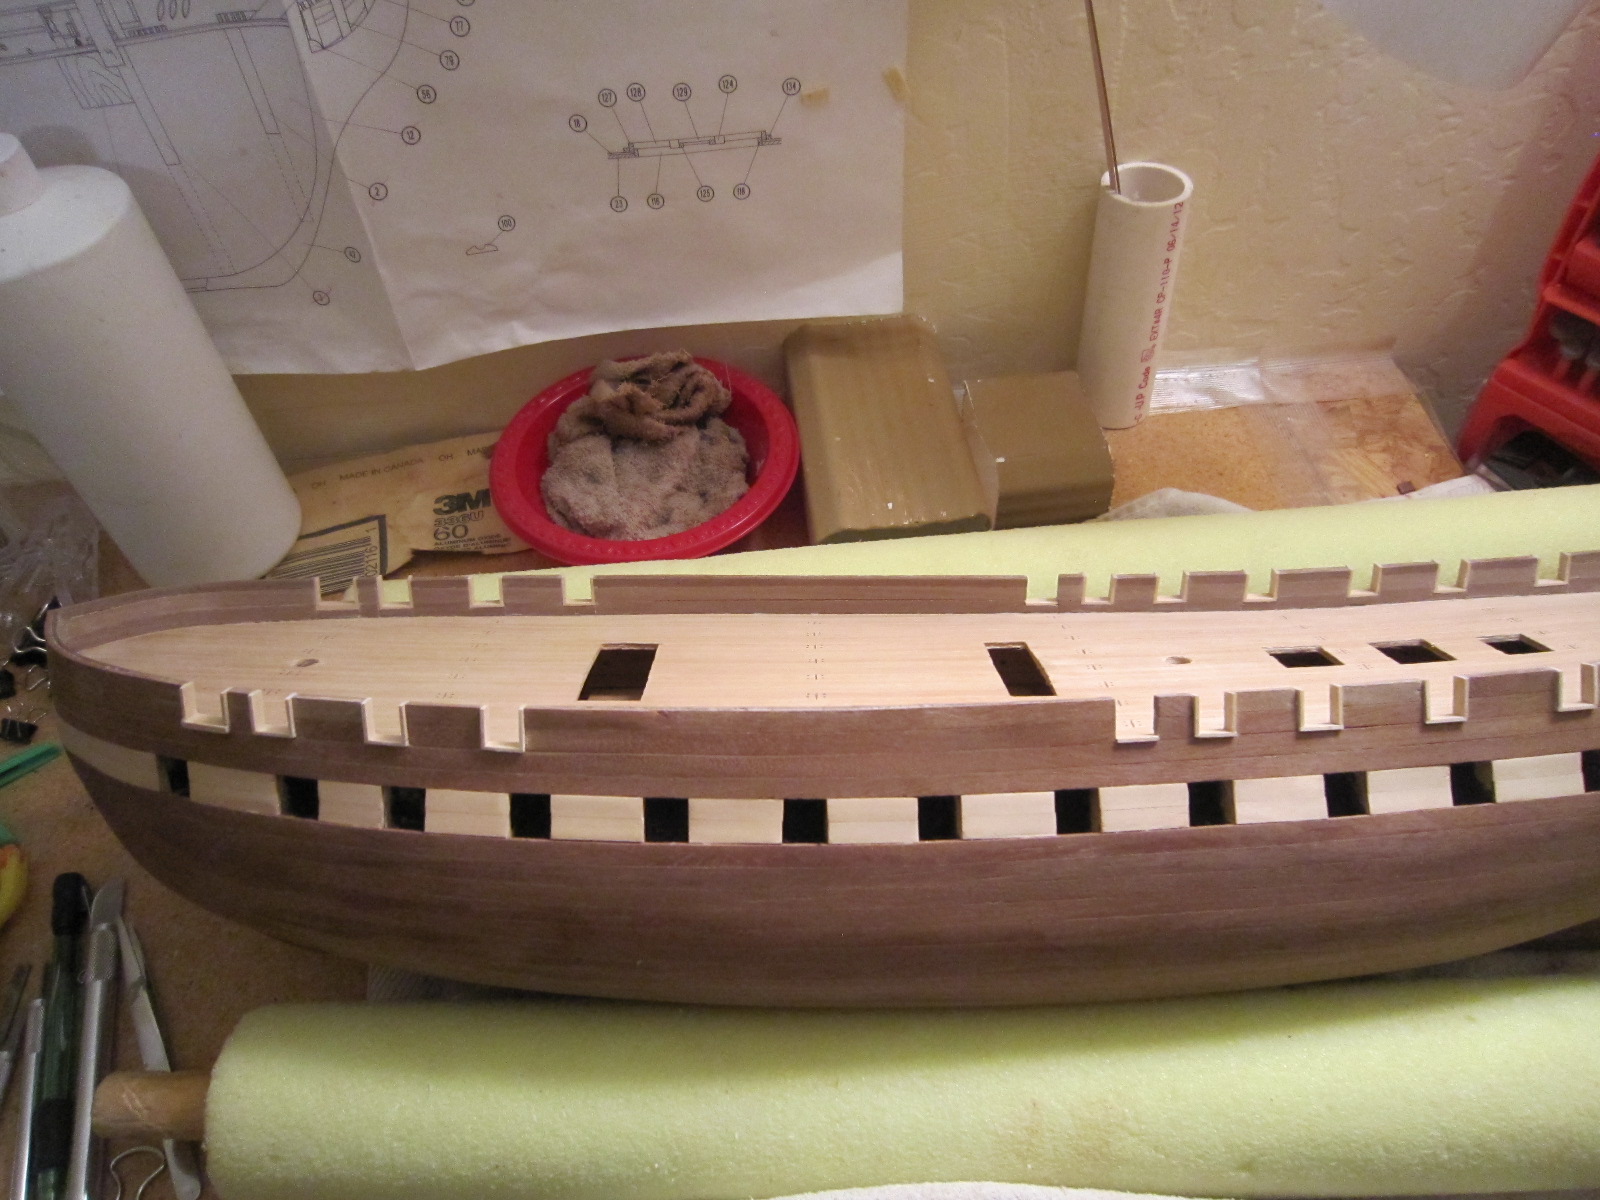
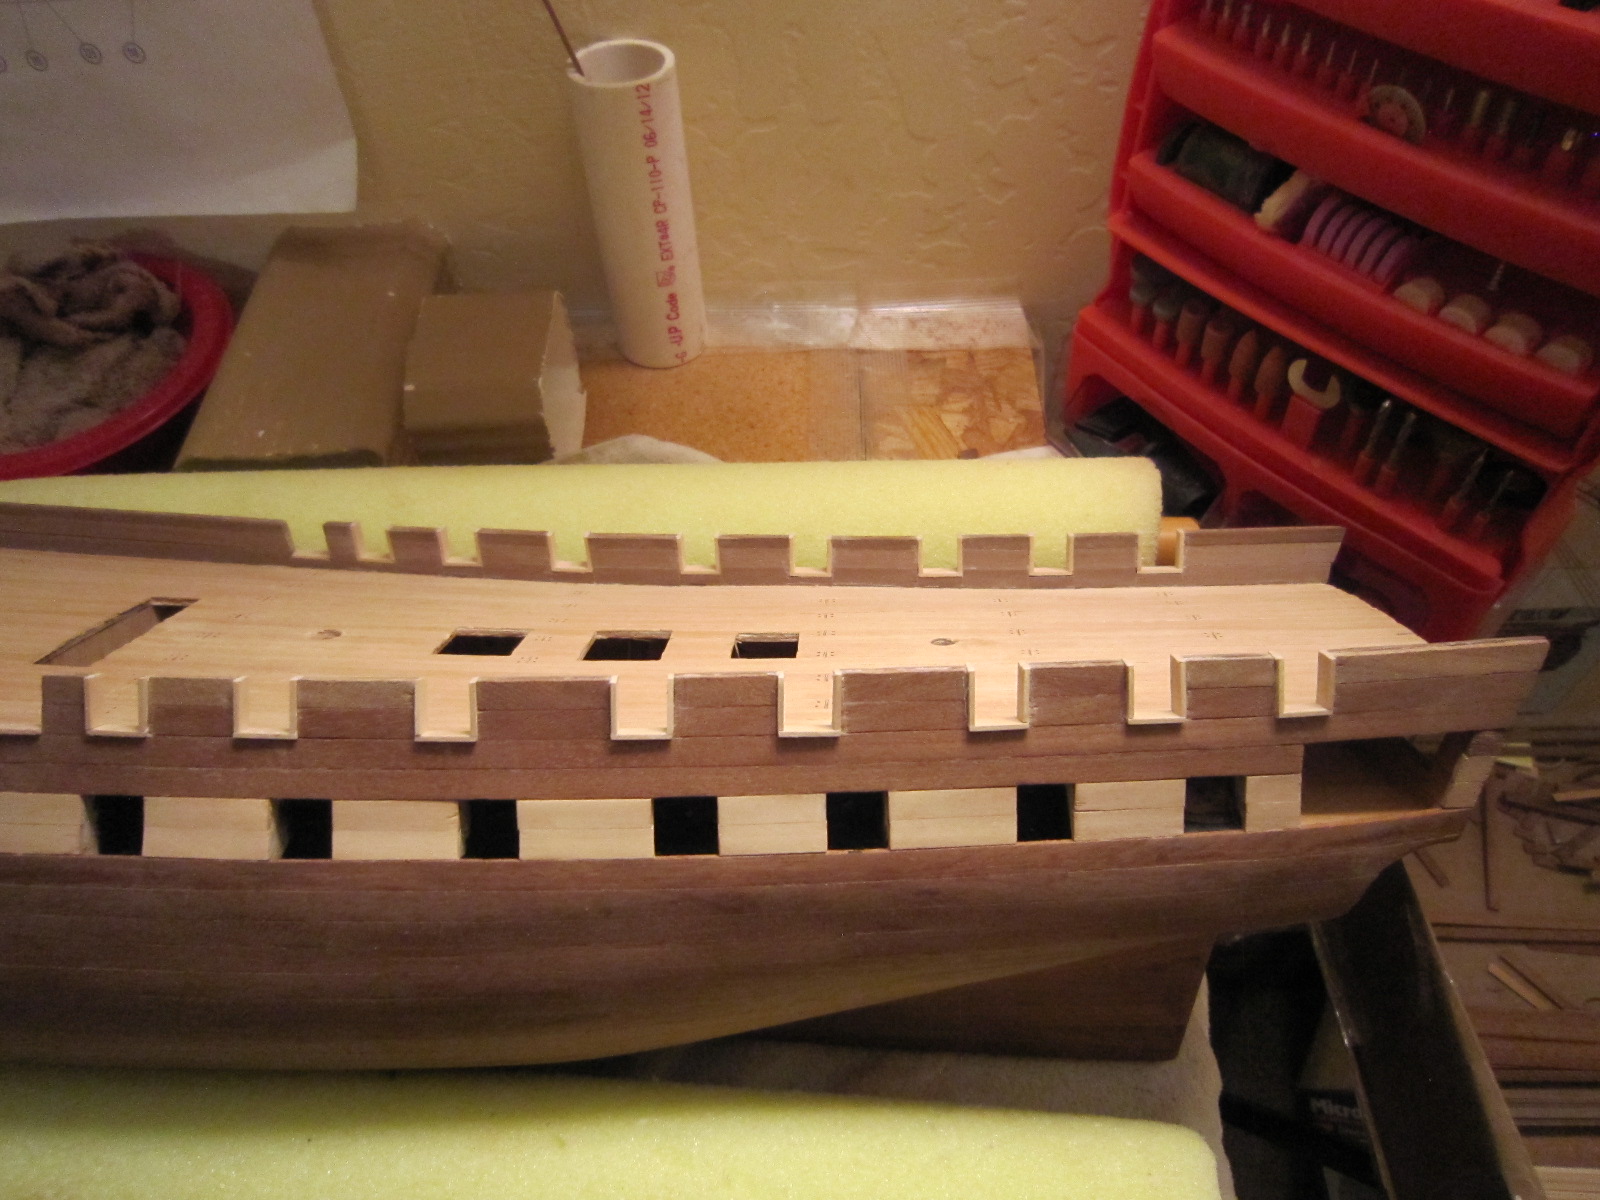
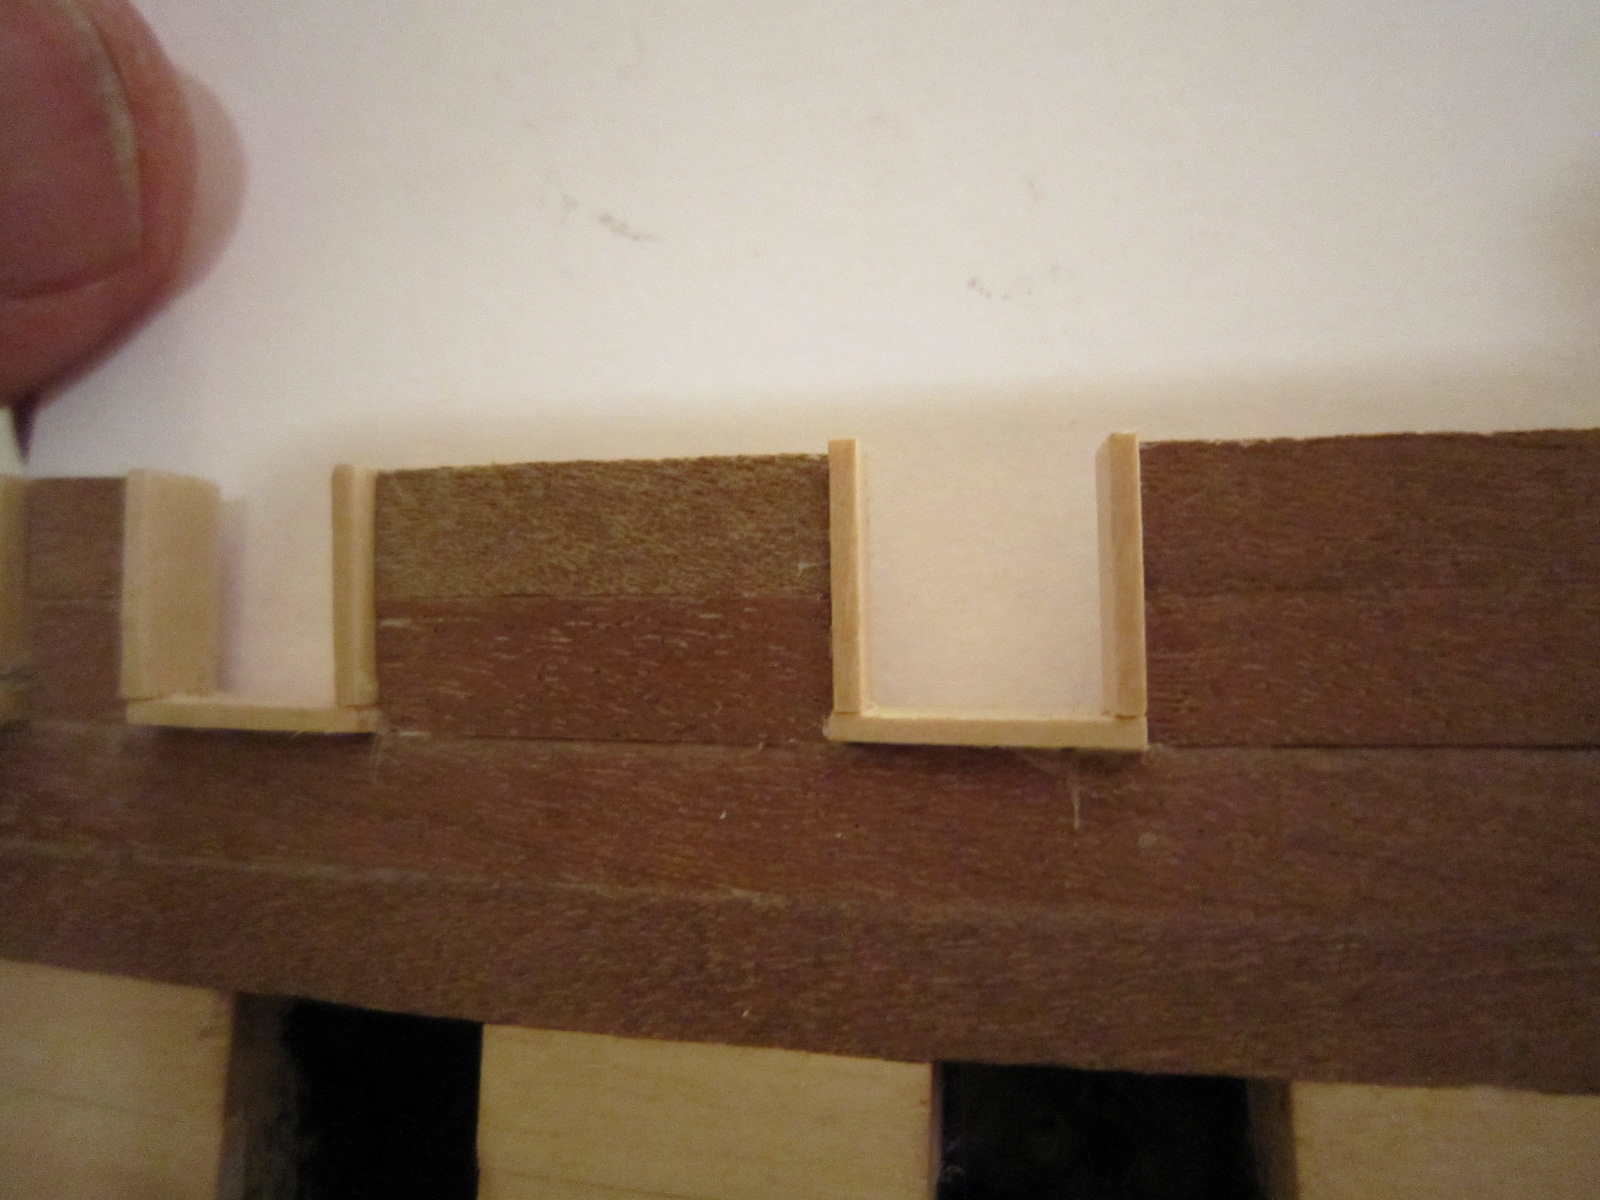
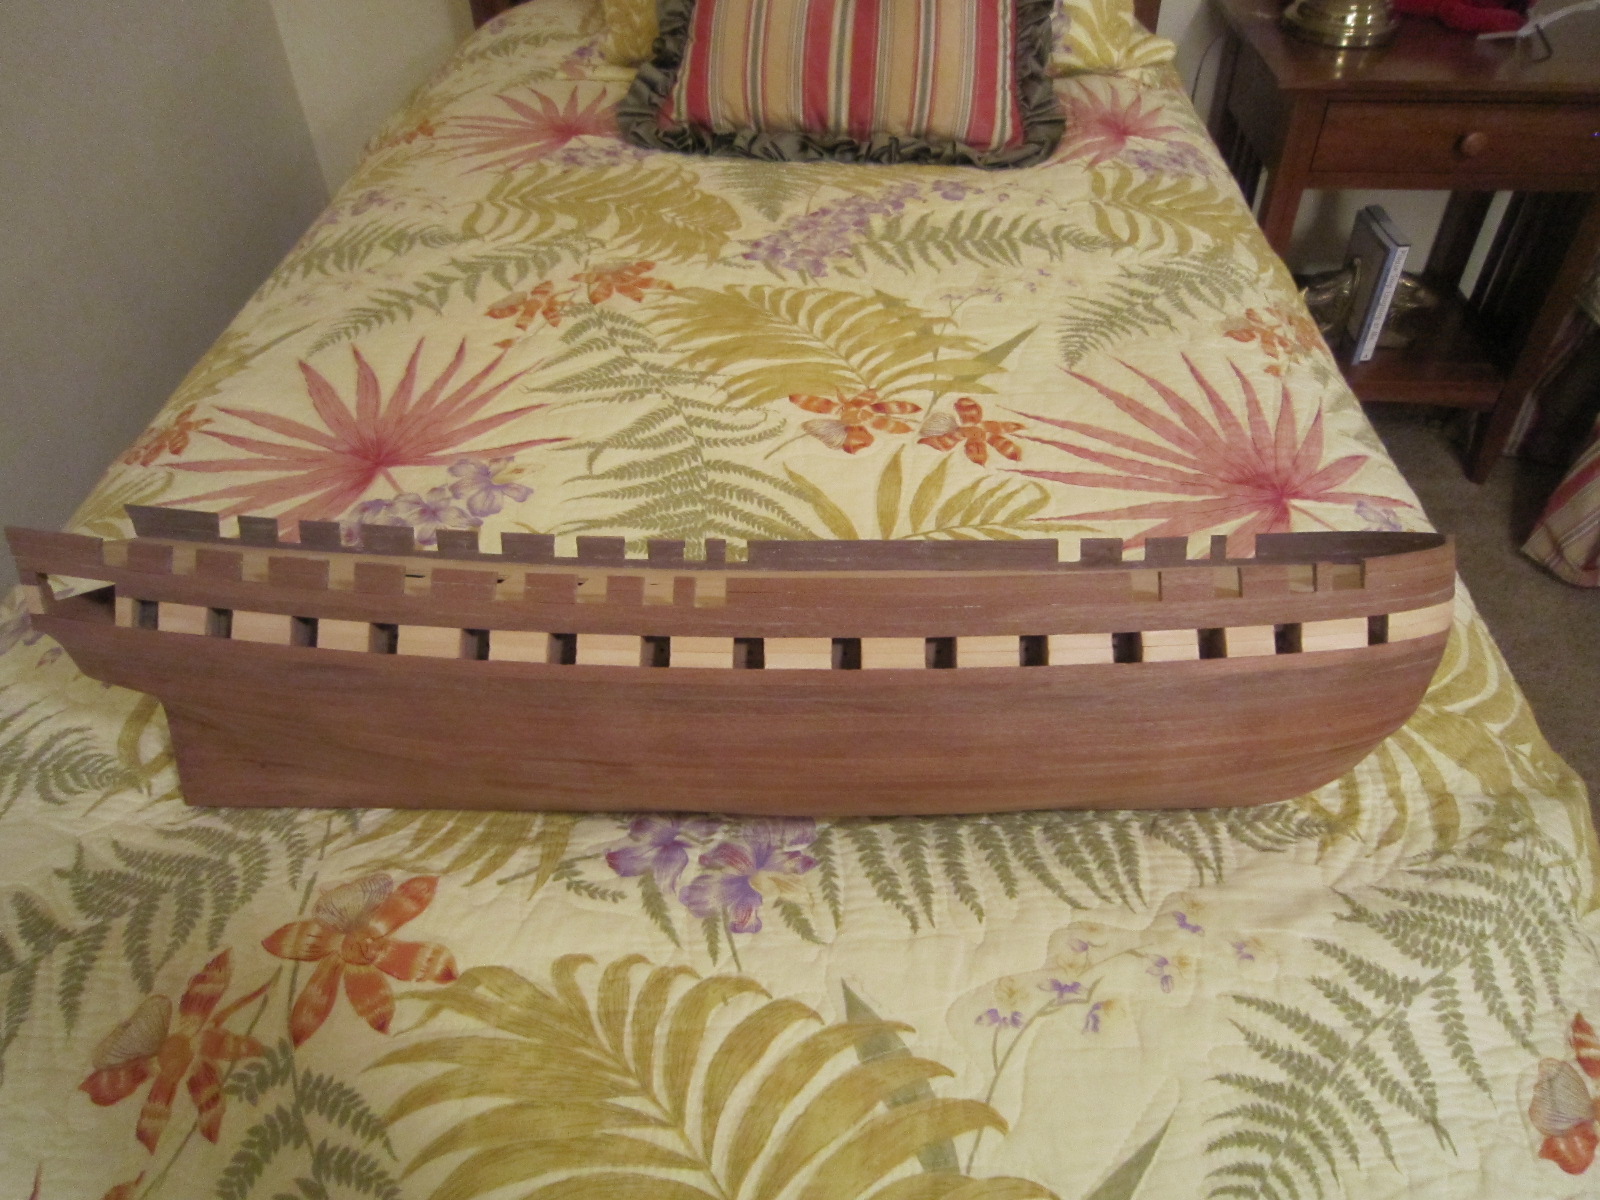
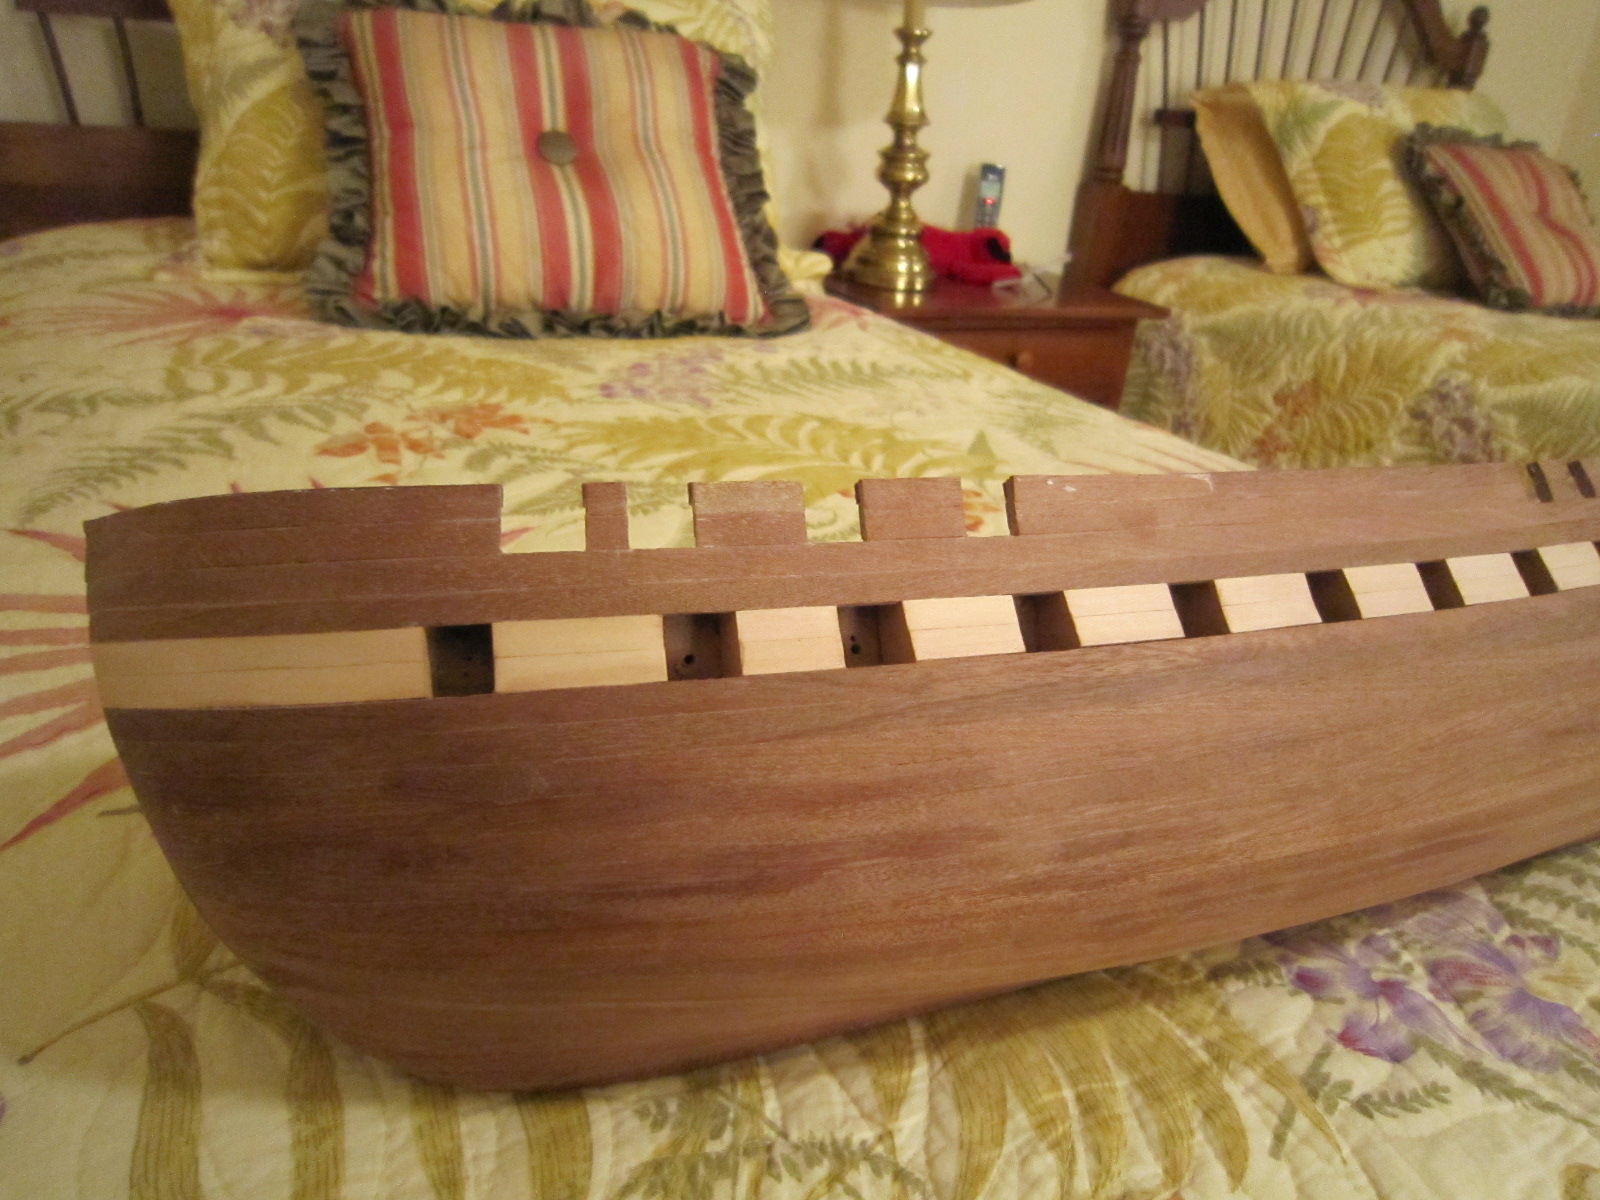
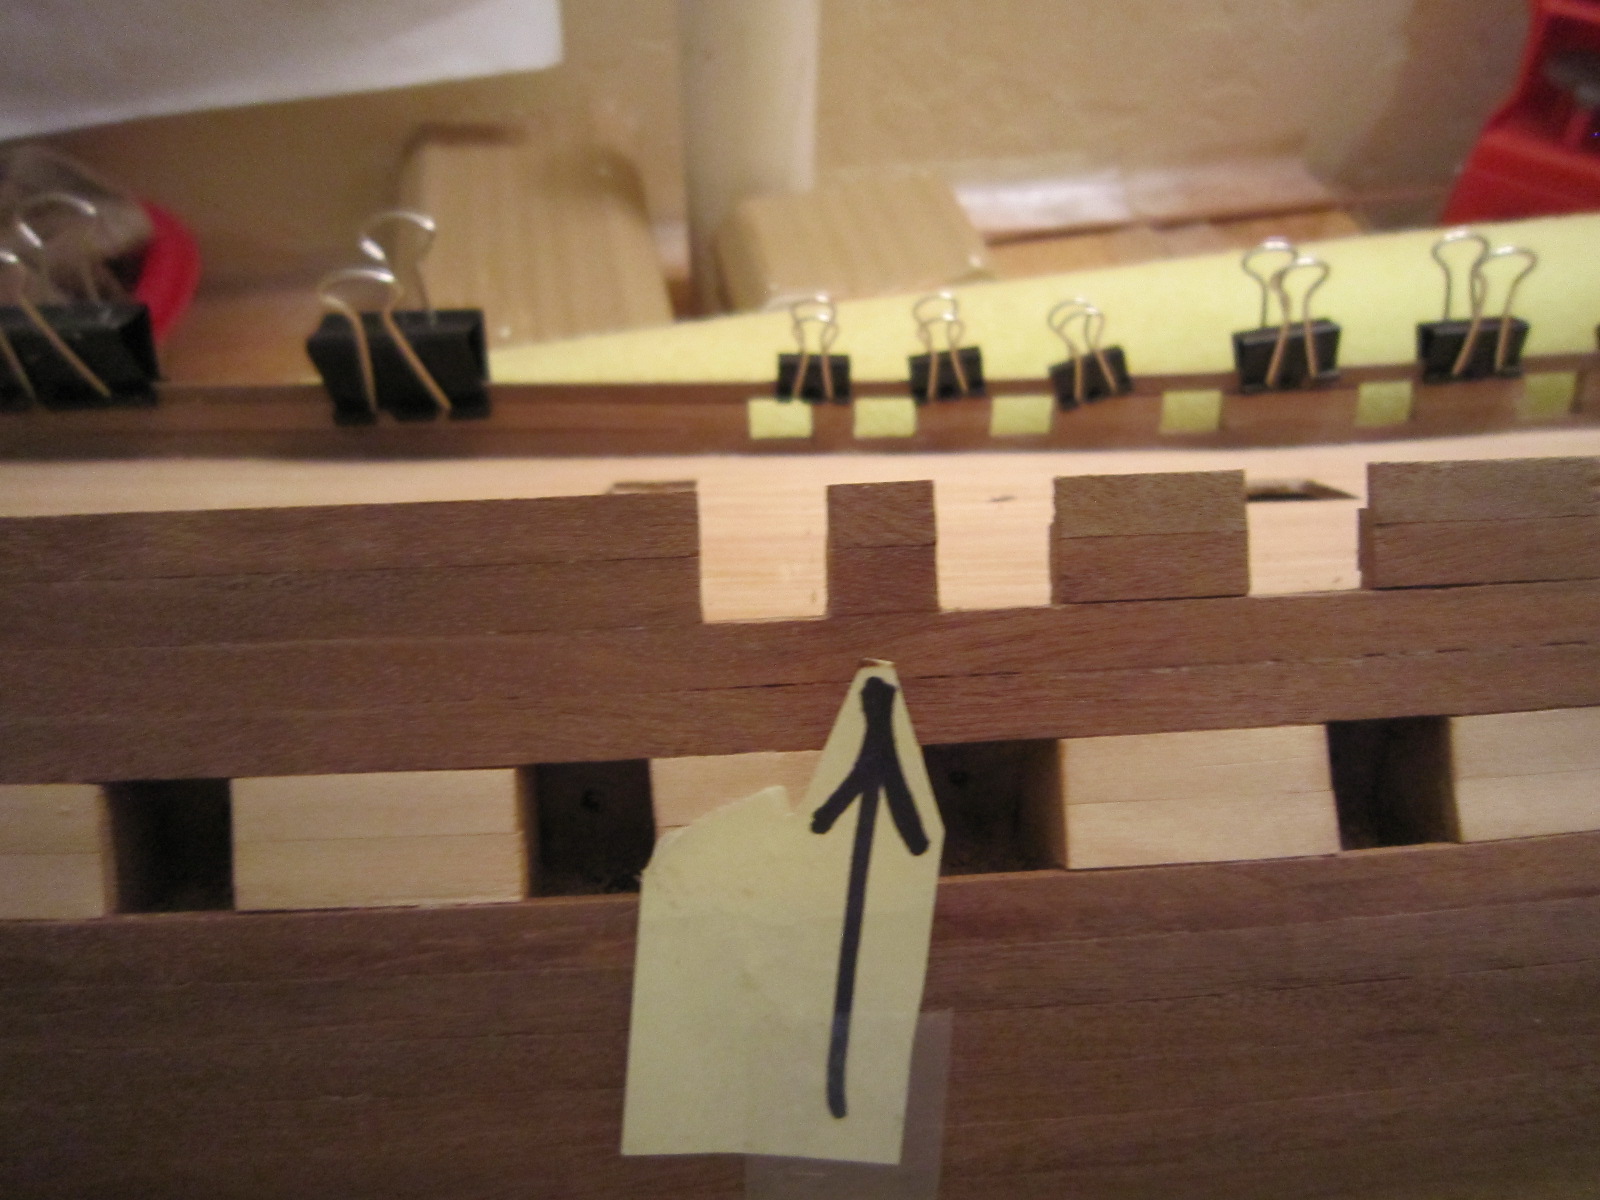
Tedious framing. My new tool has given me better quality woodworking, but at a price. It is very slow, tedious, work: measure, cut on miter box, square an end, measure again, sand-it, place it, then repeat for the two remaining pieces, then glue in place carefully watching for alignment, squareness and glue drips. Wow. At least the results are very good. You can see the difference by looking at the ports to the left. I can see I'll be framing for a while.

-
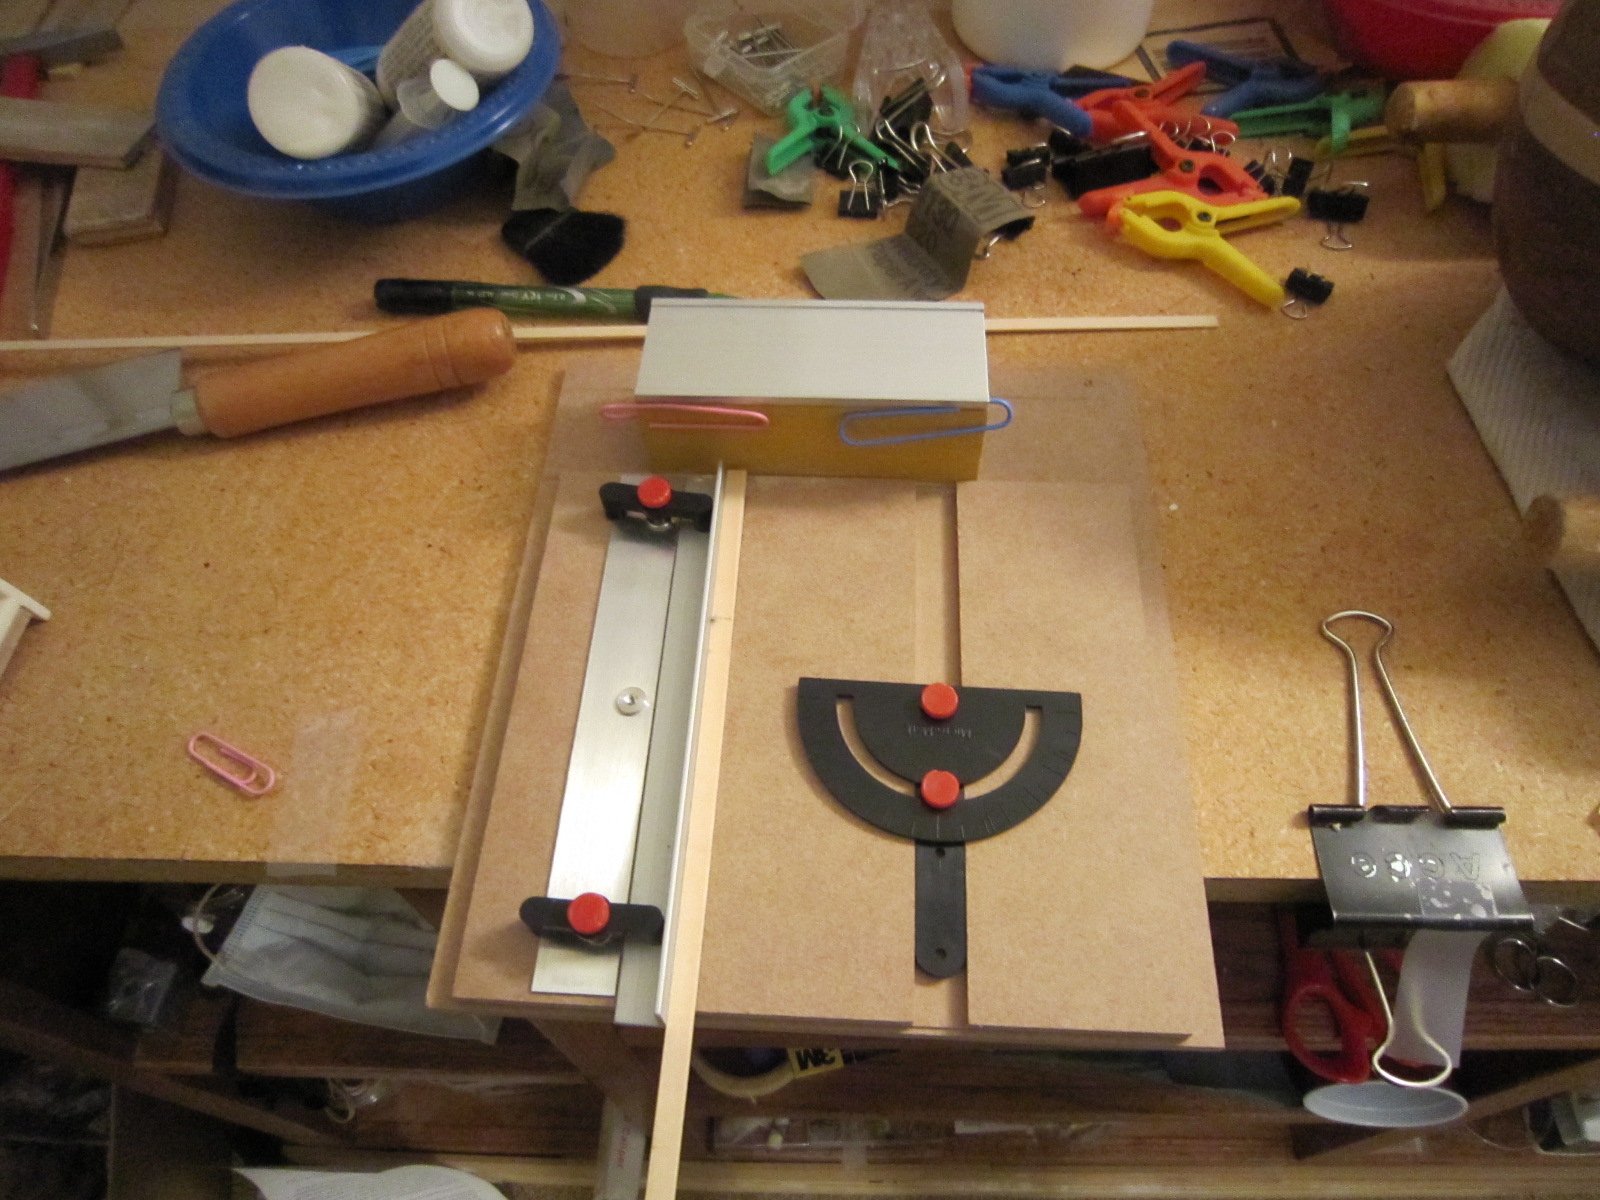
Here's my newest tool....a Sand-it. I hope it gives me the square cuts I'll need to do all the fine carpentry work needed to finish my model. I'll have to practice, though, since there is no power source to run the sander...my right hand has to do that while my left hand feeds the part? Practice will make perfect...I hope.
P.S. I find that I am all thumbs trying to fit these tiny frame pieces. Also, I find that my engineering is all off. I'm trying to make perfectly square frames when I find that the gunwales are far from square and perpendicular. So, I settled on gluing the sill or base piece first, then cutting one vertical to get the exact angle at the sill to give me a perfect match. All very tedious but rewarding. I'll have to sharpen my engineering skills for future pieces.

-
The second layer planks are very thin. On my first build, I screwed up the first planks so bad that it was a disaster. I was saved by the second, veneer planks. On my second build, I worked very hard and the first layer turned out great, Good luck.
-
I'm building a Constructo Constitution and read the instructions to lay whole planks, then scribe the planking effect. I did that and it turned out okay.
-
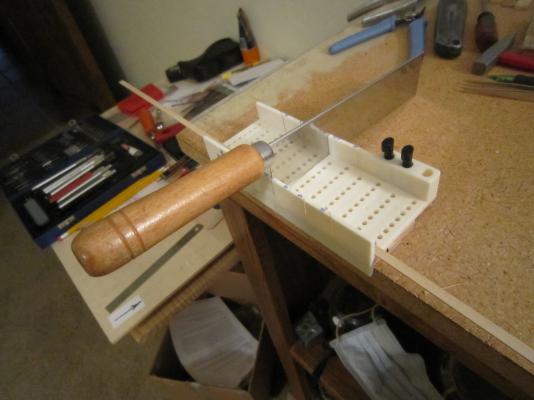
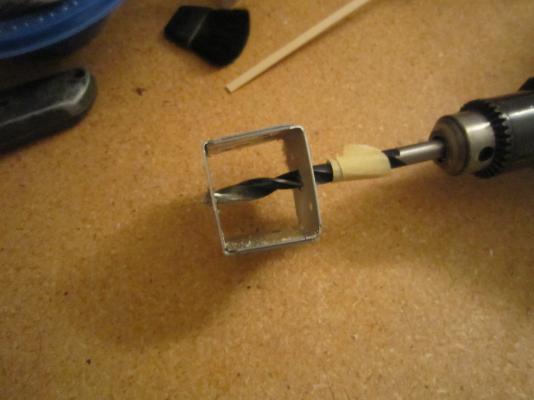
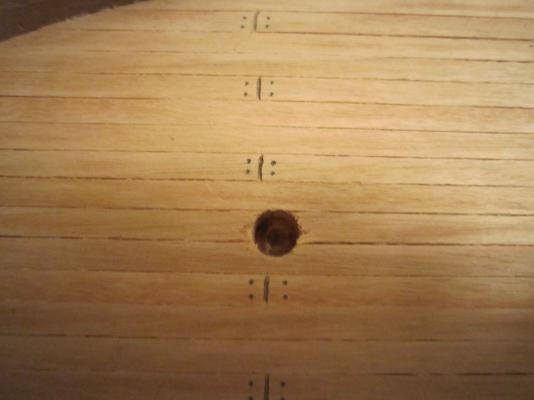
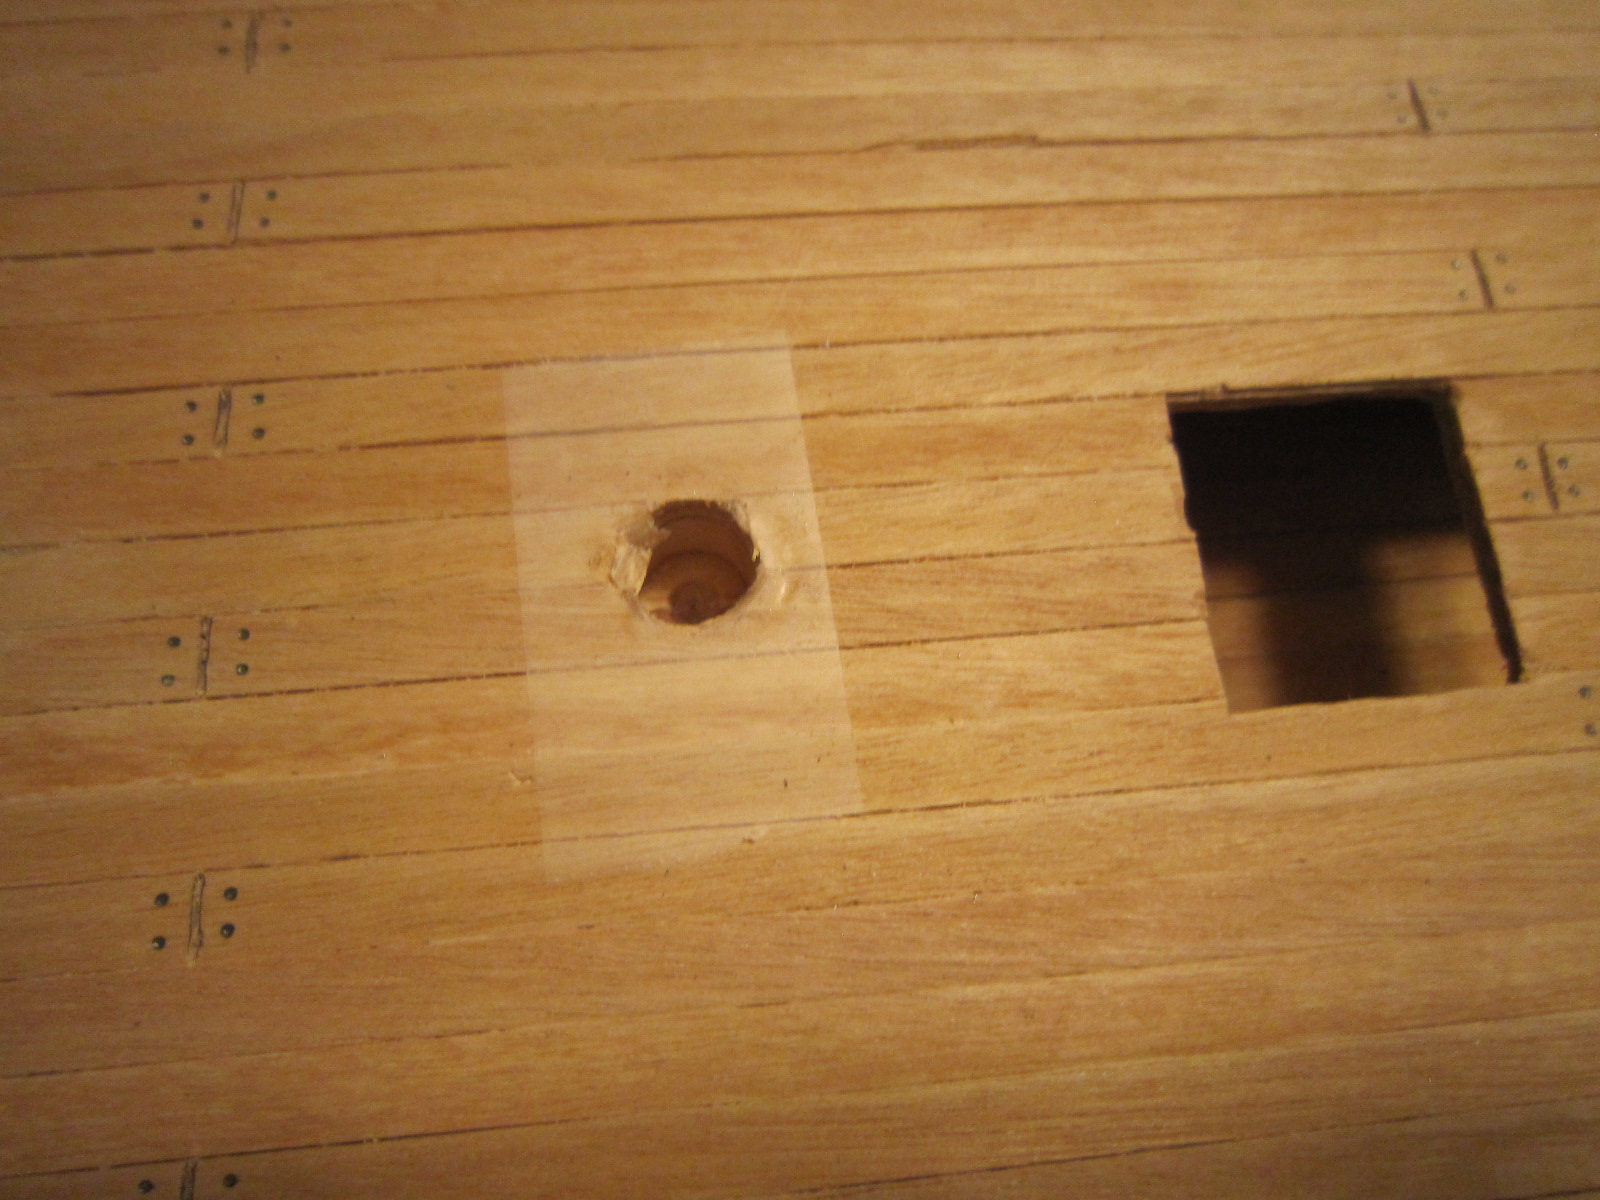
I decided to invent my own way of drilling all aspect perpendicular holes in the deck. I made a jig that lays flat on the deck and only lets the drill bit make a completely perpendicular hole. I also put some masking tape on the bit to let me know when I'm deep enough (10mm). I also put tape over the prospective hole site to prevent splintering. What do you know, it worked!!!

- augie, Dullregard, Kenneth Powell and 1 other
-
 4
4
-
I need to drill three holes that will be perpendicular to the deck from every aspect. Any tips as to how to do this. I'm about to build a drilling guide that will sit perfectly flat with a perpendicular hole in it. I have no idea if this will work. I would like to hear all ideas. My first build the masts had a rearward rake and it took me forever to get them parallel and aligned. The perpendicular ones should be easier?
-
-
The plans call for me to add more realism to the deck planks. To make it easier, the plans called for me too lay full length planks, which is what I did. Then, I scribed cuts in the planks simulating the actual way planks are laid. Now, I just added the nails. I tried several methods and didn't like the outcome. I tried drilling with a mini drill bit, but it splintered the planks. Then I tried a very pointed awl. That method didn't give me nail-like impressions. So, I got this bright idea to sharpen several #2 pencils and try simulating the nails with them....the result was the best of everything I had tried. Today, an old model maker friend looked at them and actually thought I had hammered nails in!
- Dullregard and augie
-
2
-
Good work checking everything. It does pay off later.
-
How in the world did you do that blond trim on your transom? It's perfect wood work! Also, how did you make the nail holes in your deck planks? I haven't found a good way to do mine yet.
-
I framed a few of the upper gunports and they are much stronger. I'd really have to exert a lot of force to snap them. Not like before. I don't think planks held by tape would do the trick. These gunports have to be framed anyway, so I'll just do them all and feel much safer. I have to put some deck trim around the base of the gunwales on the inside. That would be tricky if I didn't support those gunports. It will be close work with my thick fingers working right against the gunwales.
-
-
-
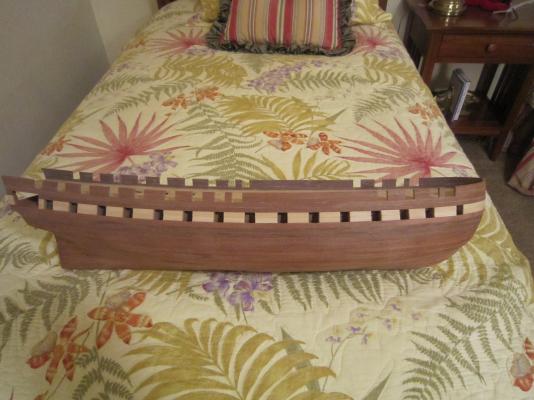
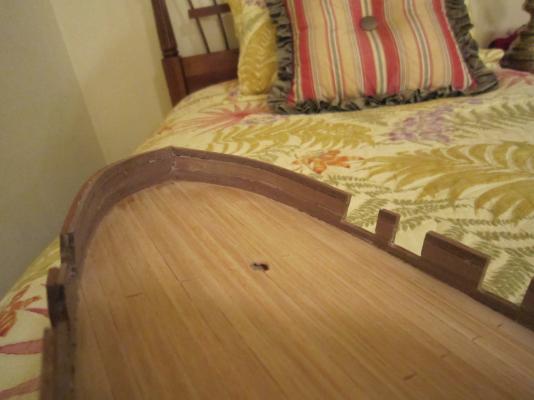
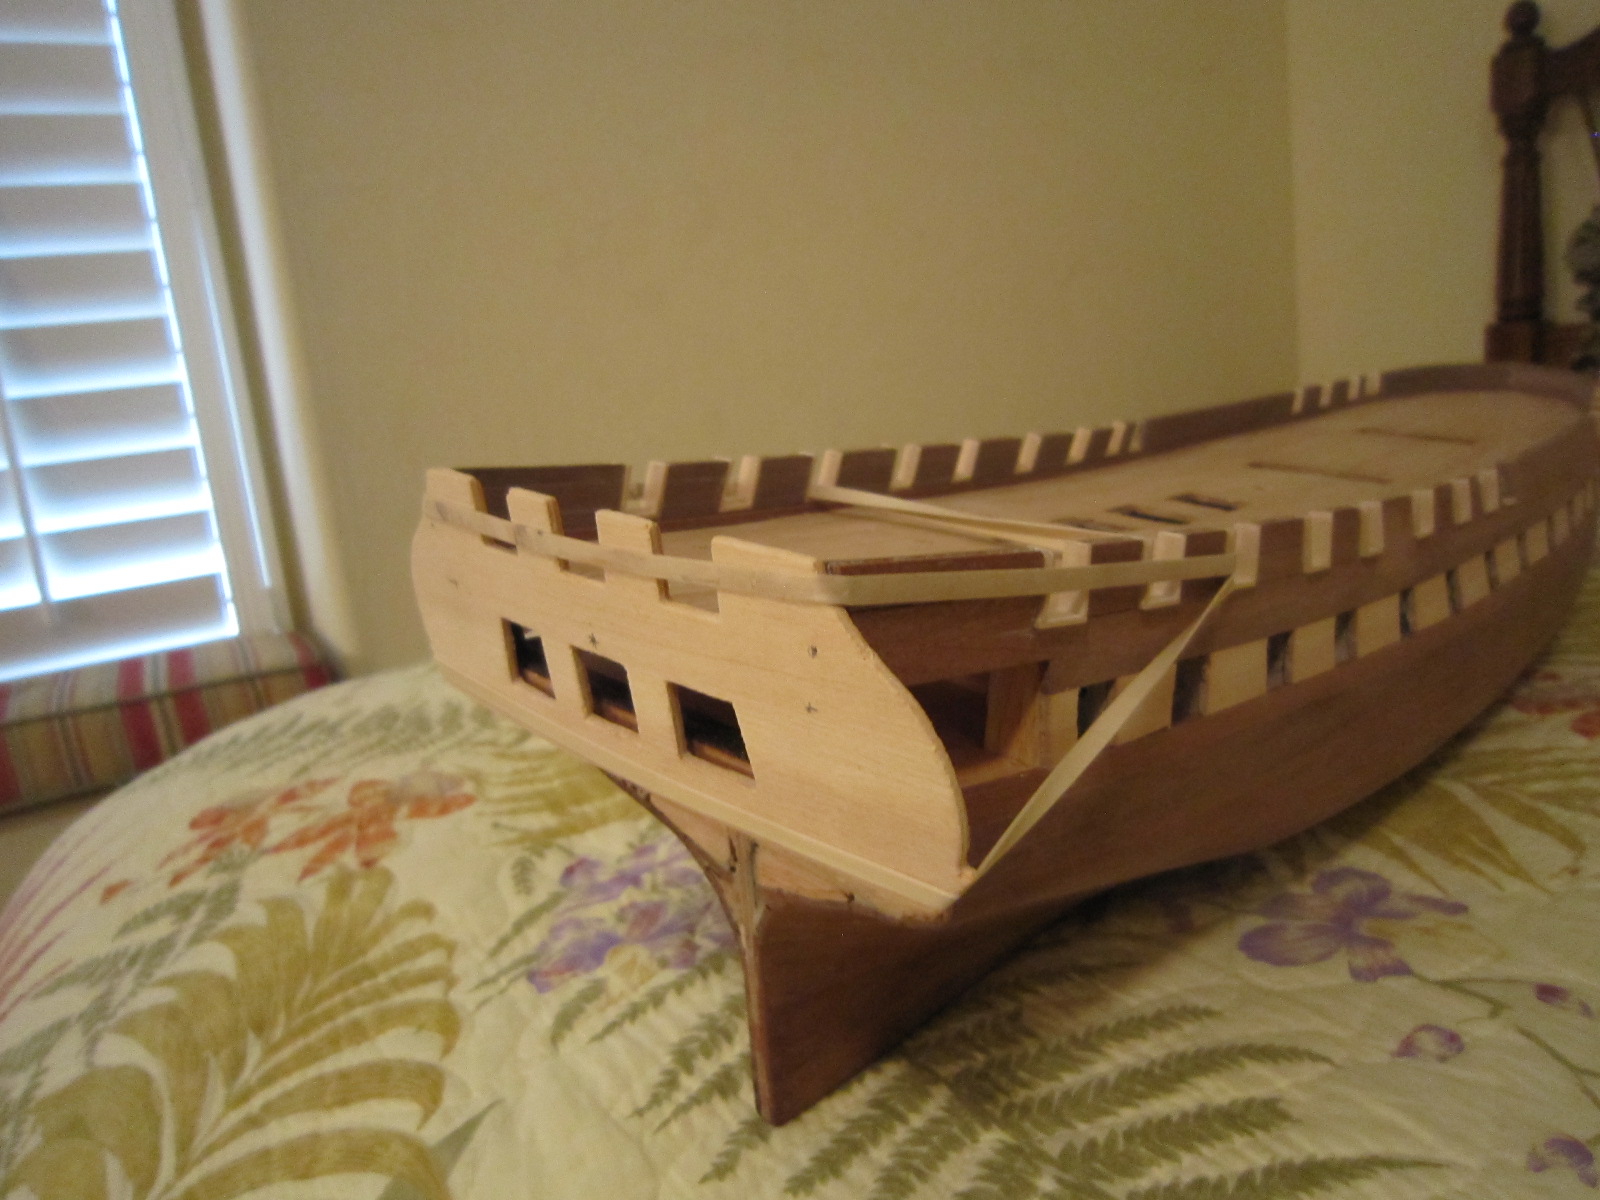
Gunwales are complete. Now I have to carefully file and sand the excess wood and glue off. Next, I'll skip way ahead and install the frames on the upper gunports for added support so I don't break them while adding deck trim, bow stems and rudder post, aft cabin windows and stern windows. Then I'll install the top rails.

-
Your gunwales look the same as my gunwales so I take it you snapped at least one. You're right, a little glue along the split, and it's as good as new. I'm still going to install the bottom and side frames for added support since I'm such a klutz handling the hull. Thank goodness I wasn't a surgeon....can you imagine me saying..."Whoops!" I just broke you?
Rich
-
-
I should have matched deck planks when I did the deck early on, but it's too late now. I'm going to have to get creative to make my decks look like yours. I'll figure something out. Nobody said this would be easy.
-
Now that I am at full height with the gunwales, I find that since the tops are open and castle turret-like, they are fragile and I have broken two of the narrow ones. I have one more inside narrow plank to thicken the gunwales. Then I am going to skip many pages ahead and add the lower and side frames to these upper gun ports for support. They are much too fragile for me to be handling the hull while I mount bow stems and rudder posts, etc. The frames should give me added support until I finally add the top rails and get great strength all around.


USS Constitution by robnbill (Bill) - FINISHED - Mamoli - 1:93 kit - First Build - Bashed
in - Kit build logs for subjects built from 1751 - 1800
Posted
Very nice build.