


HIPEXEC
-
Posts
2,698 -
Joined
-
Last visited
Content Type
Profiles
Forums
Gallery
Events
Posts posted by HIPEXEC
-
-
-
-
I use a heavy duty mask especially made for toxic dust.
-
A friend of mine is a surgeon and gave me a bunch of hemostats. They're great!
-
Even though I am no where near rigging, I've already bought my supply of beeswax.
-
Merry Christmas and a HappyNew Year to all. See you all next year!
-
-
I built foam rubber cradles out of swim noodles with a broom handle it the center hole to cradle the hull in all its crazy angles during planking. There's a picture of them on my build log. I use three of them, but remove the center one when I want a perfectly upright model. I use all three when I want it upside down laying on her deck. Someone thought they looked like rolling pins from my wife's kitchen. They gave me ( and continue to give me) a soft, well supported system no matter what angle I'm working on. When I start the topside and rigging, I'll make something more sturdy.
-
I think I'm finished filling and rough sanding. I've also rough fitted the bow and stern posts, but they don't get glued for quite a while. It's a good planking job as far as I'm concerned (compared to my first model it's great!), but no where near as perfect as some of yours. I had to use too much filler in some places especially the bow with the convergence to a point of all those planks.


- augie, src, sport29652 and 1 other
-
 4
4
-
-
-
In case anyone thinks I got lost....I'm busy sanding and sanding and sanding my hull. I'm having a hard time getting a thin layer of dried white glue off the planks where I made my own filler and spread the stuff in those micro cracks. The dried glue is harder that the wood and doesn't want to easily sand off? I want the hull to be super smooth and gleam when it's varnished. I'll be doing this well into January since I'm taking eight days off to go snorkeling in the Bahamas, Aruba and Curacao. Merry Christmas everyone. Happy New Year, too.
-
Welcome aboard.
-
The hinges are a work of art, and what little I can see of your planking job, your planks are first rate also.
-
I feel like DaVinci who mixed his own paints. I mixed my own filler with sawdust from my planks. This is what the filler looks like before sanding.

- Sjors, augie and Dullregard
-
3
-
I just did my first experiment with making and using my own wood filler. I had been collecting the dark sawdust from the Sapele wood I used on my hull. I took a small amount of it and made a thick mud using a few drops of water, then mixed in some white glue until it looked like the commercial wood fillers I had used in the past. I applied this paste to various nail holes and small cracks in a few palces on the hull and and let it dry overnight. What a nice surprise when it set up nice and hard and was very sandable and blended in just fine. Thanks for the tips I got on this great website.
-
-
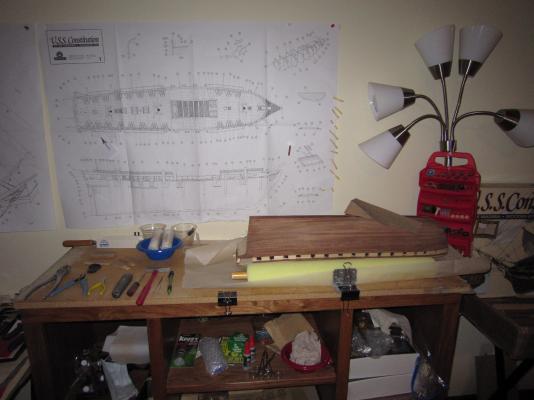
This is the first time since September 1st that I cleaned my workbench! There was so much debris I wiped off that the bench went....Aaaahhh! I placed a large peice of parchment paper under my sanding area to catch the sawdudt to use as filler as needed. I'm lucky that I only have very small places to fill. Compared to my first build, this is heaven. There will still be a month's worth of careful sanding to get the finish I want.
-
I've begun the tedious job of sanding, shaping and filling the hull. I've fitted the bow stem to be mounted later, I fitted the keel to be mounted later and the rudder post. That too will be mounted later. I'll probably have a month of filling, filing and sanding to get the hull as smooth as I want it to look. I shall not be painting this model since I want the wood work to be part of the charm. The few spots I've done look very good.
-
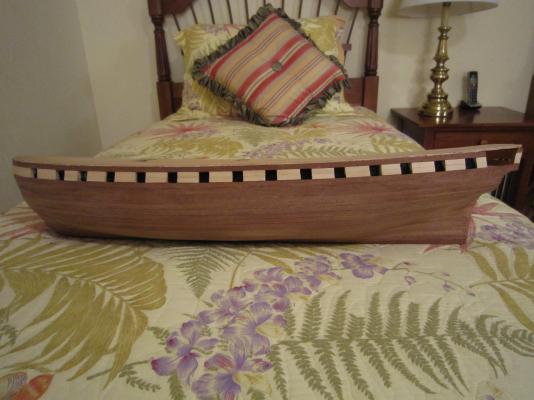
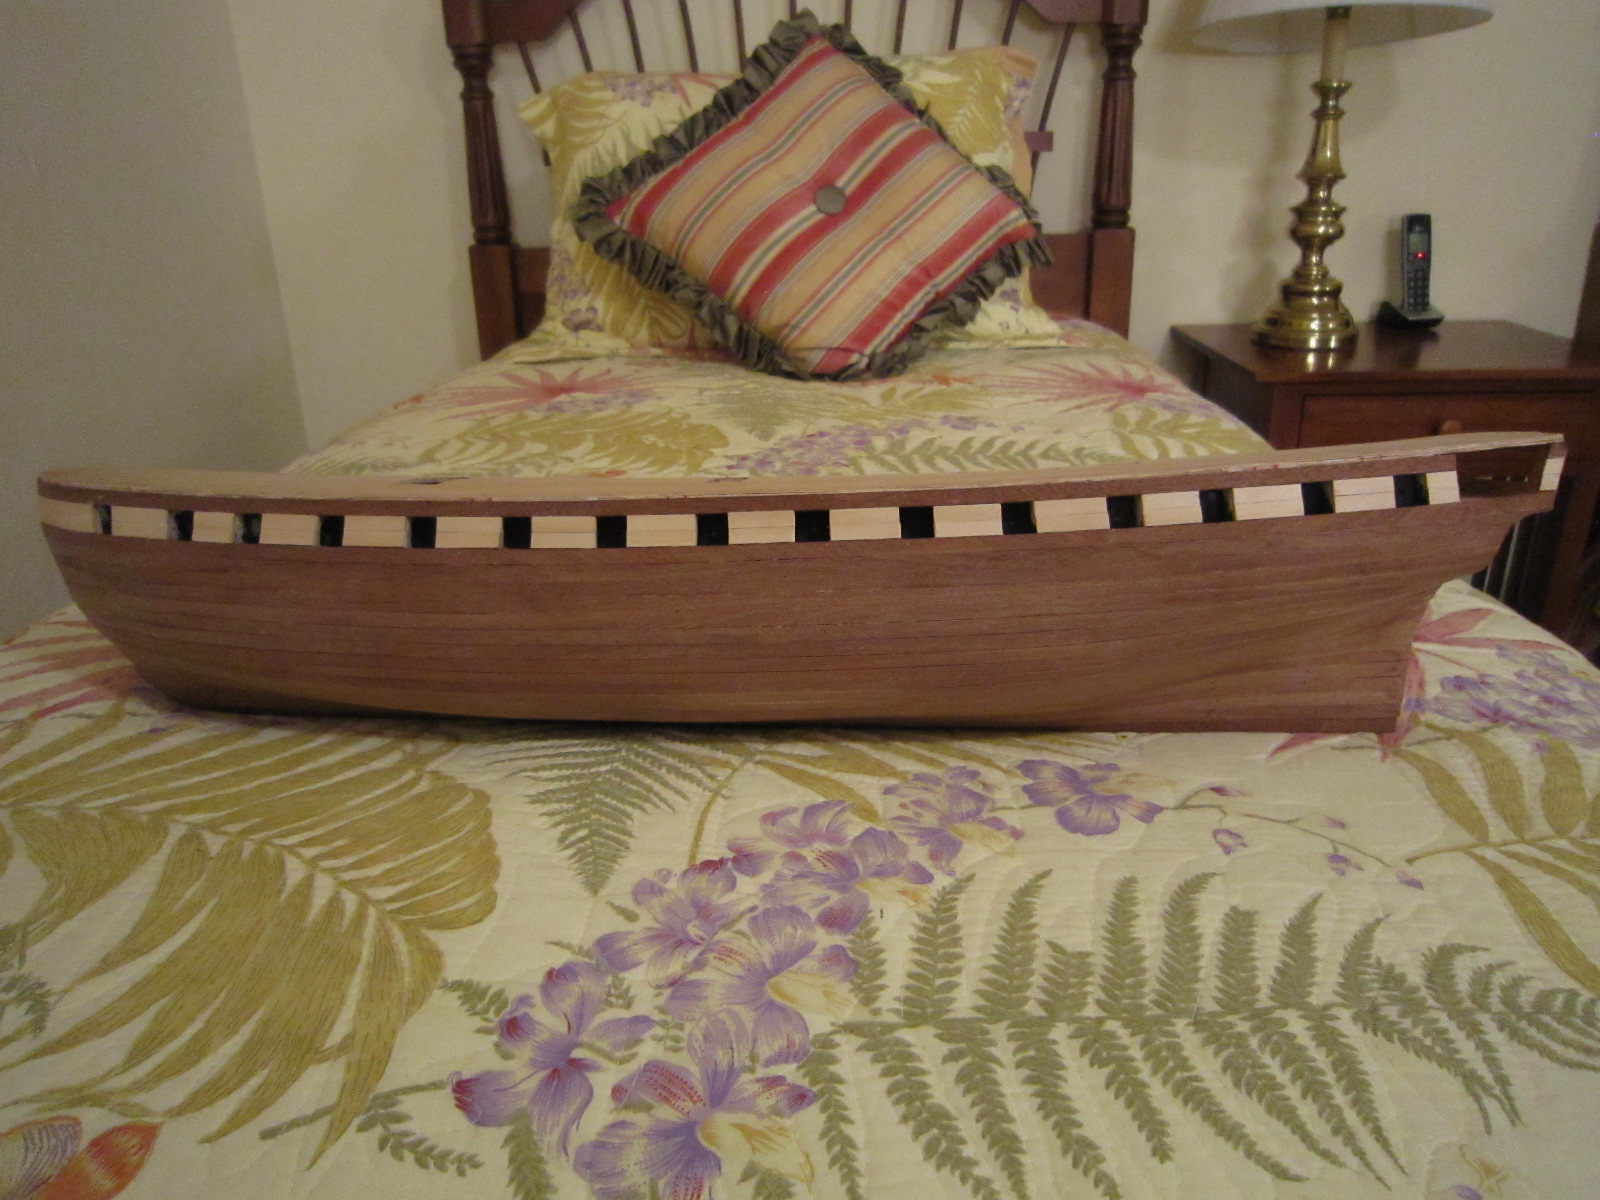
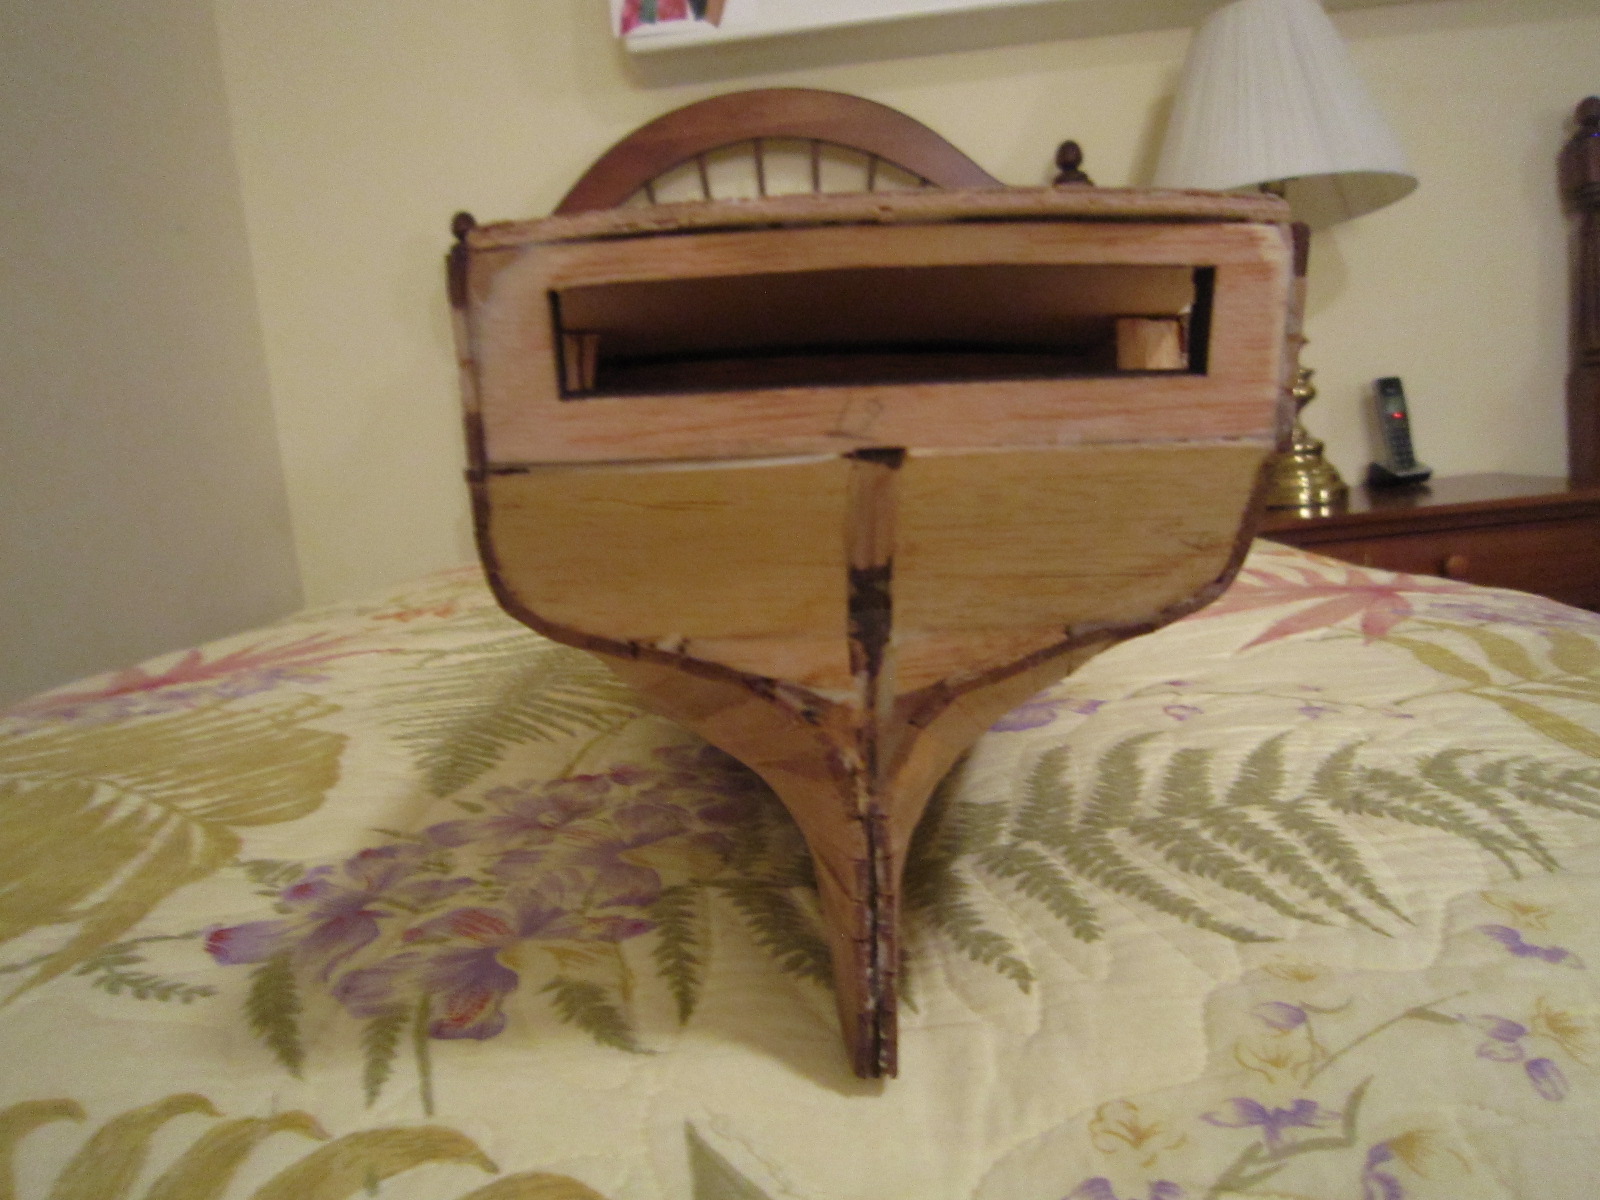
What a joy it is to hold that completed hull. It's like I can't get enough of holding it. It looks like a boat now. Am I the only one who feels this way?
- capnharv2, Sjors, Desert Sails and 4 others
-
7
-
While I'm taking my victory lap, I'm planning my next moves. I've got to fit the bow and stern stems over the planks and sand and fill. Them I have to figure out how to start the gunwales with only a 2mm lip as a start that has lots of curves and bends? After building the stern cabin and veneer planking the stern, then I'll varnish her.
Thanks,
-
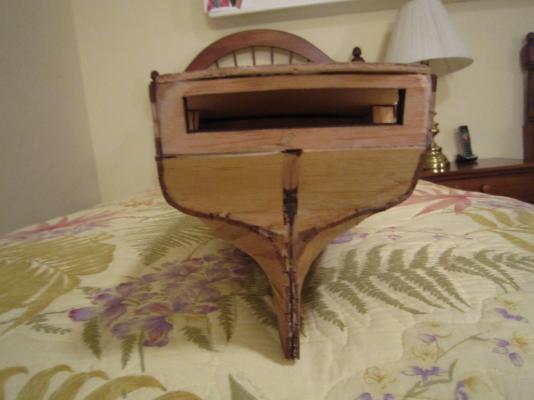
Hull planks finished! The stern came out very symetrical even though I carved it myself. A miracle! The stern gets a vereen plank job down the road. It feels good to finish planking. It's hard work. Now there will be a lot of sanding, filing and filling to make it presentable. At least the planks all butt very nicely, so filling will be a small job.
- cookster, Sjors, Desert Sails and 3 others
-
6
-
I just layed the last plank...if you can call it a plank. It was 4MM by 15CM tapered to sharp points at each end. Pics tomorrow when the glue dries.


Storing and using those tiny drills
in Modeling tools and Workshop Equipment
Posted
I'm jealous of your drill bit set up. I still just keep mine in tubes.