rtropp
-
Posts
936 -
Joined
-
Last visited
Content Type
Profiles
Forums
Gallery
Events
Everything posted by rtropp
-
Chuck, Good tip, I will practice on the lower planking. Thanks Richard T.
-
Hi, I find I am using this first kit as more of a skill building exercise. I go through a lot of wood, but I am learning a good deal. For instance, I was continuing the lower hull planking on the first side using one plank strakes because, as explained in the practicum, they will be covered up by the copper plates. While this is easier and faster, I lost the opportunity to learn more about finished planking. So I decided to do the planking on the other side with "regulation" sized plank lengths, as if it would not be covered with copper. This is more difficult and time consuming but it will give me additional practice. And, there should be no problem with filling and sanding since it will be covered with copper. I really like the texture and warmth of wood and will likely do my next kit without covering the wood, except for some highlighting like red around gun ports. By the way, I was using pencil to create the caulking and really found the wood to get dirty. Not sure how well it will sand out. Are there any suggestion for how to create the caulking look without using graphite? Thanks, Richard T.
-
So, if I understand correctly, the purpose of the oscillating motion is increase the speed of wood removal? If that's the case, I would probably would vote for a motorized rope walk. The next tool that I am considering is the table saw. I am considering trying my hand at scratch building after I gain a little more experience, and given the cost of planking, etc. Richard T.
-
Brian, I guess I was not sure how much the "oscillating" helps. I have a dremel shaper table, with a sanding attachment on the dremel, and it is helpful to keep both hands on the work. But, being Dremel, it is kind of small and is not the easiest to work with. I was considering something larger and more stable, but had not thought of the oscillating function. It just did not occur to me. Richard T.
-
thanks for the tips Thomas, The measurements per Chuck's instruction article helps me understand how much the planks need to be adjusted. That said I have begun, as you mentioned, adjusting by eye with the marks helping me gauge how much to thin. I am already thinking about the next model which may have a "wood" look throughout rather than paint and copper. This build, with coppering and paint, should allow me to develop the skill without worrying too much about mistakes. Alistair, I had not thought about the potential damage. I do see some splitting at the nibbling but it doesn't show on the "view side" of the plank. But... I do not want problems later. So, I have retried the wetting and bending but with a simpler process. I have a small cup of water and I dampen the strake with wet fingers where it has the most severe bending (not really going through a soak.) Then mount it on the hull to dry to shape. If I am not getting the curve I want, I will then nibble just a bit to form it as needed. This seems to work on the Syren shape and goes pretty quickly. As I mentioned above, I am considering more of a wood look for my next kit so one of the things I am gauging is how much damage the wood takes with the various approaches. Floyd, Thanks for the reminder about not going beyond half the size of the plank when shaping. Right now I am thinning on the bow to about 3/32. This fits the half size rule. The aft end of the plank is still the full 1/8 and seems to be fitting. As I move down towards the keel I will see what I run into. All in all, the planking is holding my interest more than I thought it would. While one plank is drying to shape on the bow, I am cutting the next one. Since I am not doing a soak, the plank is drying pretty quickly. I am using plank clamps made from bulldog clamps. I was worried about leaving marks, but I do not see anything that is more than a light scratch or dent. I think they will come out when I do the finishing sanding. At least that's my hope. Again, Thanks to all for the advice. It really helps. Richard T.
-
Anyone built the OcCre Endeavour ??????????????
rtropp replied to Micklen32's topic in Wood ship model kits
Mick, I have been considering the OCcRE Endeavor and found the video you mentioned (Moss Goss). No where does it mention the manufacturer of the kit and I want to check and see if you know whether it is an Occre kit? Thanks, Richard -
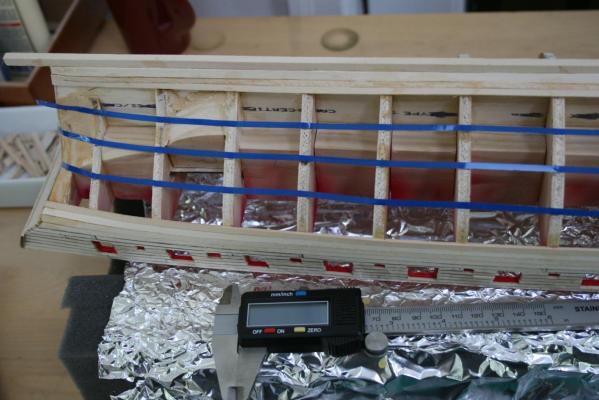
I too have found the digital caliper to be extremely useful. I would not do without it for both measuring the actual wood and also for transfer from plans. For sorting wood I have used a simpler tool. It is a simple plastic ruler (Hobby and Craft Ruler)with cutouts to match the various width and thickness of the plank or sheet. It is made by Midwest products and, as I remember, cost about $10. I am getting in the habit of double checking each strip before I use it, especially if it is in the batch of partially cut strips. The preset slots make it quick and easy. Richard T
-
OK, I have a basic question from one still learning. What would you use an OSS for in ship modeling? Thanks Richard T.
-
Augie, I will wait for the next model to consider true spiling. What I am doing now seems to work and, since this is my first kit, historical accuracy may suffer at the hands of learning craft skills. Alistair, I'm pleased to hear your use of the nipper left no ill effects. Are you still using it or have you switched to wetting and bending? Richard
-
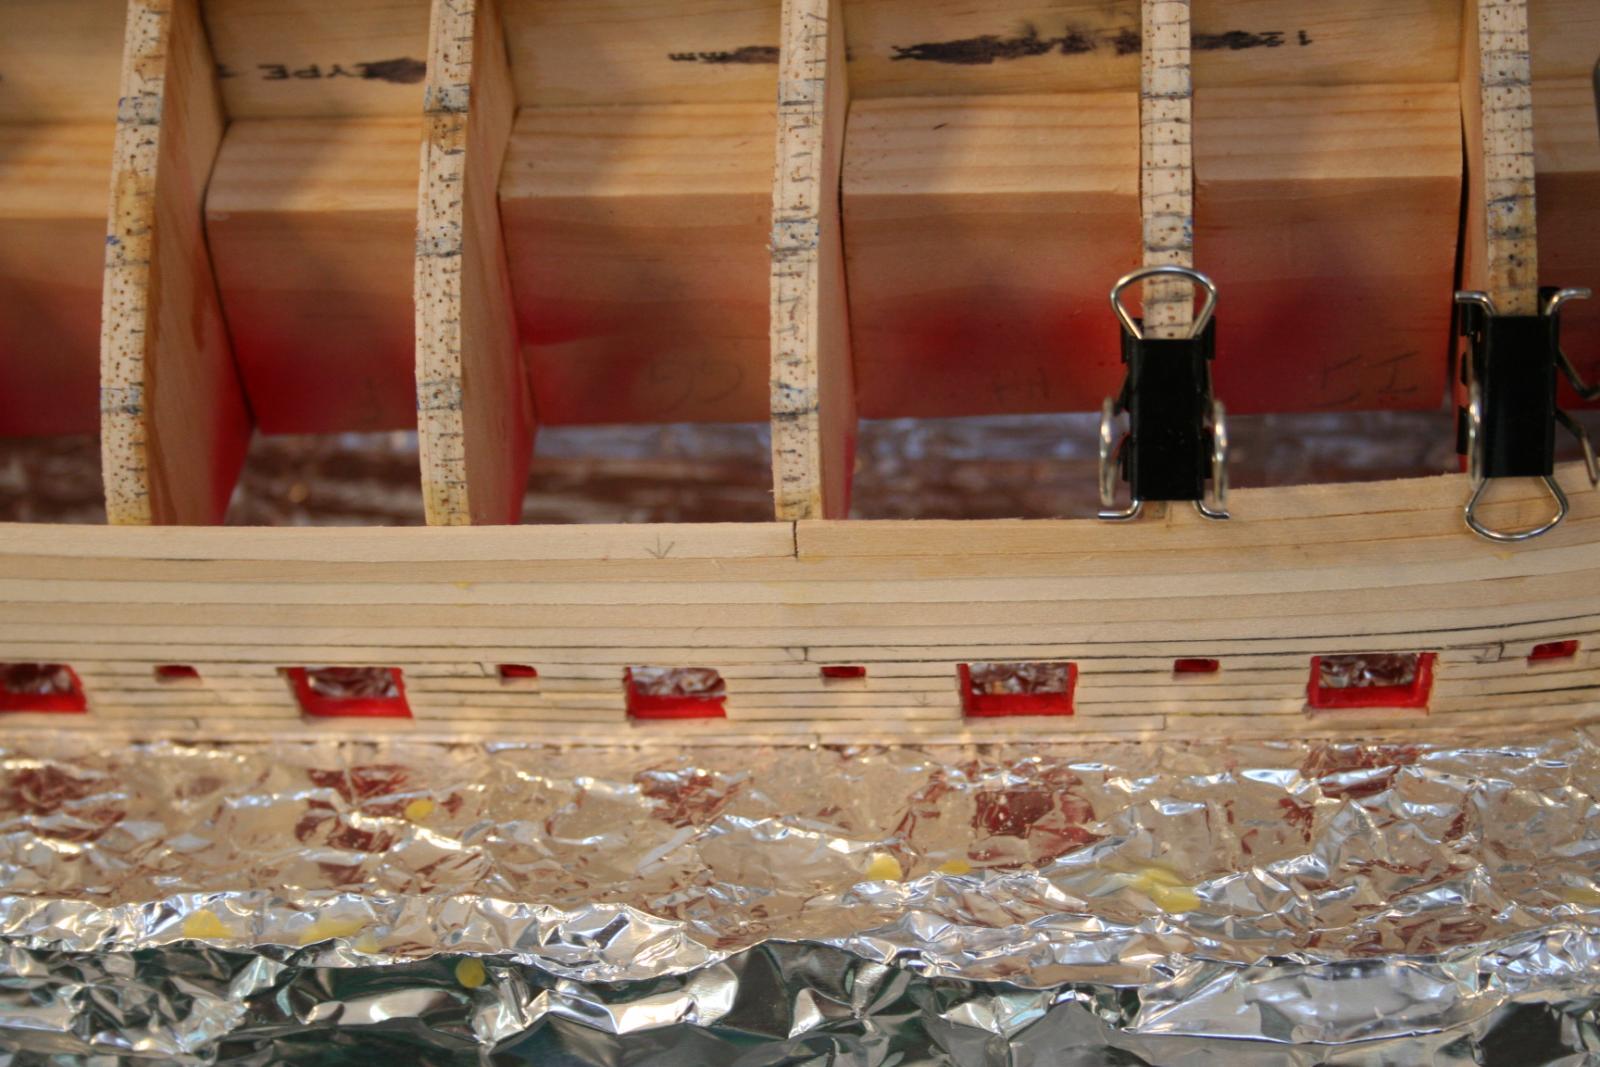
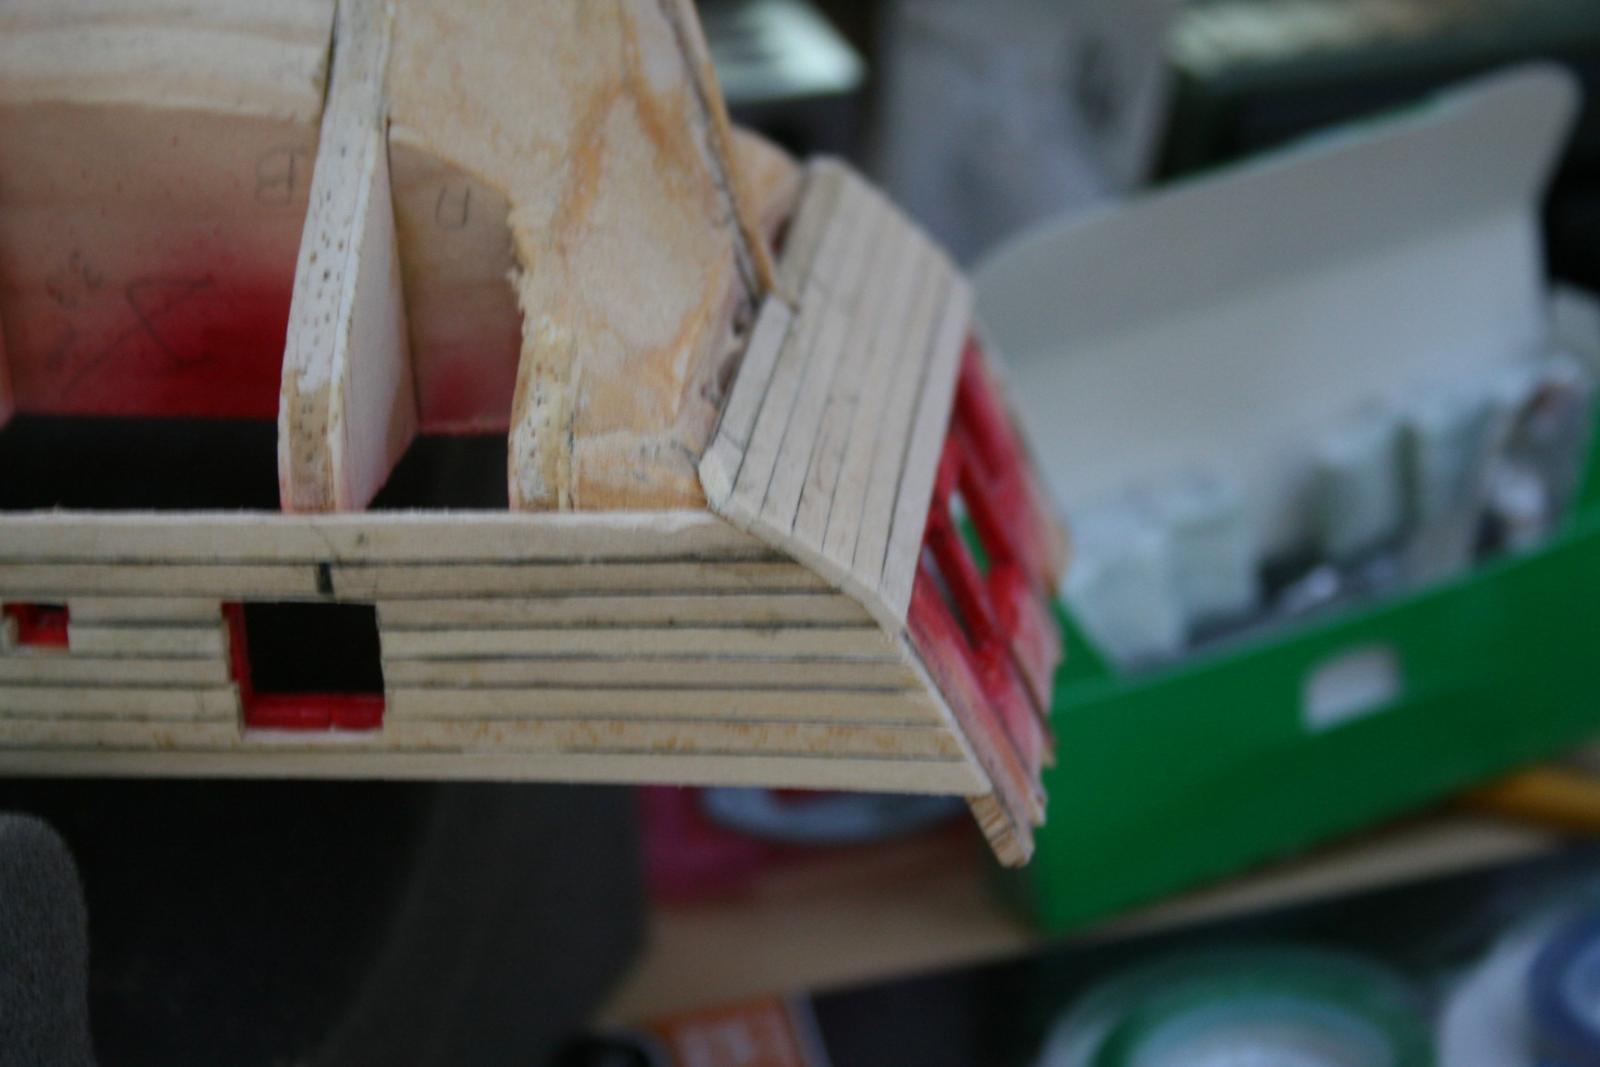
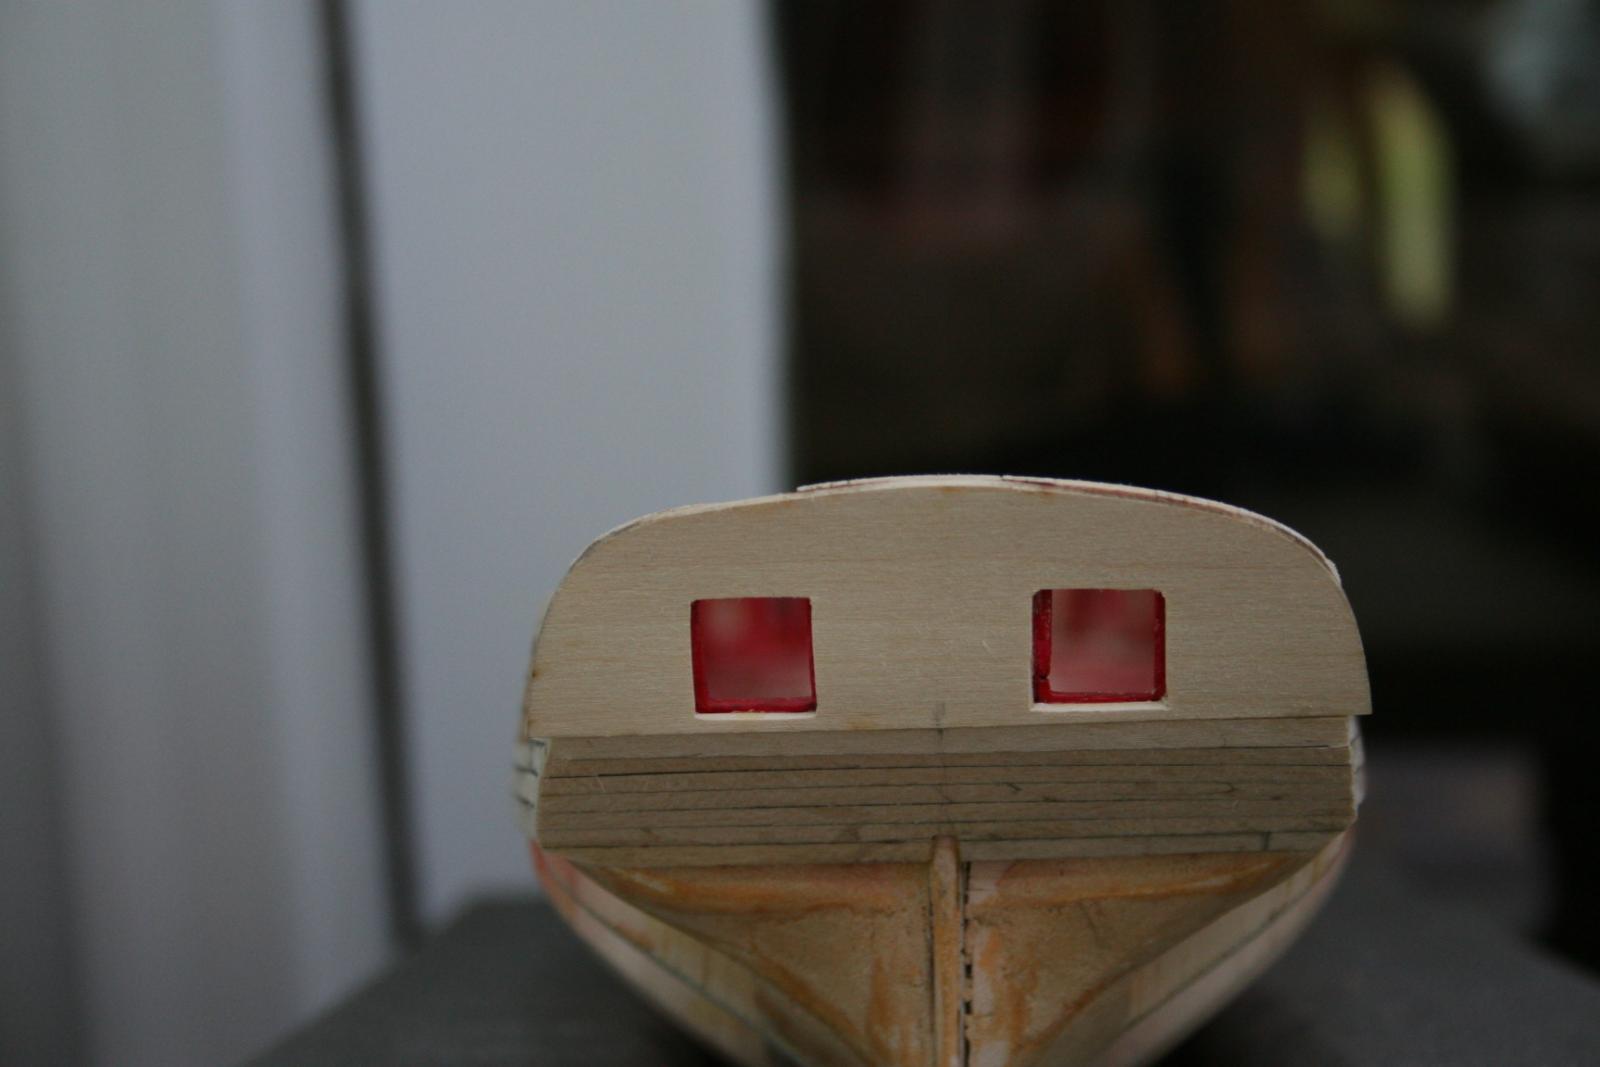
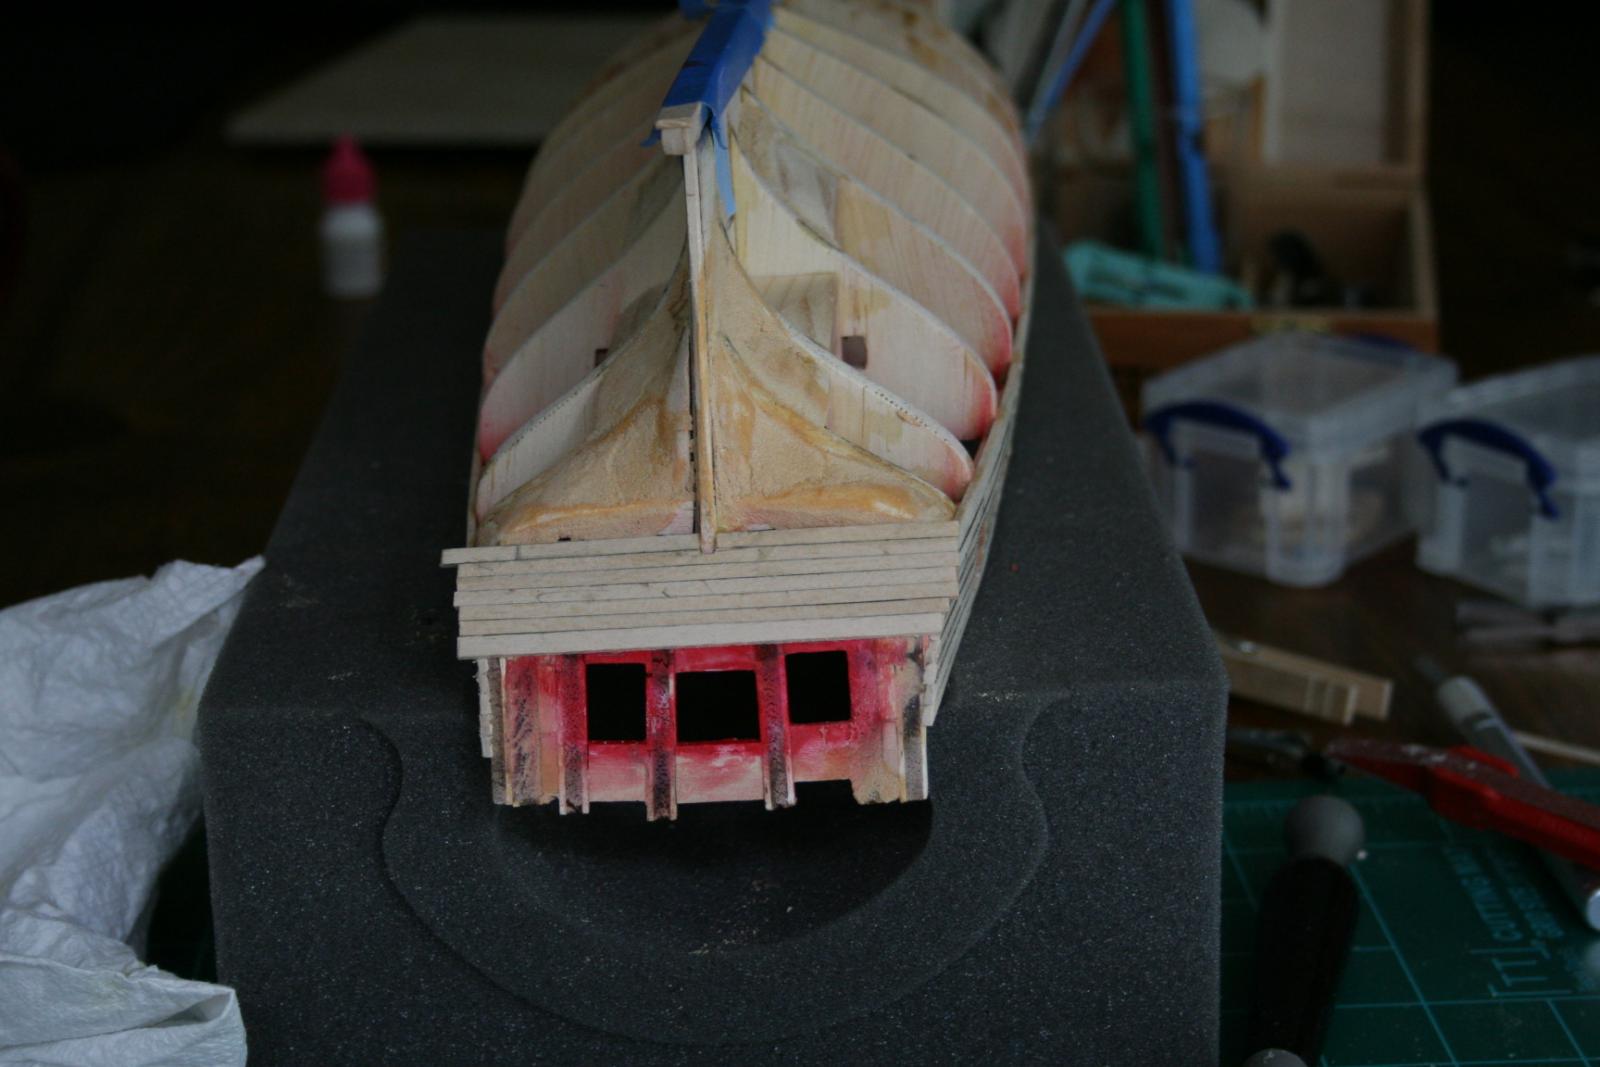
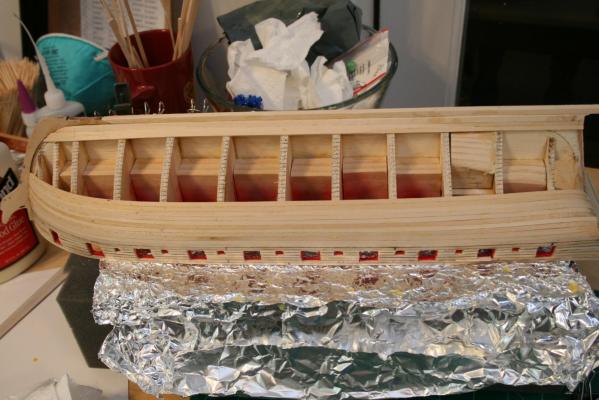
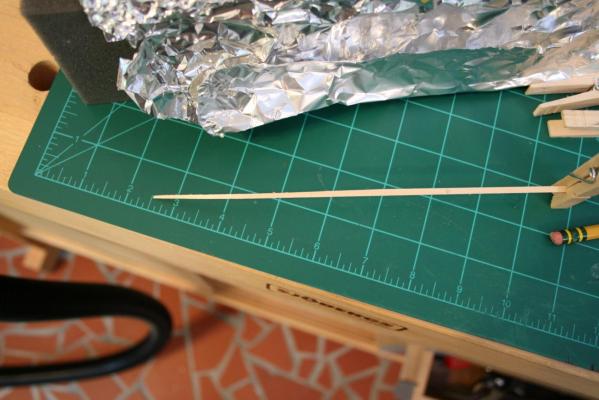
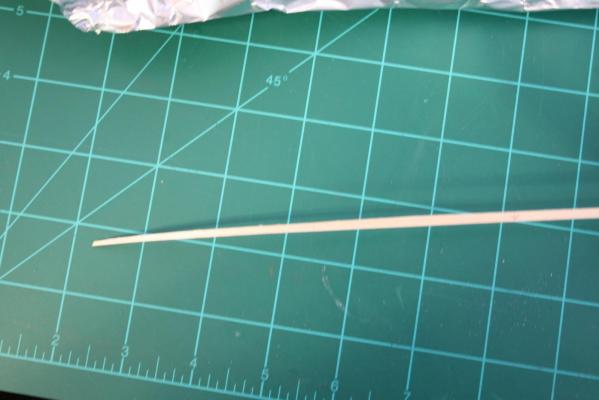
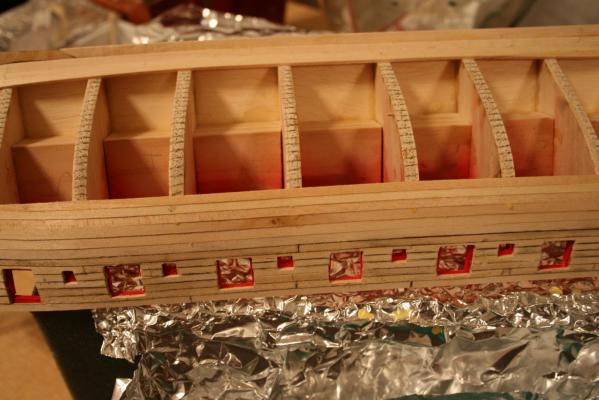
Hi all, Its been awhile since I posted. This is all new to me and I have been going slowly. I believe I am getting a better feel for the cutting and sanding which is taking a fair amount of effort... and wood. I decided it was time to set aside some time to post what I have been up to. The stern gave me some difficulty. I believe I was not as exact as I should have been it installing the stern posts and am paying for that now. By the way, I still have not evened out the gun ports. I think I want to see how the port covers come out before I do. Not sure if that is a good idea yet. And finally ended up with this Next I moved on to planking. I have reviewed a few different sources, especially Chuck's, about how to layout the hull planking. My first attempt was to create bands and then measure the sizes of the planks in each band on each bulkhead. (6 or 7 strakes per band.) I found this to be unwieldy. Probably because the artists tape I used was too wide. But, even so, I decided to try the same technique but just mark off the entire bulkhead instead of sections. By the way, Chuck, thanks for the Fan Template. It made things a lot easier and also made a lot more sense. Also, it is just big enough to work for the entire bulkhead instead of a band at a time. This just seem to work better for me. below is one of the strakes being formed. Truth is I went through a few to just get that one. The next pictures show the first two strakes below the wales. On the bow they come to a pretty small end, about 1/32. I only had to thin the planks for about four bulkheads from the bow then leave them at their 1/8". I am still not satisfied with the appearance of the stern and the hull planking where it terminates at the stern is not helping. I expect that it will require some filler and judicious sanding. Perhaps as I get more practice it will improve on the port side. I also noticed that the planks above the wales look a lot dirtier. This is the result of using pencil to create the caulking effect and just not being neat enough. I am hoping that when I finally sand the hull the dirty look will go away. I have reviewed the "spiling" section in Chuck's instructions as well as a few other sources. Looks like something to avoid at all costs I have not needed to do this yet (at least I don't think I did.) I use the plank bender shown a few pages back. It seems to work well for me and I found that if I use it at an angle, I am able to make some of the more tortuous bends. I have not damaged any planks or left any marks... yet. Not having to soak and heat planks really makes things easier (at least less messy and time consuming.) If I do come to the point where I need to Spile, I will first buy a lot of extra planking. I would appreciate if any of you (especially those working on the Syren), could tell me if you needed to spile, and if so was it a specific part of the hull. Anyway, that's all for now. Richard T.


-
Sanding Block
rtropp replied to Hexomega's topic in Building, Framing, Planking and plating a ships hull and deck
I use a variety of small blocks of wood, about 3-6 inches long and 1", 2" square or 1x3 for larger areas, like smoothing the hull. I just cut different grades of sandpaper to size, wrap it around the wood and staple along one side. (of course be careful not to use the stapled side or you can ruin your work.)when the sandpaper is worn I just remove the staples and put on a new piece. I considered using adhesive but suspect I would have to keep replacing the wood. These are good for most of the larger work. In addition to these I use plastic Excel Sanding sticks that take specially made belts about 1/4" wide These are shaped with a round end, a triangular end, and flat middle. They are great for some smaller spots. For the really tiny spots I use sanding sticks that are 6 1/2 by 1/8th inch made by Alpha precisions abrasives. These get into some really narrow spots. I believe I got them and hobby lobby, but I see them in a few different retail stores as well as hobby sites on the web. Richard T. -
US Brig Syren by roger
rtropp replied to roger's topic in - Build logs for subjects built 1801 - 1850
Hi Roger, beautiful work. I am wondering what woods you used for the various parts, i.e., frame, various planks, deck and other parts. Do you have a list you can share? Thanks Richard T -
What do you use your mill for ?
rtropp replied to captainbob's topic in Modeling tools and Workshop Equipment
Mark, Thank you, that is exactly the kind of thing I was looking for, a step by step view of building a model ship part. Thanks, Richard T. -
What do you use your mill for ?
rtropp replied to captainbob's topic in Modeling tools and Workshop Equipment
Mark, looked through site including articles and could not find Chuck's how to. If you can give me some direction to the article I would appreciate it. Wish you had not turned me on to Gaetens Le Fleuron build. GASP!!. Left me speechless. Thanks, Richard T. -
Dirk, Jeff at hobbymill tells me that the strips should all be cut from the same piece of wood so the color matches. I think I will over order just to make sure. He sells in packages of six ( 23 or 24 inches per strip) so I will order 3 packages. that should be enough. Are you enjoying your vacation yet? My wife's ancestors are from Ireland and she always talks about visiting. Maybe one day. I'm looking forward to hearing a bit about your trip. Richard T.
-
Bob, I am similar except my wife calls it anal-retentive. In consulting we called this "analysis paralysis". We would over analyze to the point where we could prove any point we were trying to make... and trust none of them Richard
-
Guys Good Advice, I will test some of the woods discussed, in the logs but will not allow that to delay my build. Dirk, can you recall the size and quantity of planking you bought for the deck planking? Dirk, I am beginning to realize that with these materials there is often a fix for when things go wrong. Hesitation at the prospect of making mistakes is more damaging than fixing them after woods. Better to keep going and learn to fix problems than agonize over them instead of building. Augie, you are right about gaining experience being the journey. I am having a good deal of fun with all this, more than I thought I would, so I need to just keep pushing ahead. Thanks for the motivation talk. Its really helpful. Richard T
-
I had a similar experience with Jeff. He was very helpful and took time to explain his process and how he schedules his work. The due date for its arrival is still in the future but of course I am antsy to see it. I read on his post that he is taking a month off for vacation (with his schedule he probably needs it.) that may have much to do with the lead time. I am still not sure if I should bash this kit. It is my first and I am still making rookie errors that will show once it is done. Anyway, back to this boat. Thanks, Richard
-
What do you use your mill for ?
rtropp replied to captainbob's topic in Modeling tools and Workshop Equipment
Harvey, That's the thing about the forum. It allows letting off steam and then getting some input from others. It would really be great for me to see pictures of your milling process if that is possible. I know it would be extra work but there are some of who are interested in milling and I, for one, am still hazy about it. Just a thought. Richard T -
Alastair Jeff has mentioned being booked through November. I hear your advice and will not sand. It's just so tempting, but I won't. Instead I am continuing on. I am trimming back the over planking at the stern in preparation for planking its planking . I have been reading articles on breaking the sides down to four zones and sizing each plank in it'd zone. I get about an hour a day to work on it and it seems to be going too slowly but I end up causing more damage than good if I work at for too long a stretch. I start making mistakes. At least when my wife is done with redecorating the house I get my work space back. Well , at least she is not asking me to paint. Thanks Richard T.
-
Floyd, Thanks for the address contact. I will check theirs. Being new to this, wondered what points you look for that makes you prefer hobby mill. I have not see either yet... just curious about what you look for.
-
Floyd Thanks, found this picture because my wife has me clearing through a lot of old files and storage boxes, some decades old.. This picture of her was always one of my favorites so I appropriated it. Hobby Mill is where I placed my order. Their lead time is pretty long (months) and I still have a little bit of a wait before I am scheduled to receive my order. I wanted to see if there was any place else being used with a shorter lead time. Of course, the long lead time probably means Hobby Mill is the "go to" place for wood and has a good reputation with modelers. Thanks, Richard
-
What do you use your mill for ?
rtropp replied to captainbob's topic in Modeling tools and Workshop Equipment
Pete, Thanks for the info. Richard -
What do you use your mill for ?
rtropp replied to captainbob's topic in Modeling tools and Workshop Equipment
Mark, When you talk about milling items like blocks, bitts, etc. it sounds like very small parts. I did not realize that a mill could do really tiny work. I will do the mill, milling.... search your recommended. Richard -
What do you use your mill for ?
rtropp replied to captainbob's topic in Modeling tools and Workshop Equipment
Pete, Thanks, that is helpful. I am curious. Are you a scratch or kit builder? Do you find yourself using the mill often? I appreciate your input. Richard