Nearshore
-
Posts
194 -
Joined
-
Last visited
Content Type
Profiles
Forums
Gallery
Events
Everything posted by Nearshore
-
 Hi Fricap, Thank you for your encourement. I checked out the link you provided and yes the figurehead would certainly be an improvement on what was supplied with the kit. I unfortunately do not have access to a 3D printer. I think that i am going to stick with the componets that were provided with the kit for now. My reasoning i guess is to try and show this kit with the stock componets for anyone coming behind me that builds this kit and what they could try and do to improve there appearance. I am impressed with you level of skill in achieving the details you are capturing. Although we are both building the same kit, your interpretation is far more impressive. There is only one other build log that i am aware of on MSW that completed this kit. Without that buid log i would have struggled to understand many of the complexities of this kit especially since the instructions supplied are vague at best. Hopefully our build logs will help others when attempting to build this kit. I saw a thread sometime ago that Chris at Vanguard Models was possibly going to release his version of the Bellona. I don't know what ever happened with that, possibly lack of public interest or copy rights???? I bet you if VM did release there version it would be far more superior then the Corel version. Good luck to you in your journey building your version of the Bellona. Cheers Nearshore
 -
Thank you Ron. I appreciate your compliment. You have certainly set the bar for excellence though. Your Sphinx is looking amazing!!
-
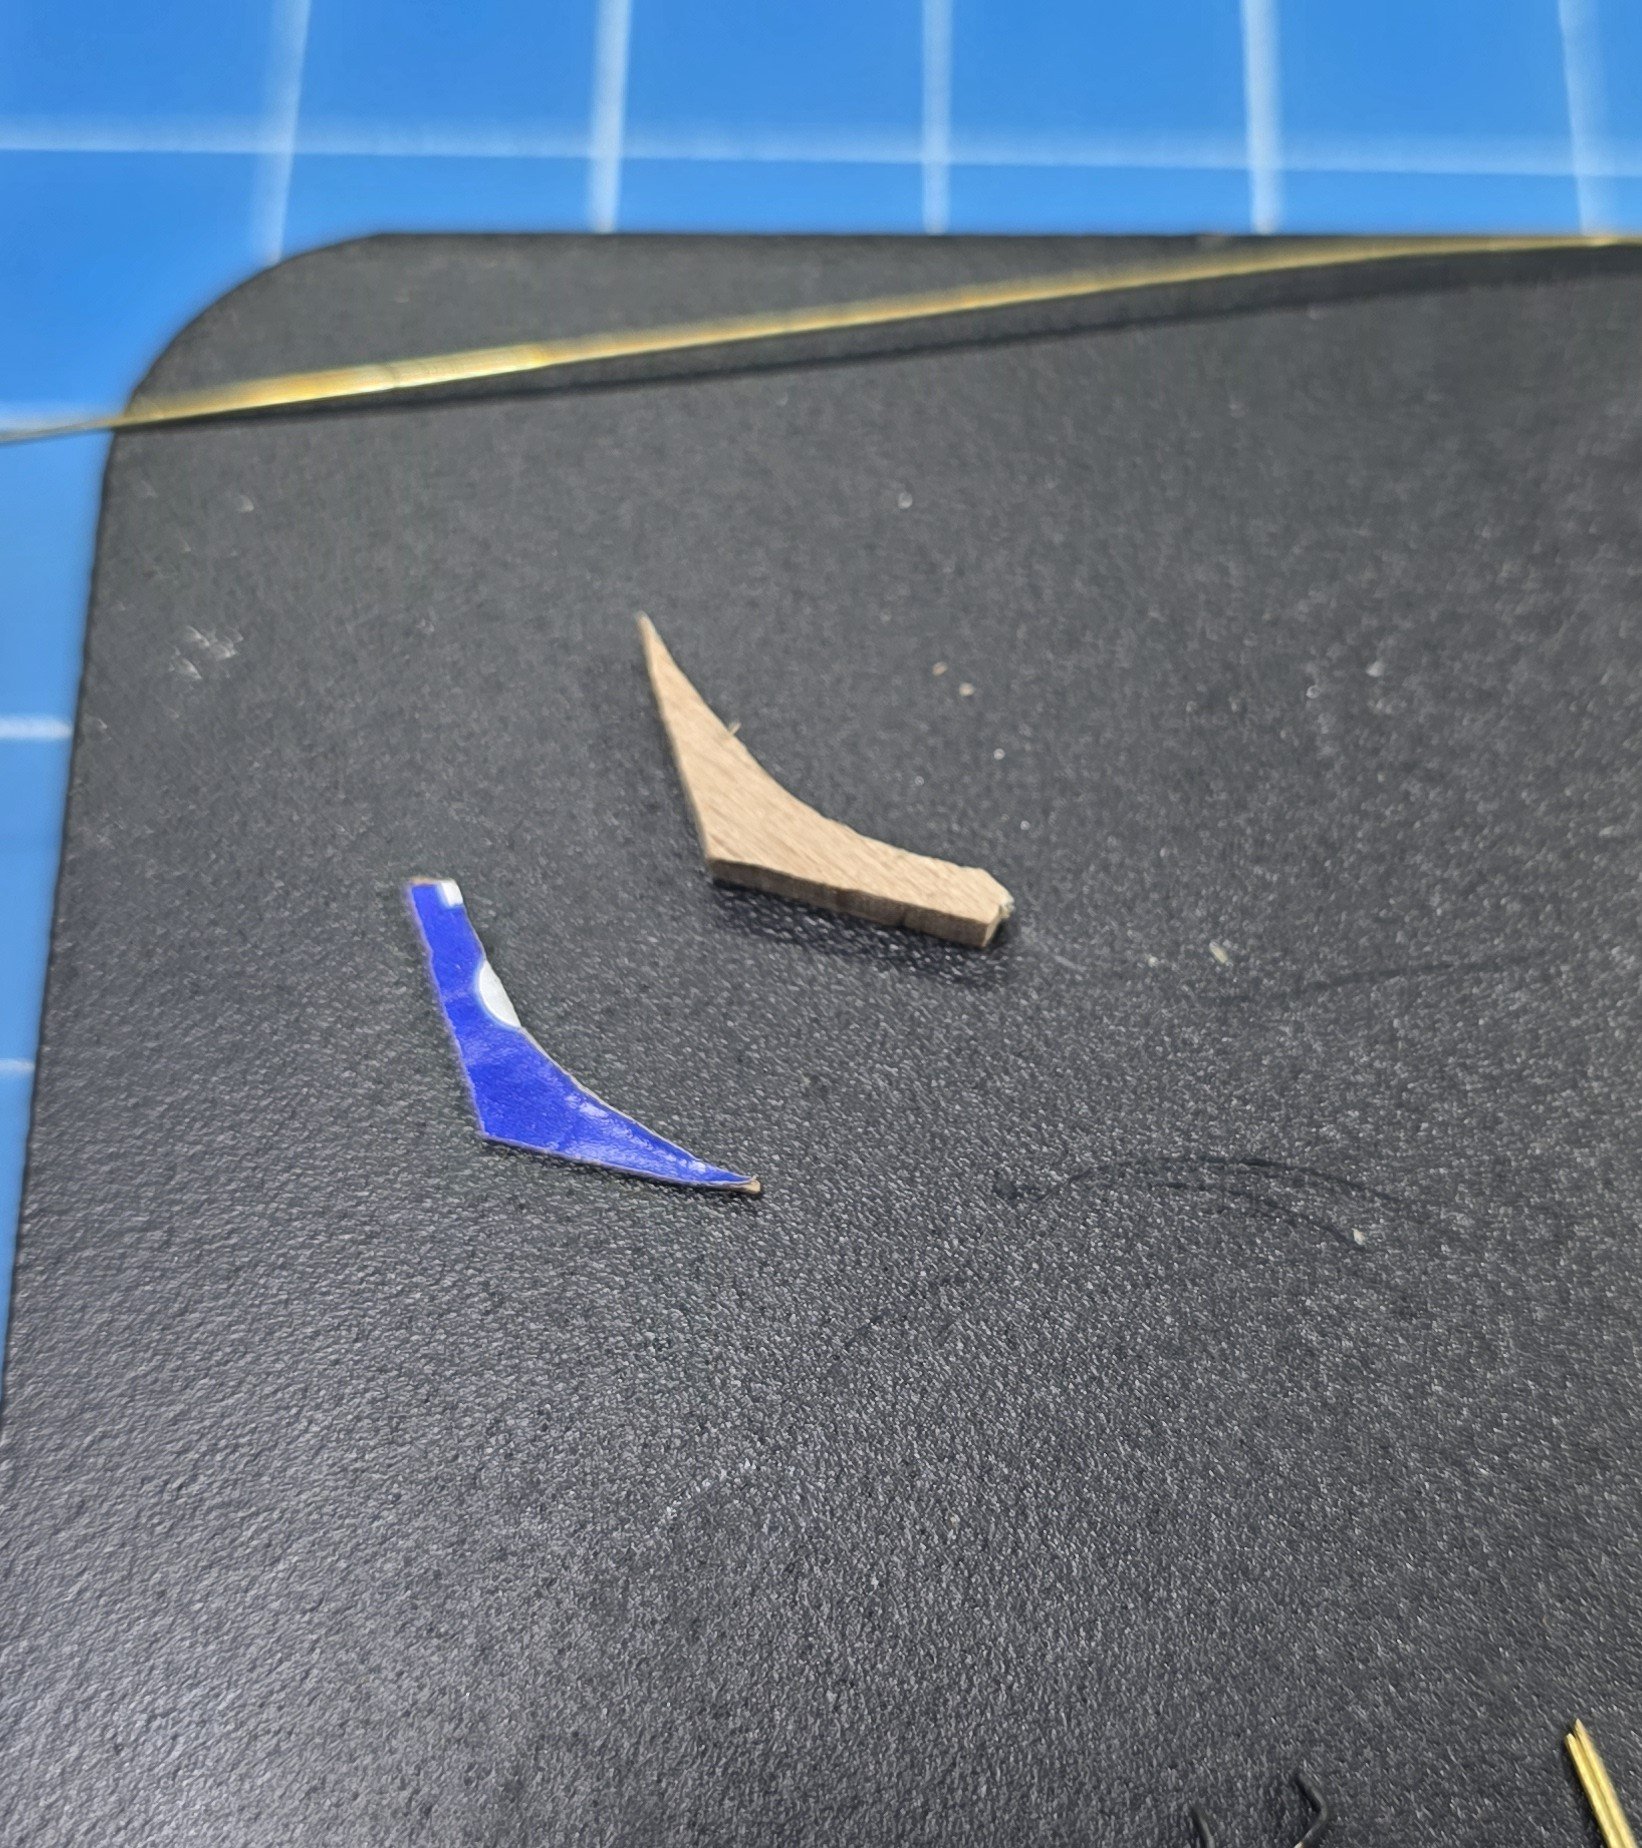
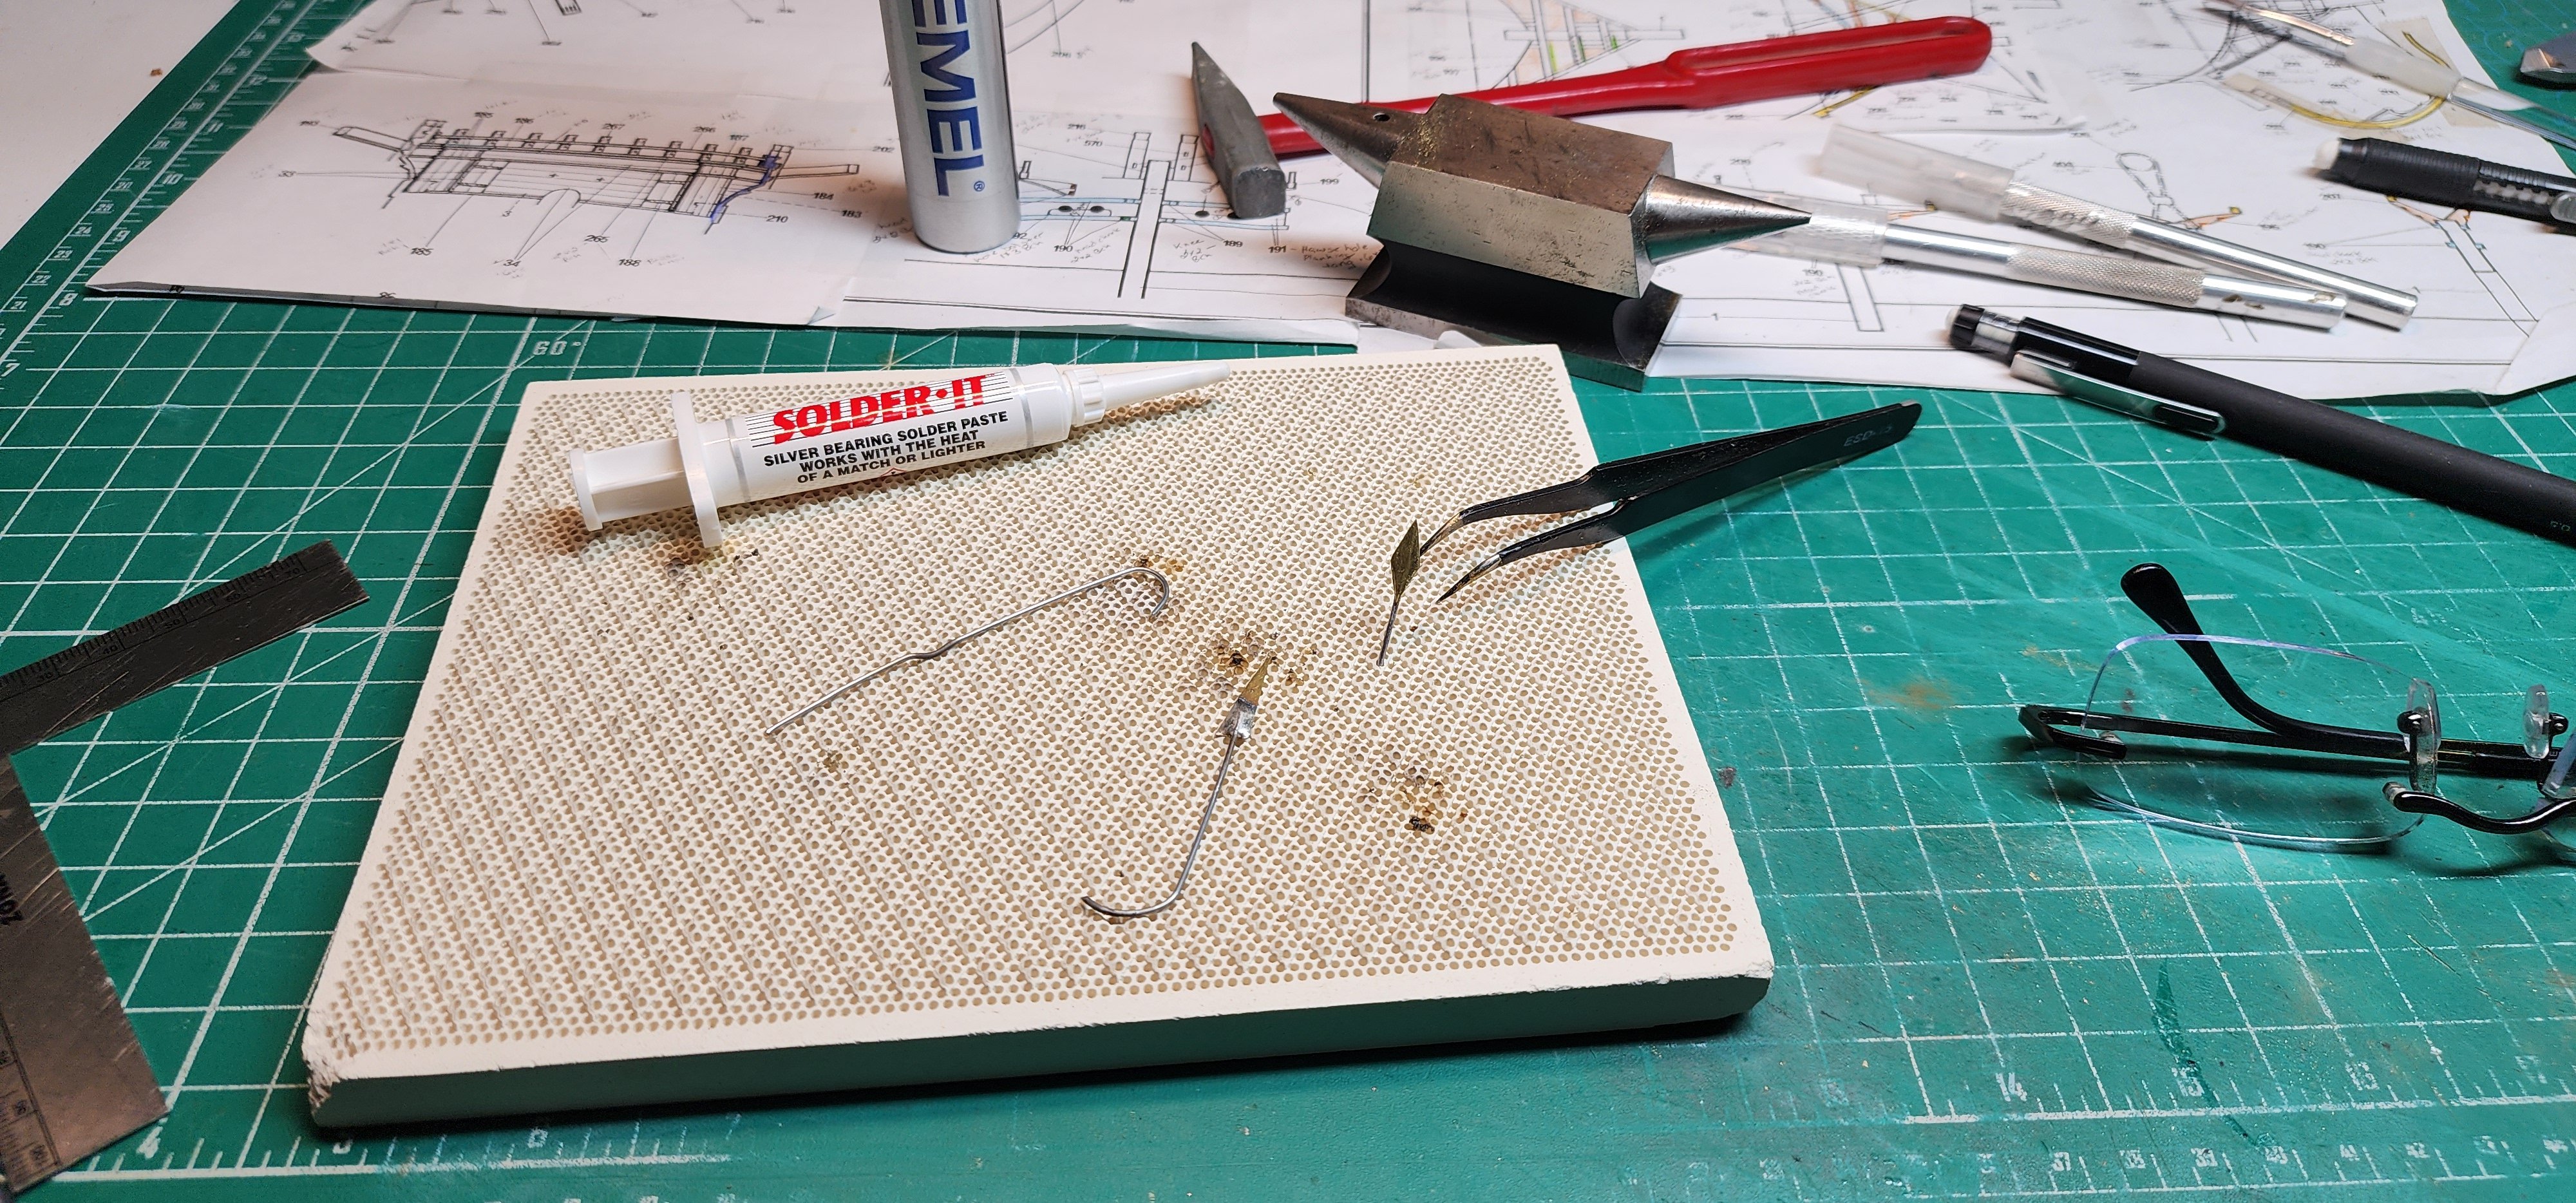
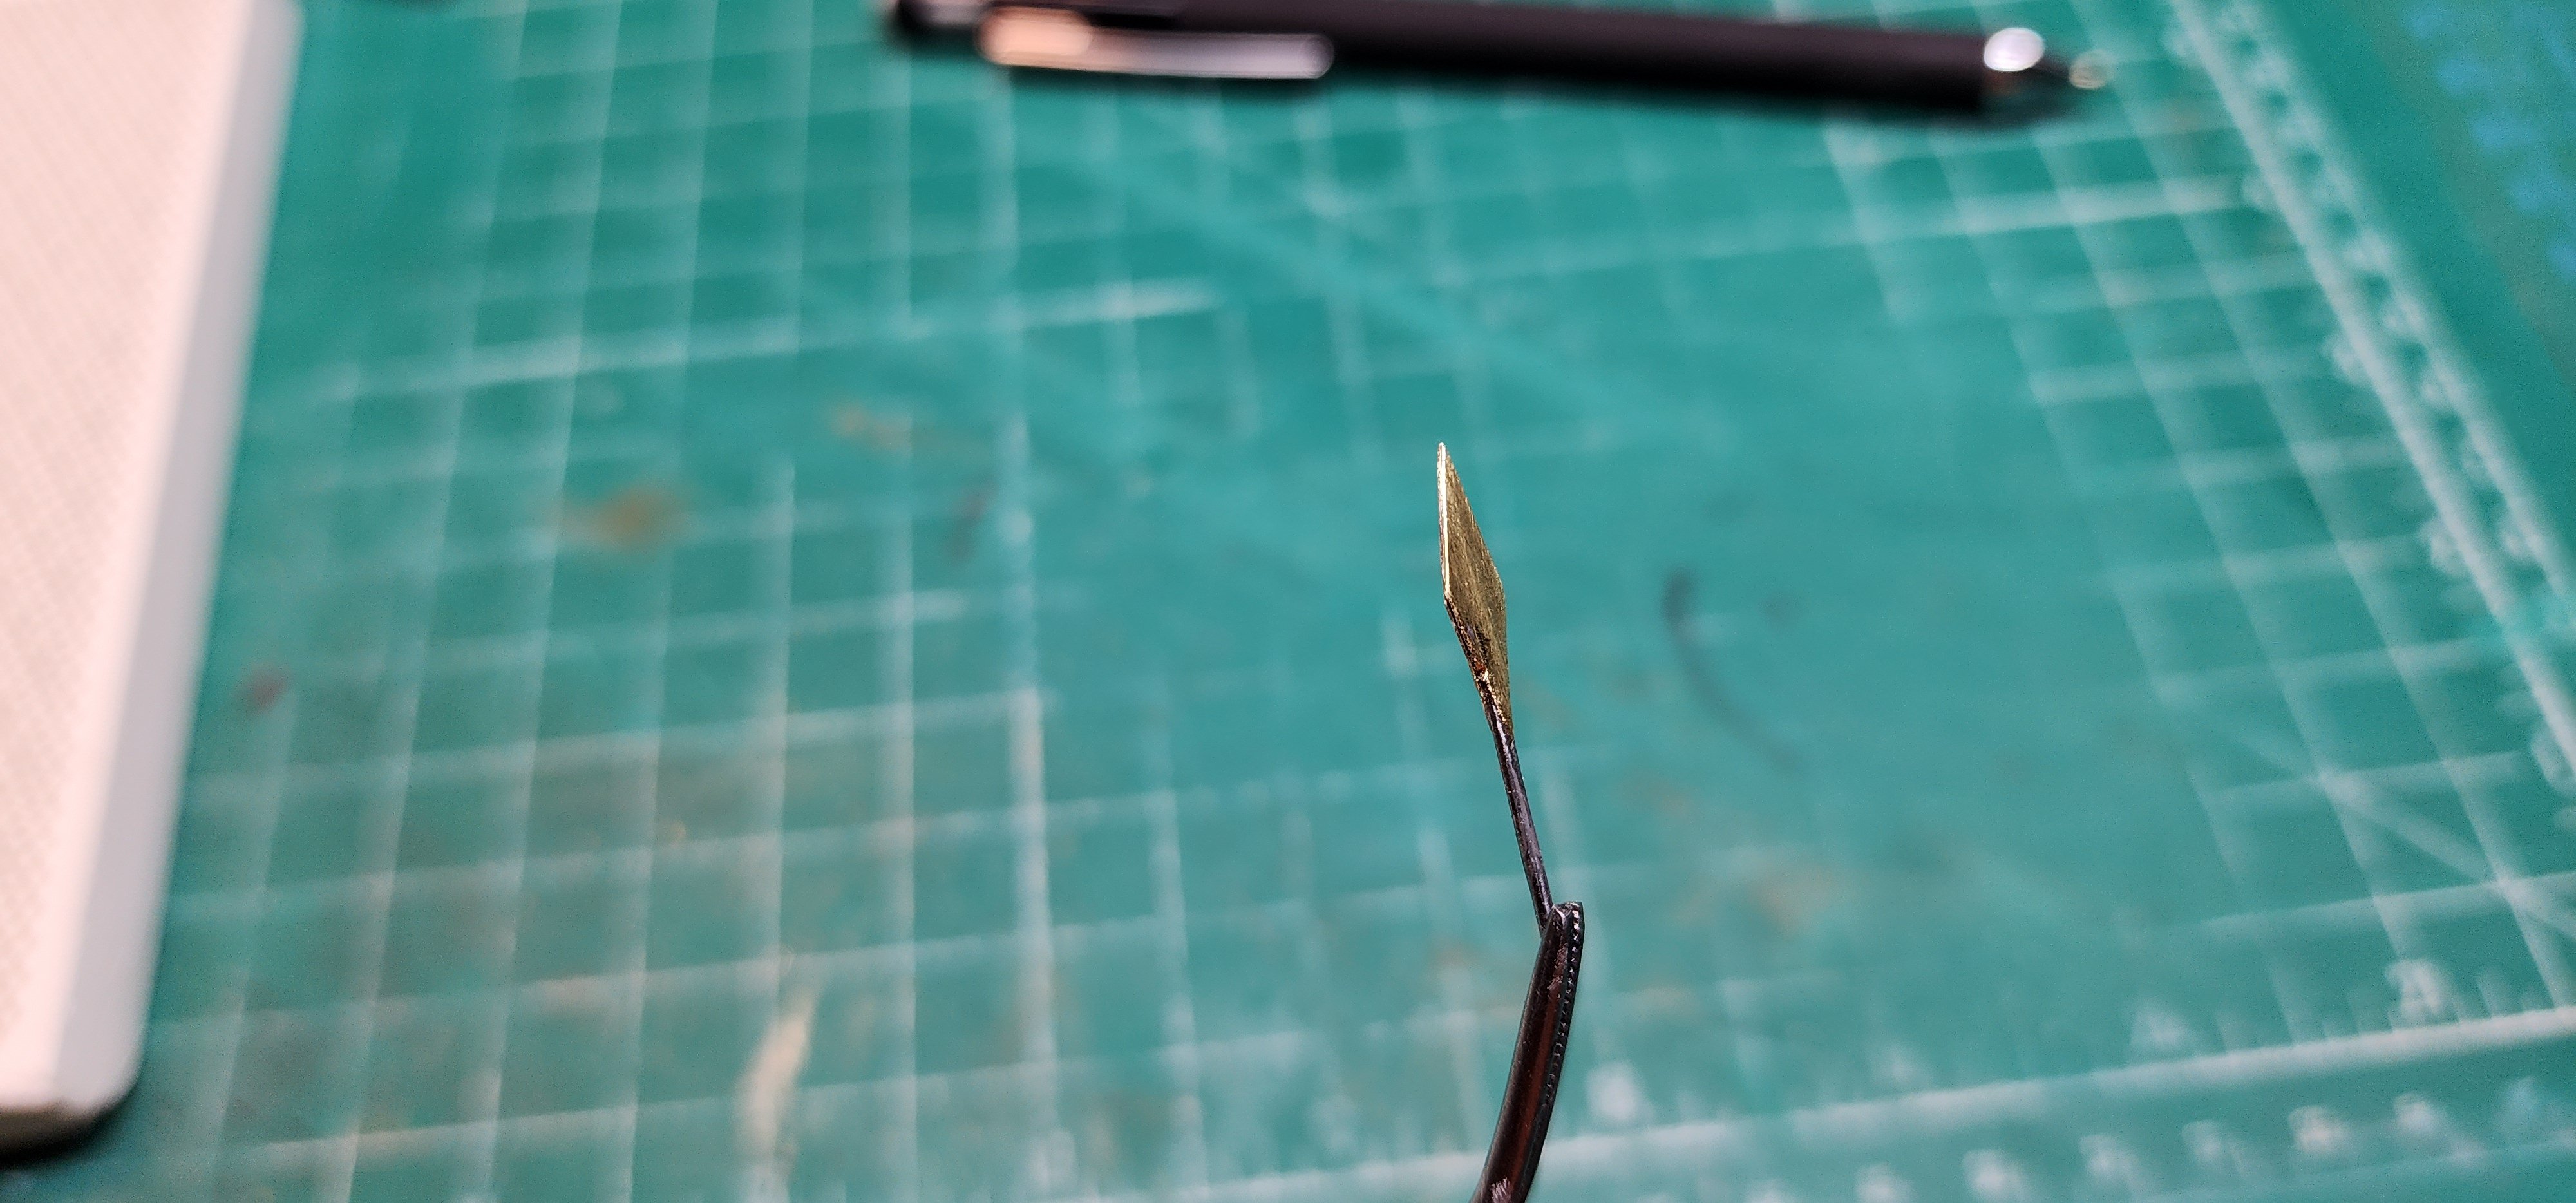
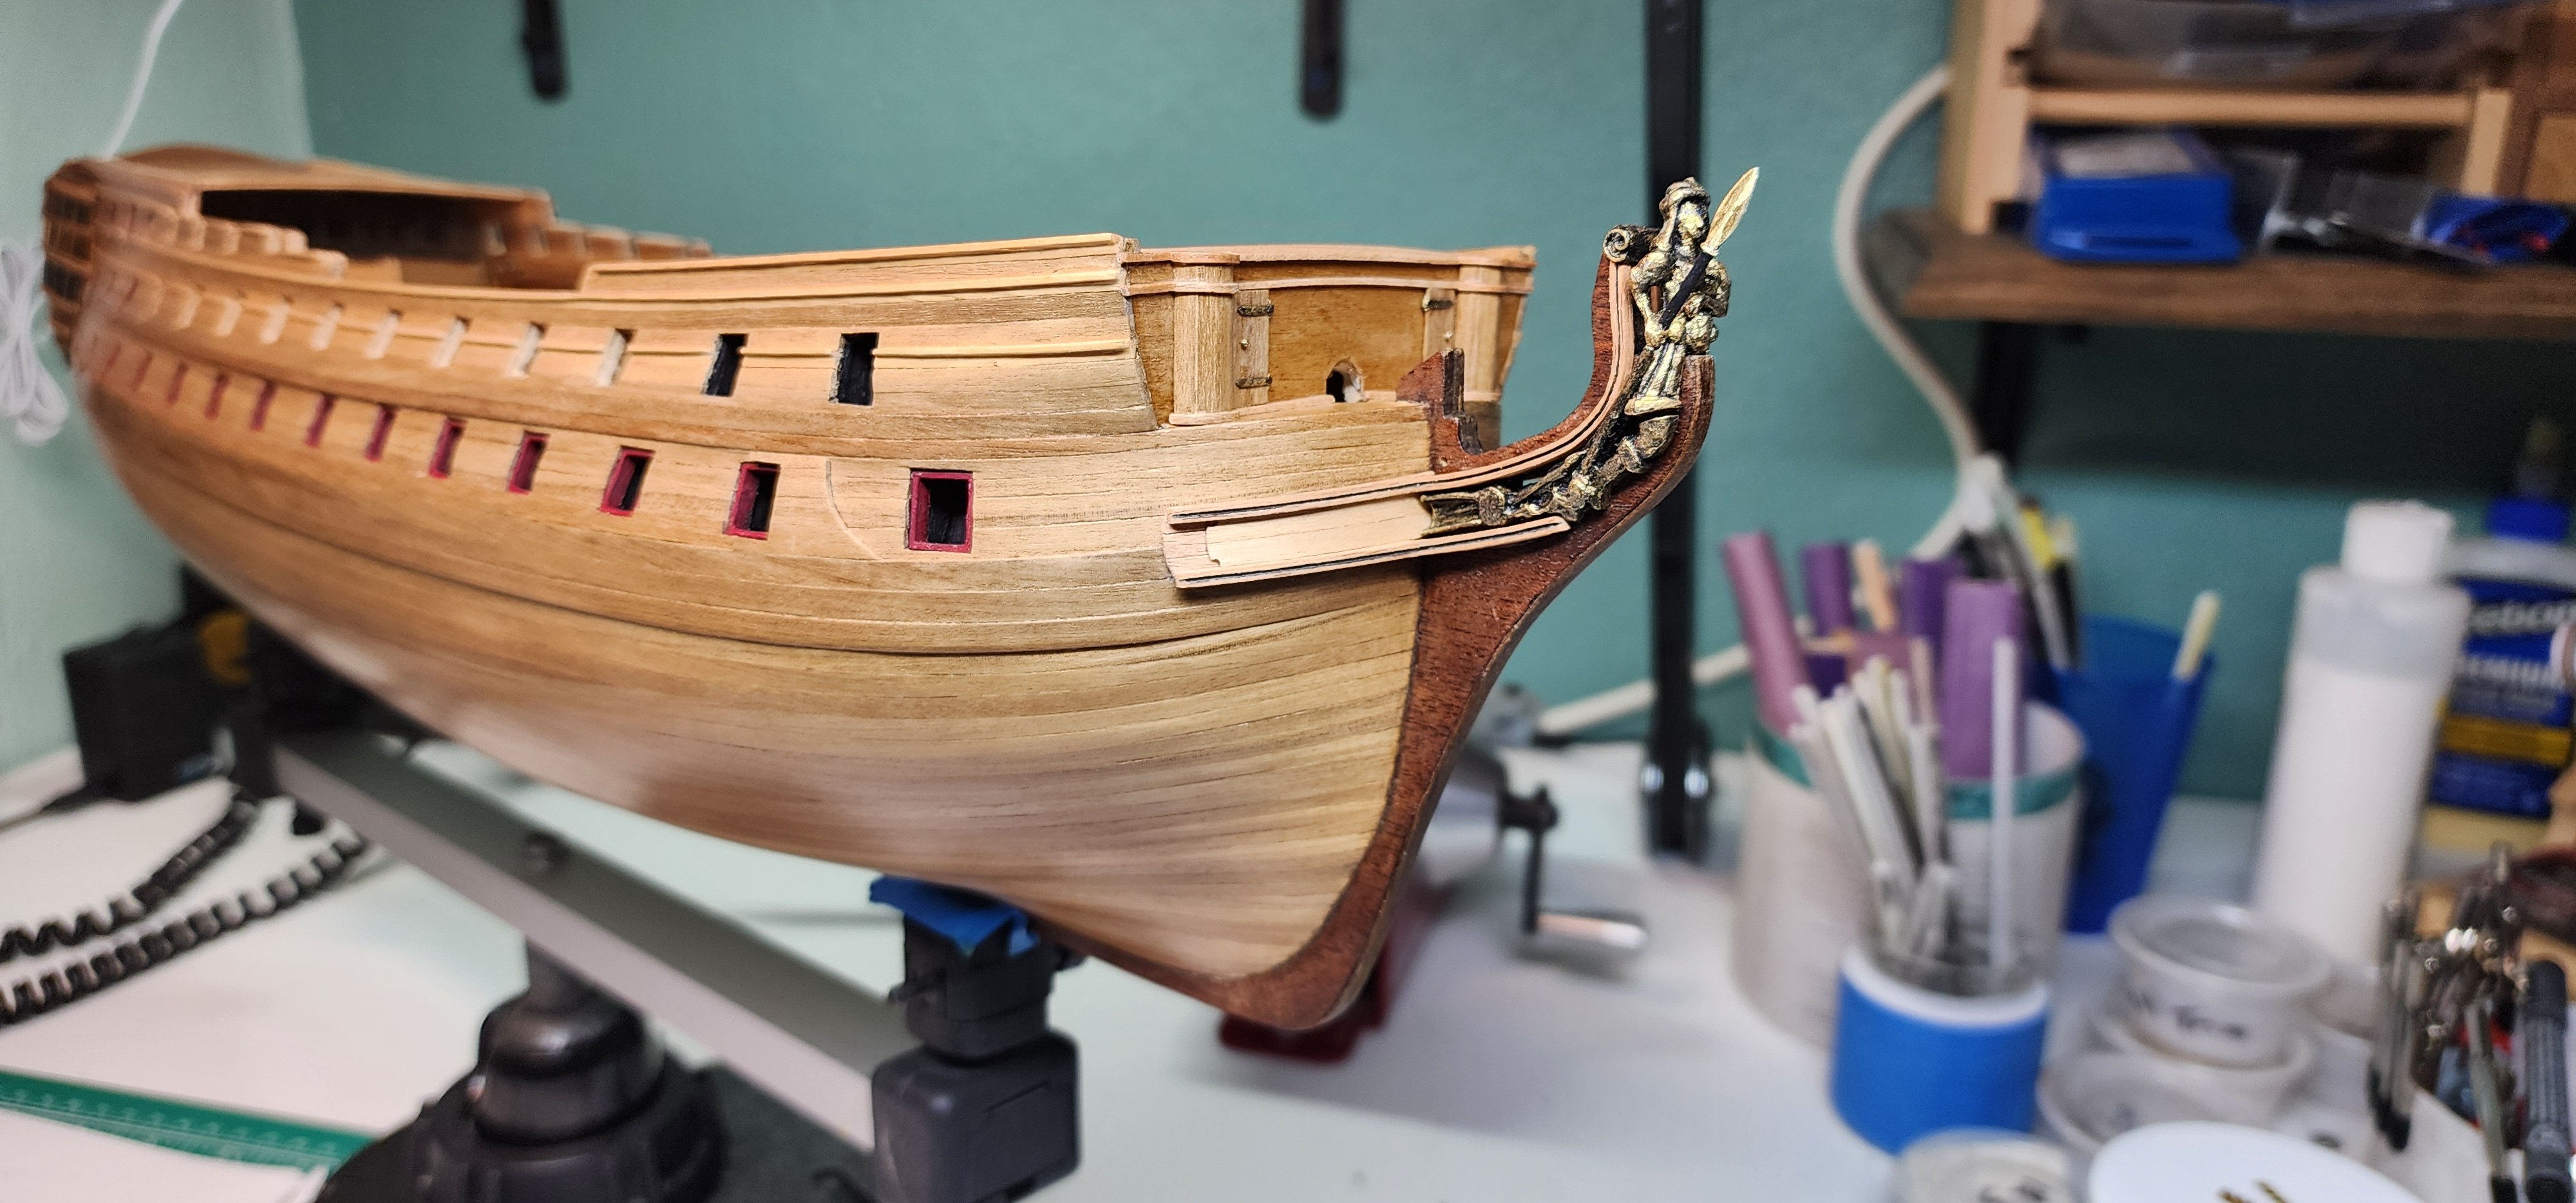
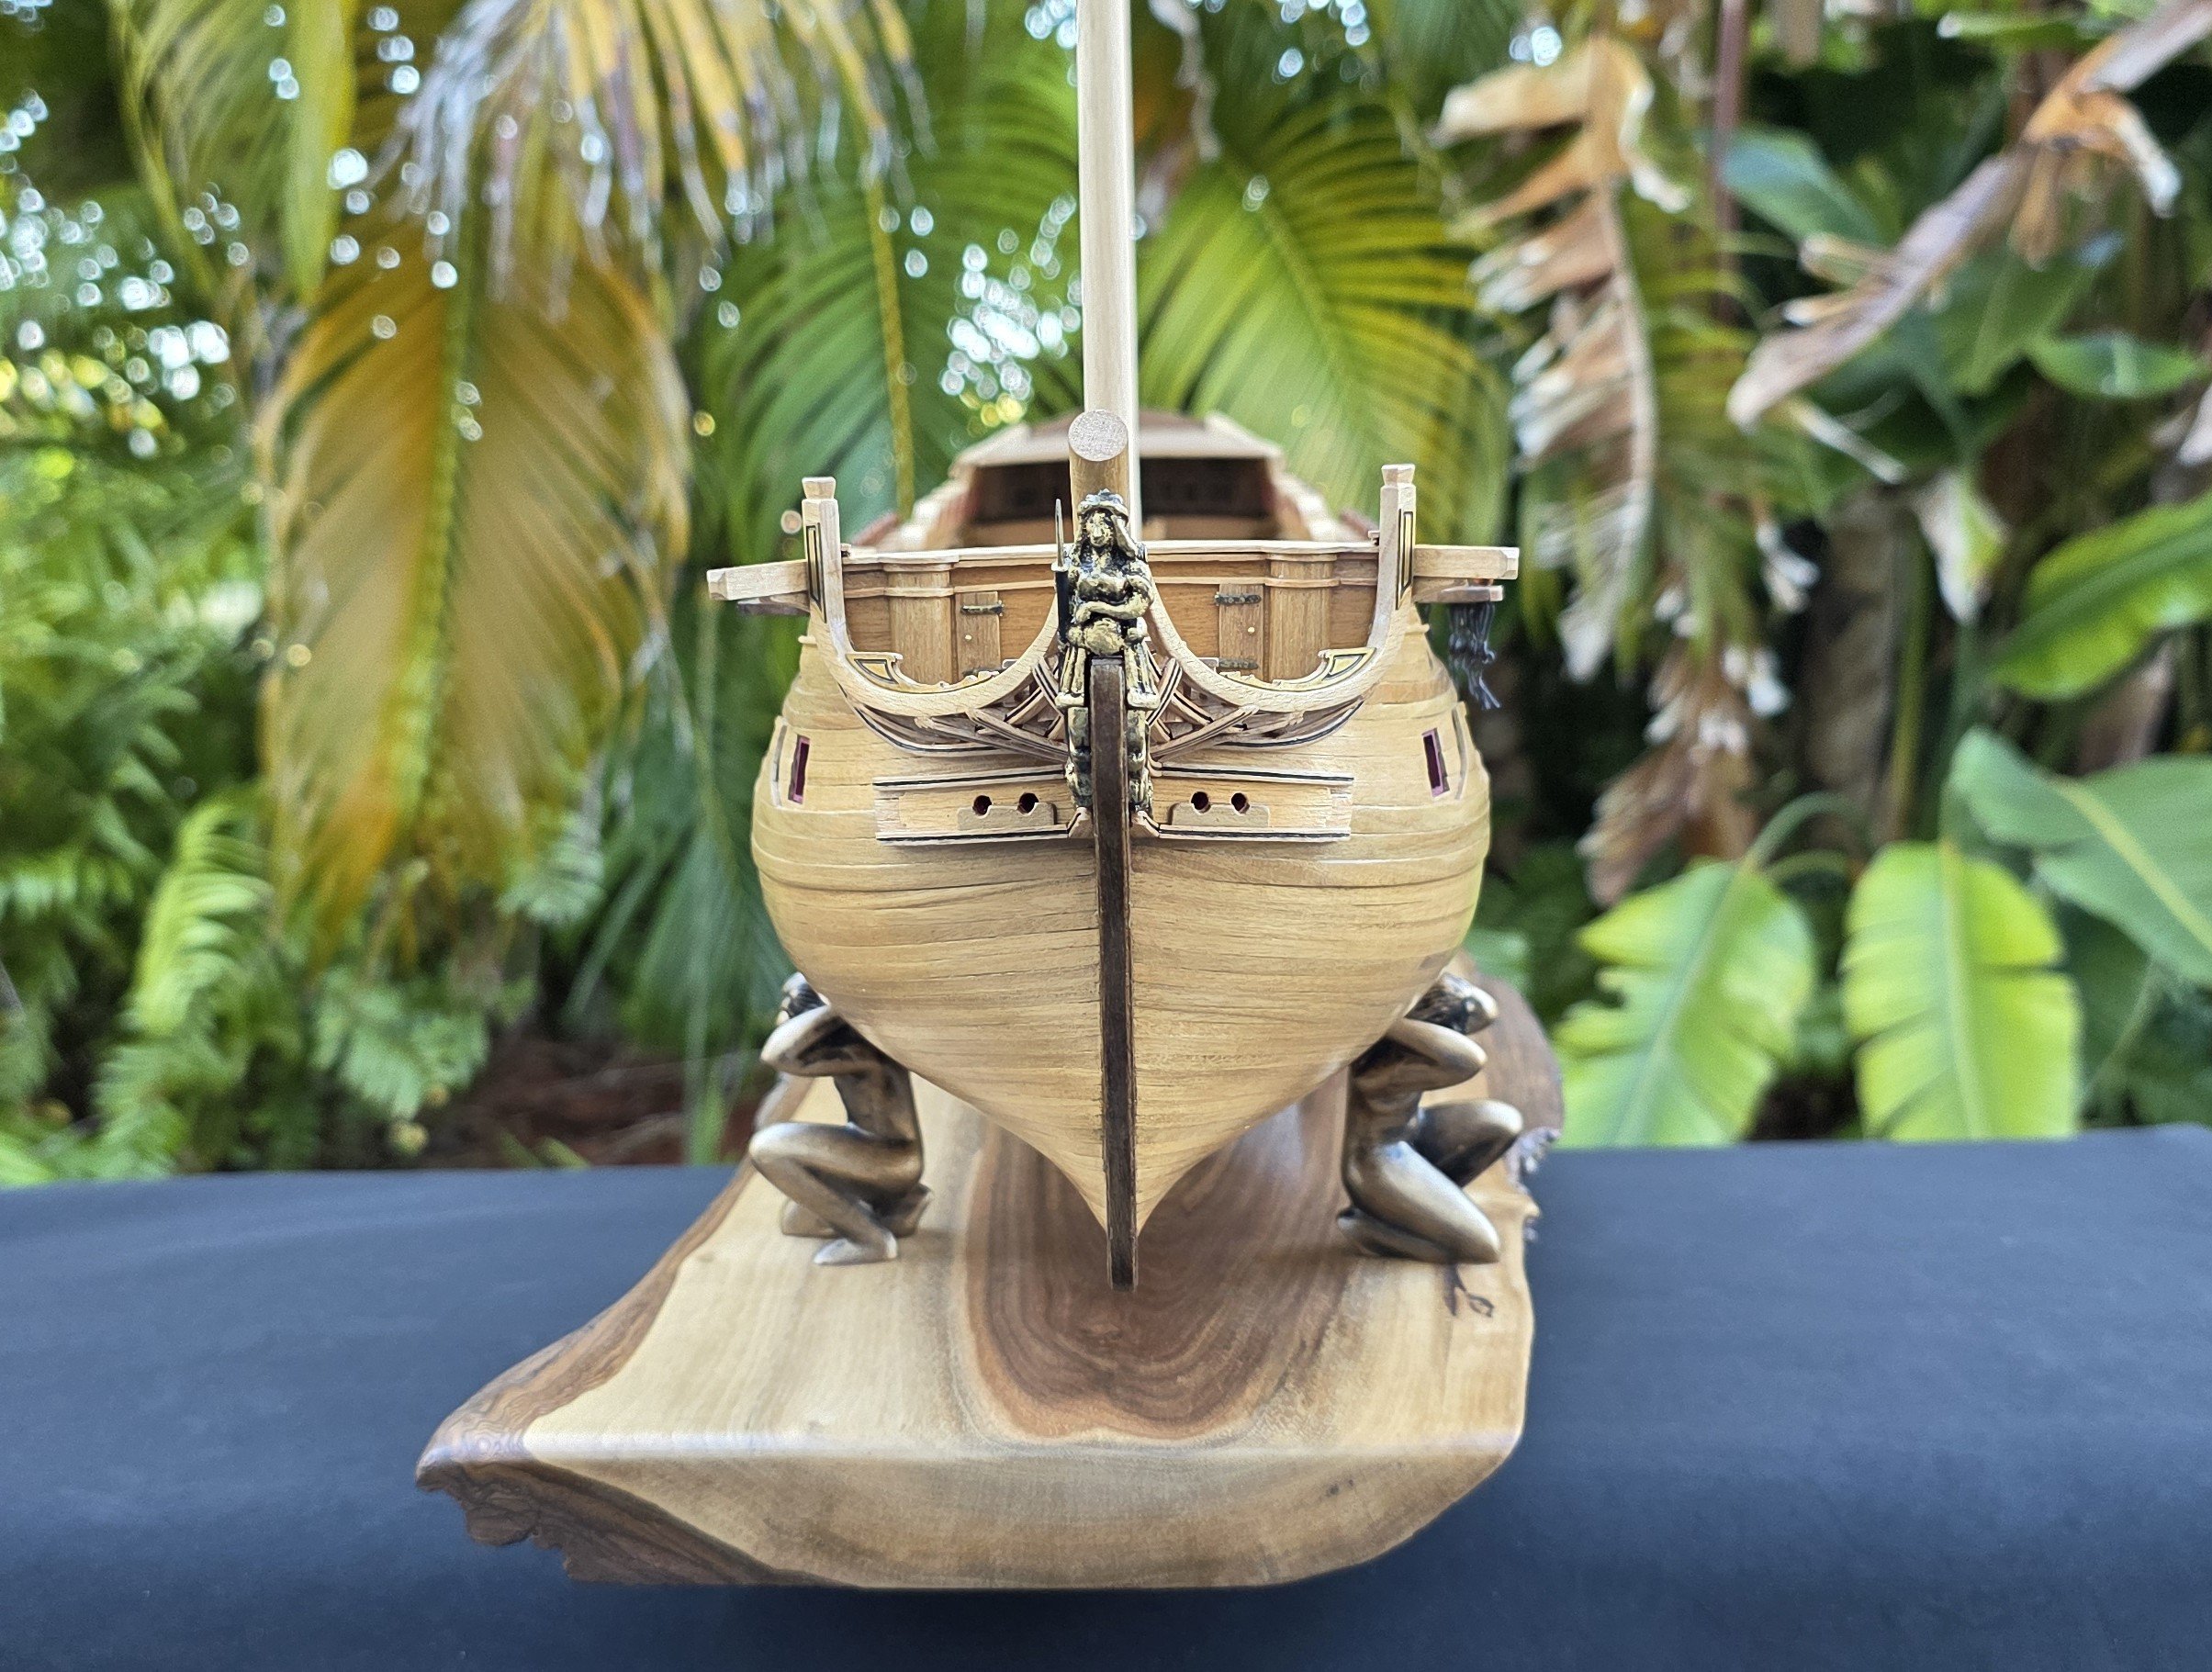
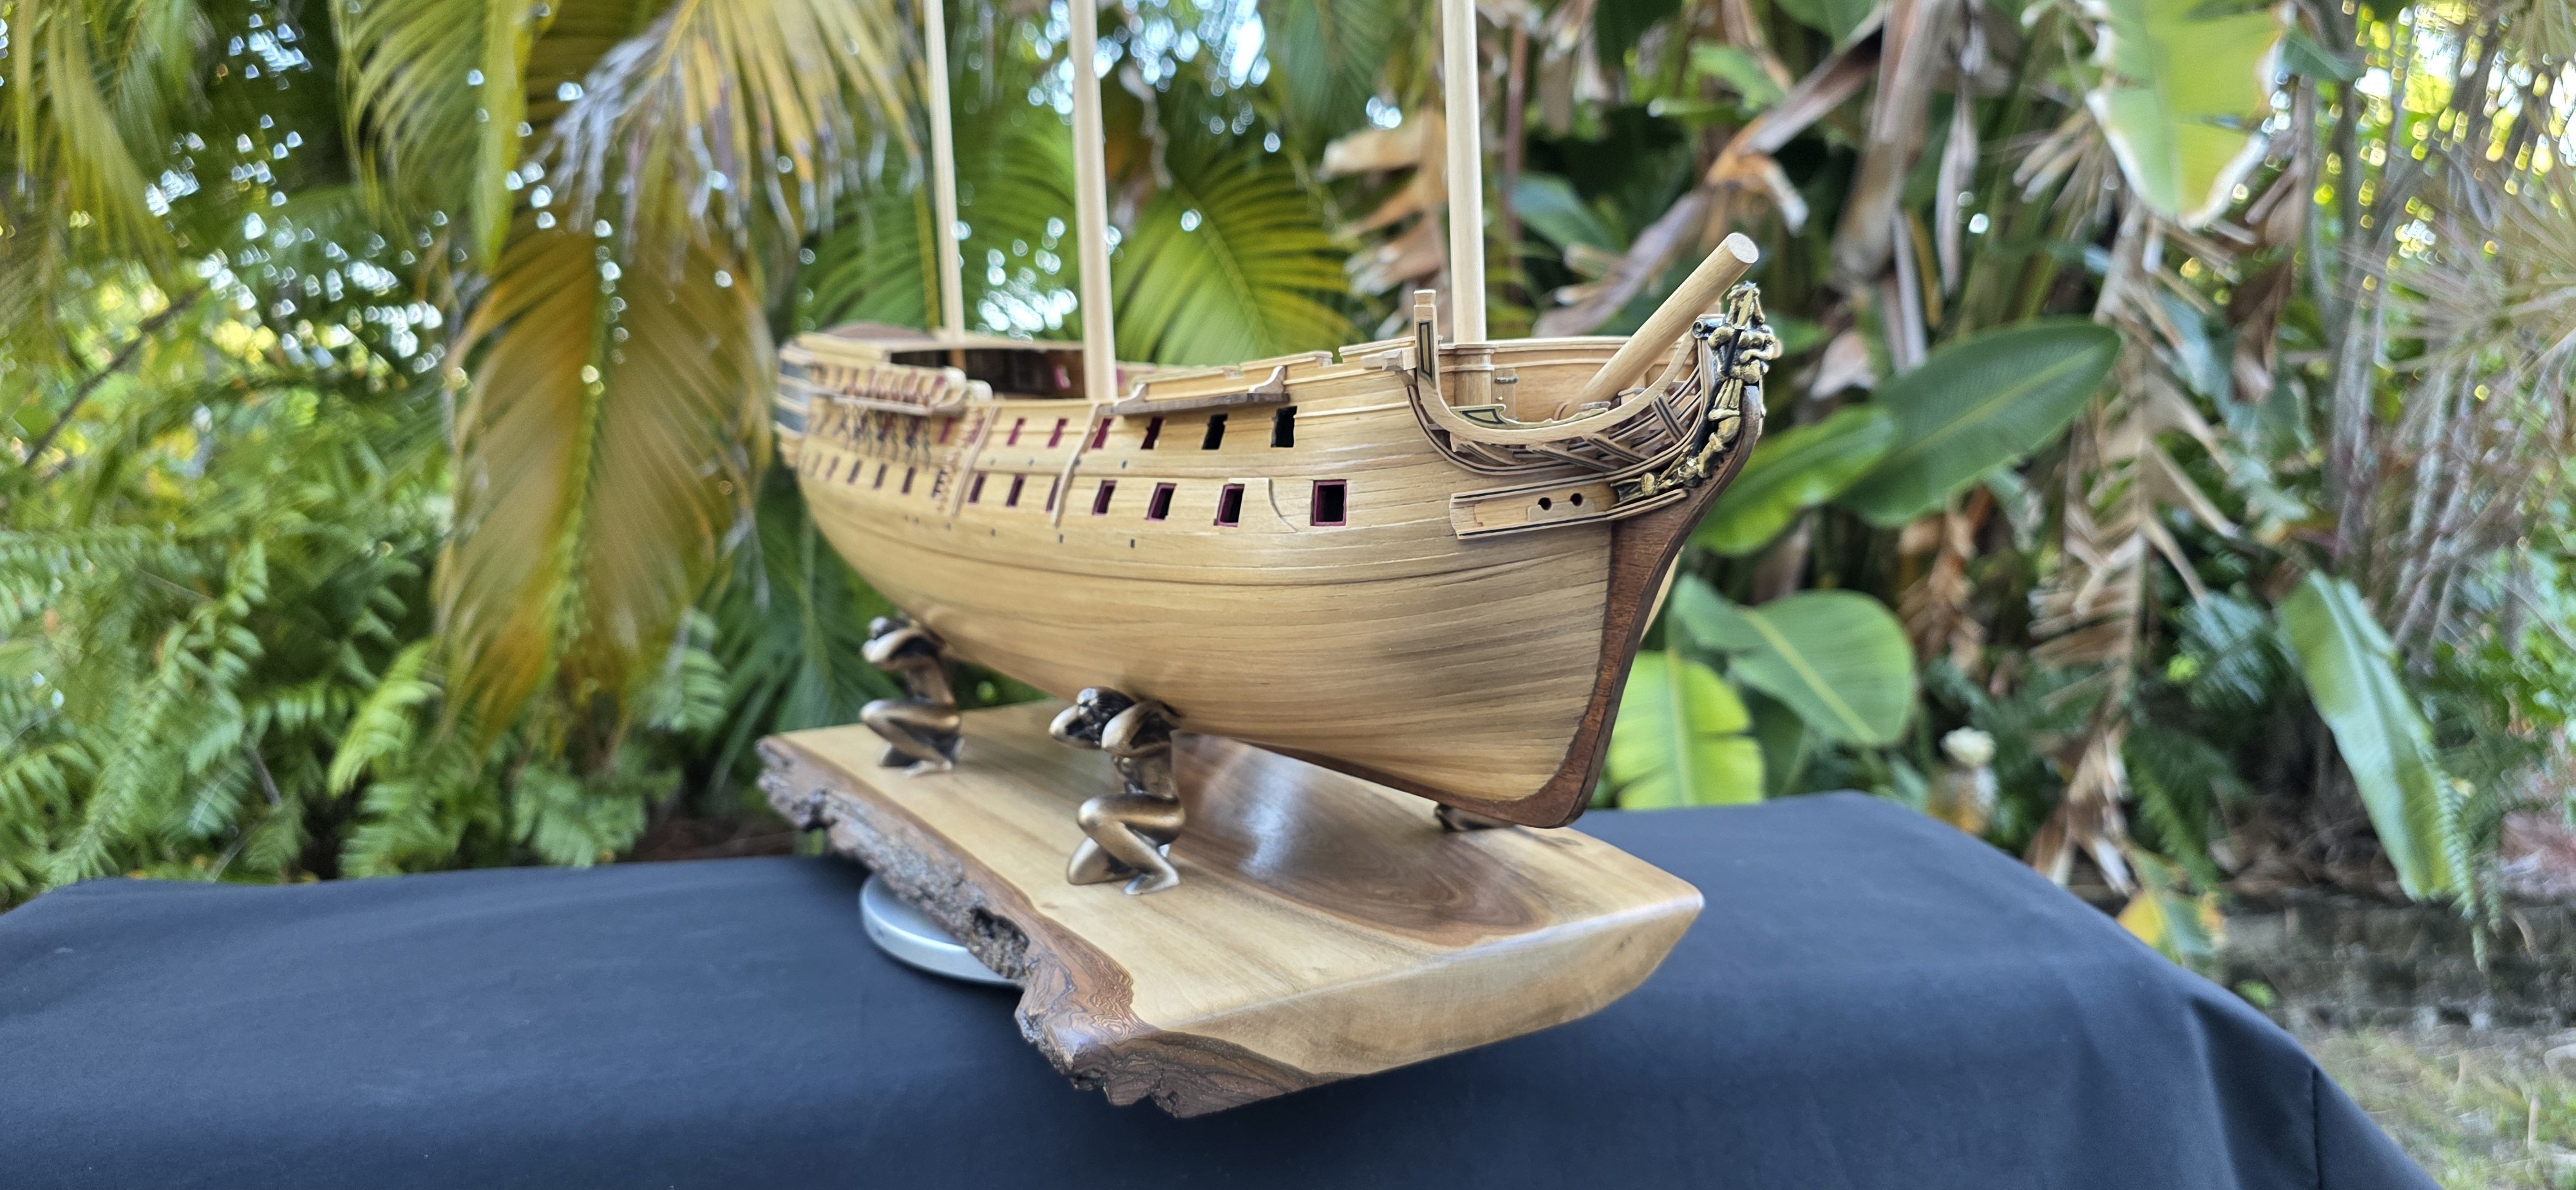
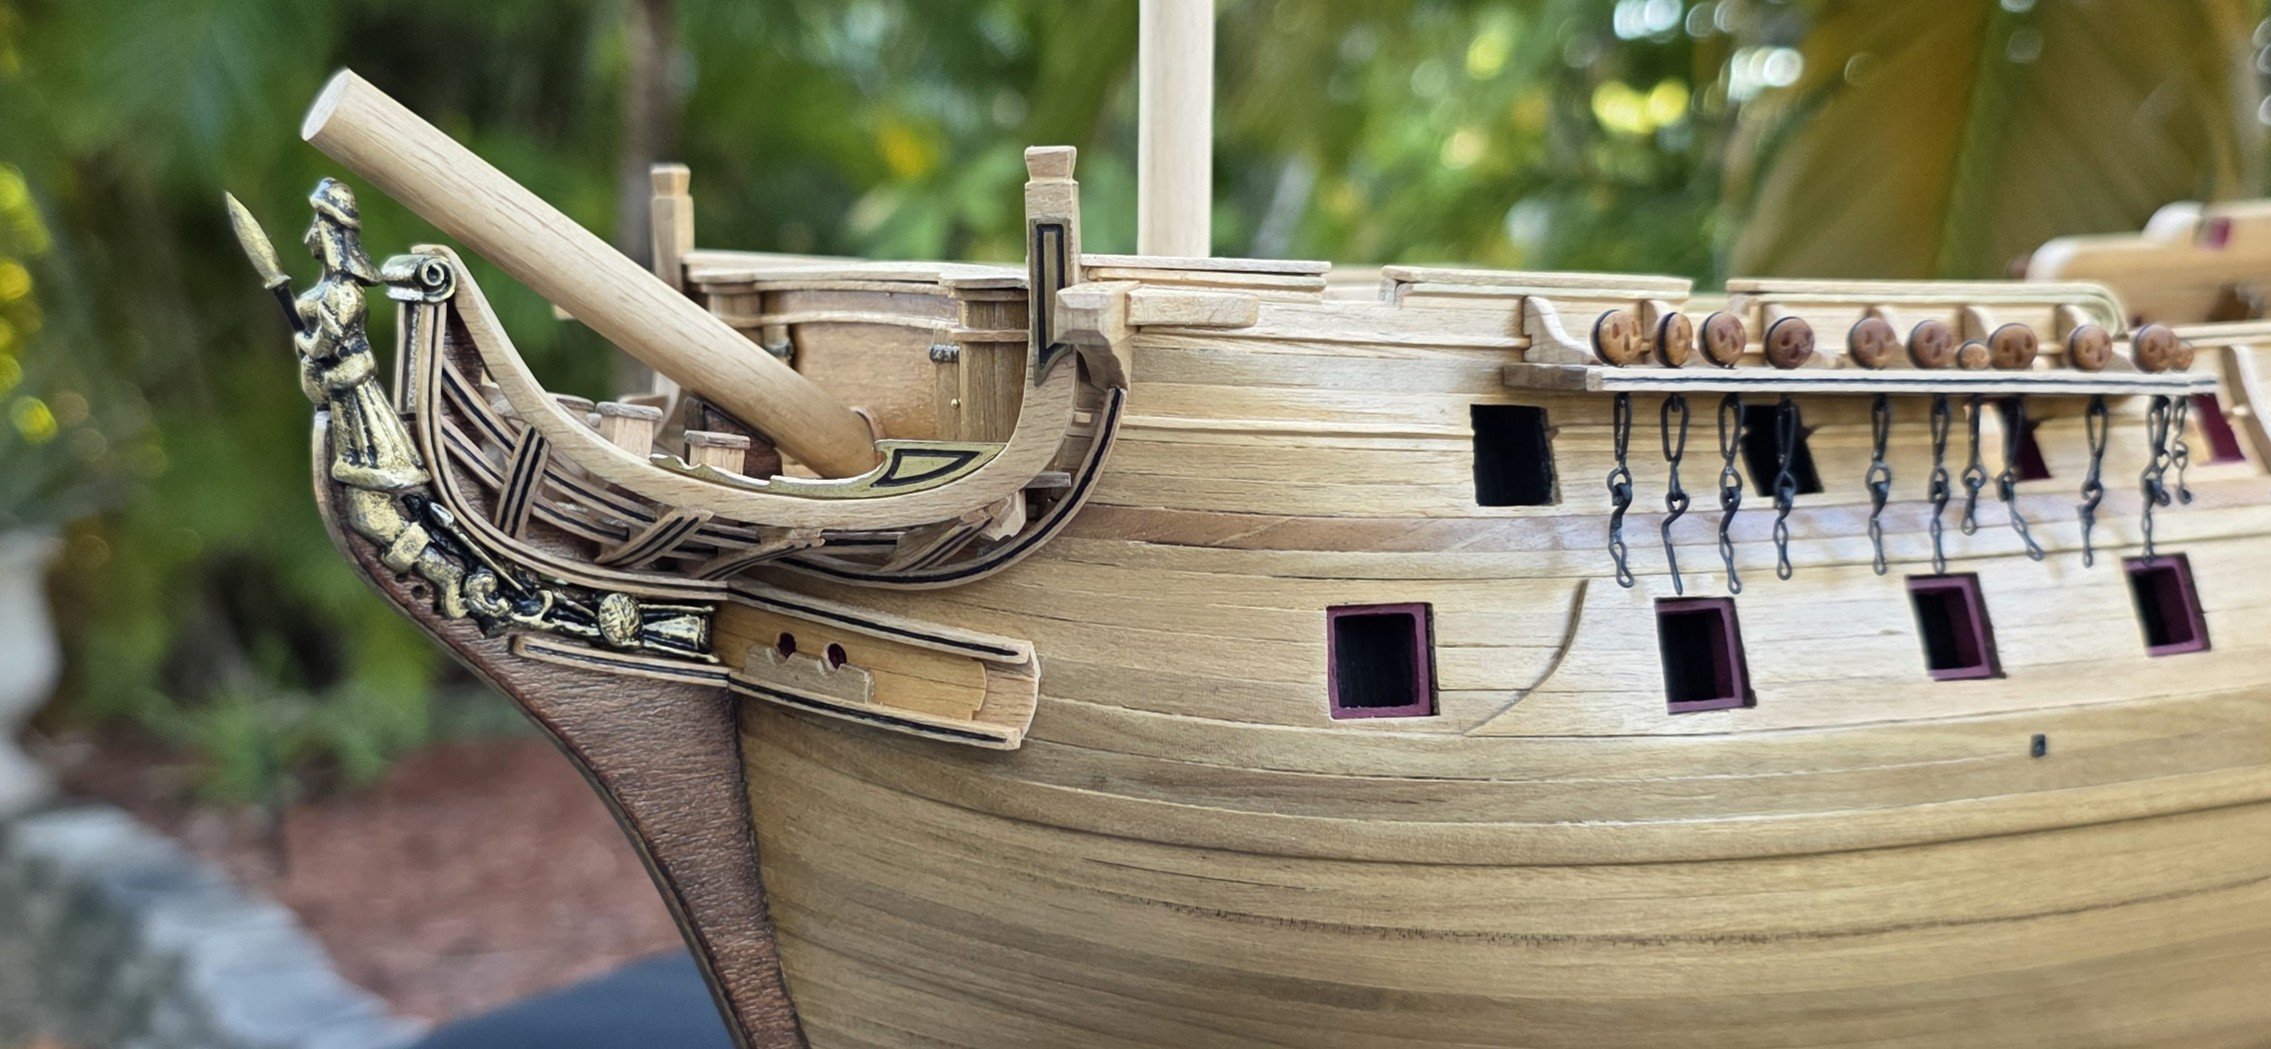
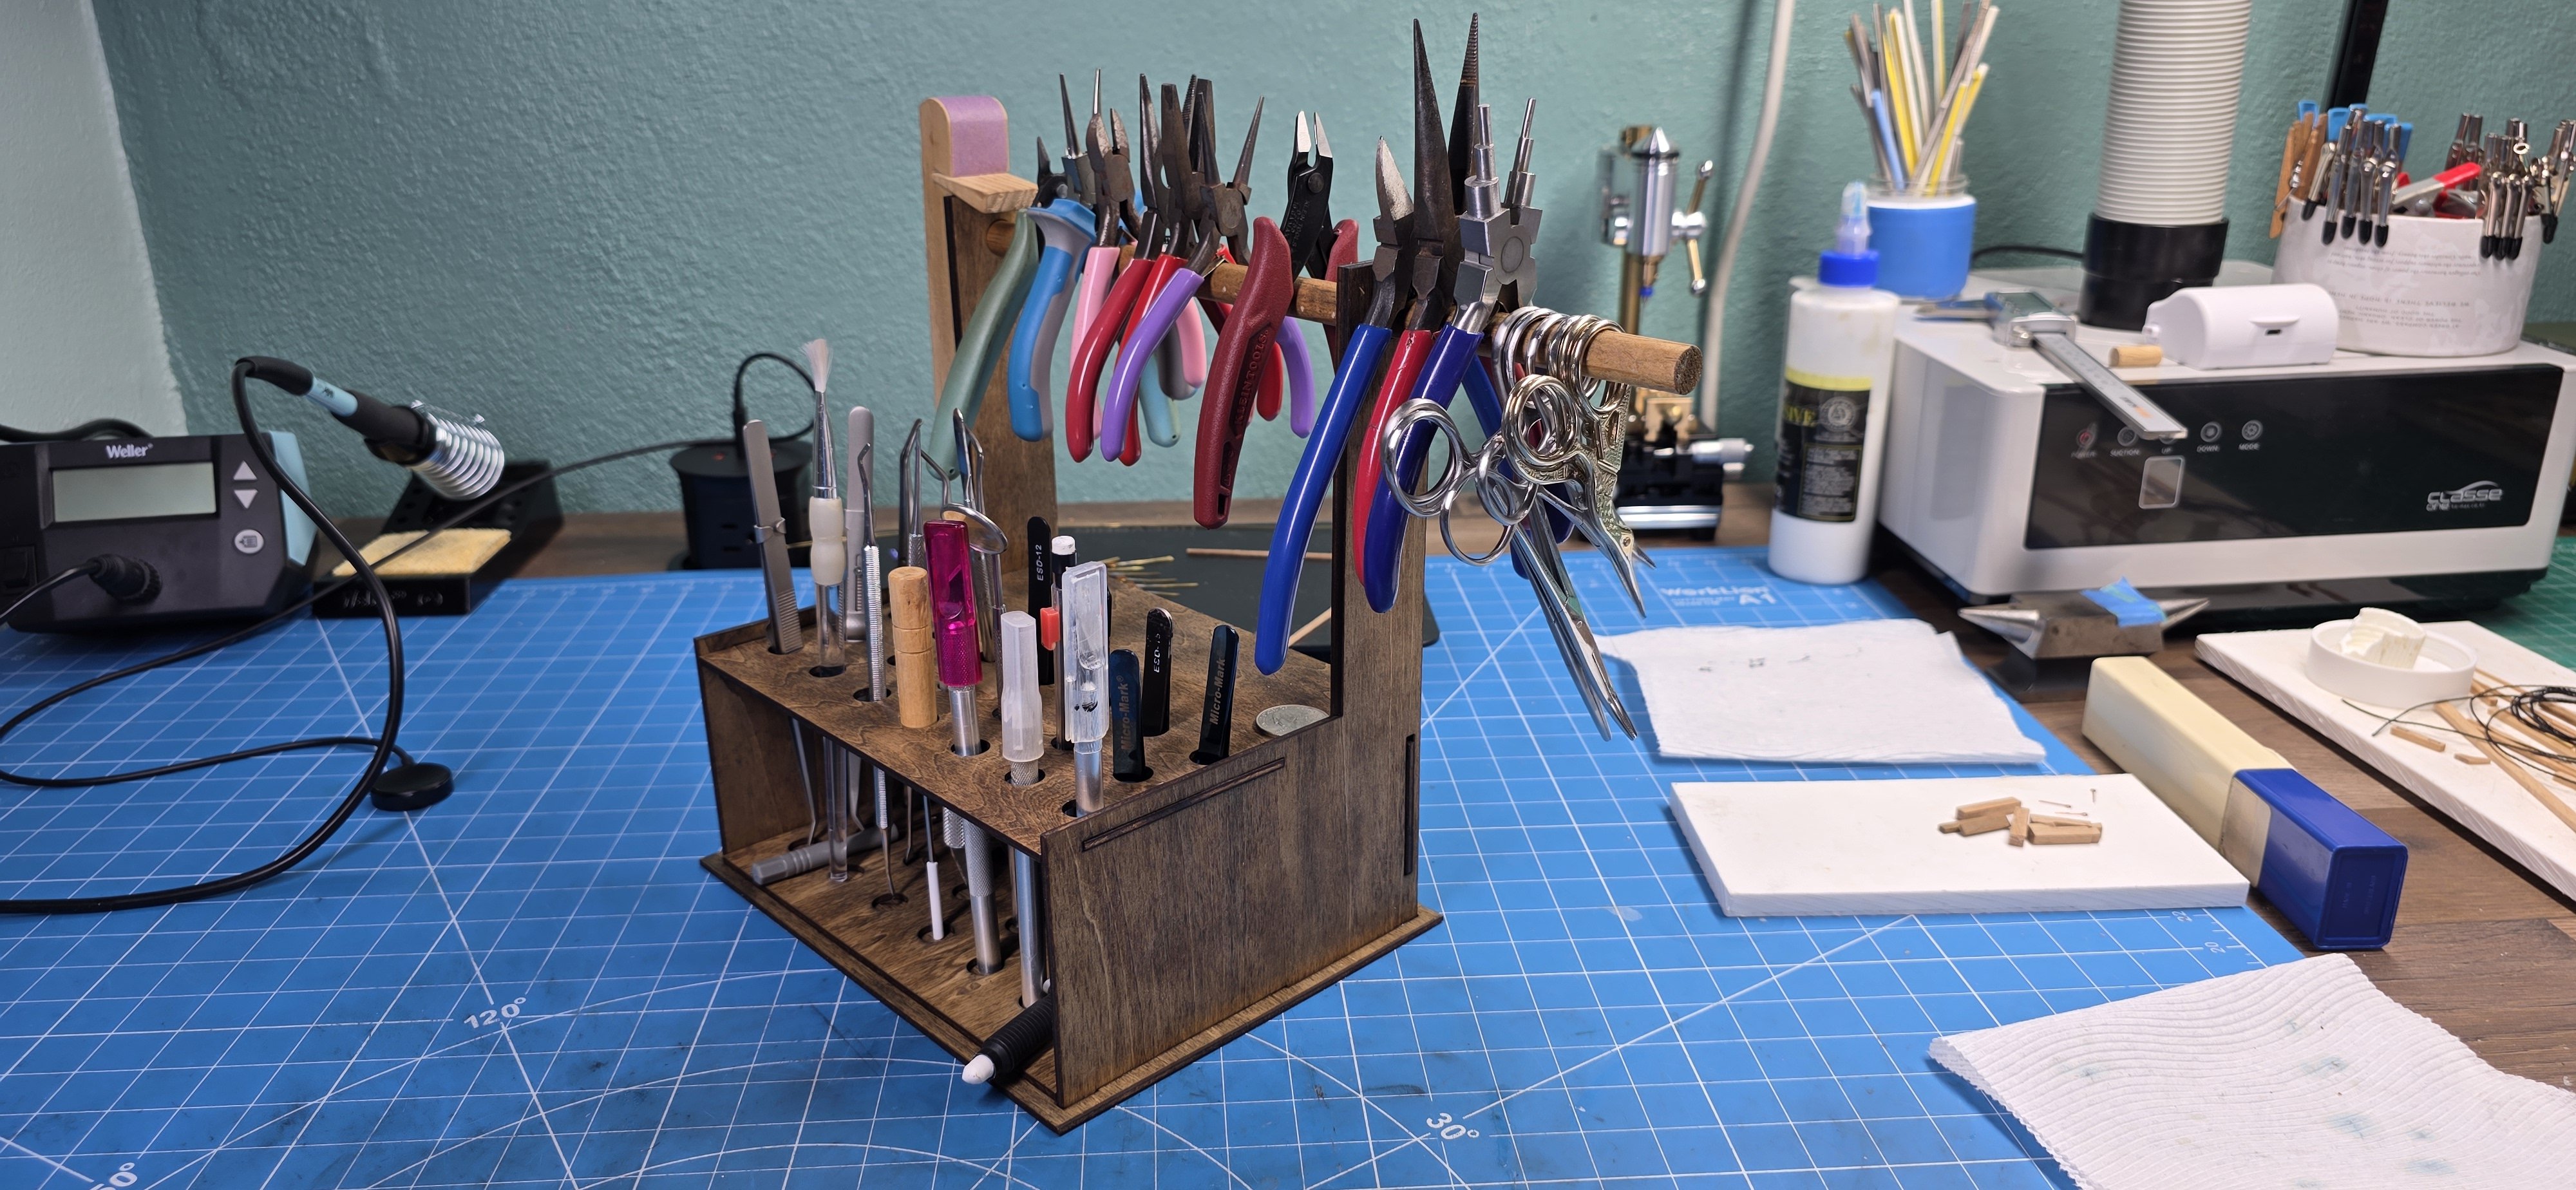
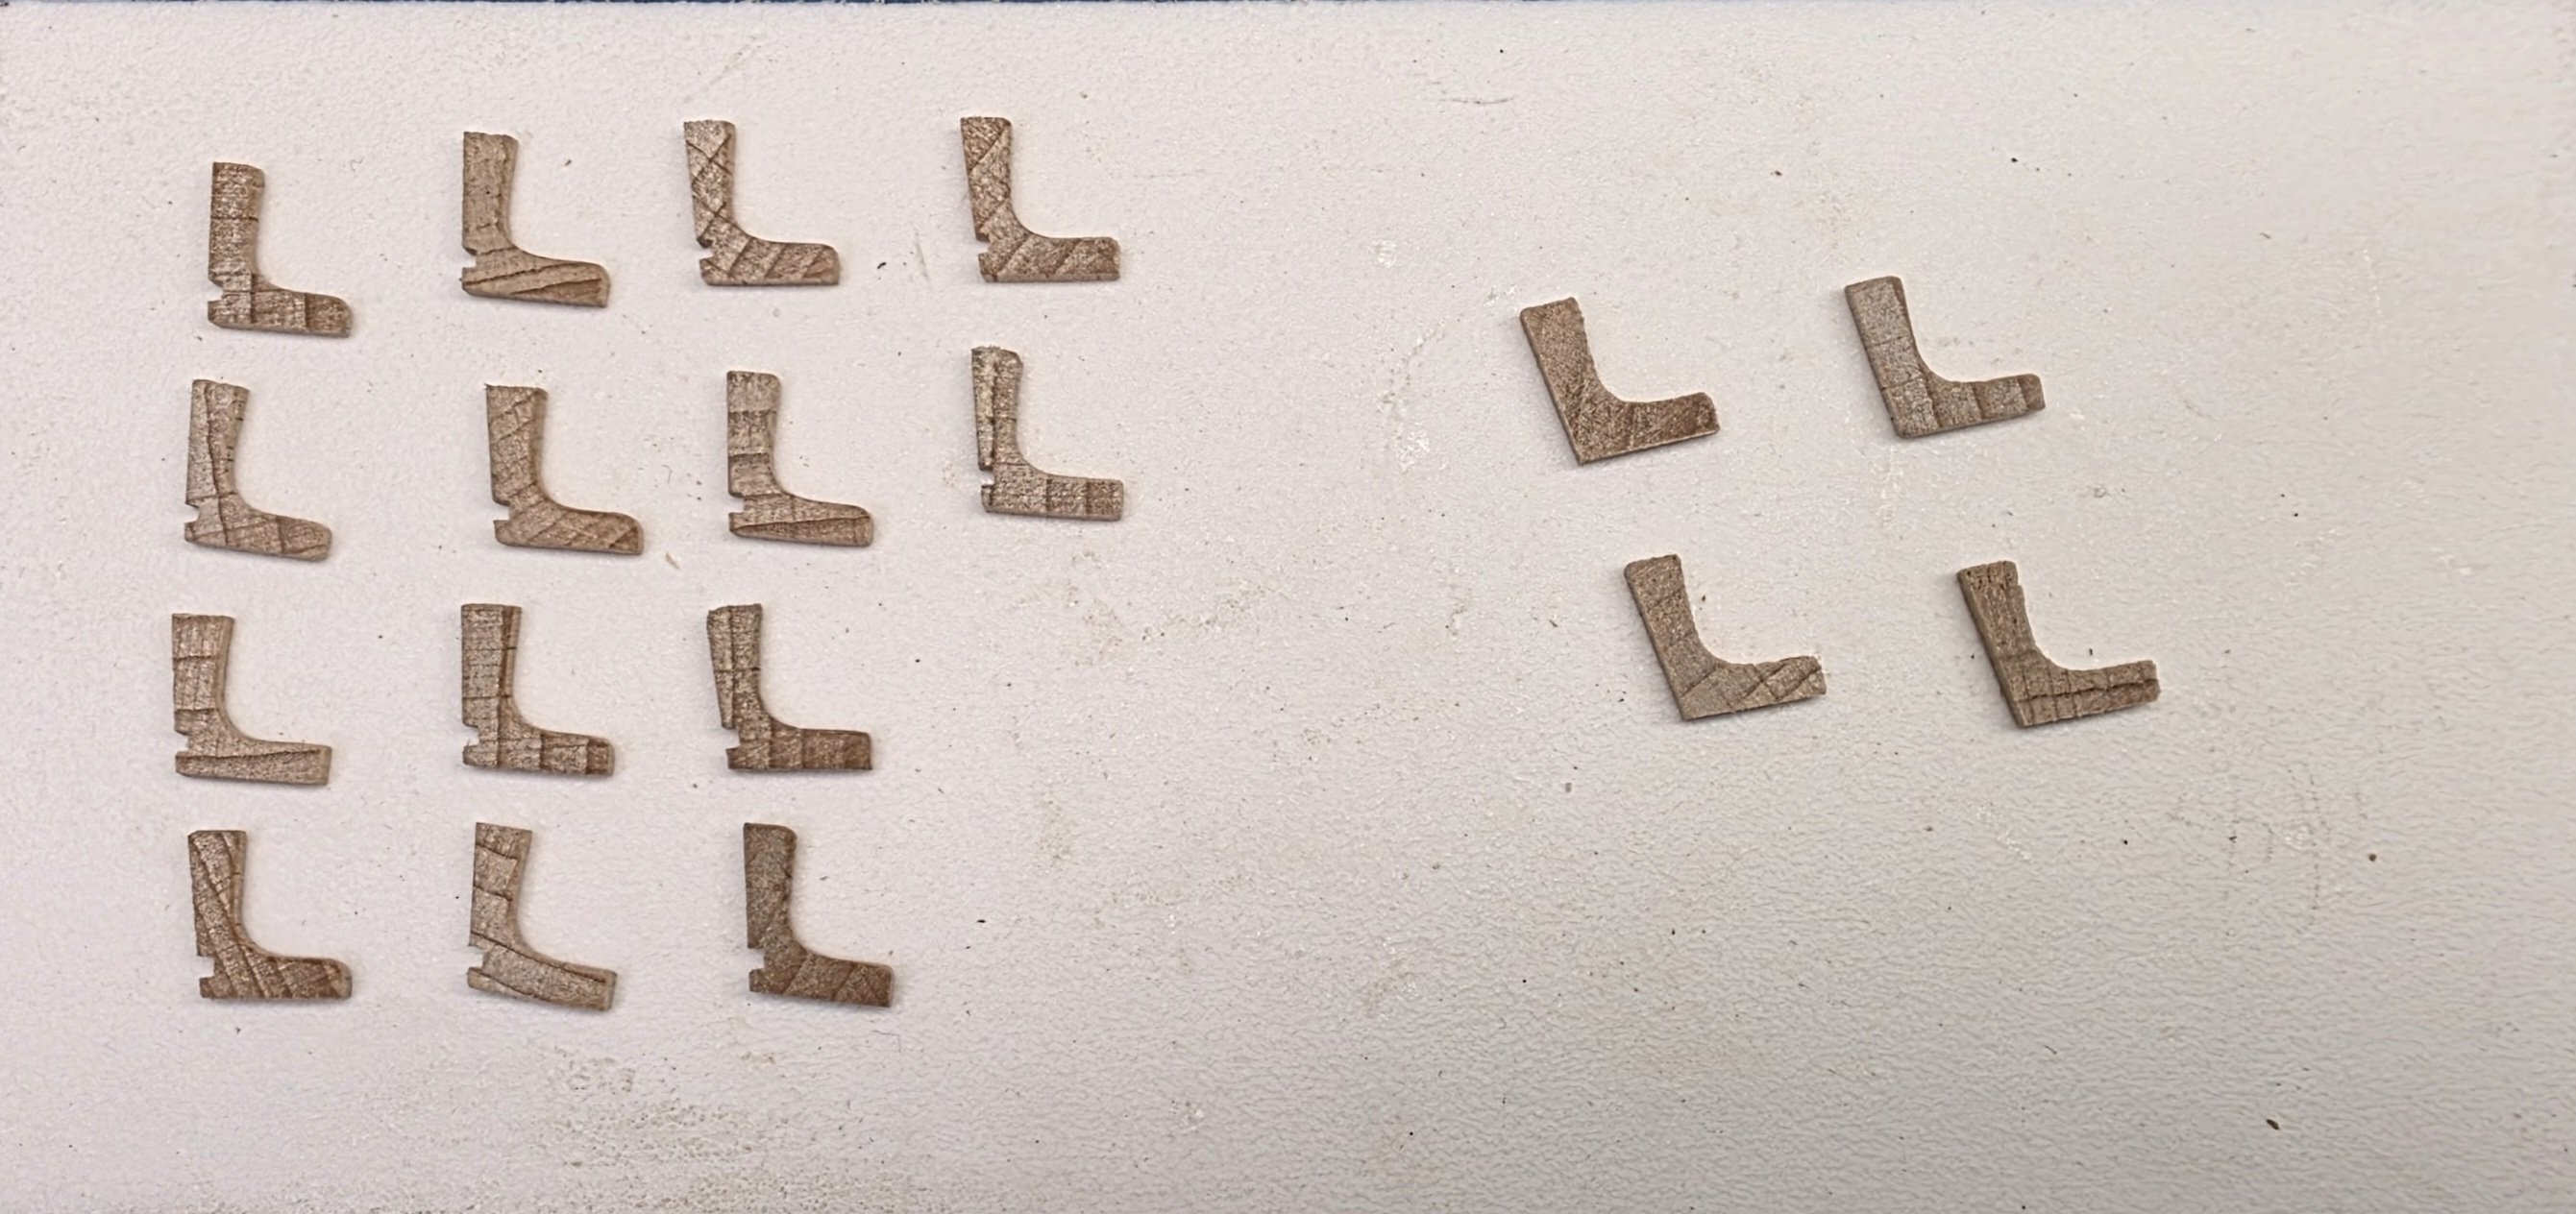
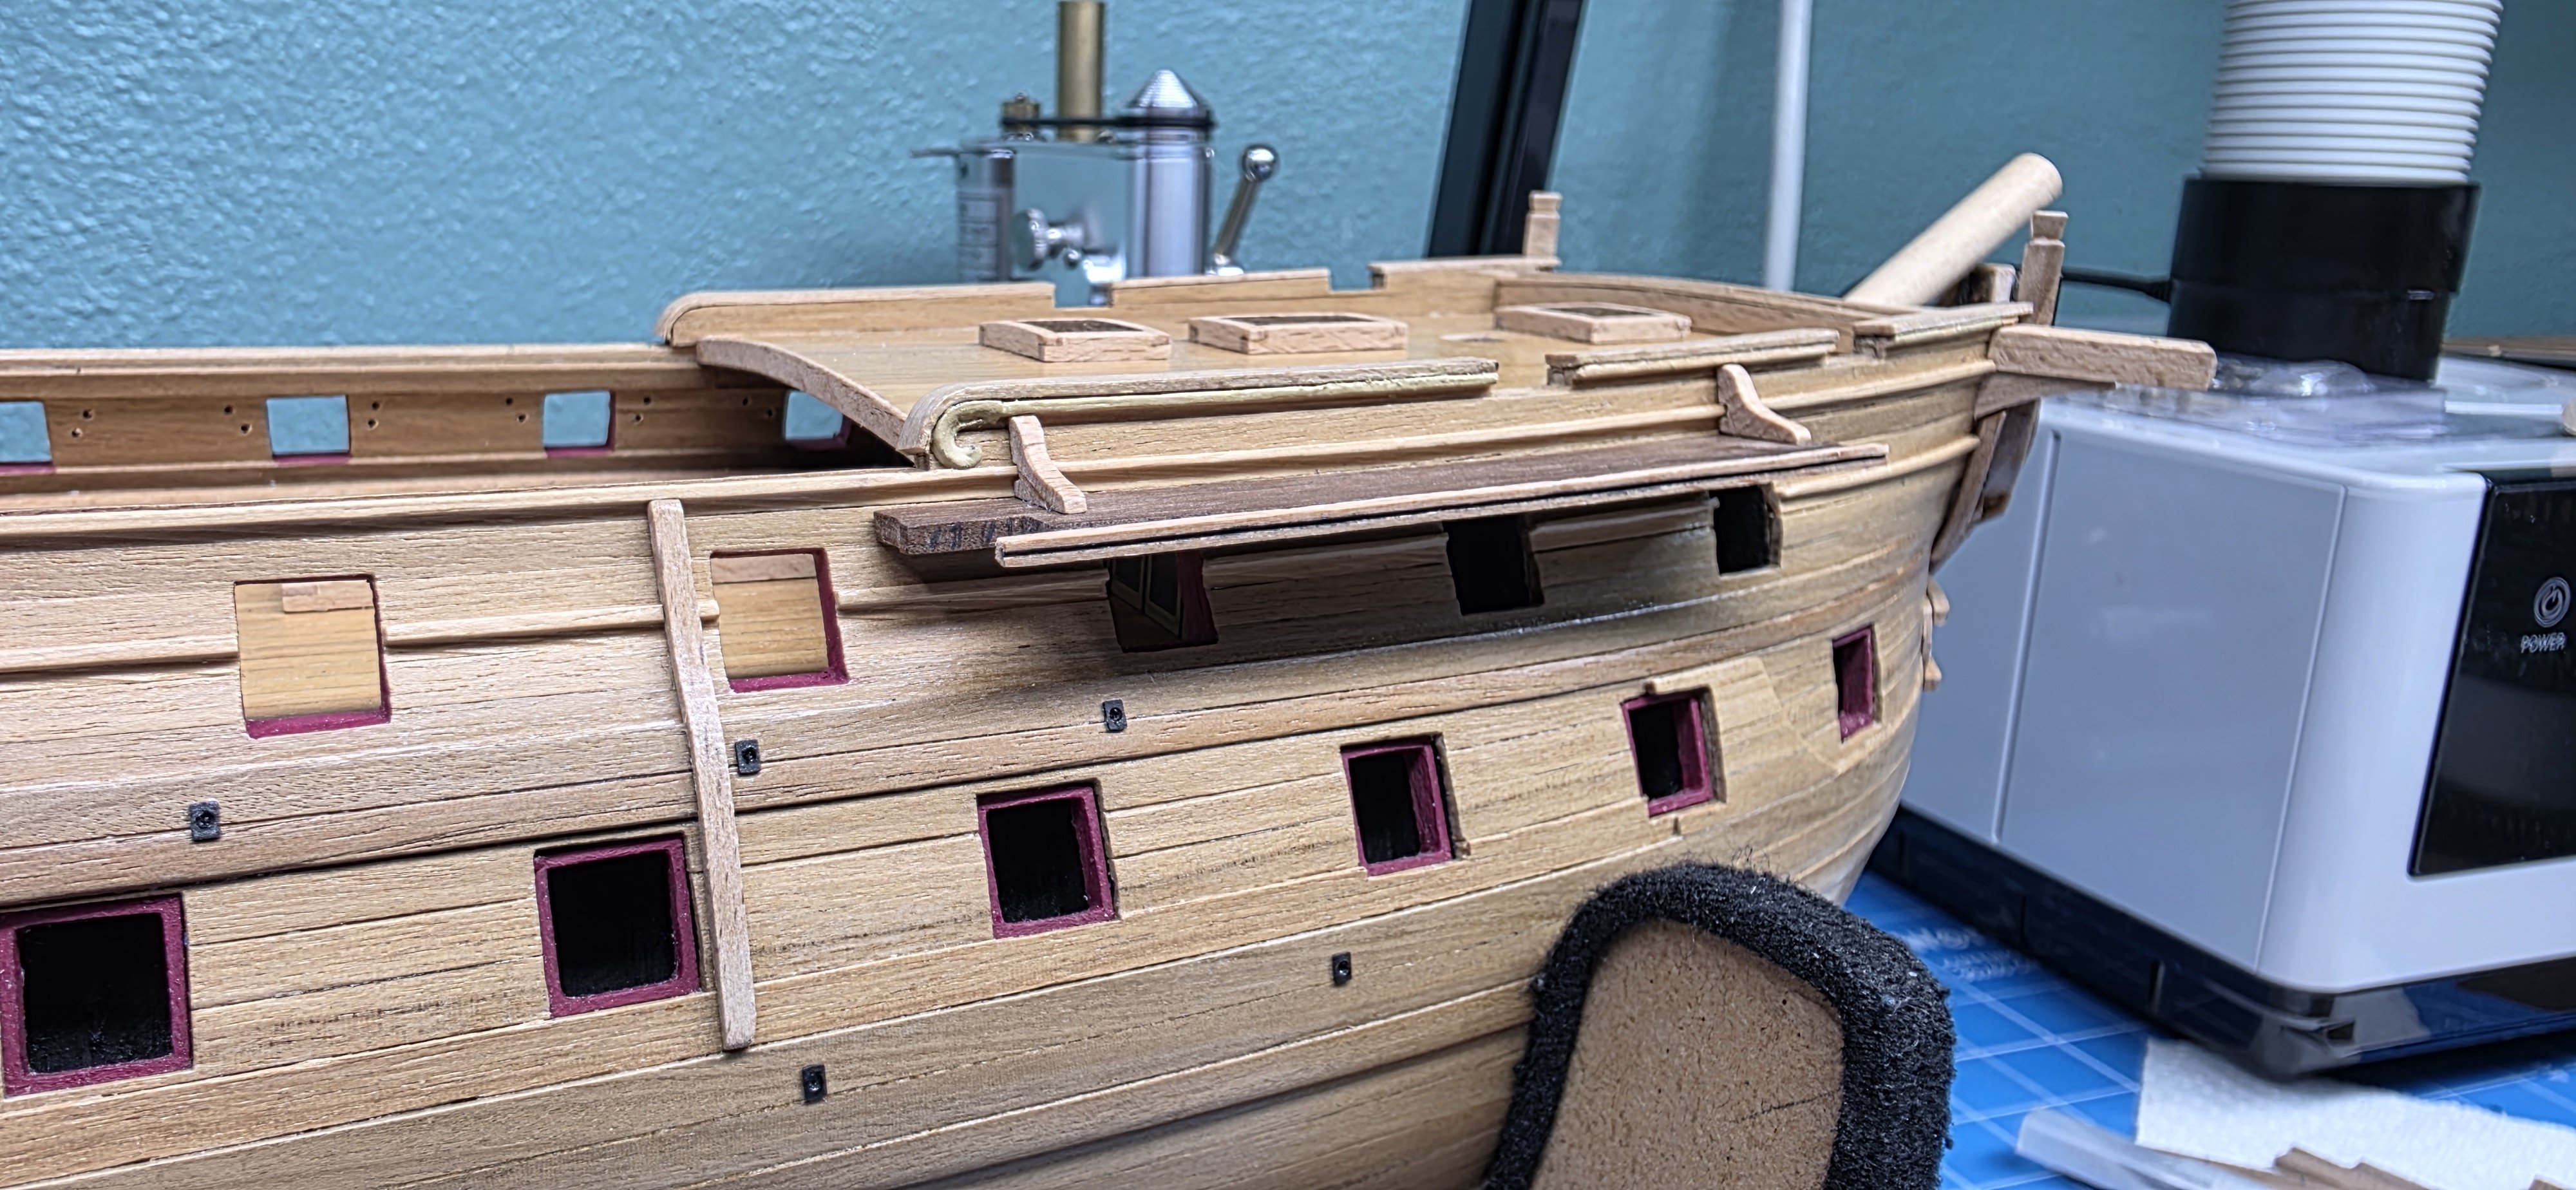
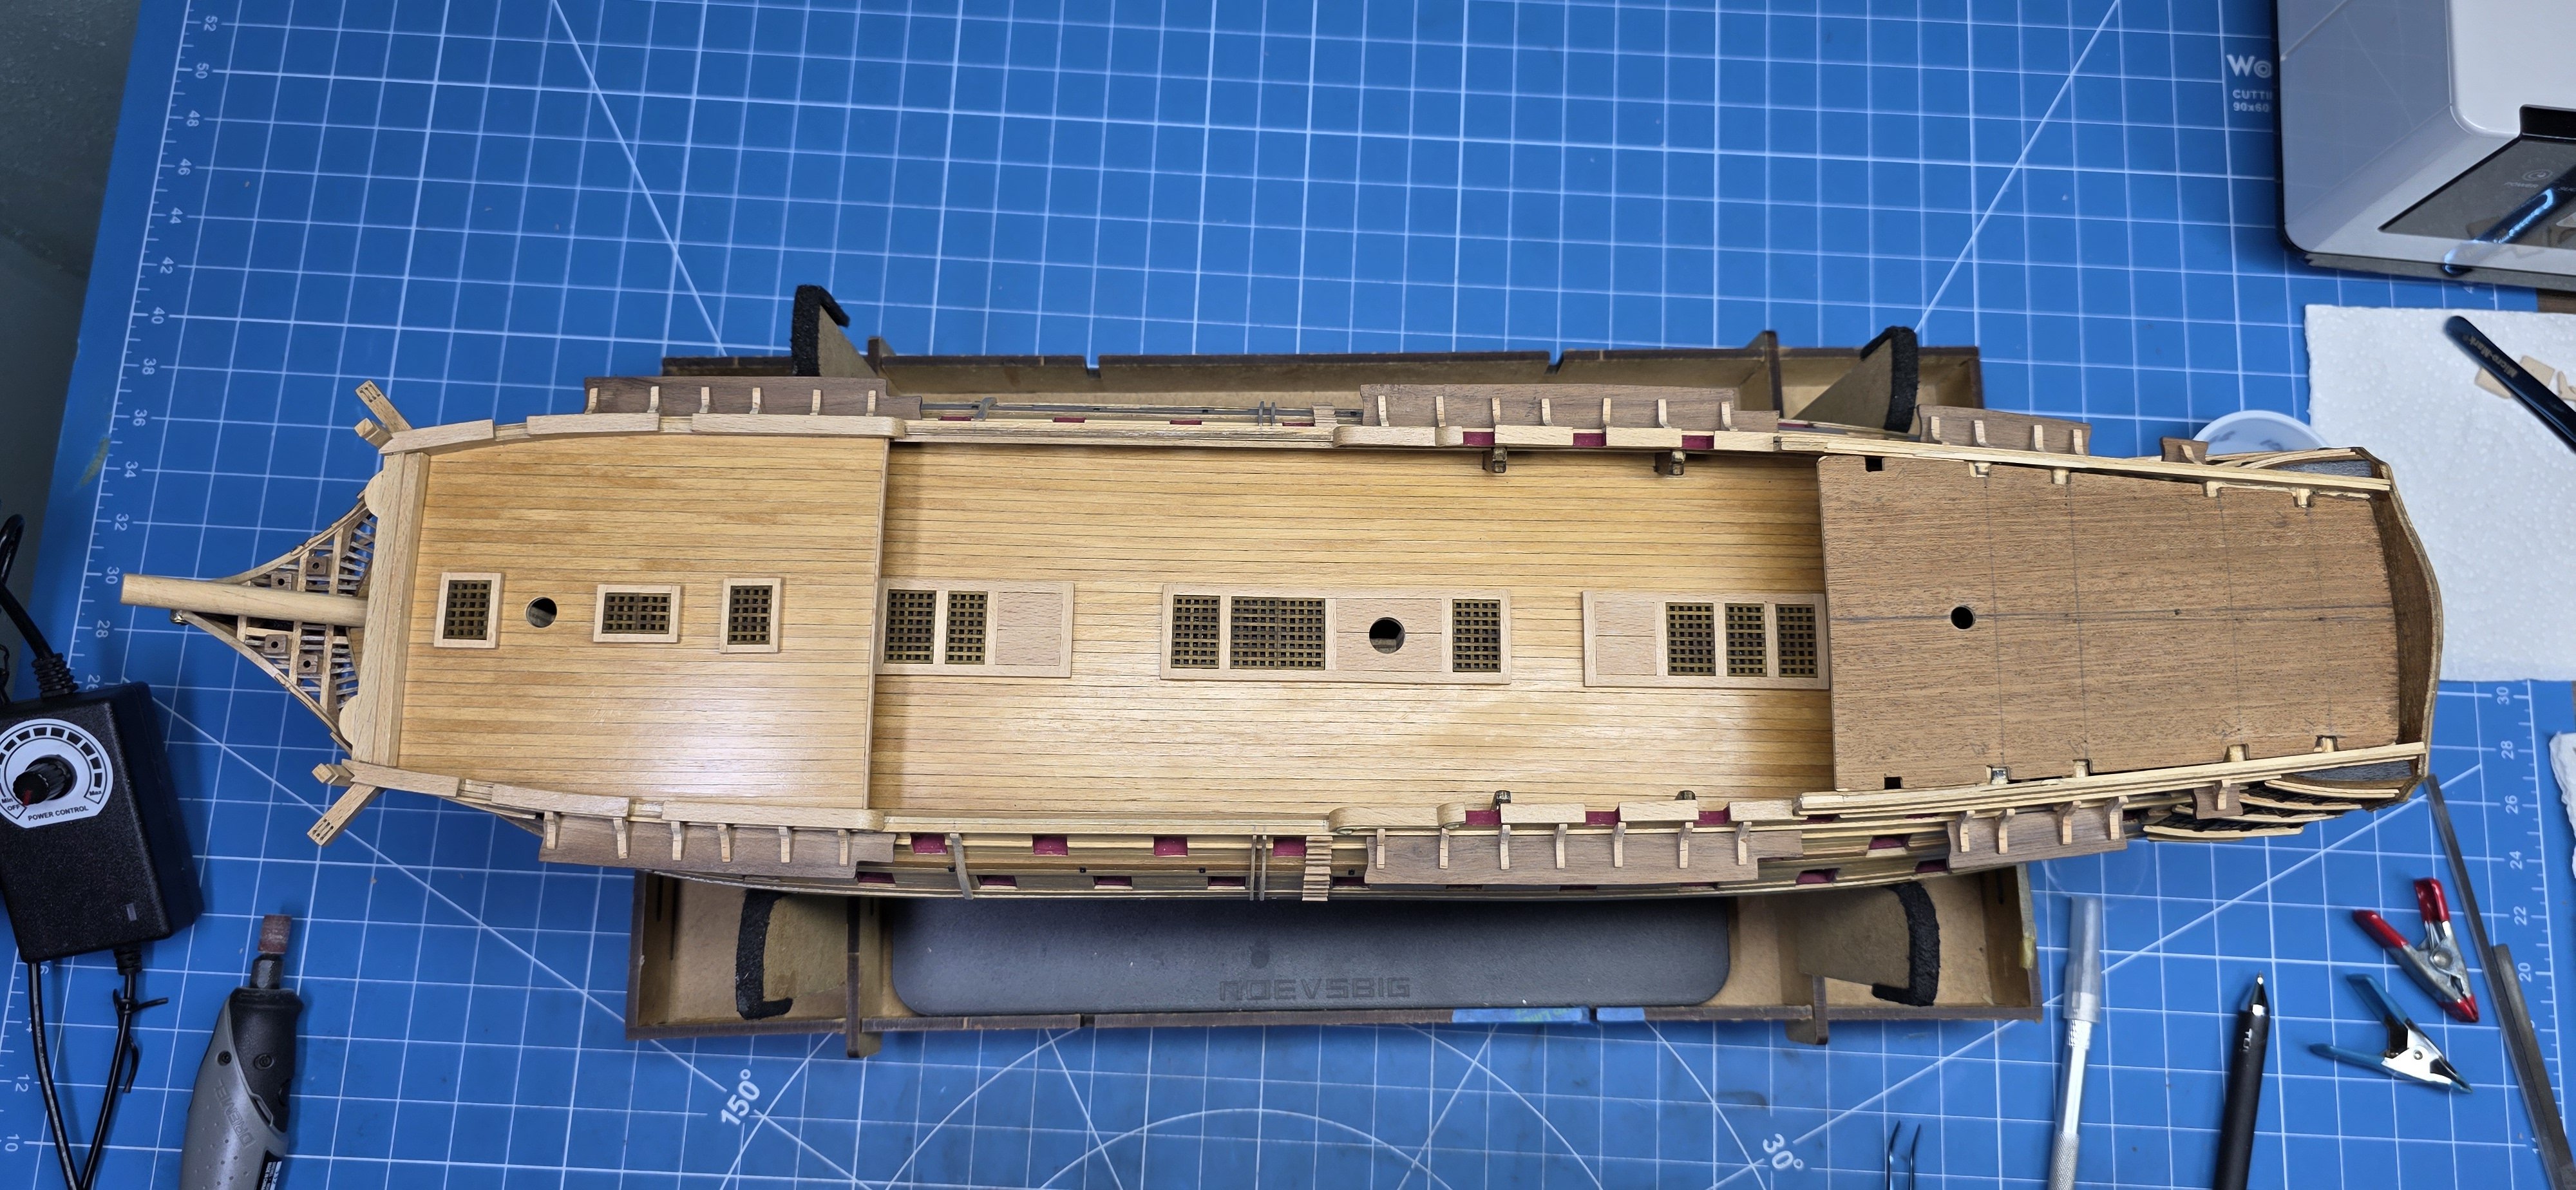
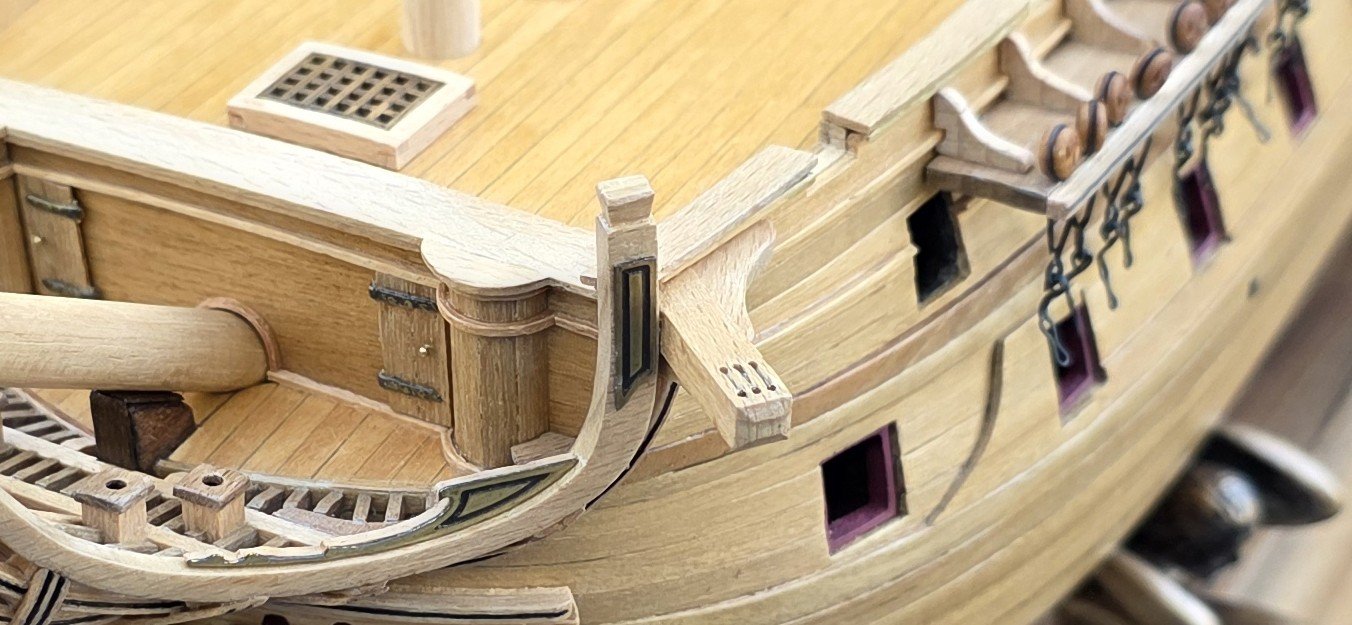
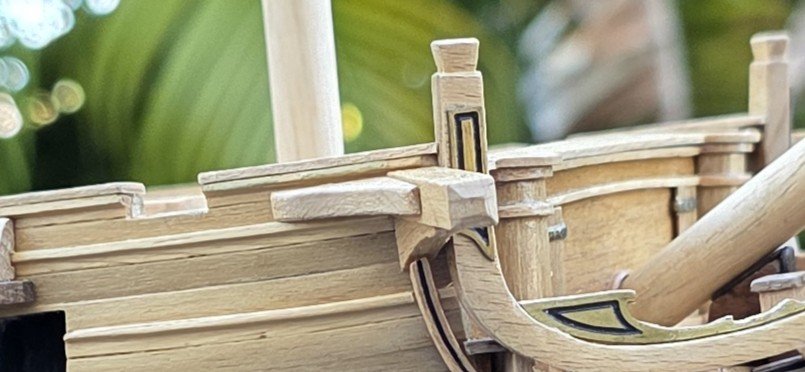
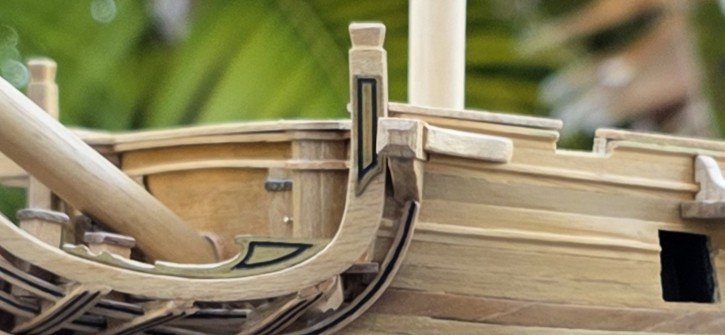
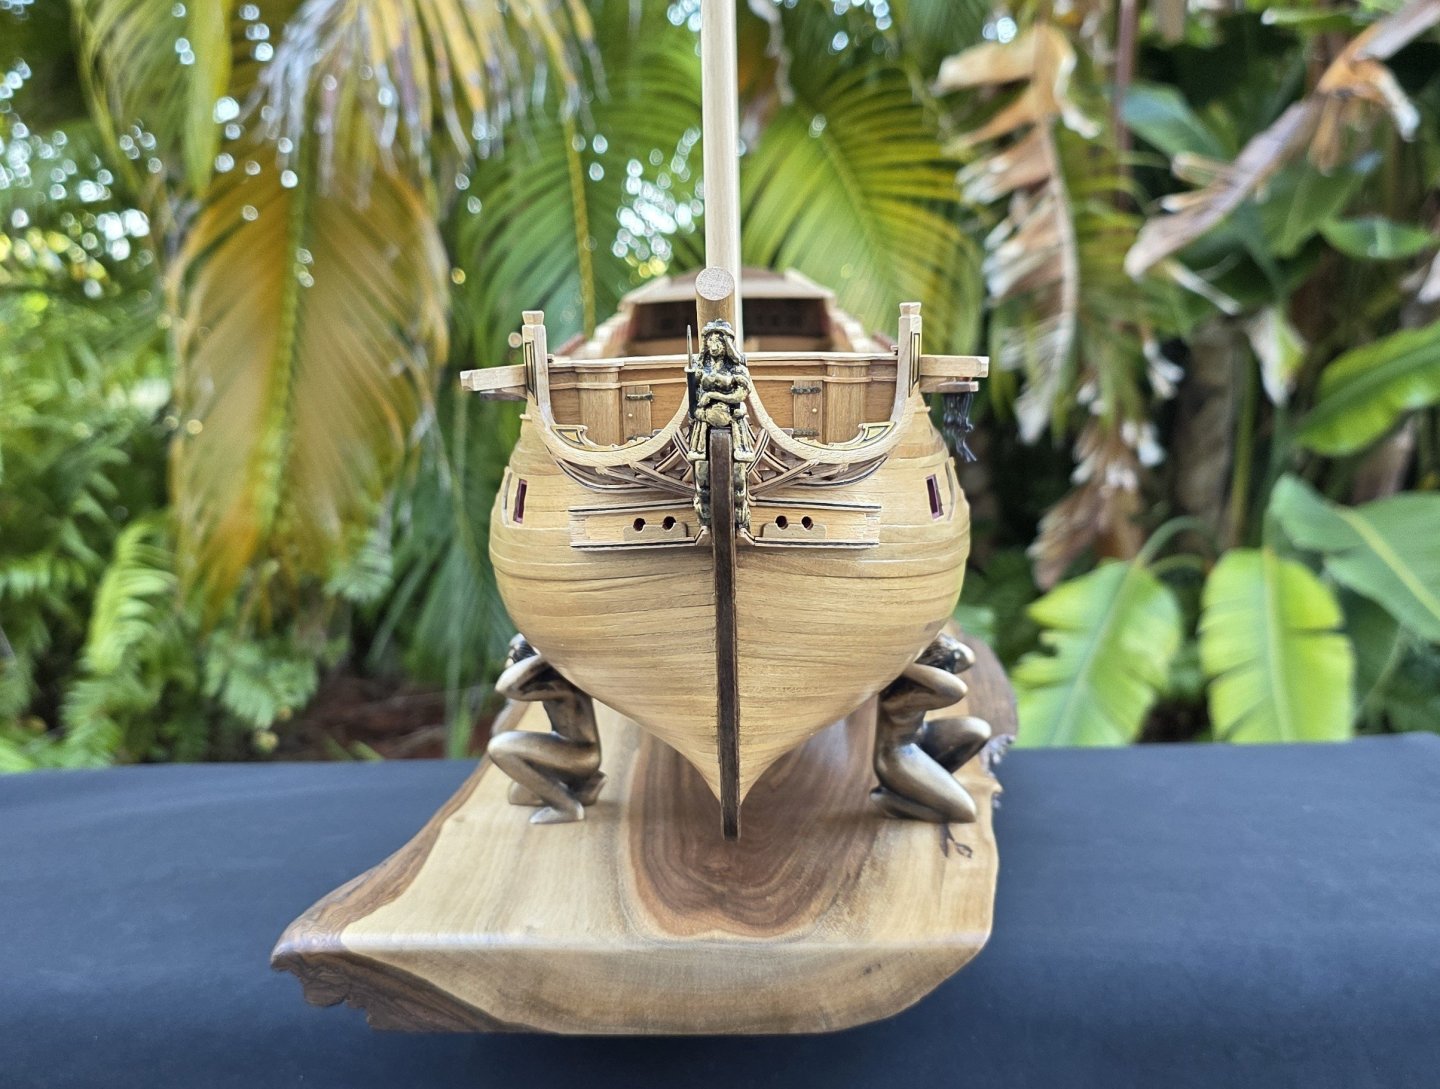
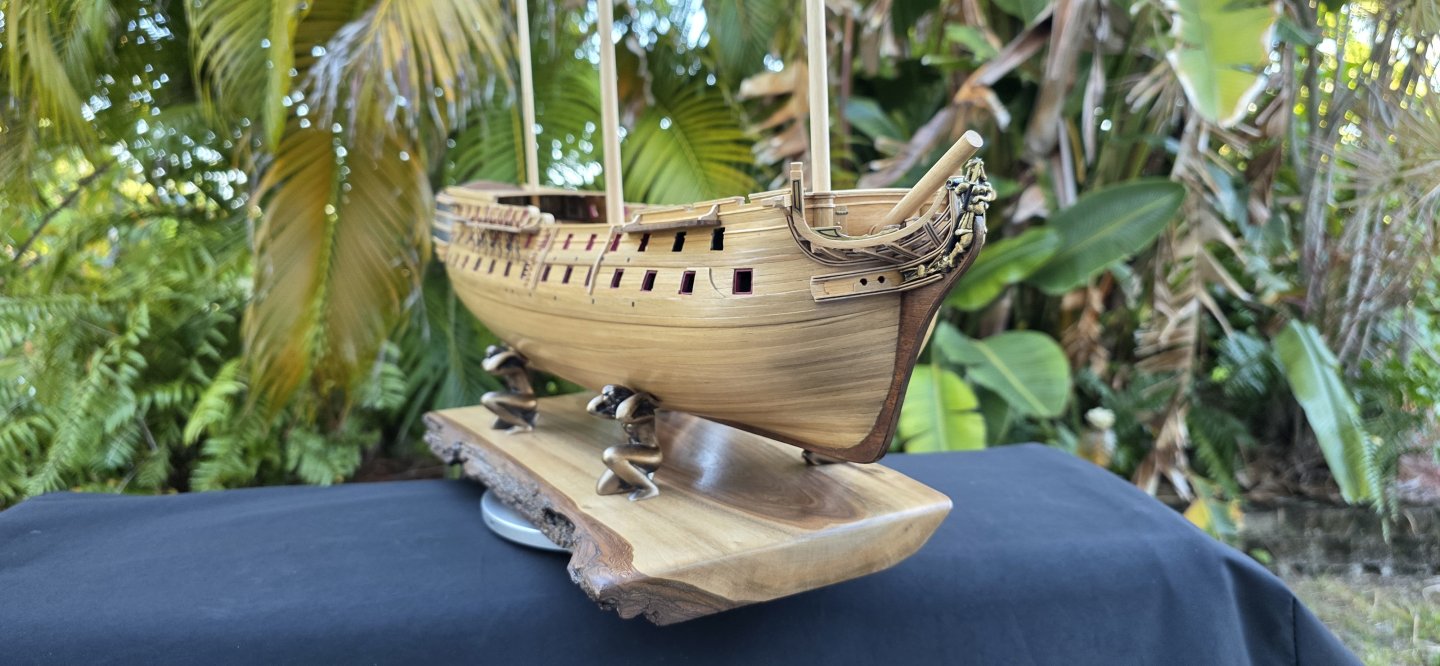
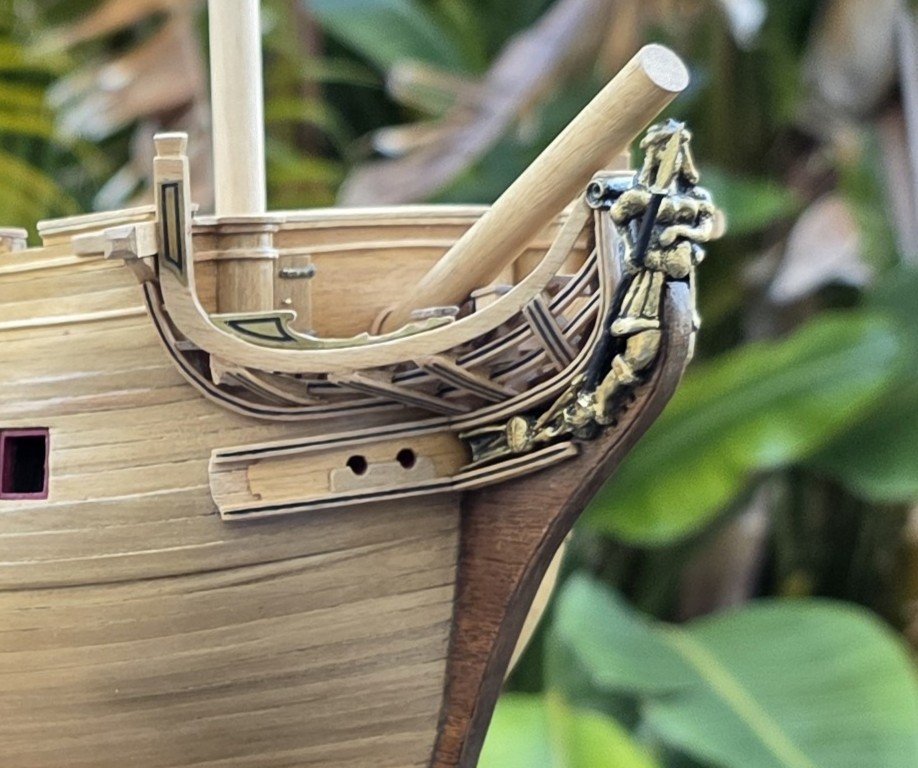
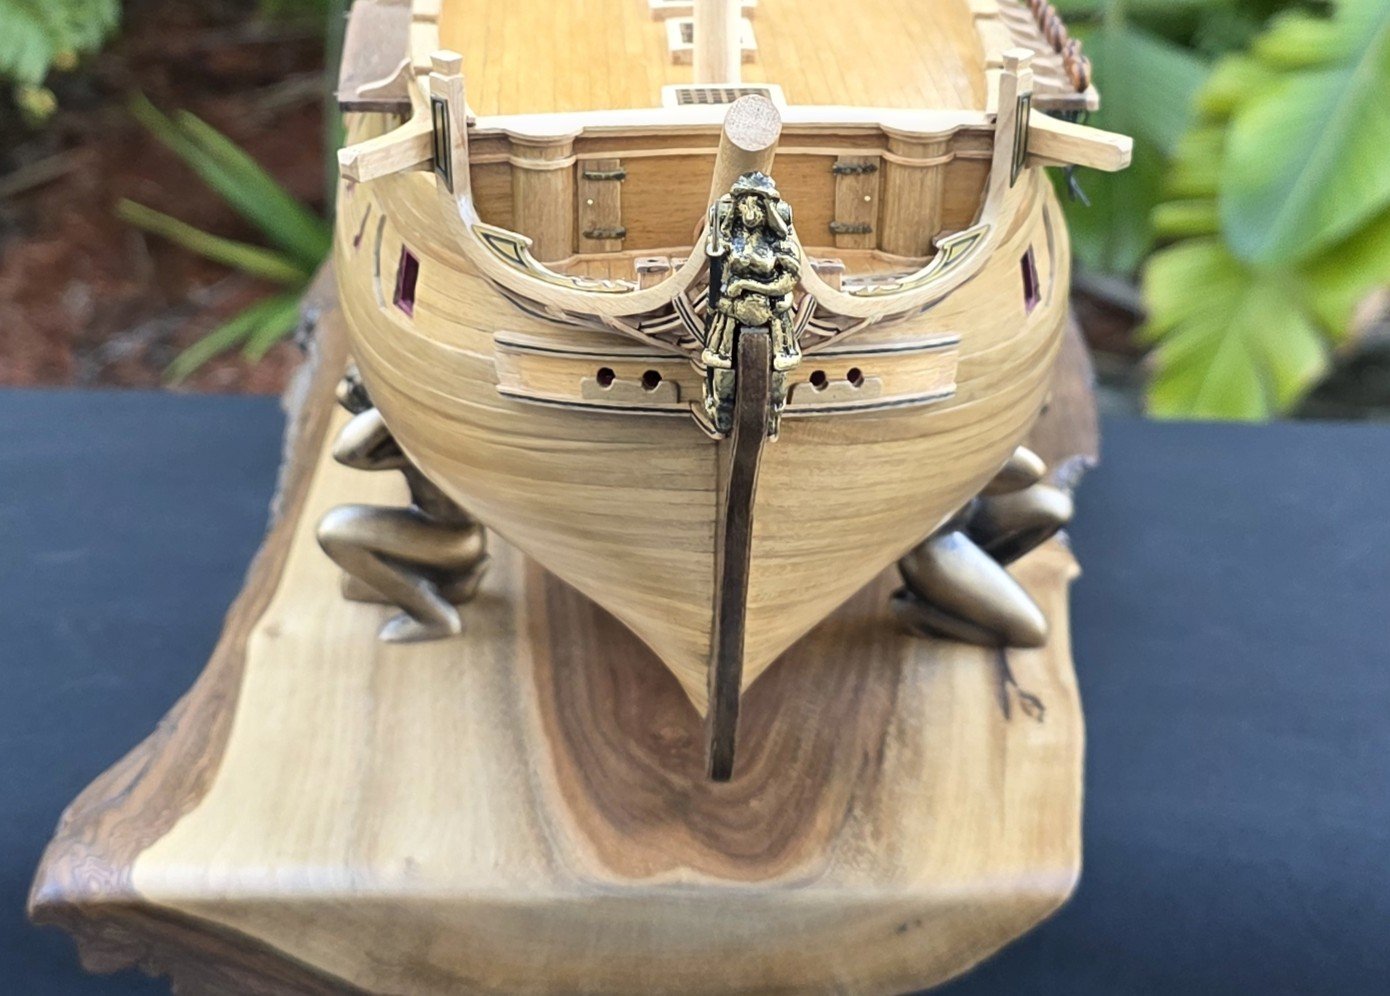
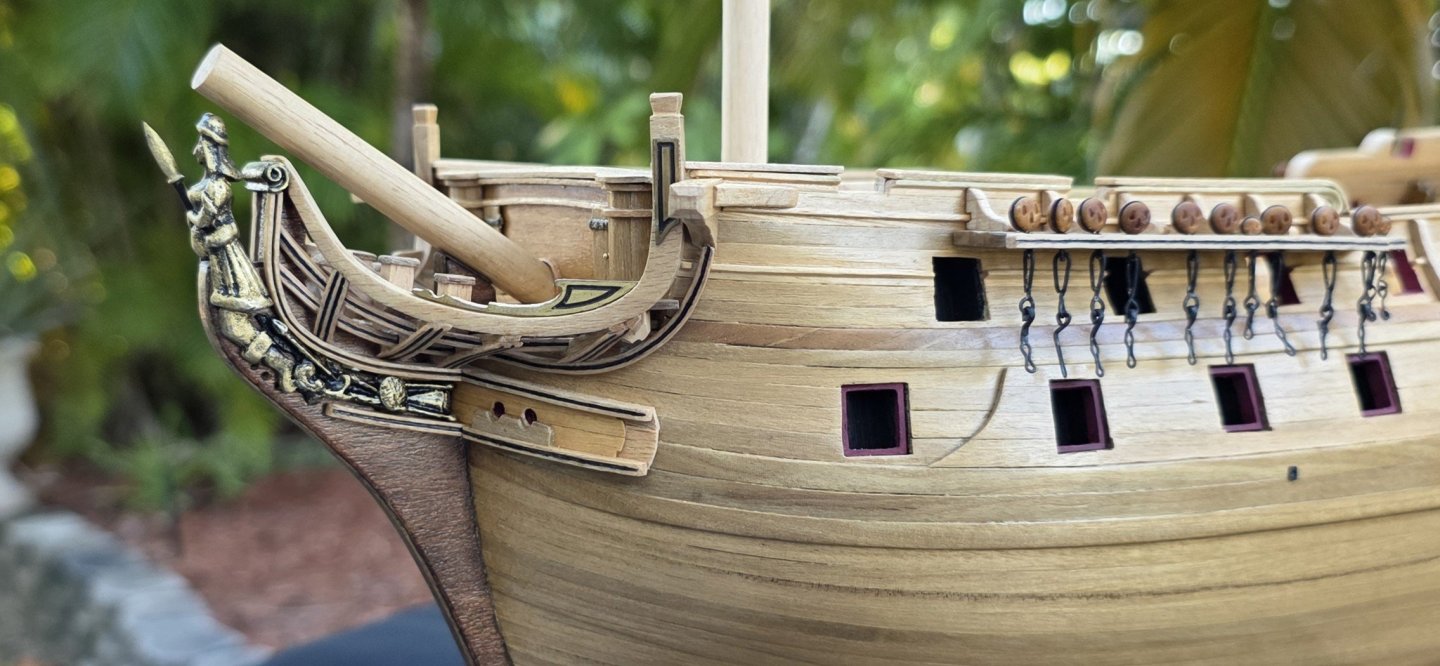
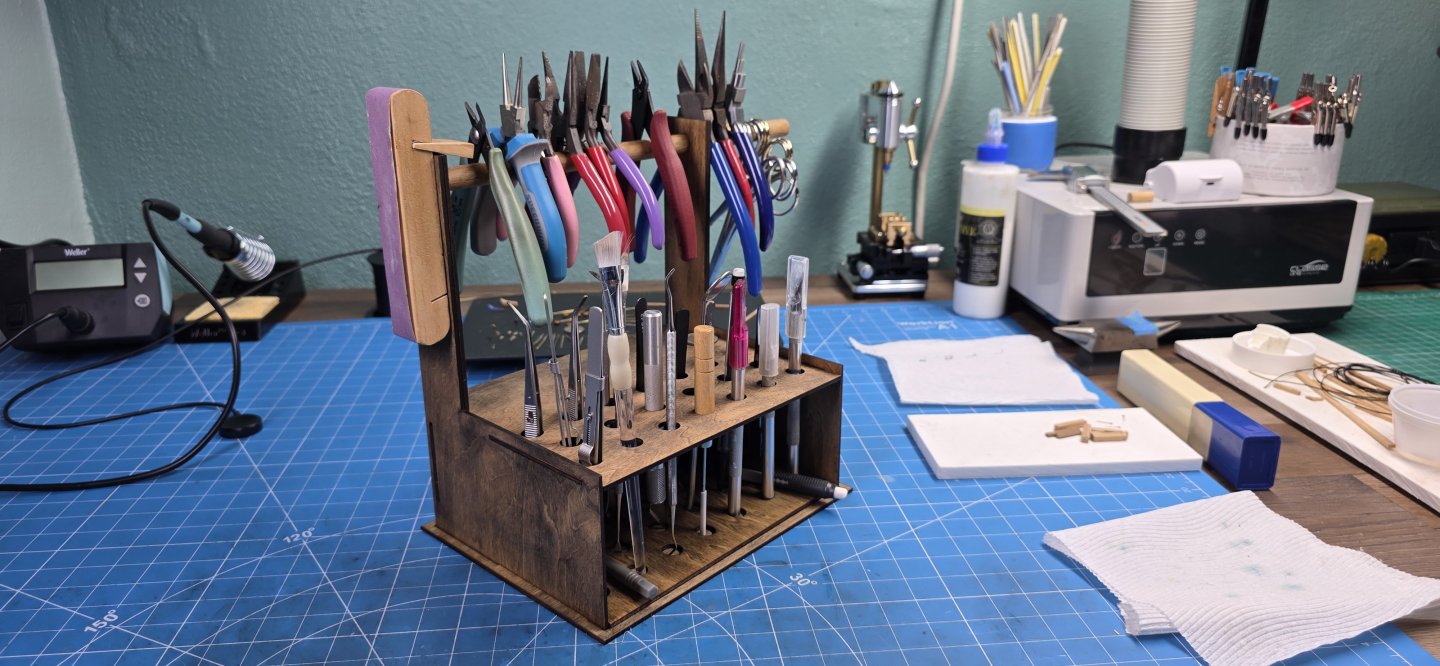
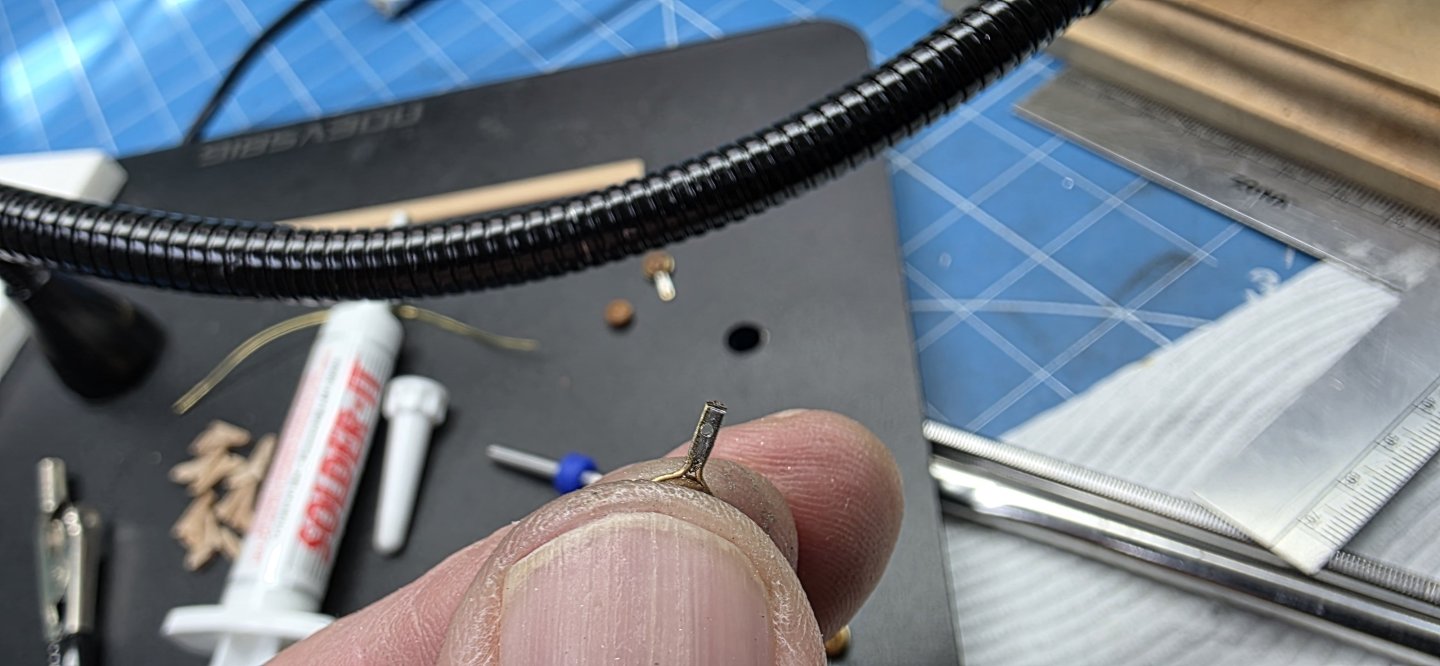
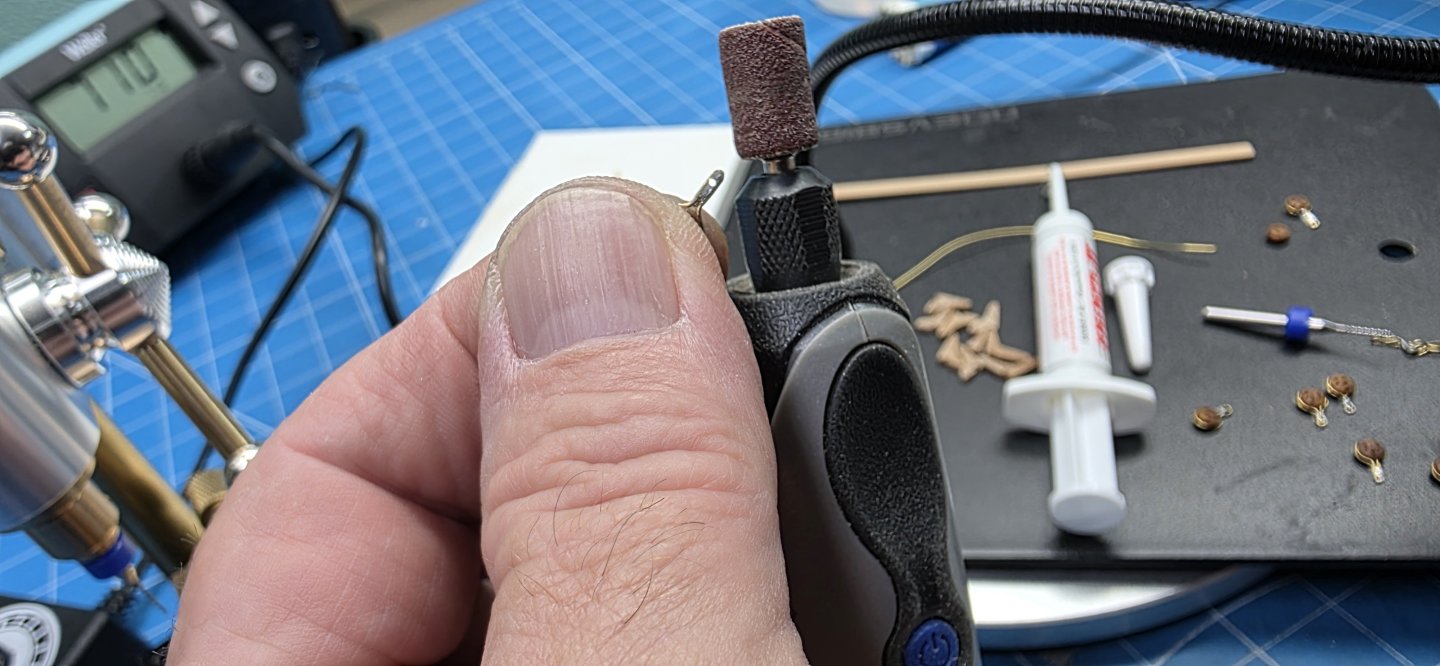
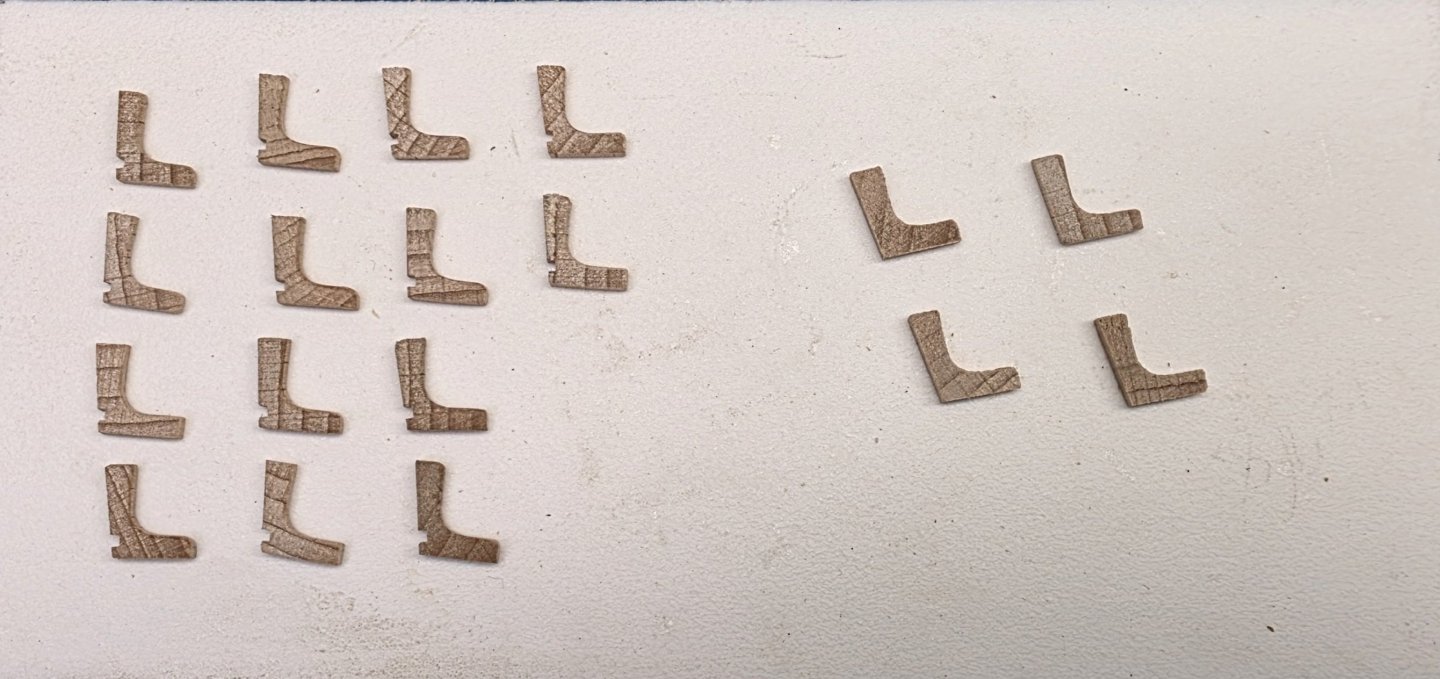
Hello All, Happy New Year to everyone, hope the Holidays were good for you. I have been pretty busy the last month or so, but unfortunately it hasn’t been in the shipyard. I do want to provide a small update on the progress I have made so far though. I have continued fabrication of the deadeyes and chain plates for the starboard side channels. I am using the same technic that I used on the Port side channels. So far things are going rather smoothly, but I found myself losing patience and decided to move on to something else for a break. I have been following Frecap’s build log of the Bellona, and I must say he is capturing some interesting details. One of the details pointed out was whether the Catheads had knee bracing on the axial. There appear to be several depictions with and without this bracing. I felt that the Catheads on my ship were missing something, and it made perfect sense to me from an engineering standpoint to include this axial bracing. I found the angles that I needed using a piece of card stock and then used it as a template to cut out the braces. I used some leftover beechwood that I had and sanded them to a thickness of 3mm. I polished and applied a couple coats of WOP and attached them to the hull. I know I did not capture the full decorative detail of the grooving, but it matches the lack of detail I don’t have on the Catheads already. LOL It does however satisfy my eye on that element I felt was missing. I decided to continue on with the stern and install the dicast figurehead and trailboards that were supplied with the kit. The quality of the PE and diecast parts that are supplied with the kit are of very poor quality compared to what I have seen on other kits being built on MSW, especially the VM kits. To try and improve on the appearance of the figurehead, I fabricated a spear some time ago and attached it to the hand of the figurehead. It seemed to help distract from the poor quality of the casting. I cut the pieces I needed from the brass sheet that the PE parts are stamped on. I soldered them to a piece of wire that I cut from a paperclip. I shaped the head of the spear using a file until I felt I had the proper shape. It’s not perfect but I feel it does improve the appearance of the figurehead. Well, that’s all I have for now and as always, your comments and guidance are always welcome. PS The last pictures are of the tool holder my wife made me for Christmas. She designed it and used her laser to cut out the parts. It has really helped to keep the tools organized and at hand. Cheers Nearshore


-
Cutters, Choppers, Guillotines, Slicers
Nearshore replied to MintGum's topic in Modeling tools and Workshop Equipment
I have the Ultimation sander and slicer. Both of them give fantastic results. If you google Ultimation Industries, you will be able to locate their web site. They are definitely on the pricey side, but in my humbled opinion, they are worth the extra money. I believe they are a company based in Canada, so if your ordering from the US you may experience delays in shipping according to their web site. -
Welcome to MSW. This is a great site and the folks that belong to this forum are extremely helpful and polite. Good luck with your journey into thid wonderful hobby. Cheers Nearshore
-
Hi Frecap, I am impressed with your research into the accuracy of the Bellona. I agree with Yves that you are taking the construction of Corel’s version of this ship to another level. I am amazed at the details you are achieving at this scale. (1:100) Building the same kit myself I see areas that I could have improved on, but I am past that the point of construction and am not going to go backwards and try and (probably fail) to replicate the detail you are achieving. I agree with you that each modeler has their own vision when constructing their models. For me, I am trying to use the PE parts and cast fittings that were supplied with the kit and use the natural tones of the wood to create my own masterpiece. LOL You are certainly raising the bar with your Bellona build, and I look forward to watching your progress. I am sure I am going to have many questions going forward with by build and I am grateful to have an expert like yourself to rely on when those questions arise. Keep up the amazing job you are doing, and I wish you and your family well for the holiday seasons. Cheers Nearshore
-
Very well done. Looks amazing !!
-
Hi Frecap, Your guwales look fantastic!! I am curious on what technique you used to get the end of the gunwales to curve up. I am going to be building mine in the near future and was hoping you could provide me some insight on how you achieved this. I am assuming that you used two pieces of wood glued together and shaped the final result. I am very impressed with your work and your Bellona is really coming out nice. The paint scheme you have chosen is beautiful.
-
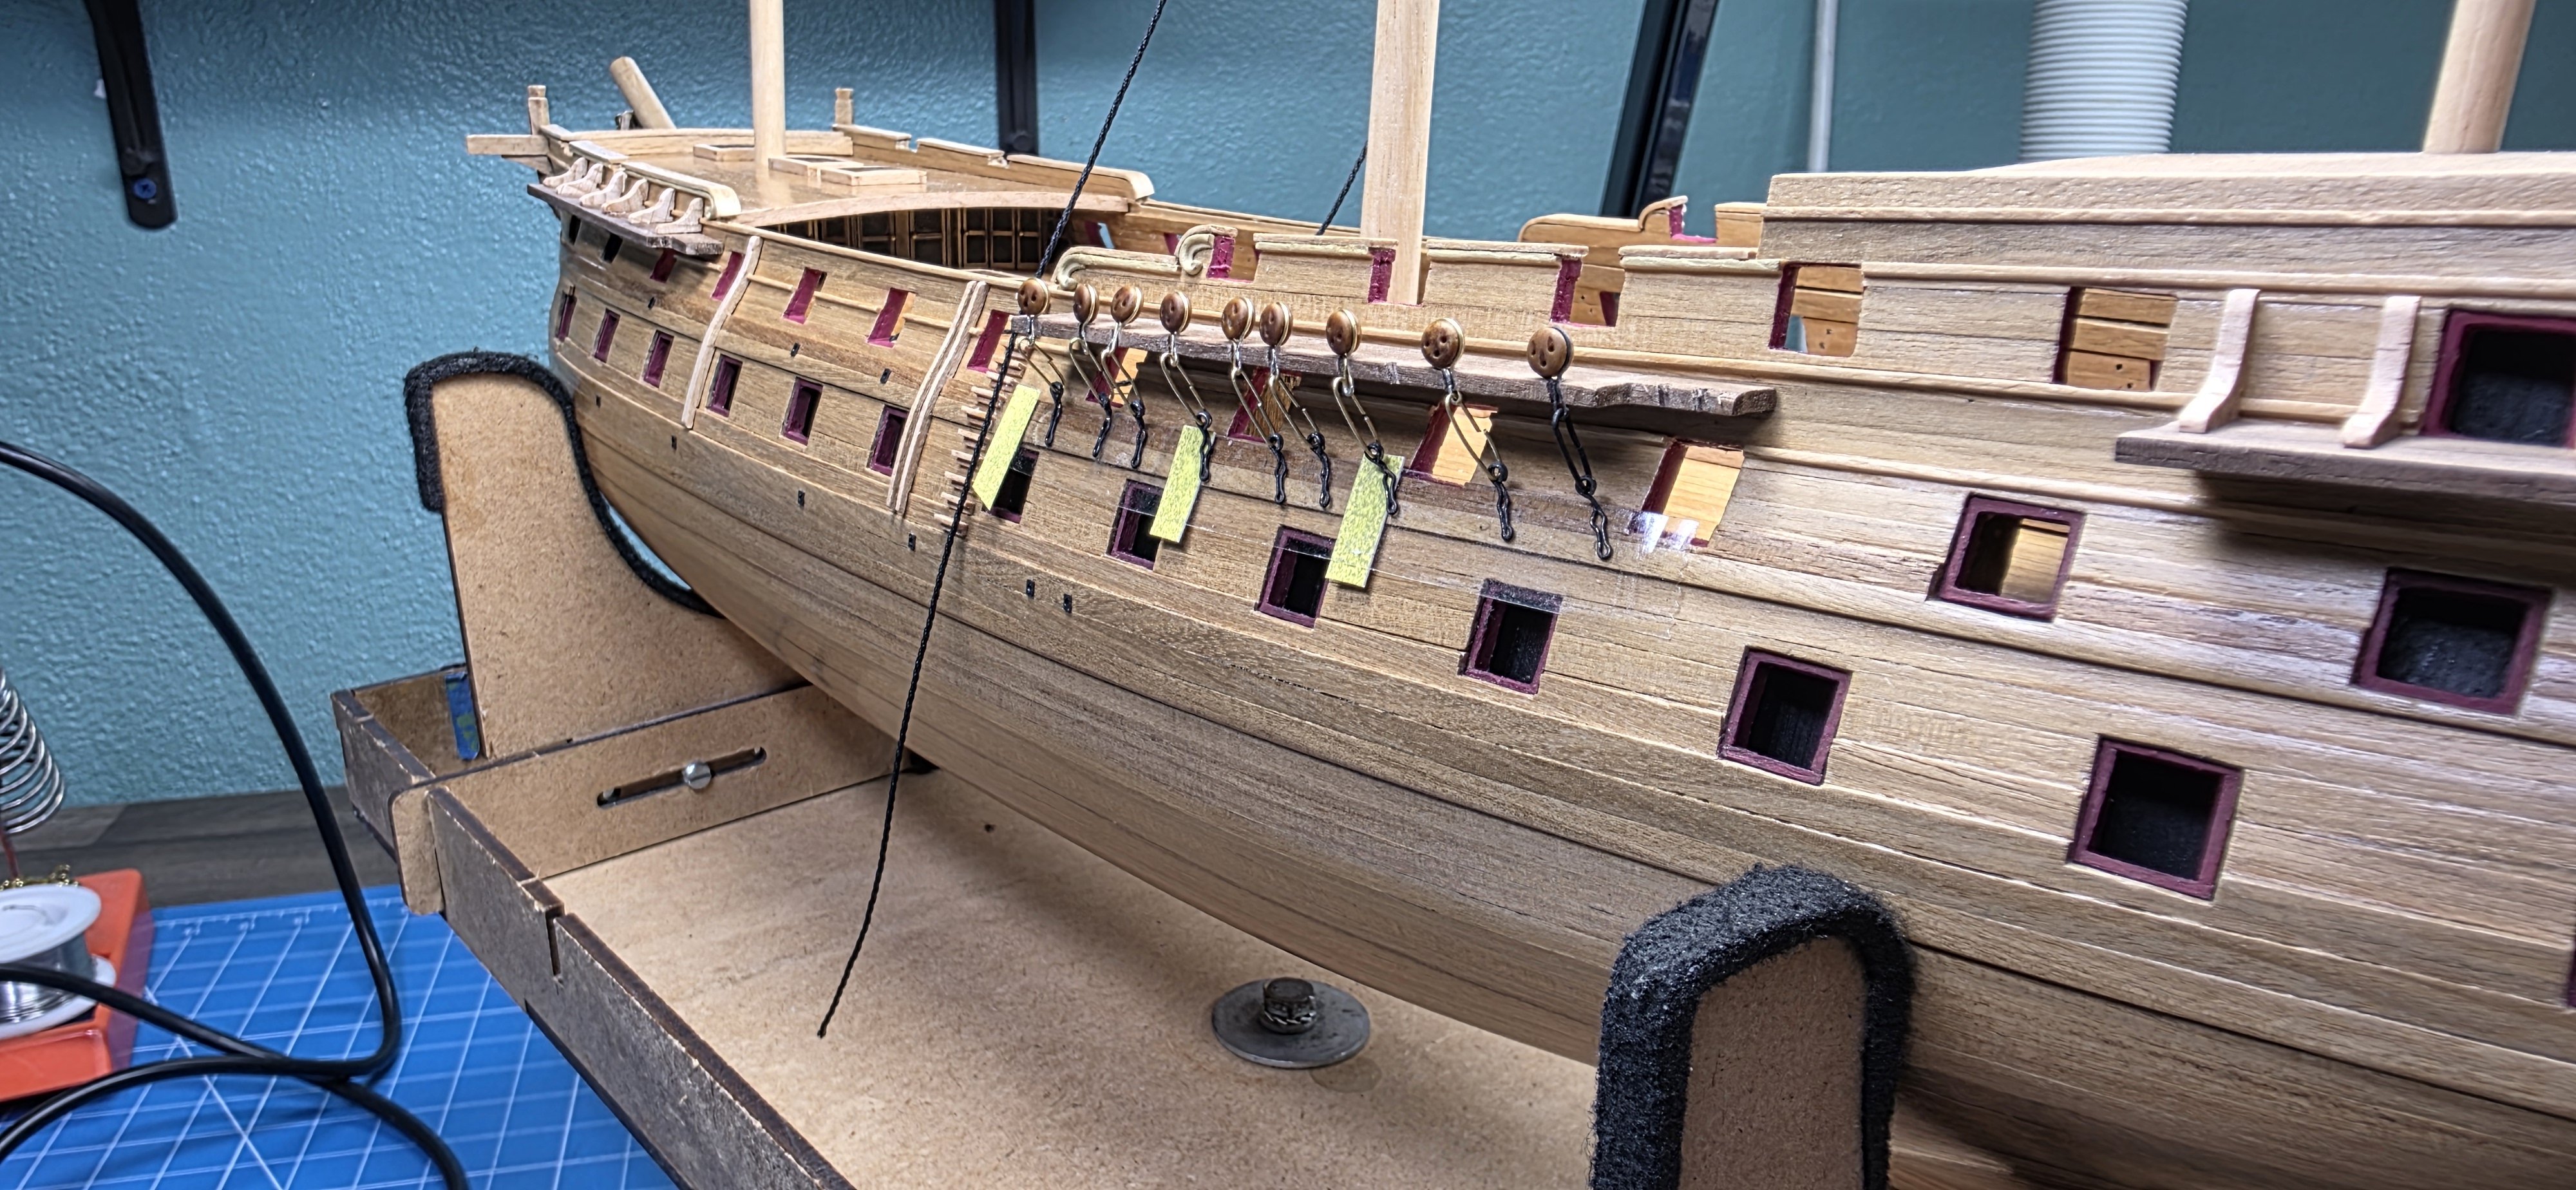
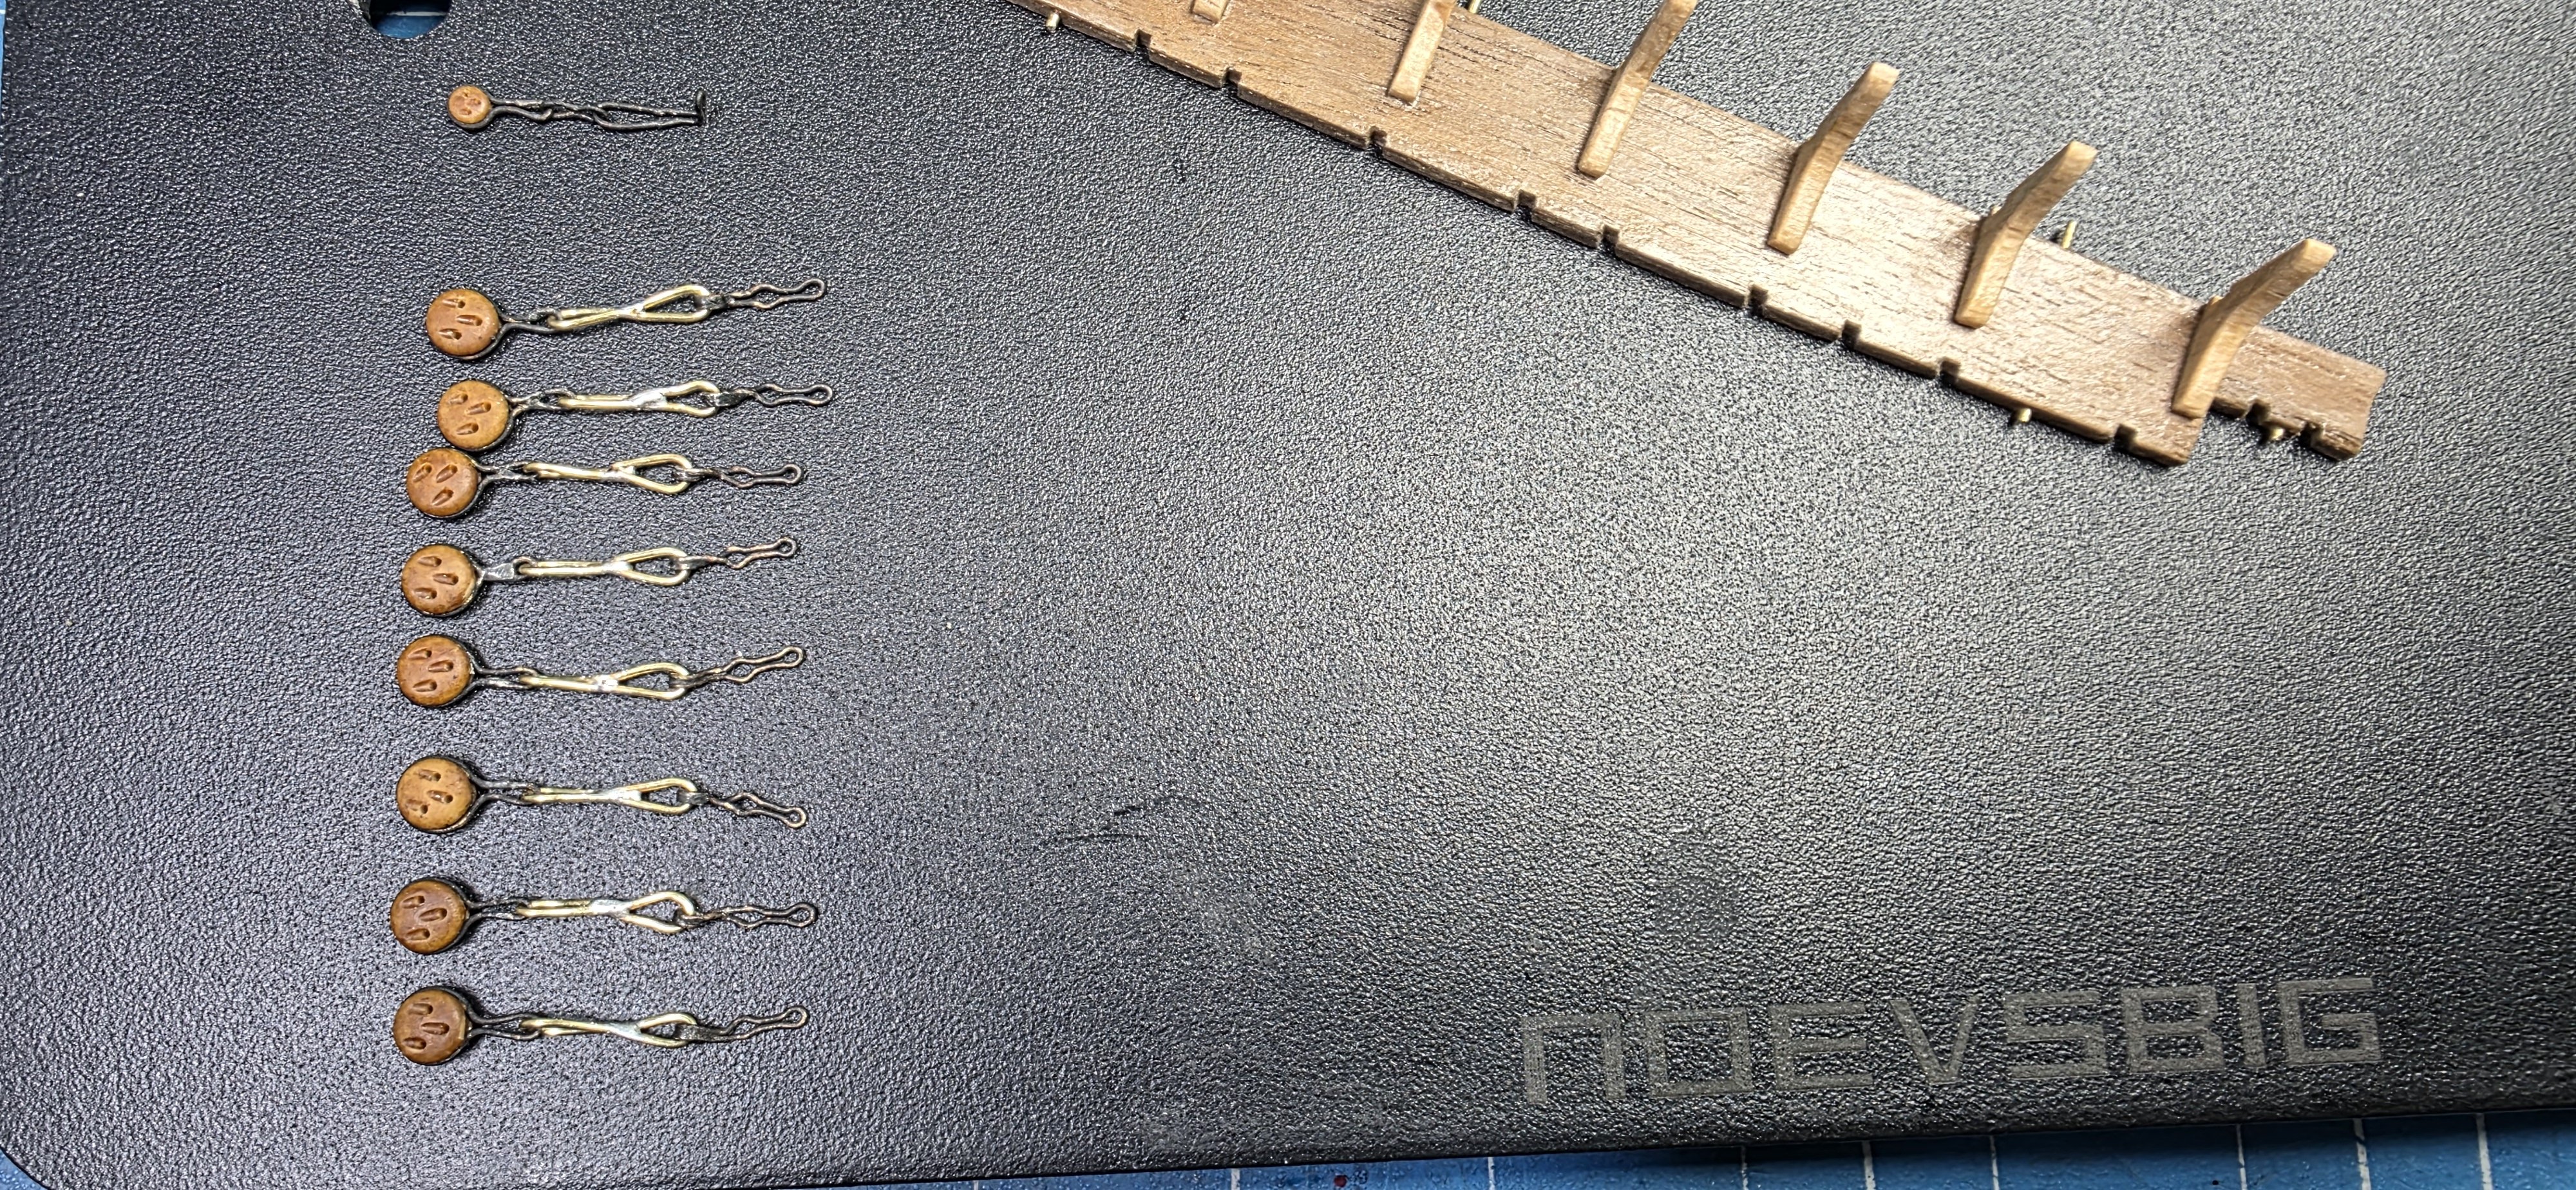
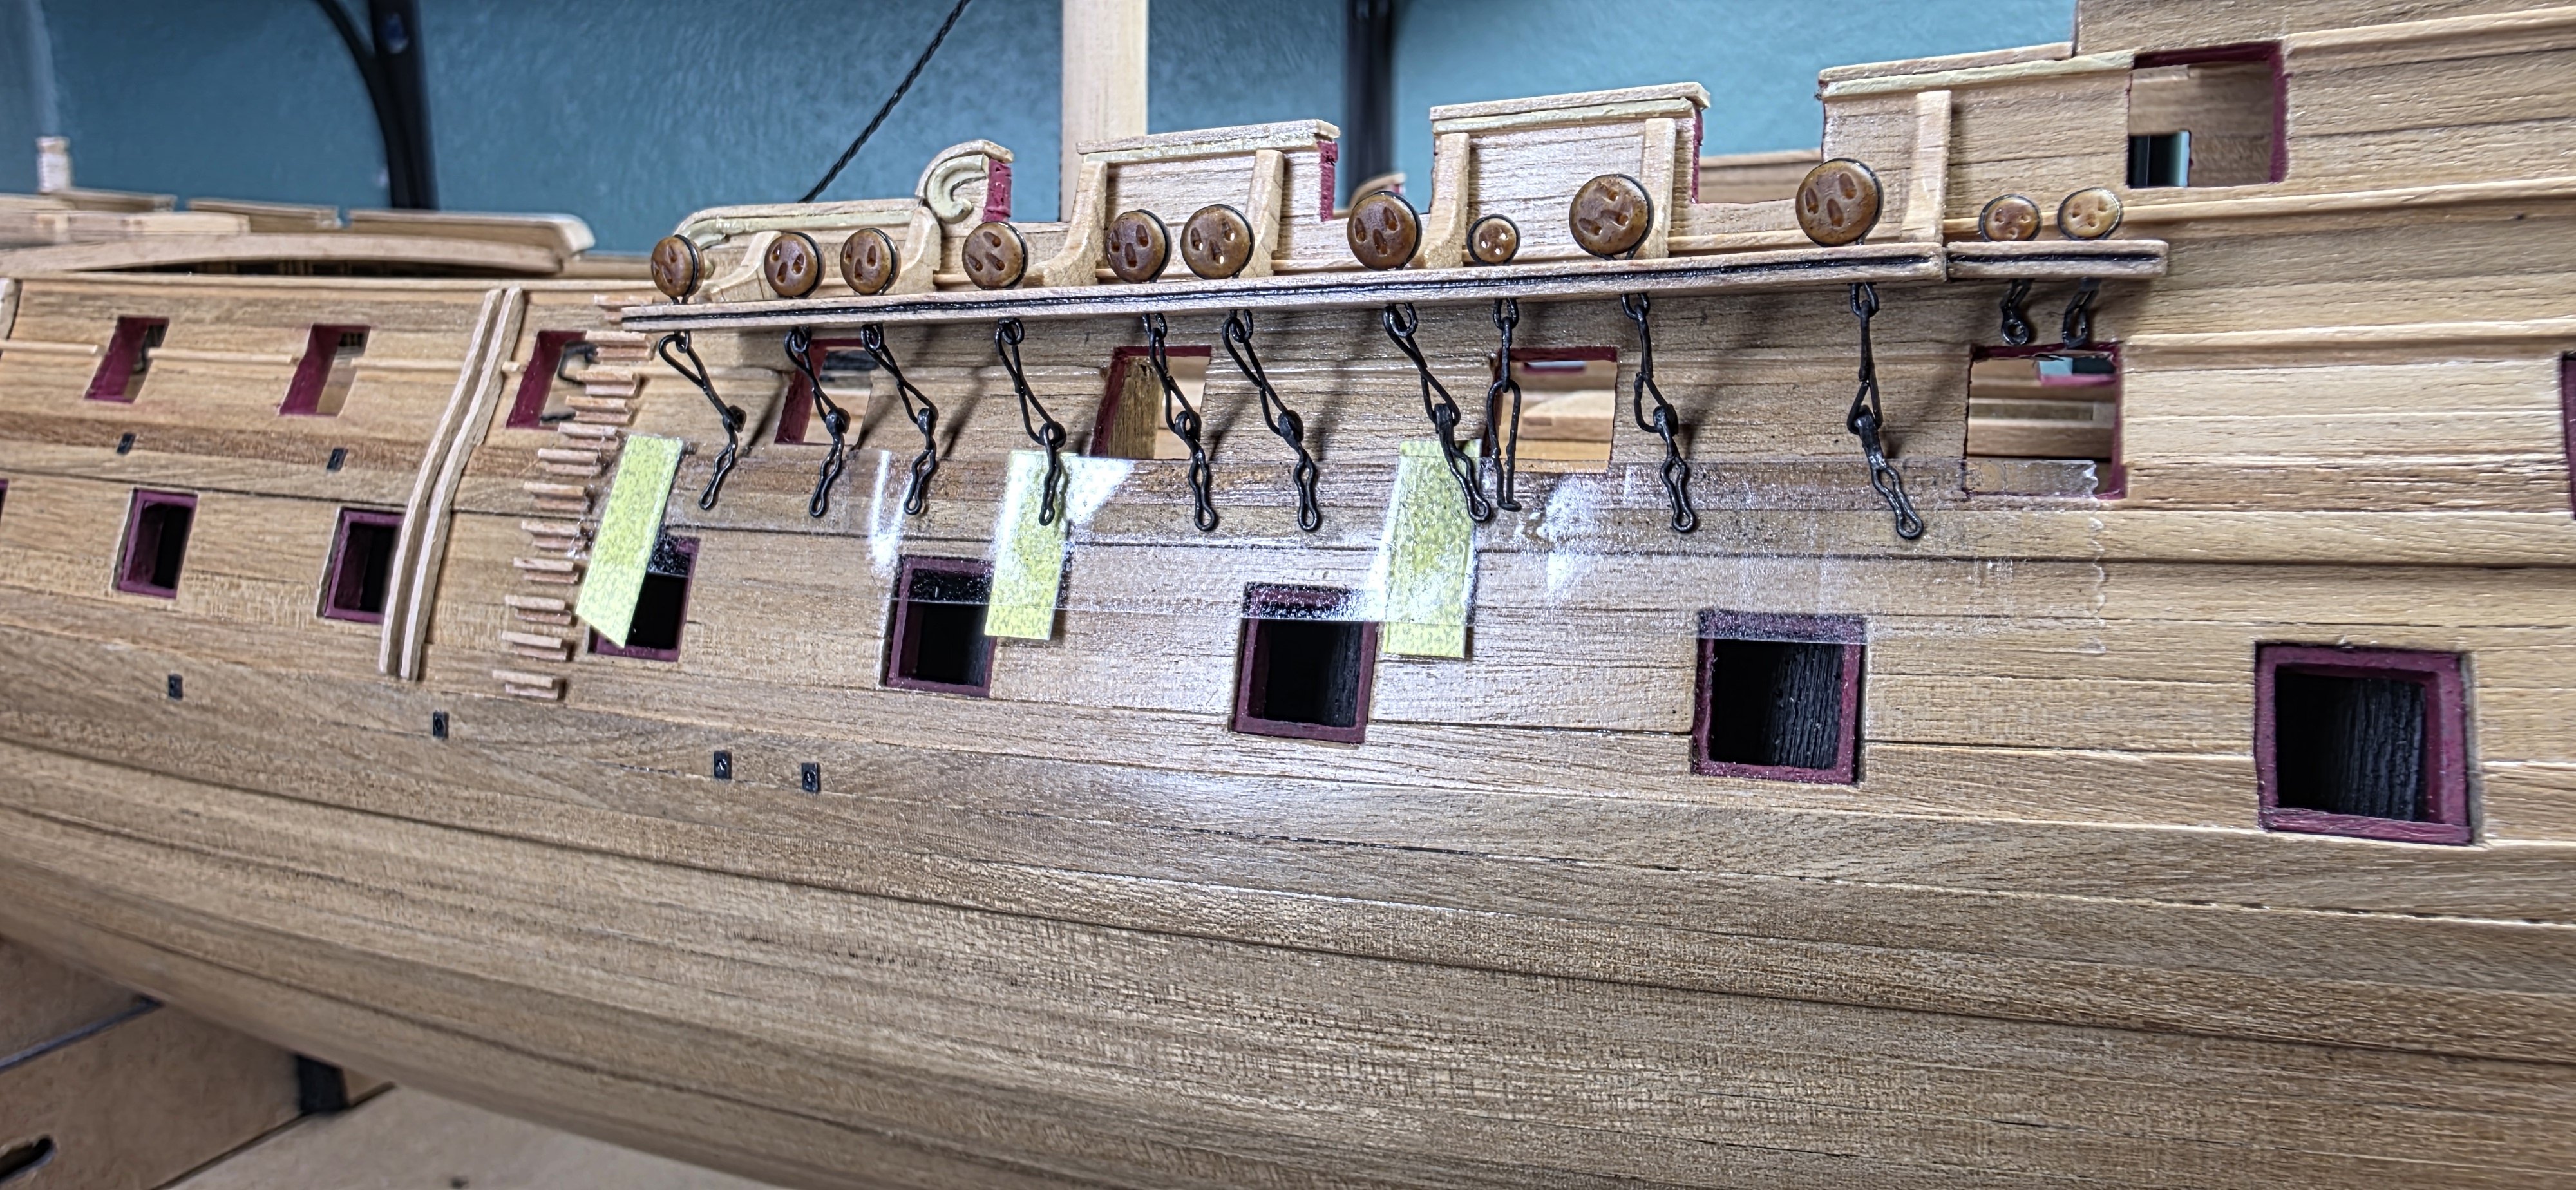
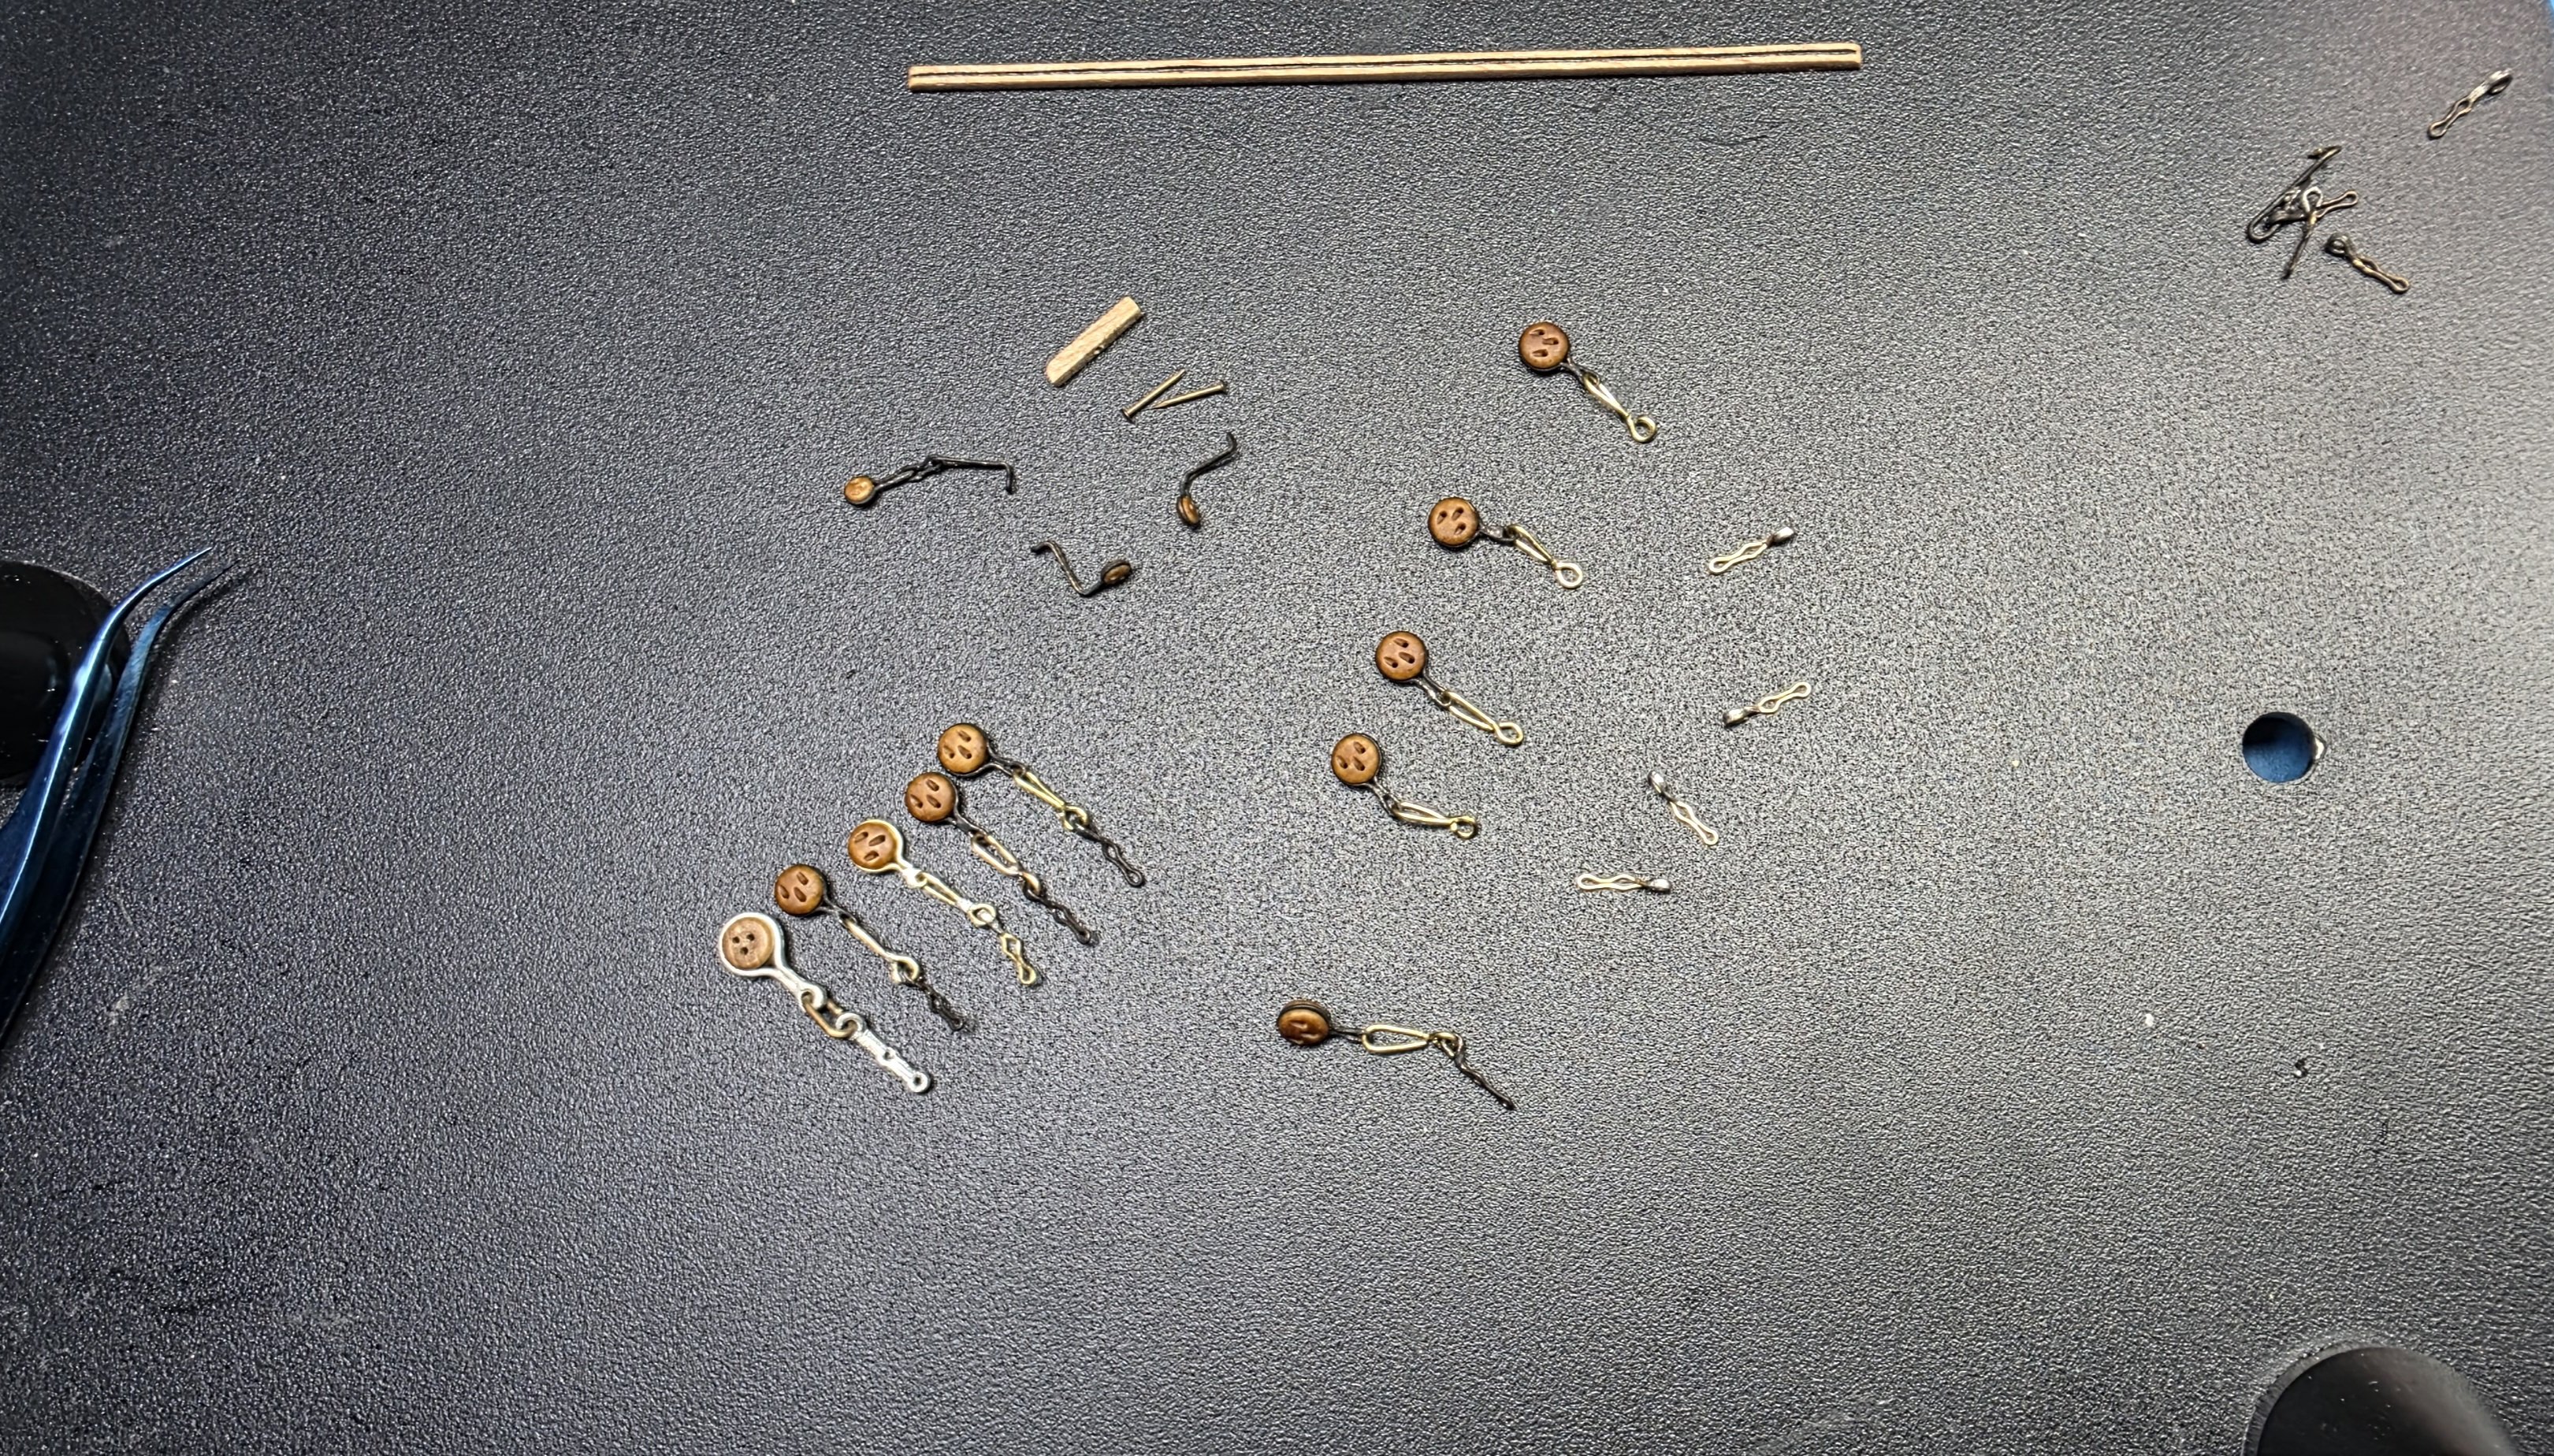
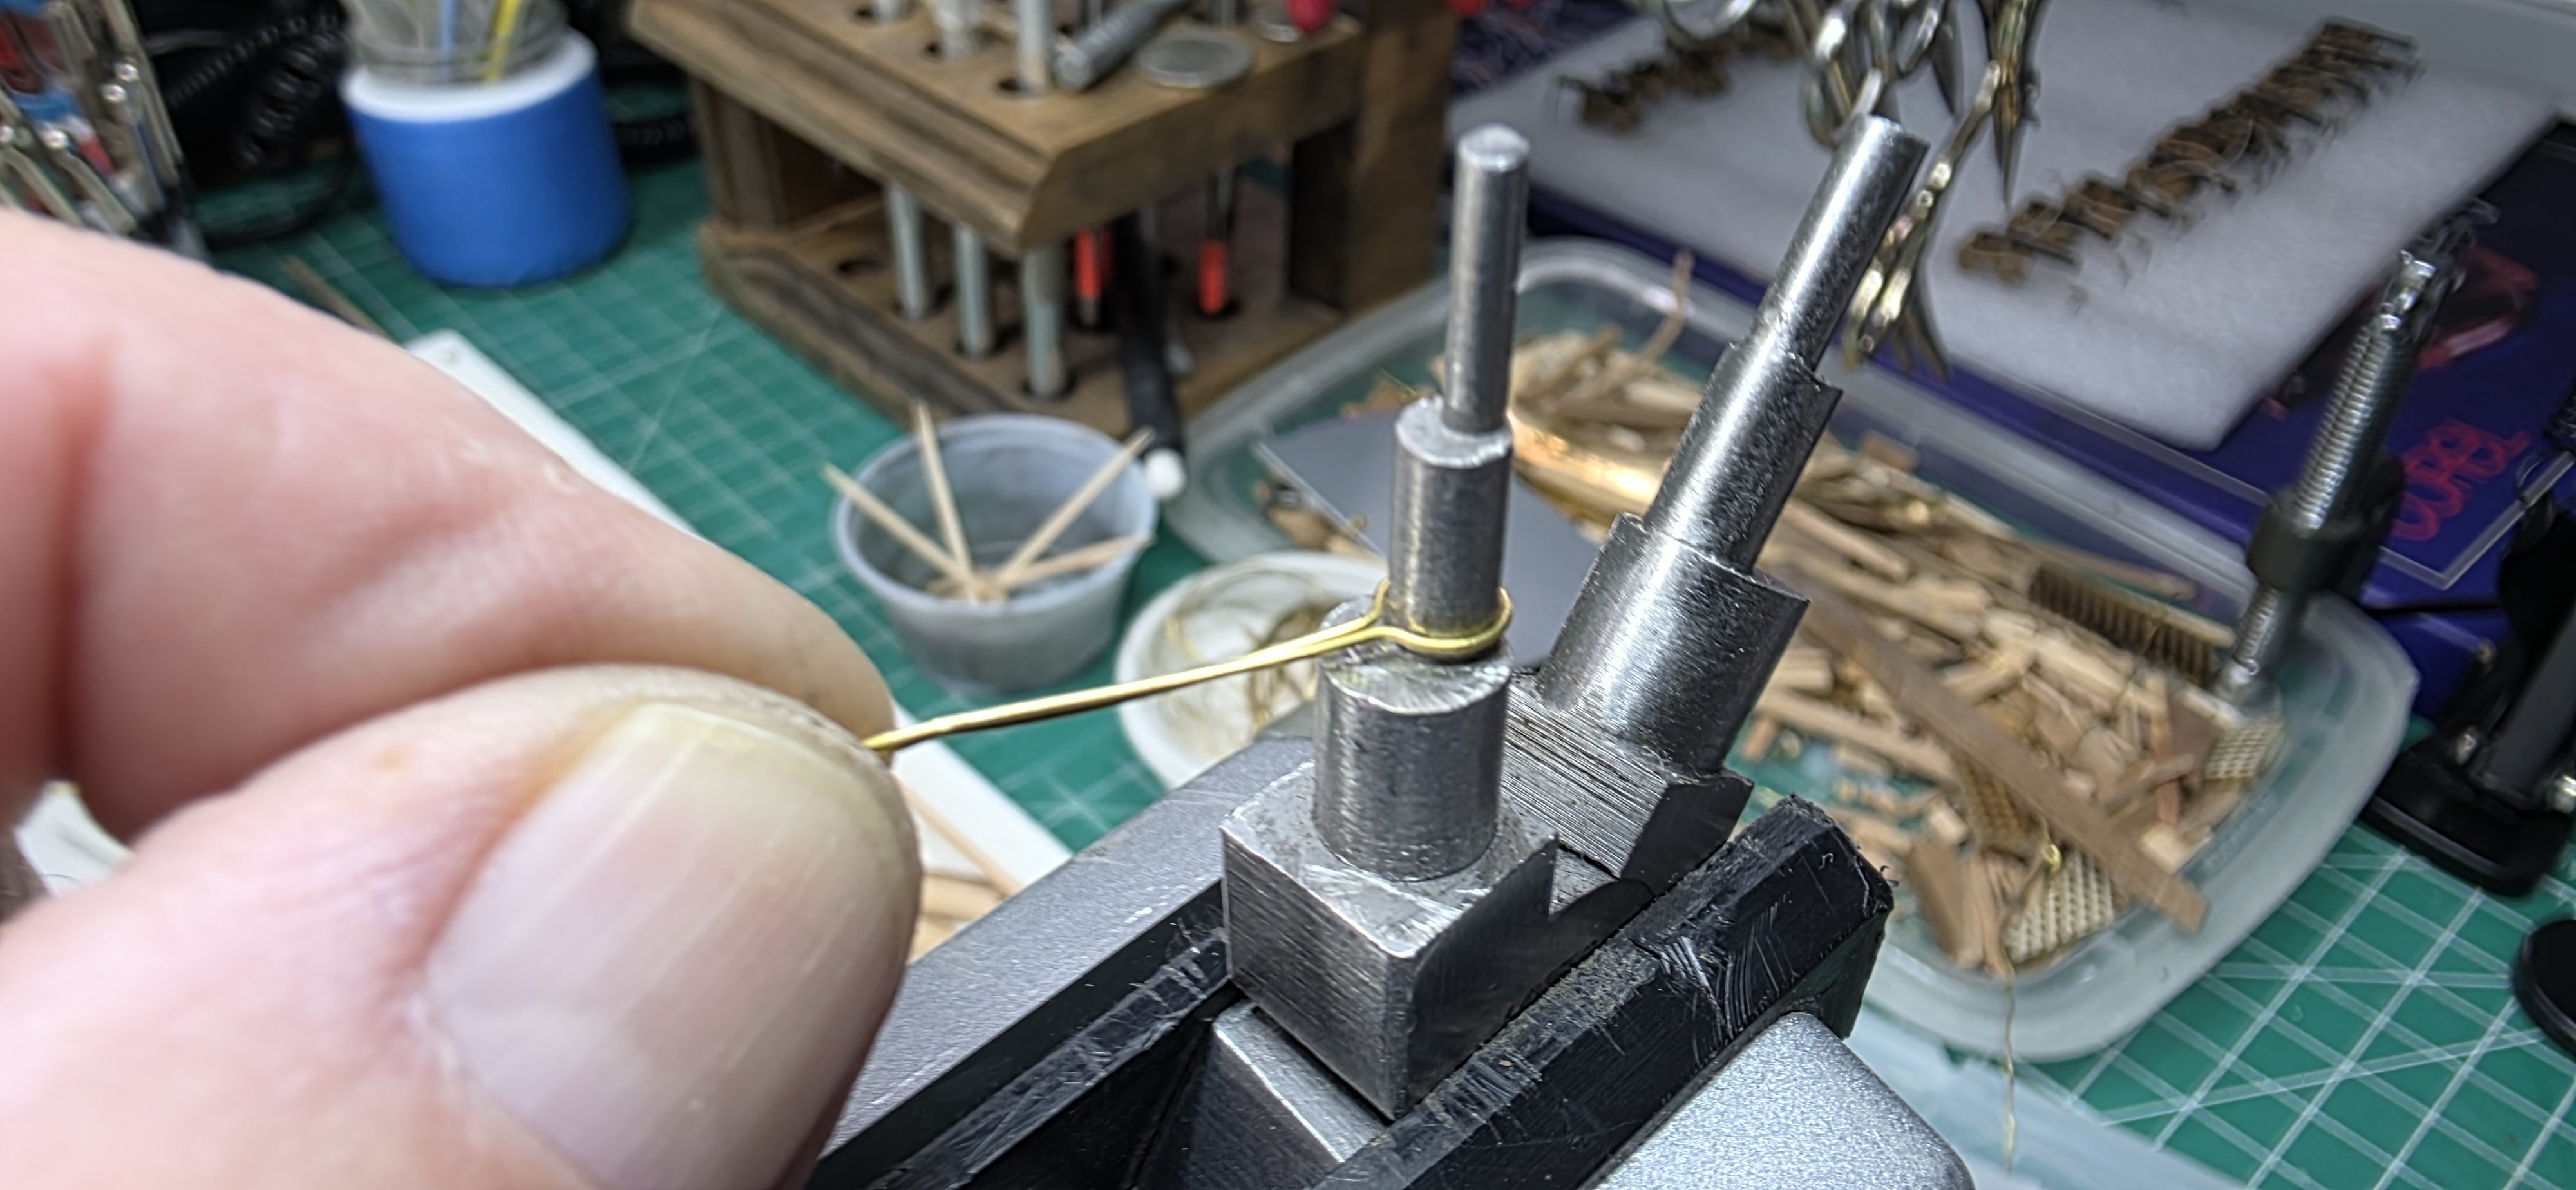
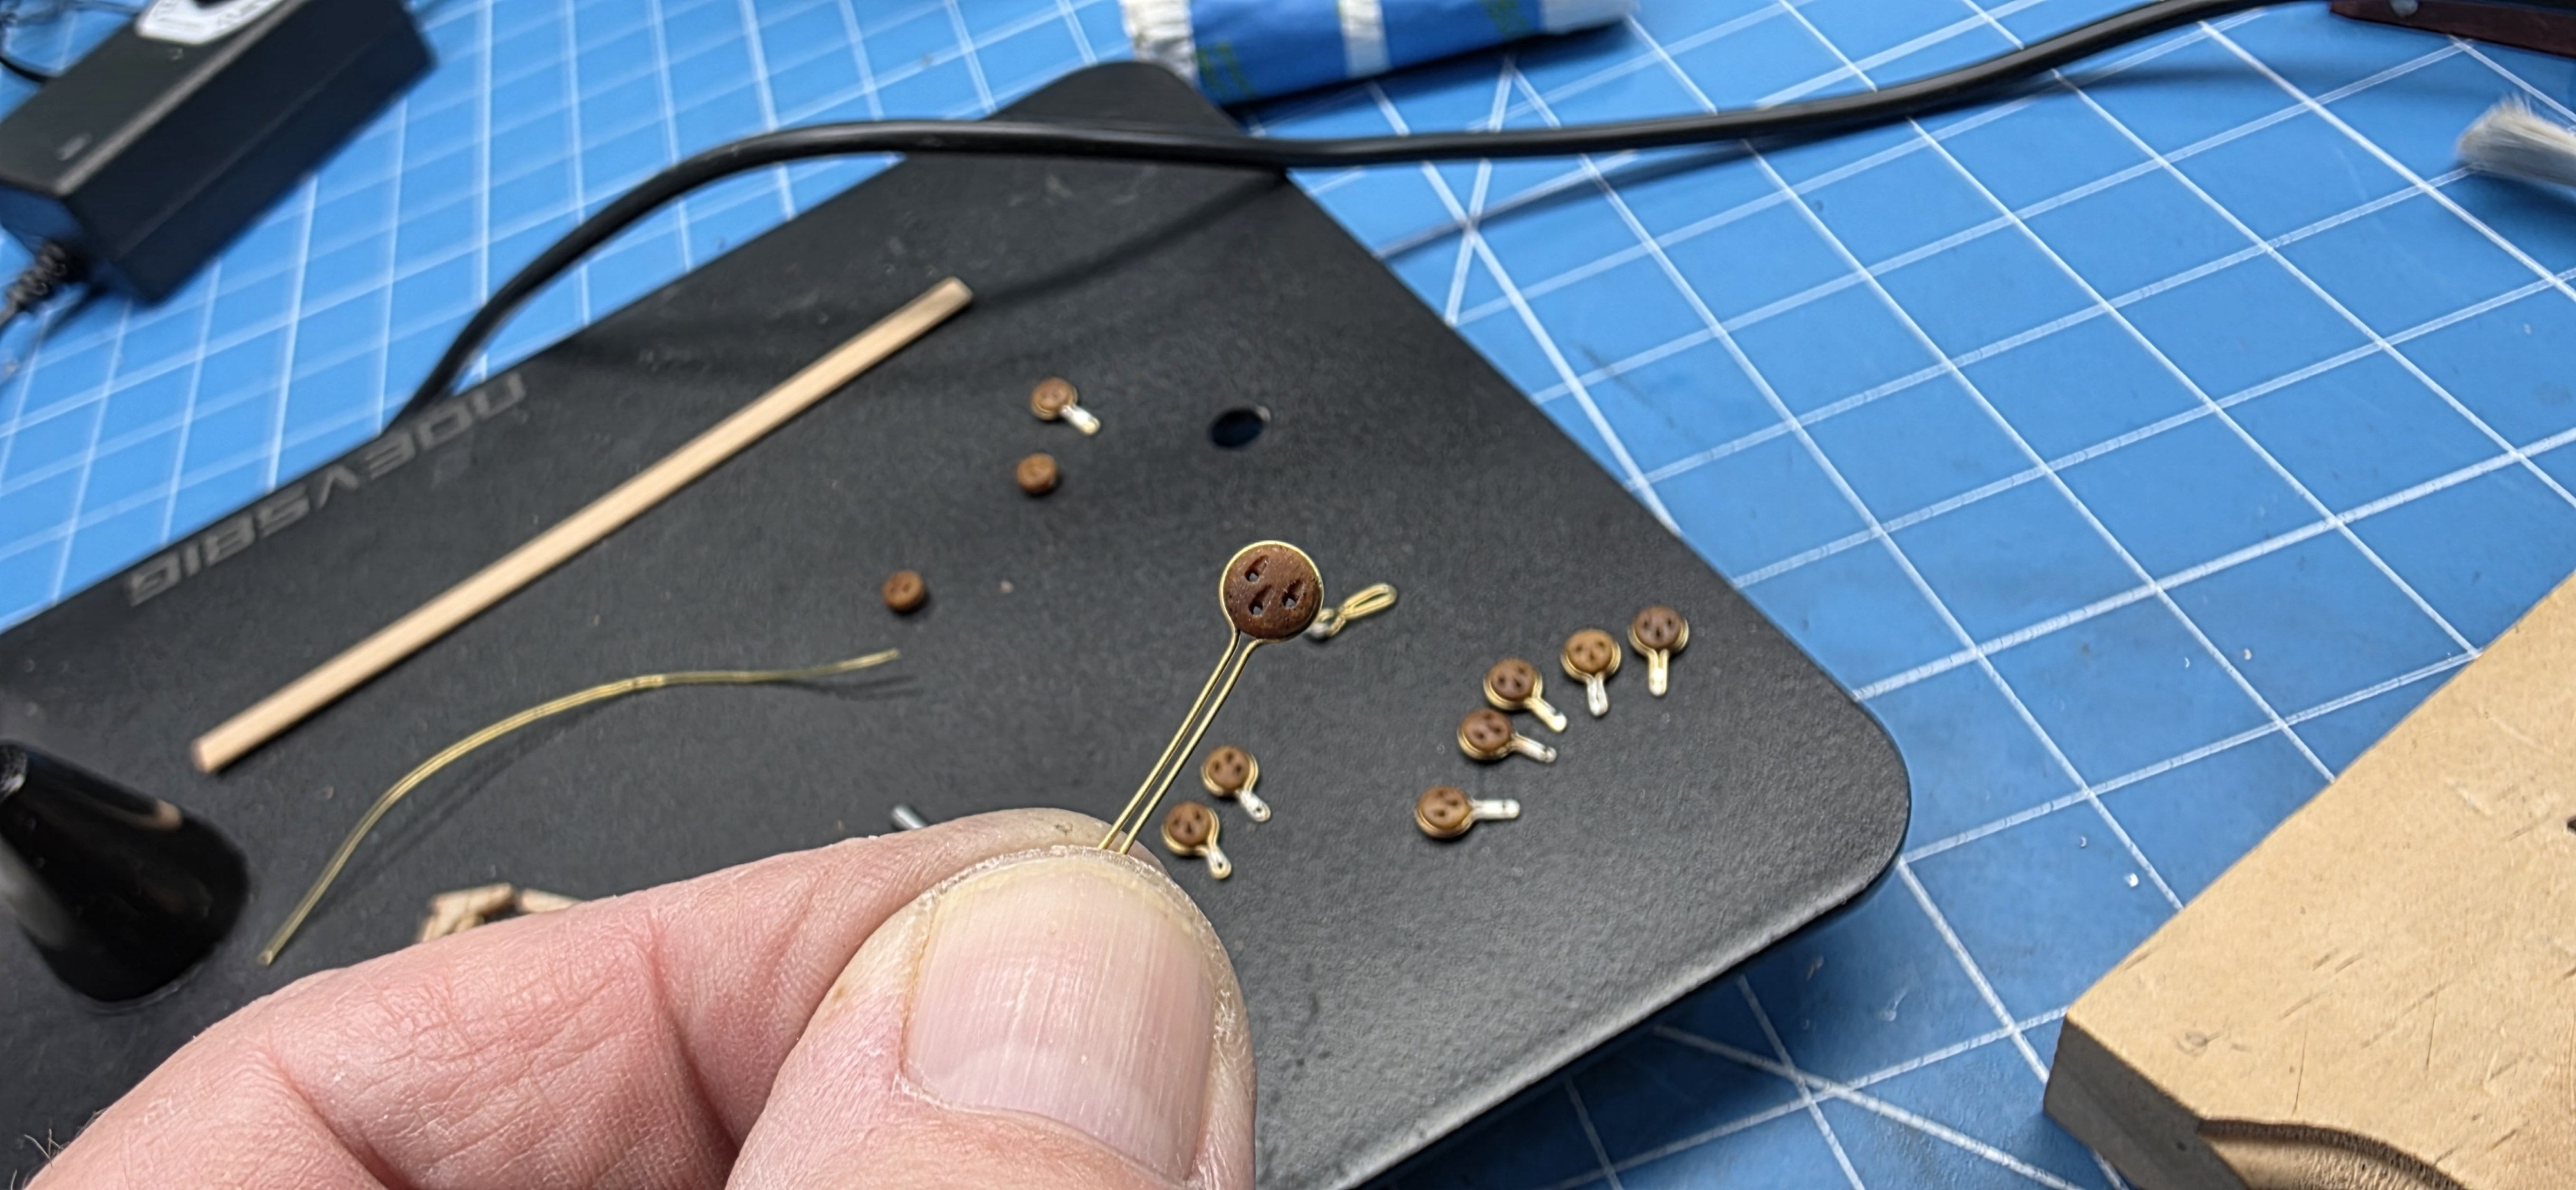
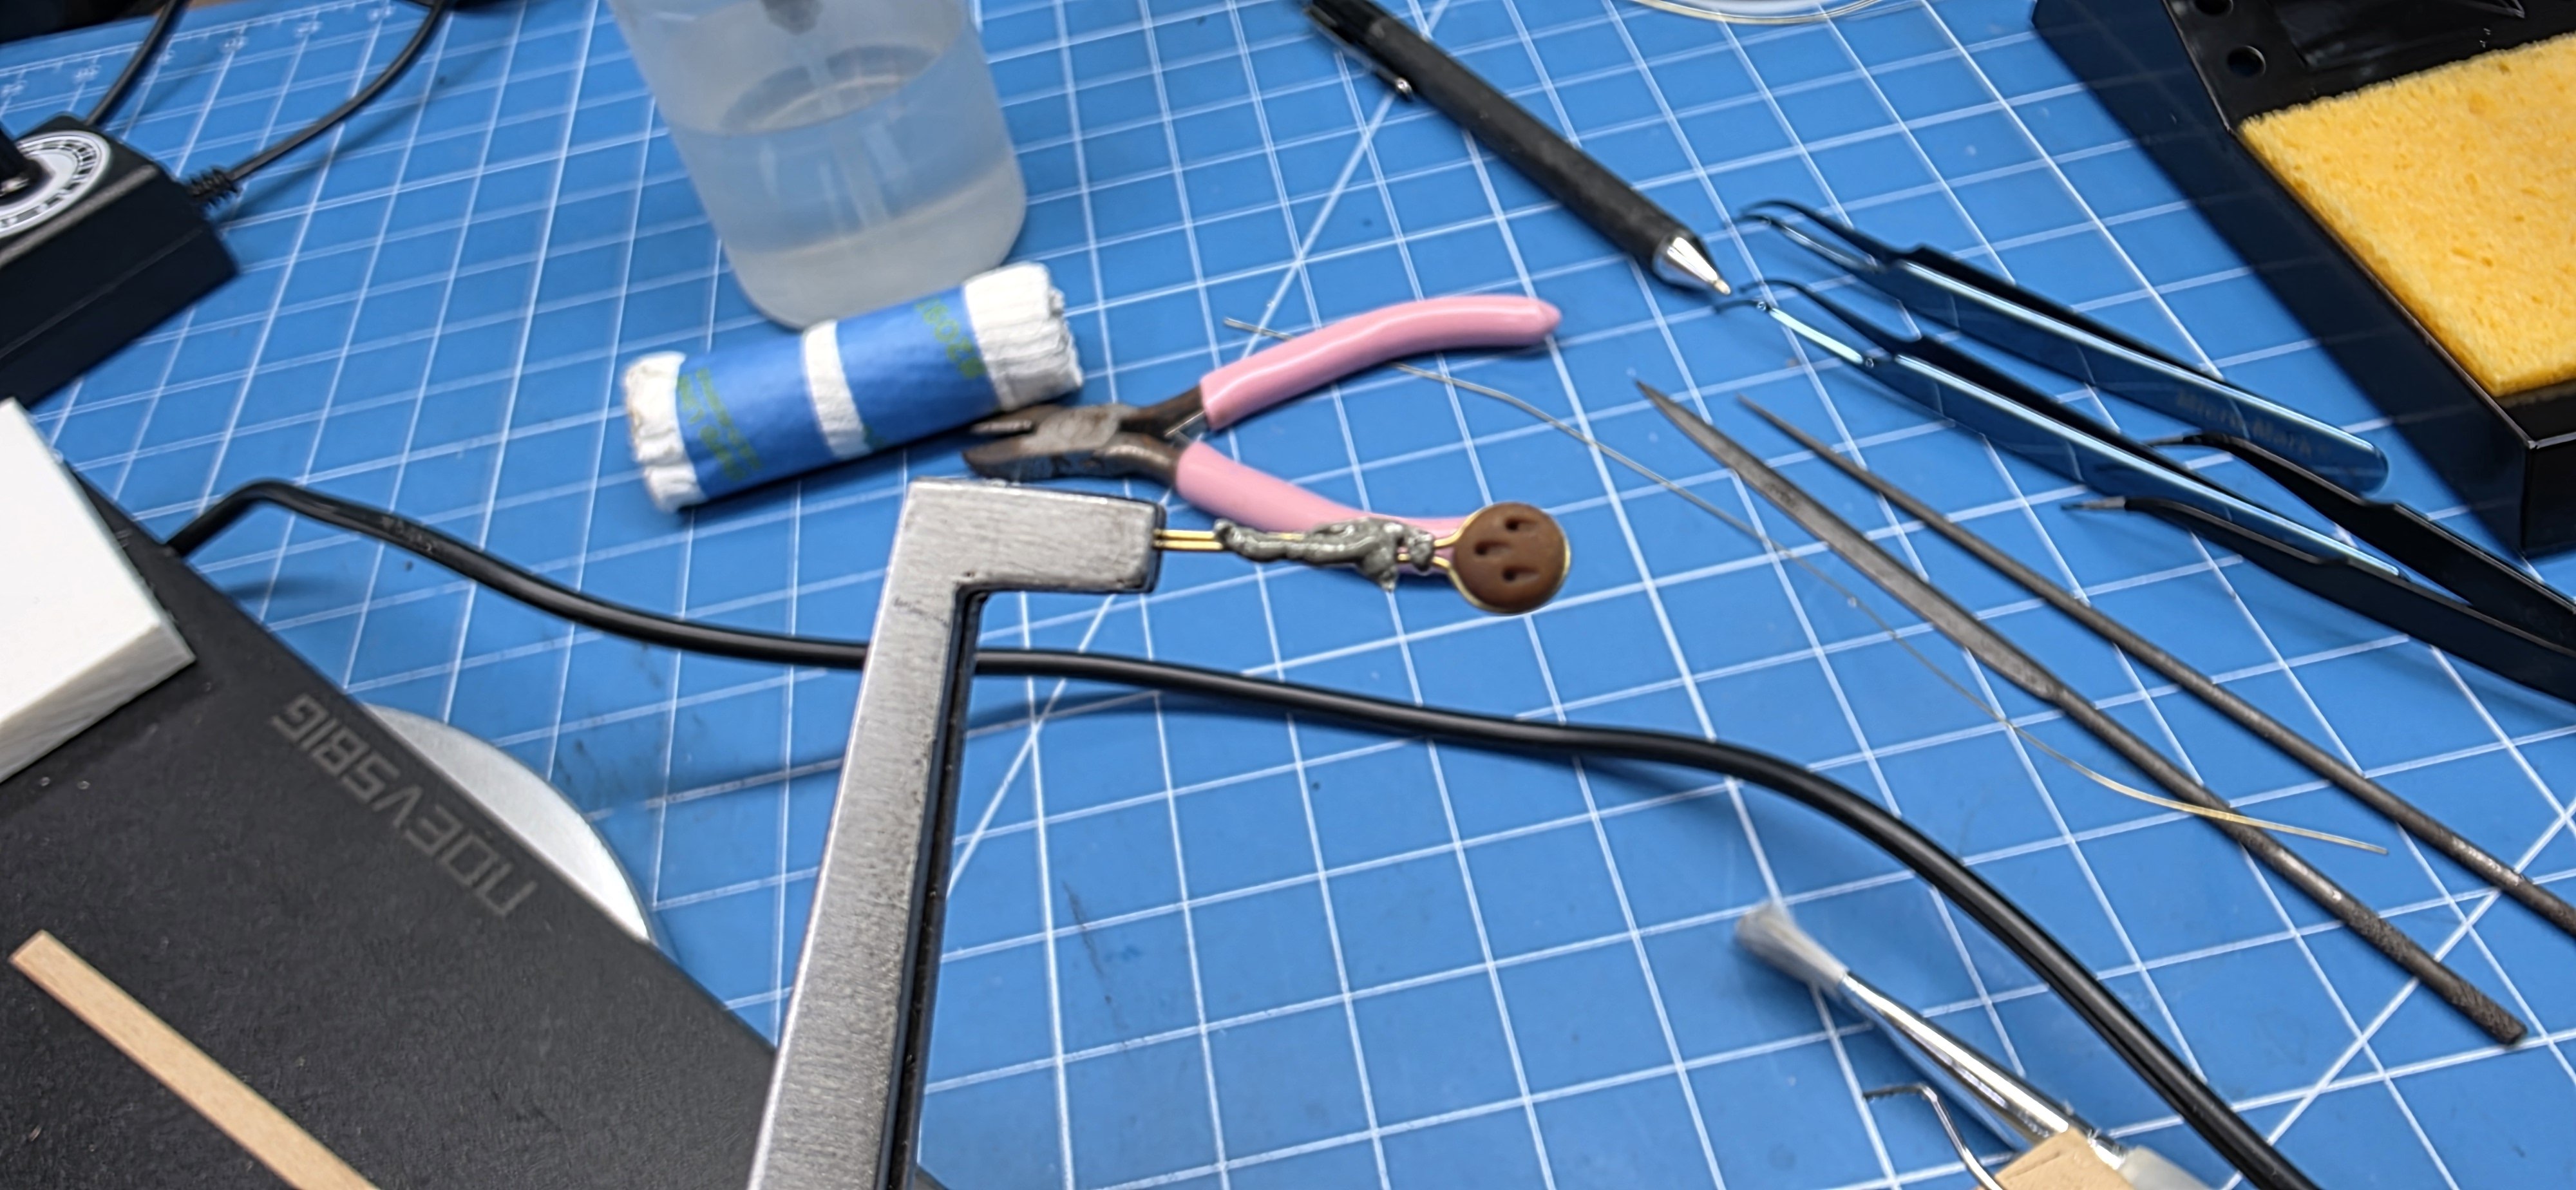
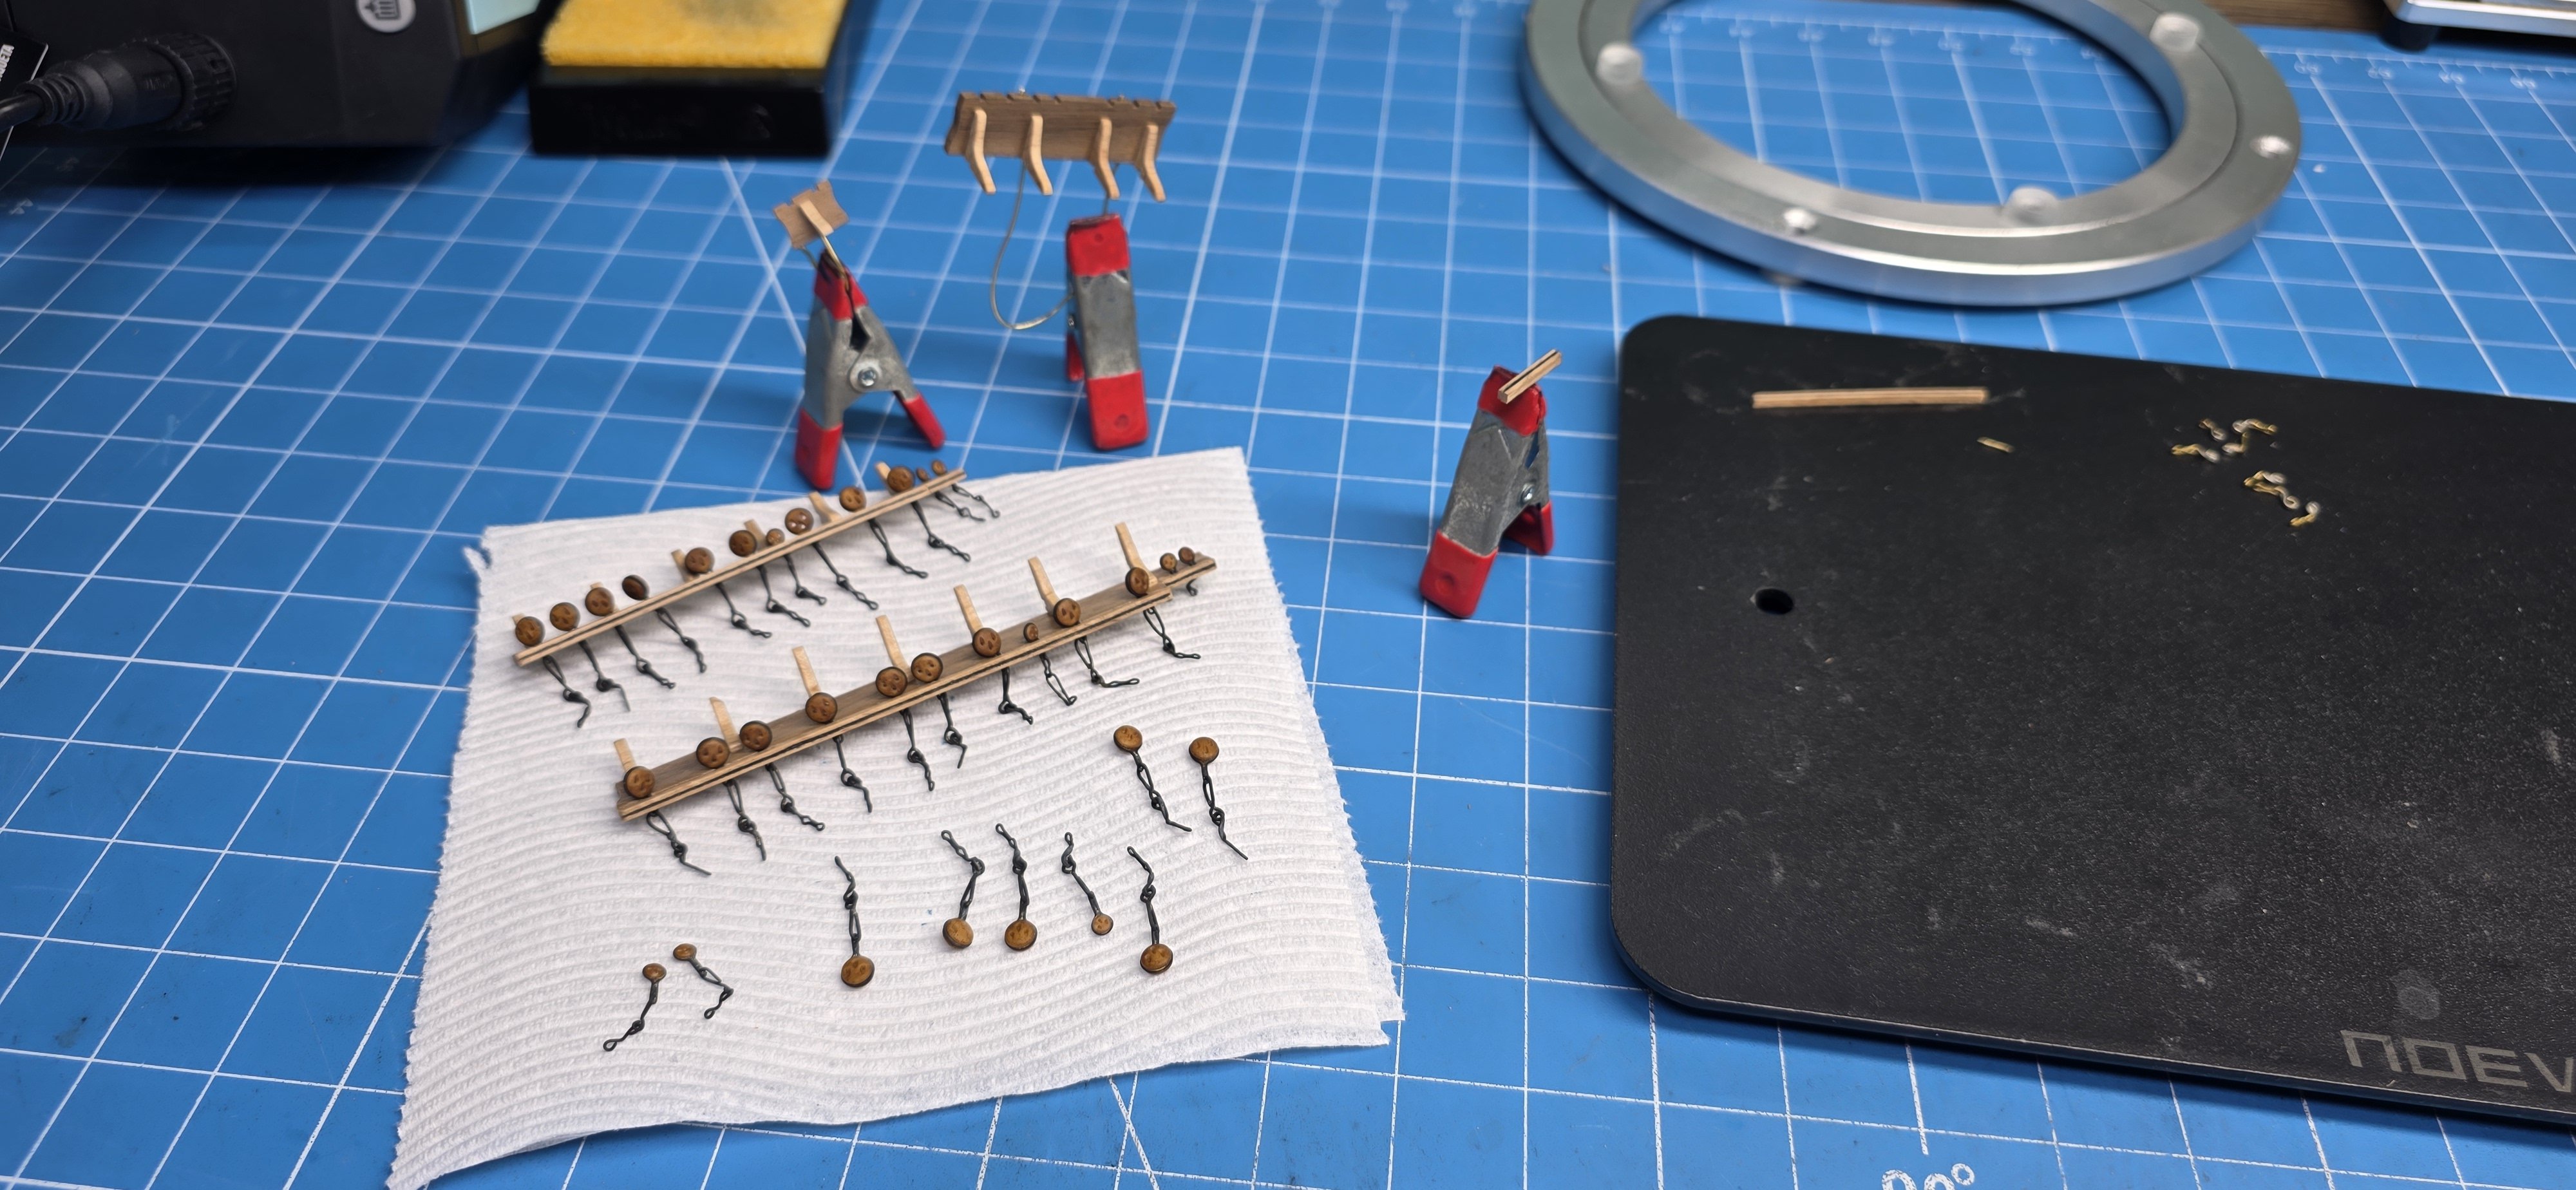
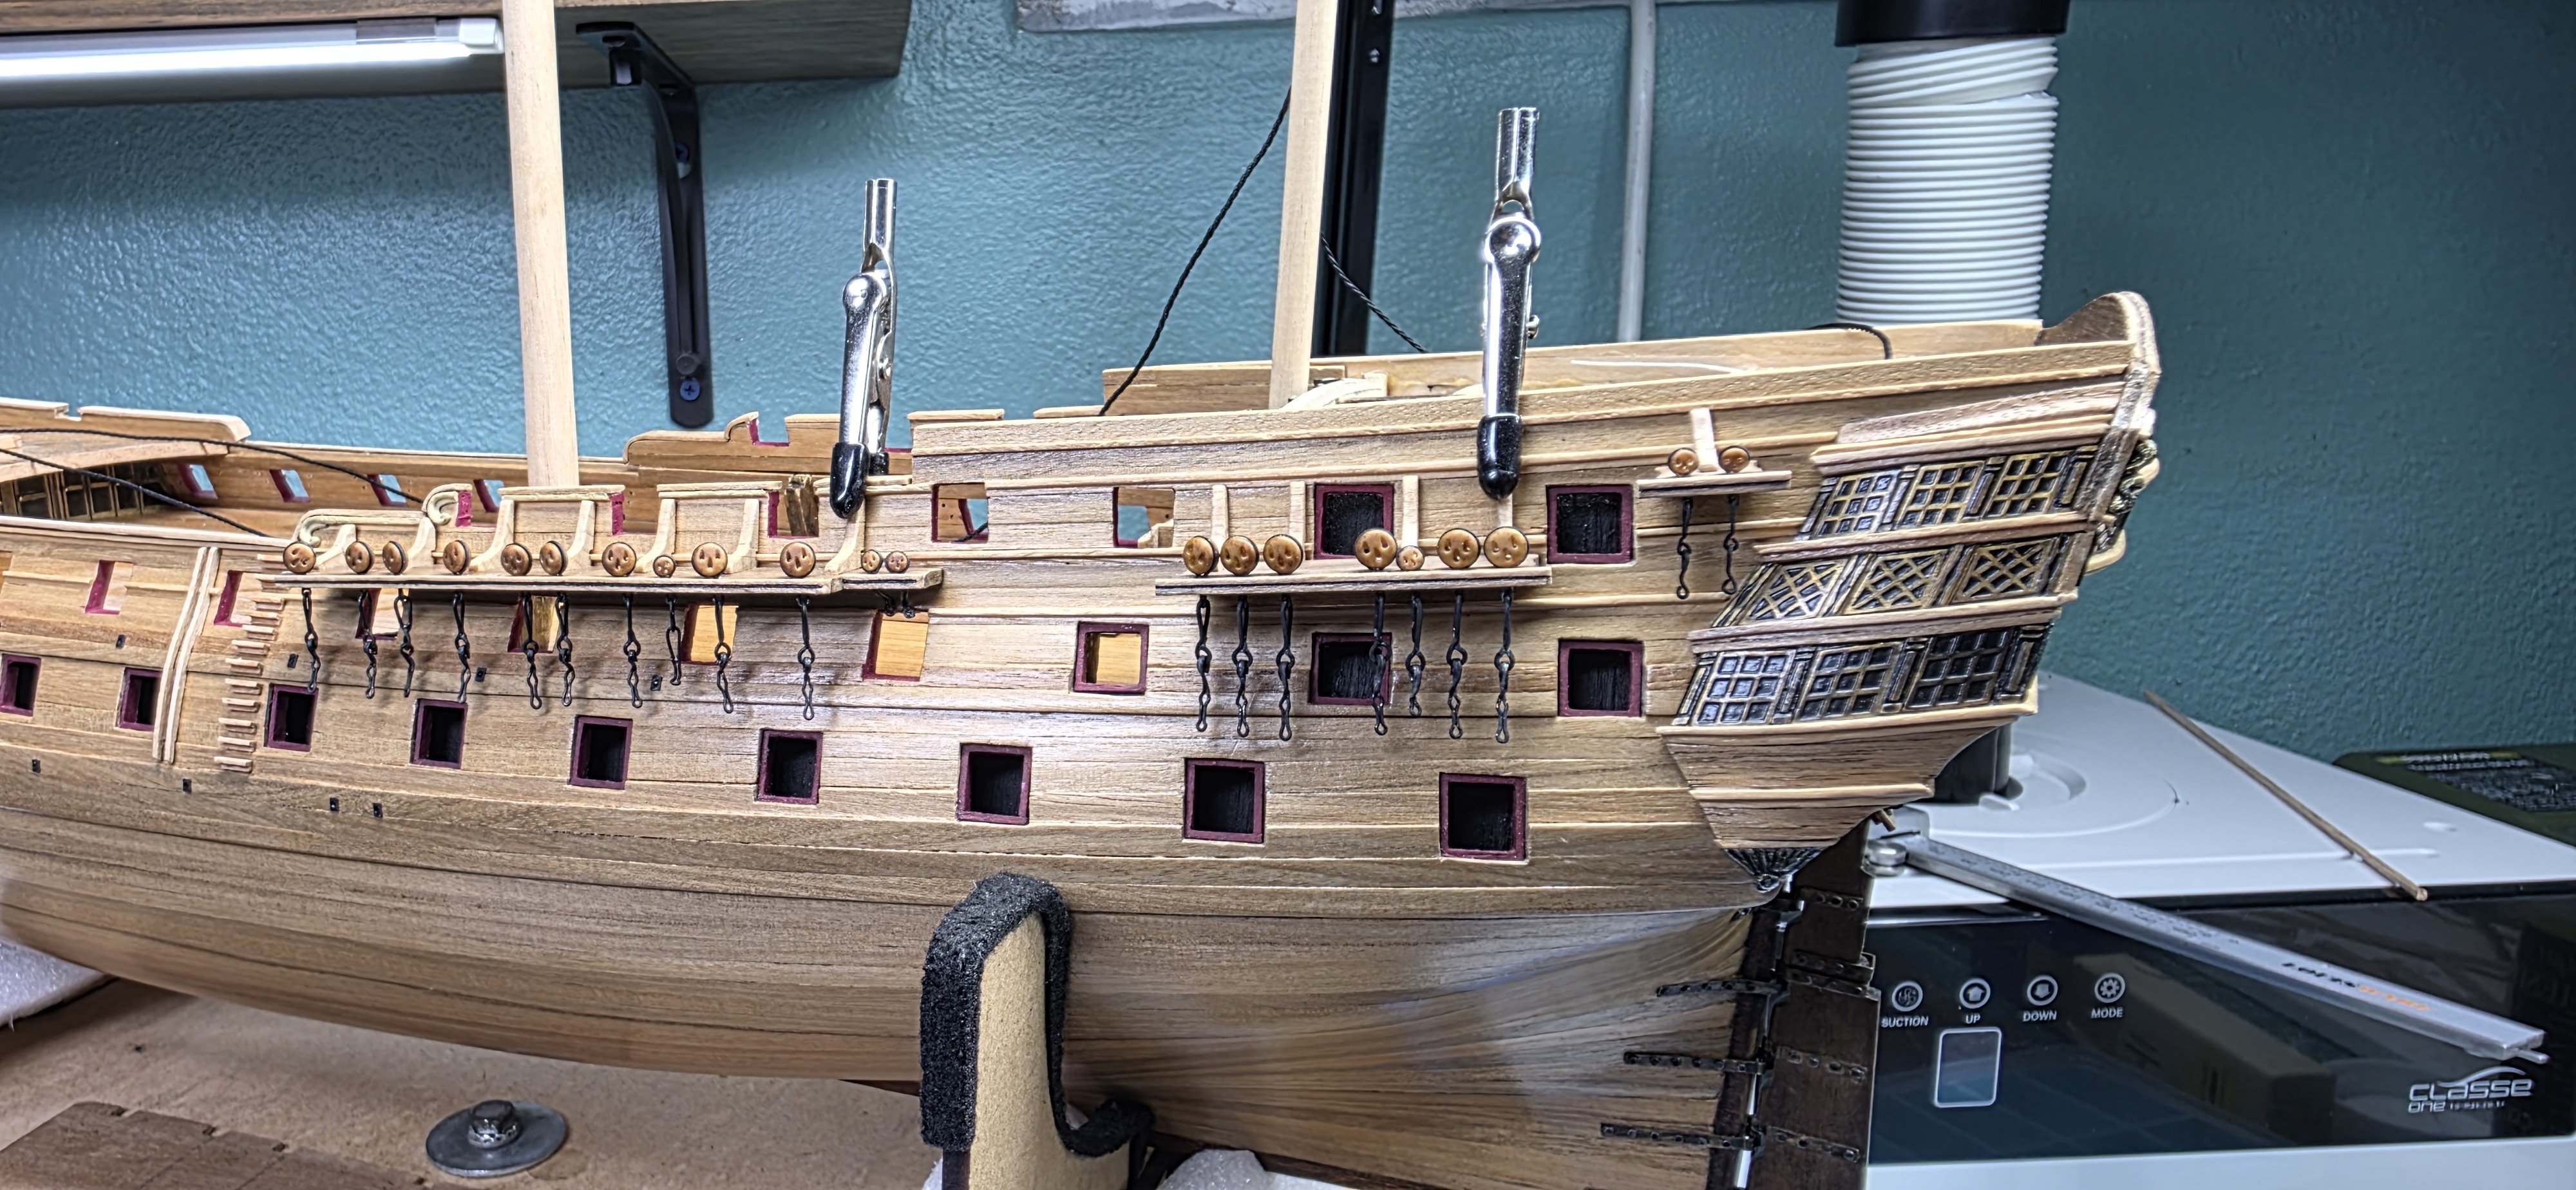
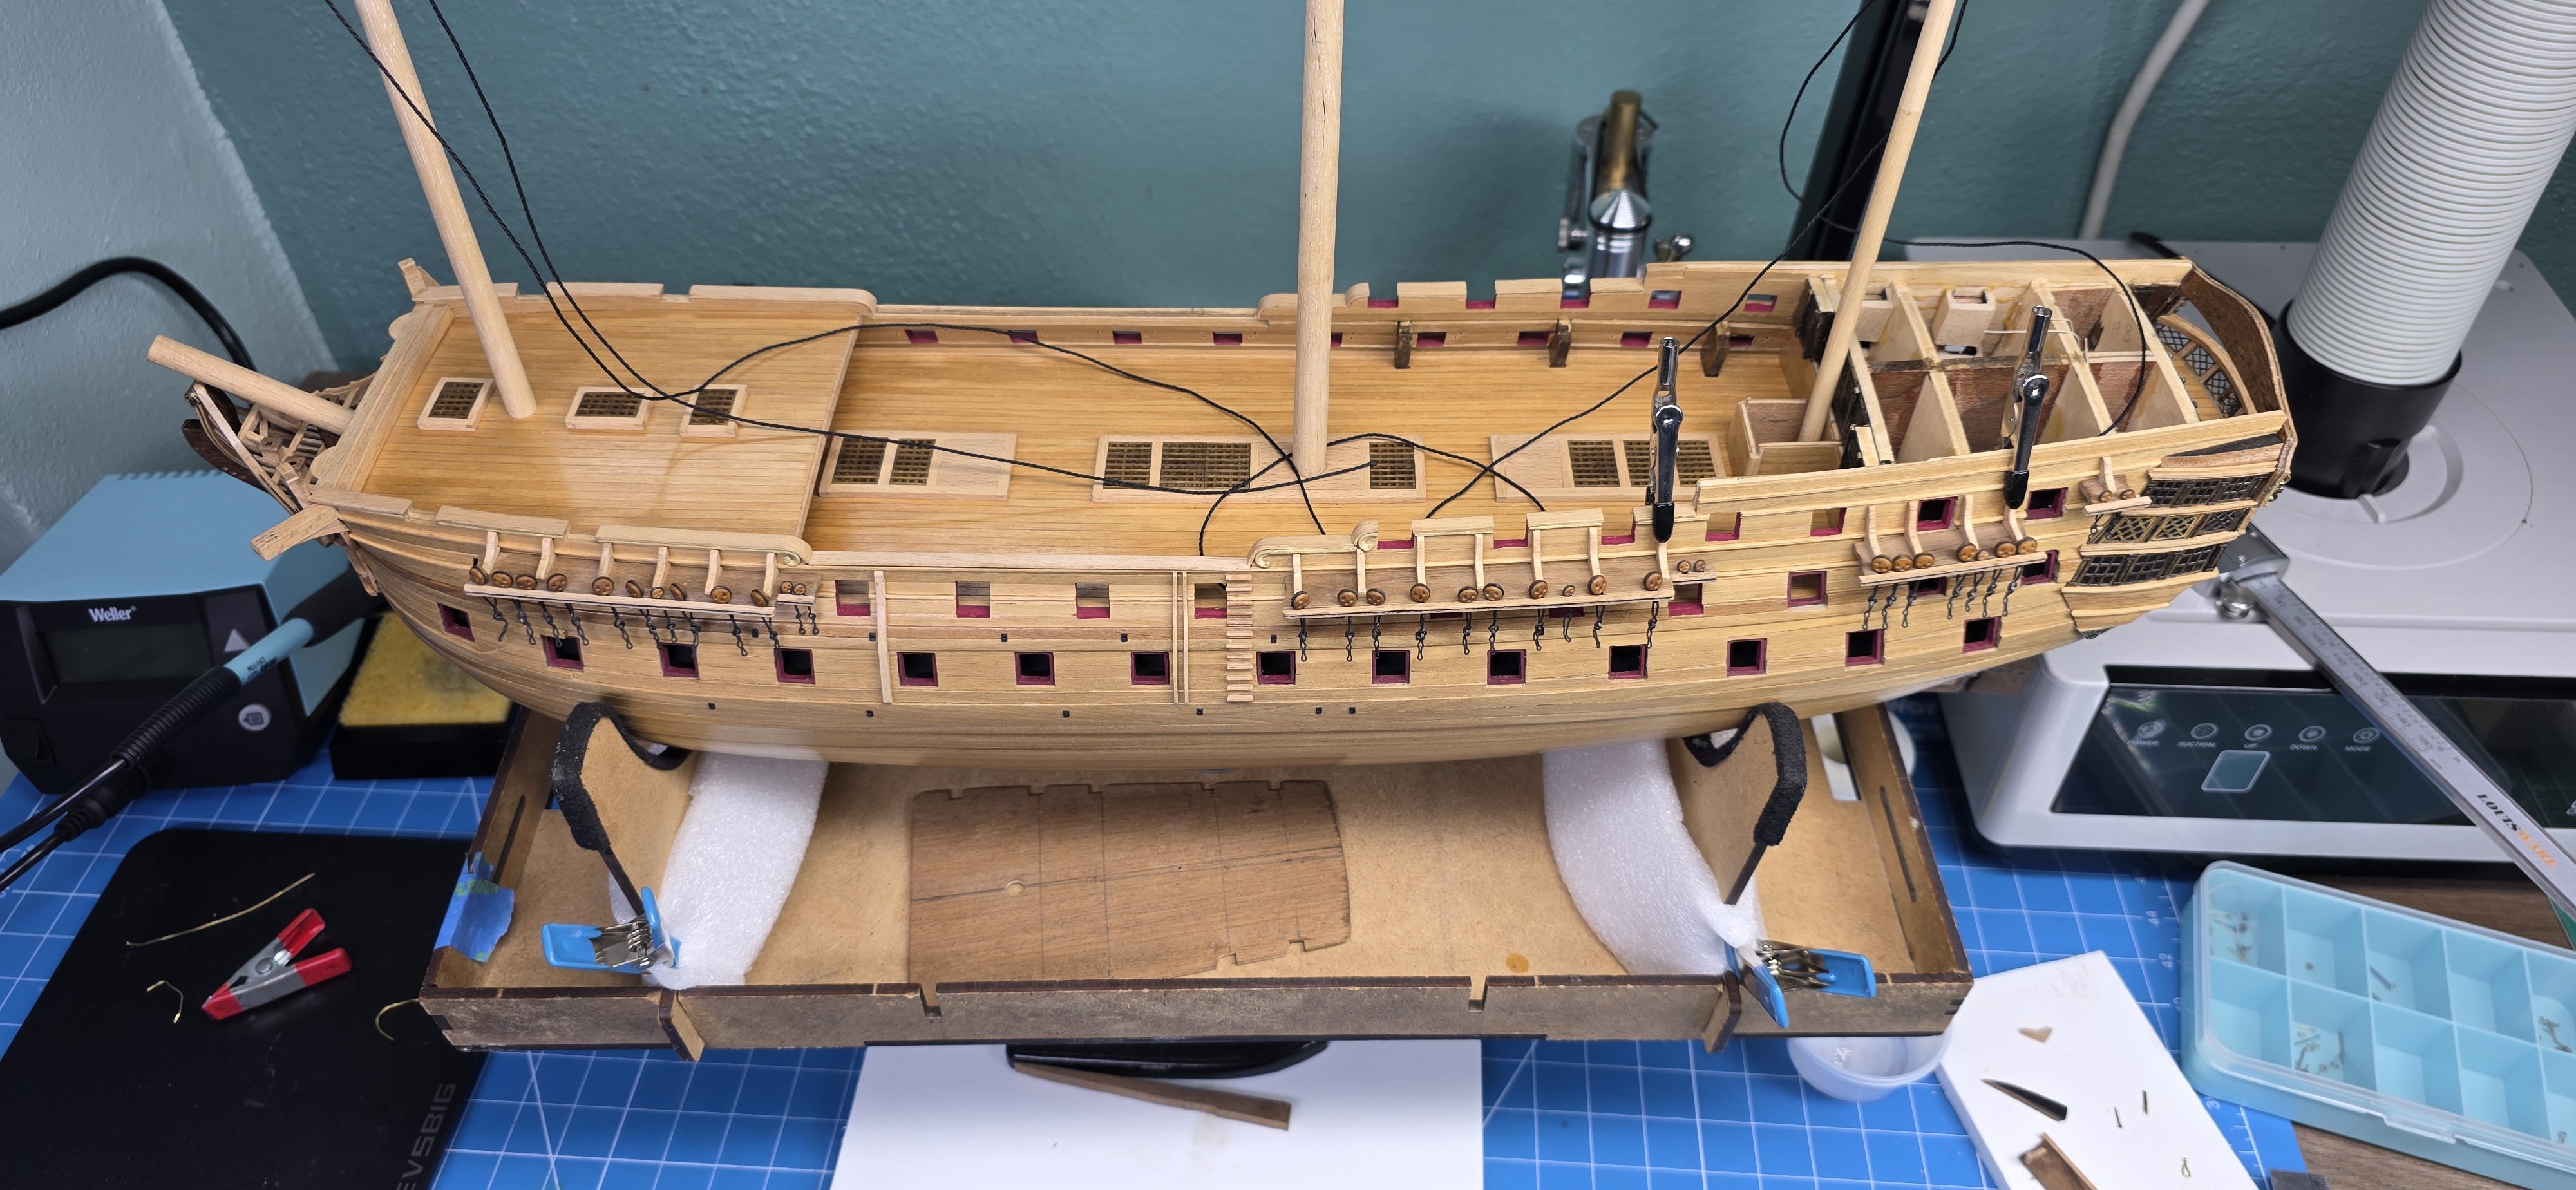
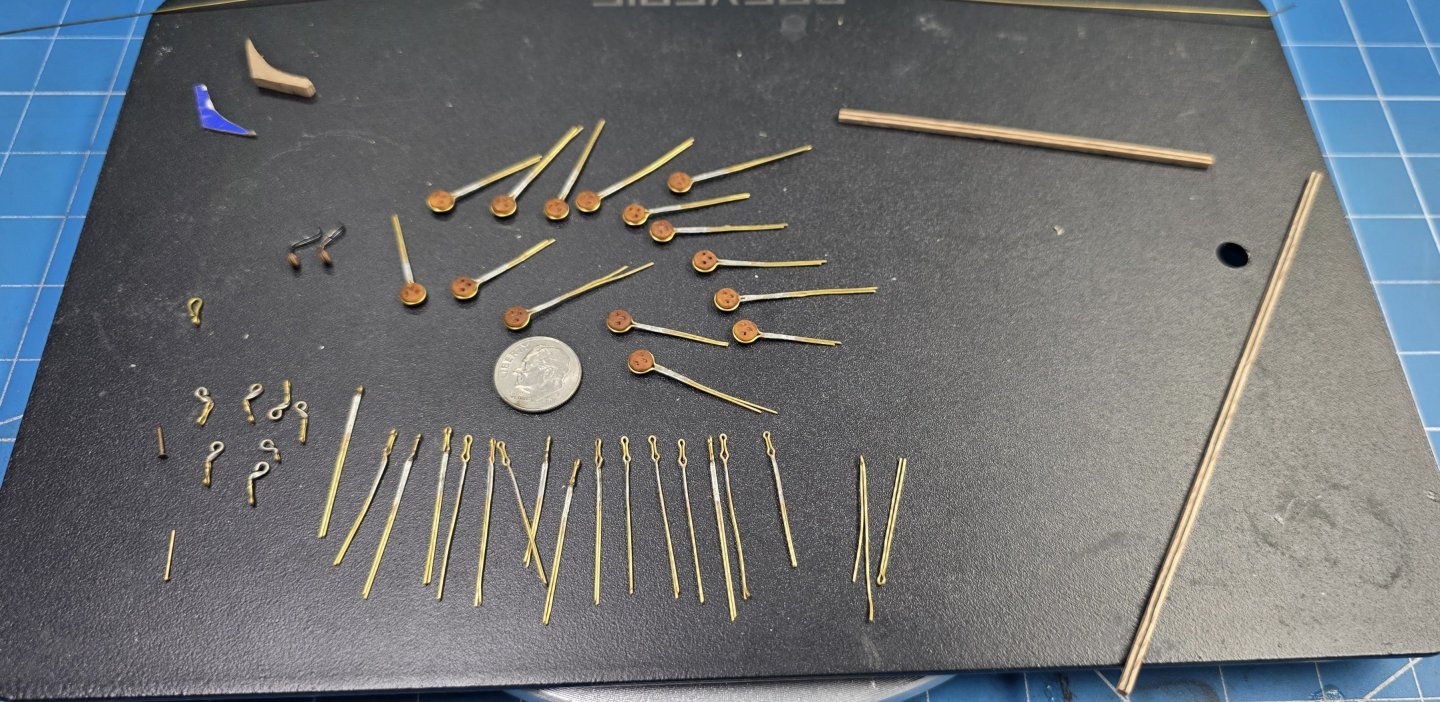
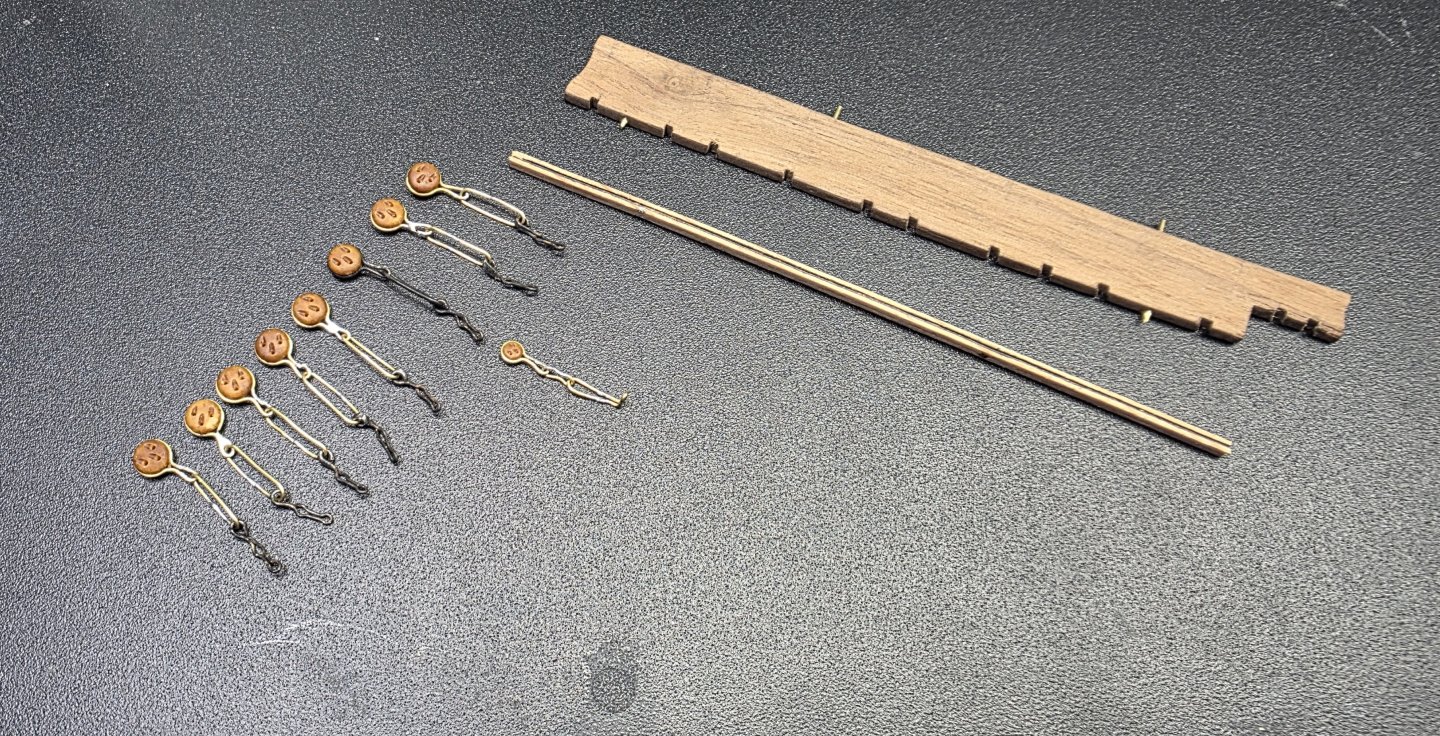
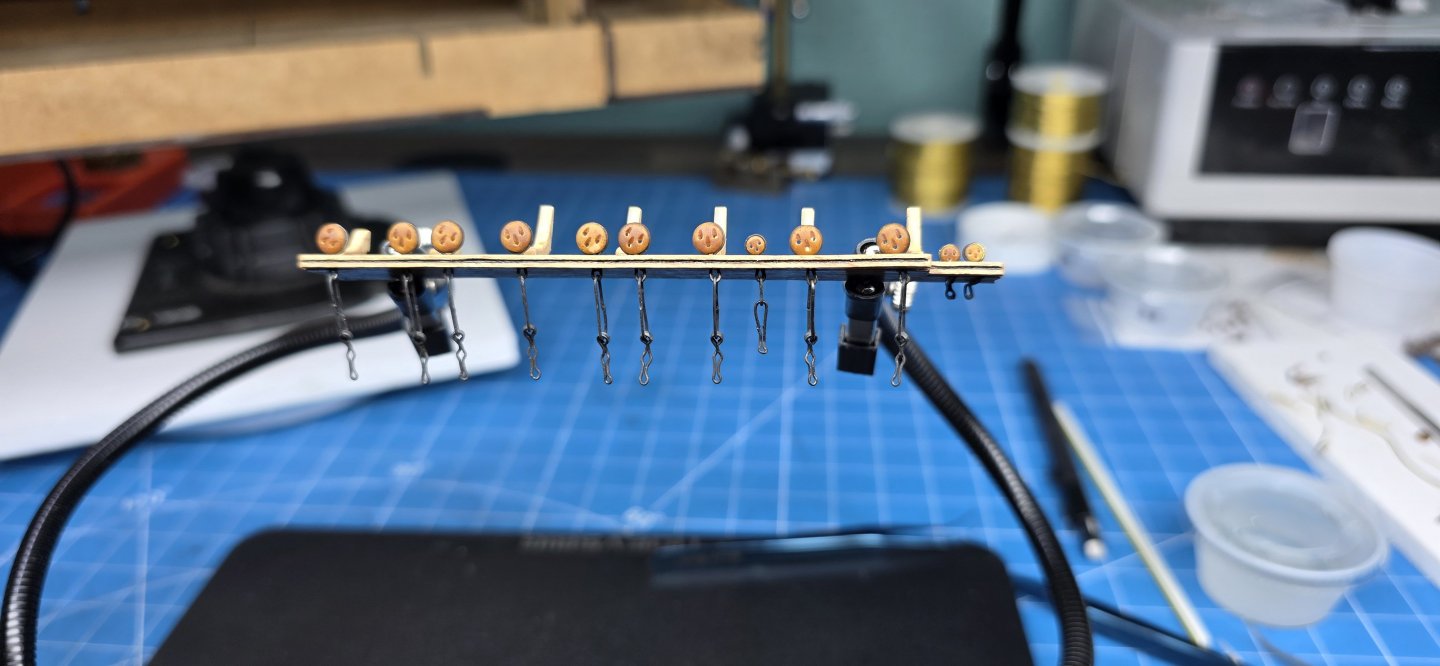
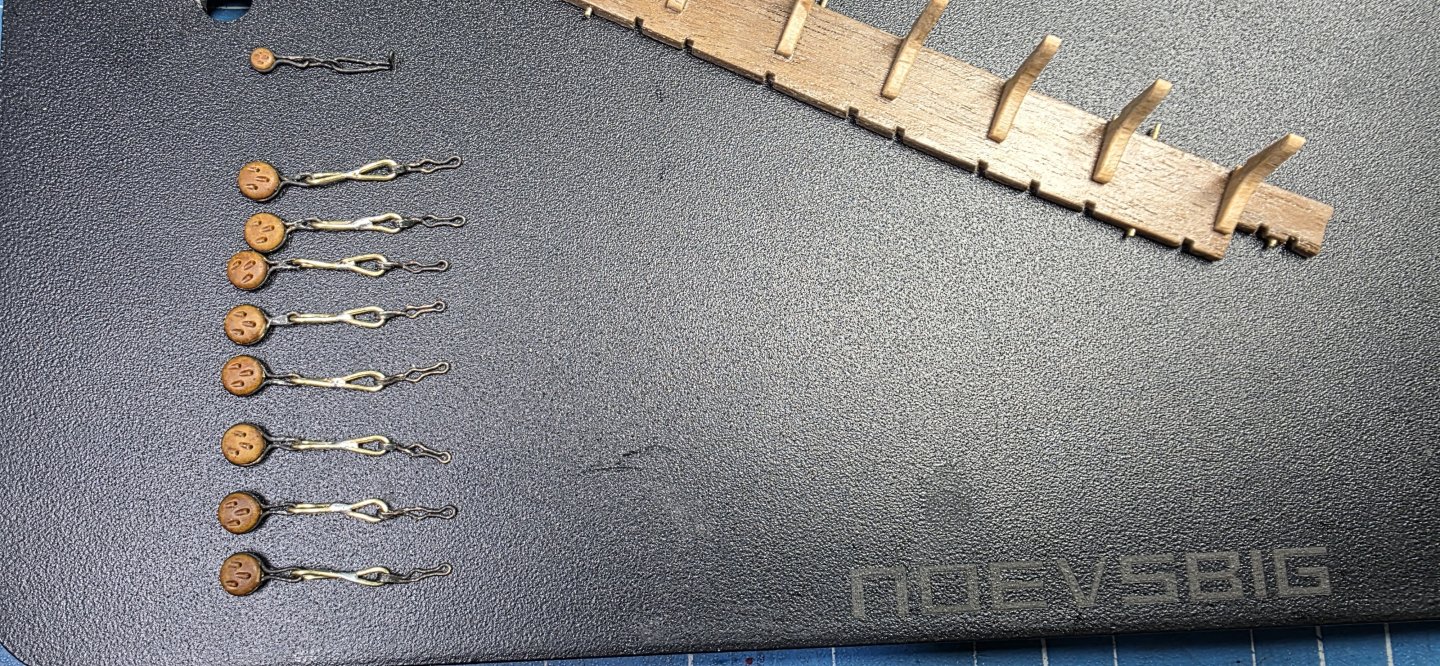
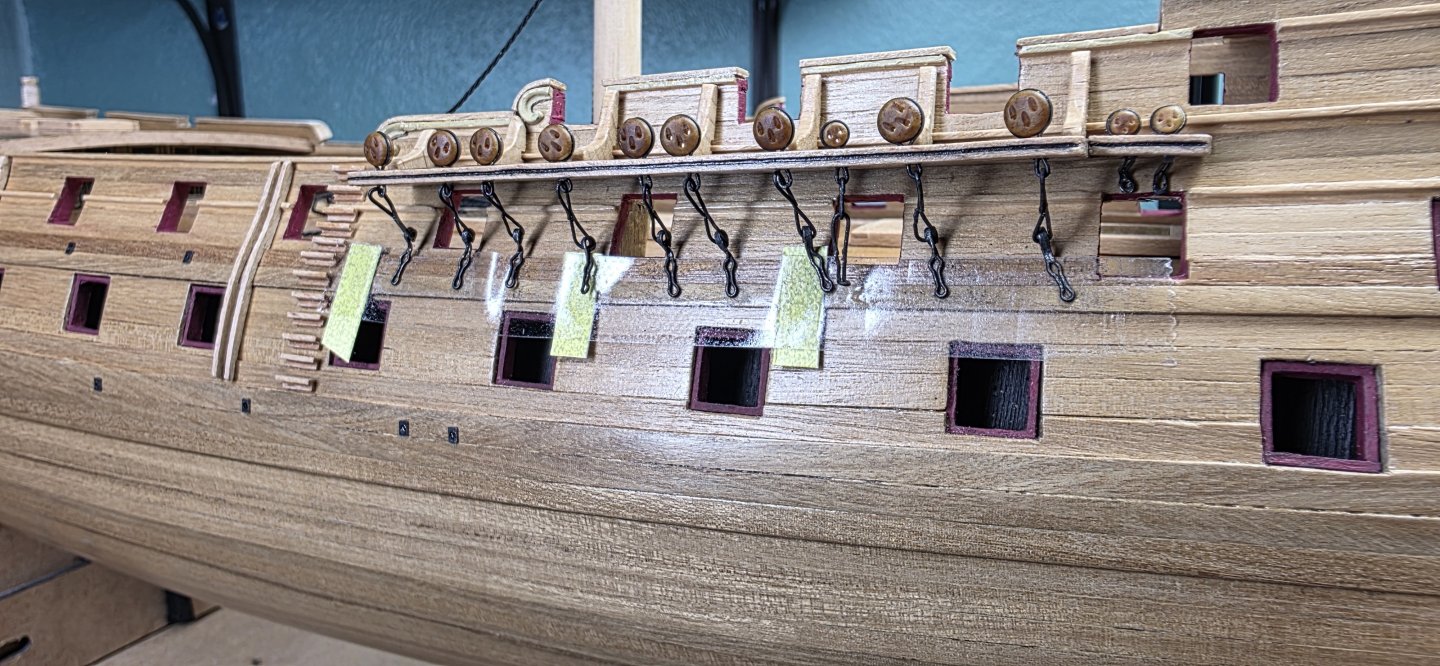
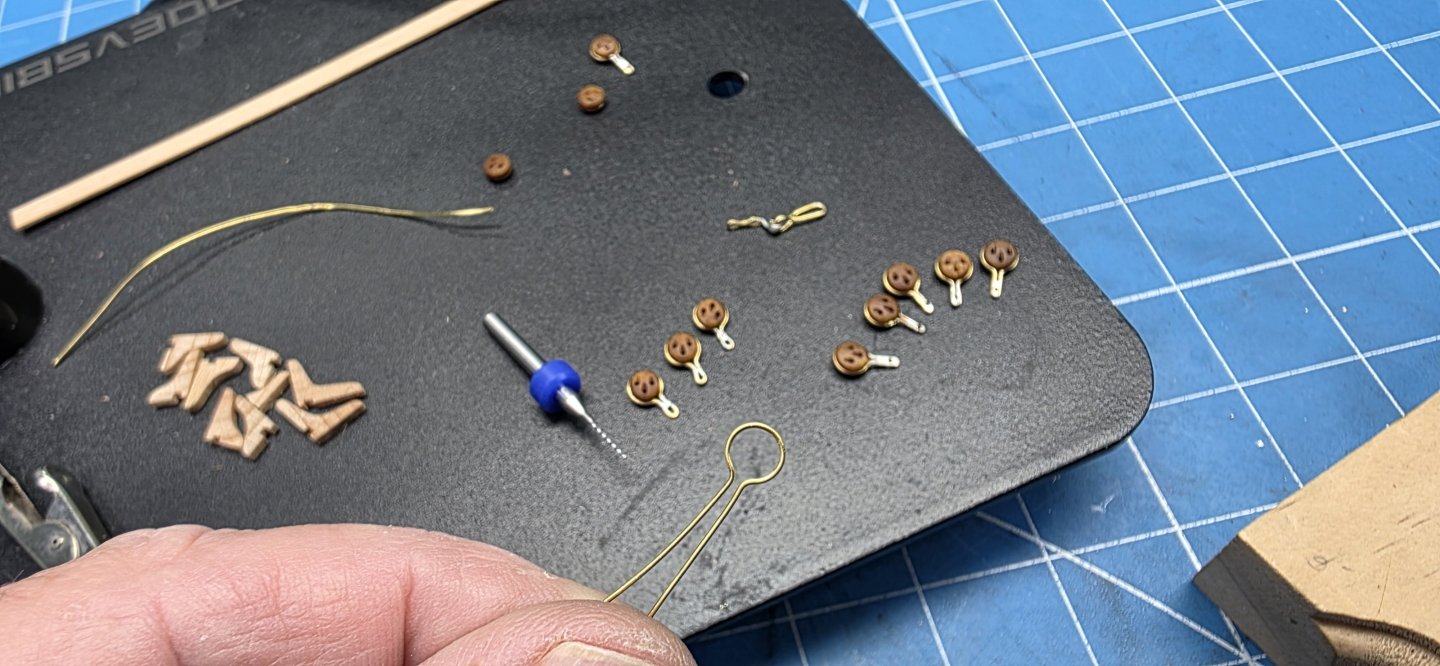
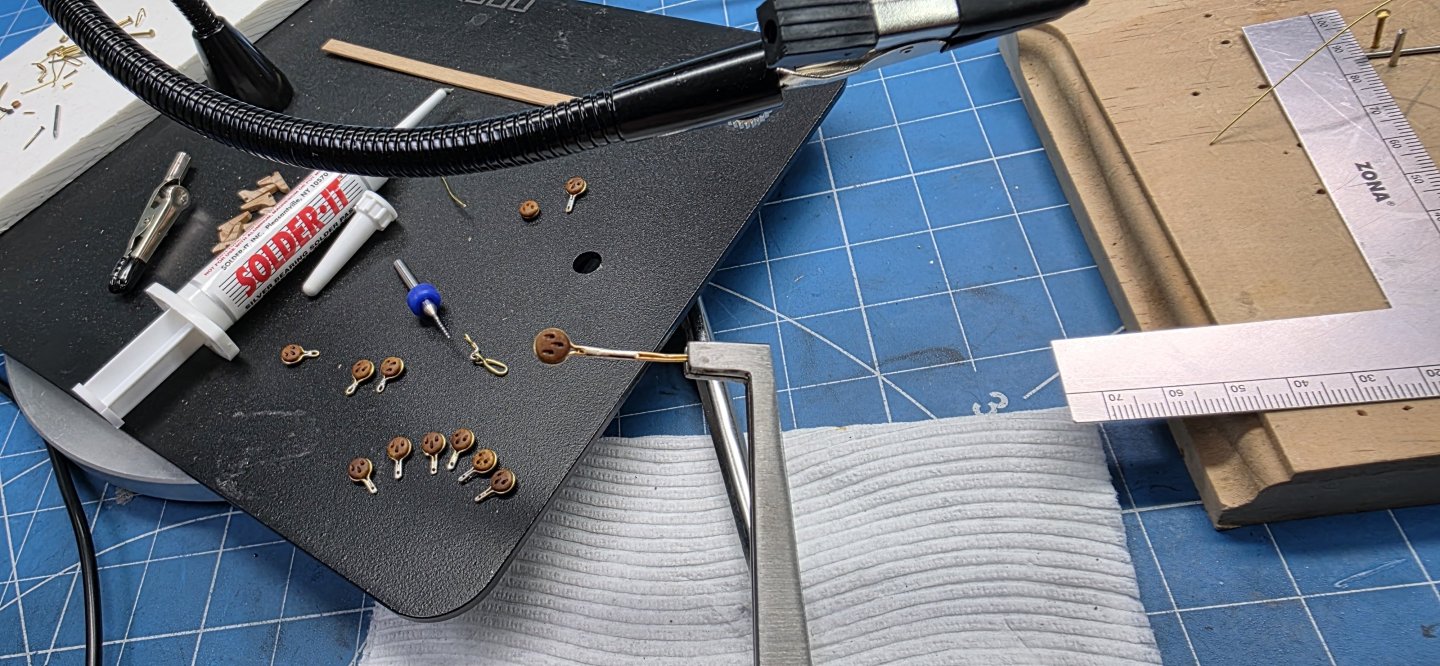
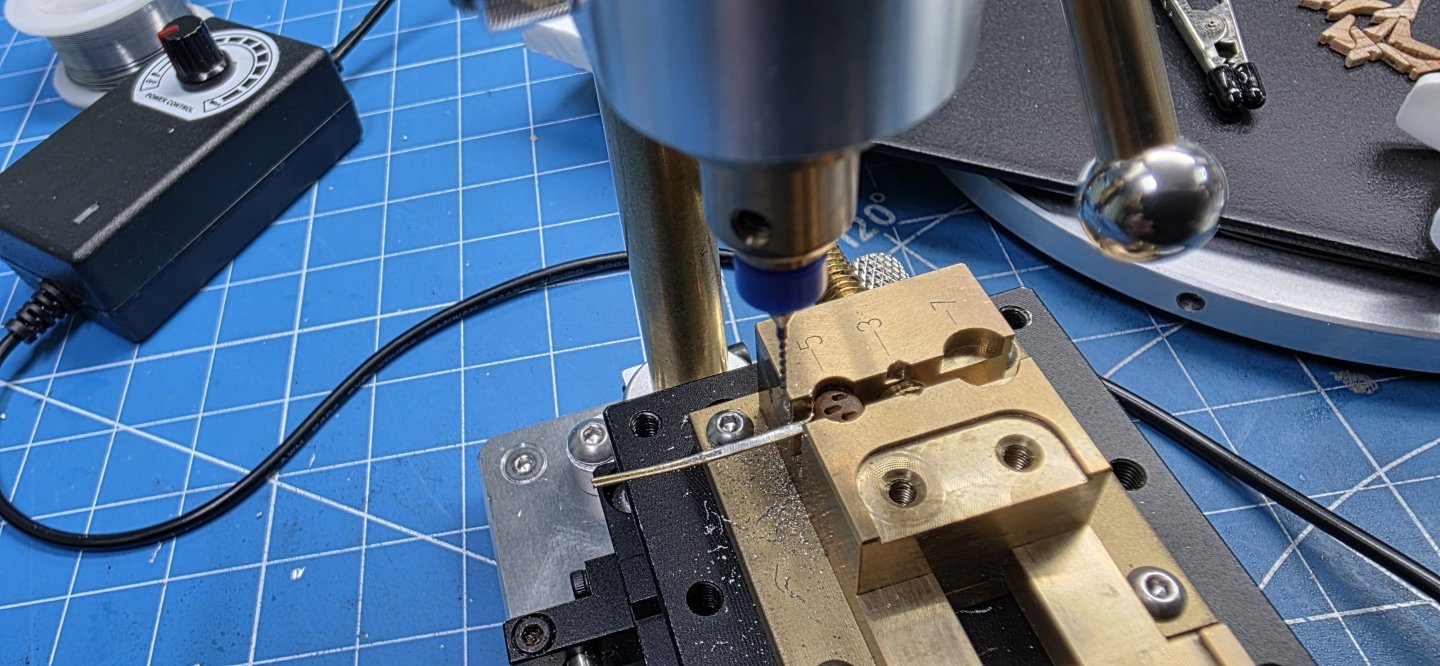
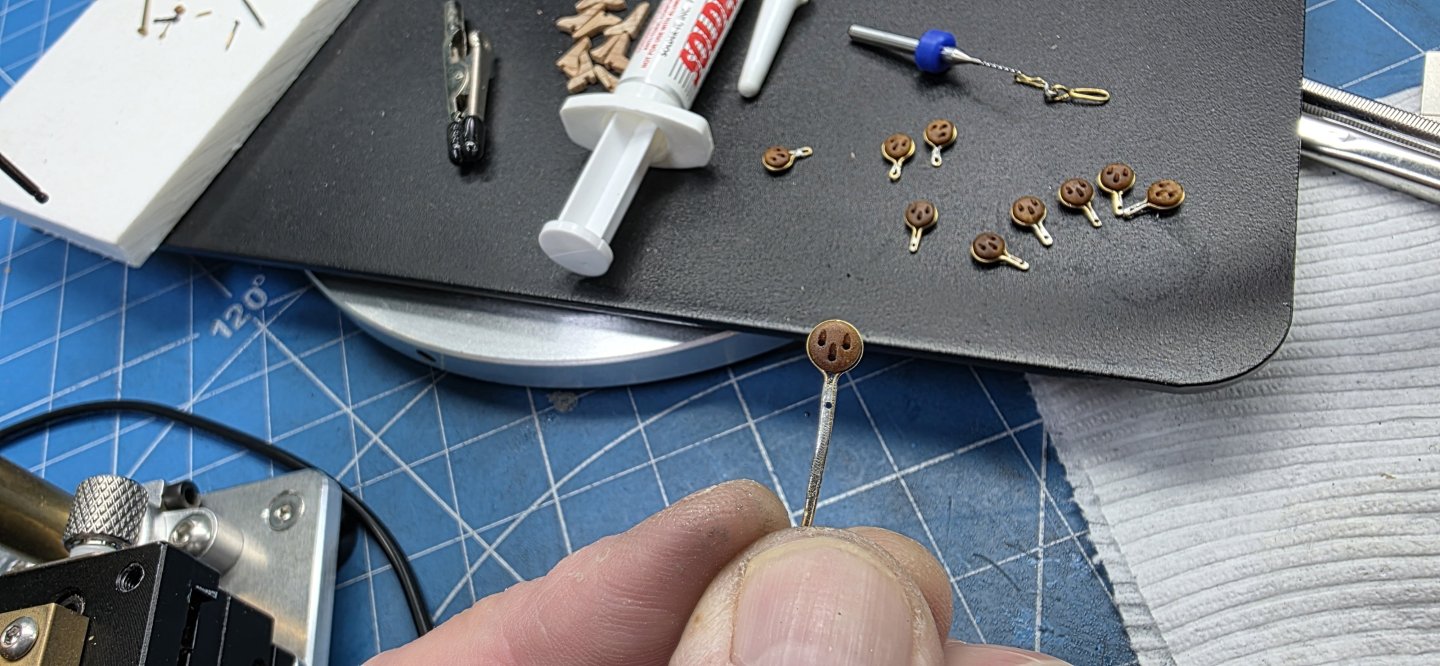
Hello All, I have a small update on the Bellona progress. I have been working on assembling the deadeyes and chain plates. It has taken me several attempts to fabricate them and come up with something that I feel looks better than what was supplied with the kit. I used a .5mm brass wire for the deadeyes and a .7mm brass wire for the chain plates. I was not happy with my first attempt, the chain plates seemed to look kind of like a paper clip. My second attempt was a little bit better, but I was still not very happy with my results. My third attempt was more pleasing to my eye, so that’s what I went with. For the purest out there, they are not historically accurate, but there are quite a few things on this kit that are not accurate. I have completed the port side channels and will move on to the starboard side applying the knowledge and skills I gained. I don’t think the starboard side should take as long as the port side now that I kind of know what I am doing. LOL I won’t get into too much detail of how I constructed these, I will let the pictures speak for themselves. As always, you comments and guidance are always welcome. Cheers Nearshore


-
Nice job. Looking pretty good. The veneer will more than likely have to be tapered for it to fit properly. Just take your time and treat each plank as though they were there own project. Keep up the good work.
- 19 replies
-
- 1
-

-
- Viking
- Artesania Latina
- (and 1 more)
-
Welcome to MSW.
-
Hi Ronald, You are truely a master!!! You are doing an amazing job. I quite enjoy watching your progress and your explanations on your techniques are second to none. Cheers Nearshore
-
Hi Captain Amateur, Yes when i faired the bulkheads I sanded the deck to be flush. I did have to add some material to a couple of bulkheads to allow for a smooth transition of the planking. Are you doing a build log? If i haven't clearly answered your question, maybe you can share a picture of what you are questioning. Thank you for the compliment. Cheers Nearshore
-
Hi Matt, Welcome to to hobby. looks like you picked a good project for your first build log. I look forward to watching your progress. Cheers Nearshore
- 19 replies
-
- 1
-
-
- Viking
- Artesania Latina
- (and 1 more)
-
Hi Frecap, I like the molding tool you made. It looks like it produces great results. i am curious about one thing. Your roundhouses seem to overhang past the bow deck. I am thinking that this may cause you some issues when the time comes to install the headrails. You may have a plan already for this, but if you don't you may want to look at their positions and move them inboard a bit. Nearshore
-
Great job!! I know the feeling when you reach a mile stone. Congratulations !!
-
Wow!! she is really taking shape. I like the colors you selected. You are doing a very good job. I am looking forward to your progress.
-
Hi Ronald, I like the color scheme that you decided on. You are doing an amazing job!!! I like the explanations and how you describe your technique. Look forward to more updates. Cheers Nearshore
-
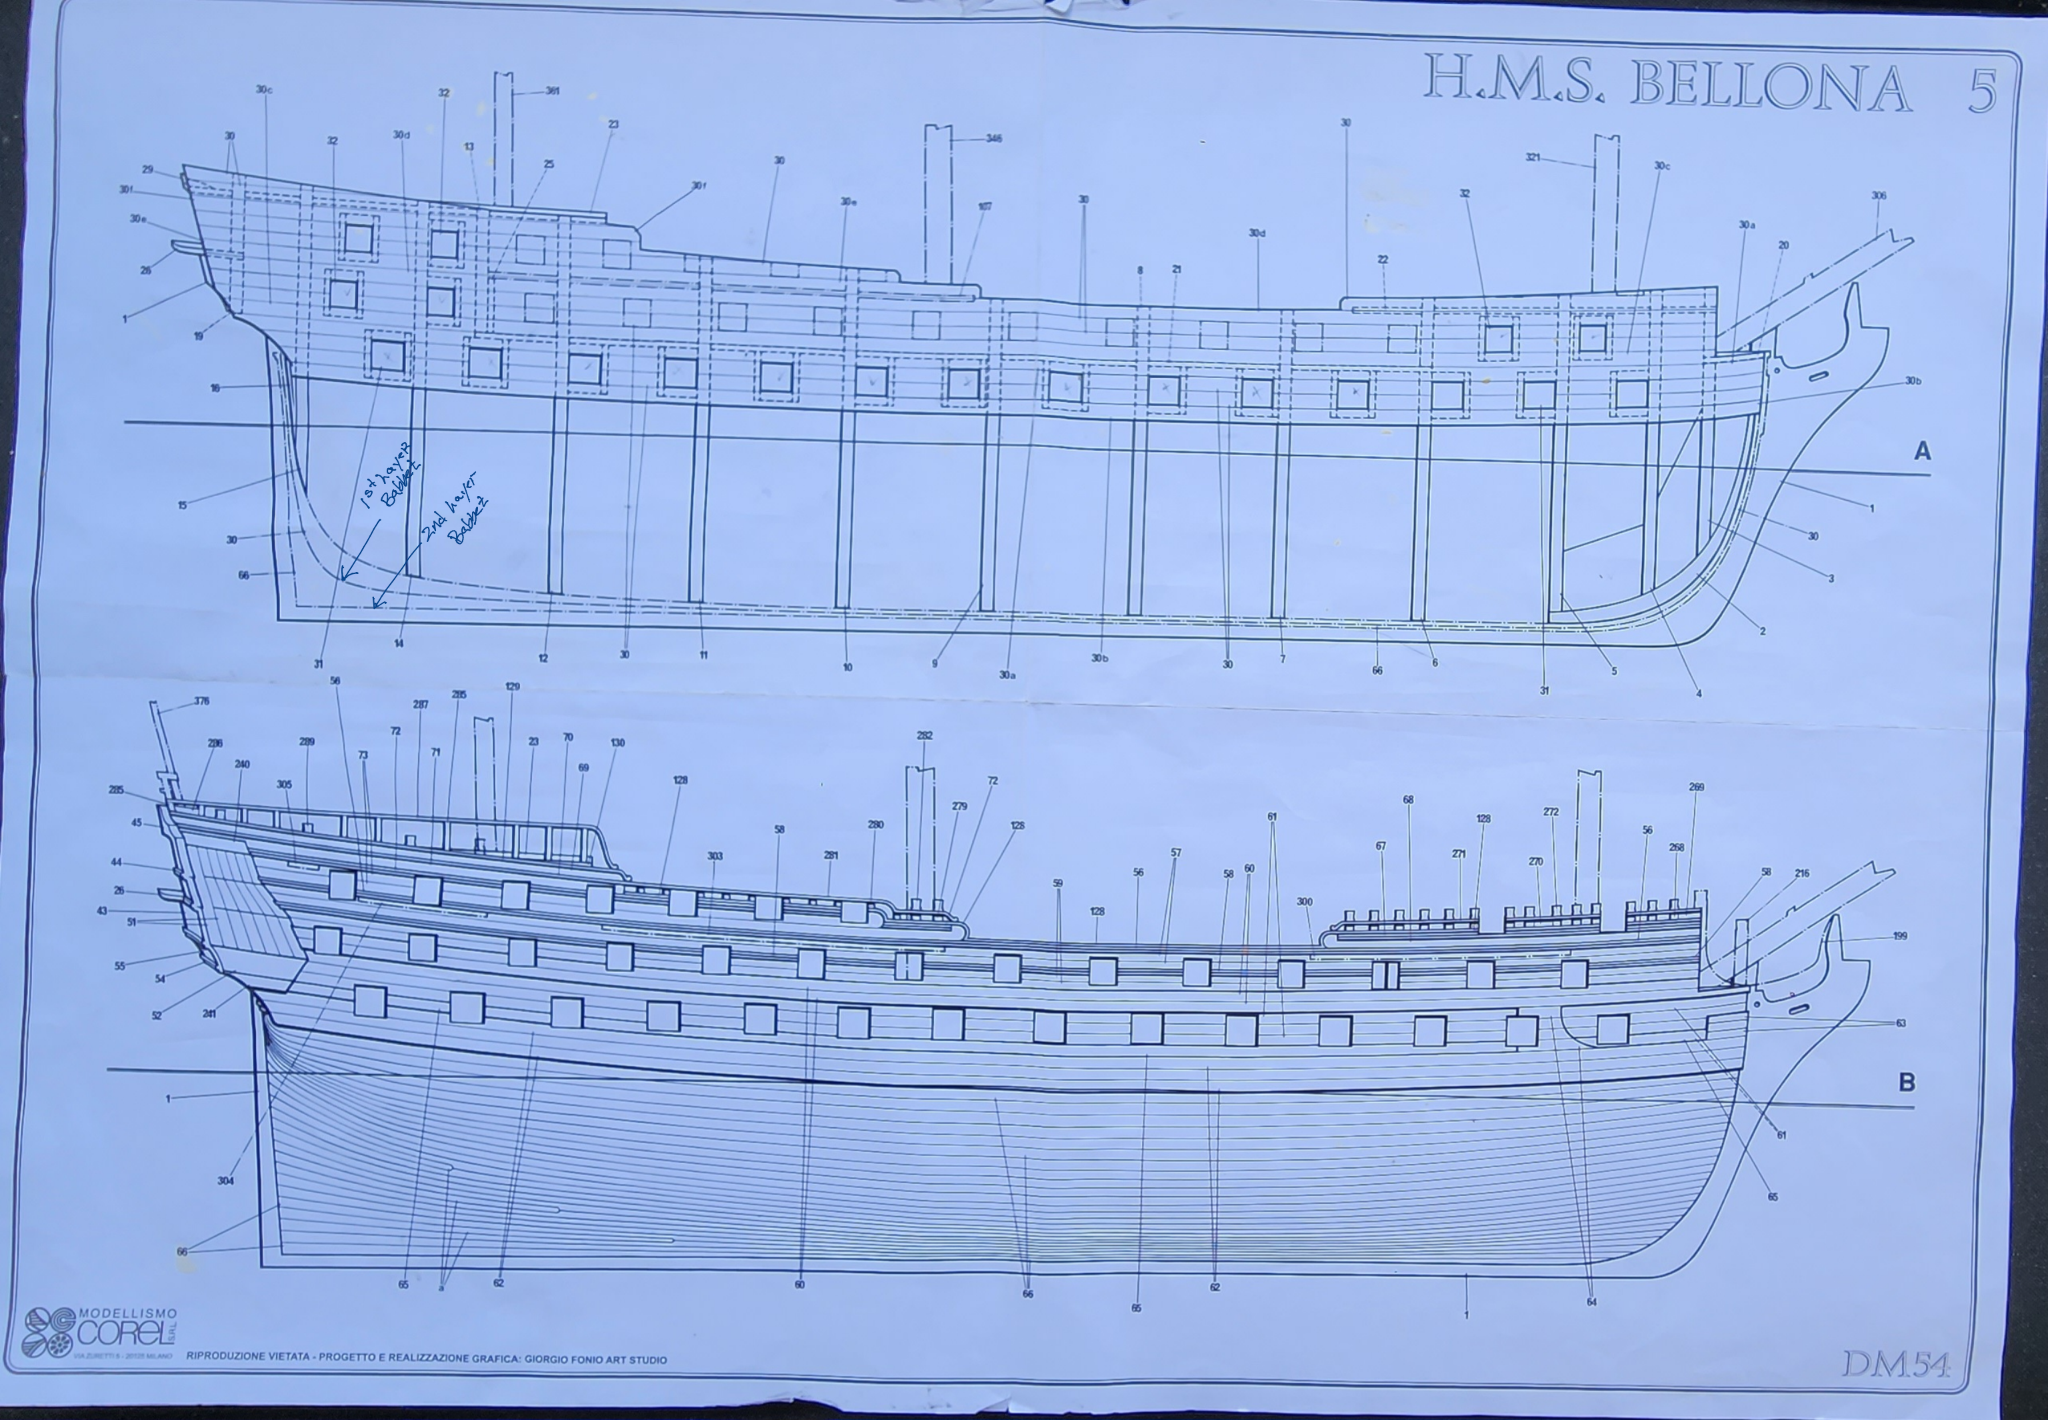
Hi Captain Amateur, I stopped using the instructions a couple years ago as I found that they did not give the proper sequence of assembly and they are very vague. If you follow the instructions as they suggest, it will get you into a bind in the long run. The 2 lines that you are referring to are for the 2 babbets and bearding lines that need to be carved. The first one is for the first layer of planking. If you look at my post #53 I show where I carved out the second babbet and bearding line to recieve the second layer of planking. I ran my first layer all the way to the stern post and went back and carved the babbet and bearding line out removing some of the first layer of planking. This is optional as you can stop your first layer planks at the line shown on the drawings. I decided to run the planking all the way to the stern post as I figured this would add strength plus I needed the practice. There are a few build logs on MSW and only one that I am aware of that completed the Bellona at this scale. Halaquen completed this kit and did a very good job describing his build. I use it as a reference quite often. I hope I answered you question and that it helps you on your journey building this amazing ship. Cheers Nearshore

-
Hi Andy, I think it is optional to plank all the way to the stern. if you do, you will just have to remove some of the material so the second layer will sit flush with the stern post. That is how i did mine when i was at the stage you are at. It was a little more extra work but i think it added strength to the hull at that location.

-
Hi Frecap, What a great idea on the roof tiles. They look fantastic!!
-
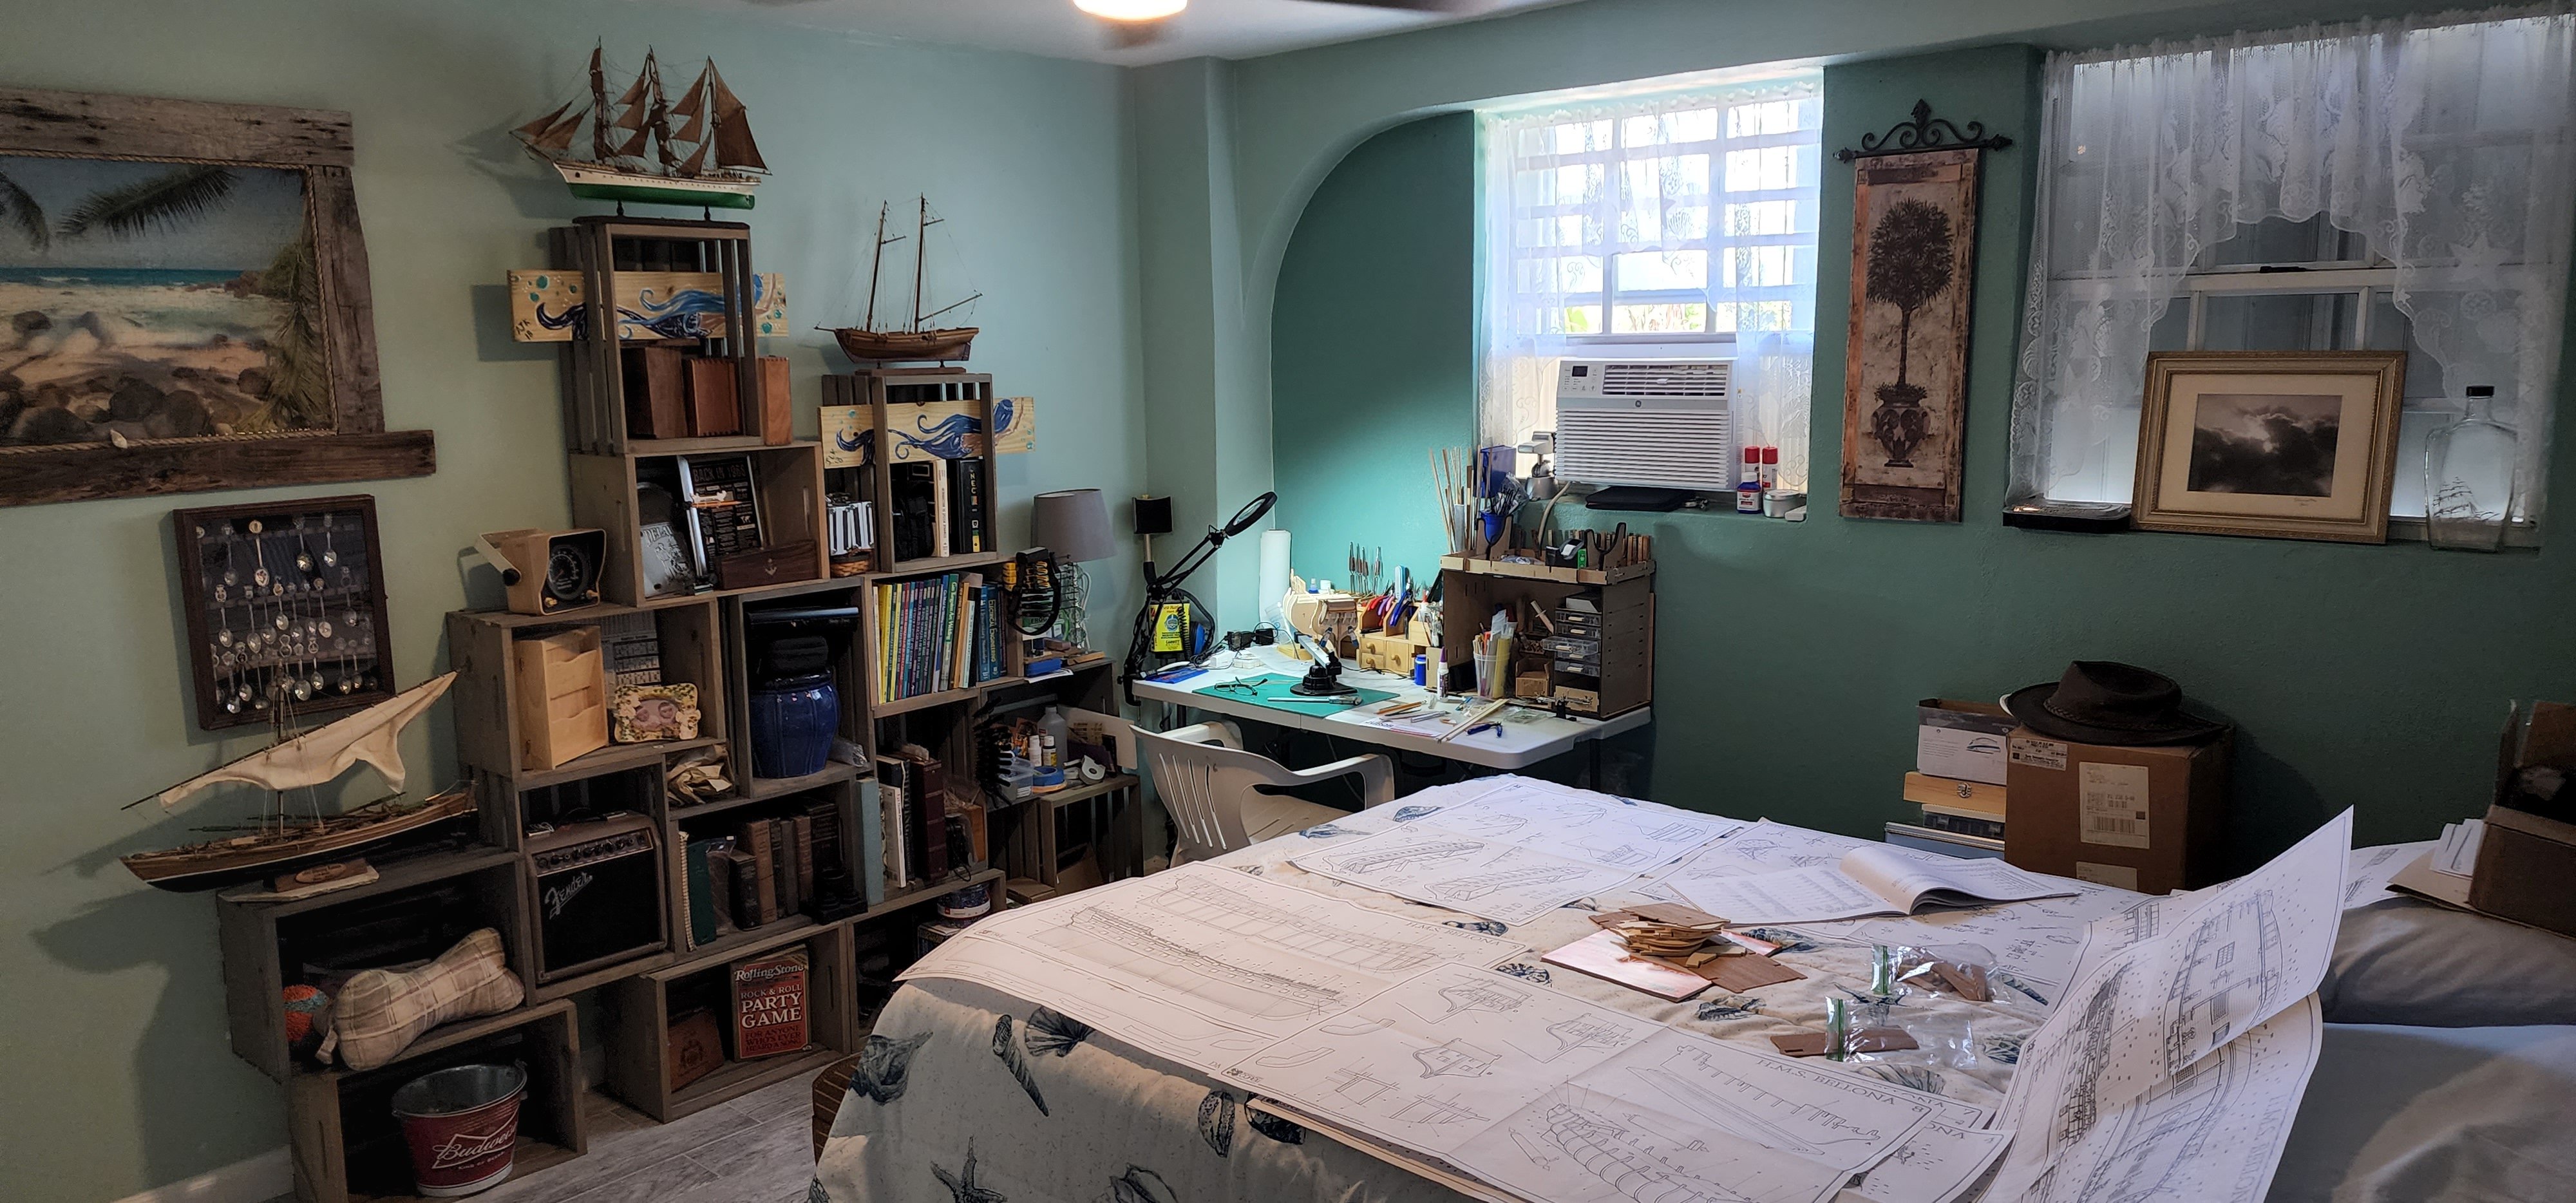
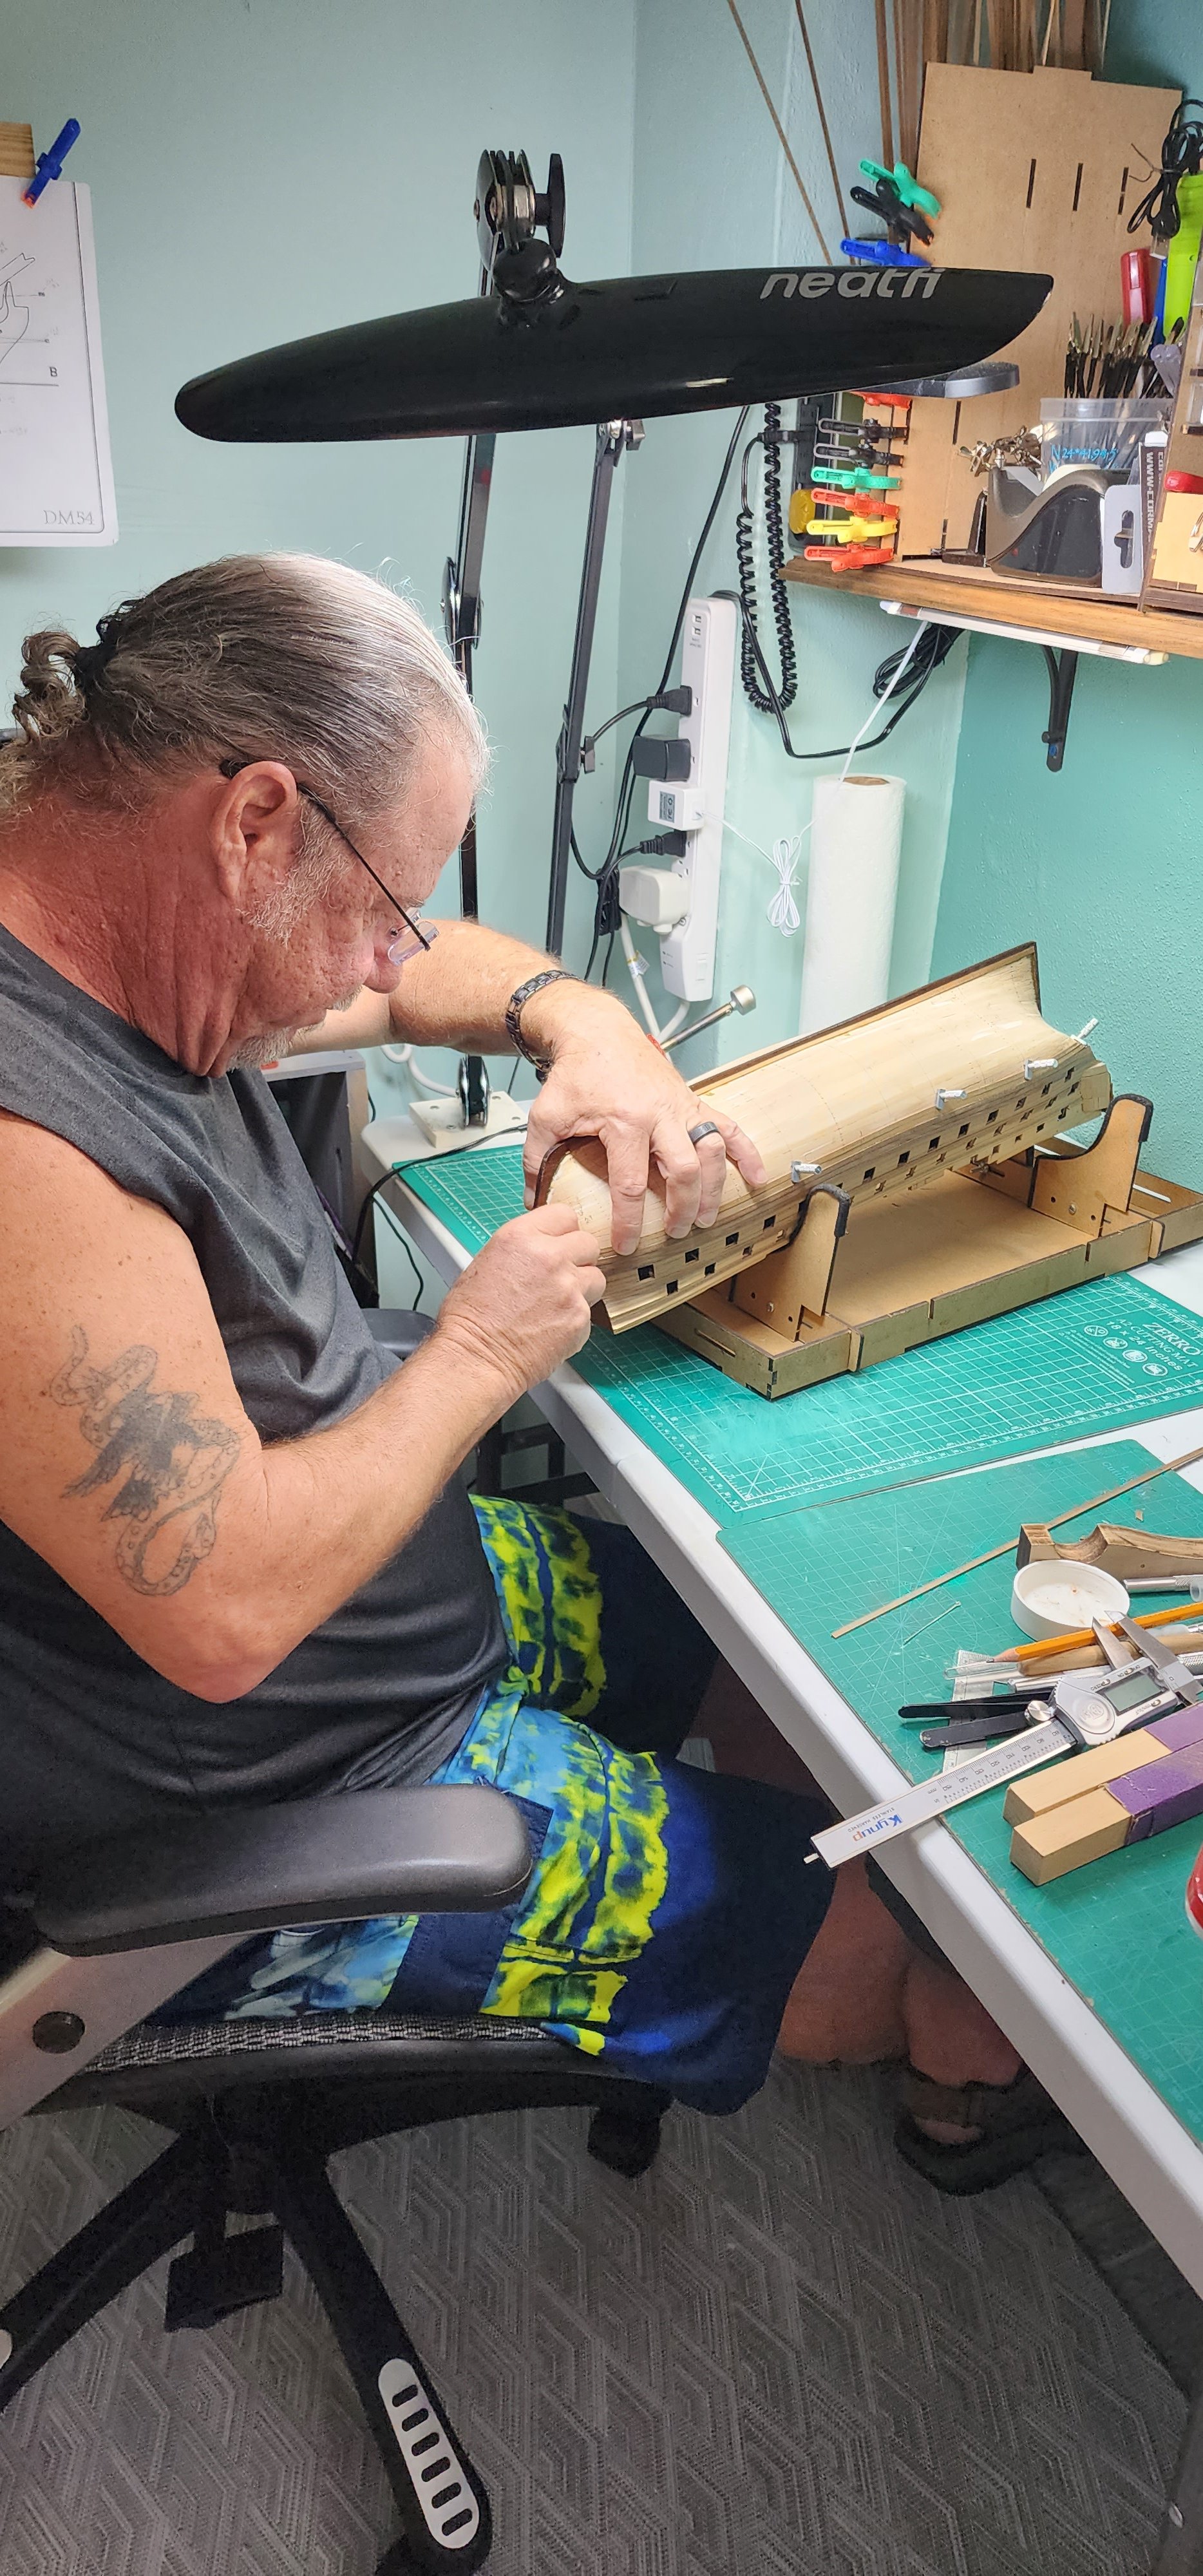
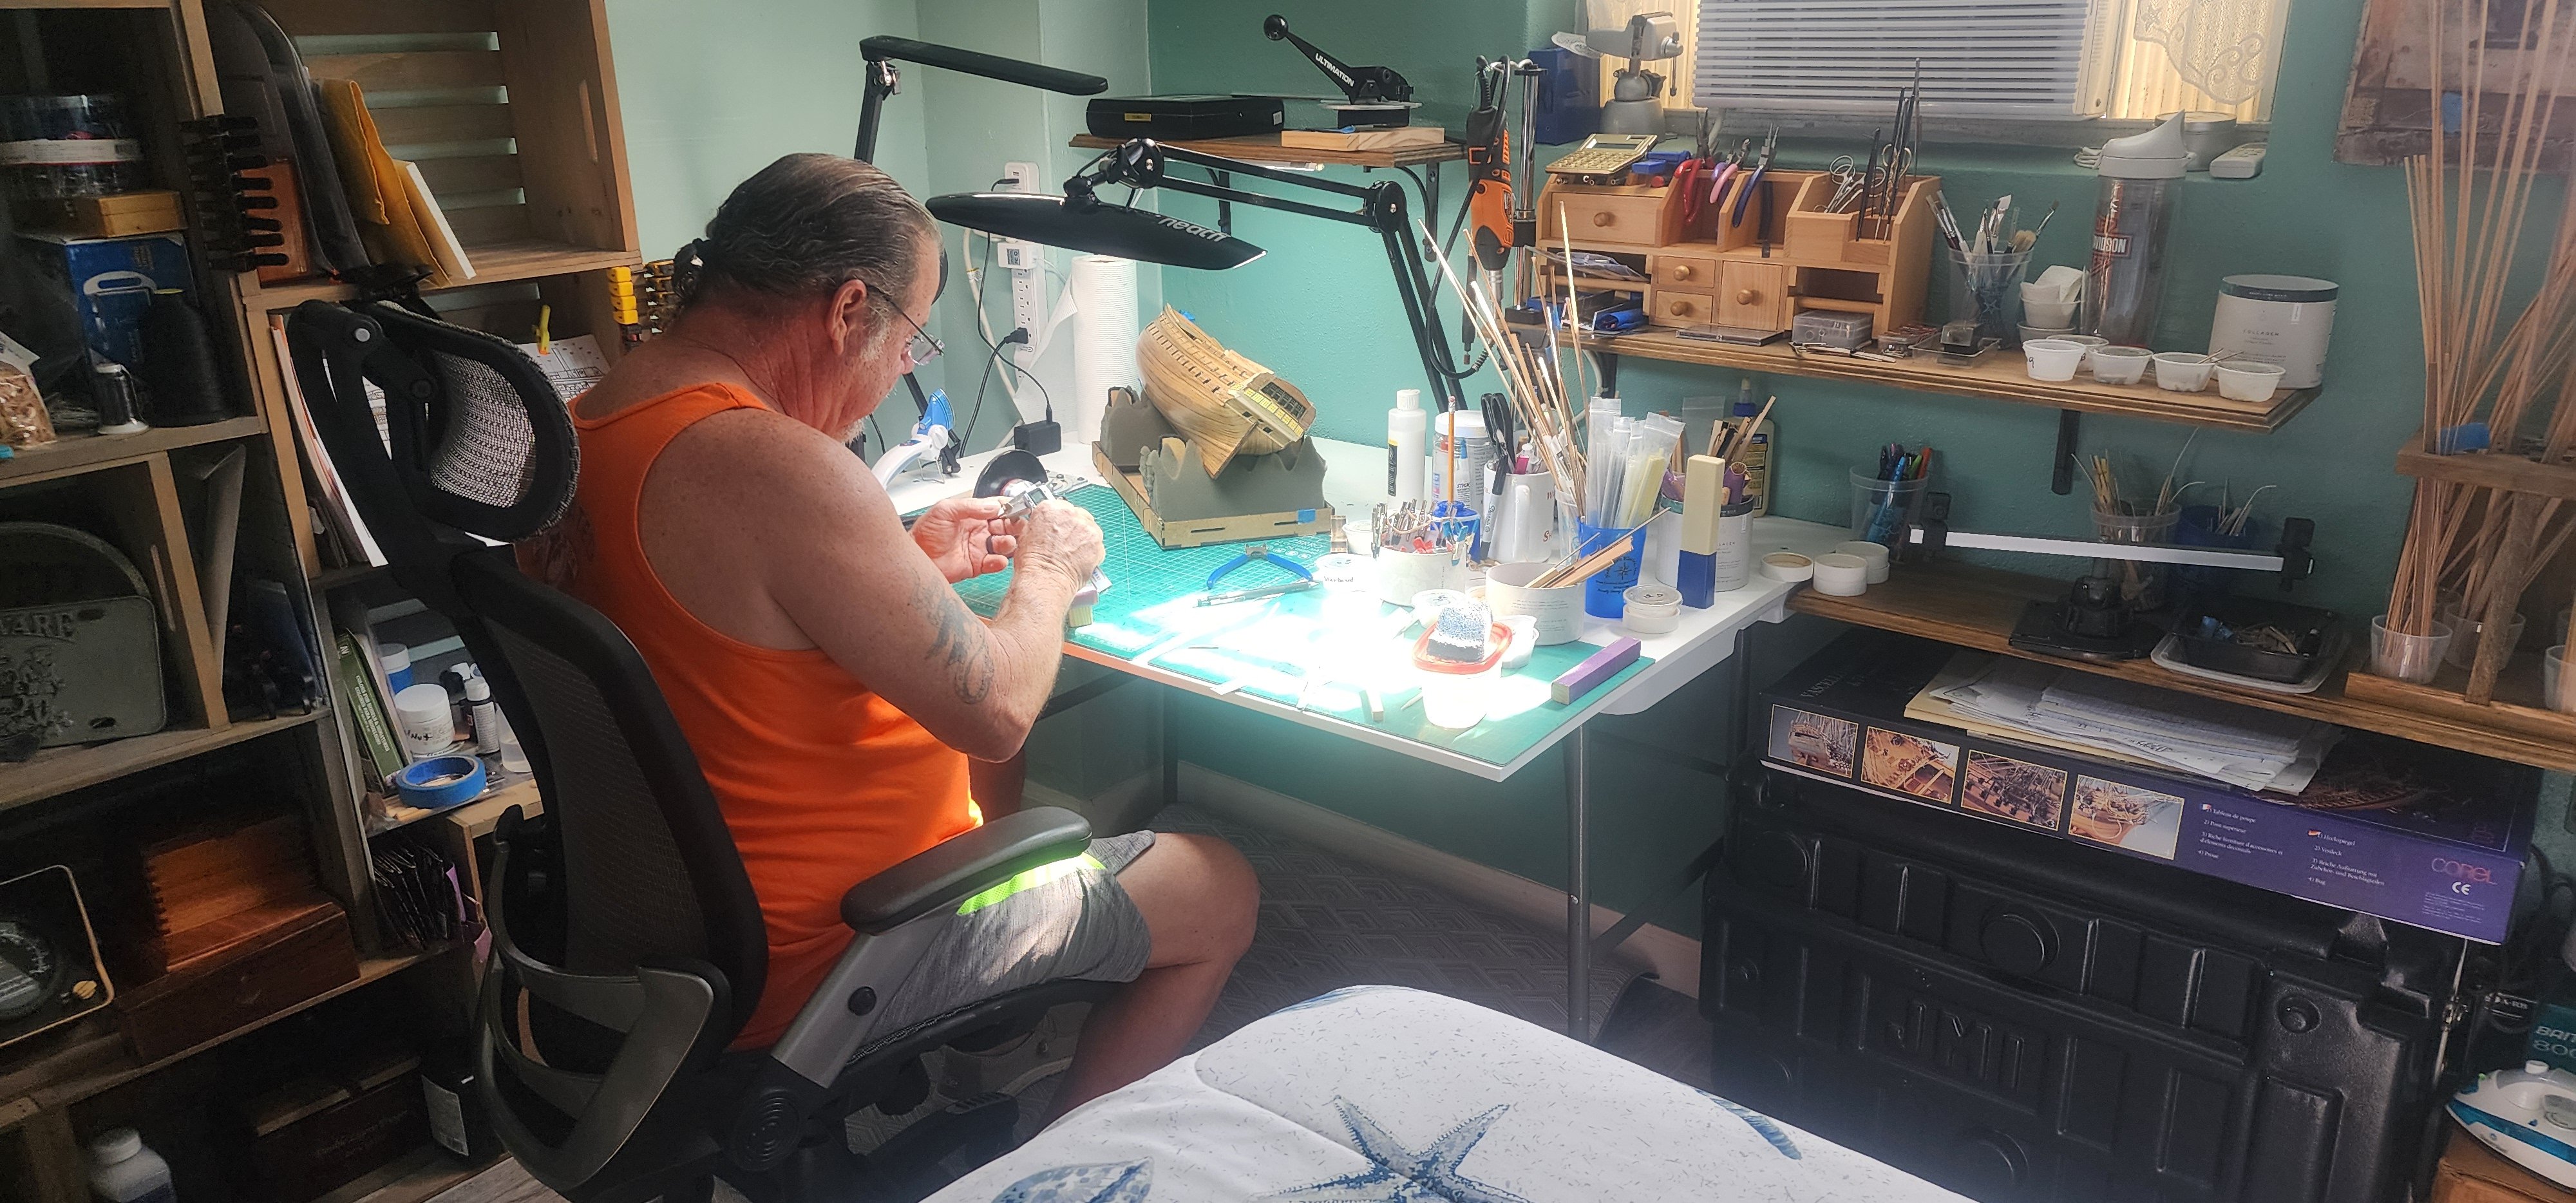
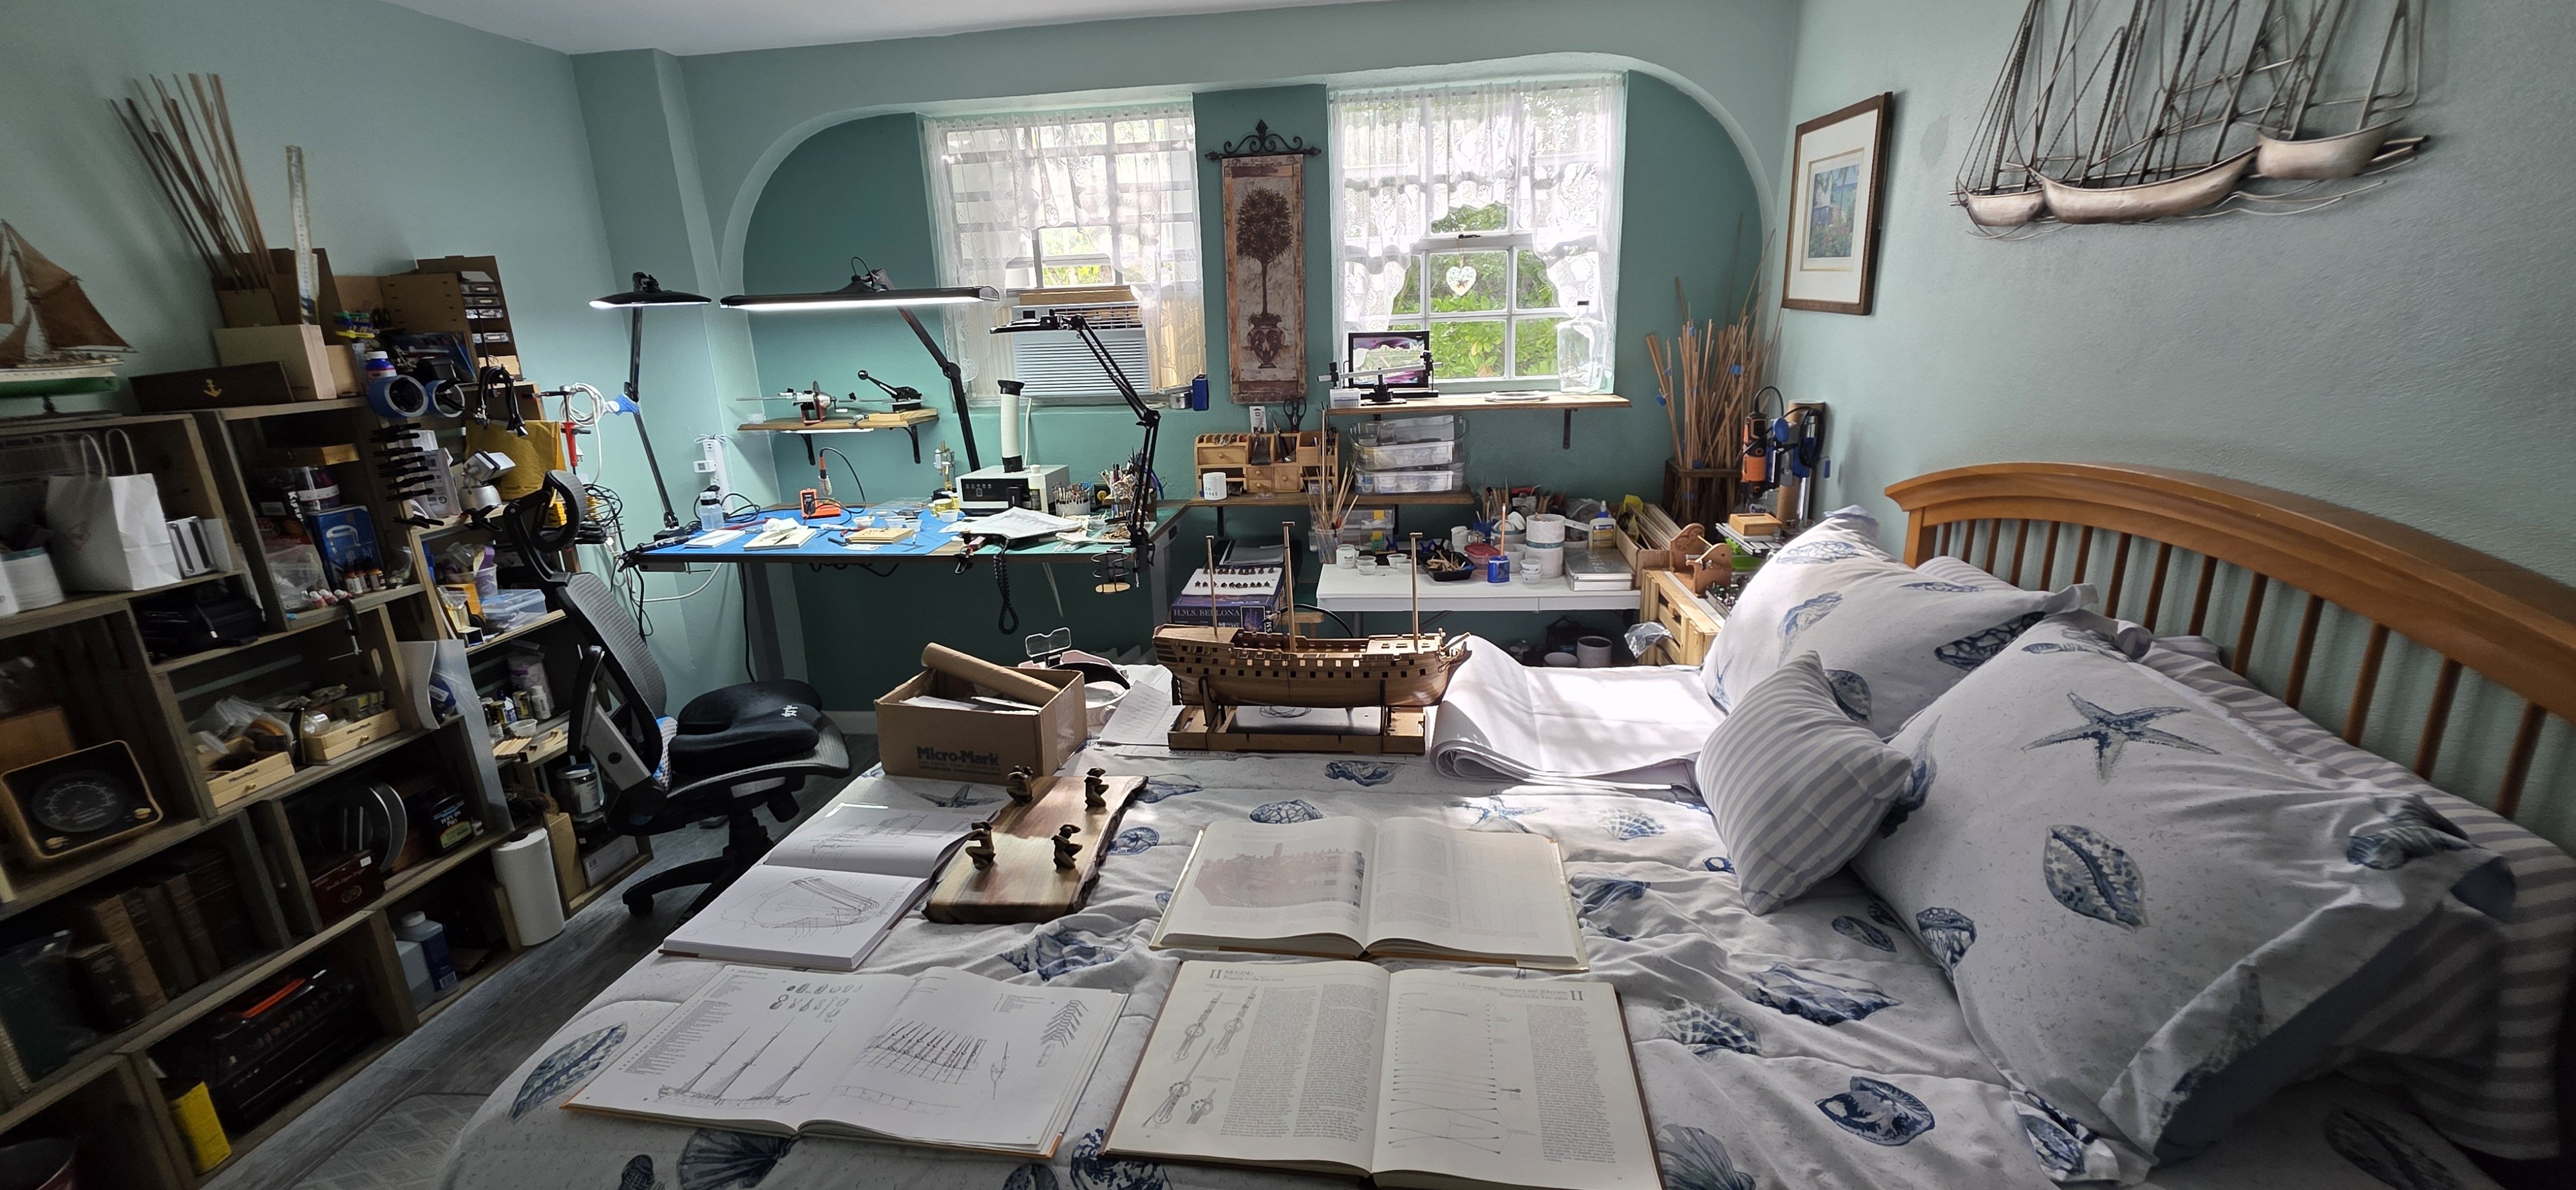
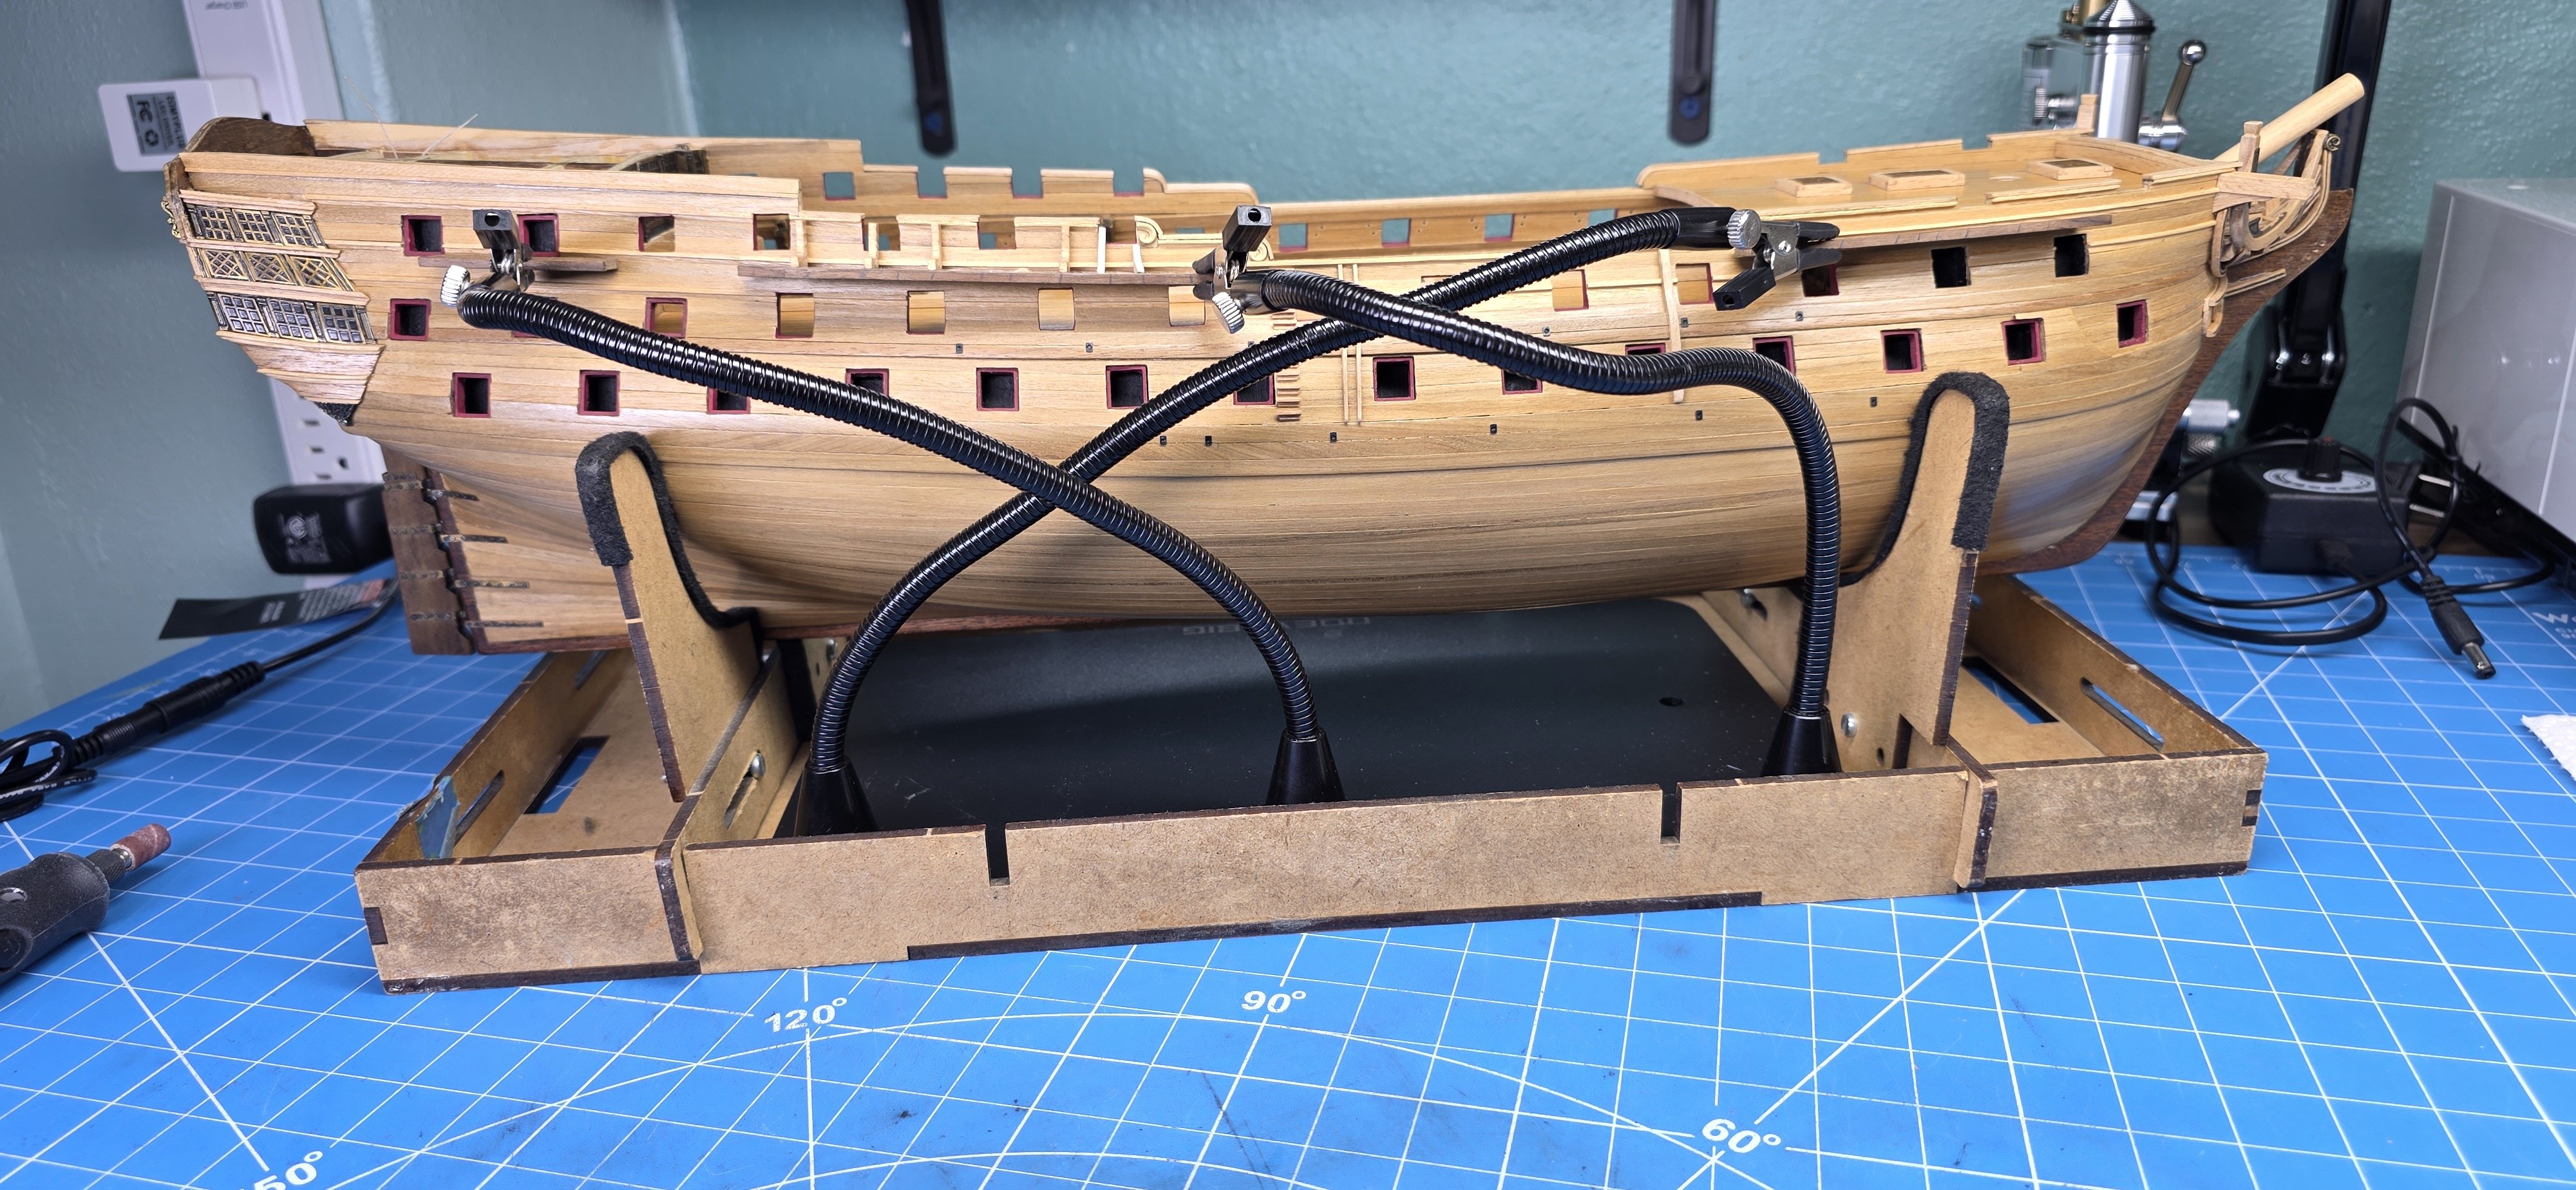
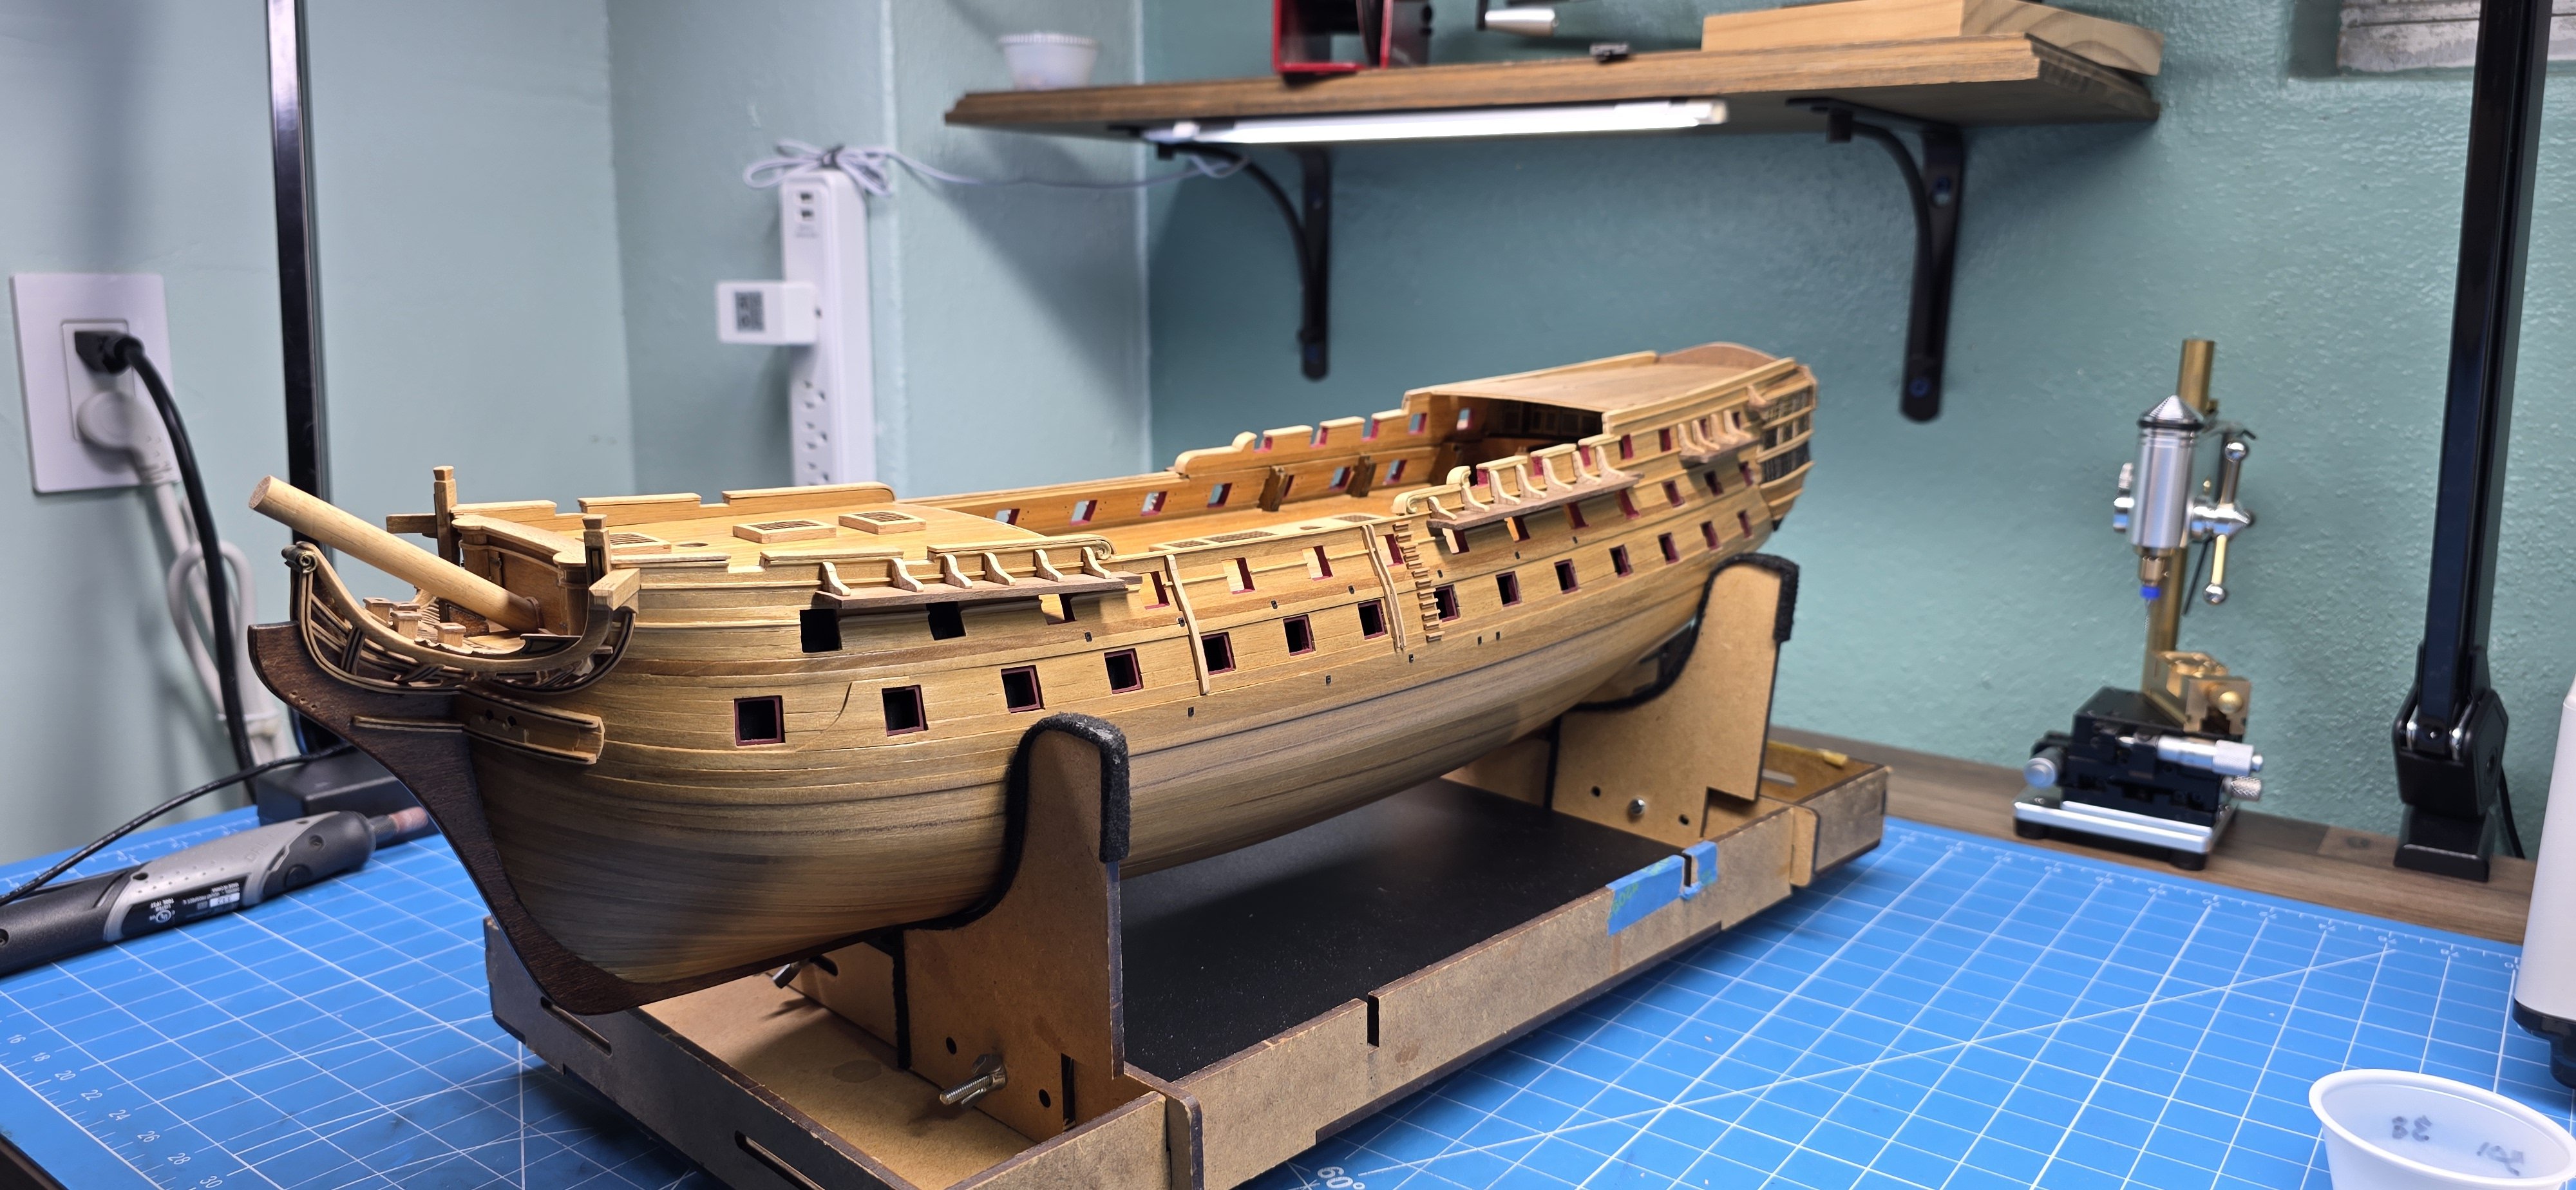
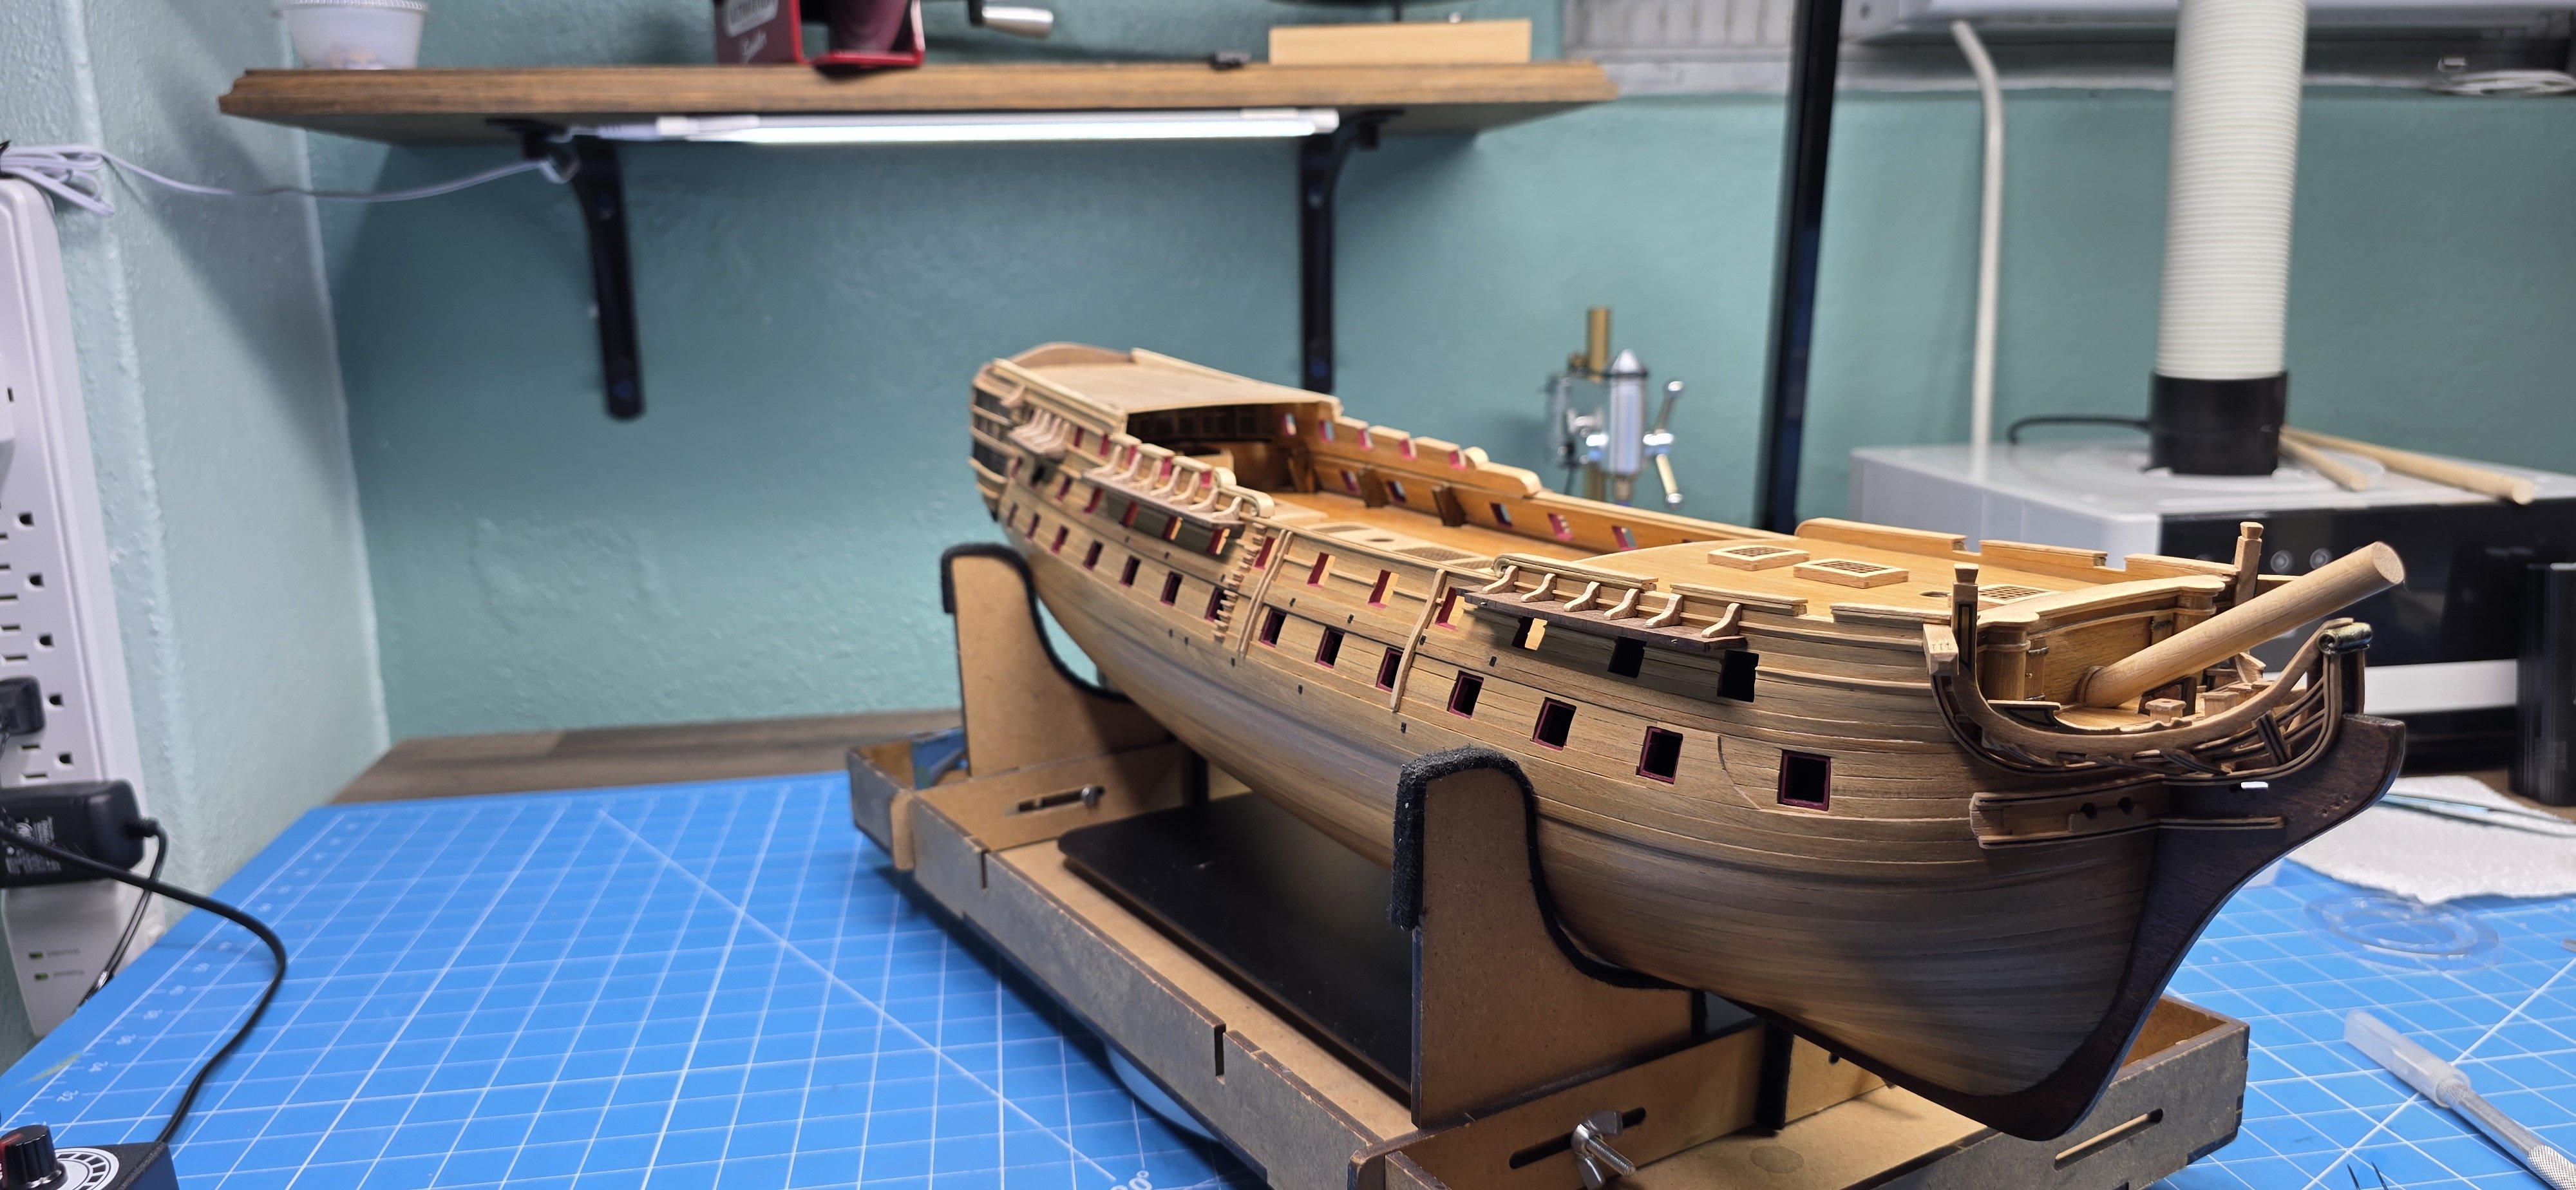
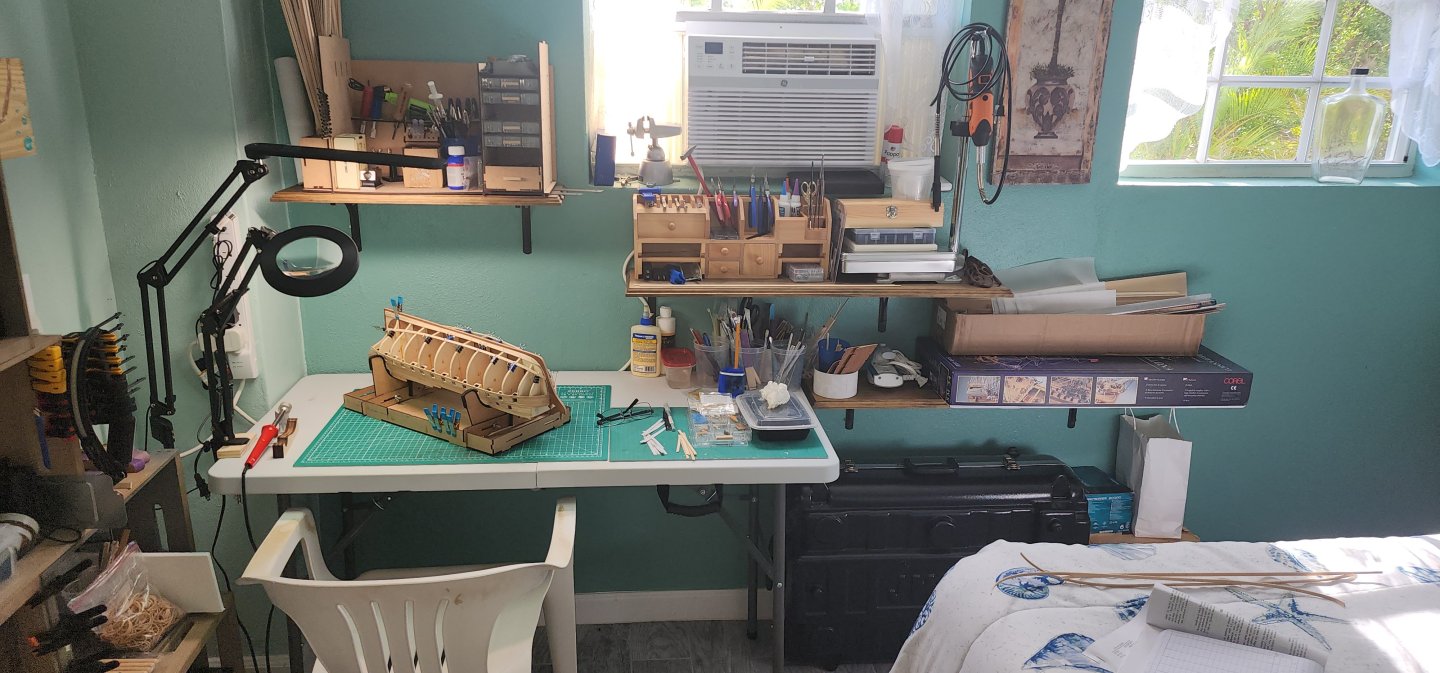
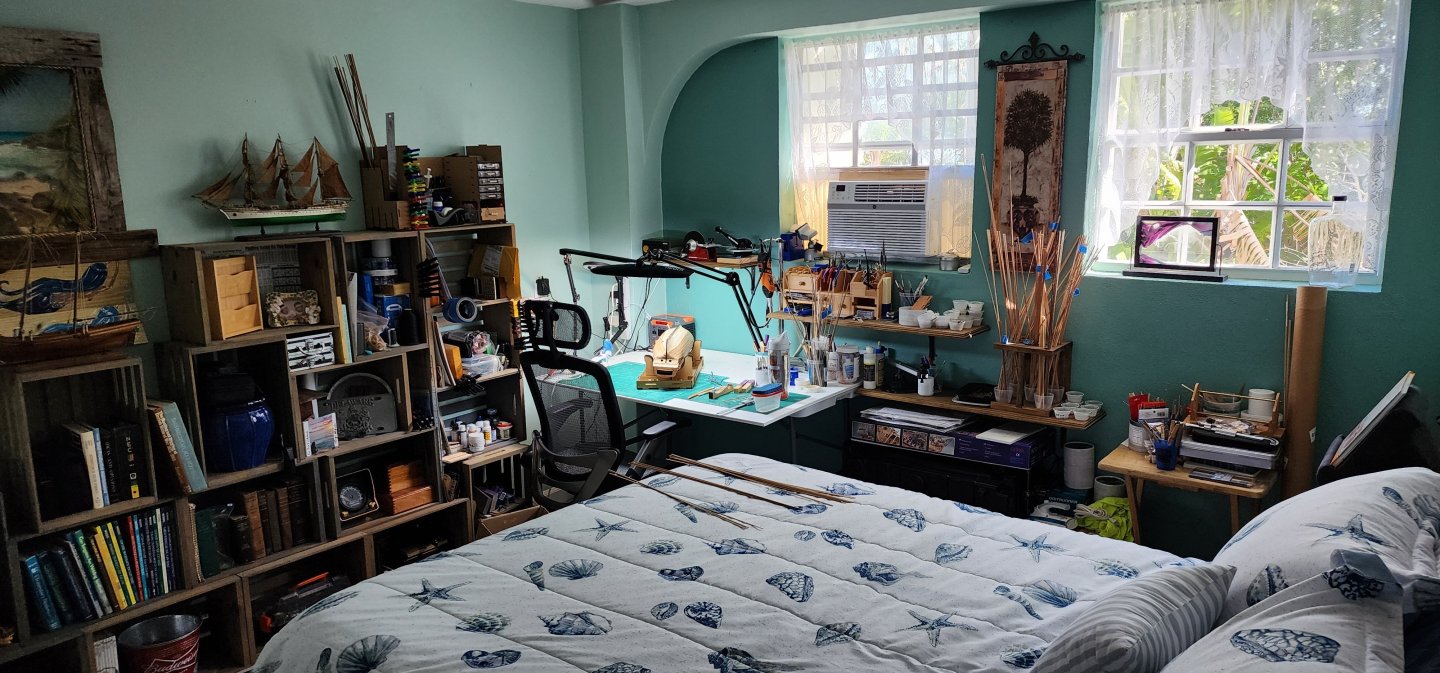
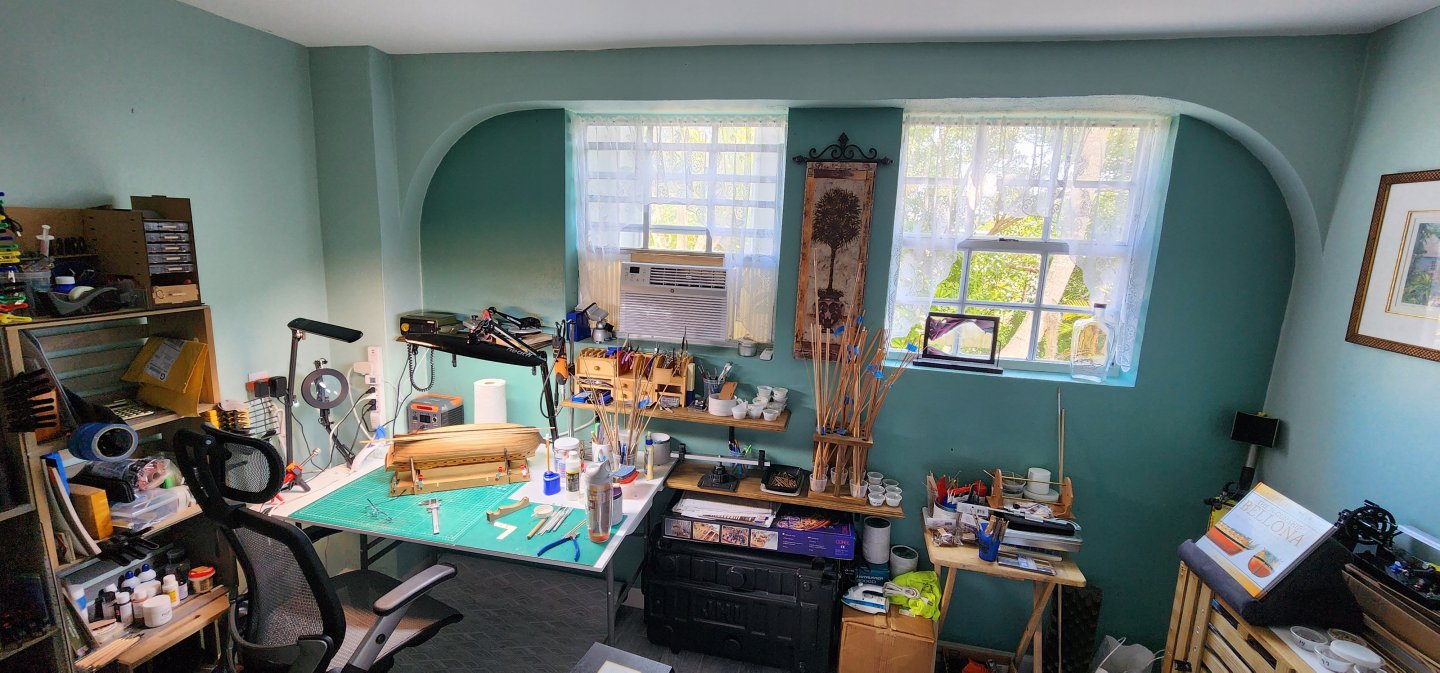
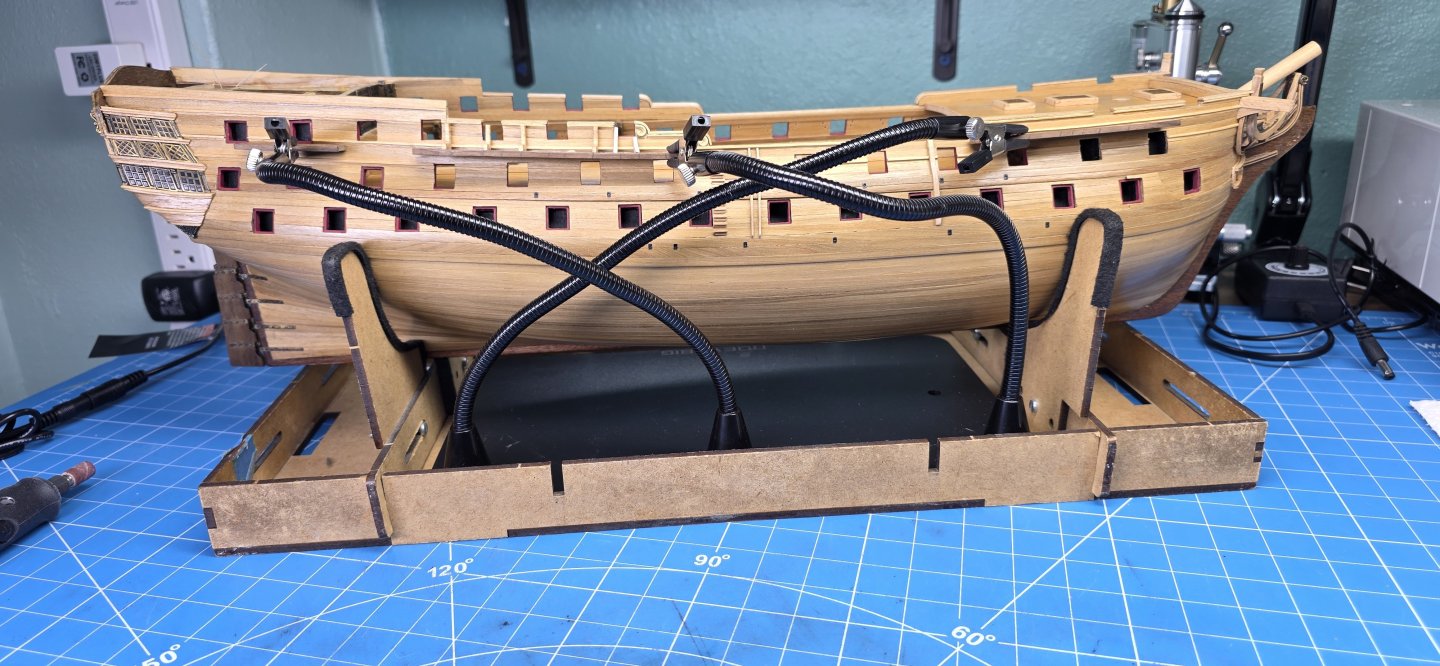
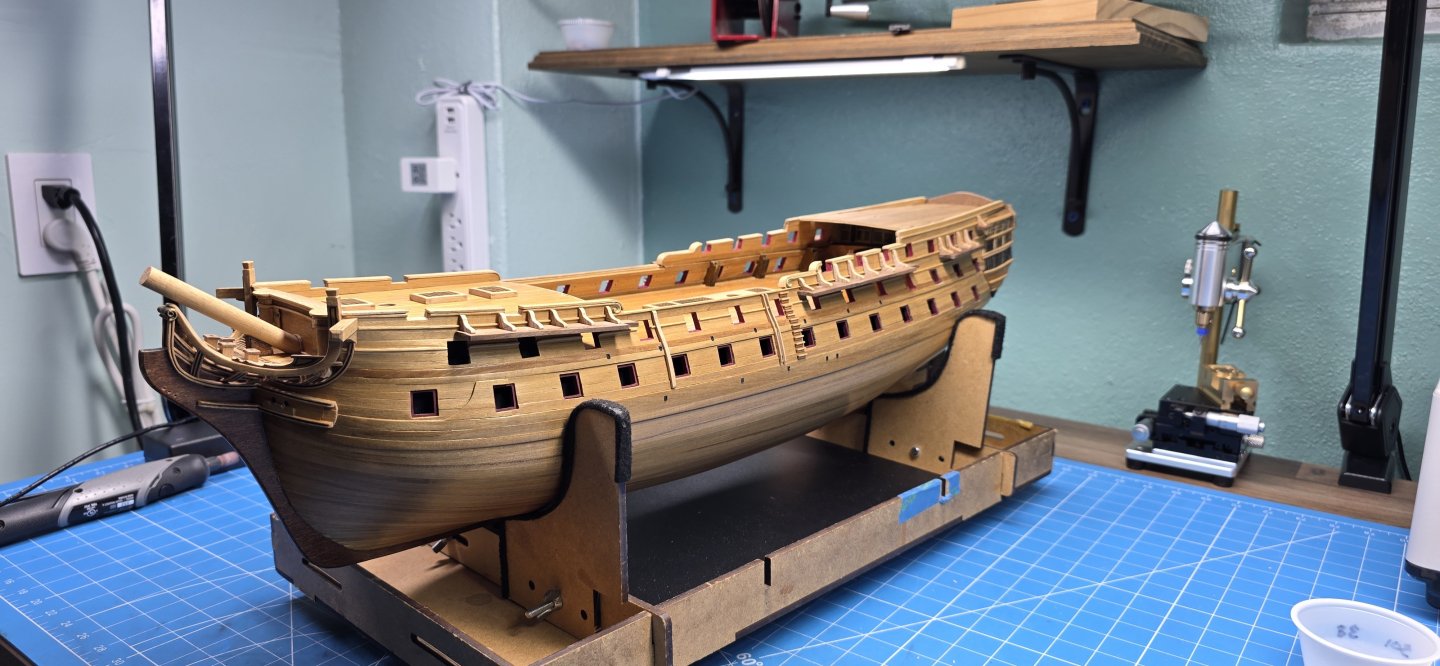
Hello All, Well, I updated the shipyard again. This post isn’t necessarily related to my build log, but I find that it is appropriate because I find that looking back when I started building the Bellona 3 years ago and how the ship, the shipyard and I have grown, I wanted to share. When I got back into the hobby over 3 years ago, I set up a small workspace in our spare downstairs apartment bedroom. I had a 2’ x 4’ foldable table and a plastic chair that I worked from and a small lighted magnifying glass. I wasn’t sure if I was going to enjoy this hobby and didn’t want to invest too much into my workspace especially since I had chosen a model as complicated to build as the Bellona. Over the course of time, I added a few shelves to clear up some space on my worktable and purchased a small floor lamp to help with the poor lighting. As time progressed my lovely wife purchased me an office chair to replace the lawn chair I had been using for the first year or so of the Bellona build. I must say that the office chair was a big improvement especially since I have a bad back to begin with. I also purchased another lamp that I was able to attach to the table to improve the lighting. I eventually added a larger tabletop to my foldable 2 x 4 table adding an additional 10” of workspace. I used a piece of starboard for this, and it was great until the edge started to sag over time and the game of keeping the round tools from rolling off the table began. Well after 3 years of working on the Bellona and loving every minute of the challenges that it has provided and the satisfaction of learning new skills, I must say that my love for this hobby has given me a sense of reward that I did not anticipate when I first set up my small little workspace. In addition to the shipyard, I have also turned my tool shed into a small makeshift wood shop that I go to for the messy stuff. I think that I have reached the maximum growth as I purchased an electric adjustable height table 60" x 30" to replace the 2 x 4 foldable one. I also added another light, and I must say, my new setup is awesome, and I hope to use it for many years to come. I appreciate you taking the time out to read this post as I think it brings an interesting point of how we grow in our pursuit in this hobby. Cheers Nearshore


-
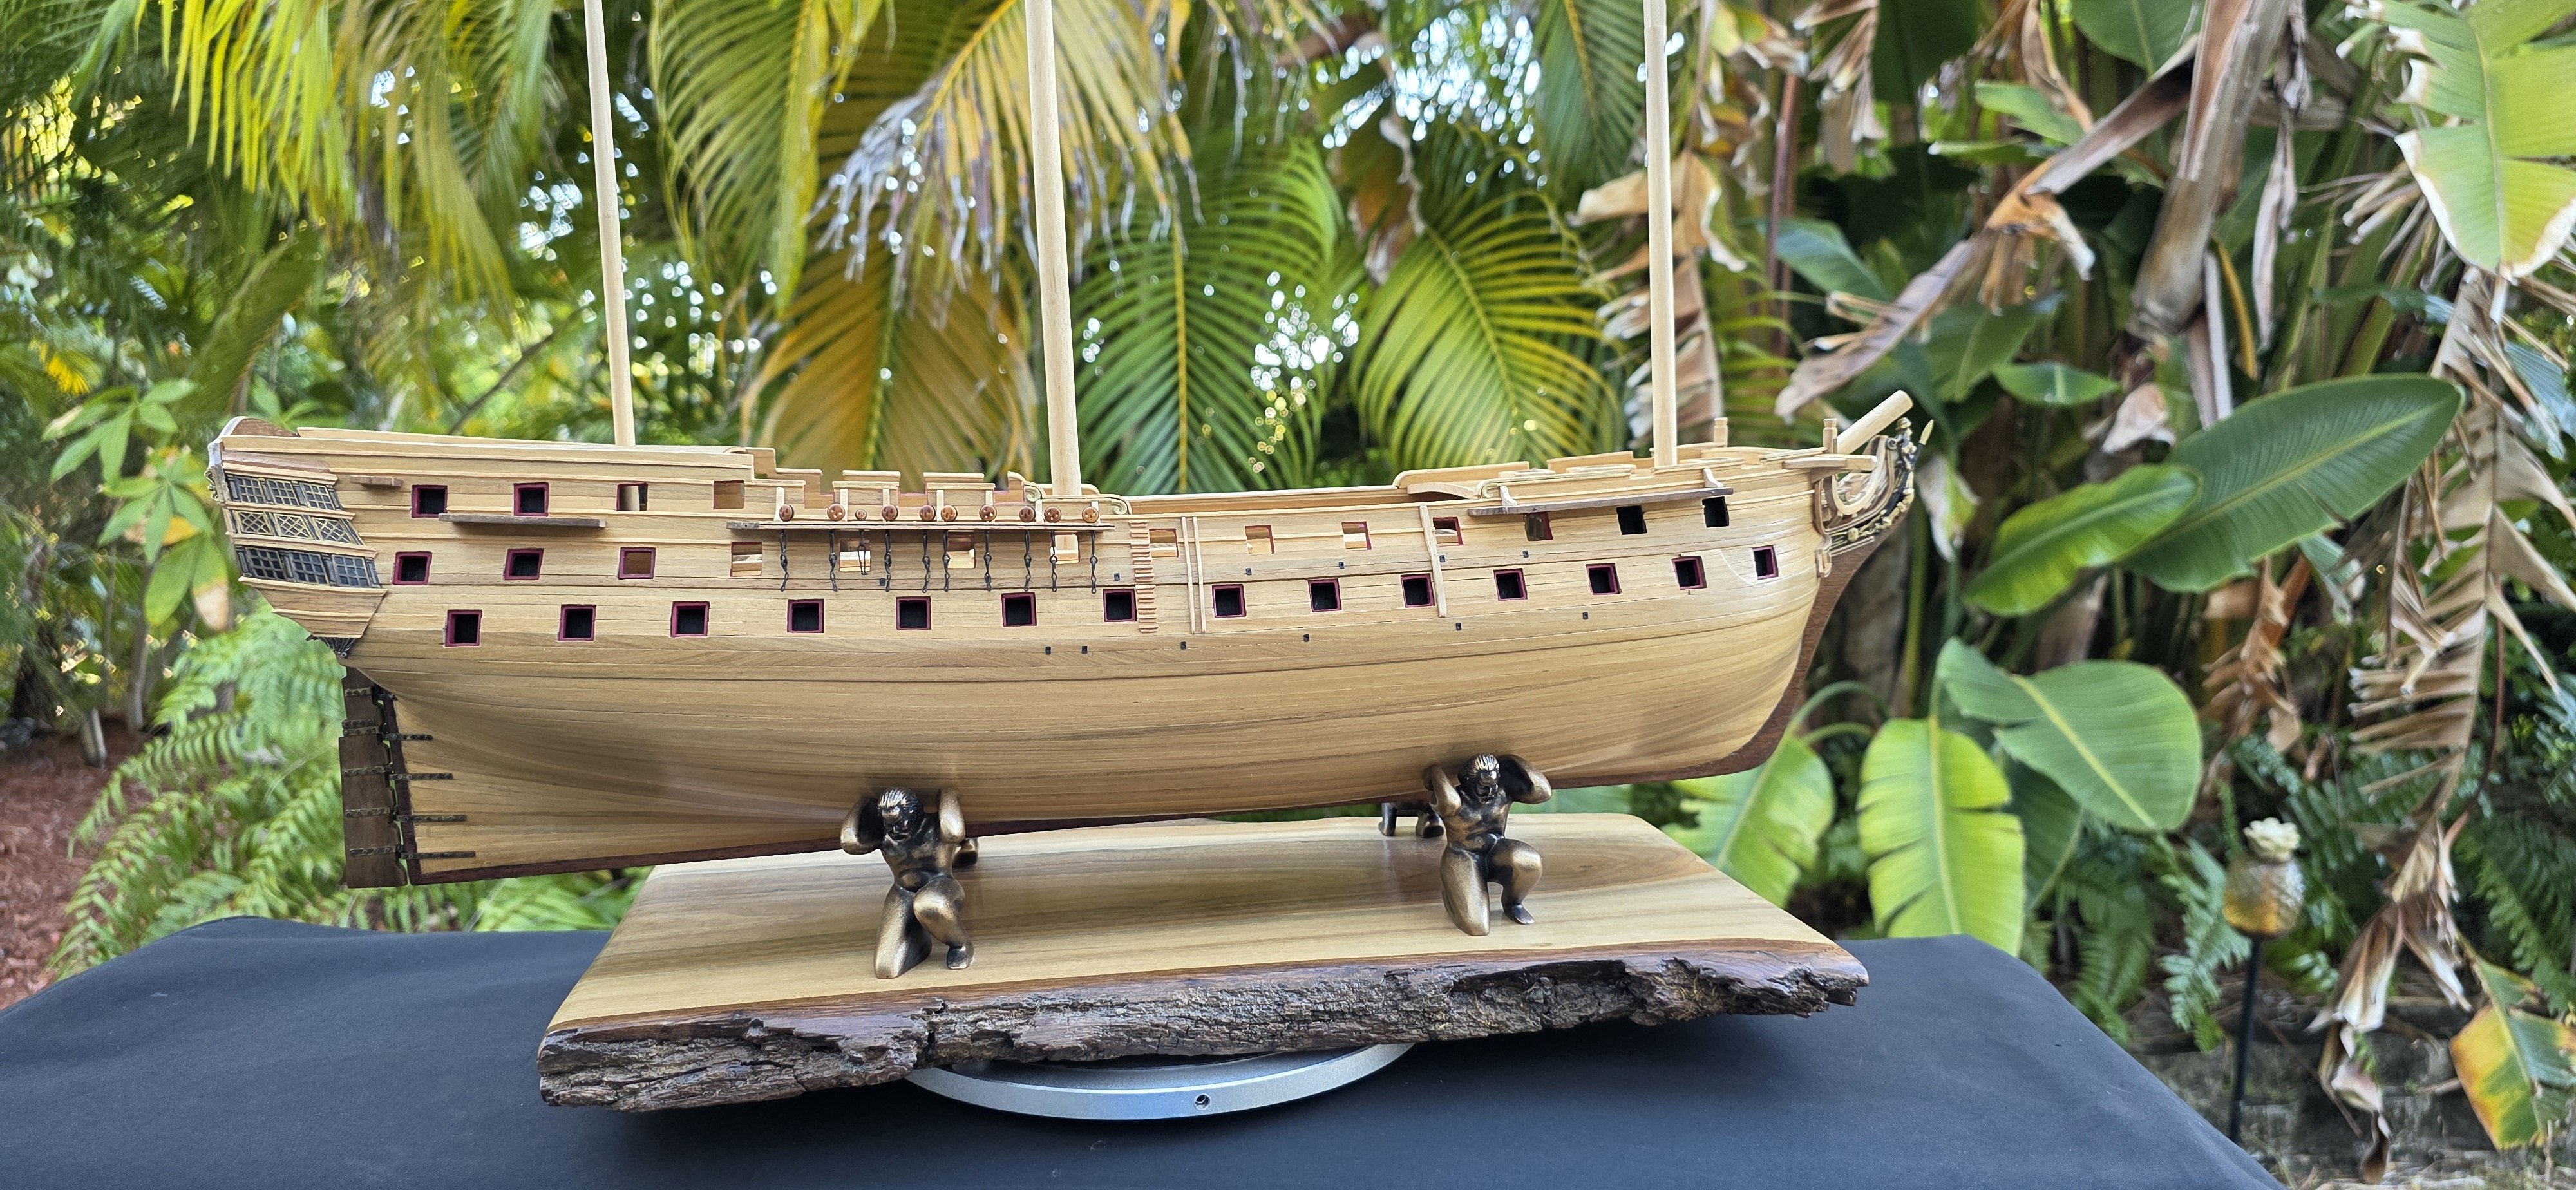
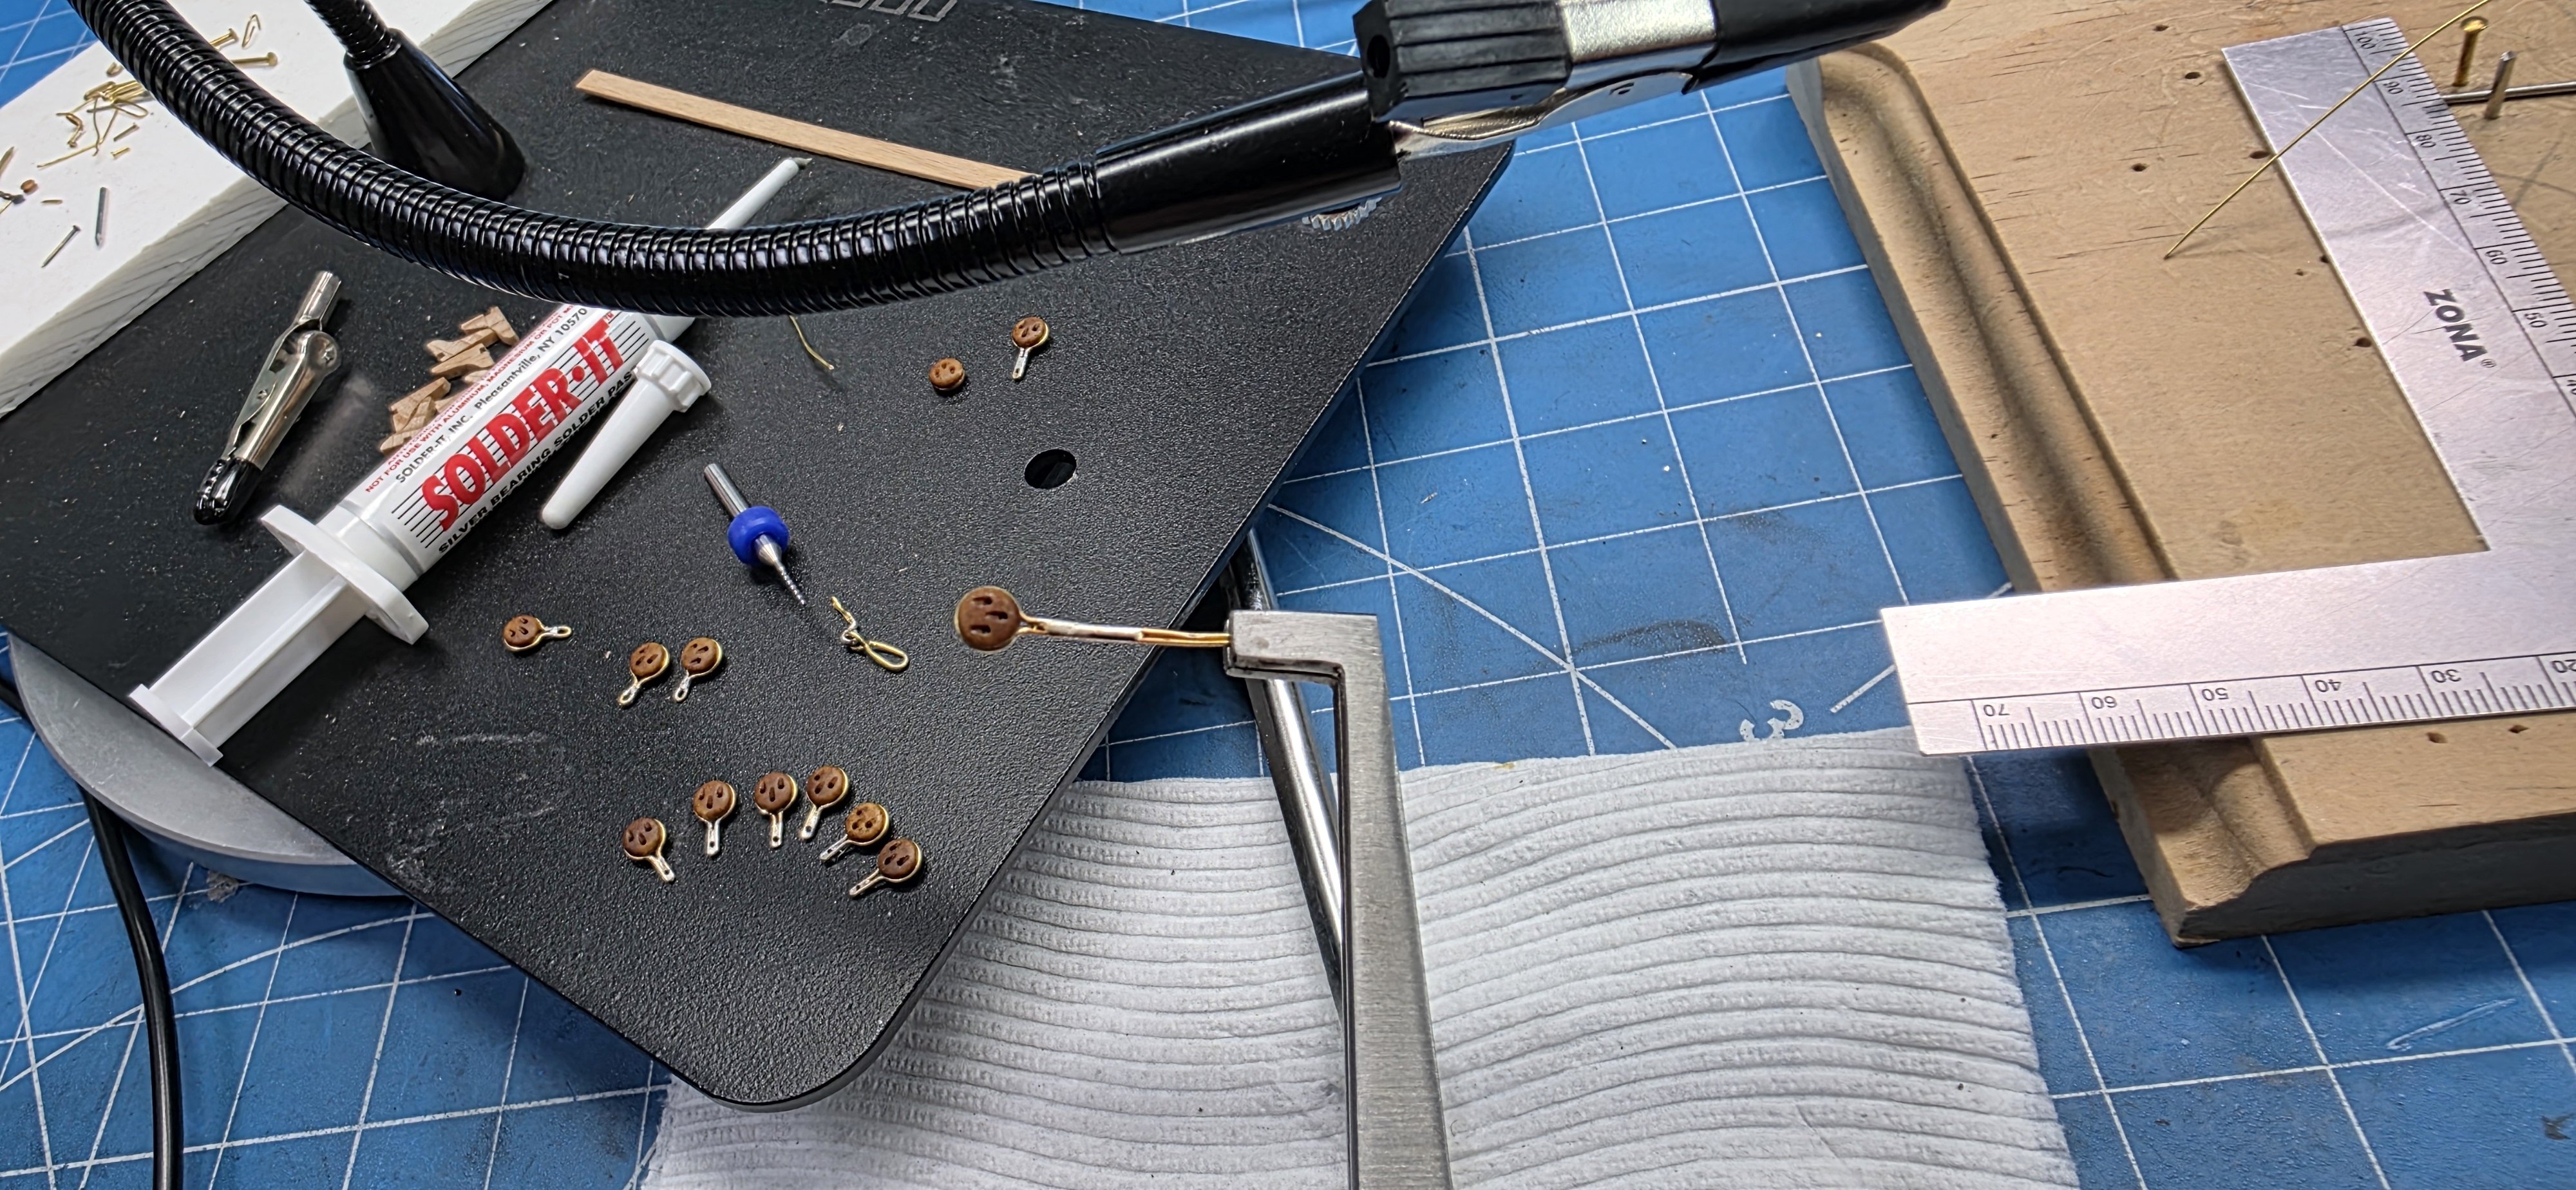
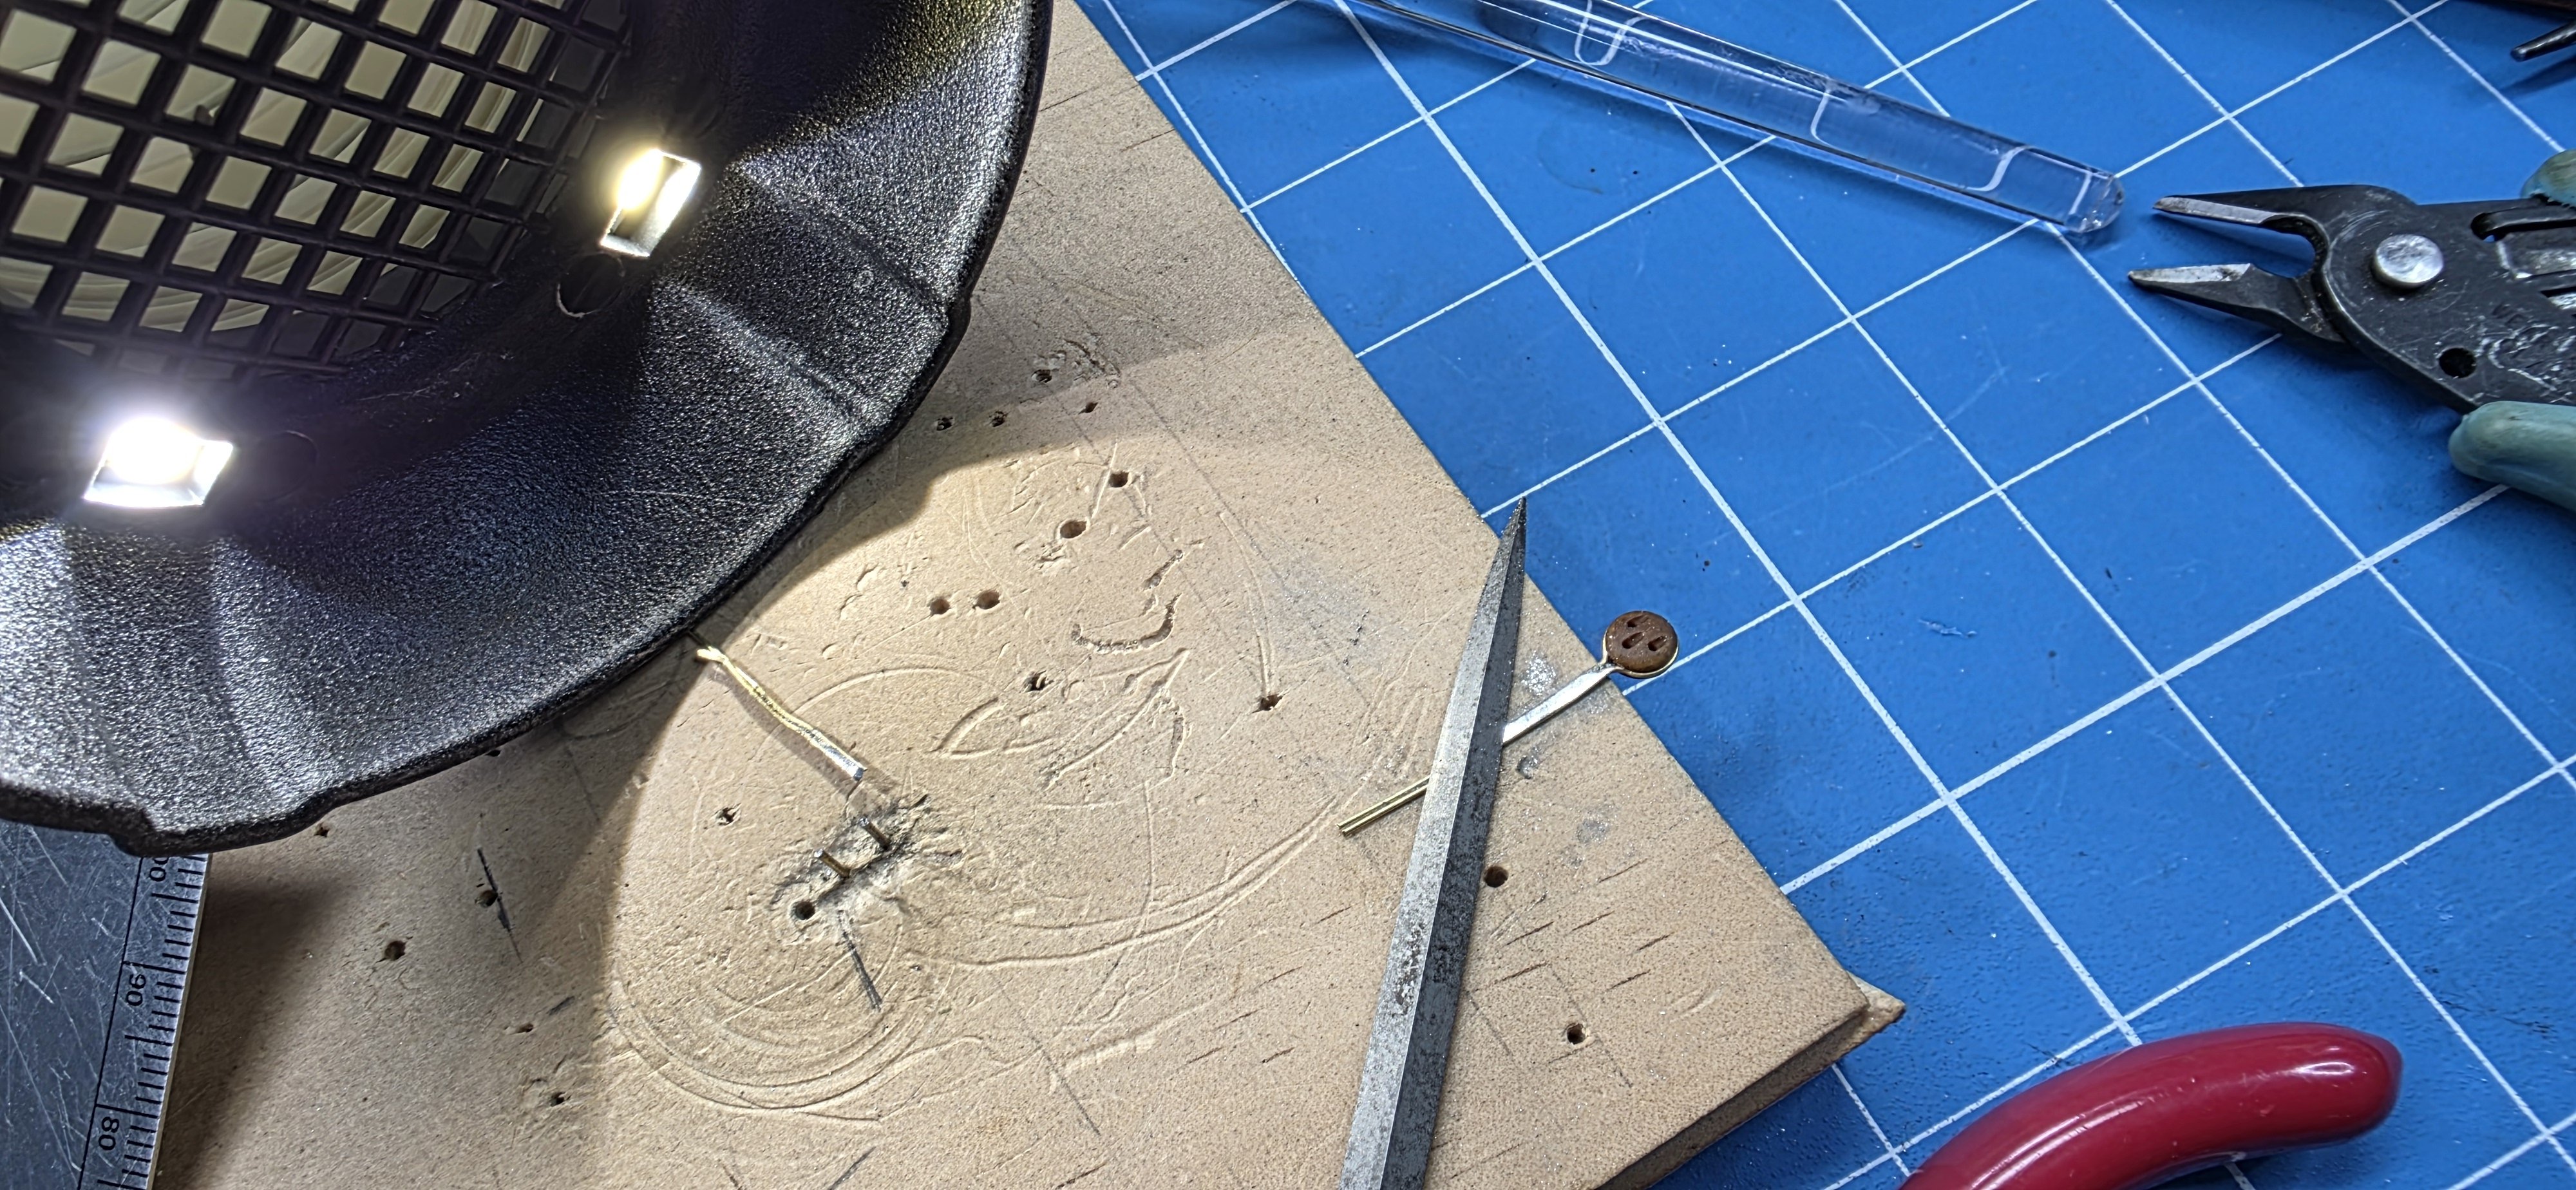
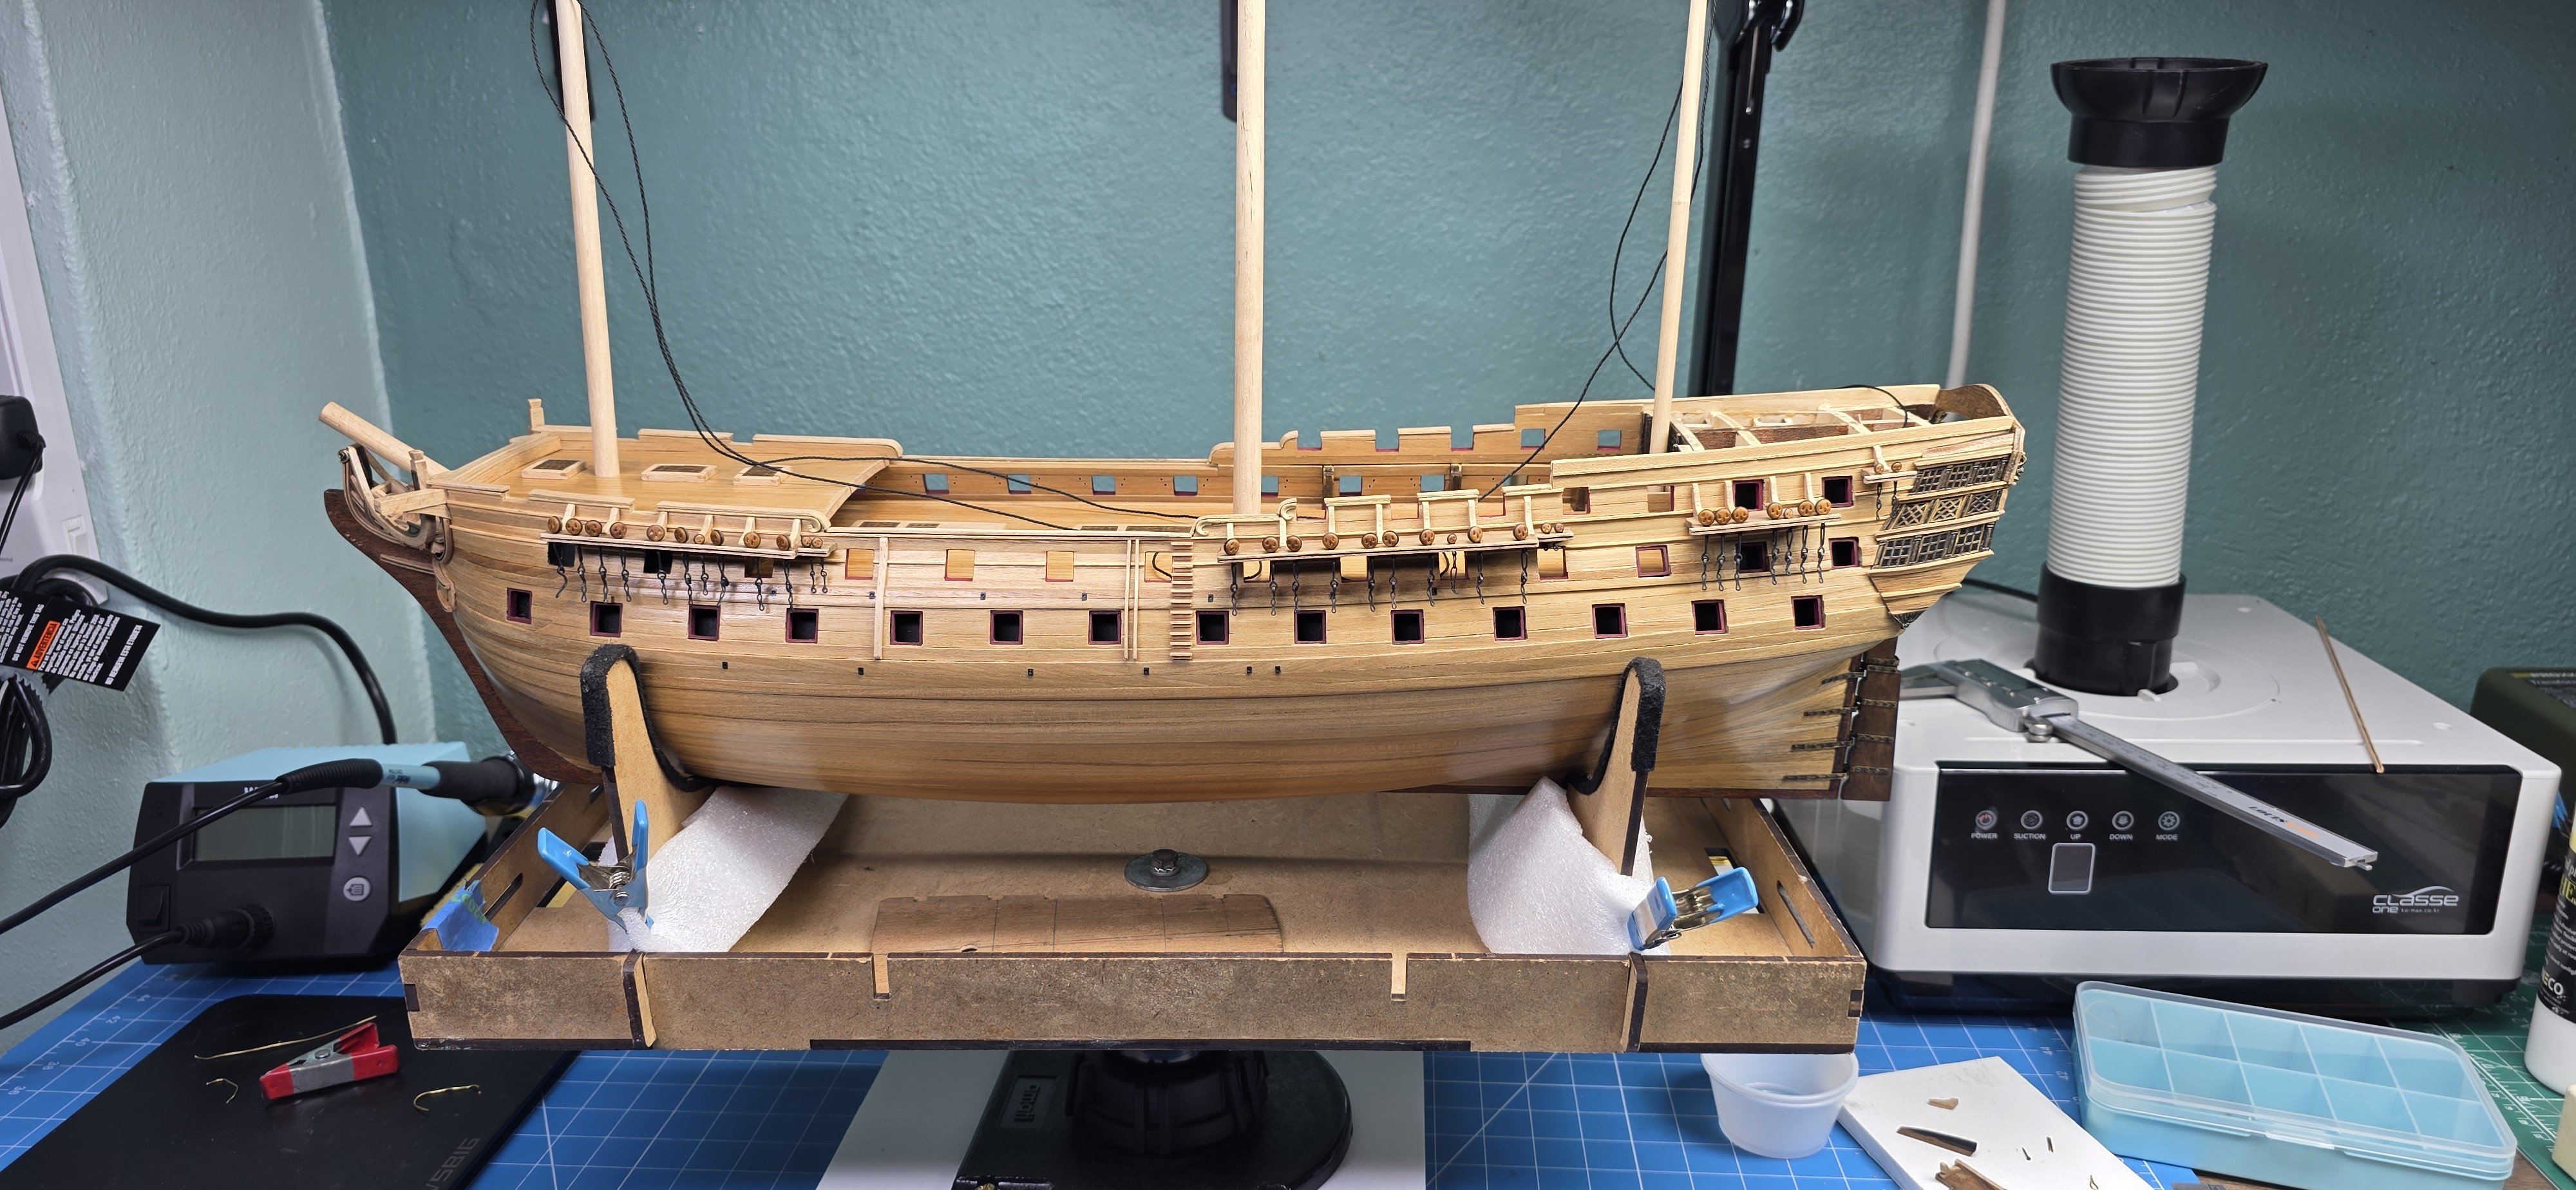
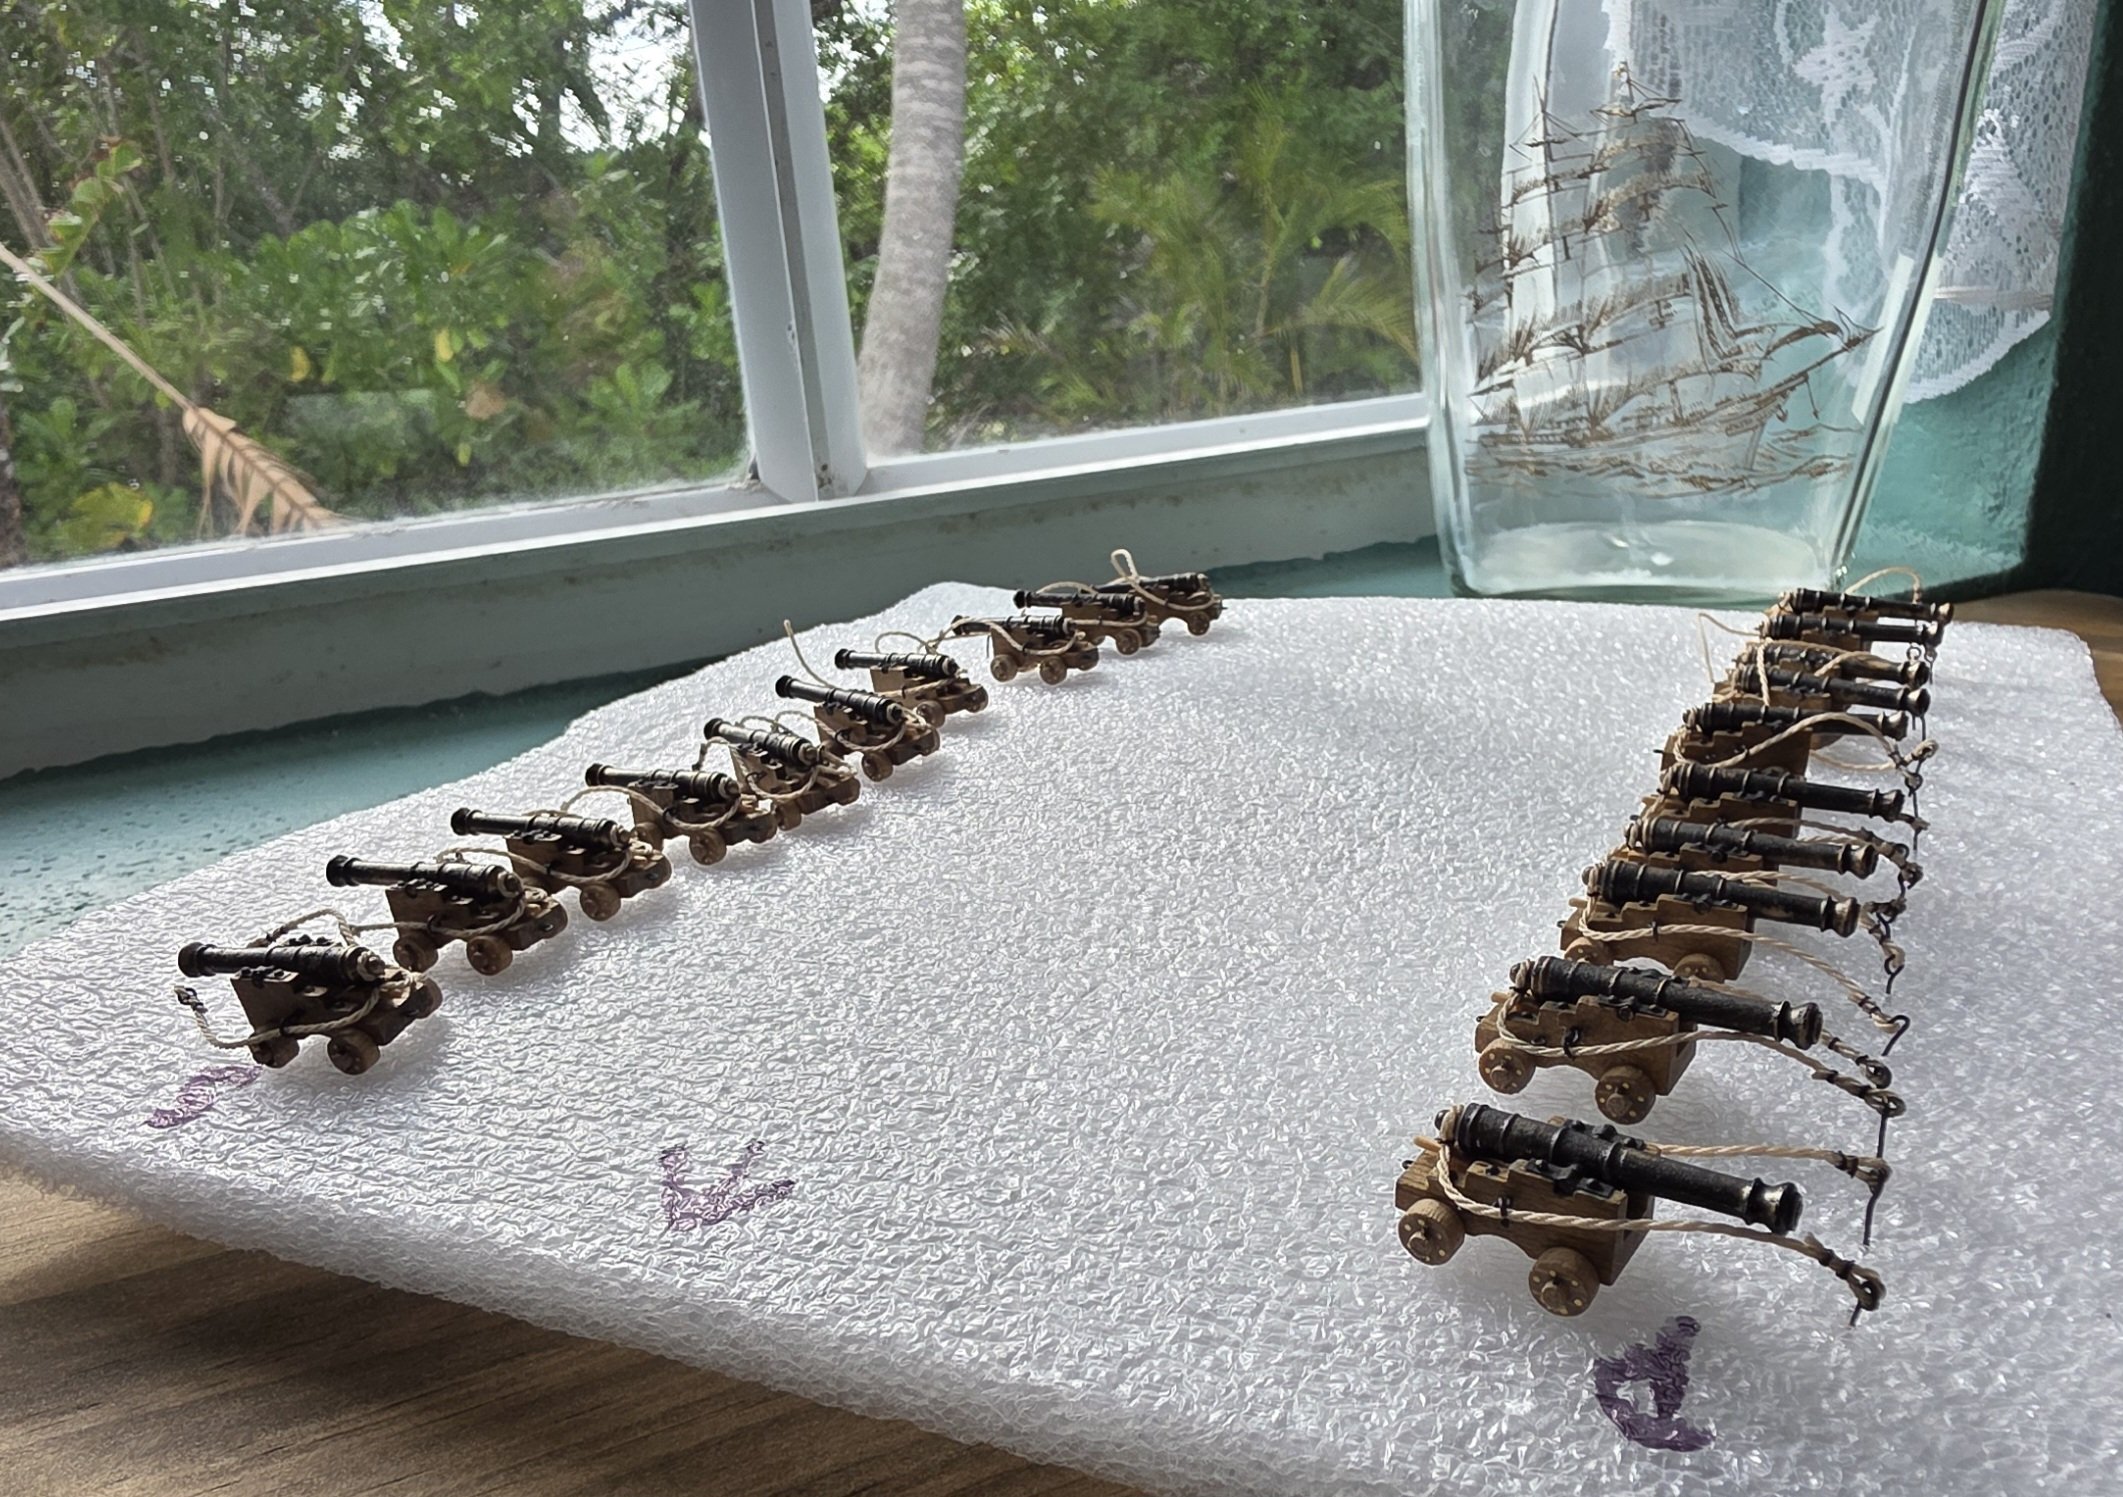
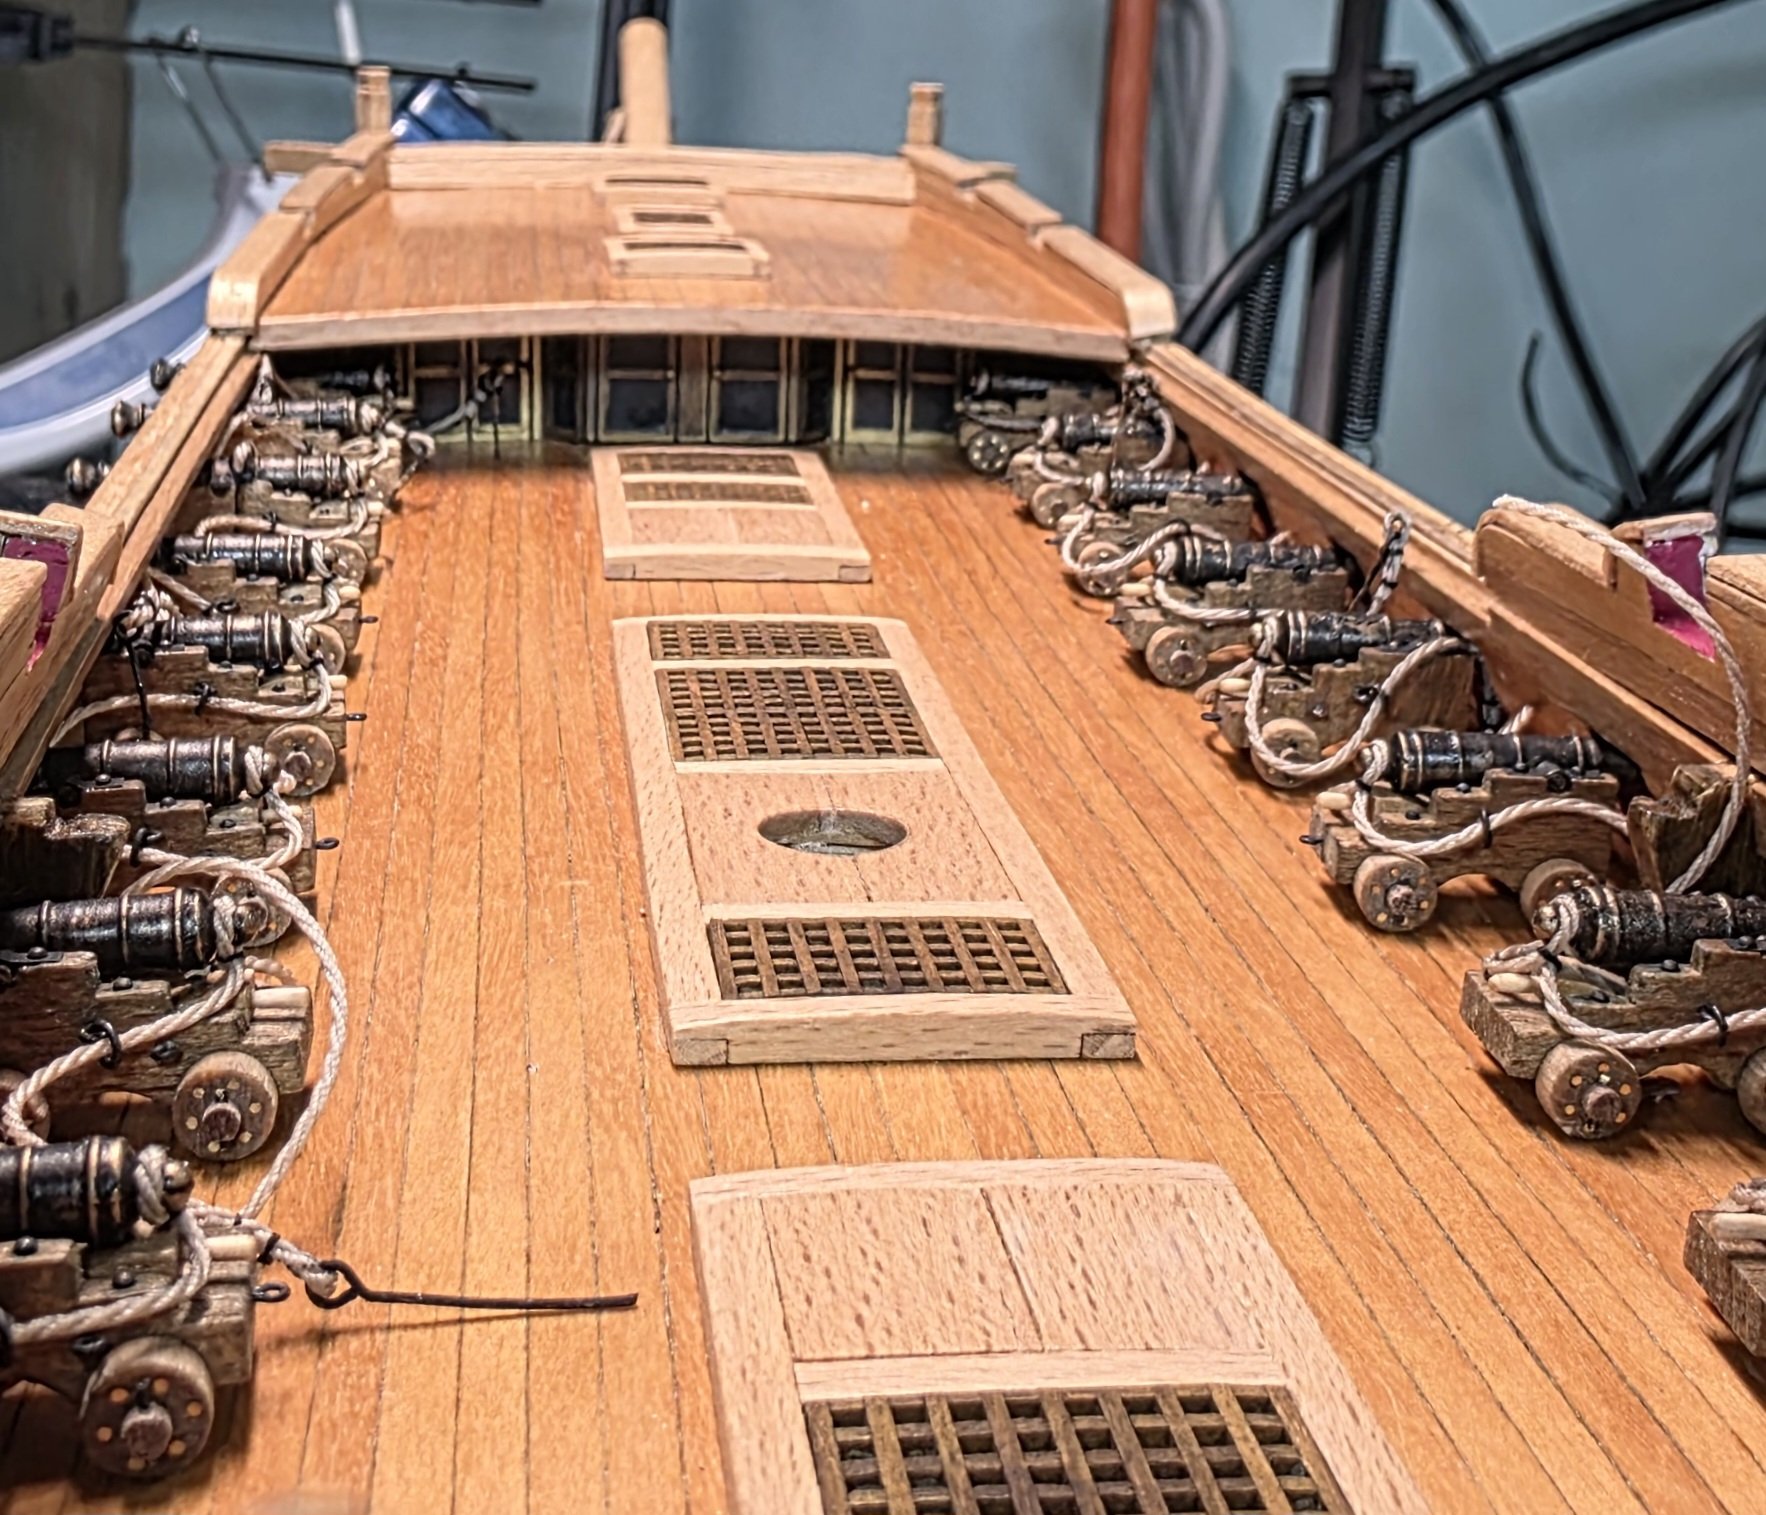
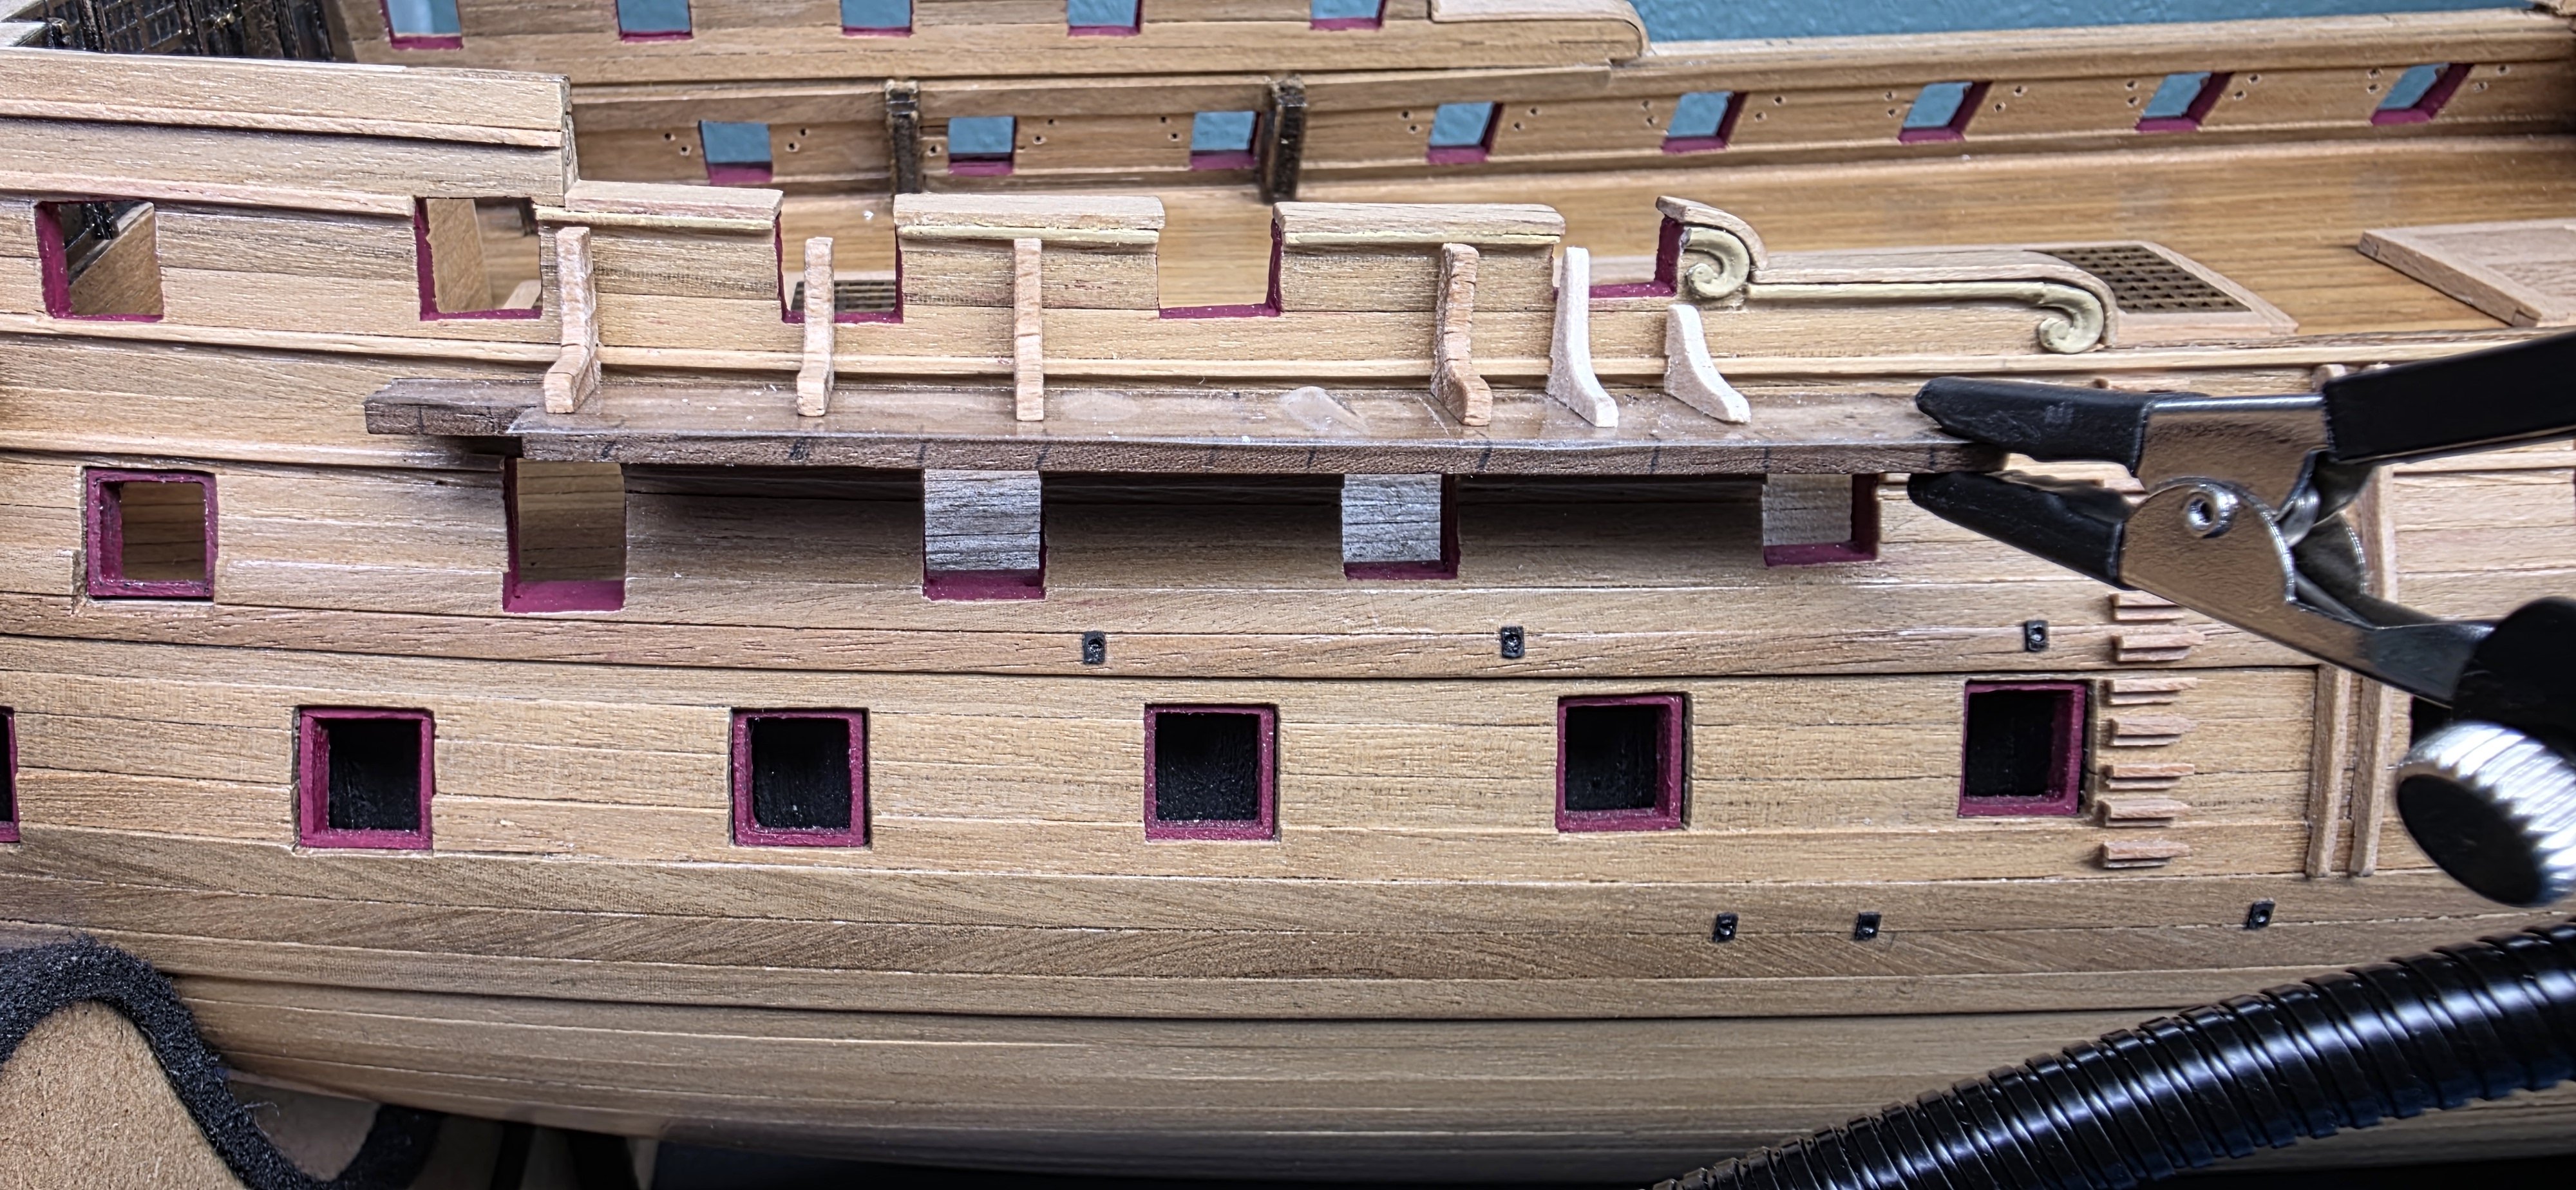
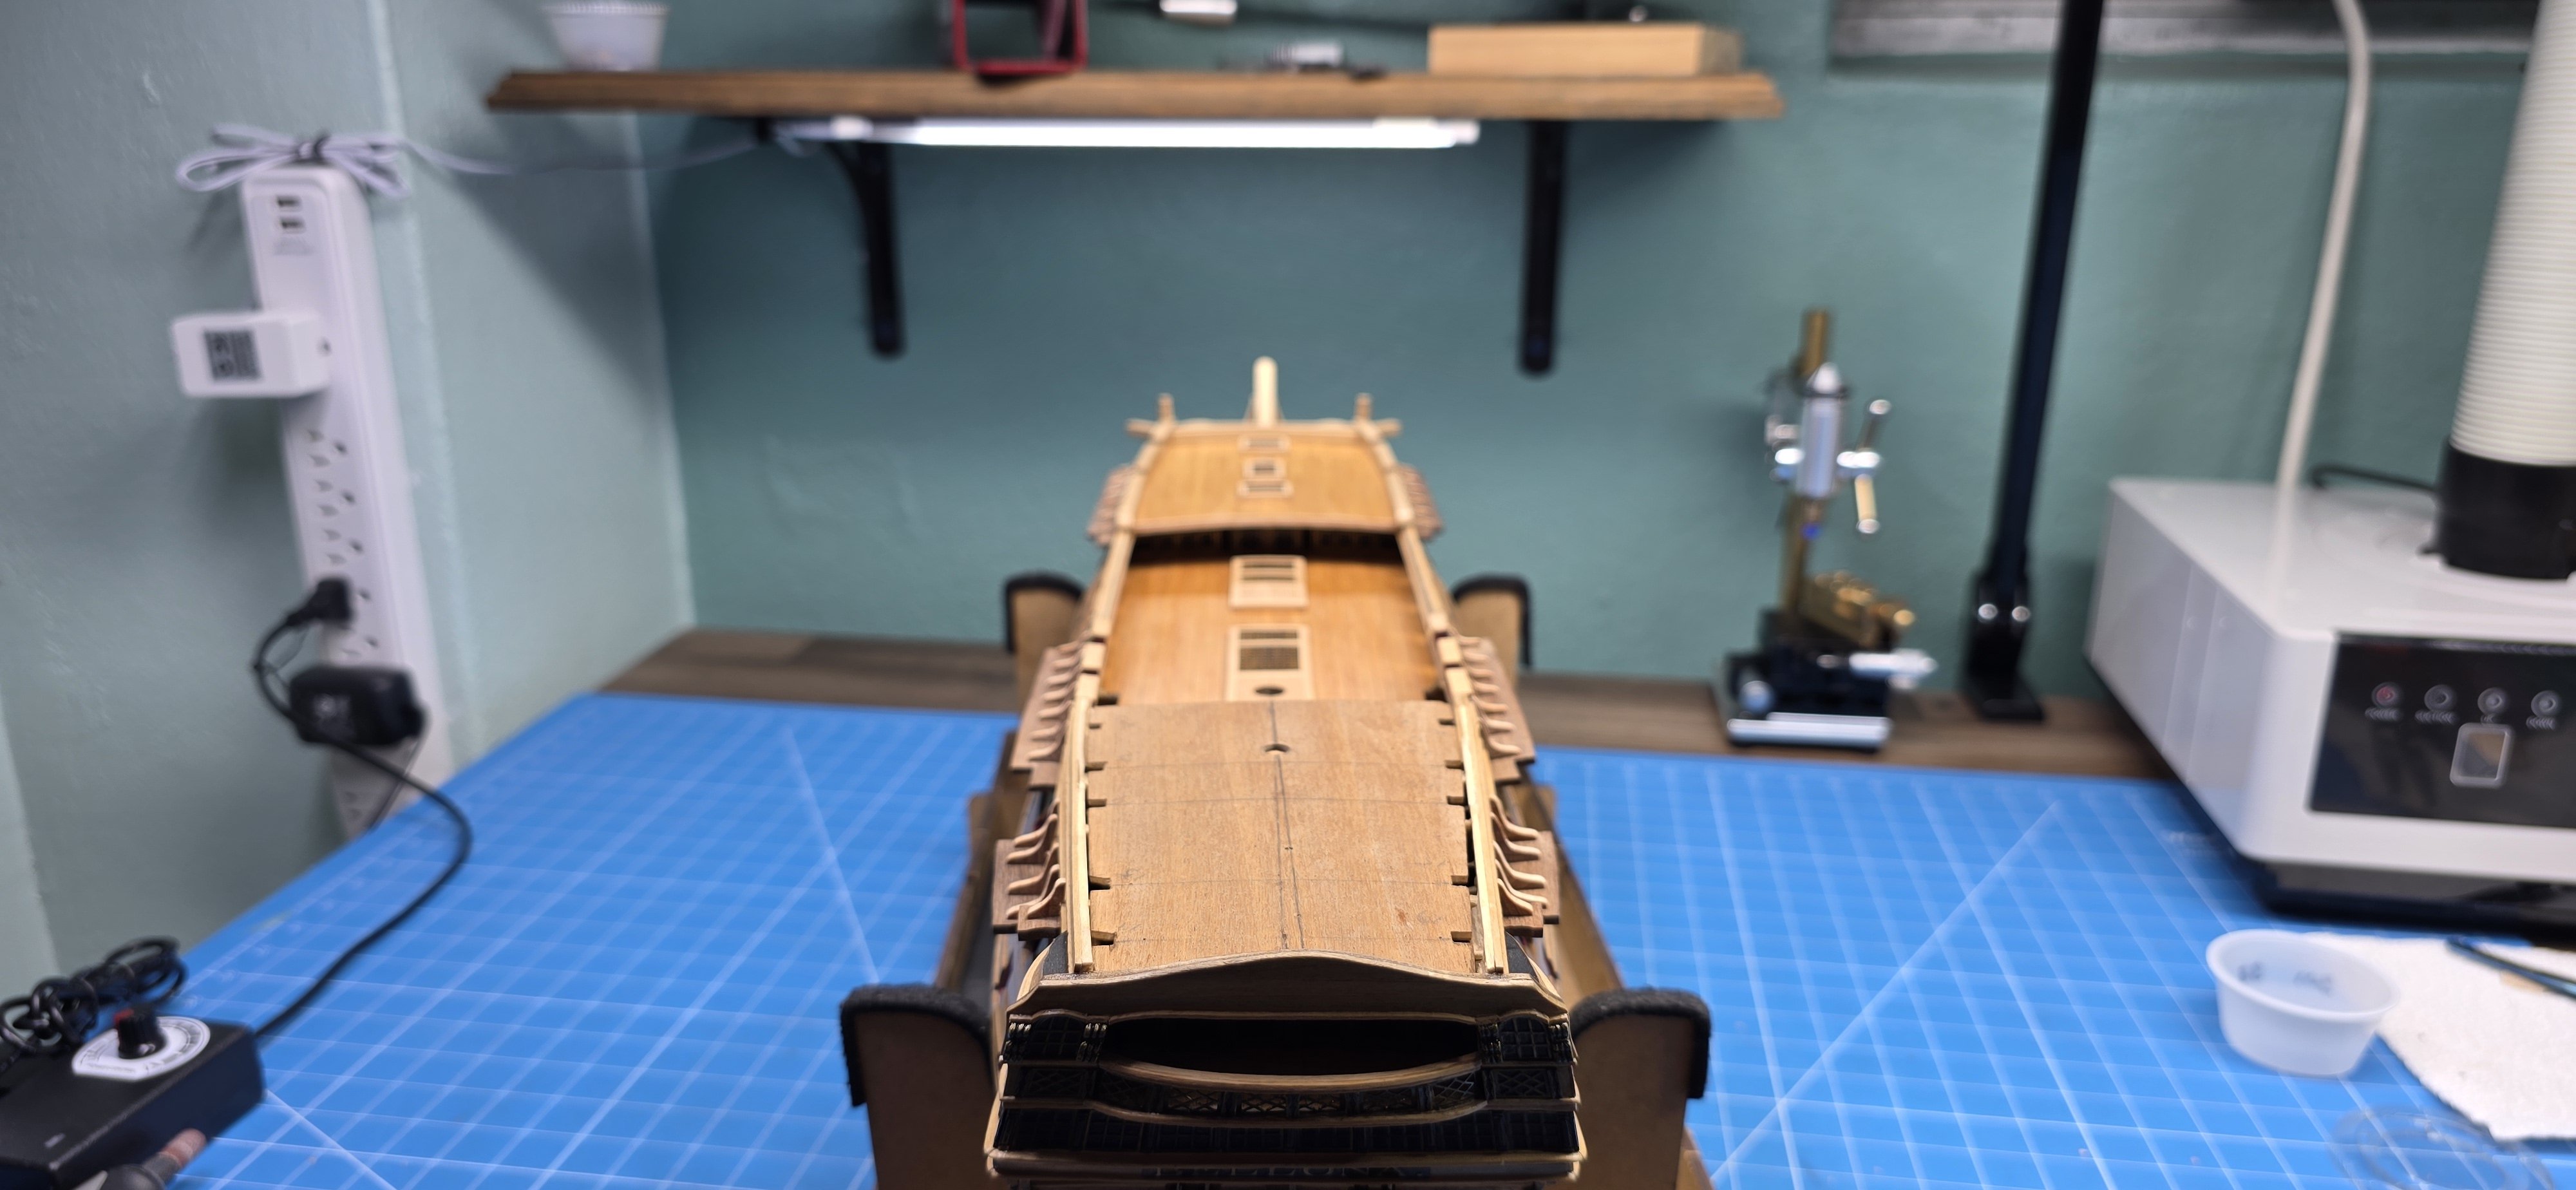
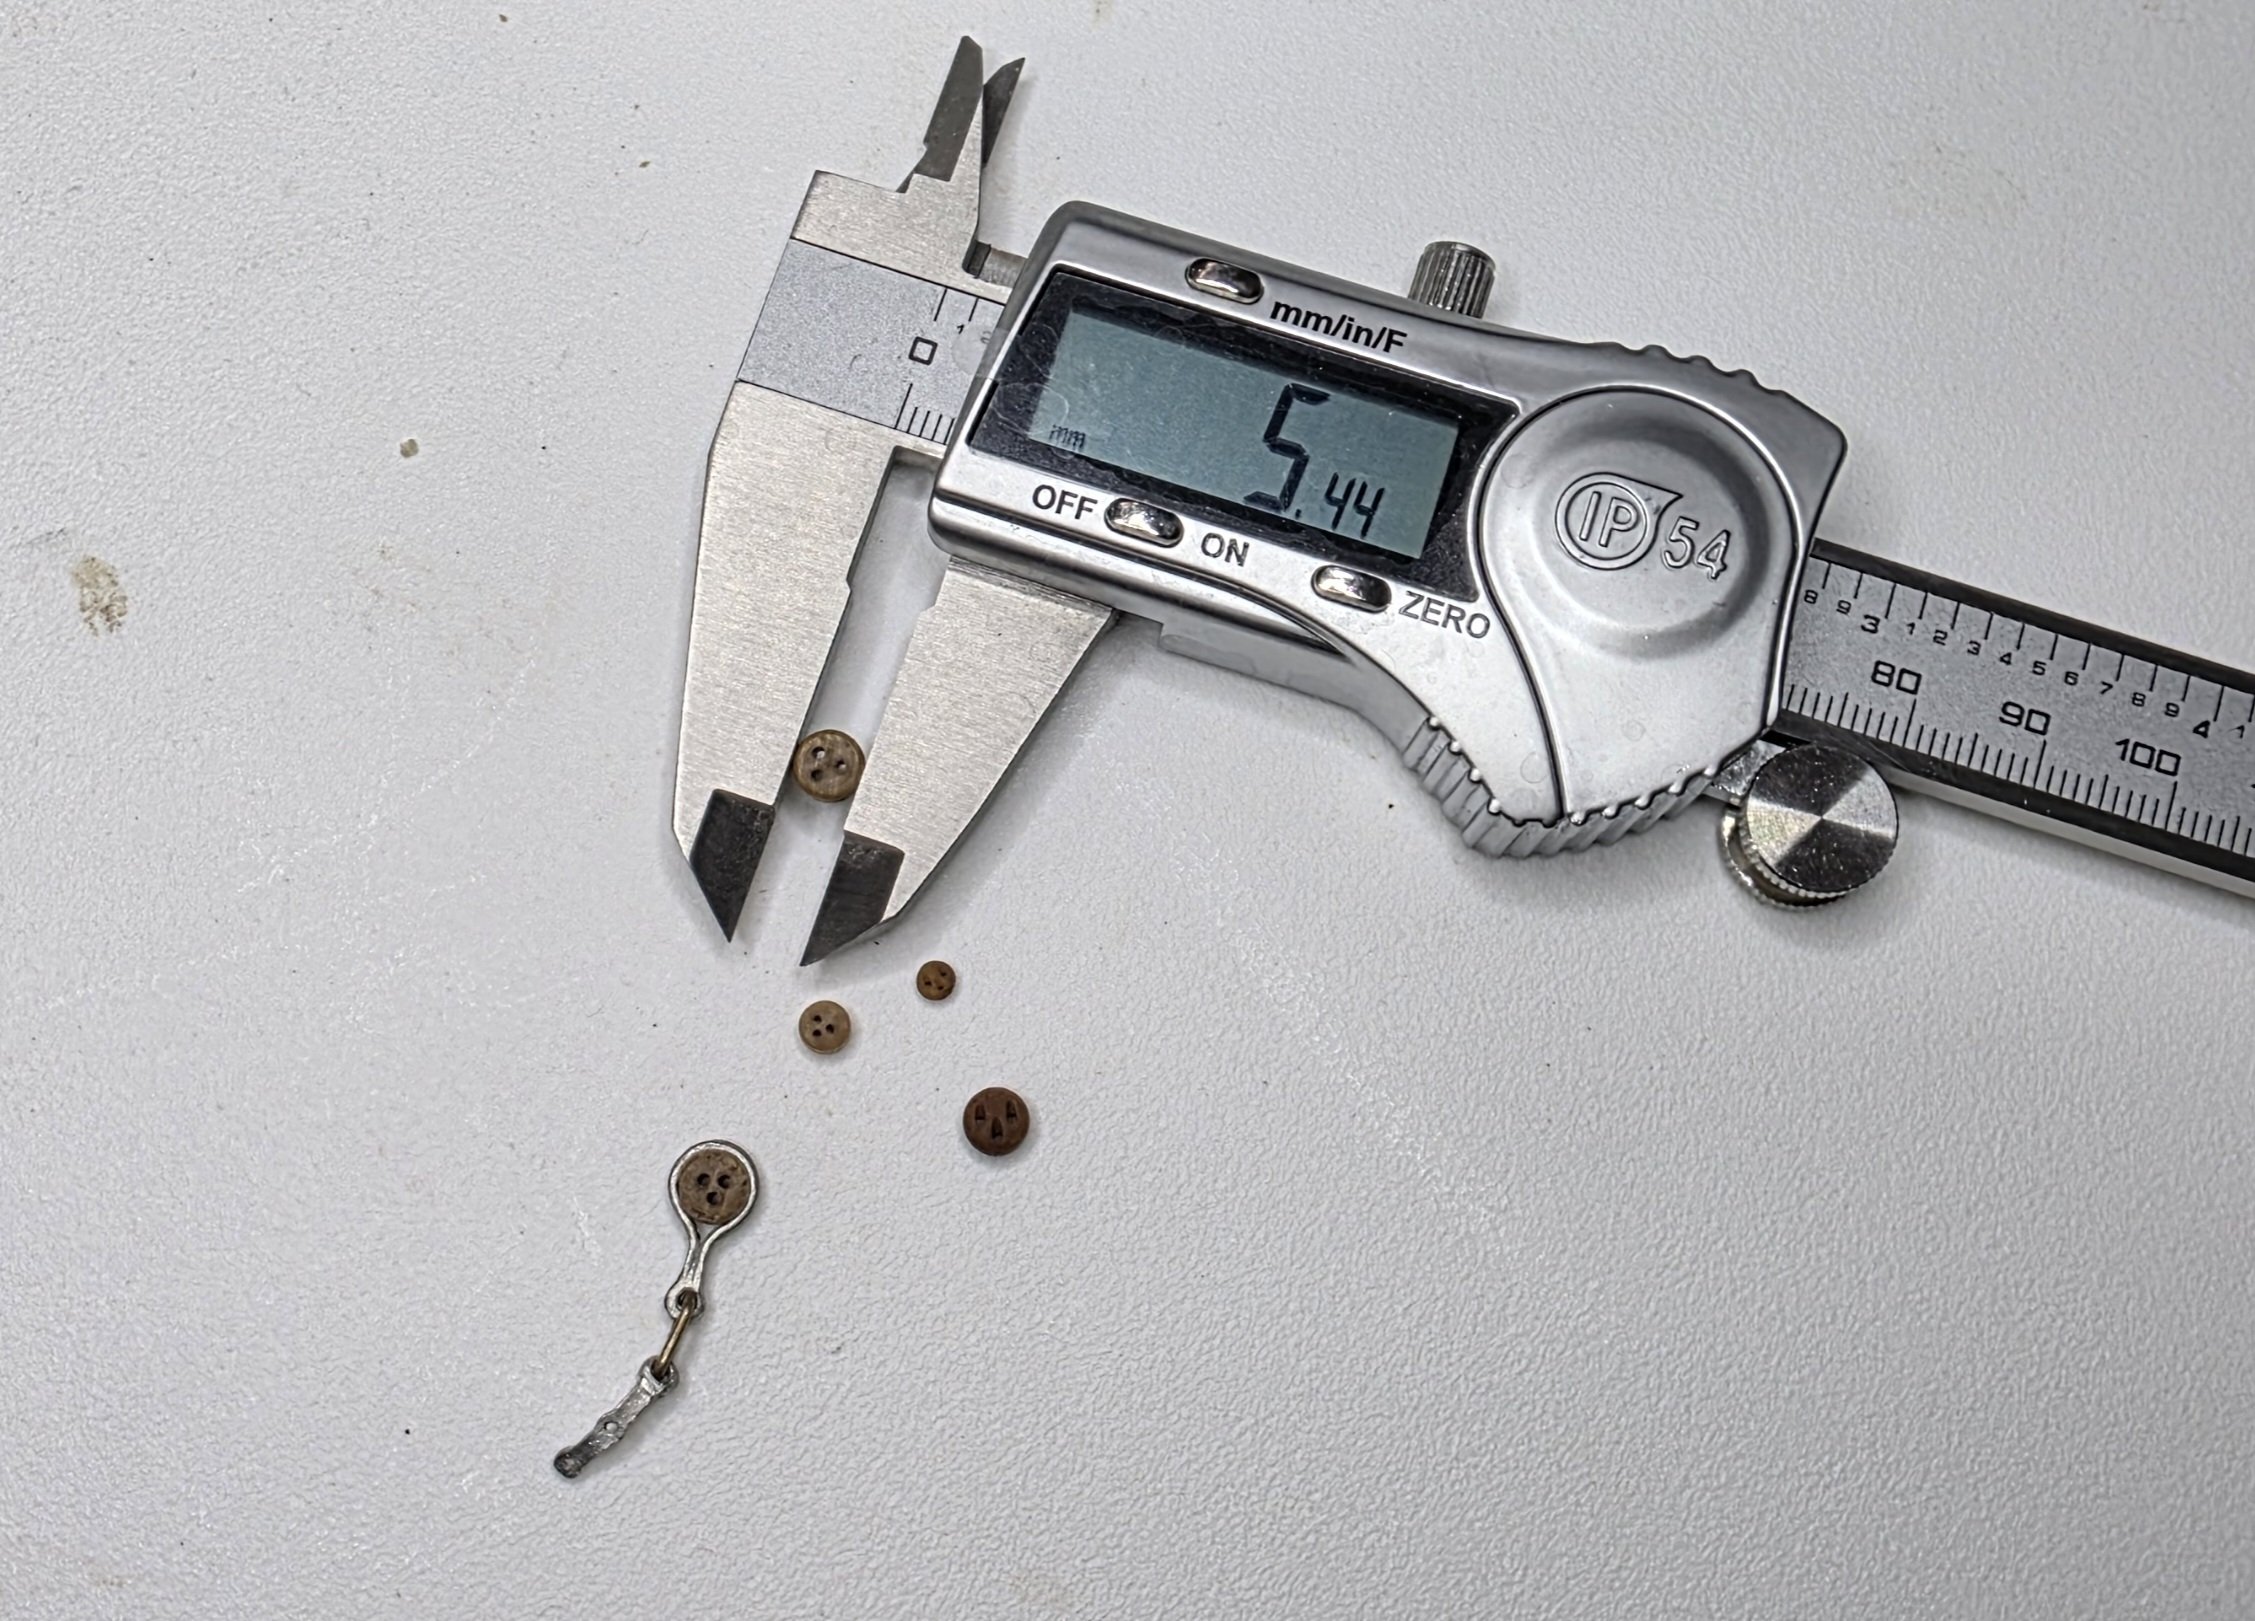
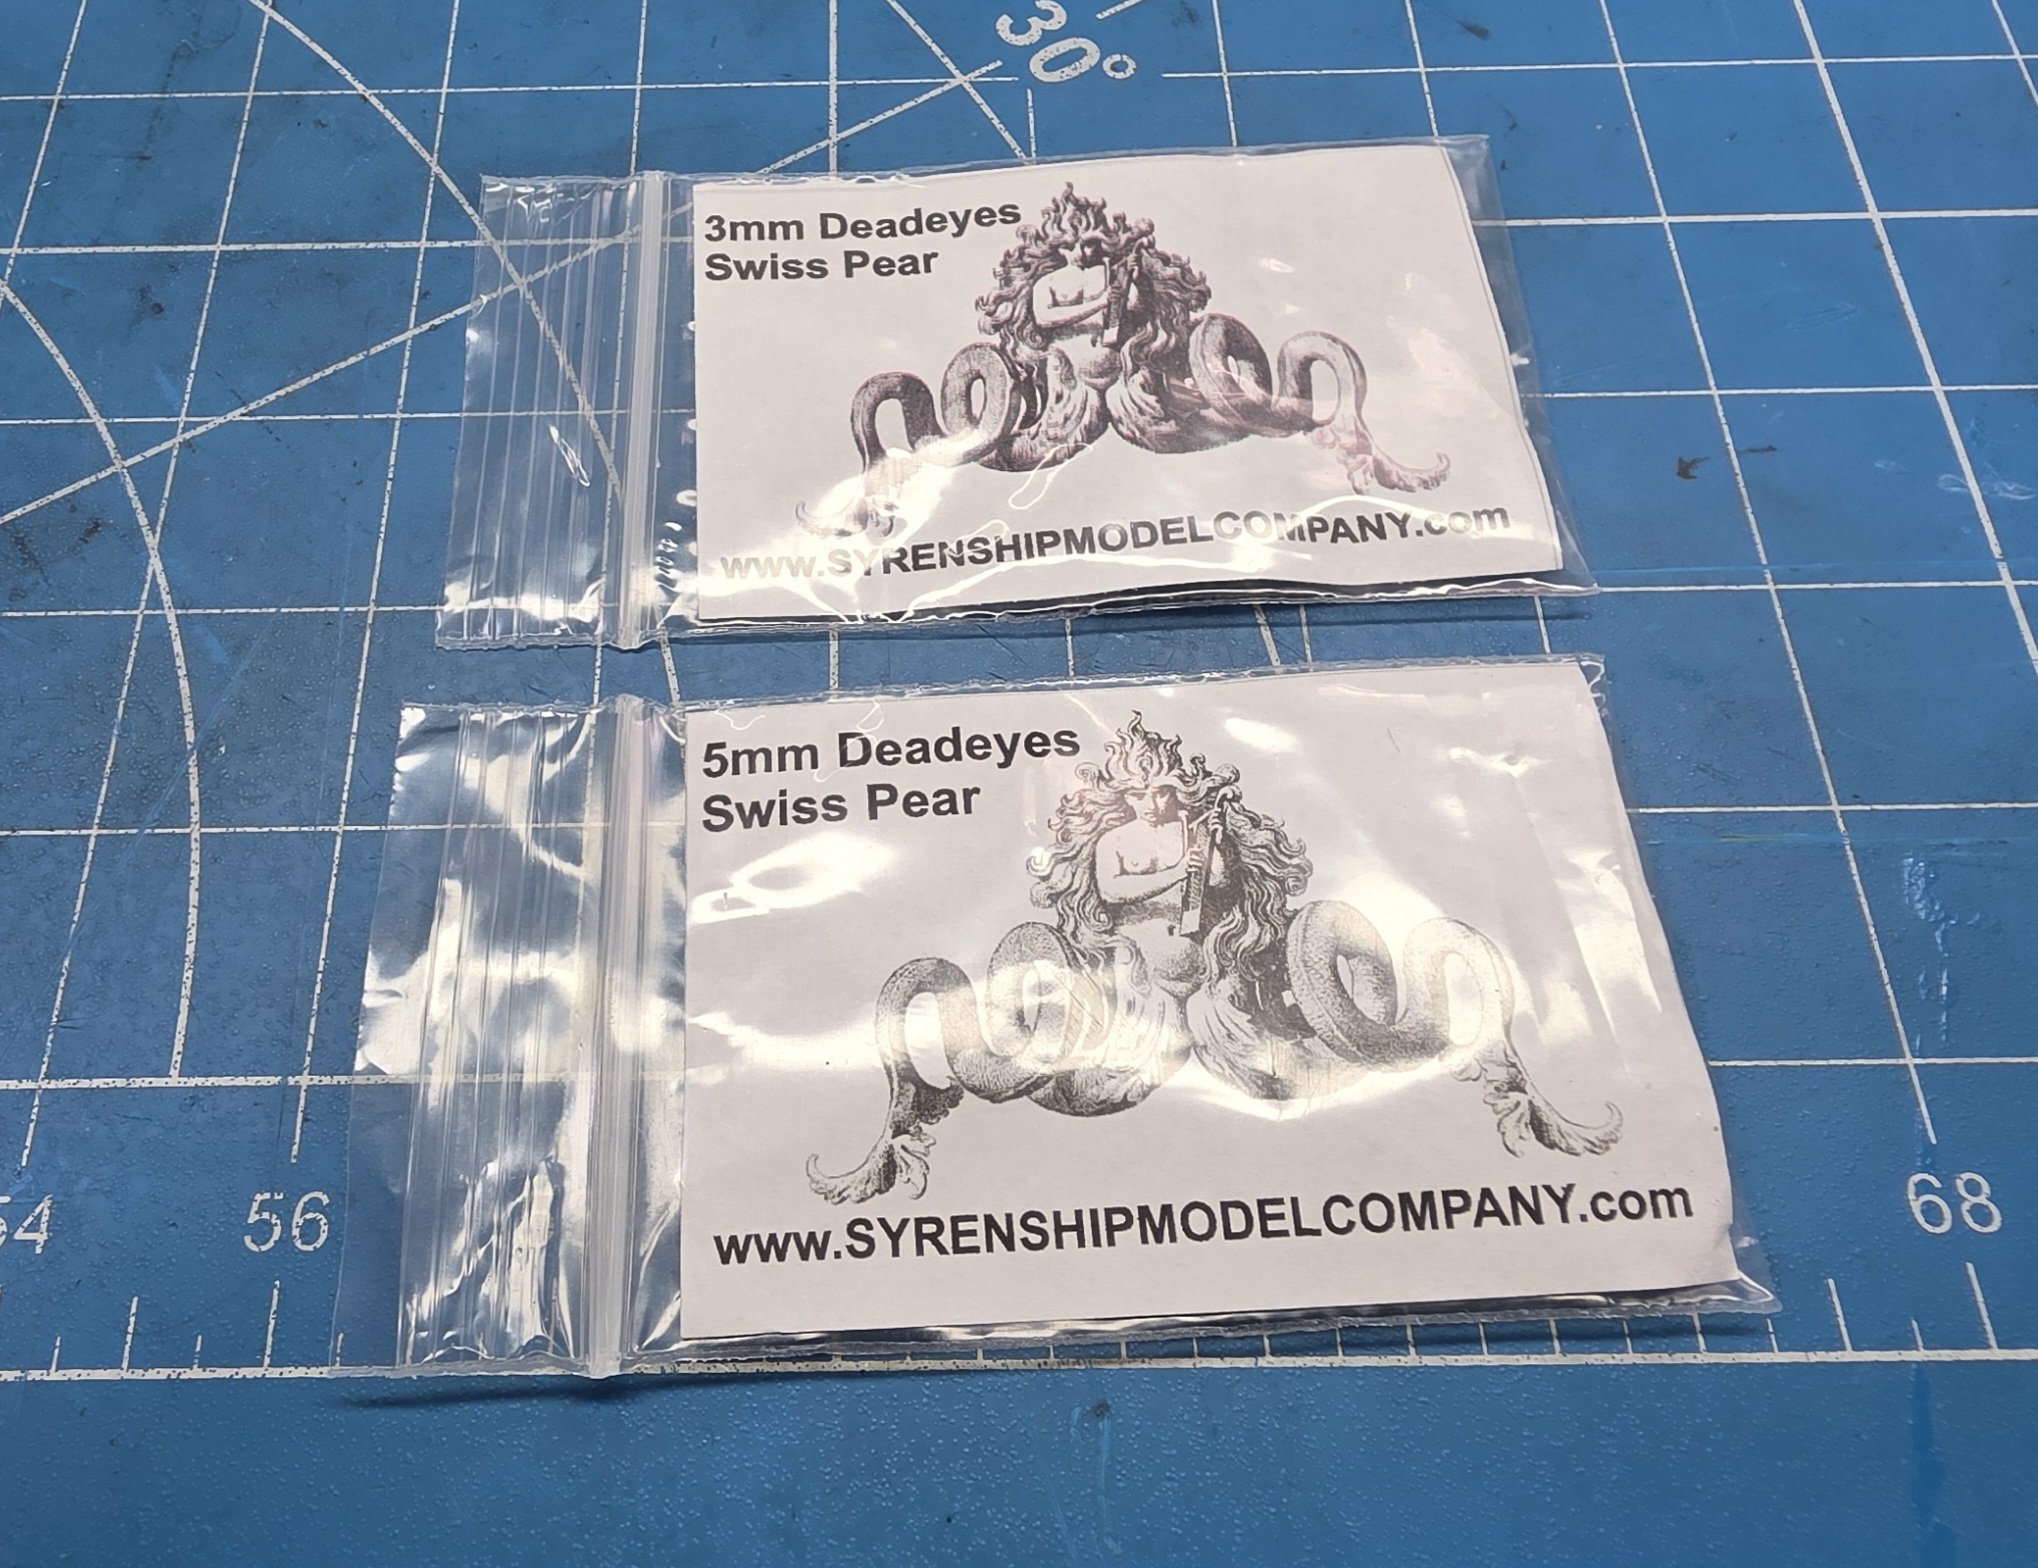
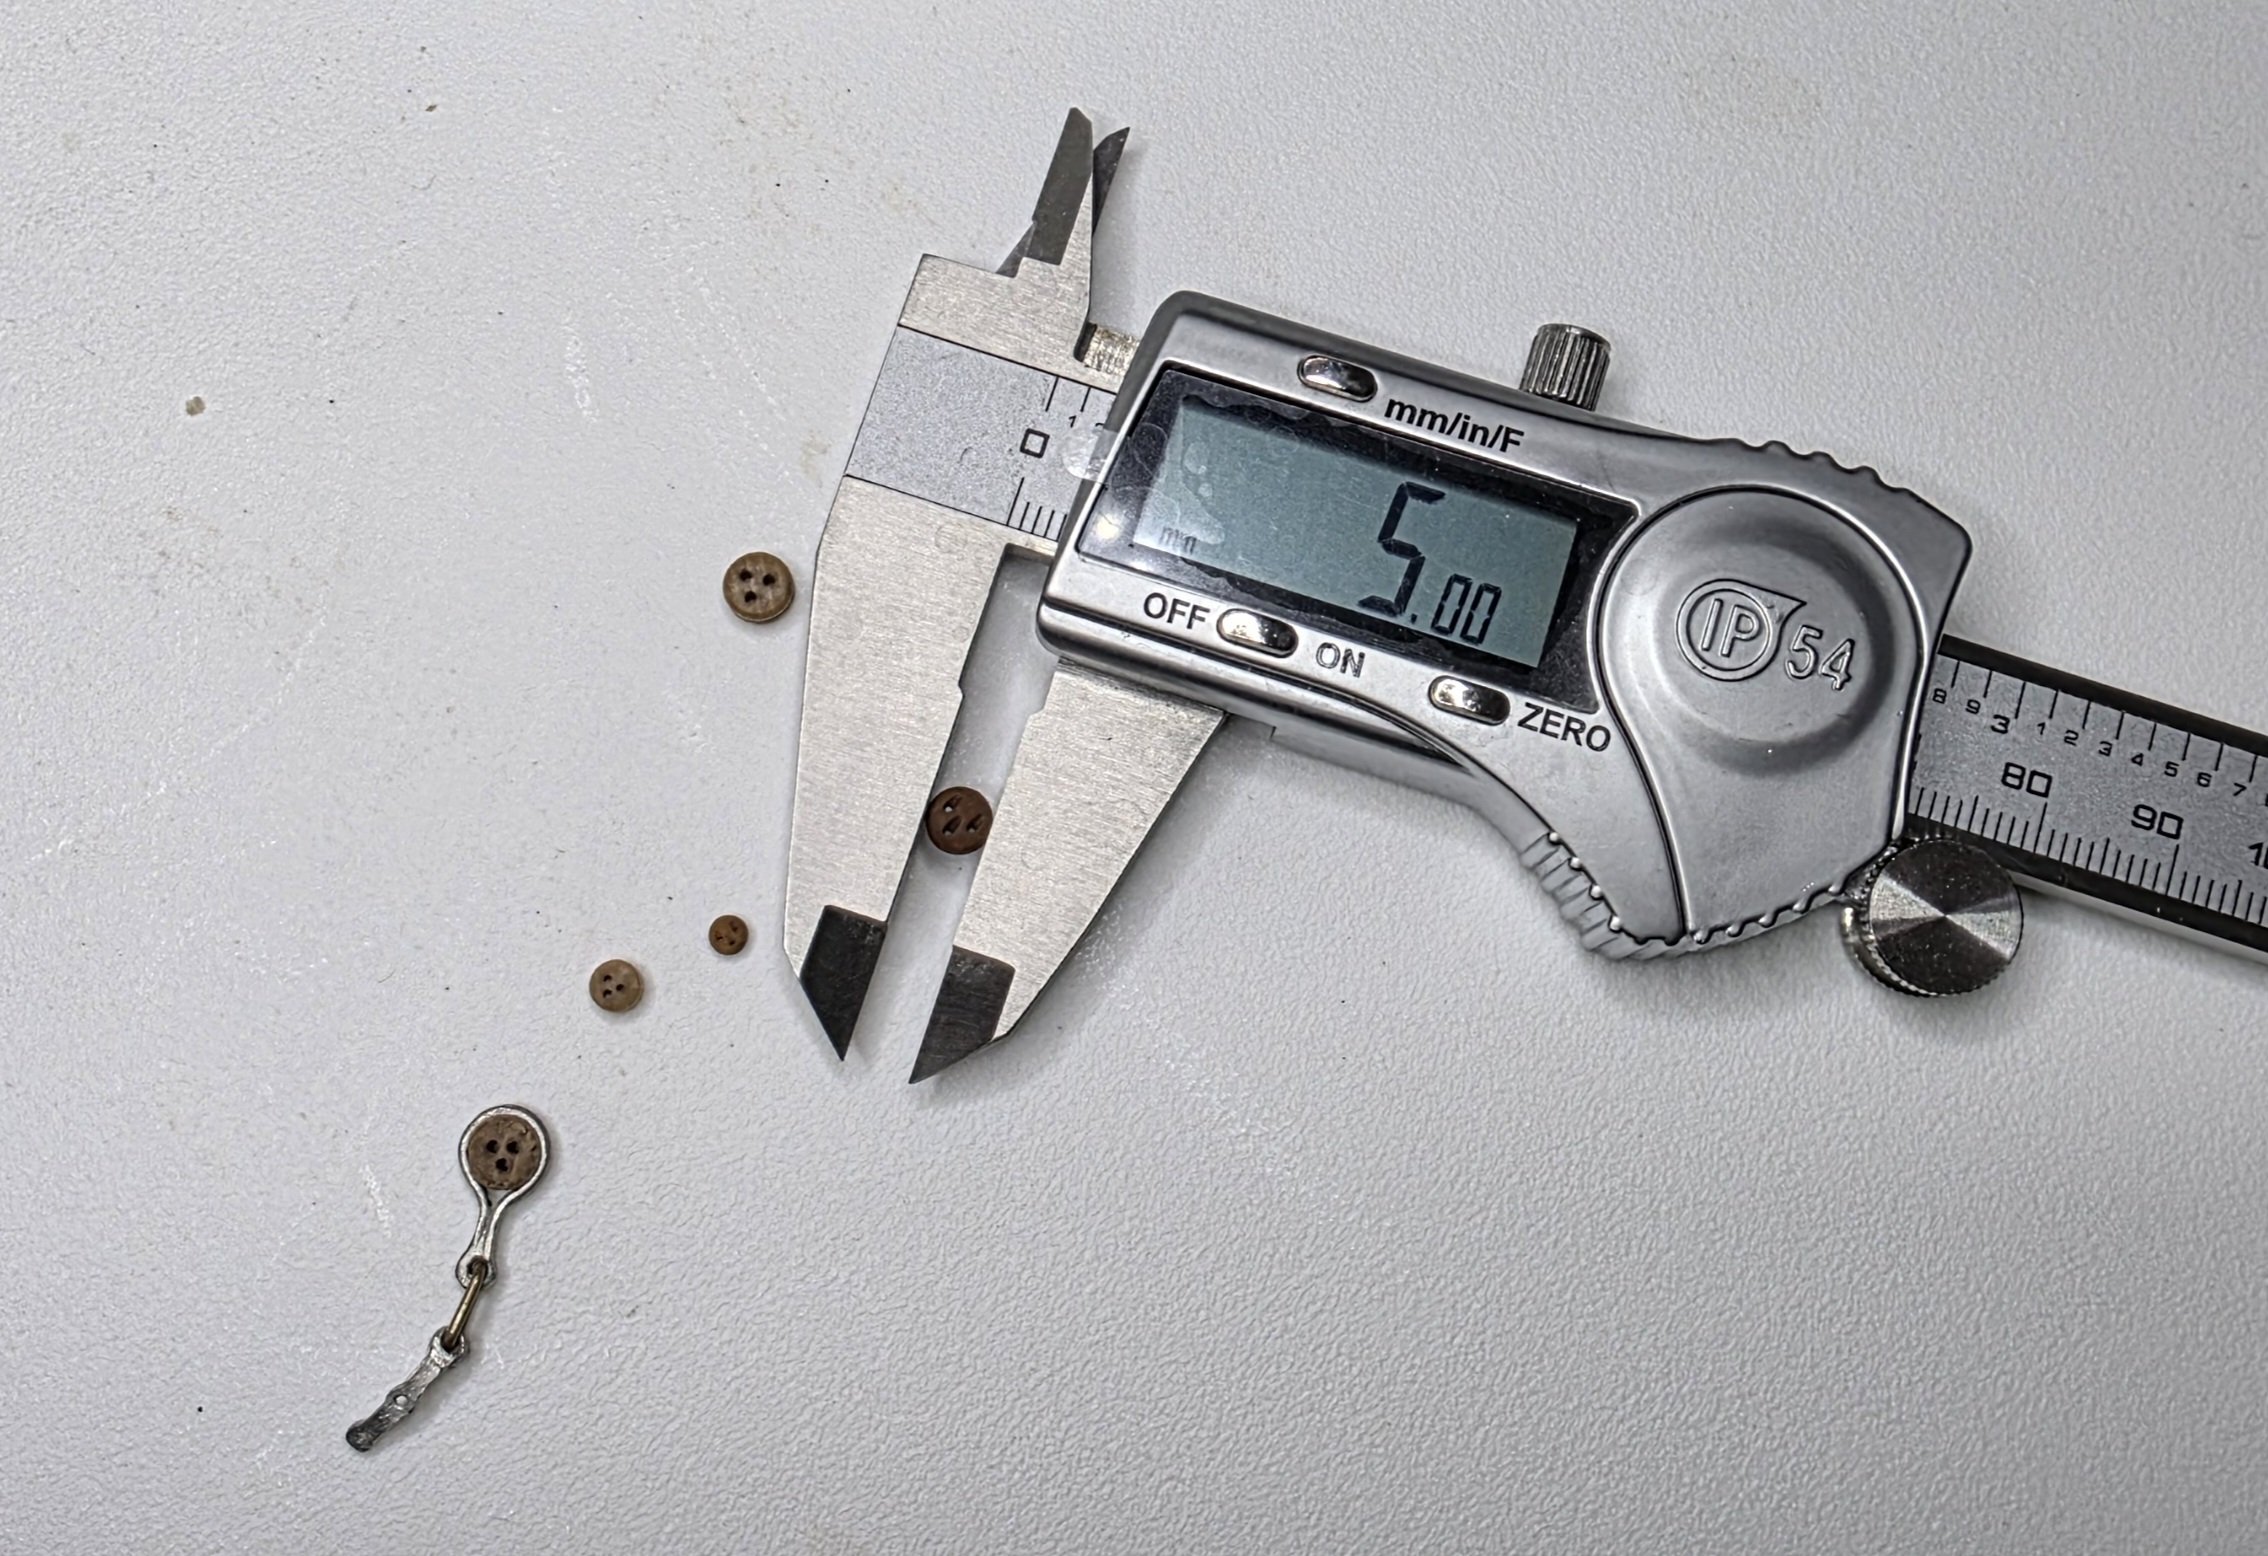
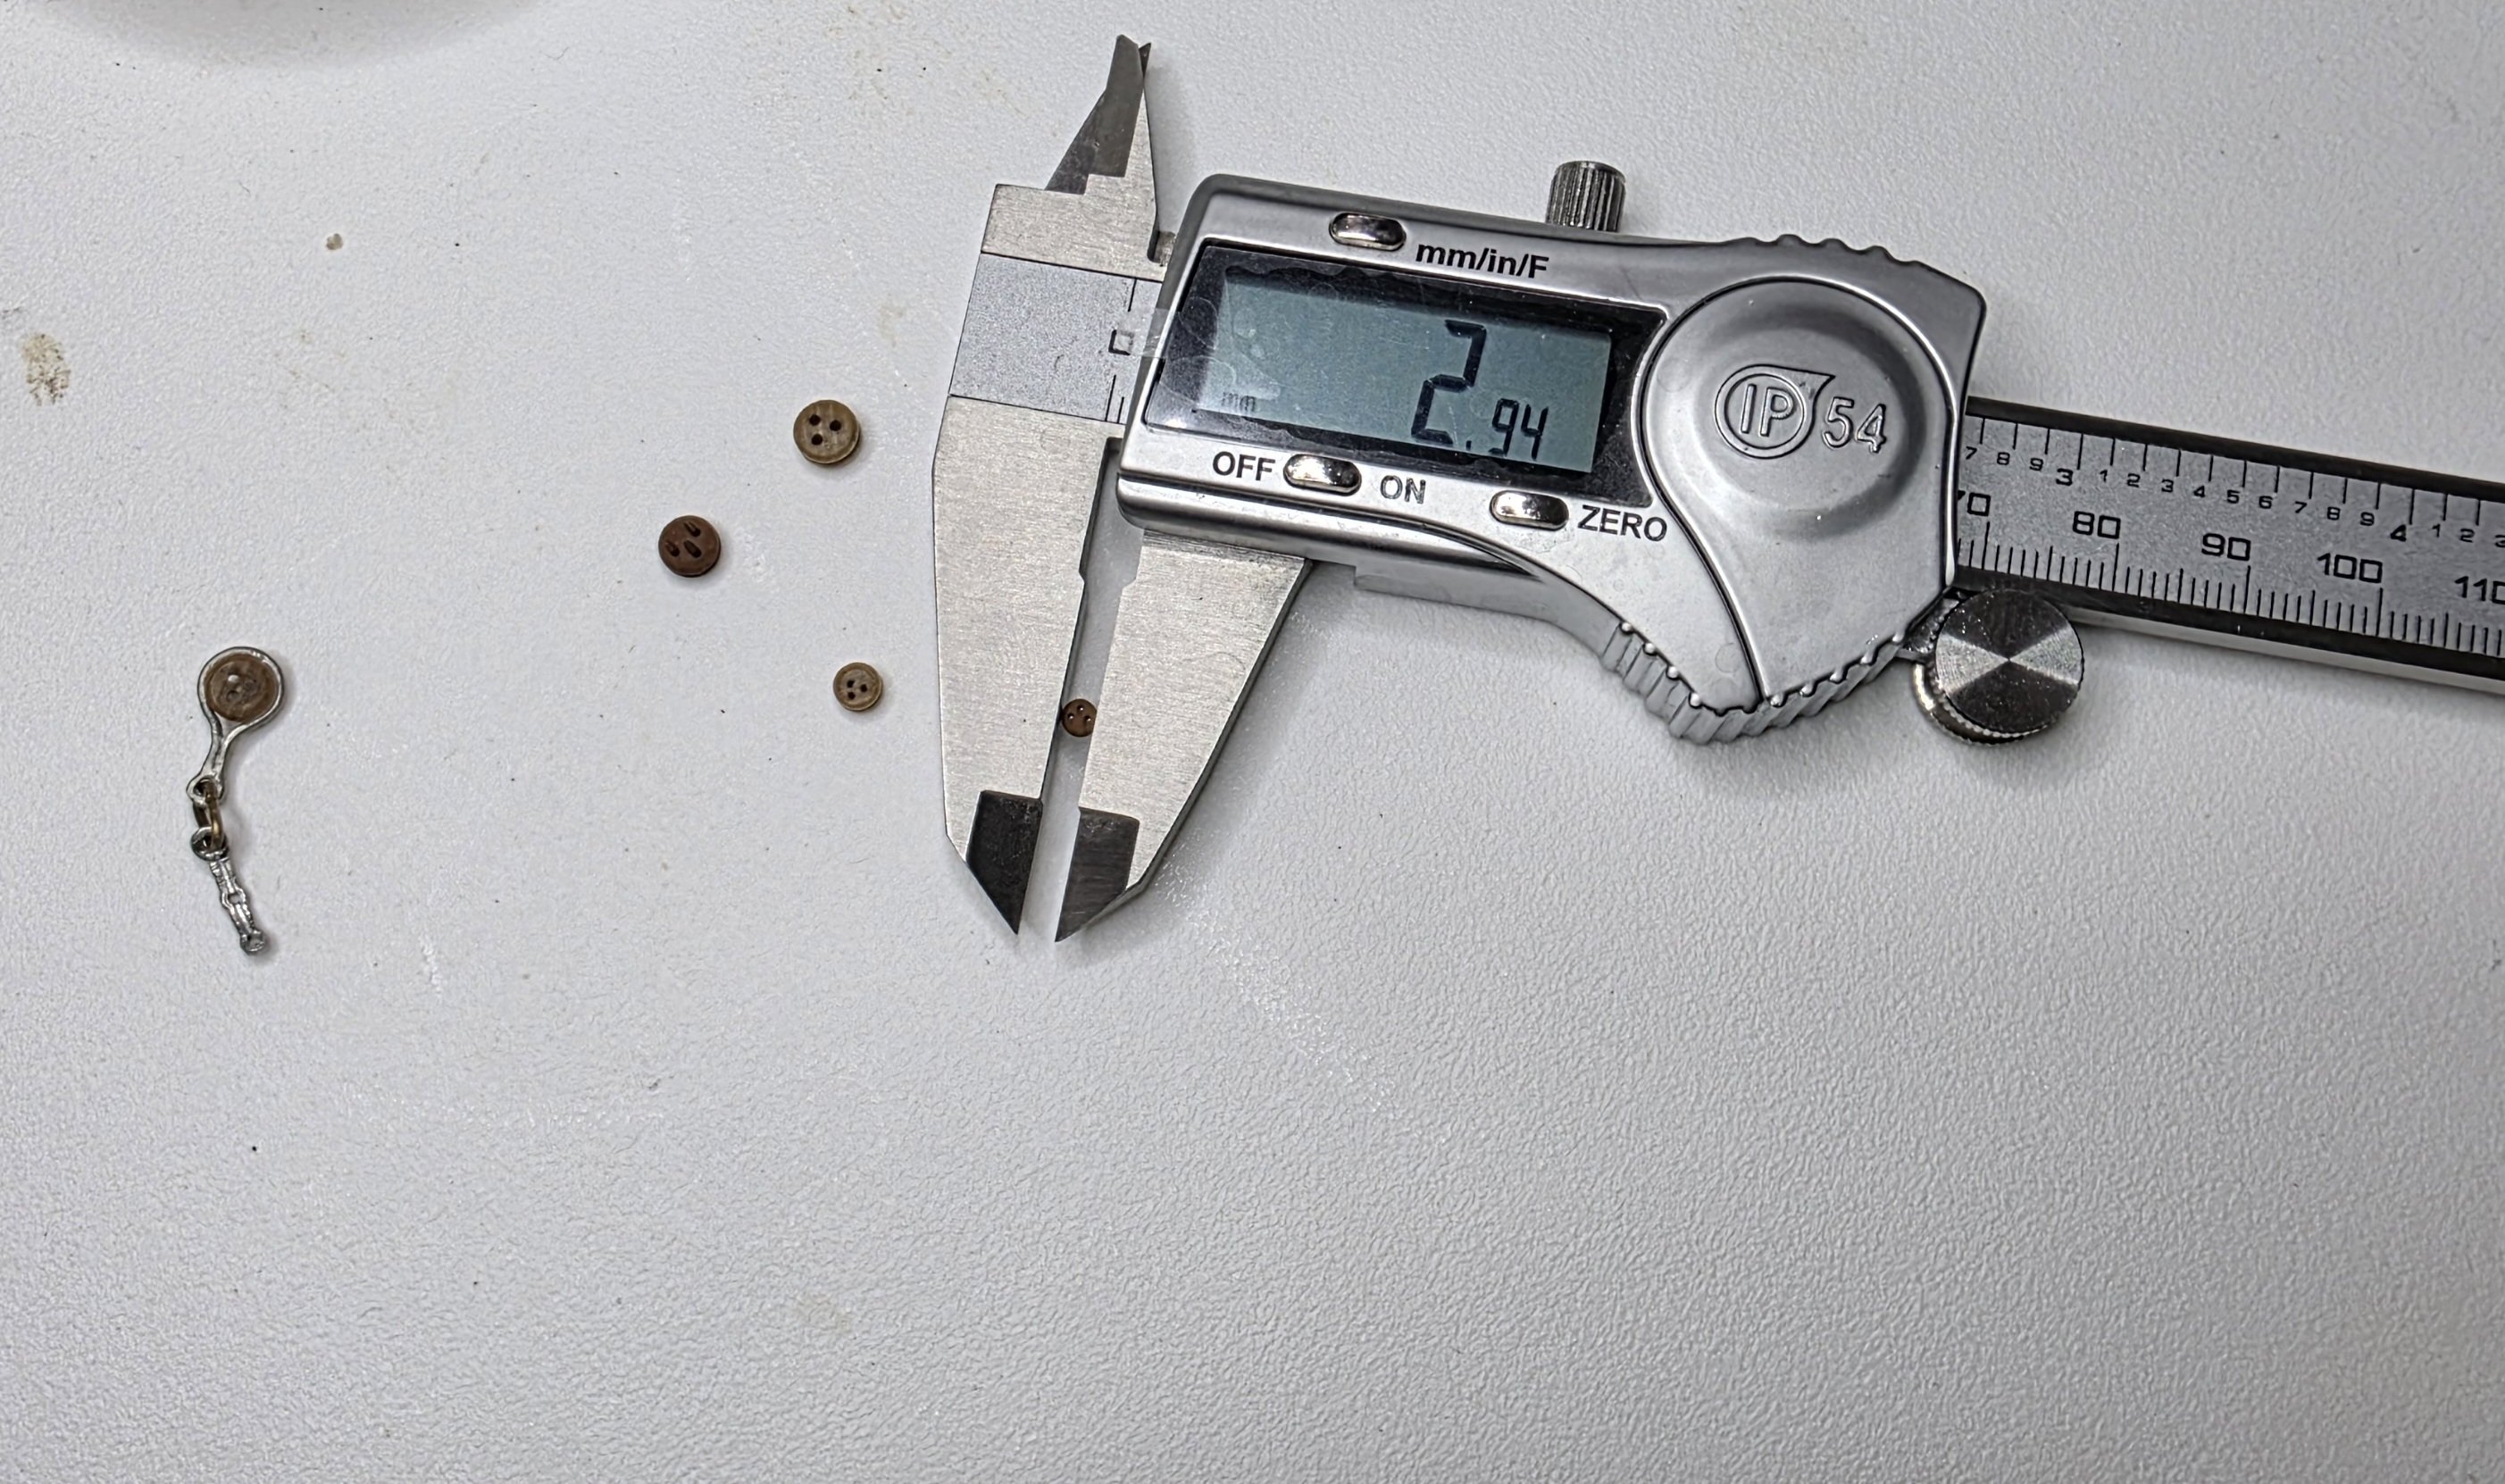
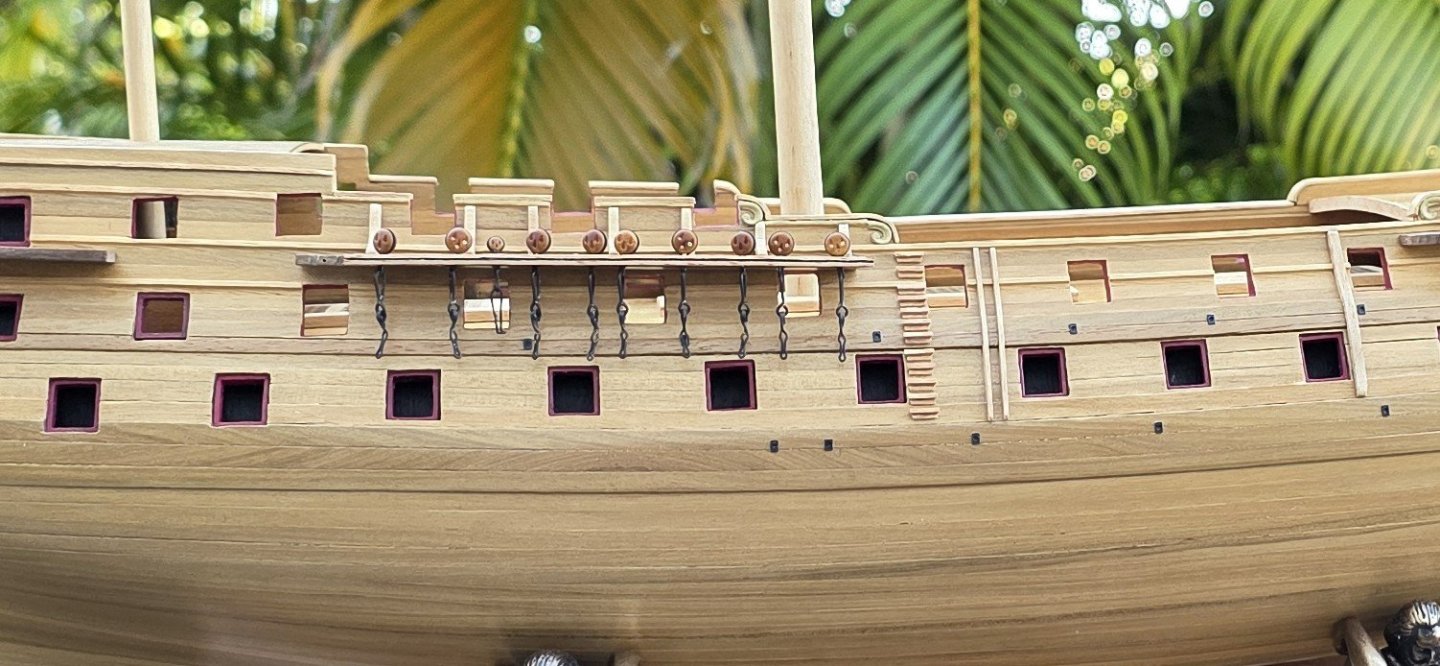
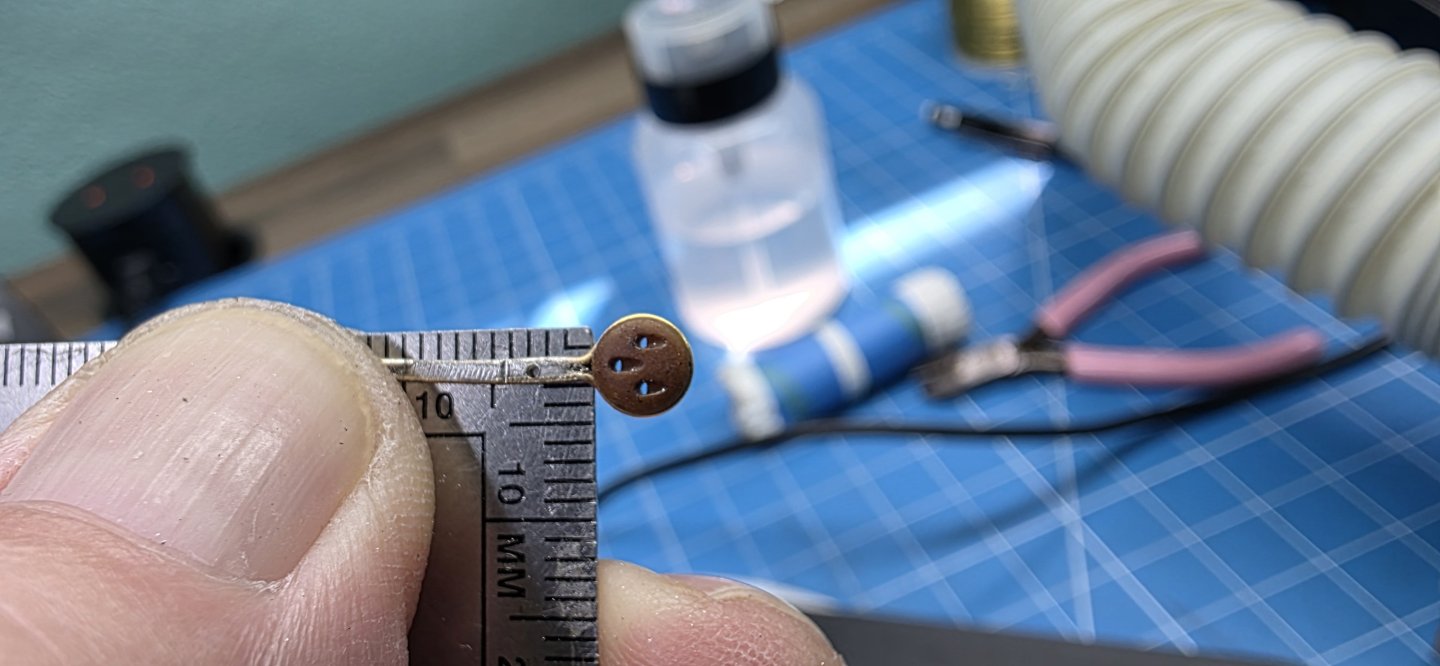
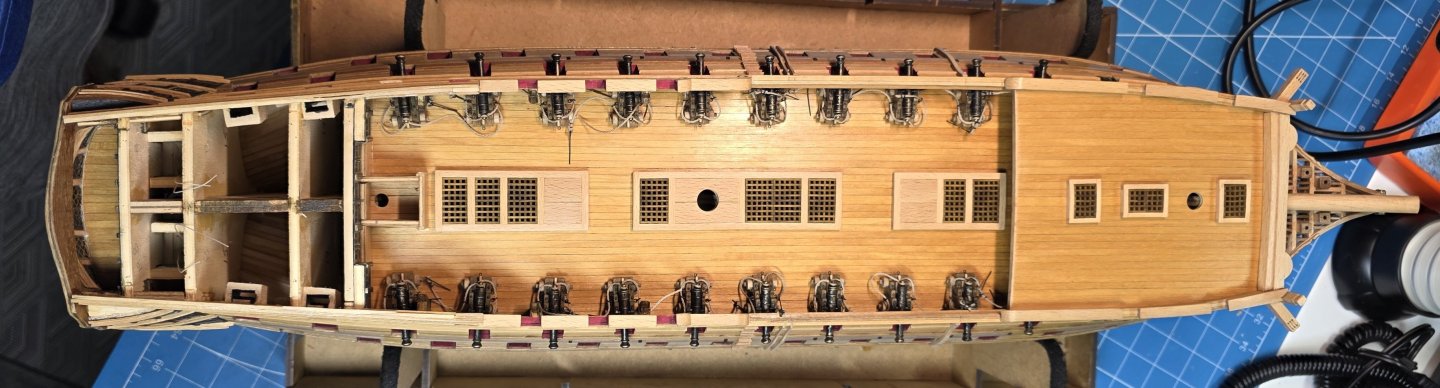
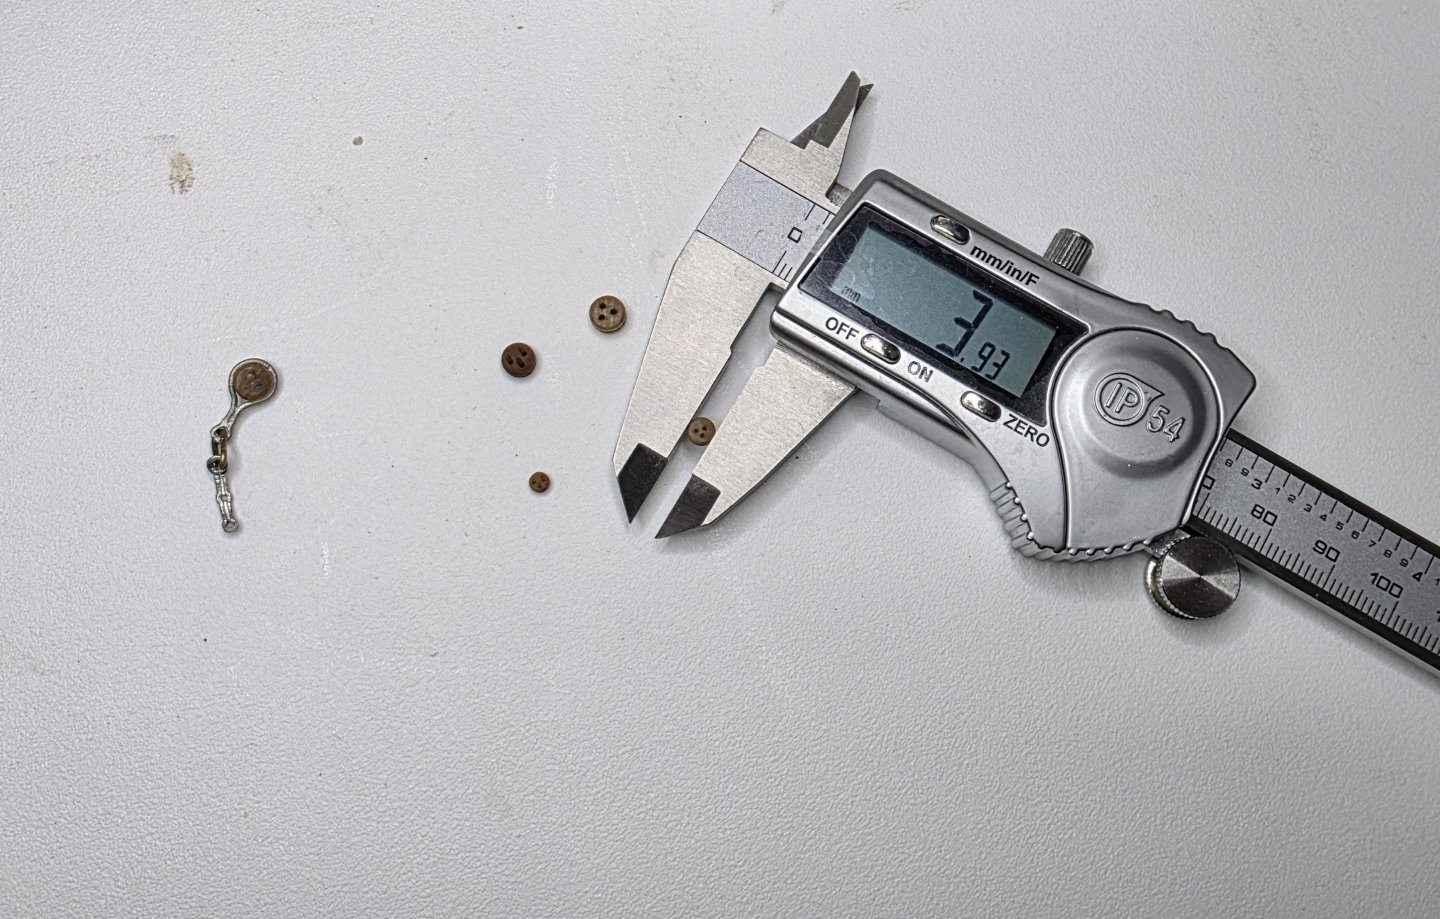
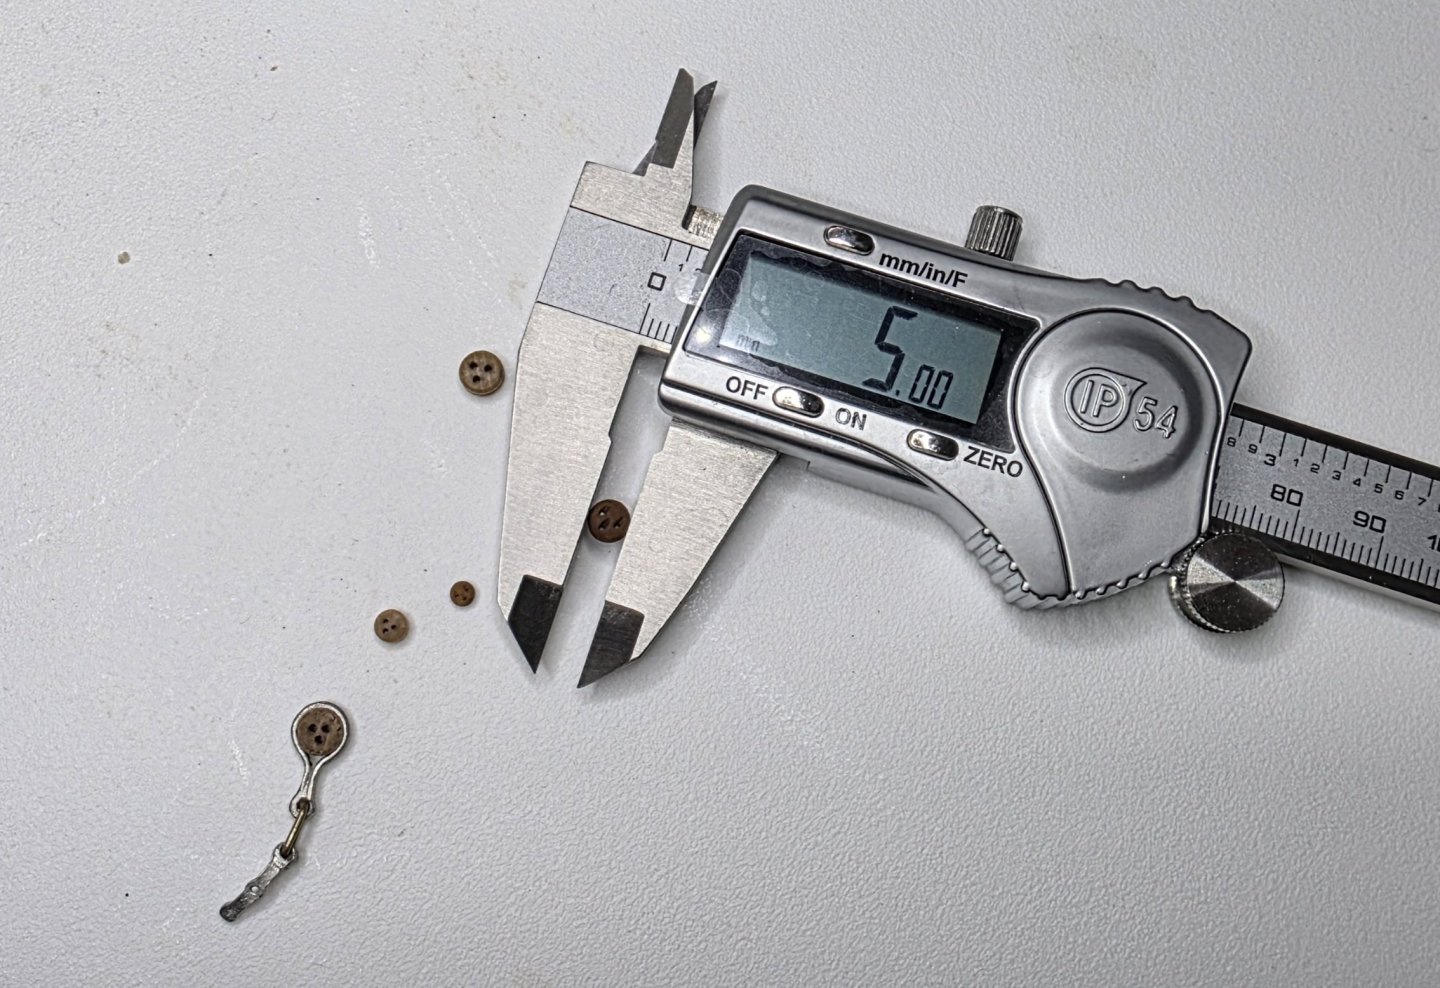
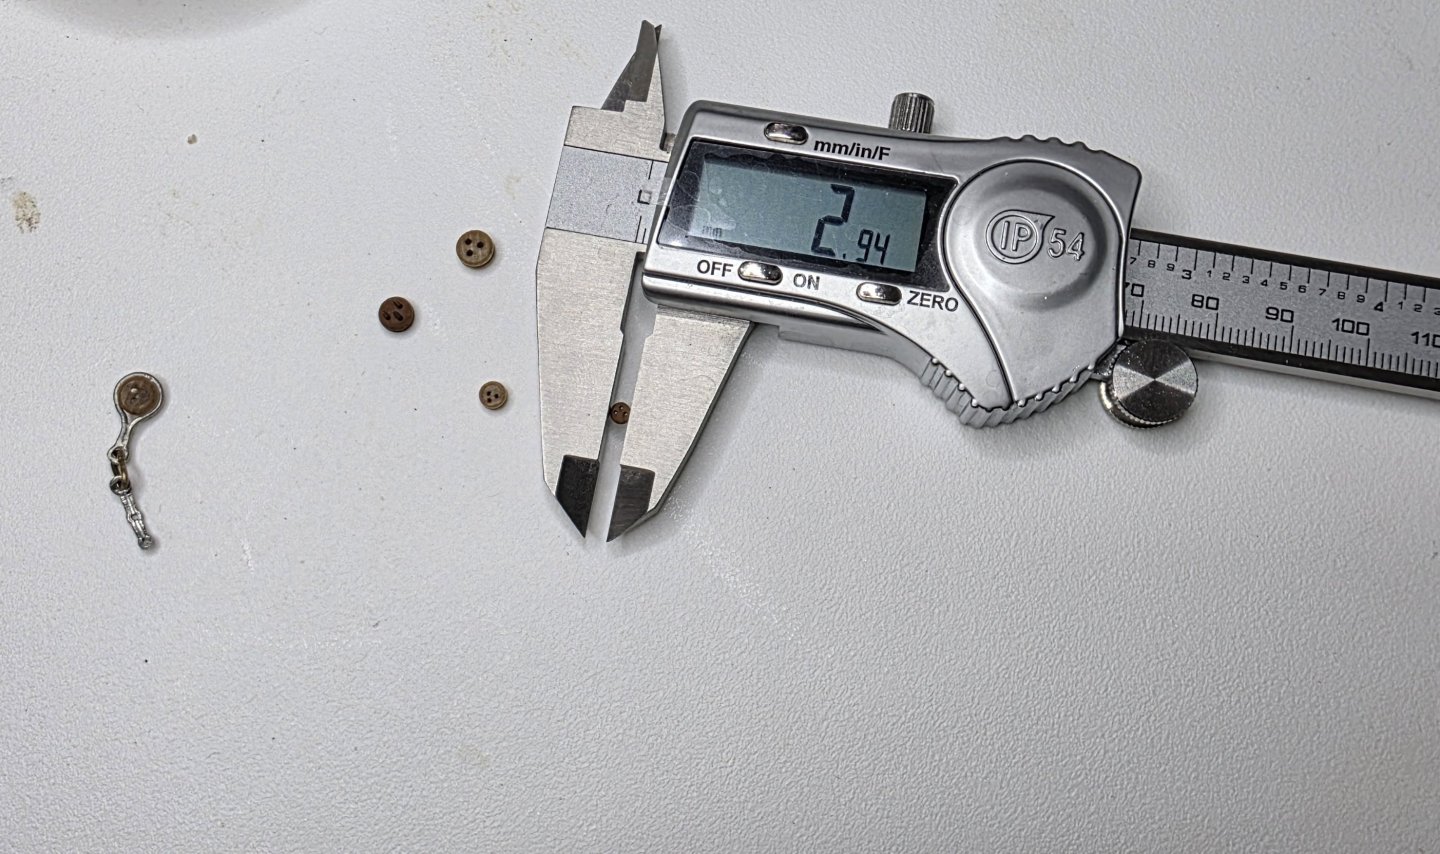
Hello All, I have a small update on Bellona. I completed the 20 cannons that will eventually be placed on the upper gun deck. It was quite satisfying to see them all placed on the deck and I am very satisfied with the way they turned out. I will keep them in storage for now until the time comes to permanently install them, which will probably be some time from now. After I completed the cannons, I moved on to the installation of the channels. The plywood channels that came with the kit were replaced using solid walnut that I fabricated sometime ago. The knee braces that came with the kit needed a notch carved in them to fit between the raised molding on the hull. I used a third hand to help with getting the rough positions of the channels and applied two-sided tape to the channels to help with holding the knee braces in place. I made a couple of templates of the knee braces to get their final shape as the kit only came with the exact quantity needed and I didn’t want to mess up any of them and have to make new ones from scratch. I drilled holes in each of the channels and installed pins to attach them to the hull. Pretty straight forward technic. I shaped a groove in the center of a piece of 2mm x 2mm beechwood that will be installed as the channel rail securing the chainplates in place. I highlighted the rail channel molding using a black pigment pen which will match the molding on the head rails. I think having this detail on all the channels is going to add a nice flow to the natural colors I am using. After I completed the channels and knee braces, which I have not permanently installed yet, I started working on the chain plates and deadeyes. Well, I must say that the deadeyes and chain plates that came with the kit are awful. There are two sizes of deadeyes that are called out for in the plans. 5mm and 3mm. The 5mm deadeyes are more like 5.4mm and the 3mm ones are 3.9mm. I replaced them with ones that I purchased from Syren, and I must say not only are they much more authentic looking in comparison, but they are much more accurate in their sizes. There isn’t much room on the channels to begin with, so using the kit supplied parts would probably cause me some spacing problems. Well, I have begun the daunting process of making the chainplates from scratch and will provide and update on them once I have made some progress. That’s all I have for now and as always, your comments and guidance are always welcome. Cheers Nearshore


-
Welcome to MSW!! Nearshore