NavyShooter
-
Posts
704 -
Joined
-
Last visited
3 Followers


Recent Profile Visitors
2,760 profile views


-
 NavyShooter reacted to a post in a topic:
USS Cape (MSI-2) by Dr PR - 1:48 - Inshore Minesweeper
NavyShooter reacted to a post in a topic:
USS Cape (MSI-2) by Dr PR - 1:48 - Inshore Minesweeper
-
NavyShooter reacted to a post in a topic:
USS Cape (MSI-2) by Dr PR - 1:48 - Inshore Minesweeper
-
yvesvidal reacted to a post in a topic:
Type 26 City-Class frigate by NavyShooter - 3D Print - 1/144 - Display
-
NavyShooter reacted to a post in a topic:
Bismarck by Jeff 59 - Trumpeter - 1/200 - PLASTIC
-
FreekS reacted to a post in a topic:
Type 26 City-Class frigate by NavyShooter - 3D Print - 1/144 - Display
-
schooner reacted to a post in a topic:
USS ROPER (DD-147) by schooner - Revell - 1/240 - PLASTIC - Wickes-class
-
 I love the cartoon book! A great sailor's story!
 -
NavyShooter reacted to a post in a topic:
USS ROPER (DD-147) by schooner - Revell - 1/240 - PLASTIC - Wickes-class
-
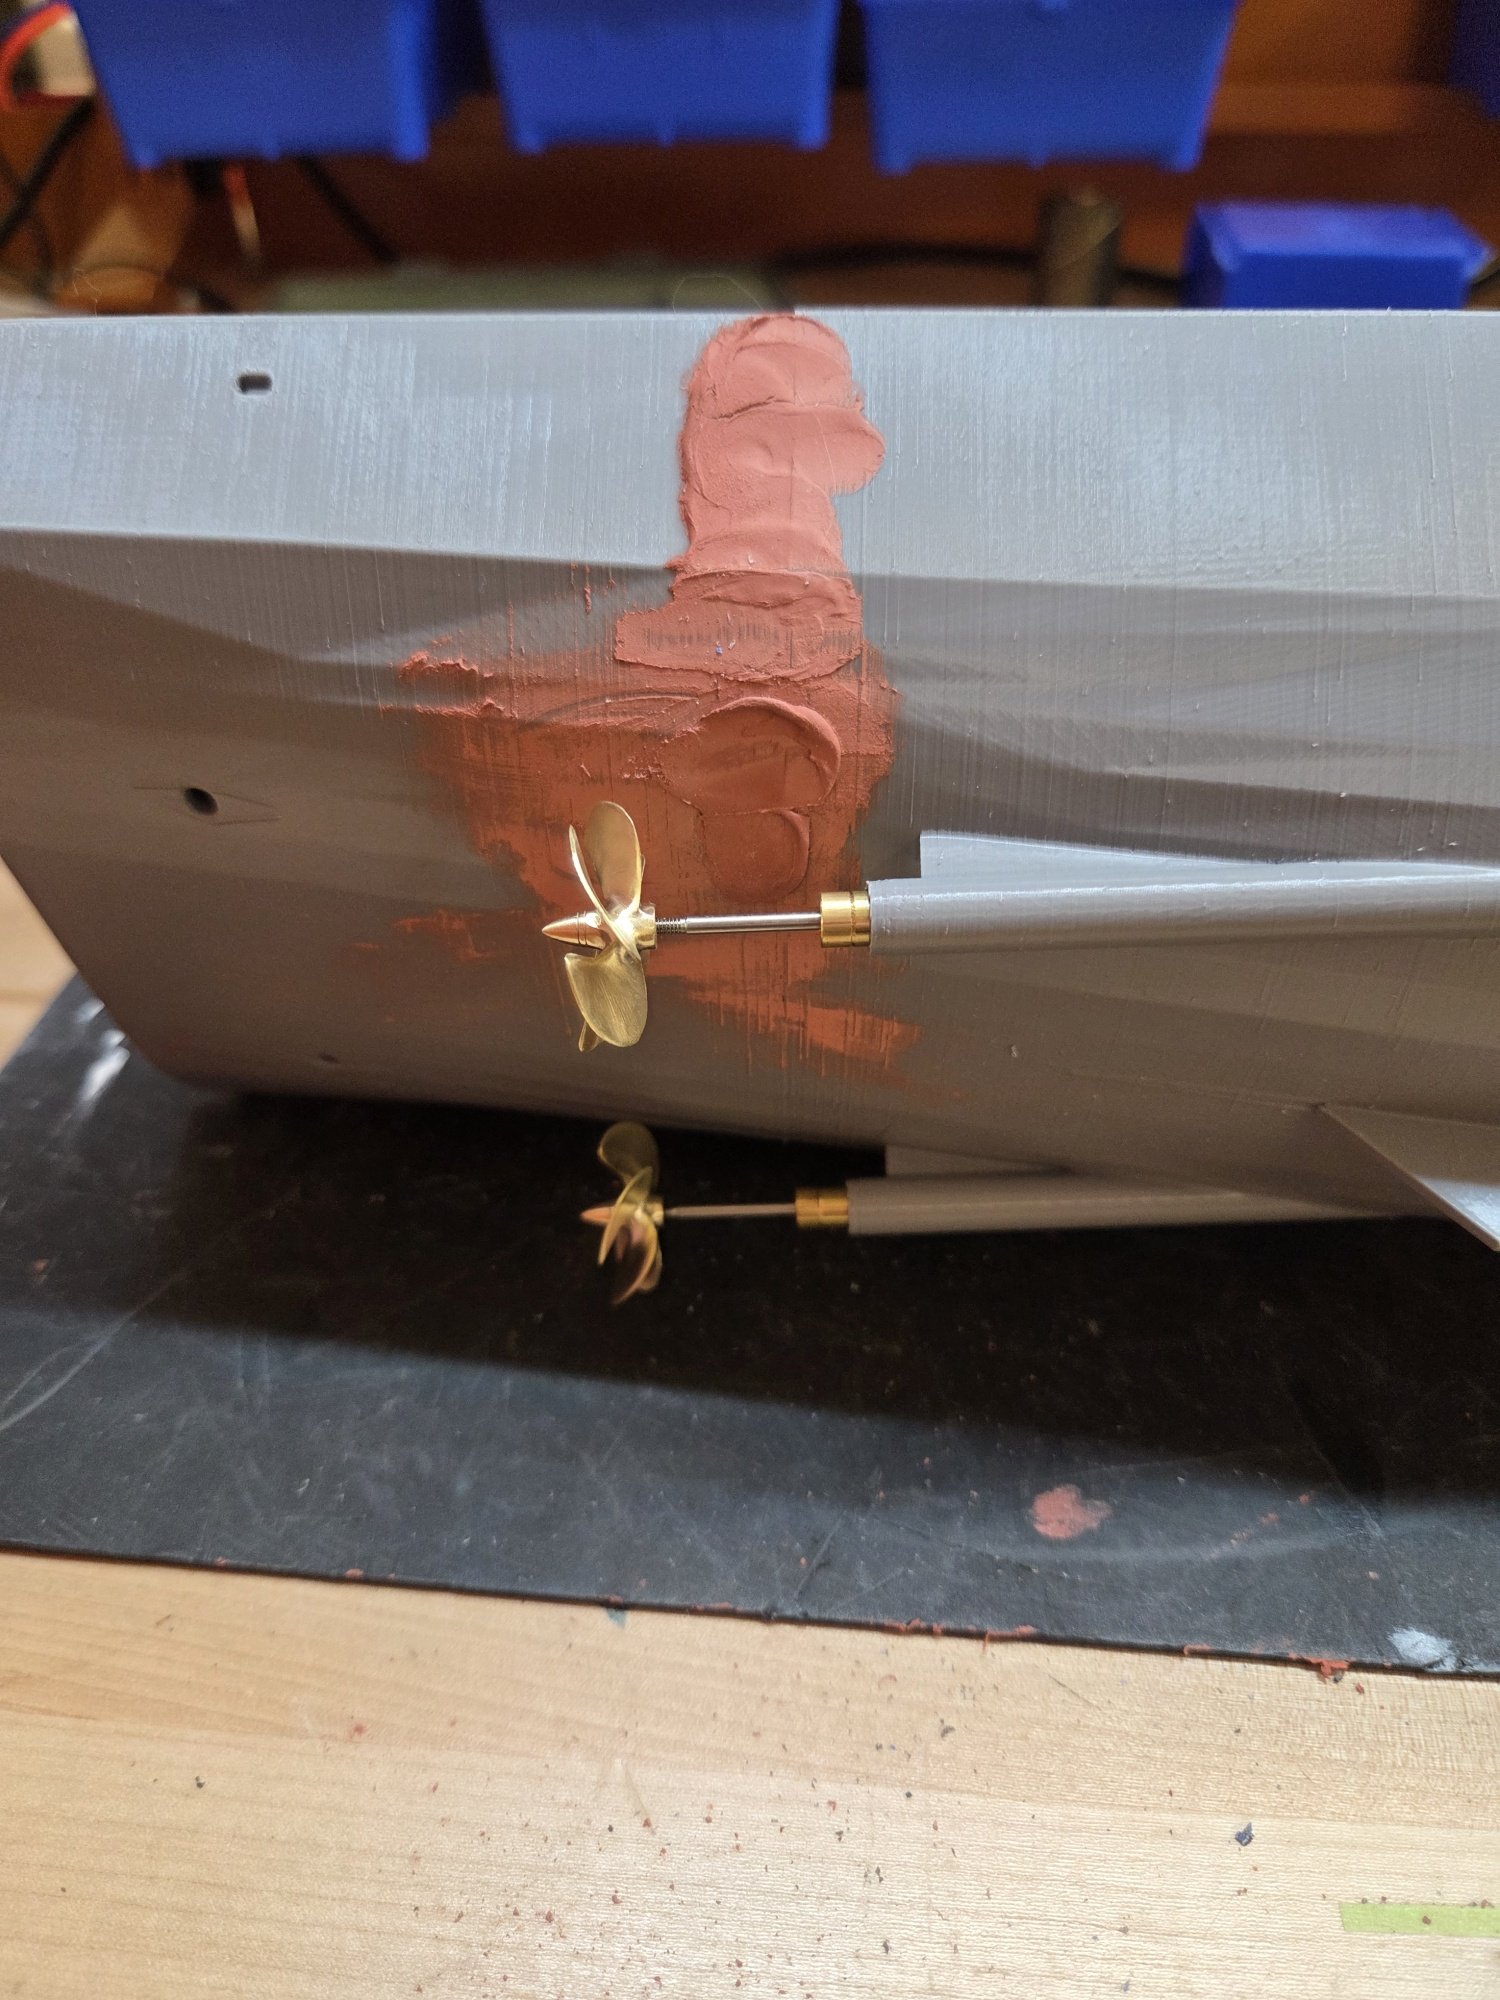
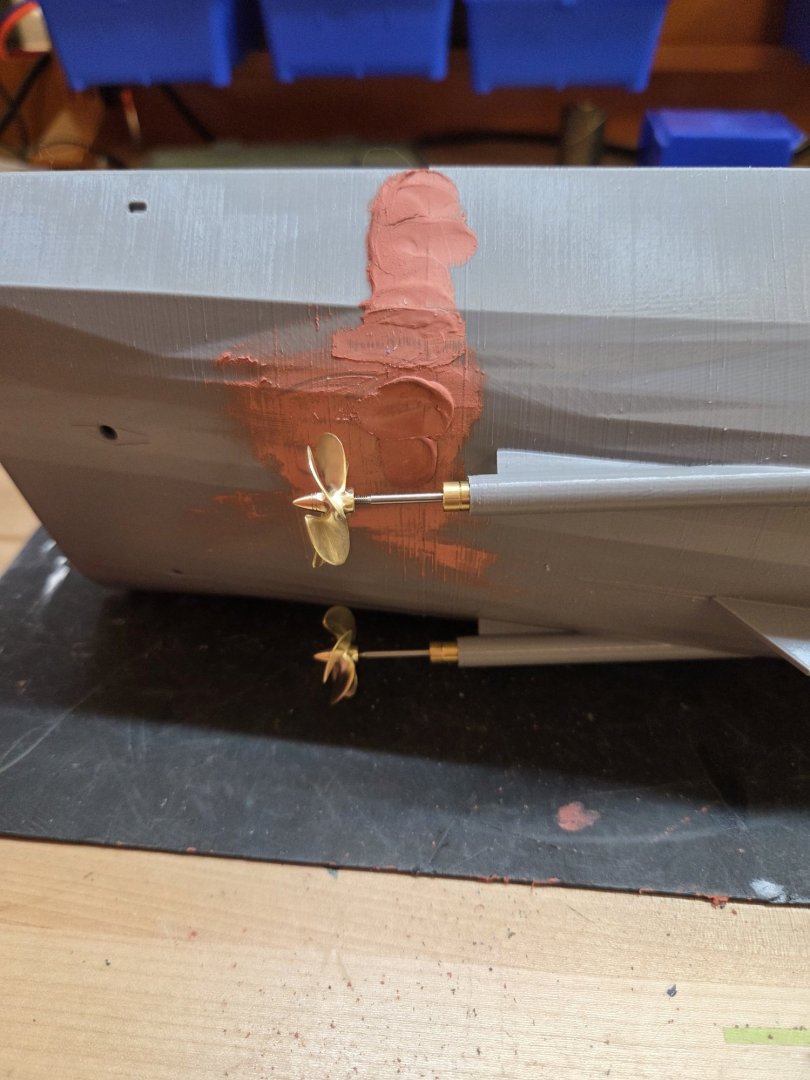
Yves, It's standard Bondo red auto body putty. 3M Bondo Glazing and Spot Putty, 4.5 oz, Fills Pinholes, Scratches, Minor Dings & Hairline Cracks, Can Be Used on Metal, Fiberglass, Wood and more, Fast Drying, Sandable in 30 Minutes (907C) : Amazon.ca: Tools & Home Improvement
- 66 replies
-
- 1
-
-
- Type 26
- City Class
- (and 2 more)
-
yvesvidal reacted to a post in a topic:
Bismarck by Jeff 59 - Trumpeter - 1/200 - PLASTIC
-
Canute reacted to a post in a topic:
Bismarck by Jeff 59 - Trumpeter - 1/200 - PLASTIC
-
Canute reacted to a post in a topic:
Type 26 City-Class frigate by NavyShooter - 3D Print - 1/144 - Display
-
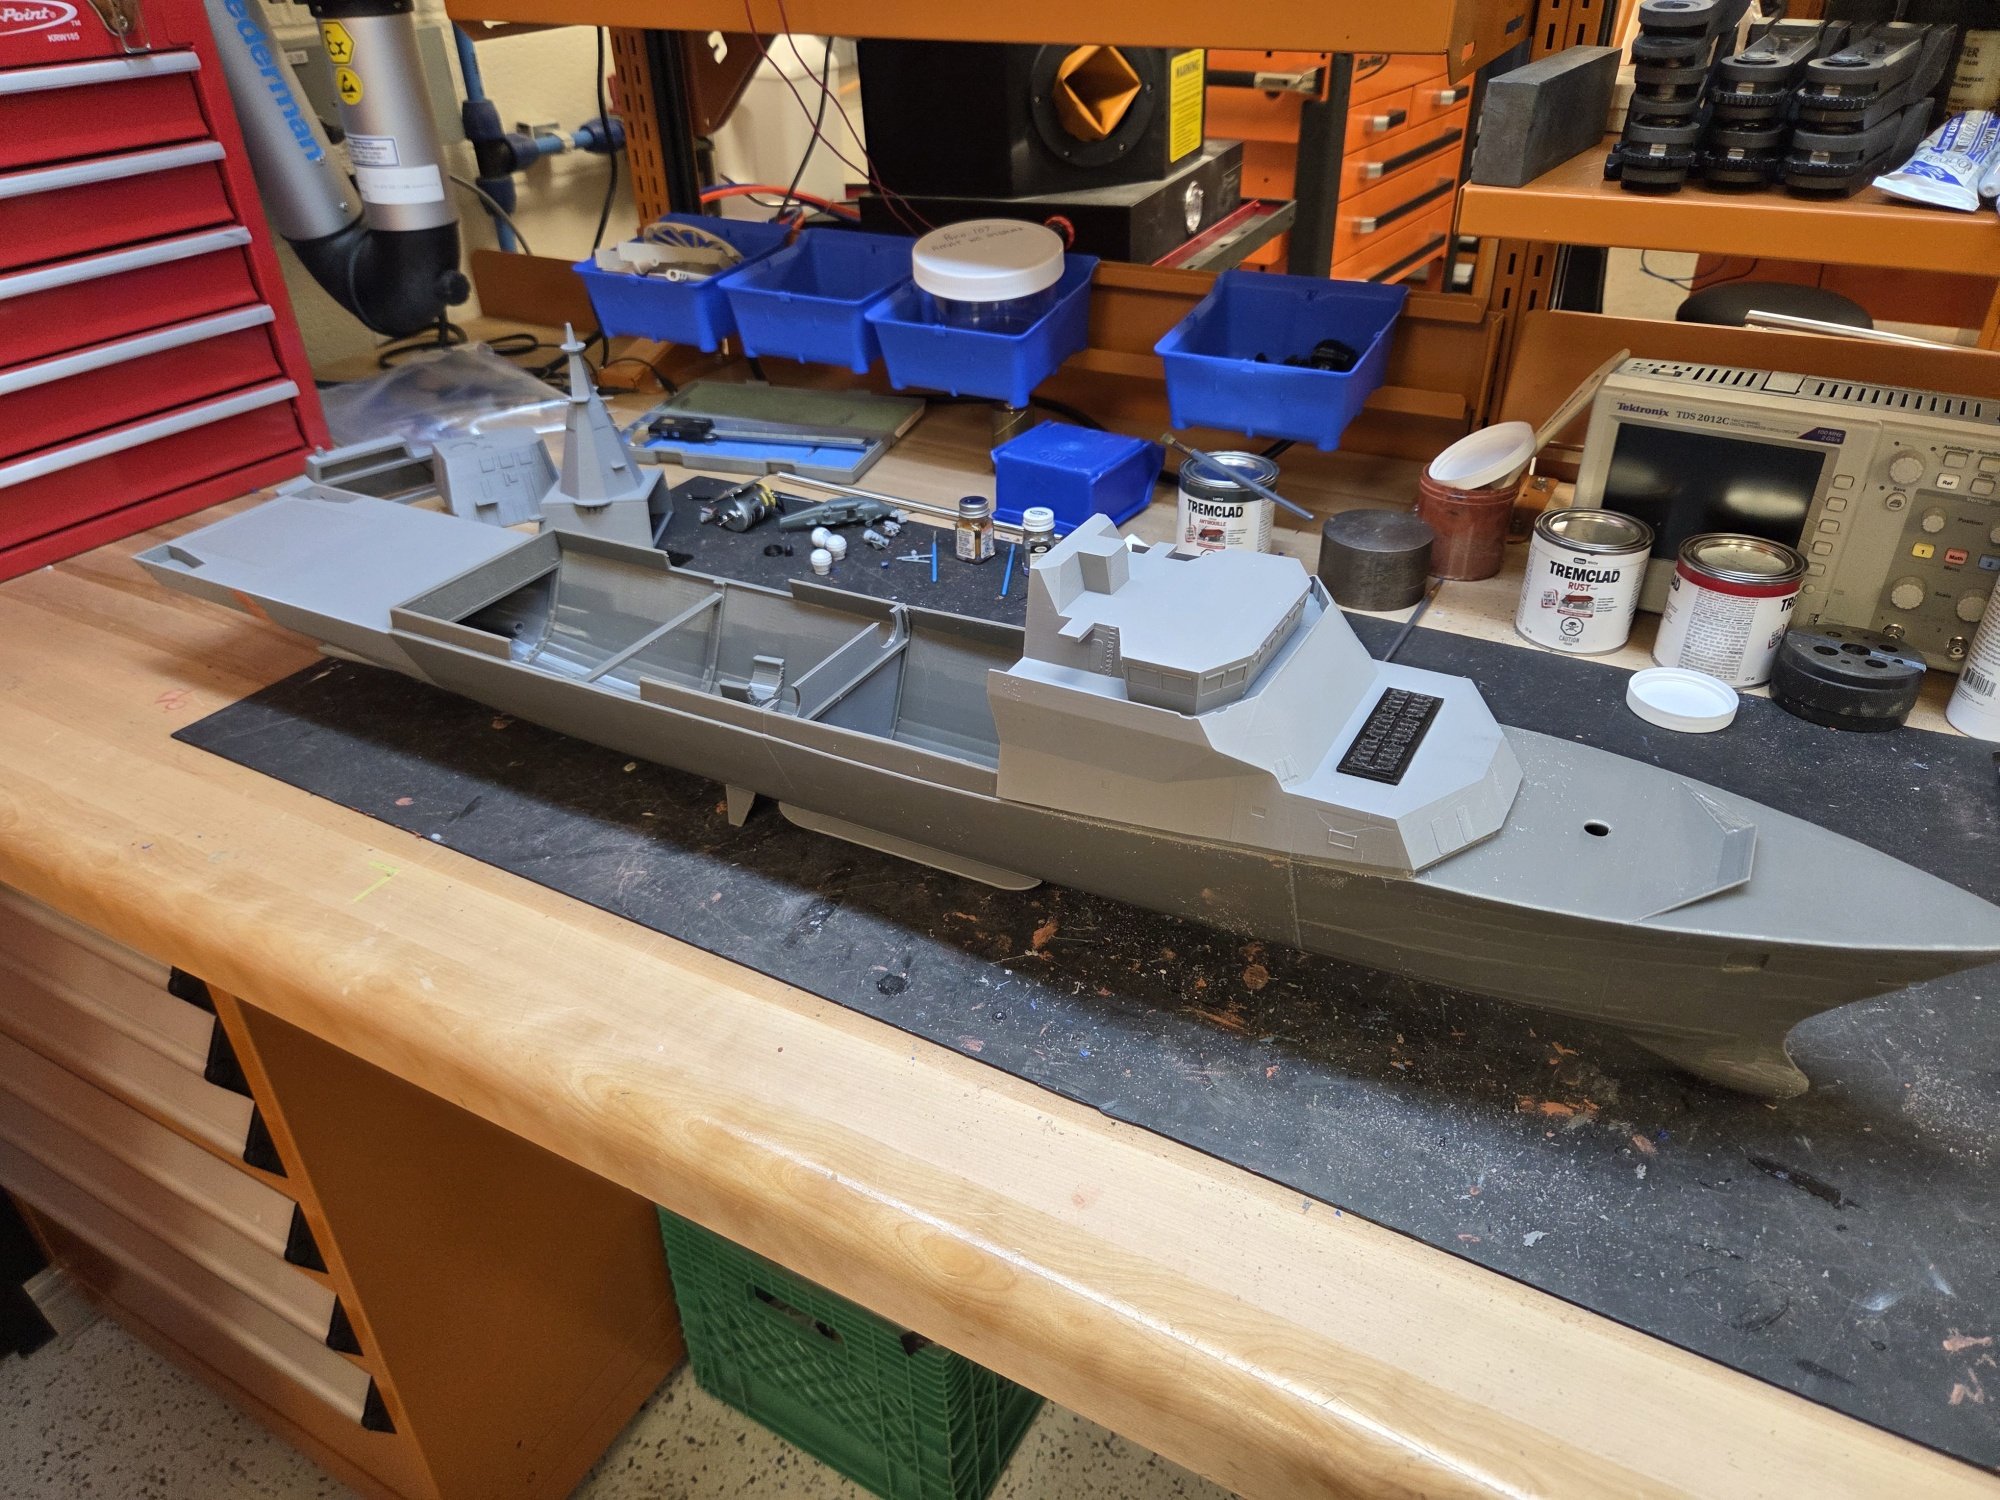
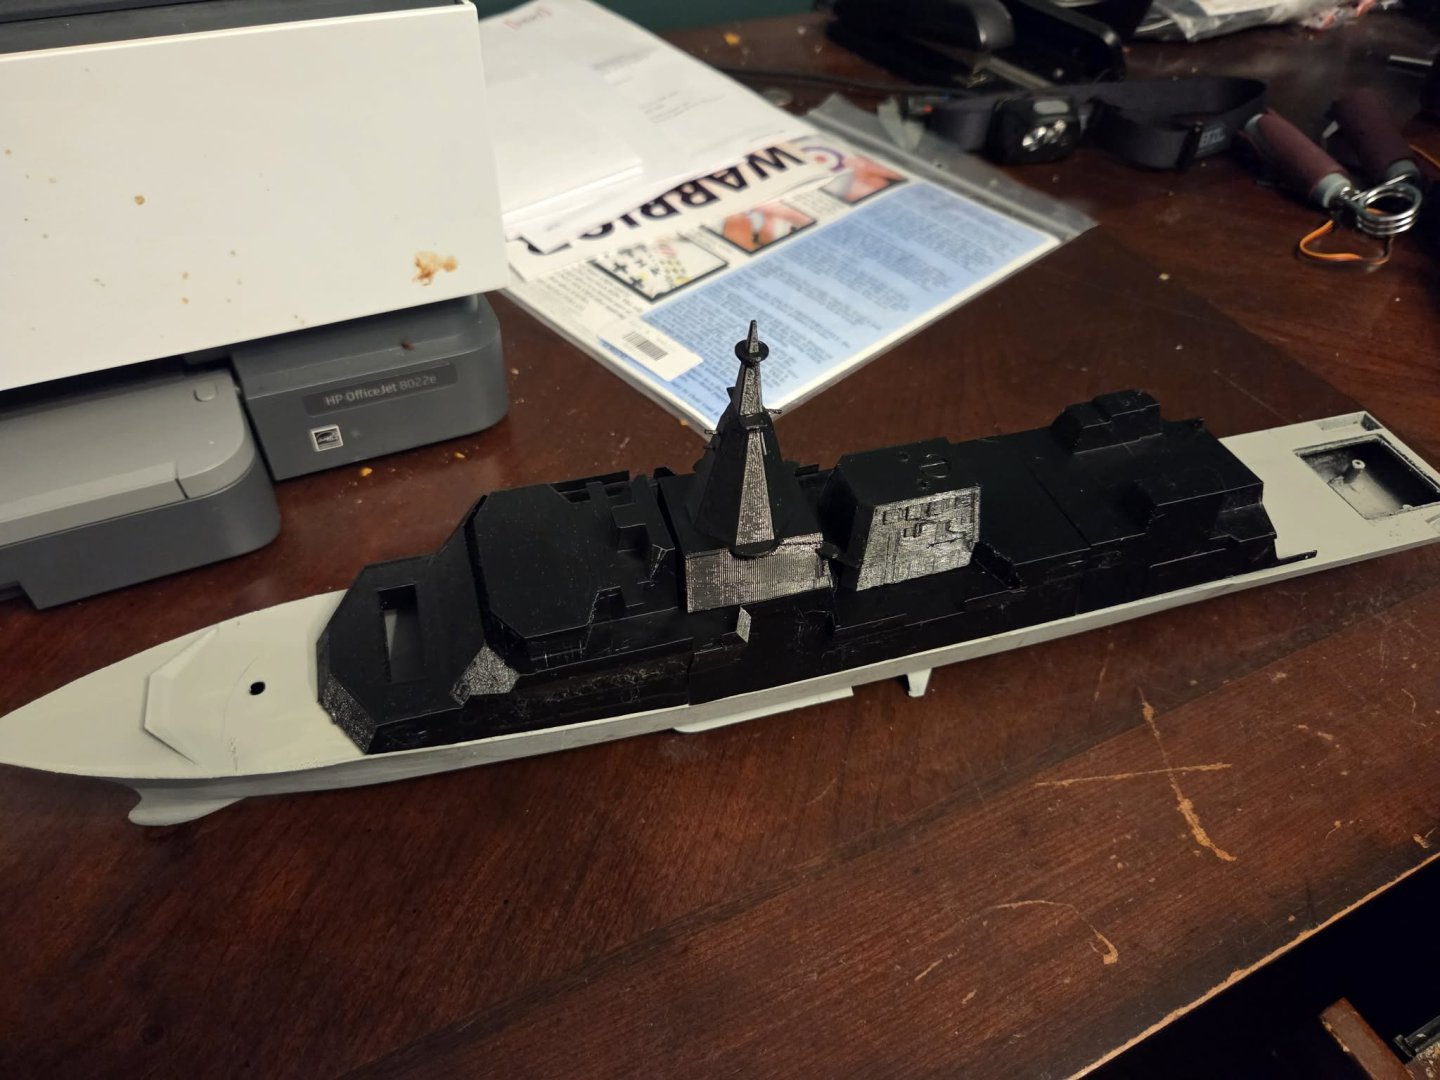
The props certainly look the part. And I've got the 4 main hull modules assembled as of this morning, with 2 of the 4 superstructure modules printed and ready to go. I've got another project on the printers tonight, so the rest of the superstructure will be delayed by a day or so...not a big deal. The new print files are looking pretty good - some minor adjustments needed for fit, and they will still need a lot of sanding to smooth out the facets, but I'm generally pleased with how things look so far.

- 66 replies
-
- 2
-
-
- Type 26
- City Class
- (and 2 more)
-
The amount of extra detail options is amazing! Thanks for letting us 'poors' live vicariously through your extravagance. 😉 NS
-
 NavyShooter reacted to a post in a topic:
Bismarck by Jeff 59 - Trumpeter - 1/200 - PLASTIC
NavyShooter reacted to a post in a topic:
Bismarck by Jeff 59 - Trumpeter - 1/200 - PLASTIC
-
NavyShooter reacted to a post in a topic:
Bismarck by Jeff 59 - Trumpeter - 1/200 - PLASTIC
-
Canute reacted to a post in a topic:
Type 26 City-Class frigate by NavyShooter - 3D Print - 1/144 - Display
-
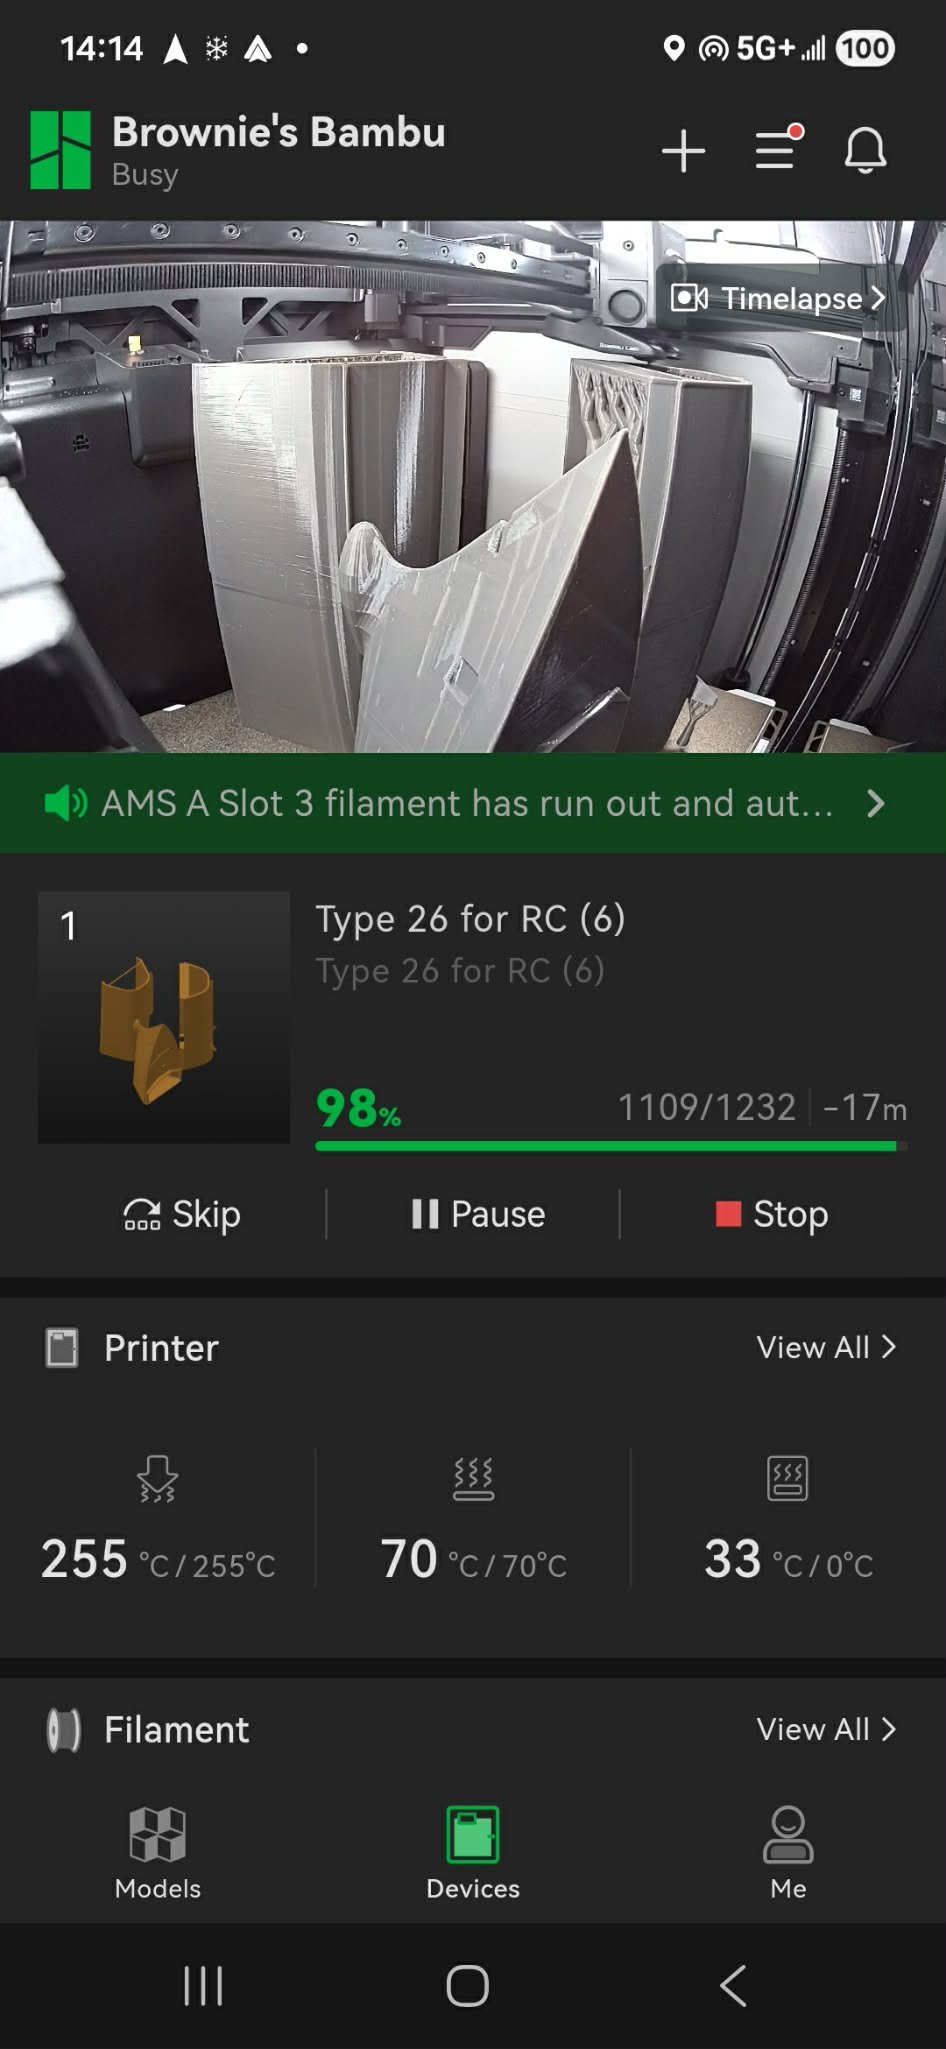
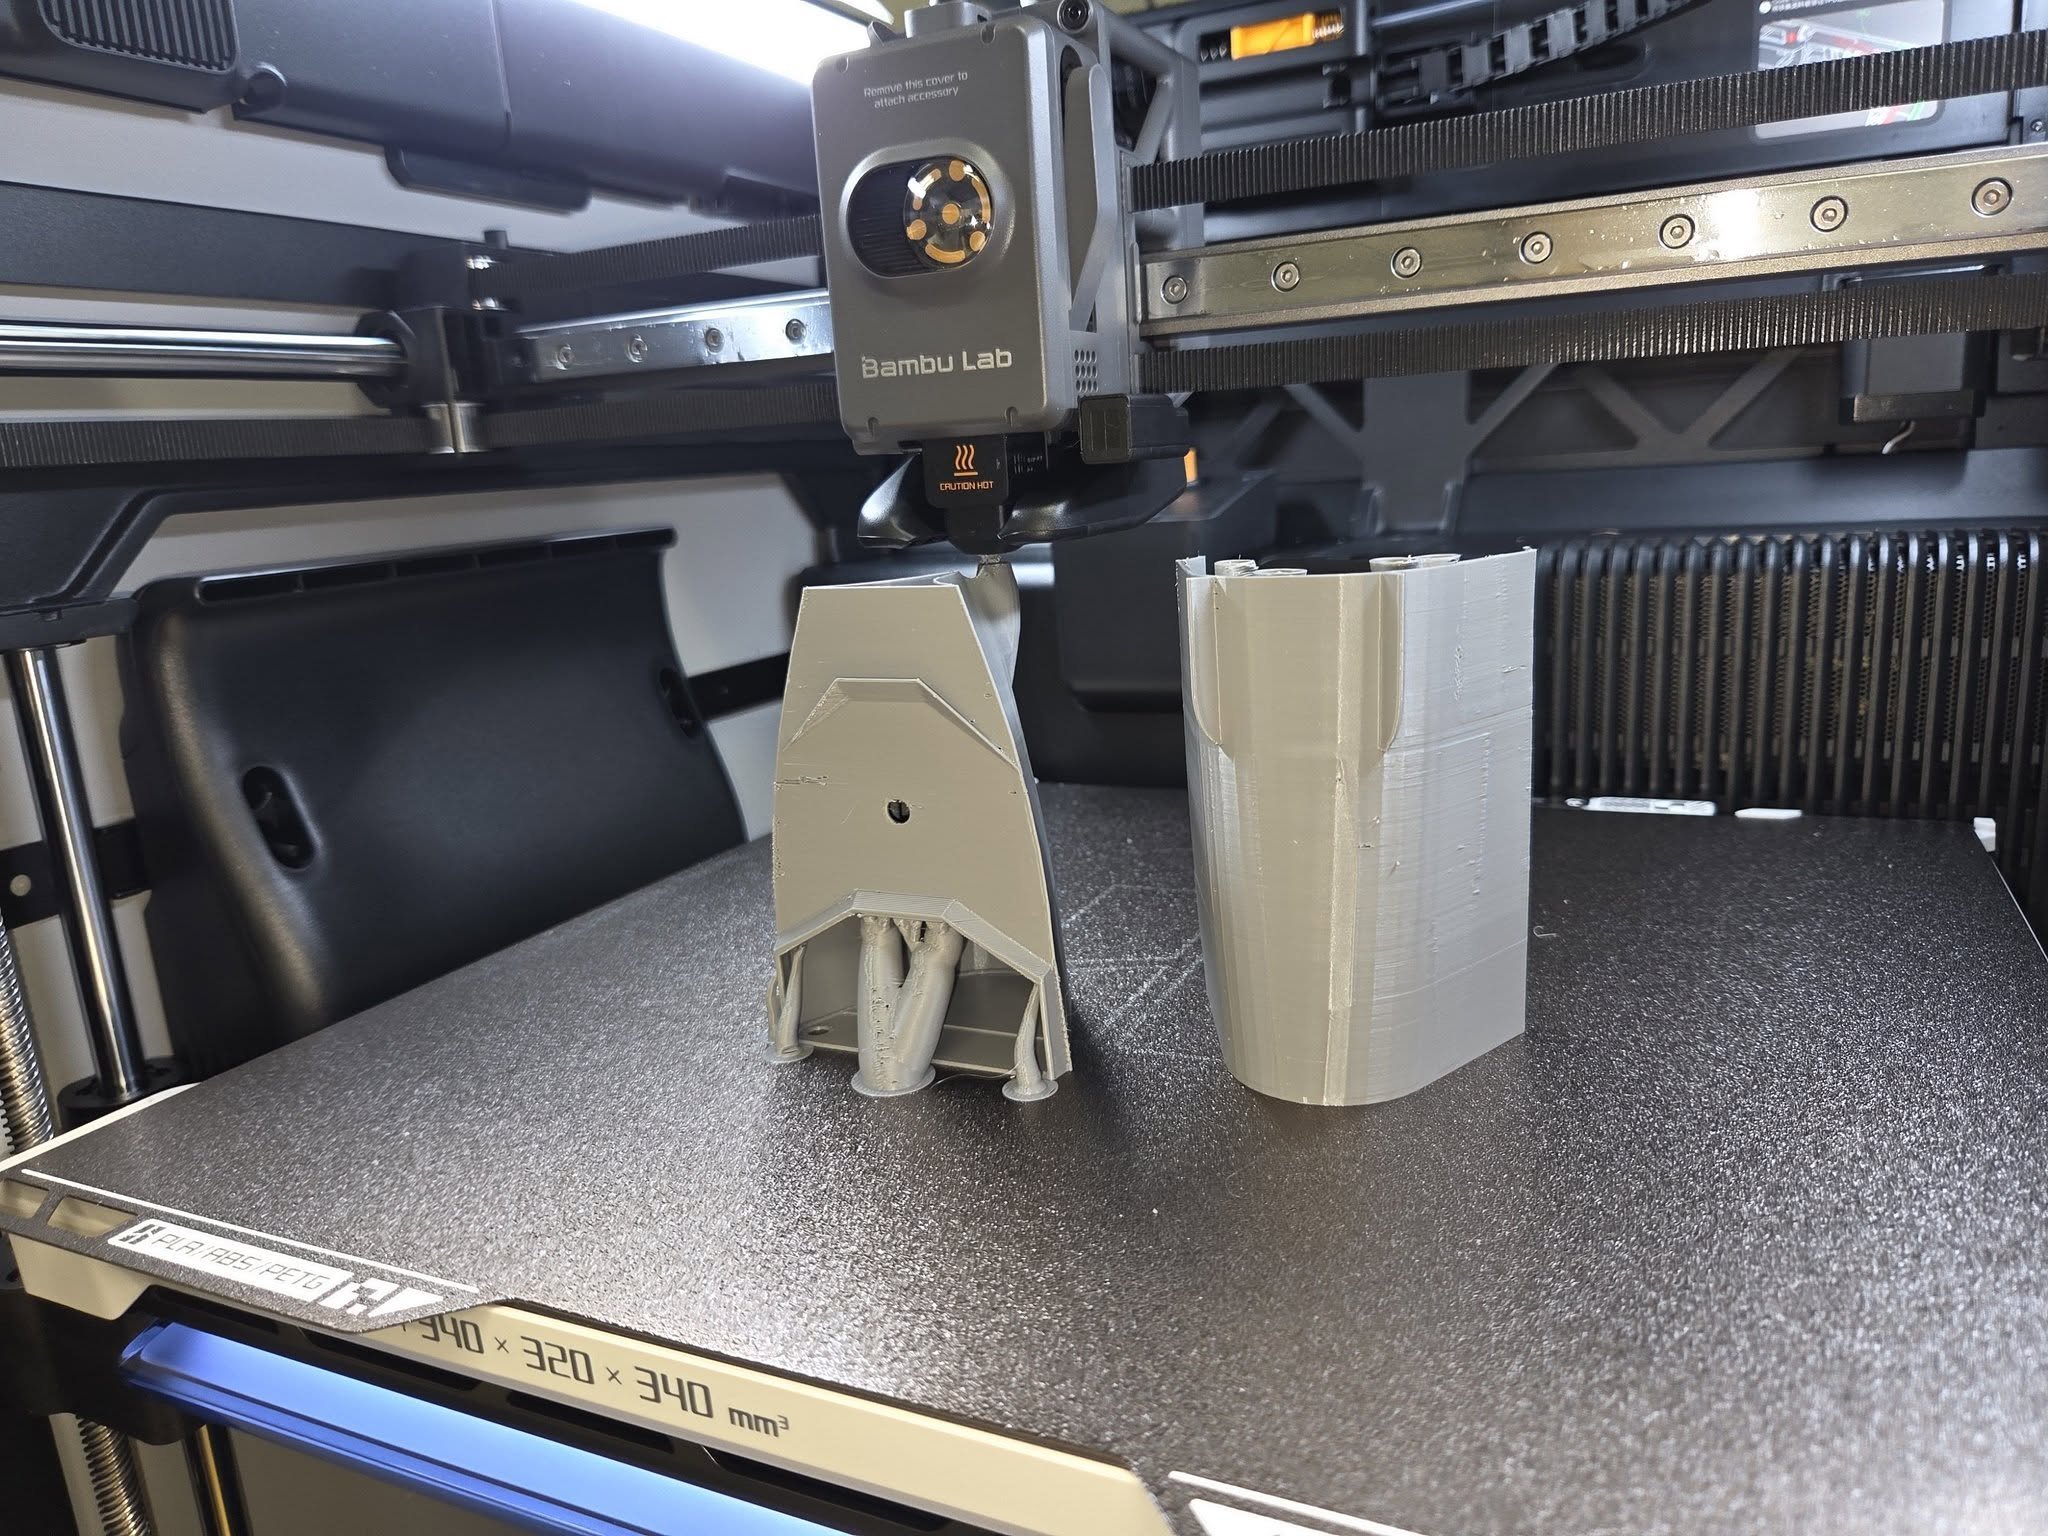
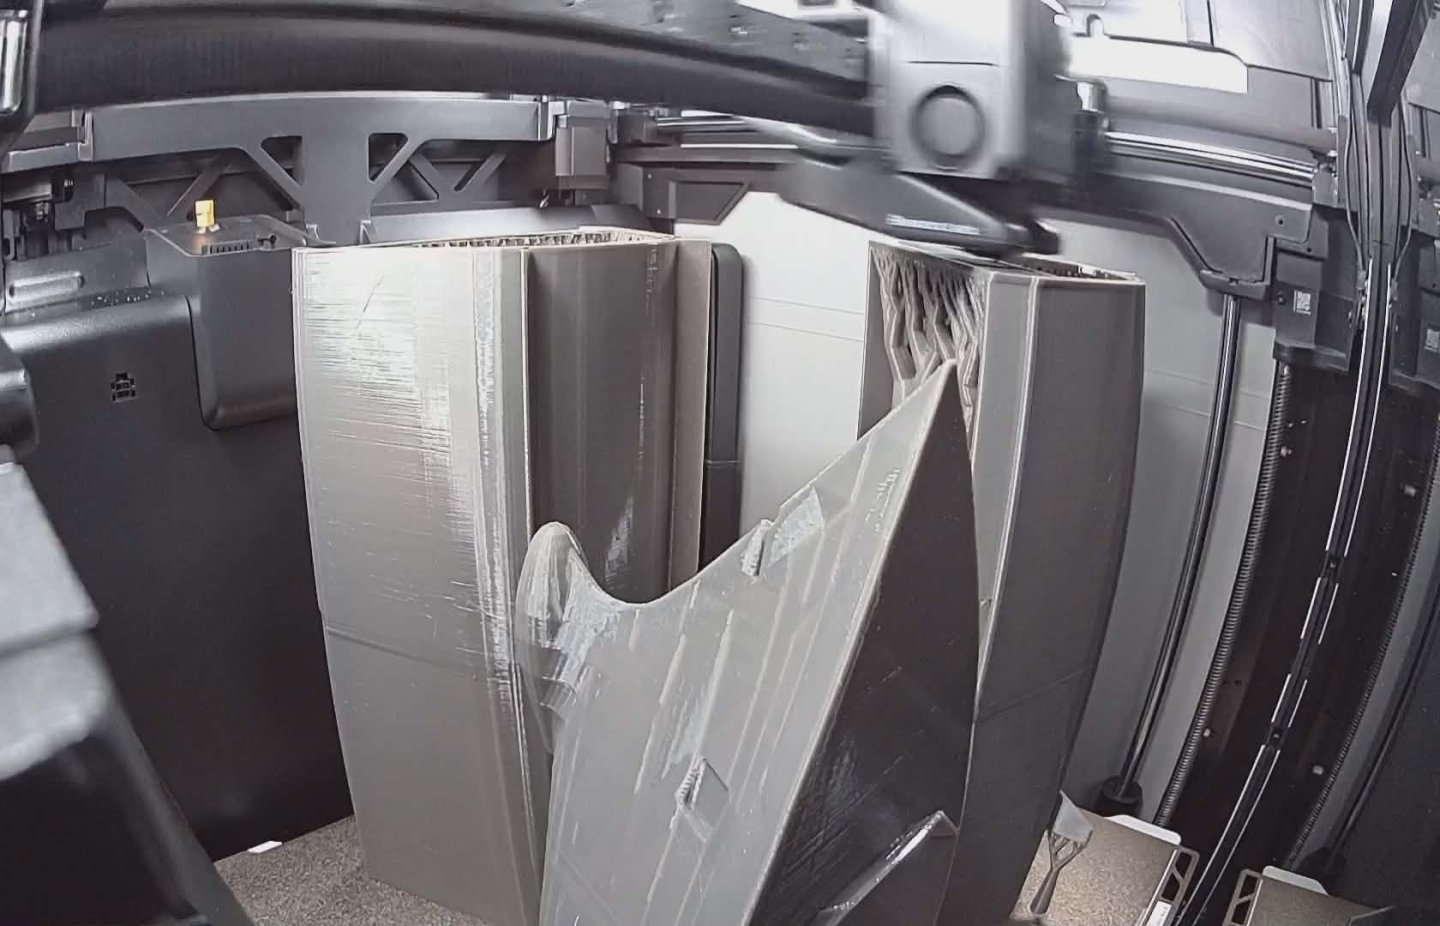
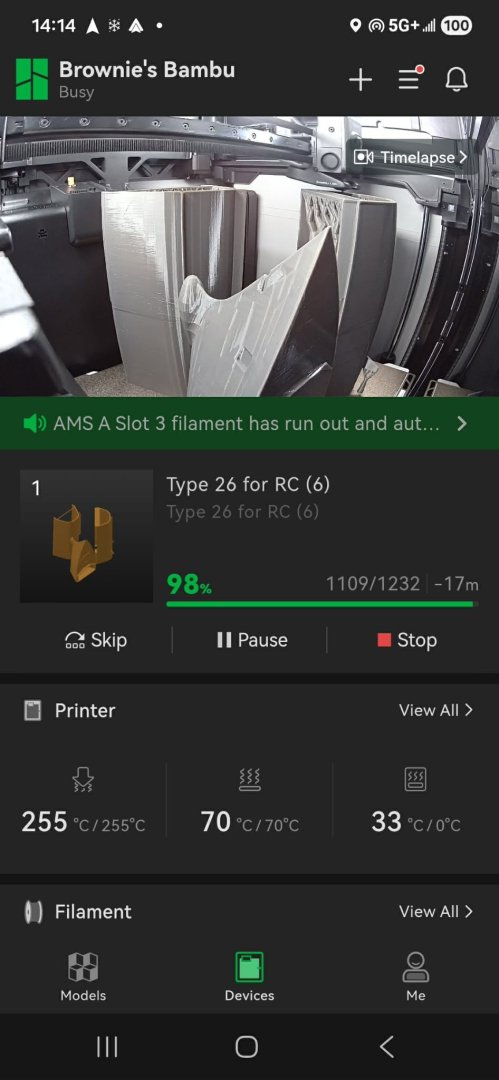
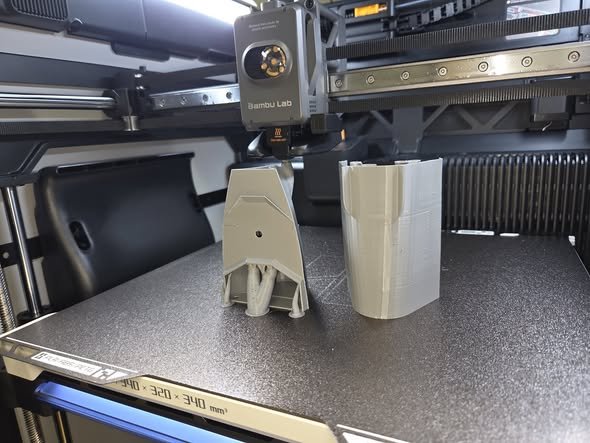
Here's how she looks on the Bambu...hull is almost done printing. I'll be printing the rest of the superstructure over the coming days.
- 66 replies
-
- 1
-
-
- Type 26
- City Class
- (and 2 more)
-
Canute reacted to a post in a topic:
Type 26 City-Class frigate by NavyShooter - 3D Print - 1/144 - Display
-
FreekS reacted to a post in a topic:
Type 26 City-Class frigate by NavyShooter - 3D Print - 1/144 - Display
-
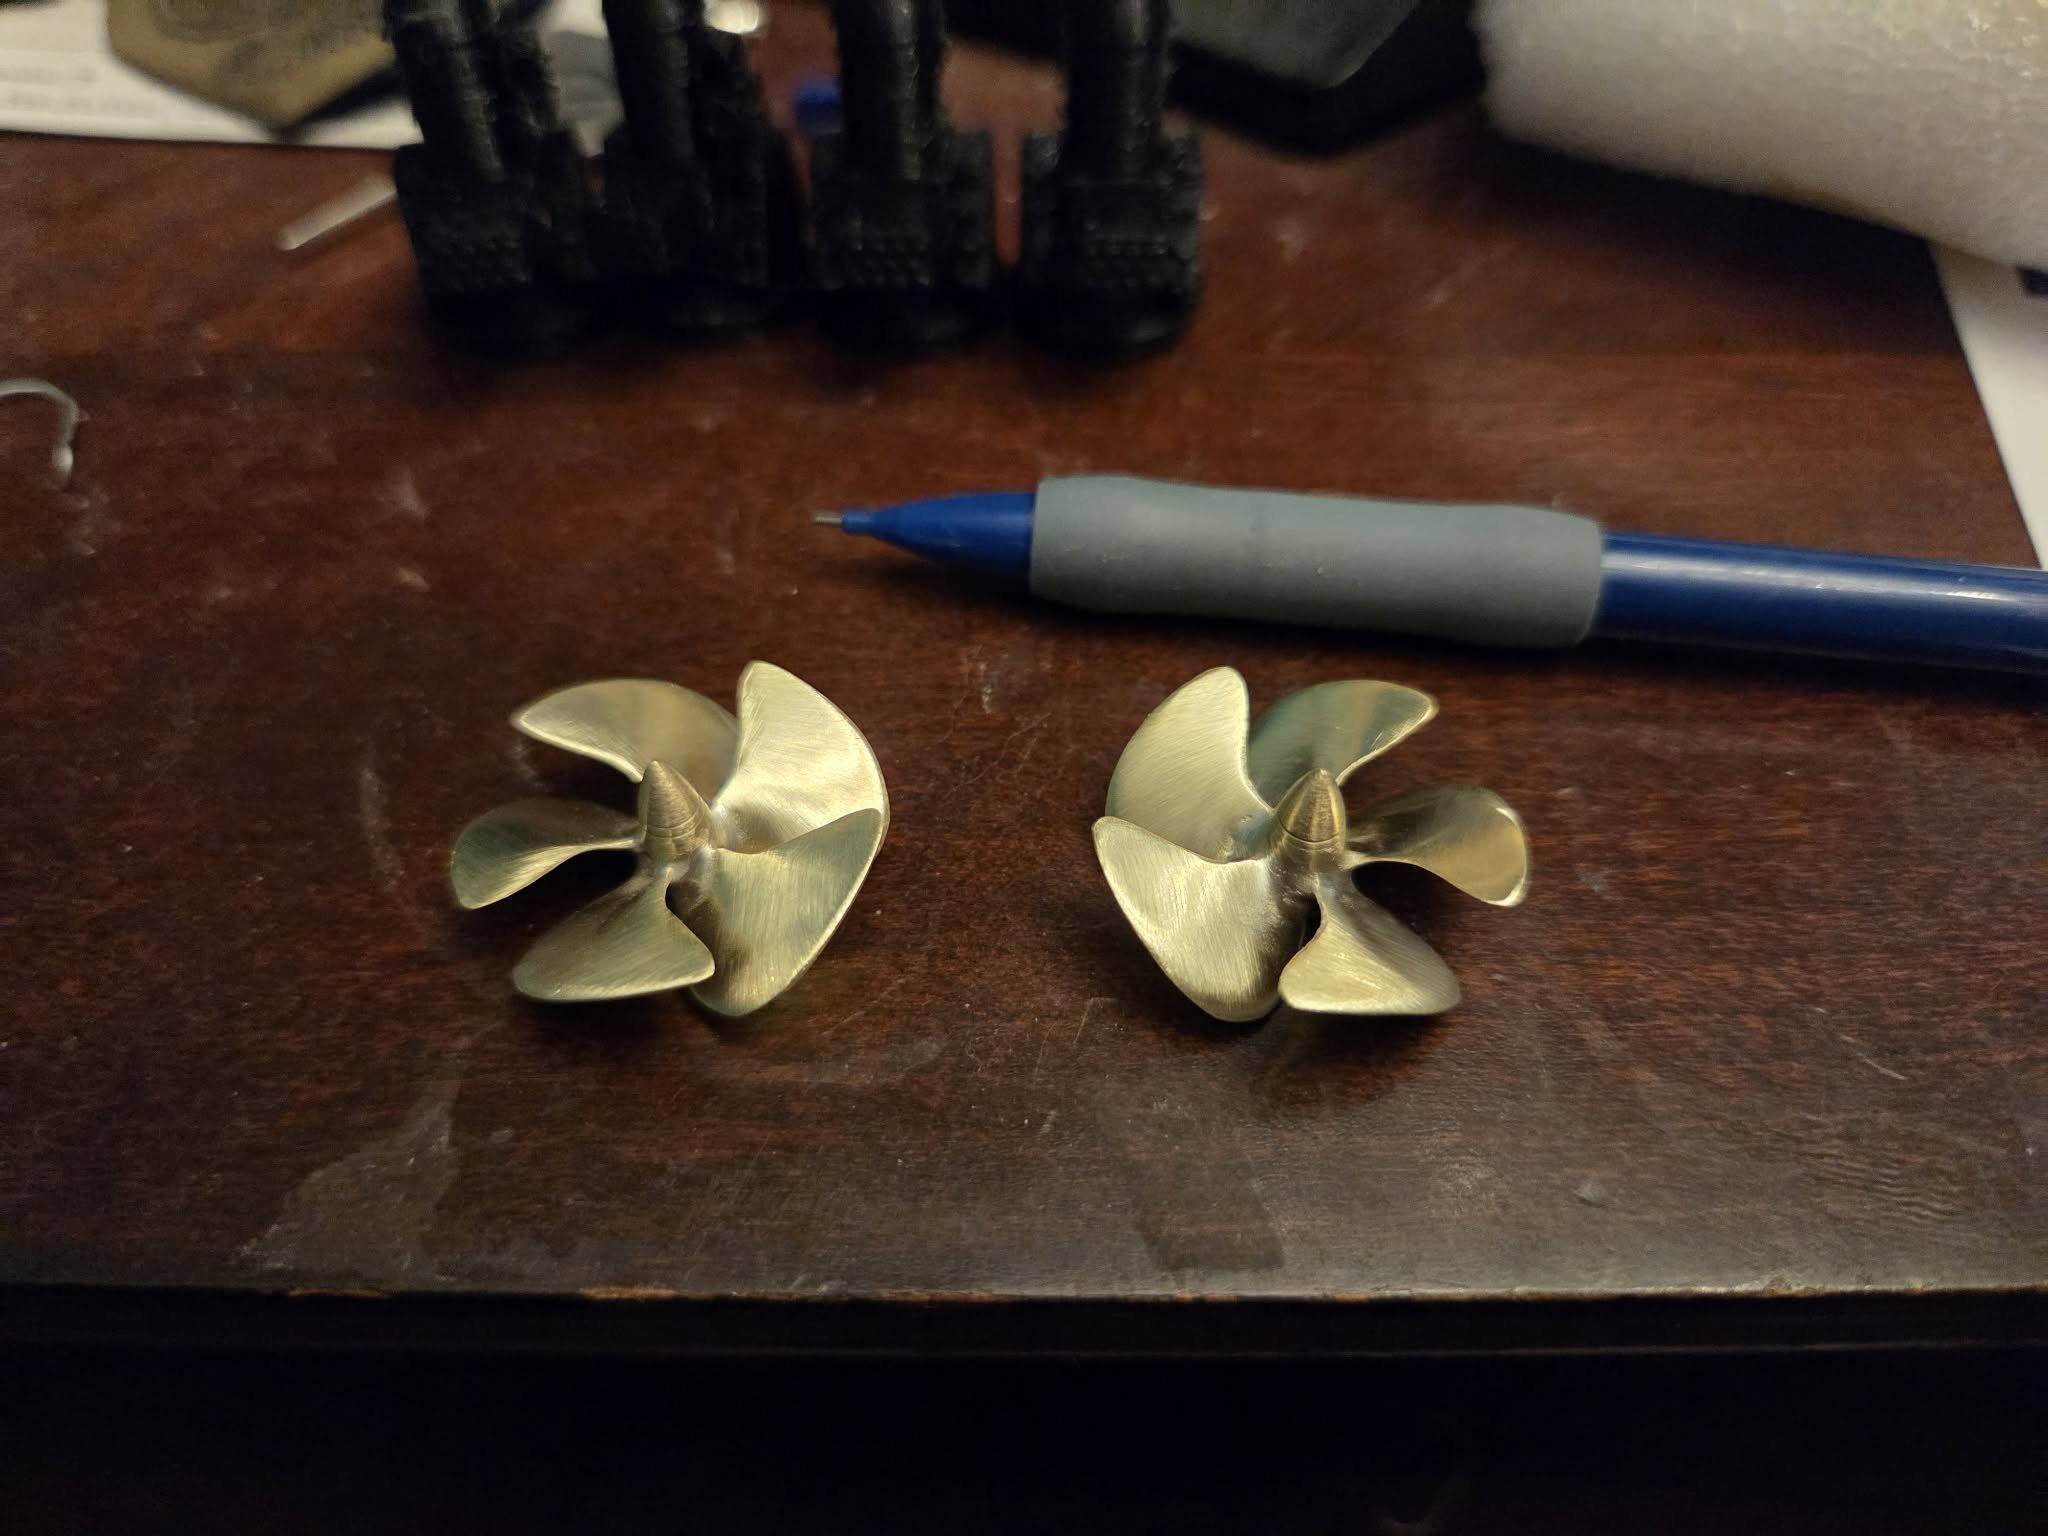
Got busy with other things this week....some hiccups getting the new printer sorted out too. VERY happy with the Bambu H2S so far. That said, some parts and bits have shown up in the mail this week - VLS rocket pack quick connectors, prop shafts, and my Keith Bender 5 bladed modern props. 2mm thread, 28mm outside diameter. VERY pleased with them. The hull should be finished printing tomorrow afternoon. Of note, the Bambu is about 2-3 times faster than the Prusa. Plus a heated chamber. Amazing.

- 66 replies
-
- 2
-
-
- Type 26
- City Class
- (and 2 more)
-
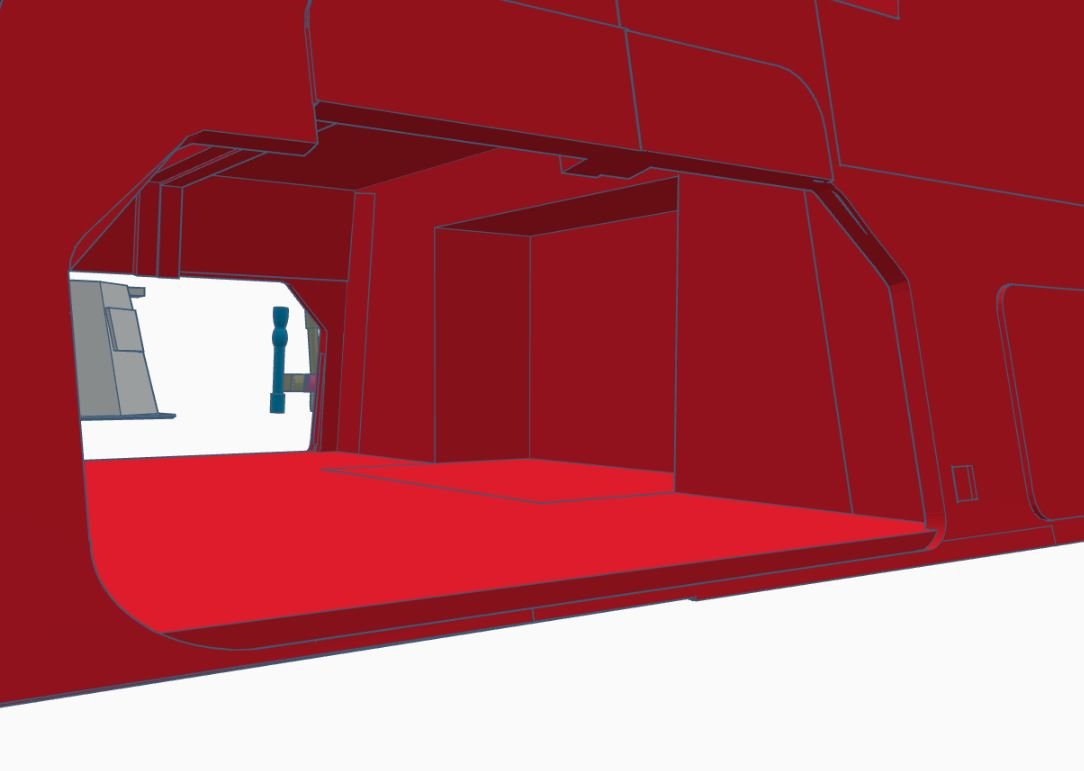
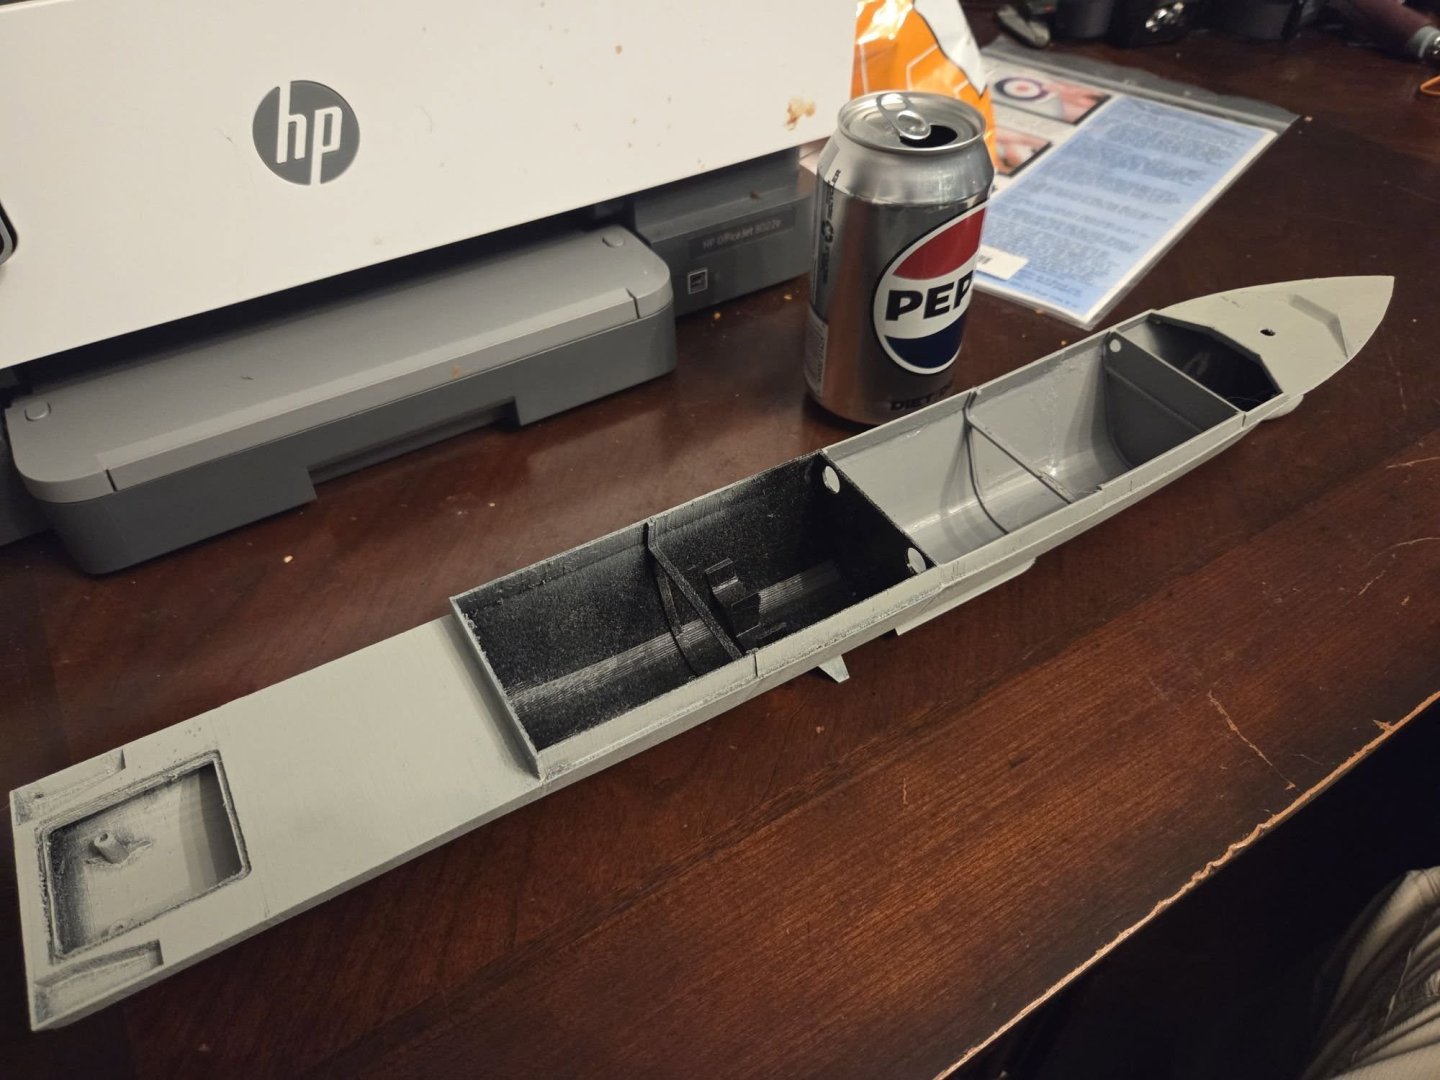
Test print of the superstructure is done - next (full size - 1/144) version will have the mission bay included.
- 66 replies
-
- 2
-
-
- Type 26
- City Class
- (and 2 more)
-
David, The angled bits are part of the print - it's a elevated lip that will fit inside the superstructure that will sit on top of it. I hope. The superstructure print is in progress and will be done at about 3pm tomorrow, sometime in the middle of the snow-storm. Since this is an R/C design, having a raised lip around the hull opening seems like a good idea to me.
- 66 replies
-
- 2
-
-
- Type 26
- City Class
- (and 2 more)
-
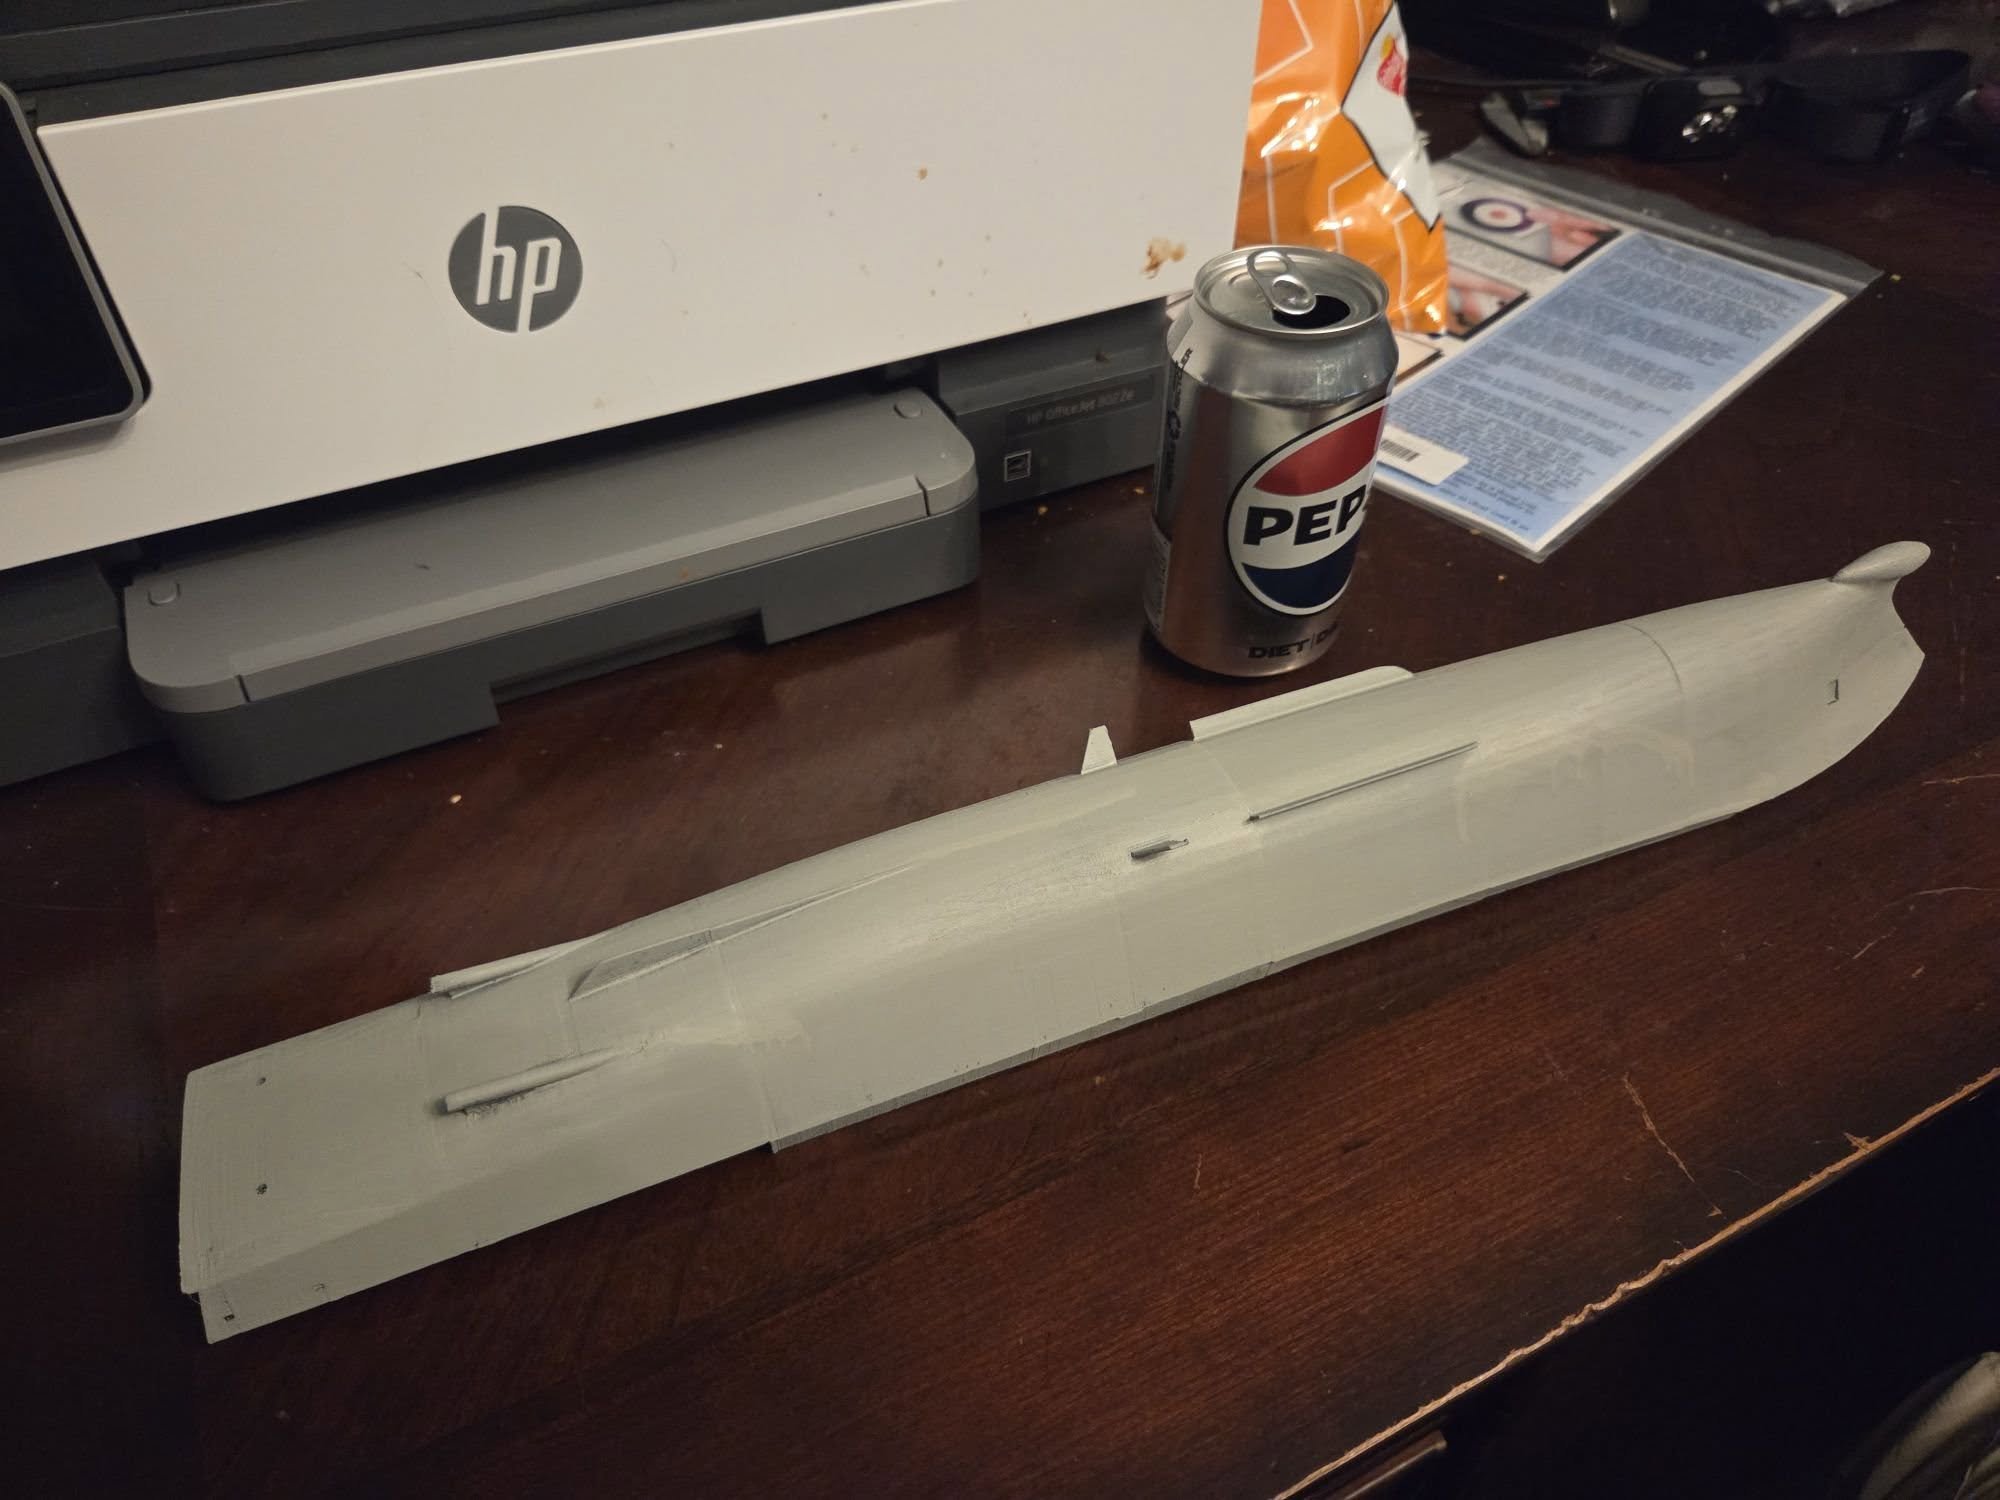
Full 1-288 Test Article hull is now printed, lightly sanded, and primed:

- 66 replies
-
- 2
-
-
- Type 26
- City Class
- (and 2 more)
-
The underlying model still has a lot of facets - there will be cleanup no matter what with this model. Print lines on this draft version were not a huge concern for me - I was looking at fit of the modules together. With the new printer, I'm going to do some test prints of modules of other models and compart with what I've got onhand already and am hopeful that the $$$ shows some measurable improvement. The full size version (1/144) that's on the printer is going to get treated differently than the previous models - they were display only. This one will be for R/C, so she's going to get some fiberglass on the hull. That should help smooth the faceting out a bunch. We'll see.
- 66 replies
-
- 2
-

-
-
- Type 26
- City Class
- (and 2 more)
-
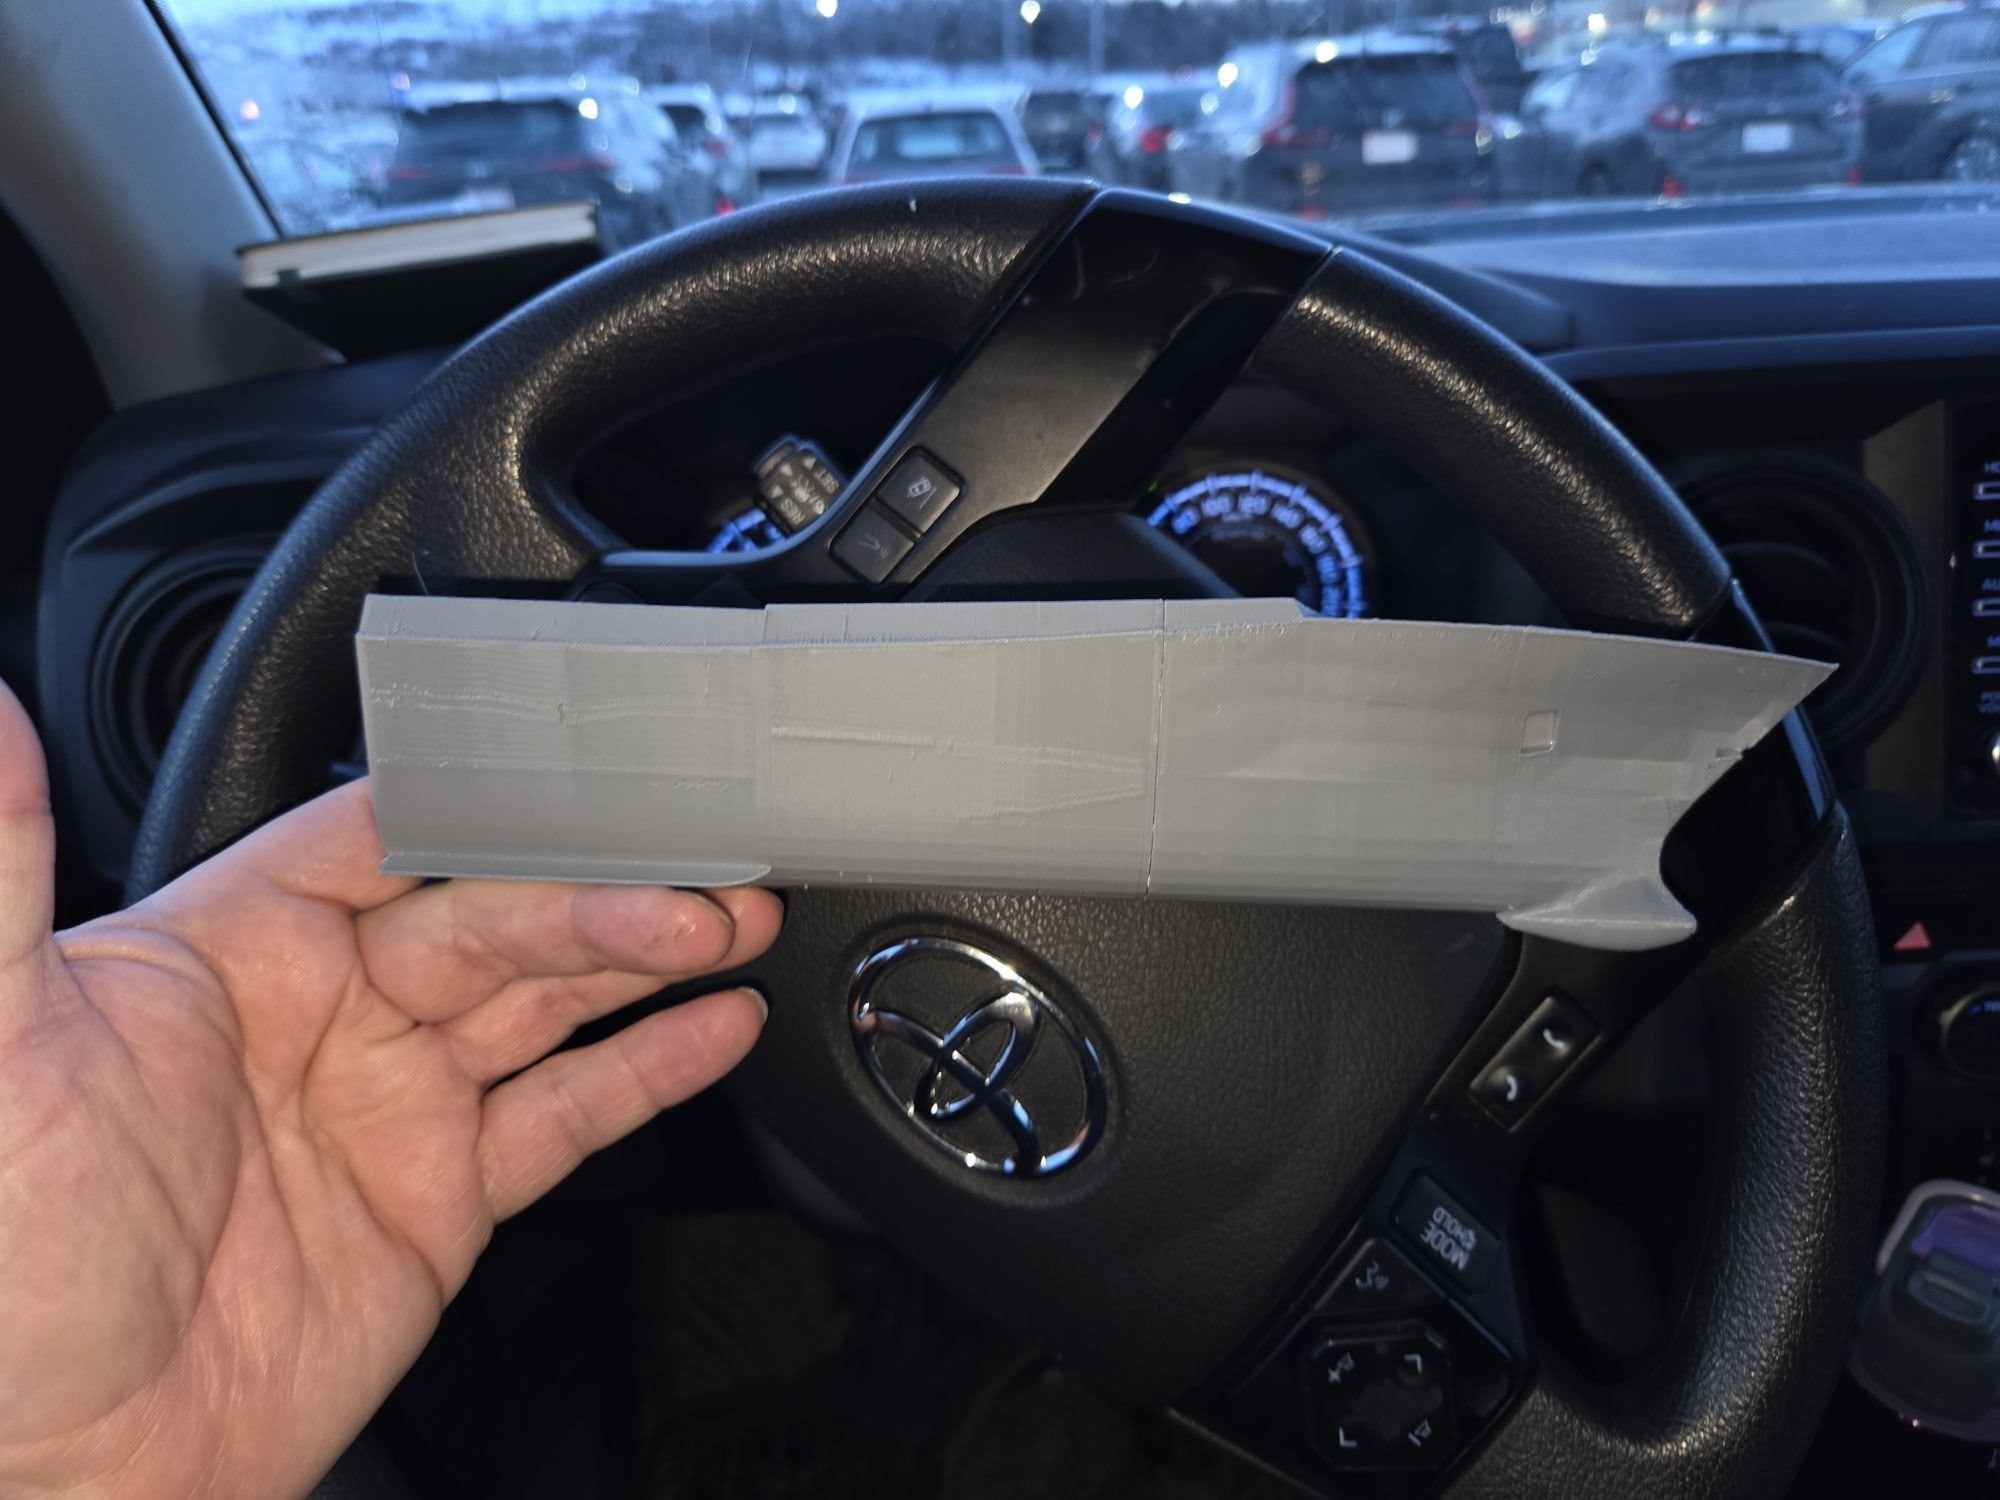
Here's the test print. No major issues - going to go full steam ahead and print the 1:144 version over the weekend. It's a 2 day, 3 hour print (51 hours) for the entire hull.


- 66 replies
-
- 2
-
-
- Type 26
- City Class
- (and 2 more)
-
Here's the forward half of the ship - printing at 'ludicrous' speed now. It'll be done in...17 minutes. Wow.
- 66 replies
-
- 1
-
-
- Type 26
- City Class
- (and 2 more)
-
OK, New printer (Bambu H2S) is setup and running now. I've got a re-do of the hull for the R/C version printing at 1/288 scale as a test, and if that goes well, I'll click 'print' and on Monday I'll have a 1/144 sample hull waiting for me in 4 segments.
- 66 replies
-
- 1
-
-
- Type 26
- City Class
- (and 2 more)
-
David, WRT the door - that door was a bit sticky in how it was assembled - I think I'm going to be making sure going forward that the doors are free moving and not sticky - see if that changes how they launch. My new Bambu Labs H2S has shown up, and is going through it's calibration right now. 🙂 Good. Also, I presented the V2 model last night to the RCN Command Chief for him to display in his office in Ottawa. His problem to get it back there 🙂 It was much appreciated, and he's going to send me a couple of photos of it once it's all setup and on display. He was super excited about having the first T26 model at NDHQ. I expect his office will get a few jealous visitors! NS
- 66 replies
-
- 1
-
-
- Type 26
- City Class
- (and 2 more)