
Coyote_6
-
Posts
555 -
Joined
-
Last visited
Content Type
Profiles
Forums
Gallery
Events
Everything posted by Coyote_6
-
 Keith - so glad for your reassuring news. Keep up the wonderful work sir!
- 457 replies
-
- 5
-

-

-
- sternwheeler
- Hard Coal Navy
- (and 1 more)
-
@SaltyScot It is an exciting time, transitioning from the hull structure to the spars. Good luck Mark! Looks like we'll be going through this together.
-
@Chuck Seiler Our course is set Chuck! (Thanks!!)
-
Very inspirational Bob! You are making it look easy but we know it is not. Very nice sir!
-
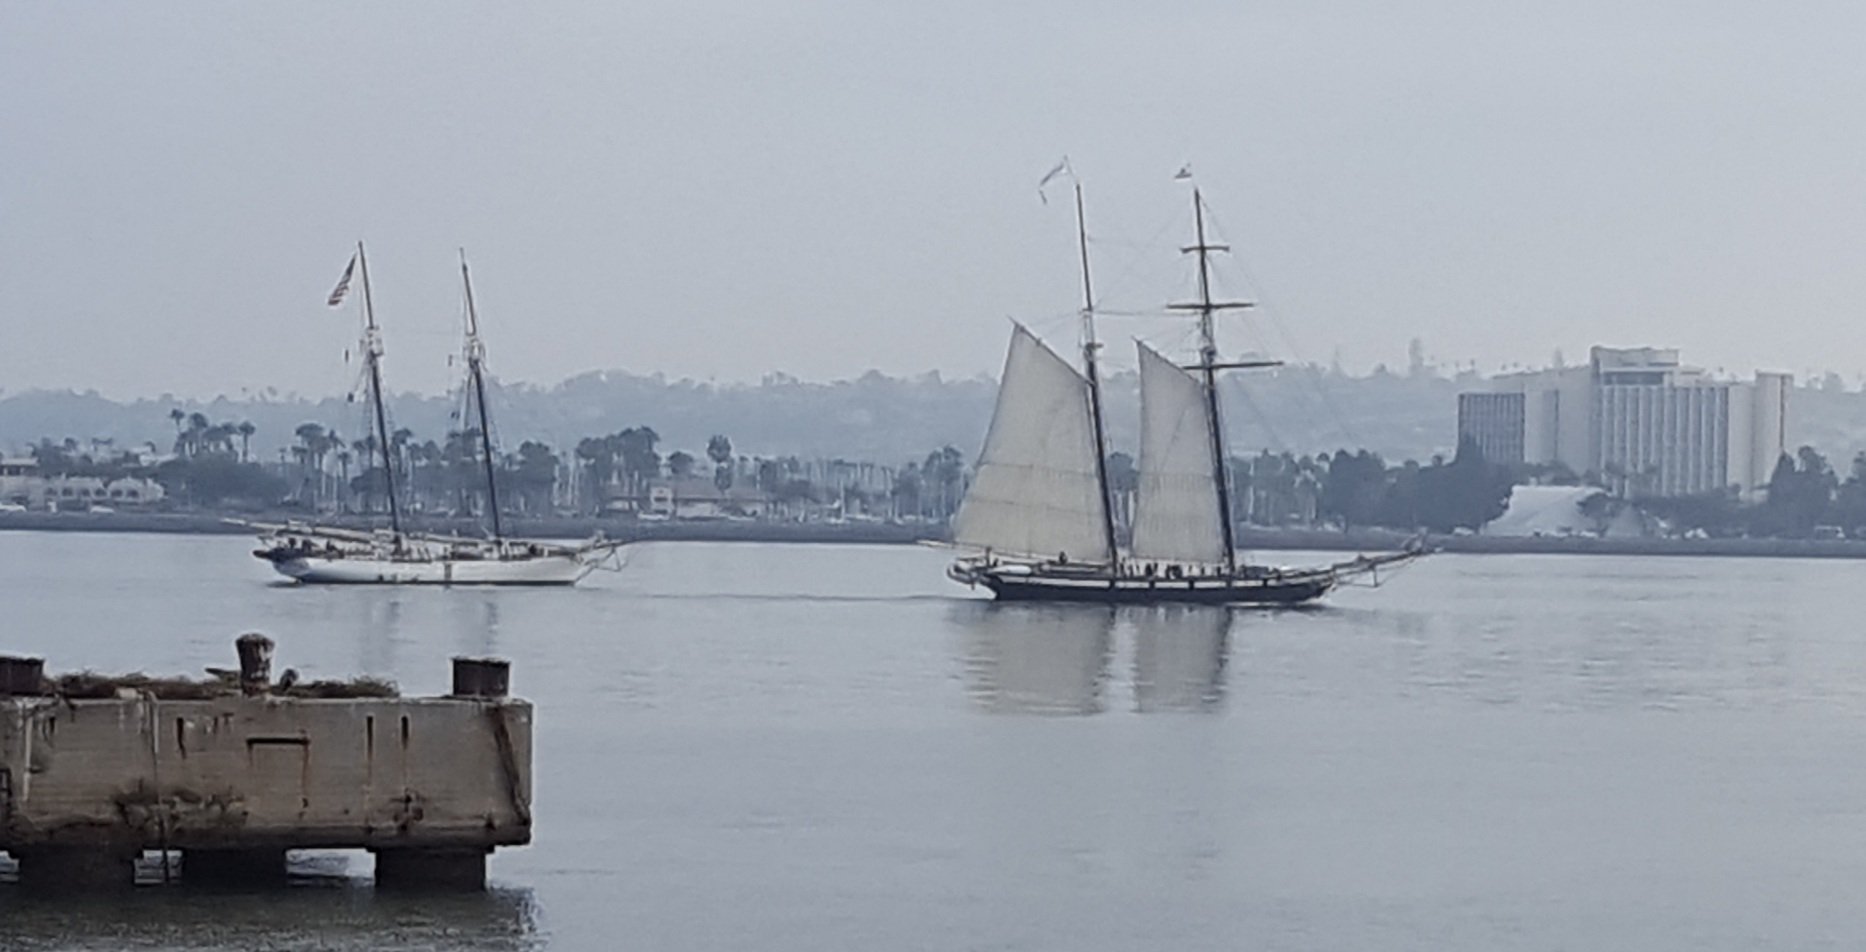
So this came today (from a river in South America). Apparently not for outdoor use as the ink fades to nothing based on some of the reviews. But since it's probably not a good idea to expose our models to extensive sunlight maybe it'll be ok indoors. For $11 delivered it is worth a try. Needless to say I will now be committed to finishing by June next year for display at the San Diego County Fair.
-
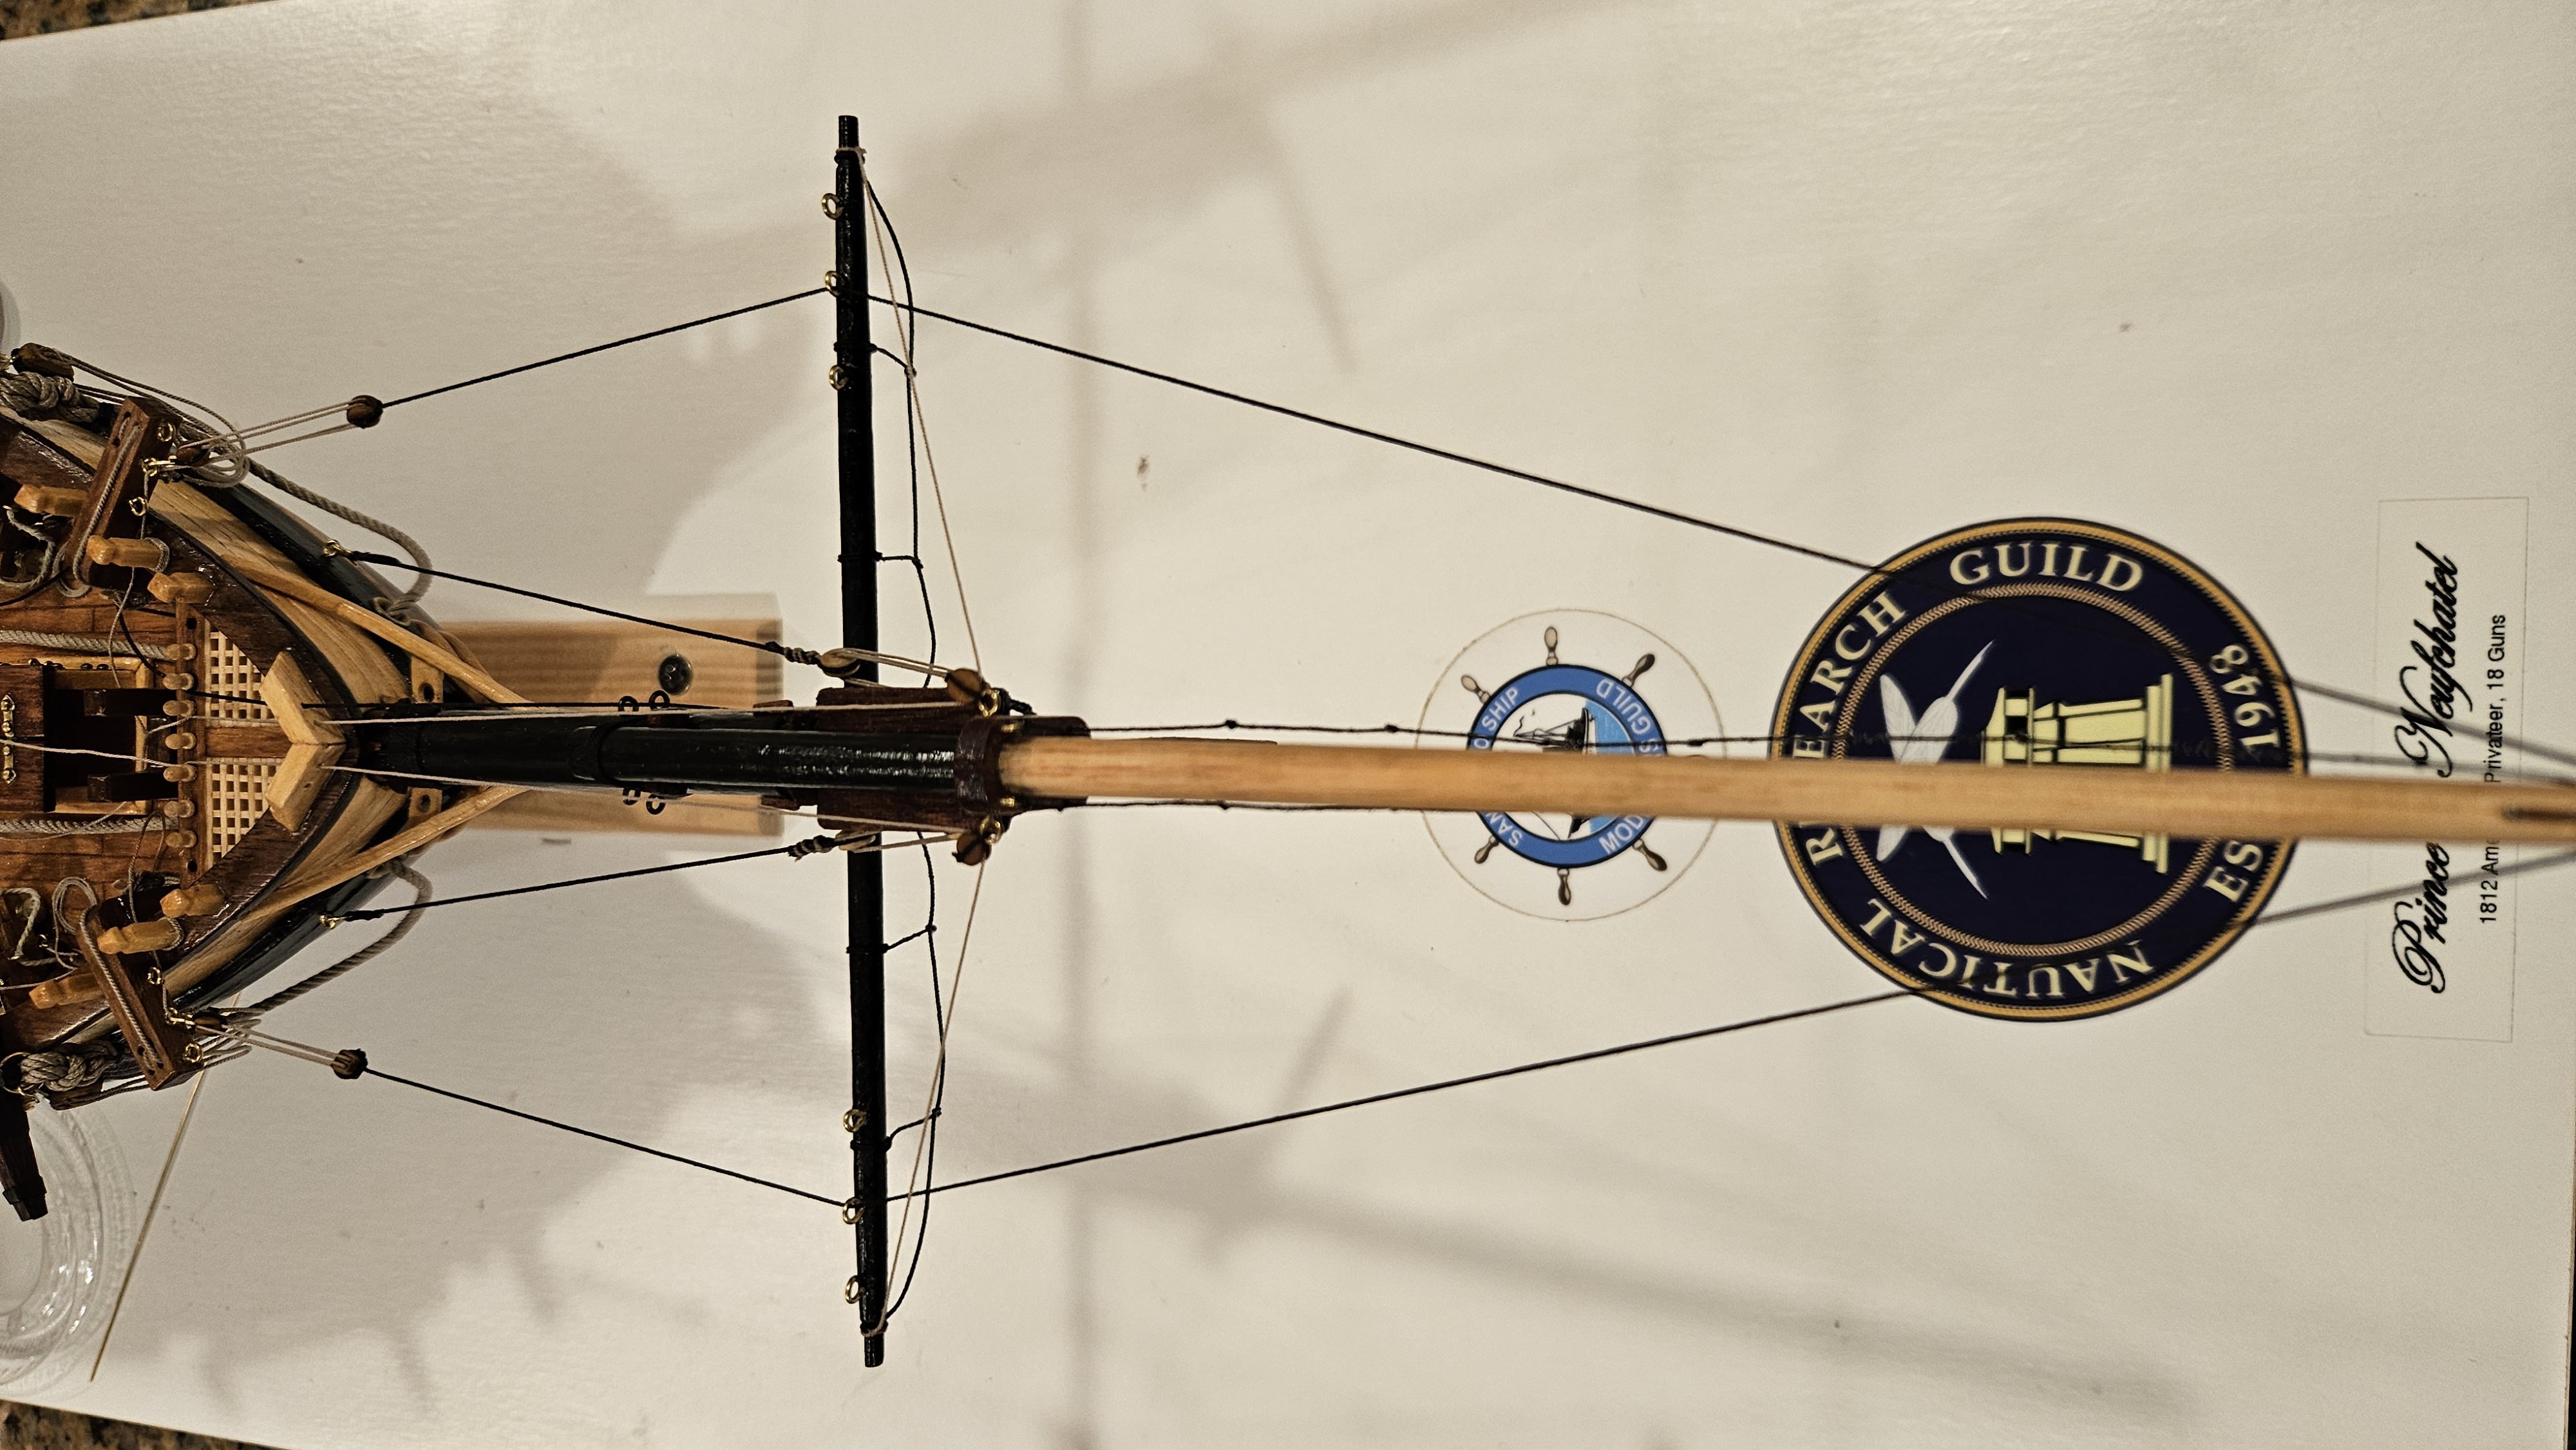
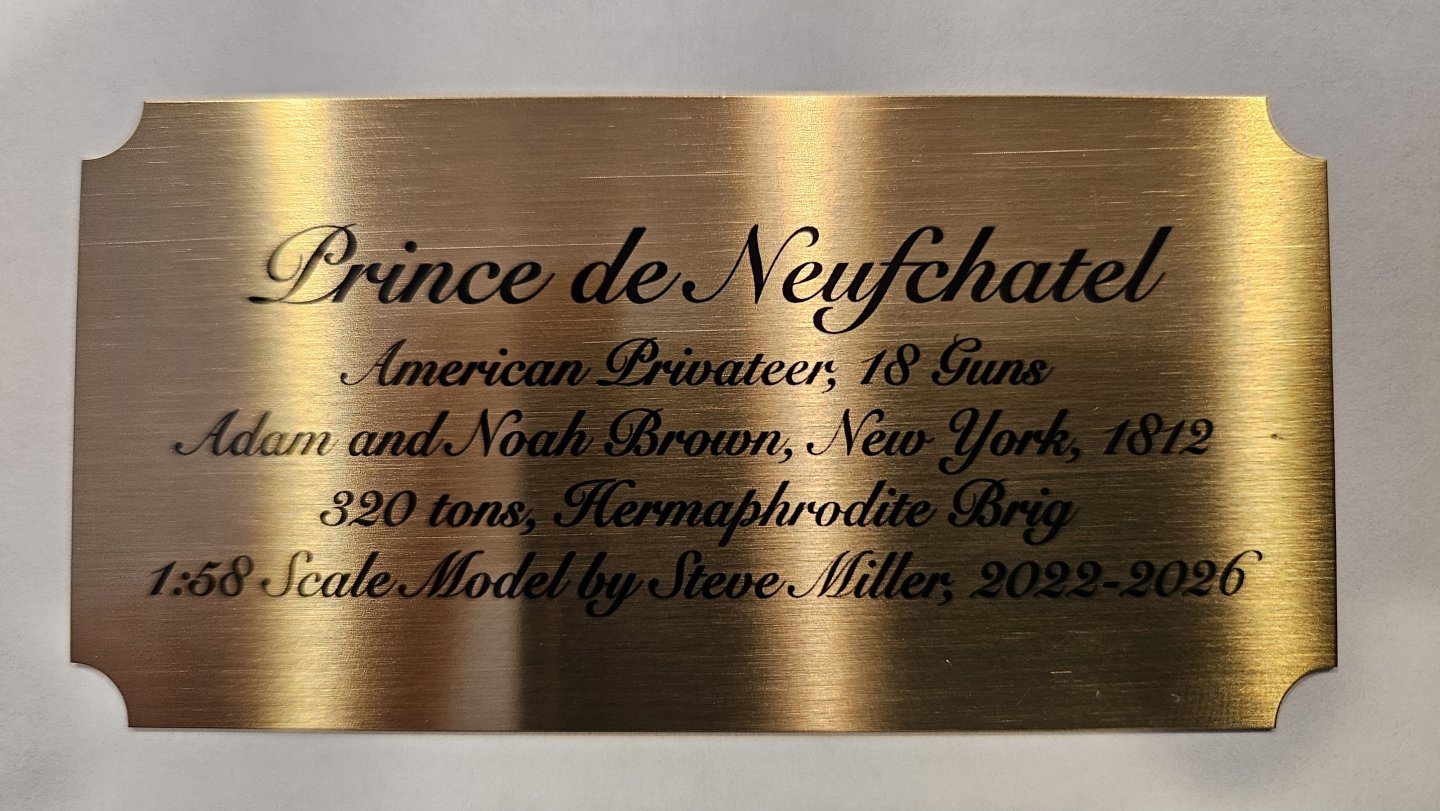
@BritByker Not from the Constructo kit plans. I actually took physical angles from the numerous Howard Chapelle works (which were not entirely consistant but approximate) and settled in at around 12 degrees. The kit design was incorrect showing like 7 degrees - fortunately a keen-eyed member of my shipbuilding guild suggested I research that a little more. (Chapelle's books were more like 13 degrees.) https://modelshipworld.com/topic/33099-prince-de-neufchatel-by-coyote_6-–-constructo-–-158-scale-american-privateer/page/4/#findComment-1050413
-
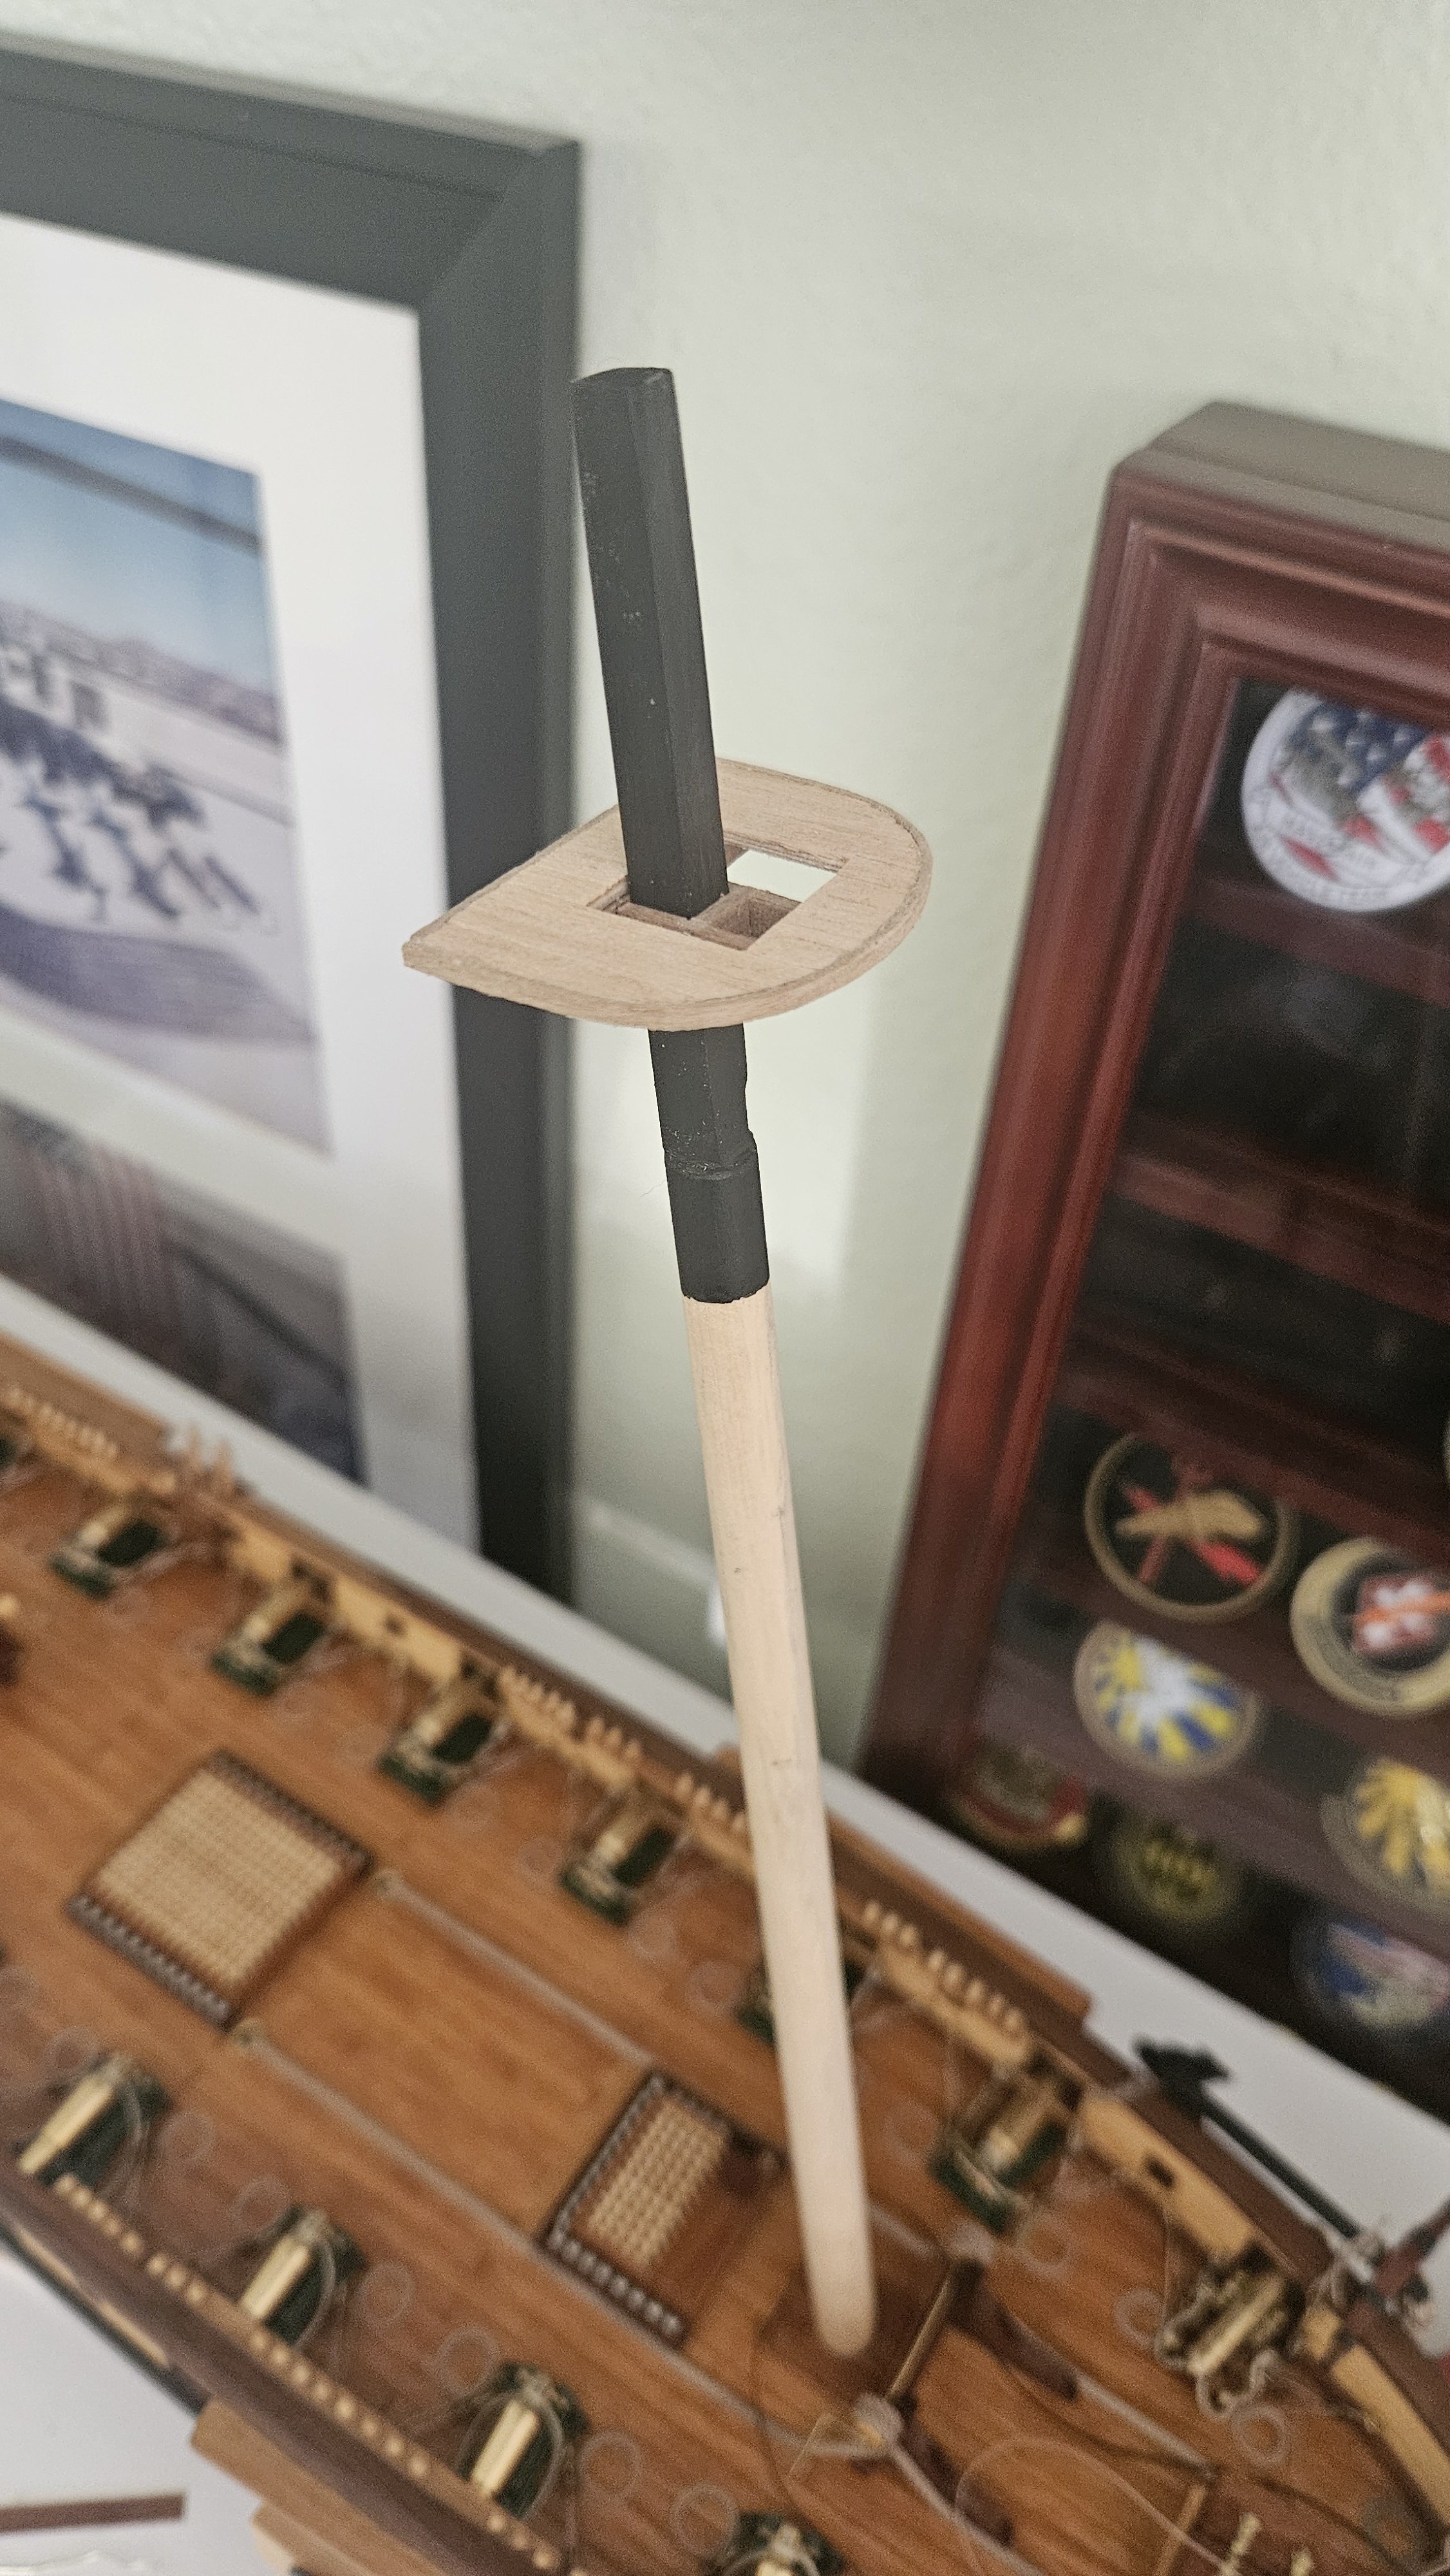
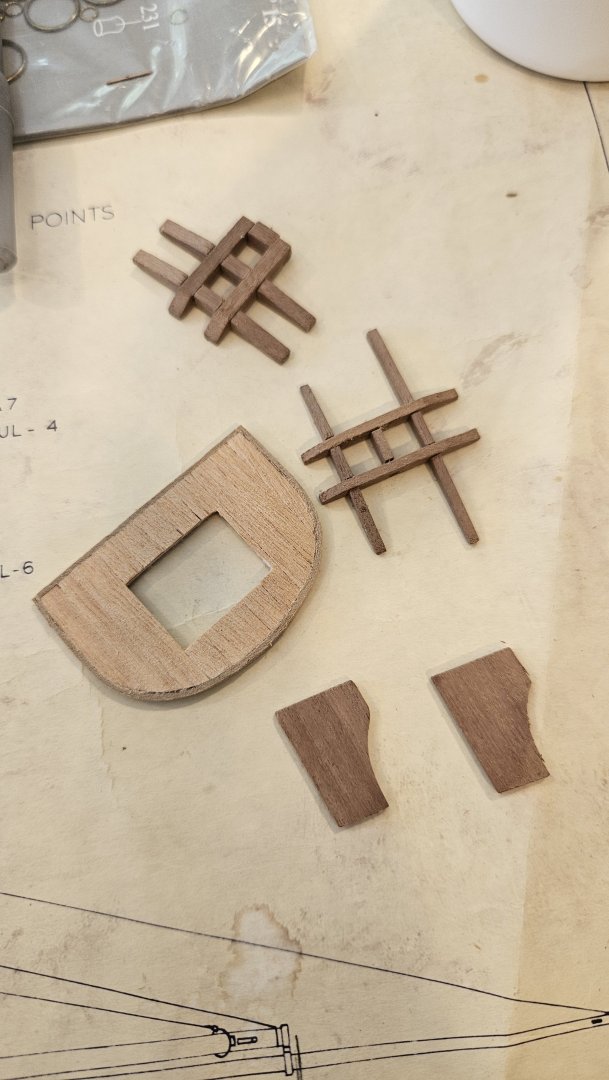
On to new things. Shaped the fore mast. "Turned" it with a cordless drill and some sandpaper. It is expedient to put together kit supplied parts instead of making from scratch. Stained from just below the hounds up. Still need to set it up for the cap, so well have to get out the black stain again. But at least you get the idea with the below mockup. Hope everyone is having a great weekend. Gonna need to learn the serving machine soon.

-
Beautiful work. She is coming together nicely!!
-
@BritByker Nice work Keith! Your Prince is looking very good!!
-
Time flies. And Sophie and the ratlines look great. Half this hobby seems to be waiting for glue to dry! Great photo!
- 346 replies
-
- 4
-
-

-
- Sophie
- Vanguard Models
- (and 1 more)
-
Very nicely done! I like the functional stuff. It looks awesome AND it works! Cool.
-
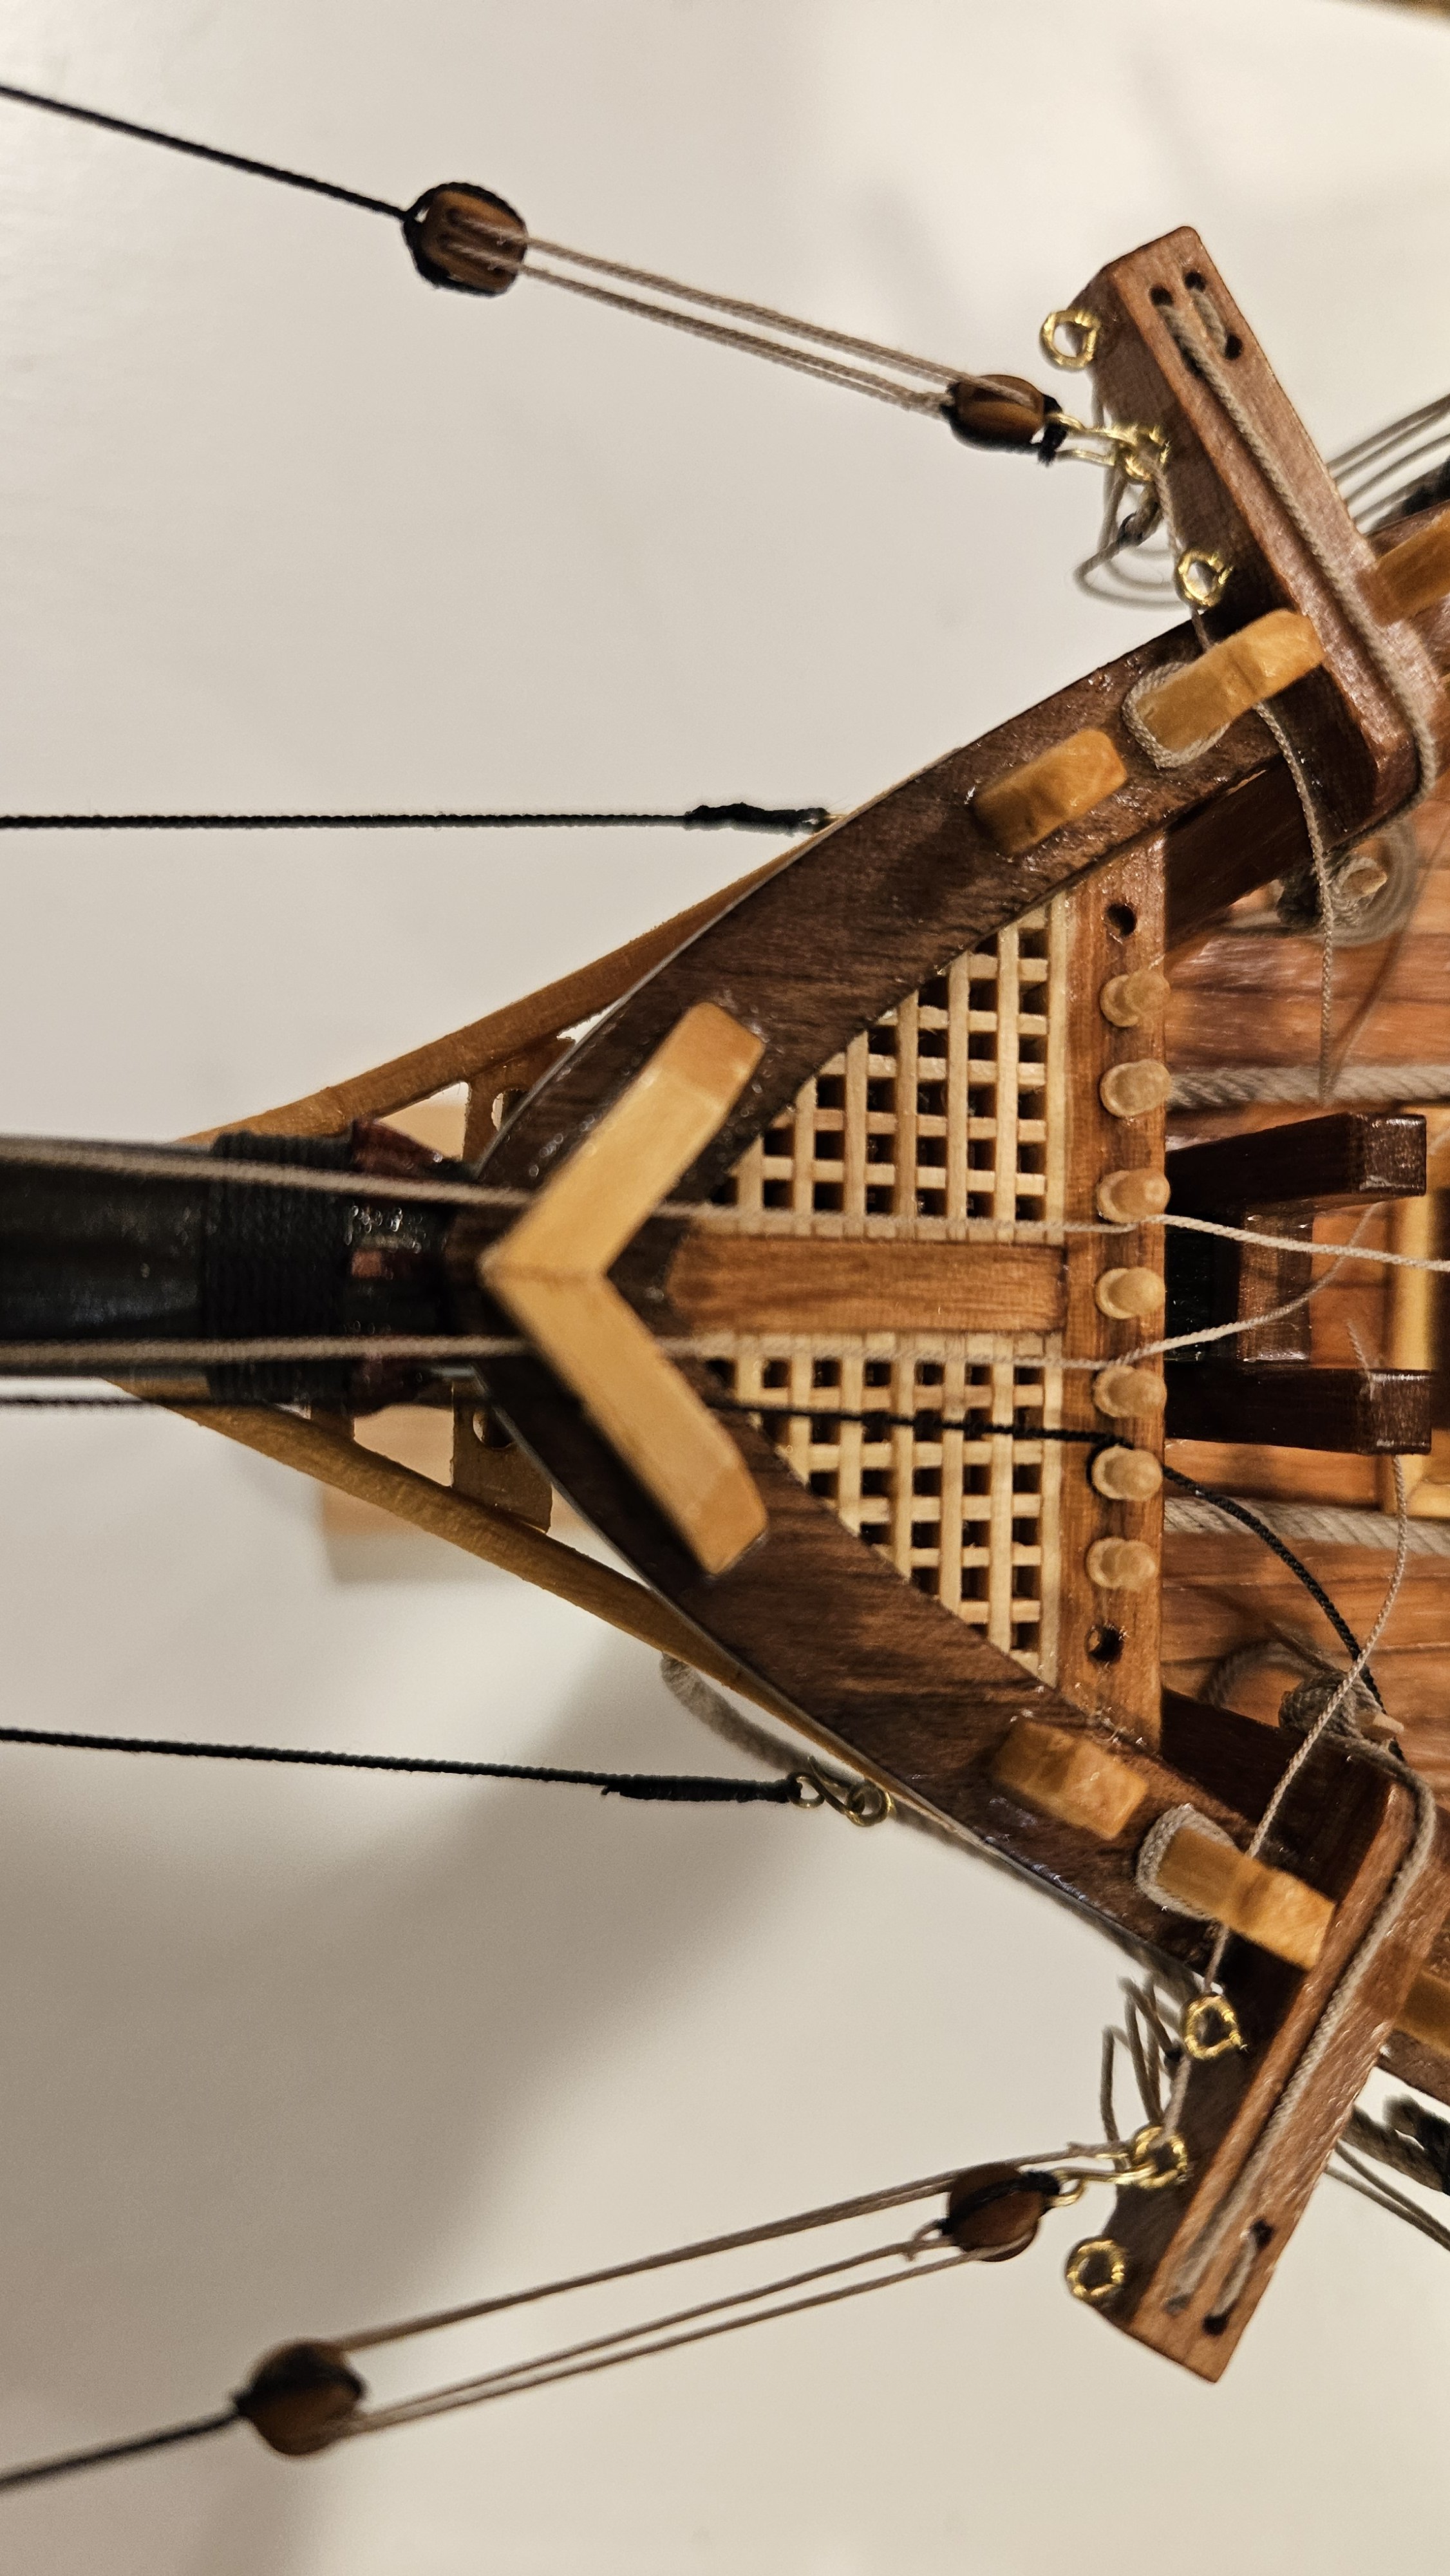
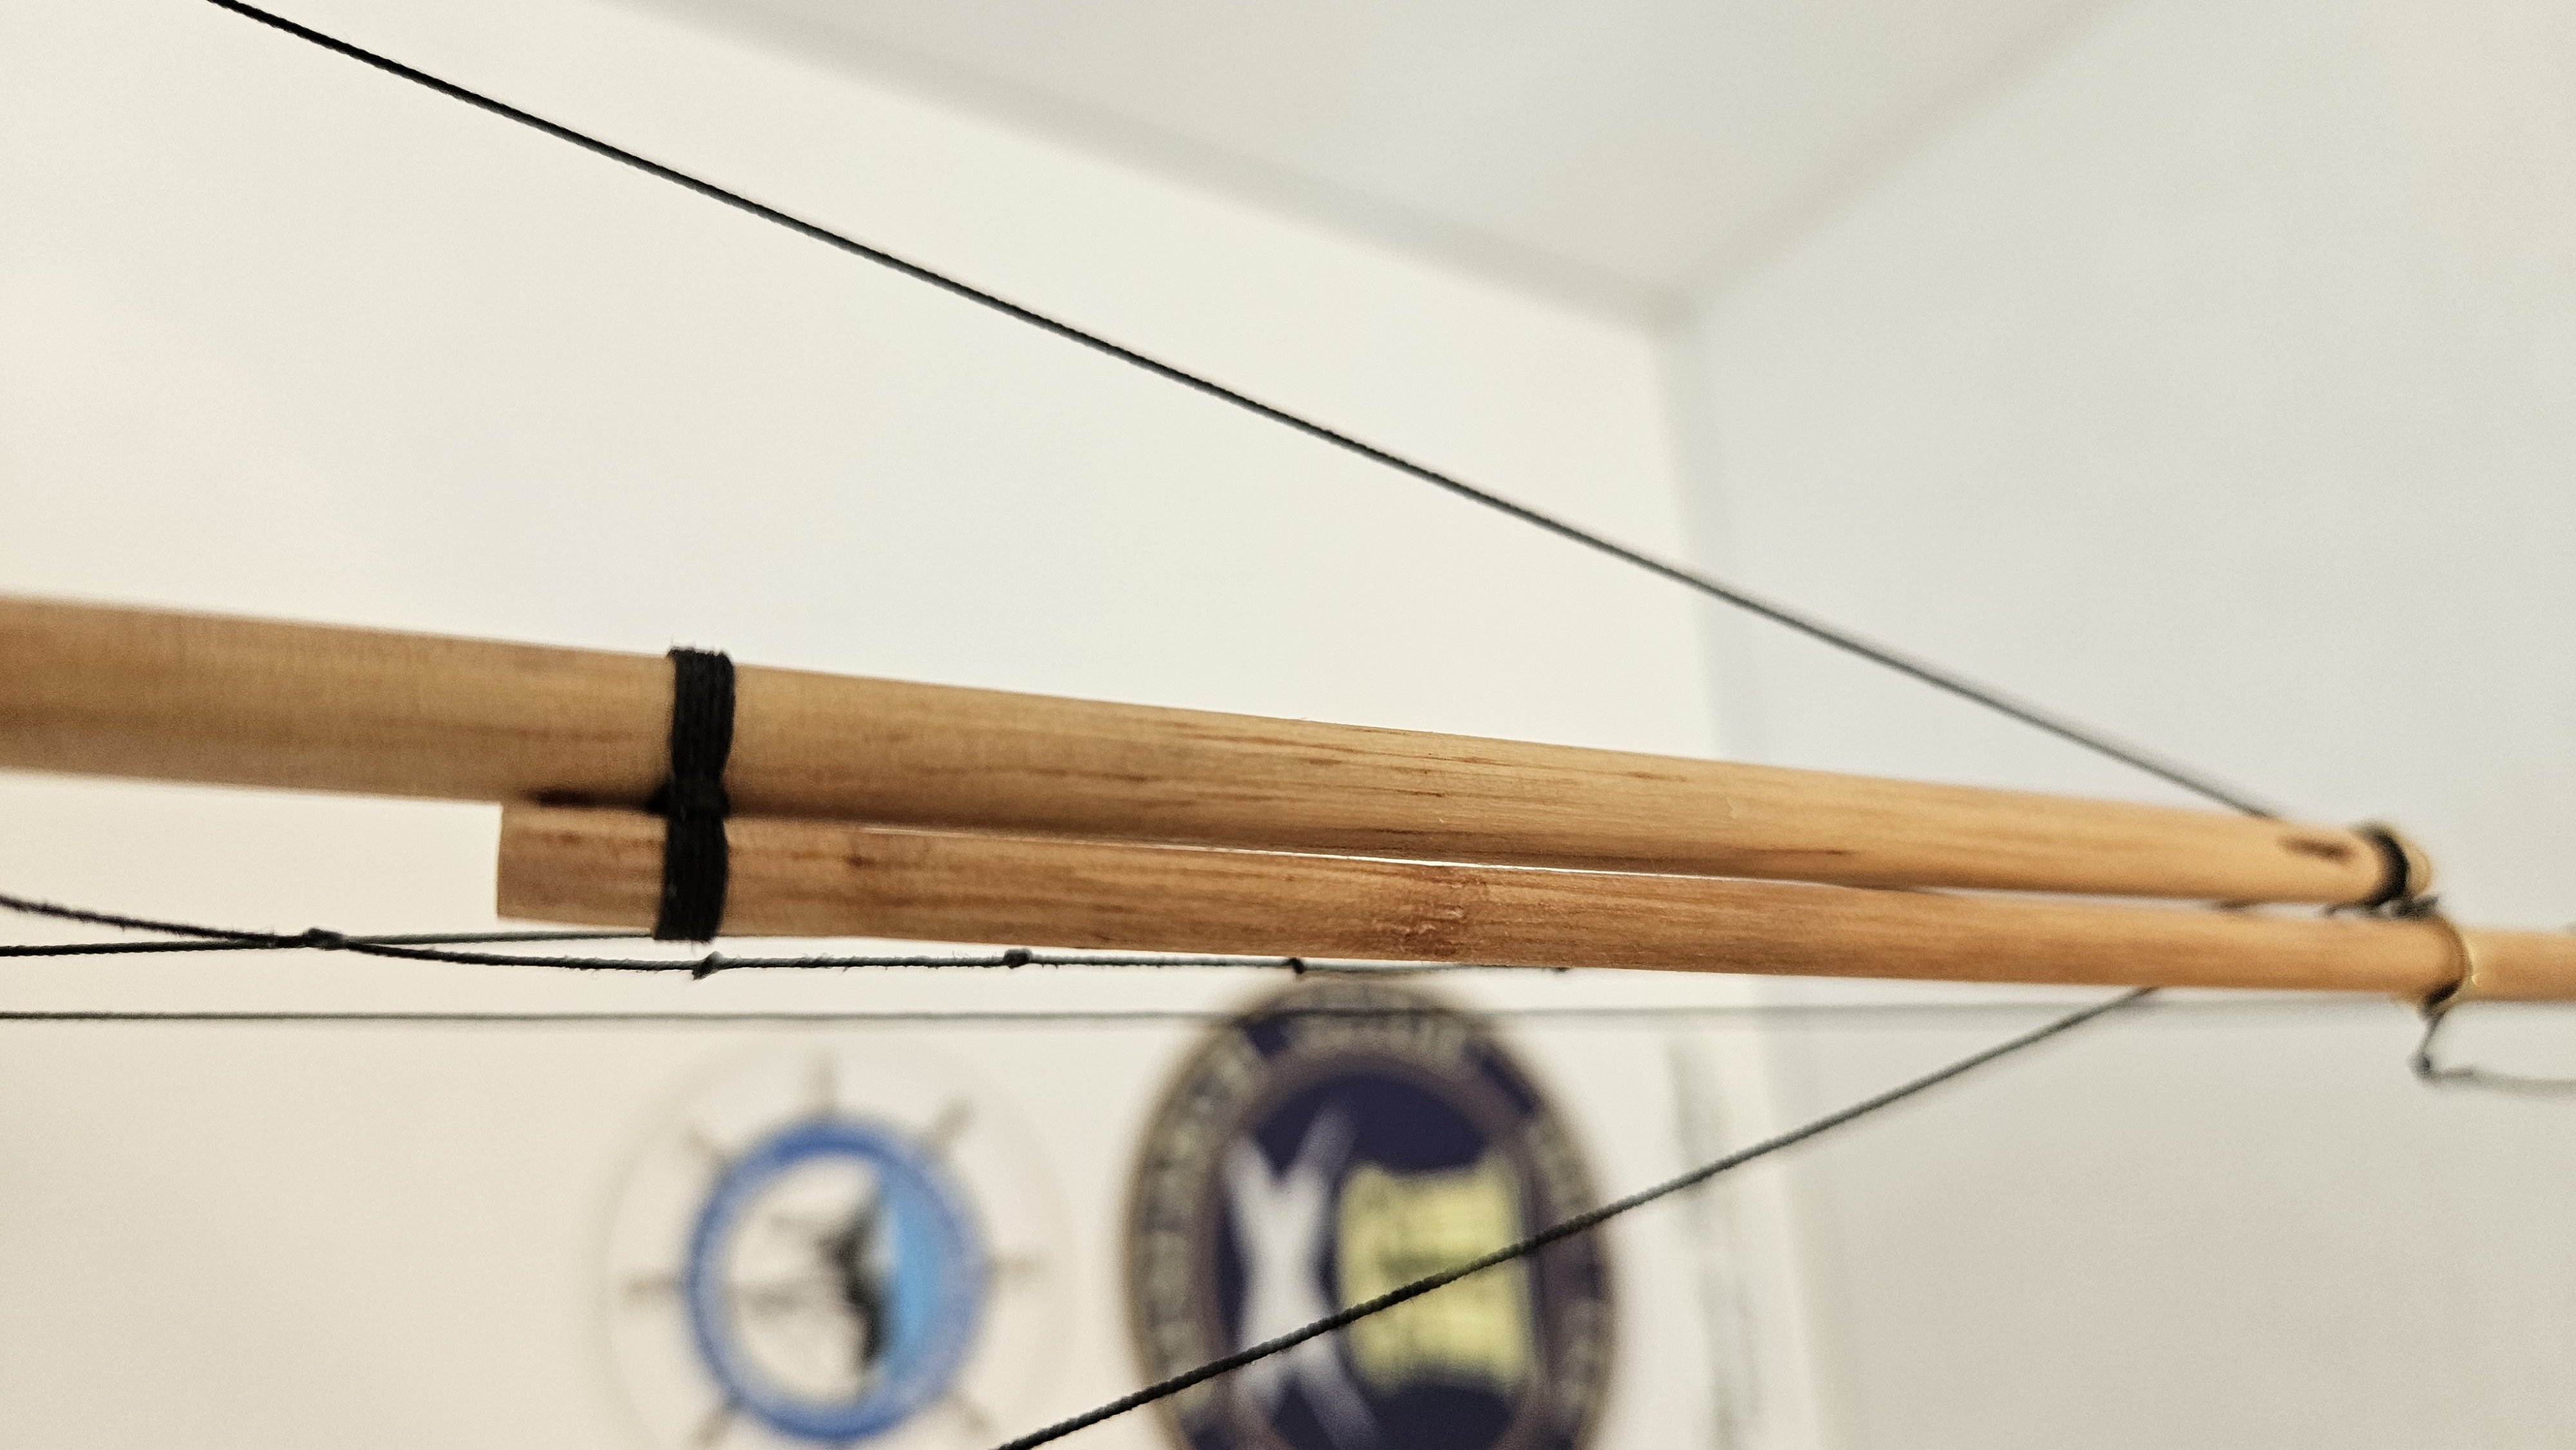
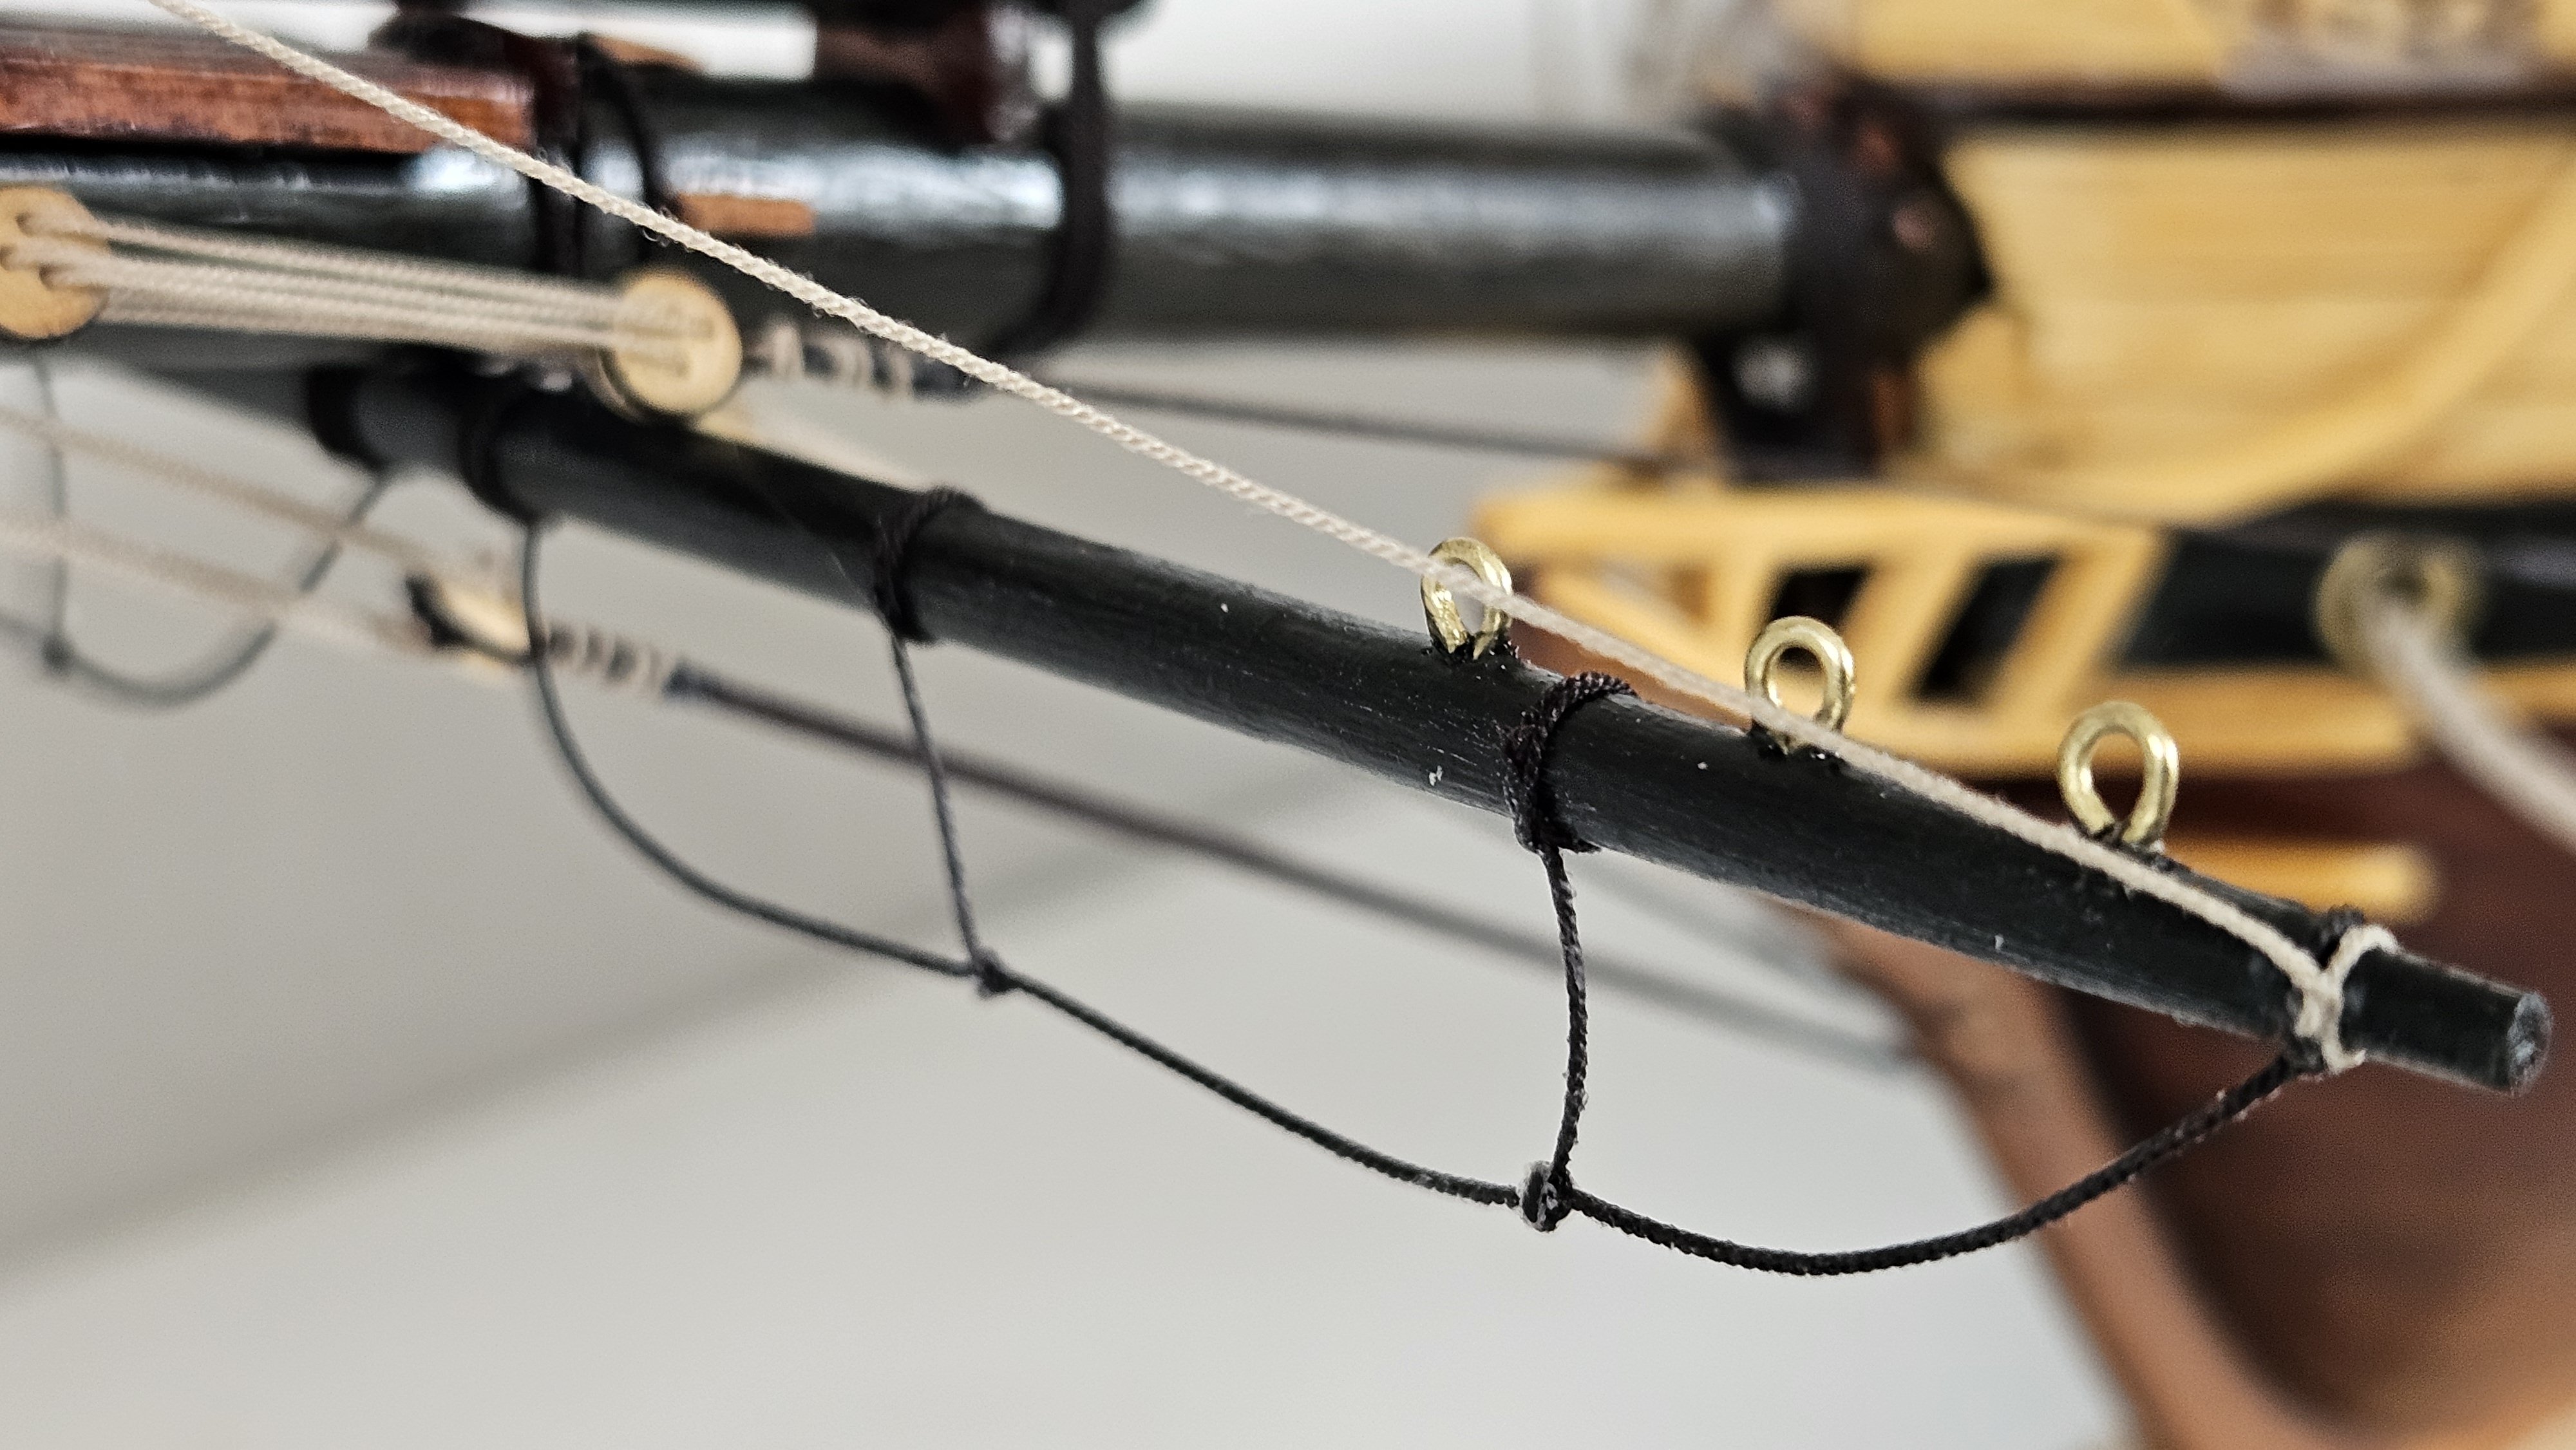
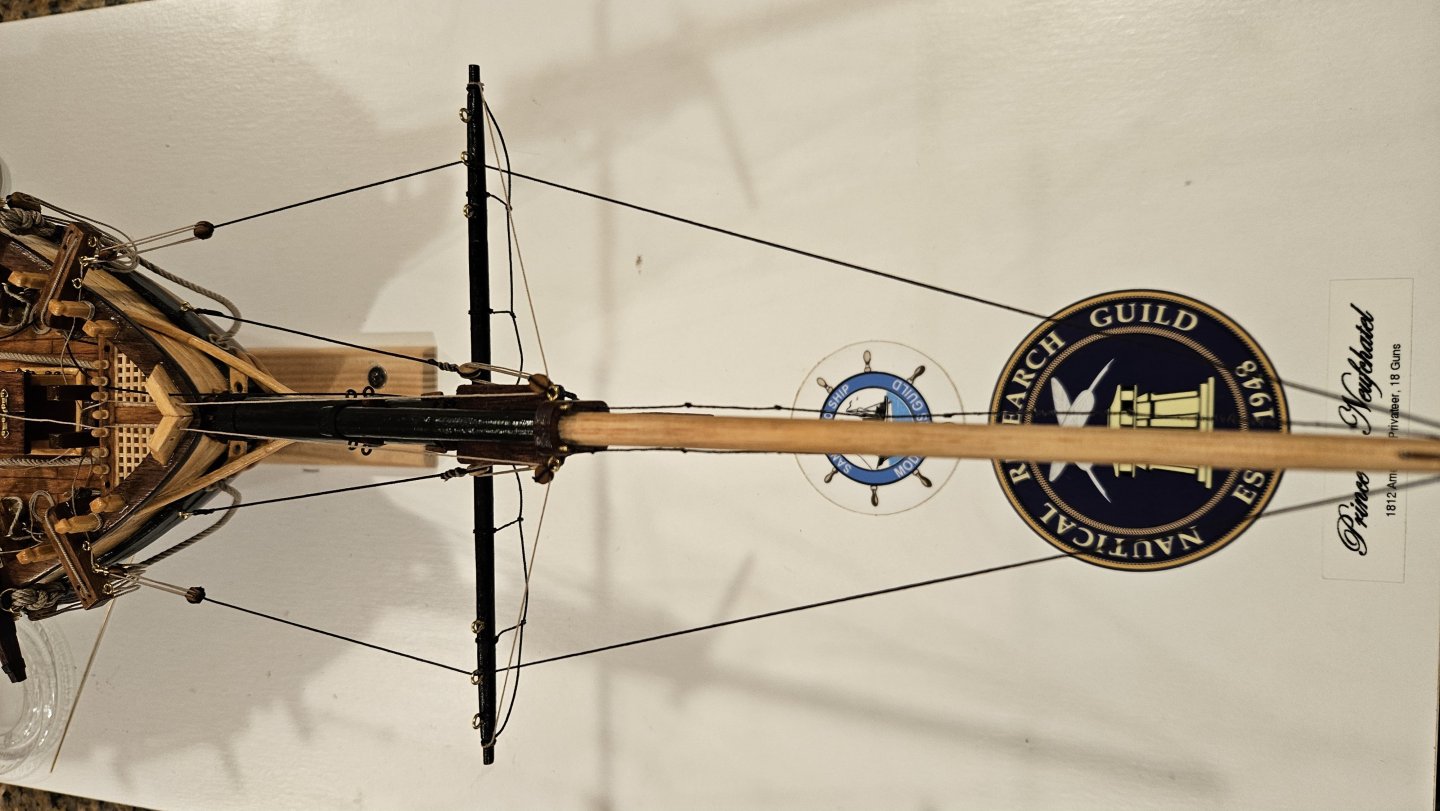
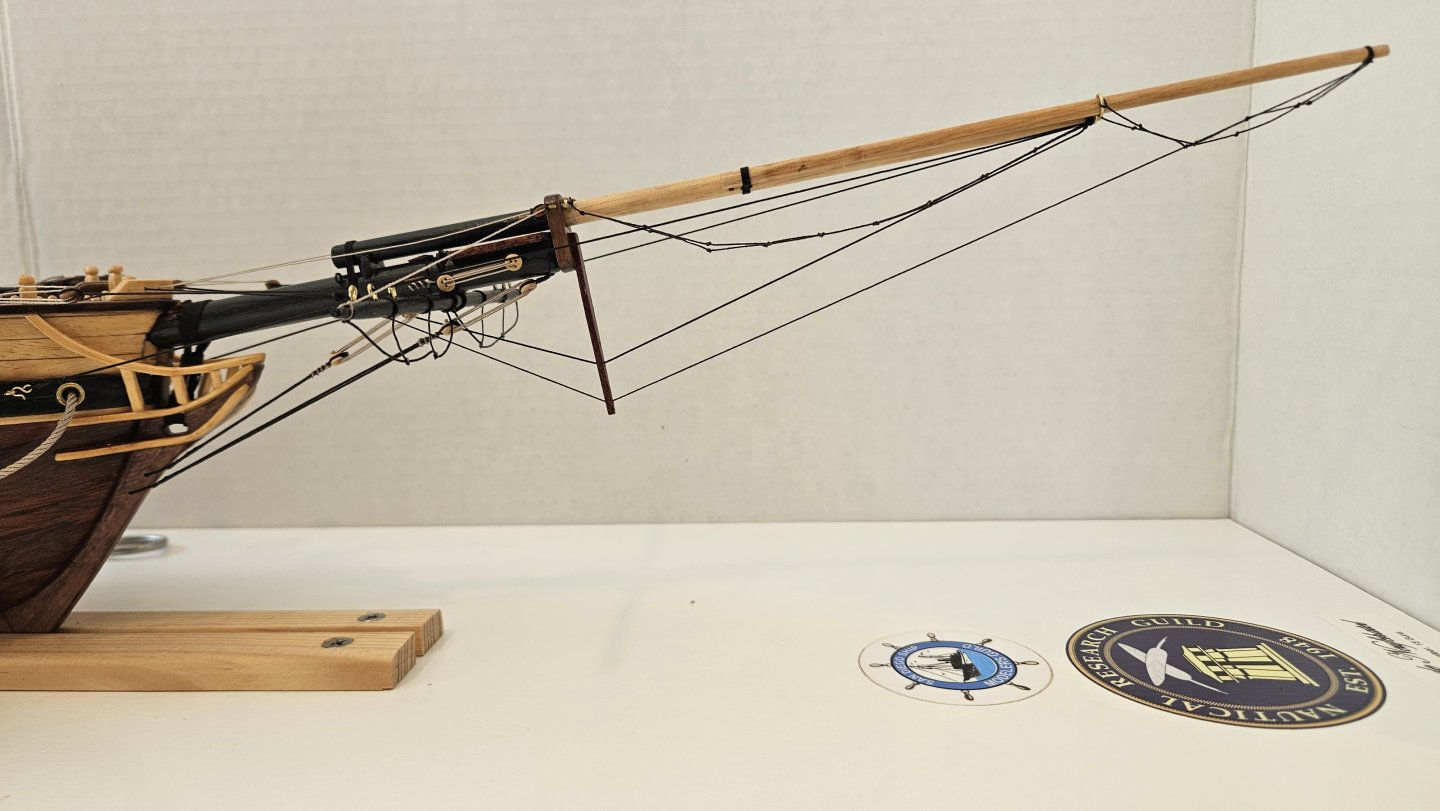
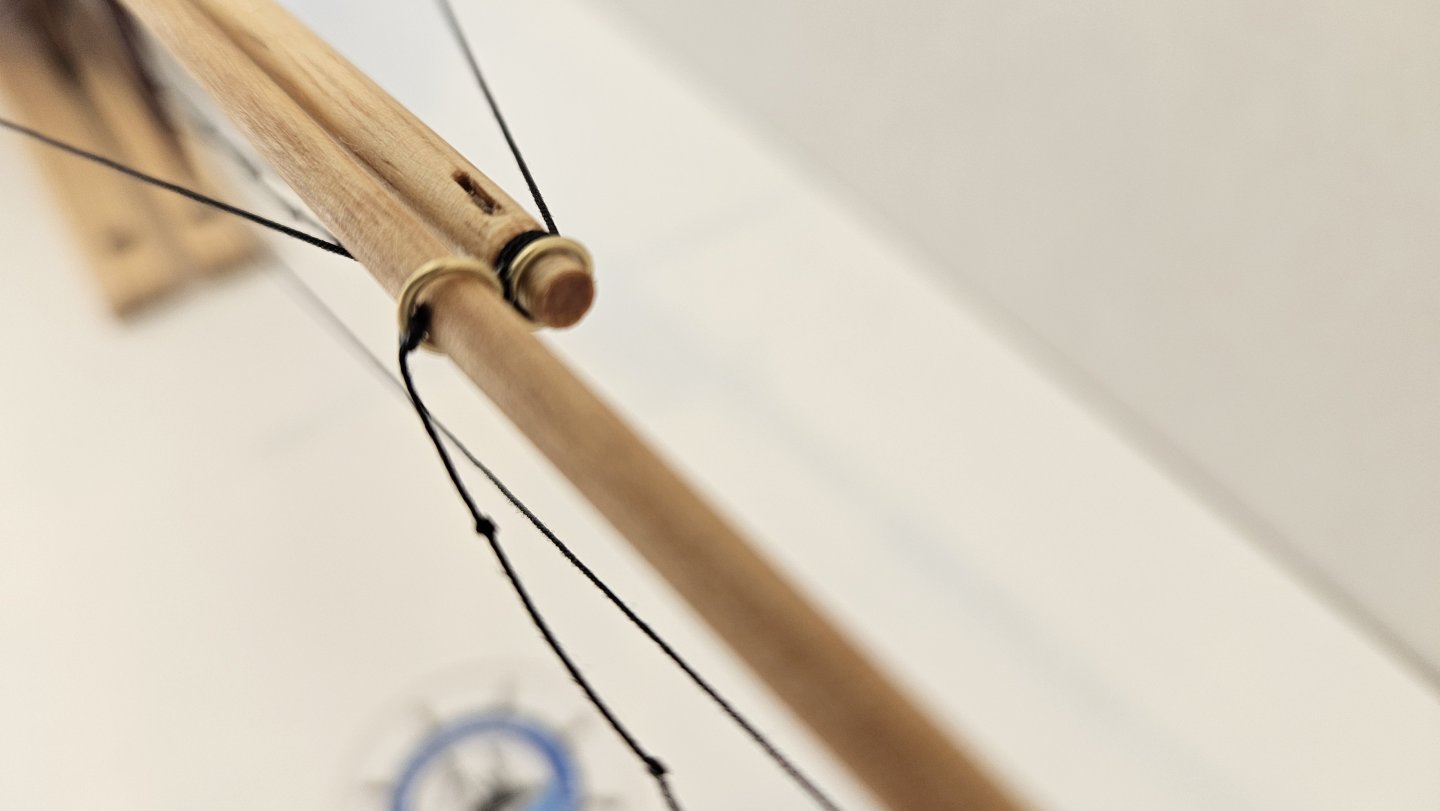
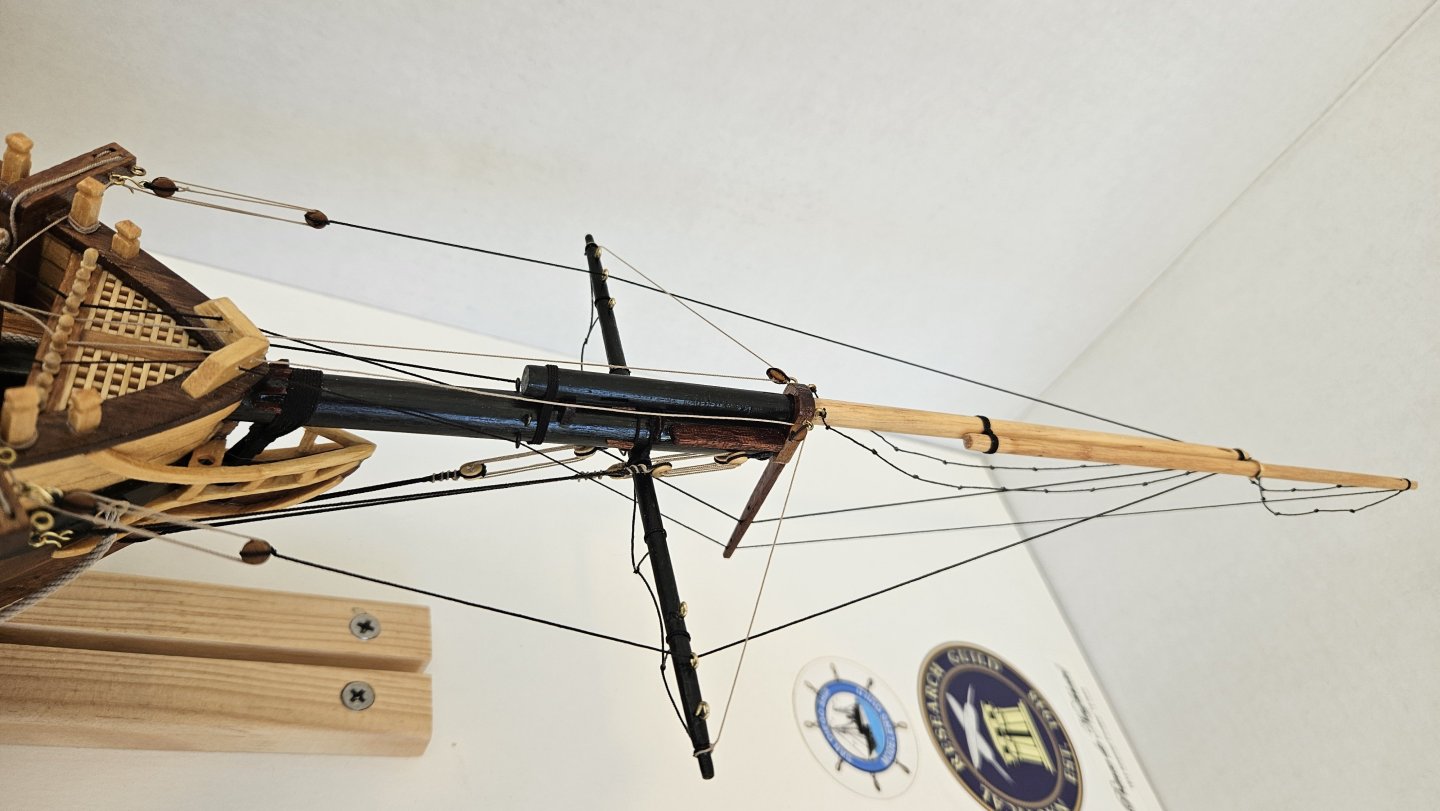
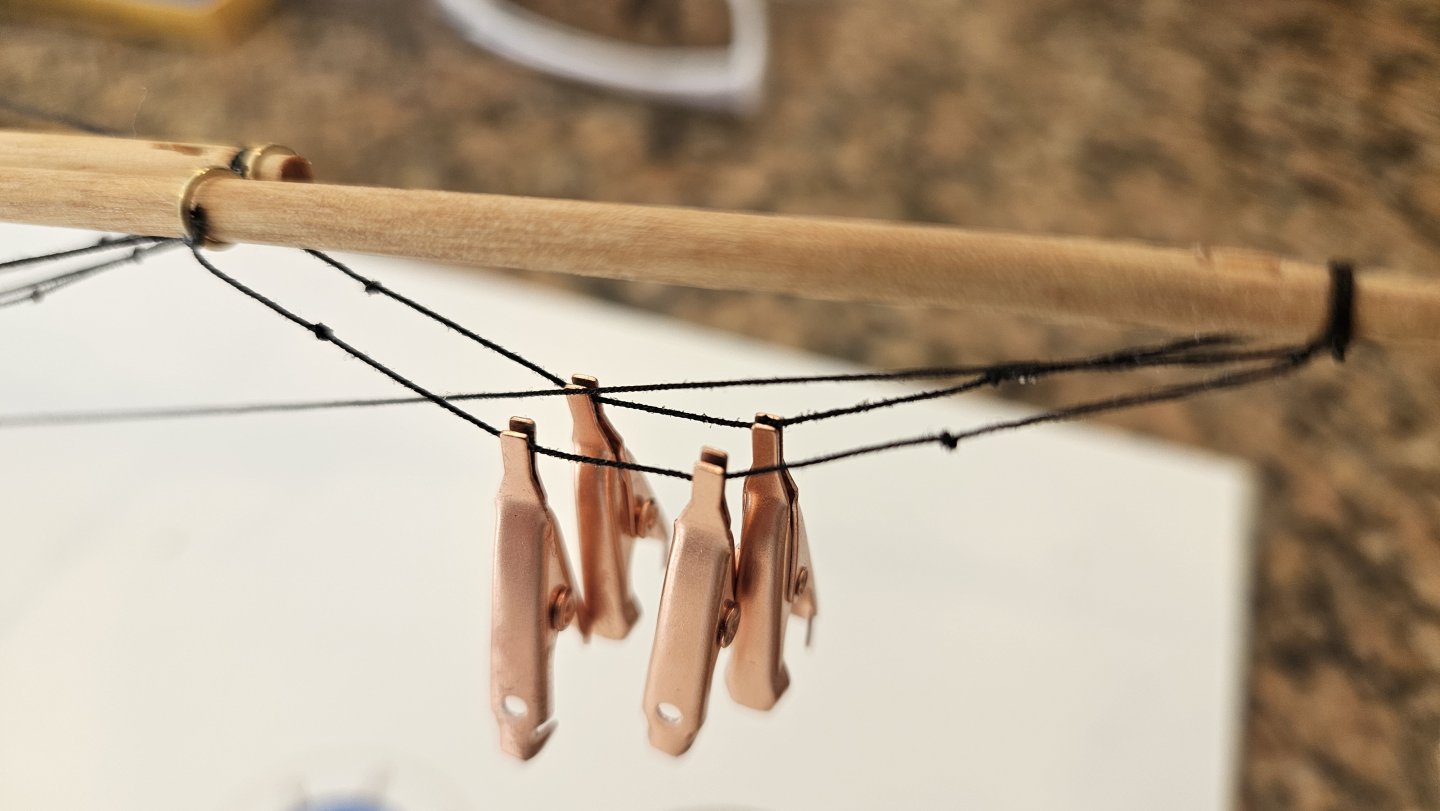
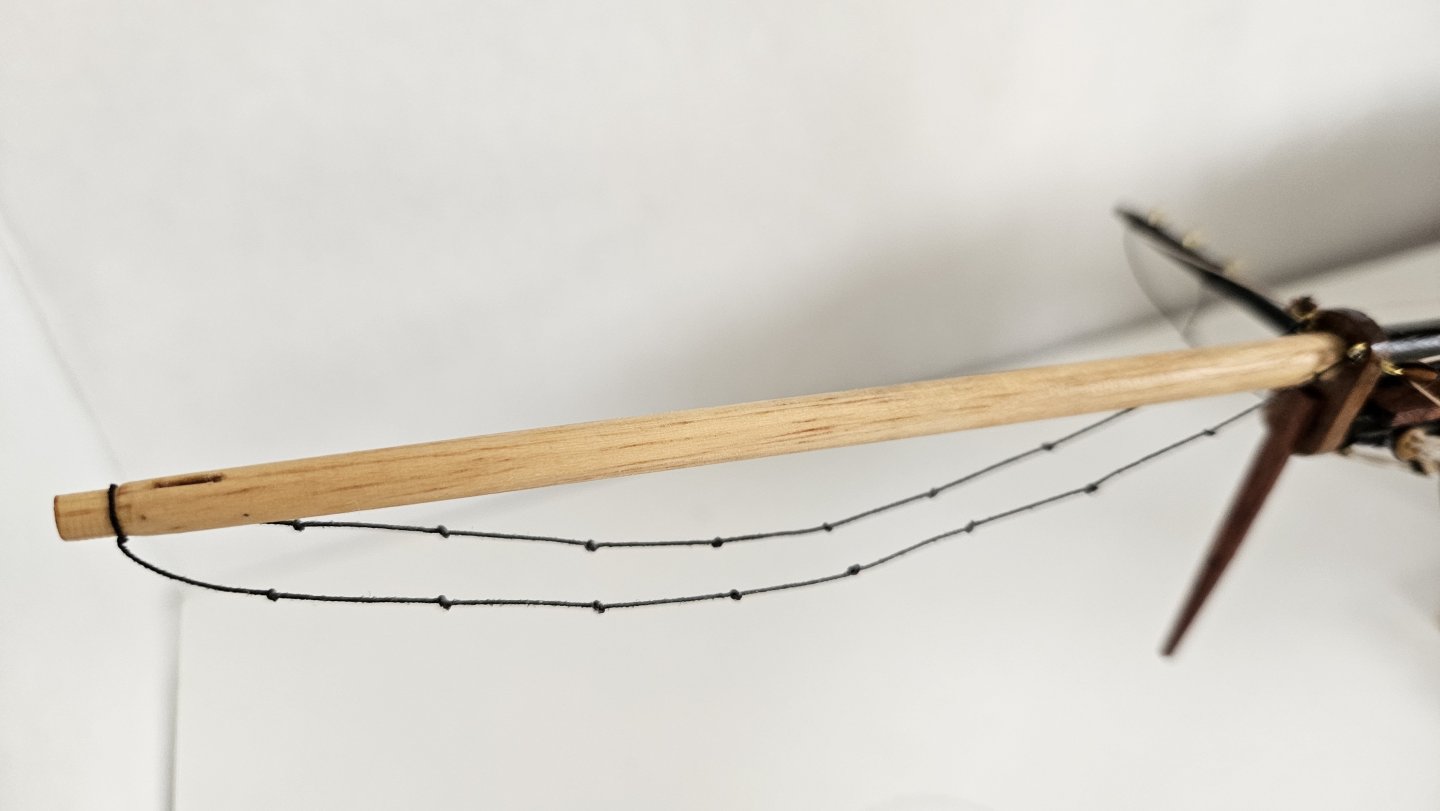
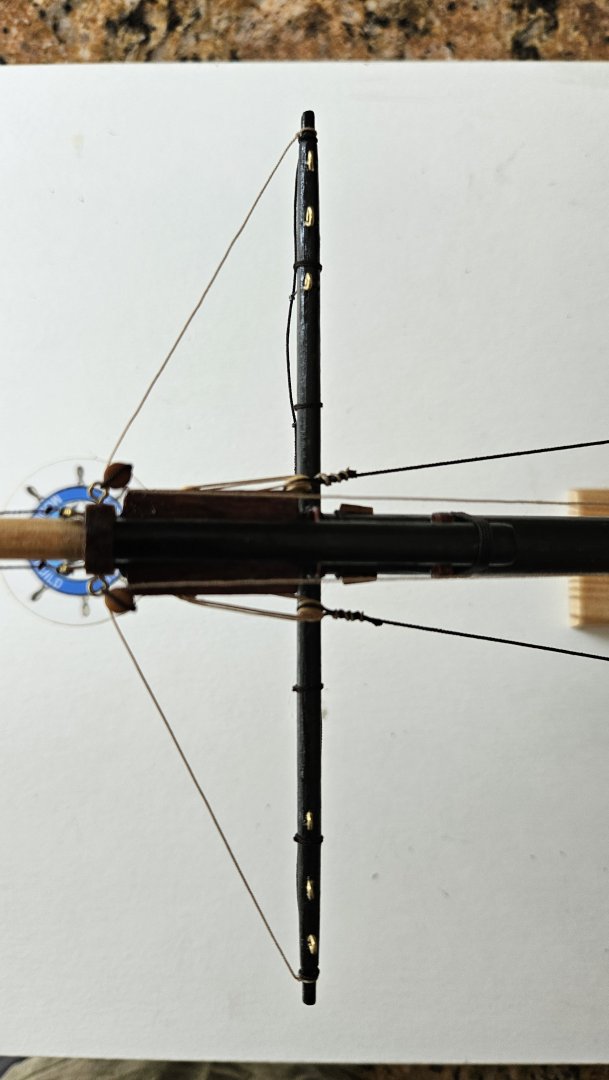
Jibboom guy pendants - 0.018" Syren ULTRA brown. (Chapelle plans and Smithsonian PdN Masting and Rigging Tables.) The falls (lanyard). Port and starboard, 0.012" Syren ULTRA tan. Placed my port block on the pendant 1/8" too far forward, but alas. Not gonna burn a foot and a half of line to redo that. Blocks are Syren 3d printed 5/32", 2 doubles and 2 singles). Brought the fall/lanyard inboard. Tied off on the bollard, and I'll let 3 scale foot drop down to the deck against the bulkhead. Enough for the sailors to work with if need be. (Found this in a post from clloyd on these forums - "From Steel GUY-PENDENTS are put over the jib-boom, the same as the horses, and the inner ends reeve through a thimble, on the quarters of the spritsail-yard, and turn into the strap of a double block, with a throat and round seizings, which is connected, by its fall, to a single block, that hooks to an eye-bolt, near the cat-head, and leads in upon the fore-castle.") Jibboom Martingale line was next (Syren 0.018"). Then installed the Flying Jibboom with a homemade brass wire guide fore and a 0.012" line heel lashing aft. Next came the Flying Jibboom footropes from 0.012" line (slightly smaller diameter than the jibboom footropes). Here I have rubbed them with dilute 50/50 Elmer's School glue and "training" them with the little copper clips. Finally the Flying Jibboom martingale from 0.012" line (also slightly smaller diameter than the jibboom martingale). Next up will be the flying jibboom guy pendants. I realize I will have a challenge installing travellers on the jibboom and flying jibboom - I am hoping to fabricate in place. (🤪) Any advice or corrections are welcome and appreciated.


-
That is awesome when art leads to knowledge. Very cool!! The details look great!
- 288 replies
-
- 8
-
-
-
- Card
- Pre-Dreadnought
- (and 3 more)
-
Your part has much more visual interest and character - very nice!
-
The work is stellar. It takes what it takes I guess. Keep it up Phil!!
- 288 replies
-
- 5
-
-
-
- Card
- Pre-Dreadnought
- (and 3 more)
-
At least you have a large amount of raw material!! Holy cow that was a small part from that big ol' block.
-
The doors and ports look great Phil. Cape is gonne be awesome!!
- 490 replies
-
- 2
-
-
- minesweeper
- Cape
- (and 1 more)
-
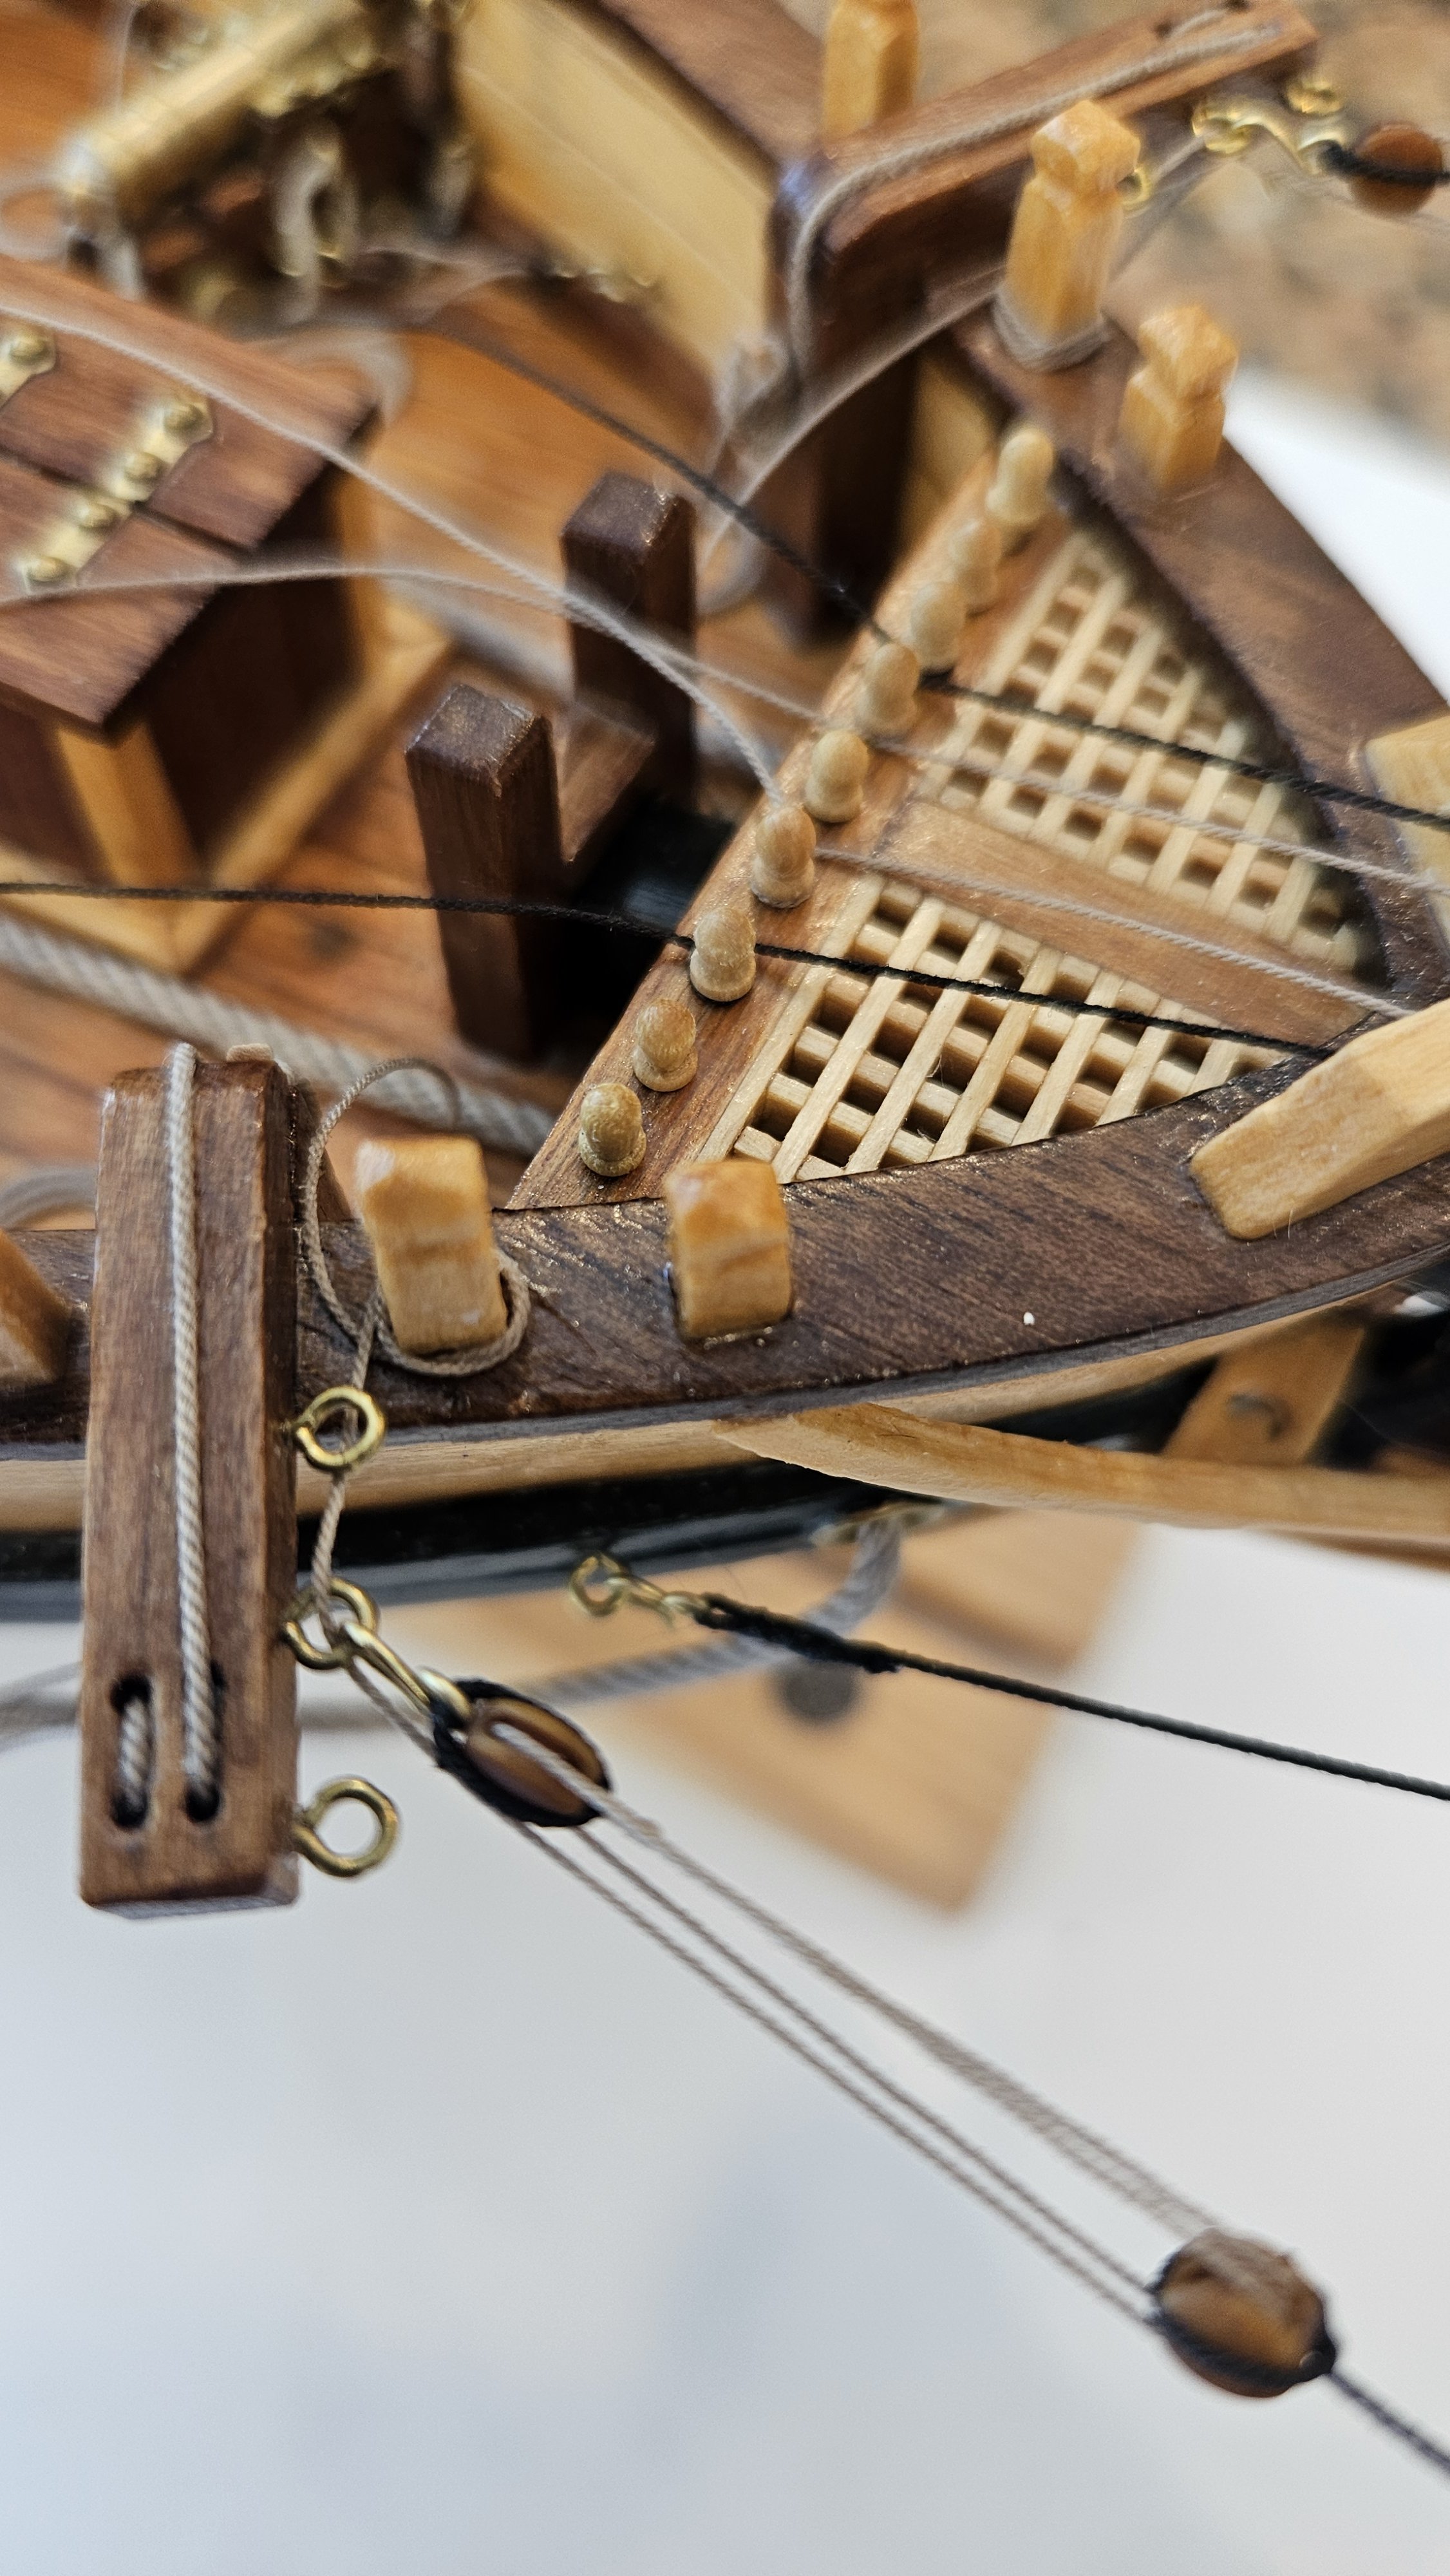
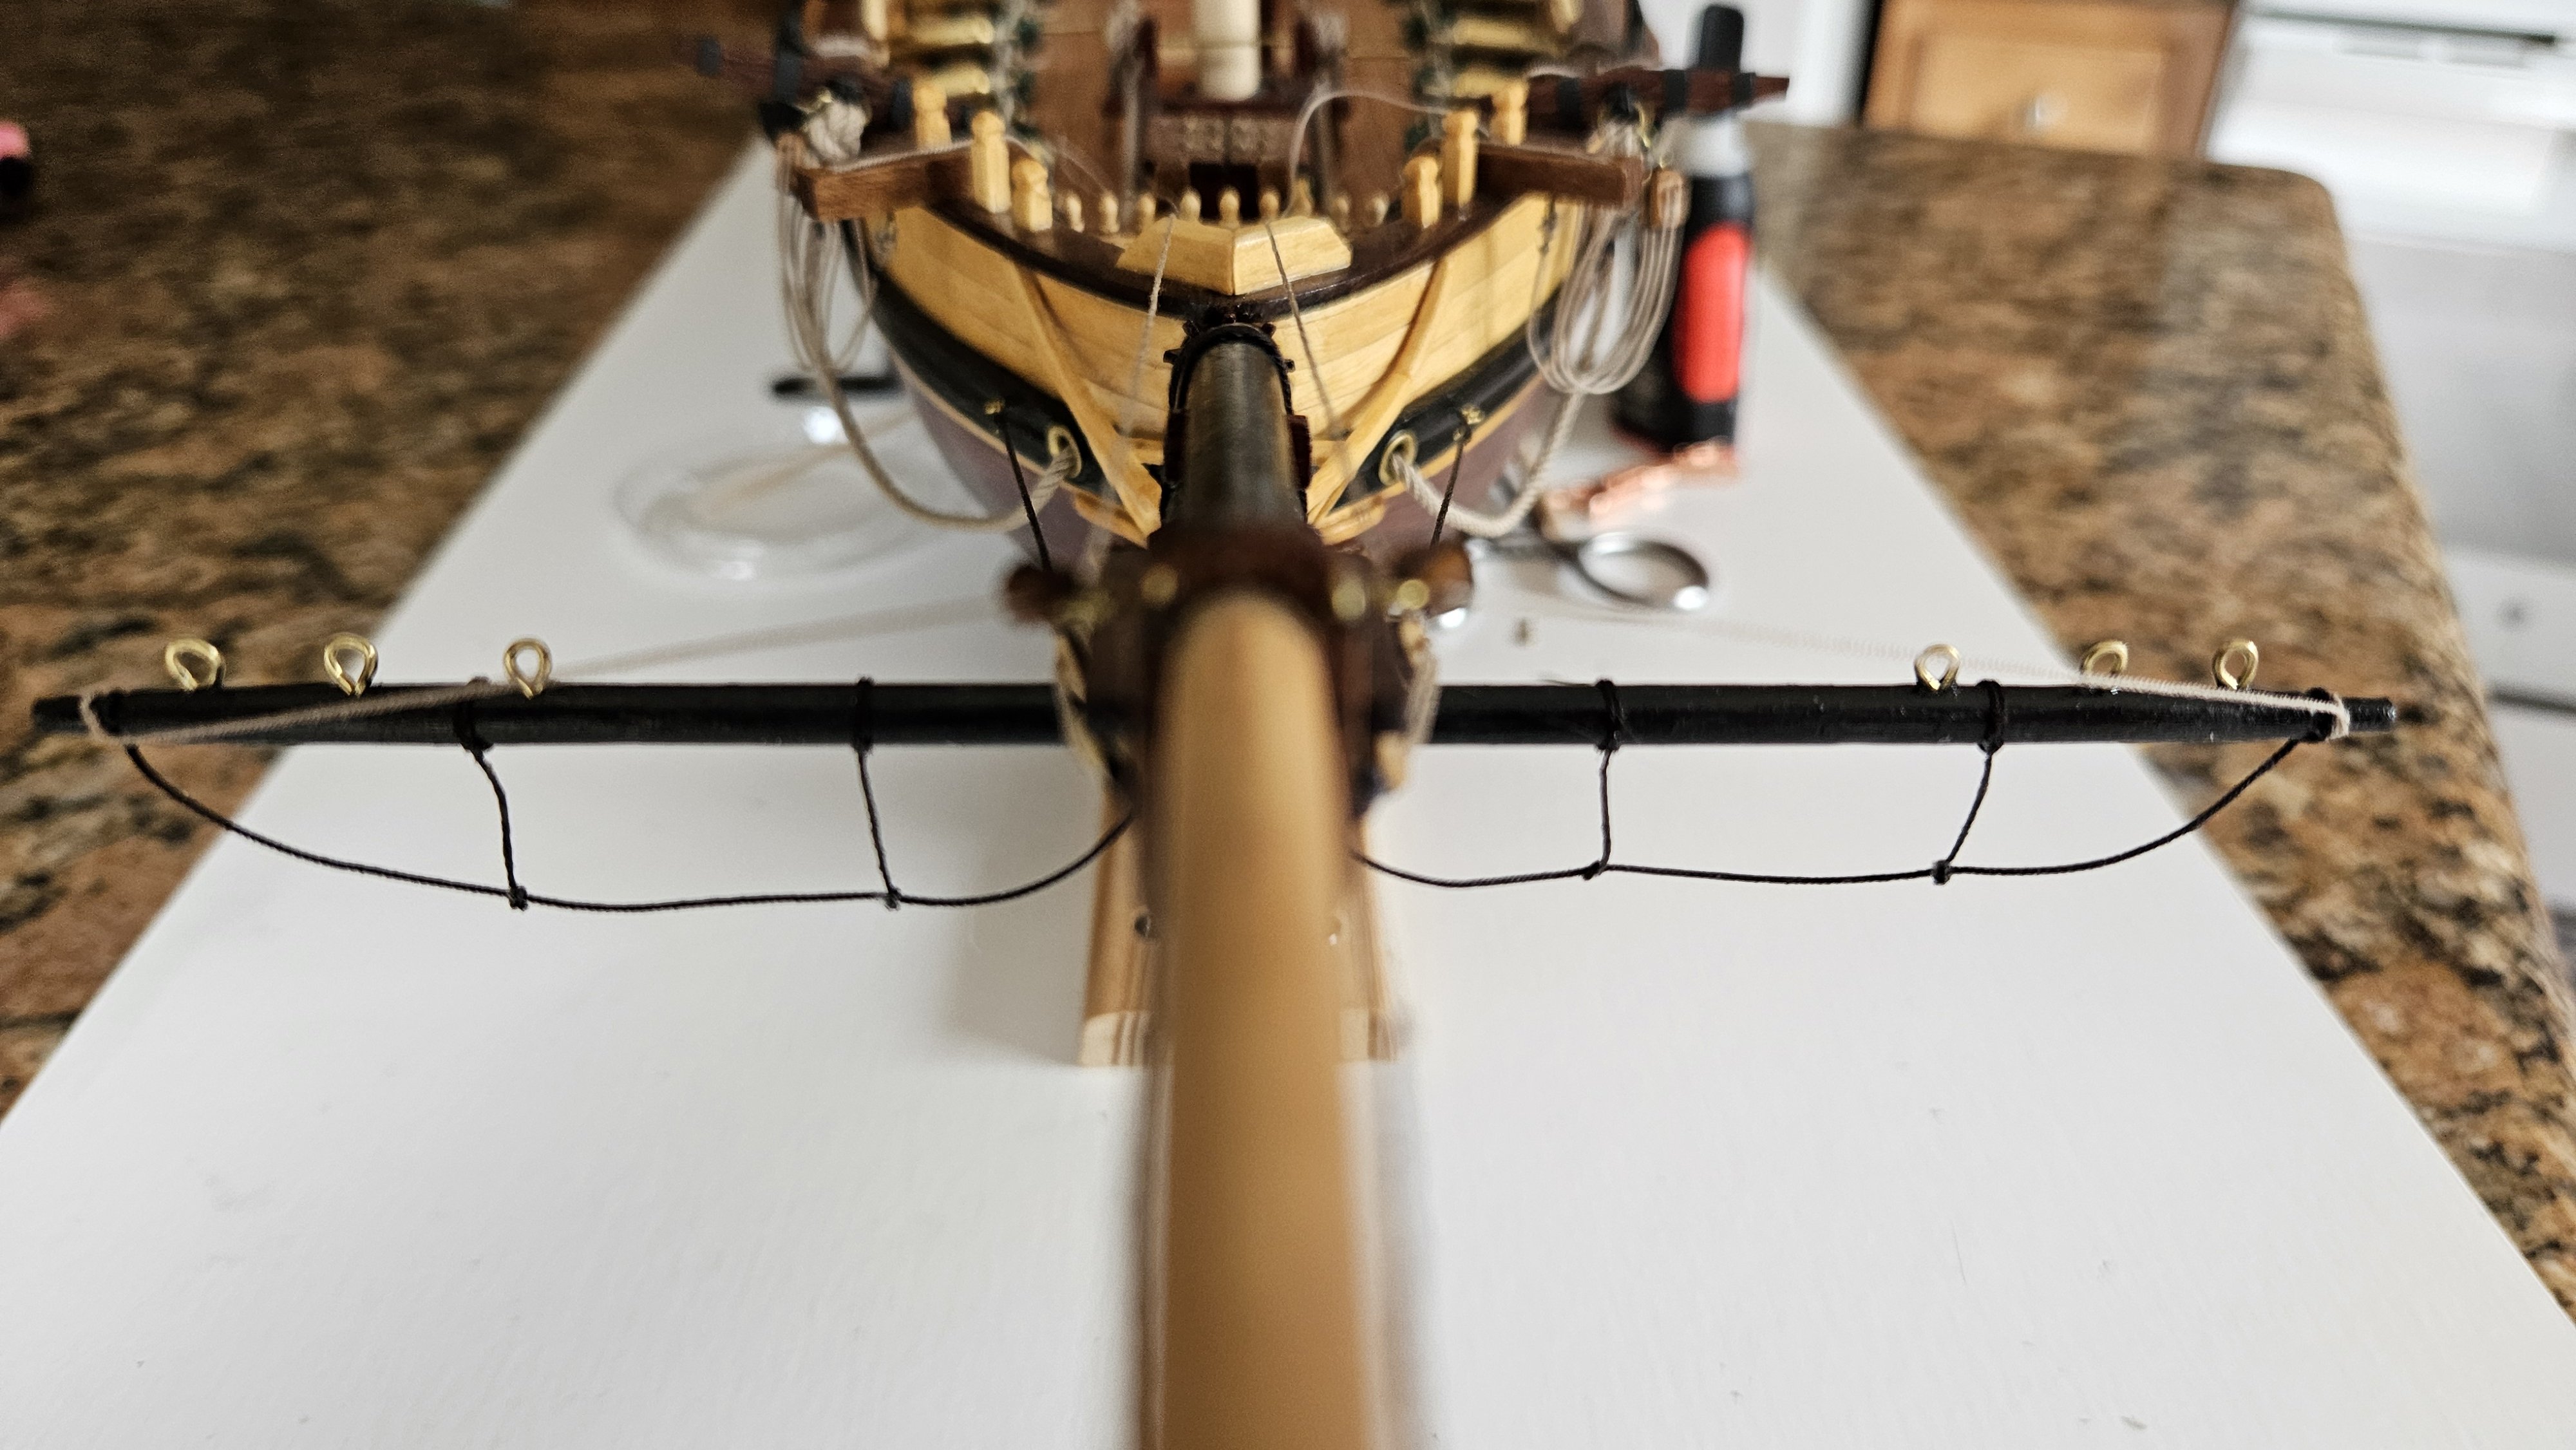
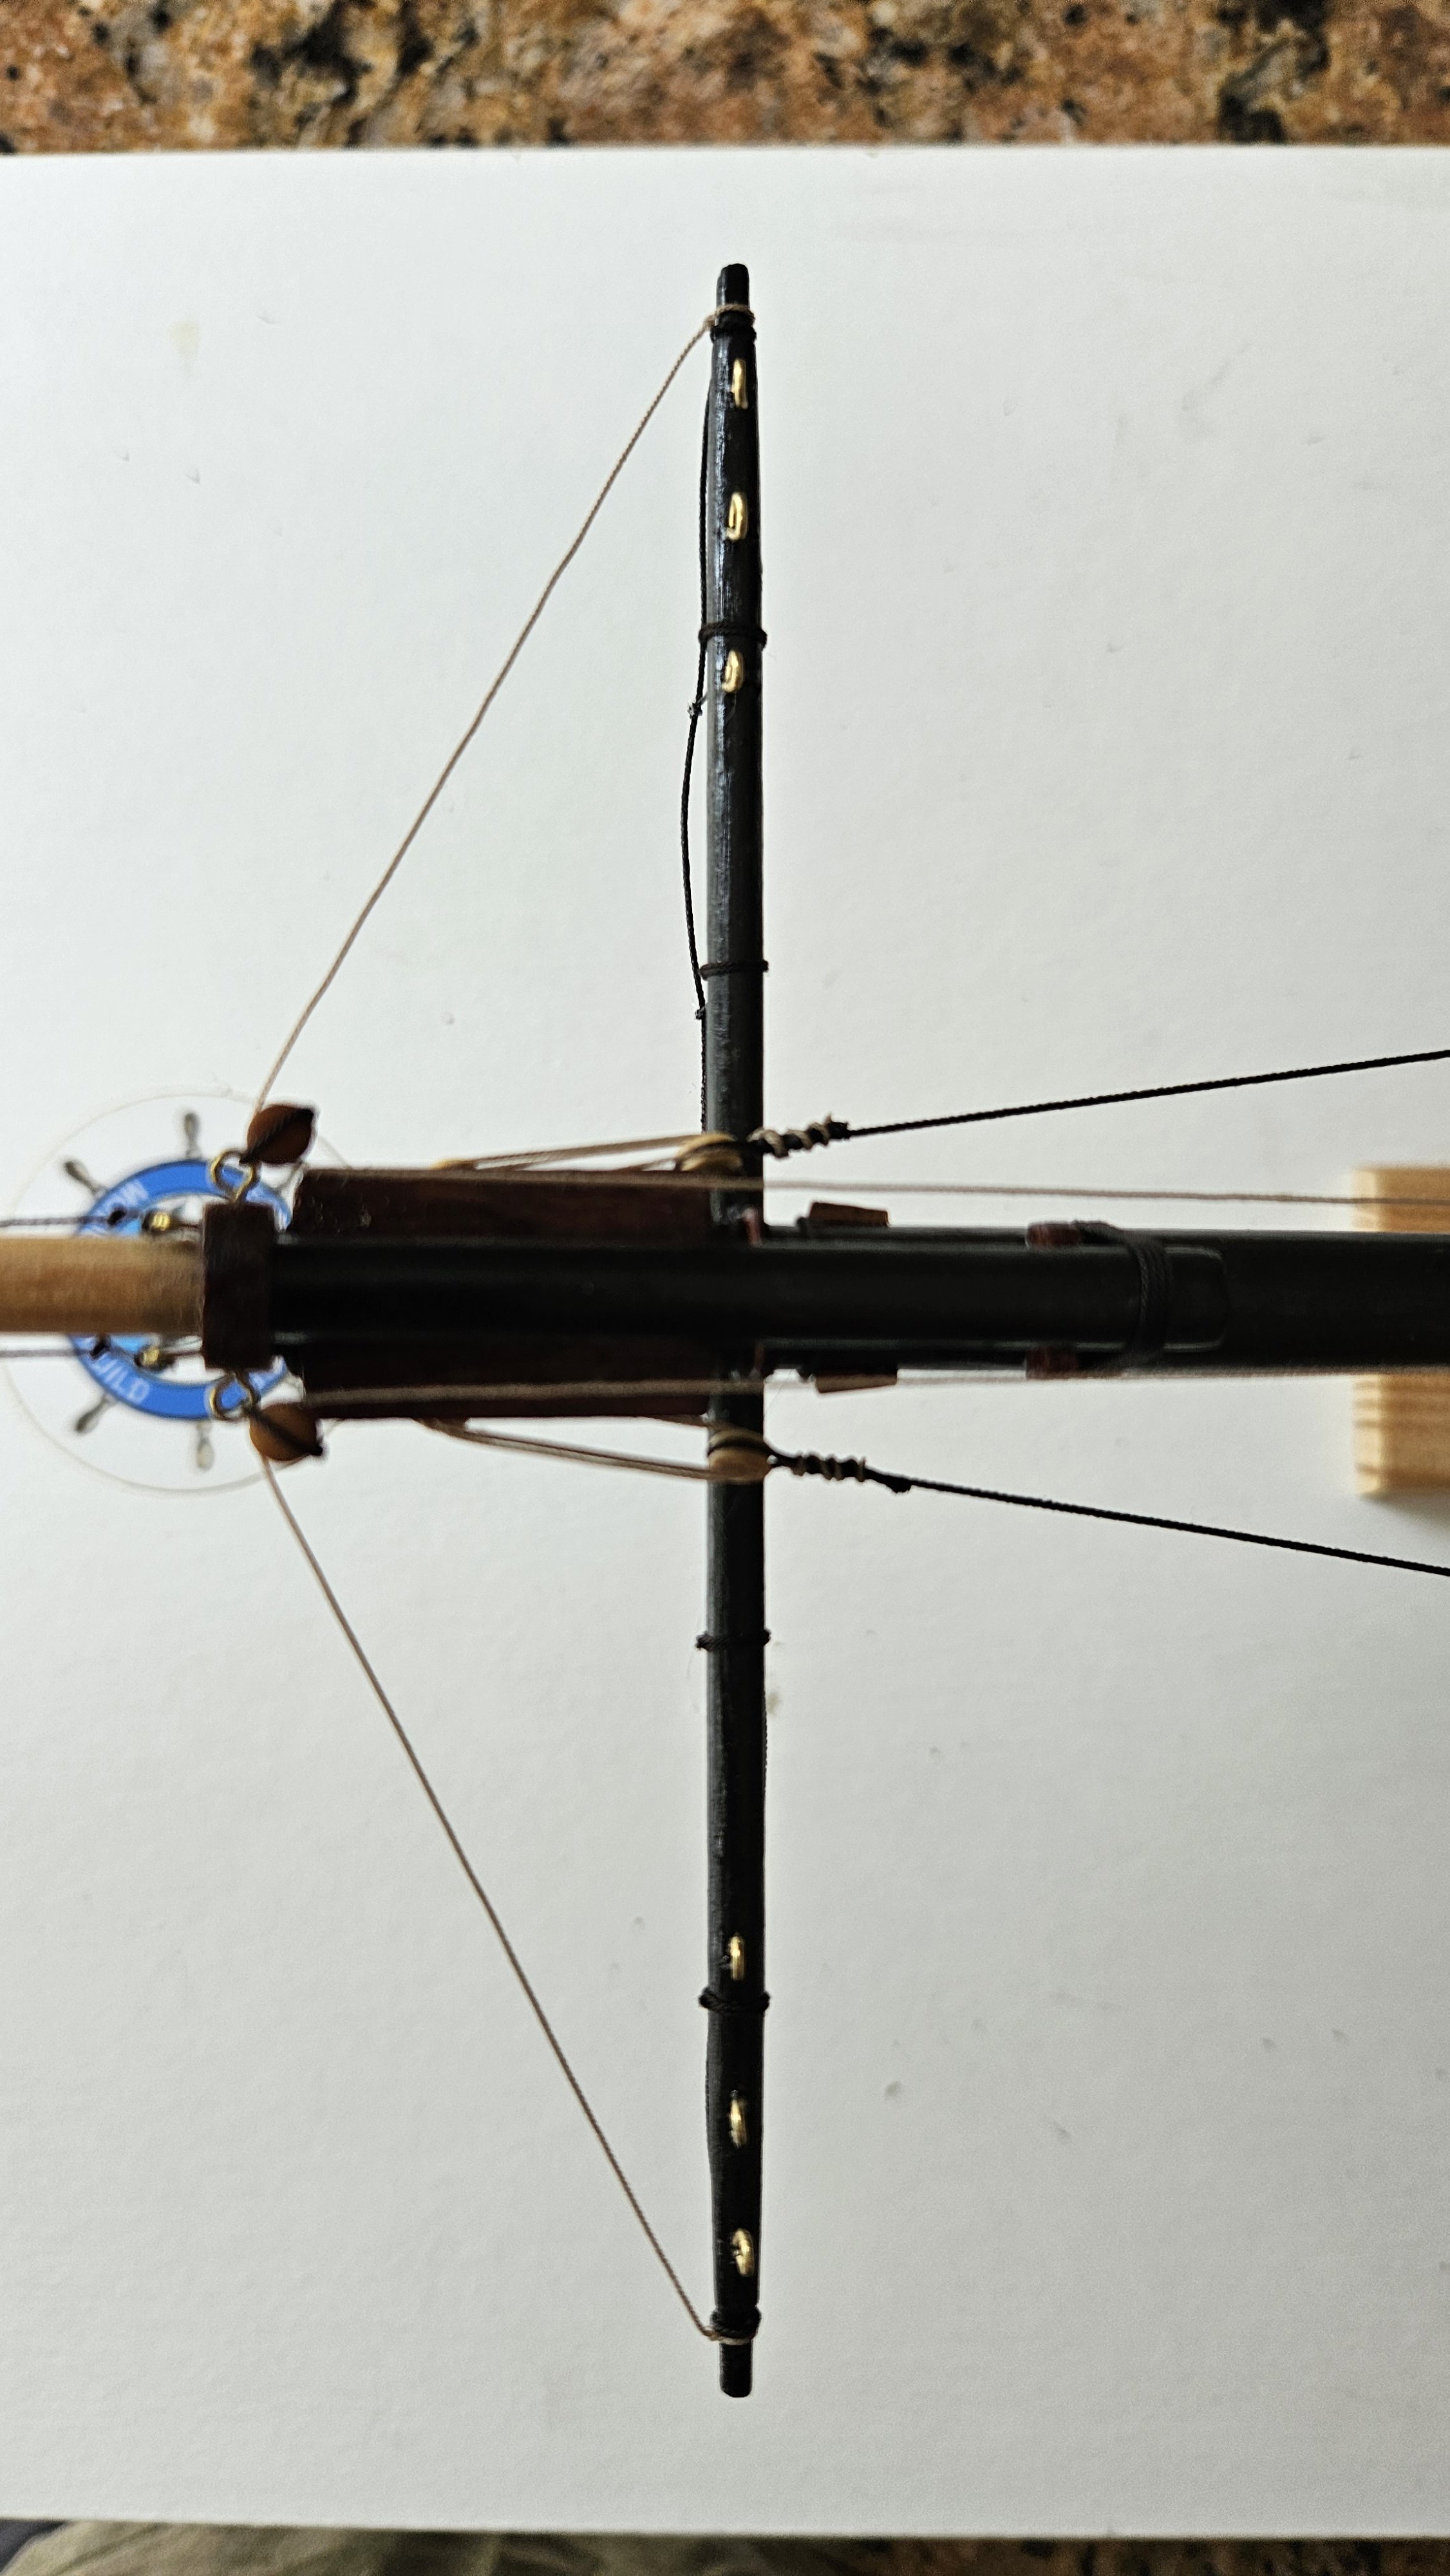
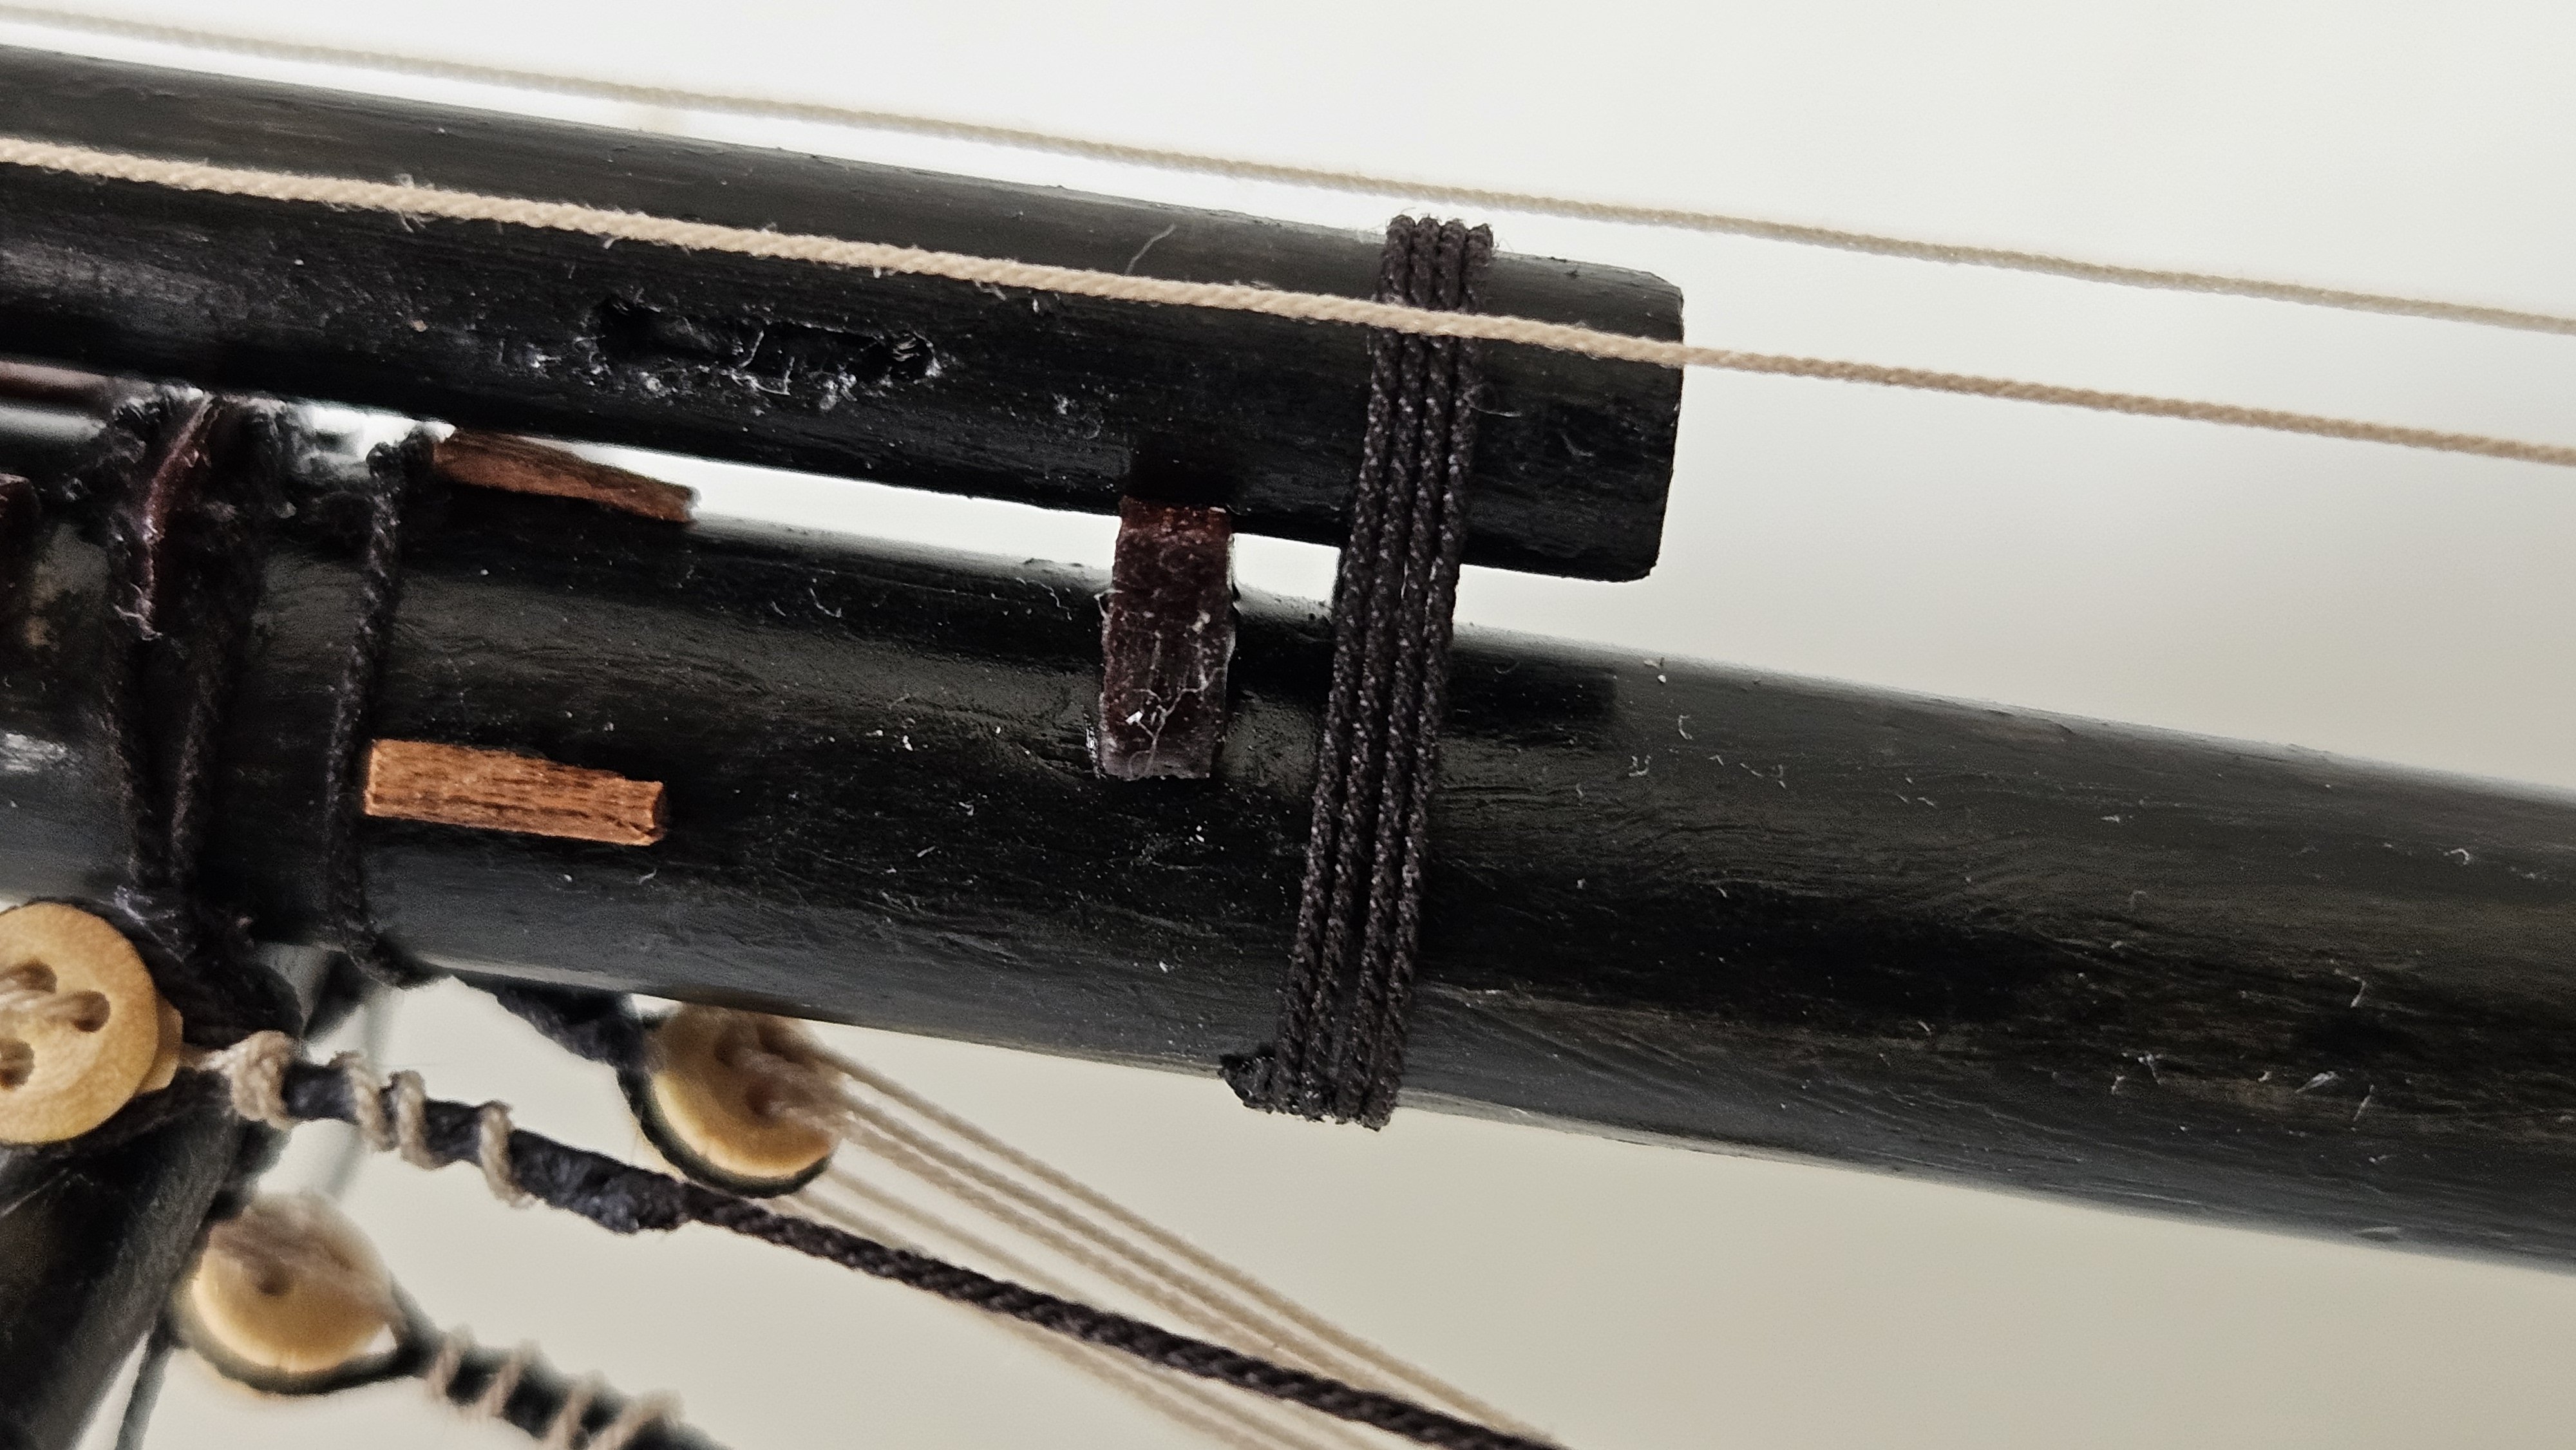
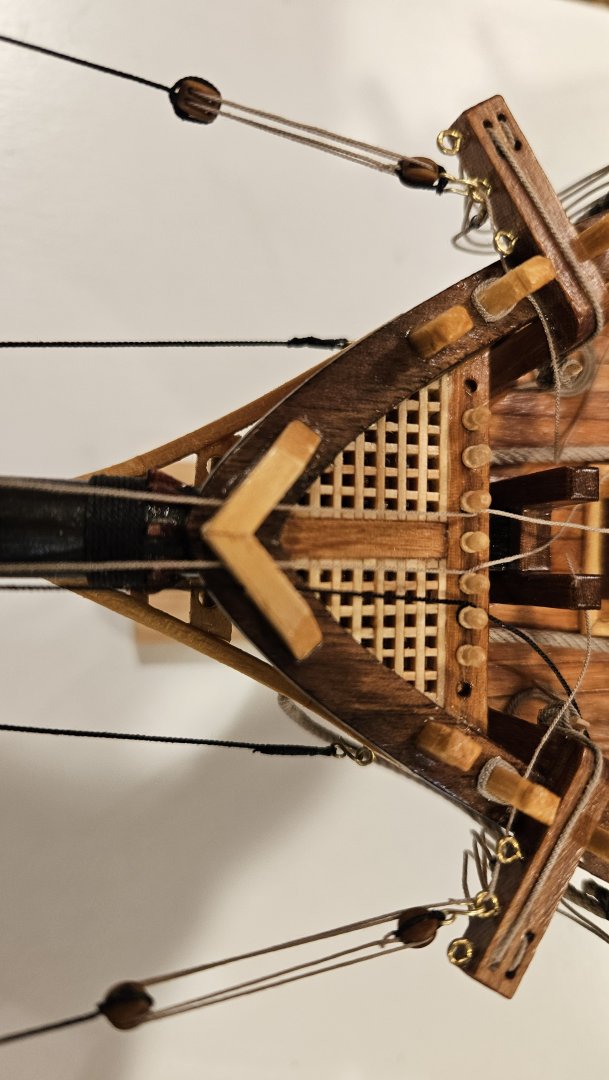
Hope everyone is doing well. Progress for the weekend: Heel lashing for the jibboom. Lever (page 20, fig 152) says heel lashing/gammoning would be nailed to the bowsprit with a leather washer under the nailhead. 5 turns of Syren ULTRA 0.025" Ultra Brown clipped taught above the jibboom. Bead of superglue along the turns at the bottom of the bowsprit. When dry, removed clip and trimmed off loose ends on the bottom leaving 4 clean turns. Spritsail yard horses and stirrups (Smithsonian Rigging Tables for PdN, 1964). Smithsonian plans list horses and stirrups. Clove hitches at the spar, overhand knots at the horse, dab of superglue to hold them. (Ship Modeling Simplified, Mastini Figure 55, number 6) Syren ULTRA 0.018" for horses. Syren ULTRA 0.012" for stirrups. Stiffened with 50/50 diluted Elmer's School Glue. Footropes at the jibboom. Chapelle plans. Syren ULTRA 0.012" line. Stiffened with 50/50 diluted Elmer's School Glue. Spritsail yard lifts. Chapelle plans and Smithsonian Rigging Tables for PdN. Syren 5/32" blocks. Syren ULTRA 0.012" line. Thanks for checking in as always.


-
On the plus side Chuck, I just ordered 4 more bags of line from you today. Thanks for facing down the jerks and still providing the rest of us with the goods to make things happen. Couldn't do it as well without you for sure. Respect.
-
Congratulations! Grecian is a beauty. Wonderful work. Her and Harpy side by side is just fabulous. Thanks for sharing them together like that.
- 52 replies
-
- 1
-
-
- Grecian
- Vanguard Models
- (and 1 more)
-
'Tis always so. Looking good Phil. Still waiting for a small deadeye that took flight a couple days ago to return to me. Keep up the great work!
- 288 replies
-
- 6
-
-
-
-
- Card
- Pre-Dreadnought
- (and 3 more)
-
Phil - I love your sea stories - brings me back to my Marine Corps days, particularly 1986-1990. Simpler times for sure.
- 490 replies
-
- 2
-
-
- minesweeper
- Cape
- (and 1 more)
-
Looking great! Thanks for sharing the techniques - very nice!