
Coyote_6
-
Posts
560 -
Joined
-
Last visited
Content Type
Profiles
Forums
Gallery
Events
Everything posted by Coyote_6
-
 On the plus side Chuck, I just ordered 4 more bags of line from you today. Thanks for facing down the jerks and still providing the rest of us with the goods to make things happen. Couldn't do it as well without you for sure. Respect.
 -
Congratulations! Grecian is a beauty. Wonderful work. Her and Harpy side by side is just fabulous. Thanks for sharing them together like that.
- 52 replies
-
- 1
-

-
- Grecian
- Vanguard Models
- (and 1 more)
-
'Tis always so. Looking good Phil. Still waiting for a small deadeye that took flight a couple days ago to return to me. Keep up the great work!
- 288 replies
-
- 6
-

-
-

-
- Card
- Pre-Dreadnought
- (and 3 more)
-
Phil - I love your sea stories - brings me back to my Marine Corps days, particularly 1986-1990. Simpler times for sure.
- 493 replies
-
- 2
-
-
- minesweeper
- Cape
- (and 1 more)
-
Looking great! Thanks for sharing the techniques - very nice!
-
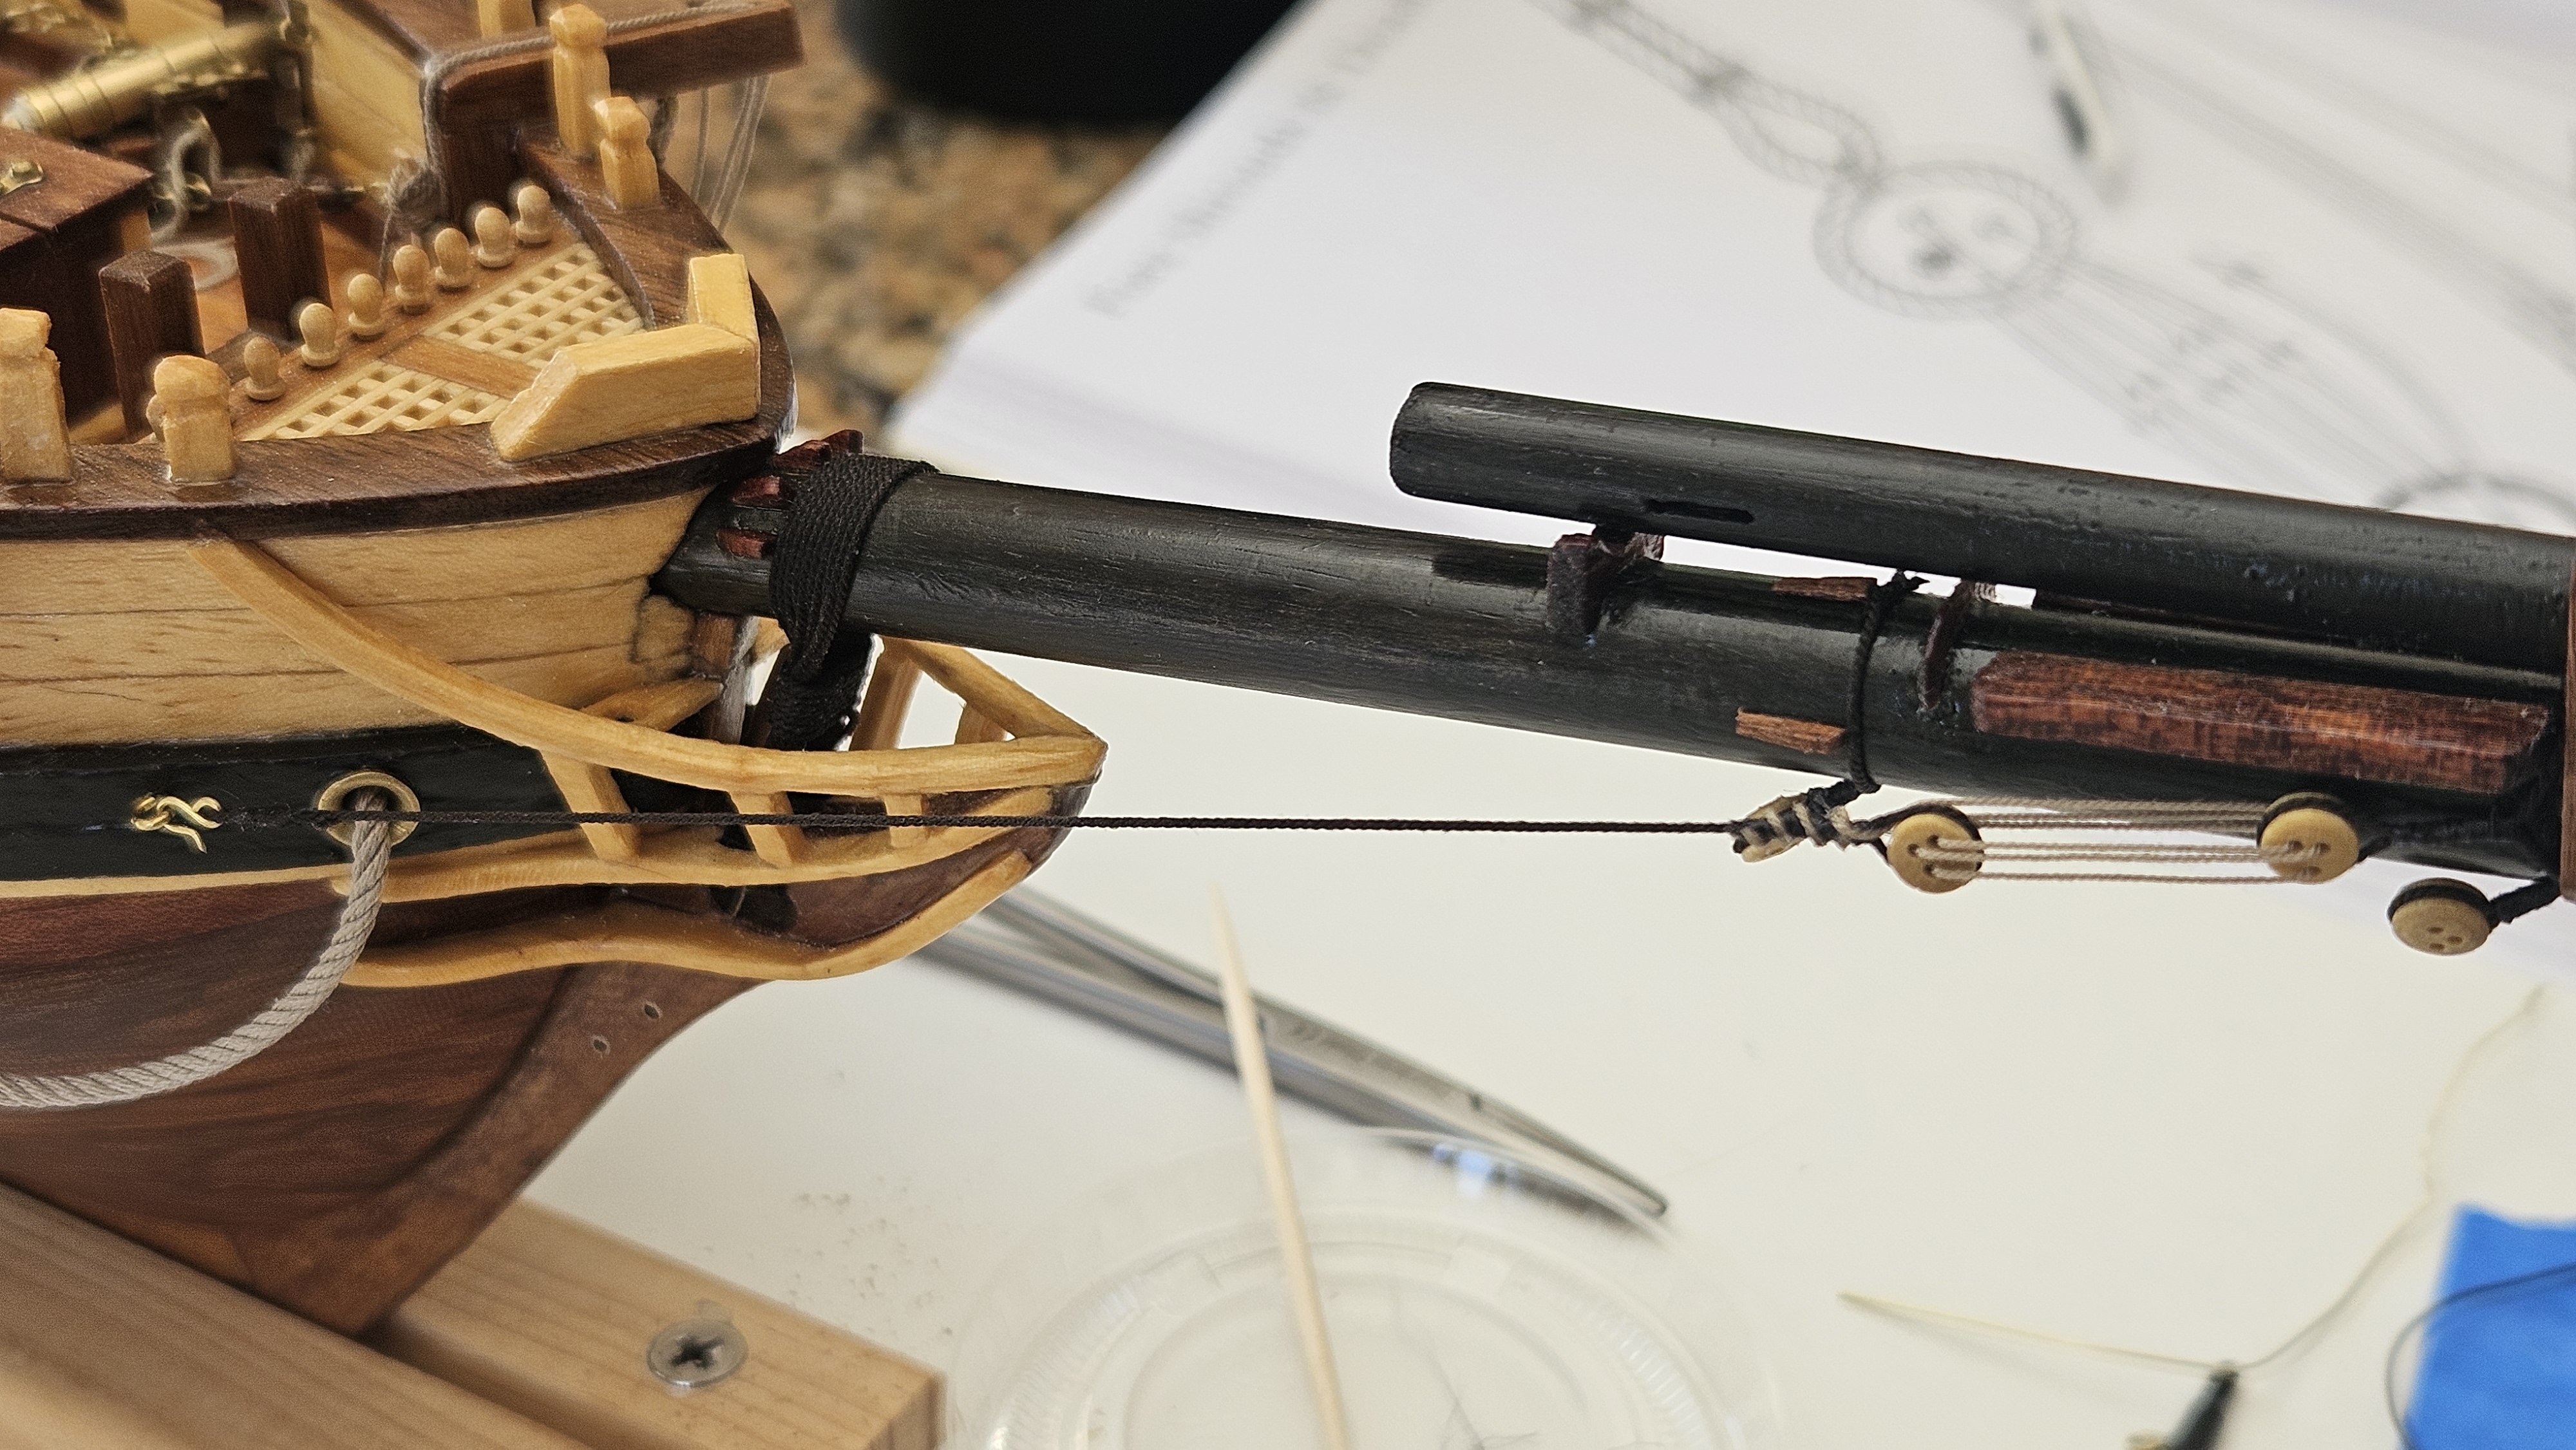
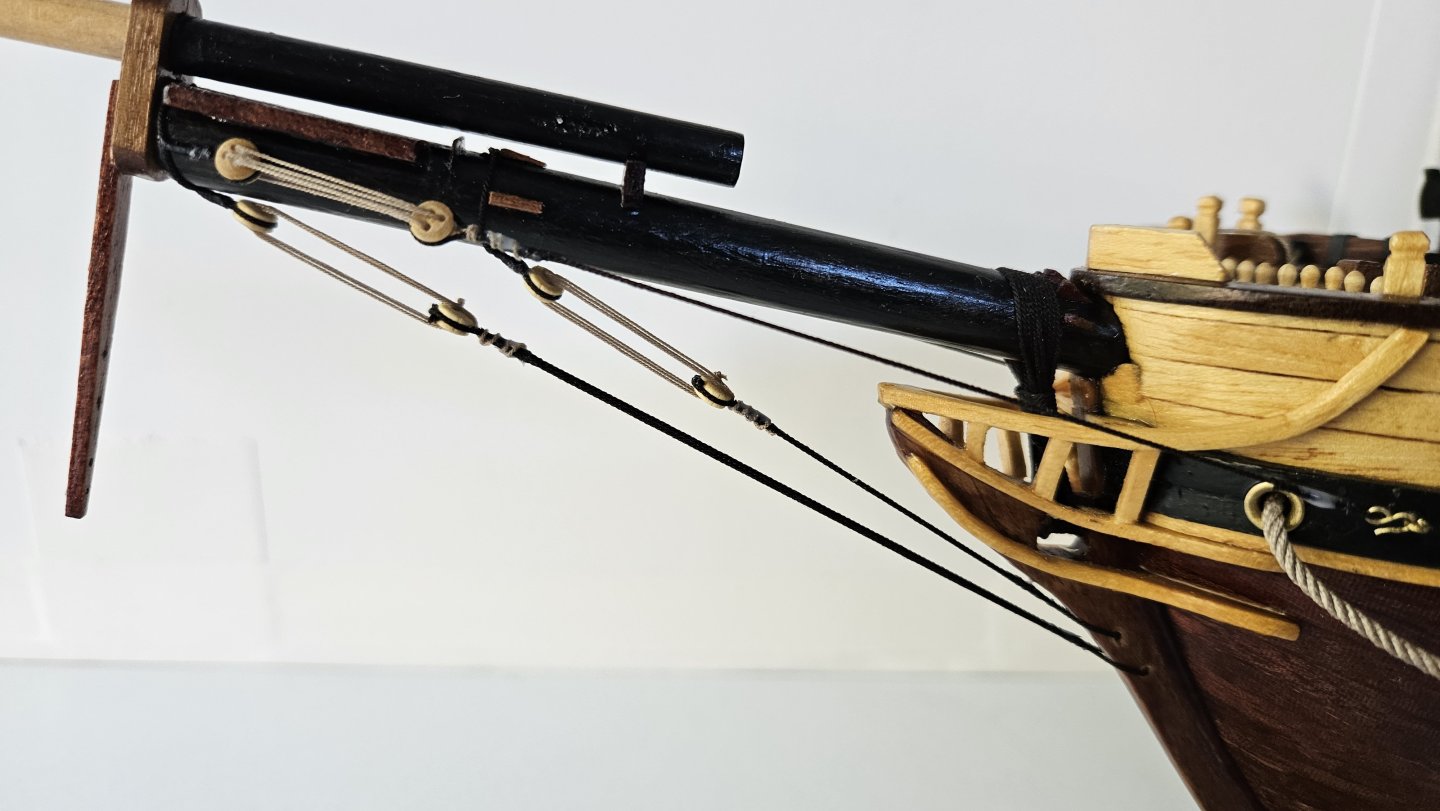
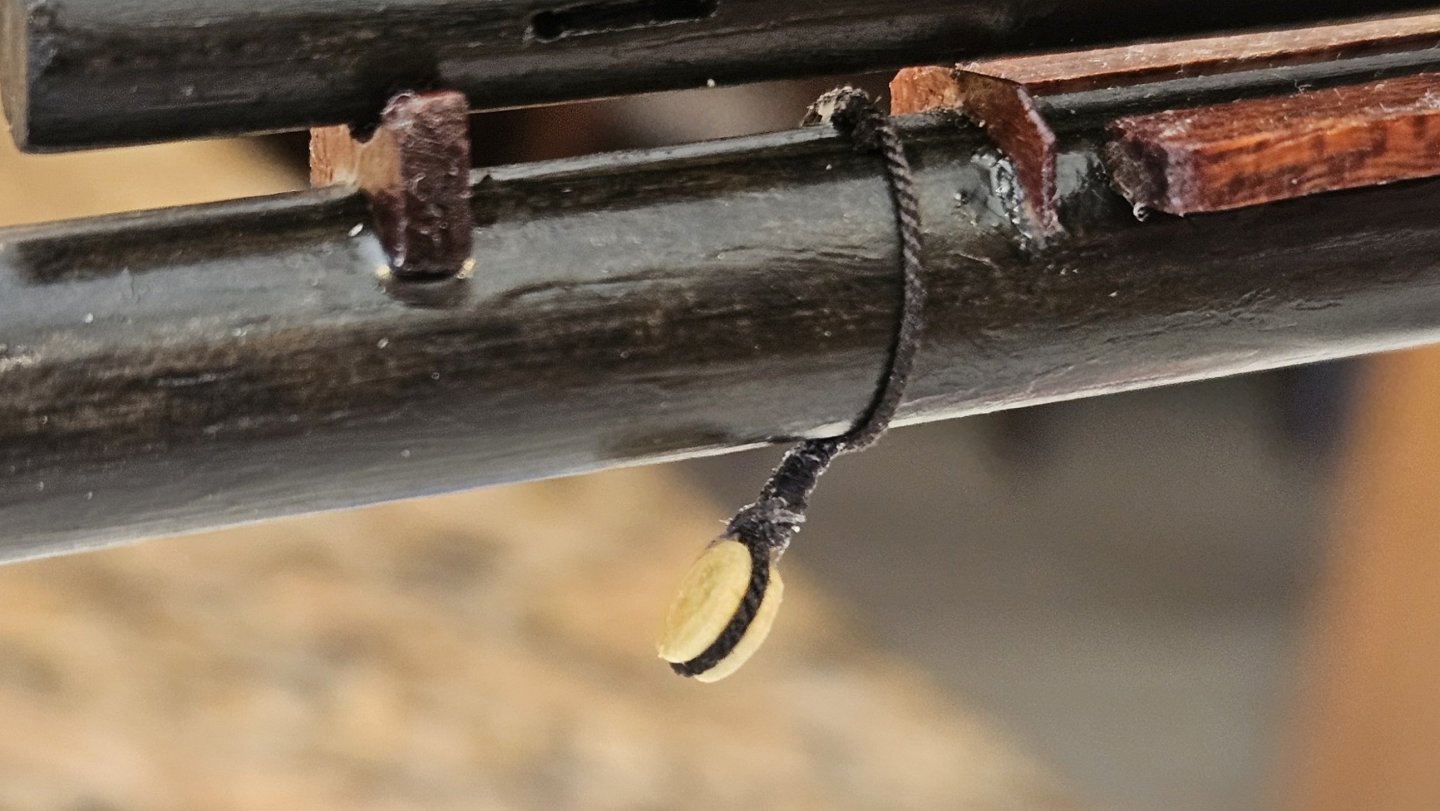
And finally closing the weekend with the bobstays. (Syren Ultra Brown 0.025", Syren Ultra Tan 0.012") I am thinking I might be needing some masts soon to continue rigging? Anyway, thanks for checking in and for any and all comments/advice. (Marquardt, Global Schooner, page 169, figure indexes 2 and 8, Petersson, Rigging Period Fore and Aft Craft, page 84, and Chapelle's rigging plans)
-
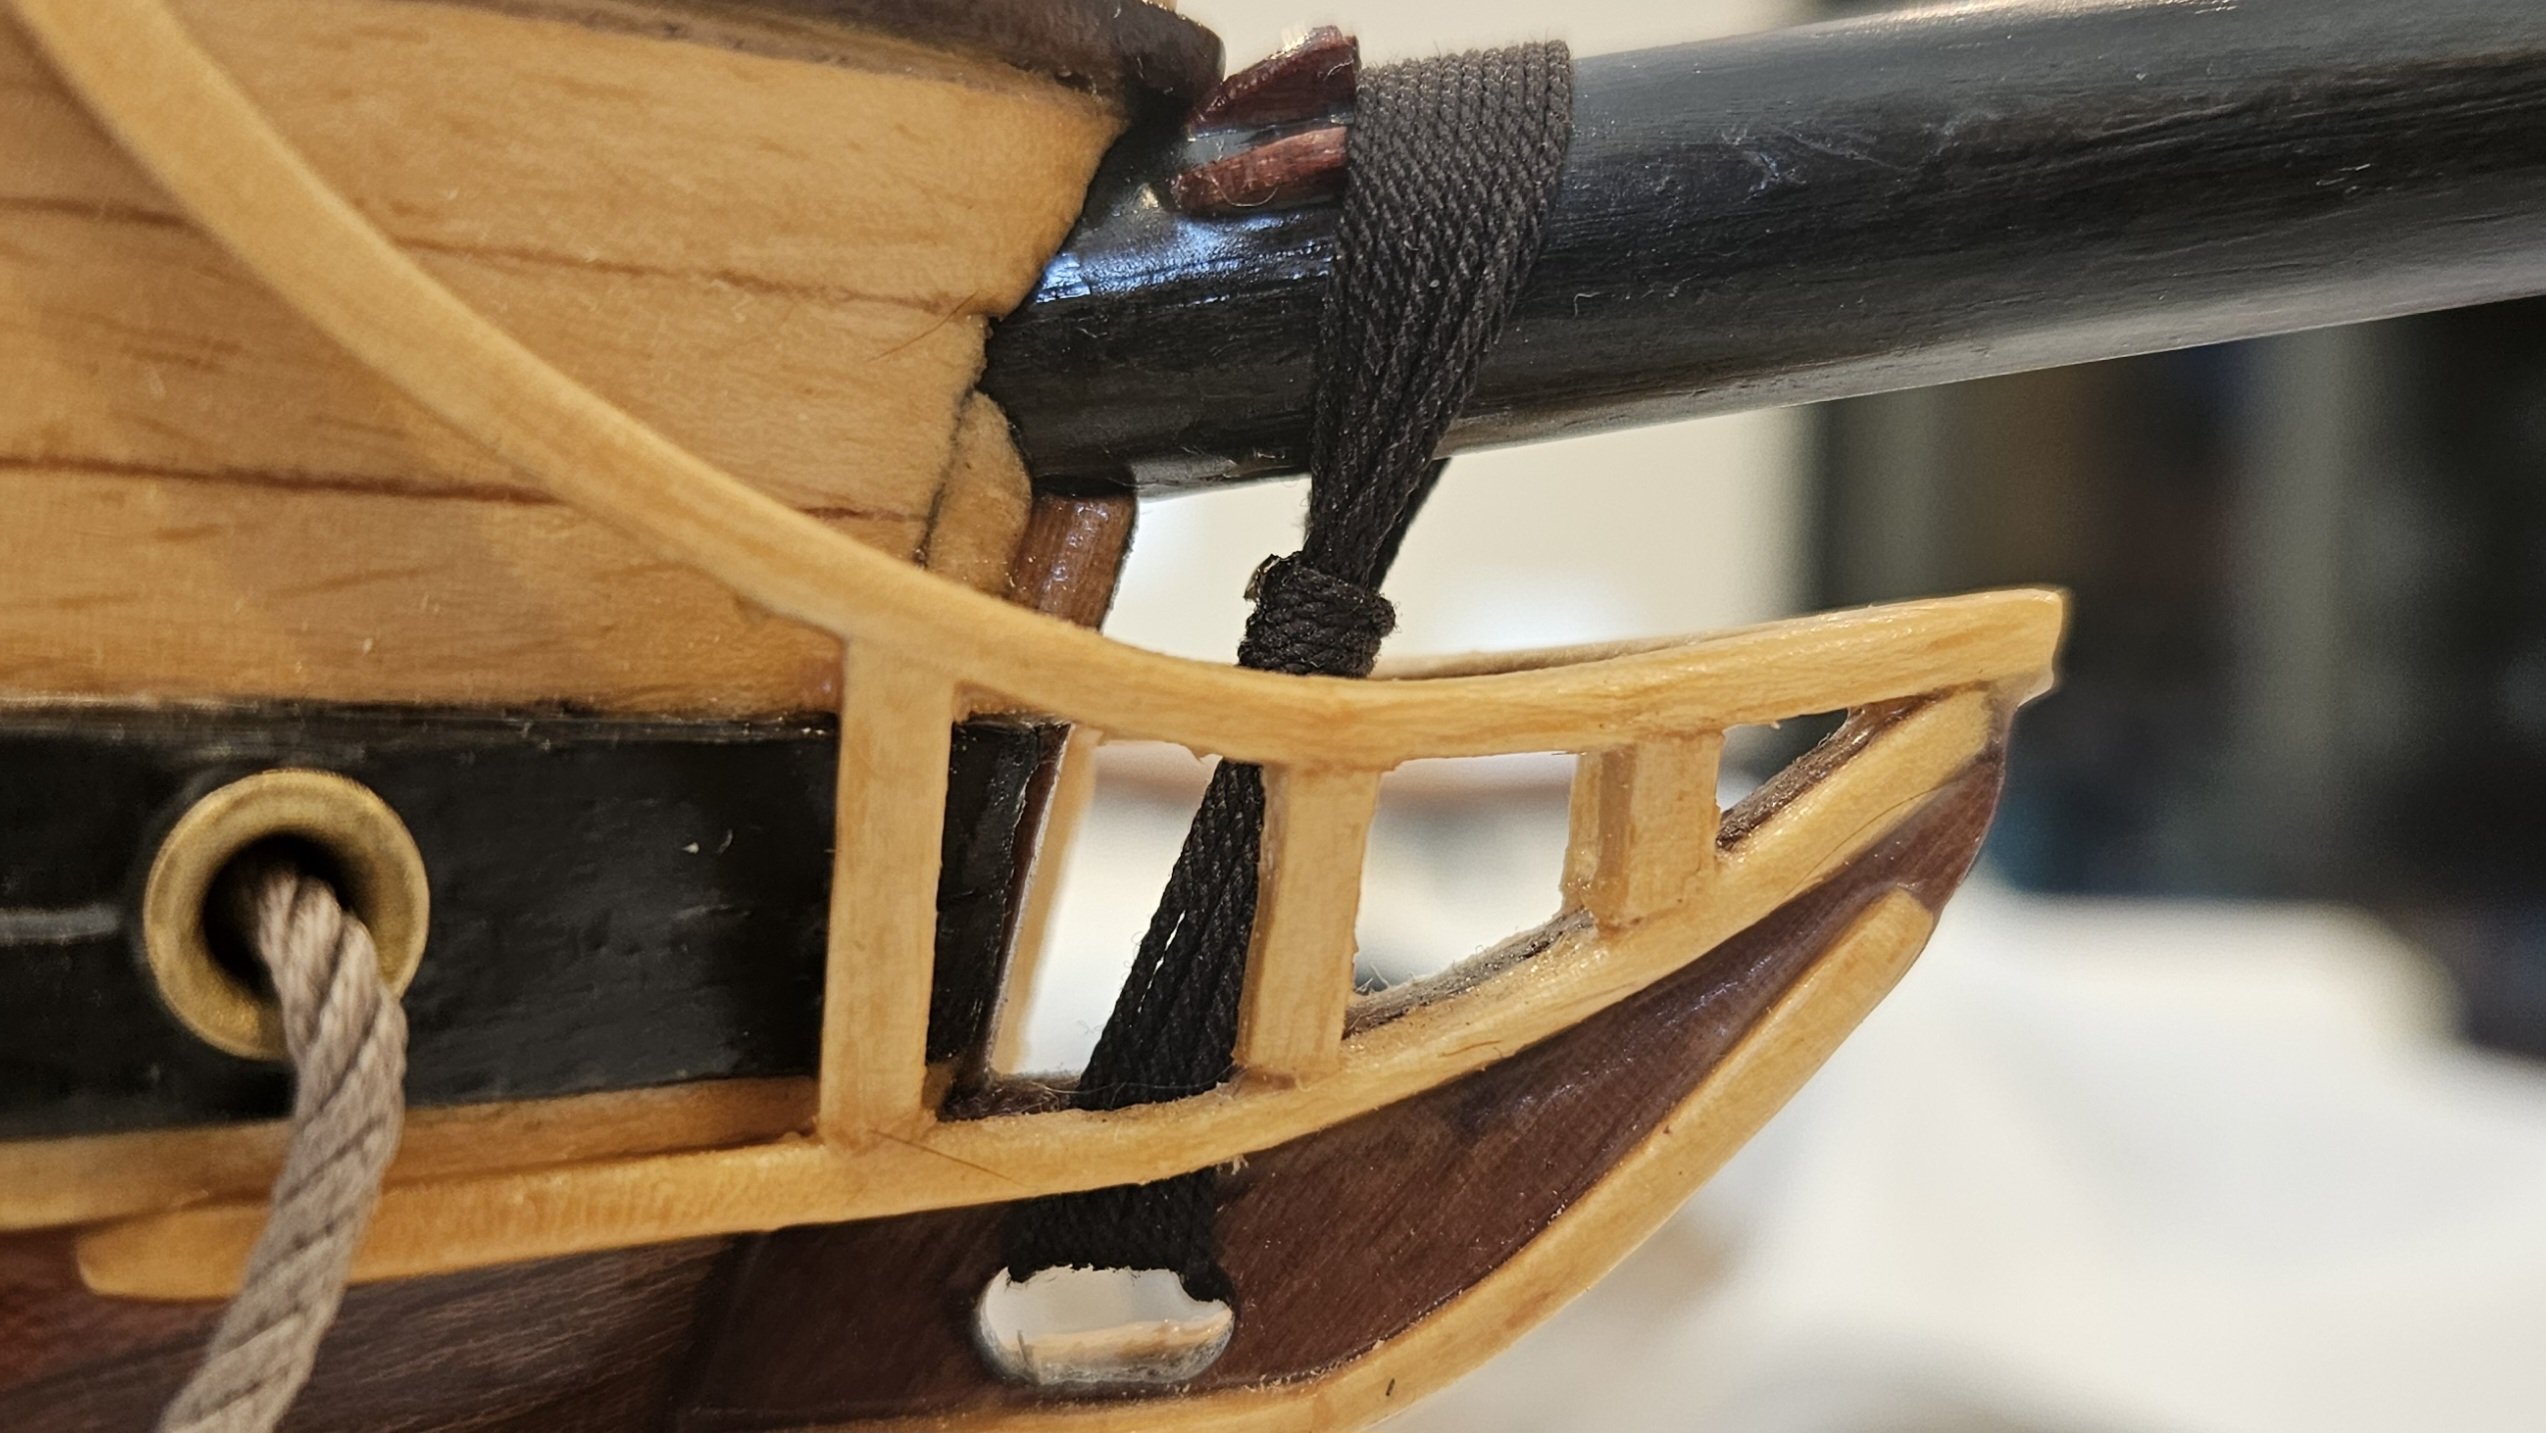
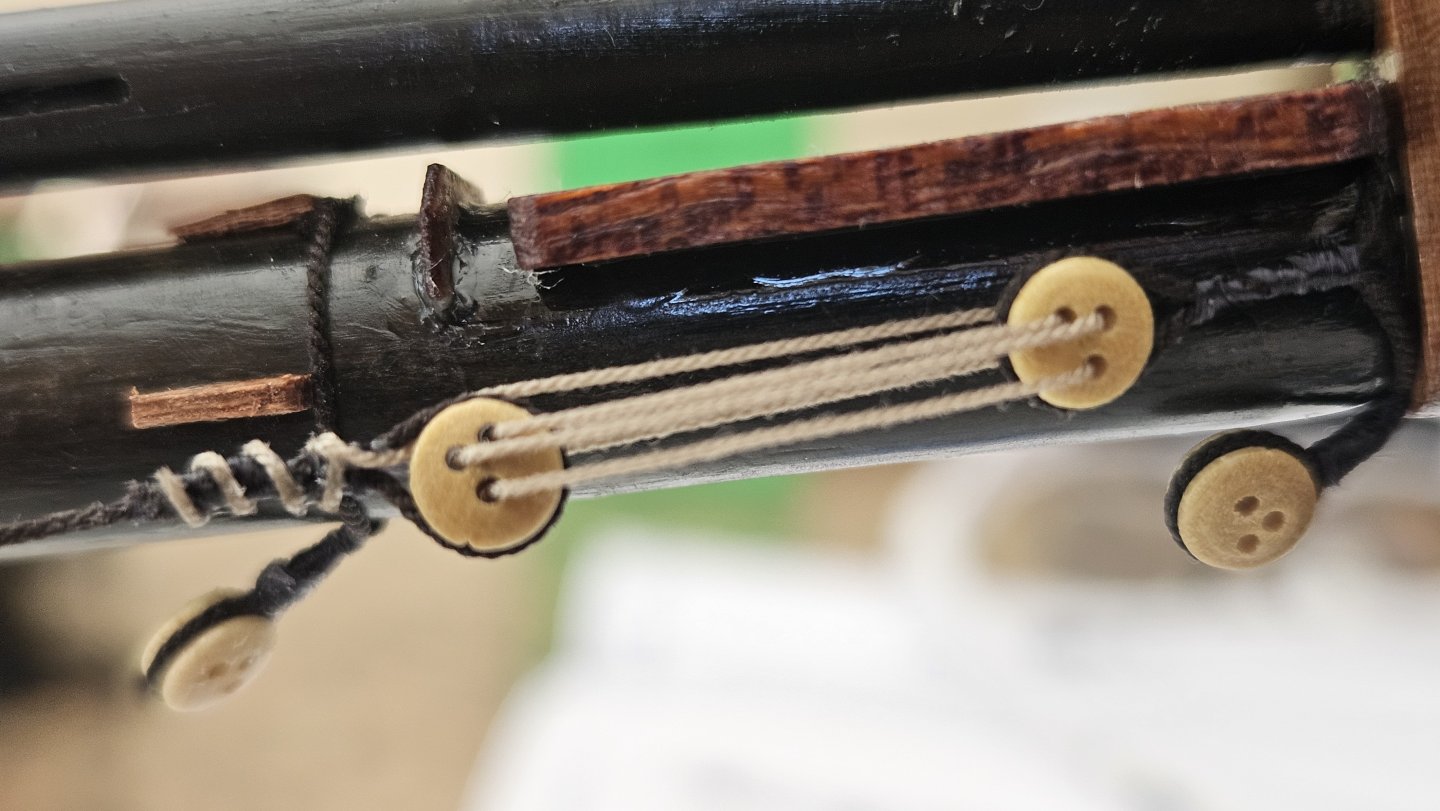
Bowsprit Shrouds. (Syren Ultra Brown 0.025", Syren Ultra Tan 0.012") (Marquardt, The Global Schooner, p.169, figure, index 7 and Chapelle's rigging plans)

-
First deadeye rigged. Like, ever. (Petersson, Rigging Period Fore and Aft Craft, pages 76 and 77)
-
Did I mention that is pretty wood? Or the light is very complimentary, but either way that looks very nice with the poly.
-
Very clean Chris! Big improvement.
-
Thanks guys. As my first piece of spar rigging I was a little nervous. Appreciate the input. "Rigged" the first bobstay deadeye as well. (May add a couple cleats for this one?) Steady as she goes then. (Lever, Sheet Anchor, page 21 fig 156 and Chapelle's rigging plans)
-
@Chuck Seiler Thanks Chuck for the vote of confidence. And we DO want to finish at some point! I'm glad folks were willing to discuss both sides of the "to serve or not to serve" question. There are always different approaches.
-
@Dr PR Thanks Phil. If I am being honest, I may be a bit overwhelmed with this new first-timer task!🤪 There's like 20 lines at the bowsprit, I'm referencing like 3 different books and Chapelle's sail plan, and just trying to get it right. I may be a bit tightly wound!! 🤣 Thankful for the help from you guys. Makes all the difference. I think it's the eating an elephant analogy. How do you eat an elephant? Focus on 1 bite (line) at a time. I am learning and having fun, so there is that!
-
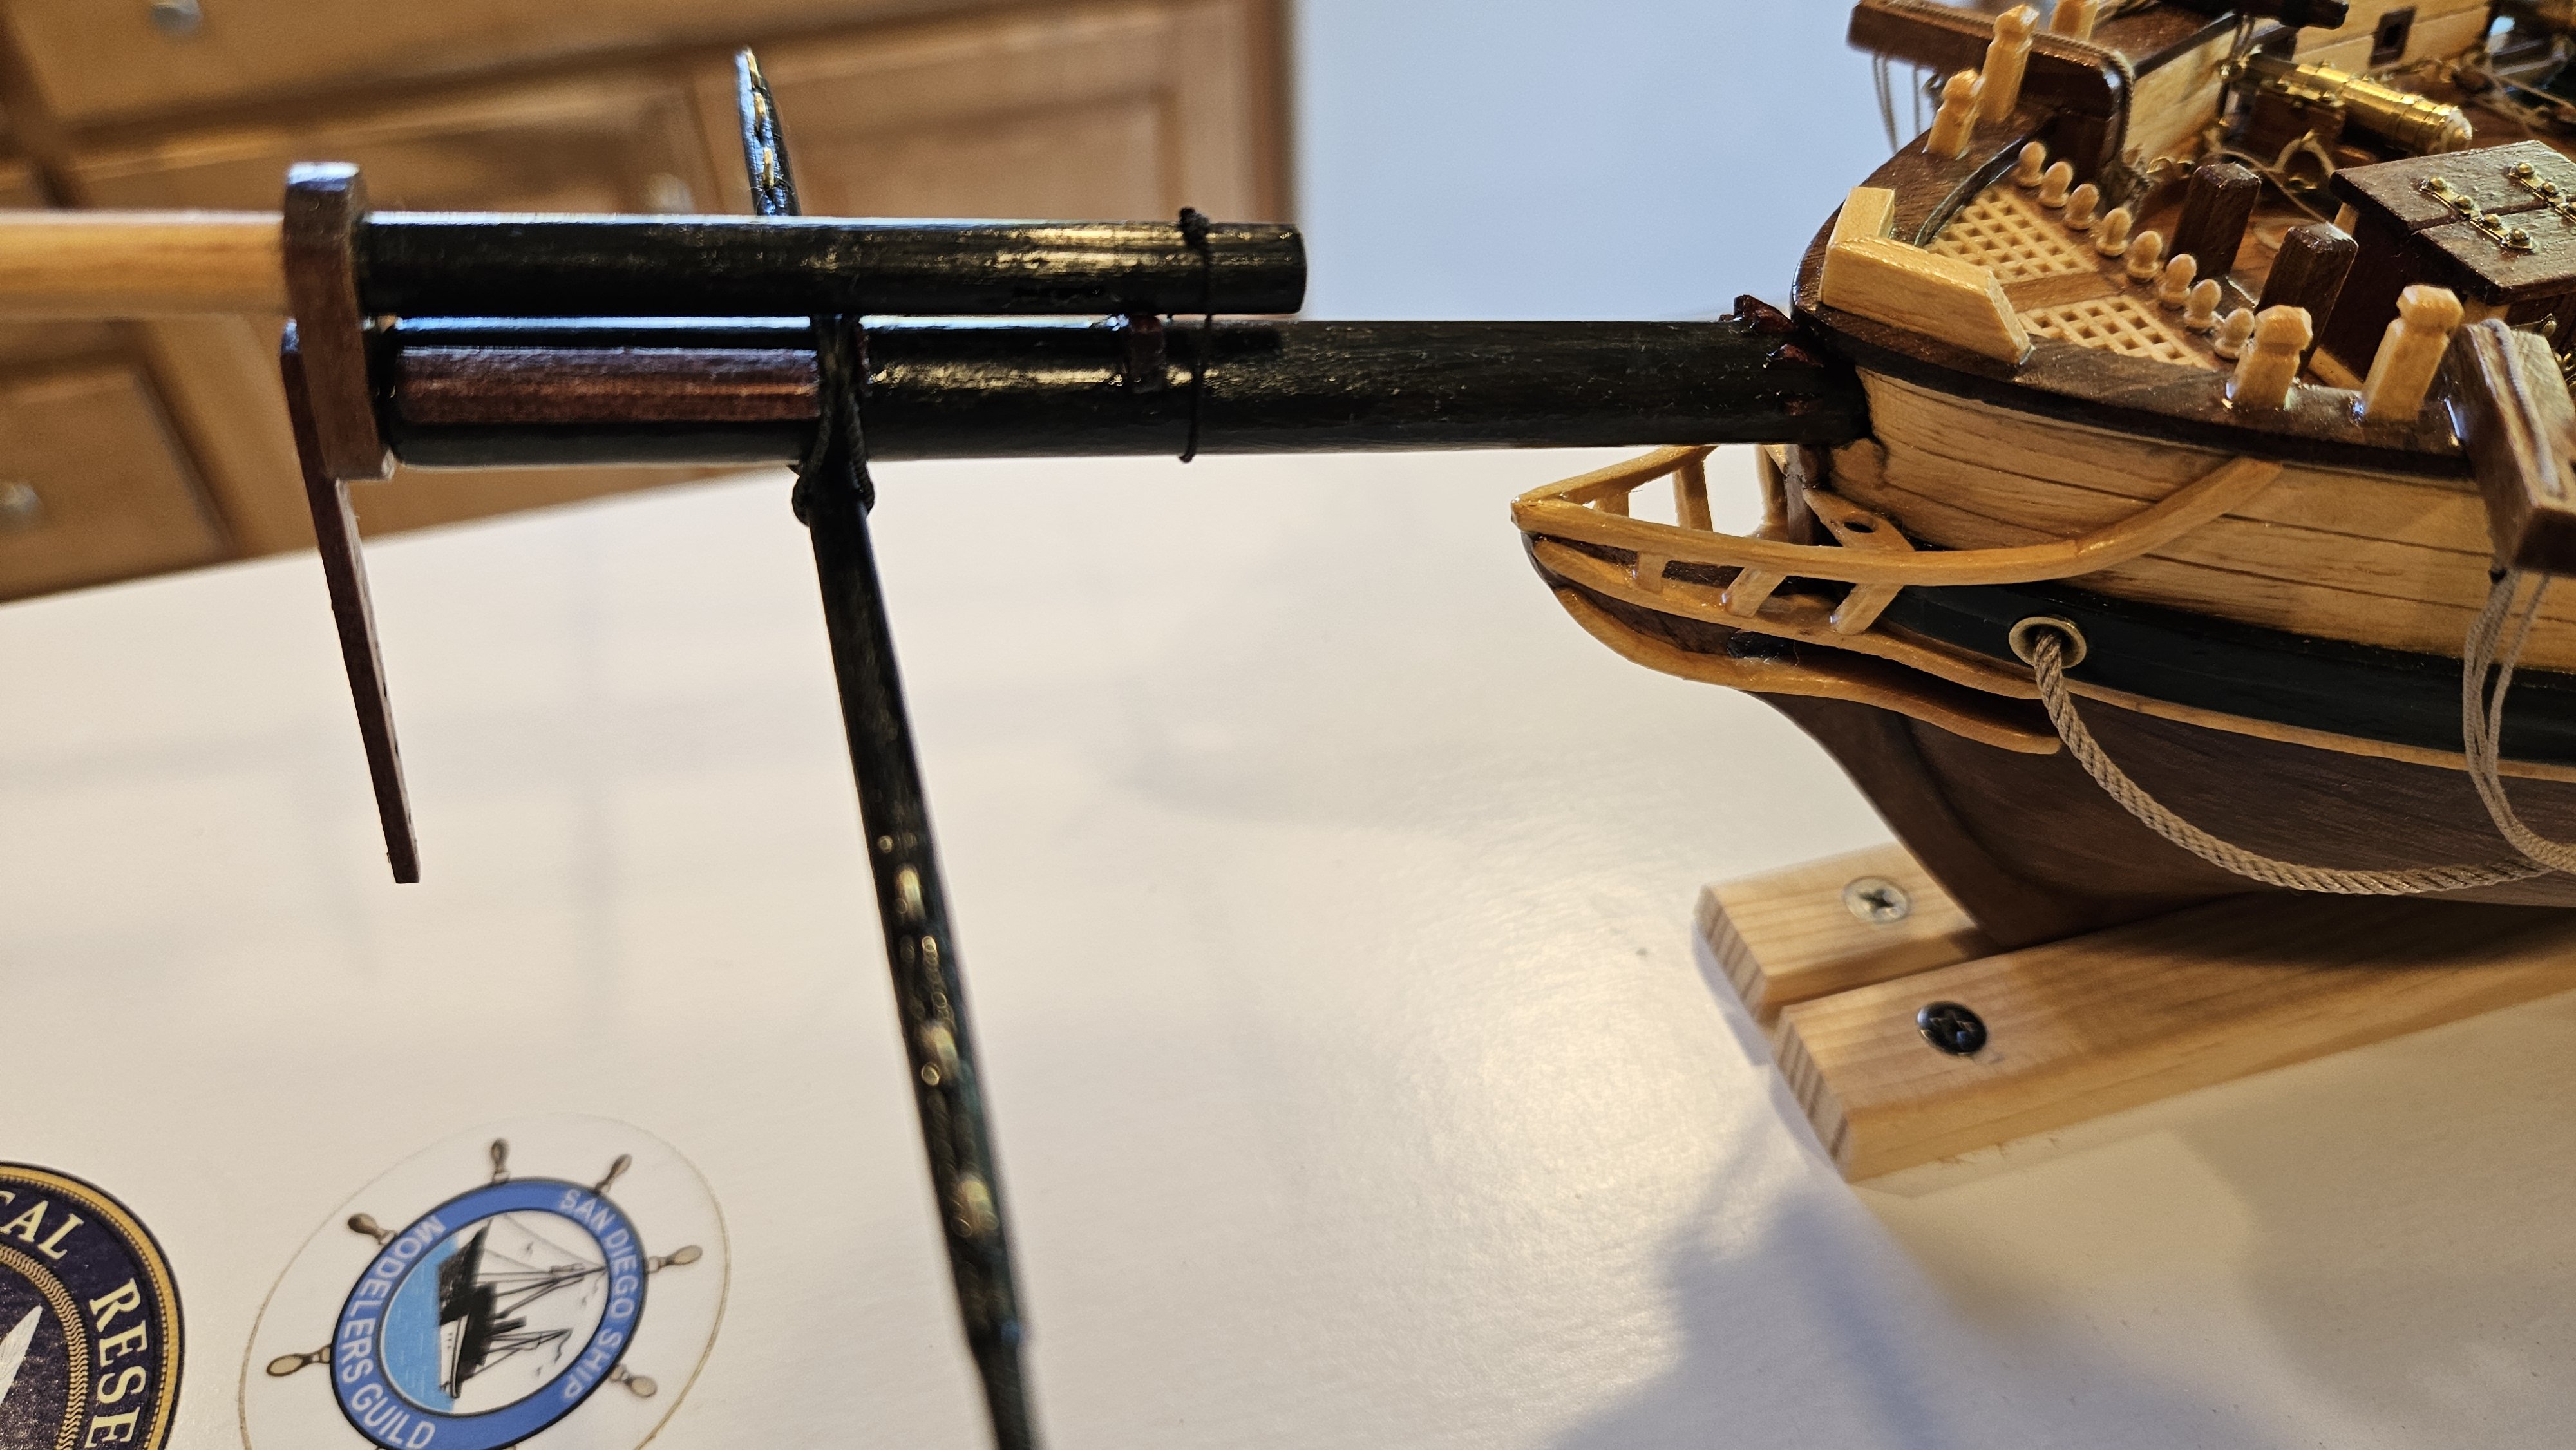
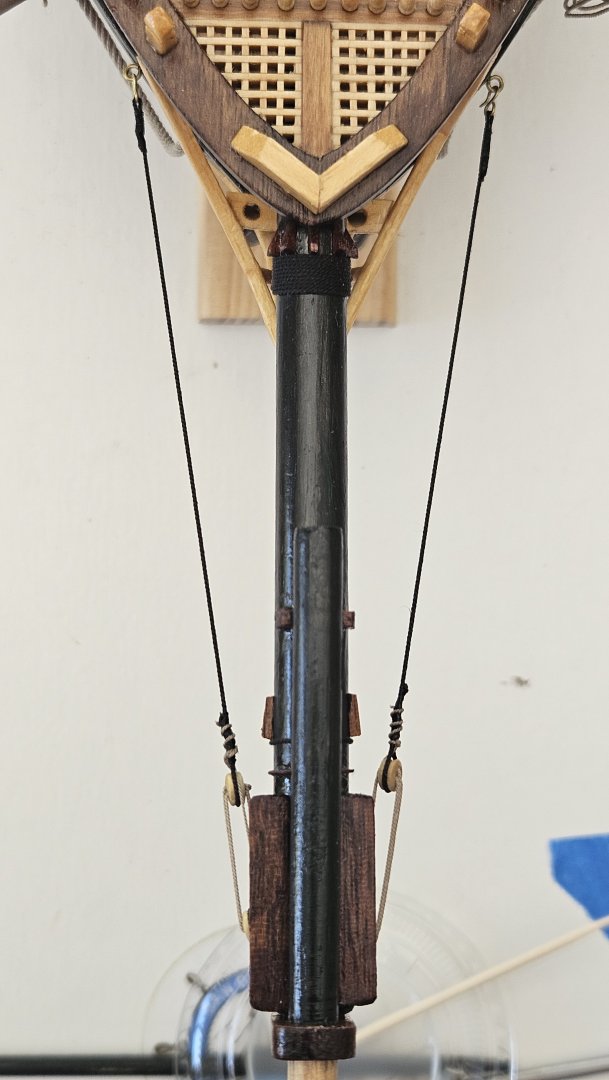
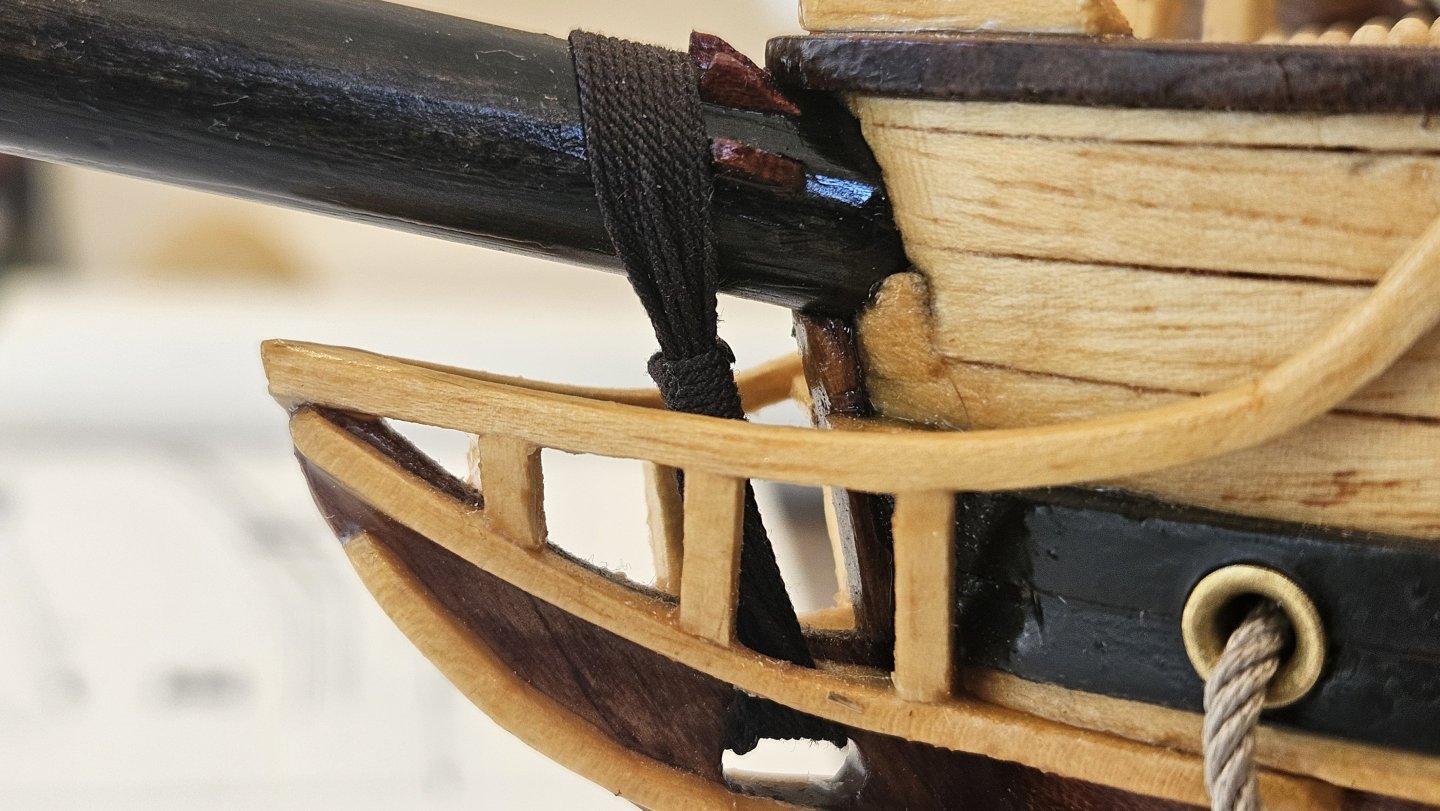
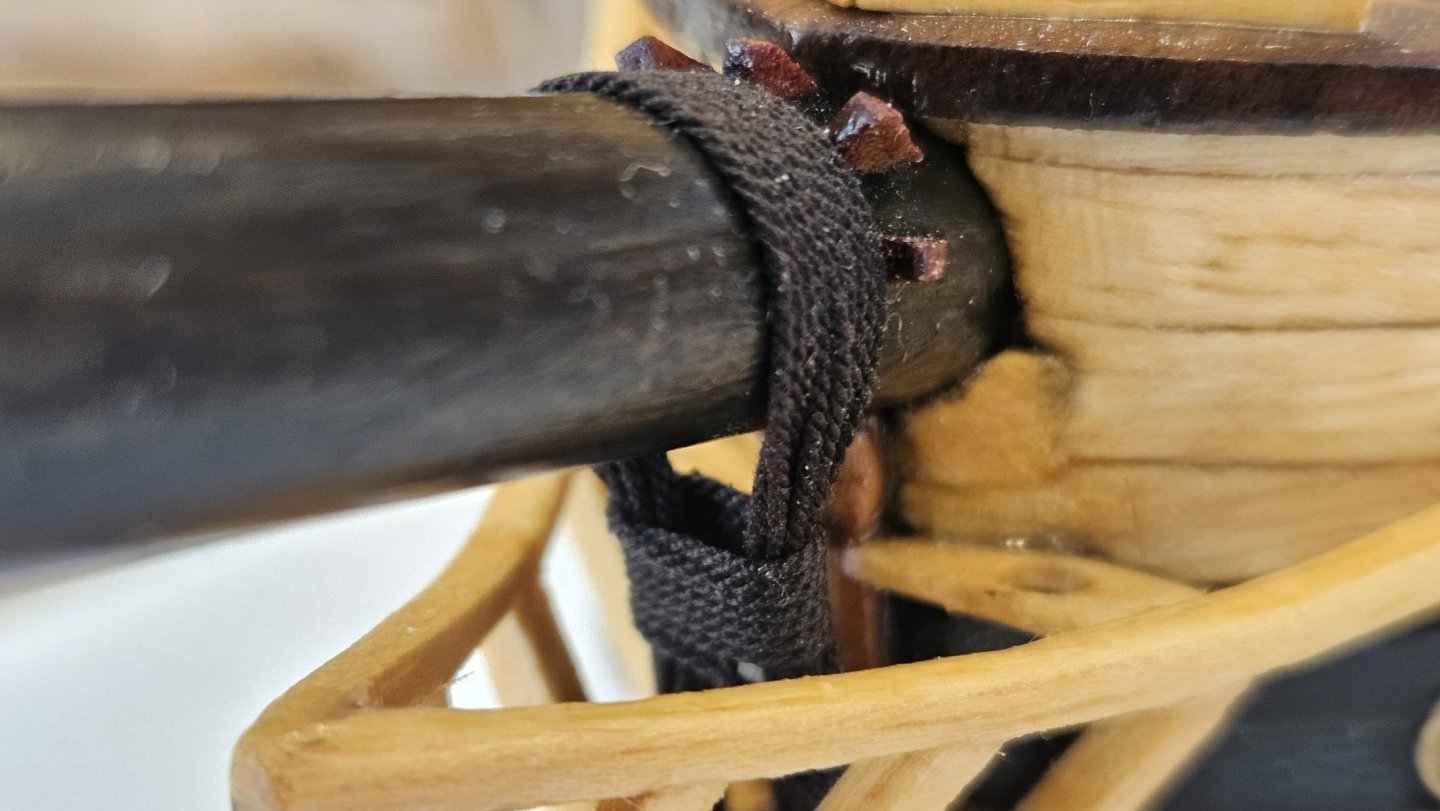
Bowsprit gammoning and frapping turns per Lever. Let me know if I have issues friends - I think corrections will be more difficult the farther we proceed! Port: Starboard: Frapping turns: I think bobstays (bobstay and bobstay preventer???) are next on the list. Thanks for looking in and any comments in advance! (Lever, Sheet Anchor, Page 19)

-
@catopower Thanks Clare. I am glad you like it. There are so many choices (recently the all black bowsprit with the natural red wood bits - just went with it) and I just hope they are cohesive in the end. A fun build though for sure.
-
@Dr PR Thanks Phil! I did not know that it was called a crupper - fun fact. Thanks on inhaul and outhaul. Unfortunately Albatros didn't have a spritsail yard so I am winging it so to speak. I think my biggest trouble is Lever or Marquardt will show something (spritsail yard footropes as topic of the day) - Chapelle's "plan" does not. Does that mean she didn't have spritsail yard footropes, or did Chapelle/RN know they were always there so did not note them? Slow and steady wins the race here. I'll be in touch 🤣🤣🤣!
-
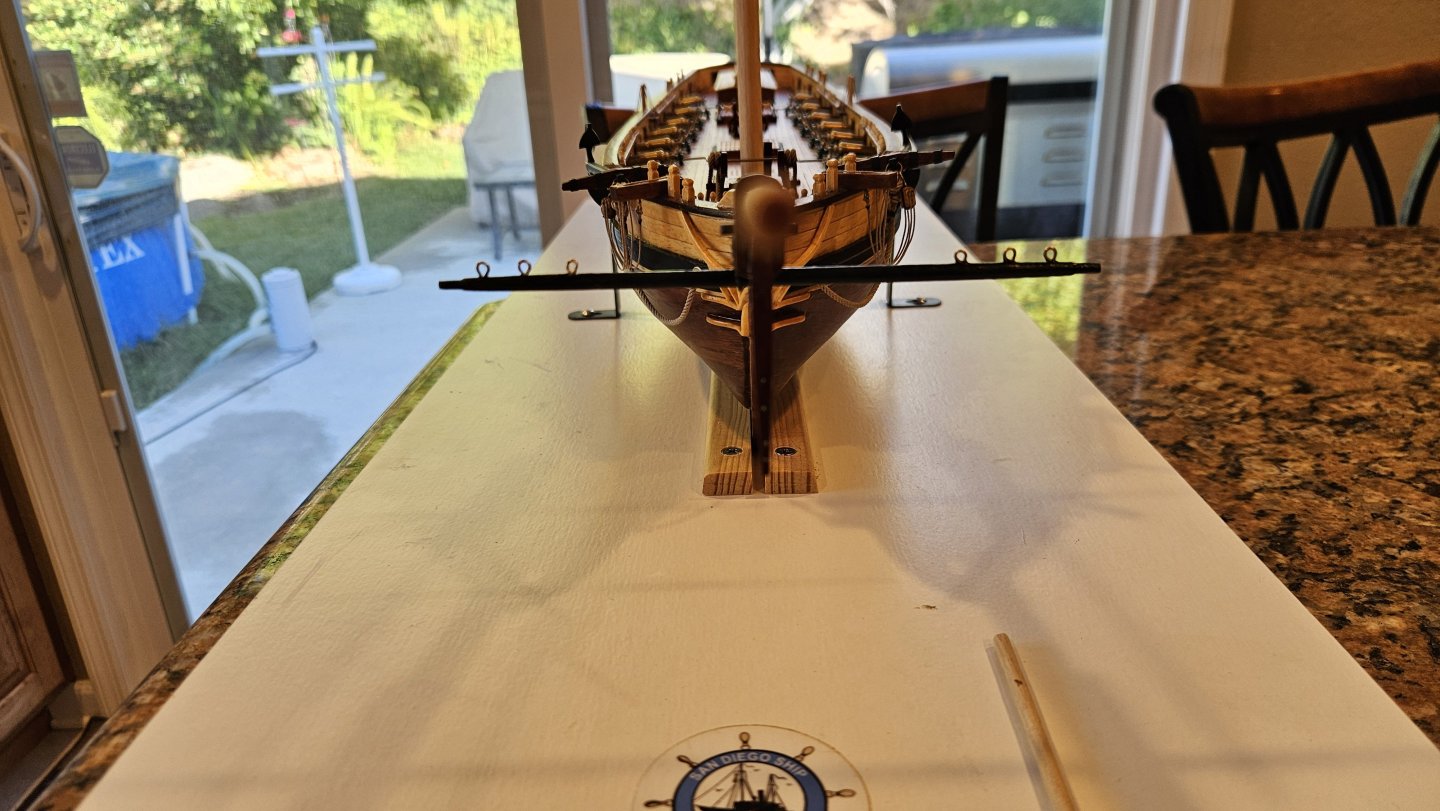
I have to admit to being a bit lost at sea for the last 6 weeks. Spars and rigging are a far greater challenge then I expected. With no plans I am floundering. I have resolved to rig what I understand and hold off on what i don't. An example of an issue is the jibboom inhaul and outhaul. I know they exist and were used. Do they stay rigged or only when they are needed? Serving. So much is served. At 1/58 scale do I need to serve the lines for my first build, or is an appropriate diameter line 98% of the battle? Anyway, I have built out the bowsprit according to Lever. Spritsail yard according to Chapelle. So a little progress anyway. (Open to any thoughts here!) Gammoning the bowsprit and rigging the bobstays is coming next.


-
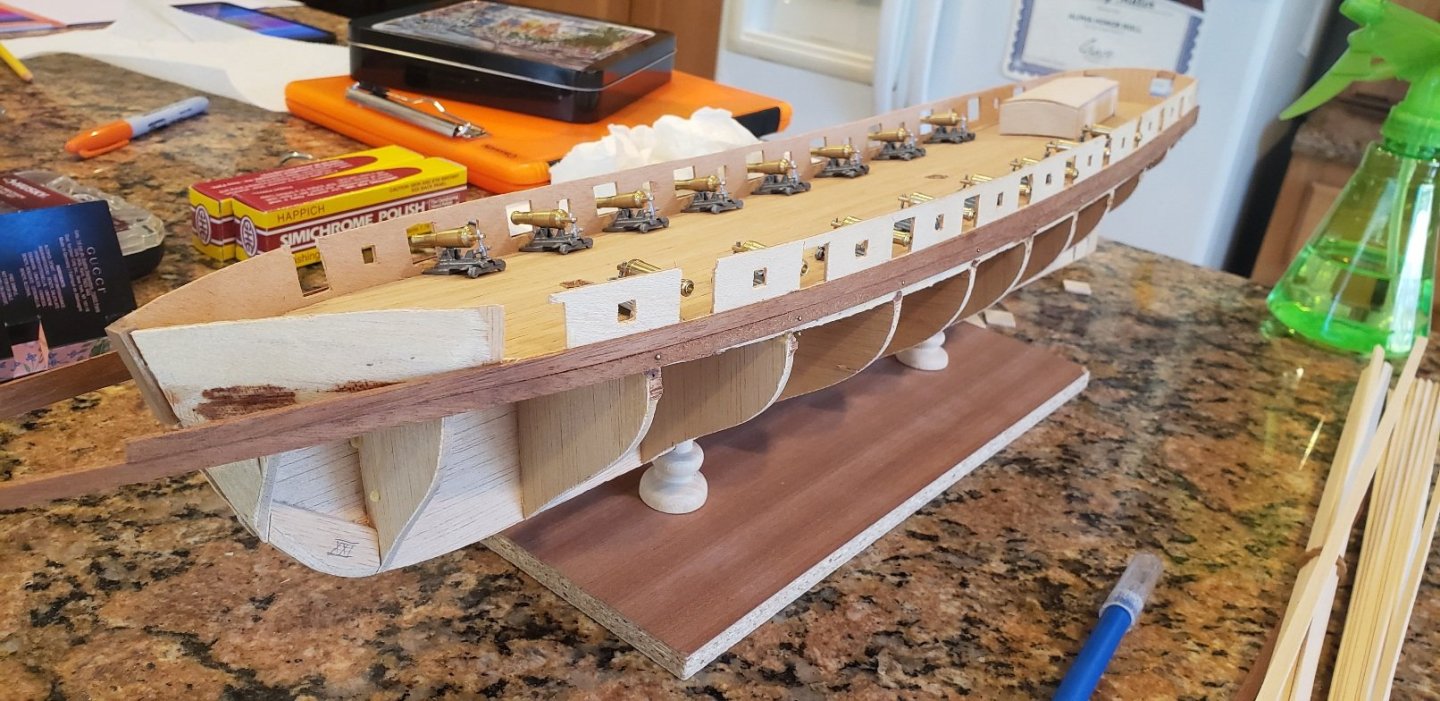
I am probably too late to the party, but if the bulkheads are planked inboard and outboard you can compensate somewhat for the deformed plywood with the planking. My experience is that the planks can be sanded down to smooth the bulge. (Especially true in the bow where you can use longer planks over the plywood.) The plywood can also be thinned (or even partially removed where it sticks out a bit much. That said, she's looking good. The first one is always a challenge. Keep up the great work. Examples: Rough structure issues with my plywood bulkhead core starboard side. Missing gunport "frames" in the plywood form, port side.
- 17 replies
-
- 1
-
-
- Swift
- Artesania Latina
- (and 1 more)
-
The Admiral is always right, and in this case very nice improvement! That is a beautiful transom (correct term?)!
-
Yeah Chris. Much improved 3d effect. I find with plastic models that a wash after picking the highs and lows can blend and soften in a way that is pleasing to the eye. Too bad you don't have extra pieces to play with though.
-
Good to see her again Chris!
-
(Obviously the wood and "glass" aspects look wonderful!)
-
The only comment I can offer is that if the pellet is lead it may not be the best choice for a long lasting solution? I think lead is subject to oxidation/disintegration over long periods of time. https://www.navsea.navy.mil/Home/Warfare-Centers/NSWC-Carderock/Resources/Curator-of-Navy-Ship-Models/Lead-Corrosion-in-Exhibition-Ship-Models/ (Hat tip to user Bob Cleek who cited the above in the following MSW thread: )