
Coyote_6
-
Posts
555 -
Joined
-
Last visited
Content Type
Profiles
Forums
Gallery
Events
Everything posted by Coyote_6
-
 Well done! Quite the achievement Phil. Congrats - one to be proud of!
- 288 replies
-
- 5
-

-

-
- Card
- Pre-Dreadnought
- (and 3 more)
-
Nice upgrade!
-
Lots of experience and good advice in this post! The ratlines look great. Keep that First Mate happy!
- 261 replies
-
- 2
-
-
- Victory Models
- Pegasus
- (and 3 more)
-
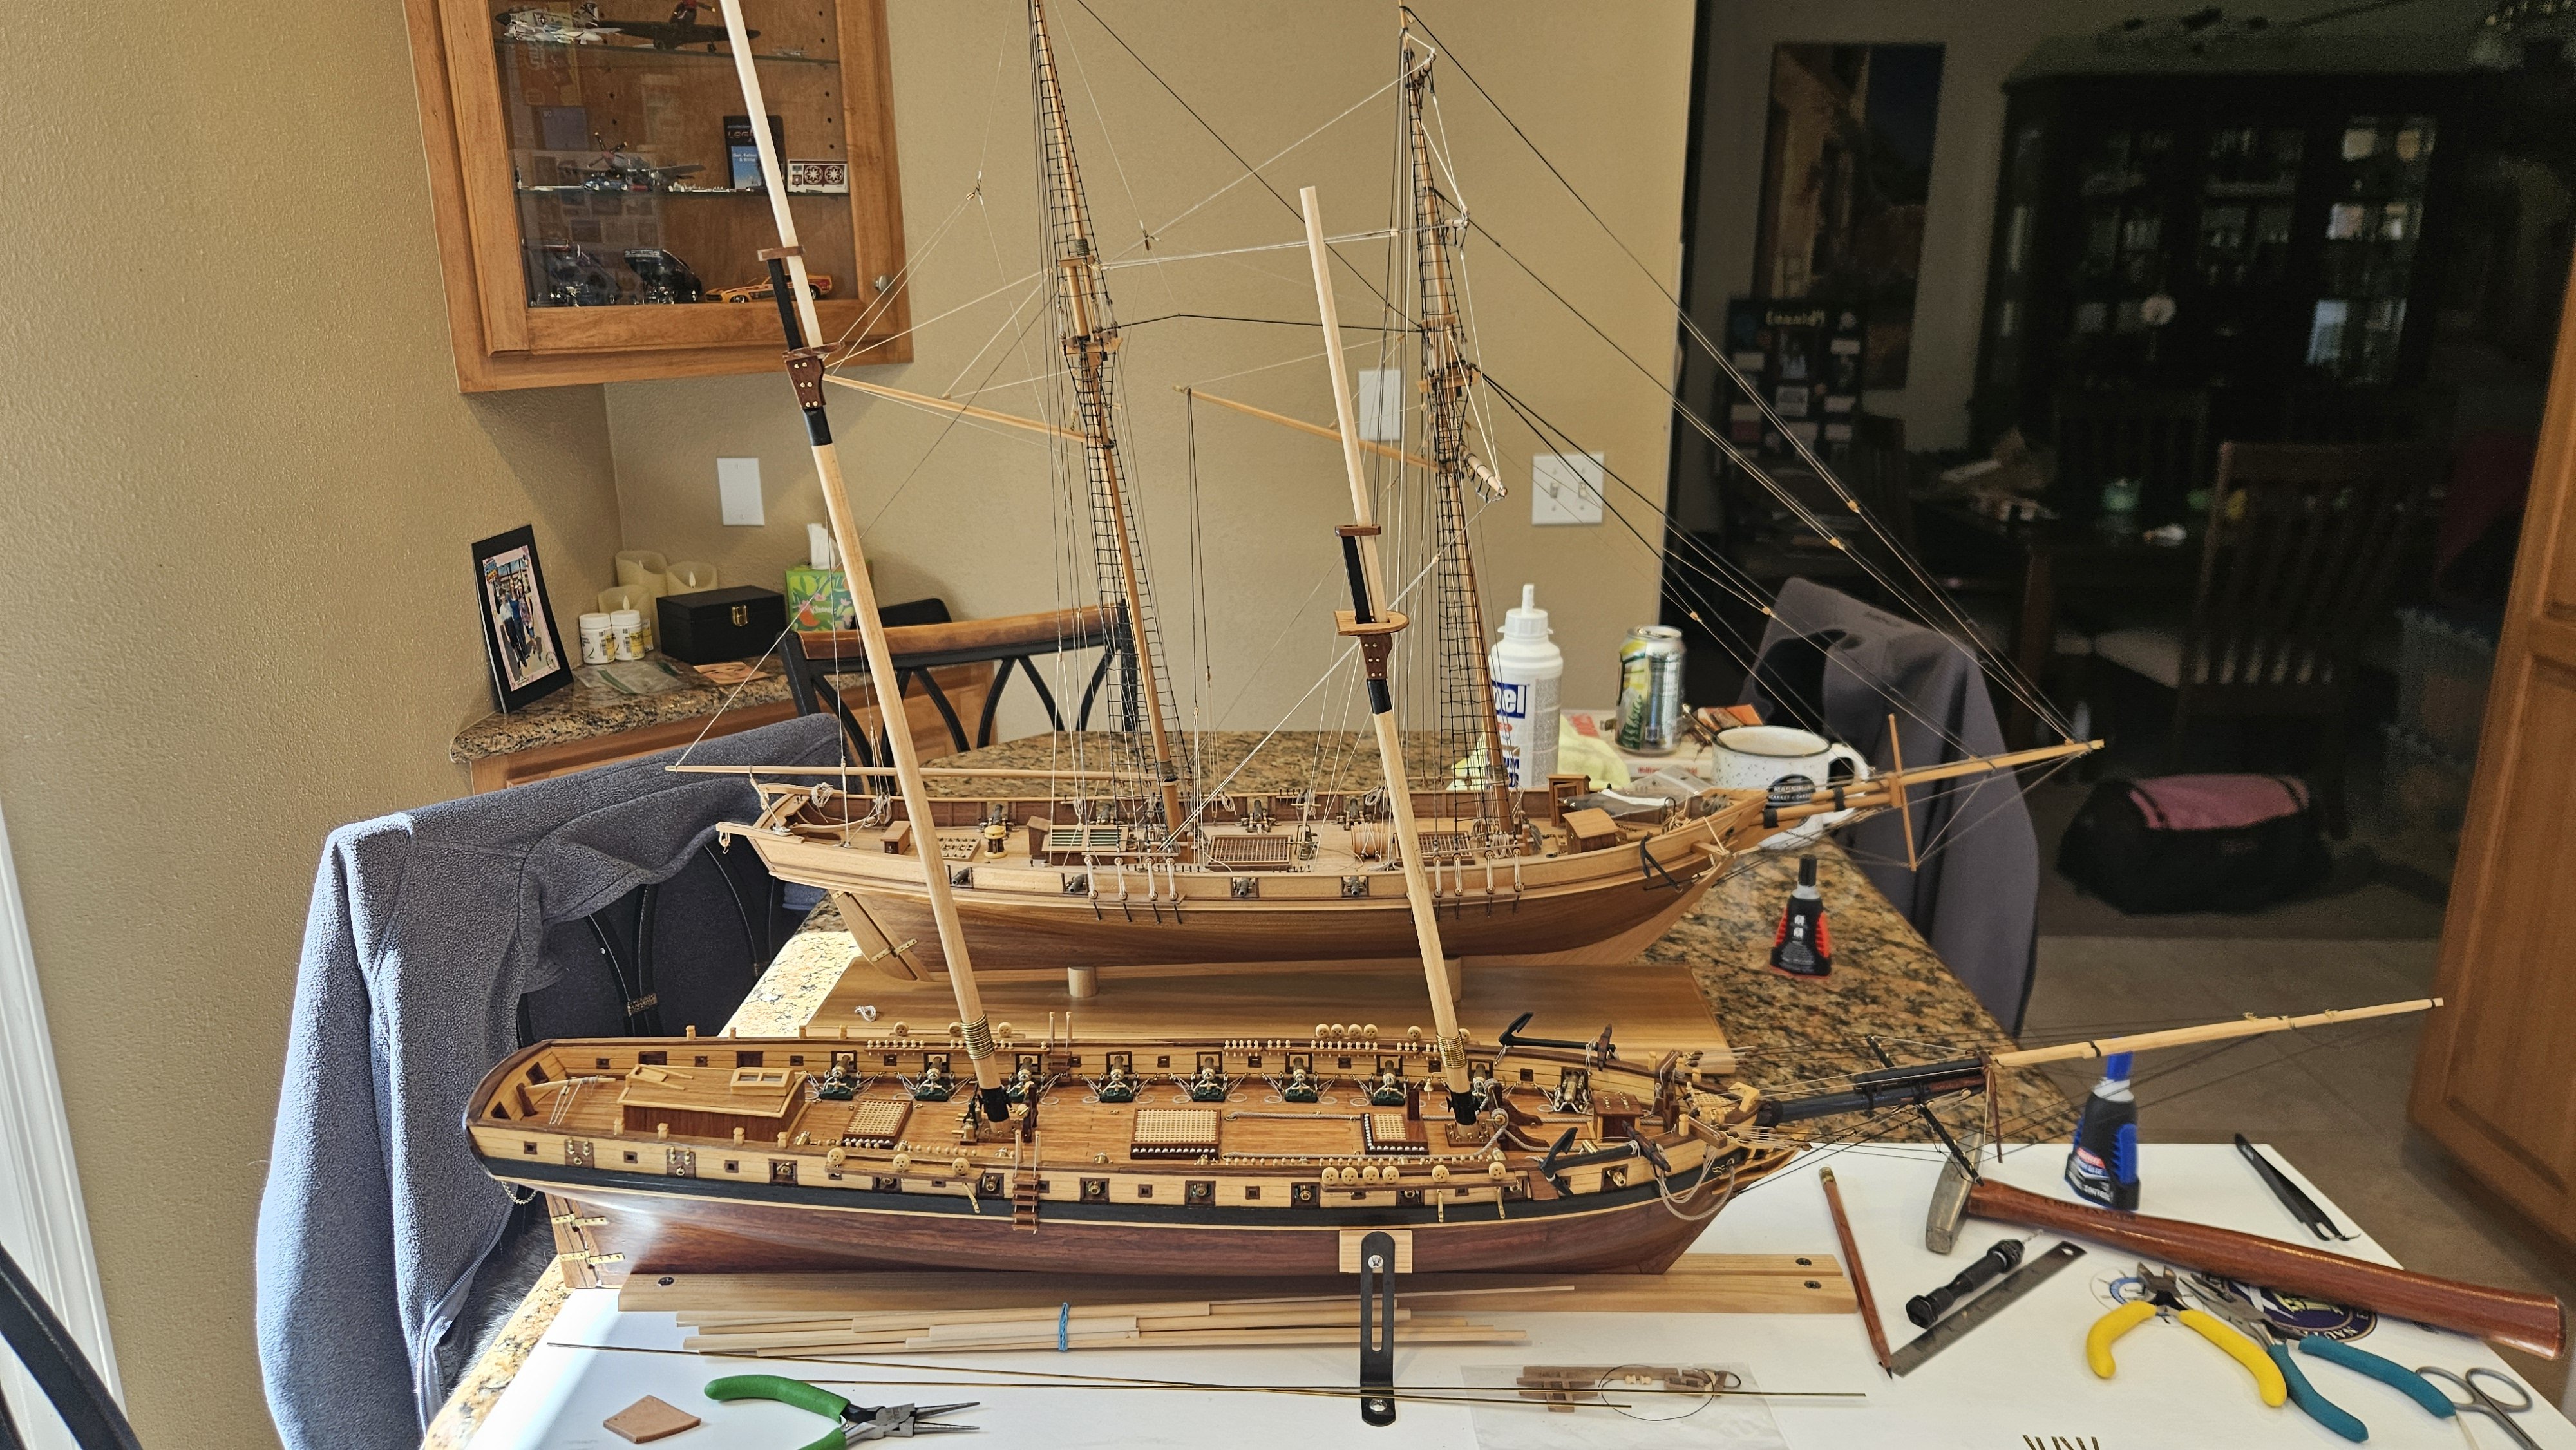
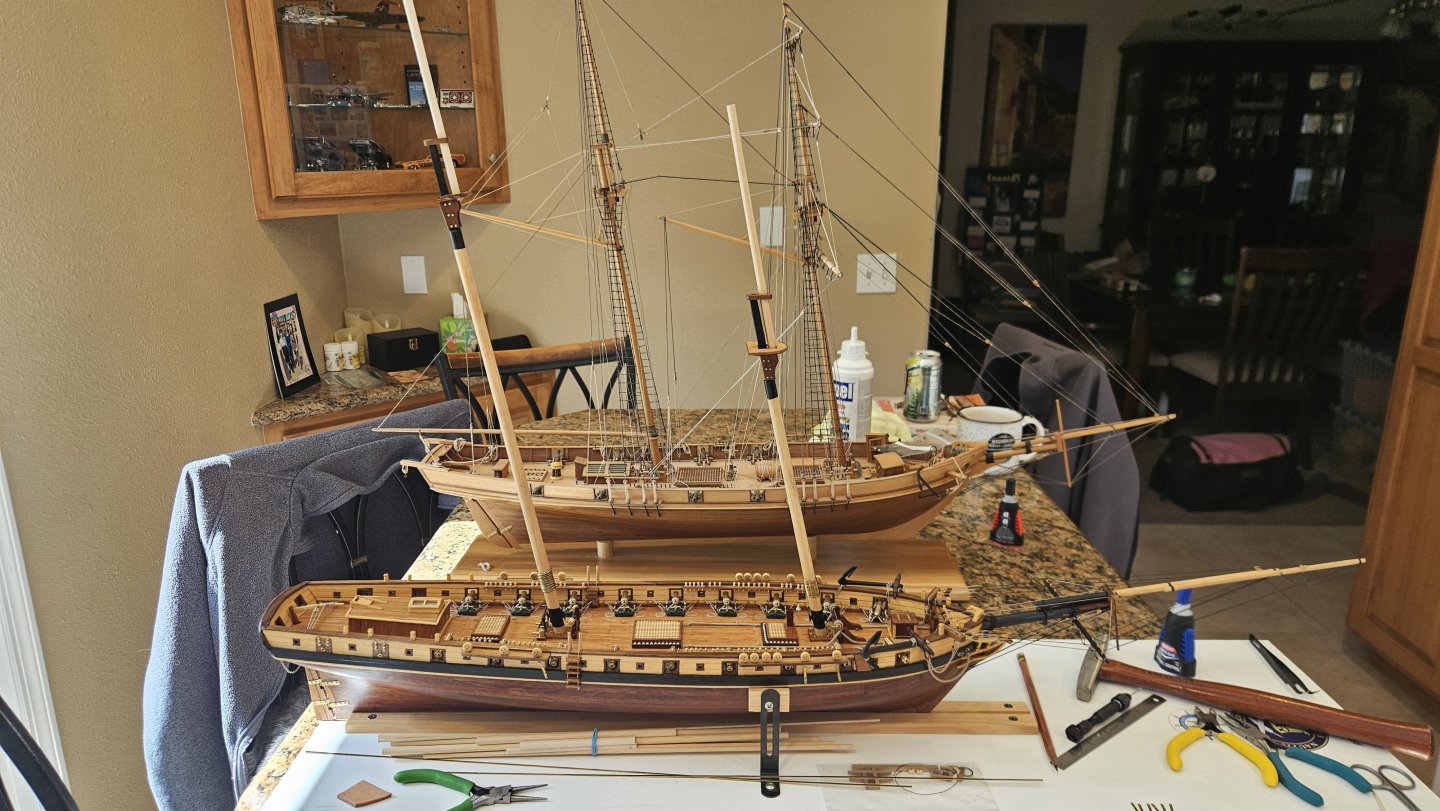
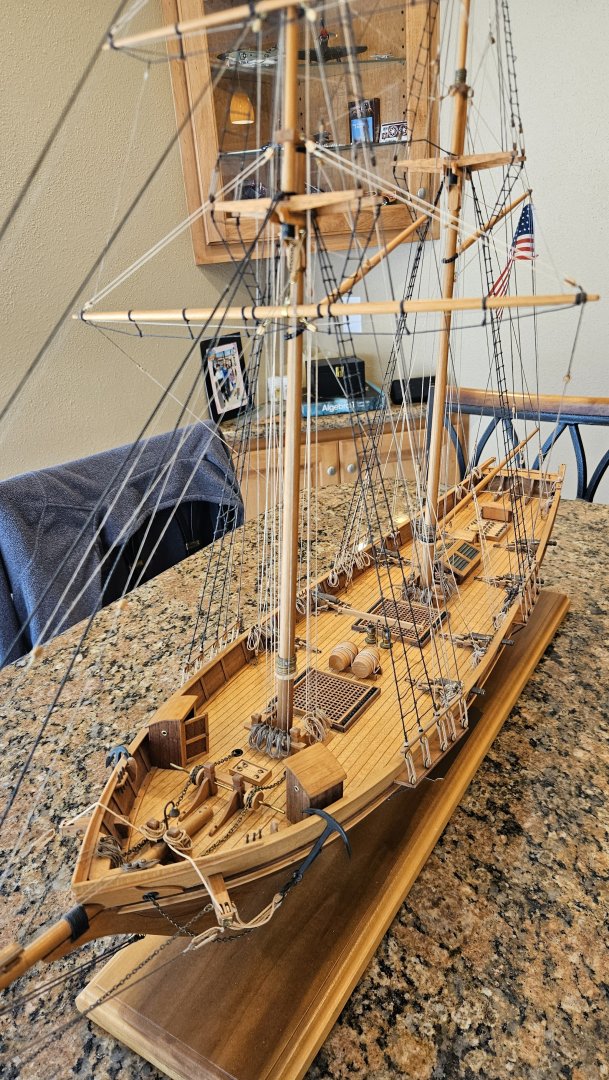
And just for fun, here's the Prince de Neufchatel (1/58) and Grace (1/50) side by side undergoing work in the yard. Something different, anyway!
-
That has got to be the coolest thing!! Well done Glen!!!
- 156 replies
-
- 5
-
-
-
- Queen Annes Revenge
- bottle
- (and 1 more)
-
So glad for the favorable outcome. And so glad to have you back - prayers for the Admiral's continued good health going forward!
-
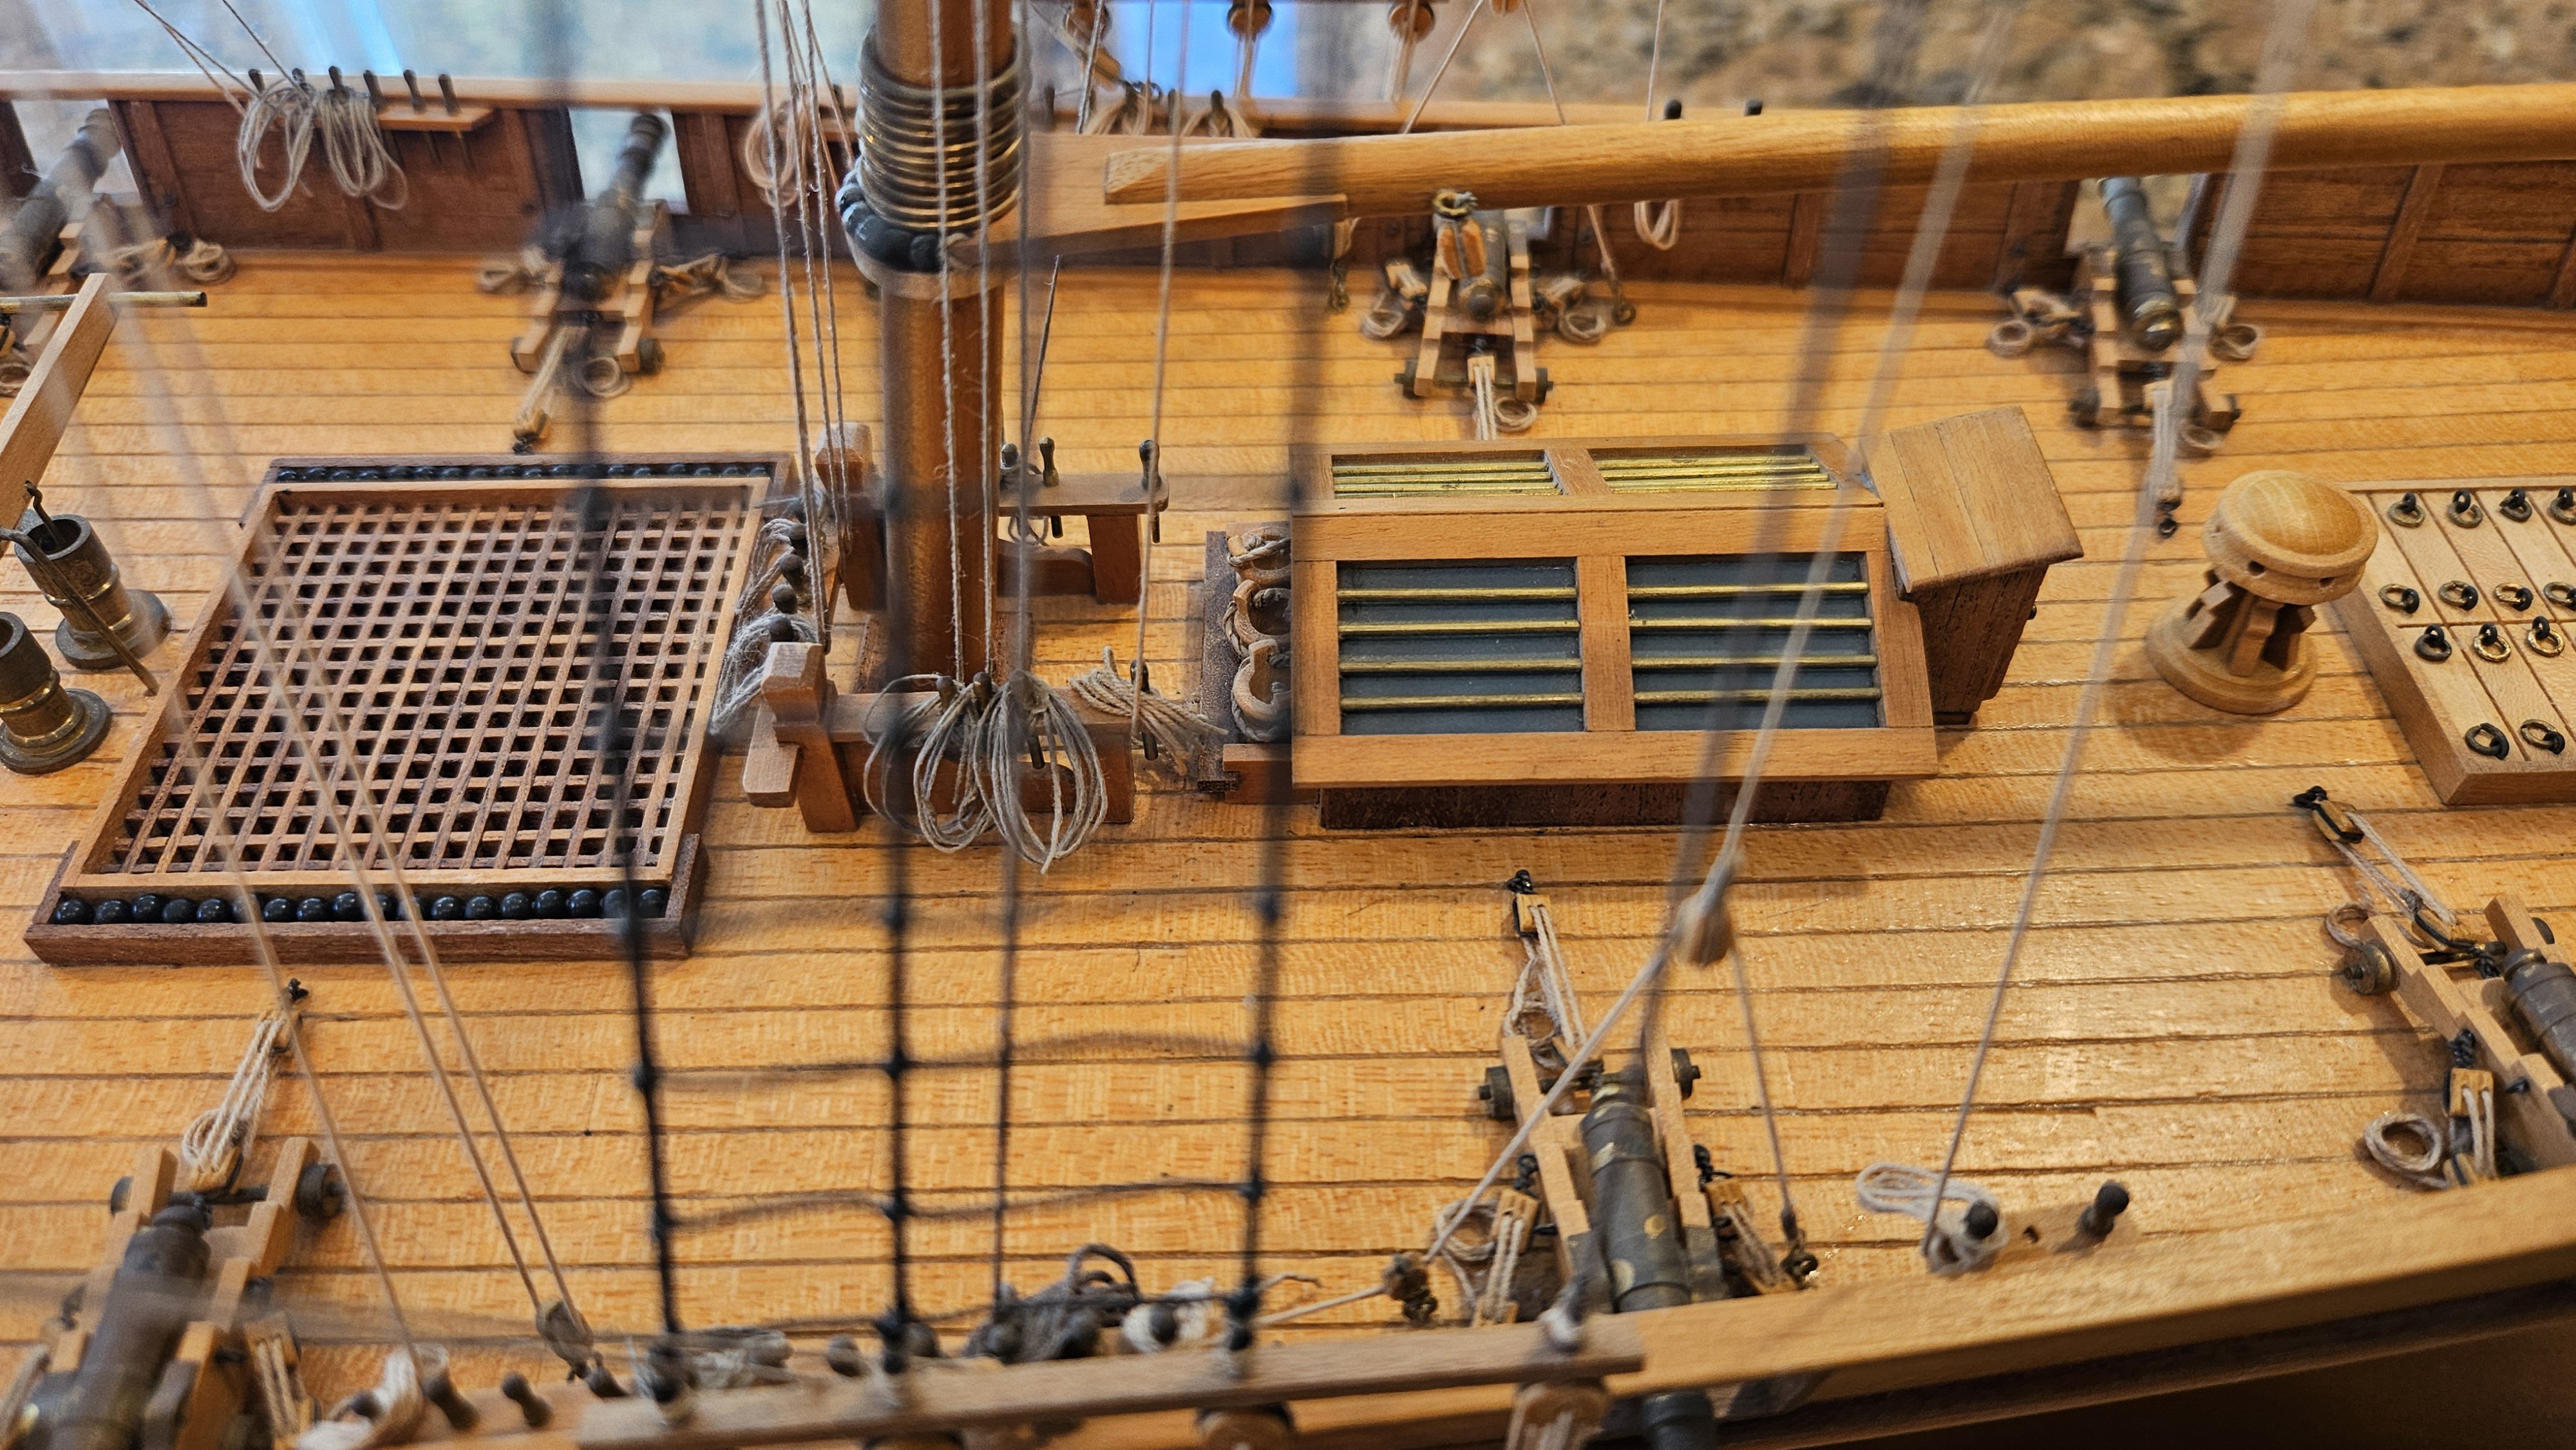
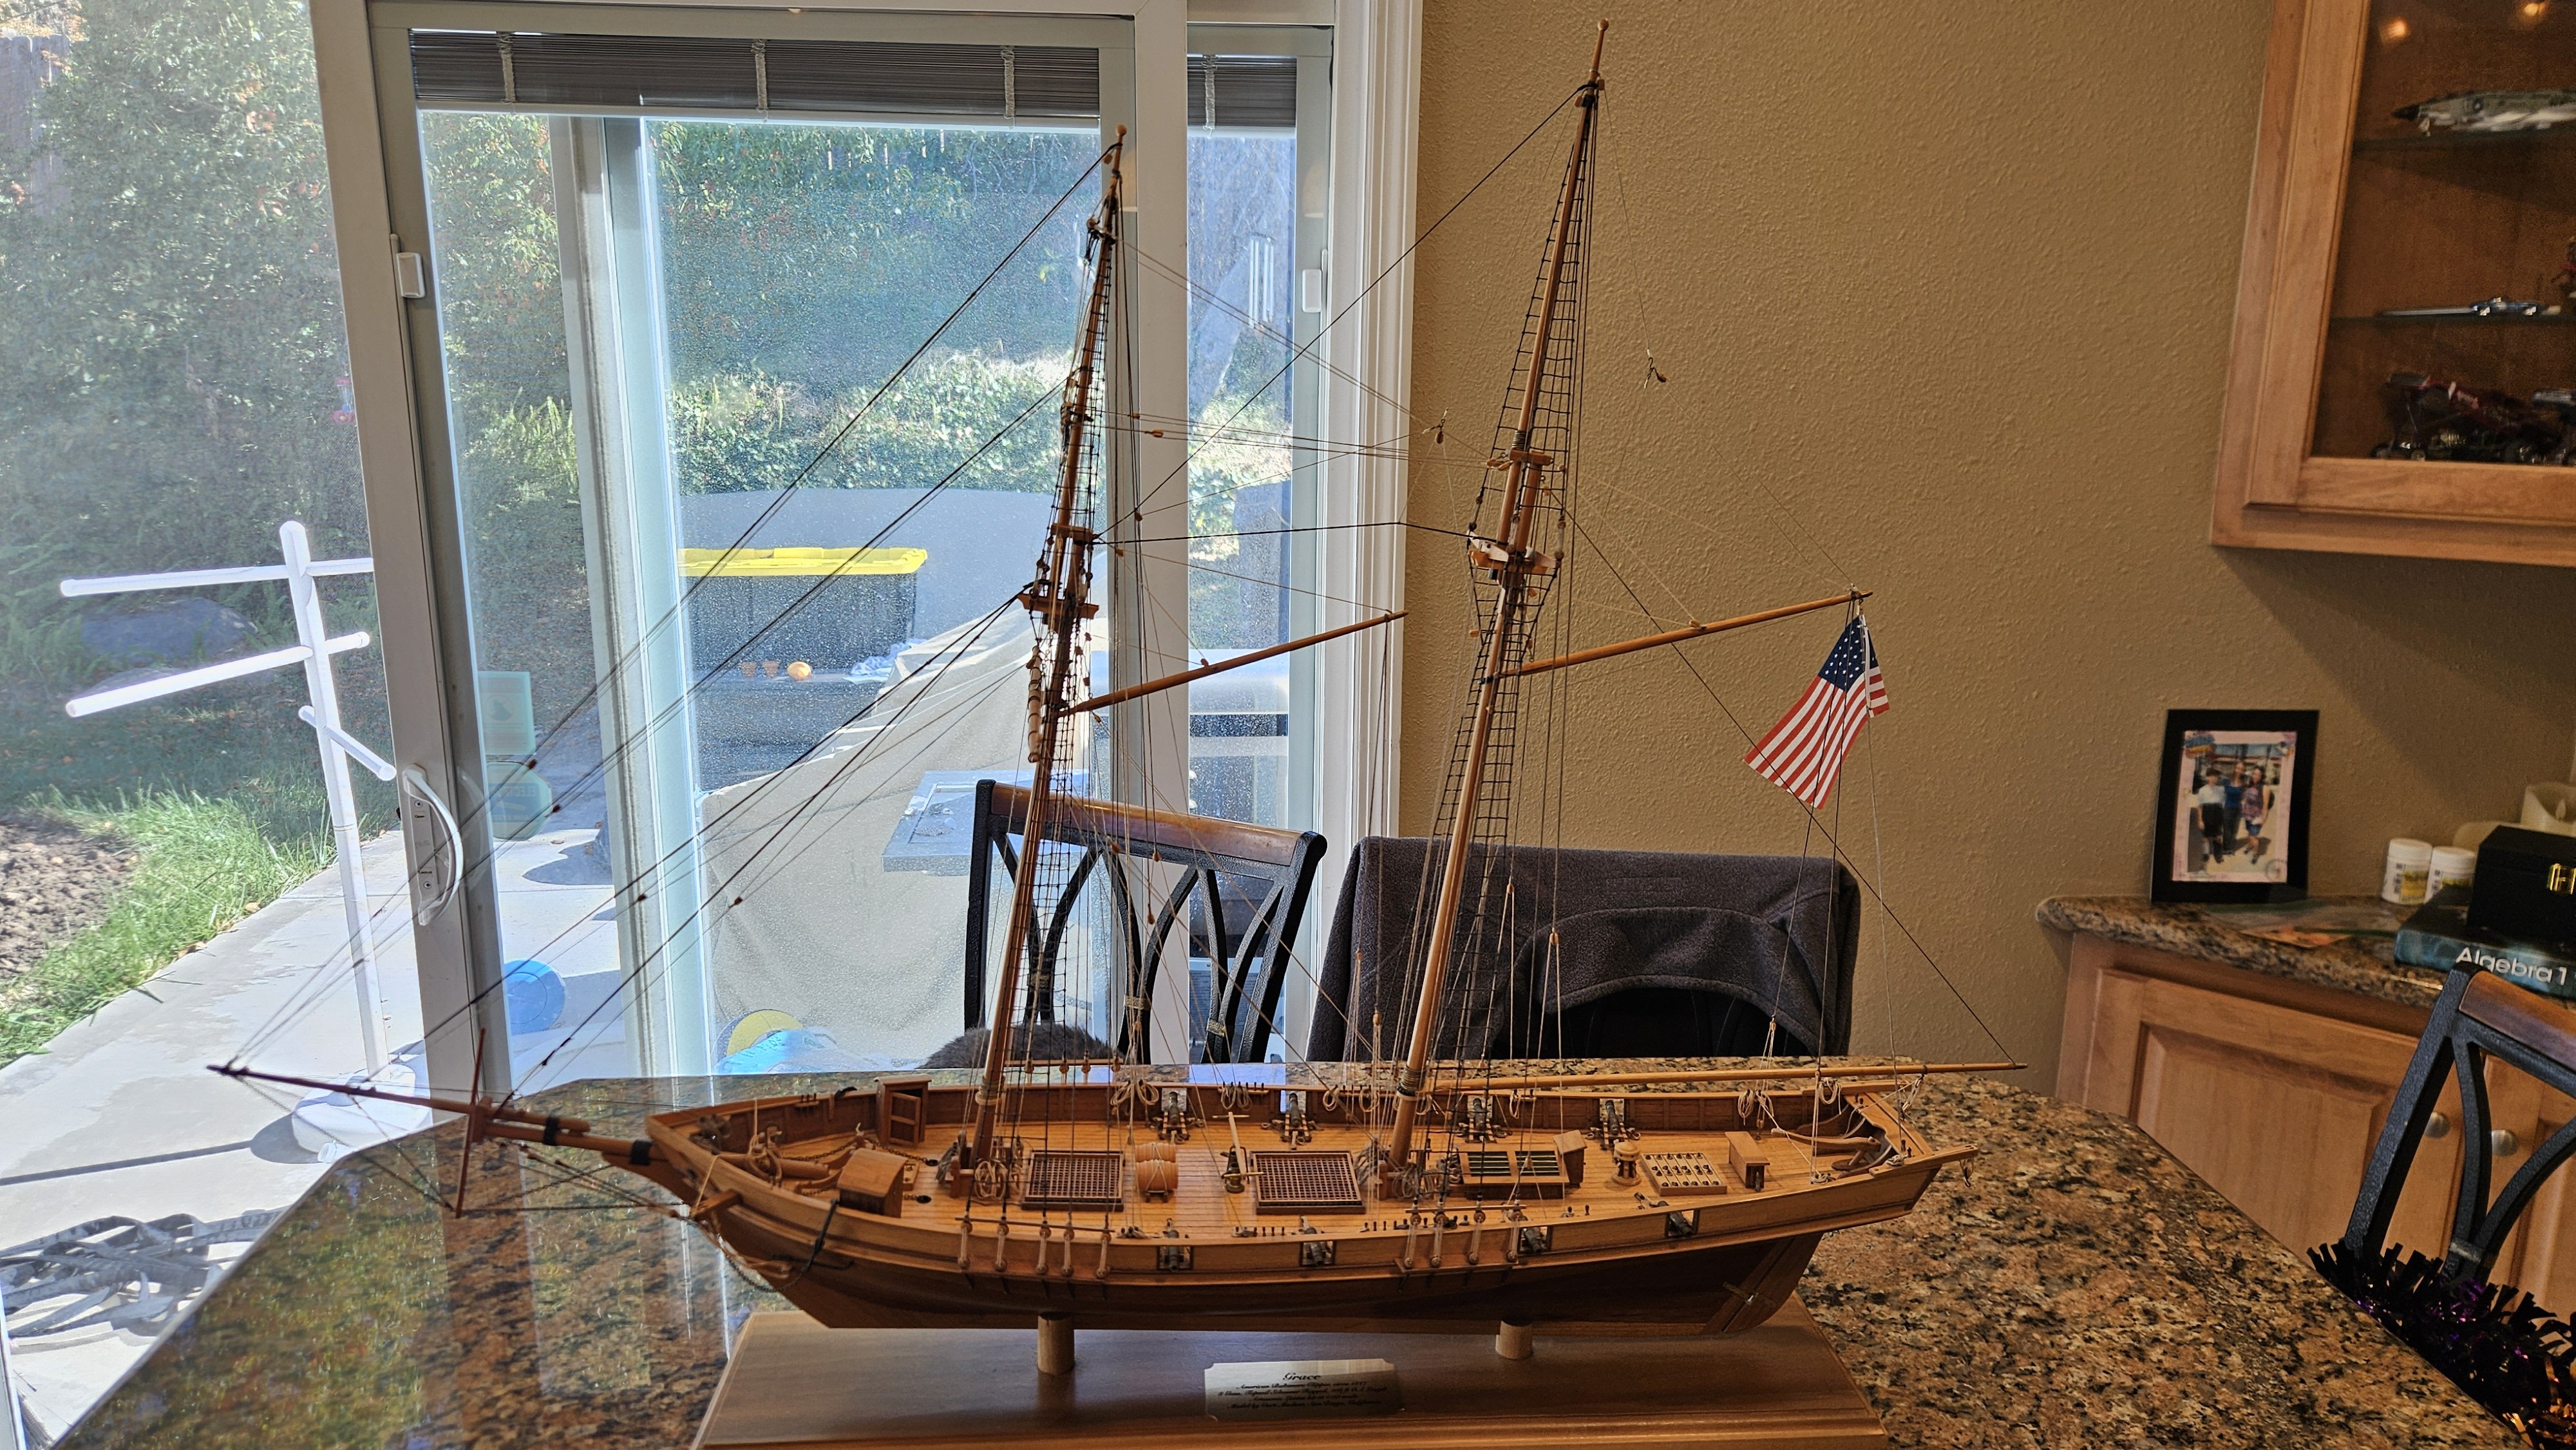
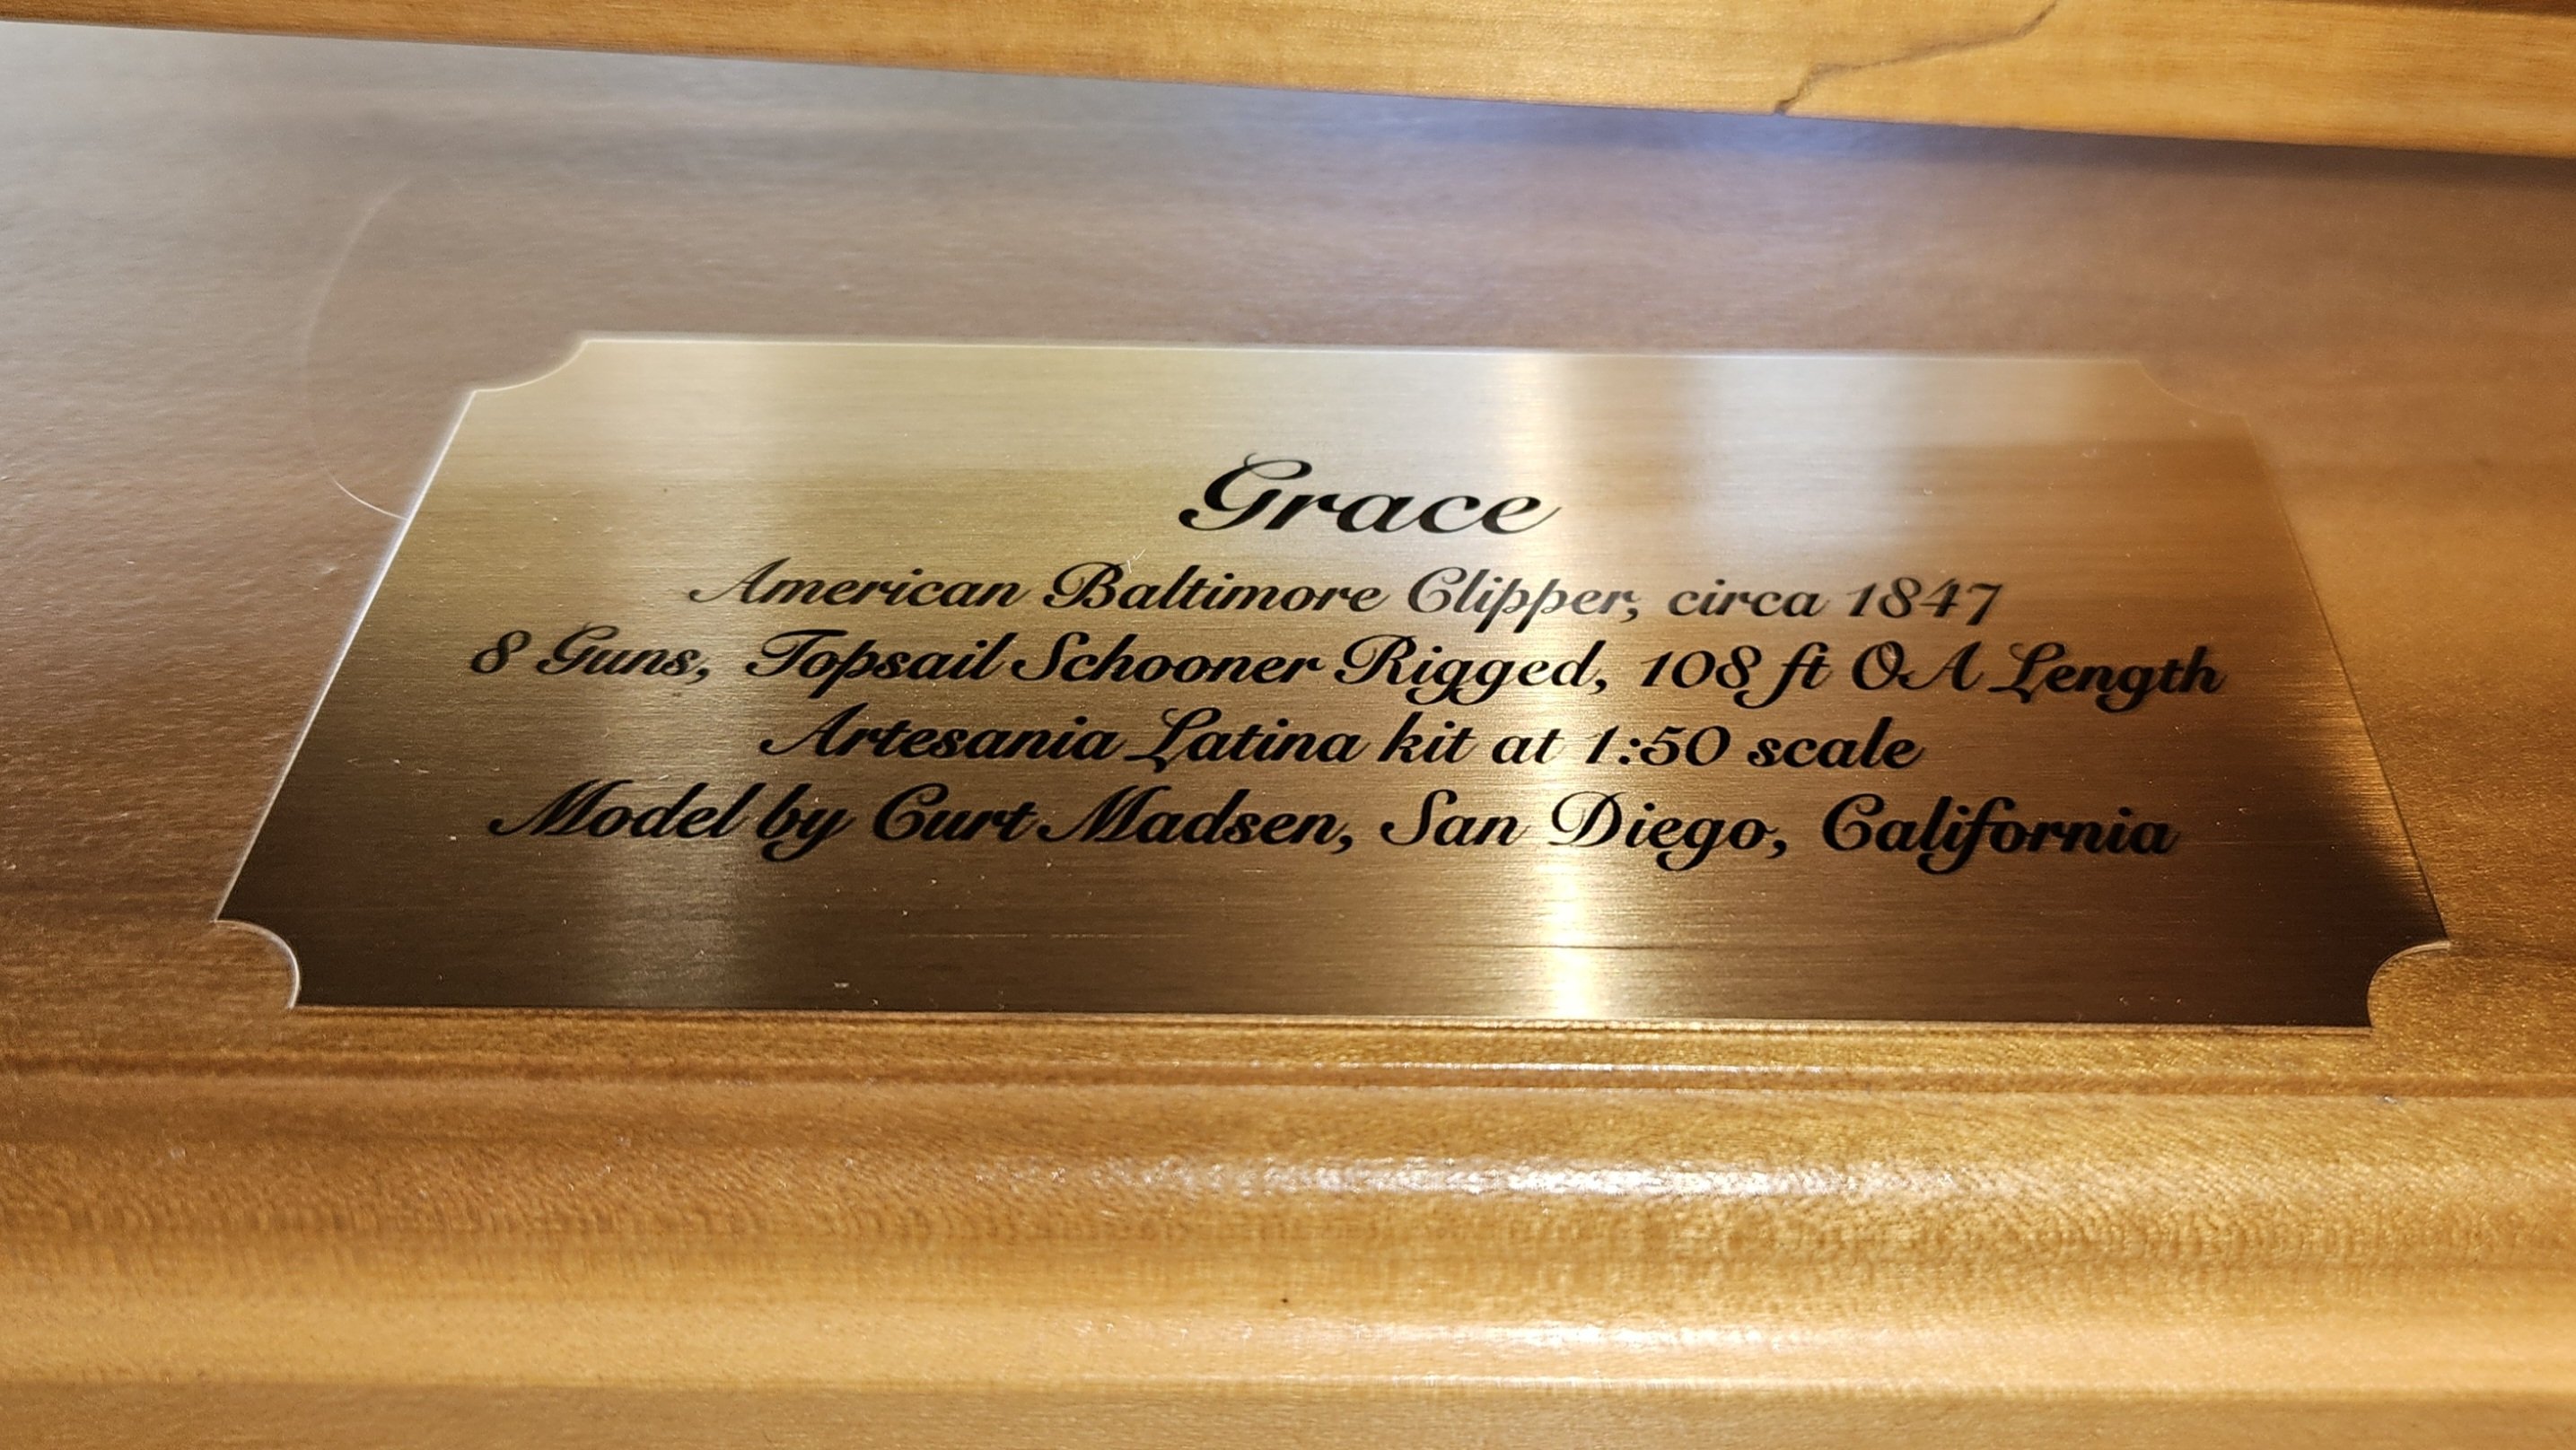
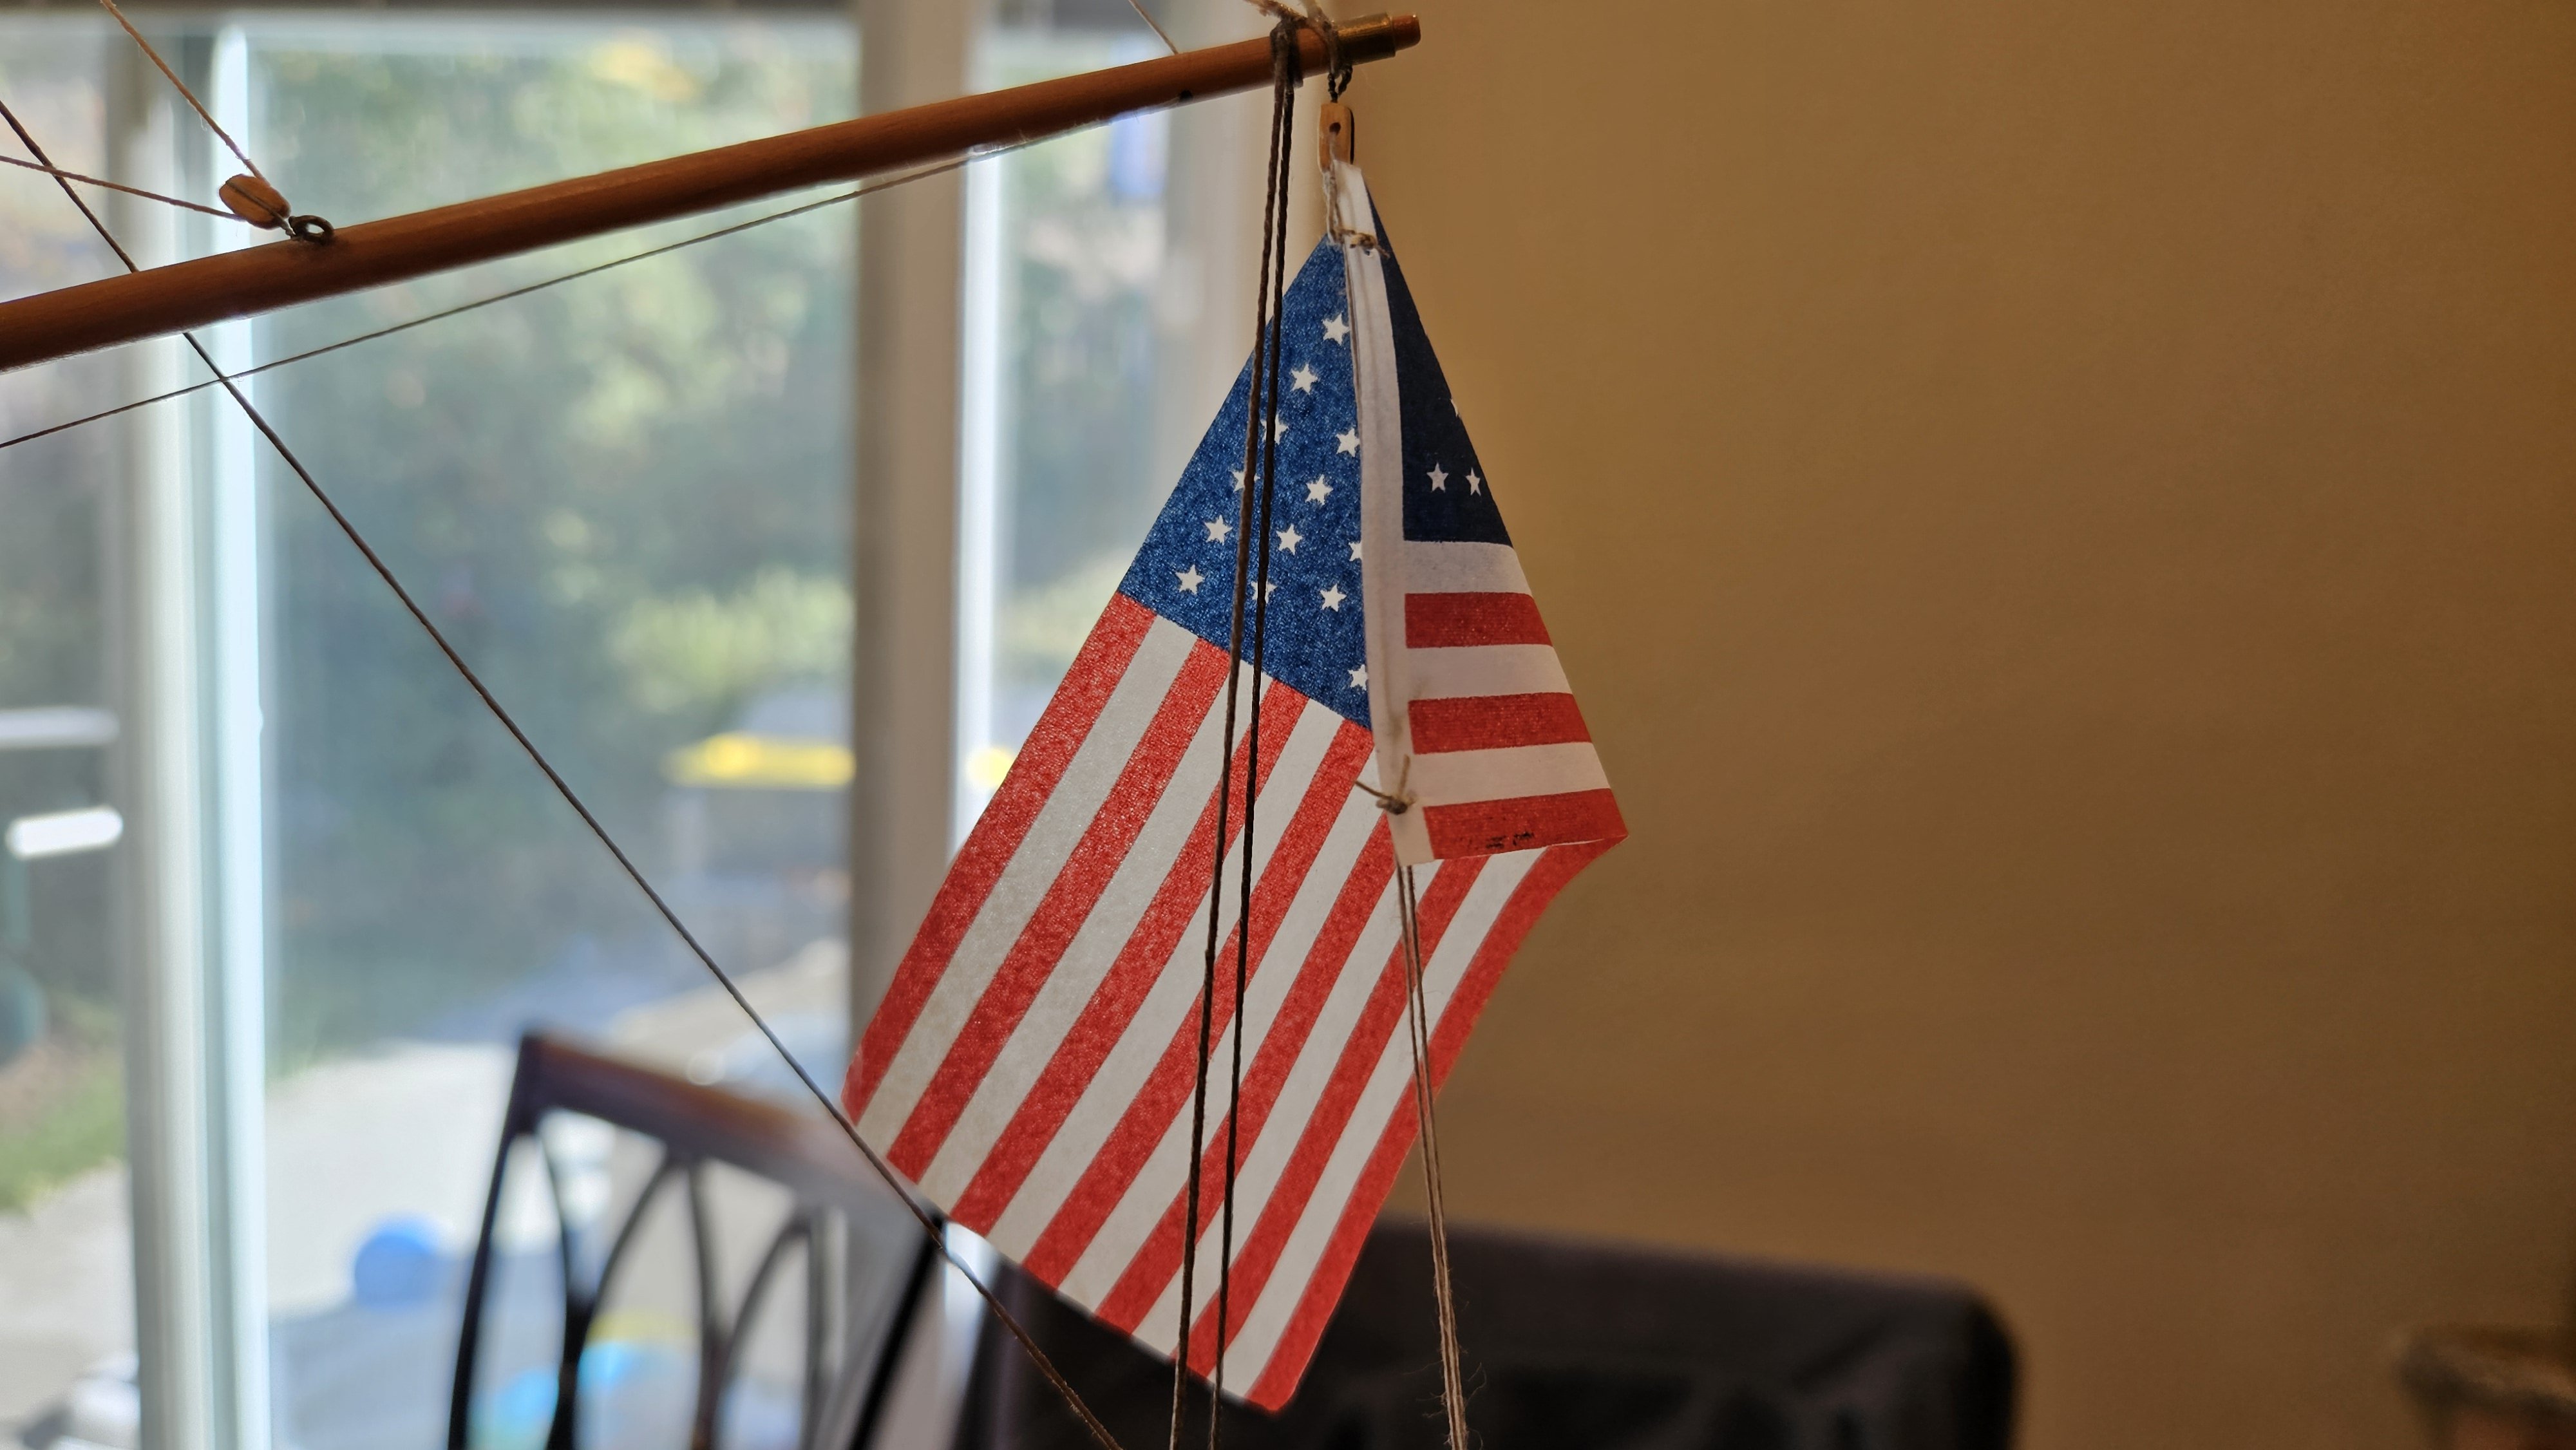
(No pics of Prince in this post. These are all of Harvey 1847 built by another San Diego builder.) A little side tracked the last 2 weeks. A local builder was retiring and donated an Artesania Latina Harvey 1847 build to our local school's history department. She needed a lot of cleaning, a couple finishing touches (capstan repair, cannonballs, and some diluted glue to secure her rope coils), and a name. Named her Grace and ordered an inexpensive builder's plaque with the builder's name on it... I made my first flag and I think it turned out ok. Used the inkjet printer on tissue paper approach (with Krylon Workable Fixatif) found here on MSW and it looks pretty good. Where else can you get a 1847 US flag in an appropriate size? 🤣 I will use this technique on the Prince for sure! I did add a block and a halyard for the ensign as well. She cleaned up well and will go to her new home this week, so it'll be back to the Prince - it was good practice!


-
Good to see you back at it. Praying for your continuing improvement! And nice work on the shrouds. That's where I'm at on my project.
- 261 replies
-
- 4
-
-
-
- Victory Models
- Pegasus
- (and 3 more)
-
That looks so darn cool! Wow! The torches look great - what detail!!
- 156 replies
-
- 6
-
-
-
- Queen Annes Revenge
- bottle
- (and 1 more)
-
Shame to have to paint those hose racks Phil - the silver and gold looks awesome on your finger there. Nice. Work soldering those up!
- 490 replies
-
- 1
-
-
- minesweeper
- Cape
- (and 1 more)
-
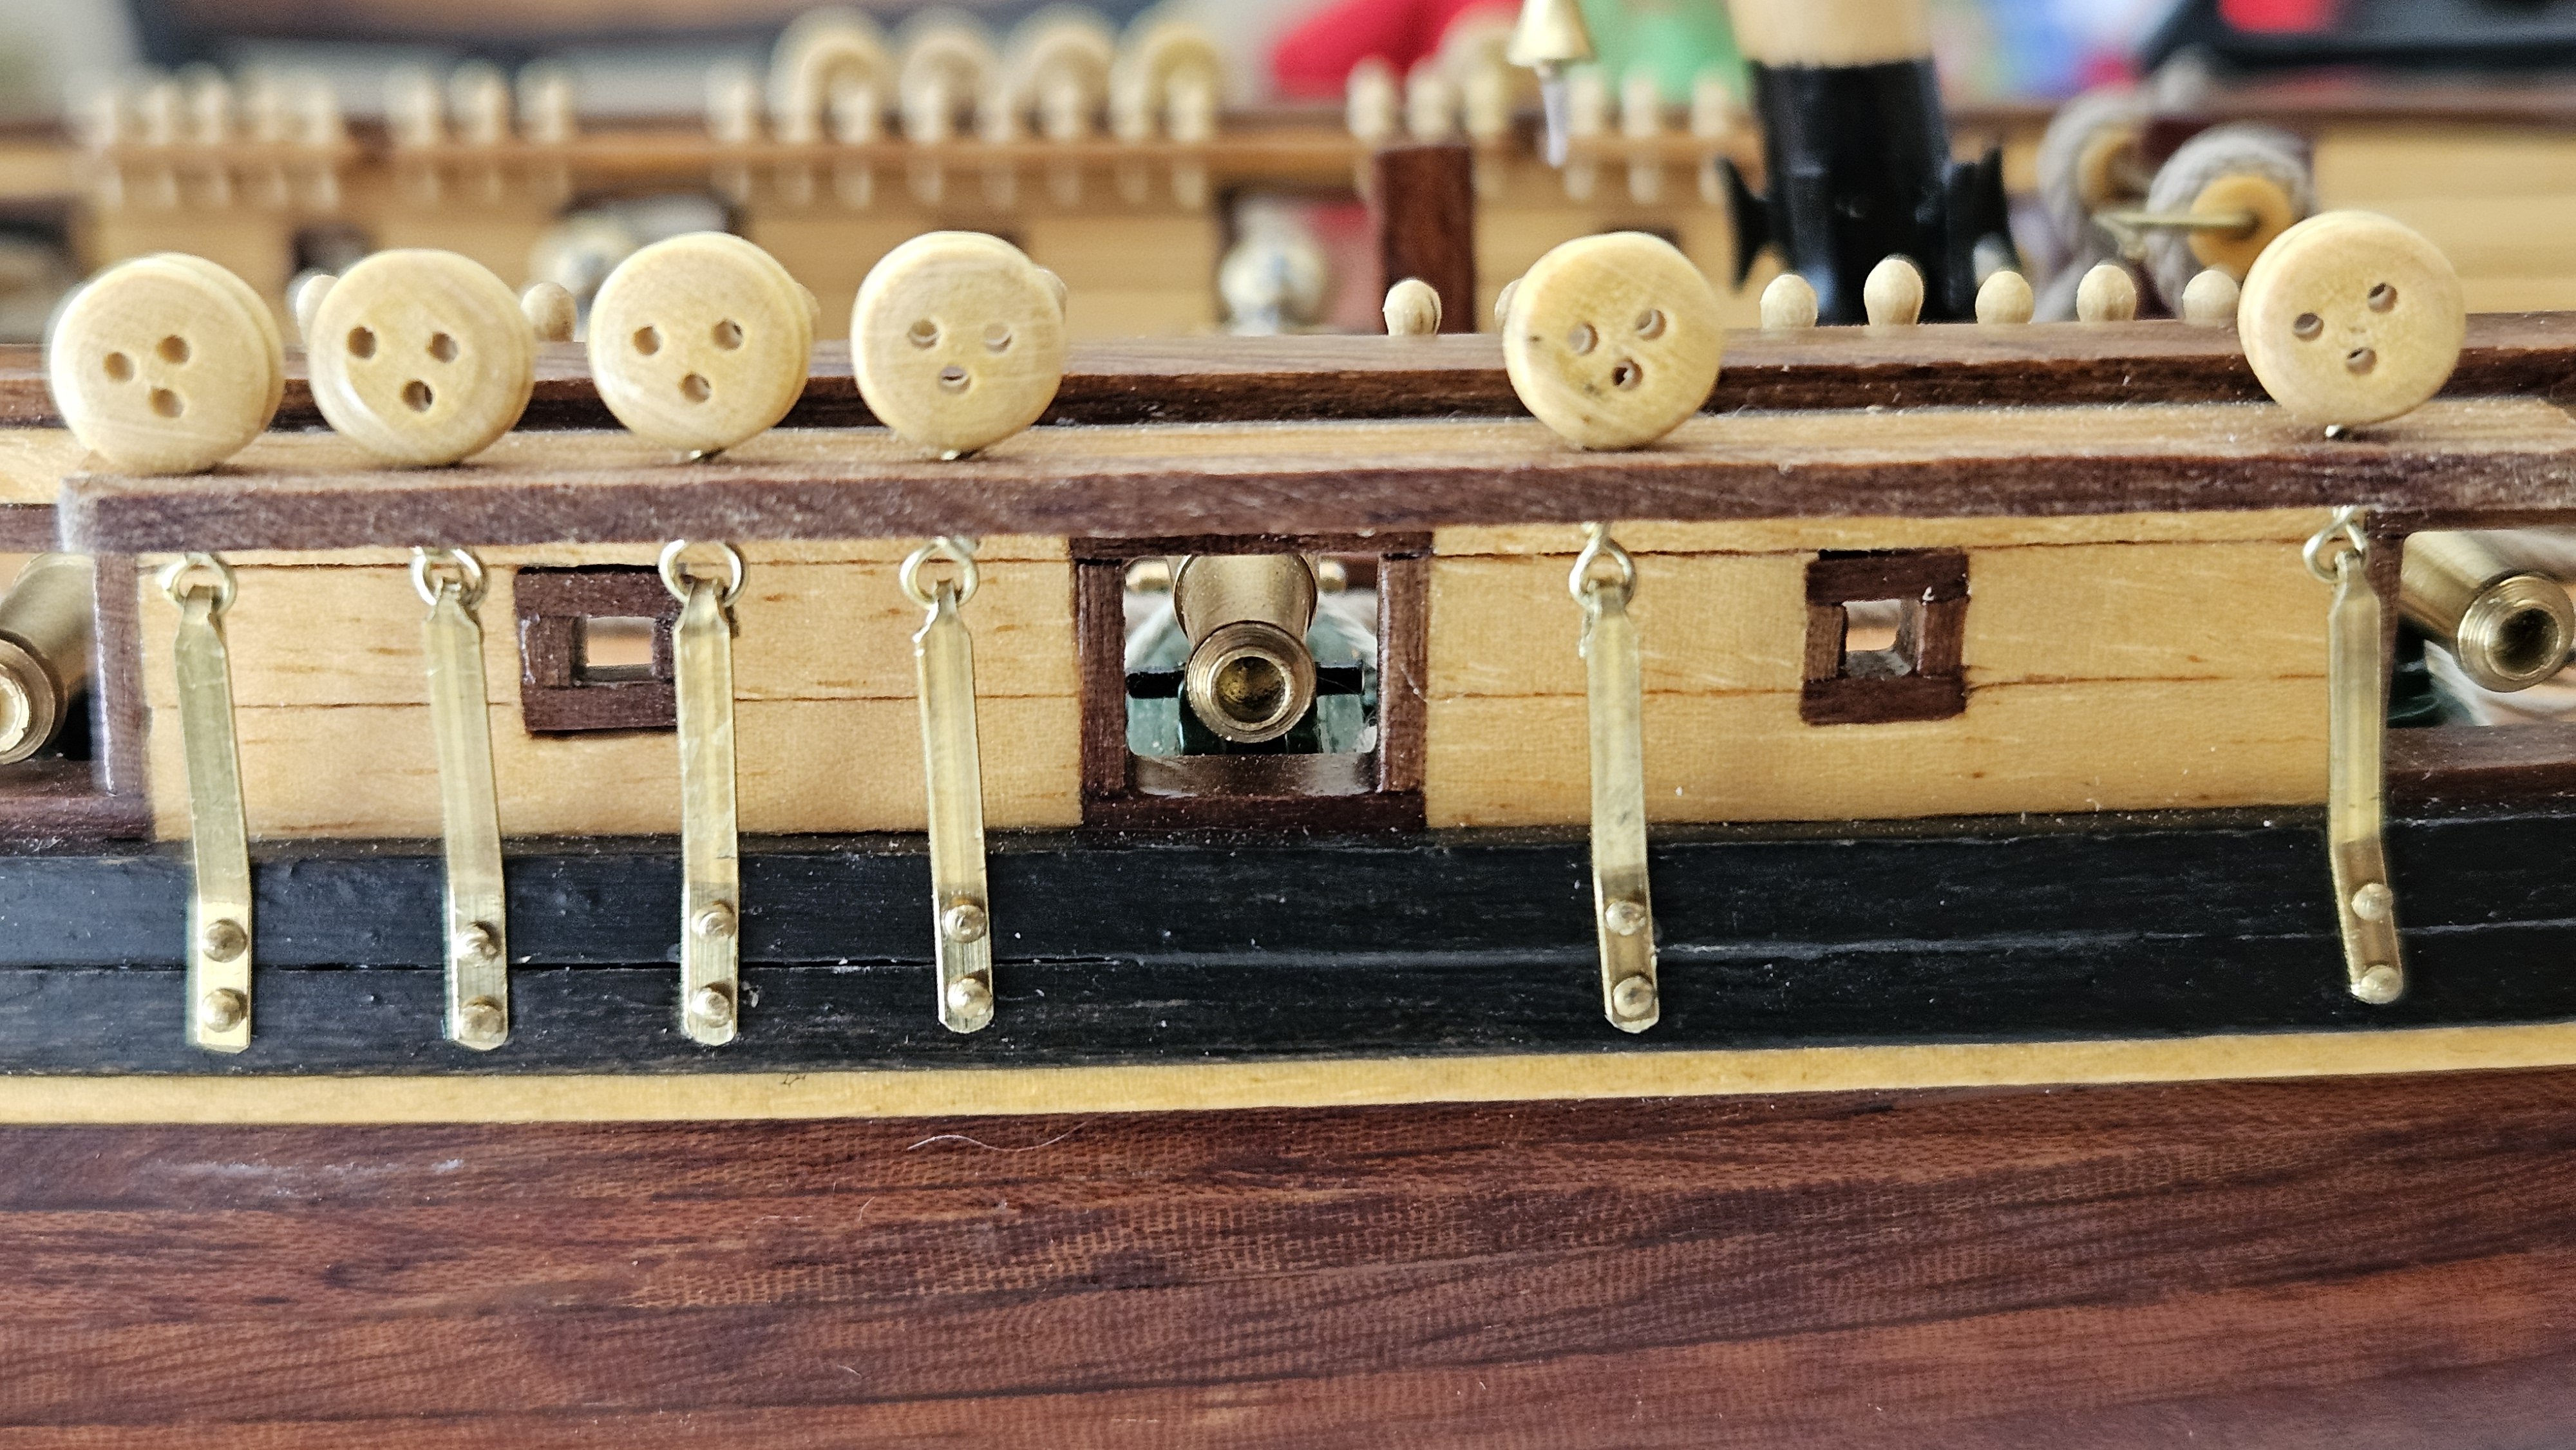
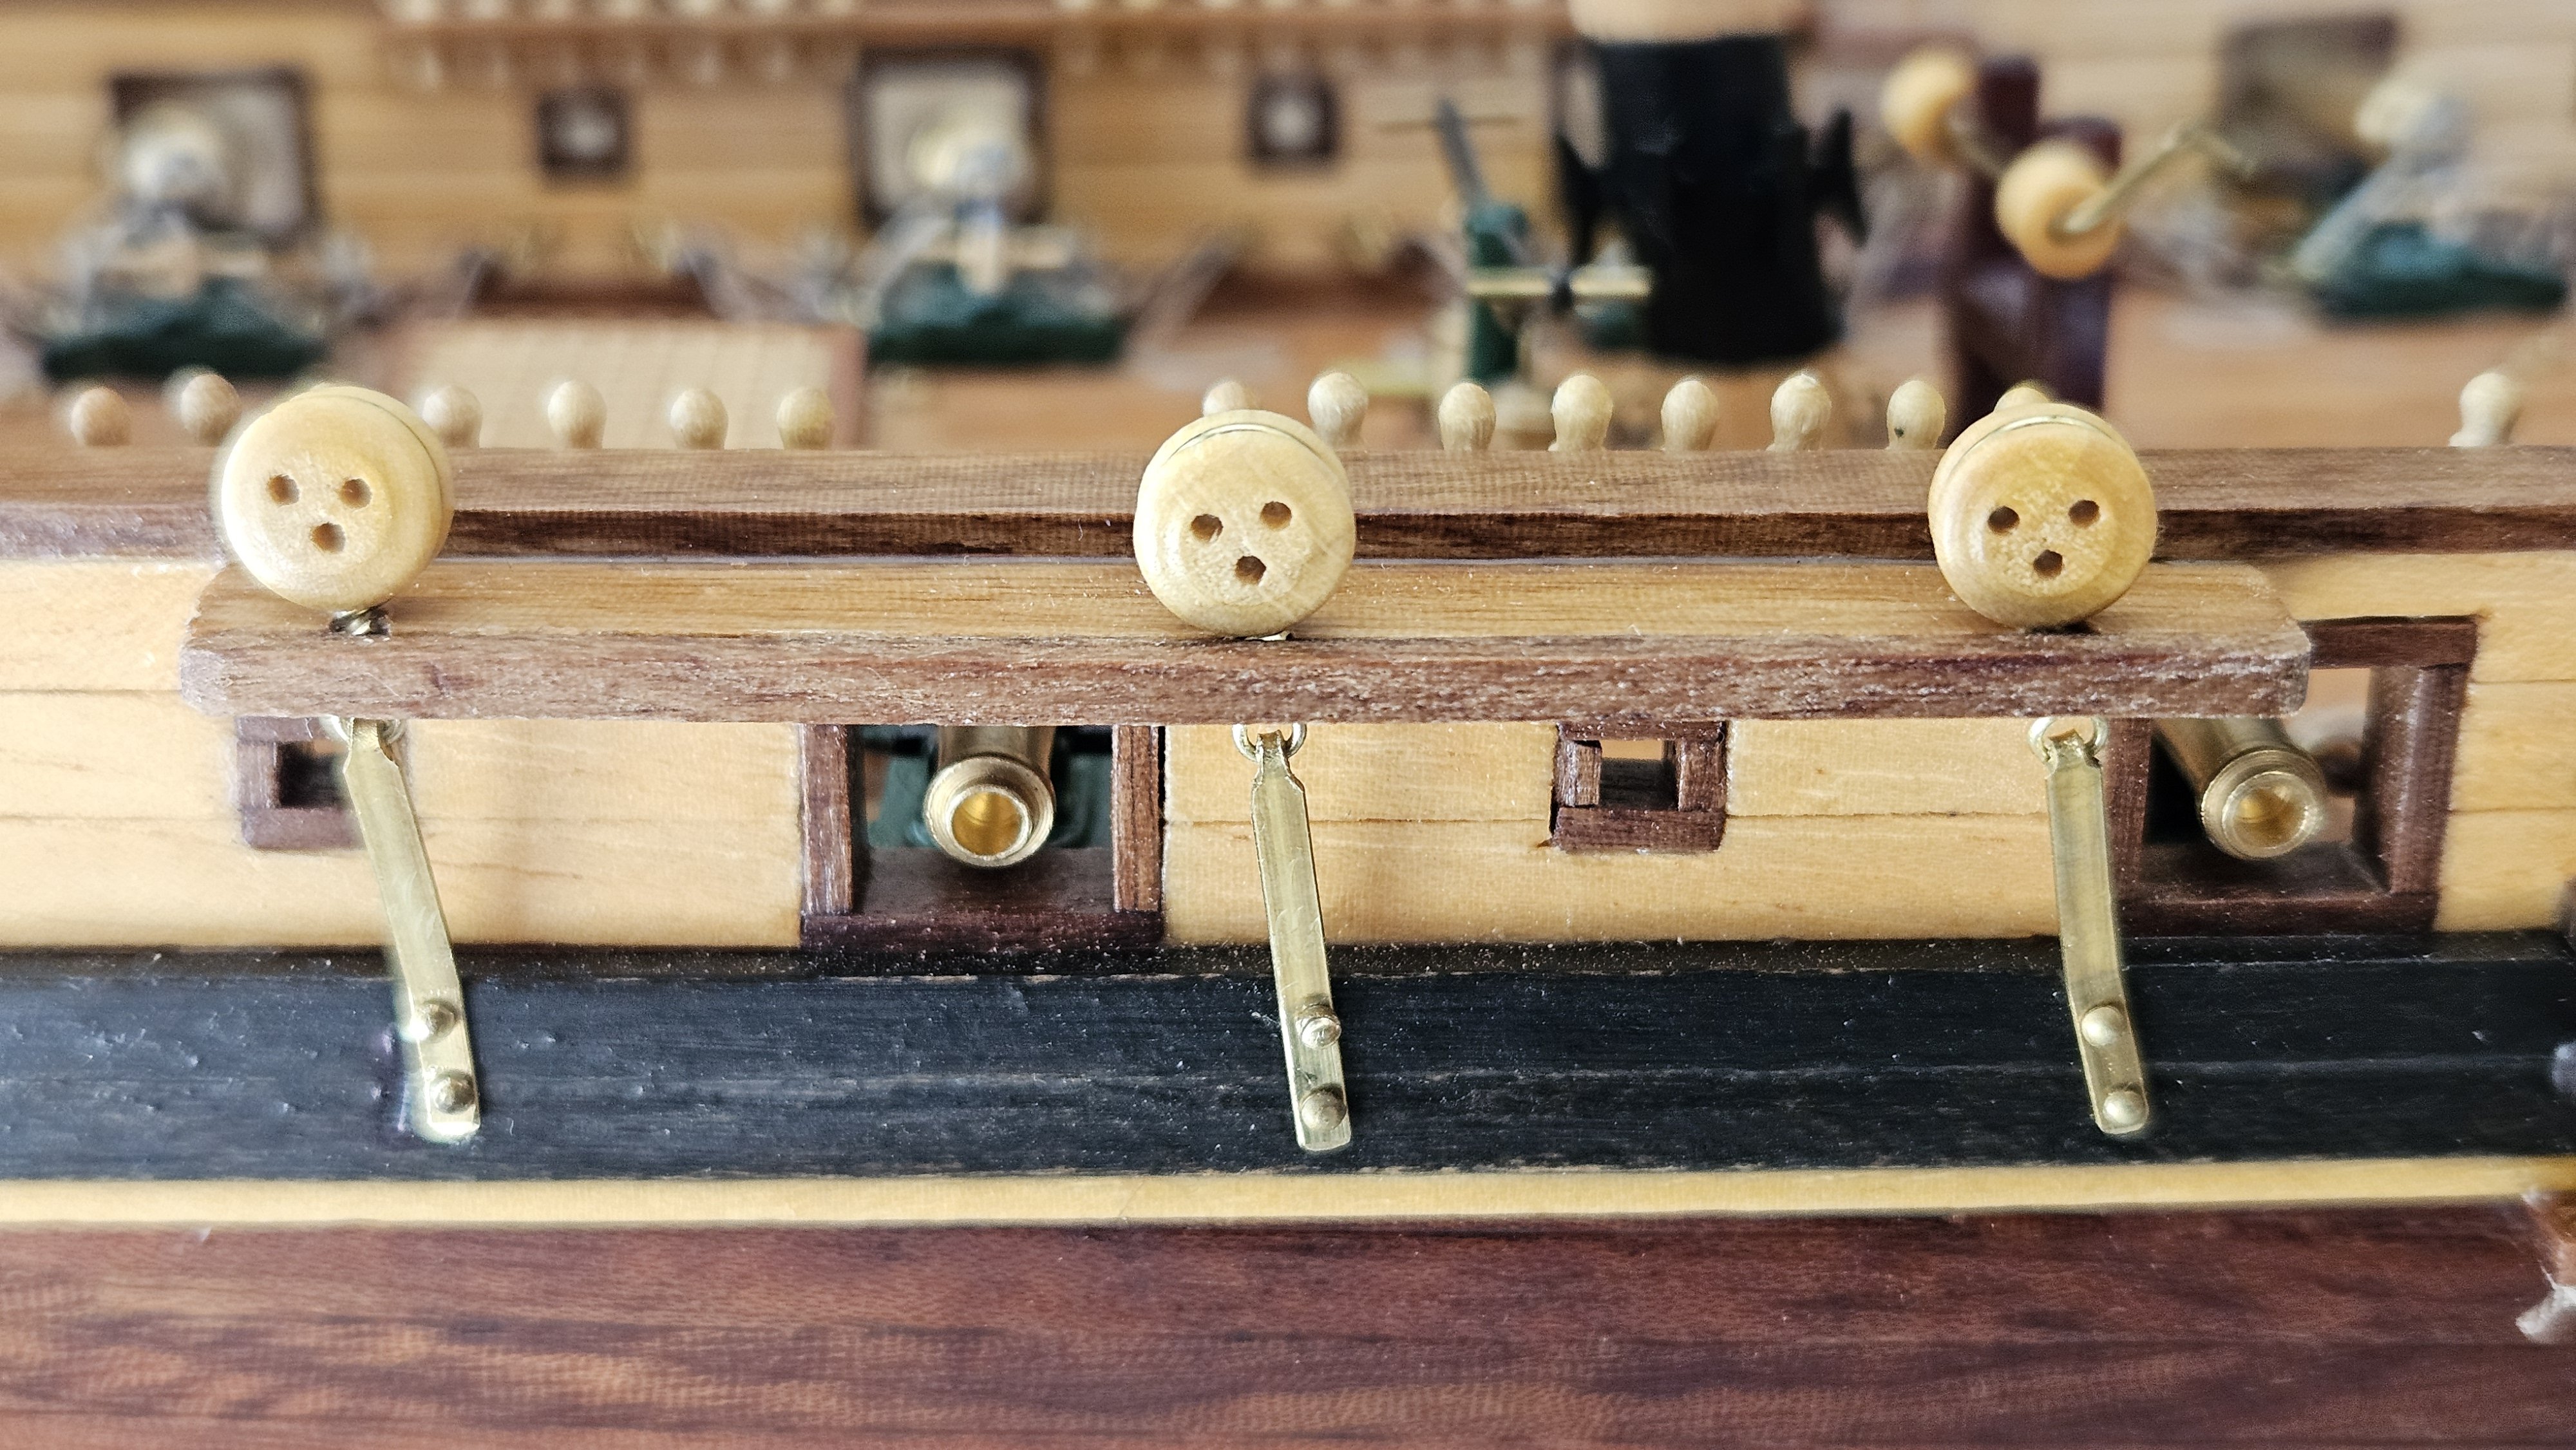
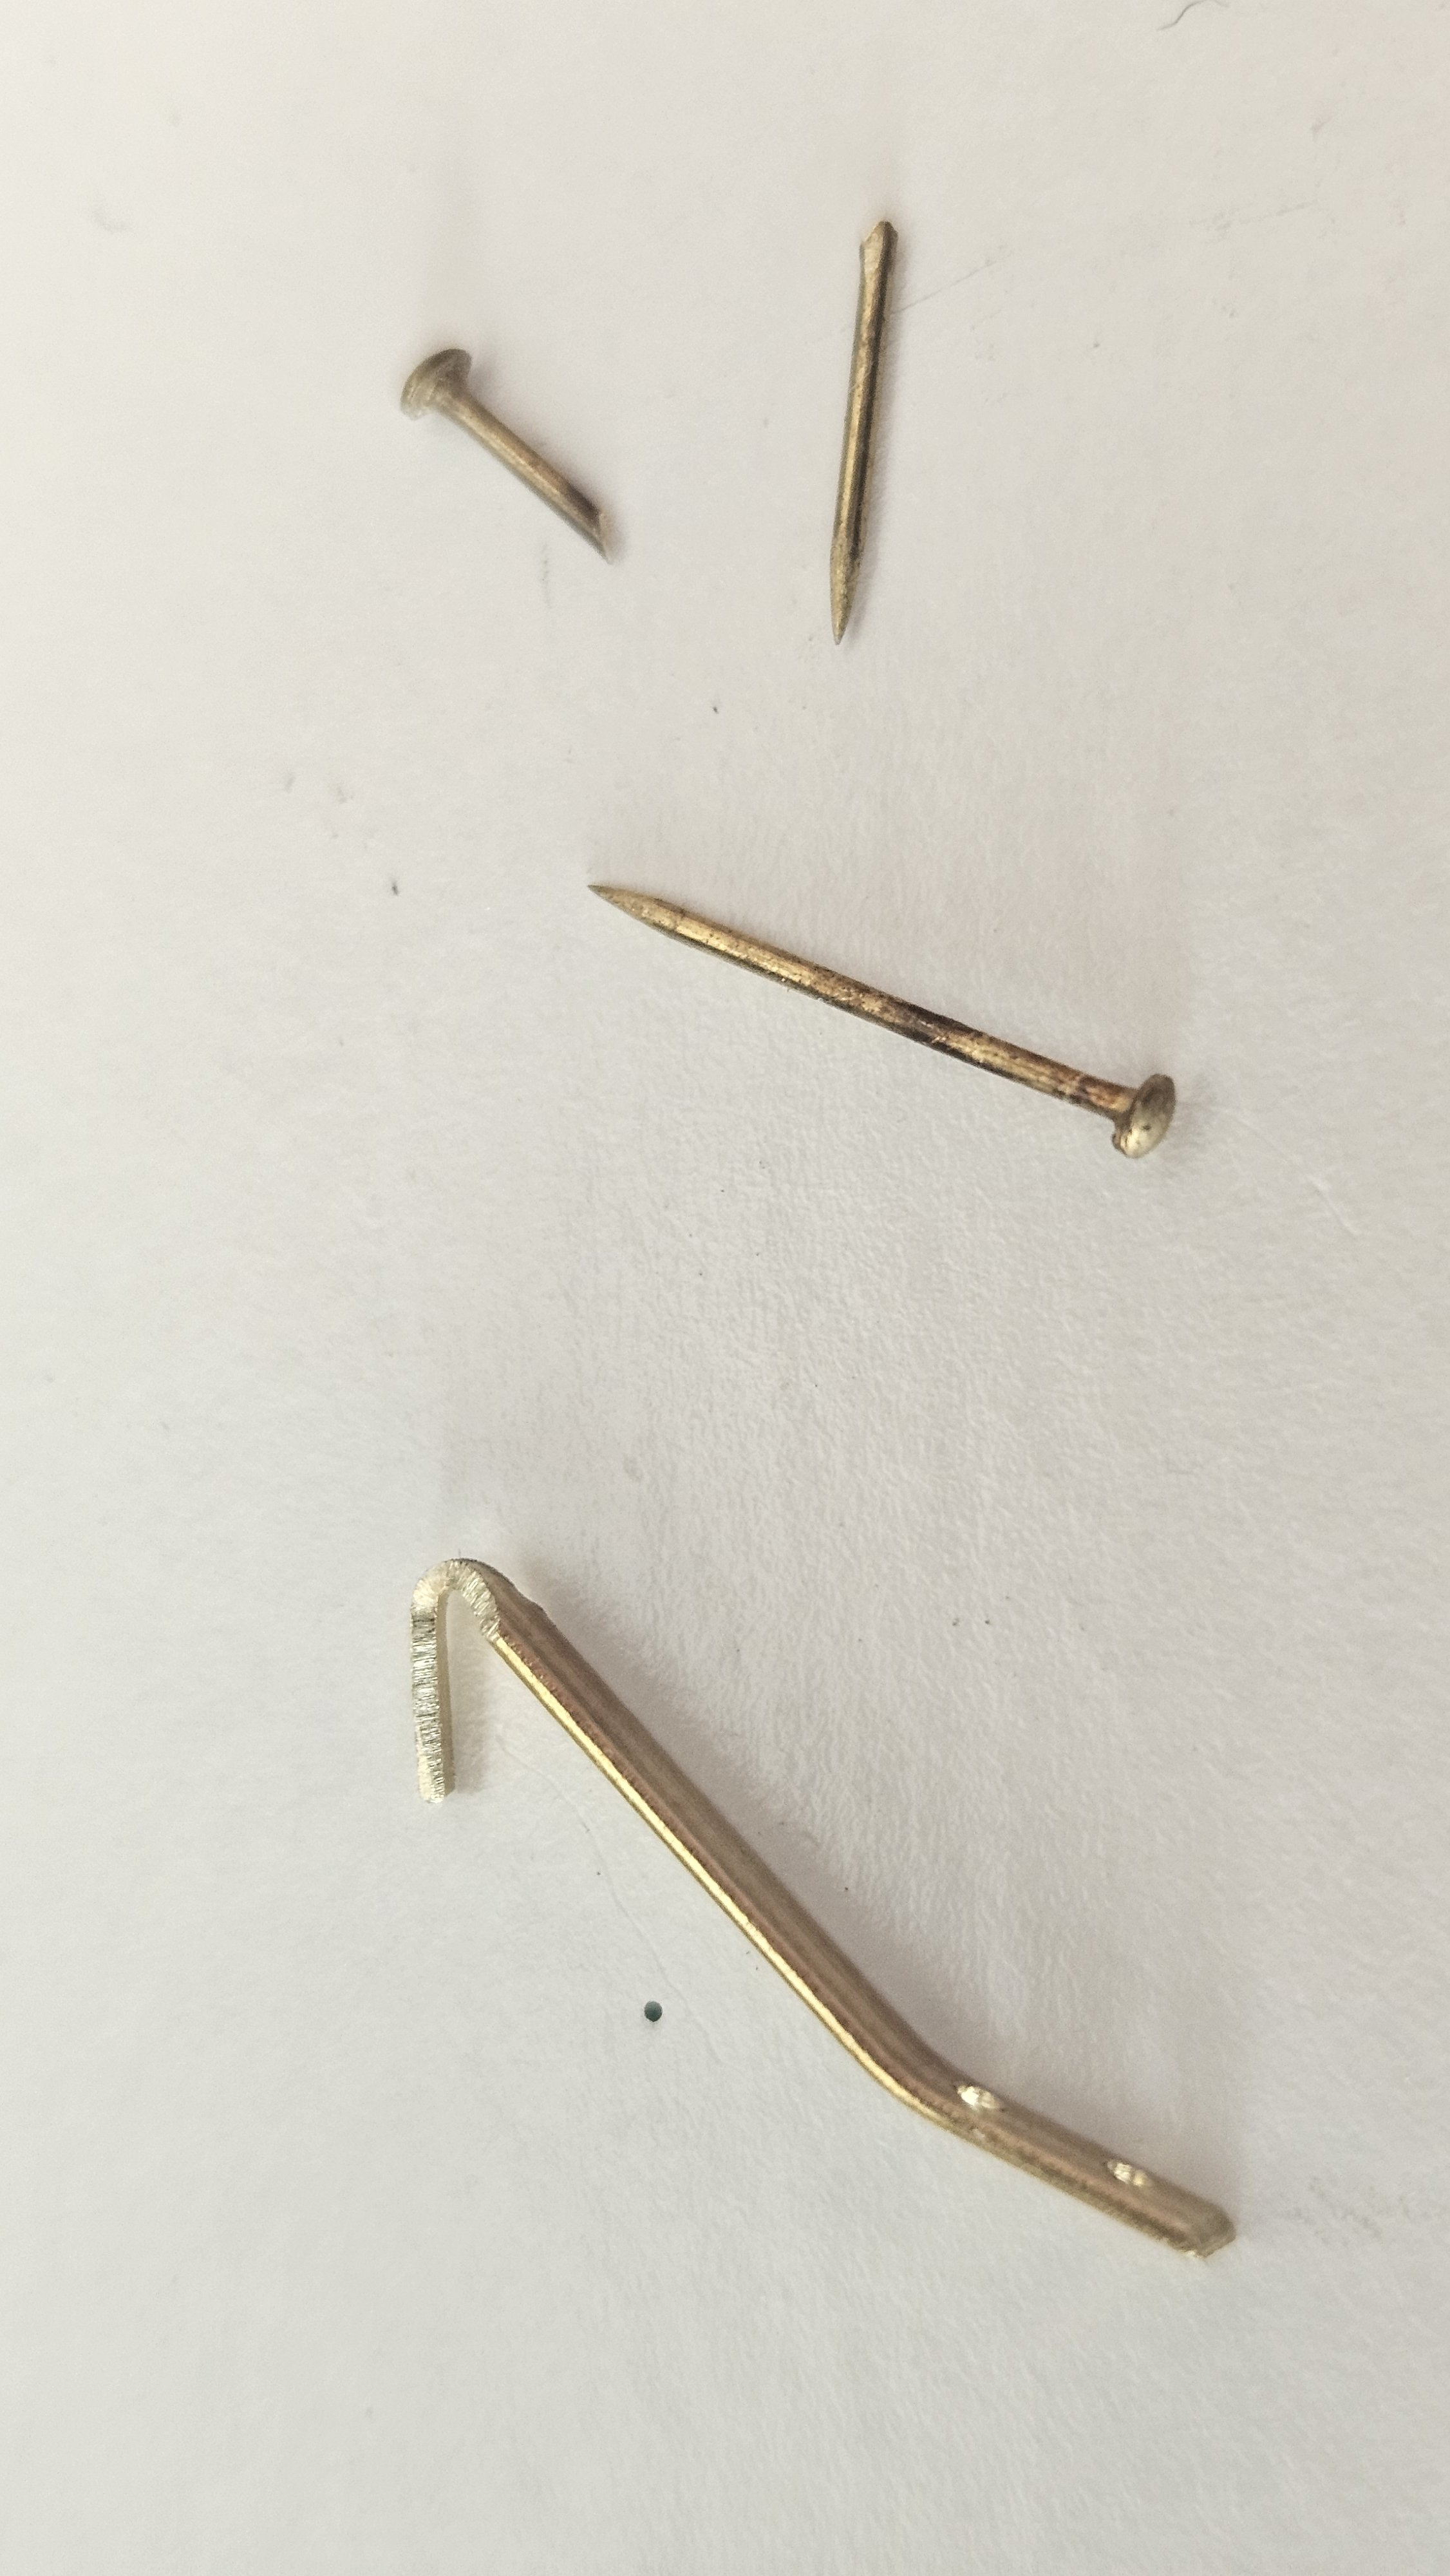
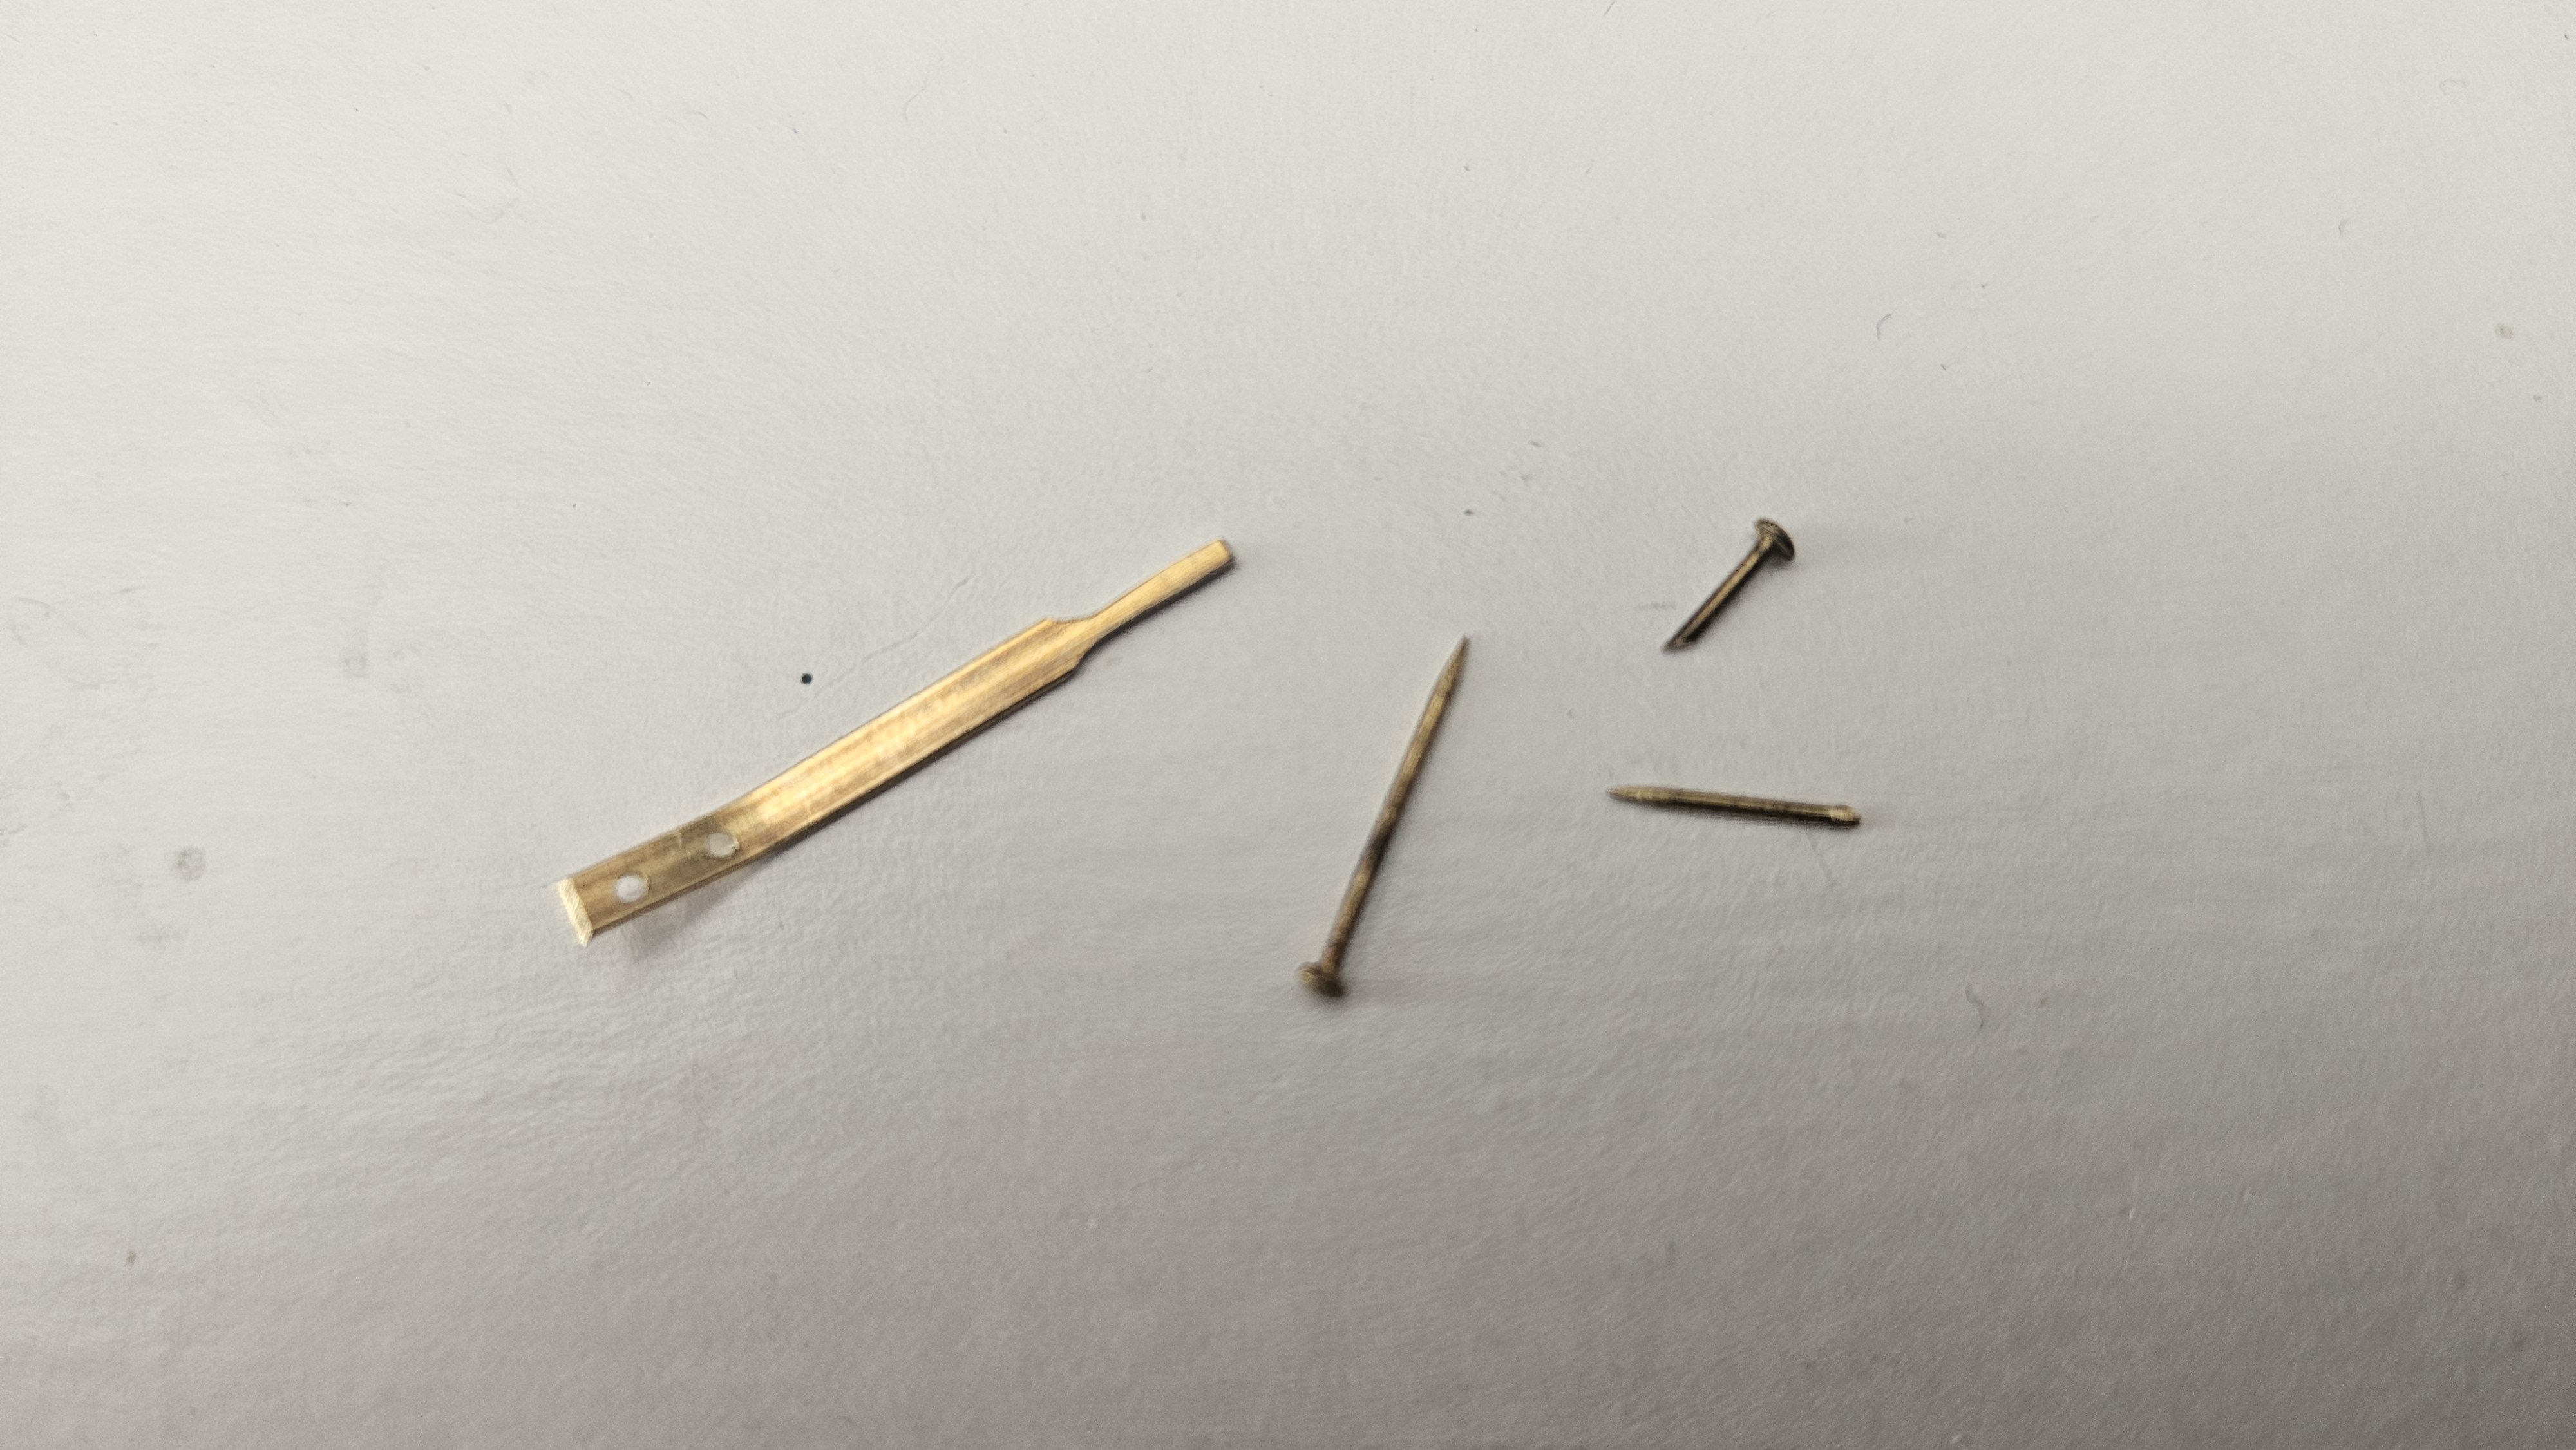
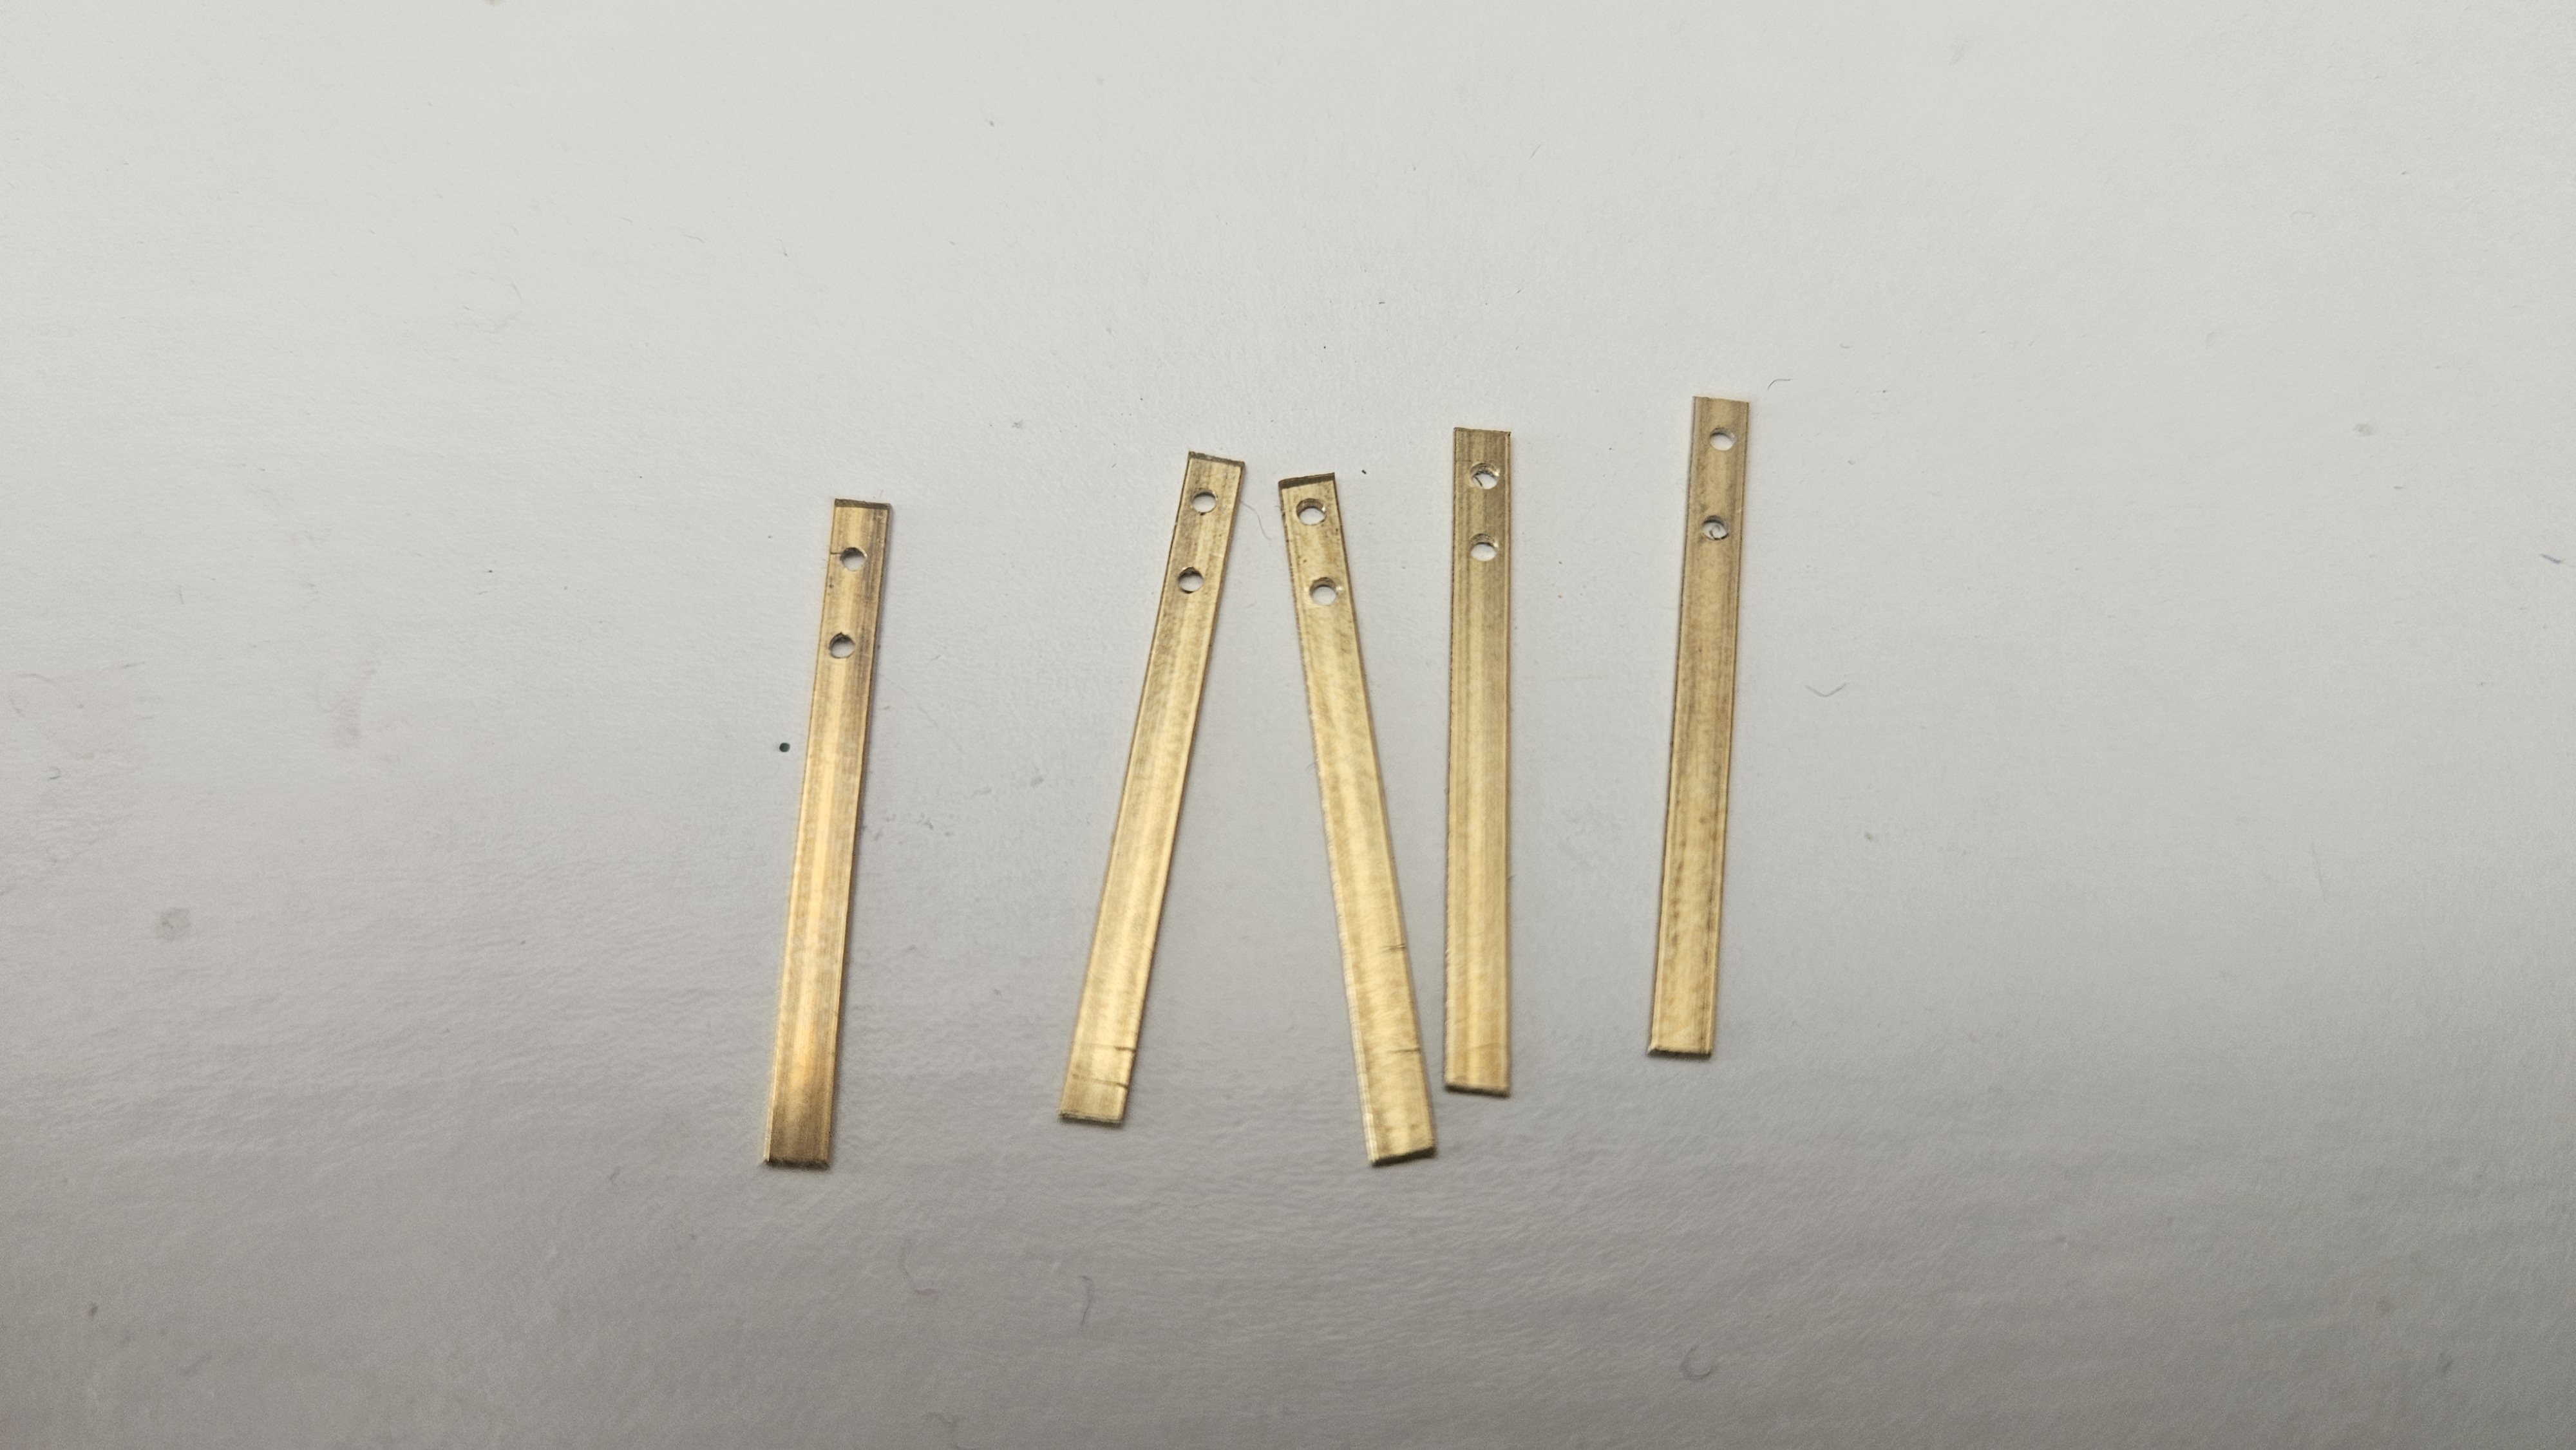
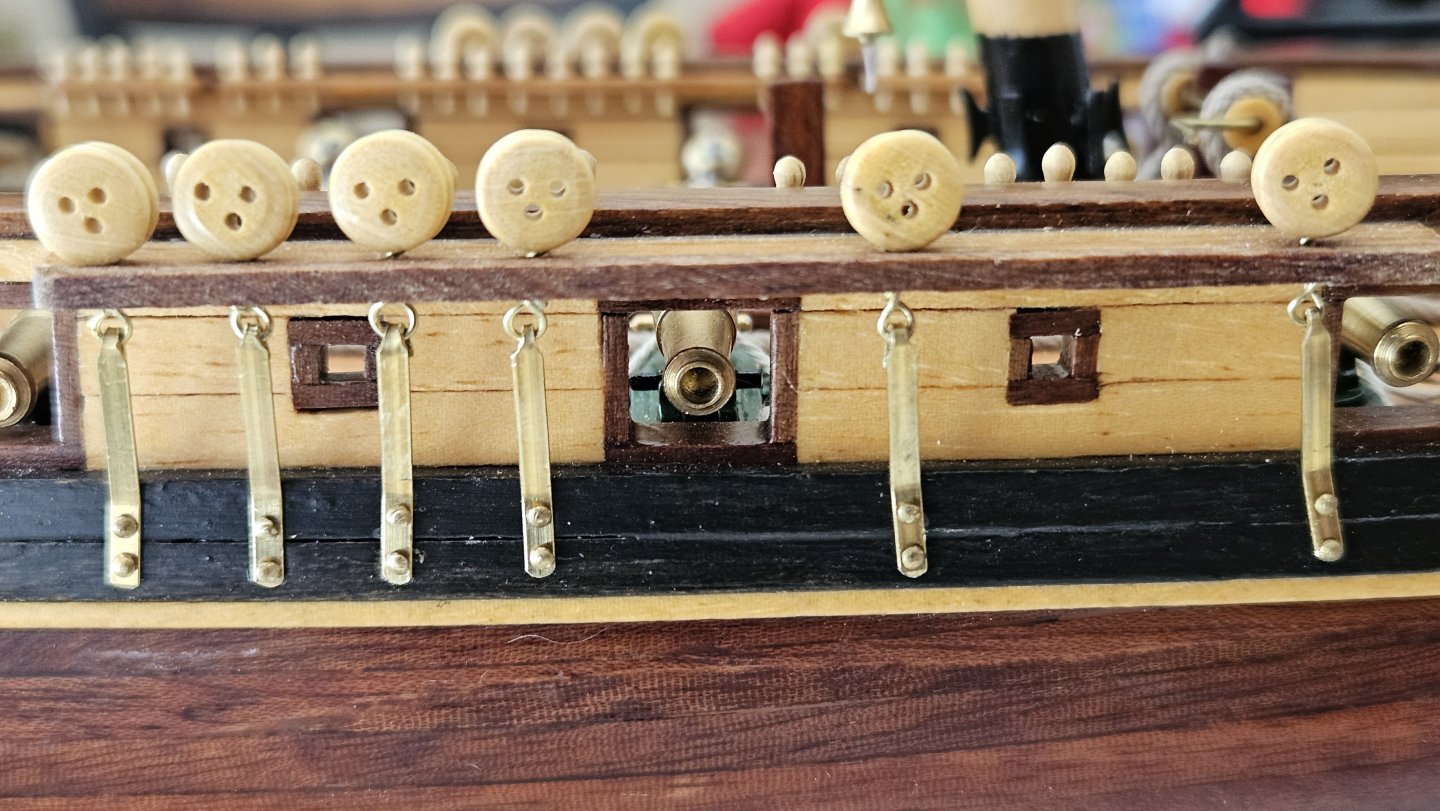
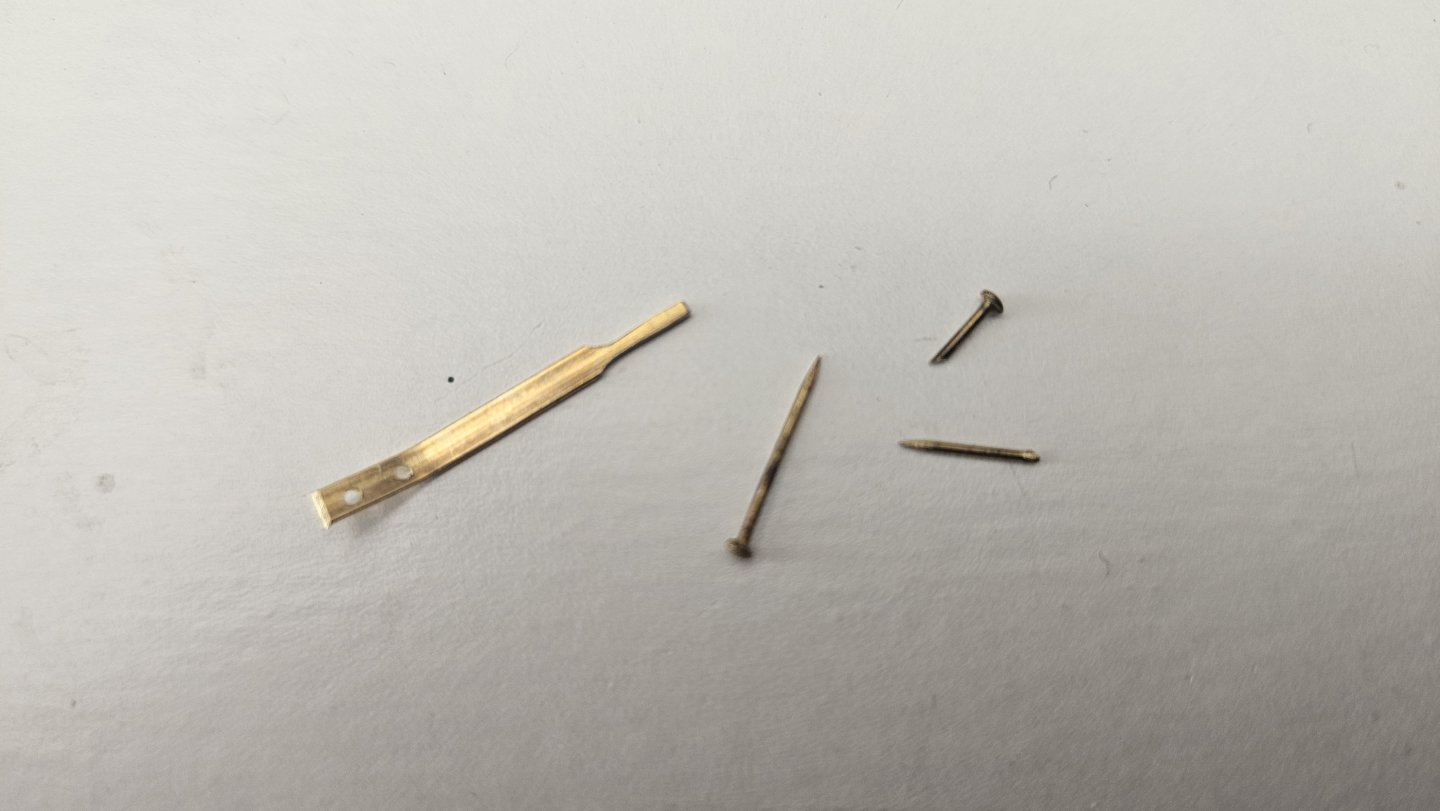
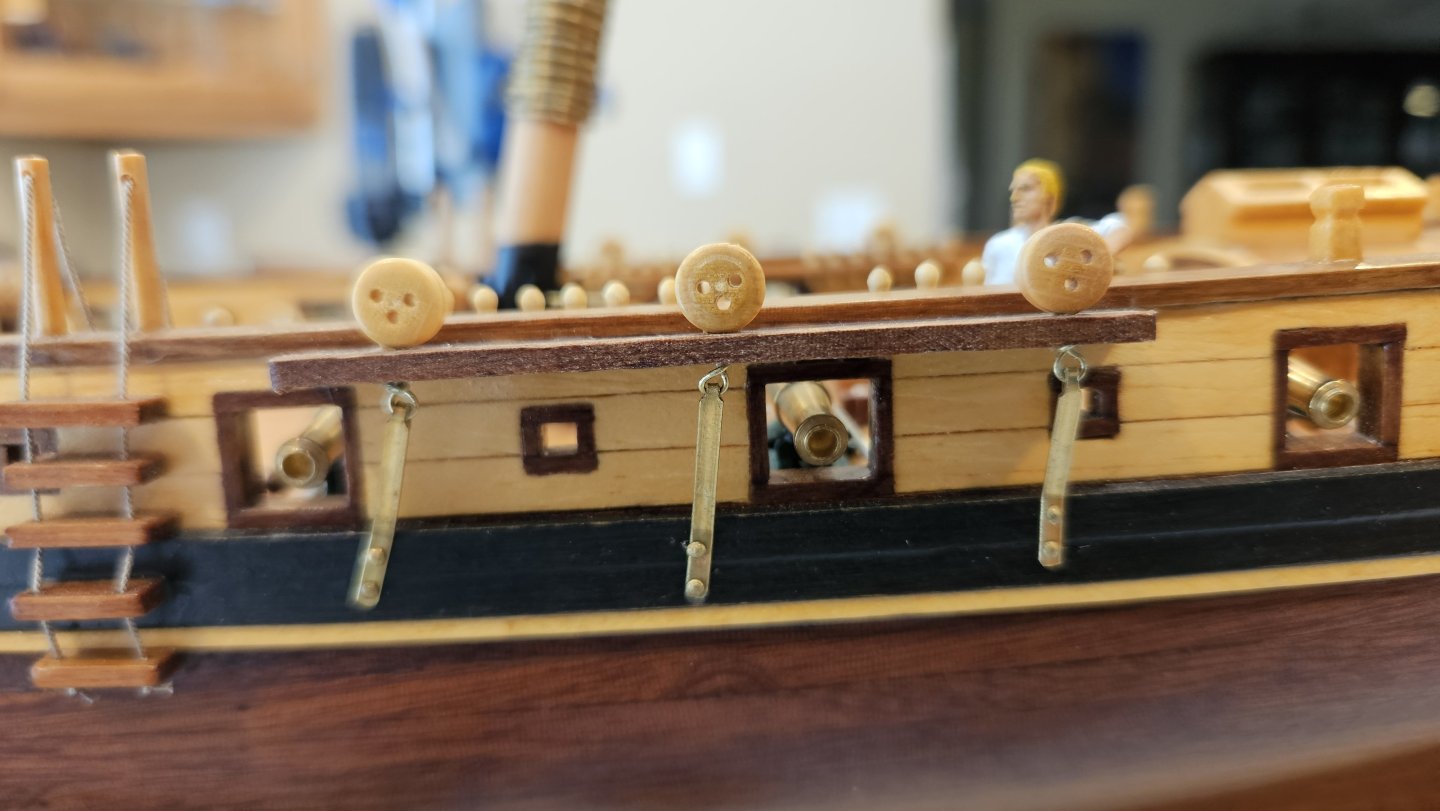
I have no excuse. But Mr. Nash (and the cooper?) has (have) completed all the chainplates!! Each chainplate custom sized, bent and ground. Each nail custom cut. Wow. *PRO TIP* Drill the holes in the stock first so you don't have to throw an almost finished piece away when the drill bit doesn't go where you intended. 🤣🤣🤣 Rough plates with holes. Cutting to approximate length only after holes came out acceptable. Bent and ground to fit through the deadeye strop. (First nail cut to length.) And the final bend...


-
Glen! The window screen grate is inspired!! Wow. And amazing work - end result was worth the troubles.
- 156 replies
-
- 4
-
-
-
- Queen Annes Revenge
- bottle
- (and 1 more)
-
Those ship's boats look really good in place! Nicely done Phil. Nicely done.
- 288 replies
-
- 6
-
-
-
- Card
- Pre-Dreadnought
- (and 3 more)
-
Very nice work to date Mark. And nice upgrades to the kit plywood. Beautiful work sir!
-
That vent for the engine room is very very very nice! Wow. The slats are so uniform.
- 490 replies
-
- 2
-
-
- minesweeper
- Cape
- (and 1 more)
-
Cool urban camo on that toad (frog?) if that helps any?
-
Those launches look great Phil! Wow. Very impressive and nice finishes.
- 288 replies
-
- 6
-
-
-
- Card
- Pre-Dreadnought
- (and 3 more)
-
Nice work Phil. Nice to watch someone who really knows what he's doing. Very very cool insight for us.
- 490 replies
-
- 3
-
-
- minesweeper
- Cape
- (and 1 more)
-
The deck and bowsprit look awesome Mark. I particularly like the look of the deck wood. Don't forget to check that bowsprit angle against a couple sources - it can cause big troubles! Ask me how I know. 🤣🤪🤣🤪🤣
-
Mark, The book title is compelling. As long as it looks correct to the builder, at least the builder will be happy! Is it this guy? https://www.fishermensvoice.com/archives/201809CastinesJohnPGardnerAndHisShipModels.html Your nibbing looks very clean. Well done!
-
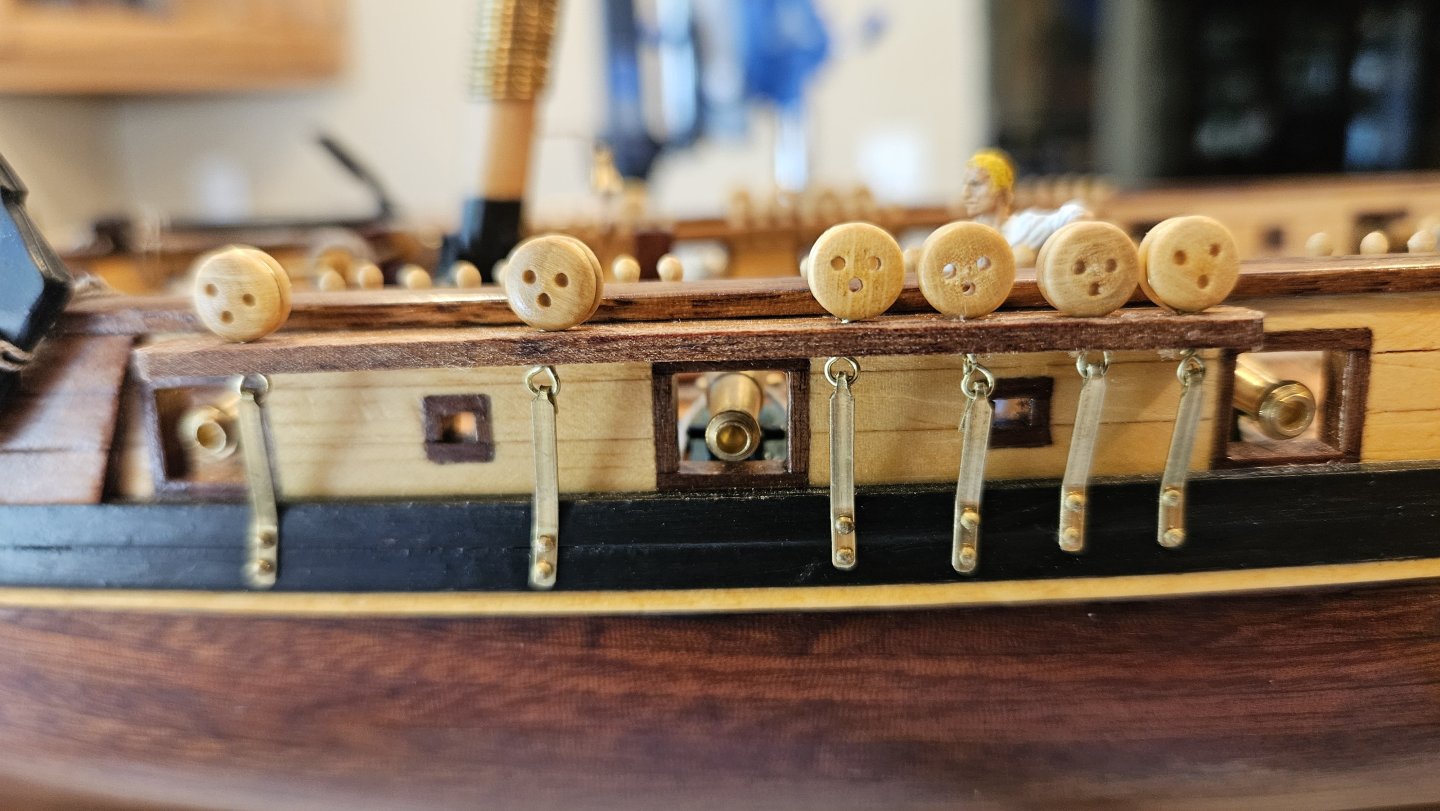
@SaltyScot Good to have you back Mark. Thanks for the kind words. I'm a little dismayed looking at that sole chainplate, but we will rectify that soon enough. (Only 17 more to go 🤣🤣🤣.)