Coyote_6
-
Posts
553 -
Joined
-
Last visited
Content Type
Profiles
Forums
Gallery
Events
Everything posted by Coyote_6
-
 Pegasus is looking very nice Bob. A fine ship indeed sir.
- 261 replies
-
- 2
-

-

-
- Victory Models
- Pegasus
- (and 3 more)
-
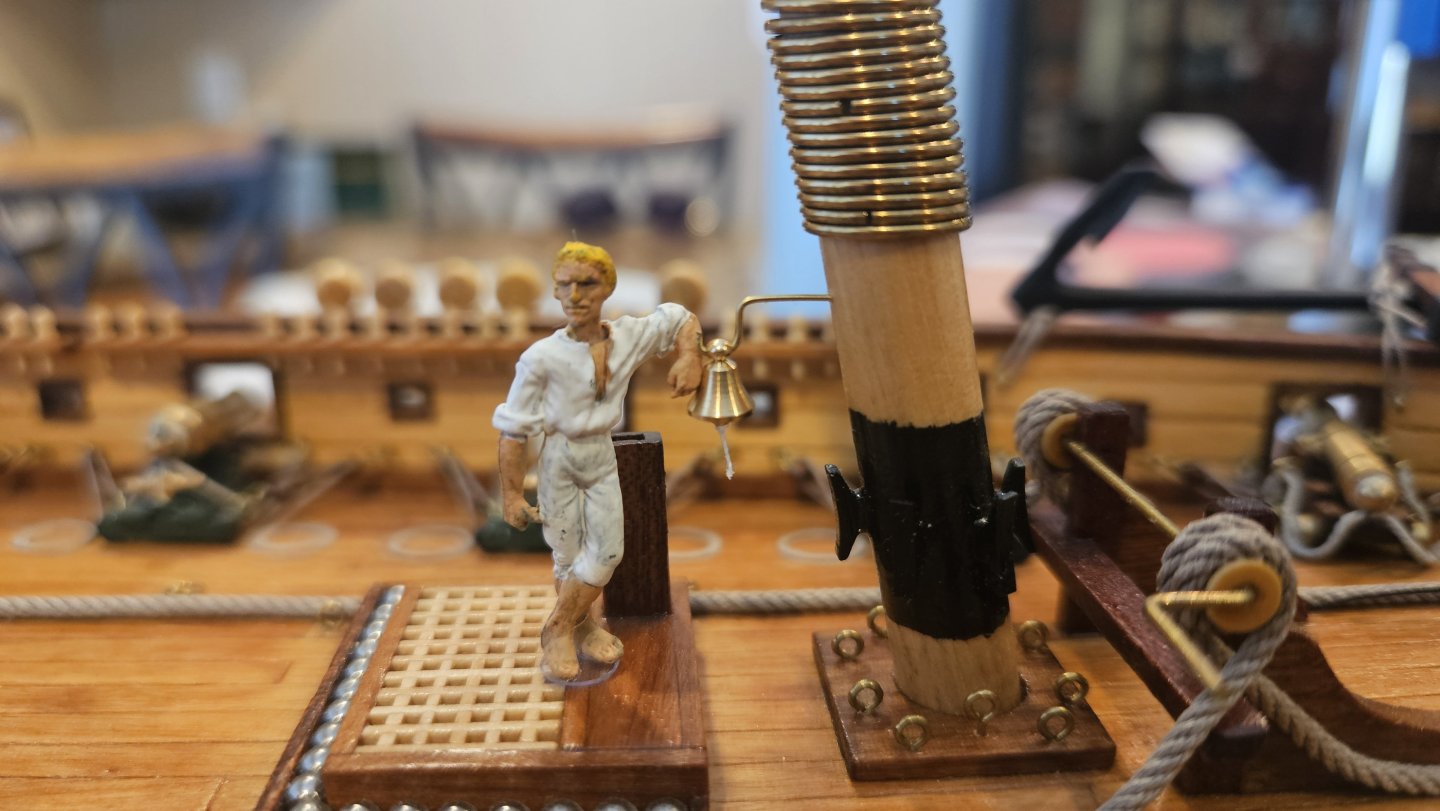
Some days things just go... slow. Having never done a chainplate, well, let's just say this has taken longer than it should have. I had initially thought to do the chain link style, but the Smithsonian plans pretty clearly show plates, so here we are. Much thought on blackening the plates, but this build seems to highlight natural finishes so the brass remains. It is what it is I guess. On deck, Mister Nash has hung the ship's bell and added the bell rope. Hopefully it will be able to stay there when all the rigging is completed. 🤔 Well done Mister Nash! Thanks for checking in. Interested in any thoughts as always! (Reference Marquardt The Global Schooner, p.172 Fig. 7)
-
You are doing measure 32 camo? "Canvas Covers. Canvas covers visible from the outside vessel are to be dyed a color corresponding to Deck Blue." At least according to https://shipcamouflage.com/measure_32.htm That camo website has generally matched wartime photos of ships I built using it. Can't hurt to try one and see. Alaska Is looking awesome!
-
Good luck with your glazings (window glass) - that is quite the undertaking!
- 481 replies
-
- 2
-
-
- minesweeper
- Cape
- (and 1 more)
-
So small. So cool. Love seeing the fleet together!!
- 457 replies
-
- 3
-
-
-
- sternwheeler
- Hard Coal Navy
- (and 1 more)
-
As Arte Johnson used to say... "Verrrry interesting!" 🧐
-
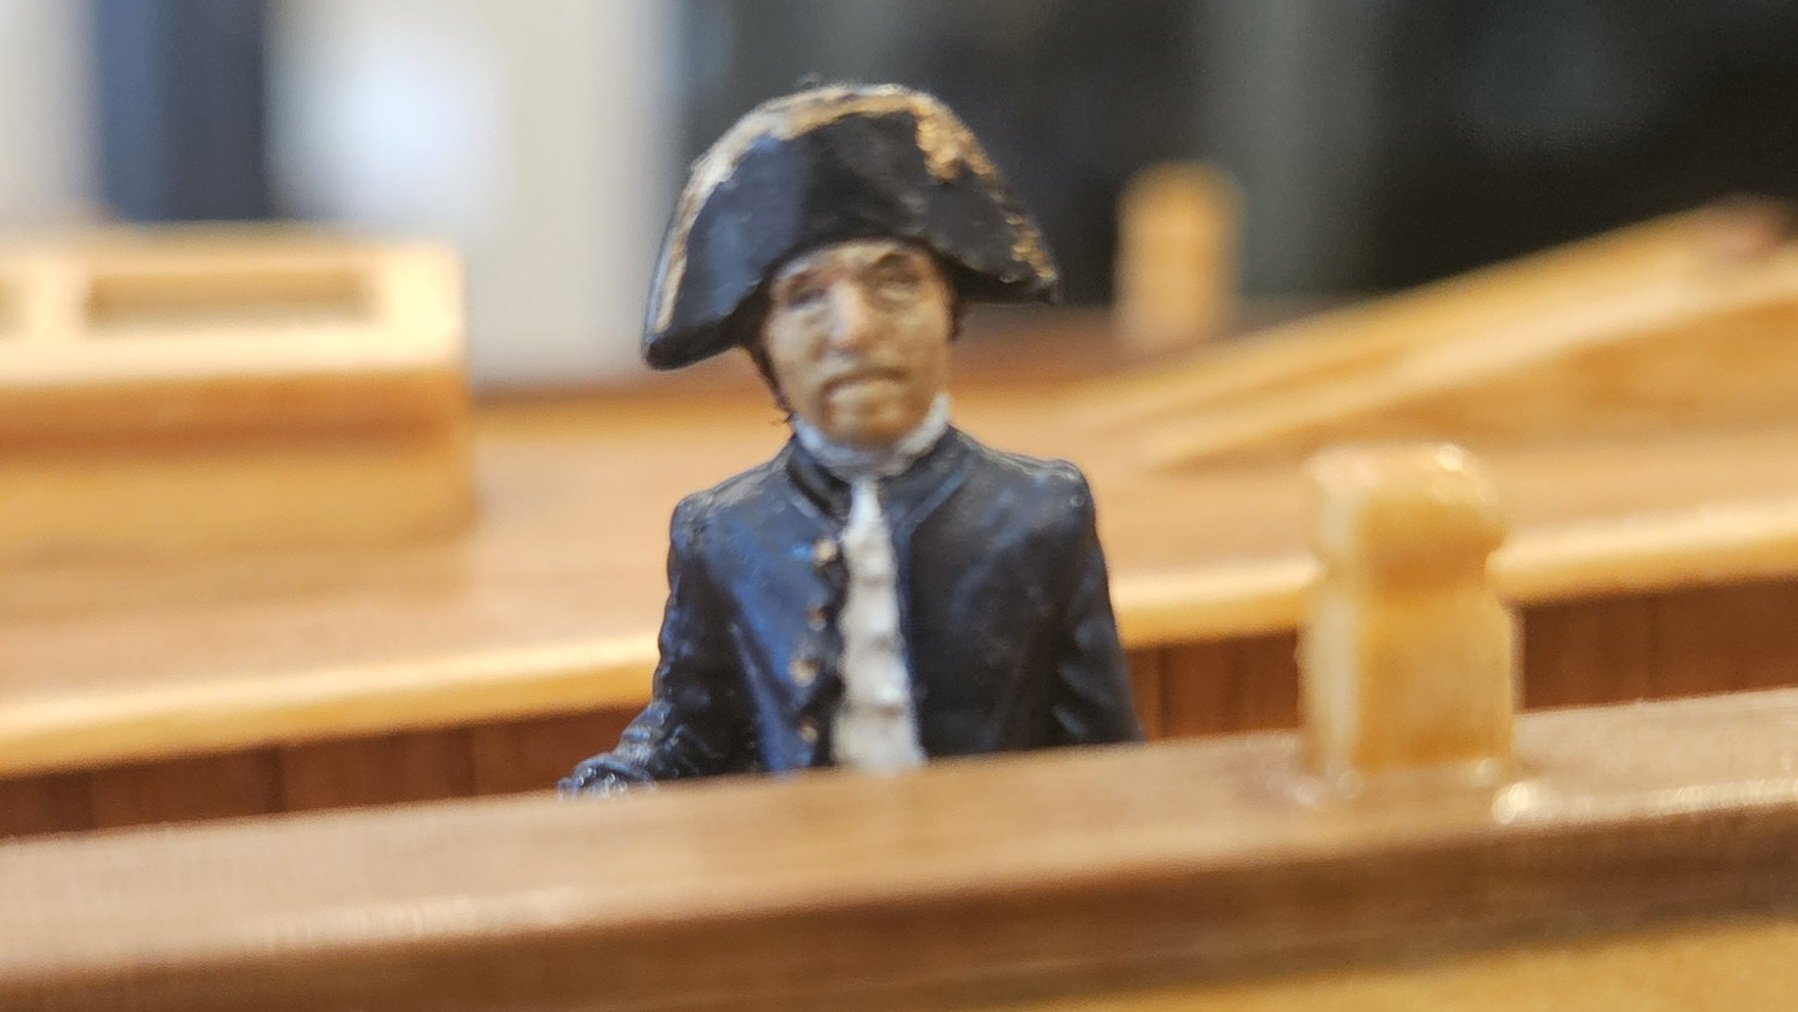
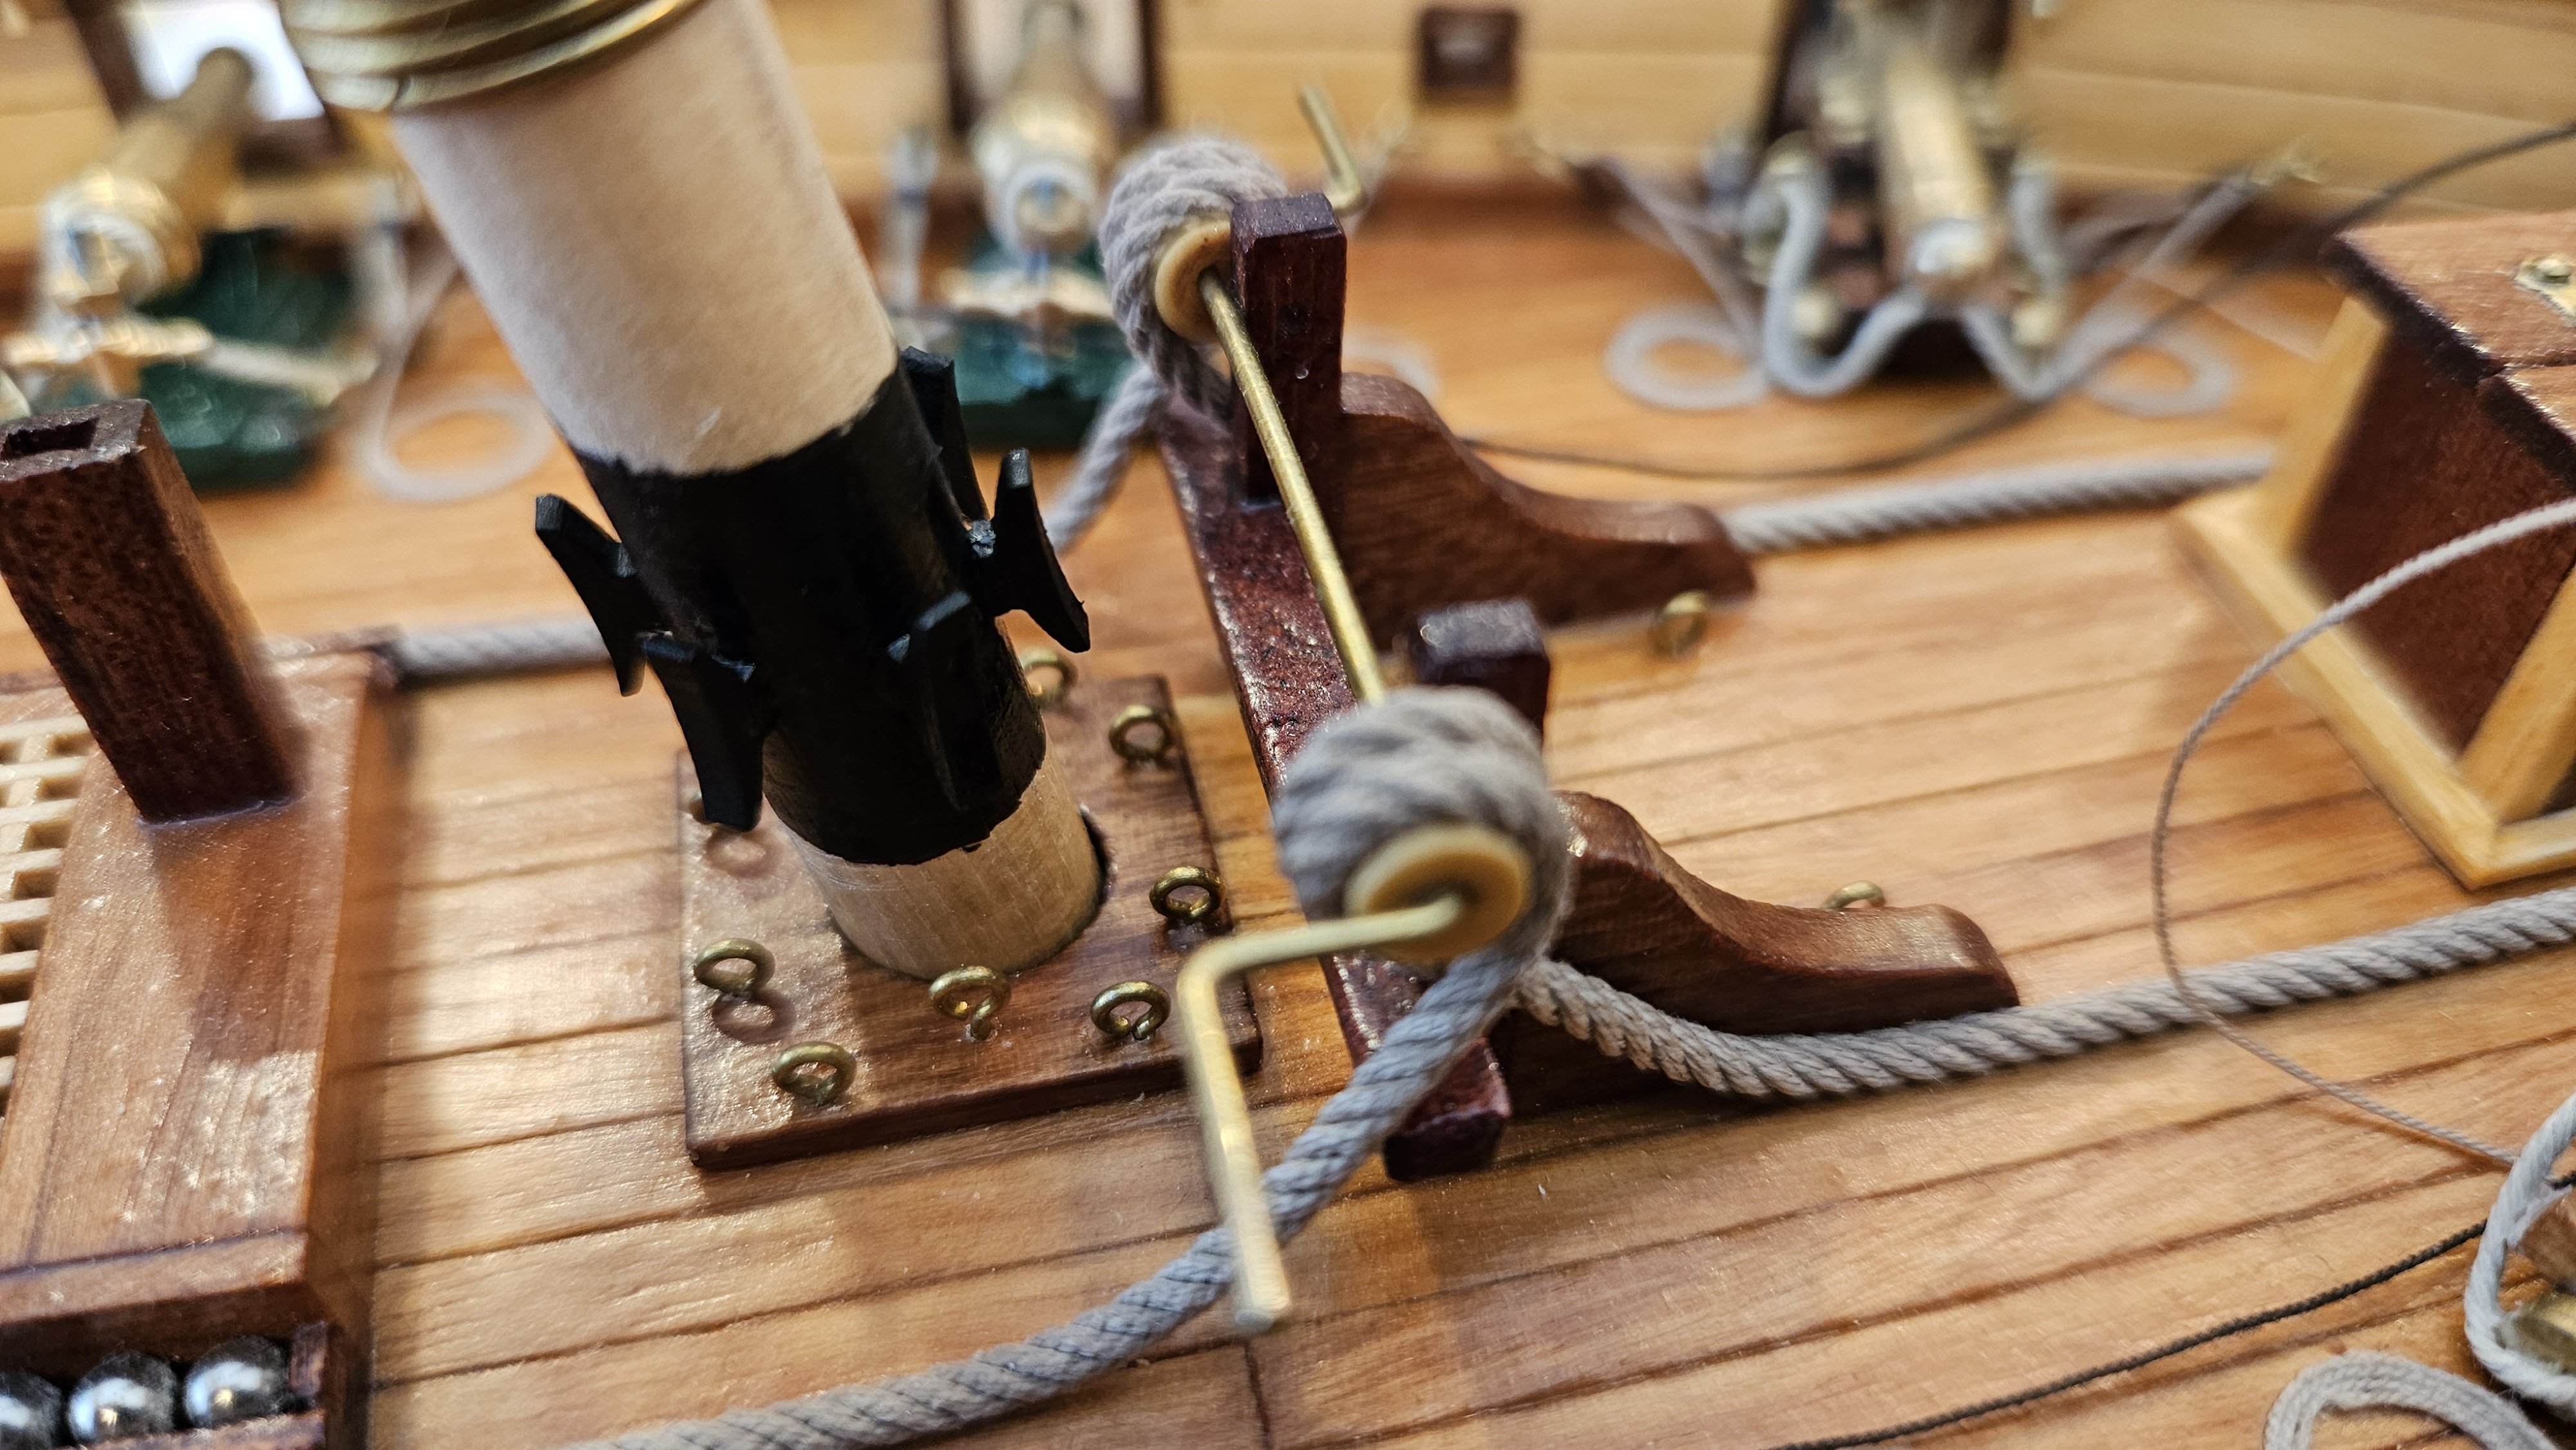
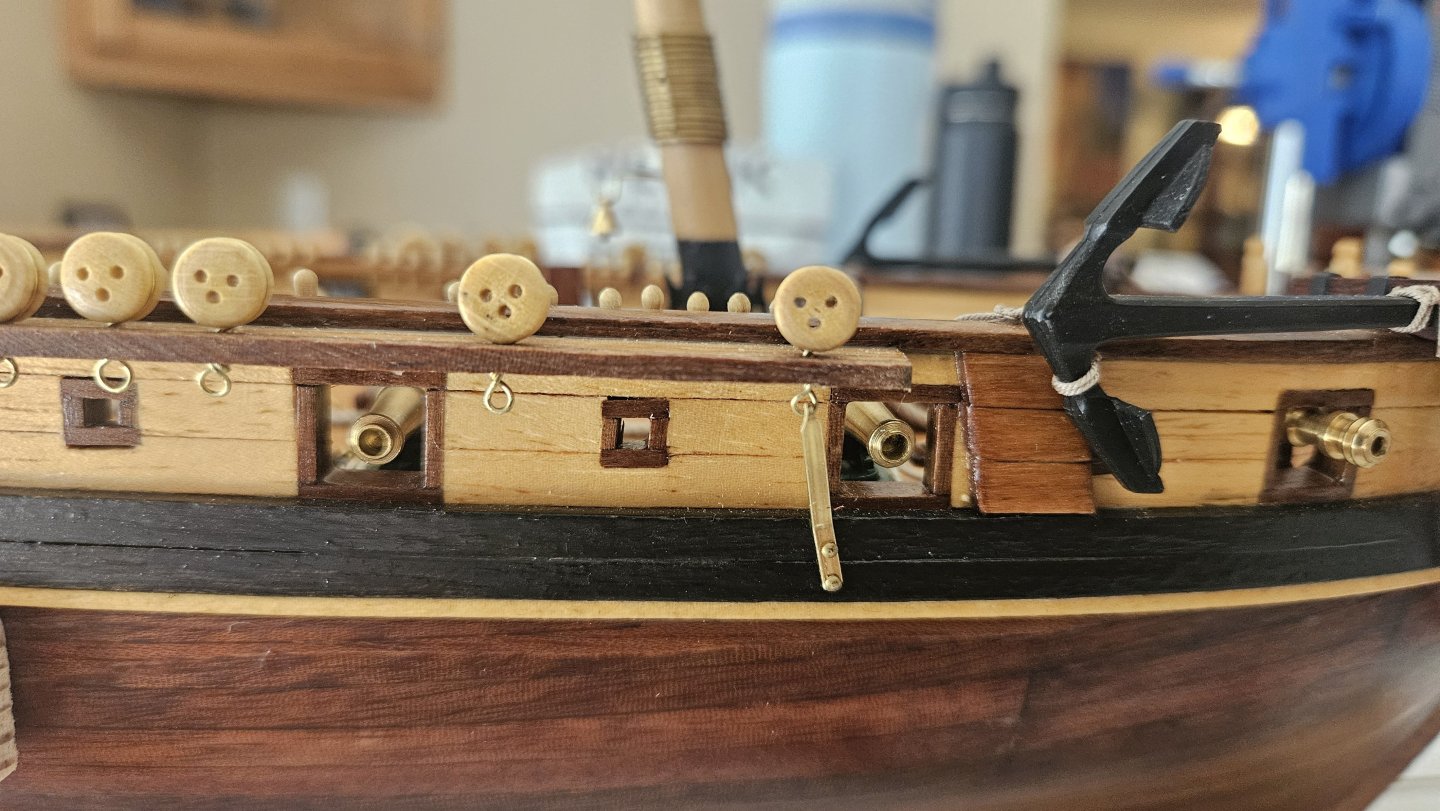
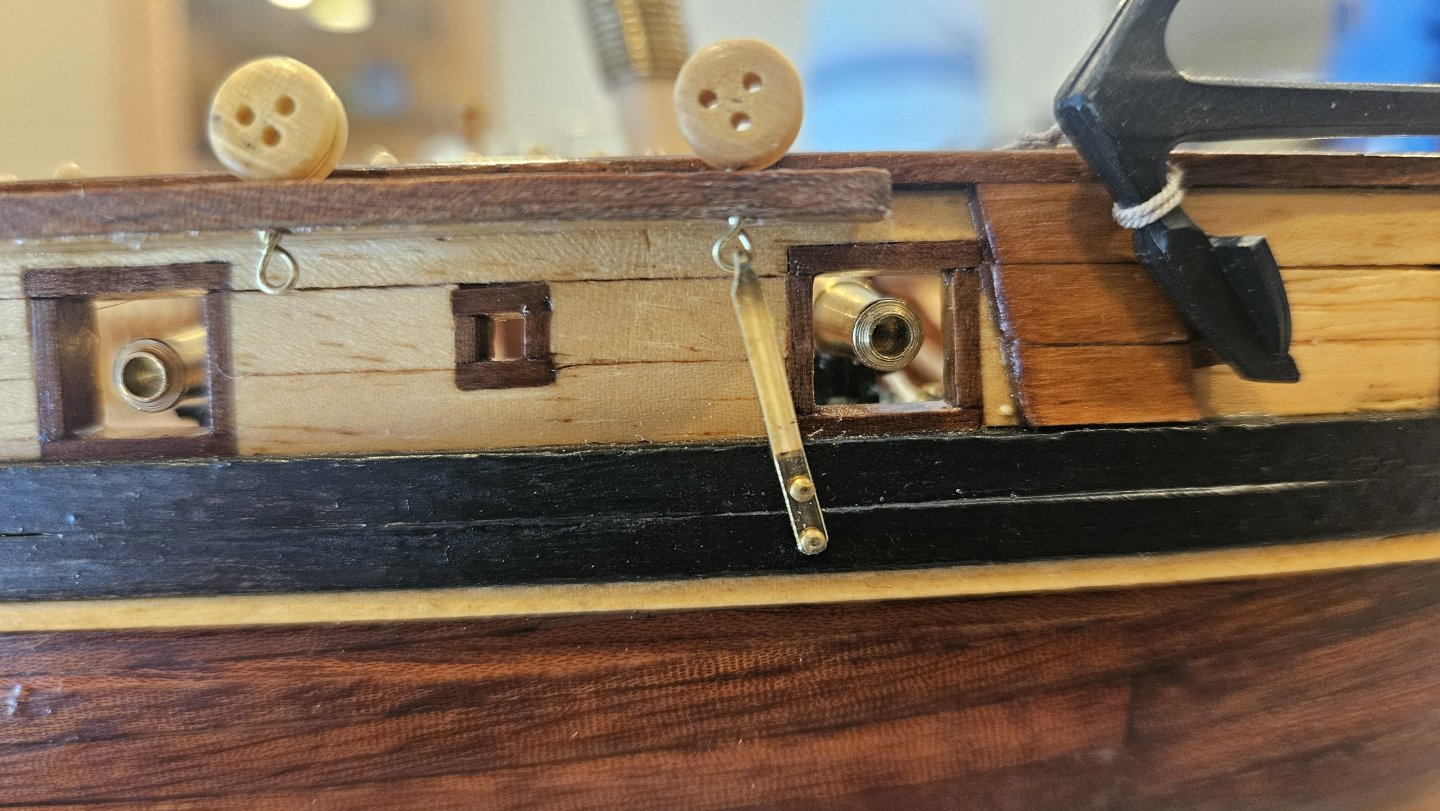
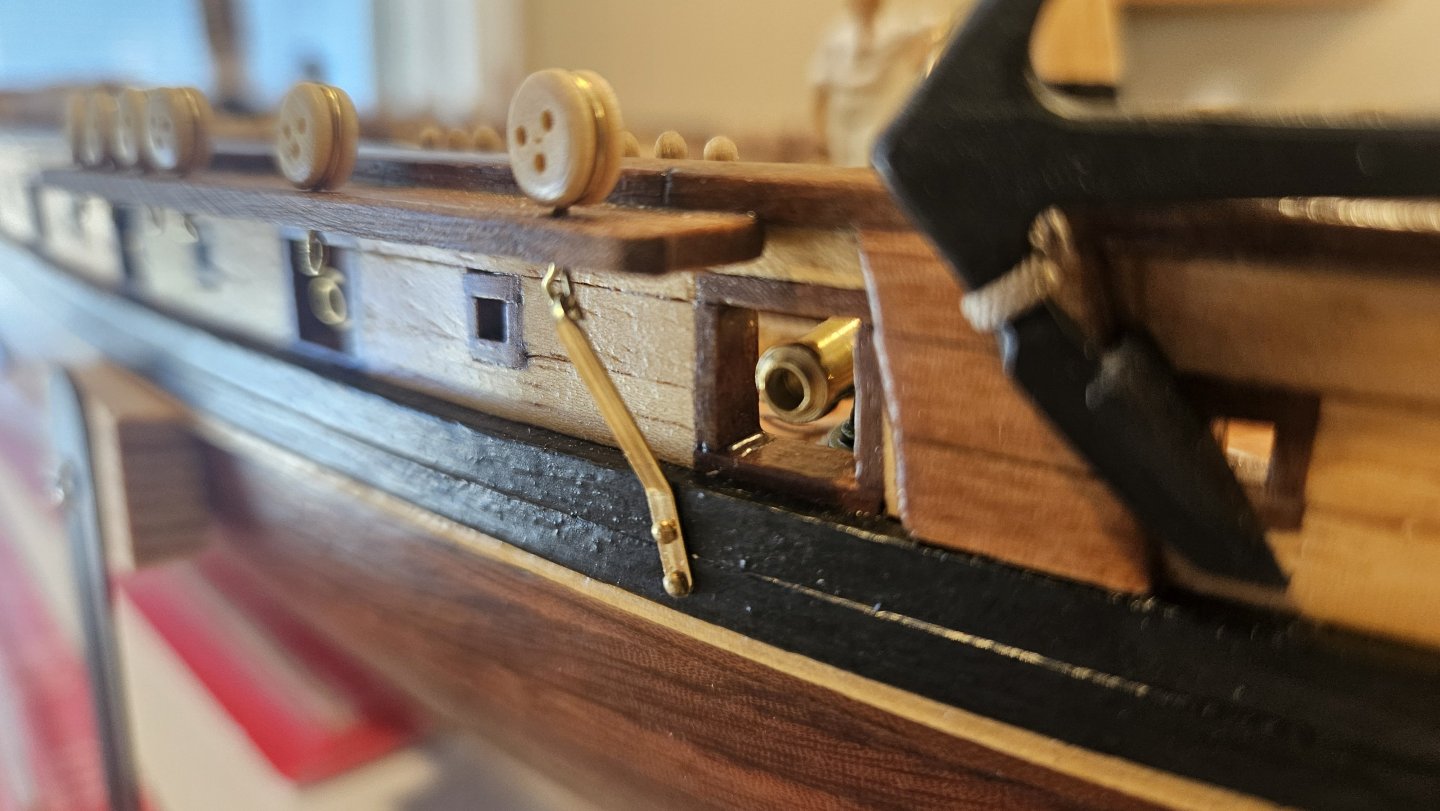
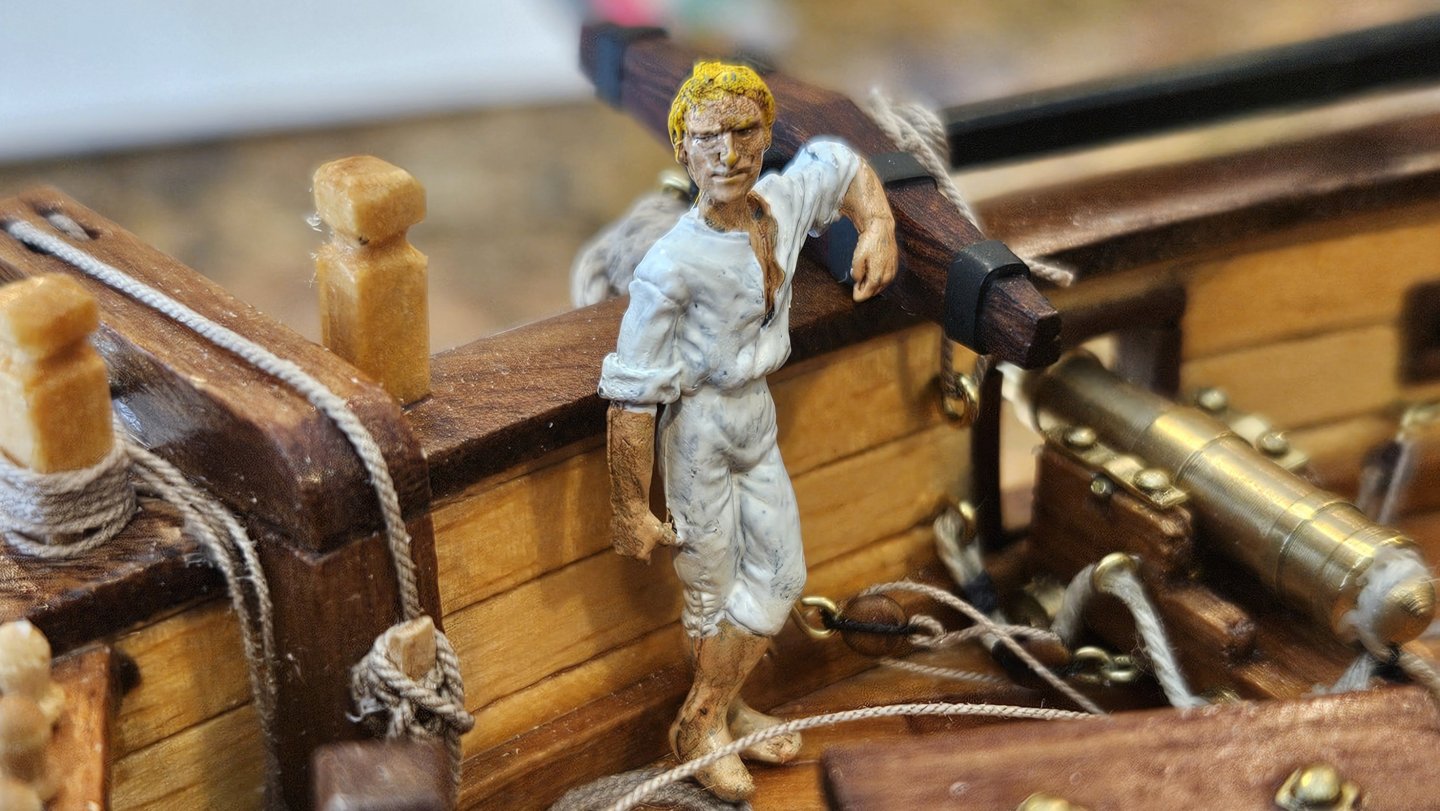
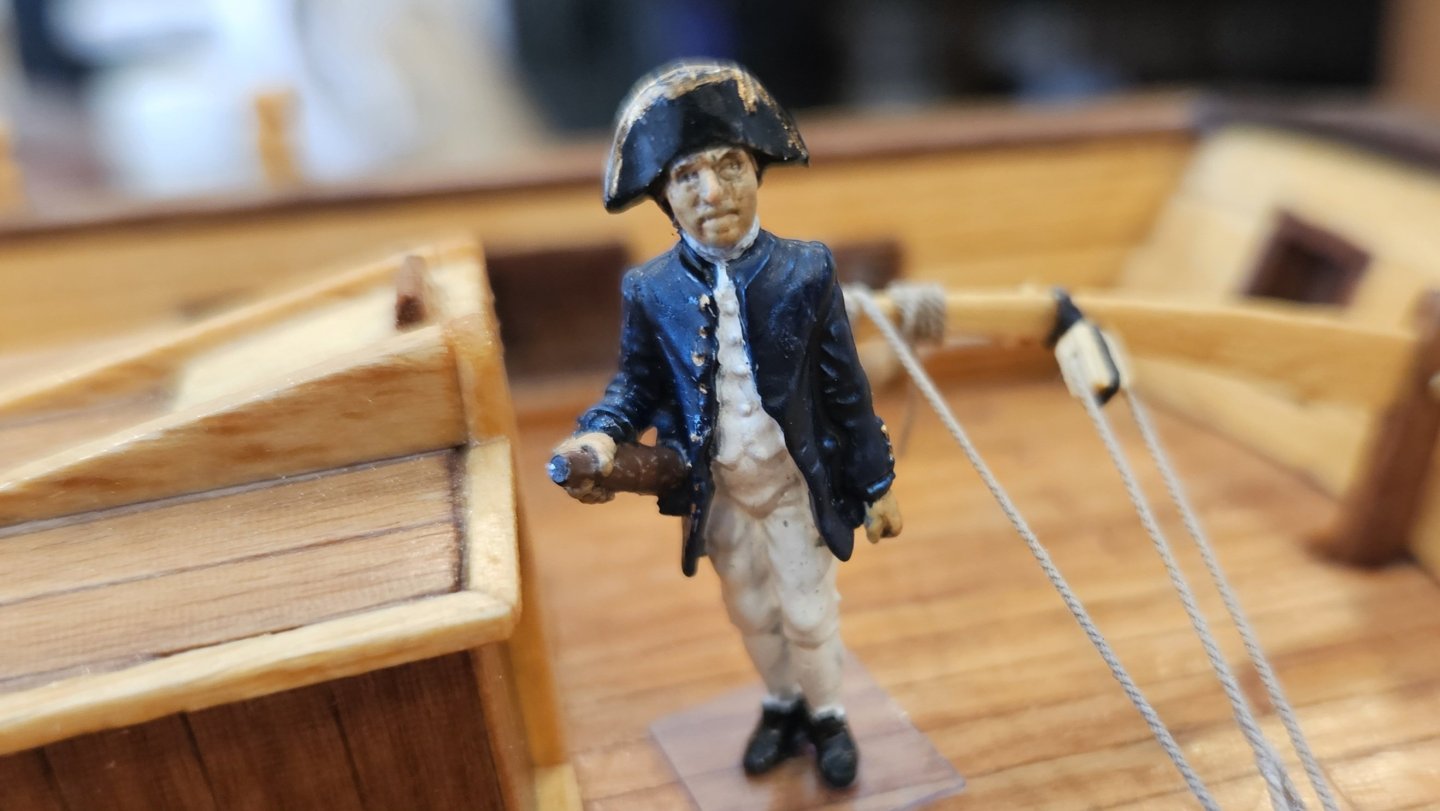
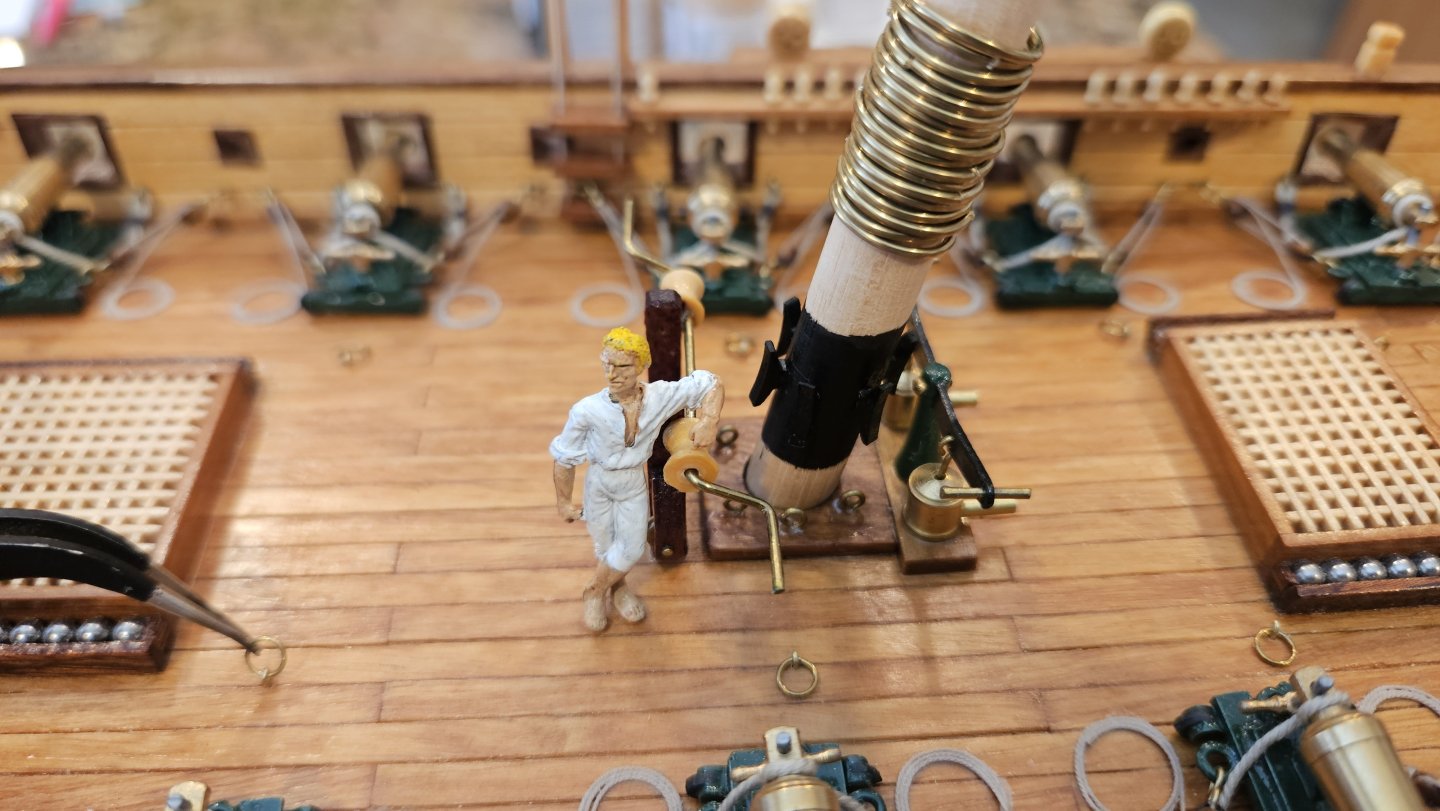
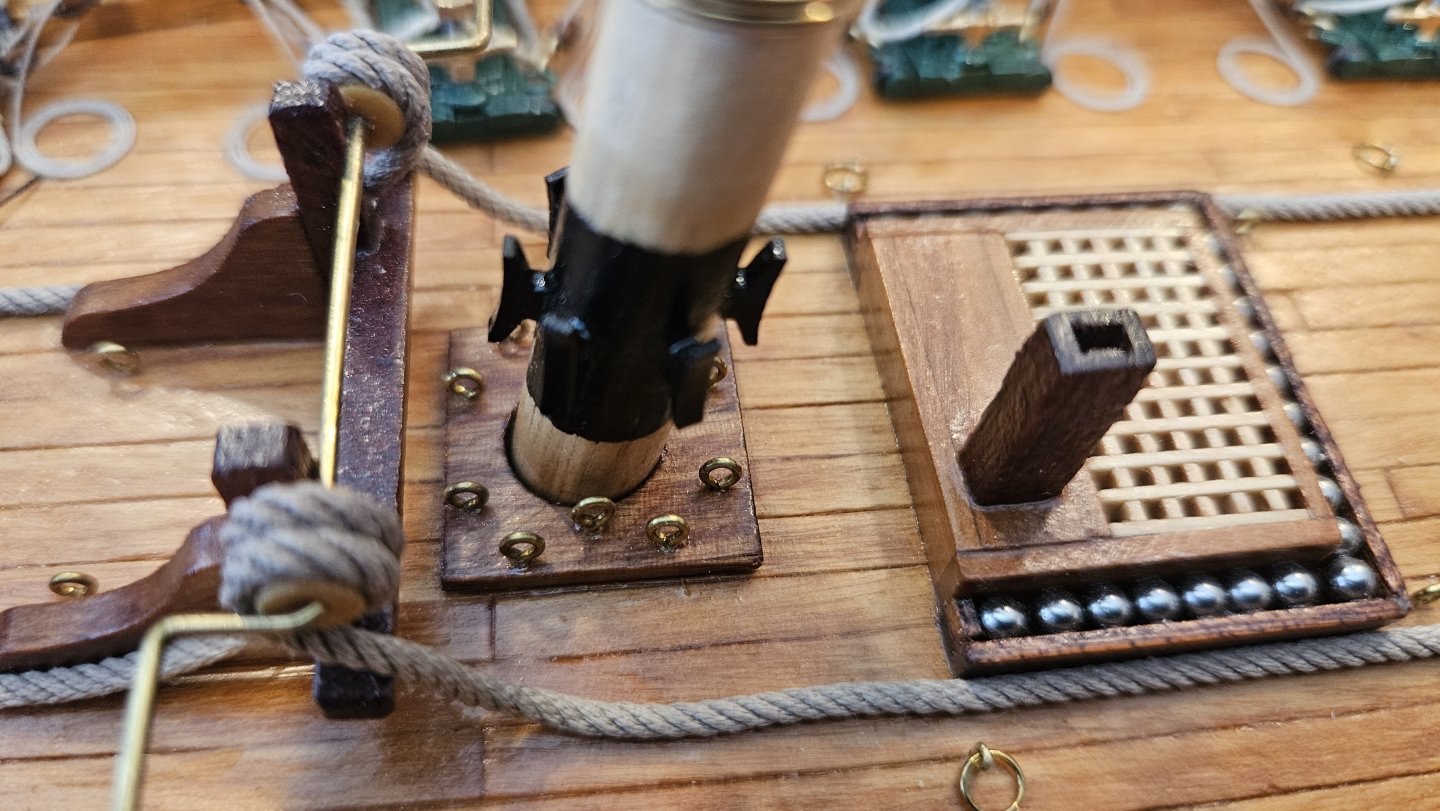
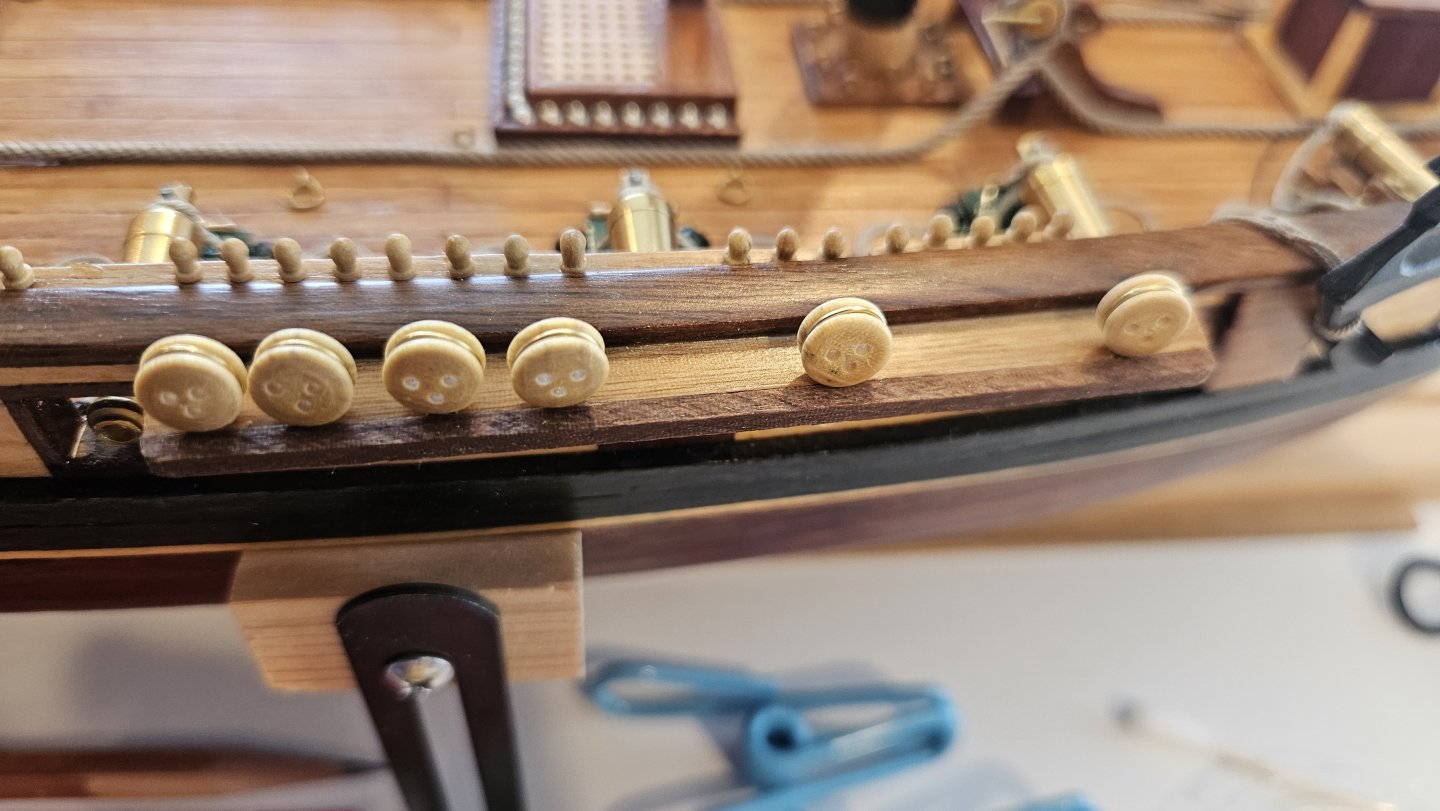
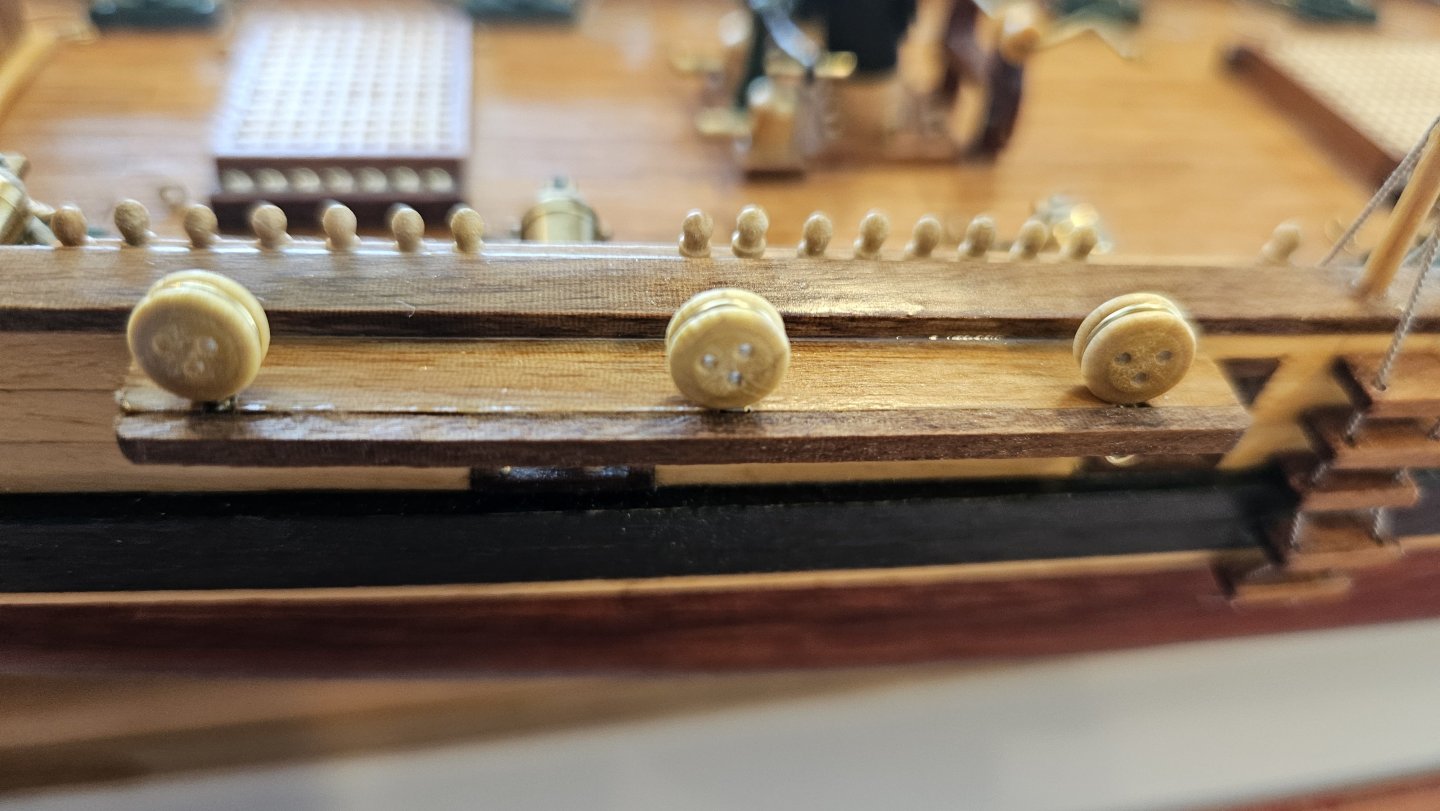
A bit of housekeeping with the ship's crew manifest. Poor Captain "Amati", named after the manufacturer of his mold. We will bestow on 'im a name commensurate with his command. Henceforth, Captain Ordronaux, Captain of the American privateer Prince de Neufchatel. As we're going to the actual rolls of the Prince, that gives us our boatswain (and gunner as well), Mister Nash. A dandy, our Mister Nash. Mister Nash has been quite busy fitting out the Prince with the endless tasks required to properly set up a privateer. In the below photo, the 18 brass mast hoops (probably not a traditional material but so pretty 🤣) and some of the 14 functional deck tie down rings. Also, the six lower main mast cleats and the black stain markings around the cleats. All of the appropriate deck eyebolts required for rigging now installed and proof tested... The fore chainwhales with deadeyes... And the main chainwhales... The chains themselves for the chainwhales are next, as well as the first shrouds! Captain Ordronaux is well pleased! Thanks for checking in!

-
A beauty with those rails. Definitely not basswood! 🤣
-
Have fun Chuck. I for one am in no hurry apparently (4 years on my current build). Congrats to you all!!
-
Beautiful craftsmanship, beautiful wood. Very pleasing to the eye sir.
-
Keith - what a great looking piece of history. It really looks the part (color, textures, "patina")! Very cool!
- 457 replies
-
- 4
-
-
-
- sternwheeler
- Hard Coal Navy
- (and 1 more)
-
She is pretty. I love the last shot where you made the background disappear - nicely cropped - really accentuates her lines!!
-
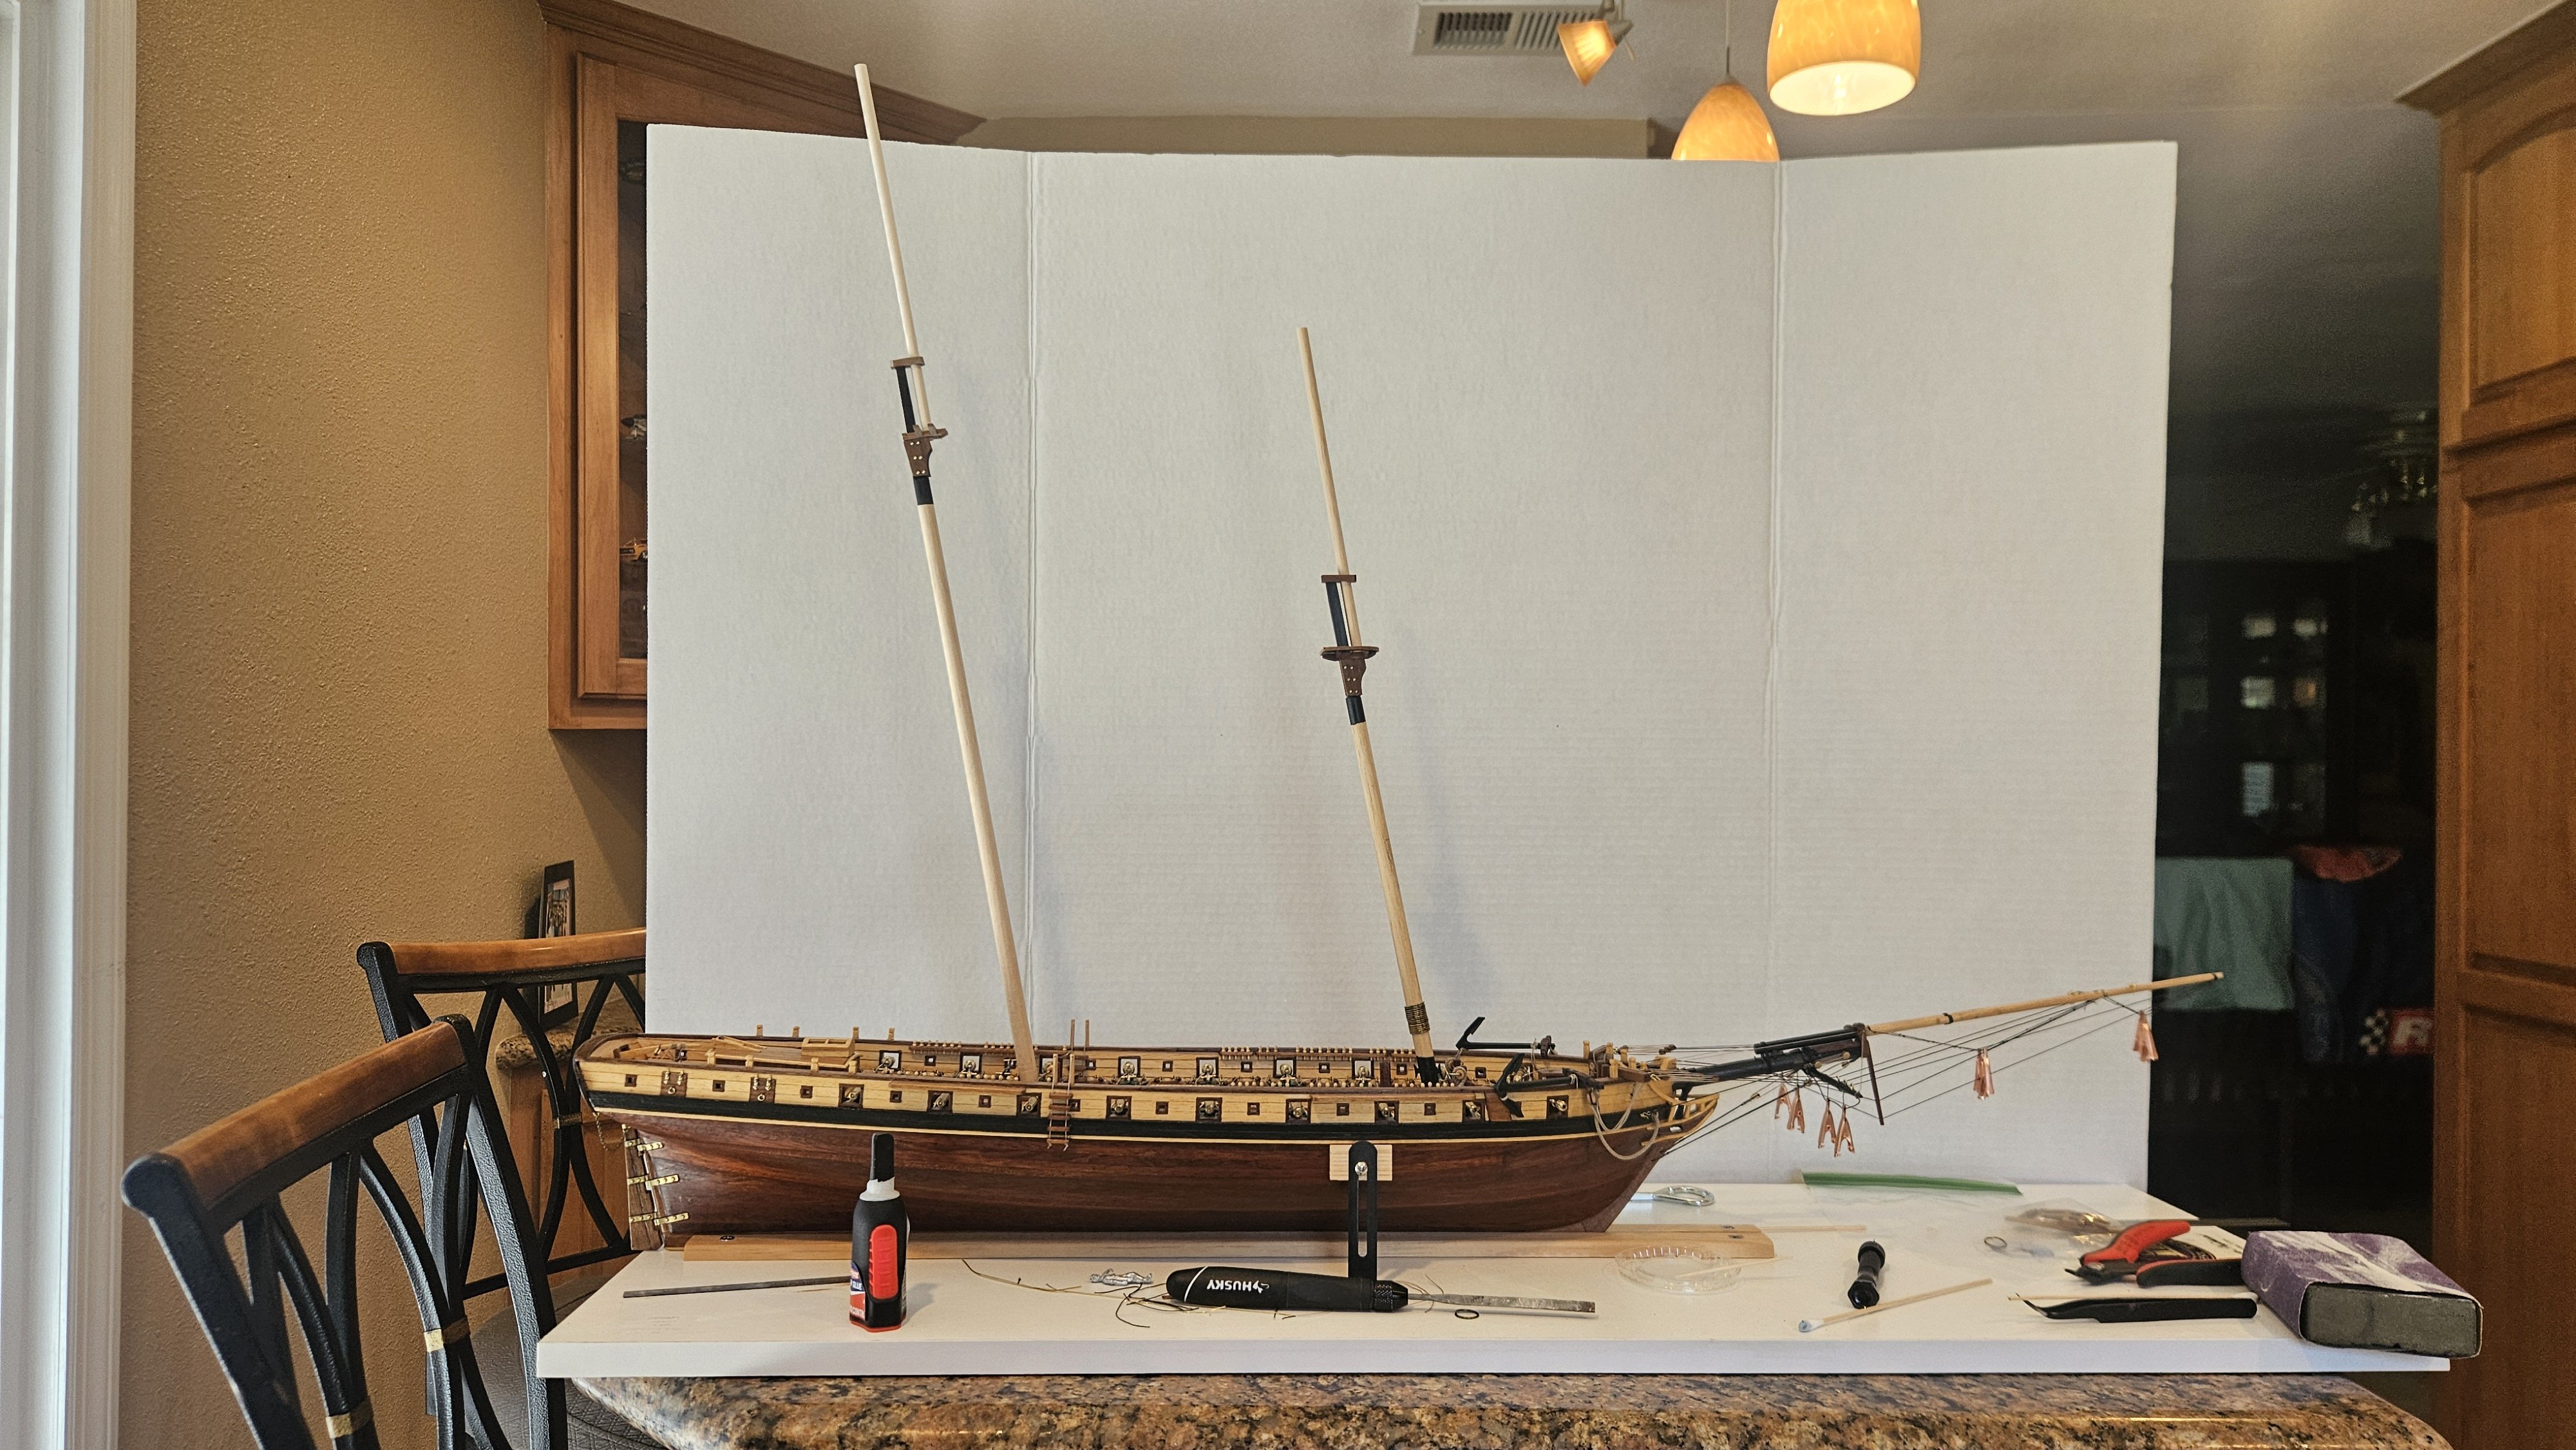
What did we learn today? We're gonna need a bigger backdrop. (Maybe a bigger house 🤔🤪🤣) Pay no attention to the mast angles, the stays will correct that. And yes, that foremast has another vertical spar to go yet! Hope everyone had a fun and productive weekend.

-
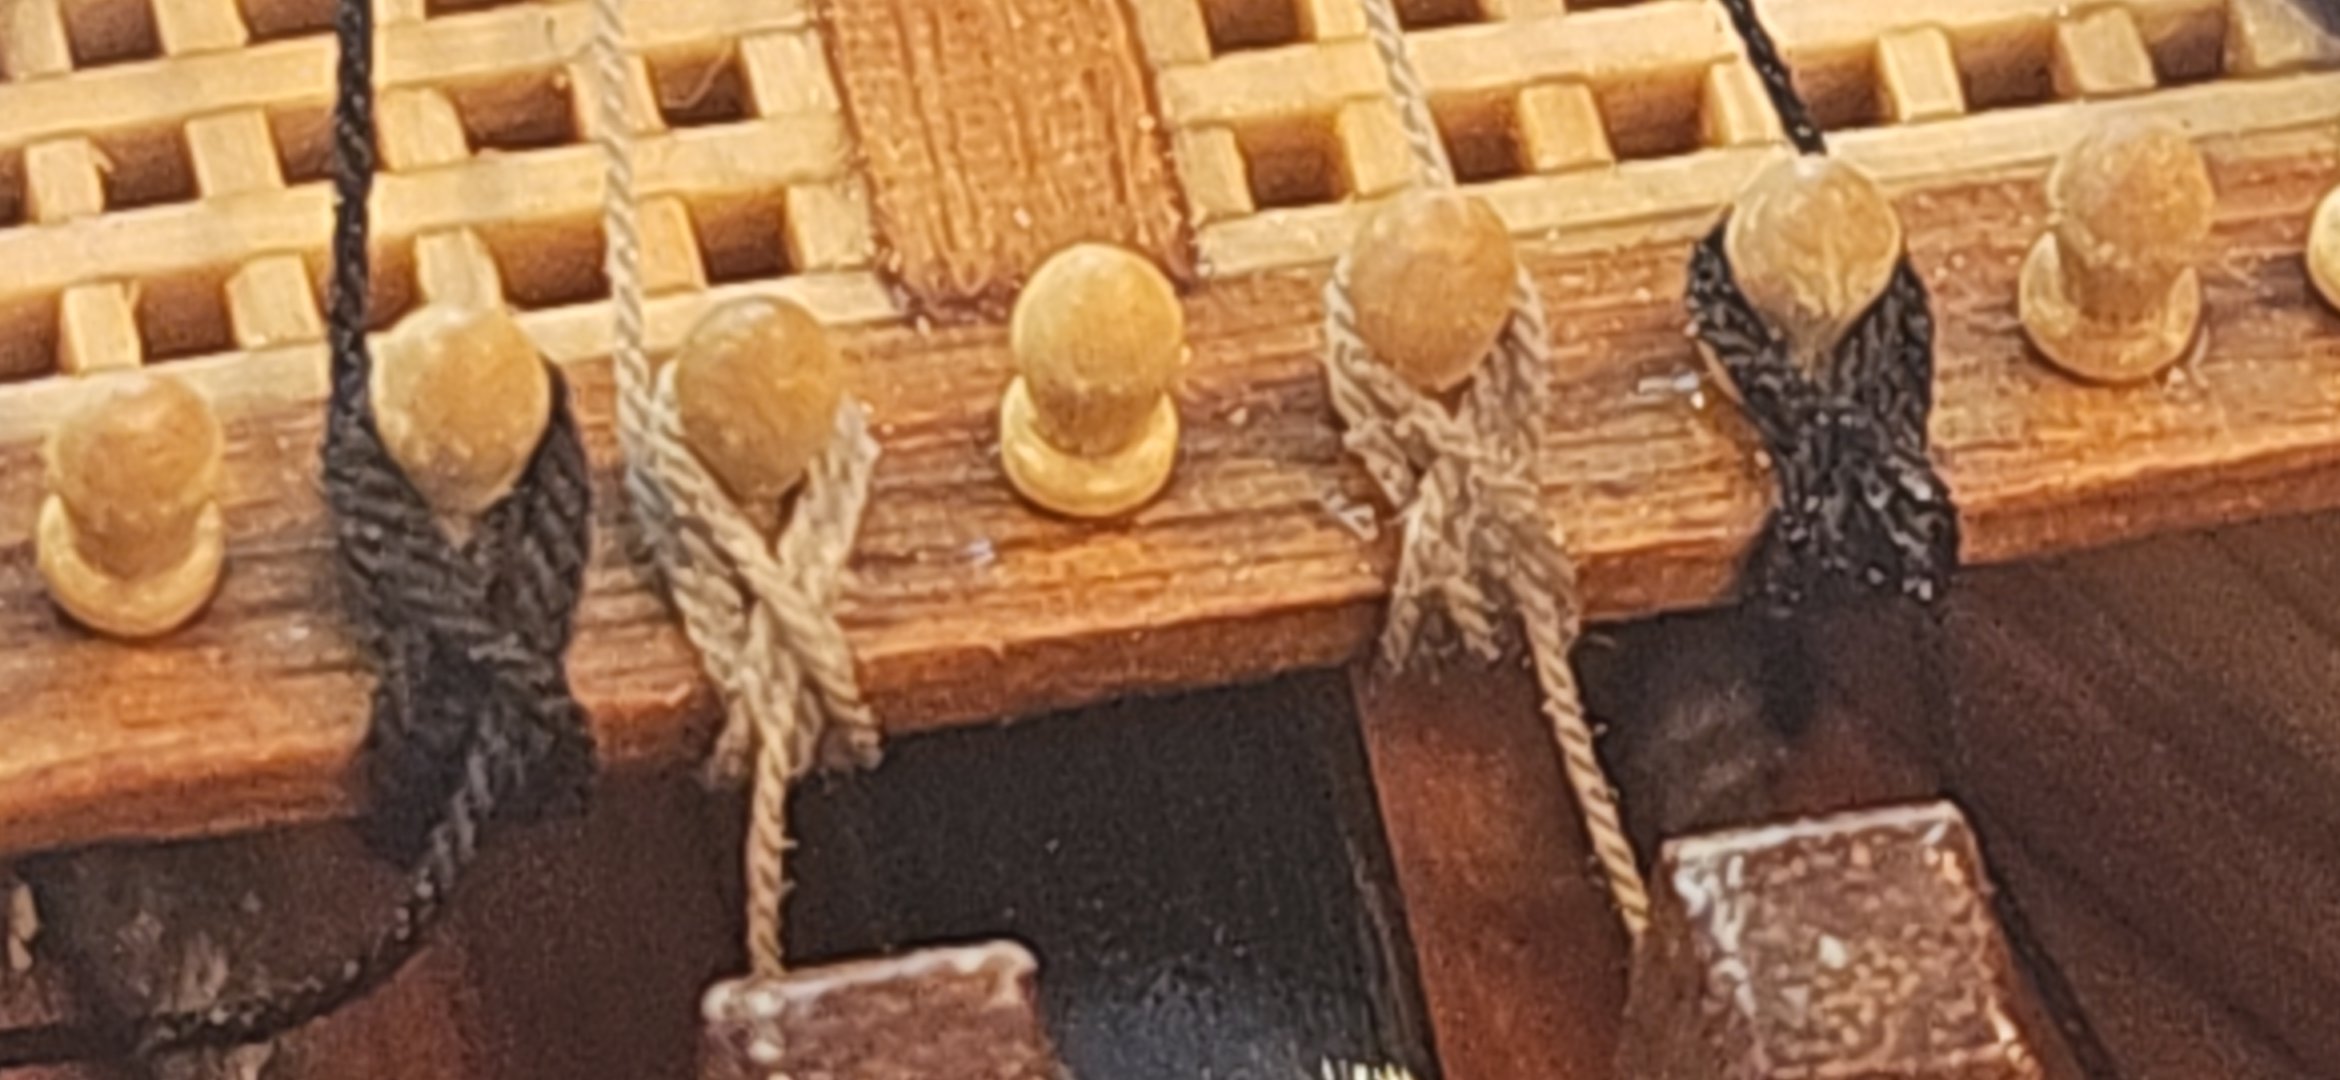
Belayed some lines at the bow, with plenty of excess line to the bitter end. Right now, as it stands, everything is more or less "functional", except for a little diluted white glue to ward off @Dr PR's Murphy. Before I started rigging I figured every pin would have a coil of line hanging from it, but now I wonder. Lines like the martingale stays don't need a lot of excess once belayed taught - Maybe enough to bend to if need be? Thoughts? Or am I taking this too far (having realistically scaled lines belayed and coiled)? Coiling actual excess might be a challenge with this line in tight spaces.

-
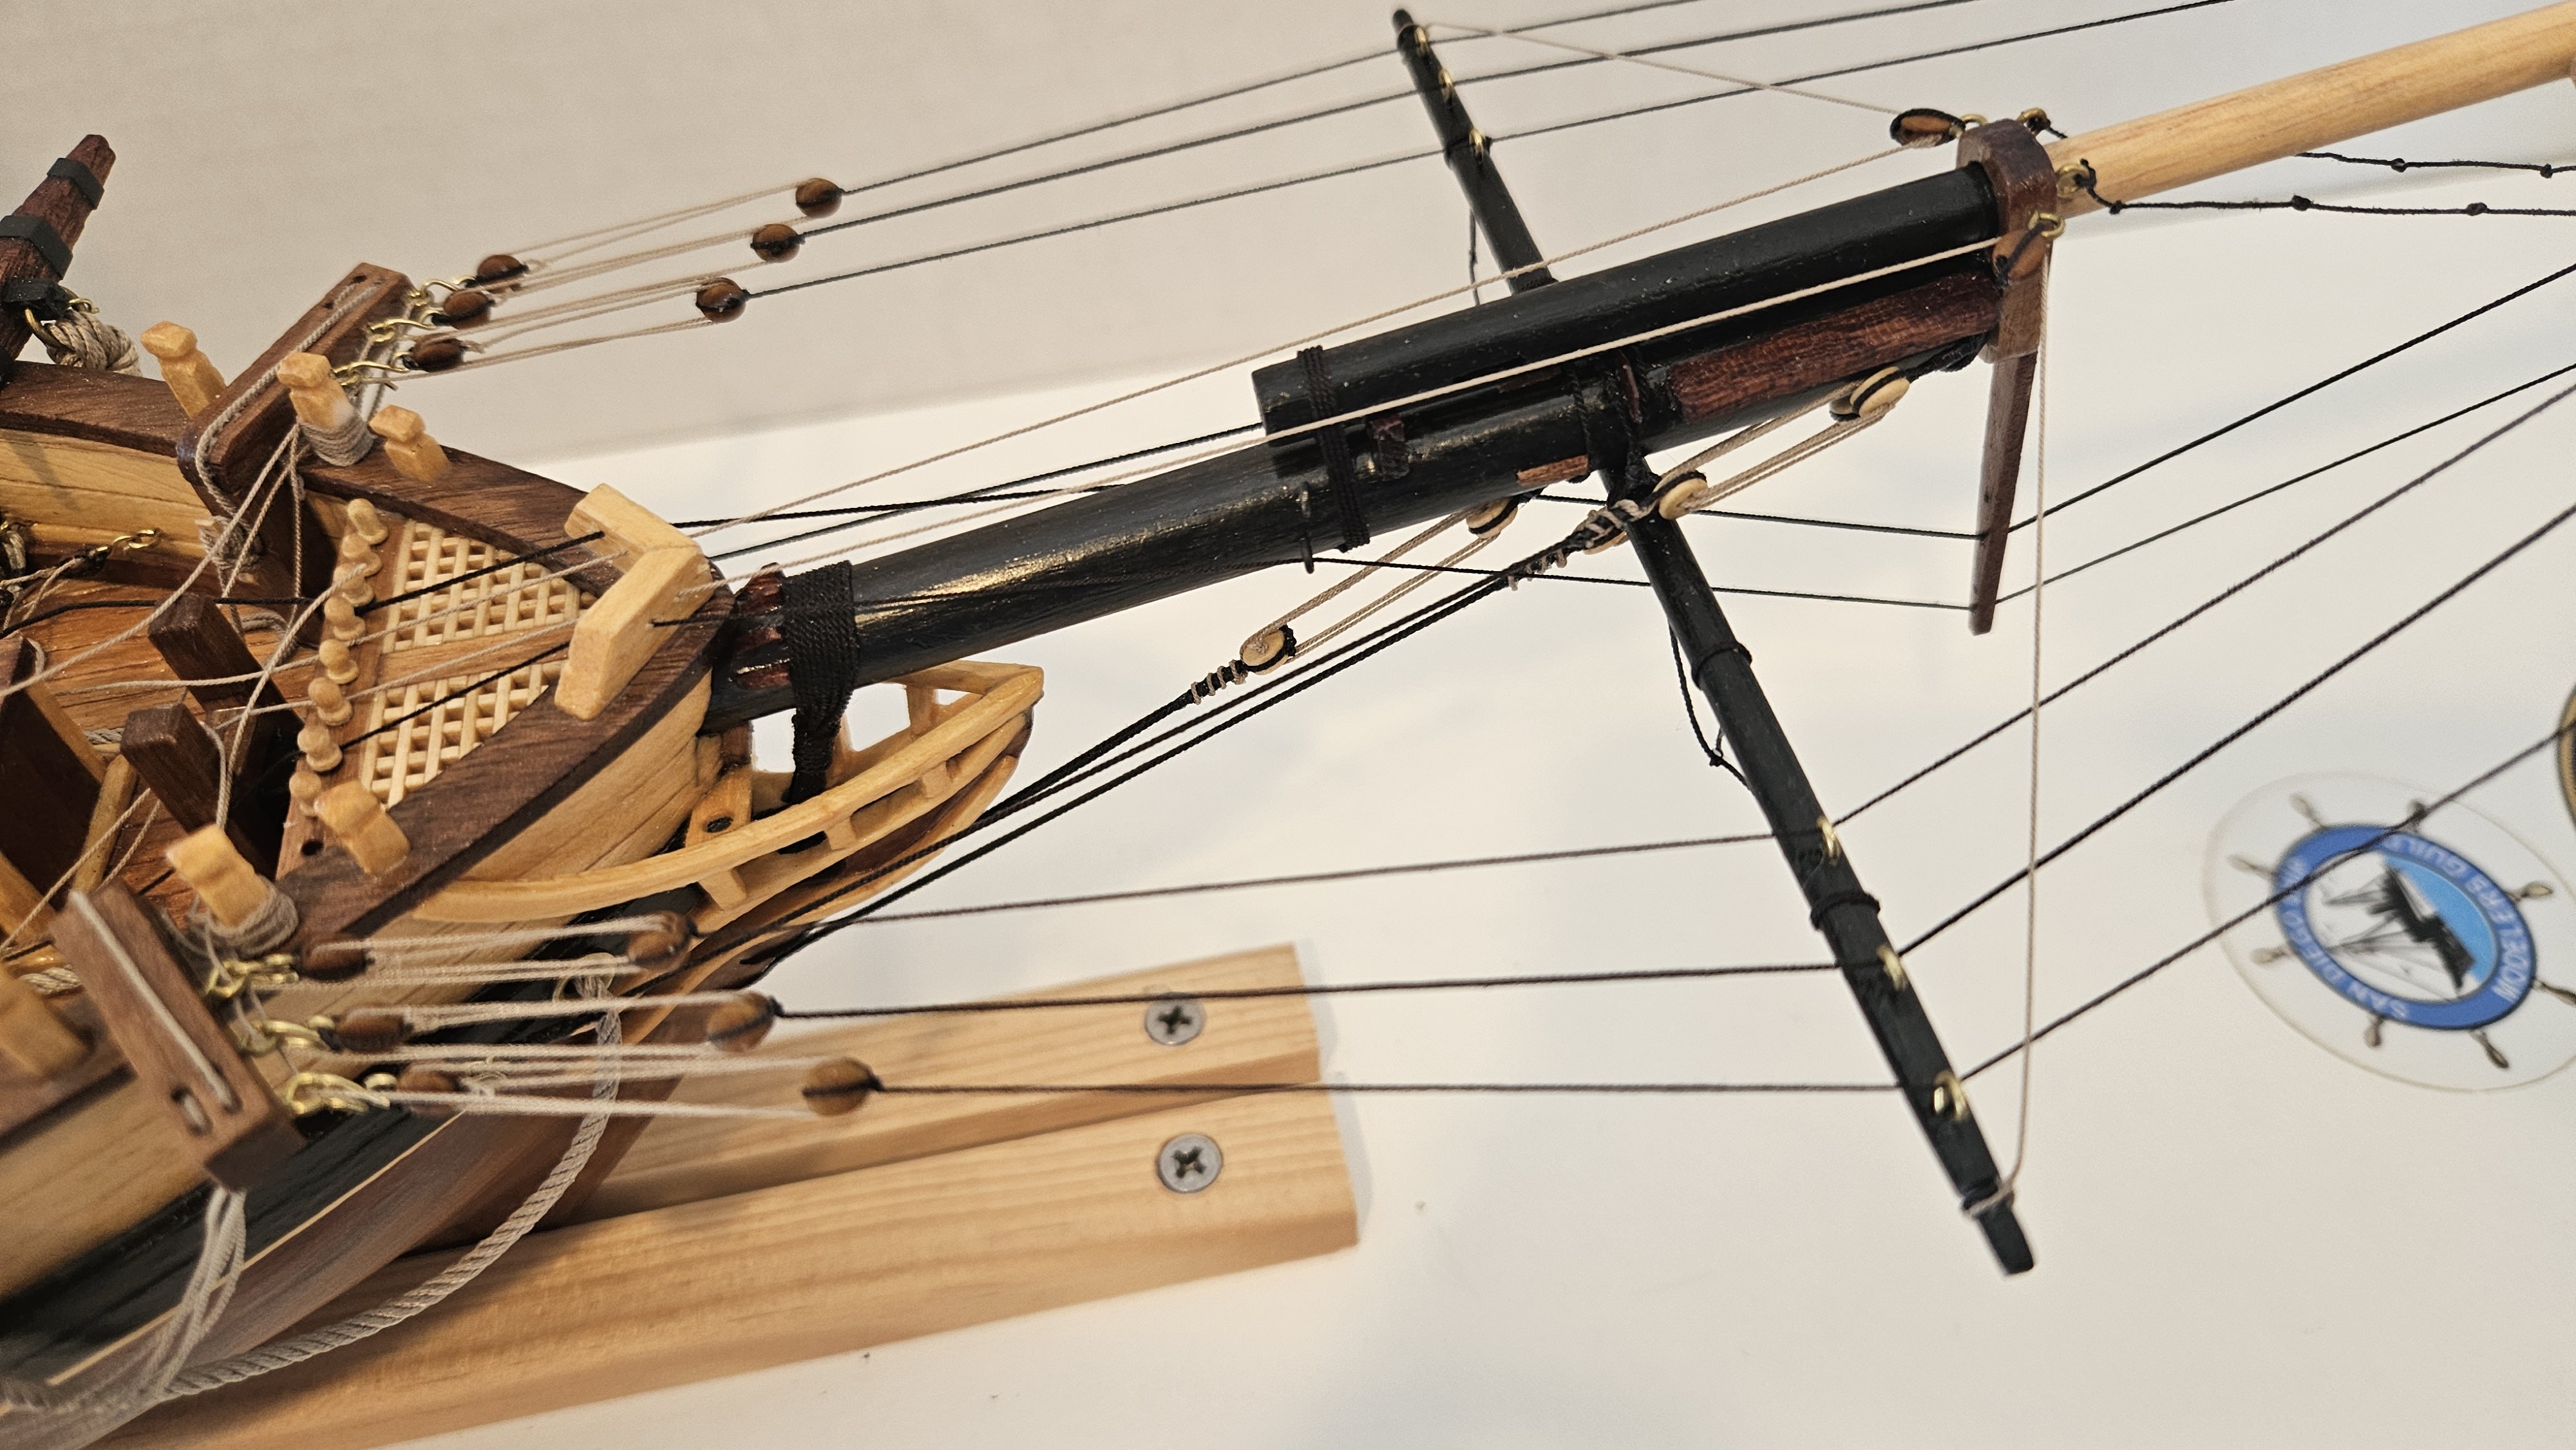
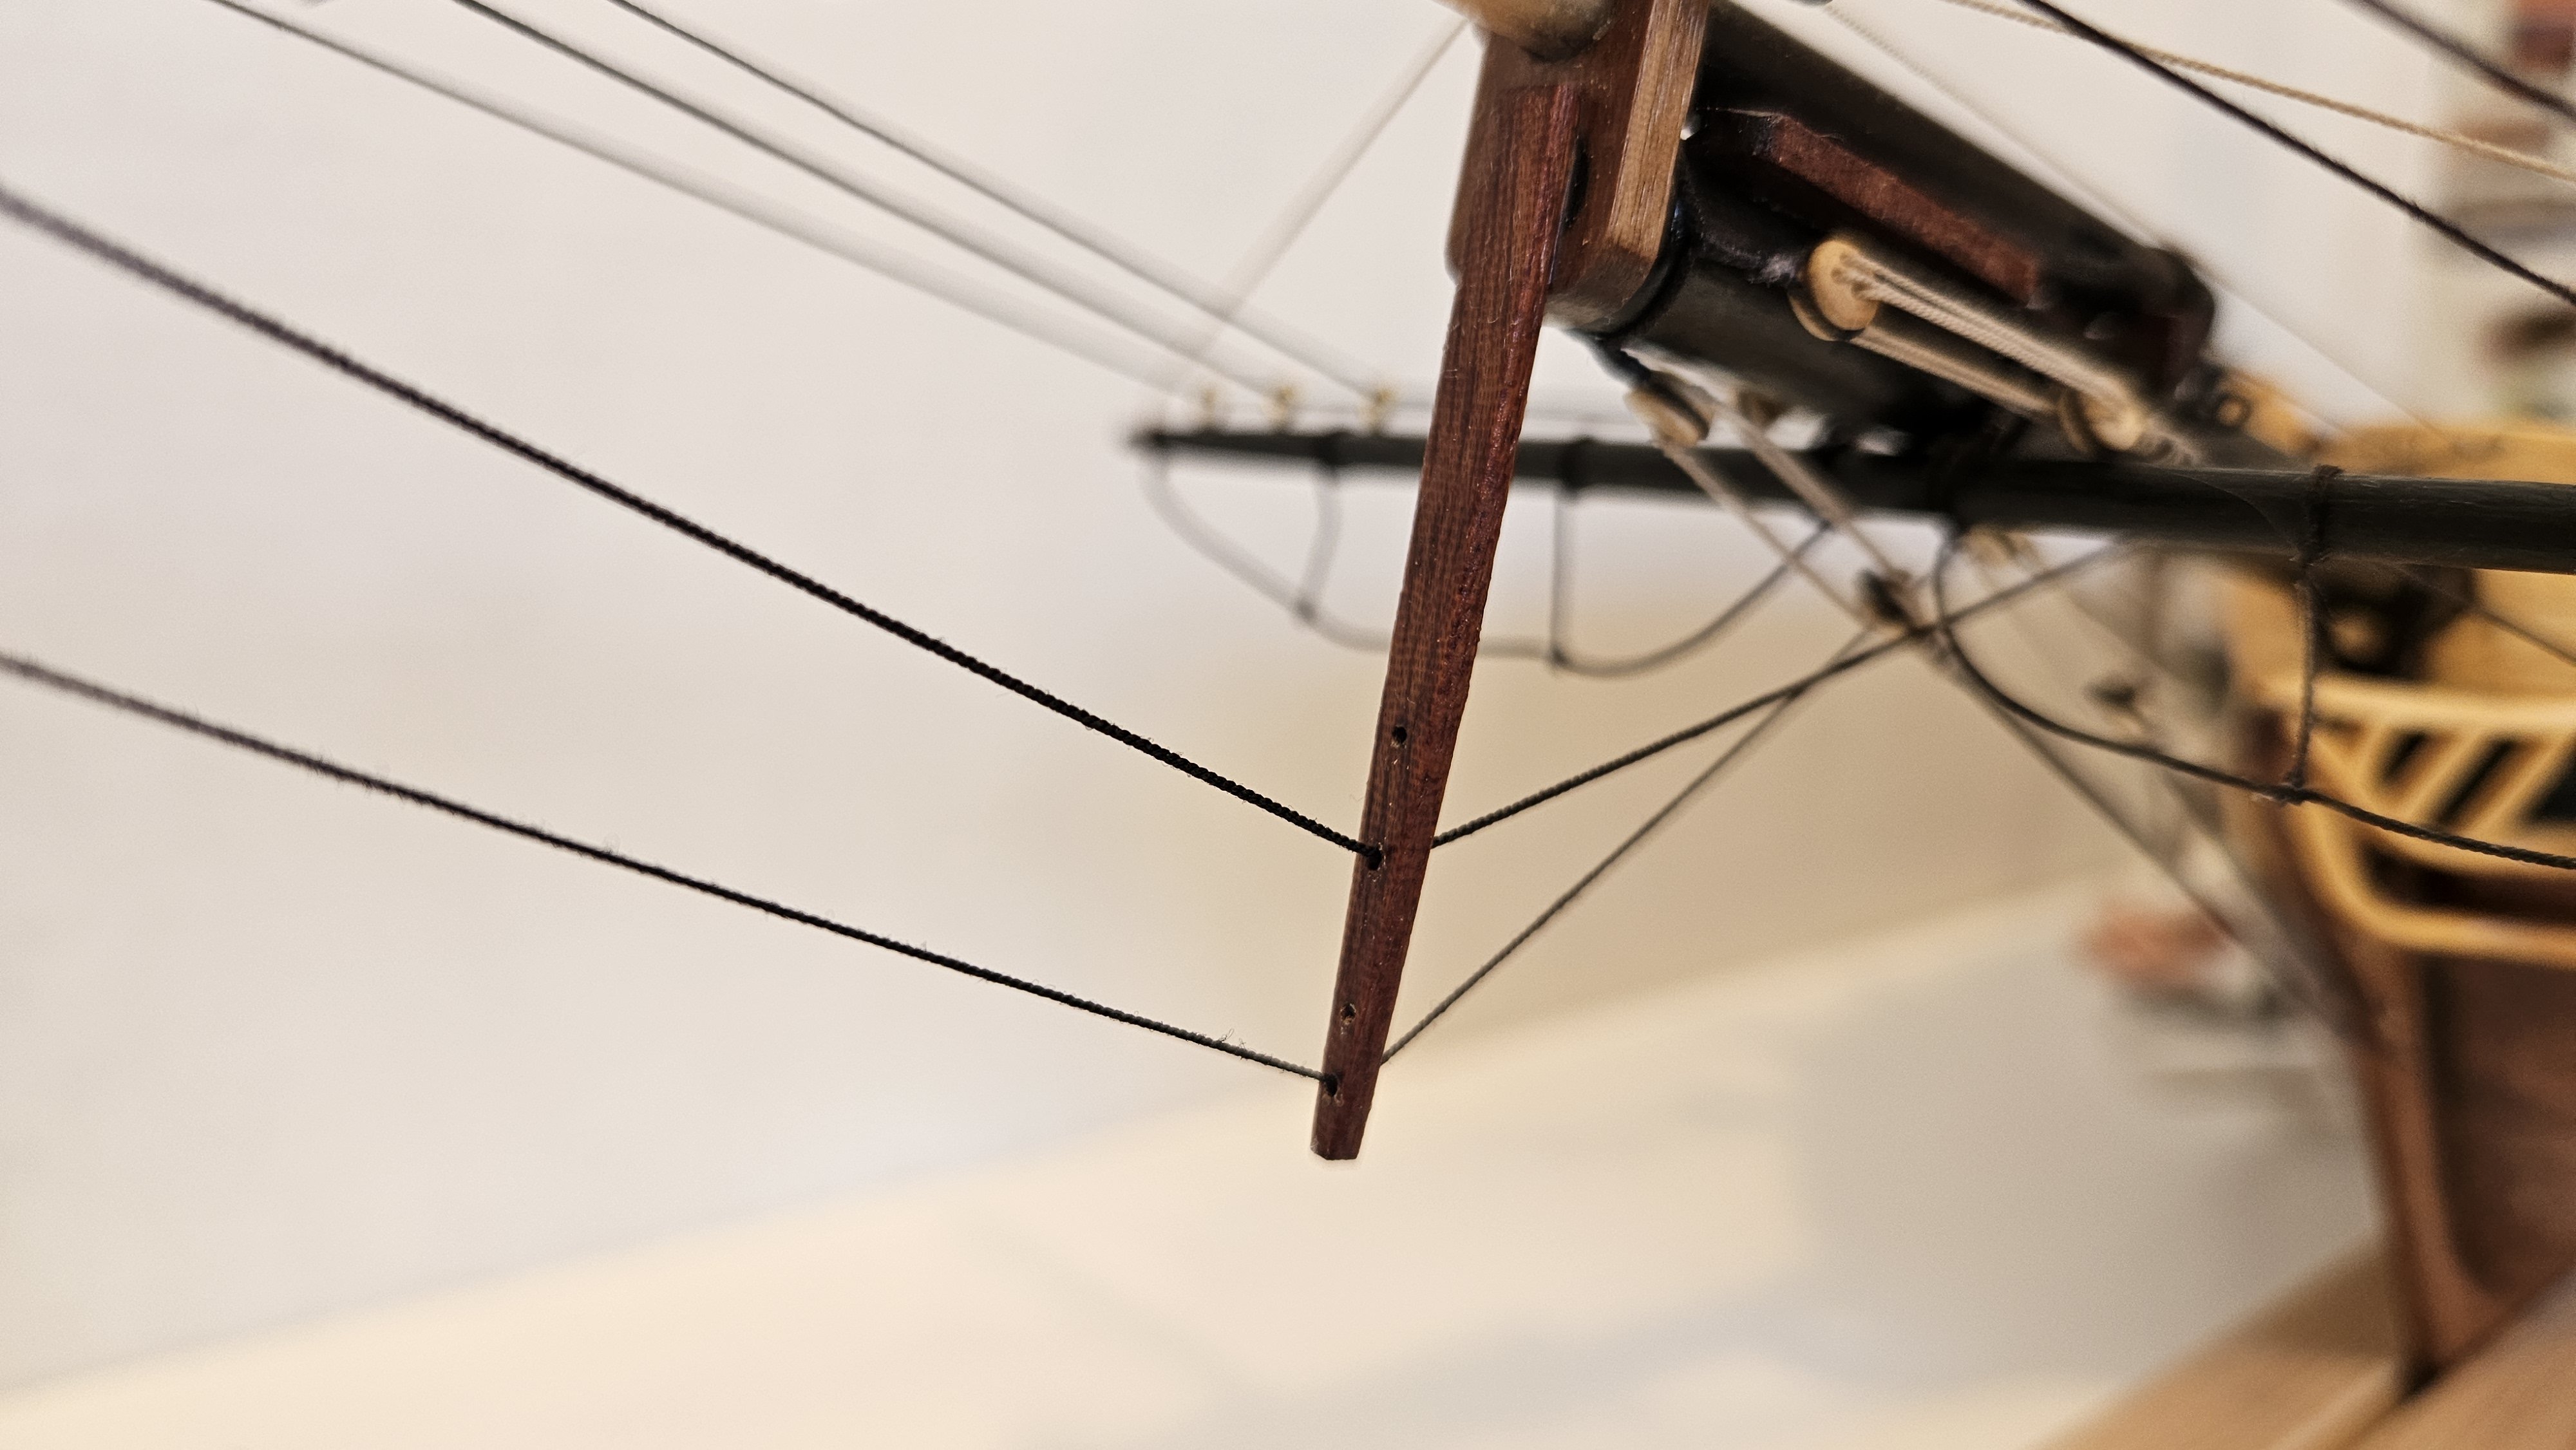
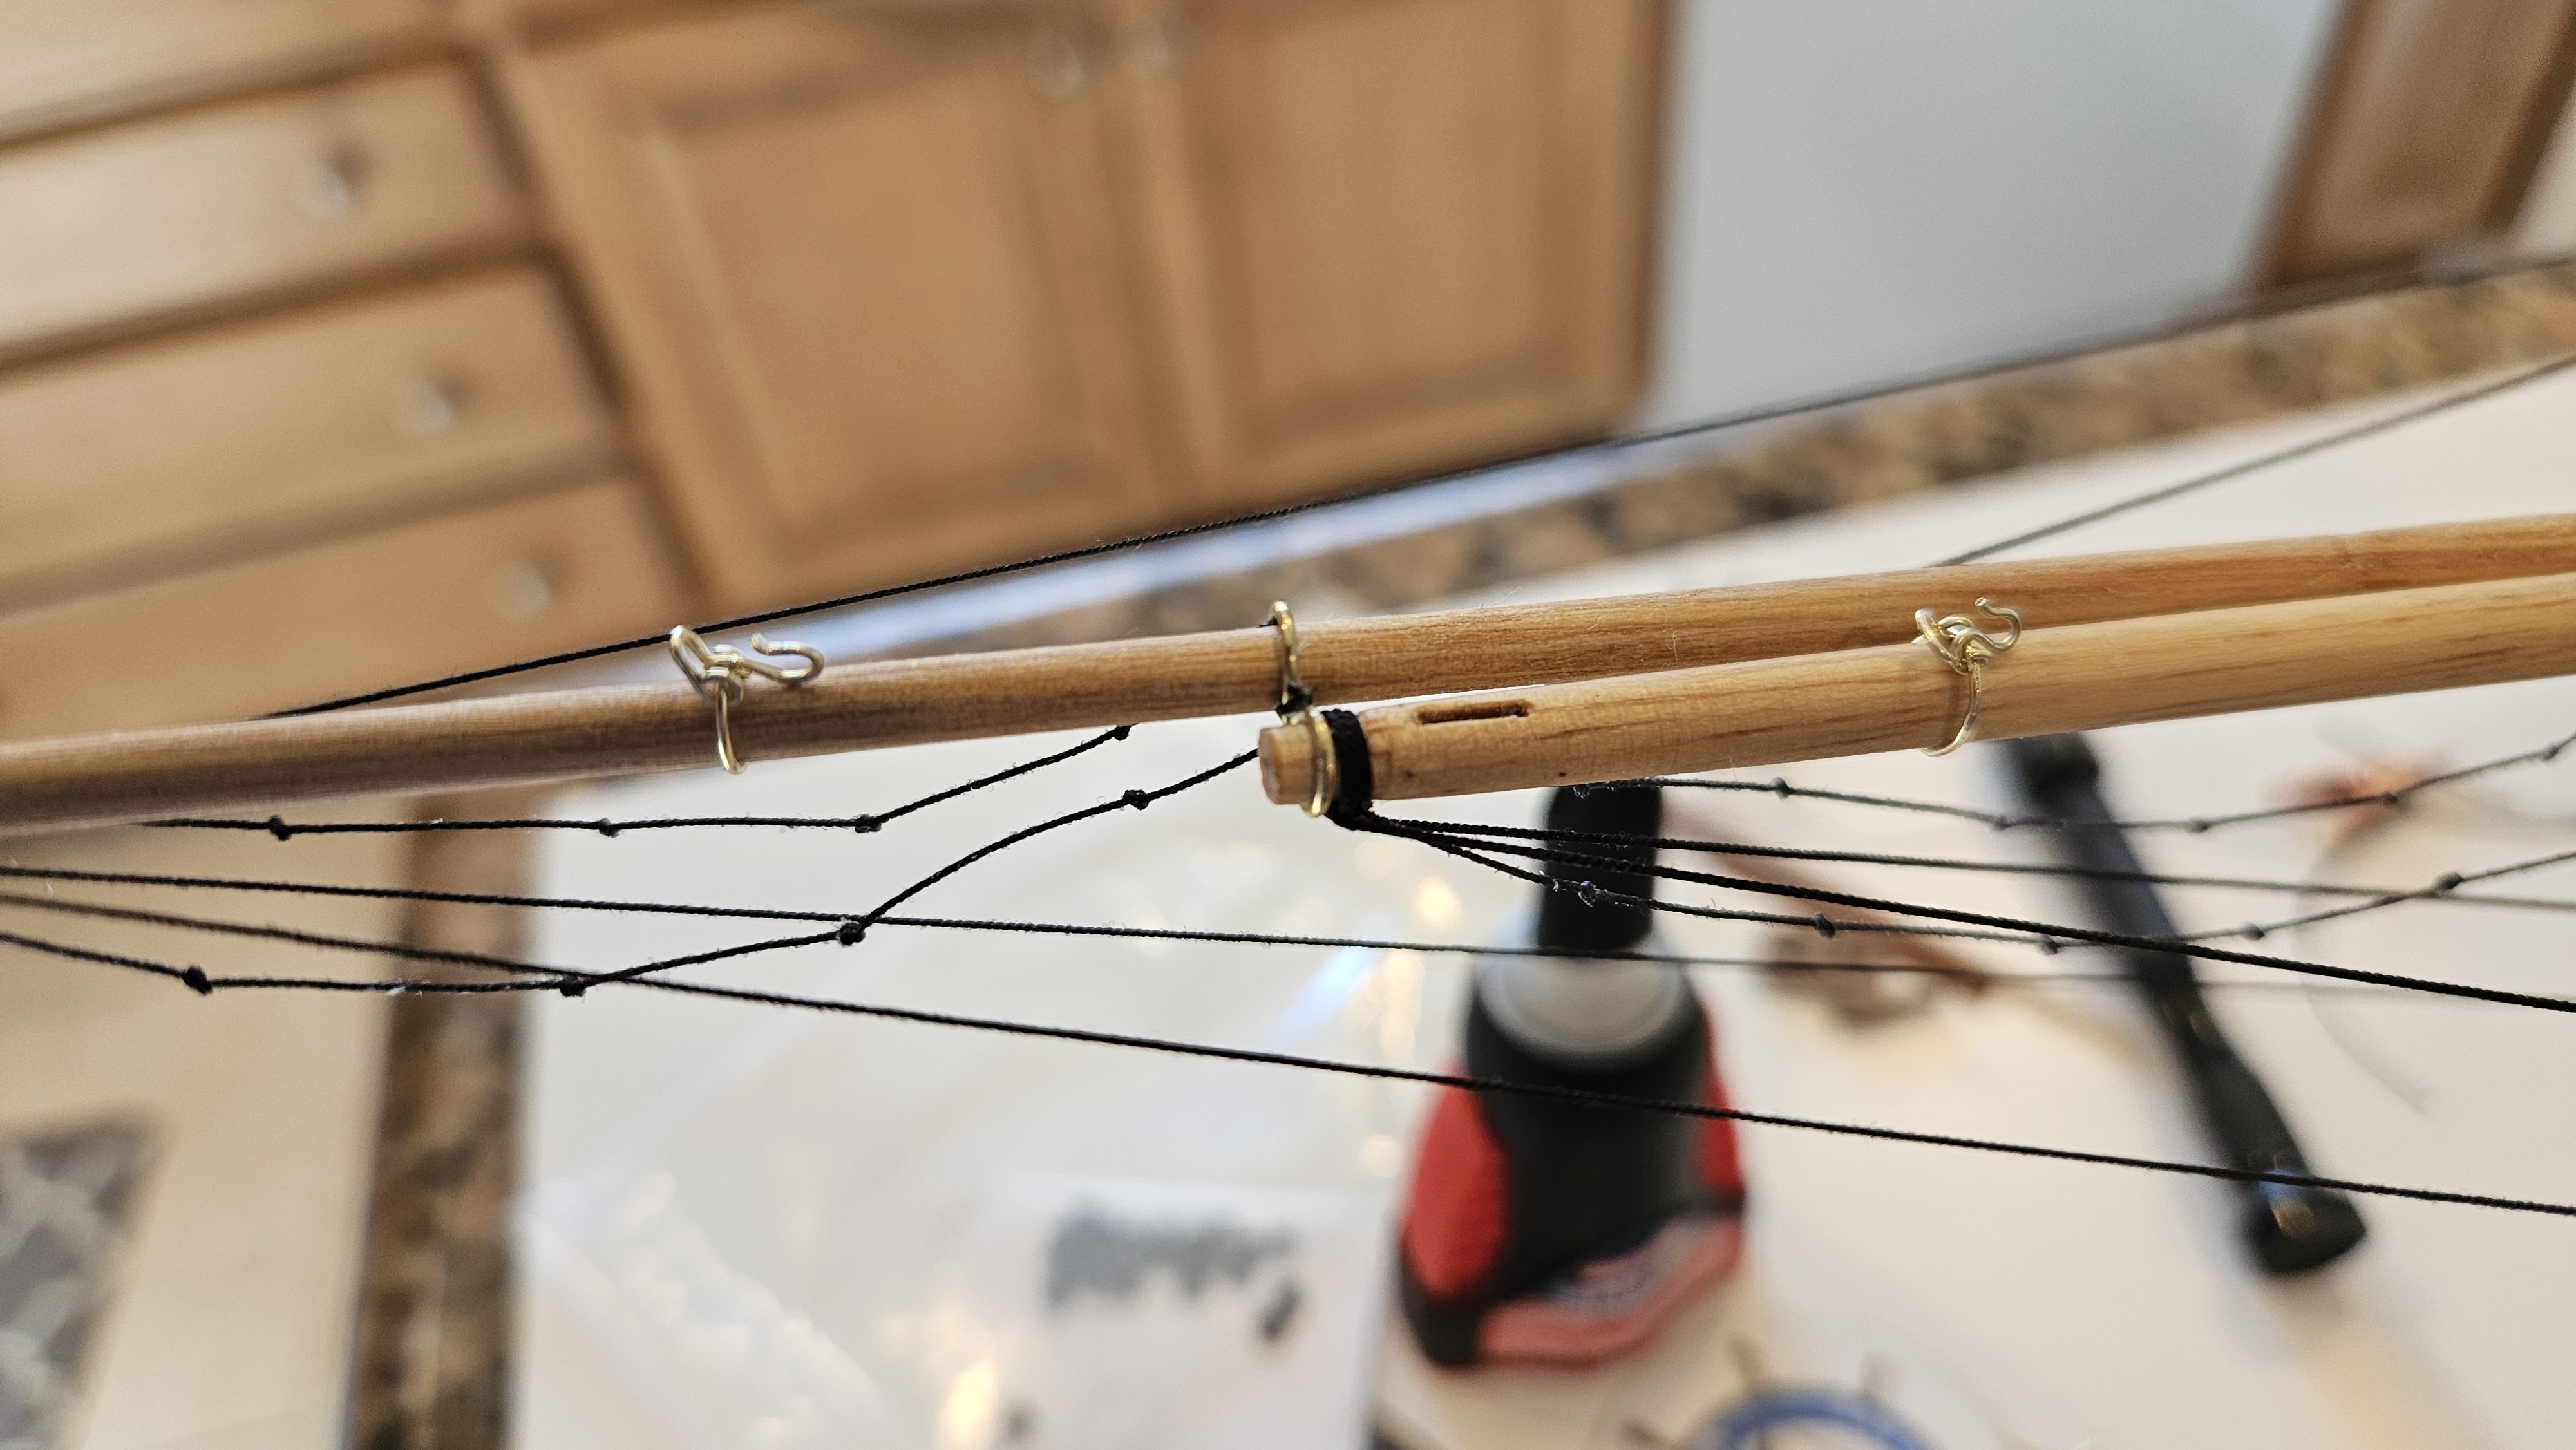
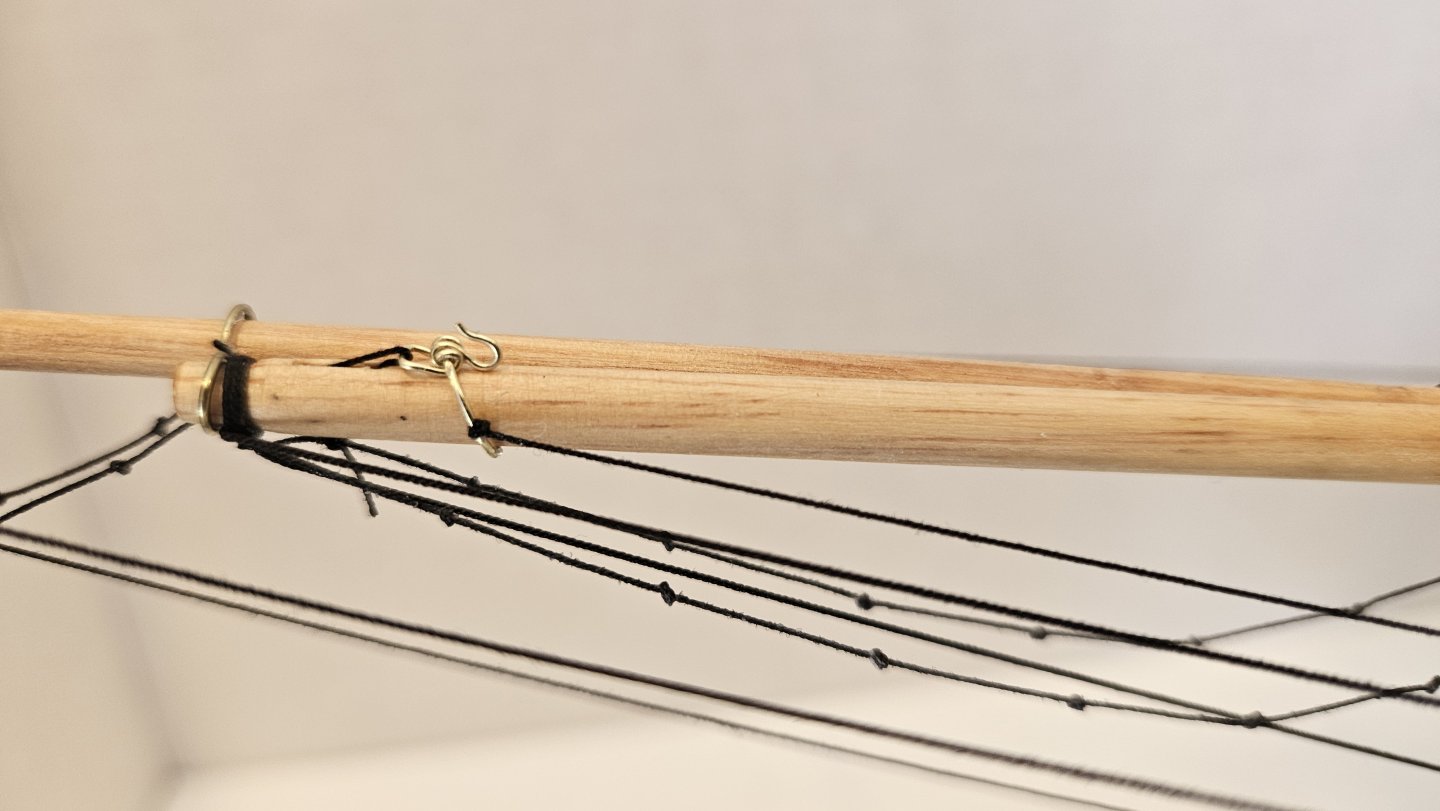
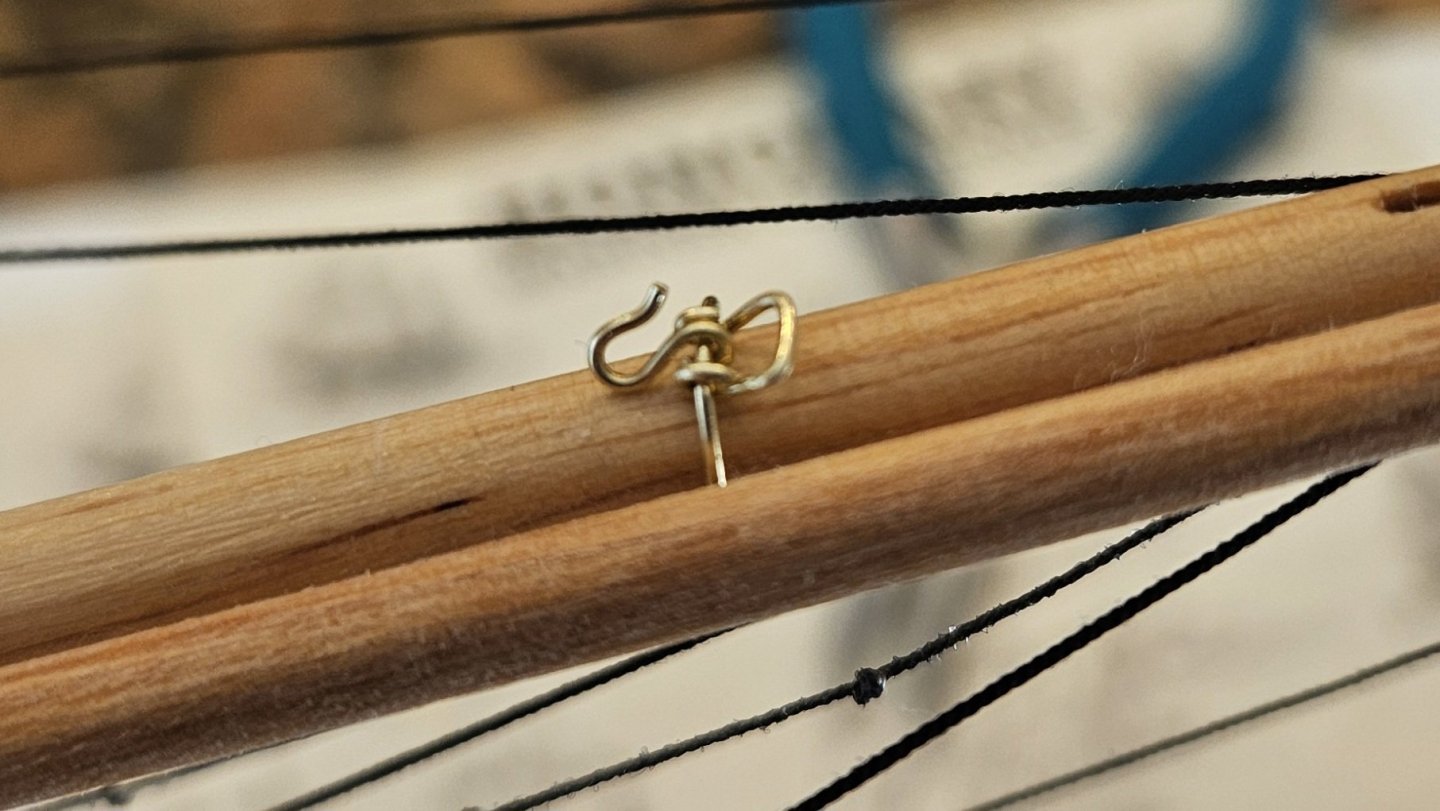
Good progress today. Have all the lines through the eyes in the staysail yard: Outboard: 0.012" line for the flying jibboom guys. 0.012" lanyards. (Chapelle plans.) Inboard: 0.012" line for the jibboom traveller inhauls port and starboard. 0.012" lanyards (Lever, fig 215, "travelling guys"). Middle: 0.018" line for jibboom guys. 0.012" lanyards. (Heavier line for heavier spar, Chapelle plans/Smithsonian Rigging Tables). Below shows port traveller guy/inhaul rigging. Identical guy starboard, overhand knot with superglue. (Forward line in traveller shackle is temporary for placement/tension.) I have two holes left in the dolphin striker and I hope the correct lines become apparent 🤣: Beauty shot to close out the day. Thanks for checking things out!


-
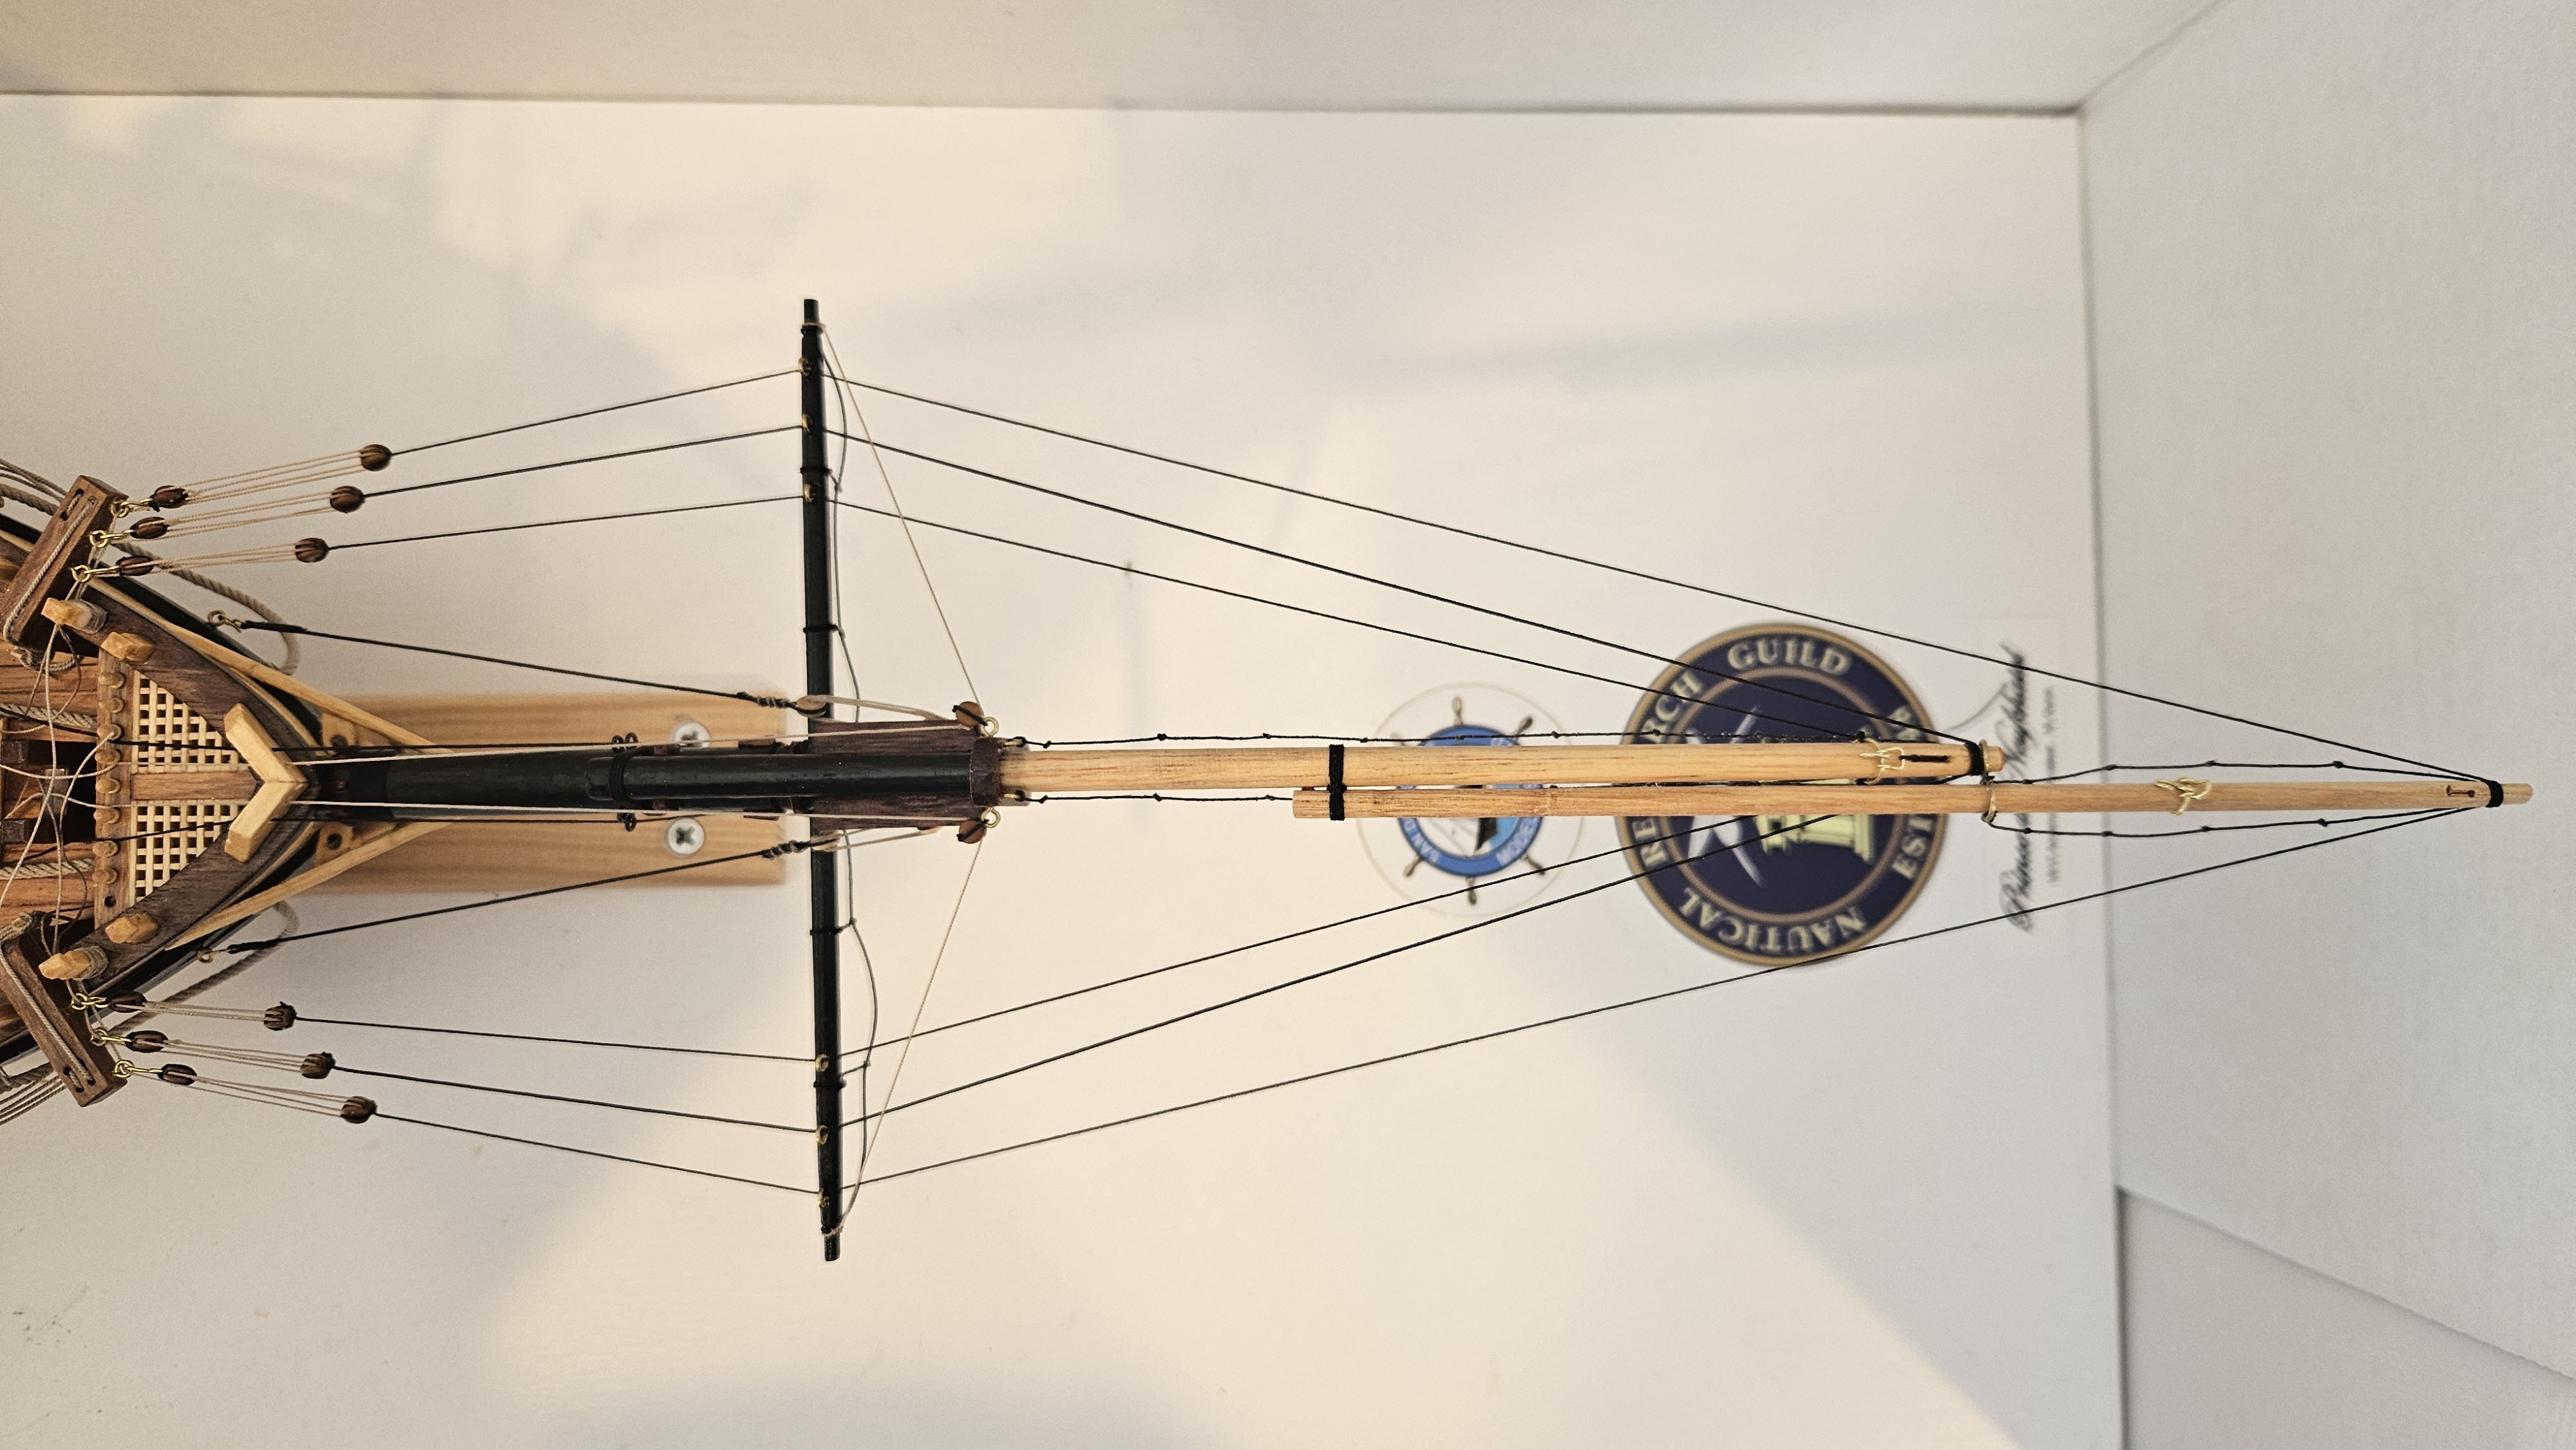
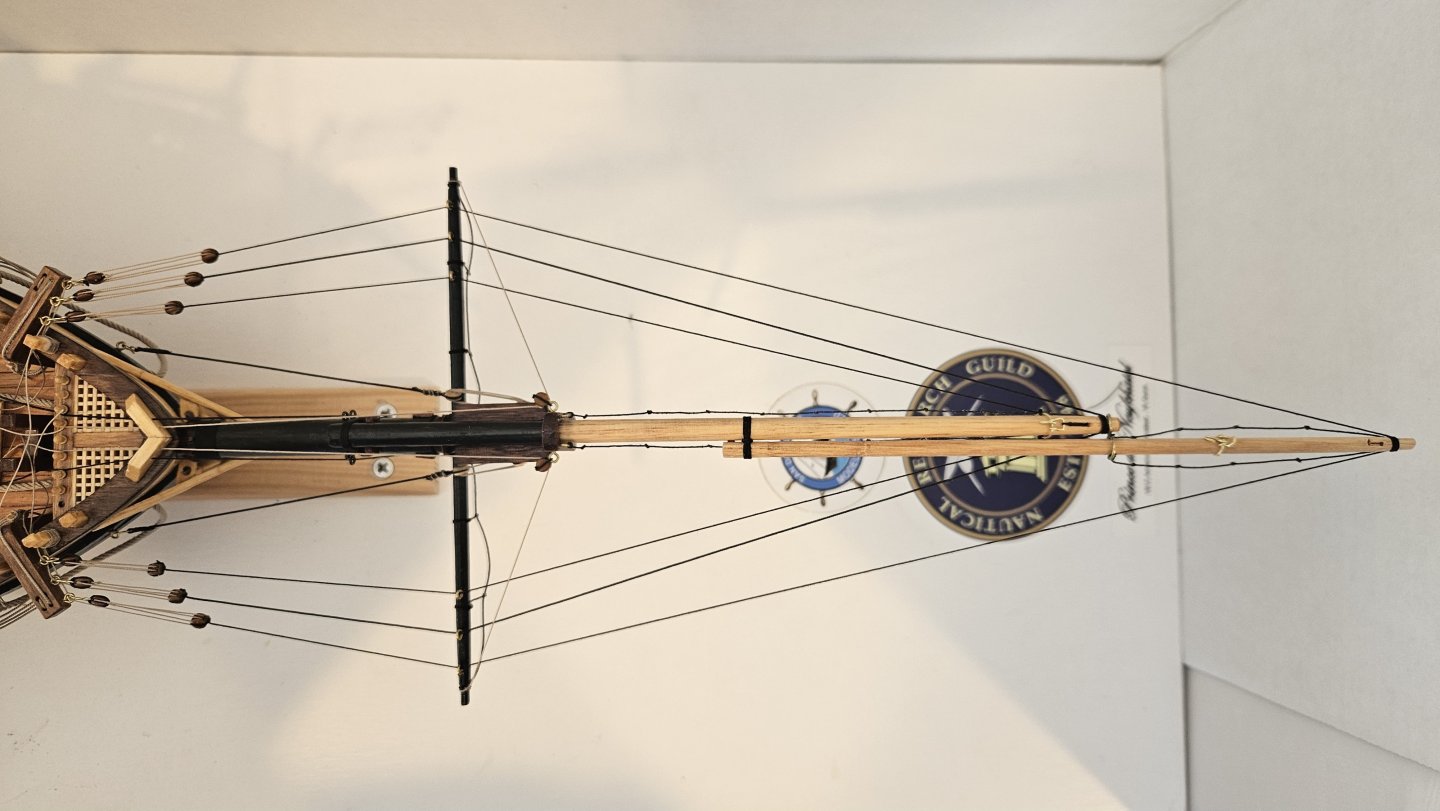
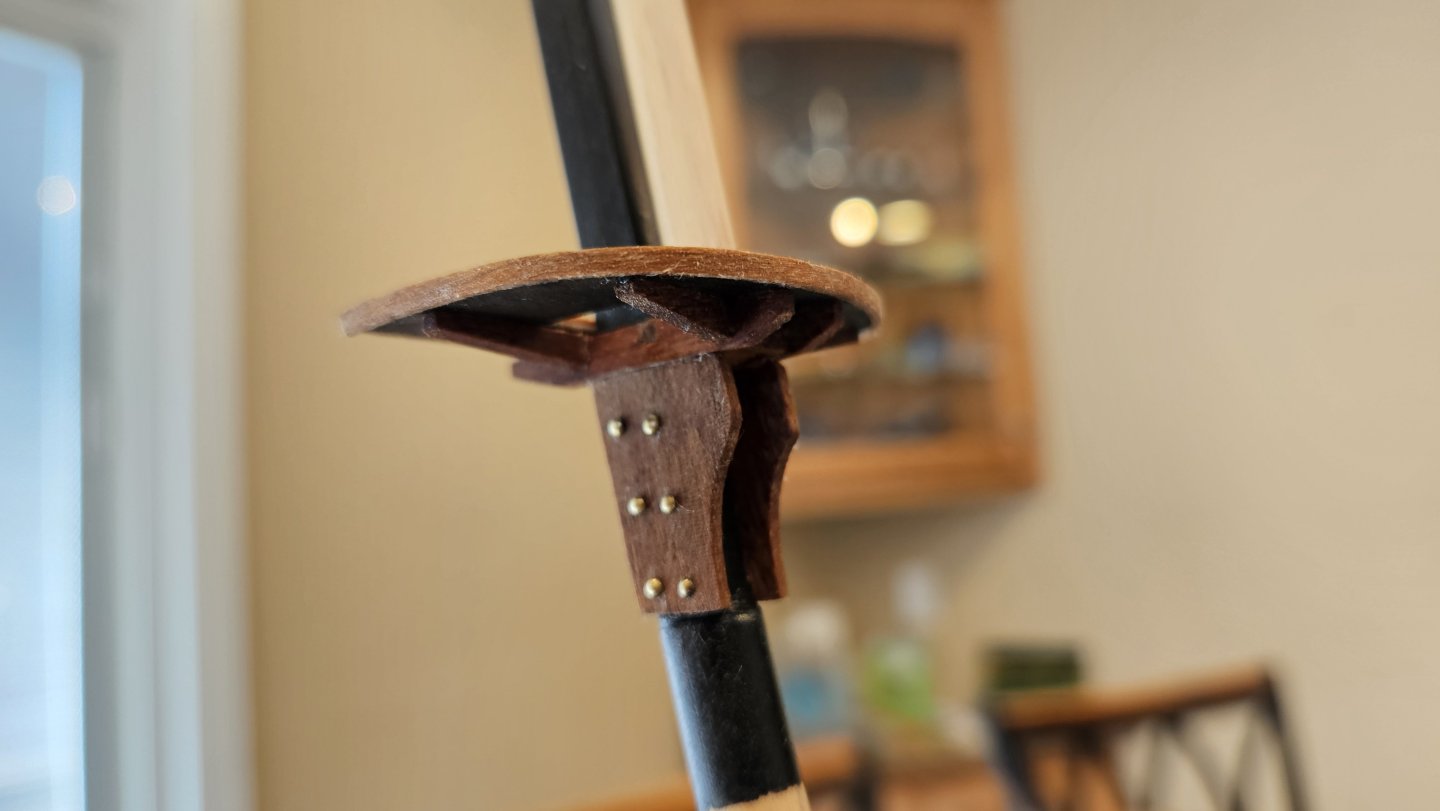
Some random progress over the last week or so. There has been much gnashing of teeth on bowsprit rigging (particularly as it relates to the travellers), and still there are questions. Detail of the jib boom traveller: And the flying jib boom and jib boom travellers together. @Dr PR provided invaluable insight on martingale spar(s), martingale lines, and traveller rigging. As I type this I believe we will have it sorted - jib boom traveller inhaul, port and starboard, through the staysail yard rings to the catheads. Flying jib boom traveller inhaul running the centerline via a block at the traveller. So many lines - yikes!! Some work on the foremast - top-o'-the top. (Should probably be all black but natural wood looks nice - can always stain or paint it later?) Bottom-o'-the top. Random deck rings for rigging and some mast cleats, all per Chappelle/Smithsonian plans. I am hoping for a productive weekend. Wishing you all the same!!


-
@TBlack Thanks Tom. I will give this a try with the one I got but if it fails to look good over time the local trophy maker will be my next stop! Appreciate the tip!
-
Beautiful work! Thank you for the great serving machine tip. Getting very close to that stage right now! She's looking good!
- 341 replies
-
- 1
-
-
- Sophie
- Vanguard Models
- (and 1 more)
-
Welcome to Model Ship World. Looking forward to seeing your posts!
-
Keith - so glad for your reassuring news. Keep up the wonderful work sir!
- 457 replies
-
- 5
-
-
-
- sternwheeler
- Hard Coal Navy
- (and 1 more)
-
@SaltyScot It is an exciting time, transitioning from the hull structure to the spars. Good luck Mark! Looks like we'll be going through this together.