
Coyote_6
-
Posts
555 -
Joined
-
Last visited
Content Type
Profiles
Forums
Gallery
Events
Everything posted by Coyote_6
-
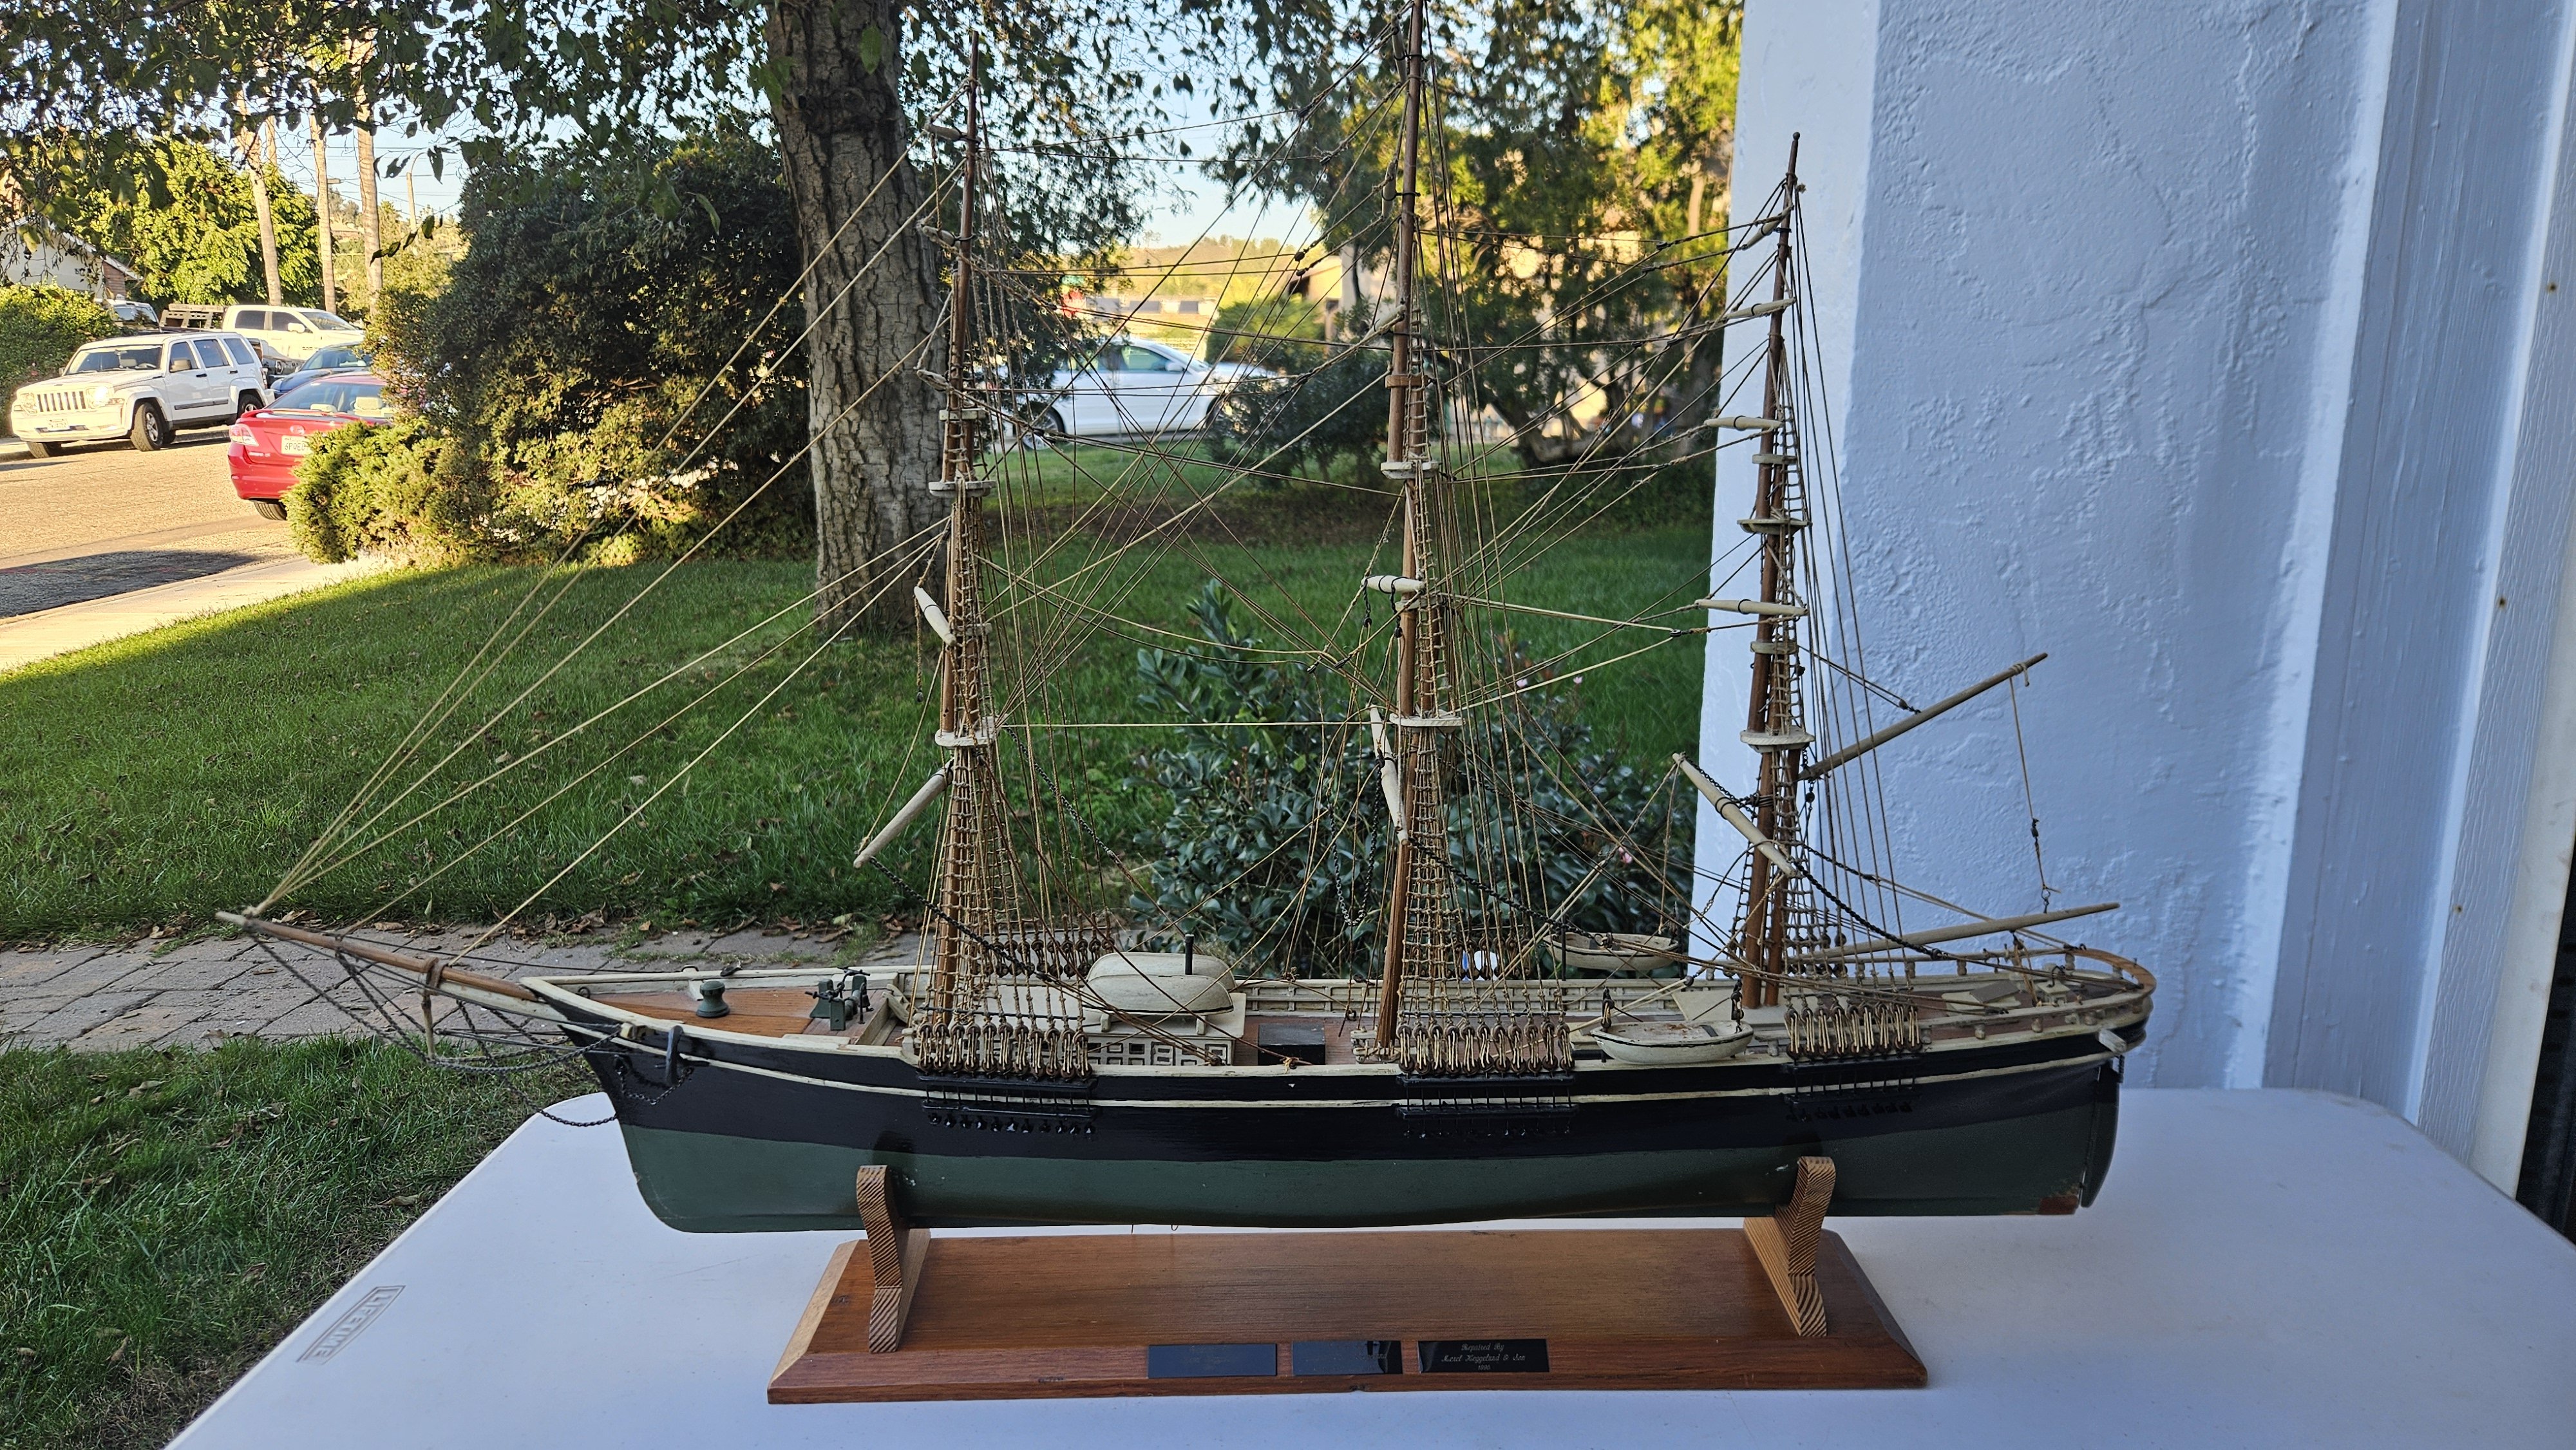
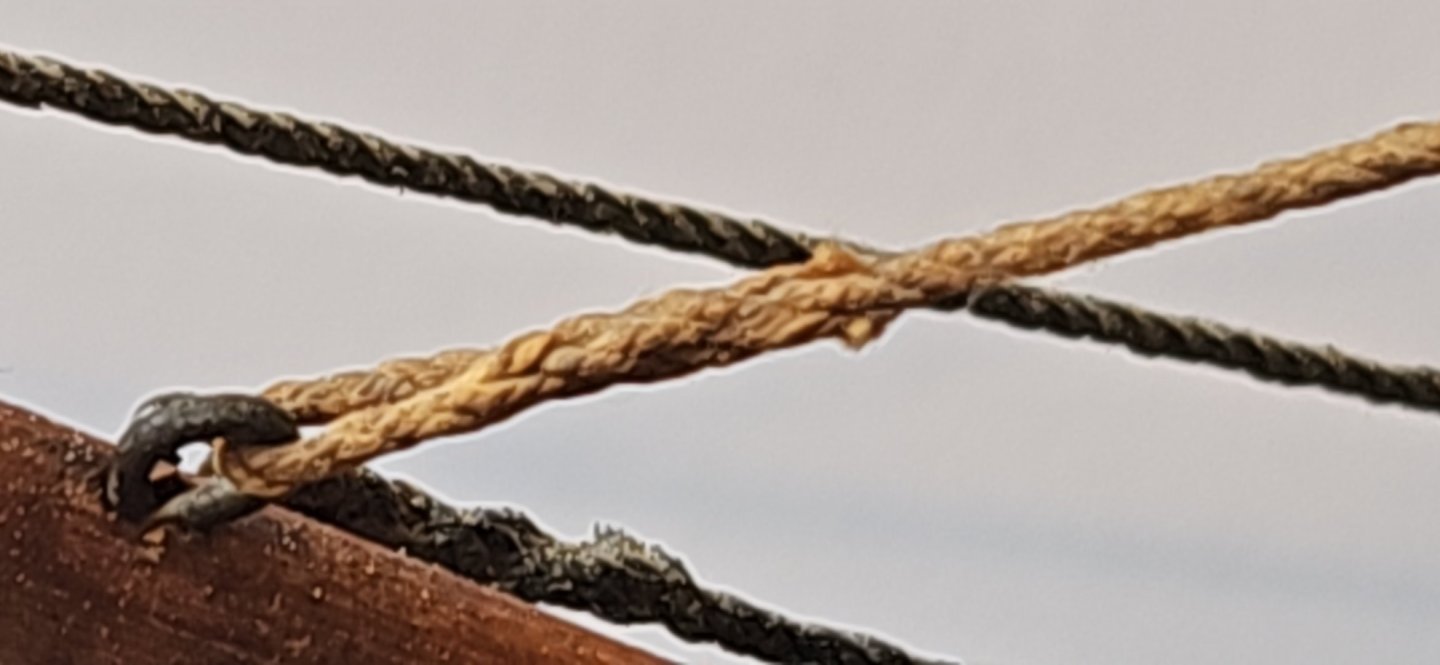
 It has been a month since I have posted here, with no Prince progress to report. But an interesting month it has been in the shipyard anyway. November 26th I received a donation of a Cutty Sark*, destined also for academic service. As received: Just shy of 39" overall, she has a fabulous backstory. She was built by Ragnar Heggelund in San Francisco - in 1926!! As the story was told, Ragnar came to America and went to work to be able to bring his family along after him. As he would have to work and wait a year or so, he took on the Cutty Sark* to fill his hours until they were together again. Ragnar was a fine craftsman and the most interesting note is that he wove all his eyes in his lines in the 1:1 eye splice - each one a 99 year old work of art. His ship has stayed with the family these 99 years, repaired by sons and grandsons, until finally it was decided she was beyond the families' care. The grandson liked the idea of inspiring schoolchildren, and so here we are. The intent is to have her in the teacher's hands in January. Starting in January 2026, her kids will set off on a history syllabus that culminates in an overnight stay on San Diego's Star of India. The program is amazing, as the 5th grade kids haul lines, raise sails, stand watches throughout the night, tie knots, haul cargo, and plot charts - among other seafaring tasks. Cutty Sark* being of similar size, deck layout and rig, will make a fine teaching aid to prepare the kids for their adventure. And of course, for 2026 this model will be a century old. The karma of it all just gives me goosebumps. *Identified more correctly as Sovereign of the Seas from 1926 plans by Captain E. Armitridge McCann. Hat tip to @Chuck for solving that mystery! https://modelshipworld.com/topic/39431-help-identifying-model-from-1926-and-the-state-of-ship-modeling-in-the-1920s/
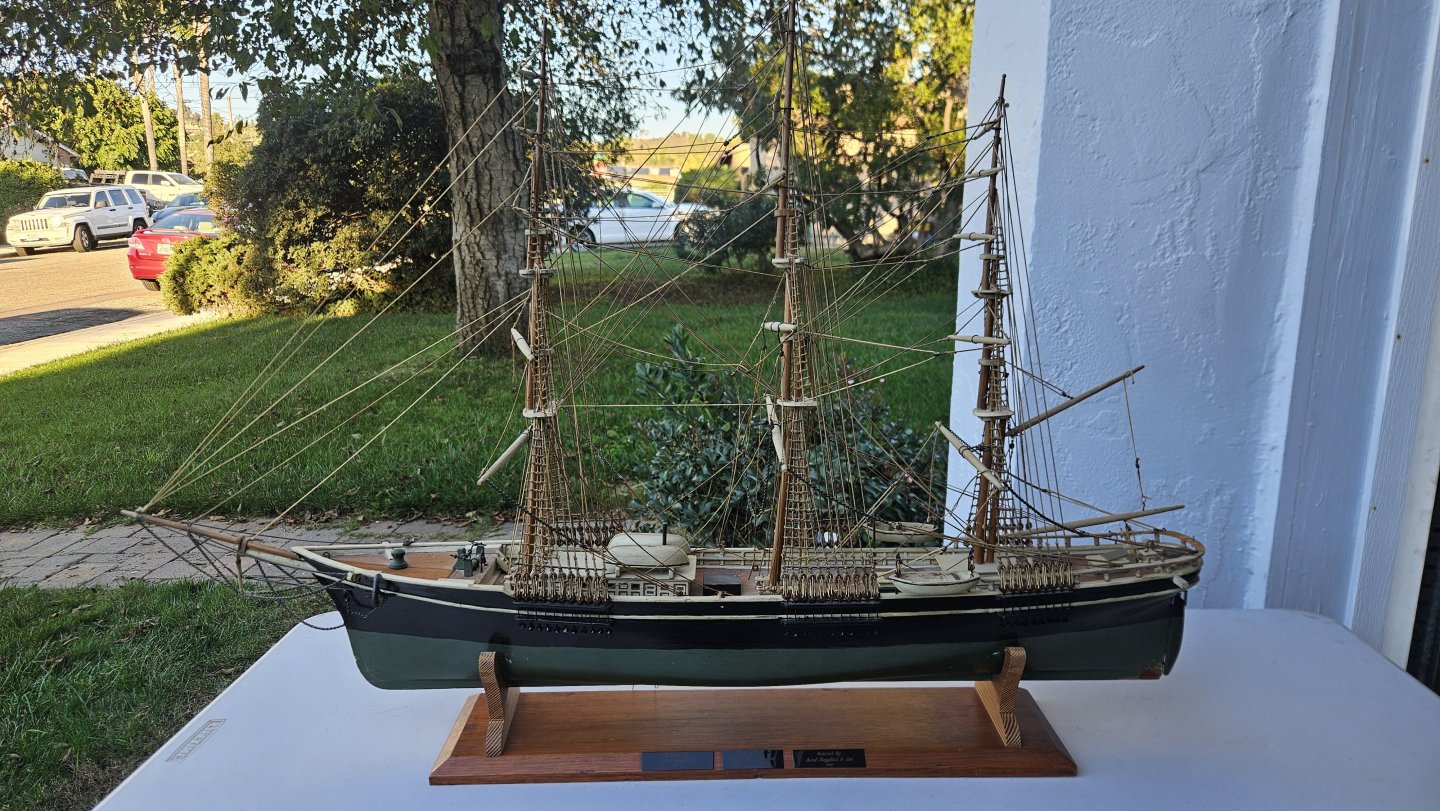
-
Yeah. That gets a wow. Merry Christmas and Happy Holidays Phil!
- 490 replies
-
- 1
-

-
- minesweeper
- Cape
- (and 1 more)
-
Coming along nicely Phil. Merry Christmas!
-
Putting them in ROTCs, schools, and libraries may help invigorate our hobby with future model shipwrights. Well done. Merry Christmas!
-
Very nice Phil! All the more impressive as a scratch-build. Well done, and congratulations!
-
Well fitted out and just amazing work! Just wonderful.
-
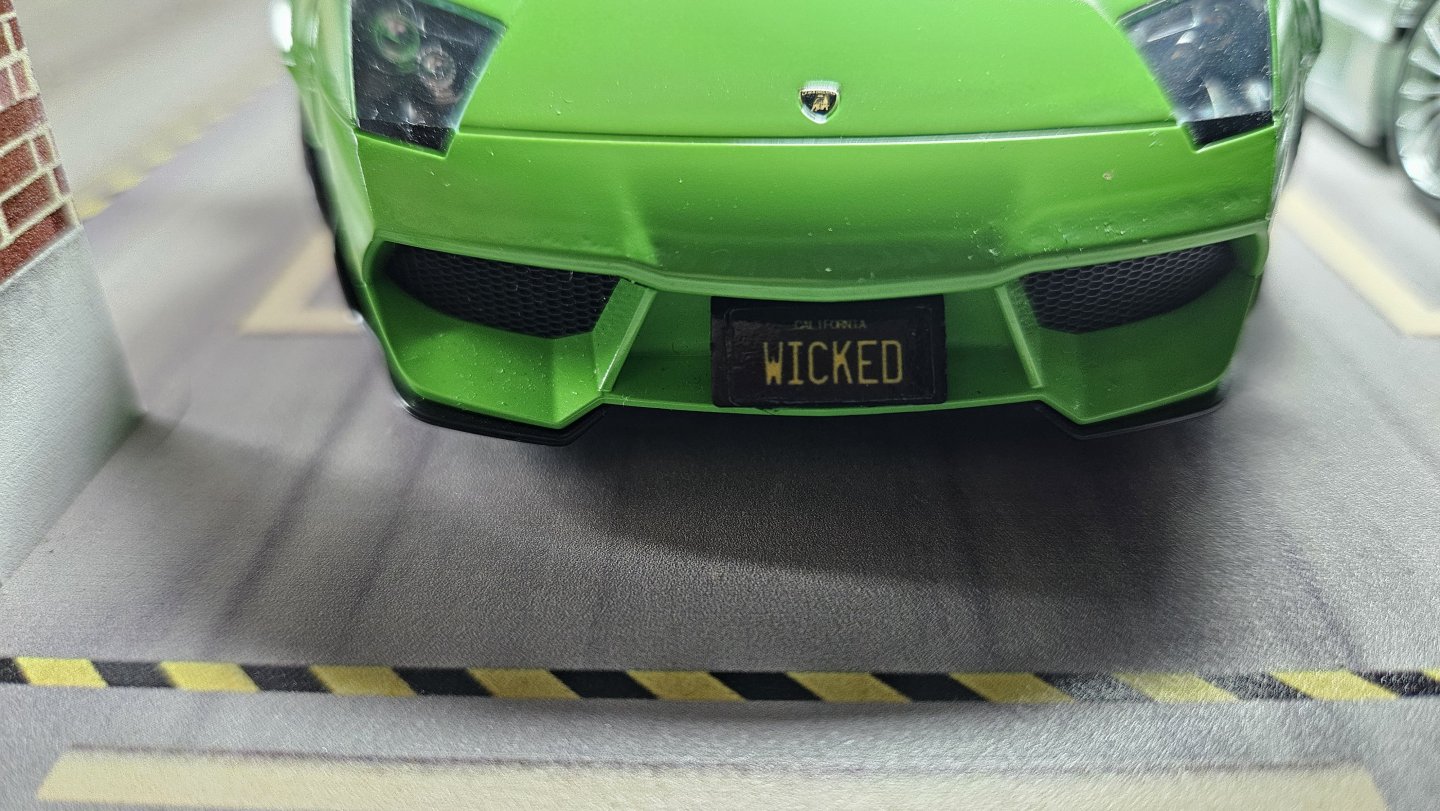
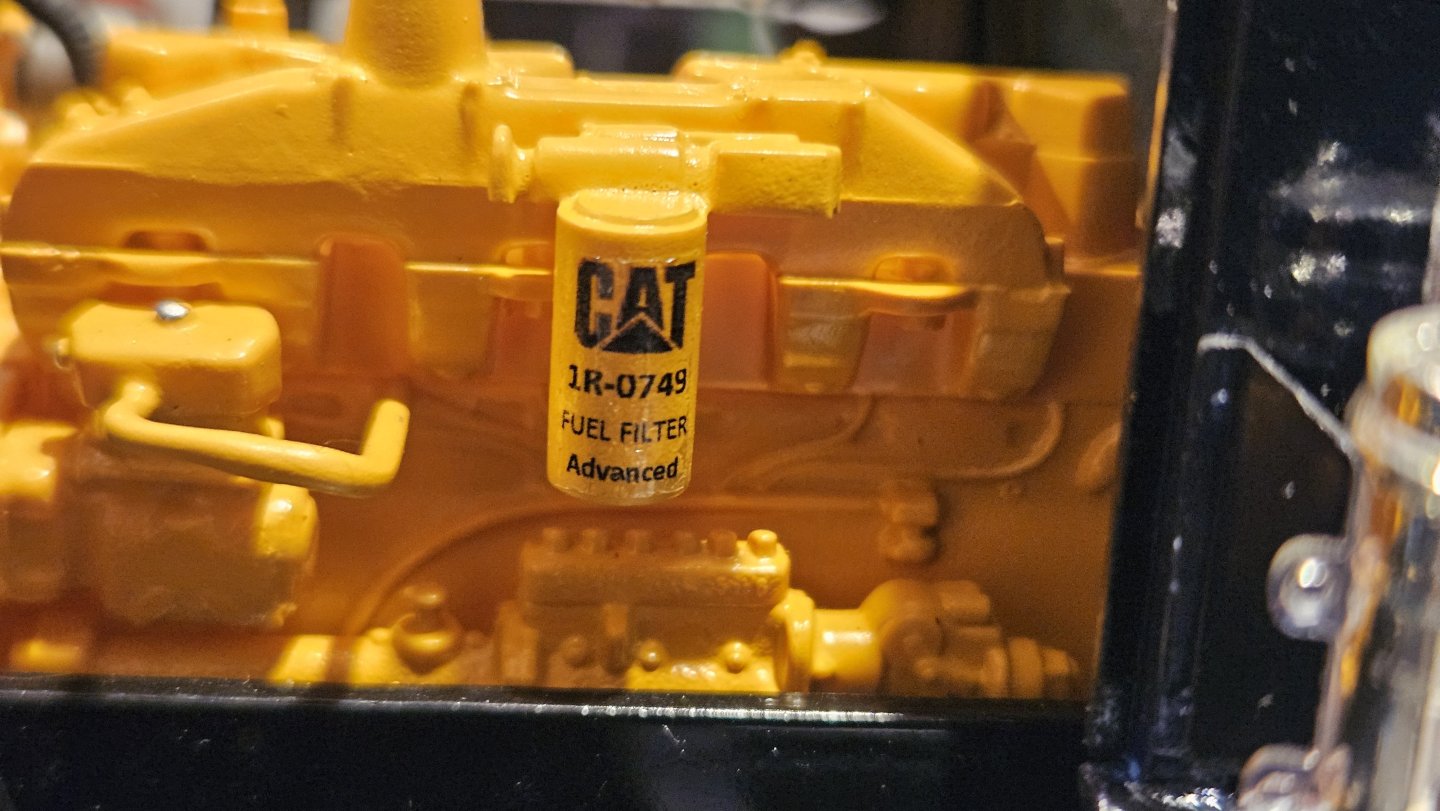
I have done the home made water slides on cars to nice effect. Definitely worth a try if you haven't done them before! Fuel filter decal... Seat cover decal... Custom license plates... You need decal paper, acrylic clear coat and decal setting solution but it is sure fun!

-
Very clever solutions for your small details. Very nice!
-
Beautiful job. Congrats - so much fun to follow this build!
- 261 replies
-
- 3
-

-
-
- Victory Models
- Pegasus
- (and 3 more)
-
That looks legit Phil! Details, coloration, everything. Very very cool!!
- 490 replies
-
- 2
-
-
- minesweeper
- Cape
- (and 1 more)
-
Just wow. Such clean work - you're really doing Billy justice. Very nice.
-
"Knot just yet..." Ya killin' me here. She's looking great. Happy Thanksgiving.
- 261 replies
-
- 7
-
-

-
- Victory Models
- Pegasus
- (and 3 more)
-
So nice! Great coloring. A lot of character in this model!
-
Mainmast tackle are done. Tackle (runner) pendents... Tackles rigged... And now the mainmast is pretty well in line. I can fine tune with the shrouds... Thanks for looking!

-
Beautifully done!
-
Wow. Beautiful work. You finished her up quick! VERY nice build - thanks for having us along!
- 261 replies
-
- 1
-
-
- Victory Models
- Pegasus
- (and 3 more)
-
Huge milestones here! Congrats - she's looking great!!
-
Phil! I love all these operational details from a guy who's "been there". It just really brings the model to life. She's coming along beautifully!!
- 490 replies
-
- 2
-
-
- minesweeper
- Cape
- (and 1 more)
-
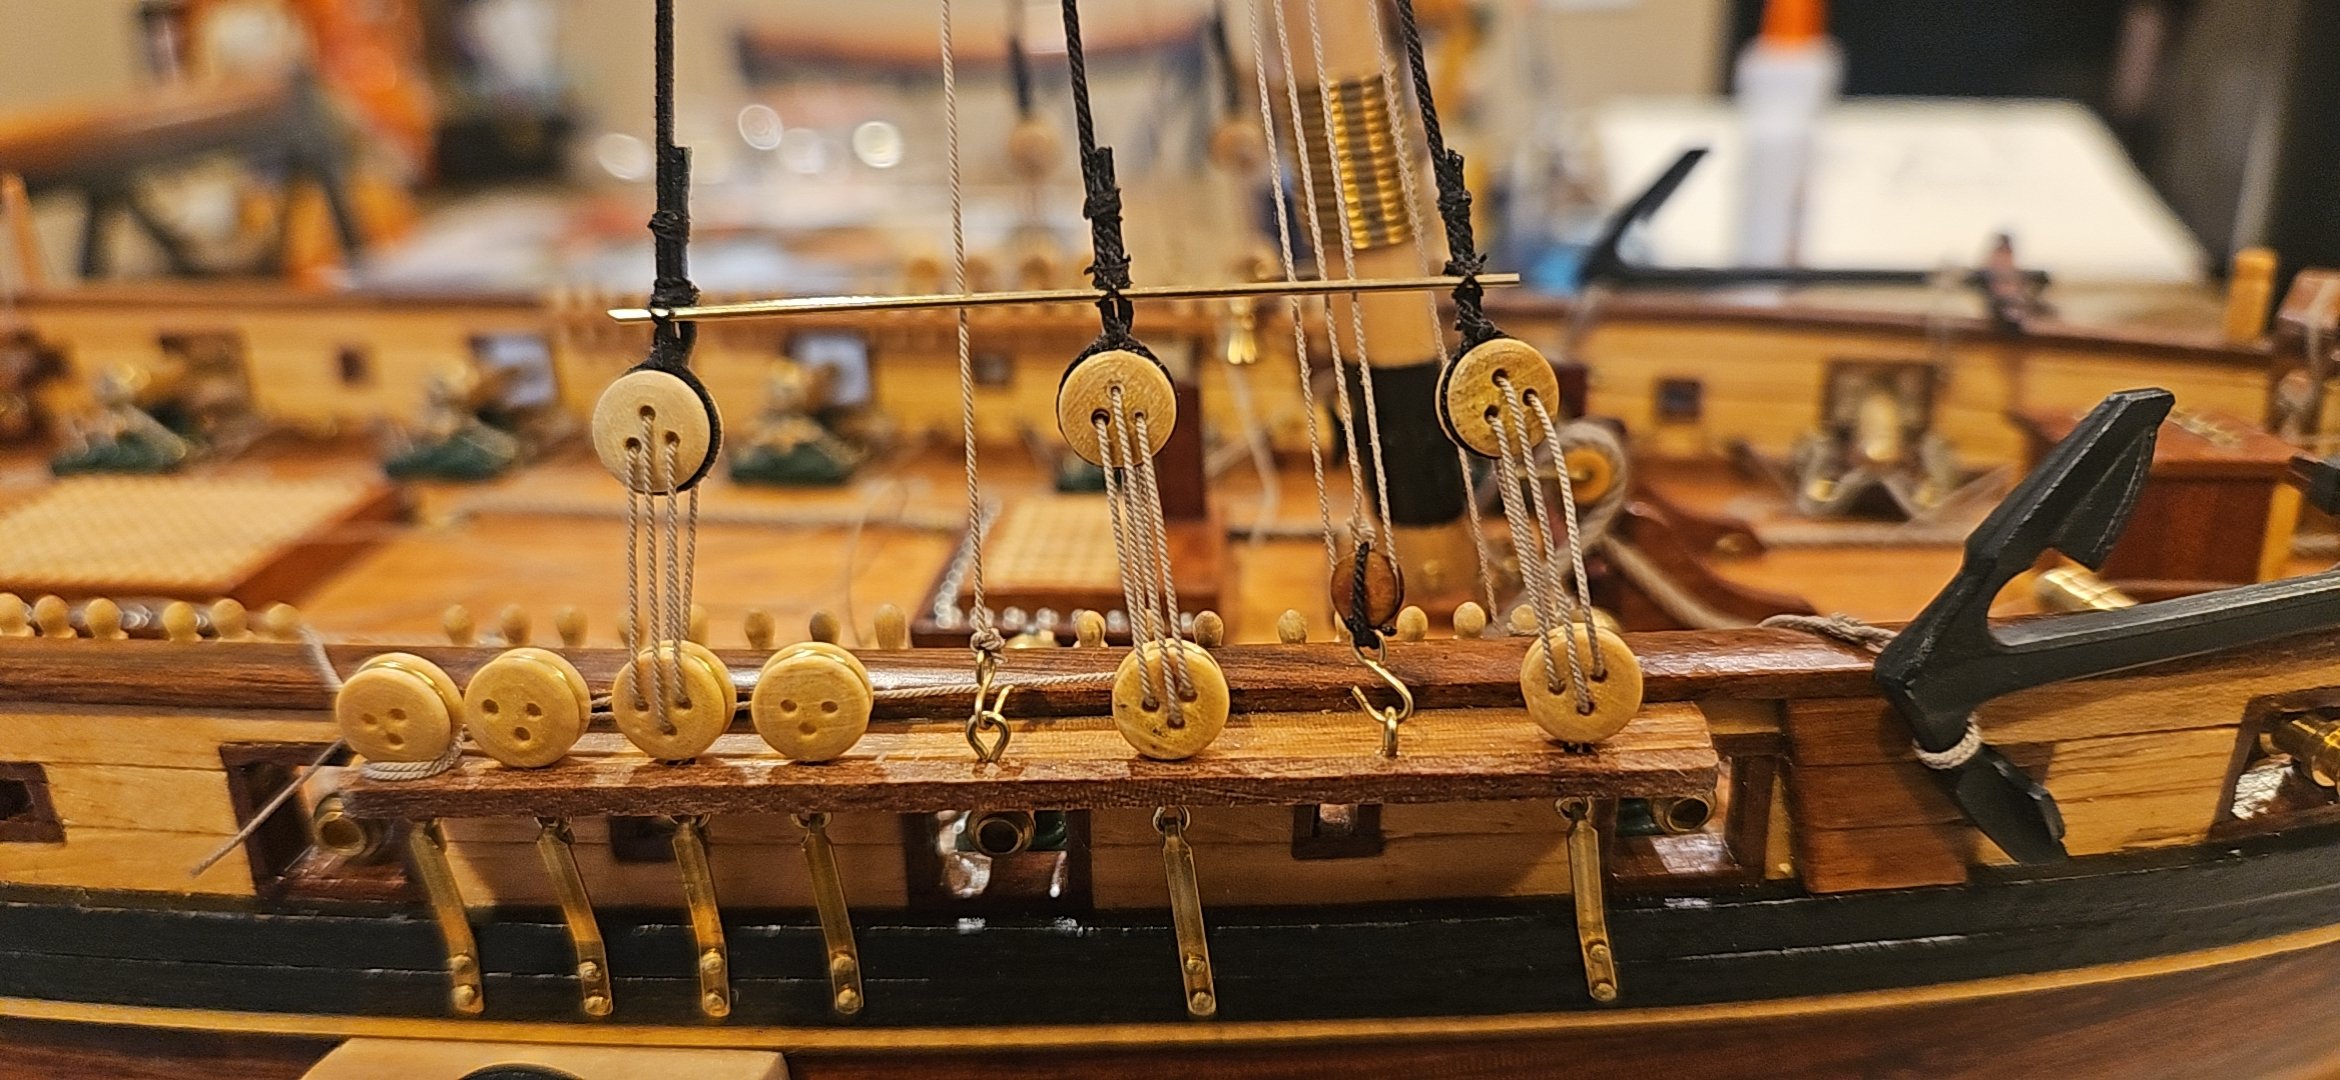
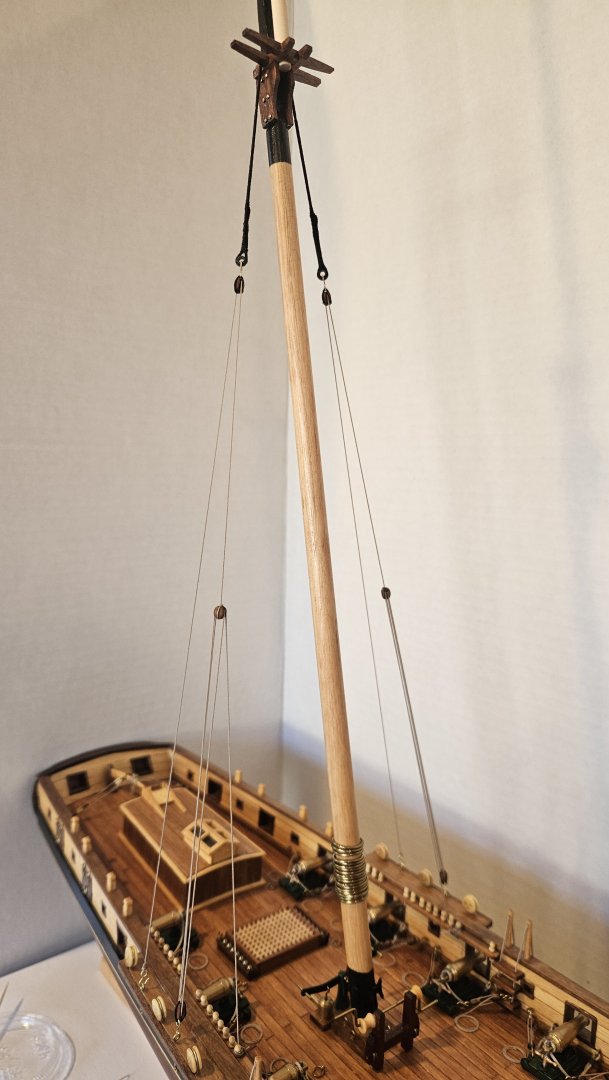
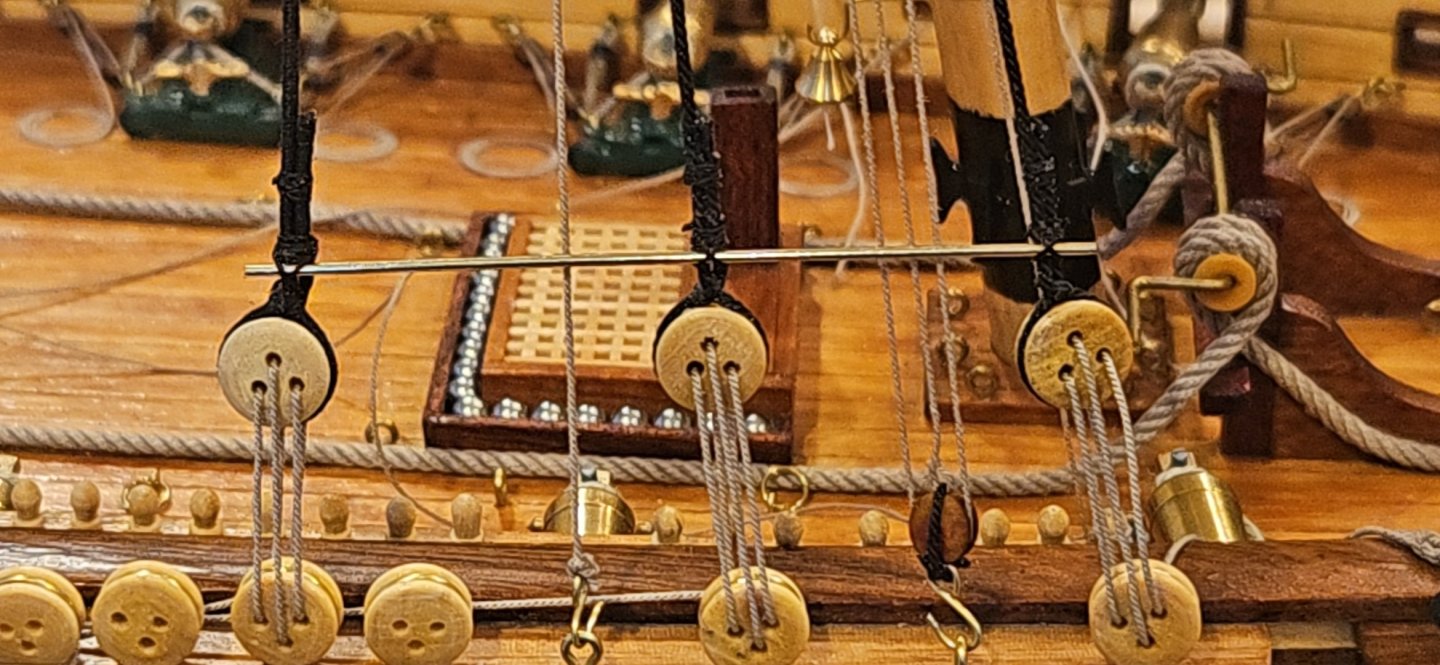
And for better or worse, brass sheer pole (a.k.a. stretcher, squaring staff). Keeping with the raw material theme I guess. Who knows what she'll look like in 20 years 🤣

-
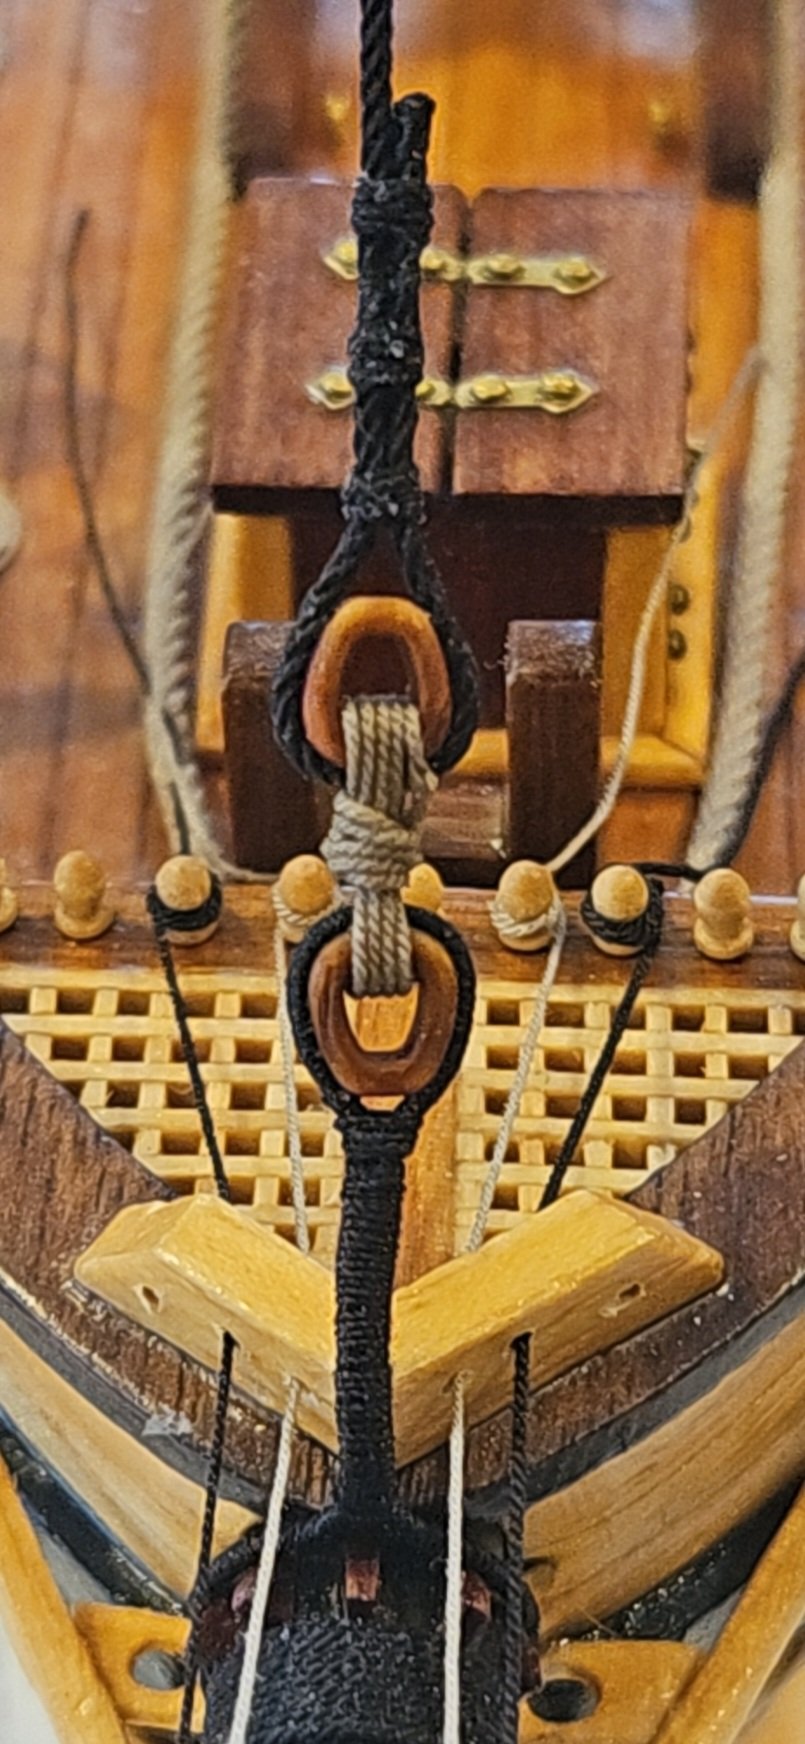
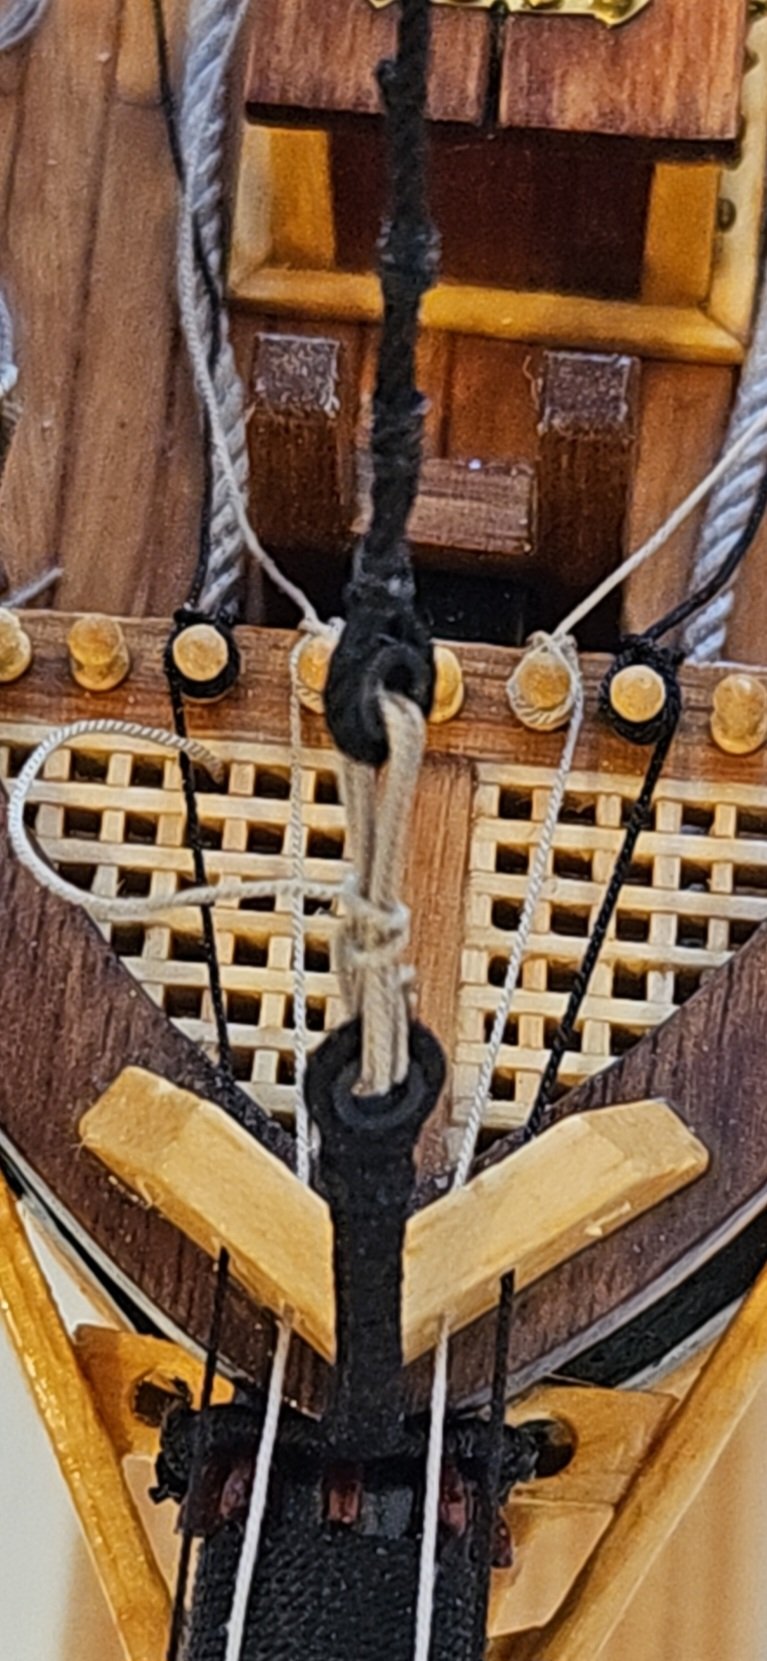
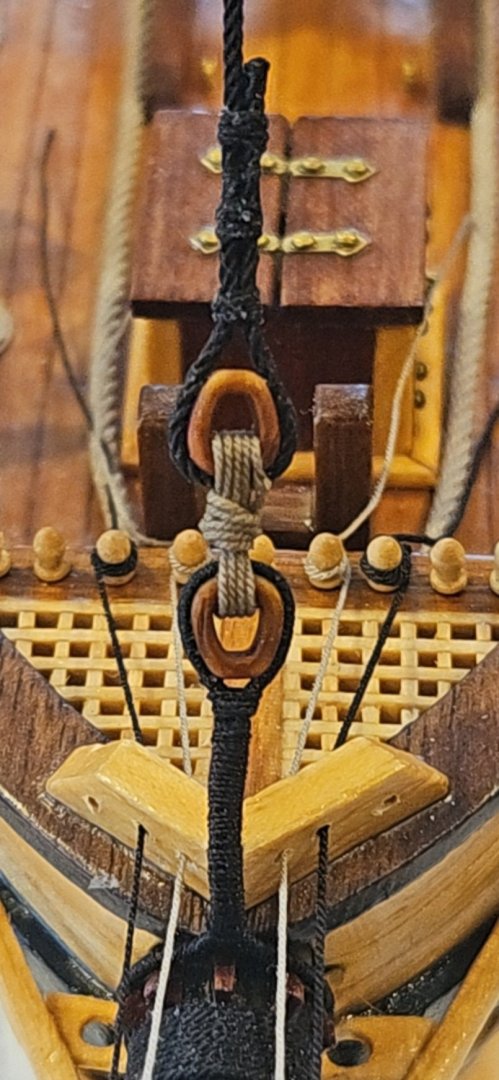
If it wasn't for rework we'd be a bit further along. 😜 Anyway, forestay before with thimbles... And now reworked with Syren 6mm (13 1/2 scale inch) closed hearts, corrected diameter collar line...

-
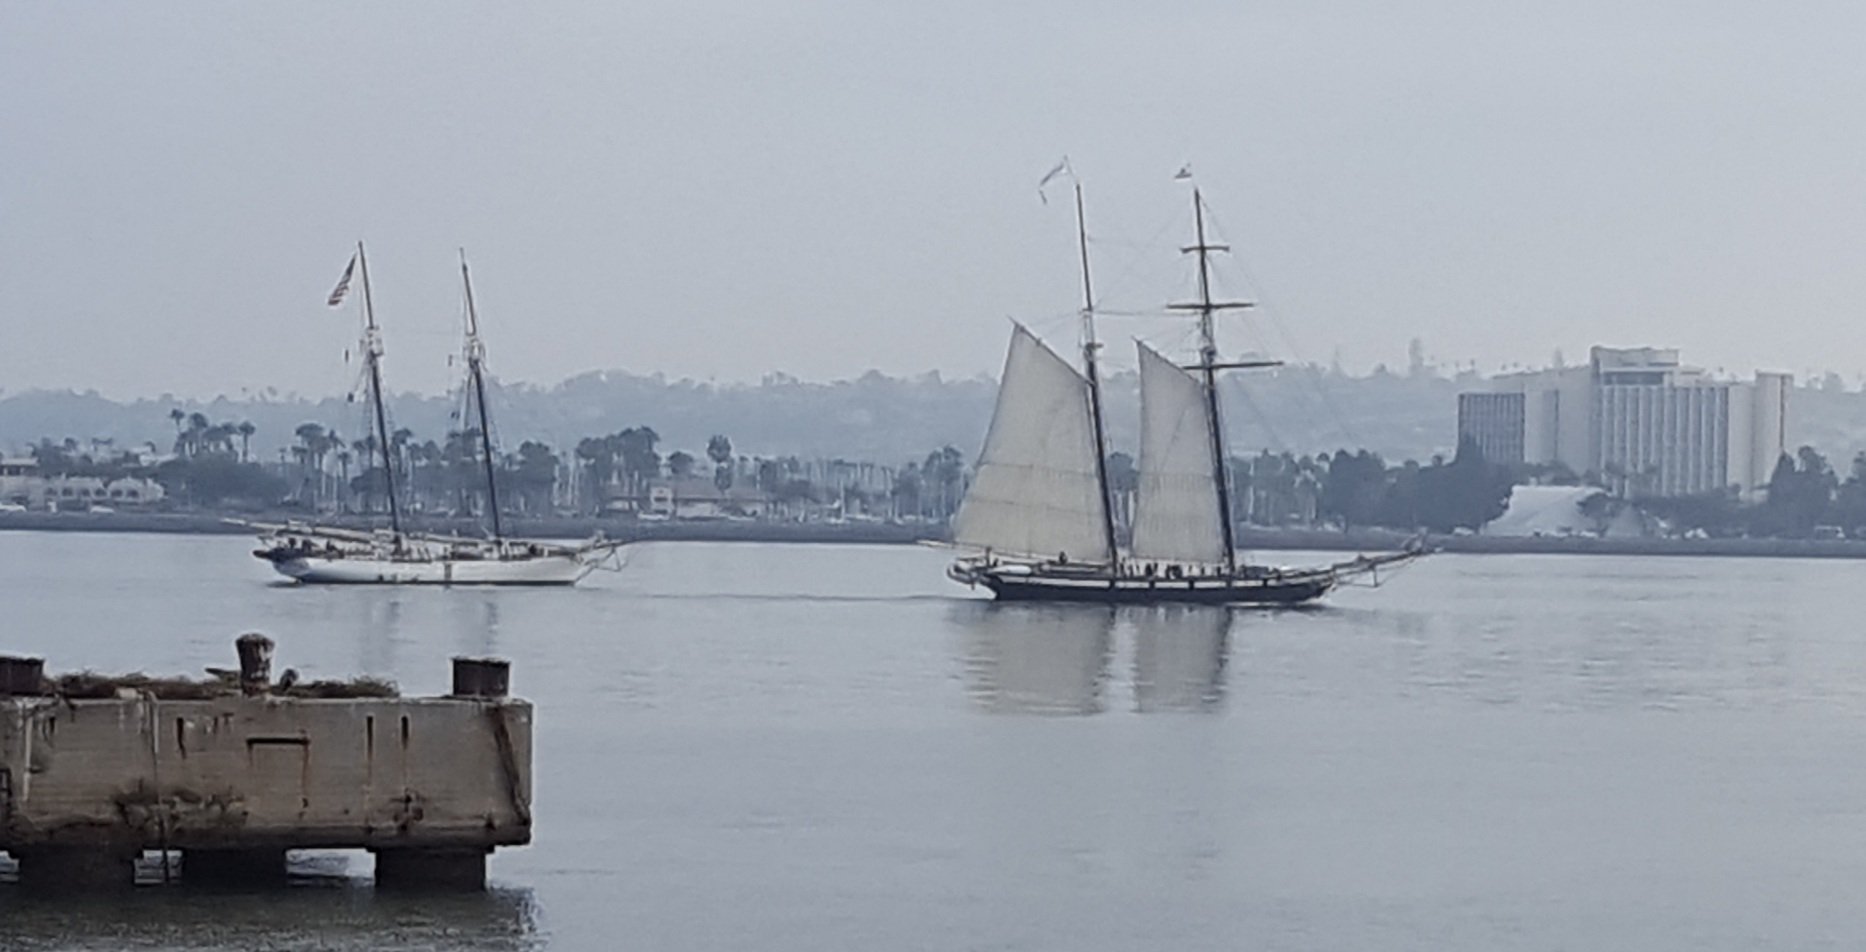
I liked the first better as well. Looked like what you see on current tall ships at any rate (the first ones). For what it's worth.