Coyote_6
-
Posts
555 -
Joined
-
Last visited
Content Type
Profiles
Forums
Gallery
Events
Everything posted by Coyote_6
-
 Phil - it goes without saying but your Albatros is simply stunning. Well well done! When you look at her, make sure you realize how many people you have helped in this hobby with your research, advice and kindness. I would say I will miss the Albatros but I can absolutely guarantee I will revisit these posts for technical insight and motivation for many many years to come! Thanks for bringing us aboard Phil. Phenomenal!!
 -
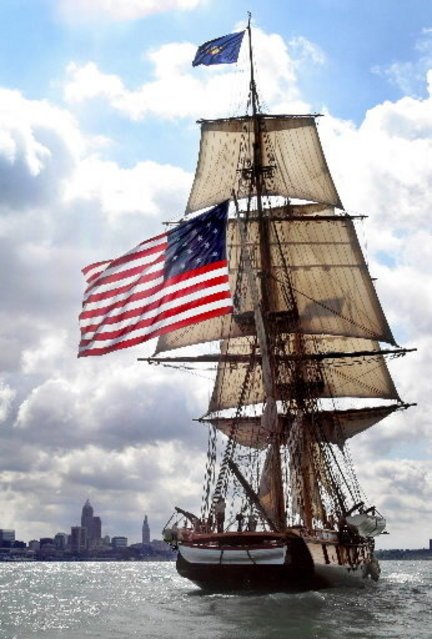
That is a crop of a picture of the replica U.S. Brig Niagara in Cleveland, 2010, from an article in The Plain Dealer. (Photo credit John Kuntz?) It is pretty low res! 😭 https://www.cleveland.com/metro/2010/06/cleveland_students_help_bring.html The 1812 era is probably my favorite for tall ships. Currently I am working the 1812 privateer Prince de Neufchatel. Next up will likely be Constructo's Enterprise (1799), and finally in my stash is the Model Shipways 1:76 Constitution. I am a little daunted by Constitution, especially after following your efforts here! The complexity is astounding. Hopefully completing the Prince and Enterprise will prepare me for what's ahead!! But I mean, c'mon. Your ship's bell?? That would take me 6 months and still not look as nice. Beautiful work Glen!
- 301 replies
-
- 7
-

-

-
- Constitution
- Bluejacket Shipcrafters
- (and 1 more)
-
Glen - I just watched the video. Paraphrasing Tom Hanks - "There's no crying in model shipbuilding!!" Just beautiful. Constitution is magnificent and you guys have represented her just so well. It would take a ship in the bottle guy to finish her up with all those tight spaces. Take a bow sir, and thanks for letting us follow along!
- 301 replies
-
- 5
-
-

-
- Constitution
- Bluejacket Shipcrafters
- (and 1 more)
-
Well worth the effort Phil! Very nice work and a very unique feature. Nice.
- 492 replies
-
- 3
-
-
- minesweeper
- Cape
- (and 1 more)
-
Wow Mark. Those are your rough cuts?? Look pretty clean and precise to me brother. Nice.
-
I was thinking some type of faux jade or something but a little research didn't yield much in that arena. 😢
- 106 replies
-
- 2
-
-
- Kentoshi-Sen
- bottle
- (and 1 more)
-
Those look good Phil. She'll be looking proper with those guns fitted!
- 288 replies
-
- 6
-
-
-
- Card
- Pre-Dreadnought
- (and 3 more)
-
Mark! That is so darn cool. Loss for words, but man, if the Navy ain't about tradition and history, then, well.... Well played sir. Well played!
-
Welcome aboard. What a cool gift idea! She looks great so far.
-
That turned out awesome! I love how you spread around your fine work - gifts, restorations. What an awesome thing to share.
- 106 replies
-
- 3
-
-
-
- Kentoshi-Sen
- bottle
- (and 1 more)
-
Wishing you a quick recovery with the knee and of course safe travels. She looks amazing Bruce! Excellent subject.
-
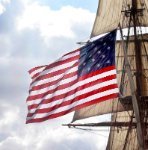
Beautiful work. I will be watching closely how you tackle the flag - I will be needing an 1813 flag myself.
-
Thank you Glenn. That means a lot as I have been a fan of your work for a while. Thanks for looking in!!
-
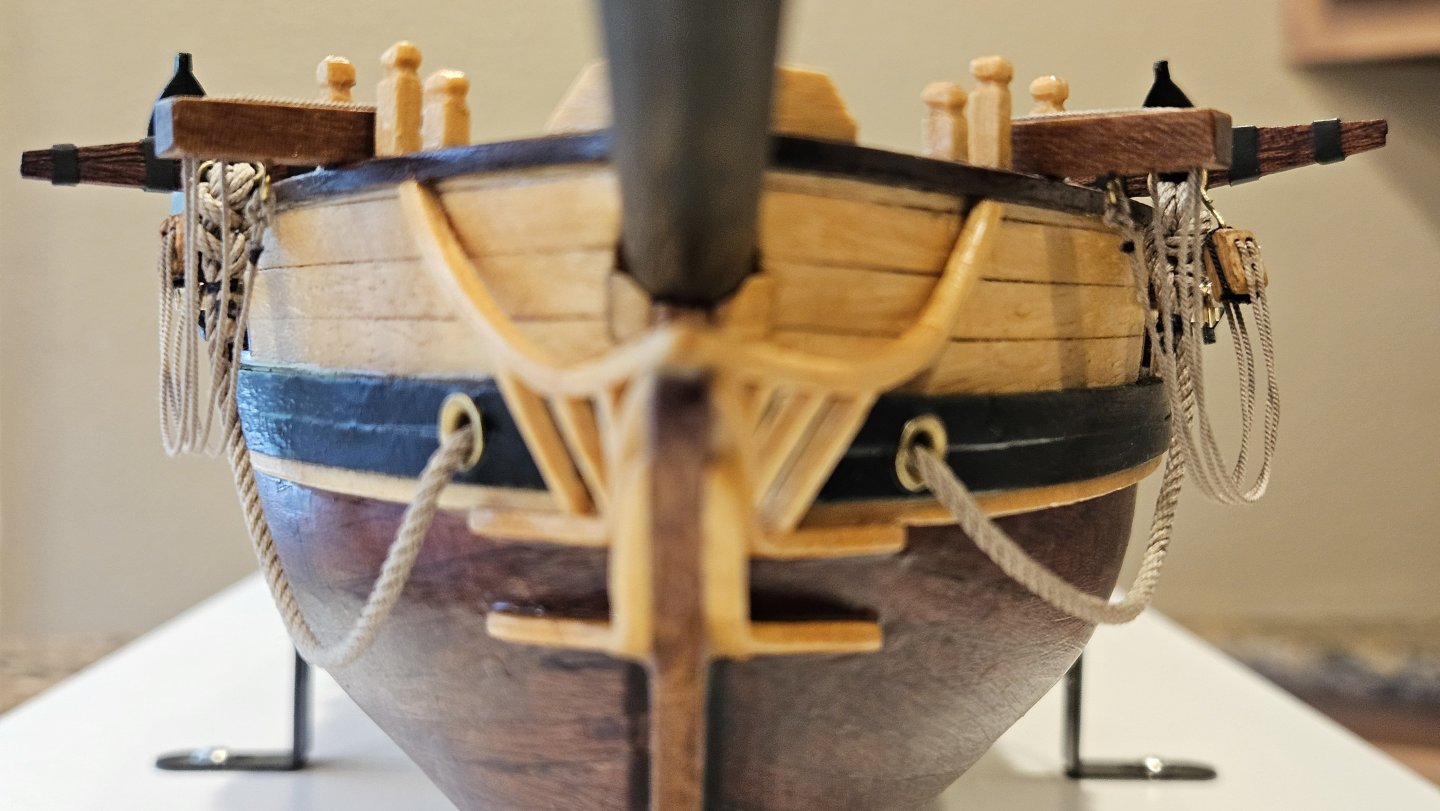
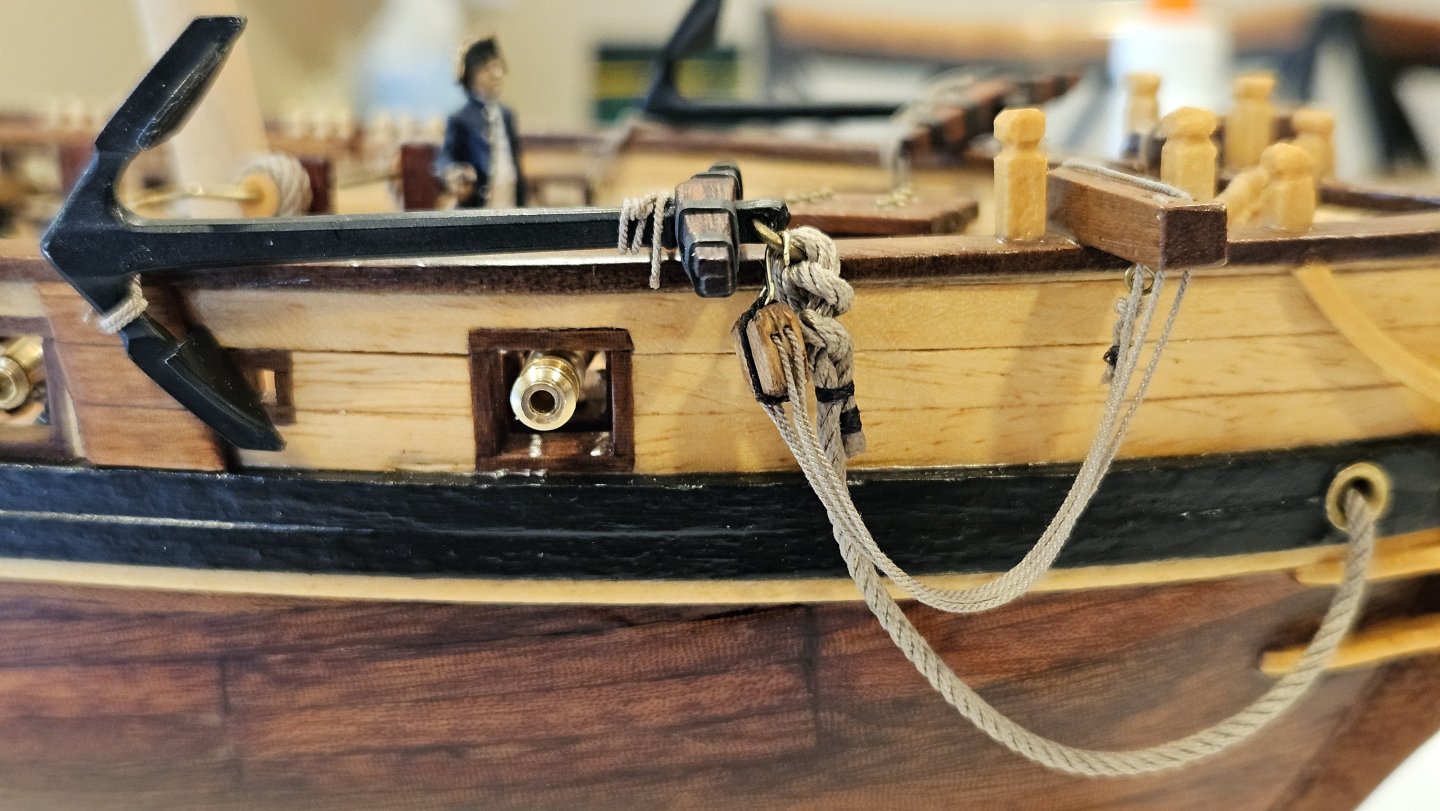
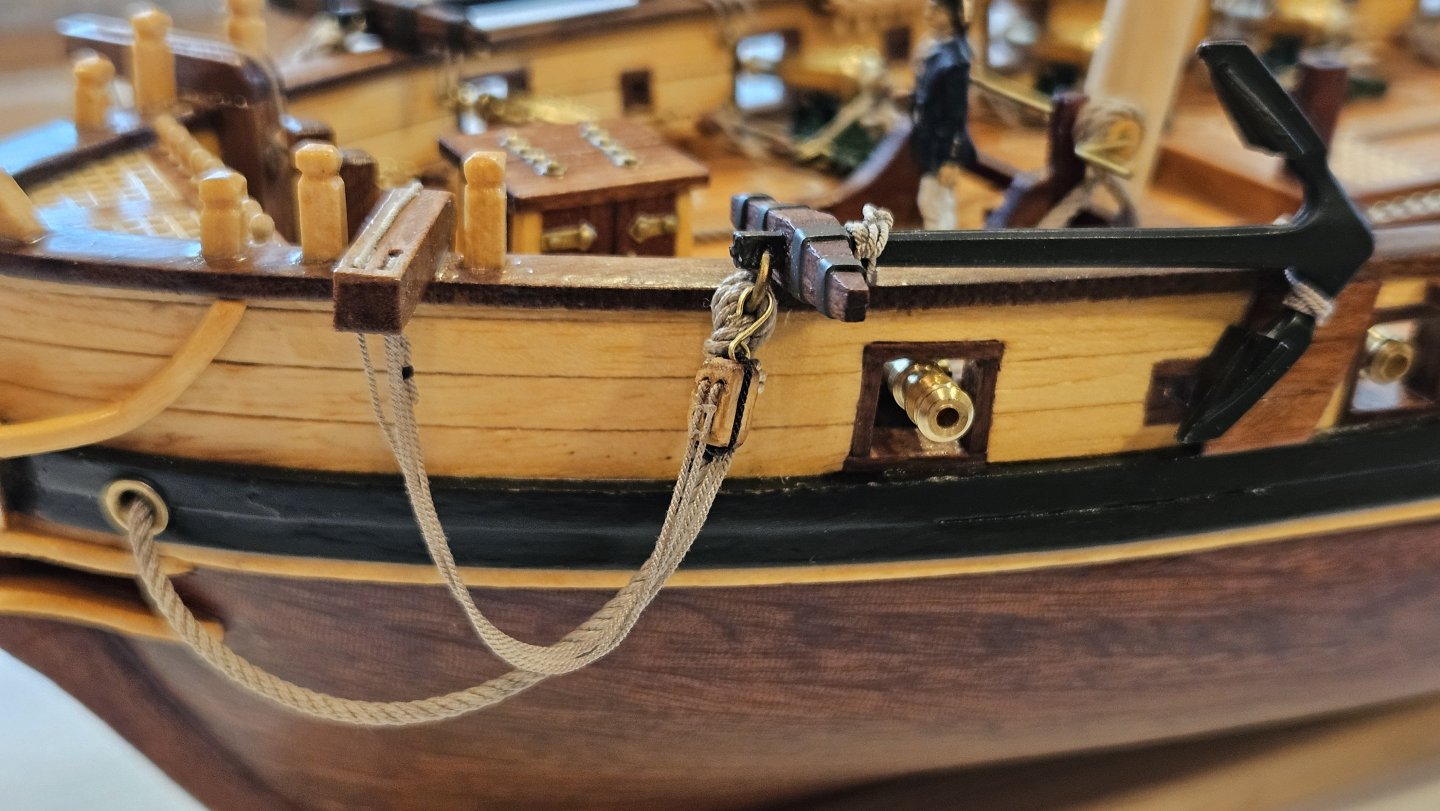
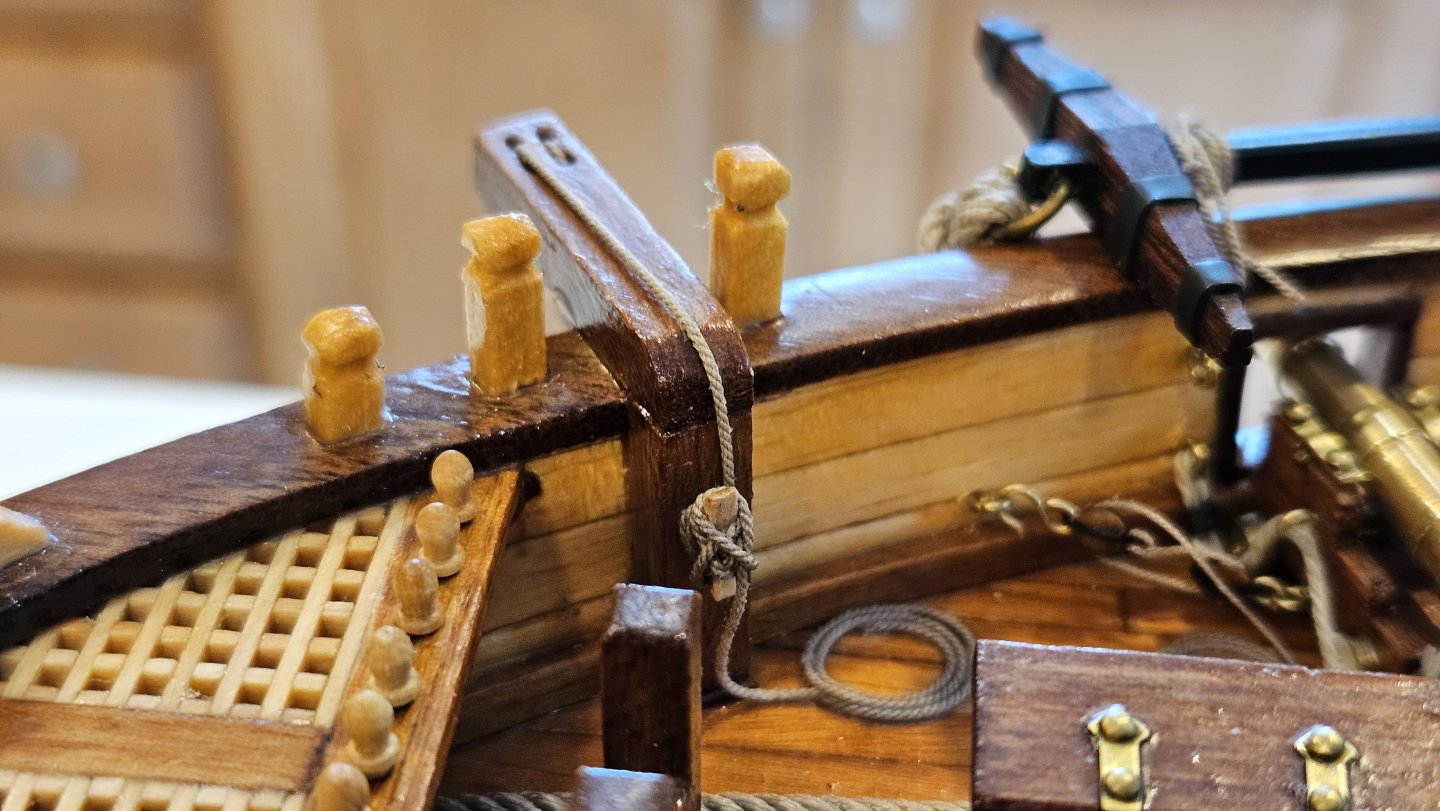
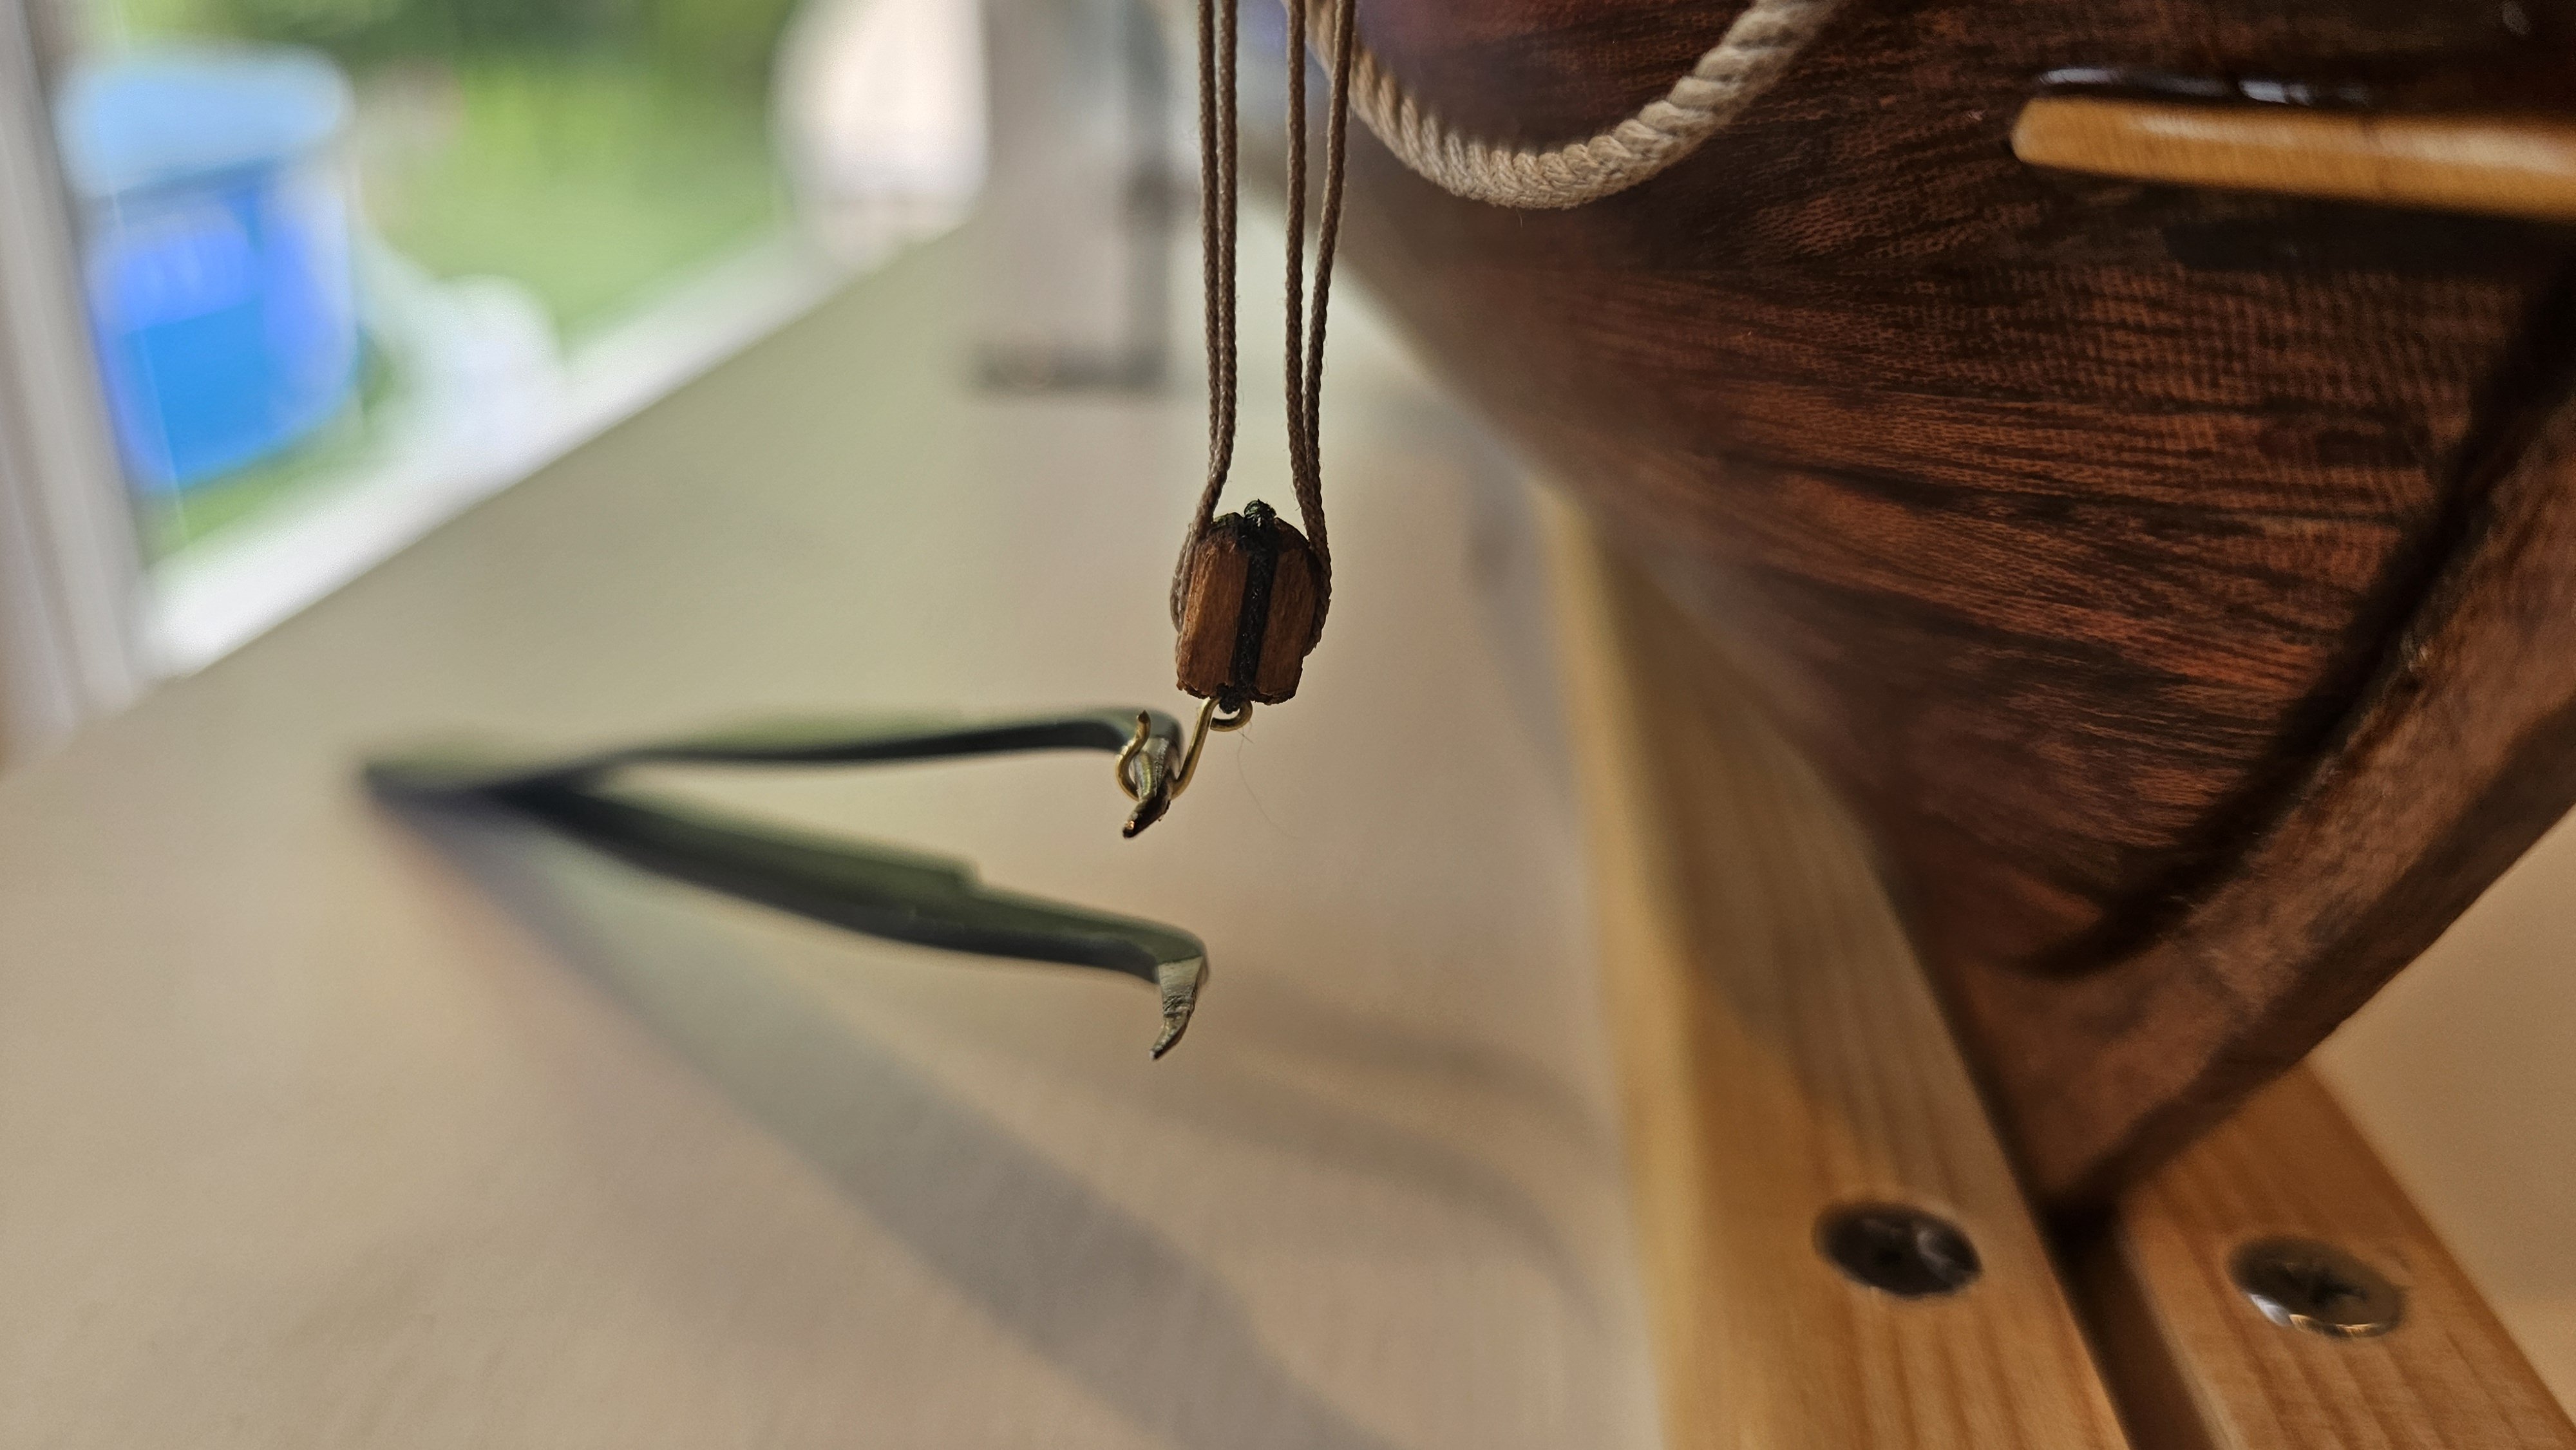
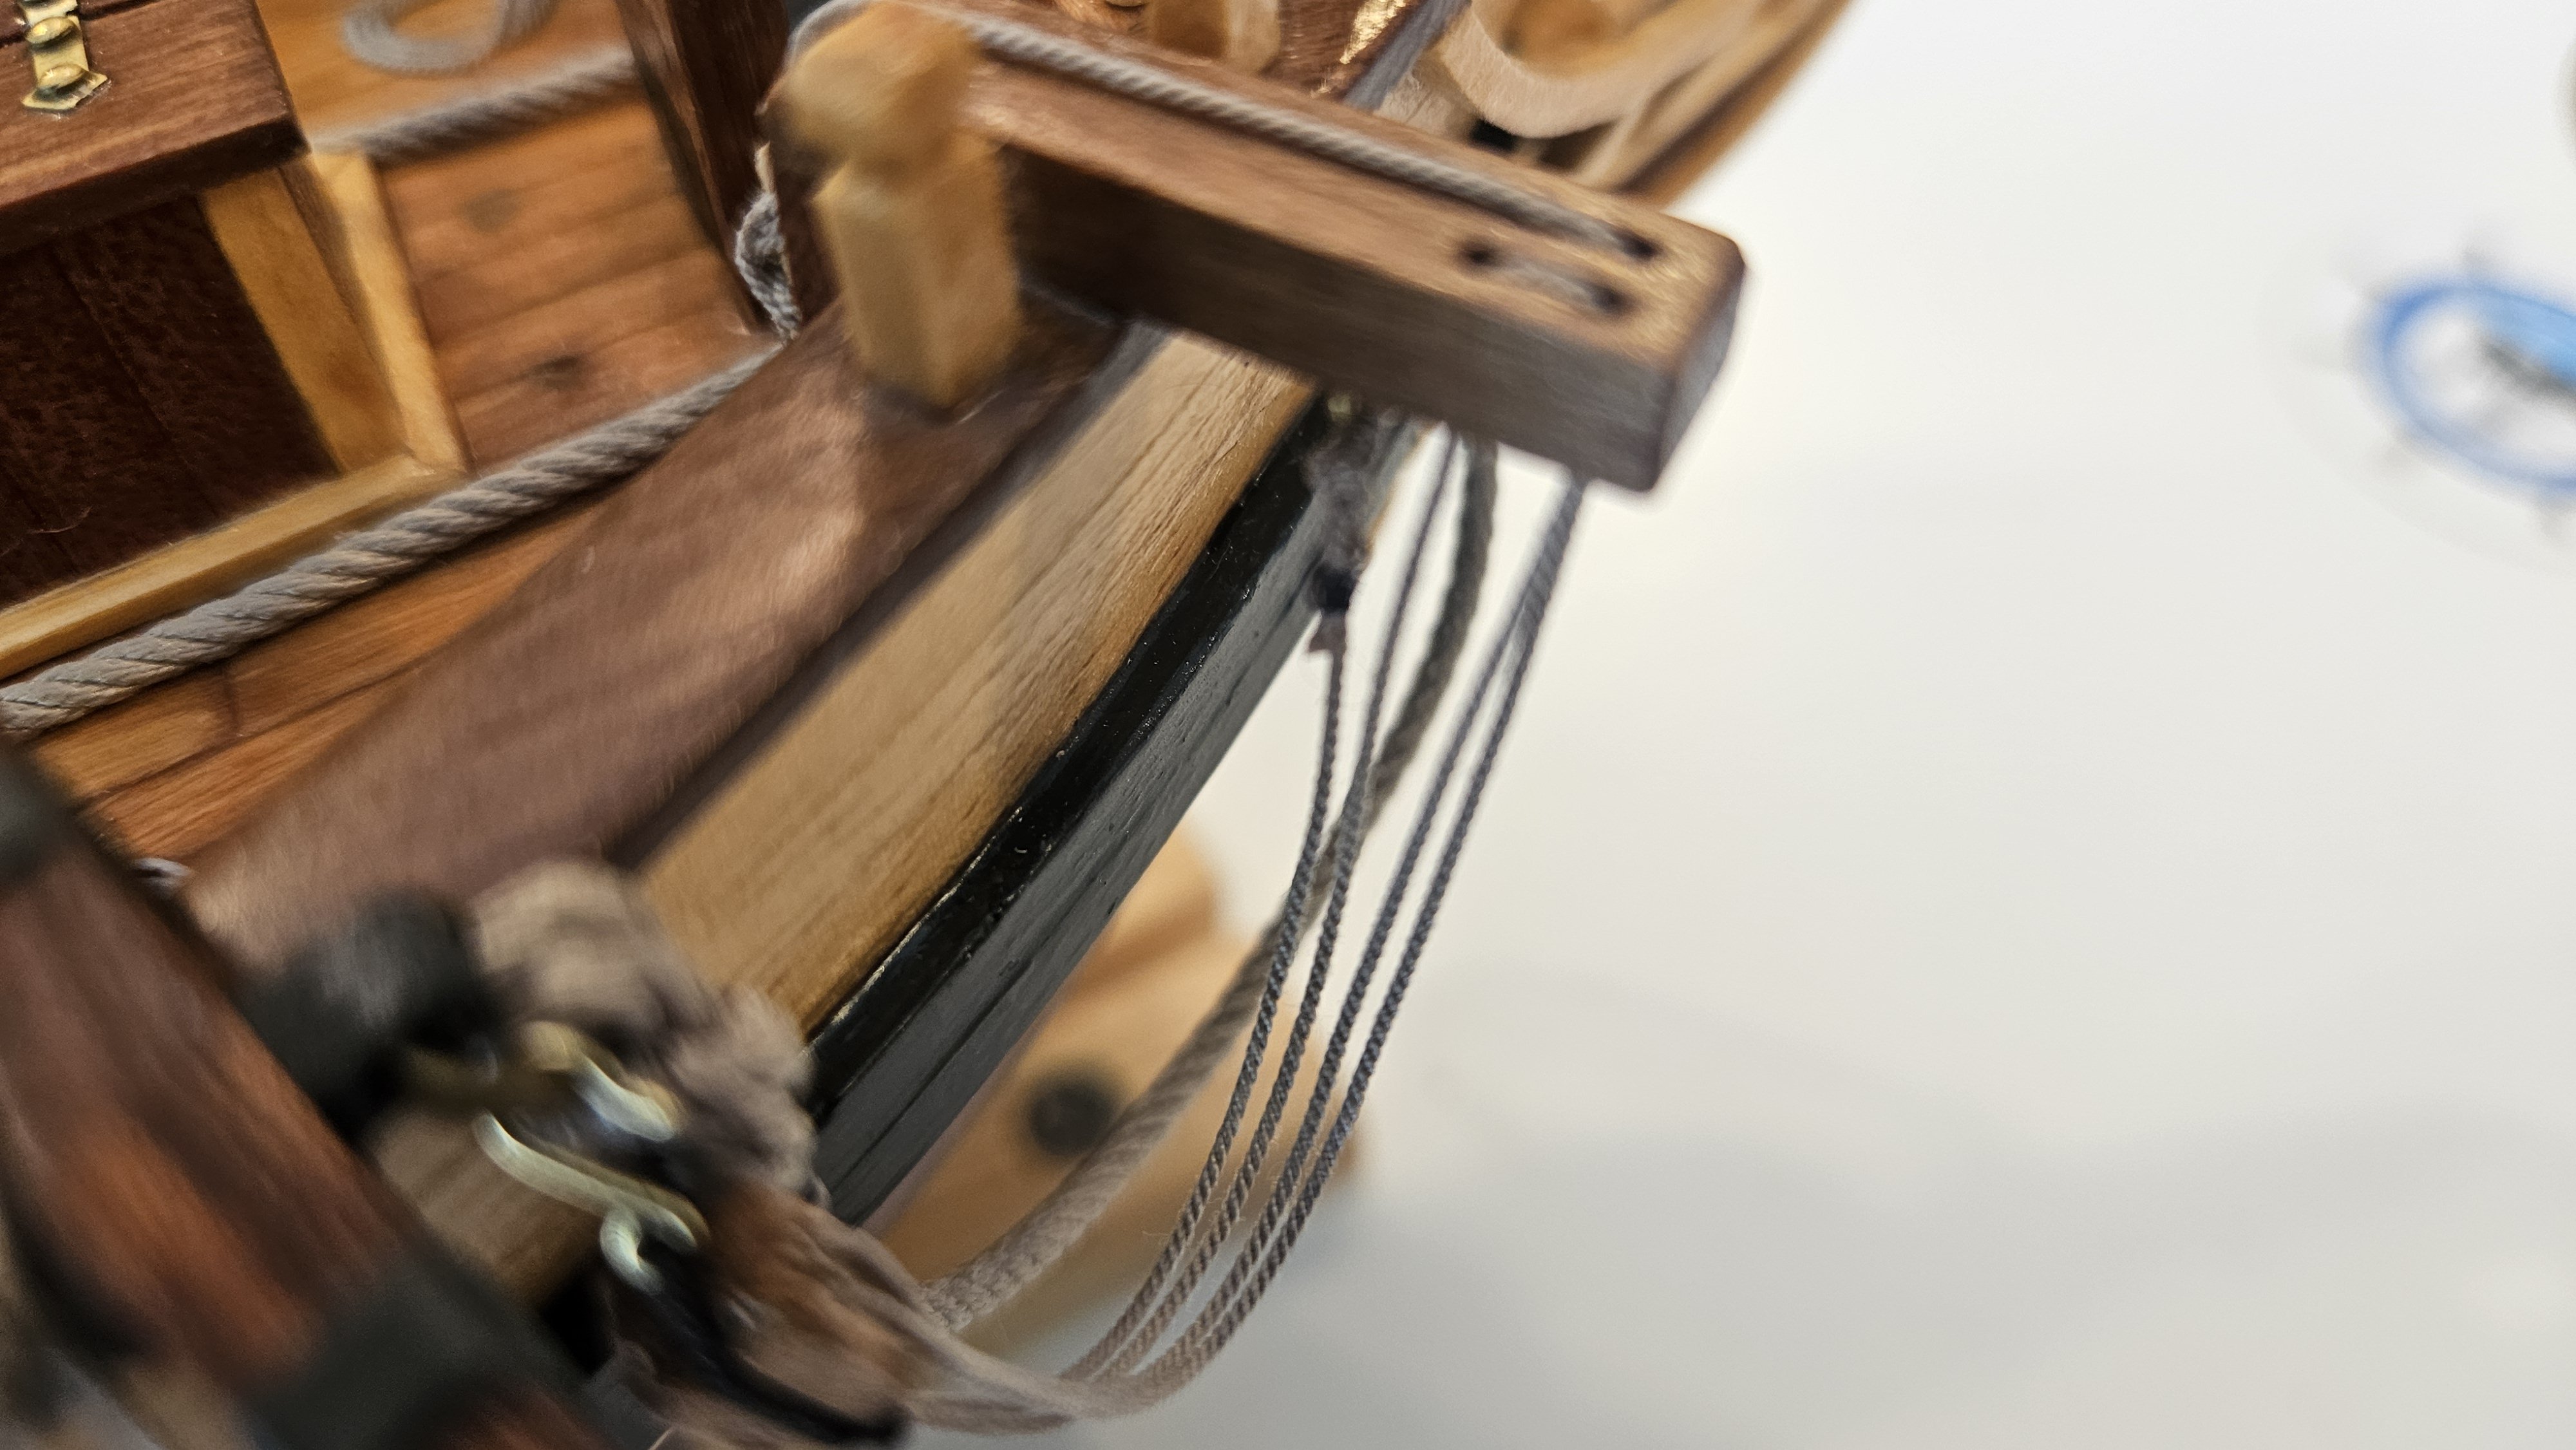
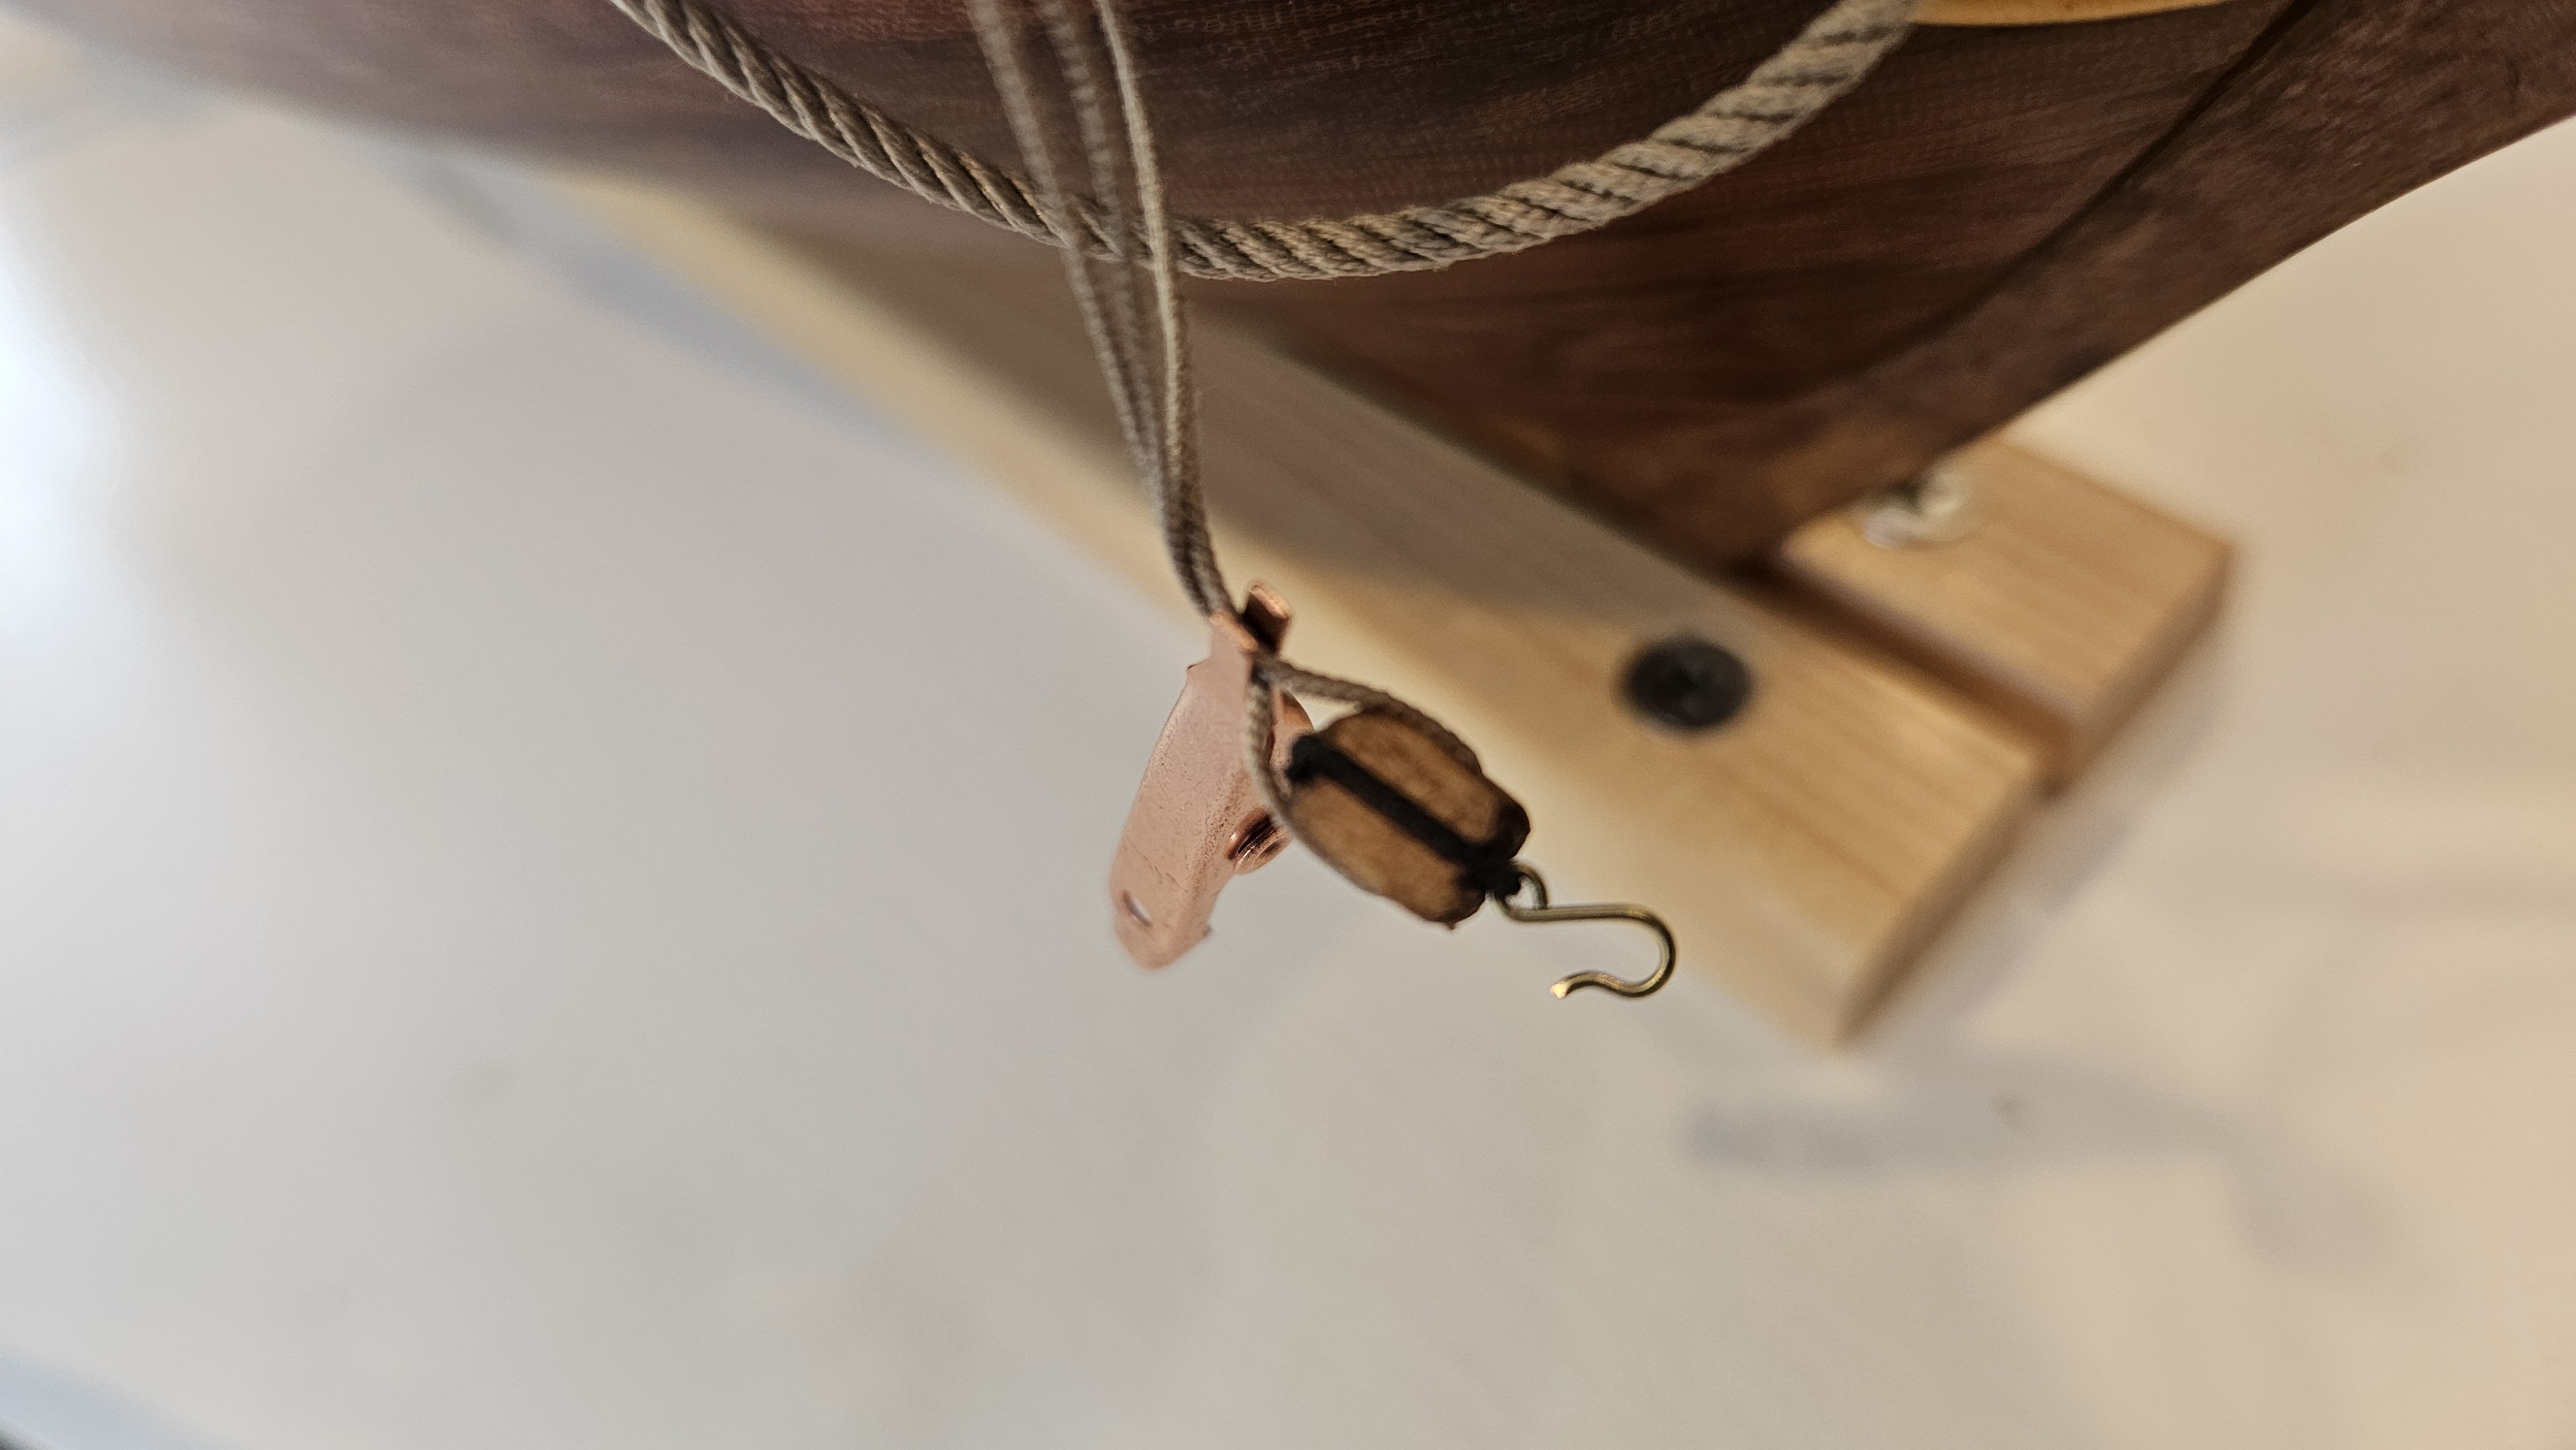
Thanks for the kind words Mark. I am no expert, but my first task was to get the lines hanging equal and straight and glue them to the cathead and block and dry. Don't get your lines crossed up when rigging the block - inboard line to inboard holes, outboard to outboard. Forward to forward holes, aft to aft holes. Hope that makes sense? The rope in this case is Syren Ultra .025 inch (synthetic). But the key is to get the rope glued to the sides of the block so you don't have the line bulging out in all directions. I used a little toothless alligator clamp to pinch the lines around the block while they were drying and that also left the nice inwards facing curves at the top of the block. When you hook the block to the anchor, I used a light pressure on a pin vise handle to coax a gentle arc in the lines. Finally, I feel there is a natural order to which lines are outboard and which are inboard. You may have to change their order in the arc to get the best lay? Hope that helps you somewhat. If I couldn't get them straight dry I might try dampening the runs slightly. But use care if you secured the block with diluted white glue as water will release that bond. Definitely try dry first.


-
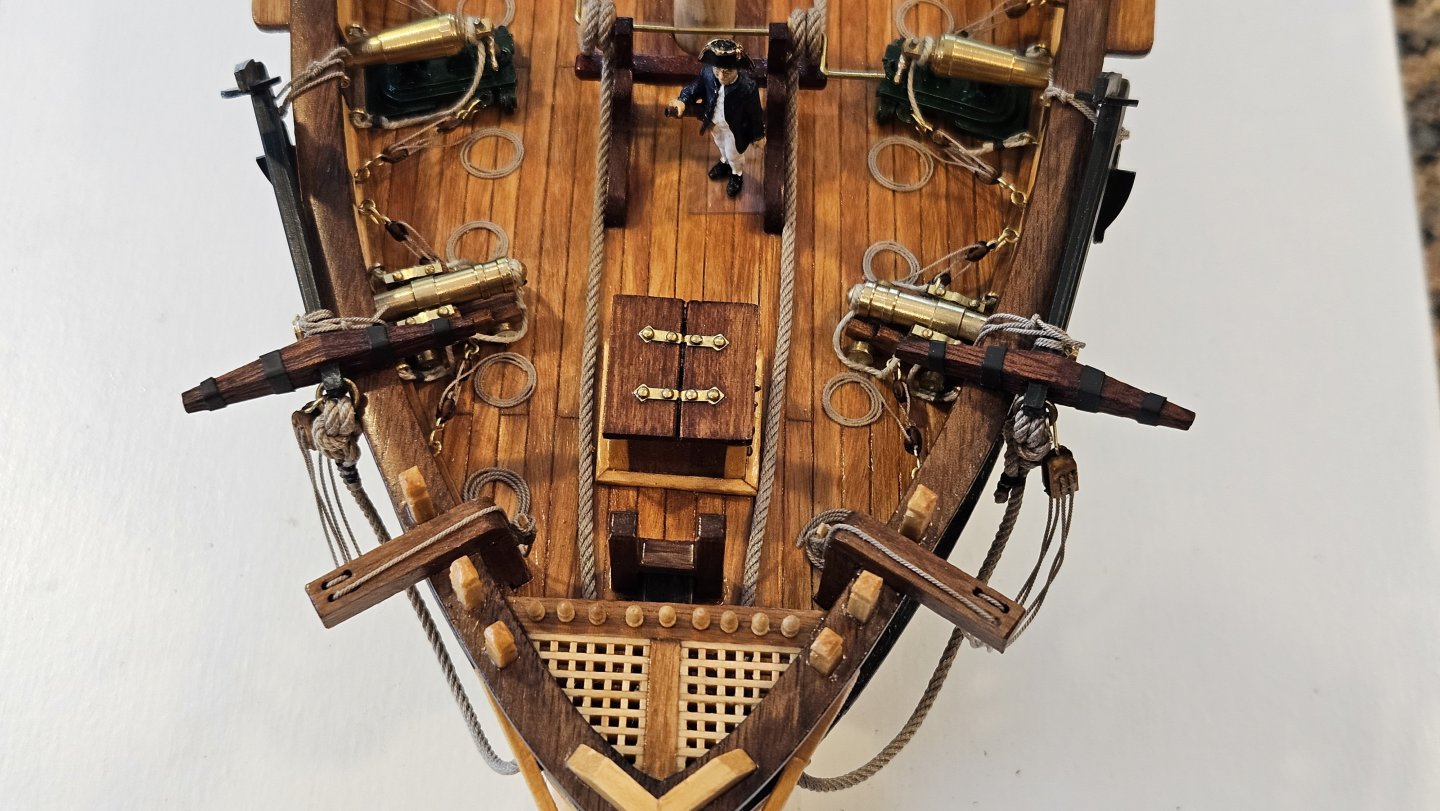
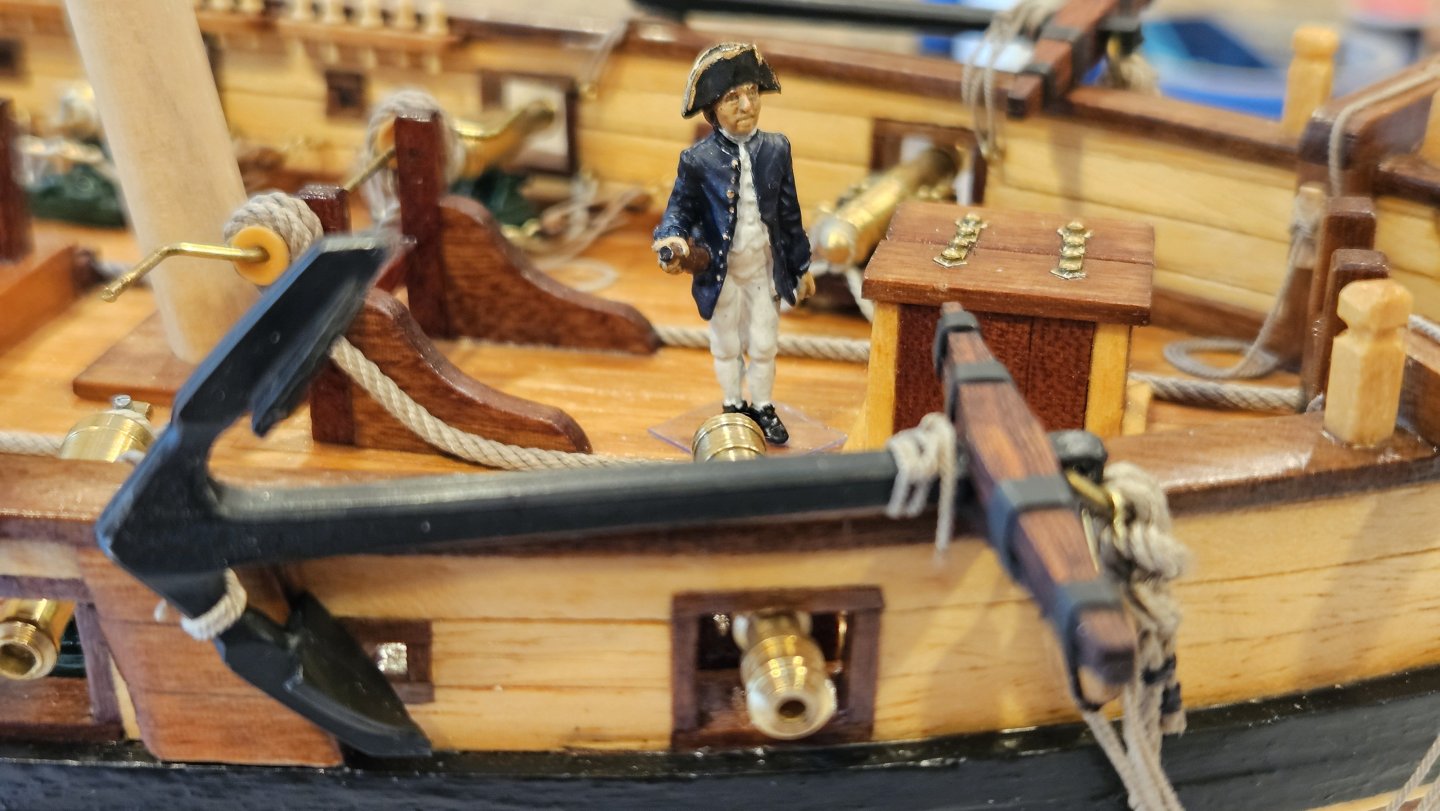
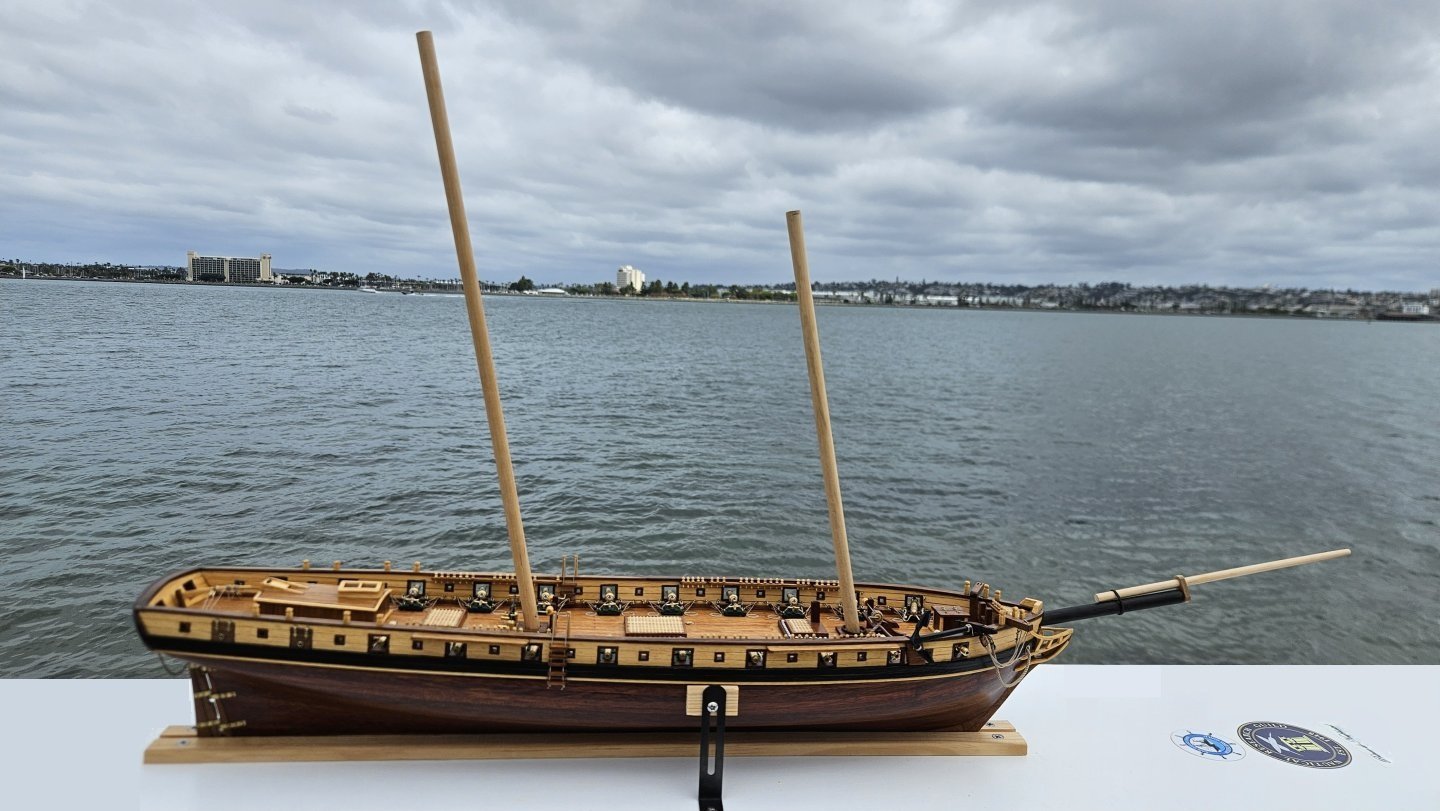
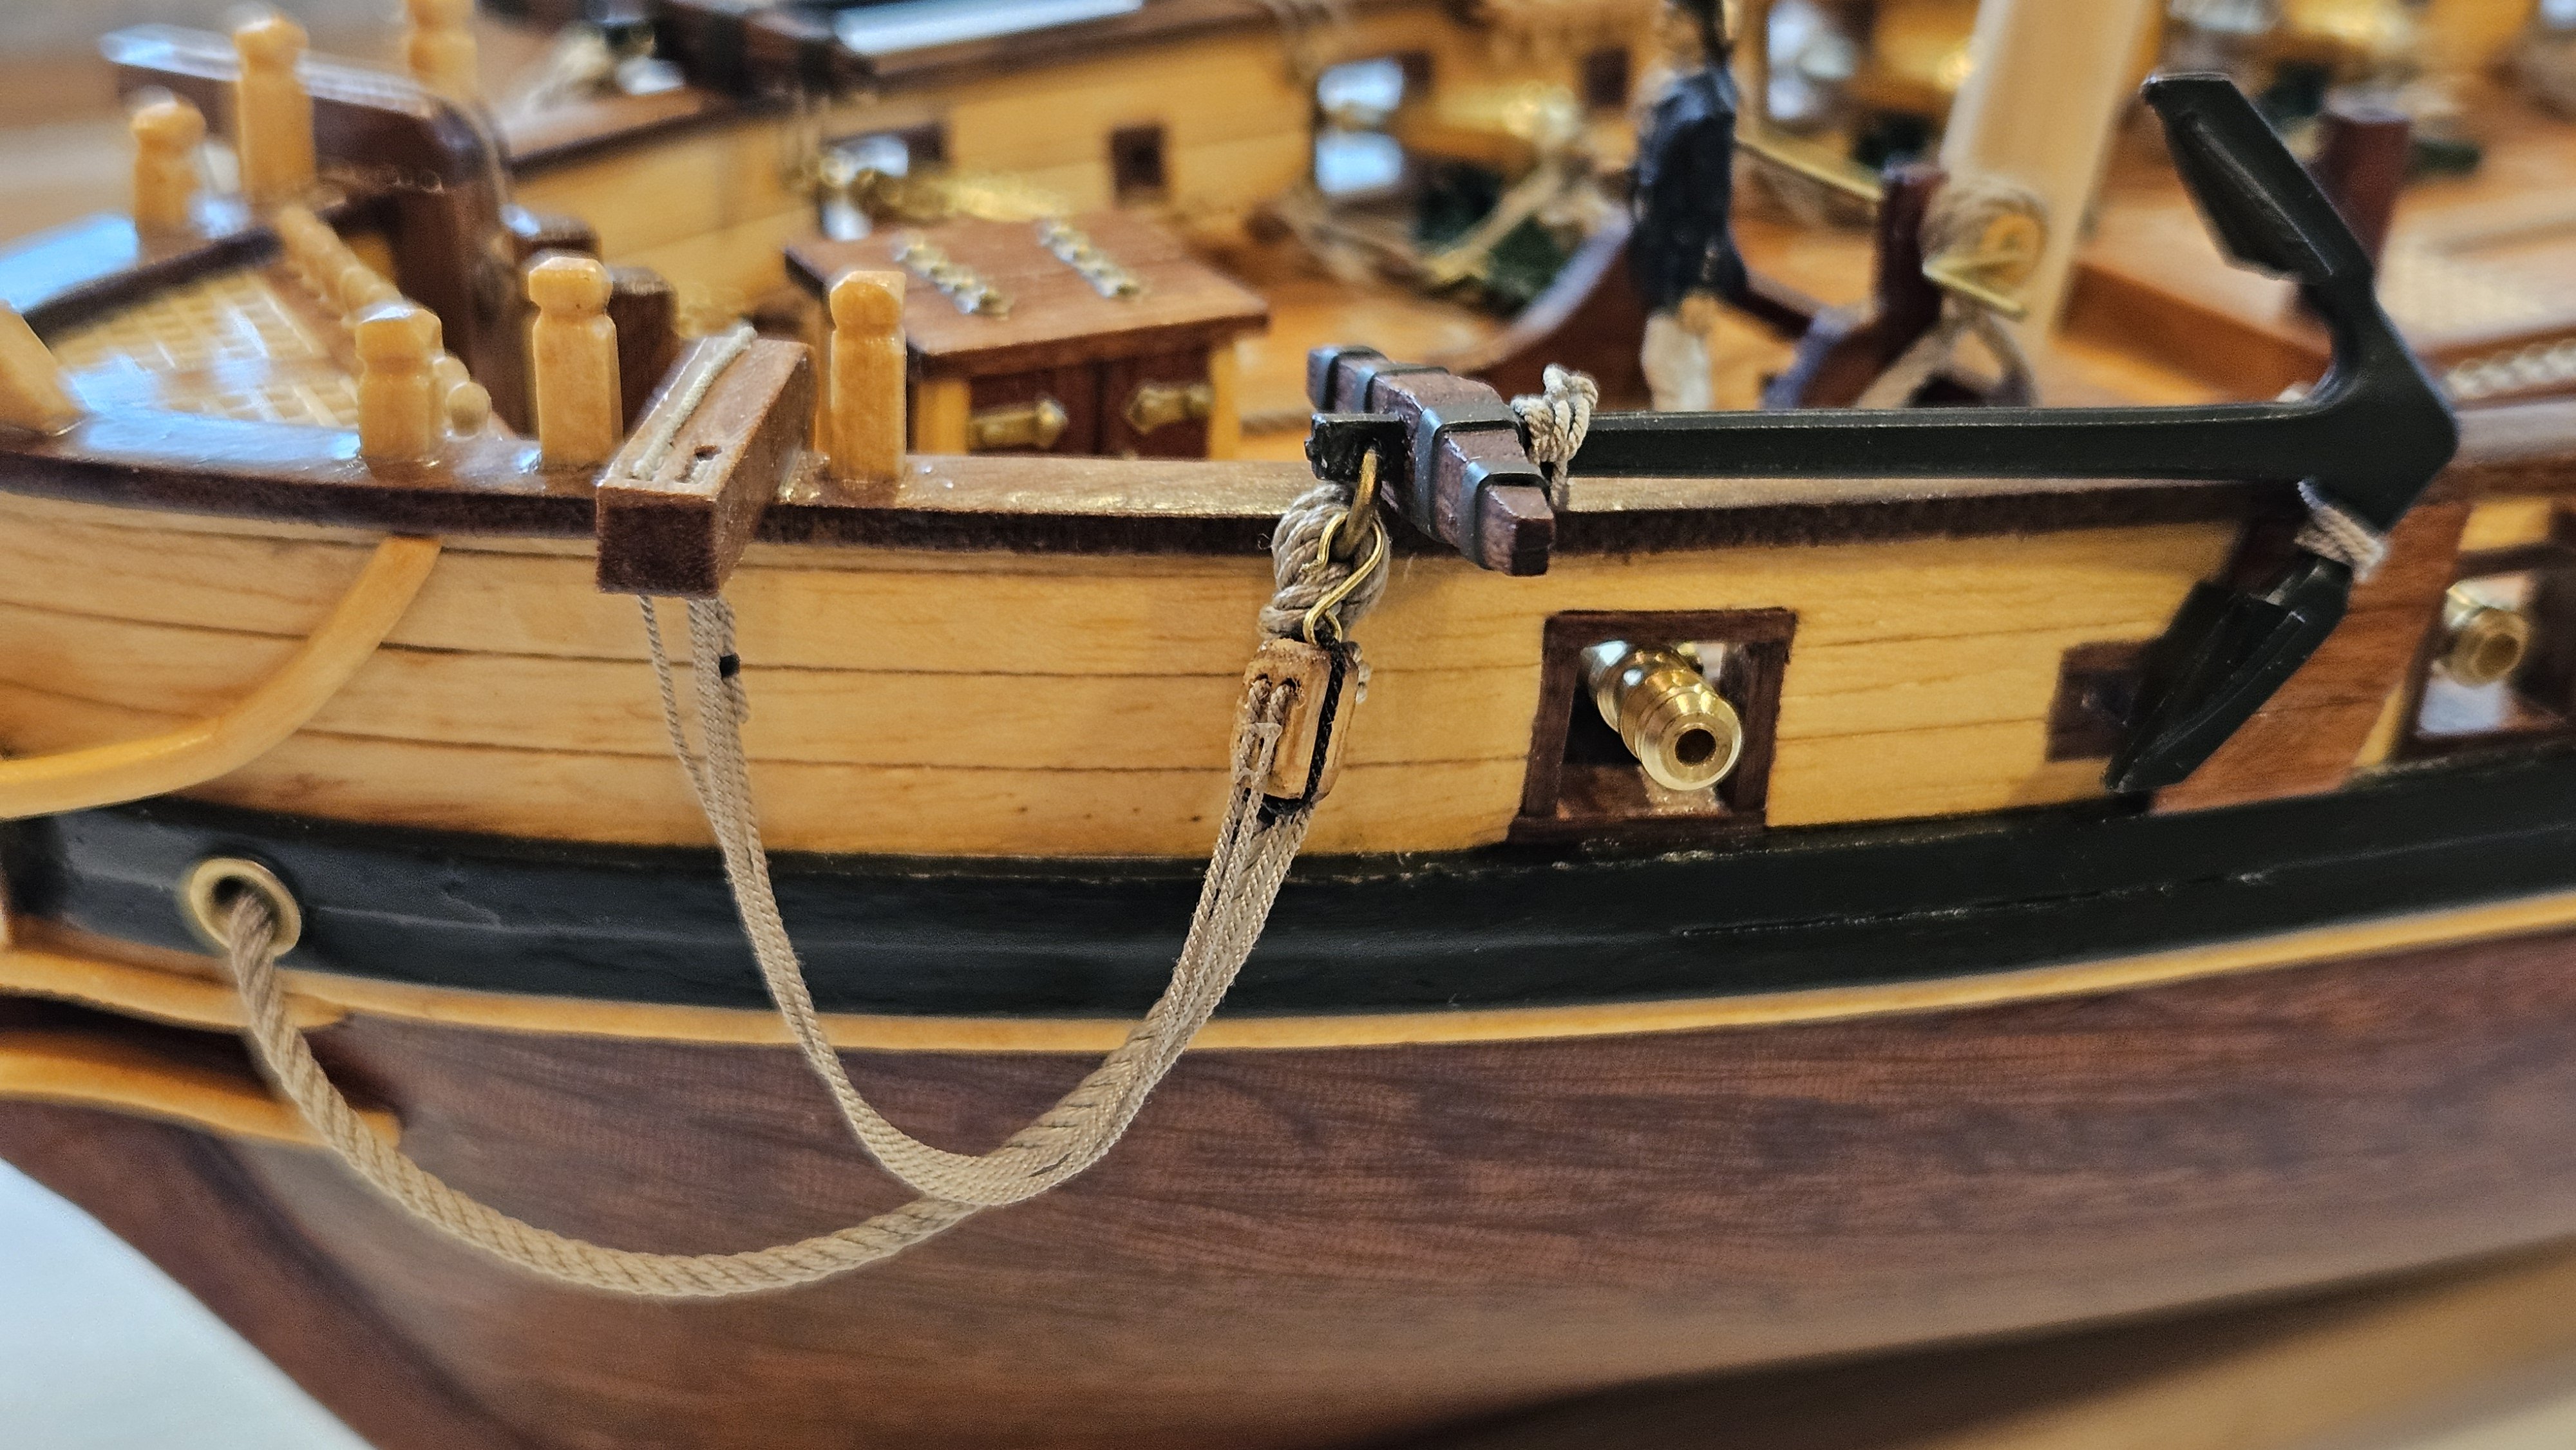
Heave a pawl an' heave away Weigh hey, roll and go! The anchor’s on board and the cable’s all stored Rollickin’ randy dandy-O! Only took two-ish weeks (!). Starboard Bower. And Larboard Bower. Cathead line... Captain Amati is pleased. Cables. And in her element while working on the starboard anchor. Moving on to the bowsprit in accordance with Darcy Lever's Sheet Anchor.
.thumb.jpg.ae92d5c5996e3adeab7cf94f0e263c8f.jpg)

-
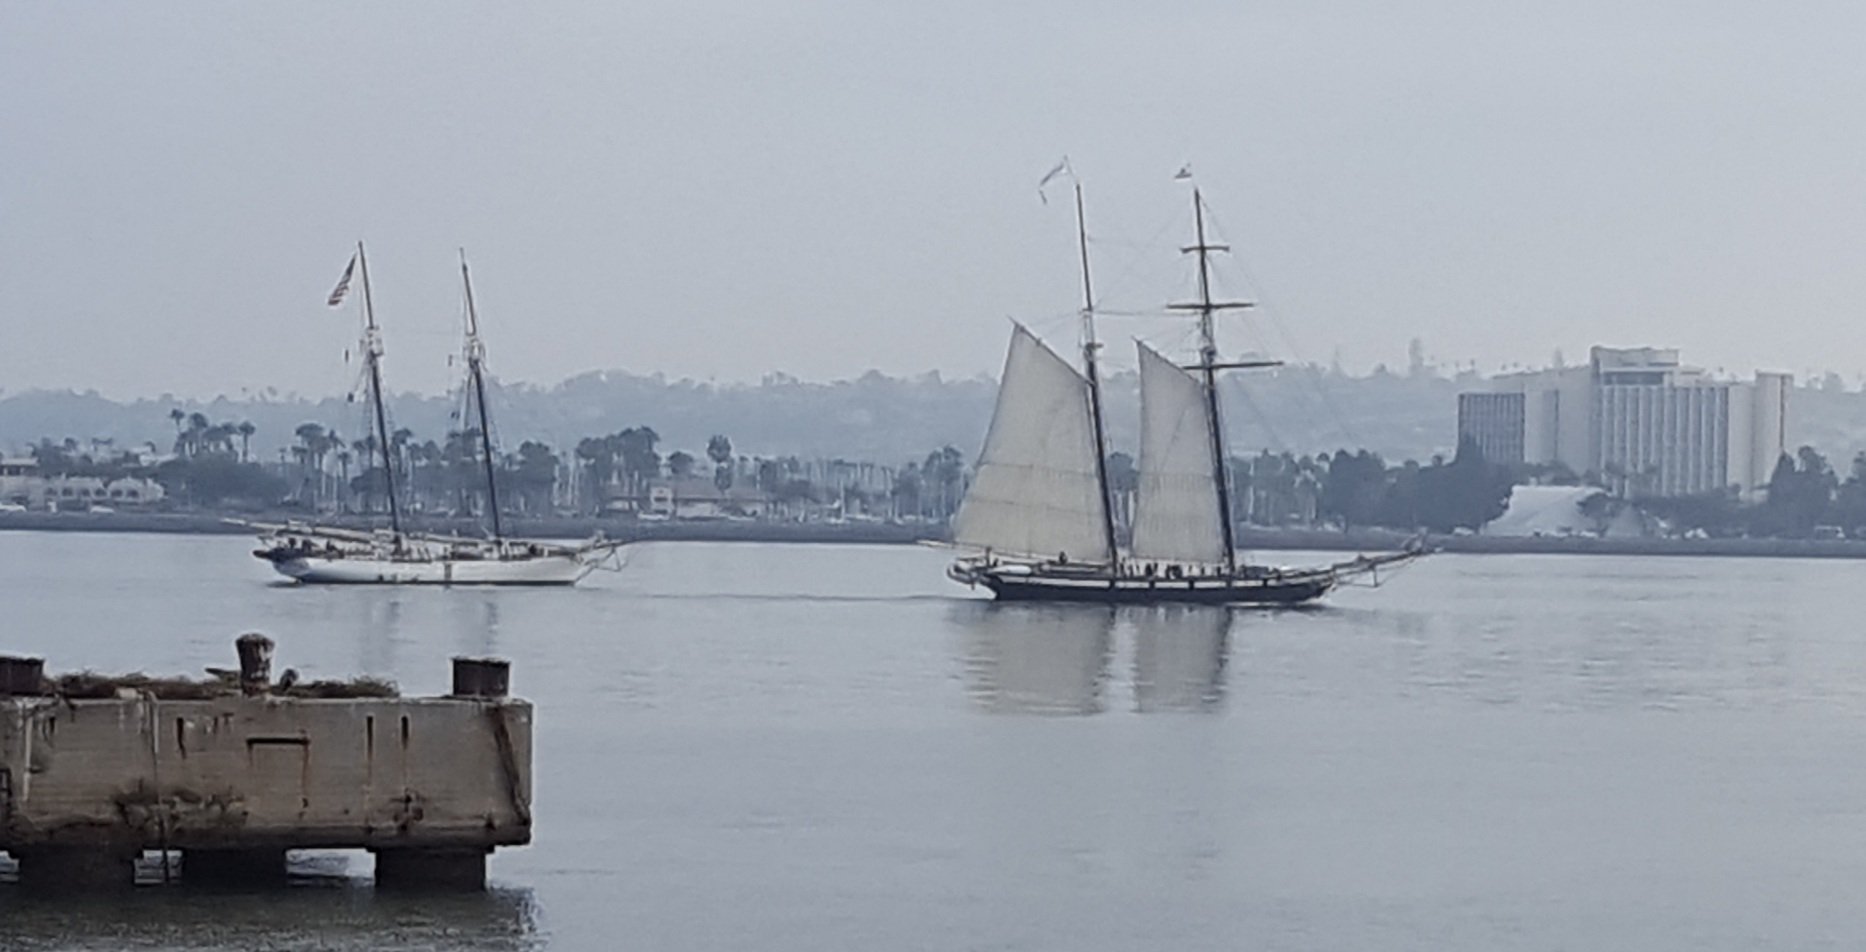
Beautiful ships! Nice job on the Diana. Very very nice! Your display area is amazing. Tasteful and not overdone! Your wife has a very good eye. Congrats!
-
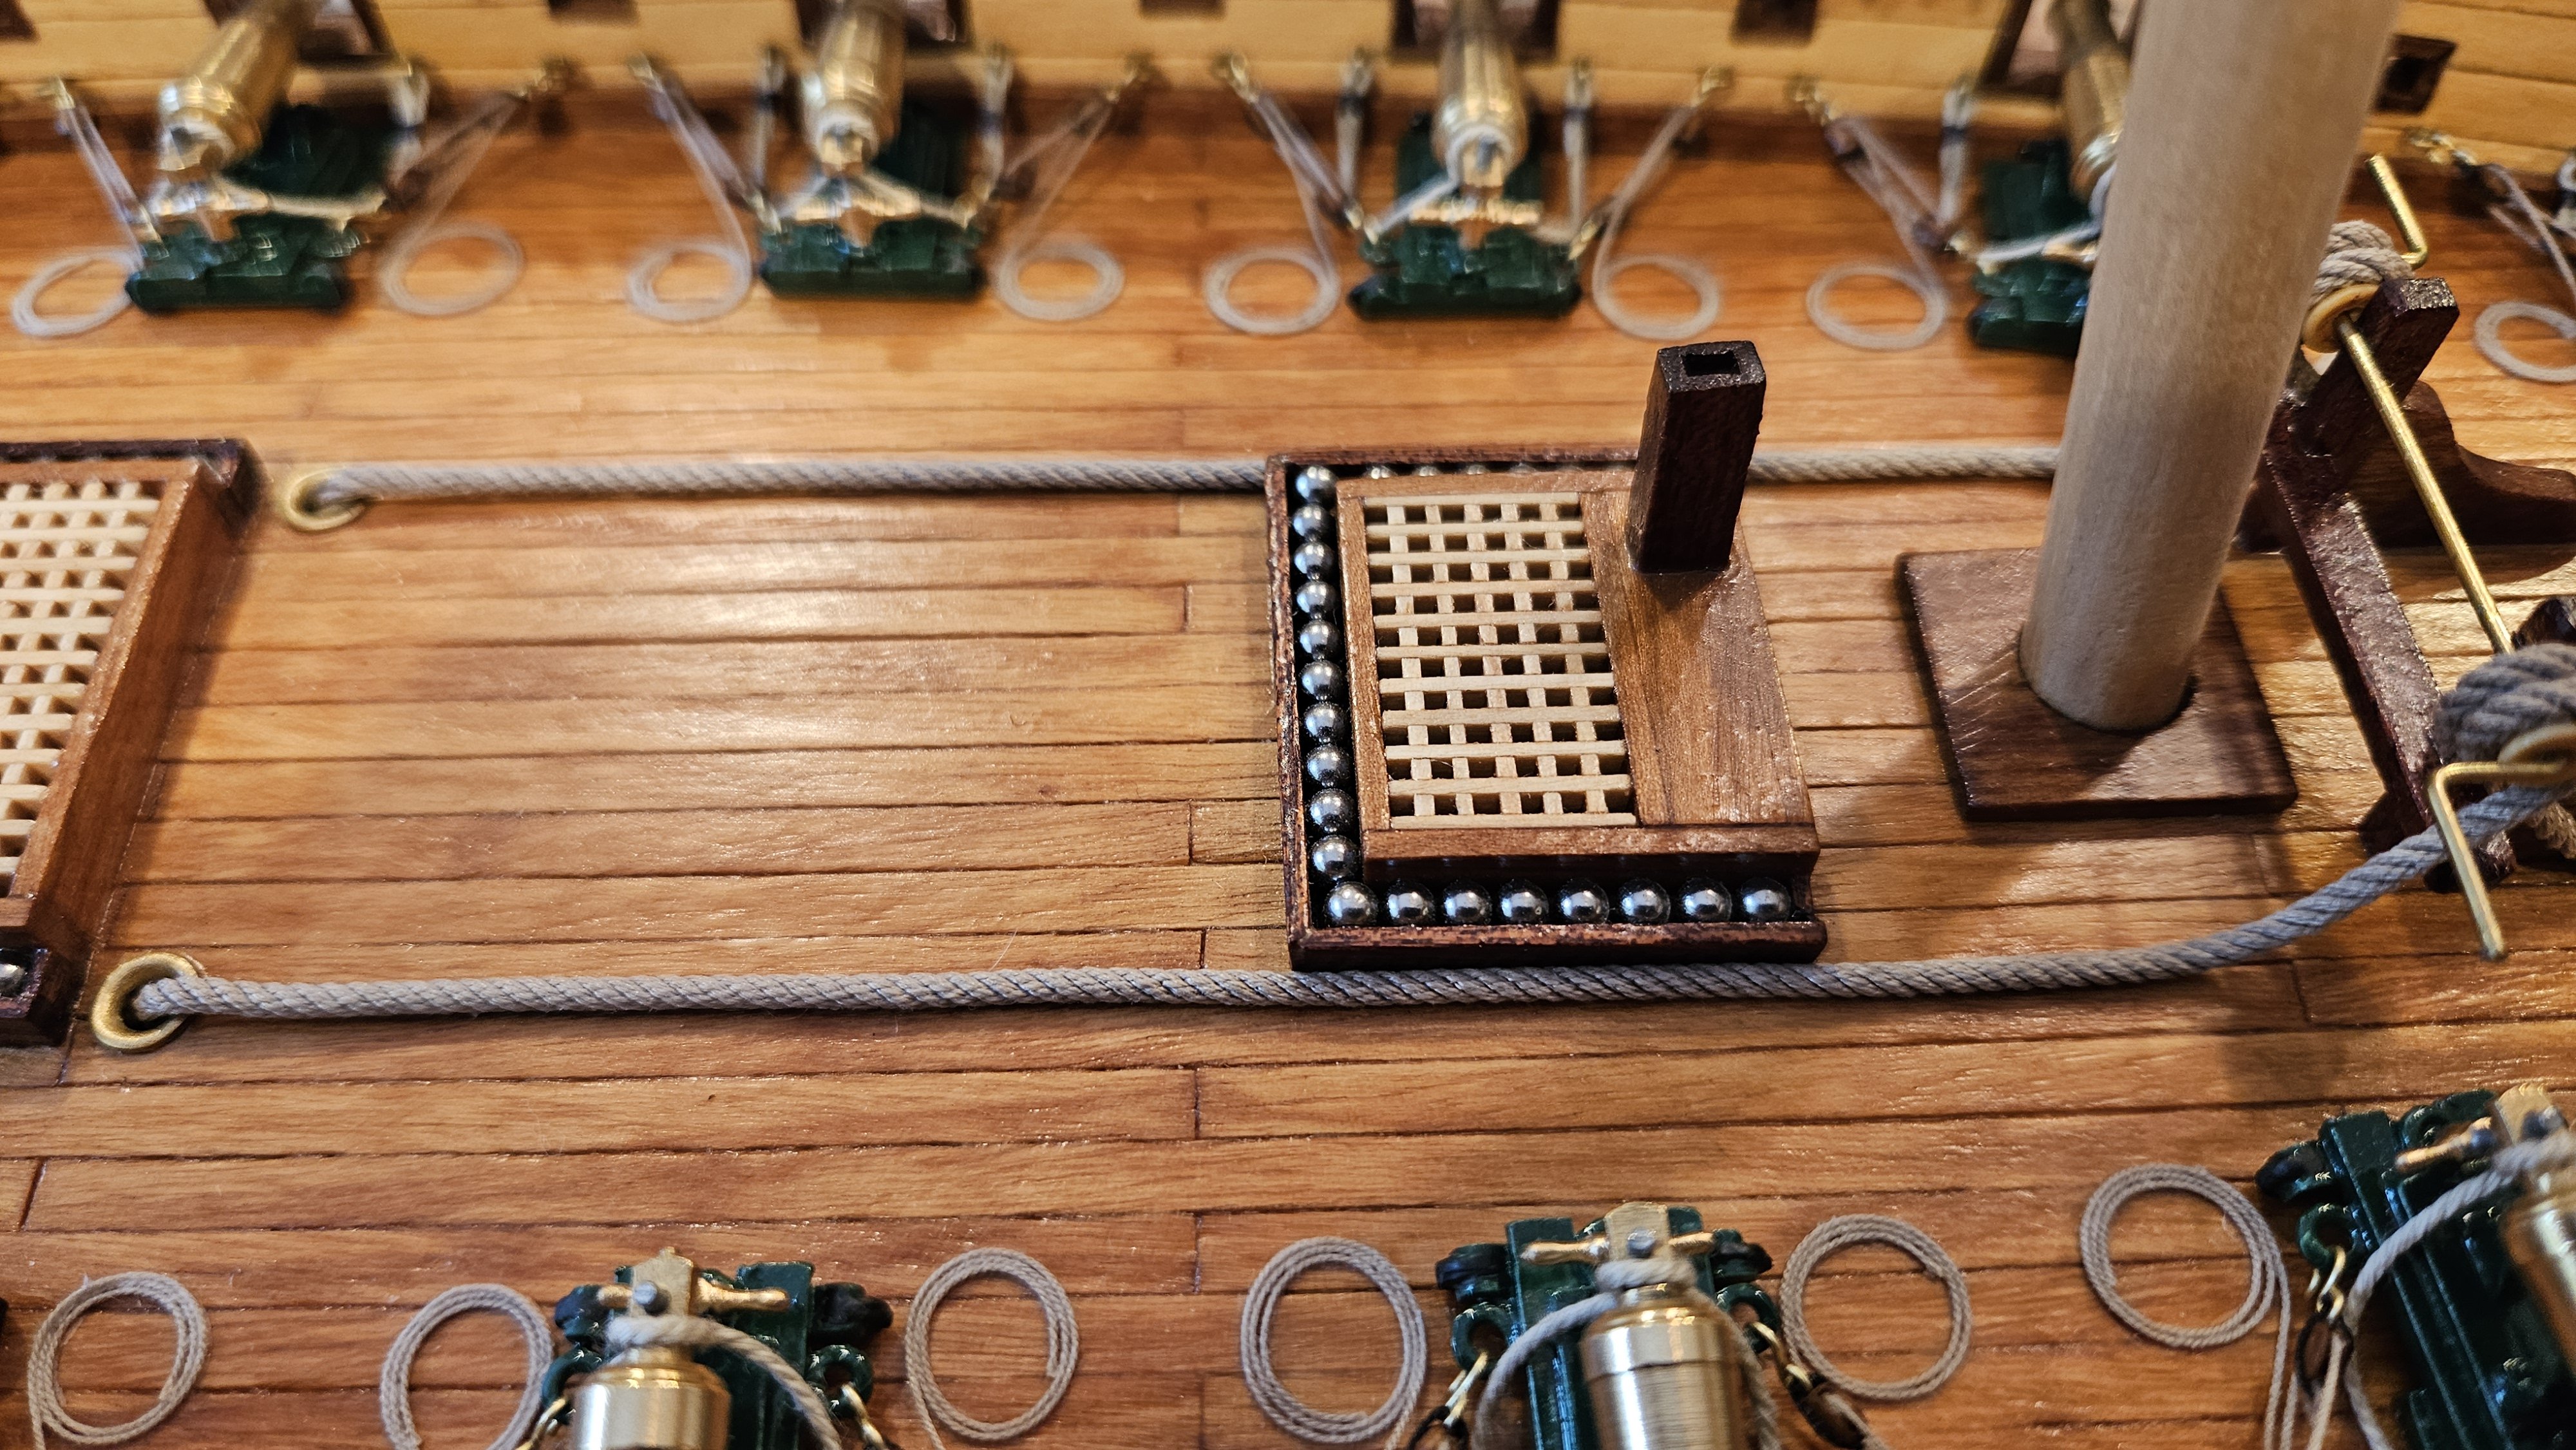
Those steps look very precise! Wow.


.jpg.36c56c2d8883f13773c7070162bcfb09.jpg)