Rustyj
-
Posts
2,535 -
Joined
-
Last visited
Content Type
Profiles
Forums
Gallery
Events
Everything posted by Rustyj
-
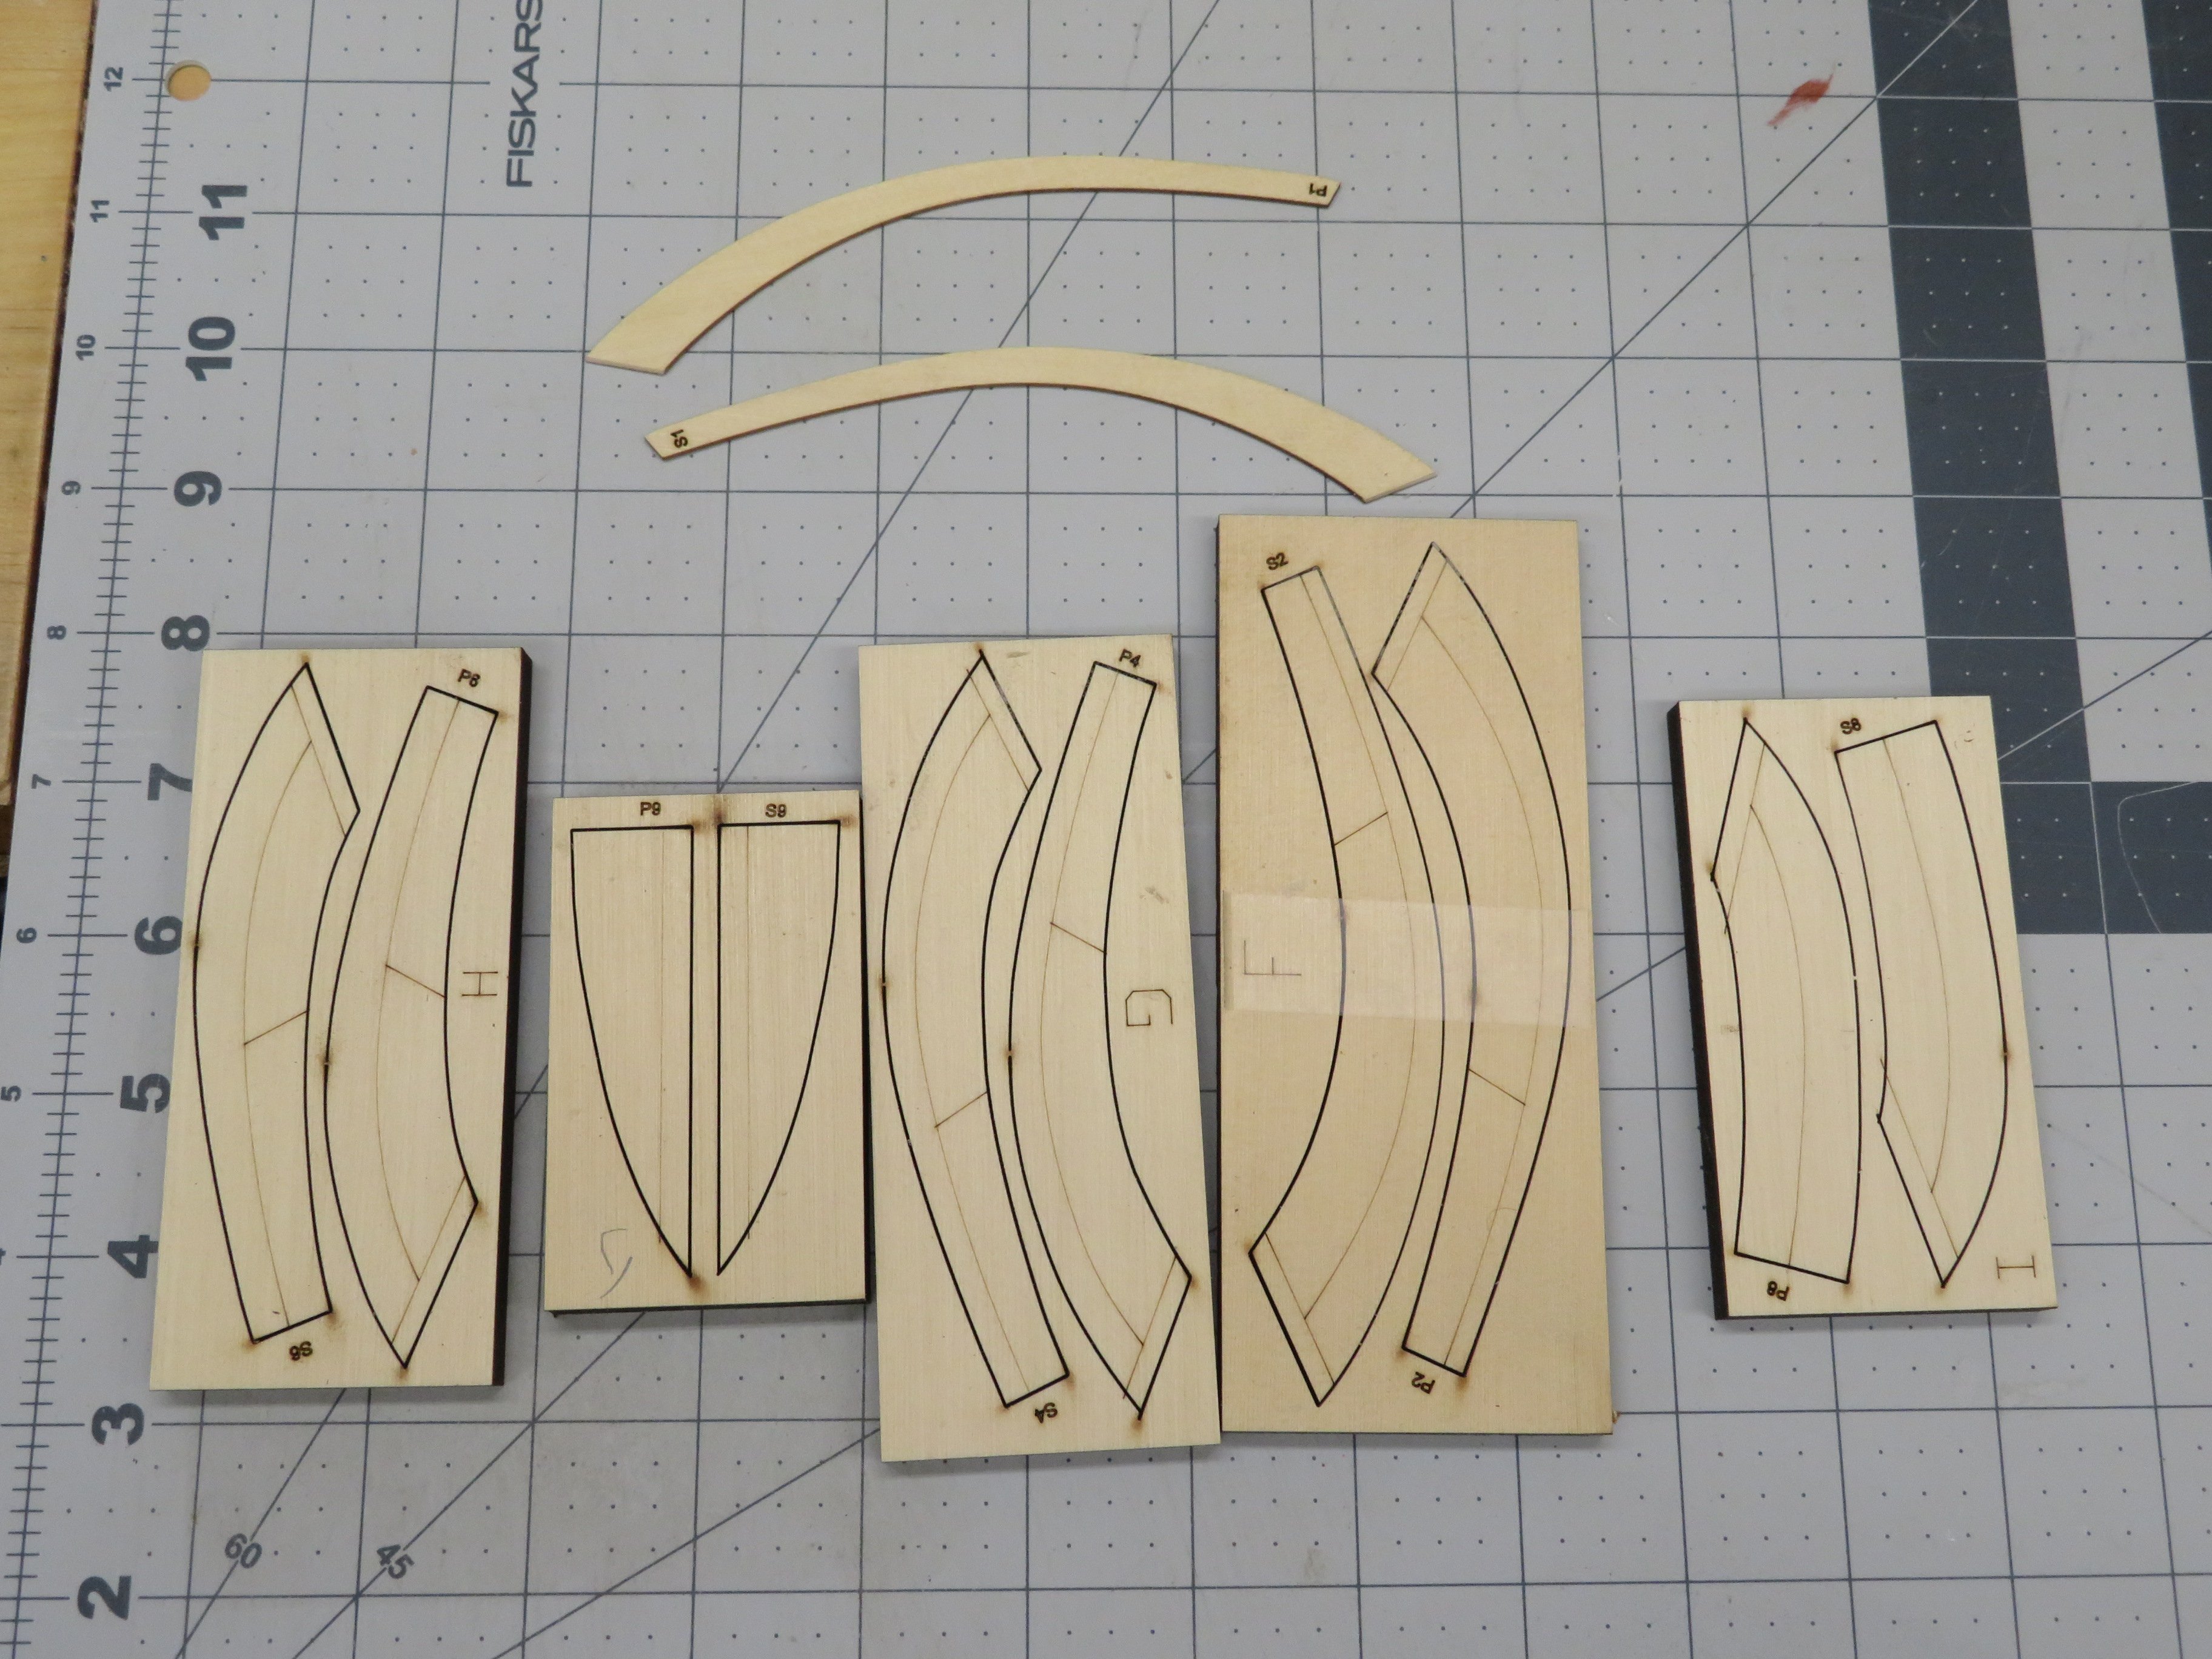
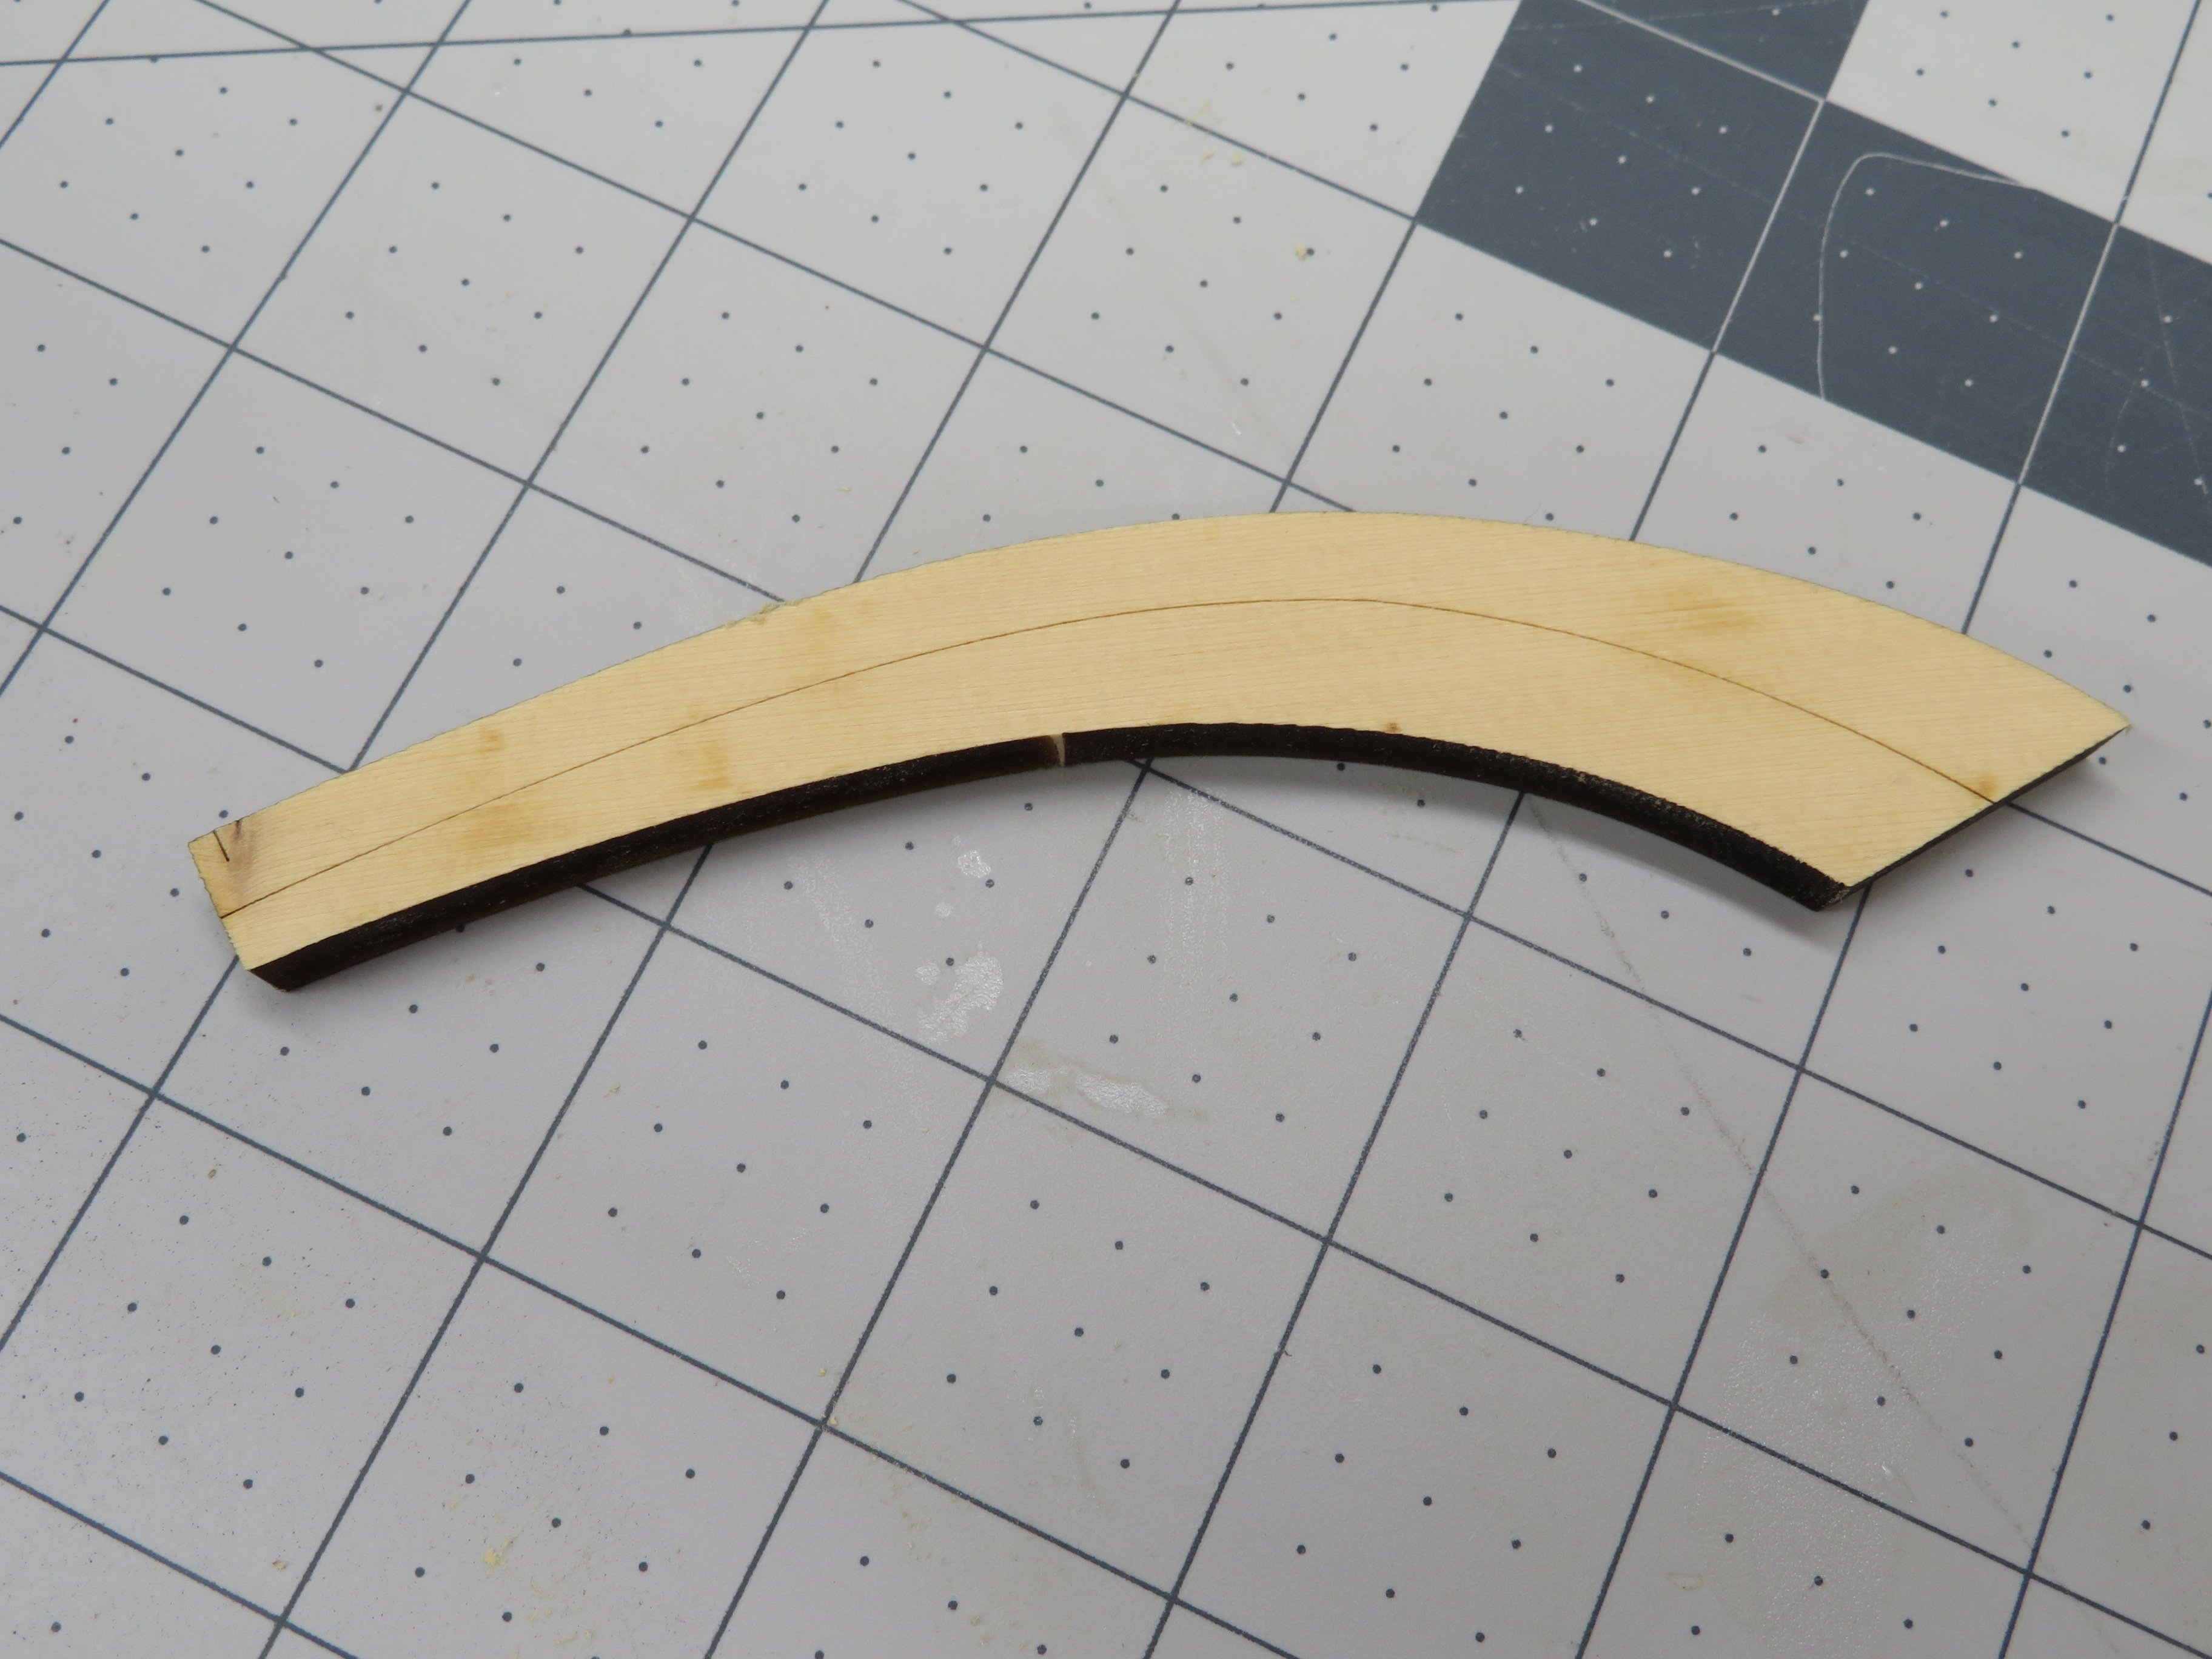
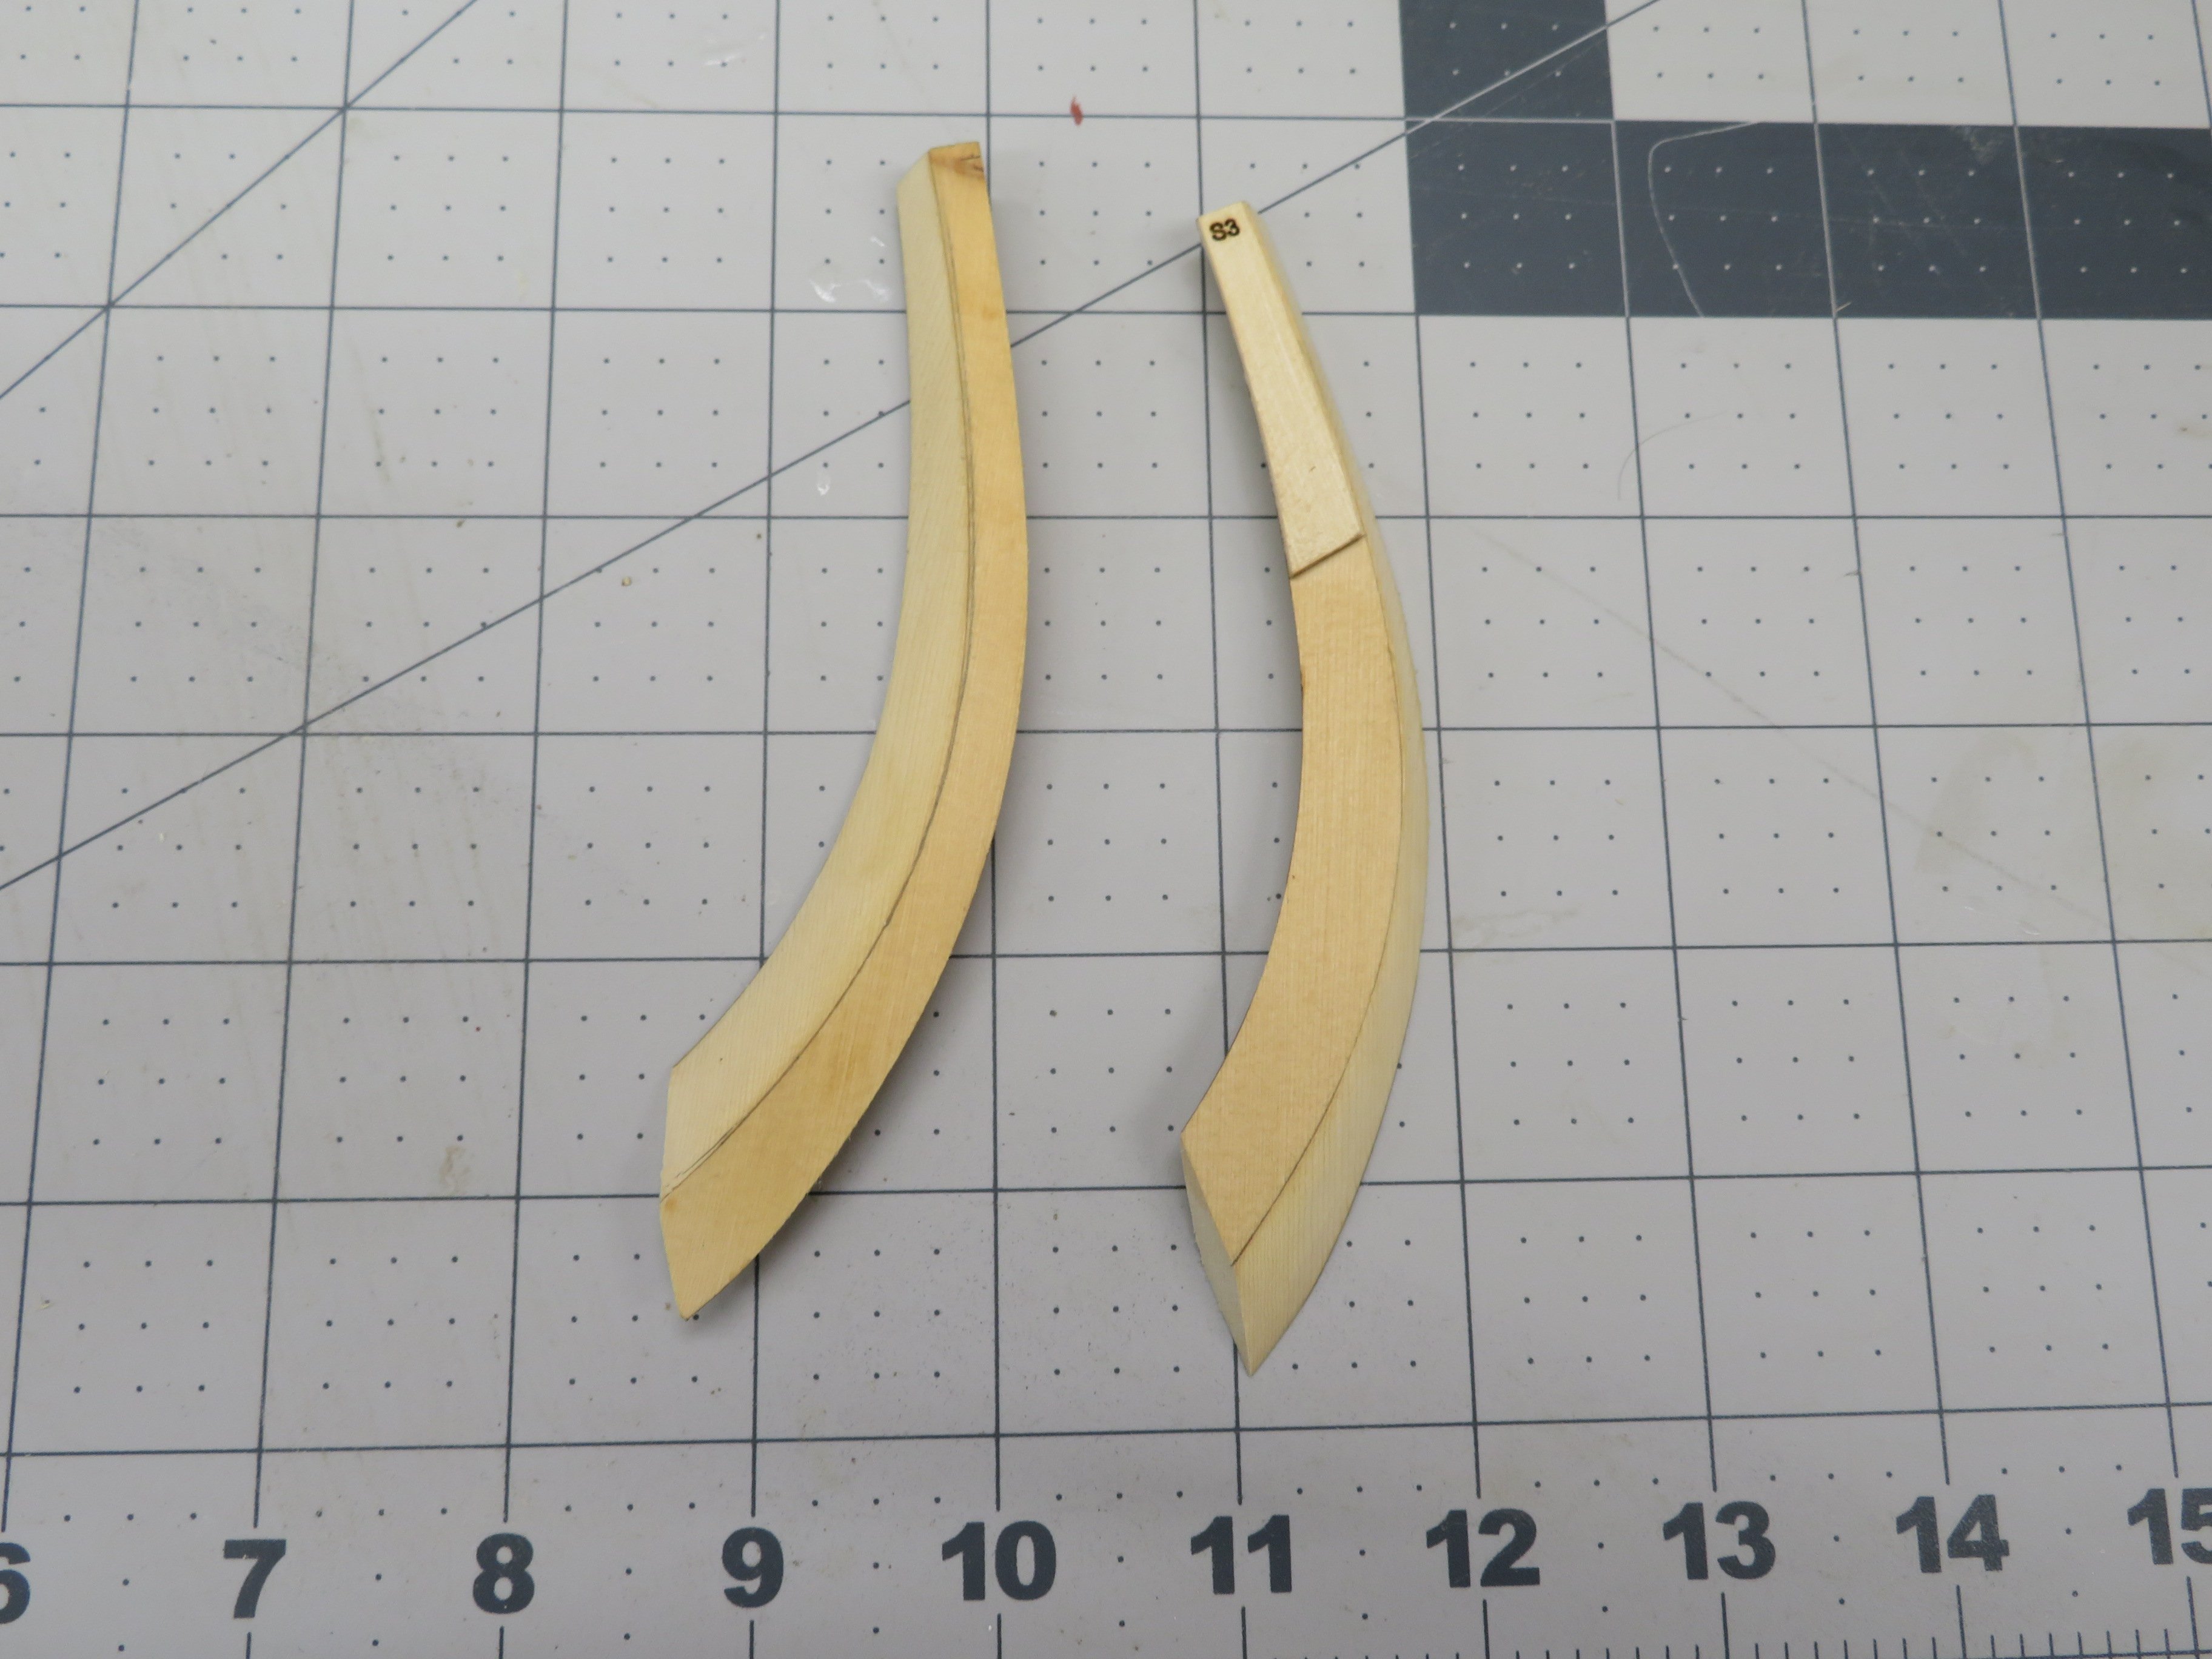
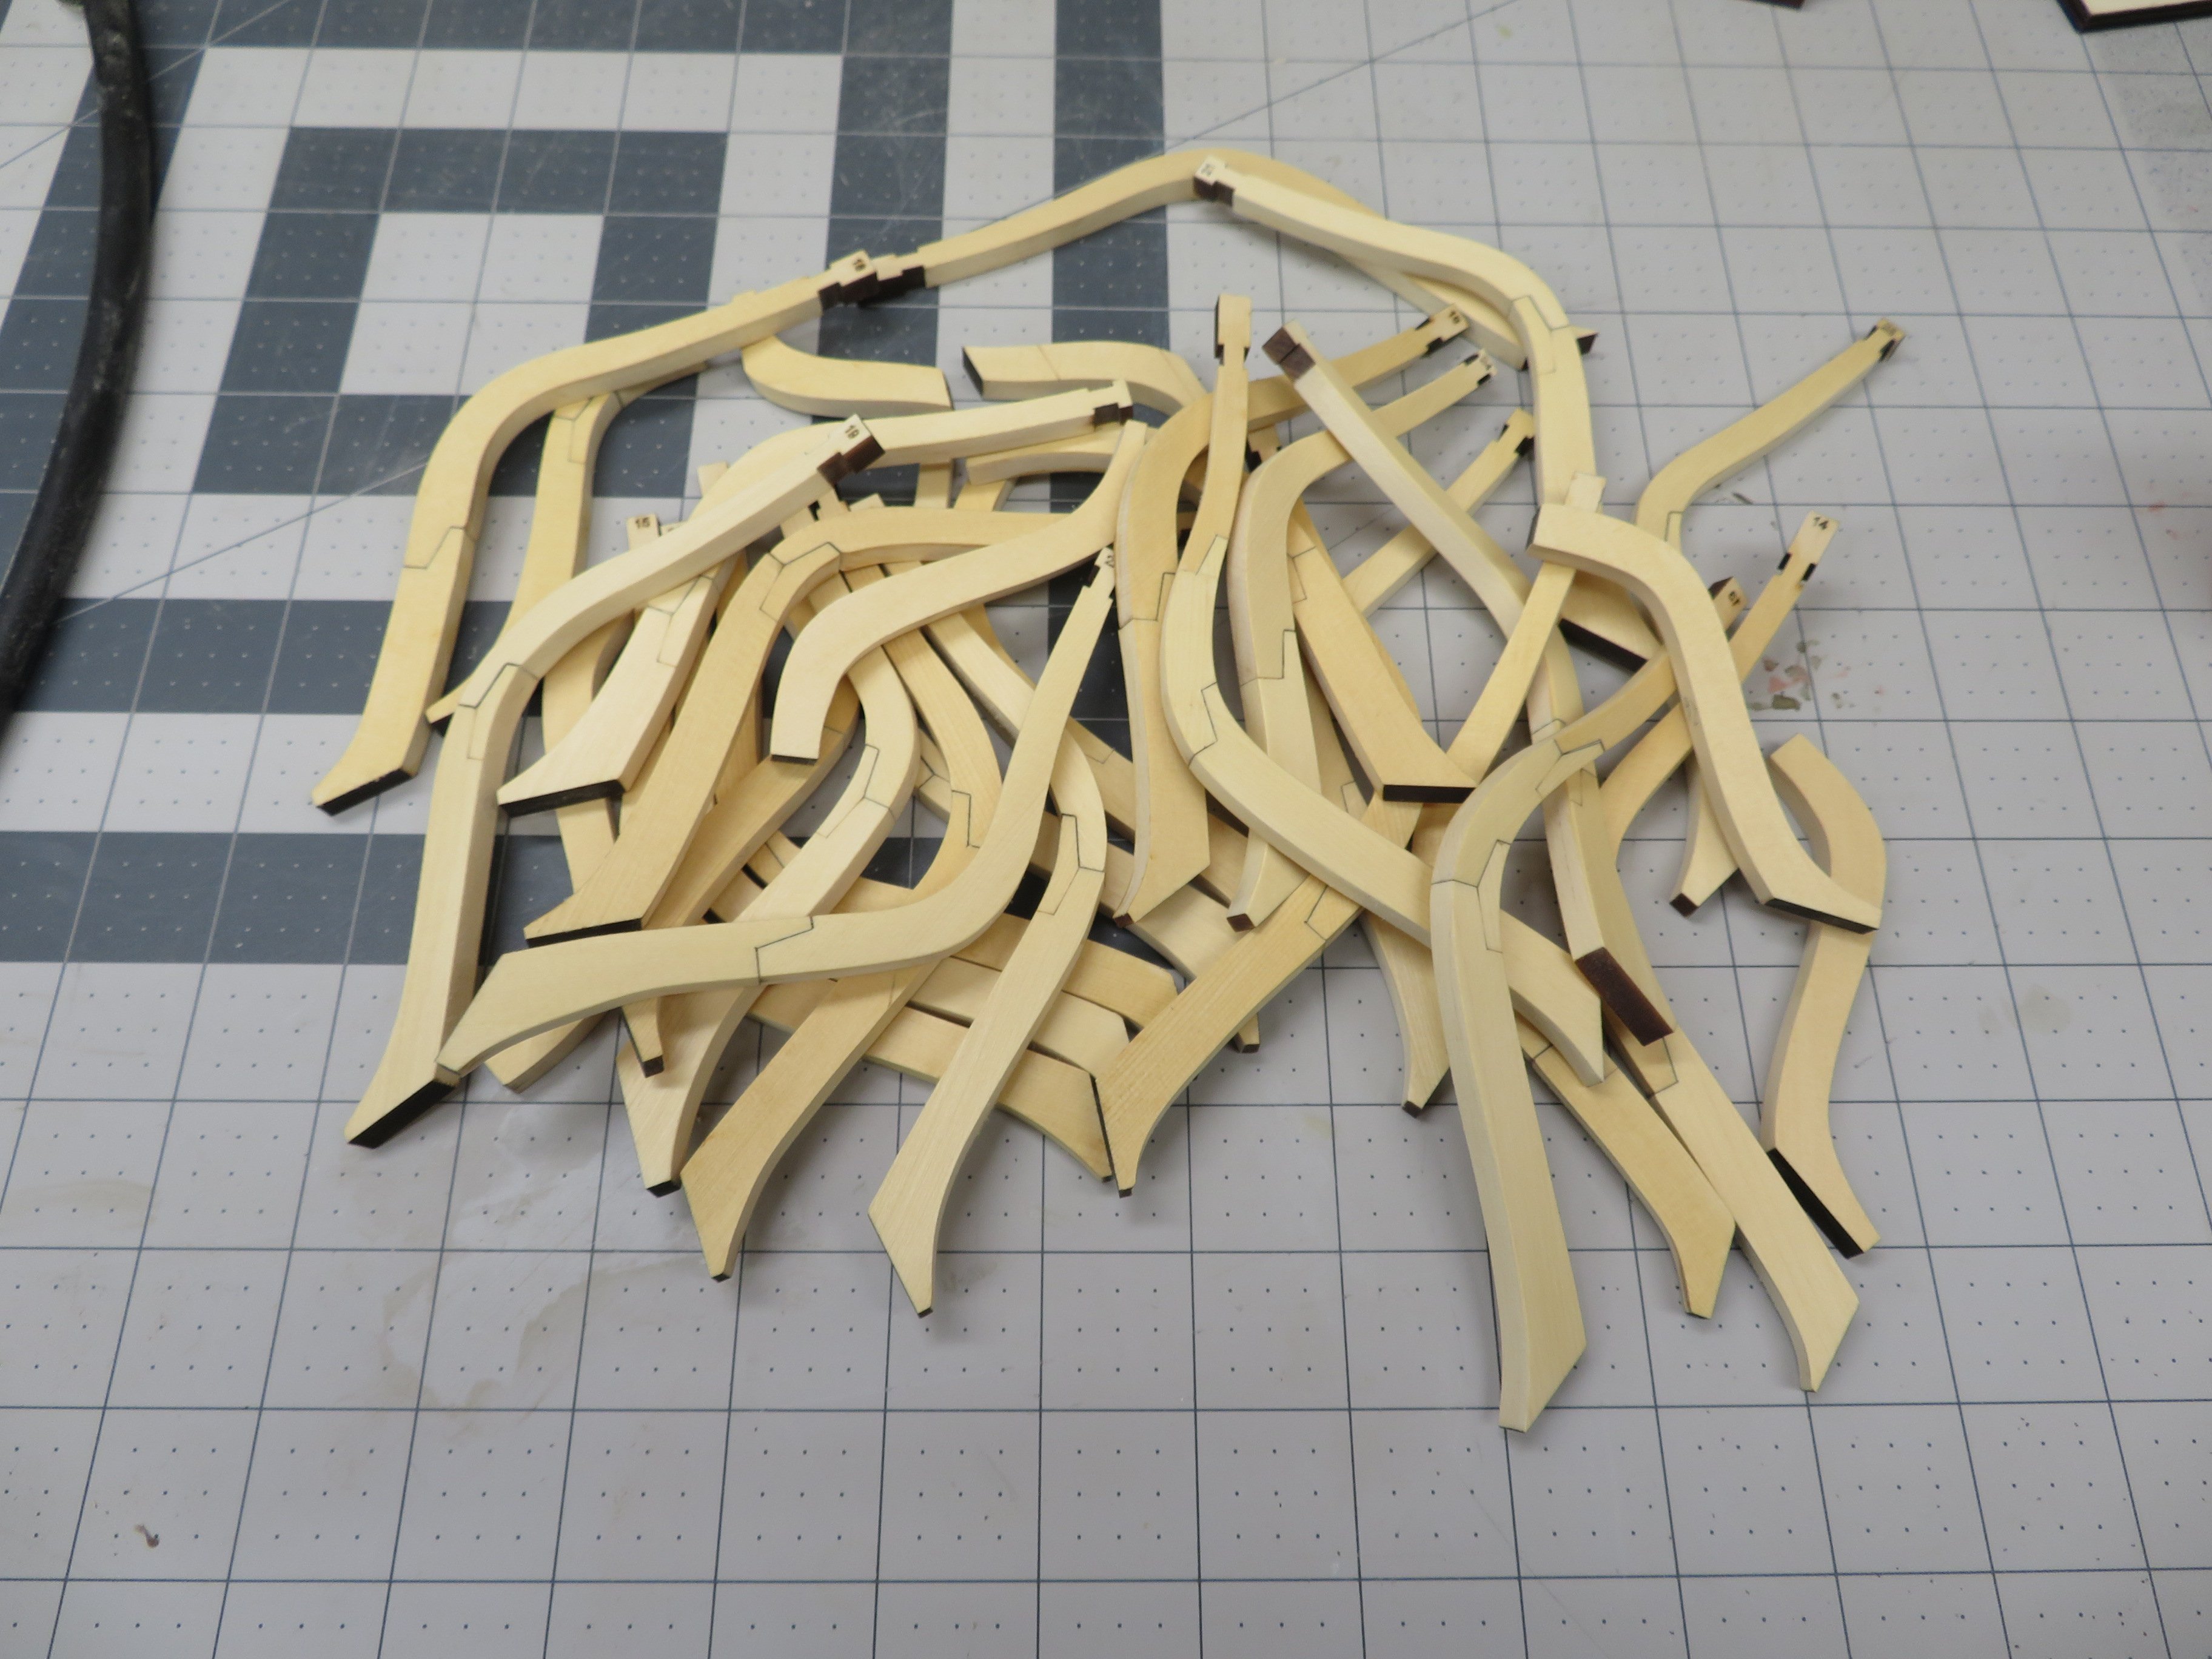
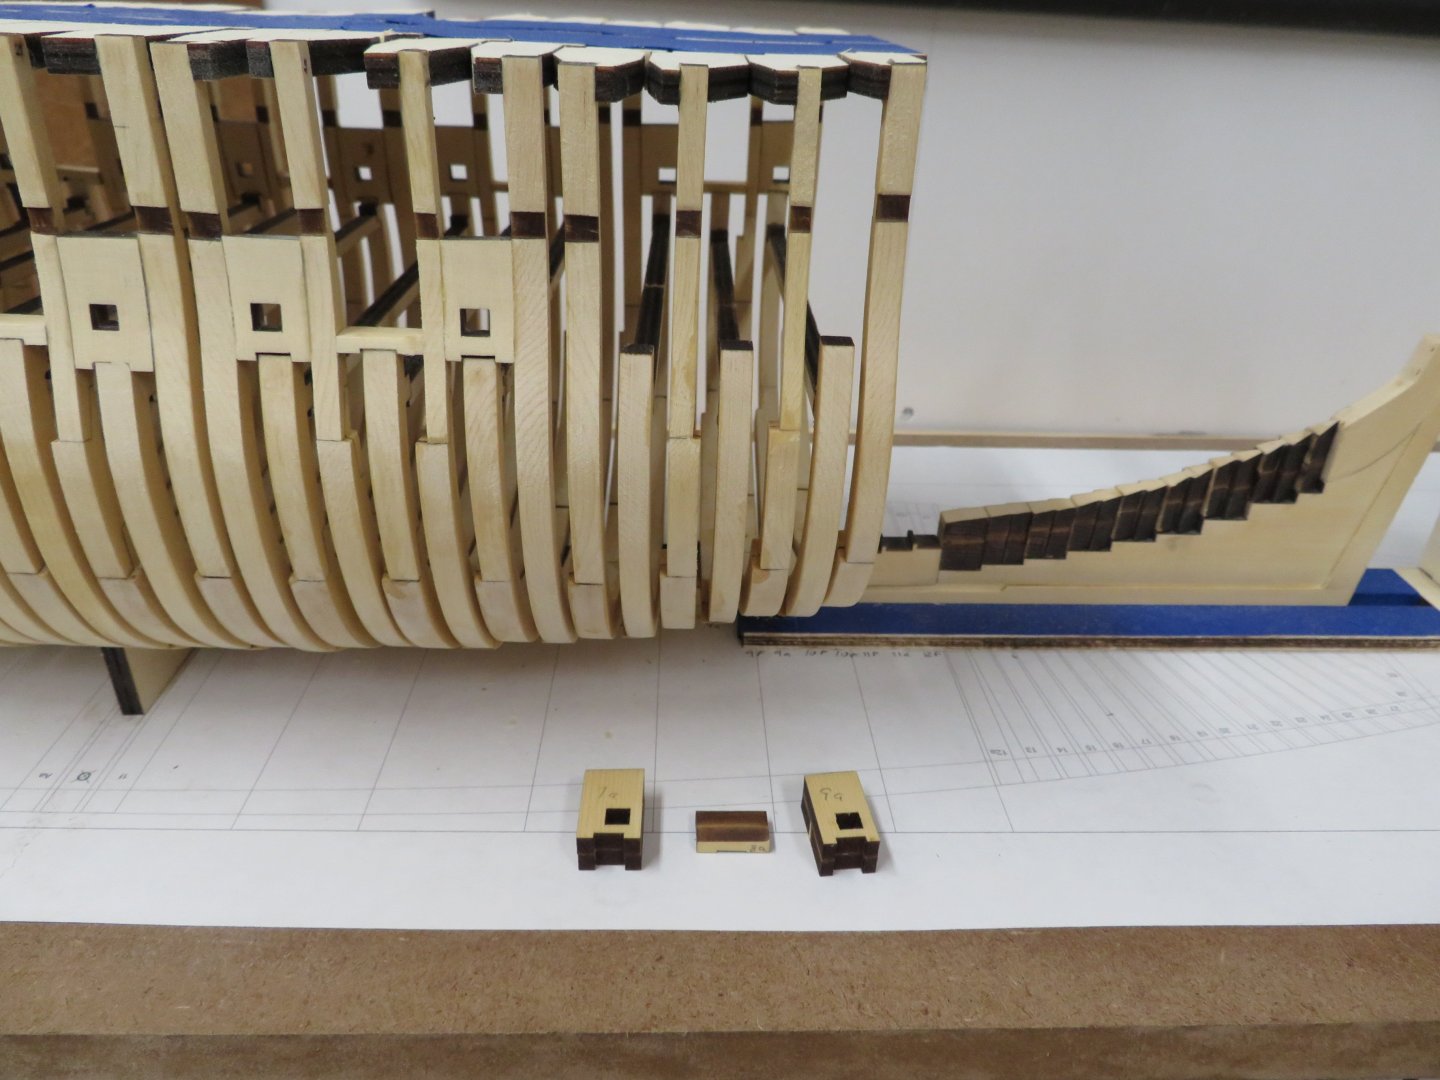
 I've finished with the forward cant frames and now it's on to the bow timbers. Chuck etched taper reference lines on both sides to help get the correct shape. A lot of shaping with an x-acto and sandpaper. The first pair are done and ready to go on the model.
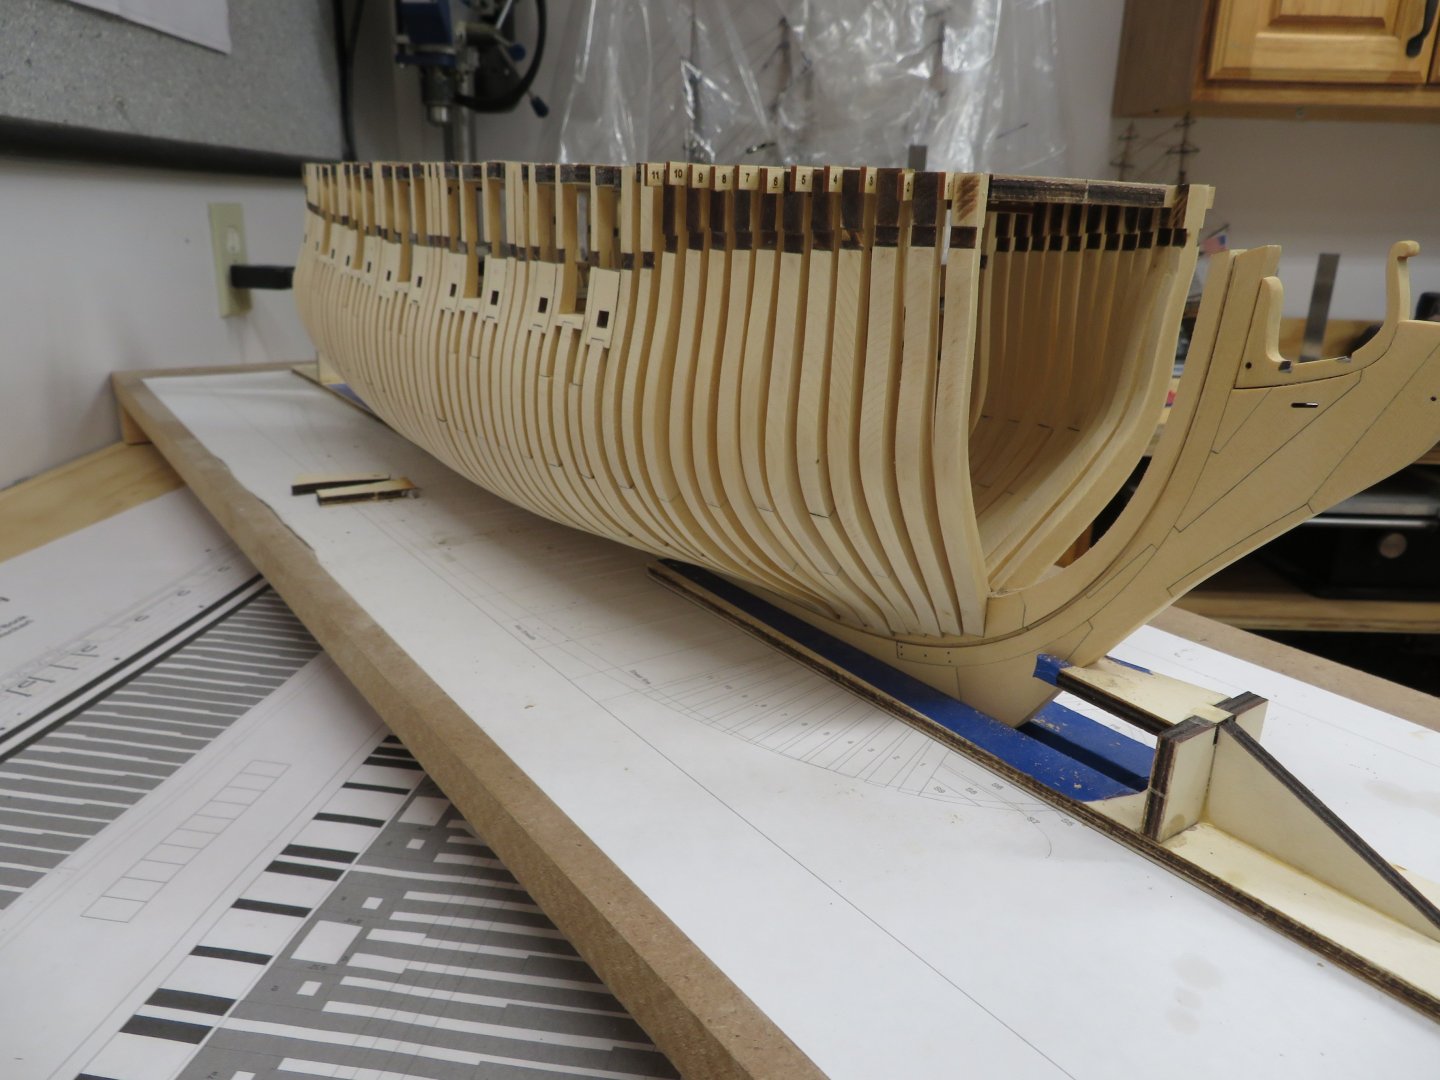


-
If you decide to go that way you won't regret it!
- 840 replies
-
- 4
-

-
- winchelsea
- Syren Ship Model Company
- (and 1 more)
-
Thank you Brian. Also thanks for all the likes. Having a lot of fun with this one!
-
And my shoulders and hands and fingers........😂
-
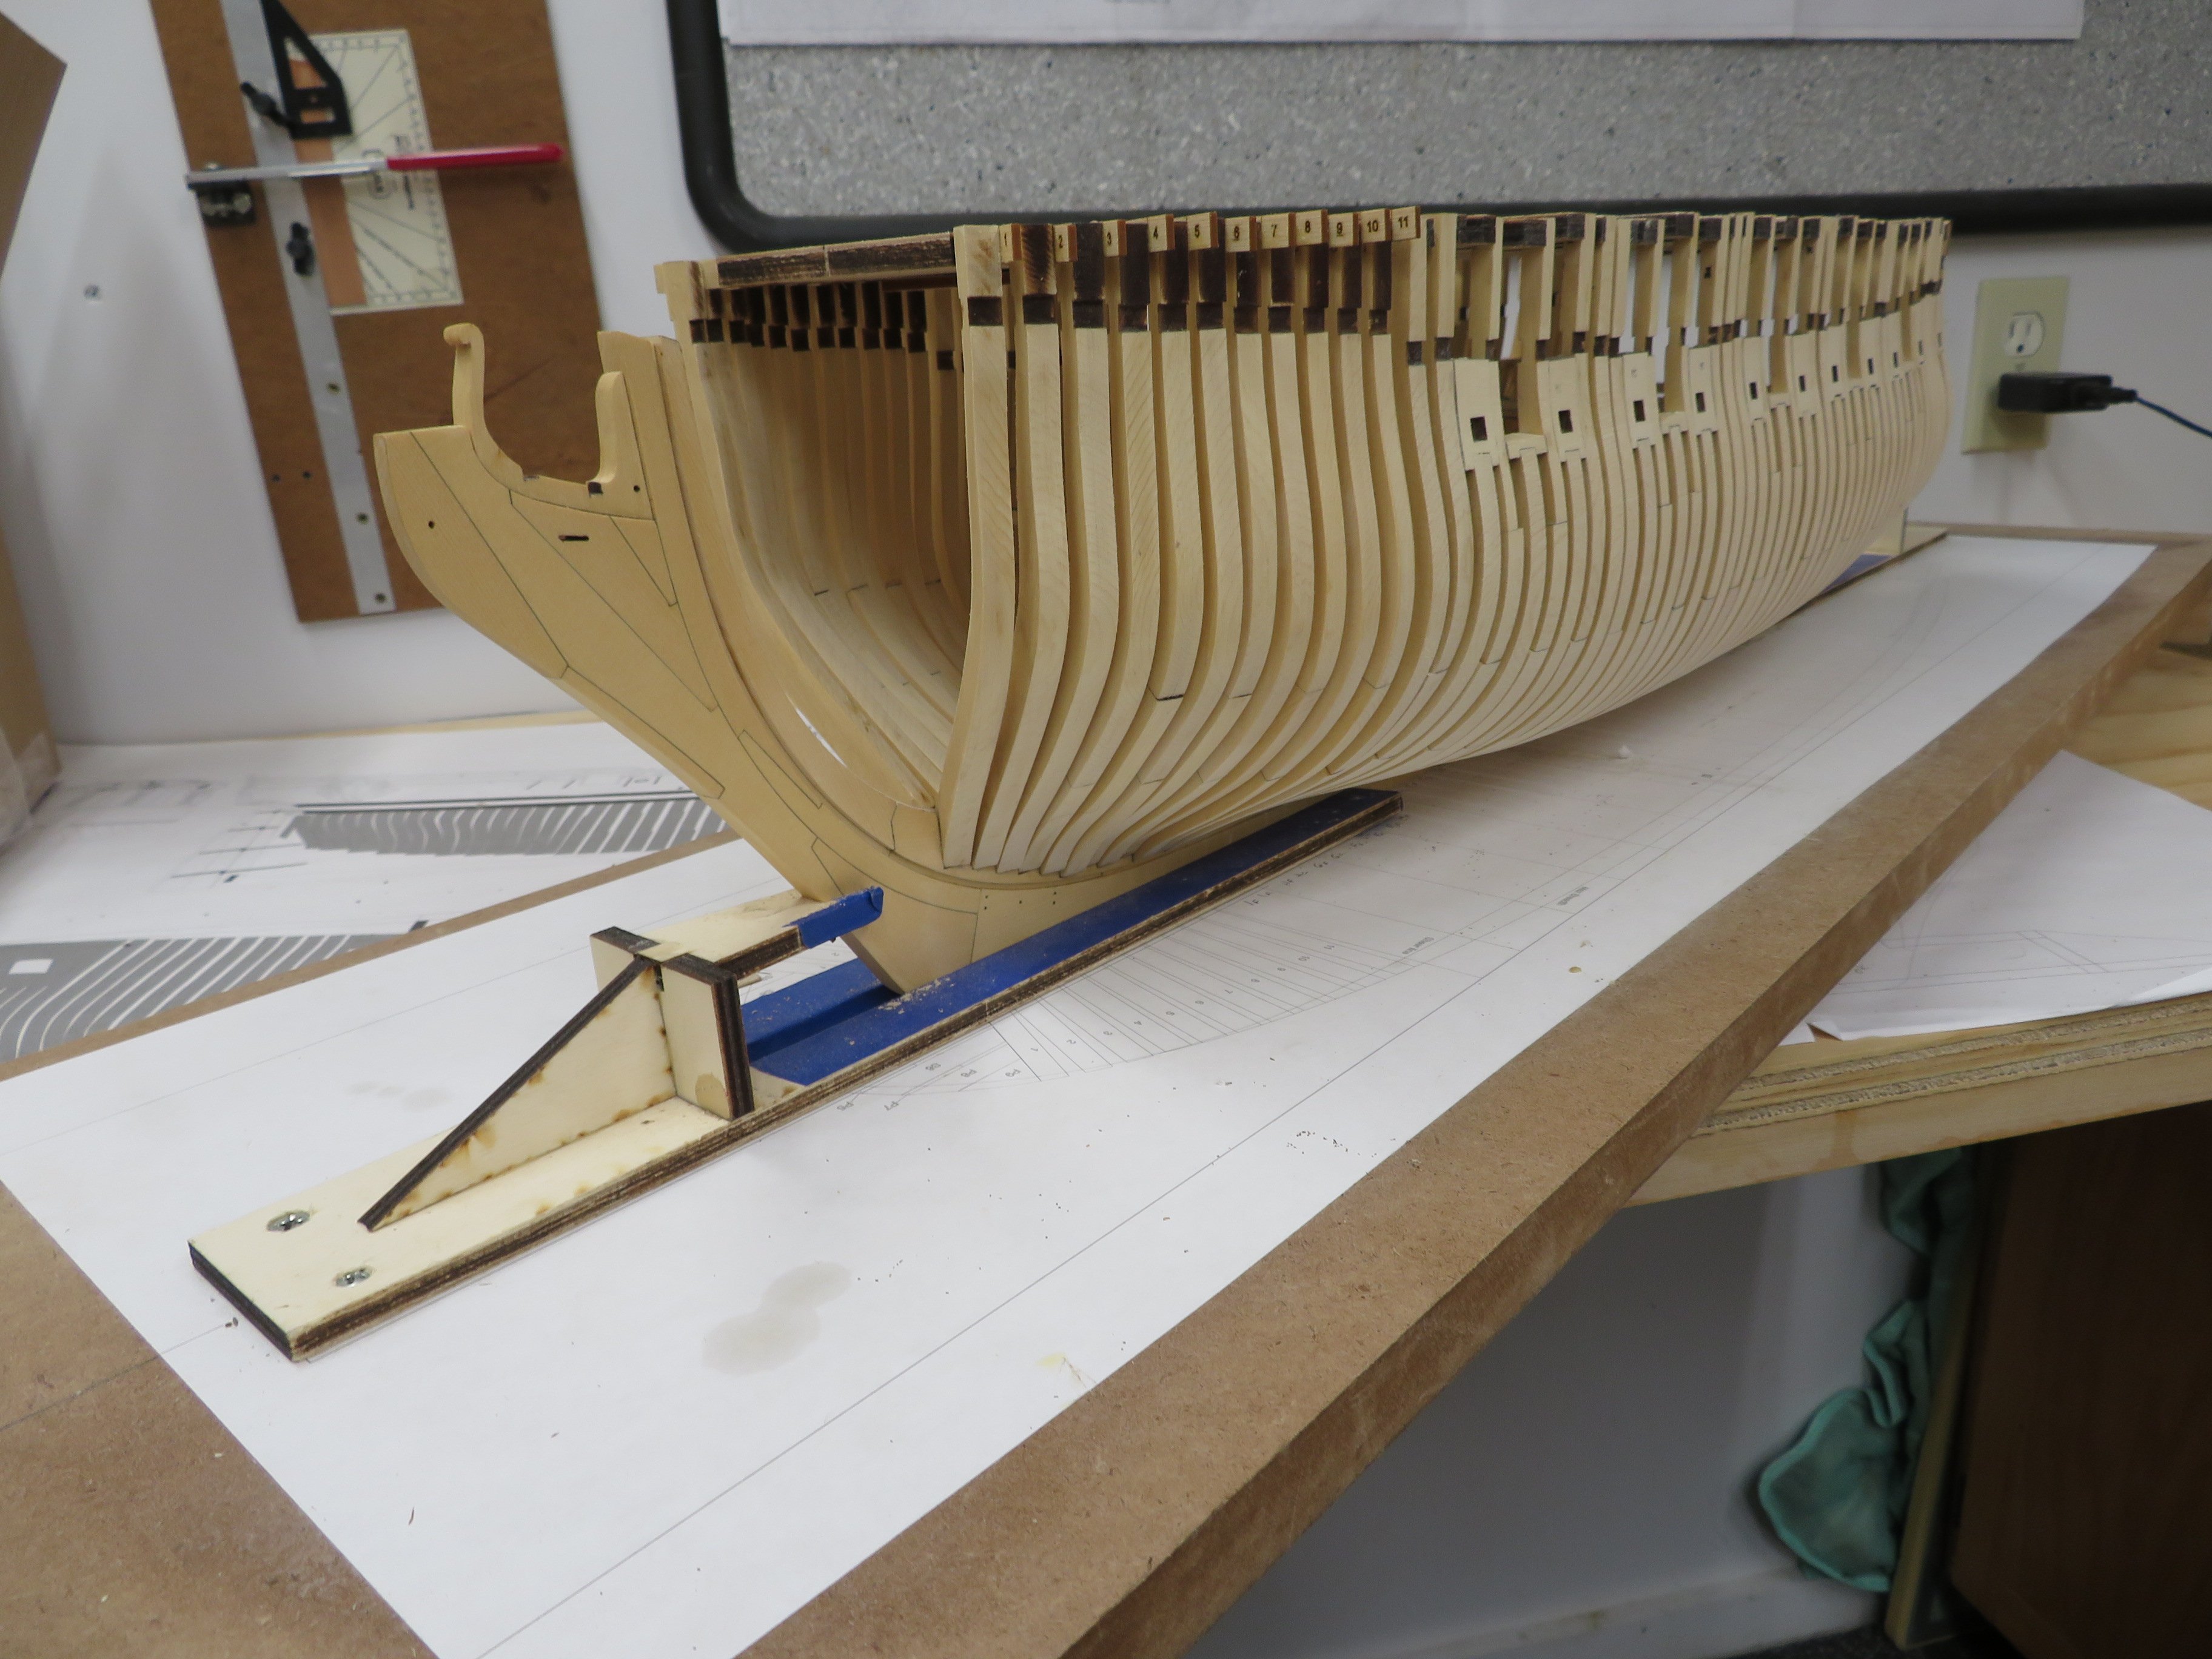
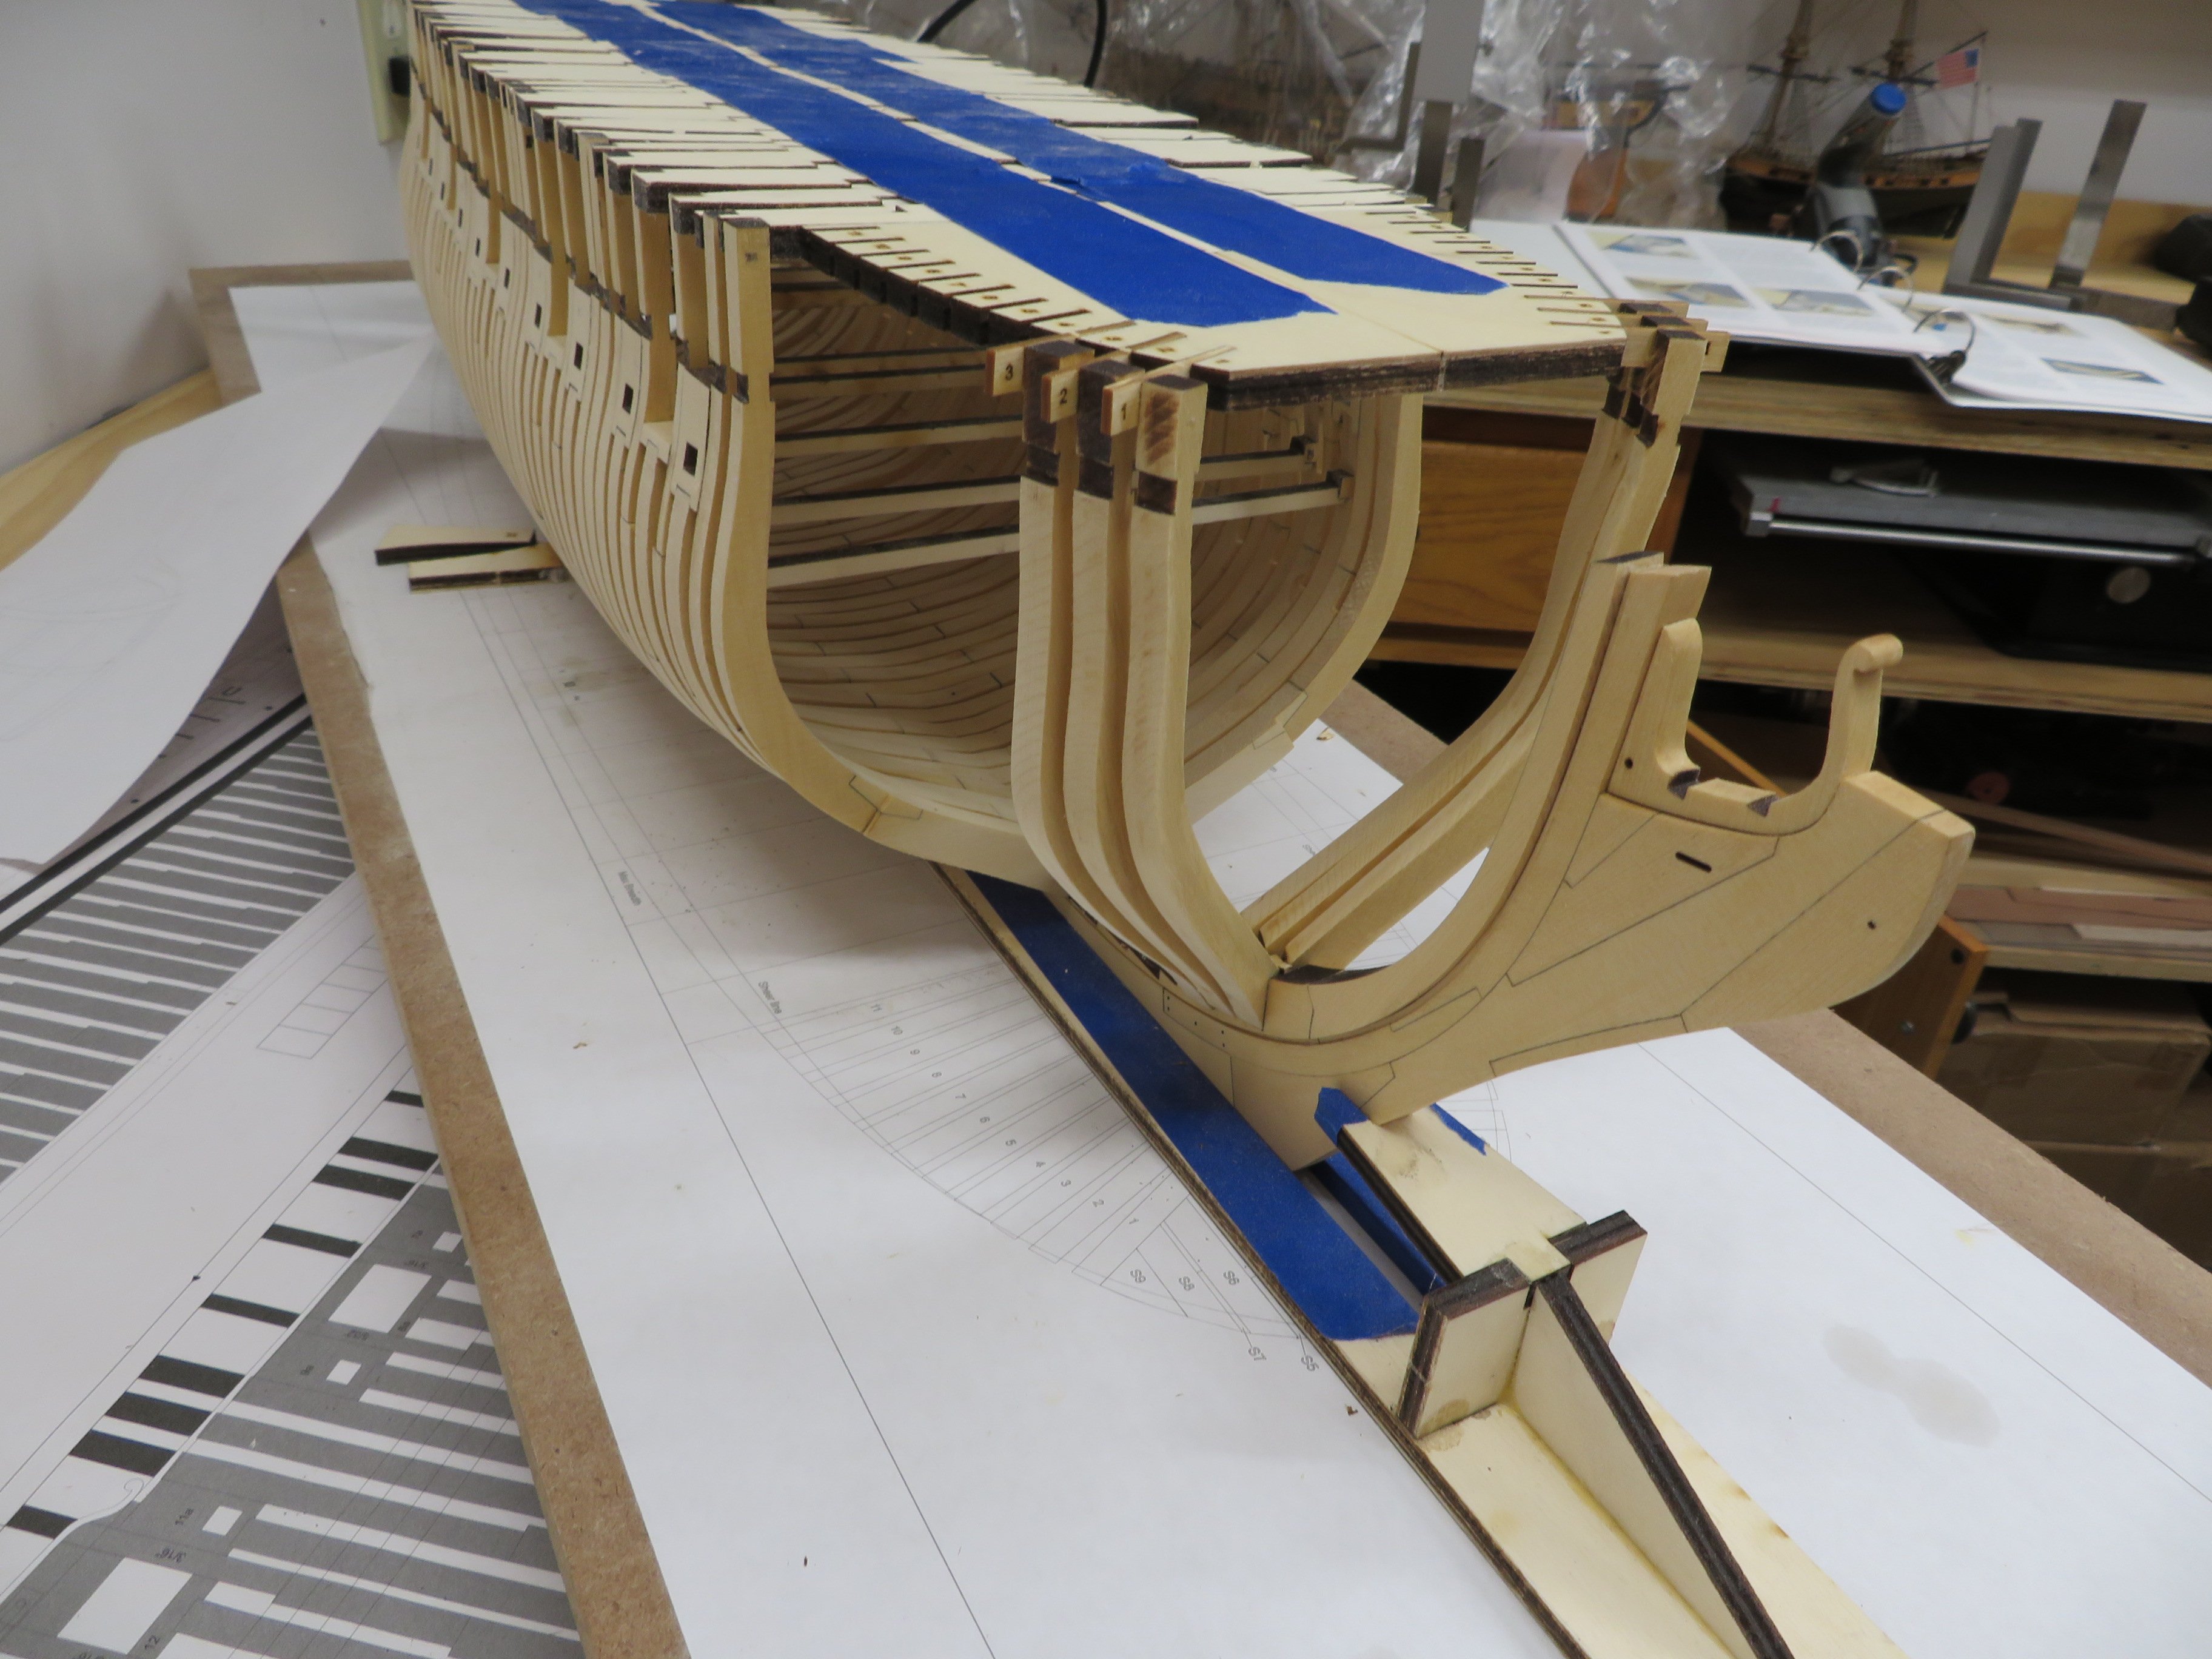
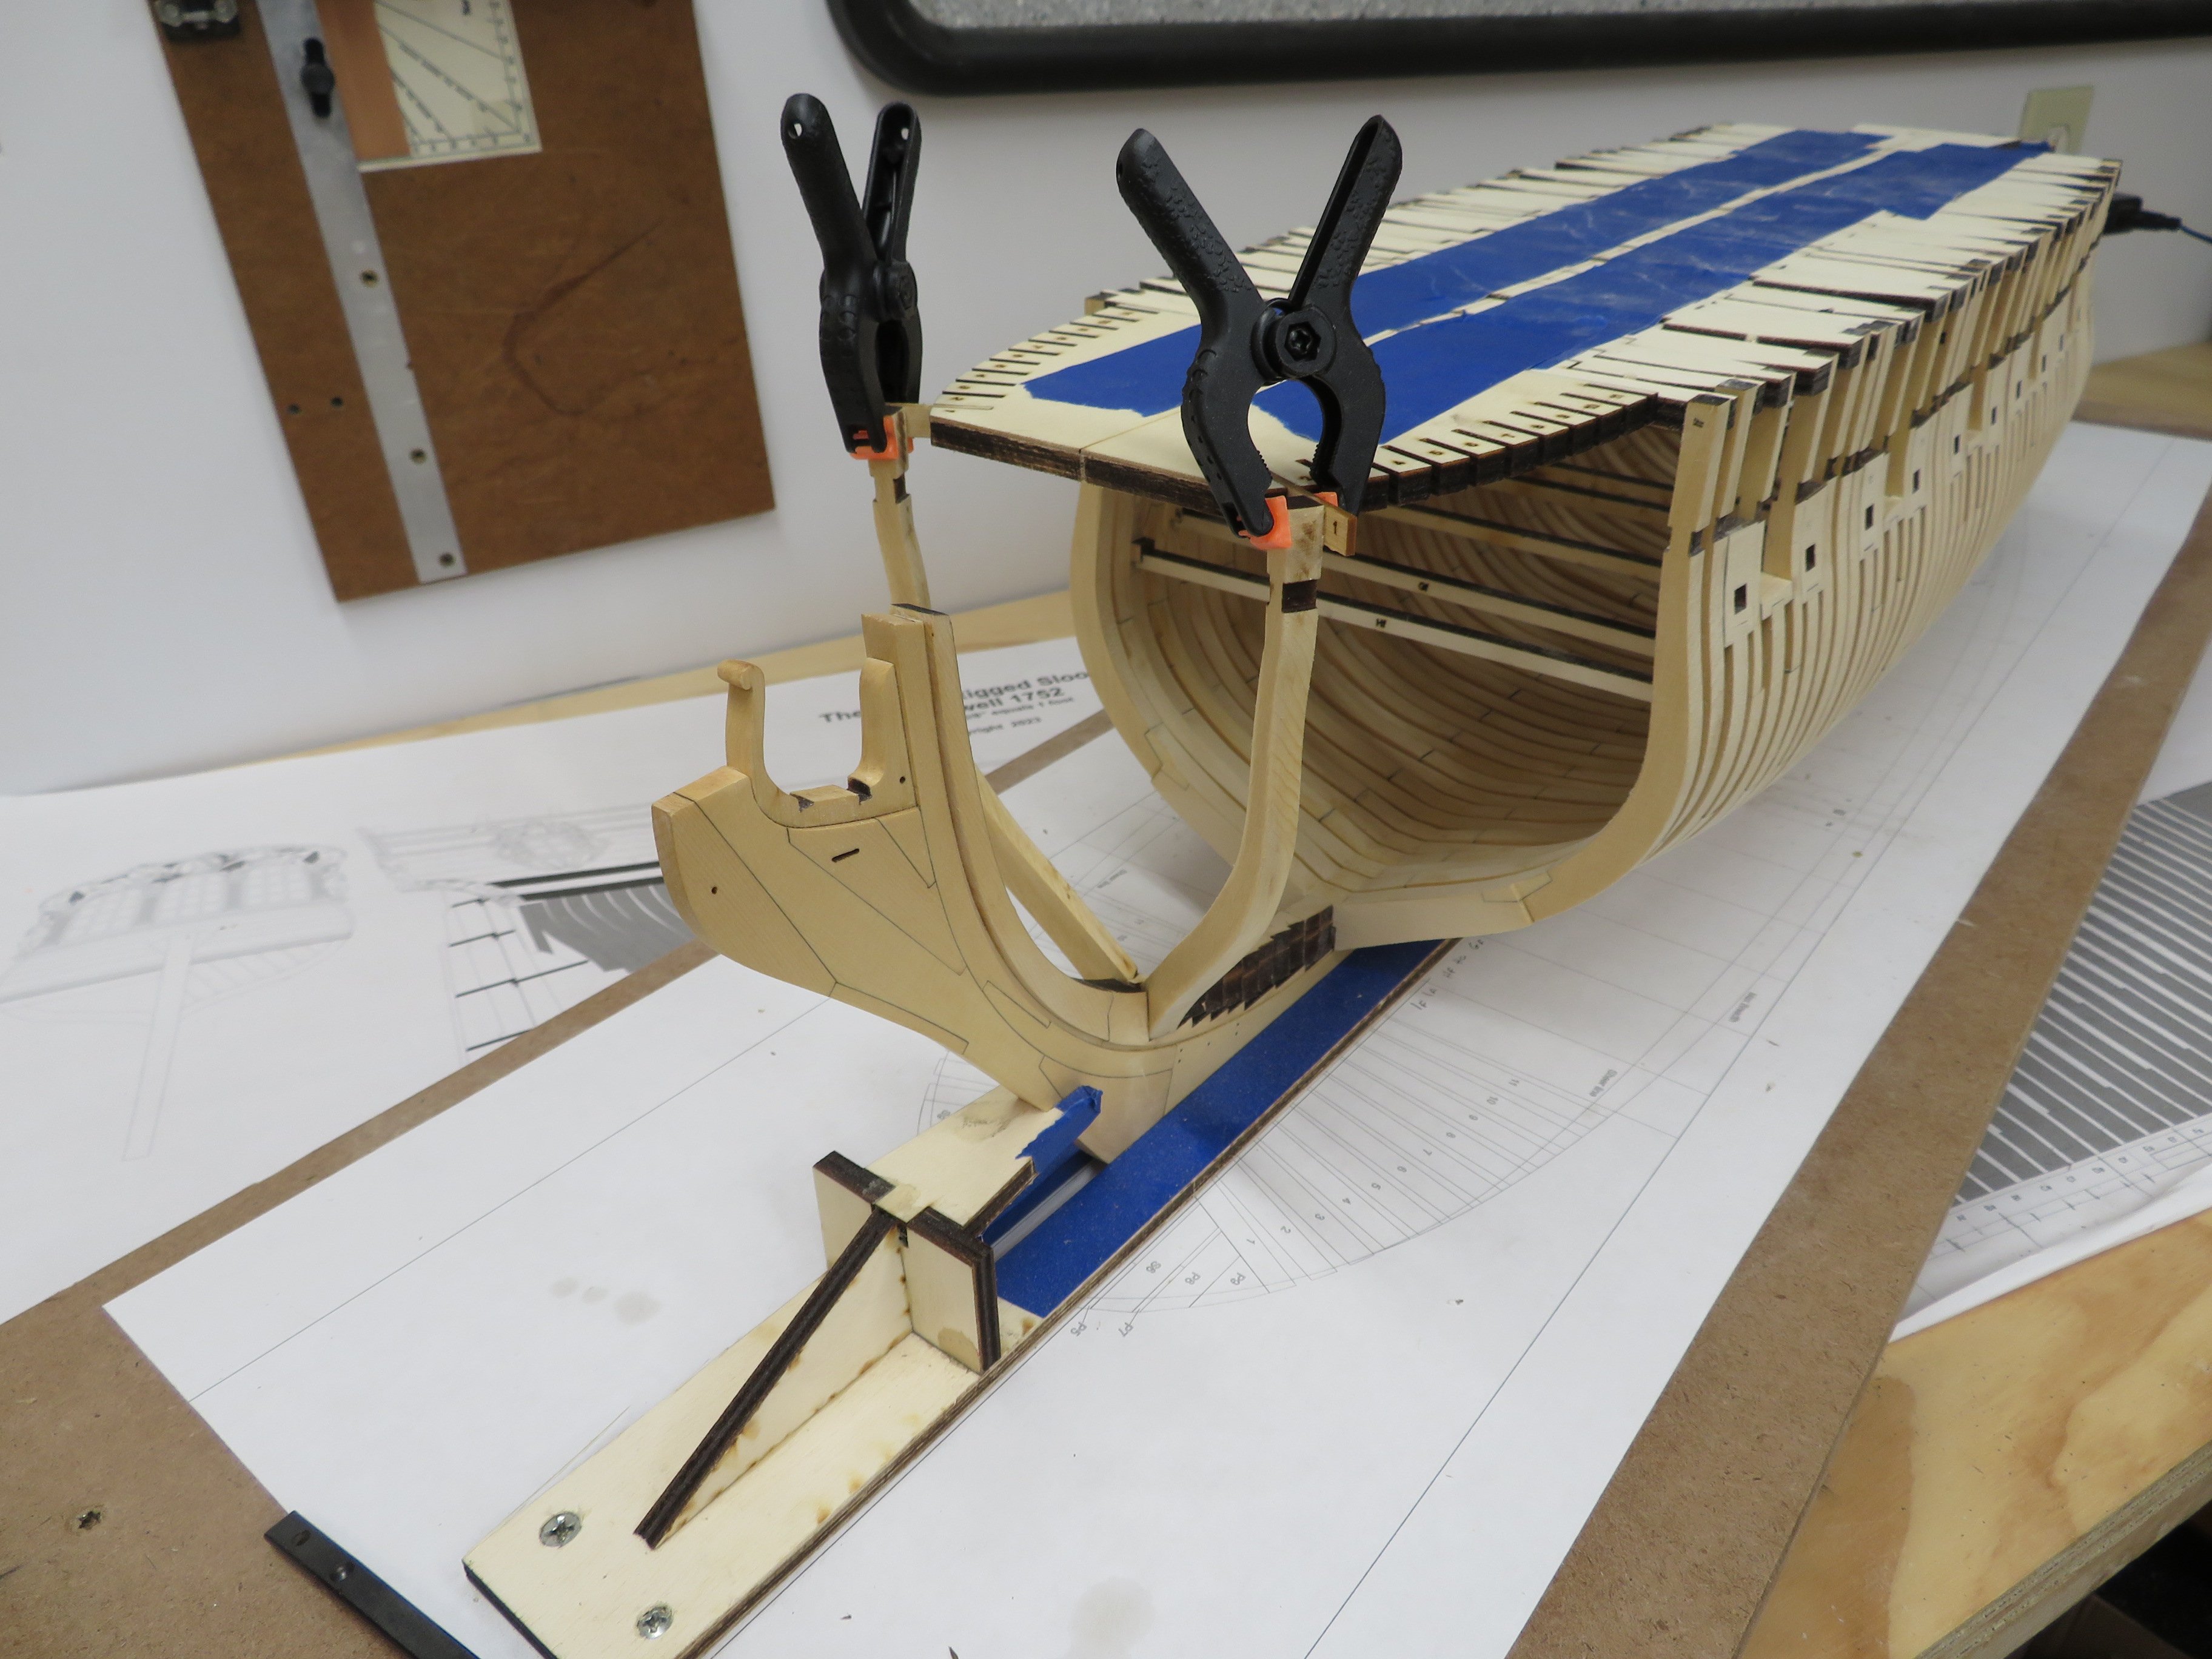
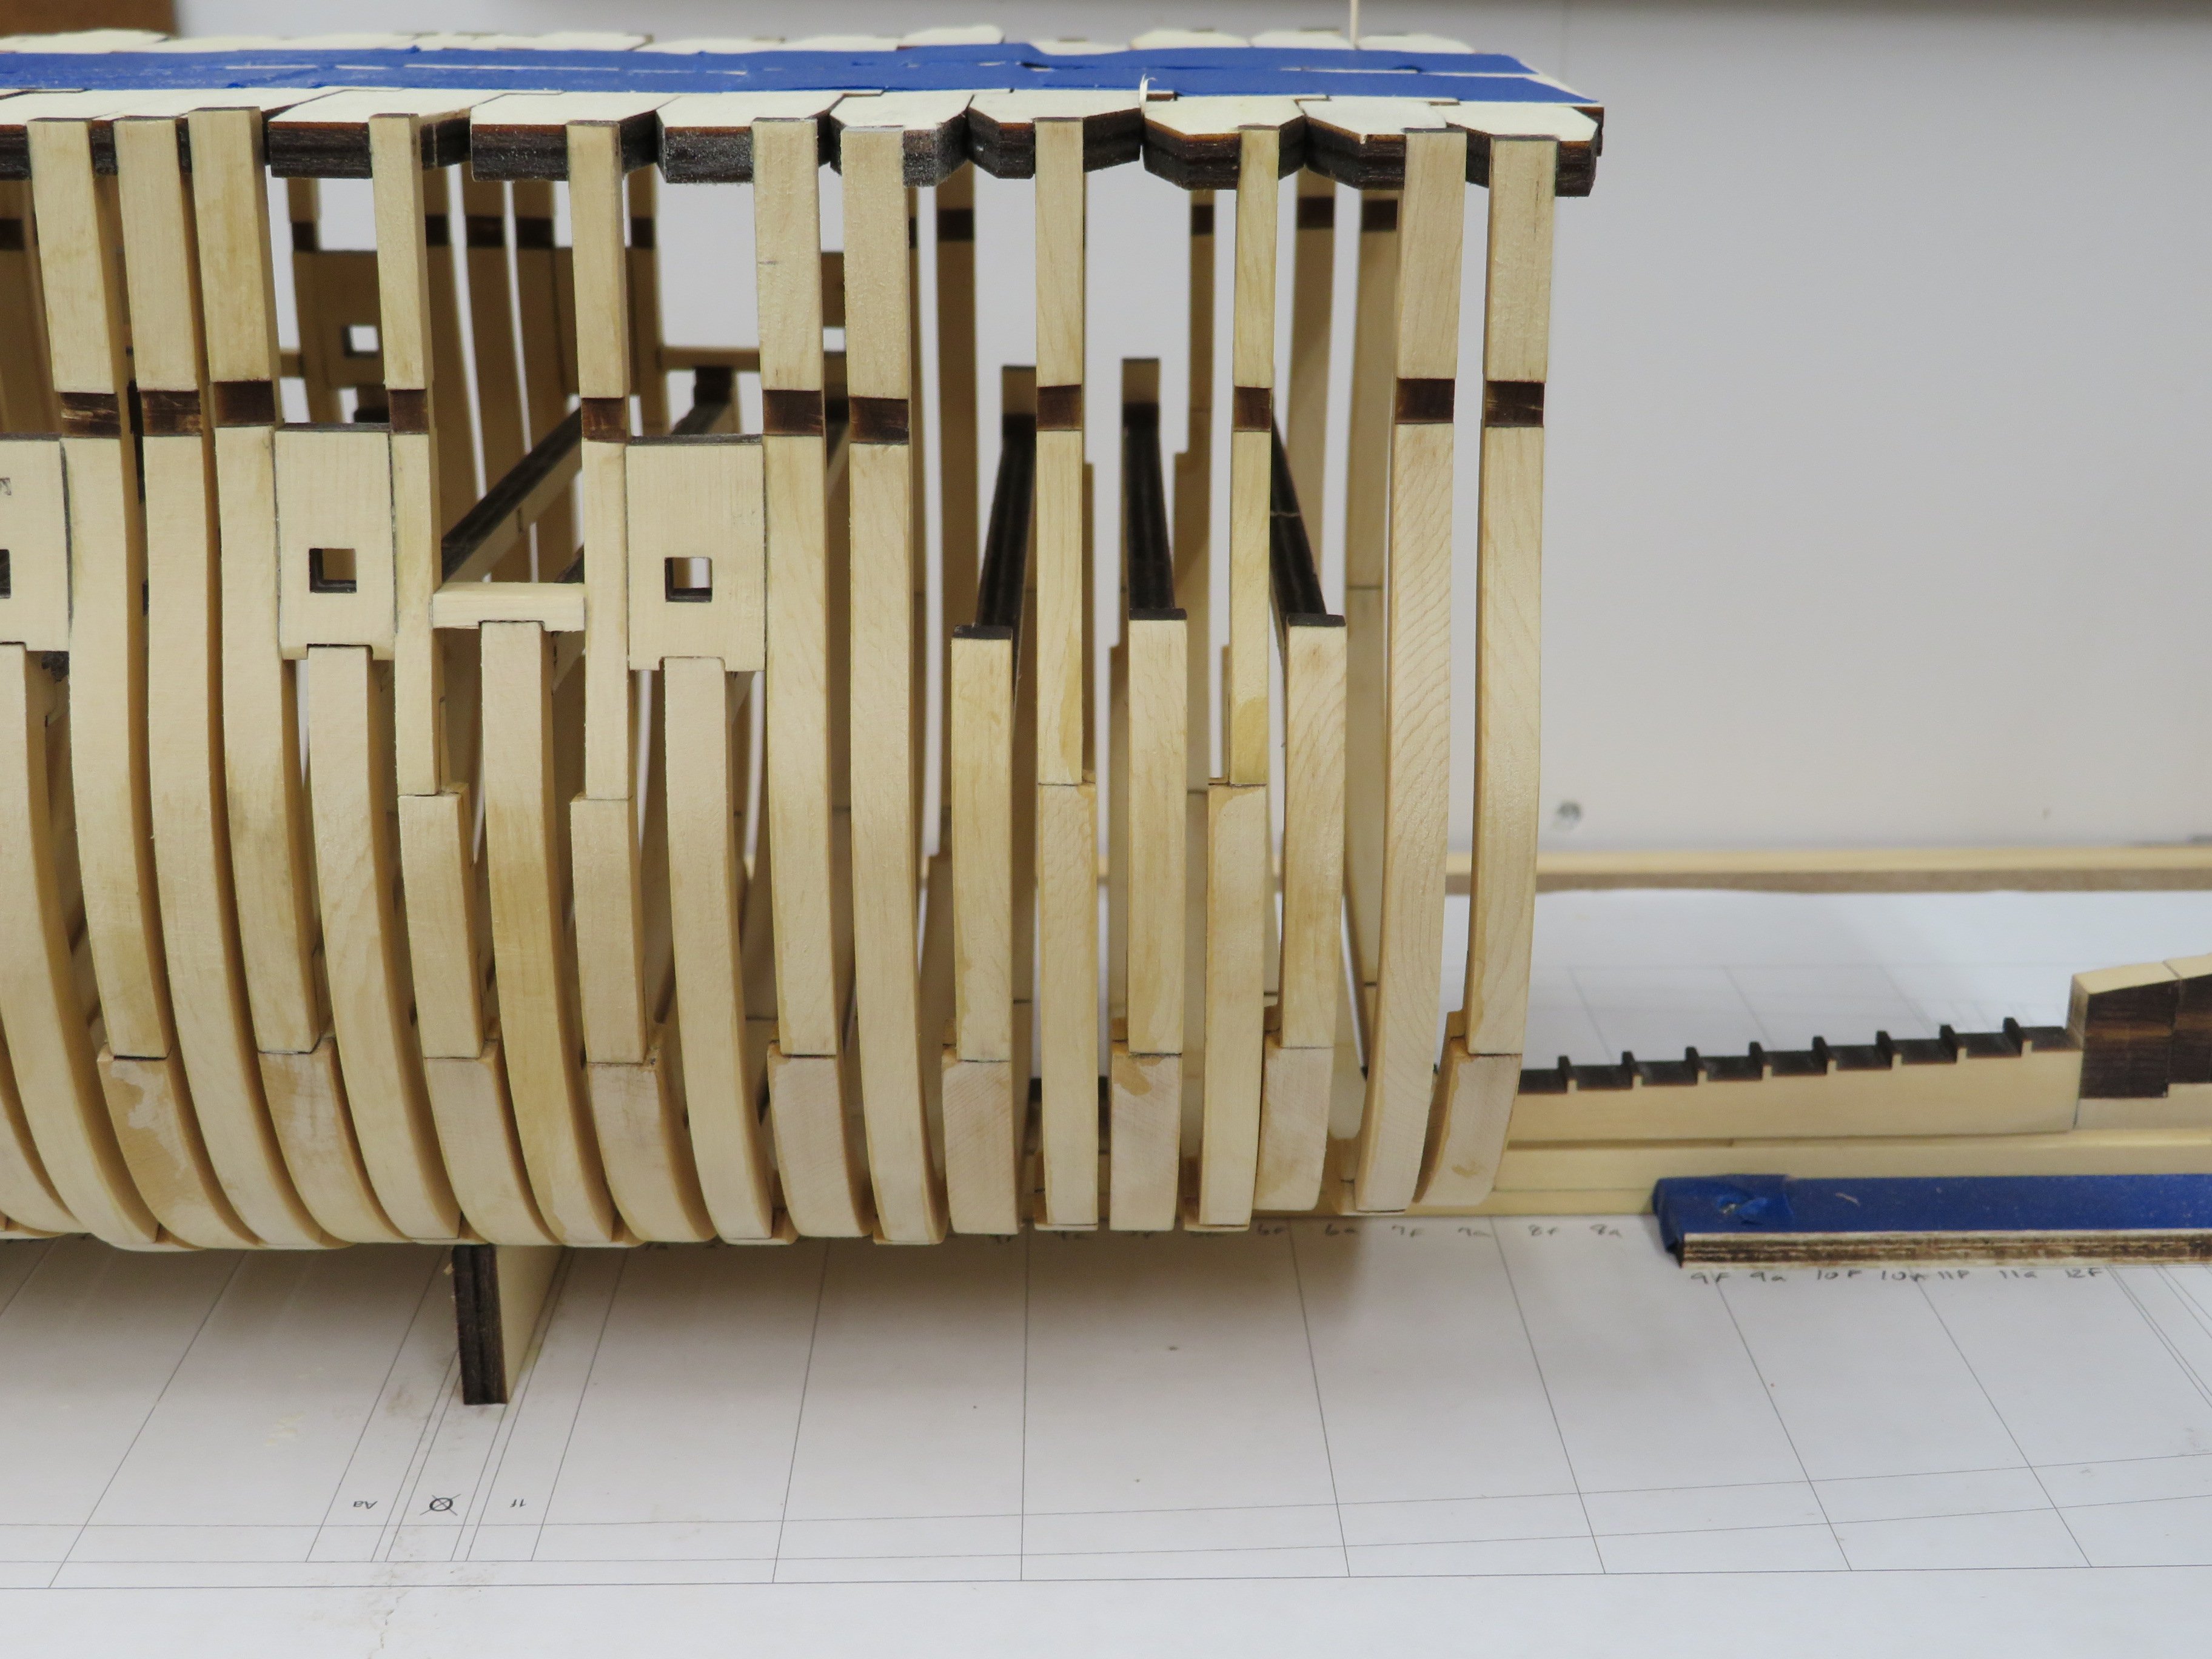
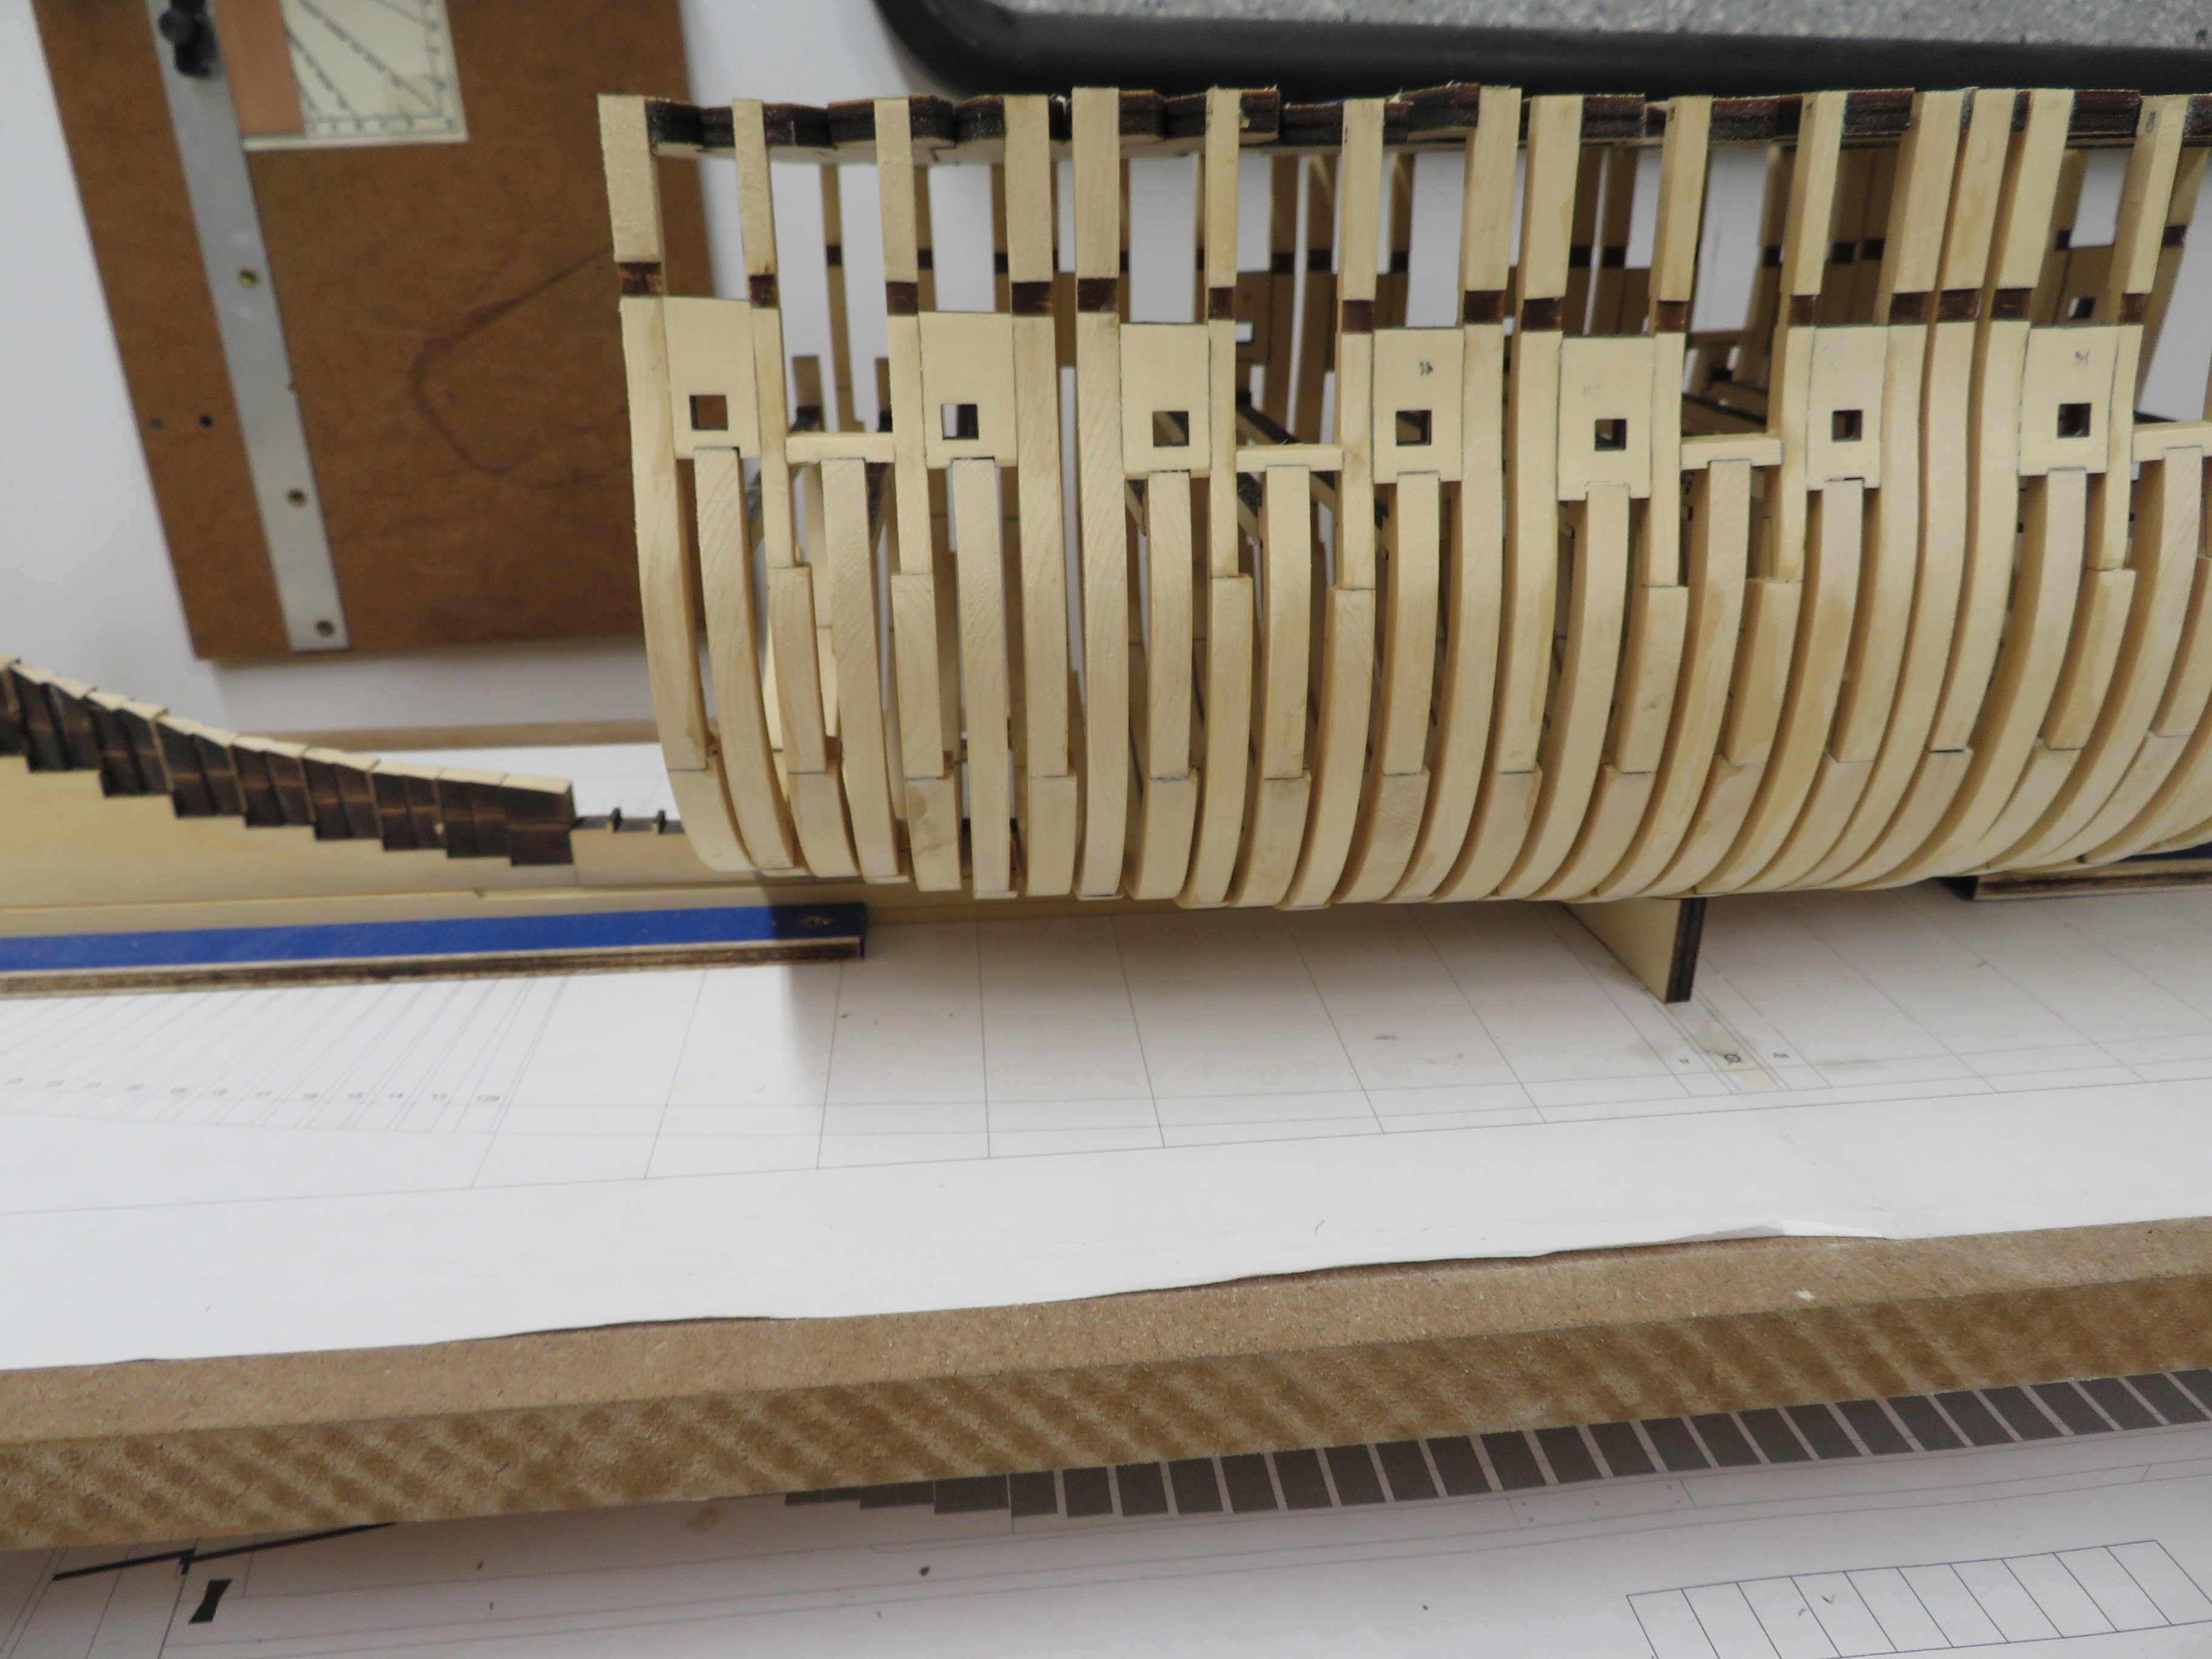
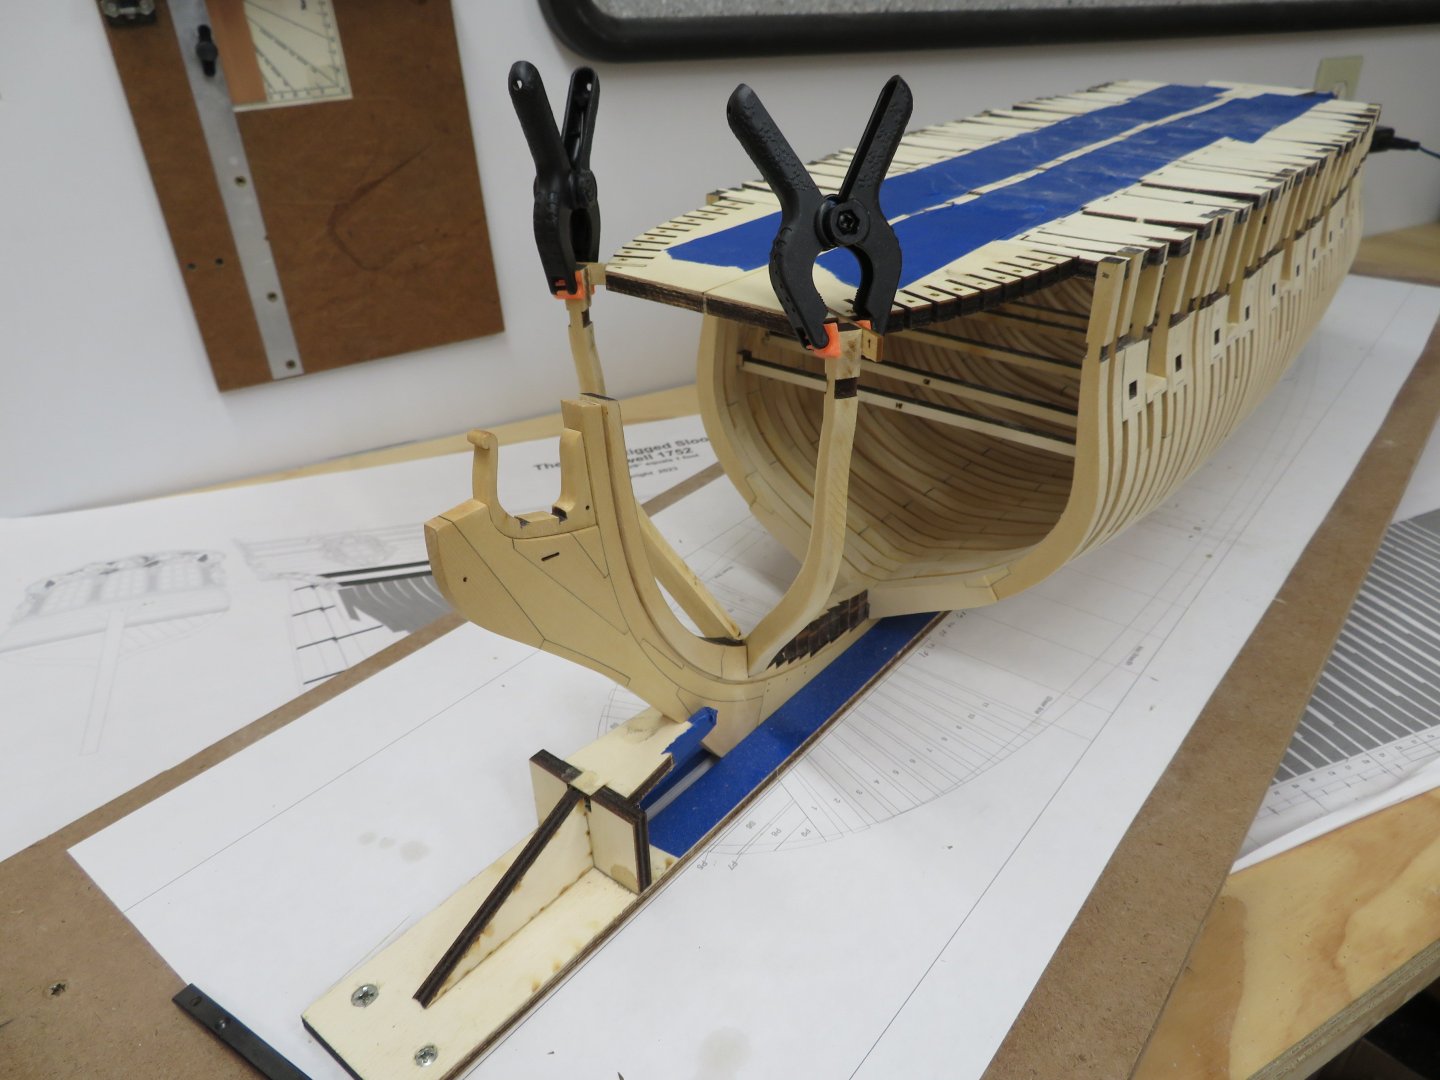
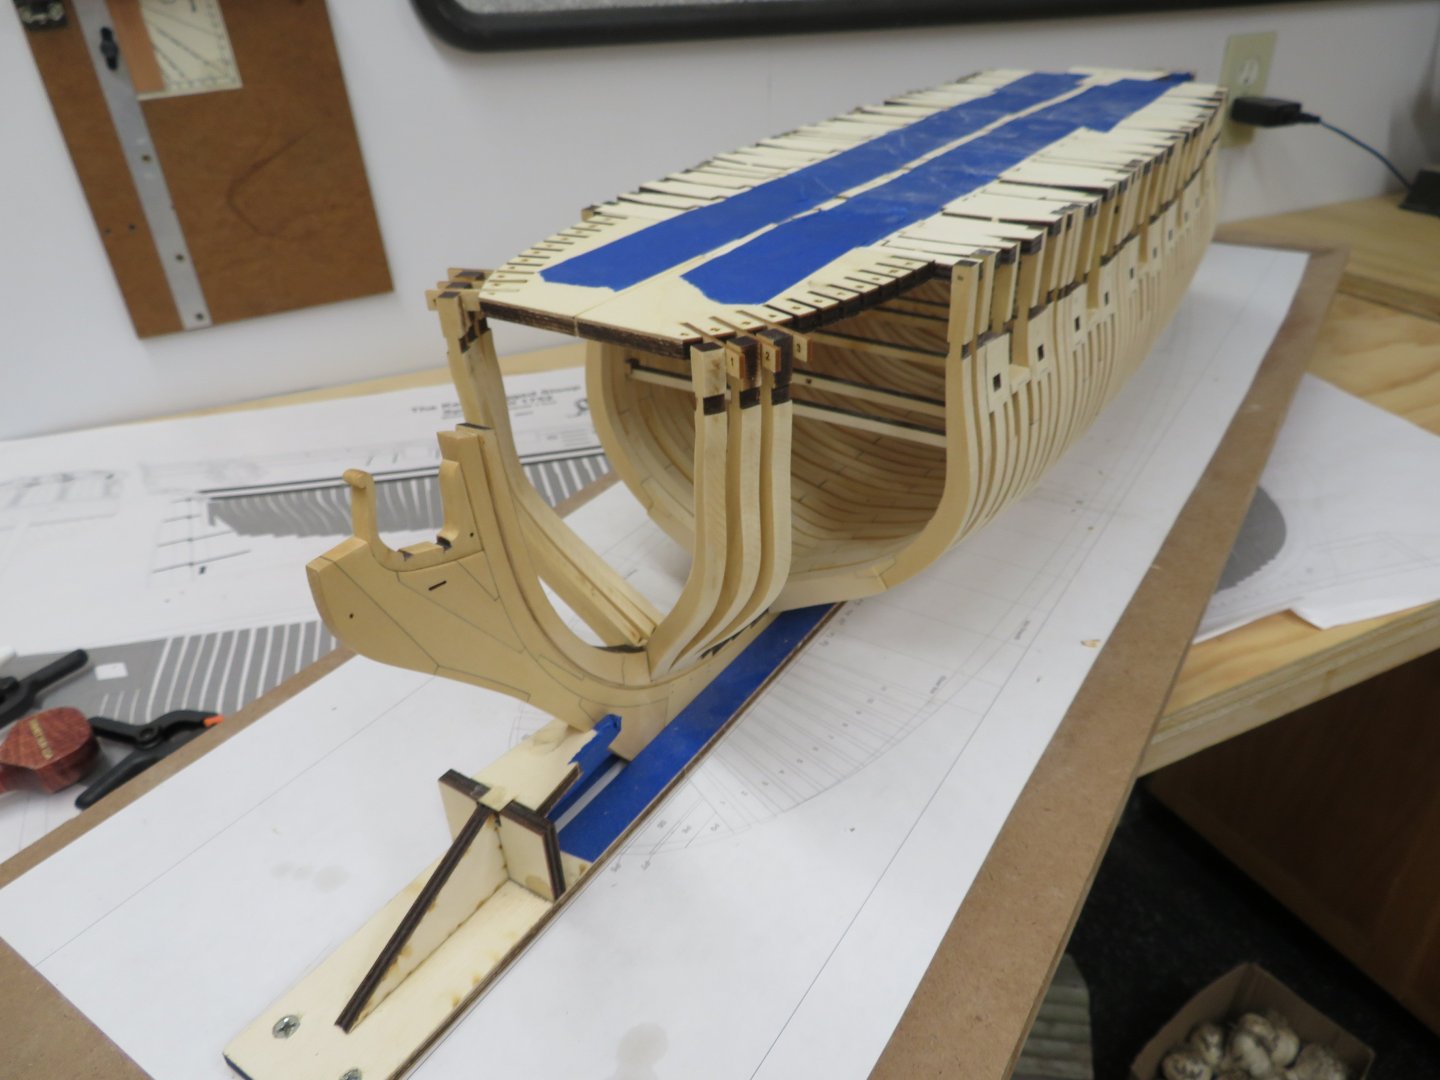
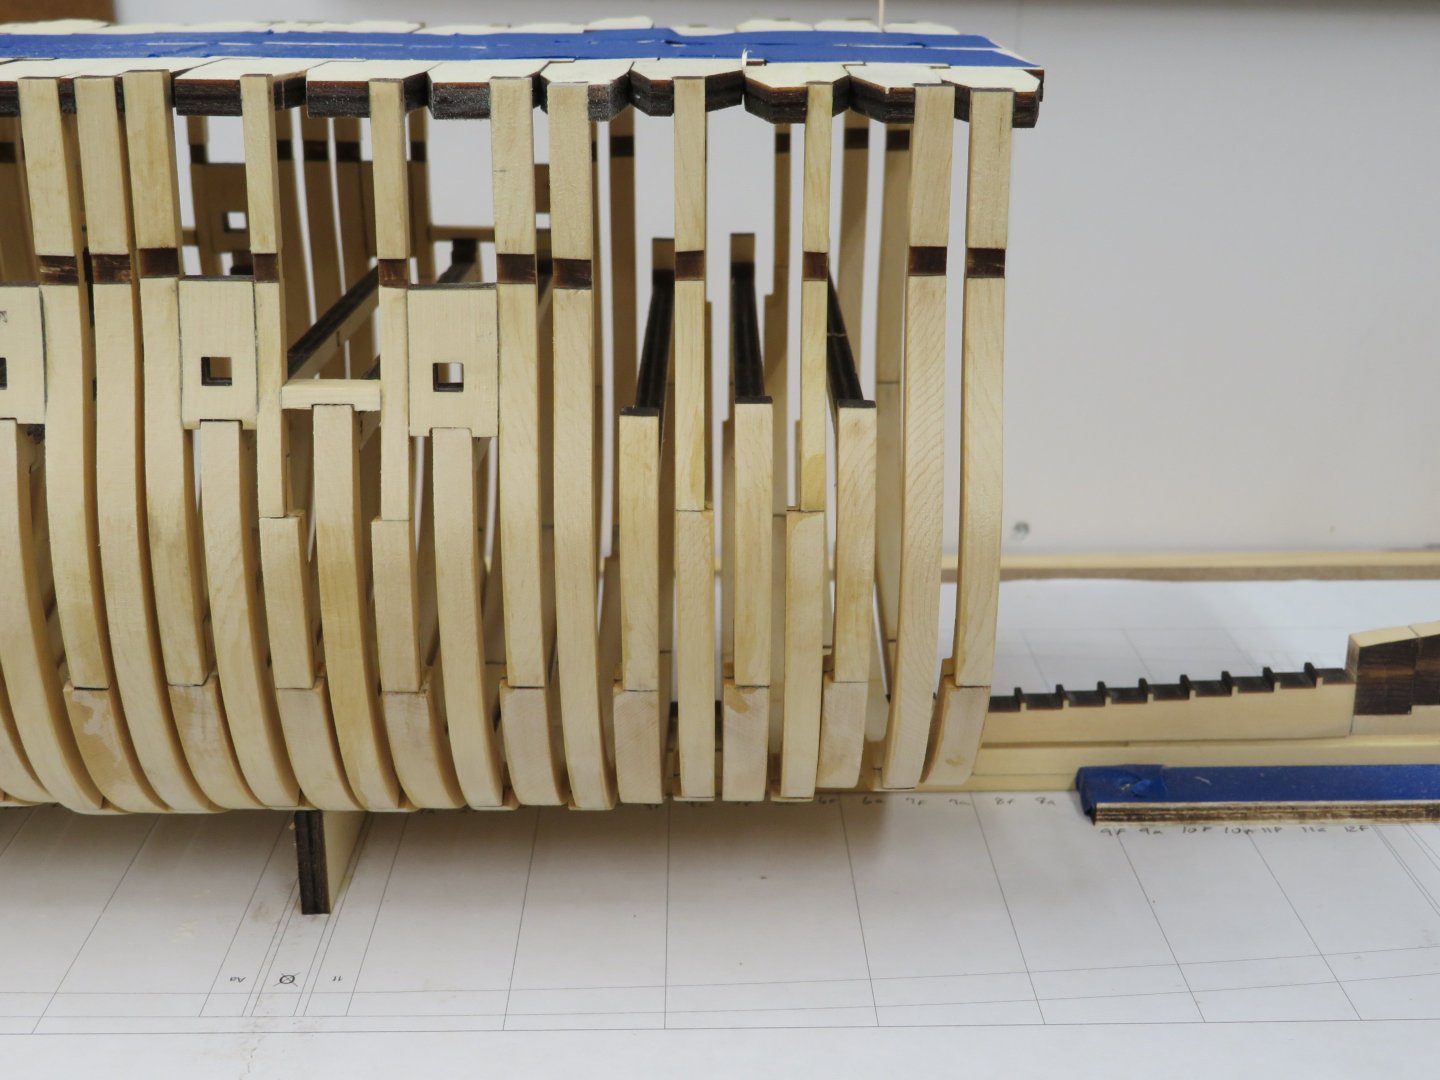
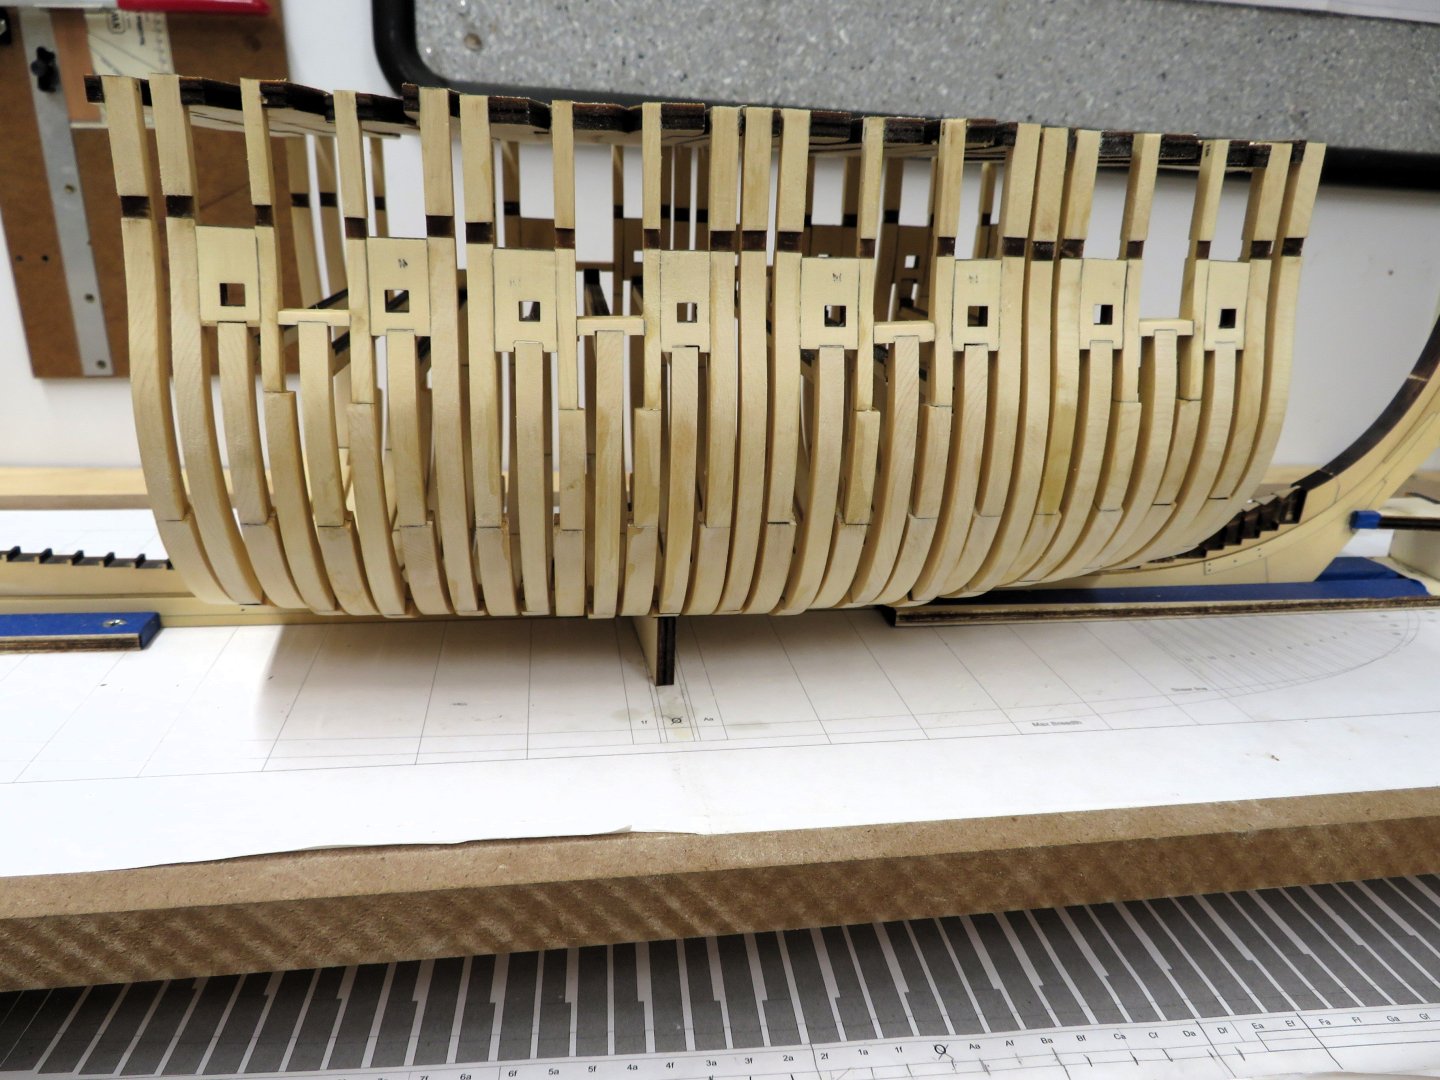
I've finished the preliminary sanding of the hull. There's more to be done but I'll finish that up once I've installed all of the fore and aft cant frames. I was apprehensive of this part but Chucks framing jig and laser cut parts make it less stressful than I thought! I've been cleaning and assembling the cant frames in between sanding and placing the fore cant frames. Here you see I've placed the first three fore cant frames. finish that up once I've installed all of the fore and aft cant frames. Here you see I've placed the first three fore cant frames.


-
Glenn, you have done yourself proud! Your work and dedication to "getting it right" produced a Winnie that is a feast to the eye. It's been a pleasure following along. Though it was three years ago you started, it also seems so much shorter. Well done!
- 840 replies
-
- 3
-
-
- winchelsea
- Syren Ship Model Company
- (and 1 more)
-
I'm sure you will come up with something interesting!
- 840 replies
-
- 2
-
-
- winchelsea
- Syren Ship Model Company
- (and 1 more)
-
Outstanding work on the headrails and bumpkins. Your journey is almost over!
- 840 replies
-
- 3
-
-
- winchelsea
- Syren Ship Model Company
- (and 1 more)
-
Sorry to hear about that Jeff. Hope the treatments work and your recovery is quick.
-
Looking very nice.
-
She's a beauty!
-
Very nice Ben!
-
Looks like you are off to a great start Steve.
-
Well, I'm back and will be heading to the workshop this weekend to continue the adventure. Hi Ben, All the frames are seated on the keel at the same level. It might be an illusion with the picture. I looked at the model last night and there is a gentle and consistent rise from the dead flat frame fore and aft. I think I've got it right. Time to limber up the arm and start sanding!
-
Another well done model, and your display is perfect. I'm looking forward to what's next. Don't suppress the desire!
- 131 replies
-
- 2
-
-
- Medway Longboat
- Syren Ship Model Company
- (and 1 more)
-
Thank you Rick, Yes, the summer does put a big crimp in the shop time. Thanks Glenn, three weeks away. Really looking forward to it. I've just come off a month stretch of constant work. Once I'm back shop time will be more readily available.
-
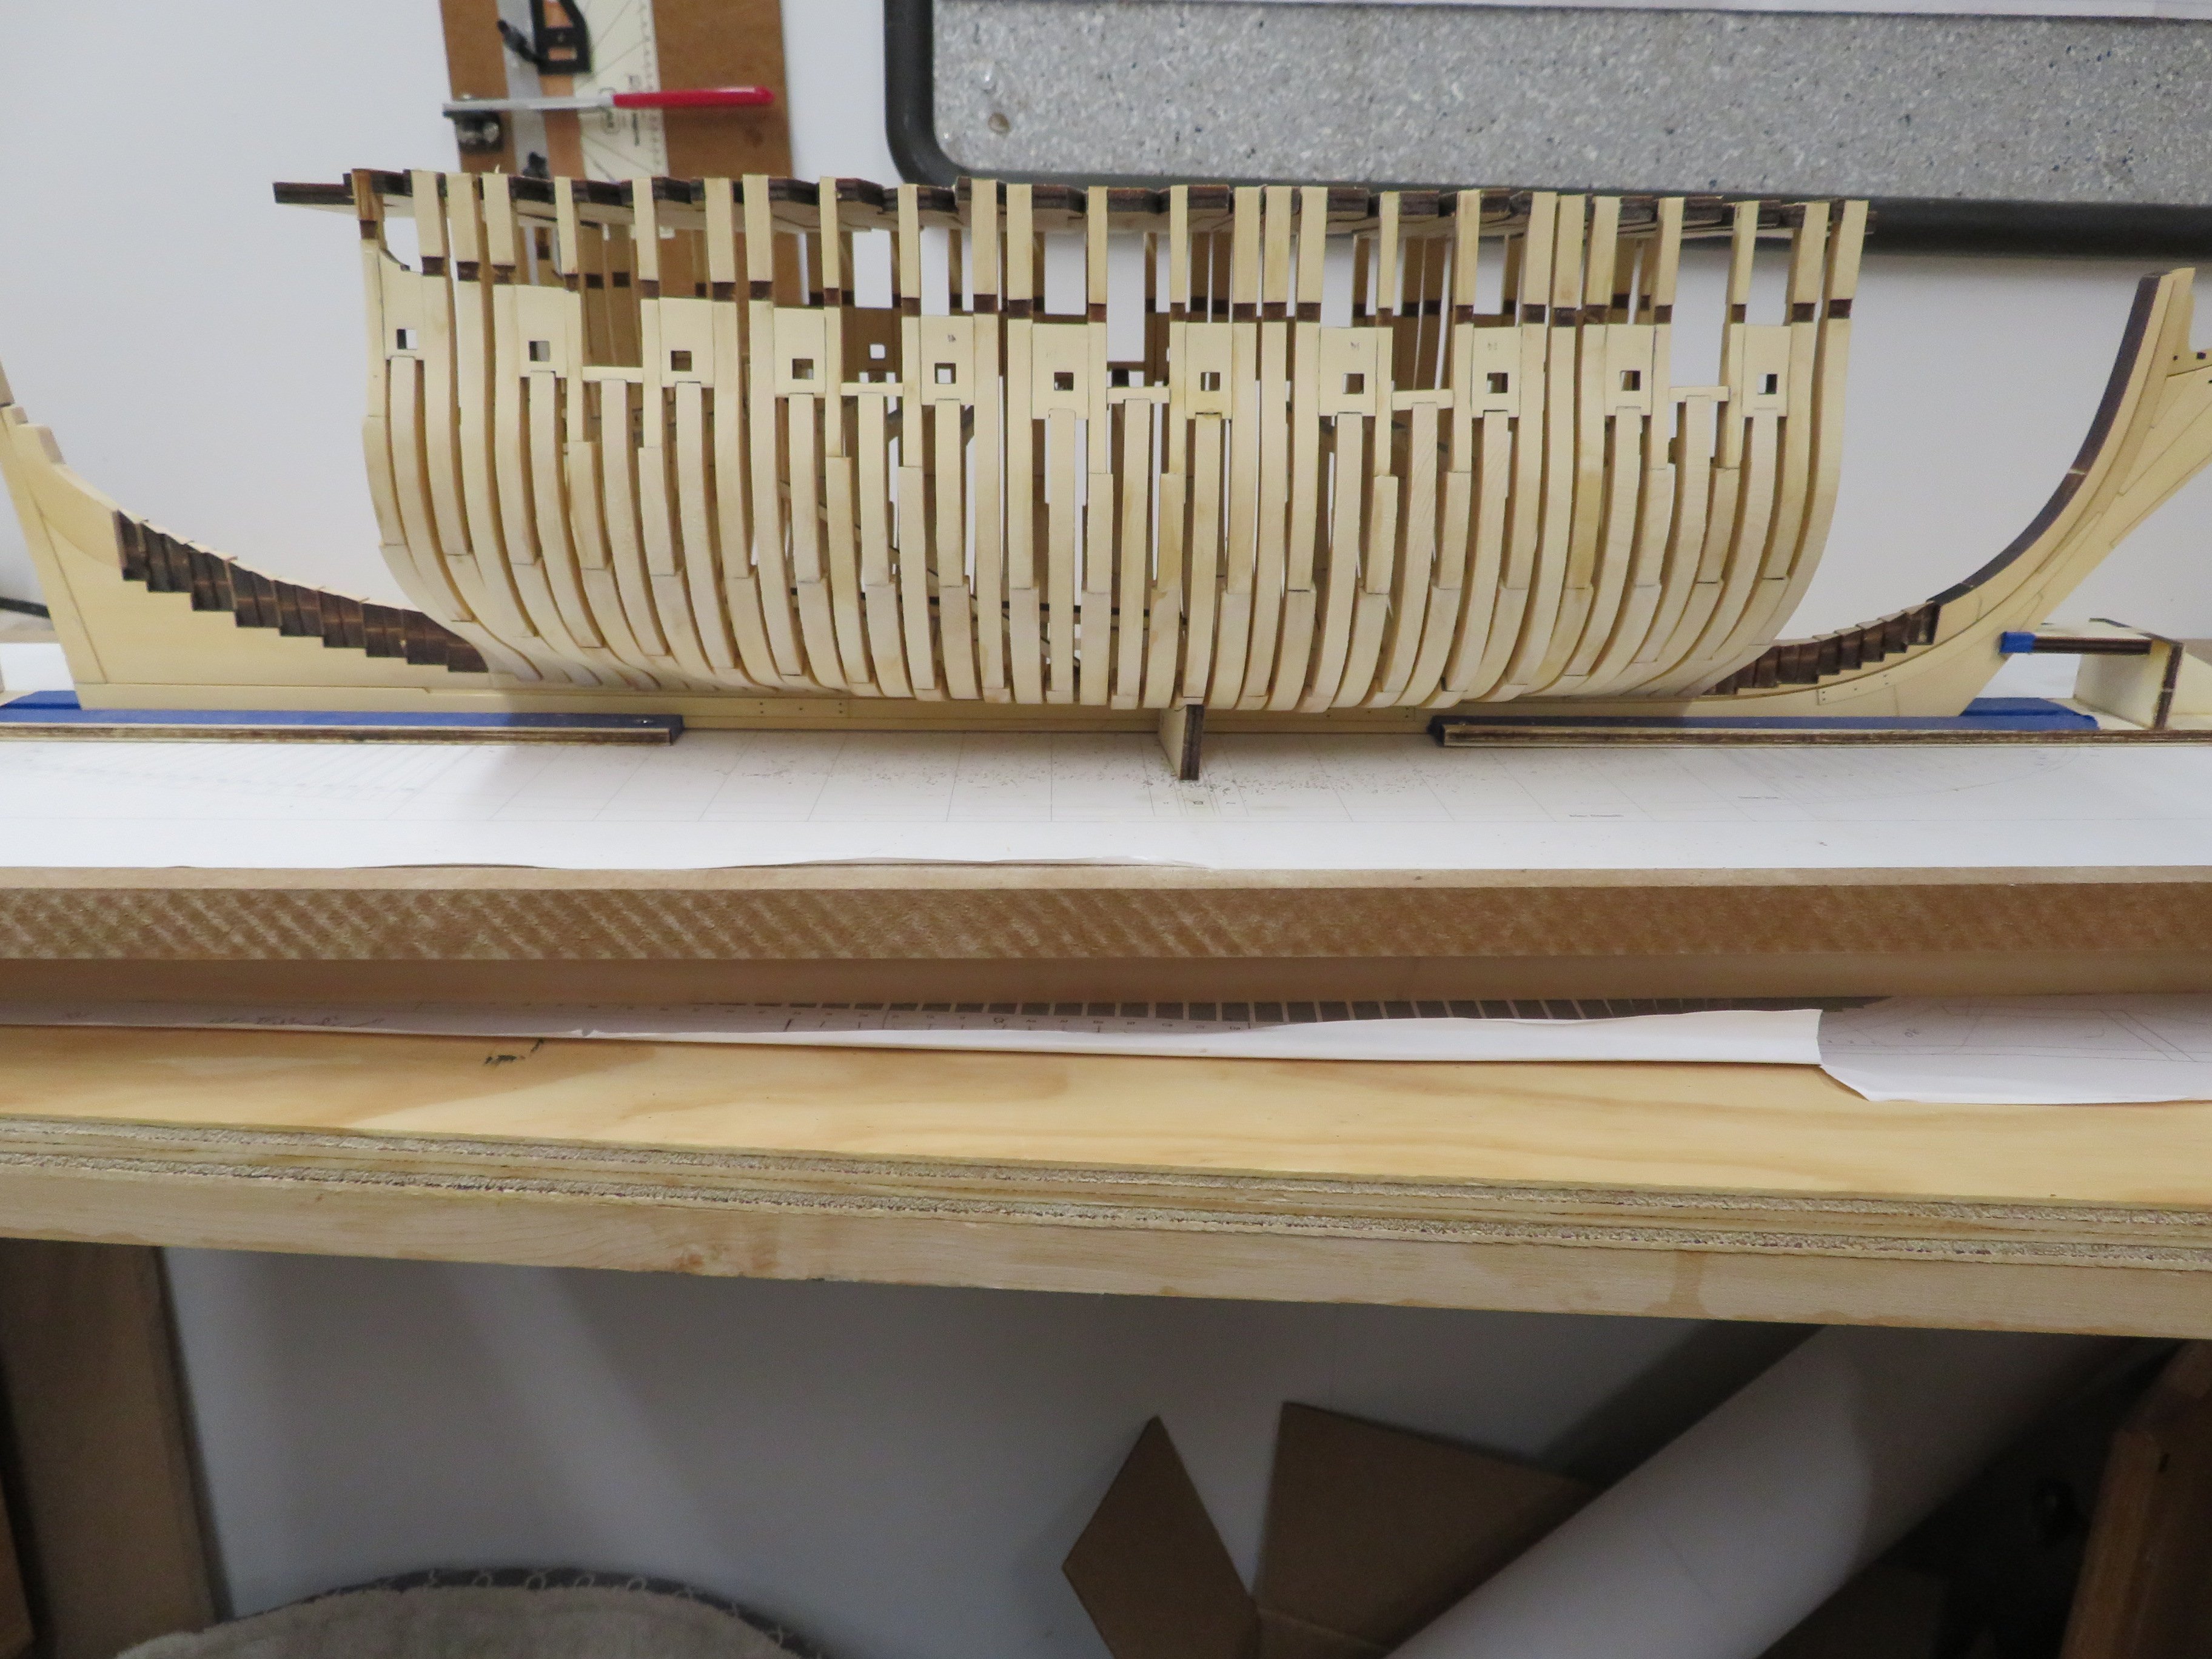
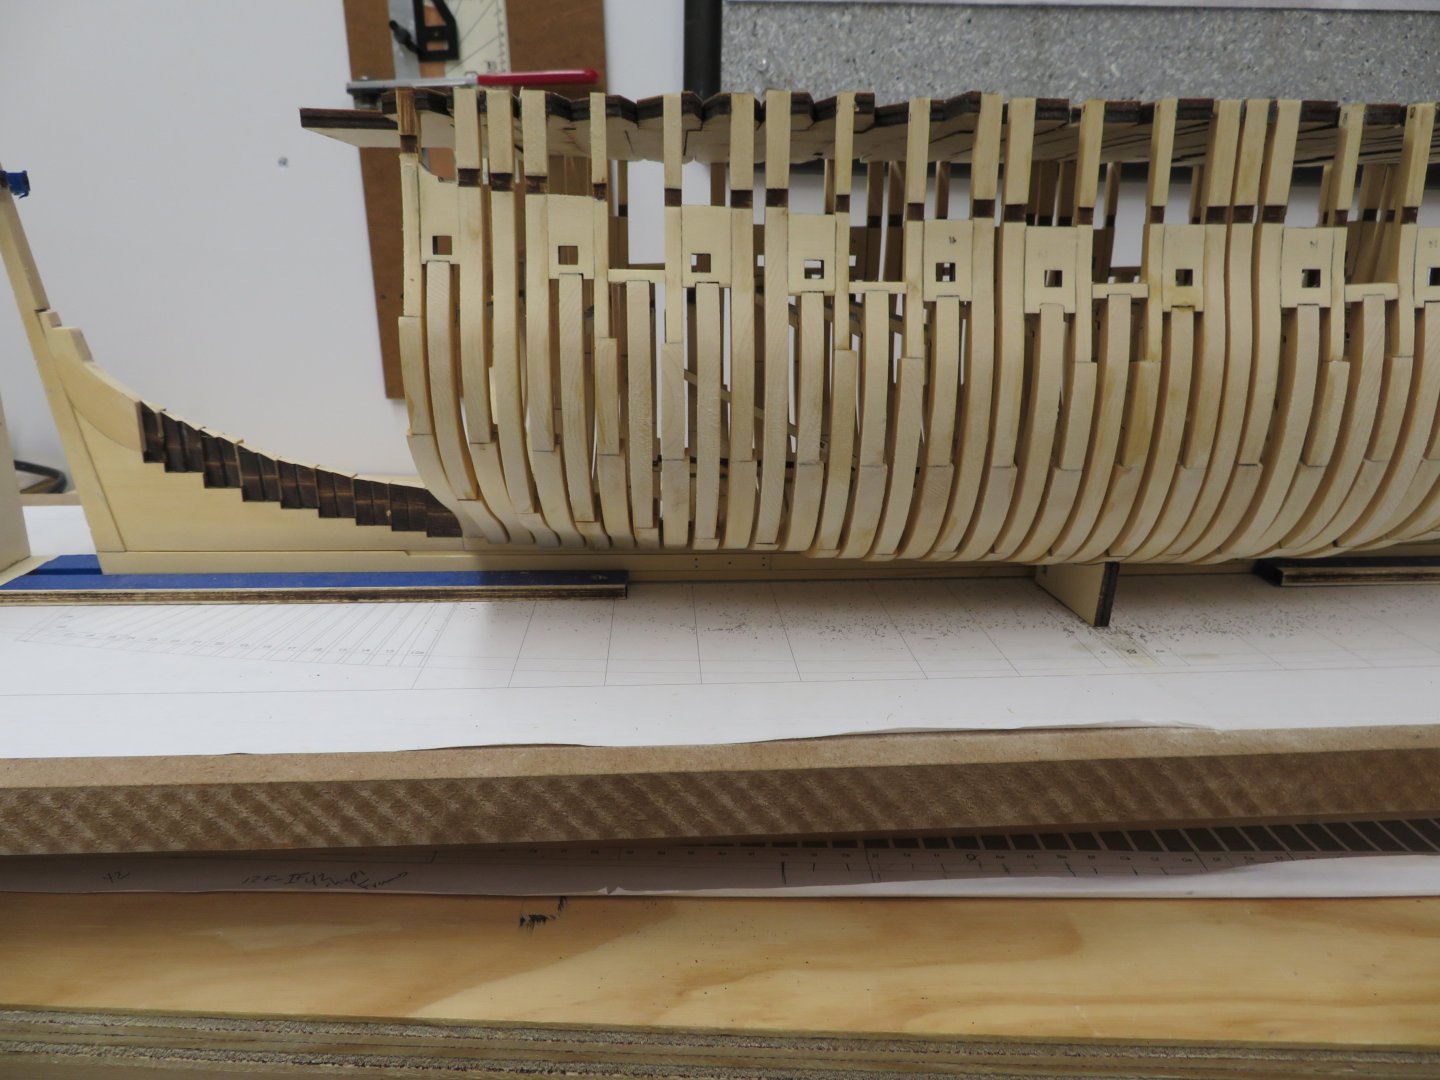
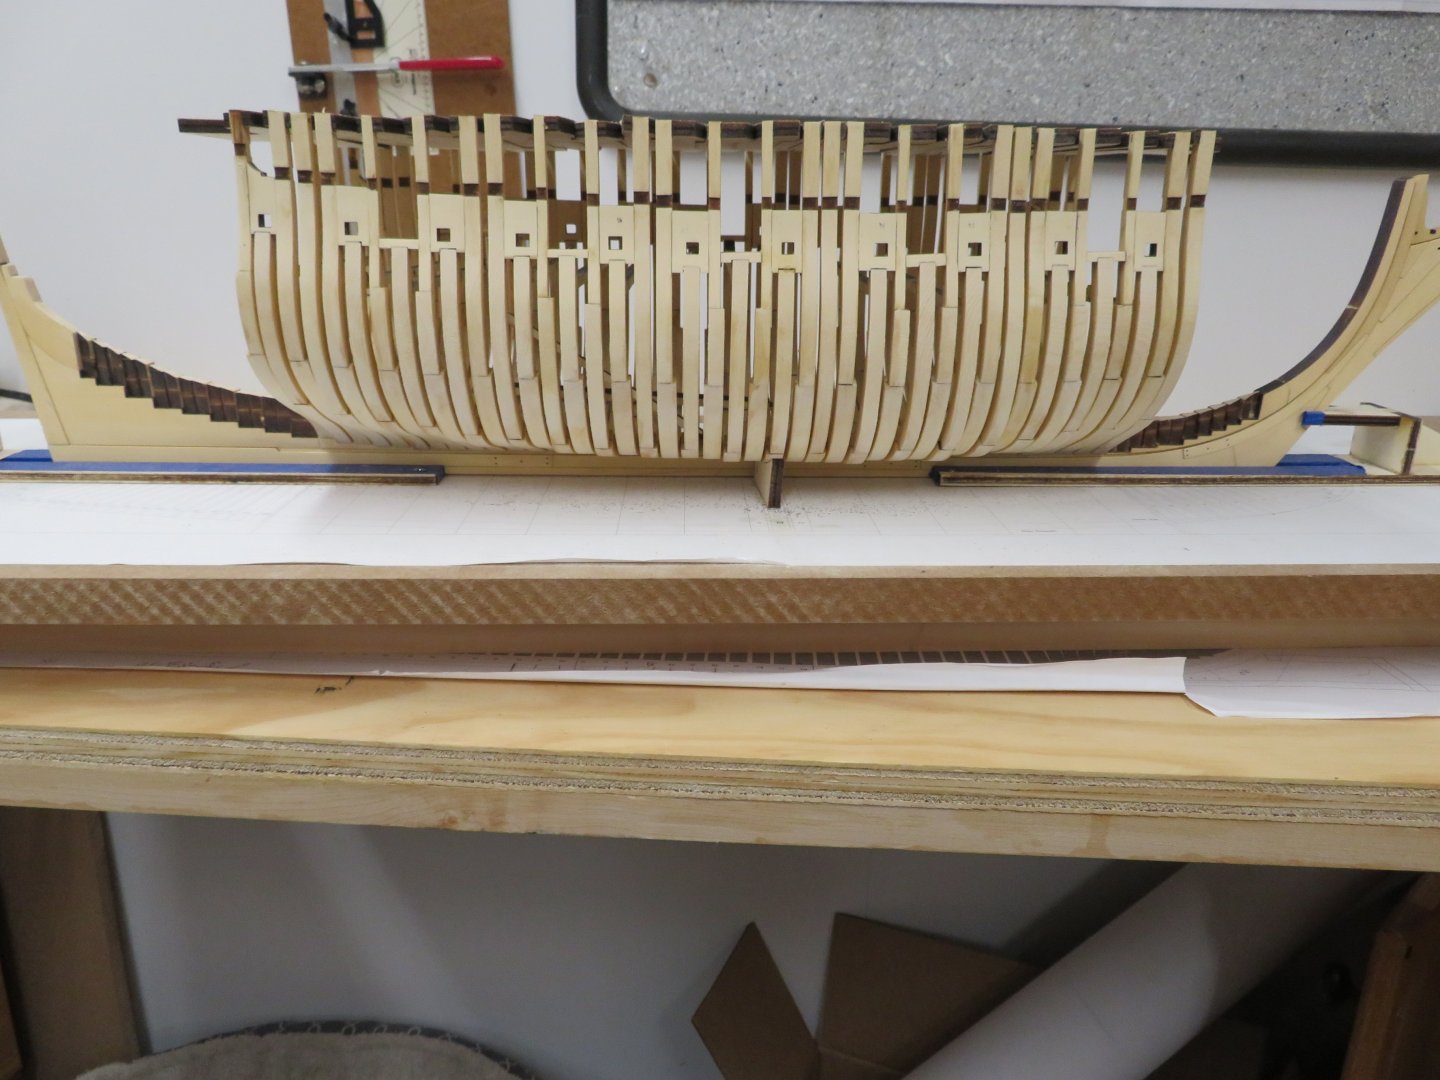
Chapter One is completed sort of. All the frames have been placed, sweep port and gun ports all framed in. Next I'll have to spend several days fairing the hull. A fairly decent amount of sanding is needed to get the hull close to where I would like it to be before proceeding on to Chapter Two. This will have to wait though as we're heading out on vacation for the next three weeks. Happy to be going away, sad no modeling! 😂
-
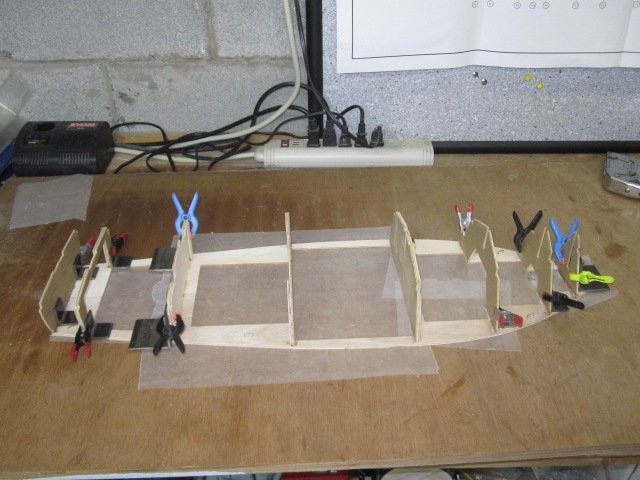
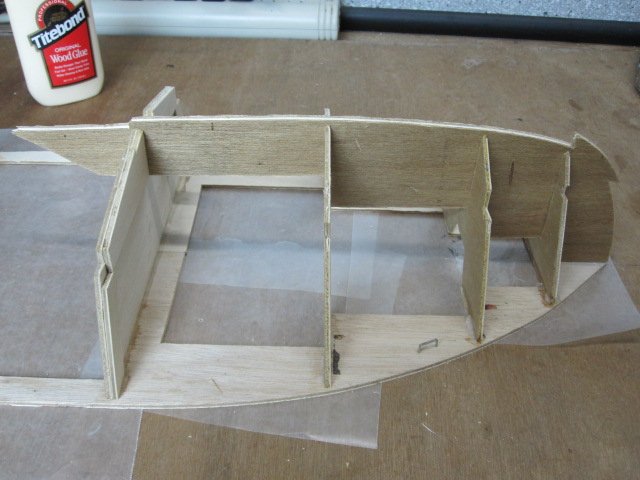
Hi Tim, I do not have the instructions or plans anymore, and it was over 12 years ago so the memory is a little sparce to say the least. Plus my build log was lost in the great crash several years ago. First with the end grain of the frames I used a lot of yellow wood glue. It will fill in the spaces and it held nicely. I looked at some pictures and center and aft frames were glued at right angles. I would test the fore center piece to see how it fits. That might help determine how the angles should be. I hope this helps some.
- 8 replies
-
- 1
-
-
- Dumas
- Chris-Craft
- (and 1 more)
-
Thank you for sharing and your build looks great! Greg has good advice and either method should produce results that you will like. I'll be sure to pay attention to that area once I get there. Also, thanks everyone for stopping by and all the likes.
-
Another creative idea that I'll store away. Thanks!
-
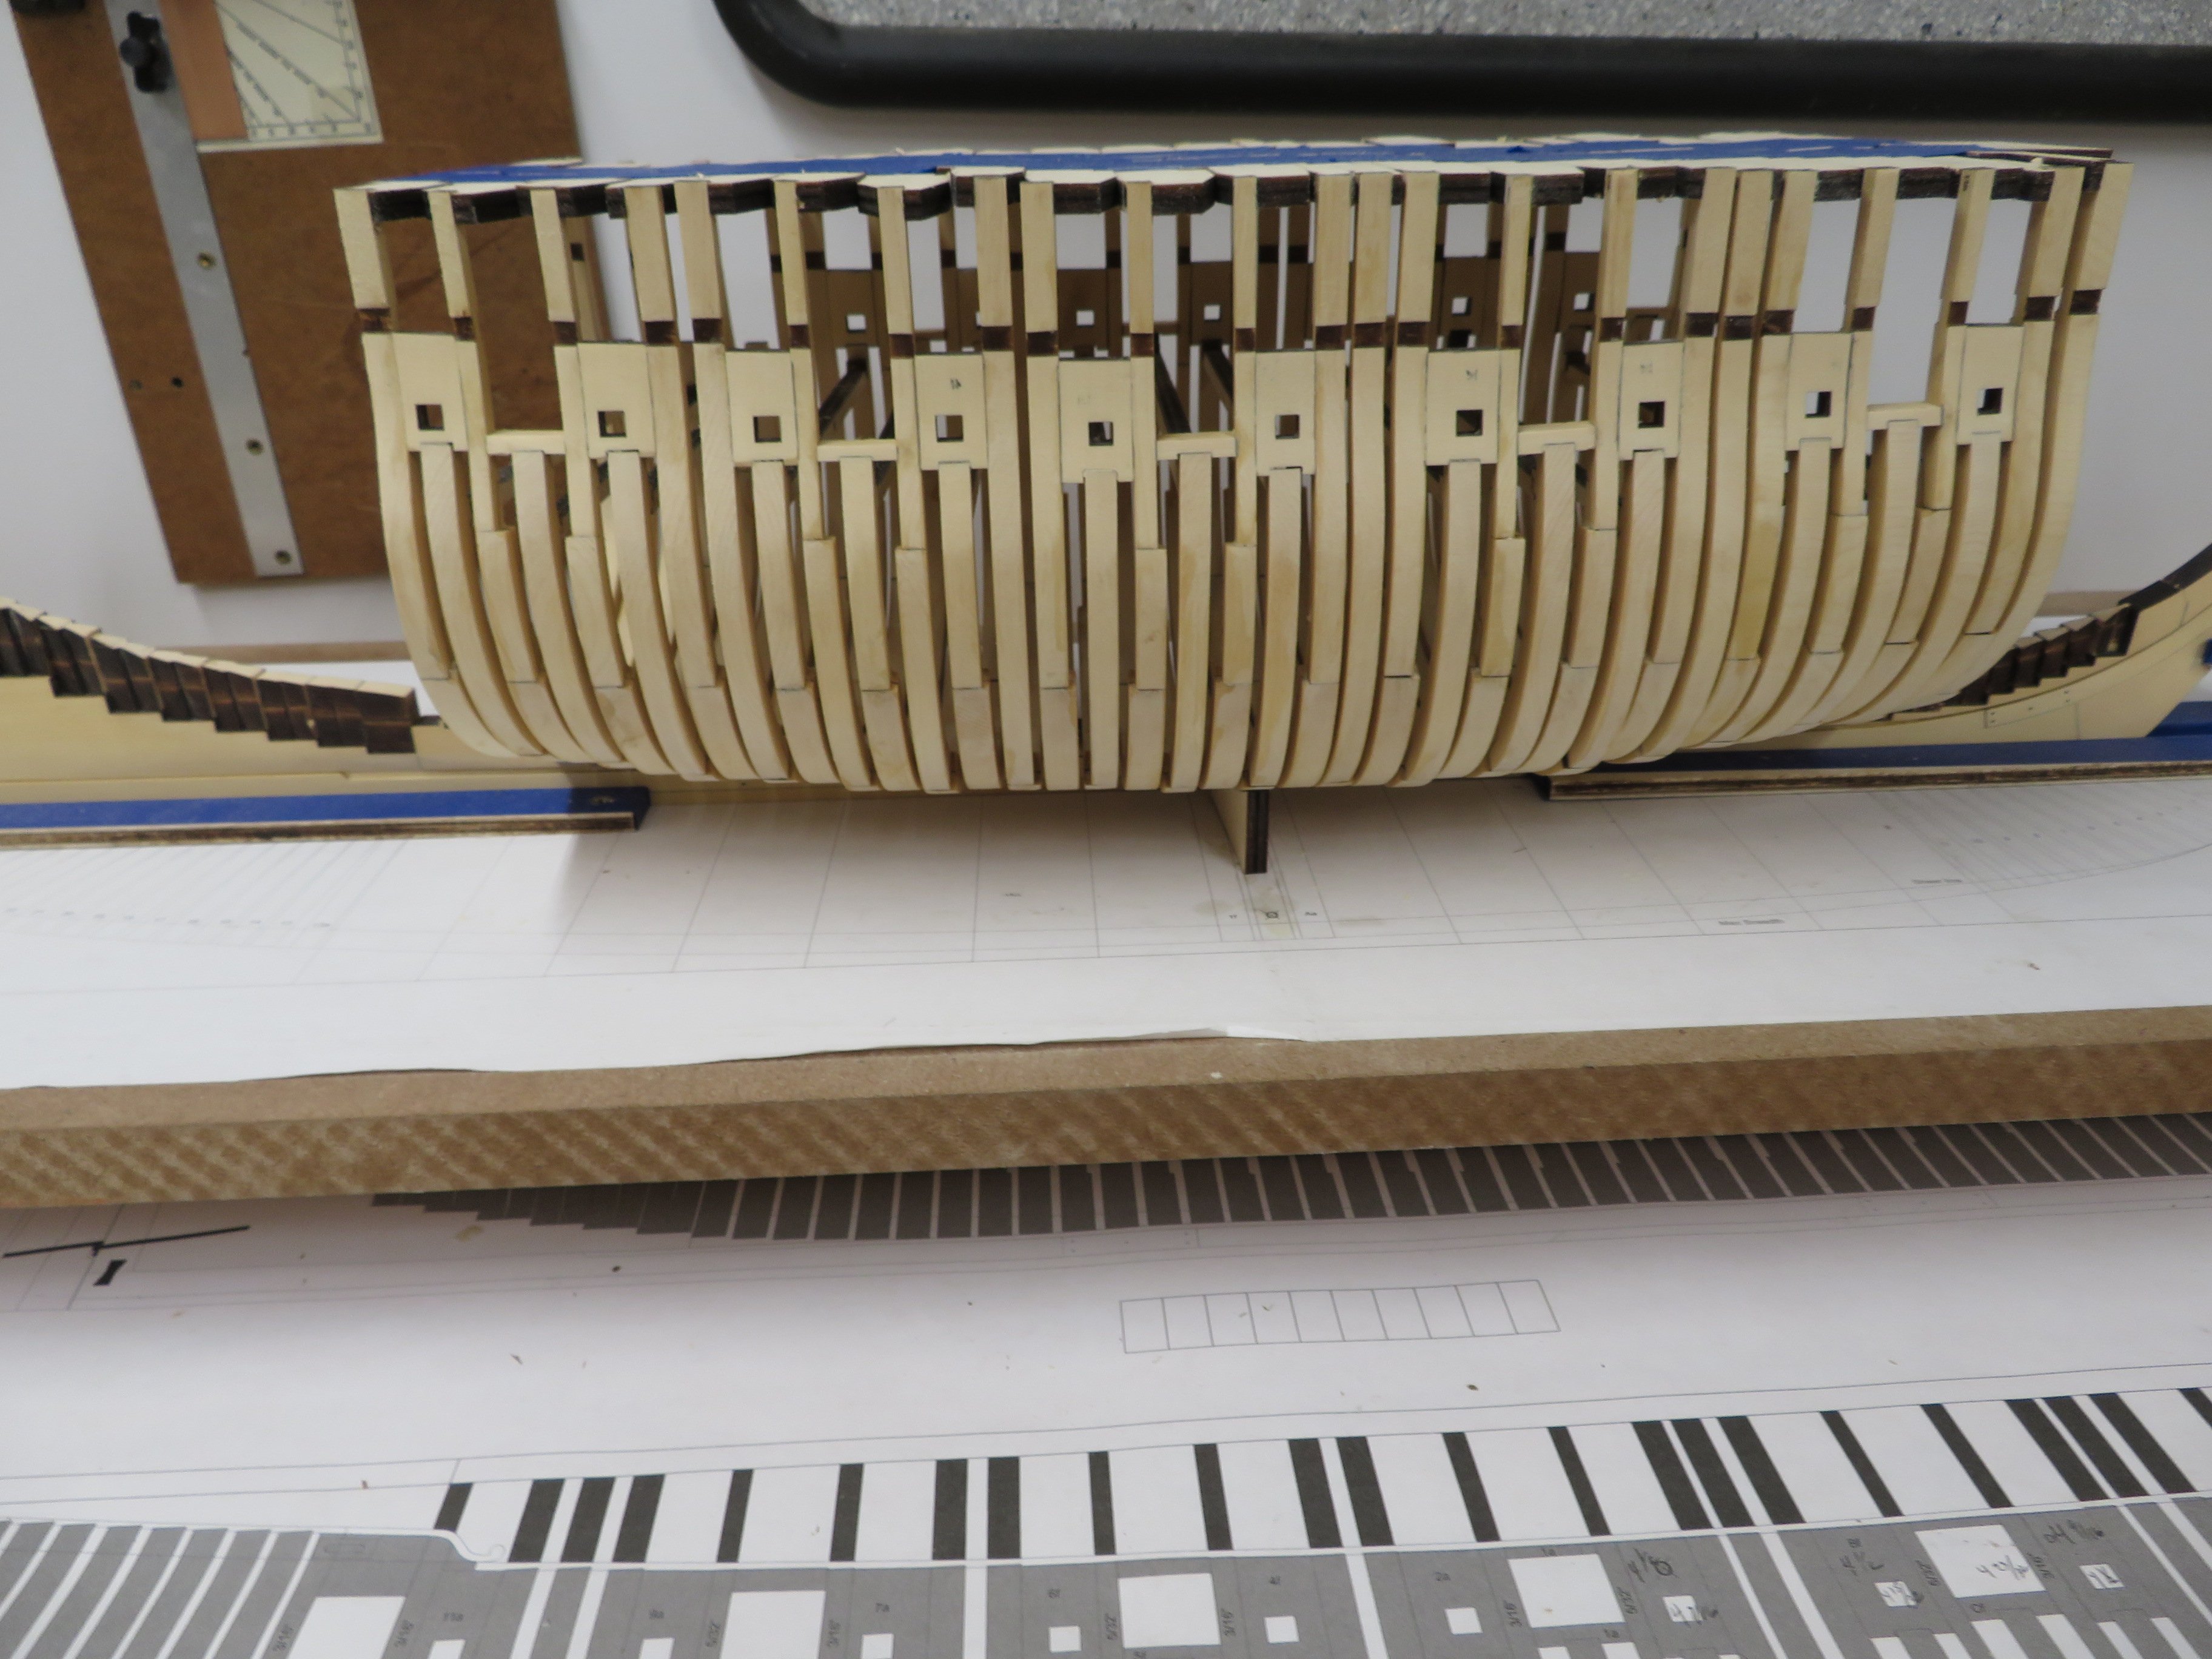
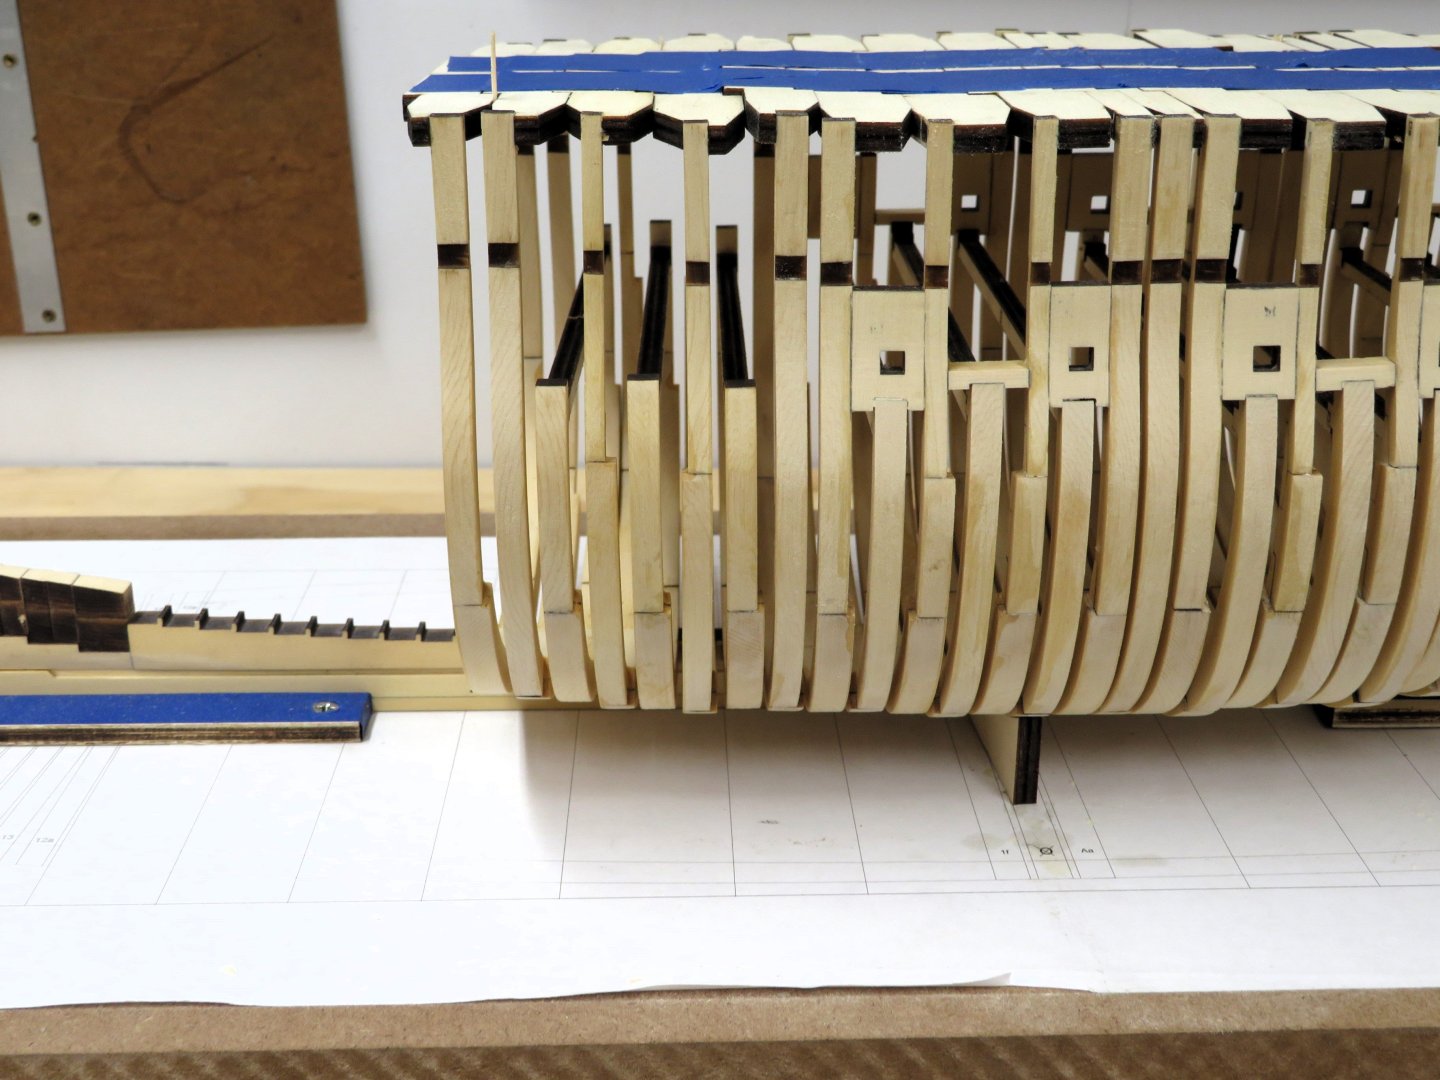
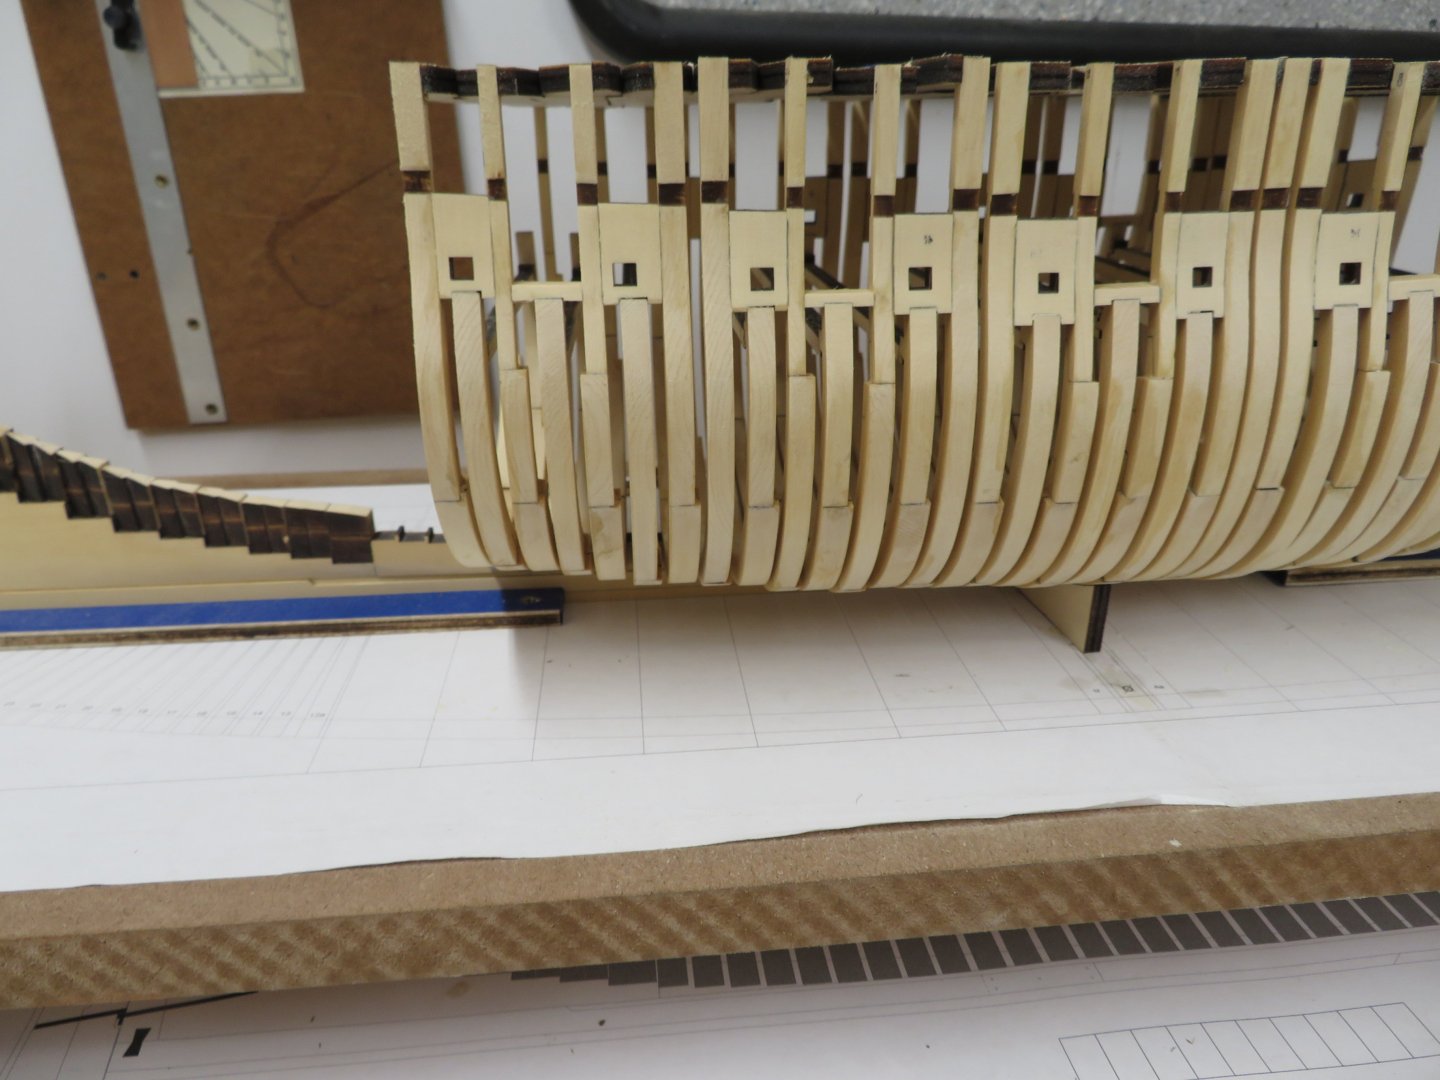
I'm slowly working my way aft adding frames, sweep port and gun port framing. Nothing unusual just install a frame, keep checking the template and plans and then add another one then repeat. Four frames to go then it will be time to do some preliminary fairing the hull.

-
Oh that is sooooo nice. Such clean work. I'm envious of Chuck being able to see it in person.
-
She's looking really good!
-
Chuck's innovative design really helps. I little tweak with a toothpick or wood shim to align with the template and tape to hold it in place works wonders.
-
Very well done Glenn! Your hard work really paid off. That is great result which is a testament to your dedication to getting it right.
- 840 replies
-
- 2
-
-
- winchelsea
- Syren Ship Model Company
- (and 1 more)