HOLIDAY DONATION DRIVE - SUPPORT MSW - DO YOUR PART TO KEEP THIS GREAT FORUM GOING!
×


Rustyj
-
Posts
2,530 -
Joined
-
Last visited
Content Type
Profiles
Forums
Gallery
Events
Everything posted by Rustyj
-
 As expected, your cutting and assembling of the frames is exceptional!
 -
That is really beautiful!
-
Outstanding work Grant!
-
Very nice.
-
Great to hear your getting some time to your self. Wave when you go by!😄
-
Ouch. Tough way to start the day but I know you'll get it all sorted out!
- 648 replies
-
- 4
-

-
- Indefatigable
- Vanguard Models
- (and 1 more)
-
Very well done Don. That is a fine looking model and congratulations on the twin grandchildren!
- 144 replies
-
- 2
-
-
- winchelsea
- Syren Ship Model Company
- (and 1 more)
-
Hi B.E. I just spent a very pleasant time catching up on your build log. Very well done!
- 648 replies
-
- 2
-
-

-
- Indefatigable
- Vanguard Models
- (and 1 more)
-
I all. Well, we made it back without any serious issues driving though the Admiral nearly ripped the door handle off a time or two! We had a wonderful time and as astonishing as it might seem two weeks in England, Scotland and Wales and NO RAIN! Umbrellas and raincoats stayed tucked away. I must say that though she's undergoing an overhaul, touring the Victory was simply fabulous! Thank you Frank for your kind words. Thanks Ben. Yep sound advice but that look right first thing either pulling out or crossing the road almost got me a couple of times.😲 Thank you Dusan, I look forward to continuing to following your build. Thank you JJ. Again I'll continue to enjoy your build and also your new project! Again thank you to all of you who have followed along, supported and liked throughout this thoroughly enjoyable project.
- 642 replies
-
- 5
-
-
- winchelsea
- Syren Ship Model Company
- (and 1 more)
-
Hi Grant. I just had a wonderful time catching up on your build. I'd never thought much about doing something like this but seeing your fine work has really piqued my interest.
-
Well I have to say it was really enjoyable catching up on your progress. Your work is so clean and crisp!
-
Thank you Greg. Your kind words are very appreciated. Also thank you so much Dave, Steve20, Steve, John and Jim. Chris your work with pear was an inspiration to me. Thank you all for stopping by and the likes. On a side note I spent the last couple of days doing a deep cleaning of all the cabinets, drawers and counters here in the shop. Rediscovering items I forgot I had and items I wondered why I still had. I also will be out of touch for a couple of weeks. Going on a two week journey across the pond to England, Scotland and Wales with the Admiral. For all of my friends in the UK, watch out for the crazy American trying to drive on the wrong side of the road! 🤣 🚑 See you later!
- 642 replies
-
- 6
-
-
- winchelsea
- Syren Ship Model Company
- (and 1 more)
-
Great work Mike!
-
Thanks Chris. The great design really helped produce the finished product. Thanks Adam. It was a lot of fun working in pear and cherry. Thanks Chuck, Mike and Matt. The display location and method are yet to be determined. For now she'll just be covered and stashed safely away. Thanks Valdimir, Grant and Jean-Paul. Thanks Matthias, Its been a pleasure watching your build too. Hey Glenn I feel the same about yours! Thank you Steve and Ryland. Much appreciated. Thanks Peter, It's always fun to try some different colors. I'm glad it worked. Thank you everyone for the kind words and likes.
- 642 replies
-
- 4
-
-
- winchelsea
- Syren Ship Model Company
- (and 1 more)
-
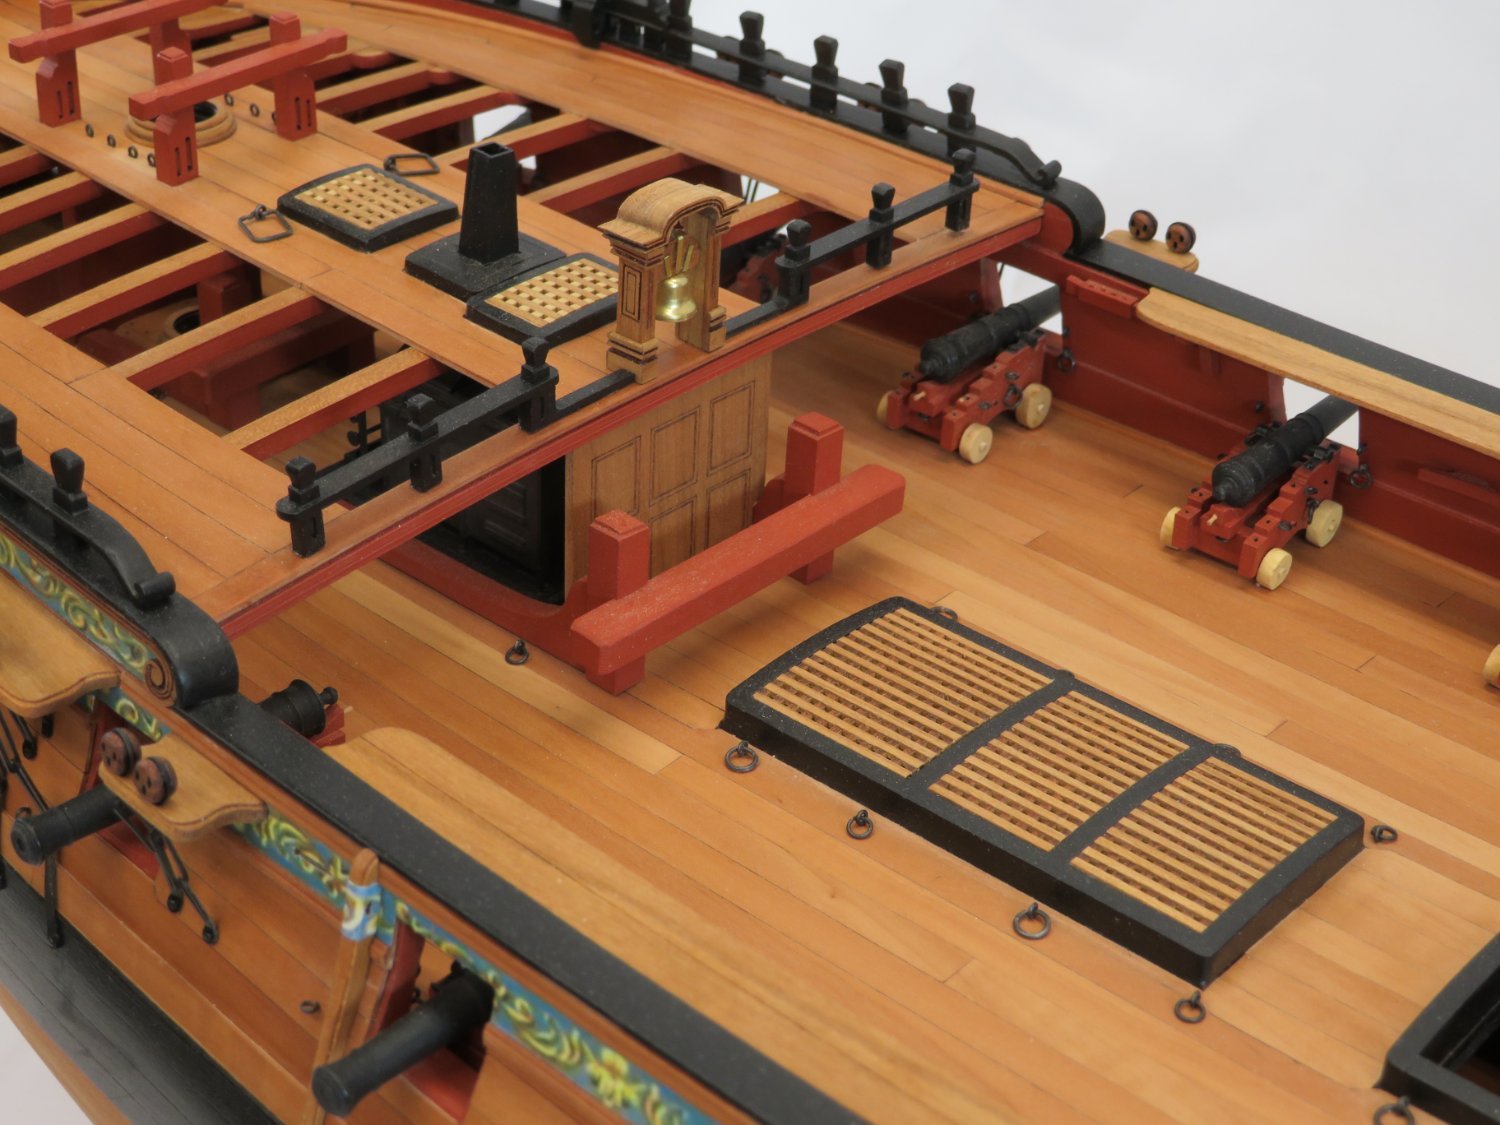
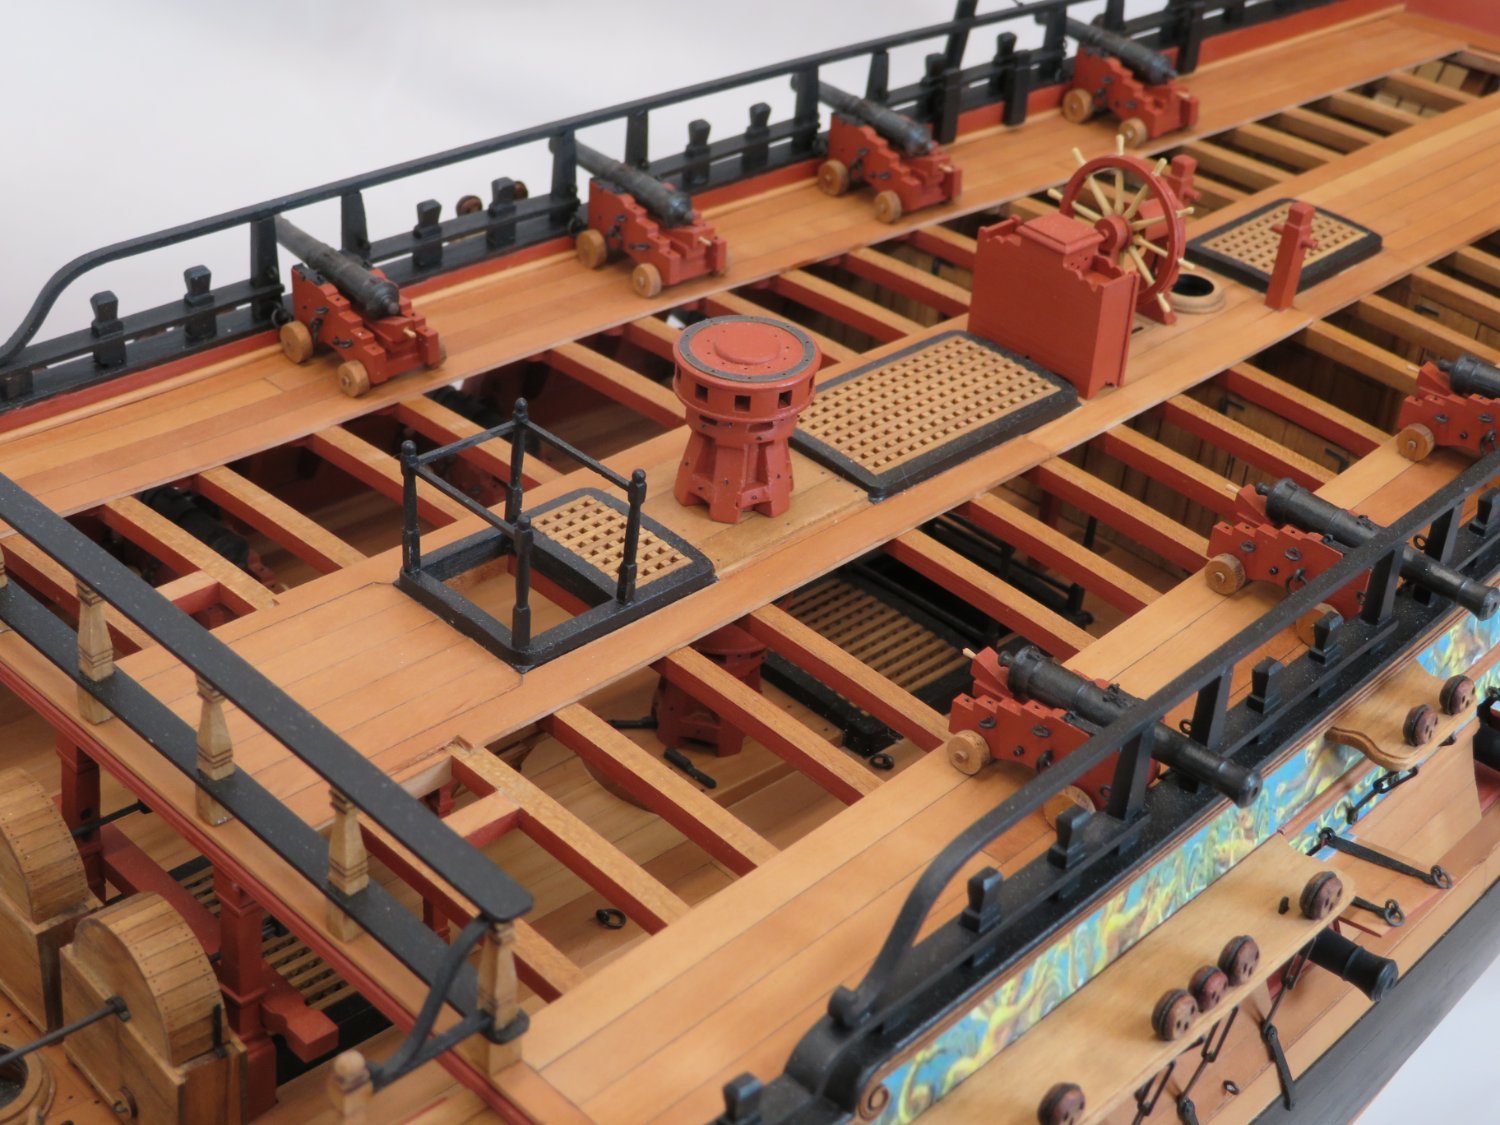
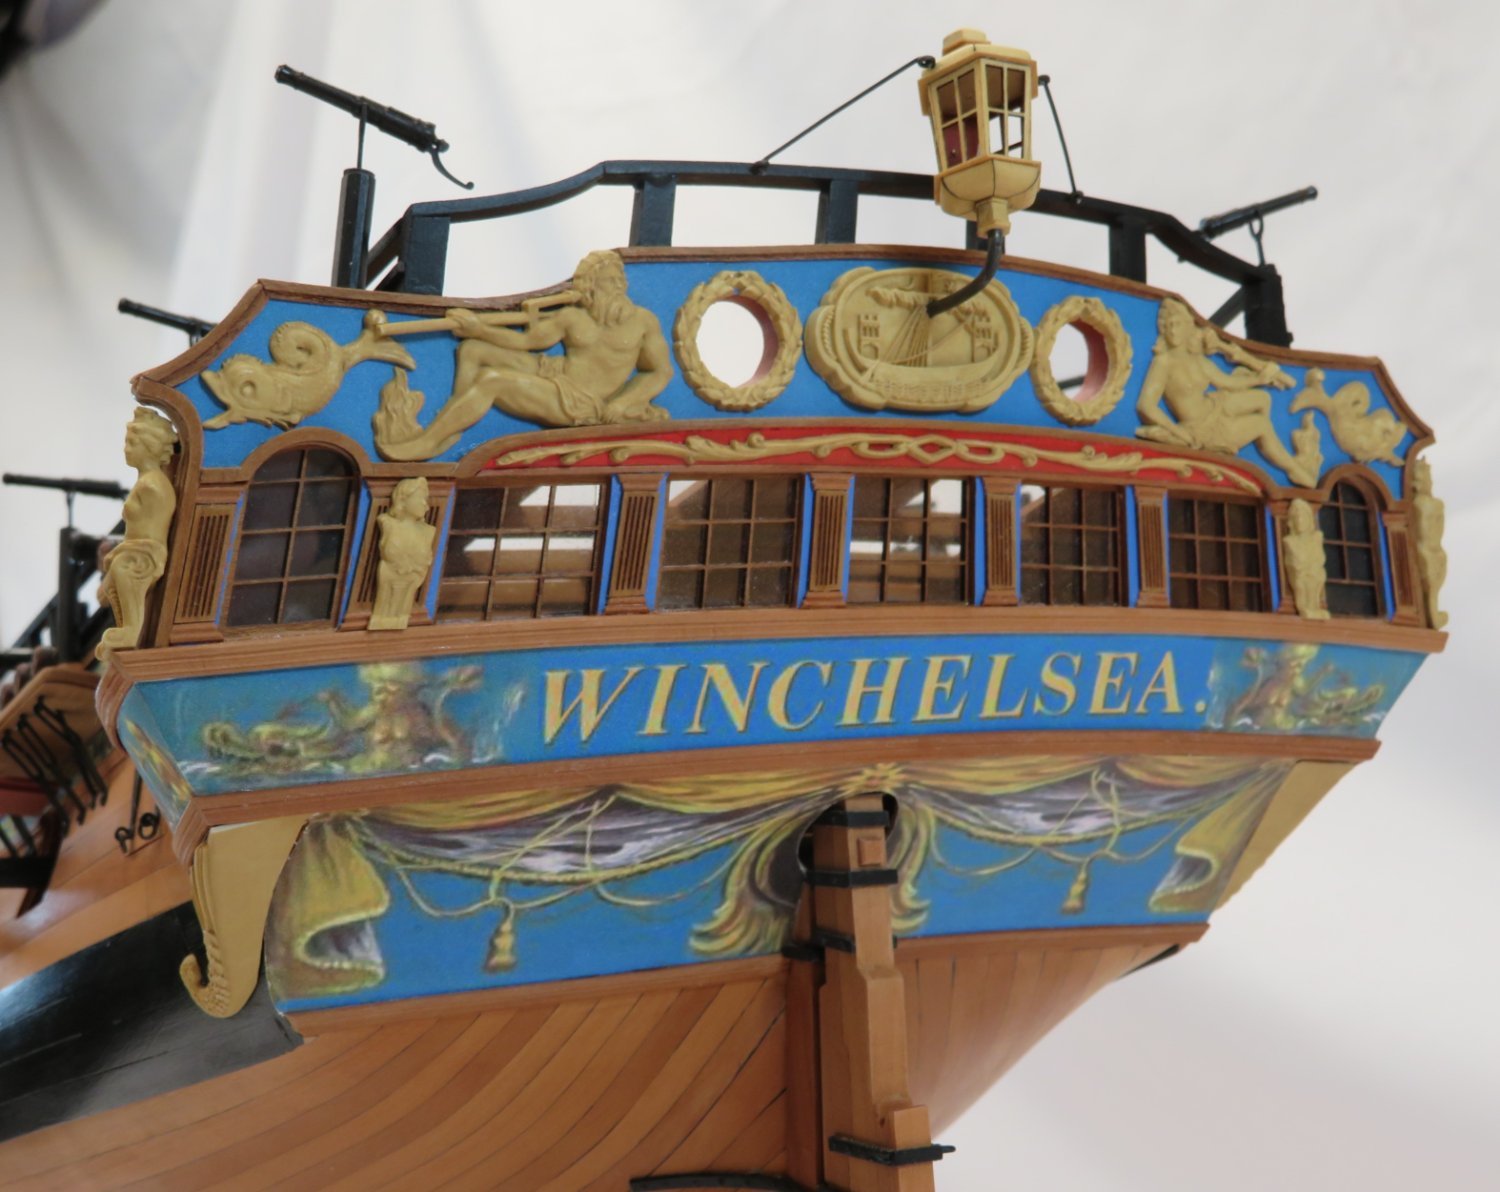
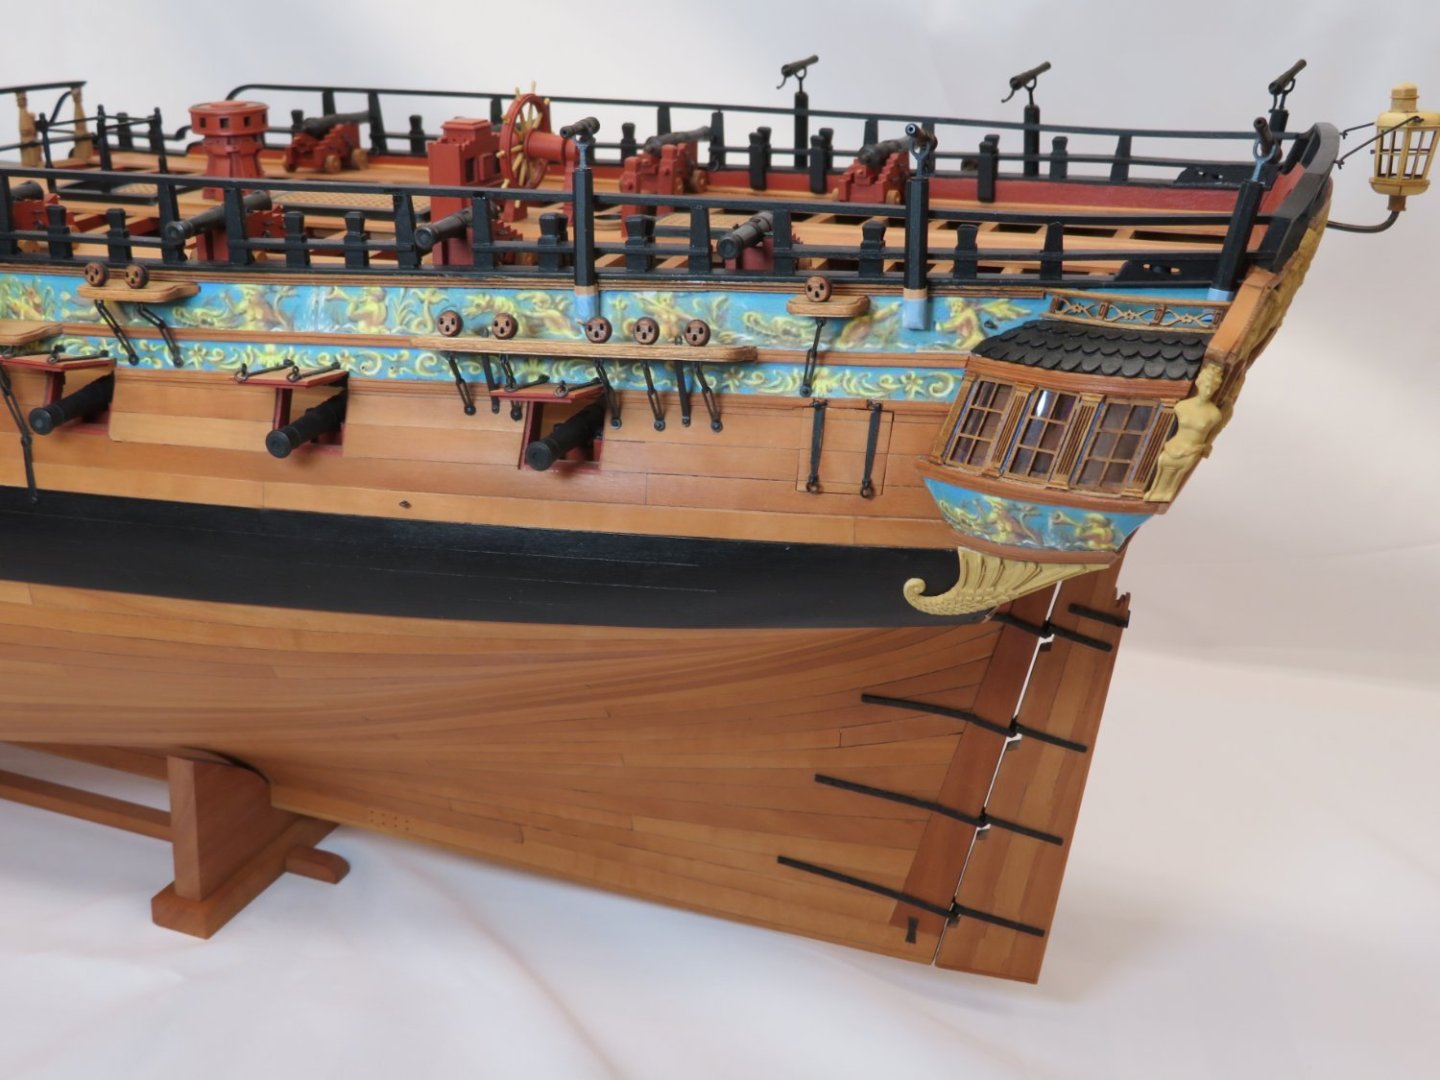
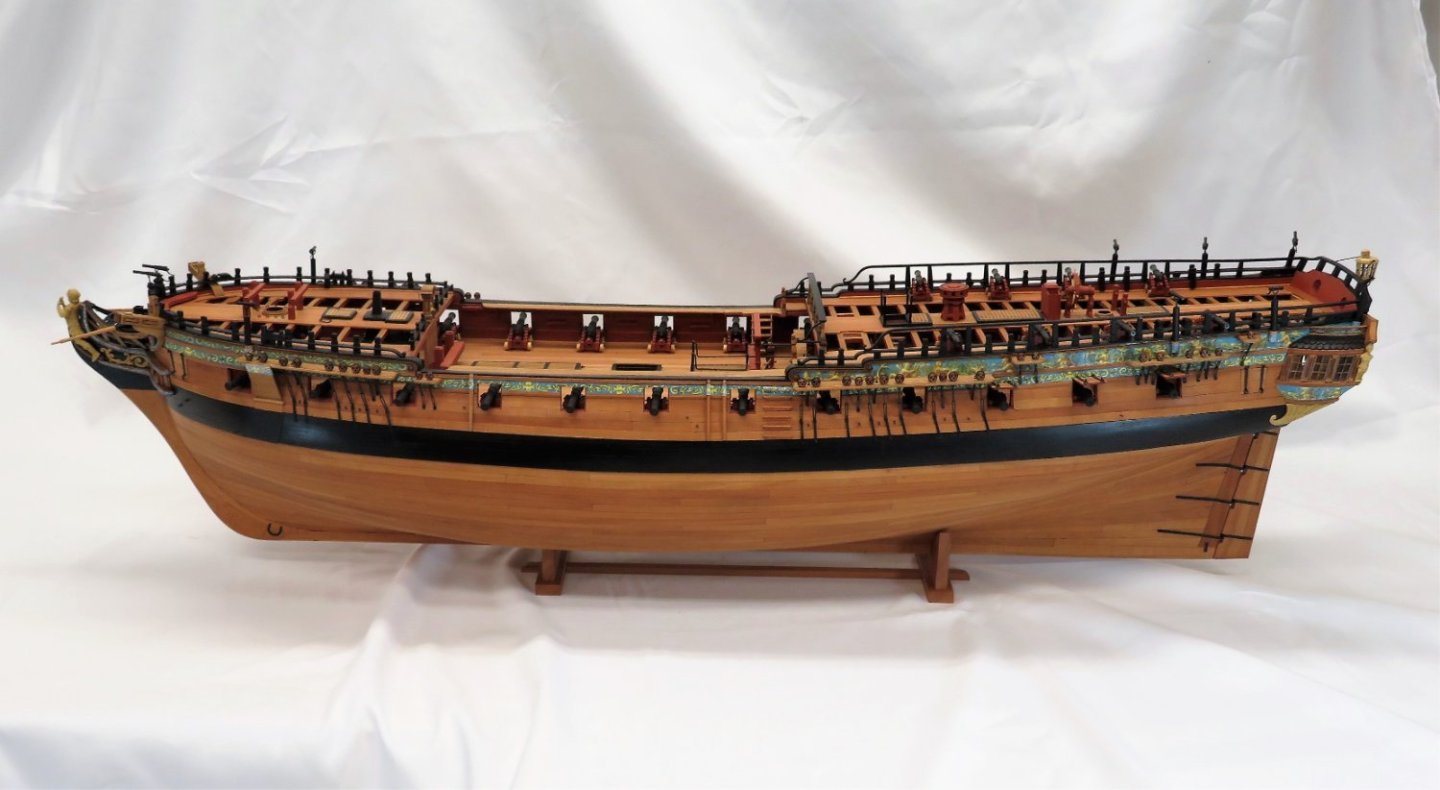
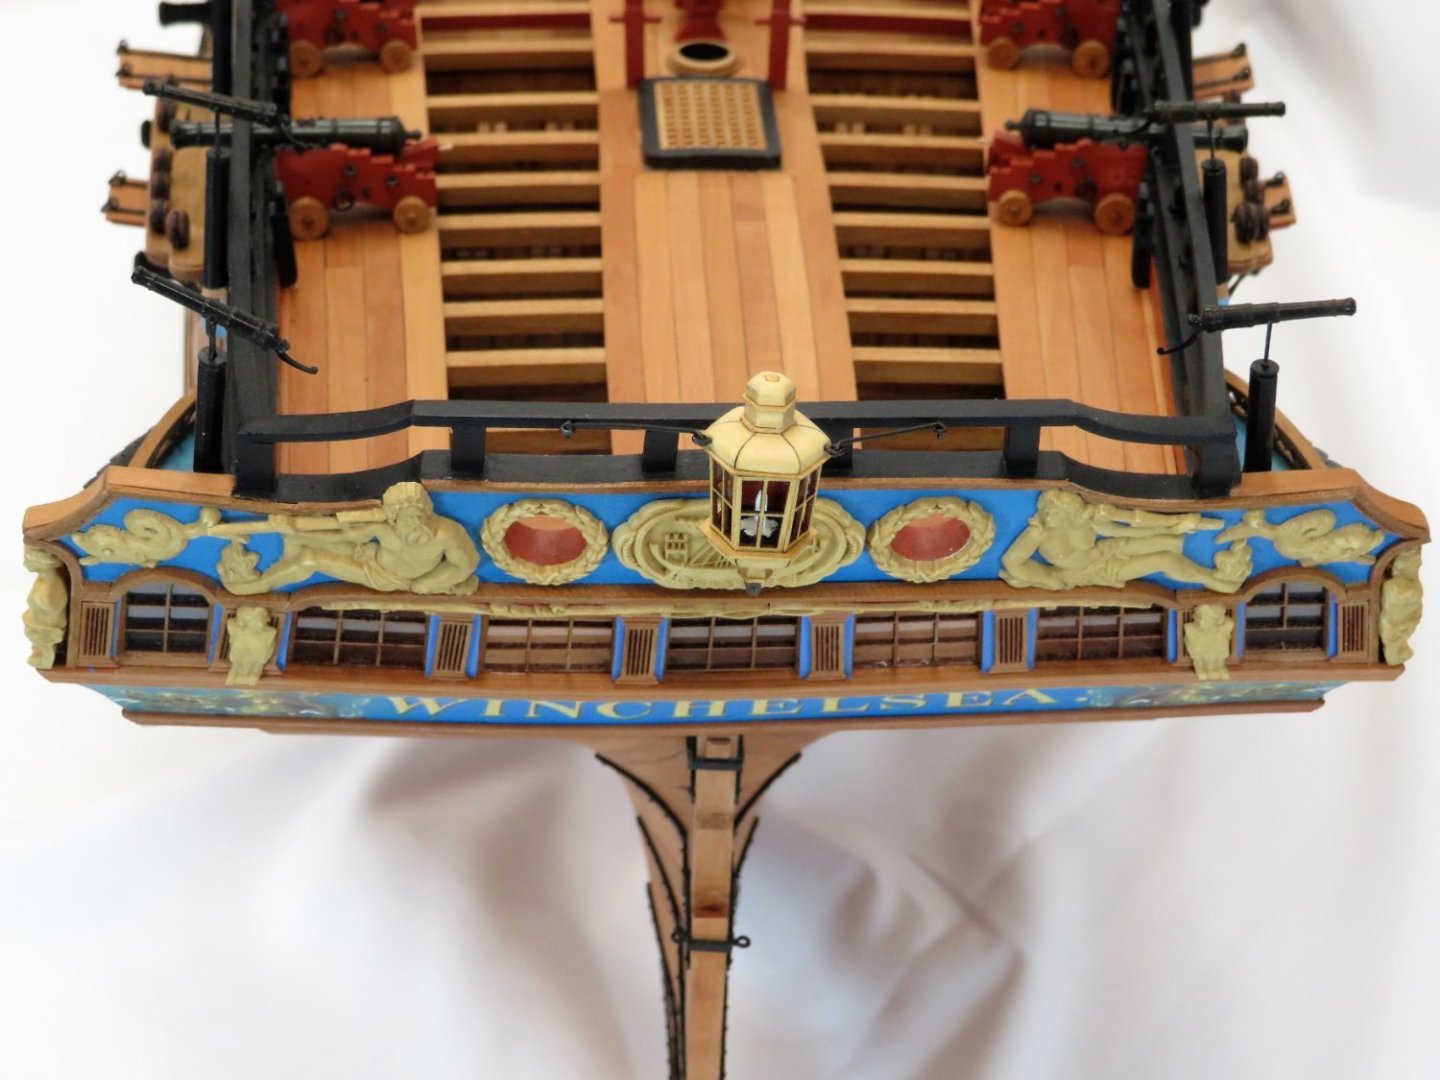
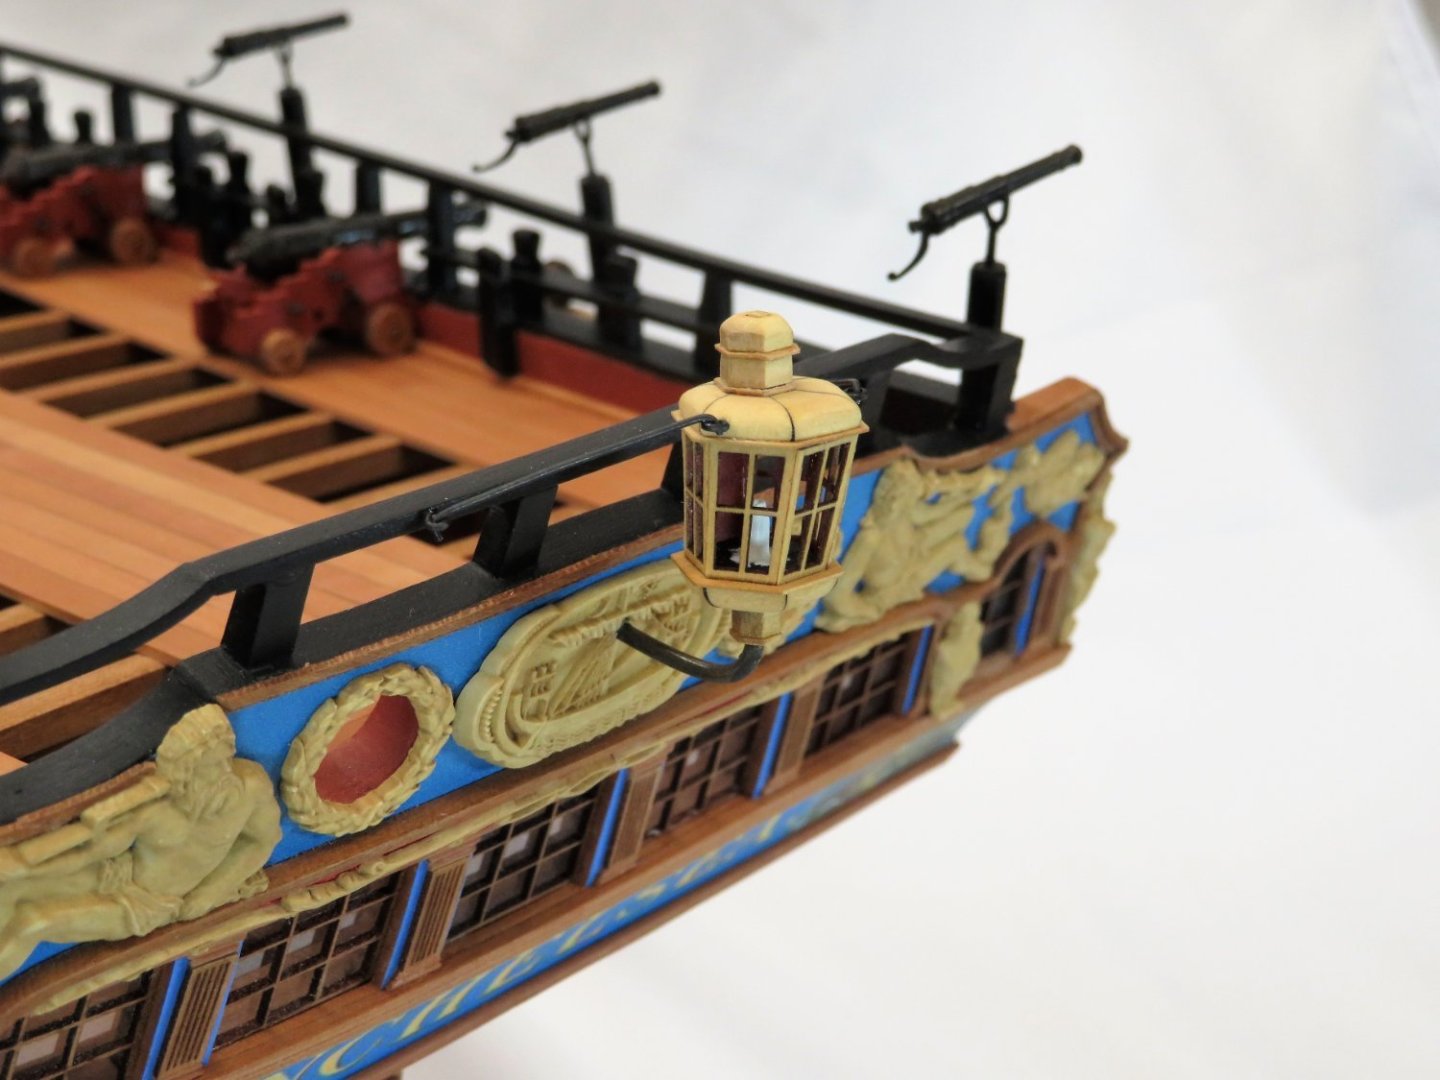
Thanks Matt and Glenn. Also thanks for all the likes and advice throughout this wonderful build. A special thanks goes out to Chuck for putting together such fantastic model! I started this adventure back on September 30, 2019. It has been a great learning experience. I got to watch some very nice Winnies being built. Enjoyed the comradery and friendship from so many of you who have the same passion as I do. Well, the lantern has been completed and added to the stern and with that my version of the Winchelsea is finished. Again, thank you for stopping by and most of all for your support, guidance and friendship!


- 642 replies
-
- 35
-
-

-
- winchelsea
- Syren Ship Model Company
- (and 1 more)
-
She's looking so smooth and graceful!
-
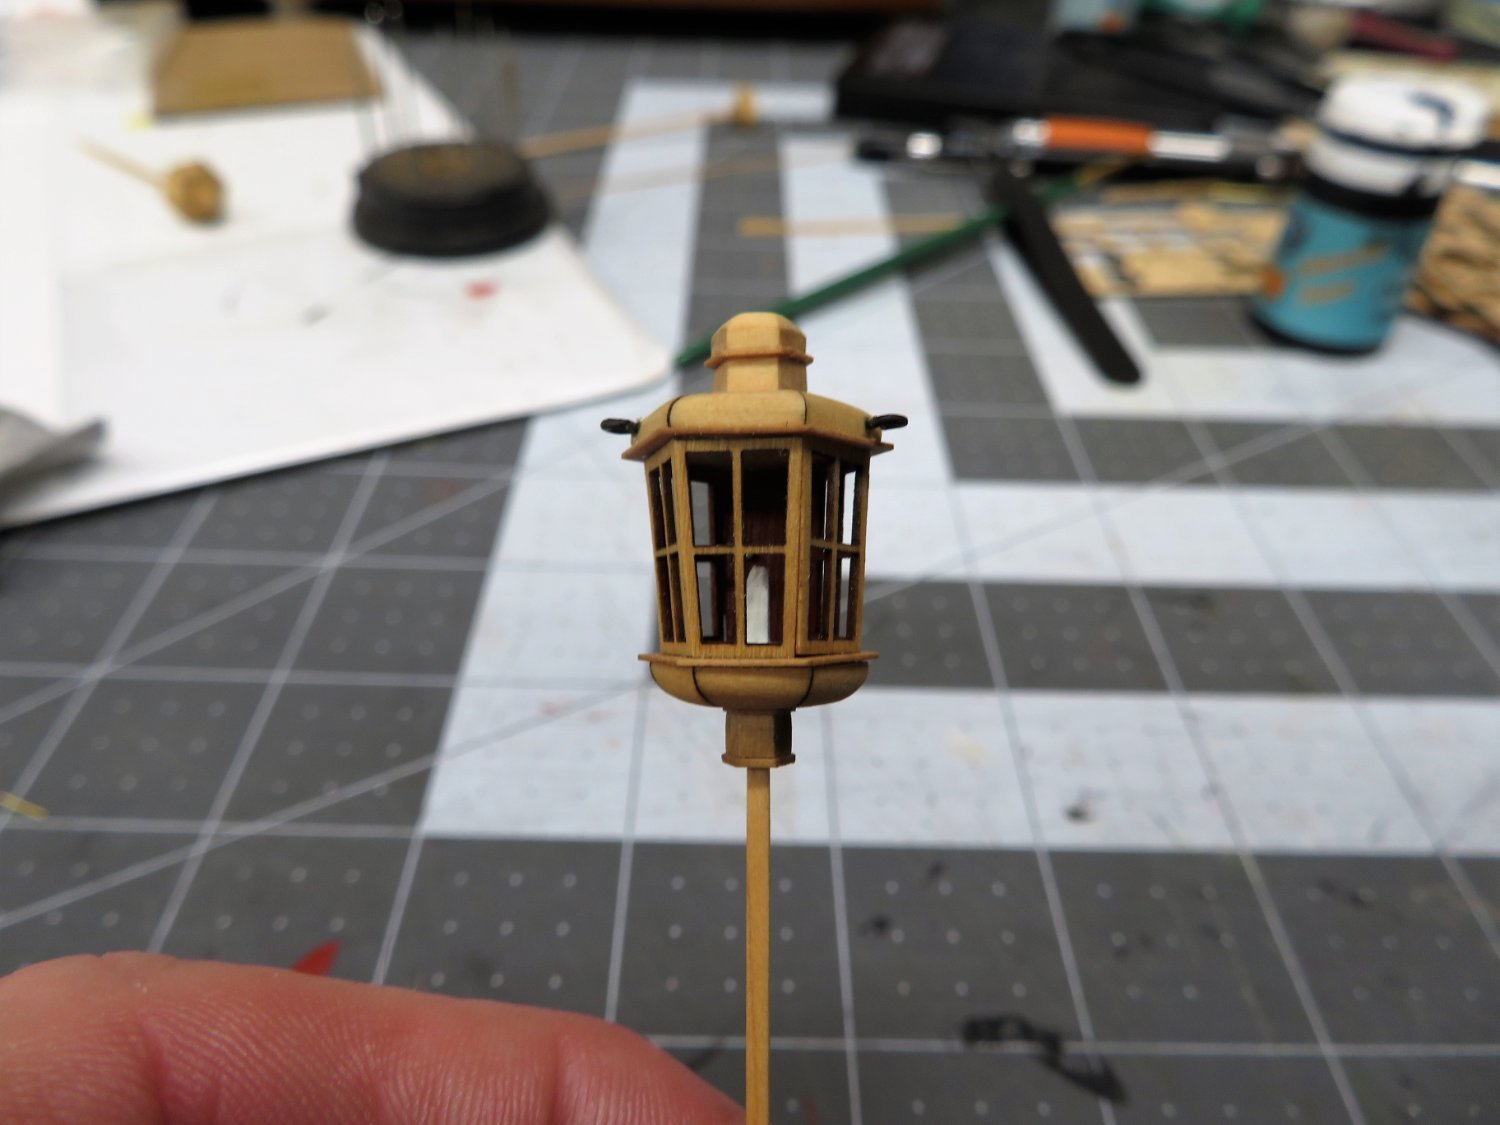
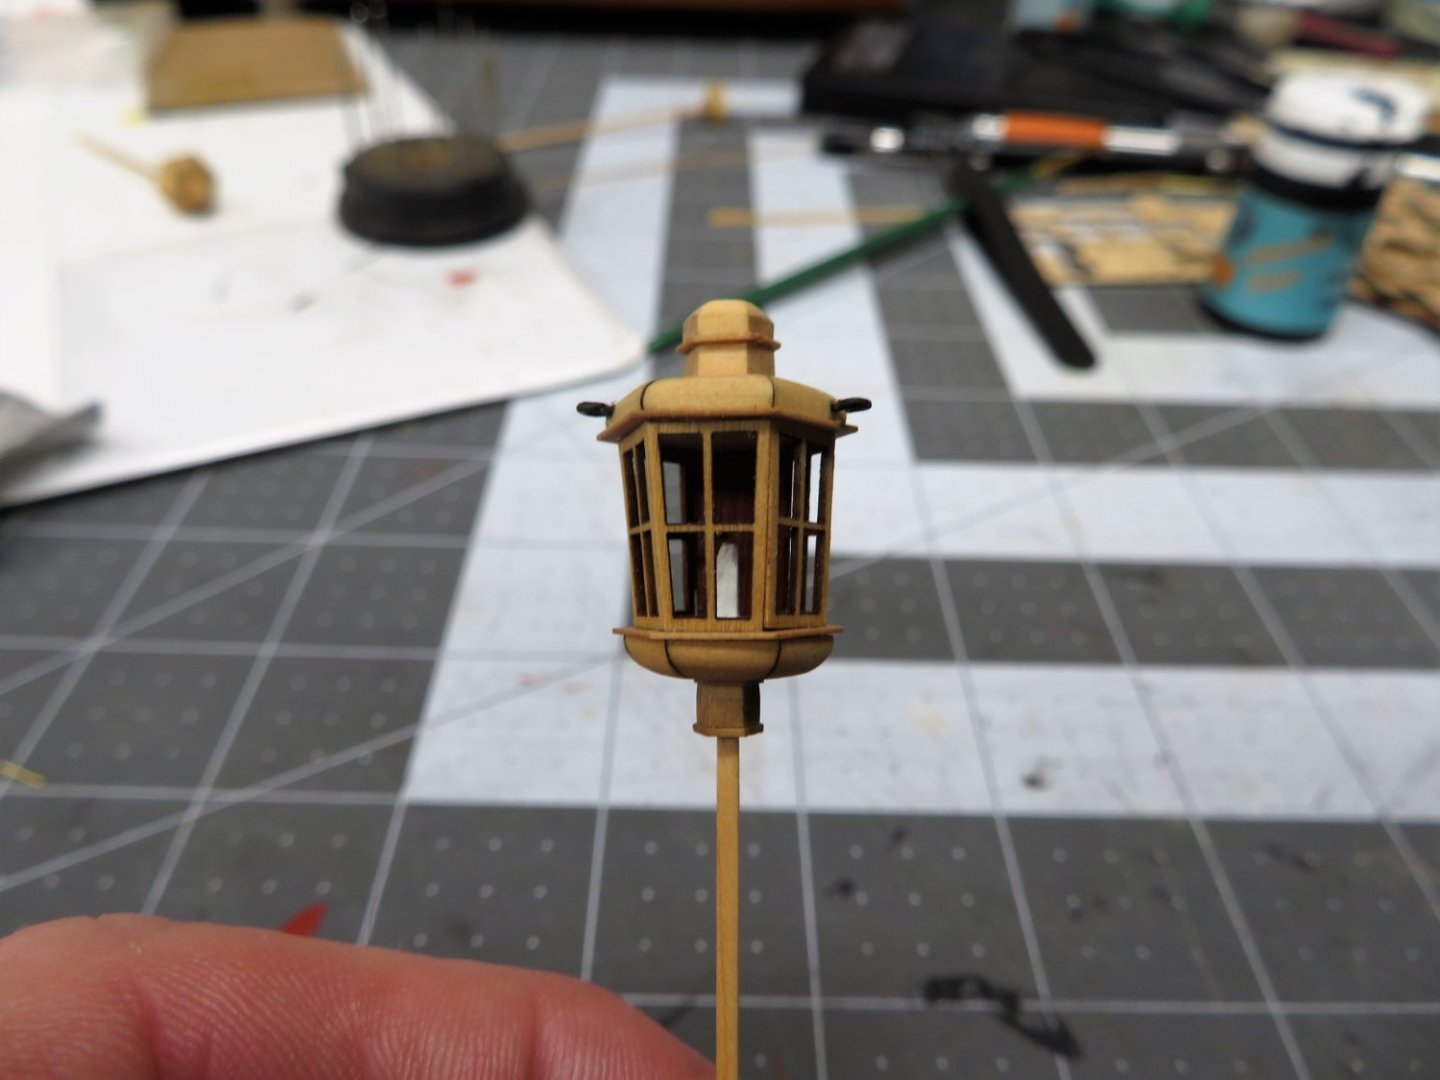
I've finished the stern lantern now. Just have to make the mounting bracket. I will make it out of brass rod instead of the supplied wood bracket. Nothing wrong with the wood I just have the rod. After that I'll mount it and then other than some cleaning, sigh, she's done.
- 642 replies
-
- 24
-
-
-
- winchelsea
- Syren Ship Model Company
- (and 1 more)
-
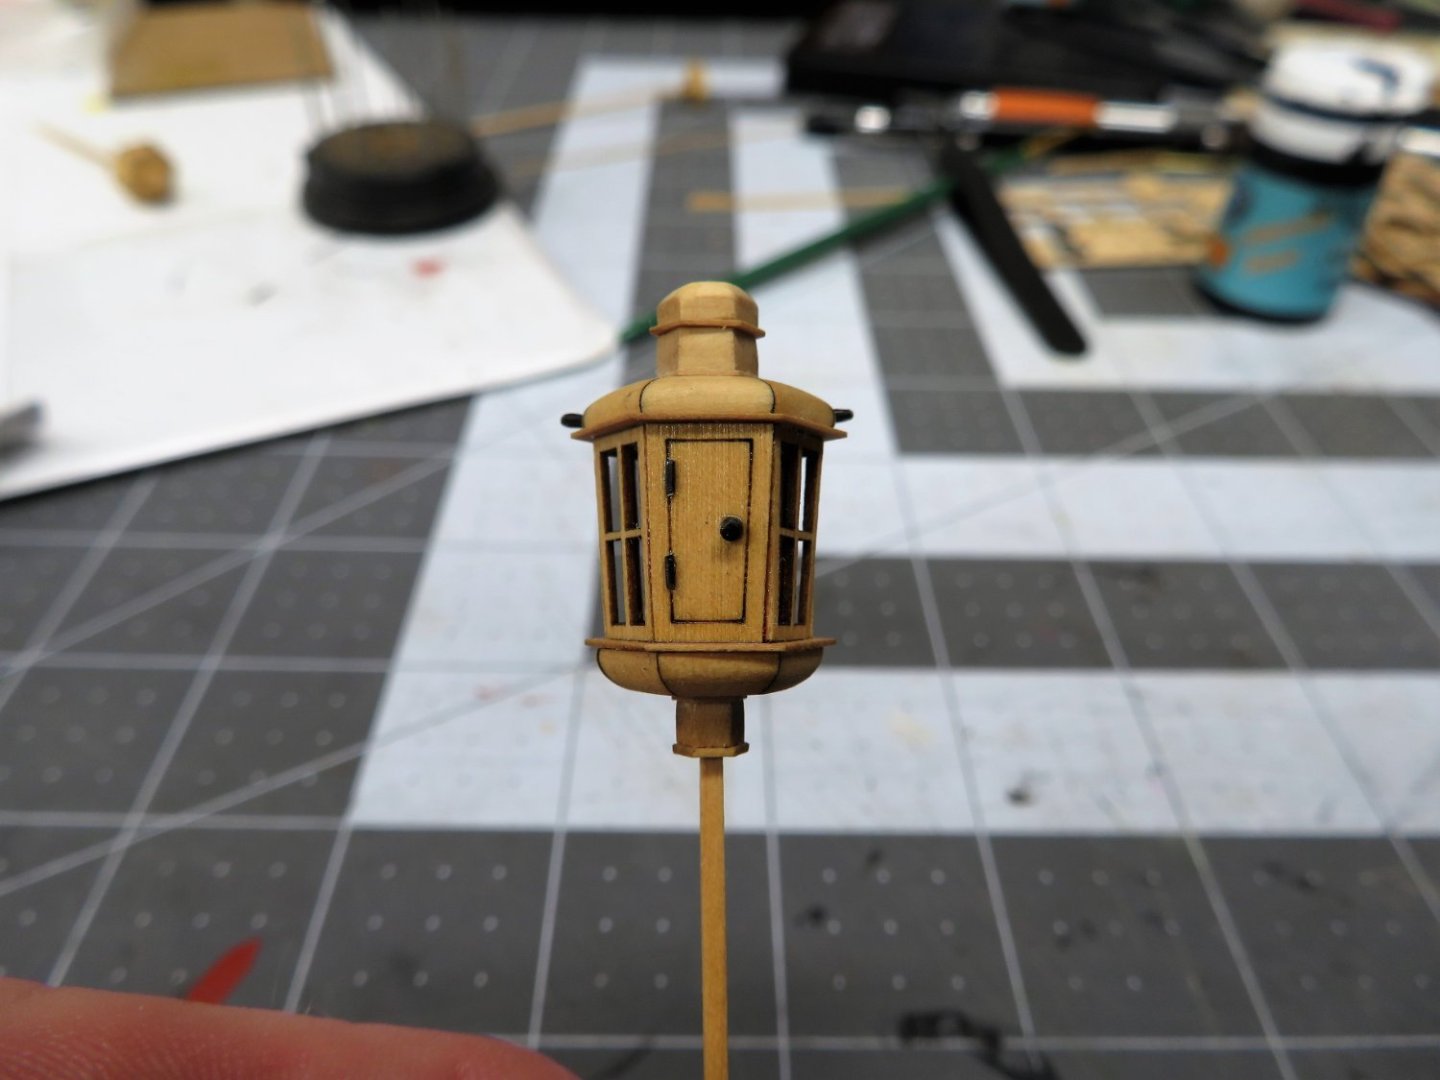
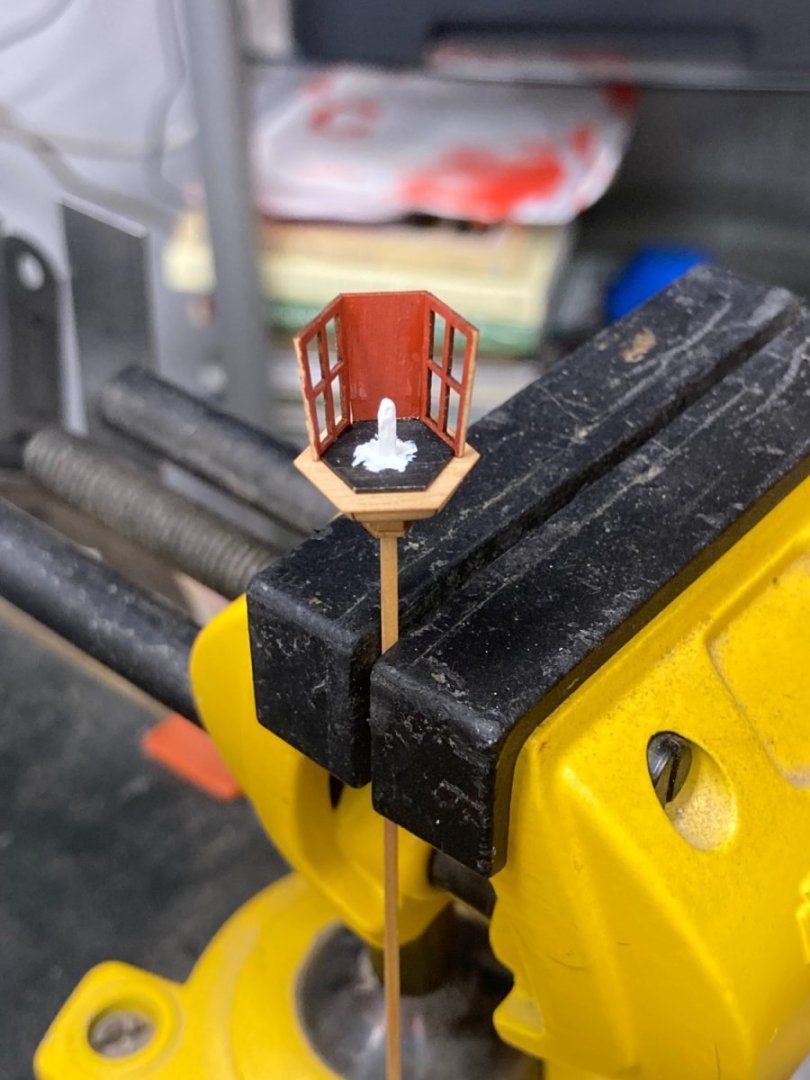
Work continues on the lantern. And yes I am dragging the end out just a little bit. 🤣 Thanks to you all for stopping by.

- 642 replies
-
- 20
-
-
- winchelsea
- Syren Ship Model Company
- (and 1 more)
-
Mine was 5/16" at its widest.
-
She's looking really great.
-
Hi B.E. Another thing I found out using pear is that to the eye pieces looked similar when untreated. But when a finish such as wipe on poly, like I used, the planks still took on a different appearance. If I were to do it again and were looking for a uniform look I would apply one light coat of finish then compare planks prior to planking.
- 648 replies
-
- 6
-
-
- Indefatigable
- Vanguard Models
- (and 1 more)
-
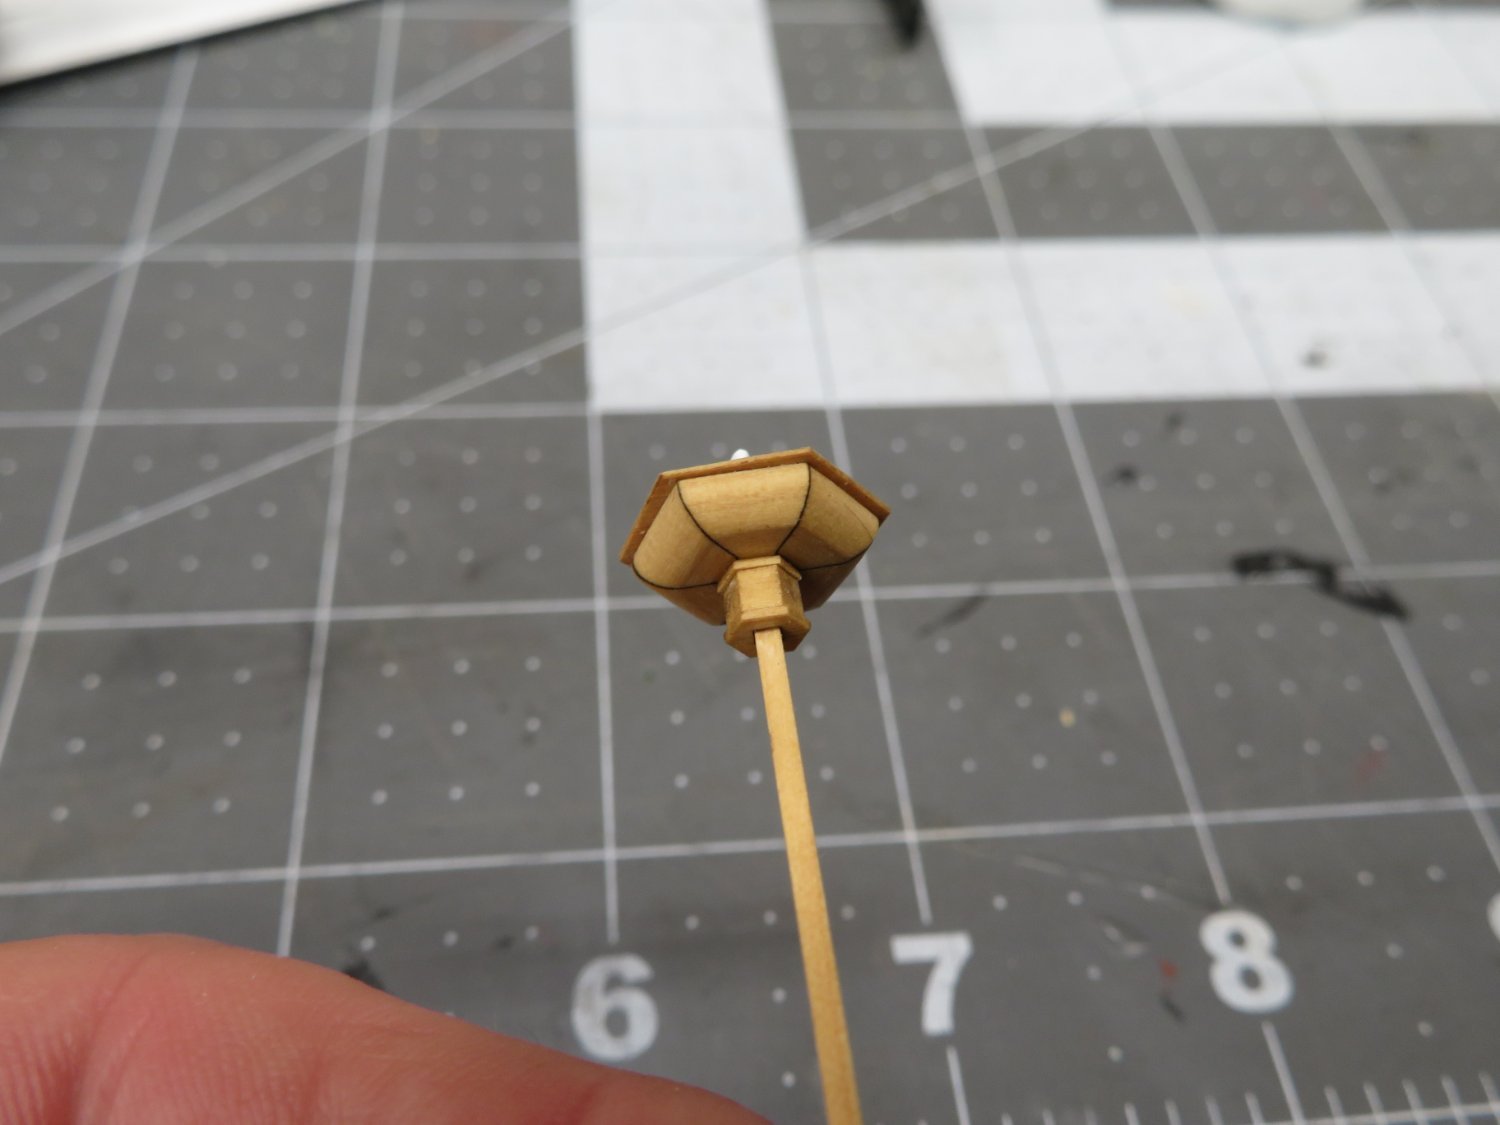
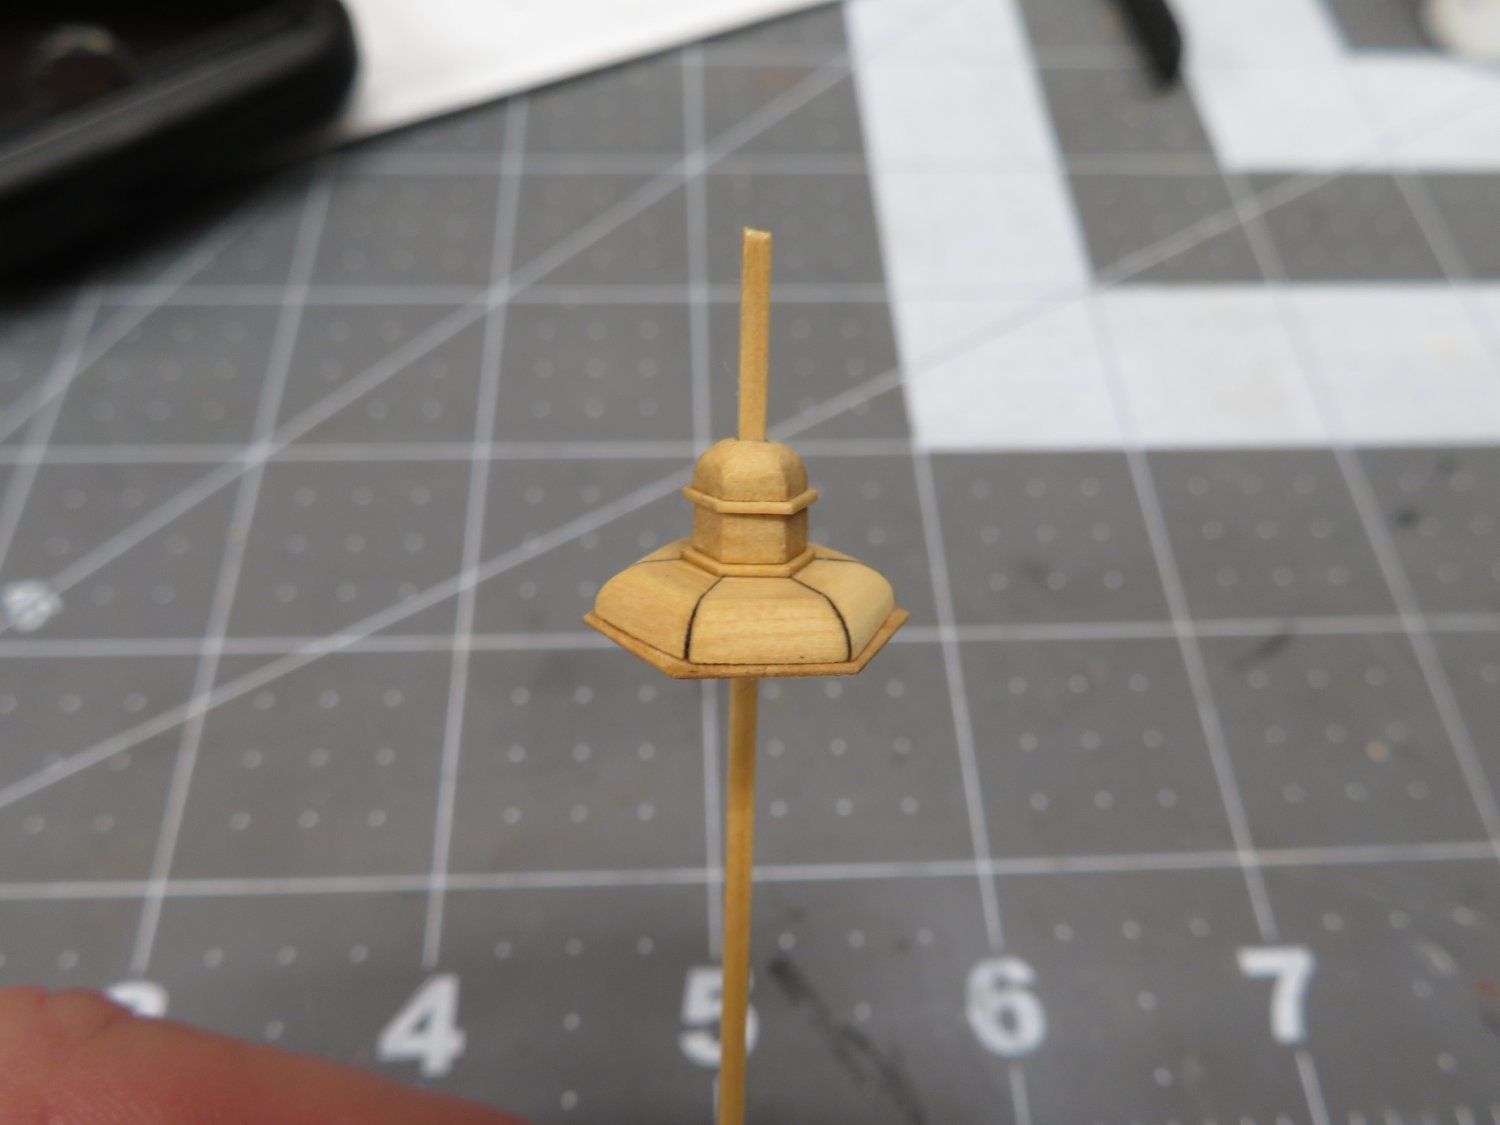
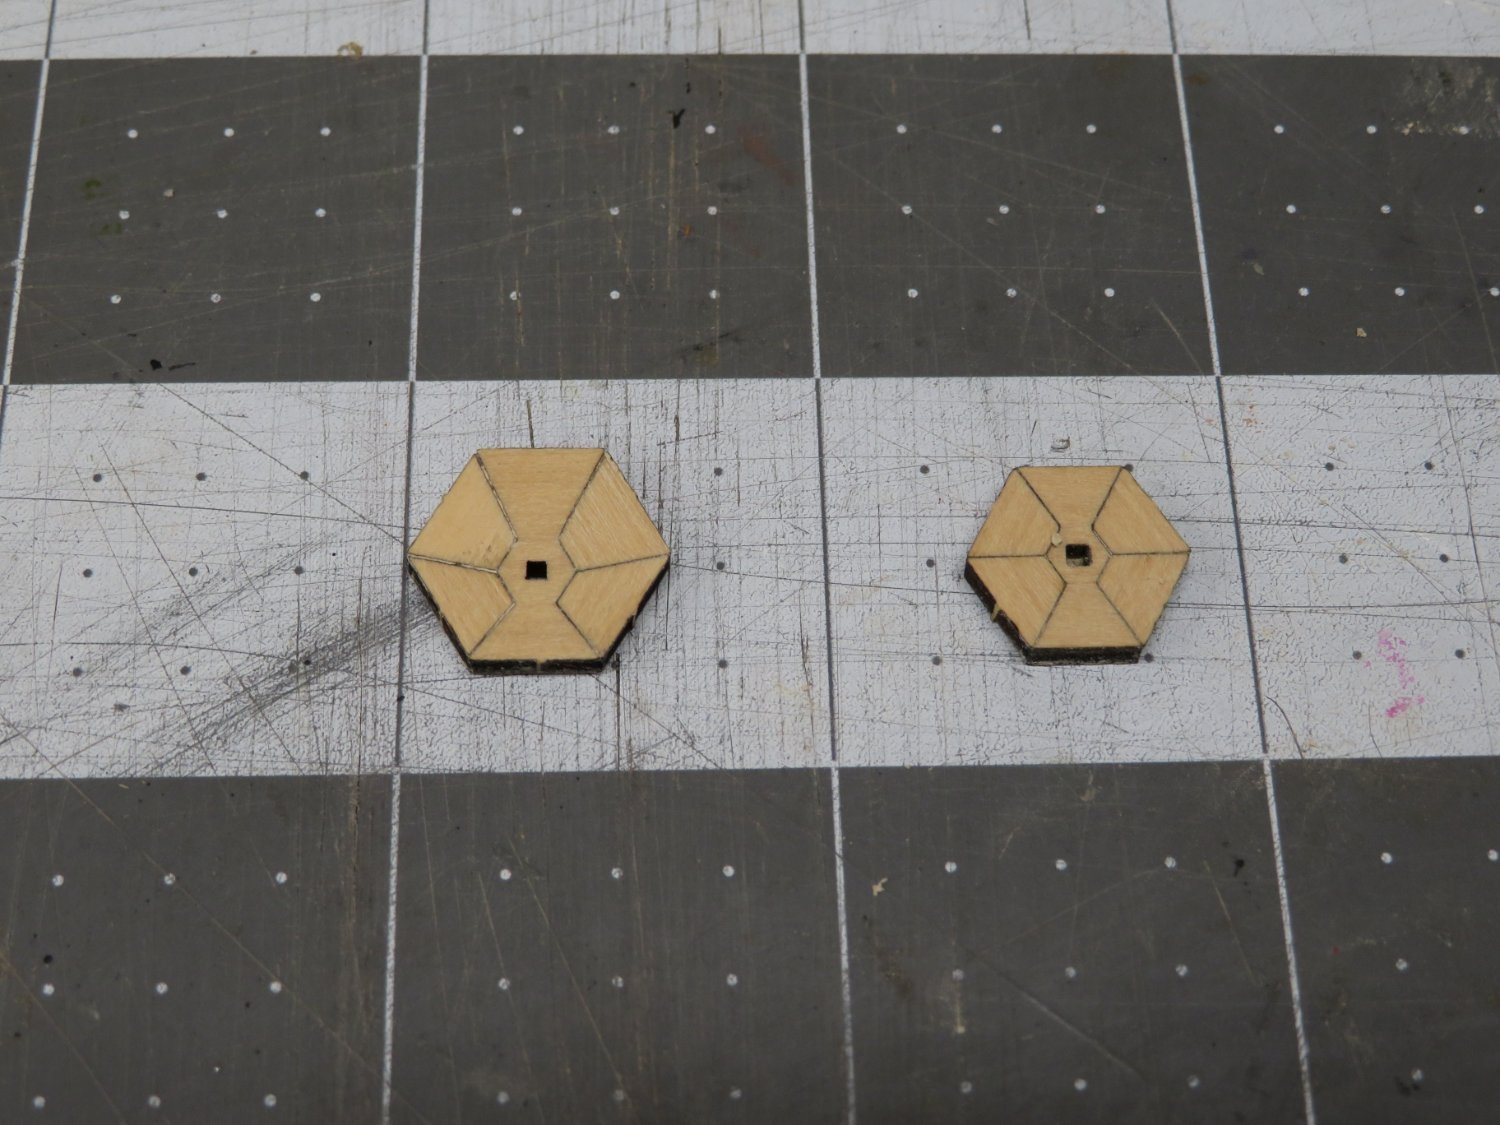
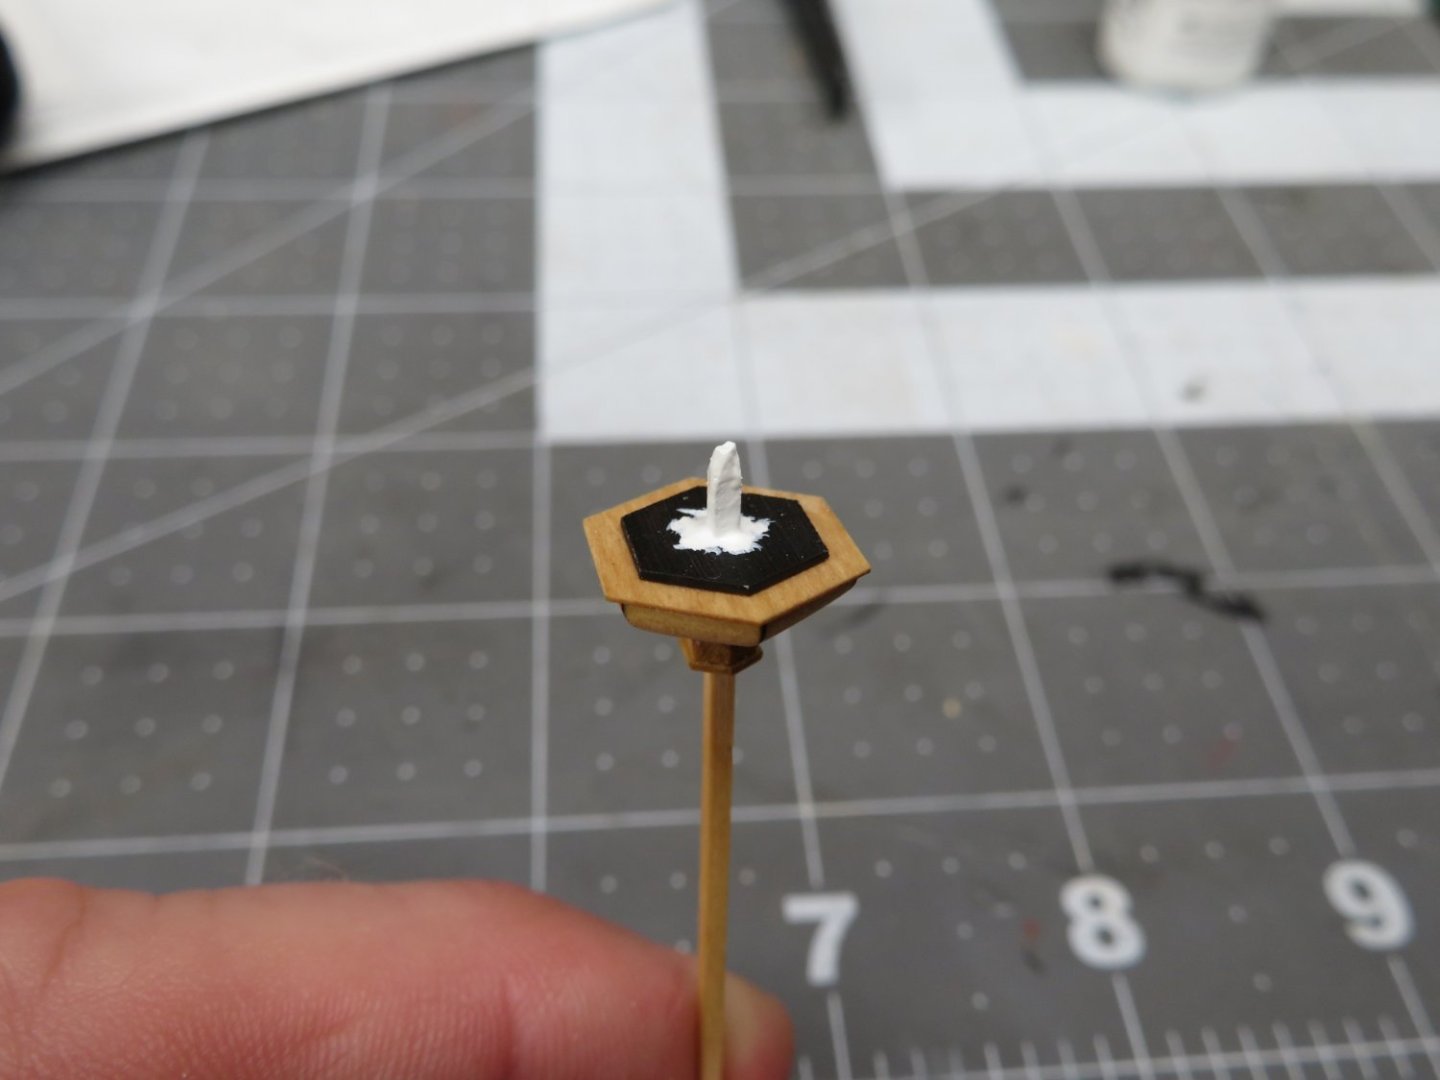
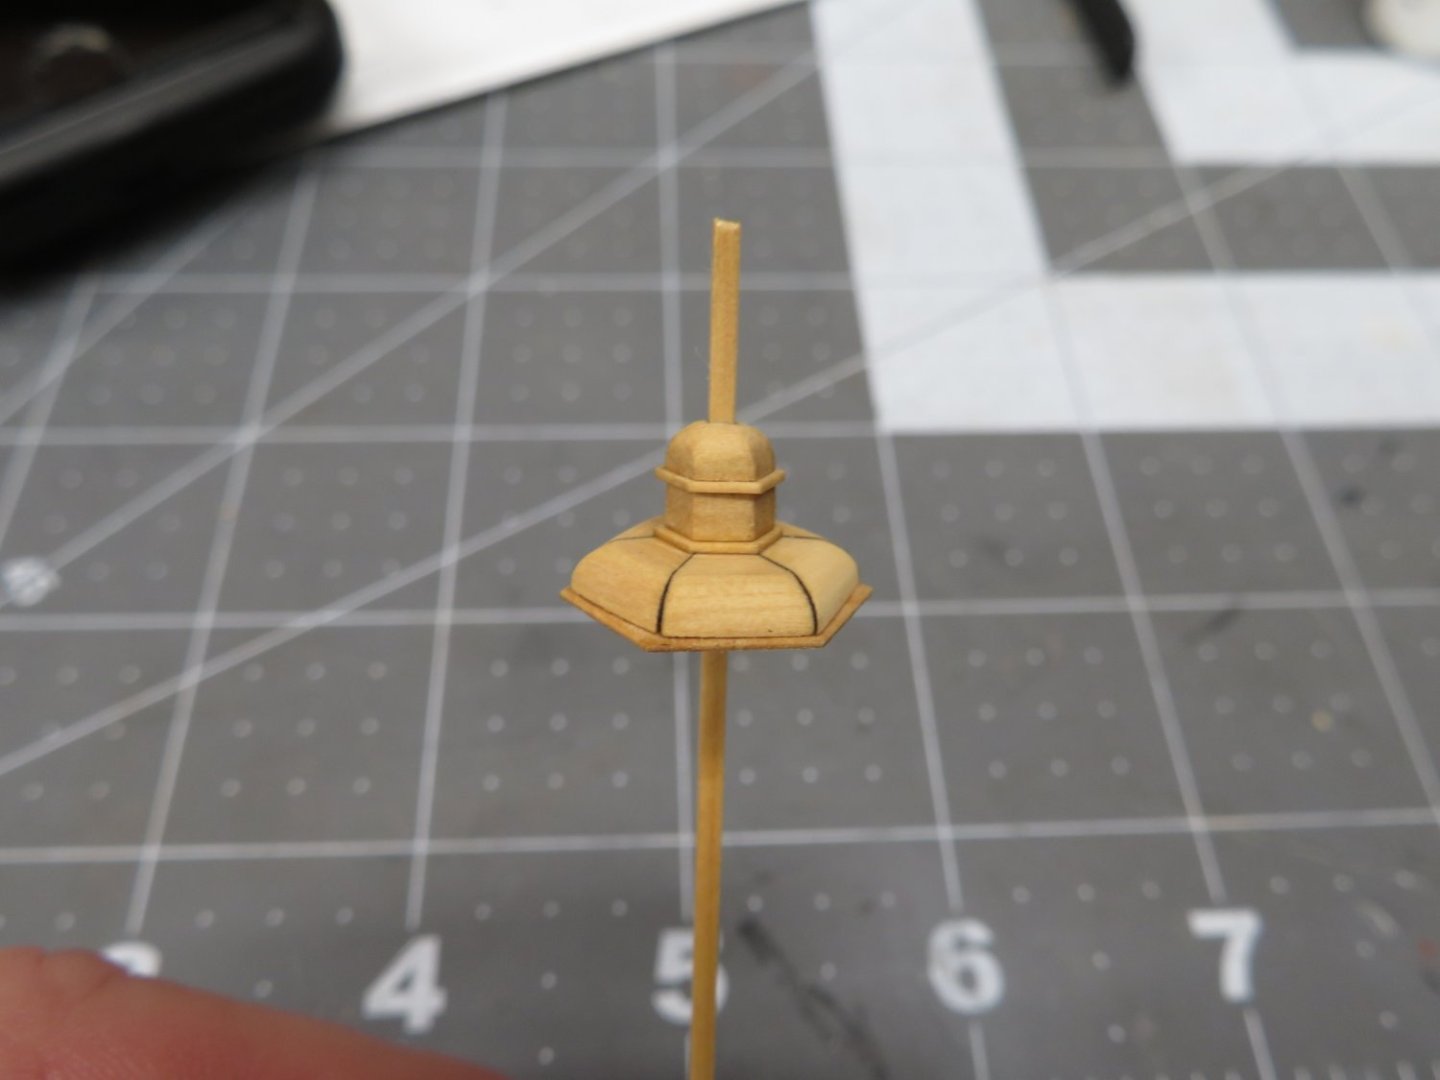
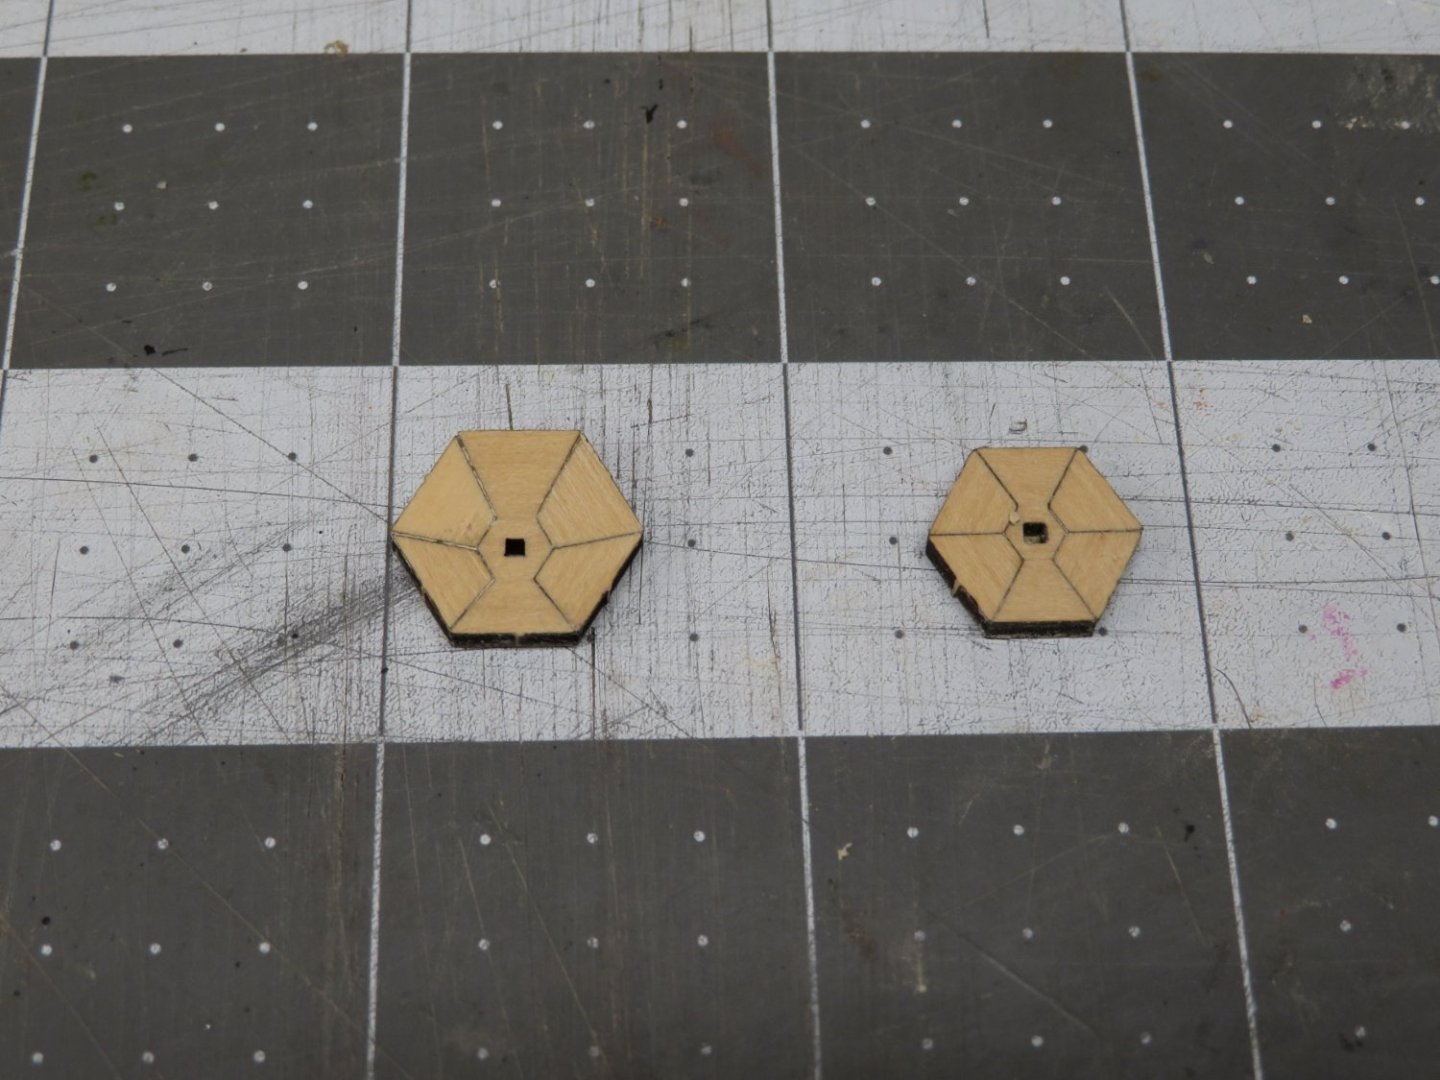
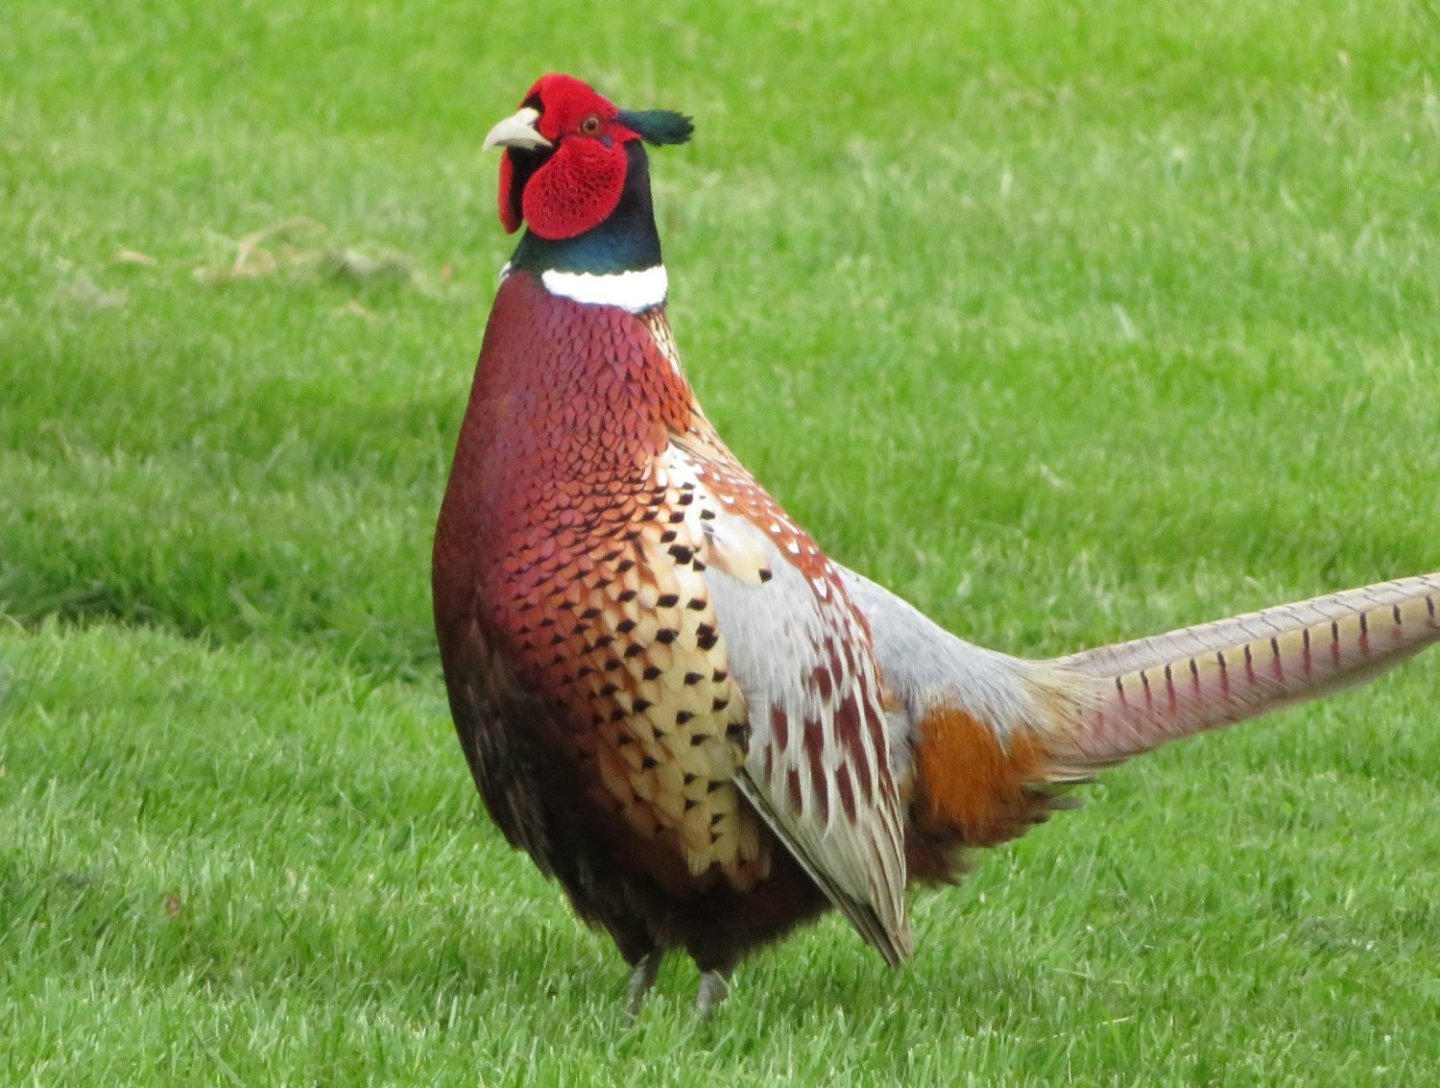
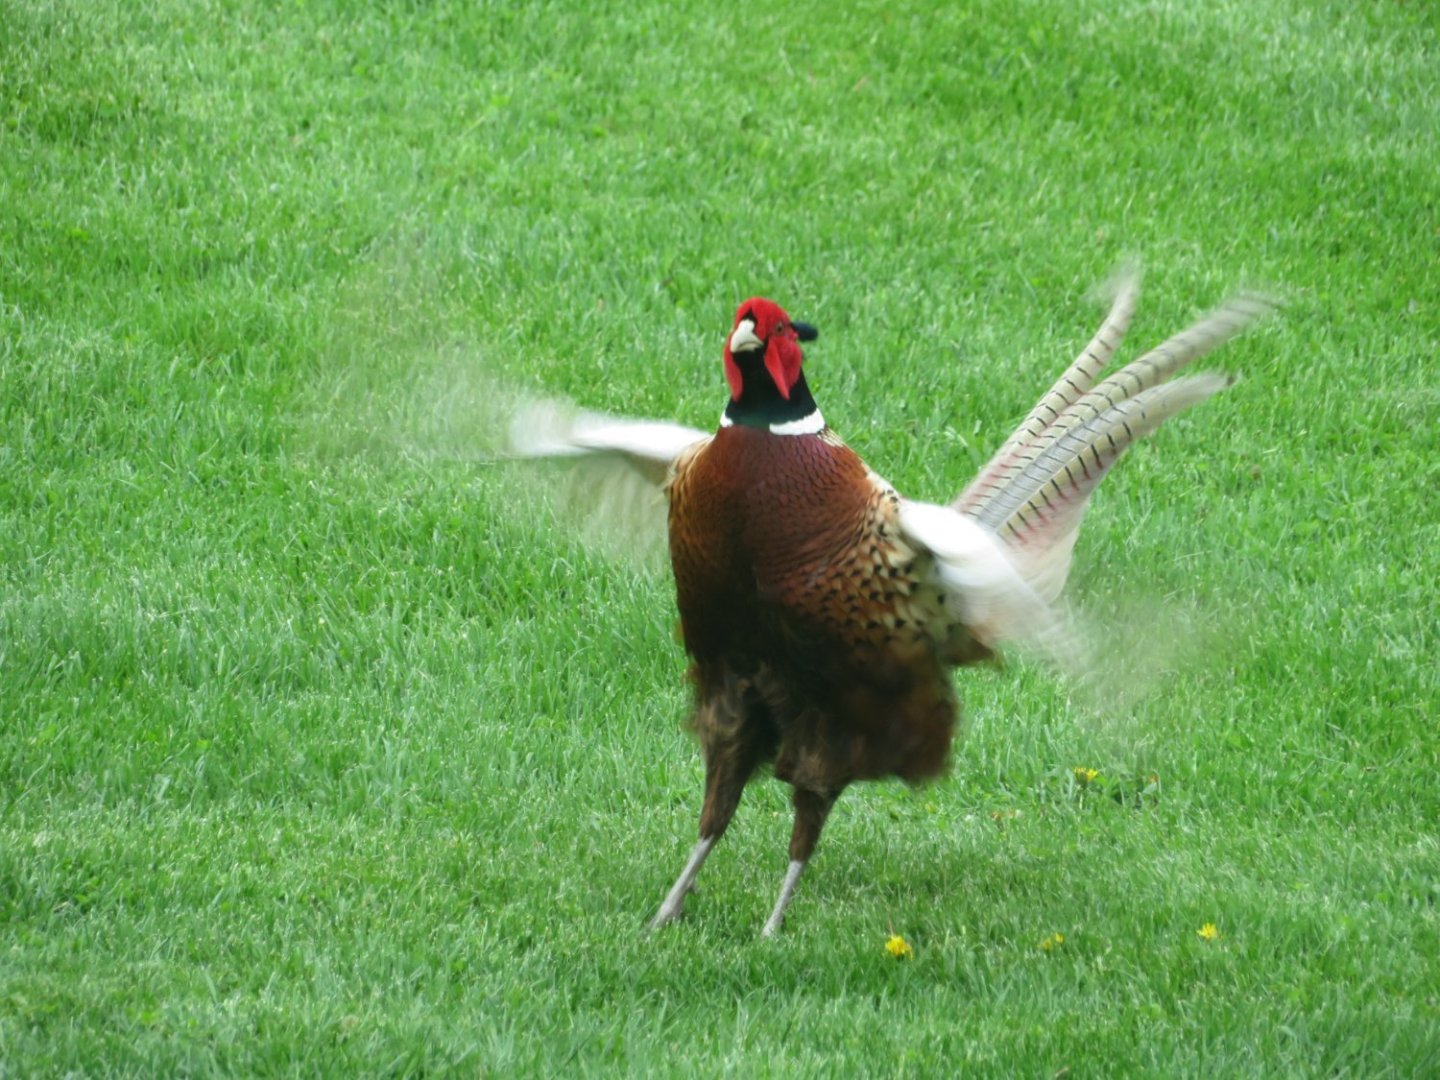
I've been slowly working on the stern lantern. The laser cutting is very sharp and the pieces are small and delicate. I started by assembling the top and bottom of the lantern. No sanding of the joints as they fit perfectly. The edges were the rounded off. Spring is in full bloom here. We have a male pheasant who for the last three years shows up looking for a mate. He was in the yard a couple of days ago honking away.

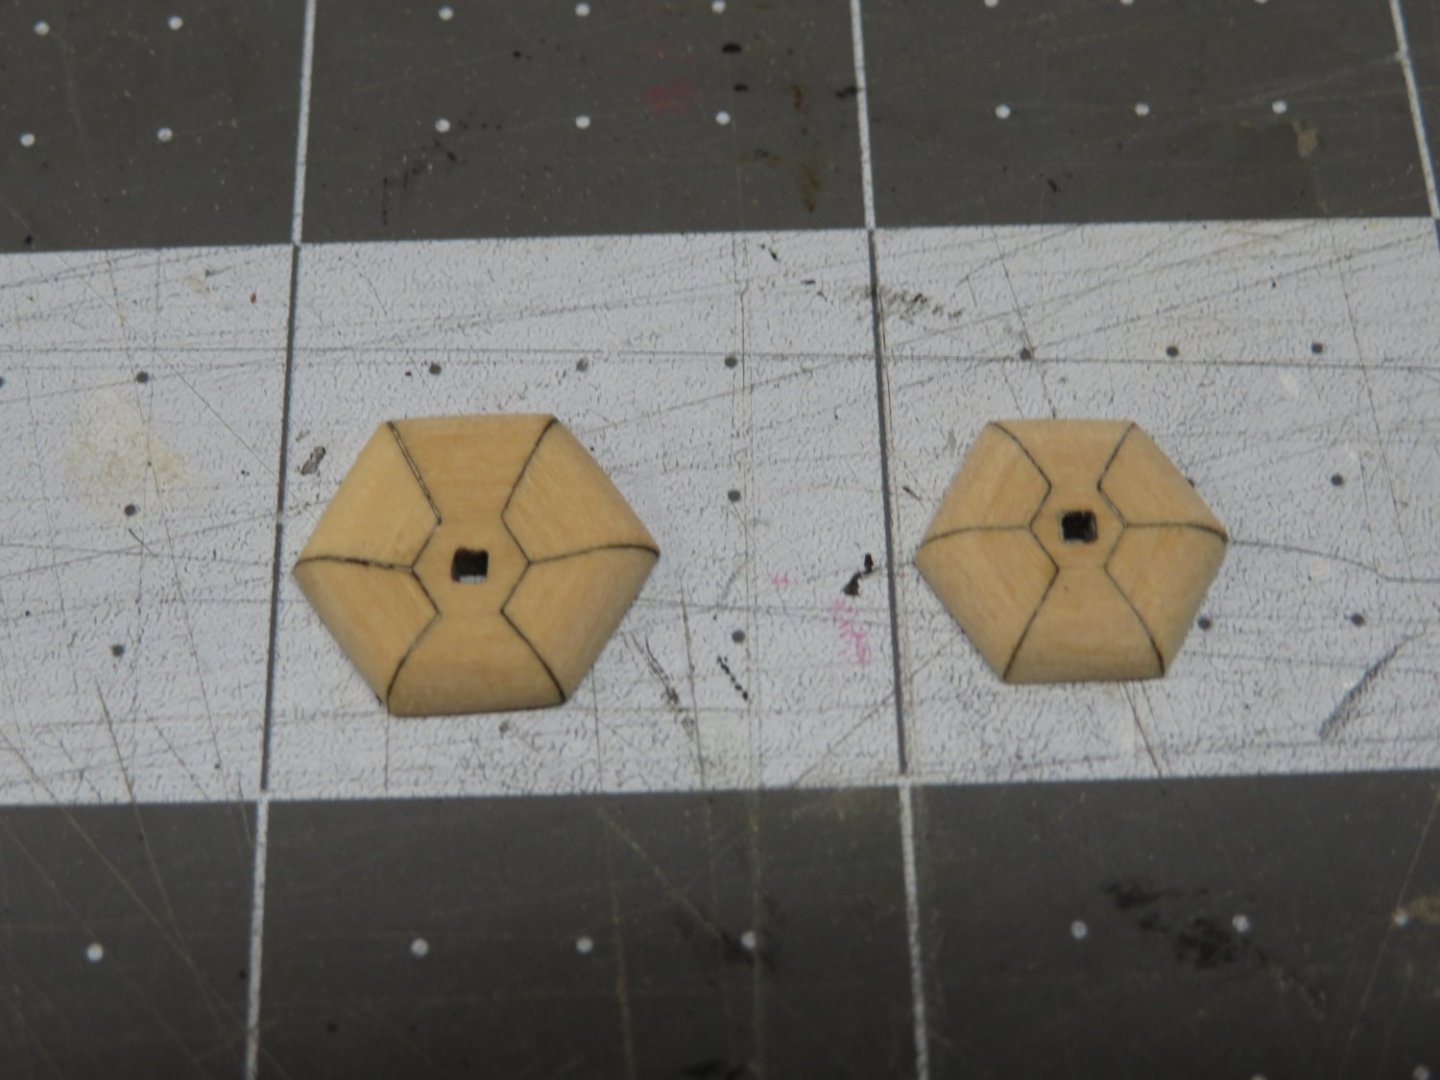
- 642 replies
-
- 15
-
-
-

-
- winchelsea
- Syren Ship Model Company
- (and 1 more)