


Rustyj
-
Posts
2,536 -
Joined
-
Last visited
Content Type
Profiles
Forums
Gallery
Events
Everything posted by Rustyj
-
 His Ben. I'm glad to see that you will be building the Portland prototype and I can't wait to see it come together.
 -
Congratulations on your "end game" plan. Speedwell will keep me busy for a few more years though I'll miss building your new designs.
-
I just caught up on all of these posts and I would say I'm amazed at how good they all are but amazing is what you do! I can't wait to have a build I would need to use them on.
-
That is some great looking work there!
-
I just got caught up after being away for a bit. Your build is really a joy to follow!
- 332 replies
-
- 1
-

-
- Harpy
- Vanguard Models
- (and 1 more)
-
I'll add my welcome back too. Always a pleasure following your work!
- 1,215 replies
-
- 1
-
-
- sloop
- kingfisher
- (and 1 more)
-
All signed up and looking forward to seeing you and this nice little project!
-
Very nice work Frank!
-
Thank you, Mike, Rick, Ian and Chuck, for the kind words. It's slow careful work but I'm really enjoying it. Also thank you for stopping by and all the likes.
-
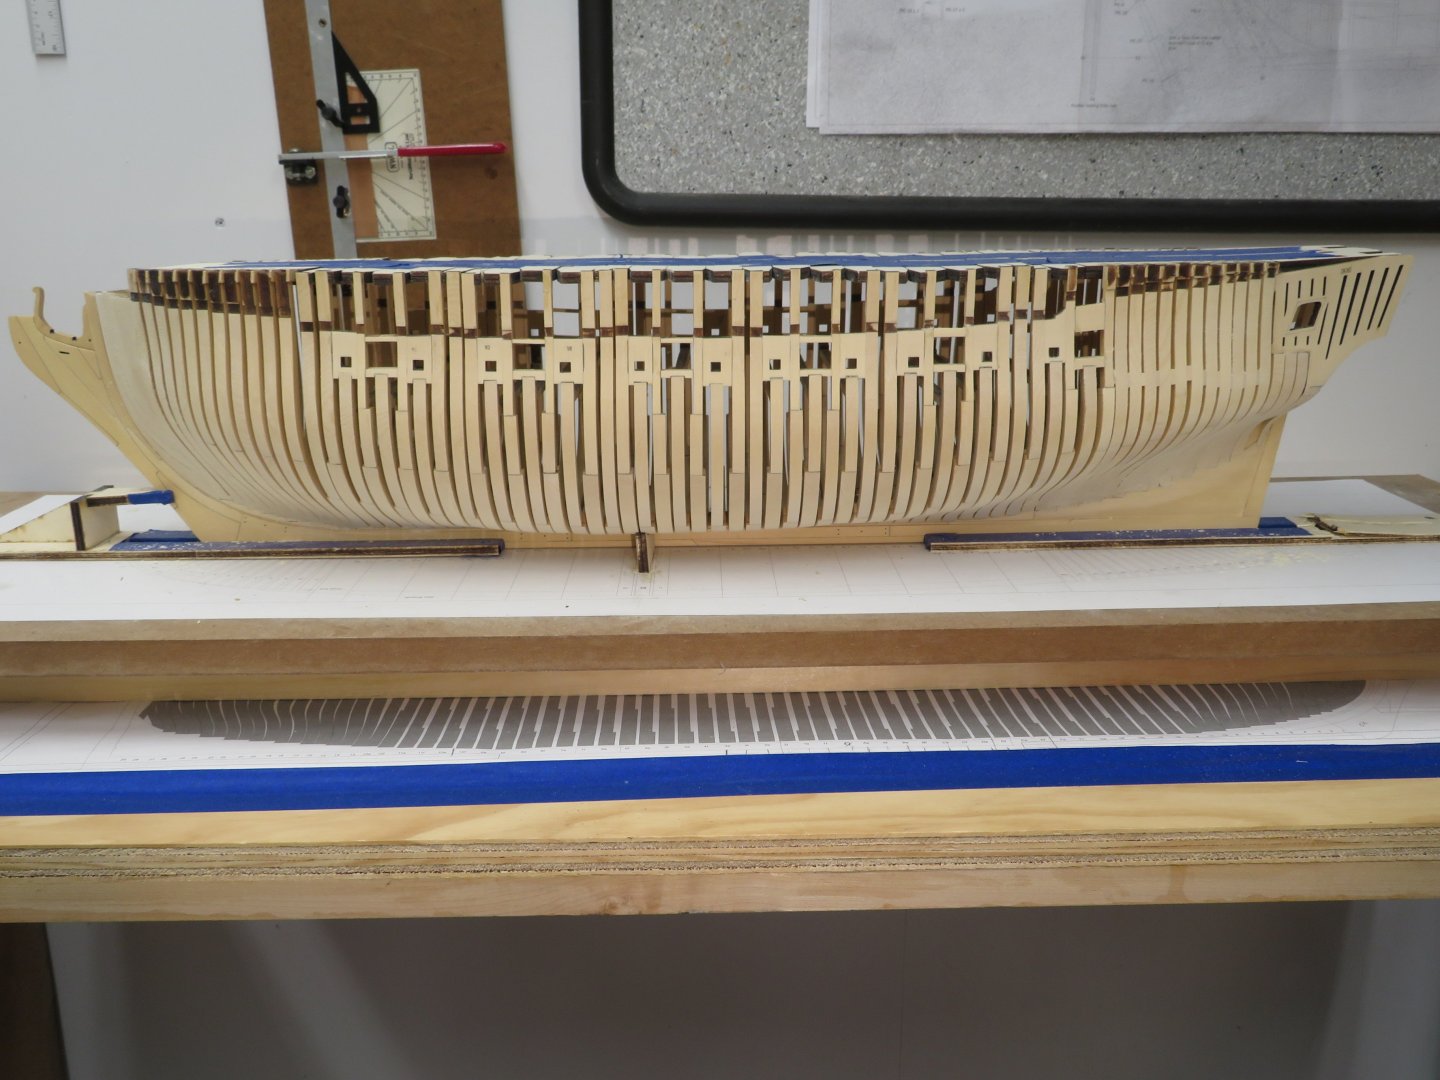
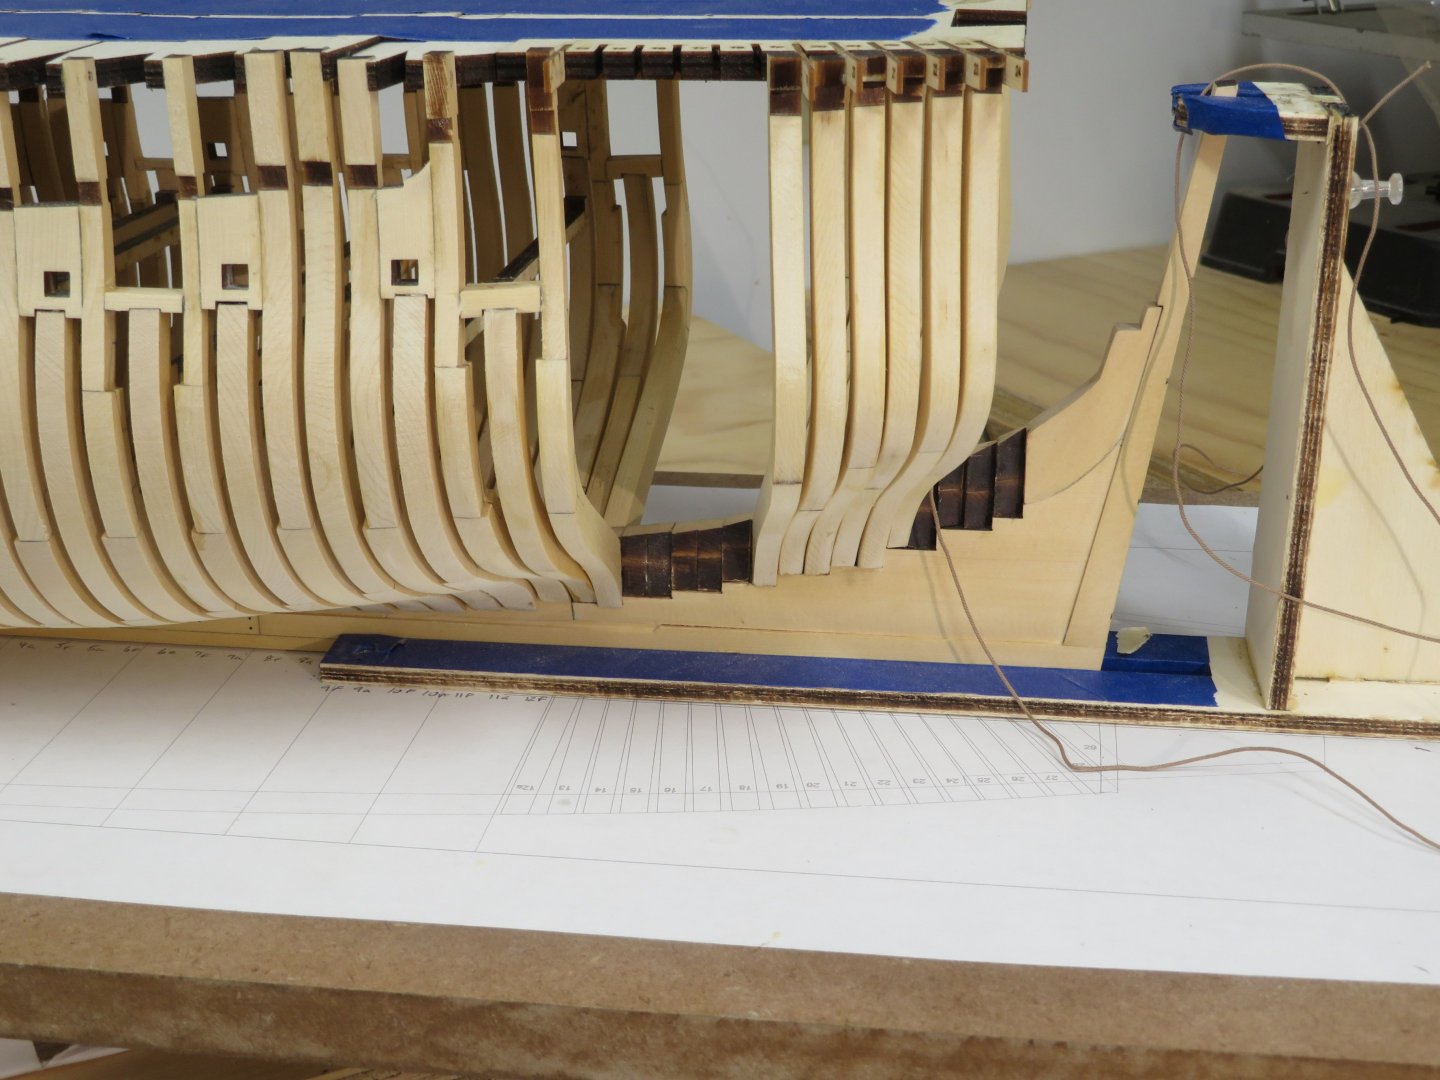
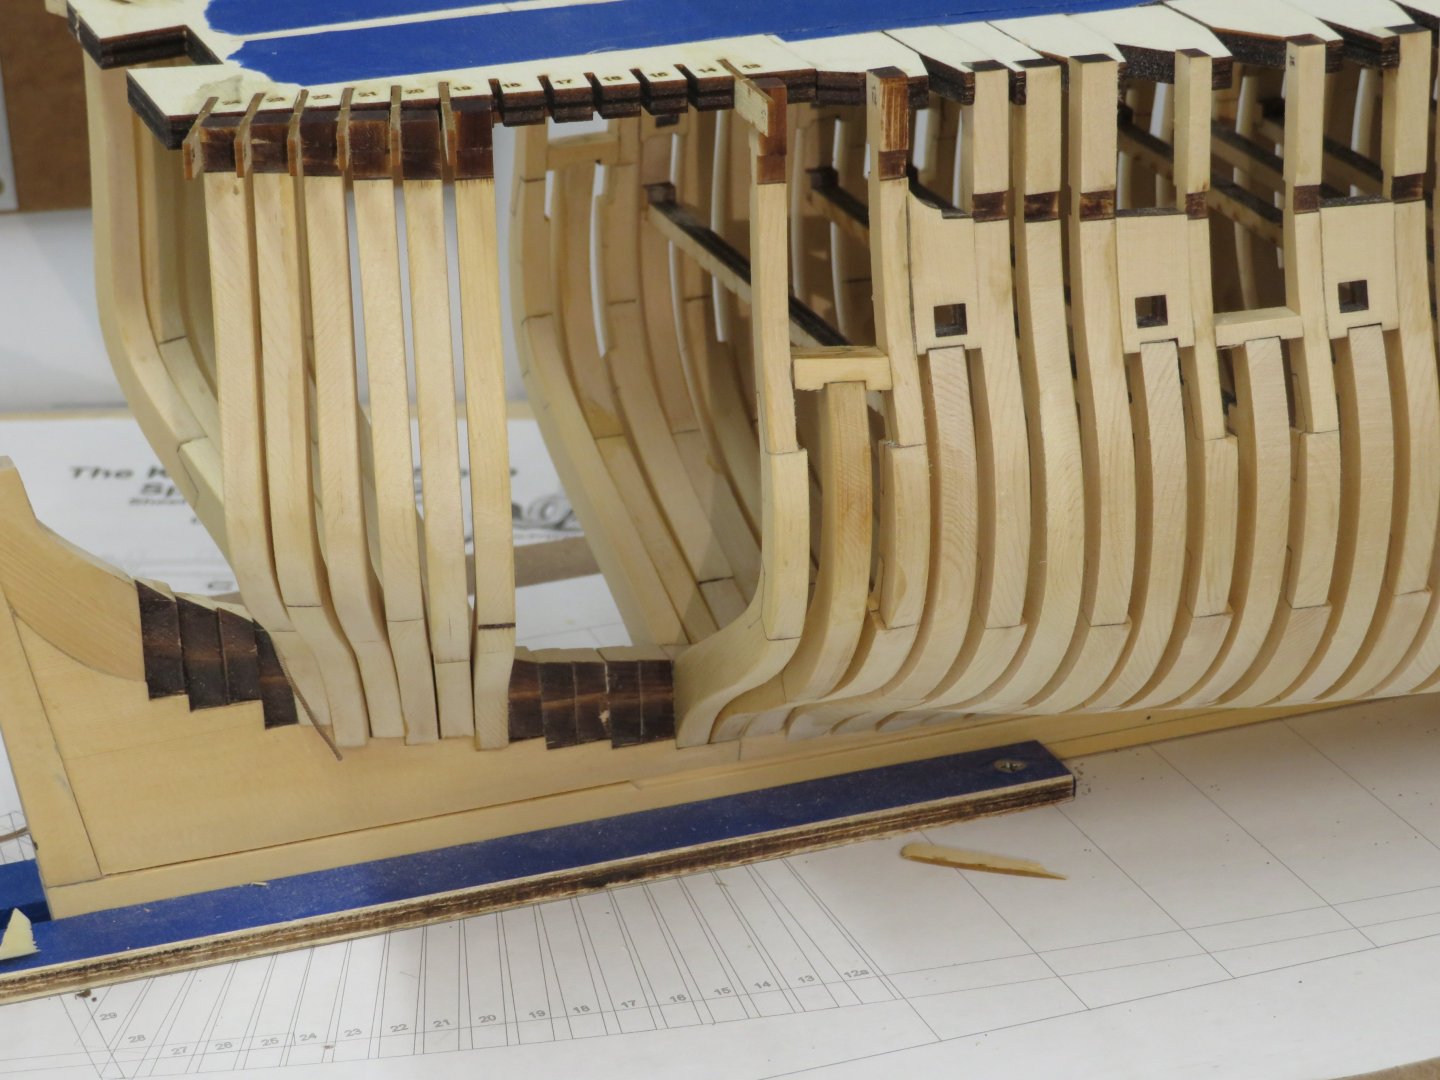
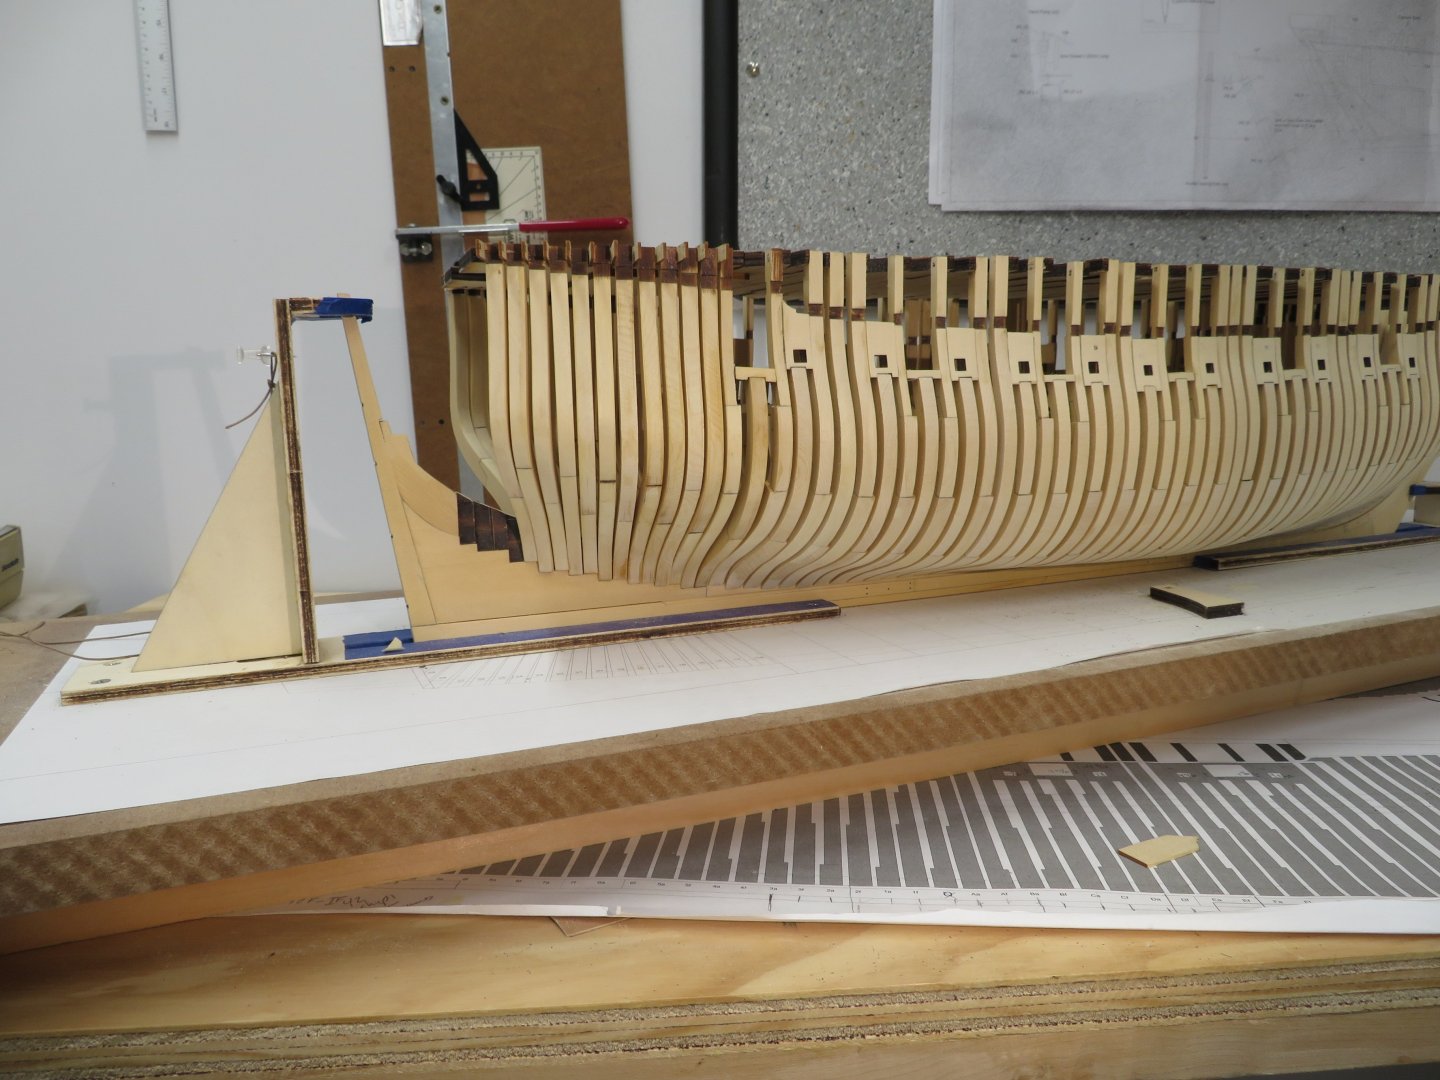
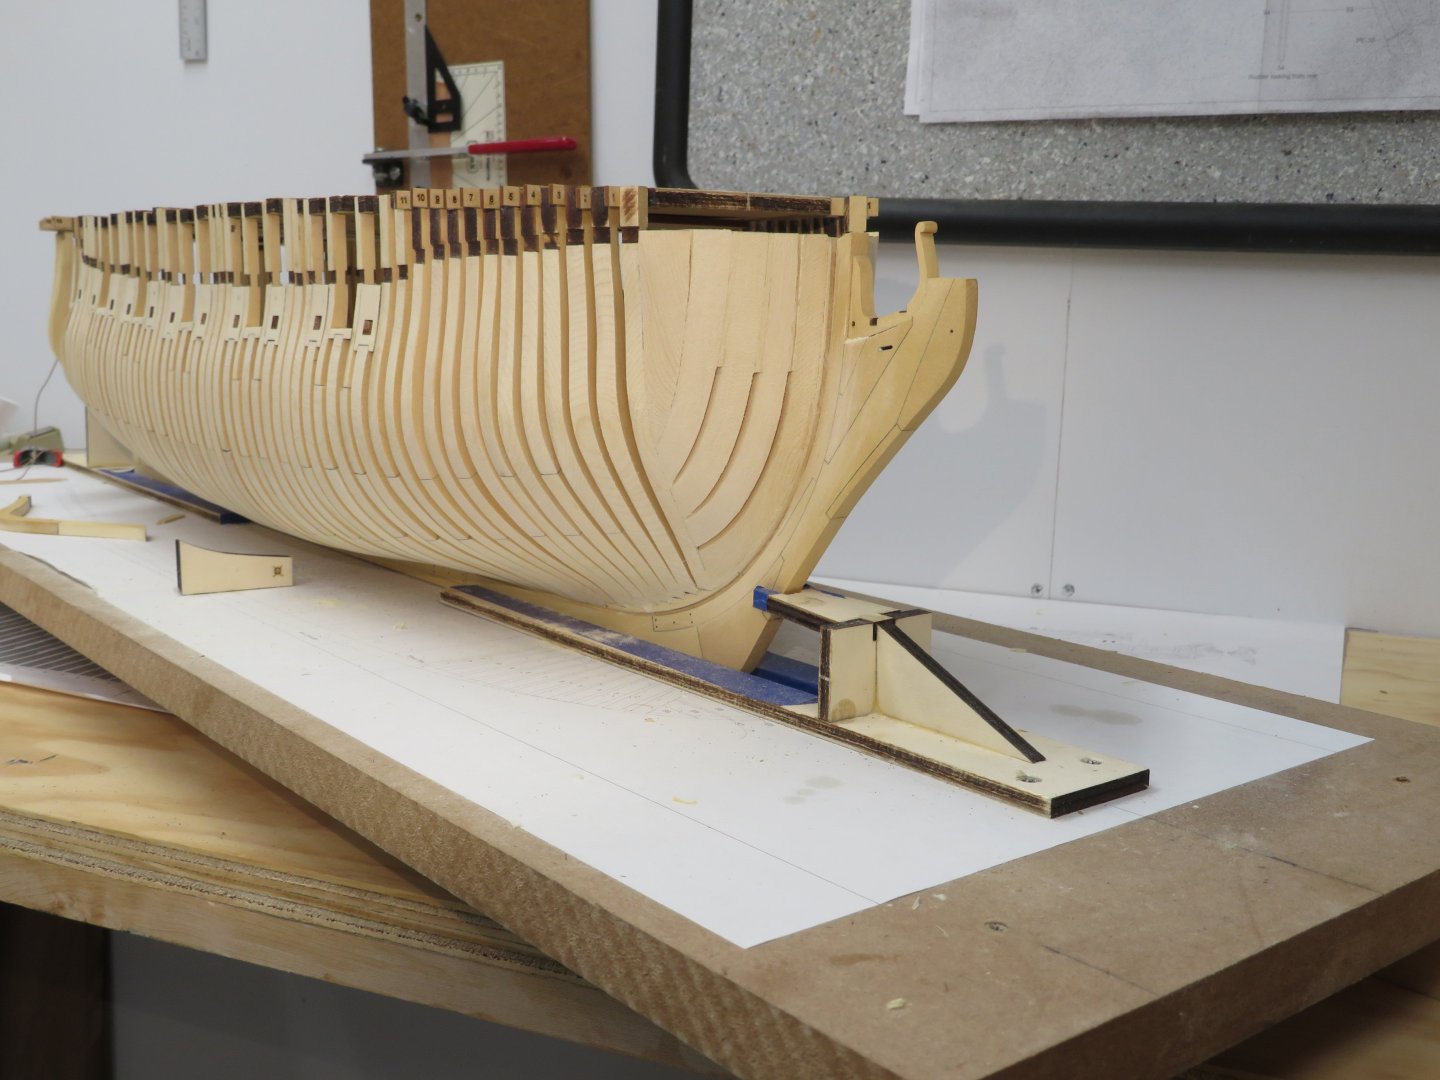
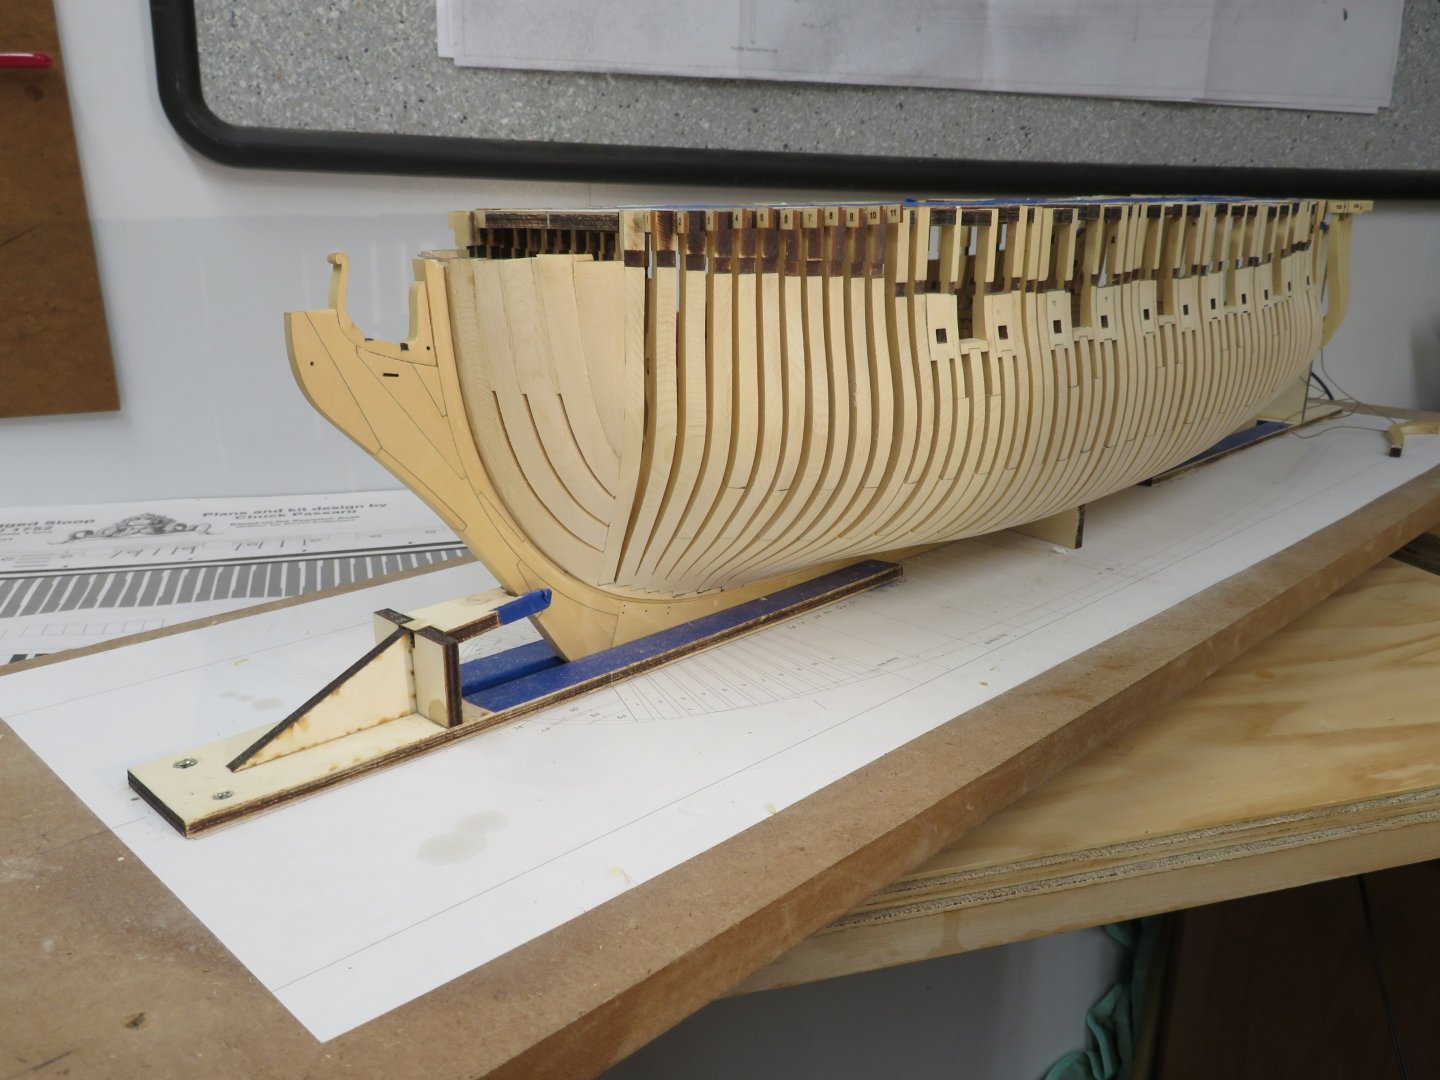
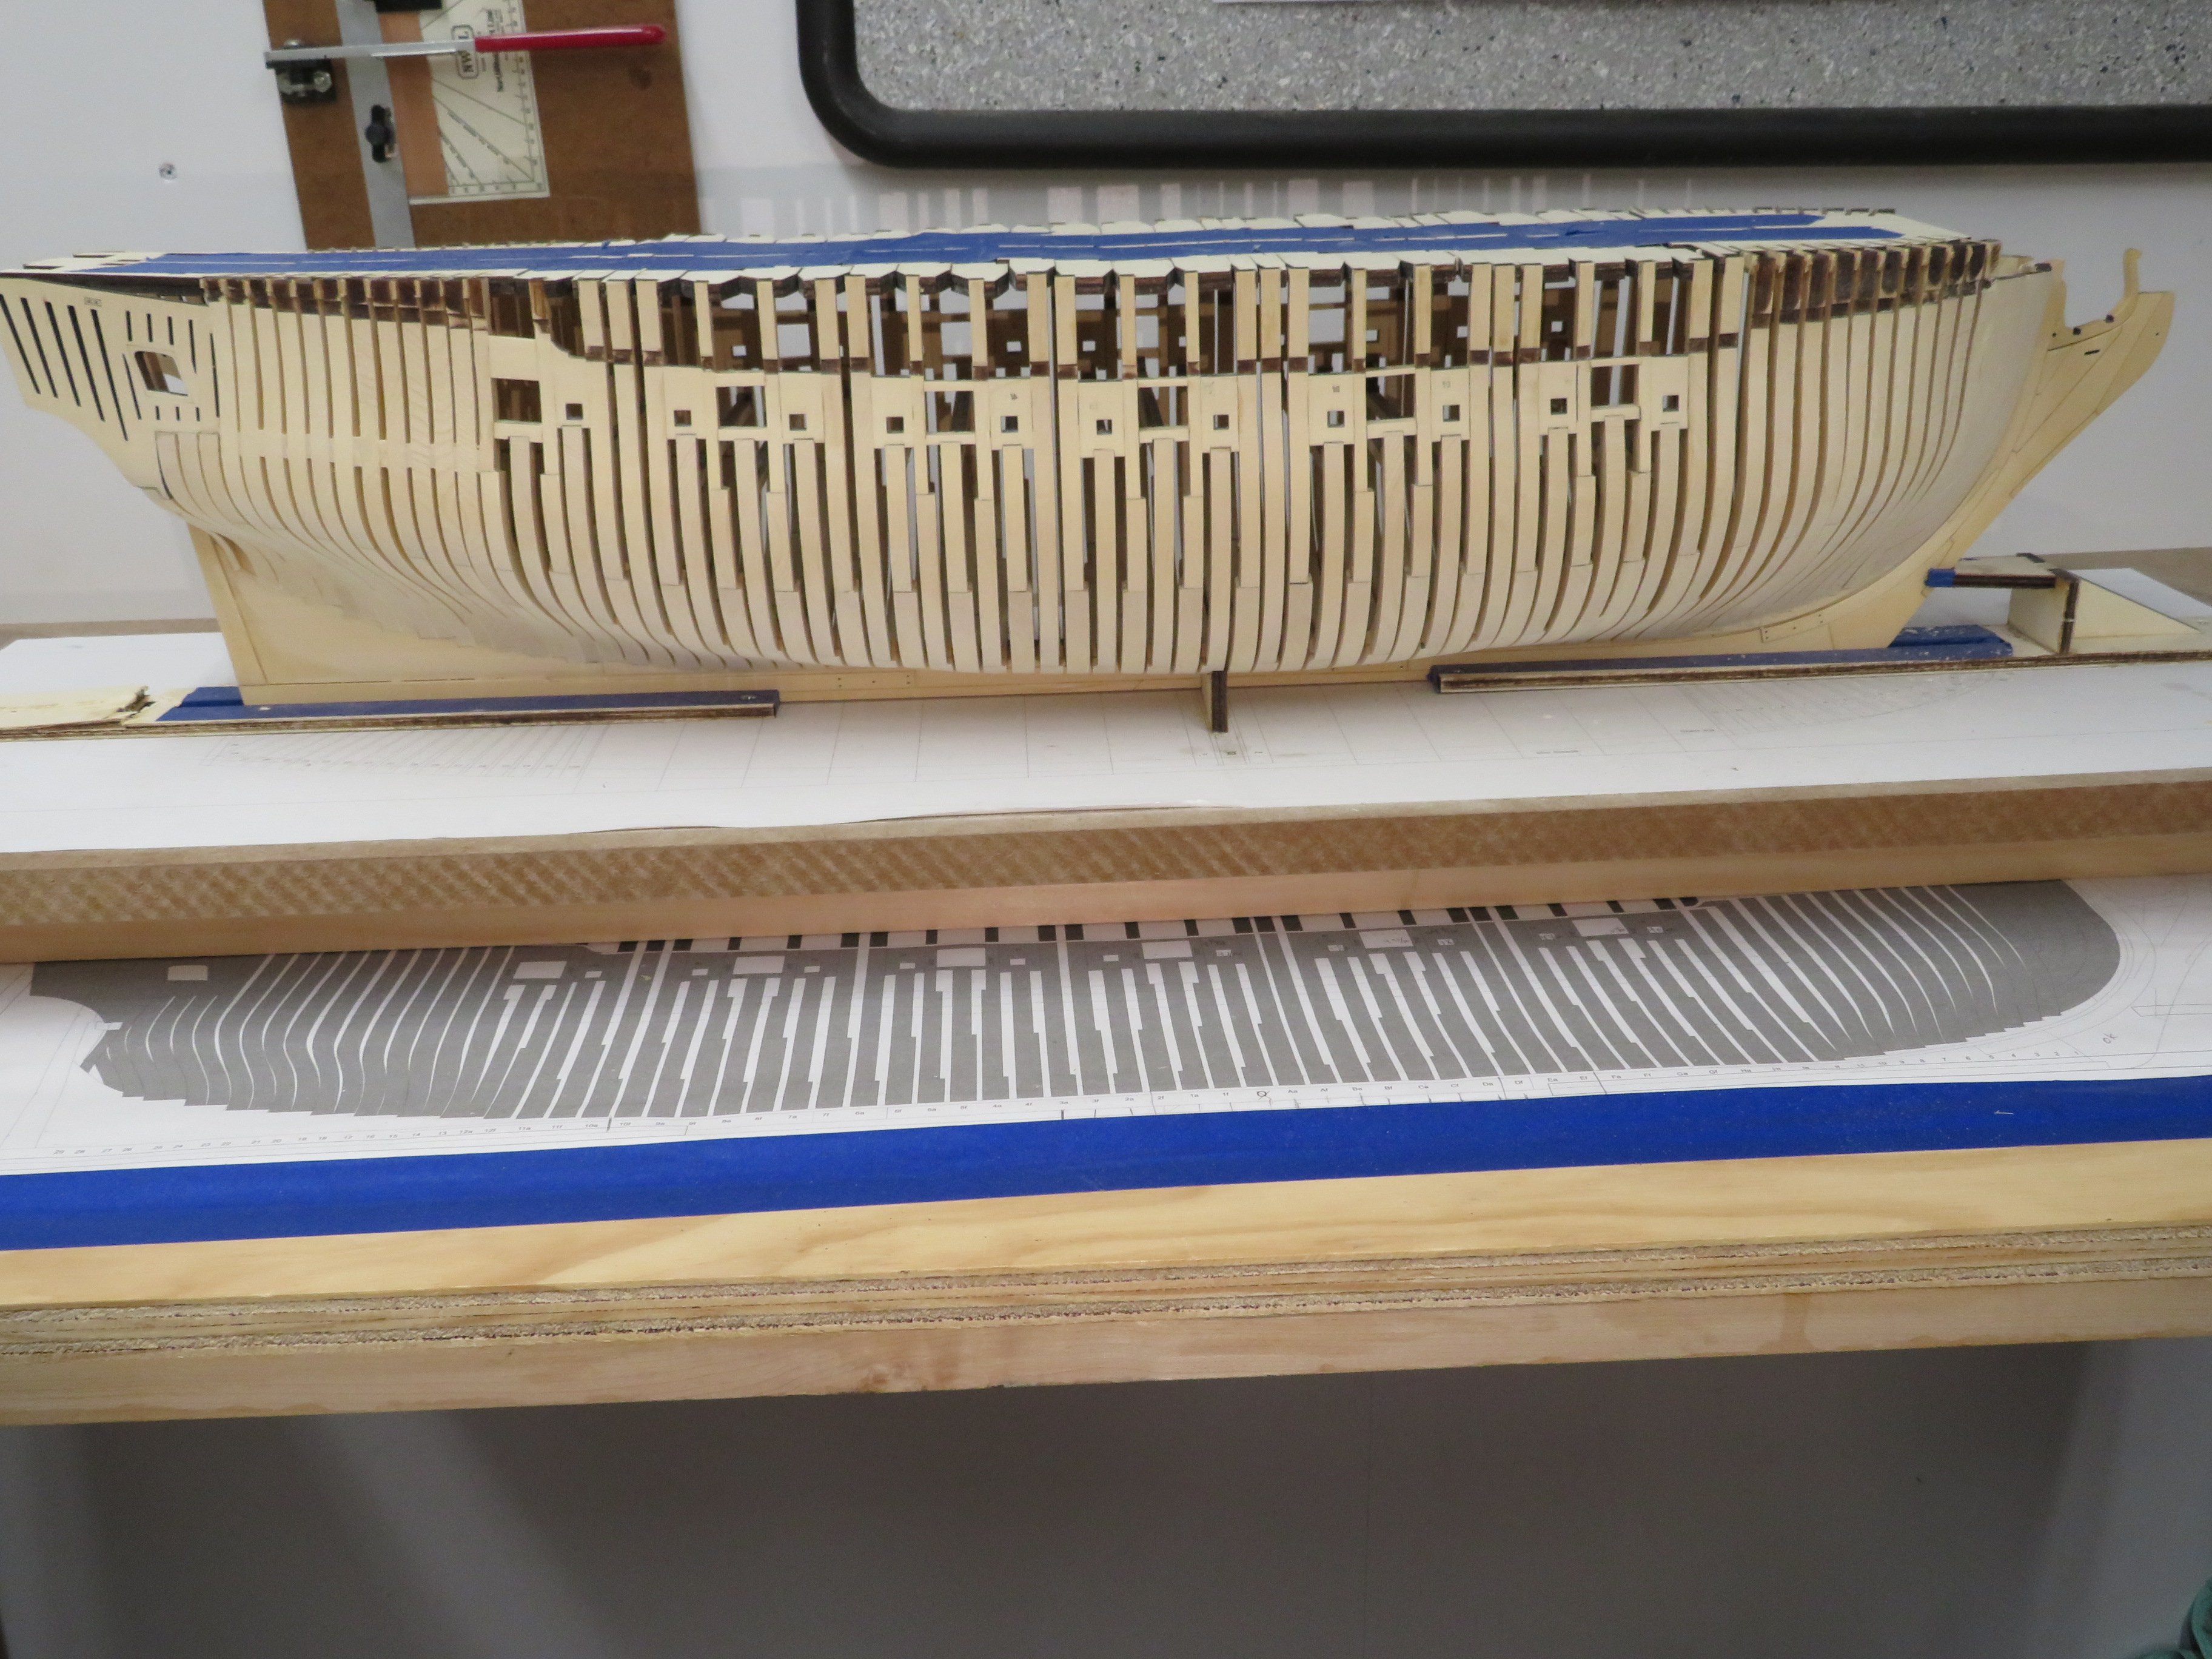
No work for a week allowed me to shape and add the quarter piece and finish up the last cant frames. When I started fairing the last cant frames I knocked a frame loose. So after reinstalling the loose frame I added some stiffeners just like Mike did. These will be hidden by the planking. I have also added the upper port sills. The entire hull has so far been sanded with 120 grit. I'll progress to 400 grit. Once the sanding is completed I'll do the stern framing.


-
That is an amazing build. I have loved following along all these years. You have done yourself proud! May I ask where sourced your case from?
- 399 replies
-
- 2
-
-
- winchelsea
- Syren Ship Model Company
- (and 1 more)
-
Great work Ben. She's beautifully done!
- 399 replies
-
- 3
-
-
- winchelsea
- Syren Ship Model Company
- (and 1 more)
-
An absolutely beautiful model!
-
That is some very nice work!
-
Thank you Glenn and Greg. It's truly hard losing a best friend. This was the fifth in a long line of lost buddies. The hole in our heart never fills but we survive. Thank you all for your kind thoughts. Now that the holiday is over building will resume shortly.
-
Thank you all for your thoughts and kind words. Unfortunately she wasn't the first "cellar dweller" (shop is in the basement) to pass on. The search will start soon to add to the crew. Our Miniature Schnauzer is missing her buddy as much as I am. Happy Holidays to you all!
-
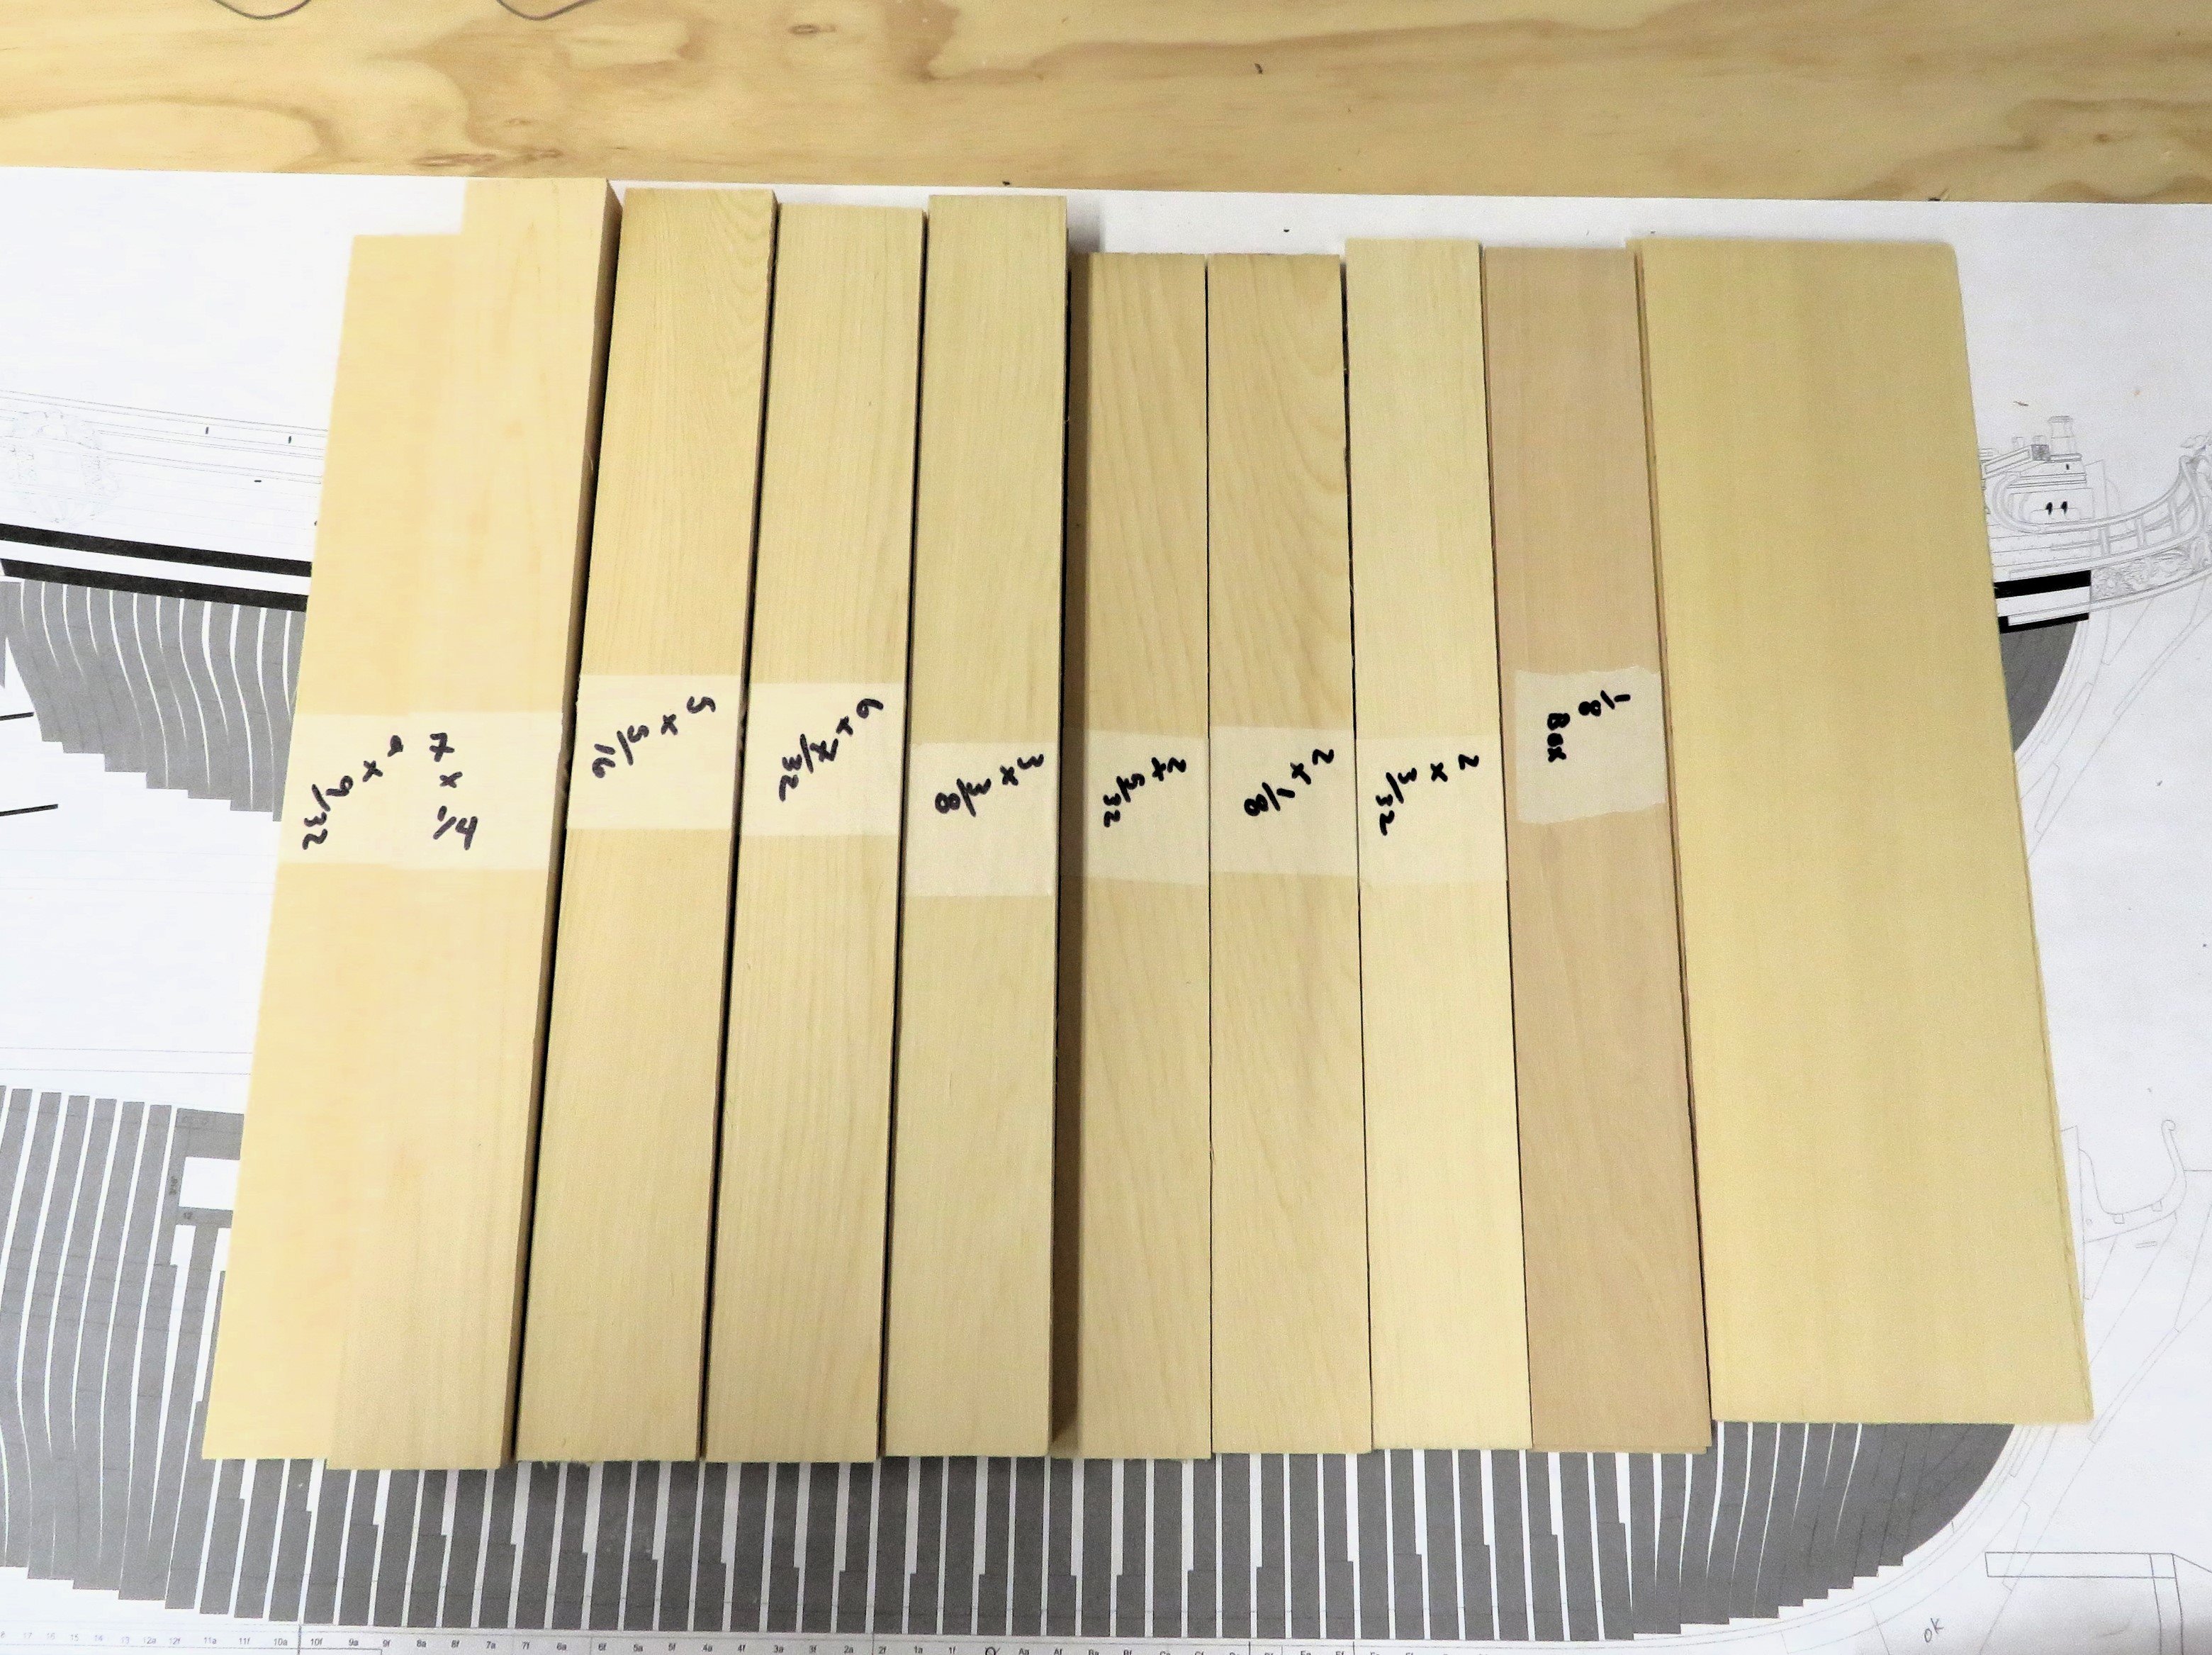
Thank you all for the kind words. Ben the offending frame has now been taken care of, thanks! Also thanks for the likes. Things have been a bit unsettled here and no work has been accomplished. My desire work on anything is not here right now. On the positive side I've received chapter 3 from Chuck as well and the wood to mill for chapter 3 from Modelers Sawmill. As expected it is all perfect! On the downside my little shop companion for the last 14+ years is no longer with us. She kept me company every time I went to the shop. She would even stand by the shop door waiting after dinner knowing it was almost time to go to there. Sawing, sanding, and the occasional cussing never bothered her. I would even leave the room for a minute or two and if I left the light on, she knew I'd right back, so she just stayed in her bed waiting on my return. Our little companions' lives are shorter than ours, but they fill it with a lifetime worth of love and enjoyment. Here's my sweet little Nessie just before her passing. She was the best.


.thumb.jpg.9c70533f61e7b3f969639bea59a43d33.jpg)
-
Thanks Chuck. I hope you're having a great time on vacation! Thank you Rick. Also thanks for all the likes.
-
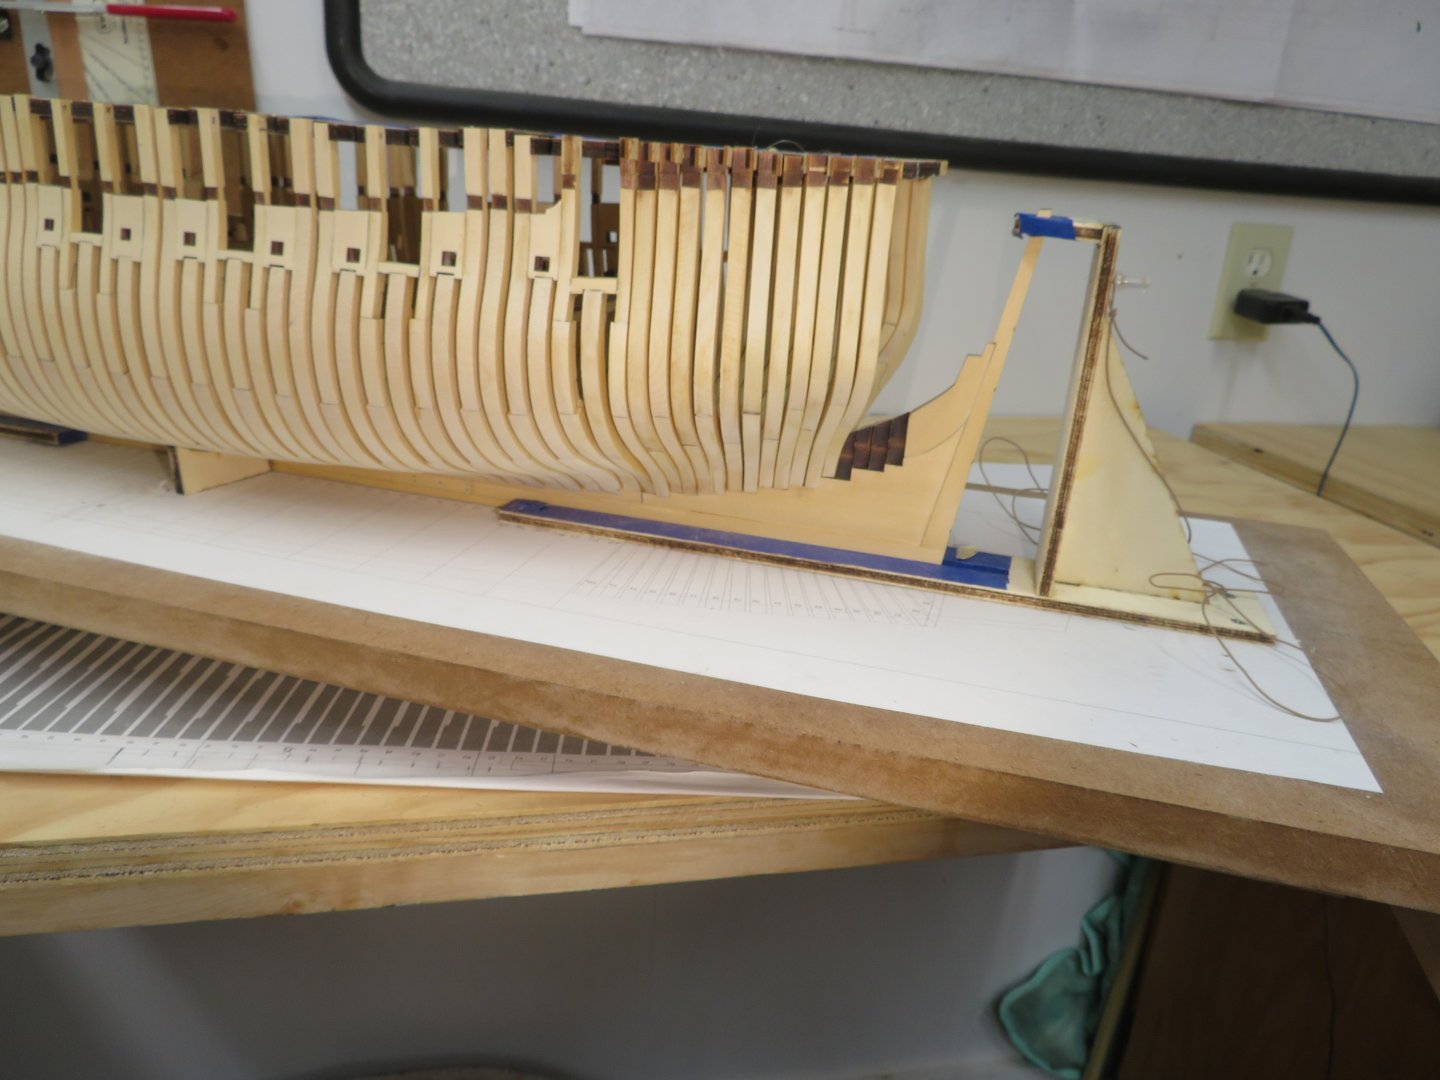
Thank you Glenn and Brian. Also thanks for all the likes. Moving aft I added the framing jig just like at the bow. Six of the aft frames and then the last gun port frames were added. After that the last frames were filled in the gap. I'll start fairing these frames before I add the wing transom and quarter pieces. Everything is coming along nicely!
-
They look really good Mike. So clean and precise!
-
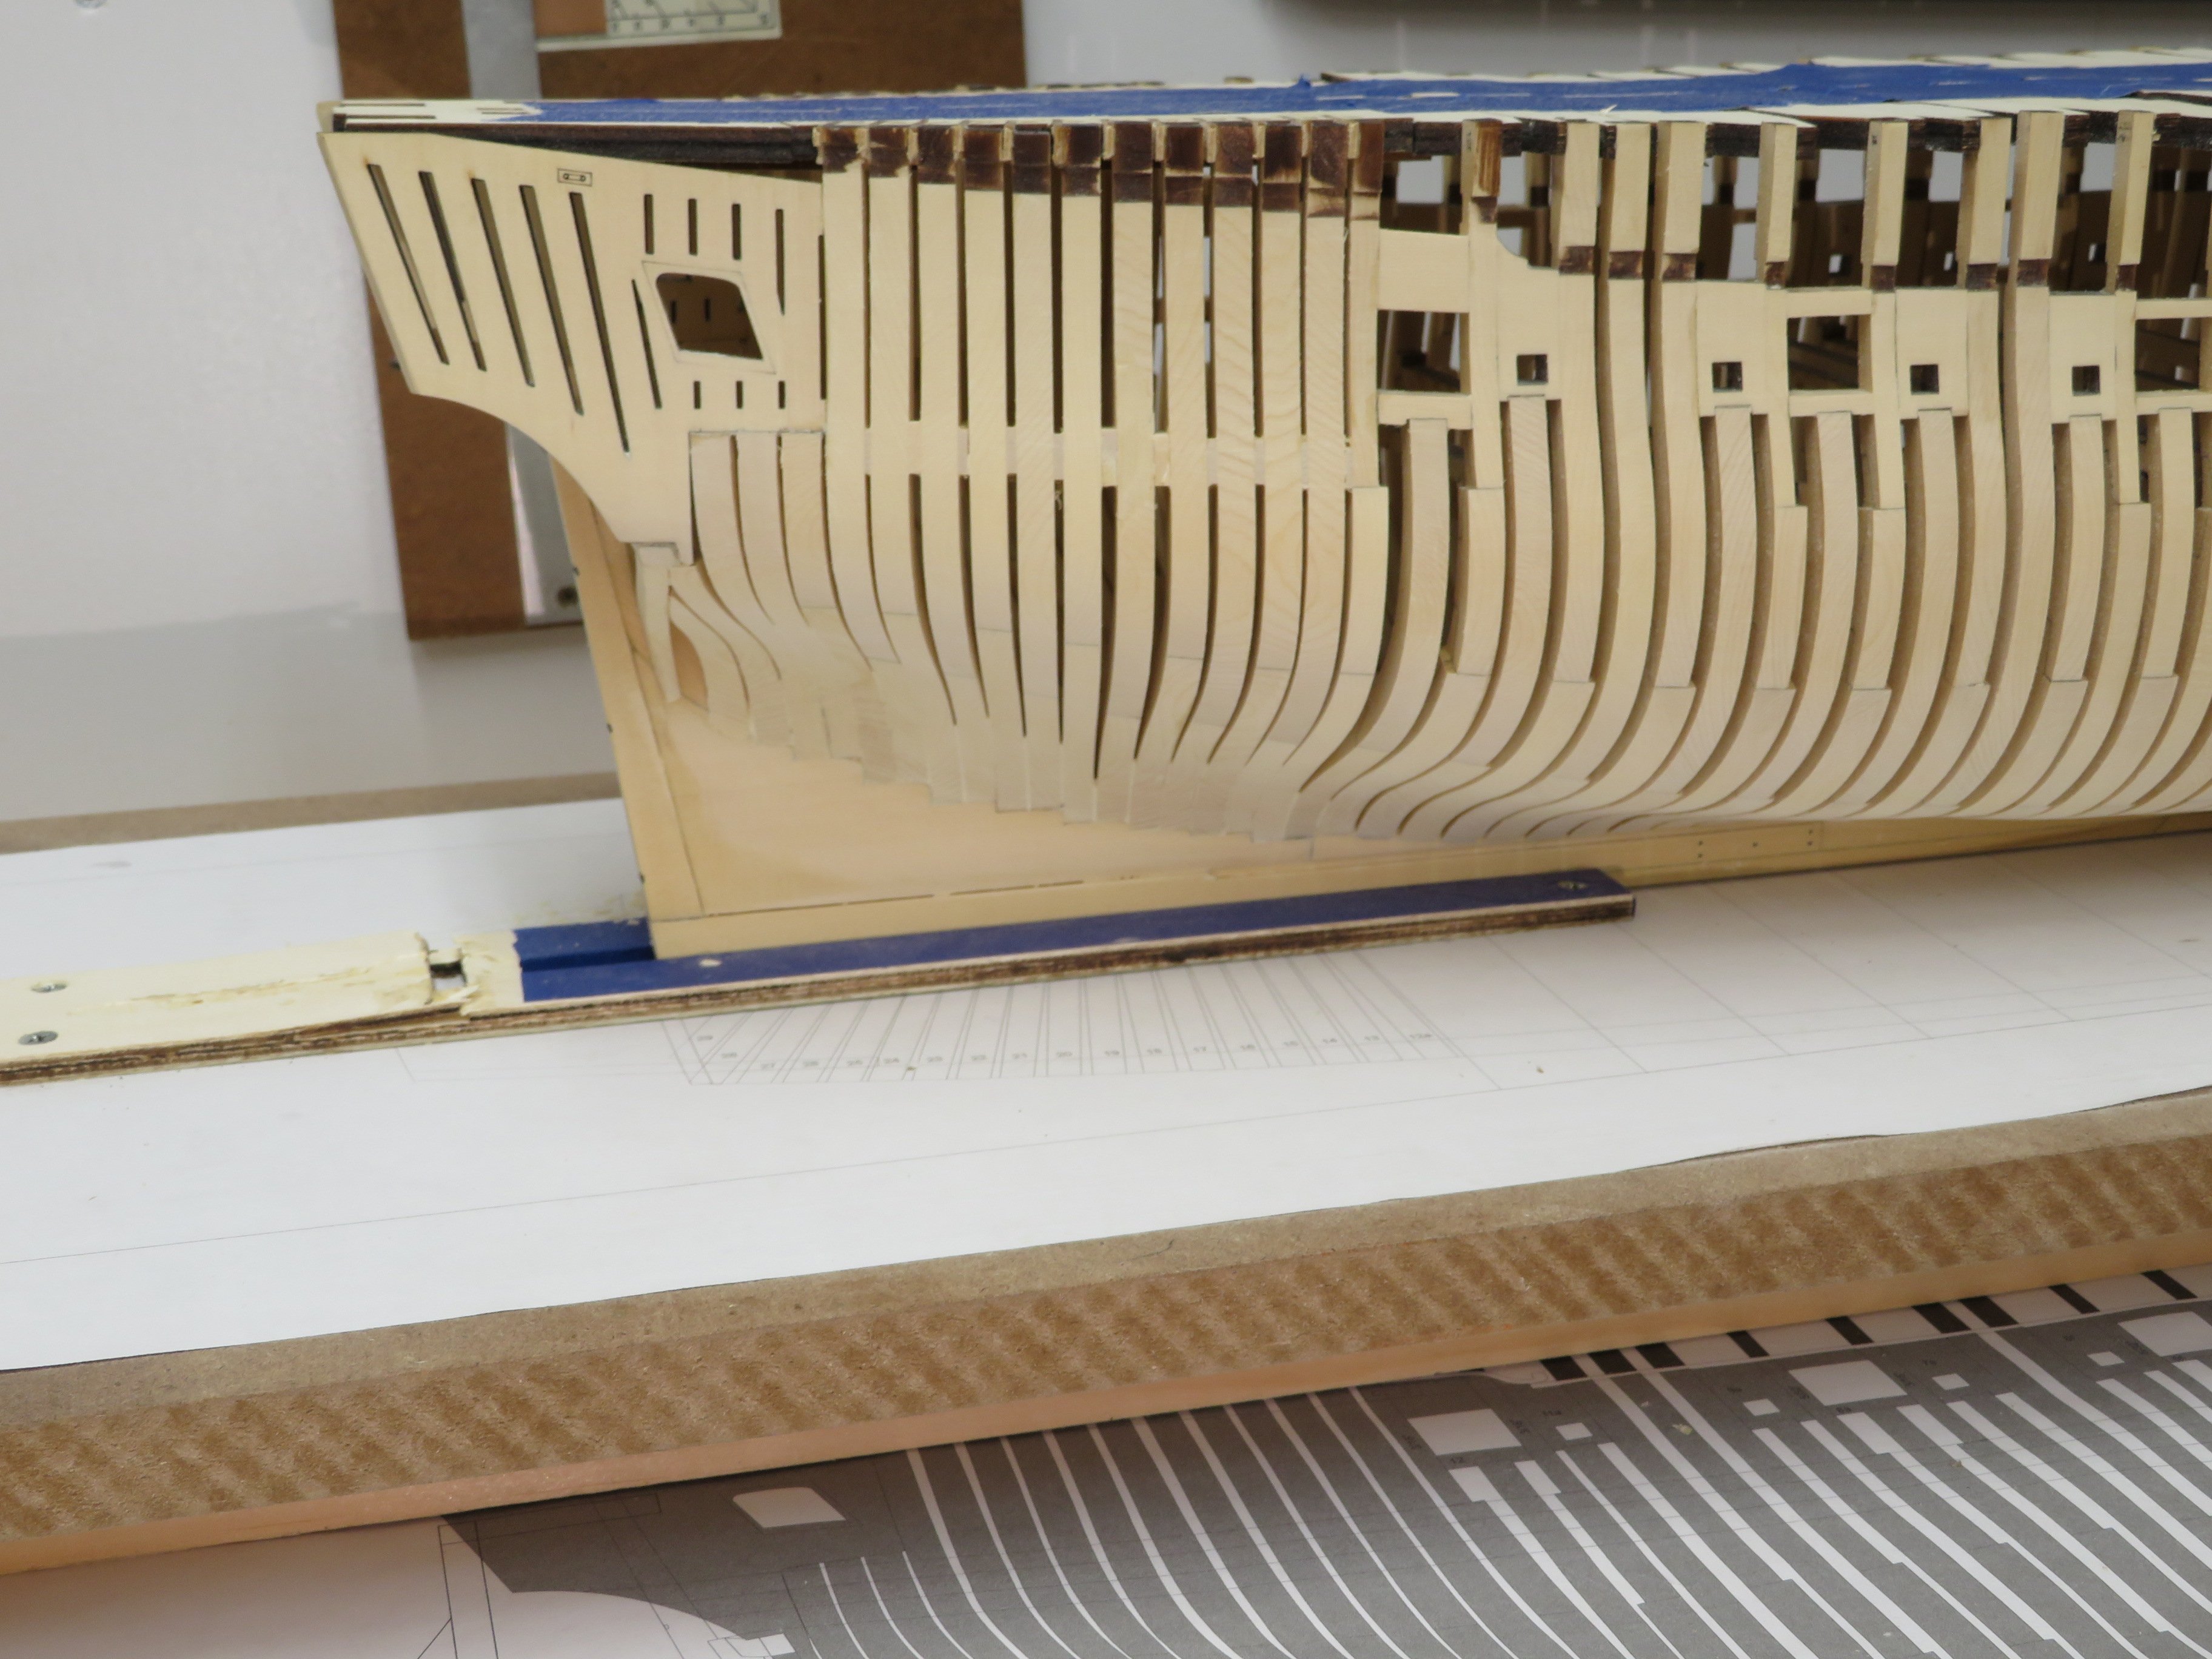
Well I've completed the bow timbers and rough faired it. I was dreading this as I've never been really successful with this part of the build, but I managed to get through it and everything still lines up. Chucks instructions and etched reference lines along with Mikes log really helped. Now I'll move on the aft cant frames which is number 2 on my dread to do list. 😂
-
Thats some nice work on those aft cant frames. Your description and pictures will help when I get to that point.
-
That looks soooo good. Great job.

.jpg.a5a630929968885dd723cf4b850d805f.jpg)


