HOLIDAY DONATION DRIVE - SUPPORT MSW - DO YOUR PART TO KEEP THIS GREAT FORUM GOING! (89 donations so far out of 49,000 members - C'mon guys!)
×


chris watton
-
Posts
2,328 -
Joined
-
Last visited
Content Type
Profiles
Forums
Gallery
Events
Everything posted by chris watton
-
 On a separate note, I should have my shipments of Pavel Nitikin Viking ships and John Smiths Shallop kit arrive next week - I can tell you that the shipping costs were horrific...
 -
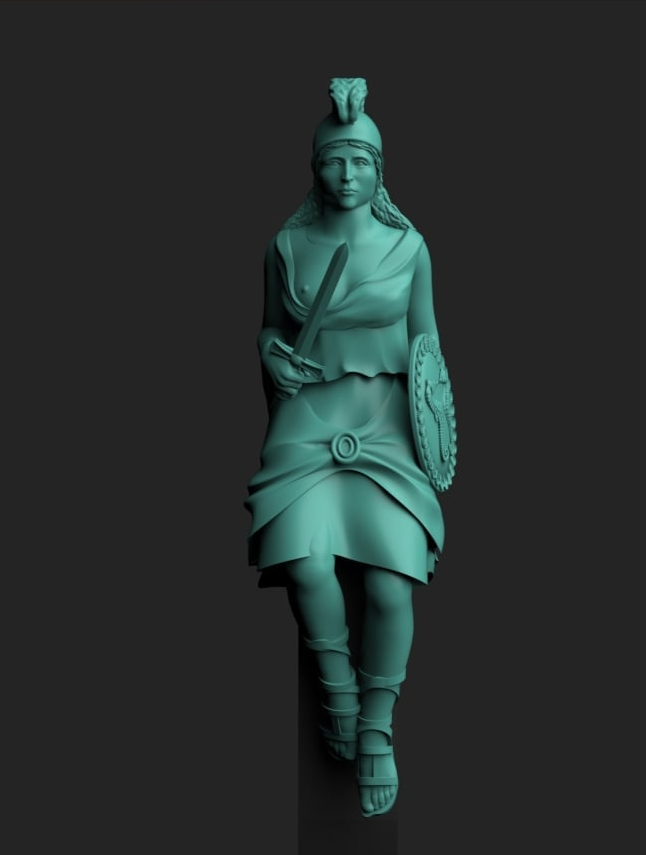
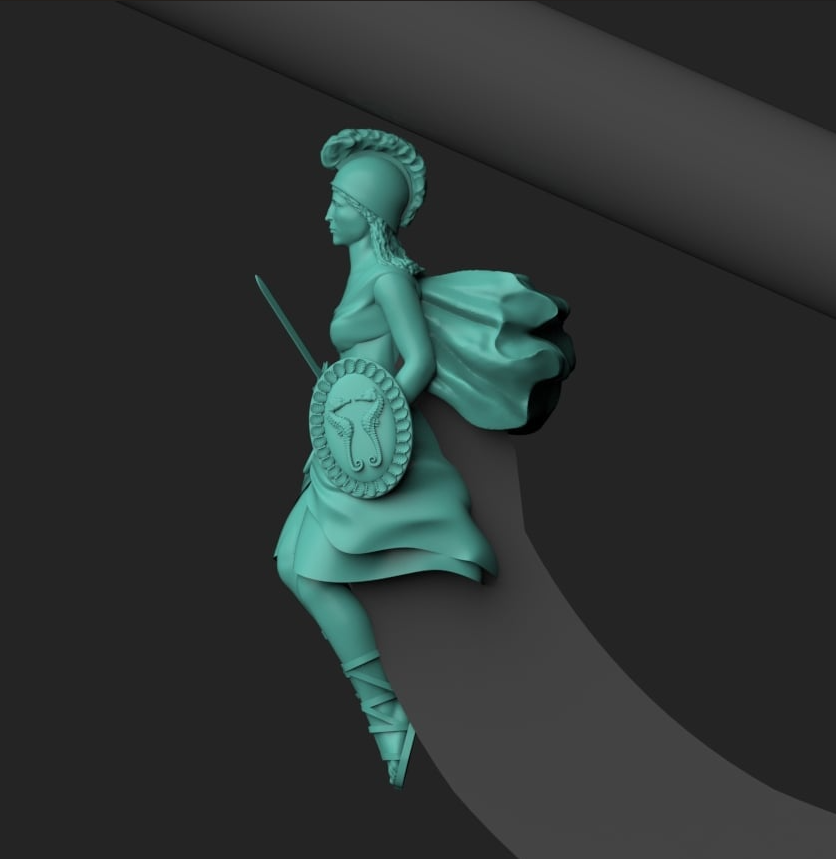
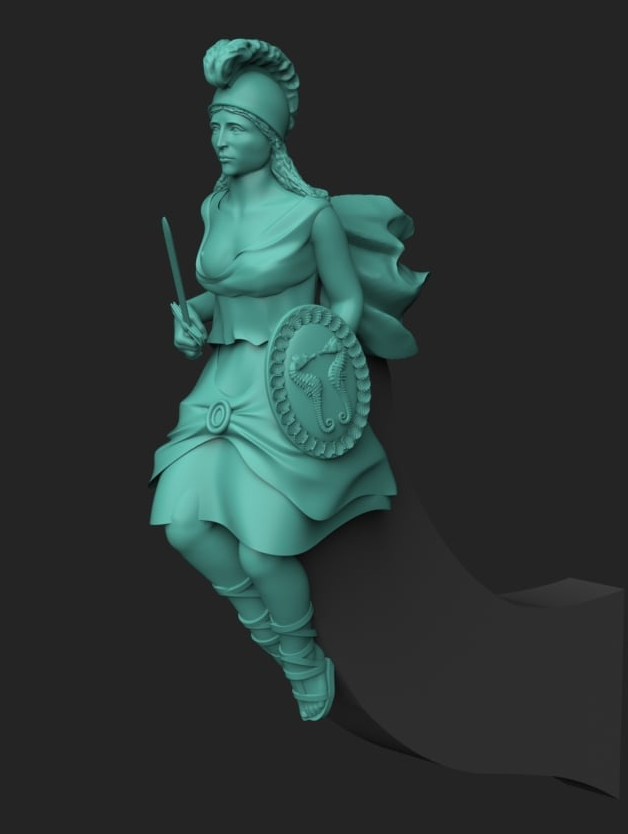
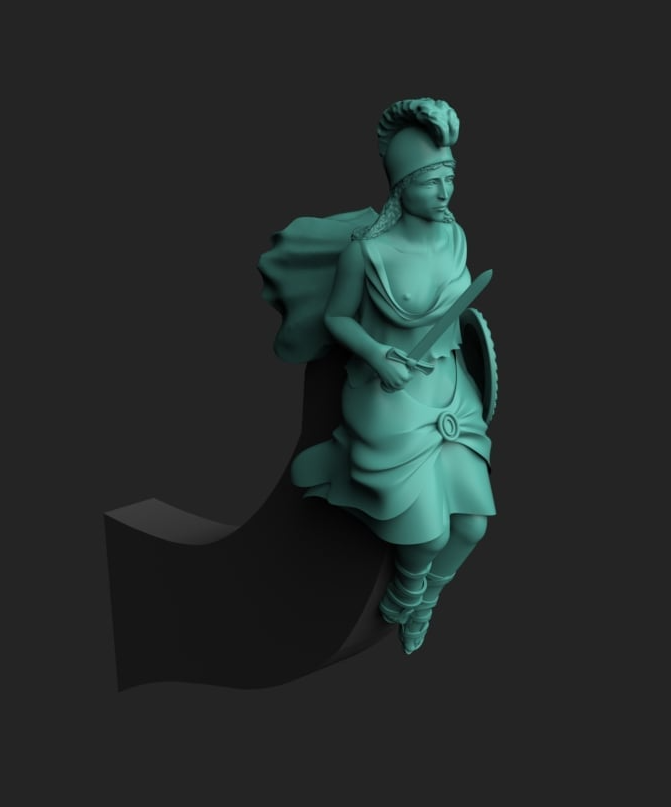
This morning I was sent the renders for the alternative figurehead for Surprise (and I suspect the one that most will use). Both versions will be included in the kit. Still have a lot of time to spend on this development...

-
Yes, I use CA for the same thing, but that is never left on the model, it is just to make it easier to push the rope through the holes in the blocks.
- 332 replies
-
- 5
-

-
- Harpy
- Vanguard Models
- (and 1 more)
-
Always best to glue as little as possible for masts and rig, because if something is accidentally broken, things are so much easier to repair. I do wince when I read that some use copious amounts of CA on their rigging, rather than a little dab of diluted PVA.. Harpy looking fantastic!
- 332 replies
-
- 5
-
-
- Harpy
- Vanguard Models
- (and 1 more)
-
Well, being a wooden kit, there is nothing to stop you doing this and discarding the kit parts. I see this with the pre made decks, some plank their own. Nothing wrong with doing this at all. Indeed, I expect it from some modellers.
-
The pear is 0.8mm, the 0.2 doesn't seem a lot compared to standard 1mm thickness, but it does seem to make a lot of difference when manipulating the sheet to shape, plus there is less need to soak the part before bending to shape. Pear does like to hold onto that water for at least a day or so (sometimes much longer), making it look as though the part is way too big before shrinking back to original size.
-
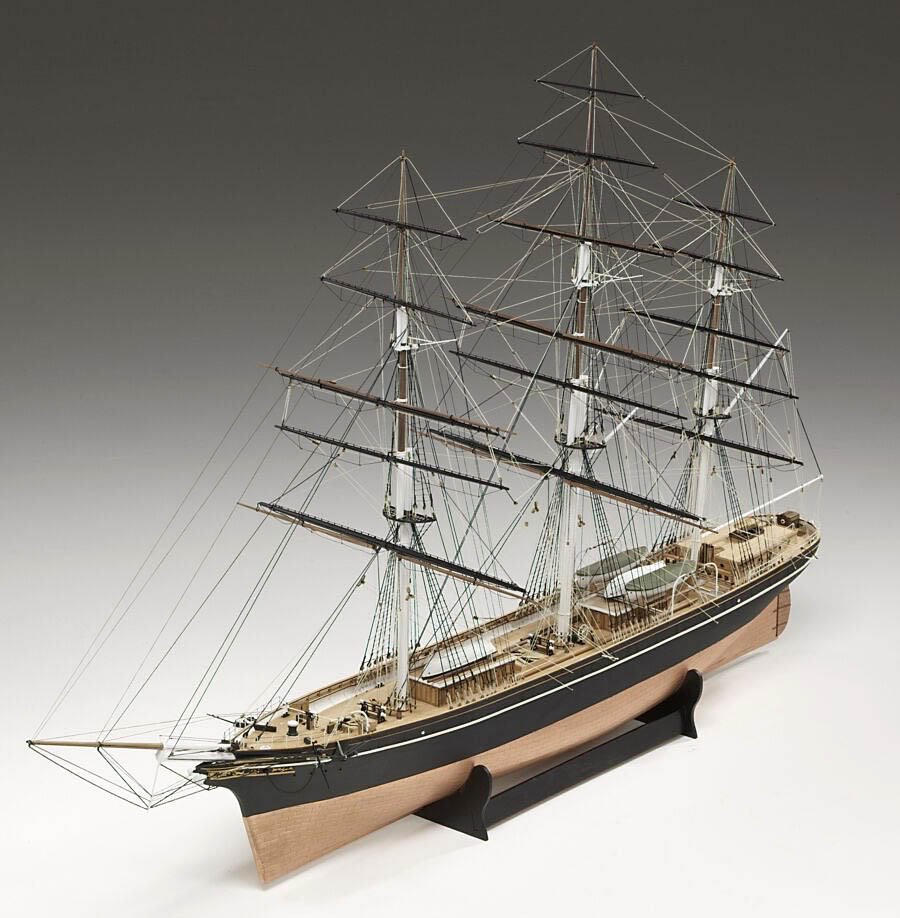
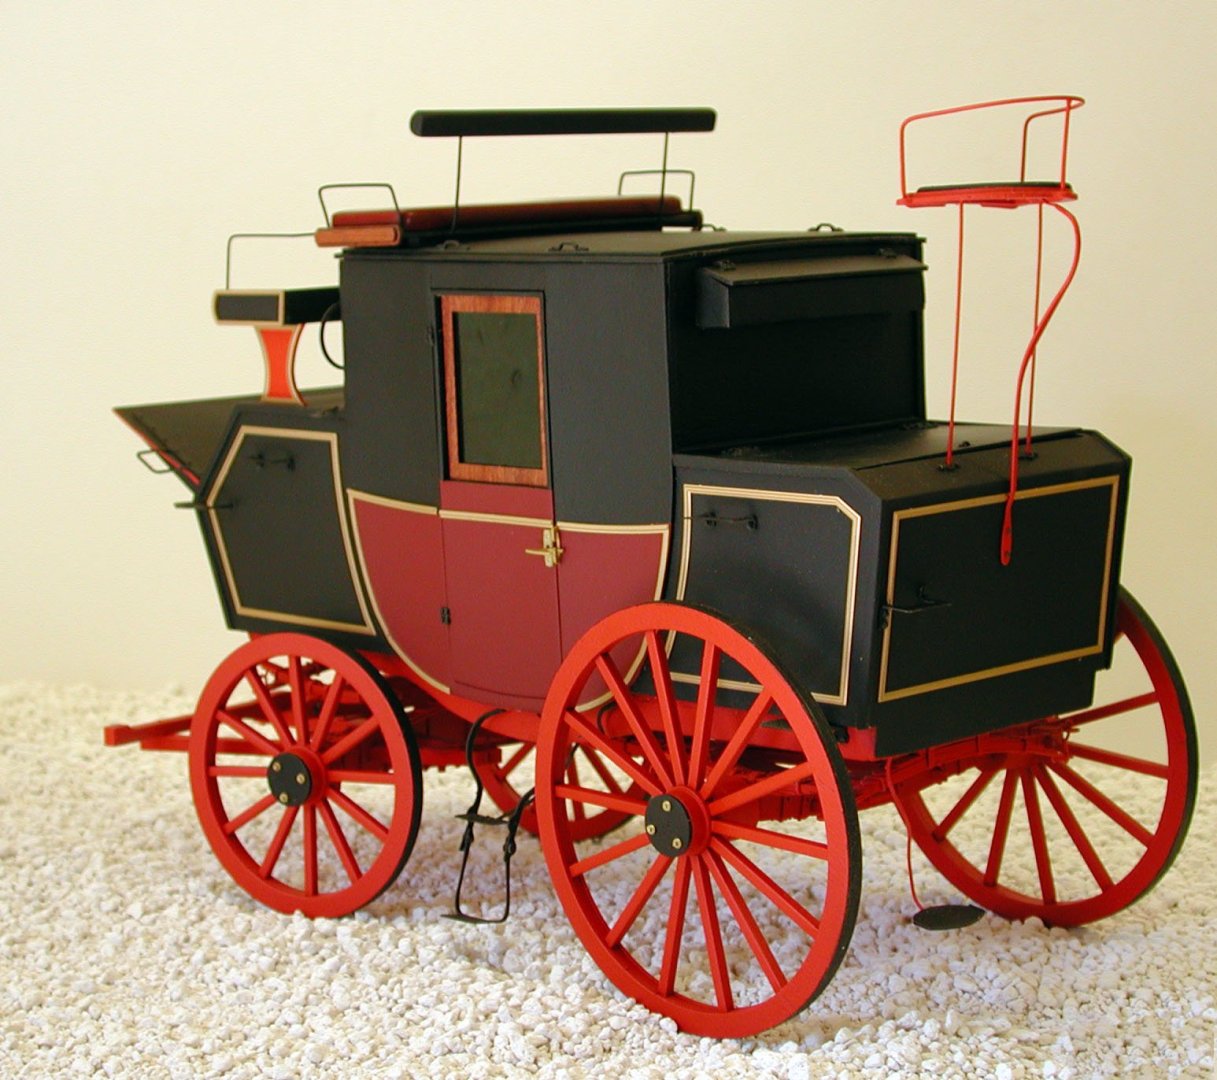
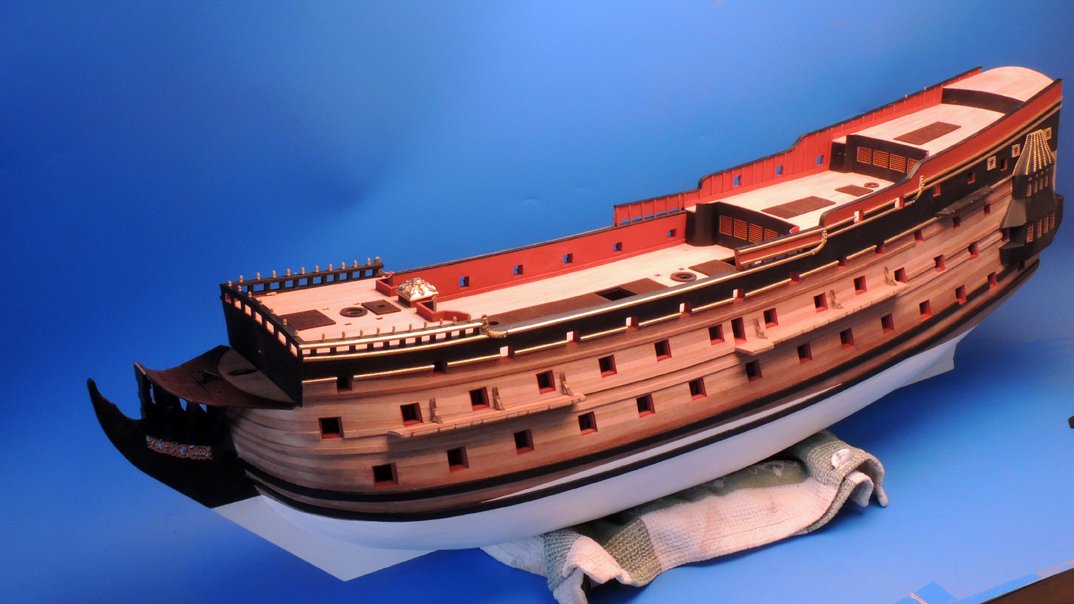
I know that Cutty Sark was an Hachette parts work development, which I thought was a shame, as I think that was a great looking model and very detailed. Not sure about Prince, I know I did give it a redesign about 11/12 years ago from my earlier 2002 original, with gun ports incorporated into the hull: Even a fully detailed Royal Mail carriage!
-
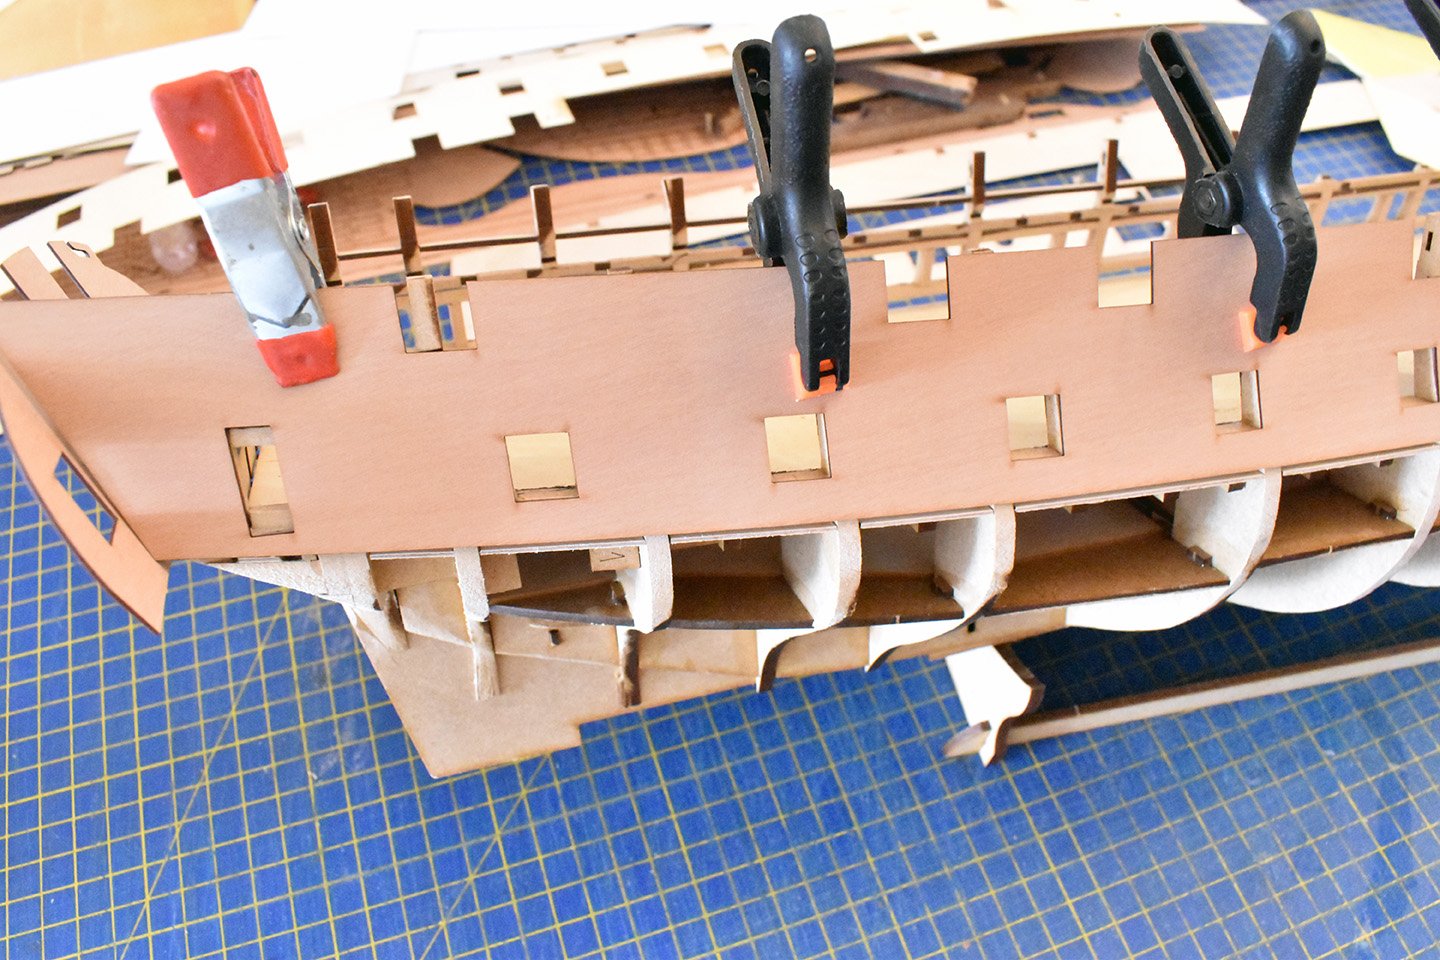
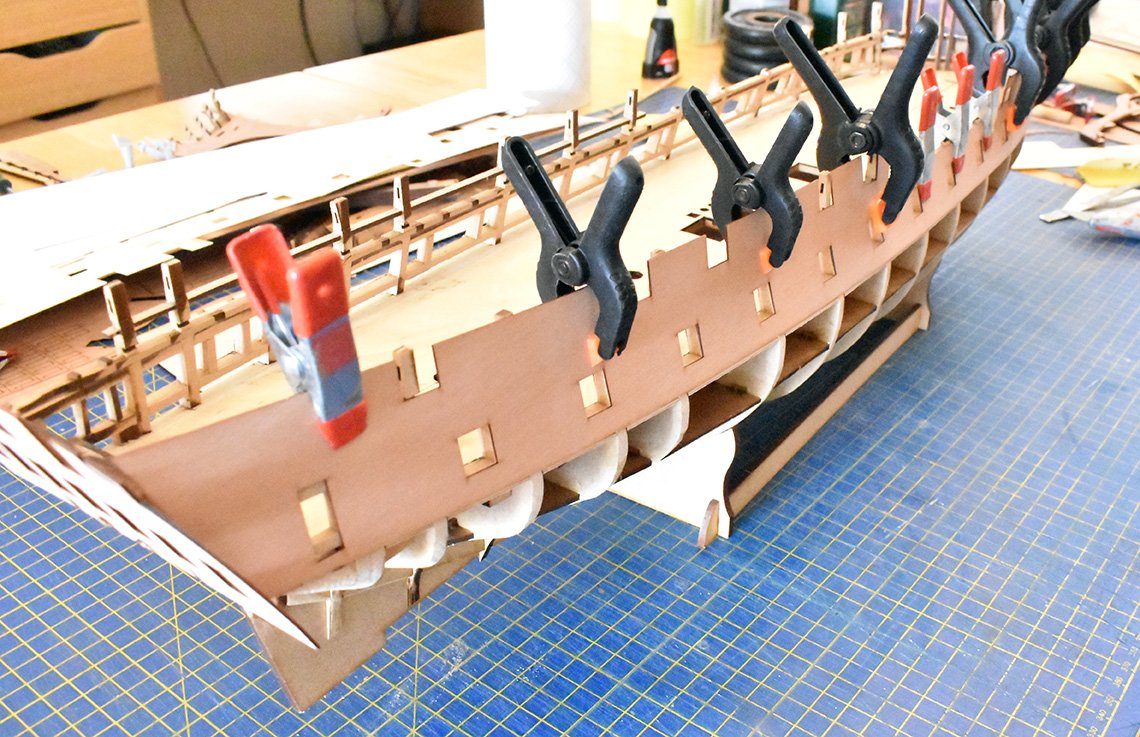
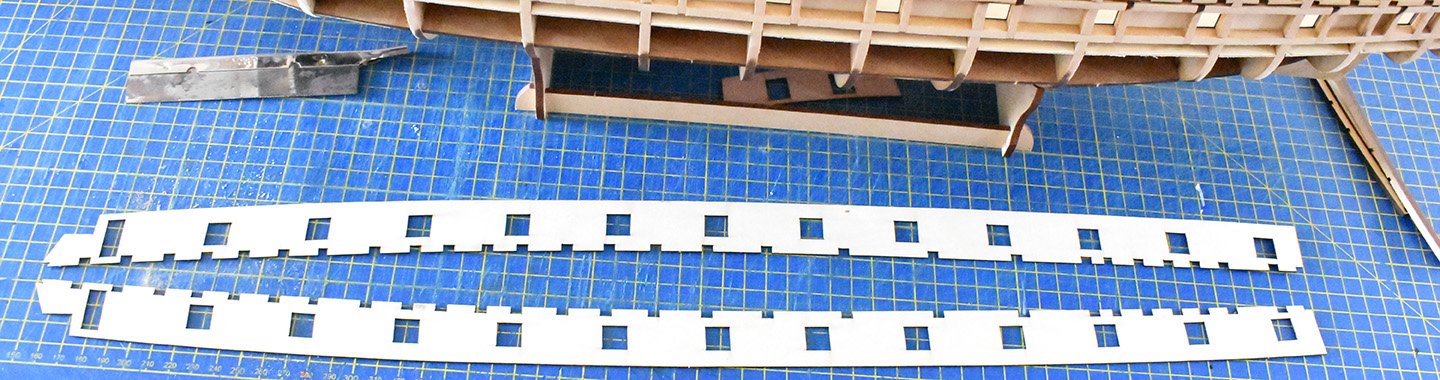
Well, I worked all day today, continuing Surprise stuff. This morning, I decided to make the templates for the fore and quarterdeck bulwarks, which are to be pre-cut. So first, the upper deck and beams were to be removed. My initial idea was to do the same I did for Indy, with most of the outer sides planked. However, I could not get the thought out of my mind just how nice the sides would look if they were pre-cut and engraved, with treenail detail - that would look great when painted ochre (or just varnished). So, with this in mind, I made a template for the whole of the hull side down to the top of the main wale line (or in Surprise's case, where the planks get thicker). The pics show the end result of a day’s work, with many templates laser cut in white PolyBak, with each successive template (and there were many) tweaked a little more until, eventually, the final template is cut in the material that will be used in the kit, pear, shown in the pics. There was no warping to the undersides near the bow, and curved around very nicely on my disposable 'mule hull' The downside to this, and the reason I initially dismissed doing this, is cost (0.8mm pear sheet needing to be 800mm long and 4 required just for the outer hull) and time. It will increase the overall cost to the kit. But it does mean planking, like on the smaller kits in the range, is relegated to the bottom half of the hull only, with all upper sides being completely pre-cut and laser engraved. It also means I can work slots into the bulwark sides for the fore, main and mizzen channels, these worked very well for the new Speedy and Harpy. I hope I have made the right choice.. Oh, for the rudder fixing, I am doing the same as I did for Indy, with 3-d printed gudgeon and pintles that simply slot into the rudder and rudder post, I do very much like this method as it is both simple and looks accurate.
-
Me too! Will eat it whilst watching Ben Hur tomorrow!
-
Cheers - although this has been the case (visual access to the deck below) with Sphinx, Indy and Harpy - but this will be the first with no ply sub deck at all. Assembly more than strong enough to not need a sub deck.
-
The deck openings will be a little different for the finished model, as I need to make sure there's enough depth for the 18 Pounder carronades to sit.
-
OK, I added the upper deck beams, all fine, and then added my one off special 0.8mm ply deck, ready for next stage of development.
-
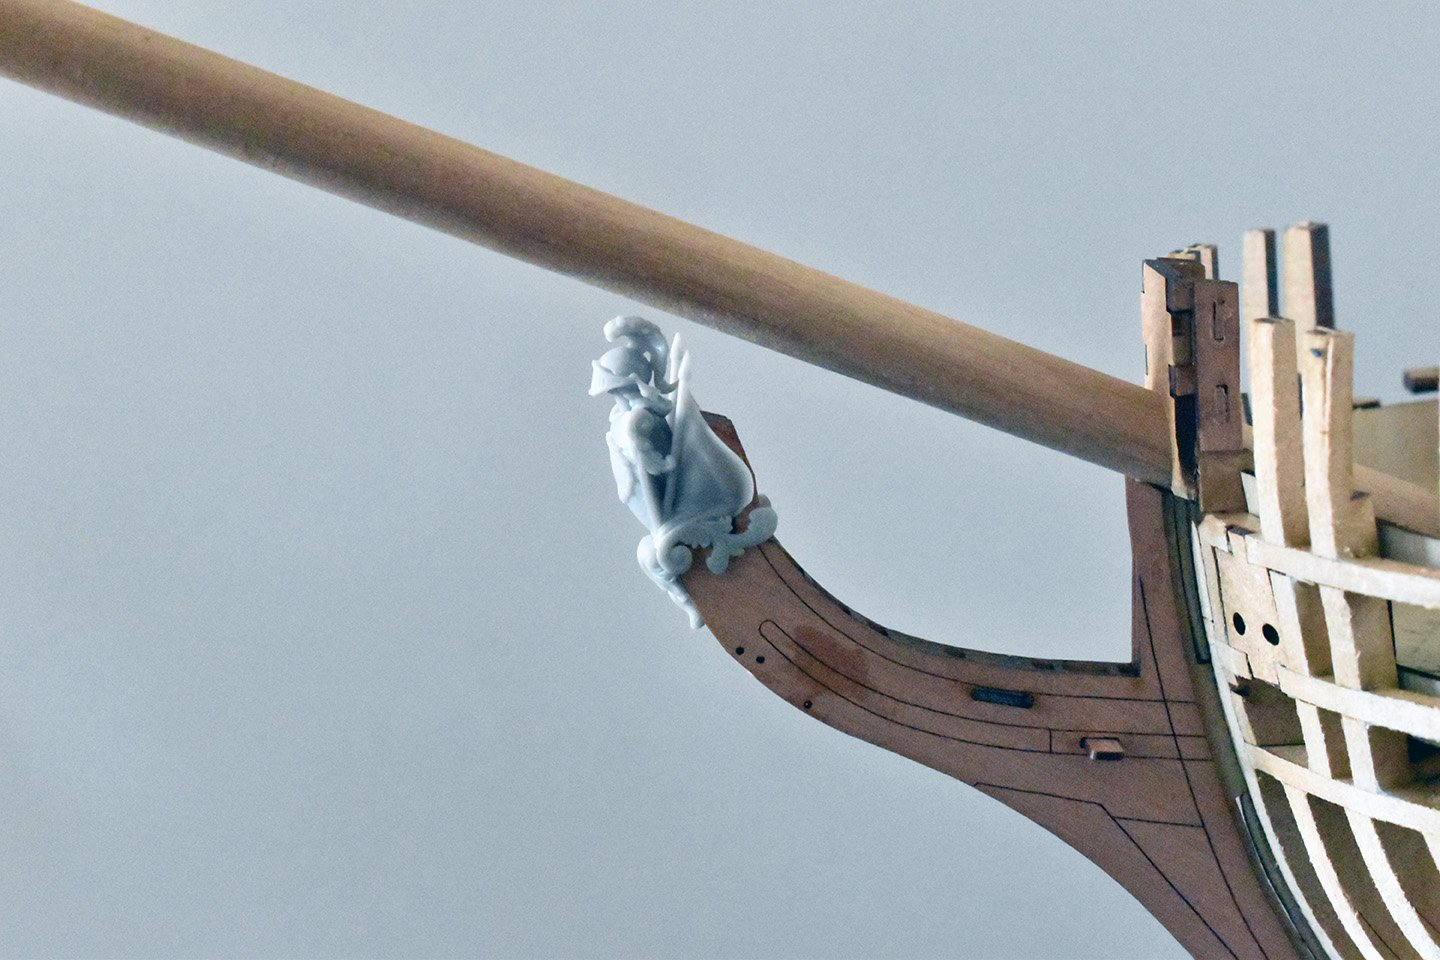
Yes, we used the one from La Tourterelle as it is a lot more detailed than that of the Unite/Surprise, It seems the only real difference in overall shape are the flags angled upwards on each side. To make it more or less what the Surprise plans show, it would just be a simple matter of removing the flags. (I always assumed most will use the other figurehead anyway): Another figurehead will be included that is more in line with the fictional version from the novels and film.
-
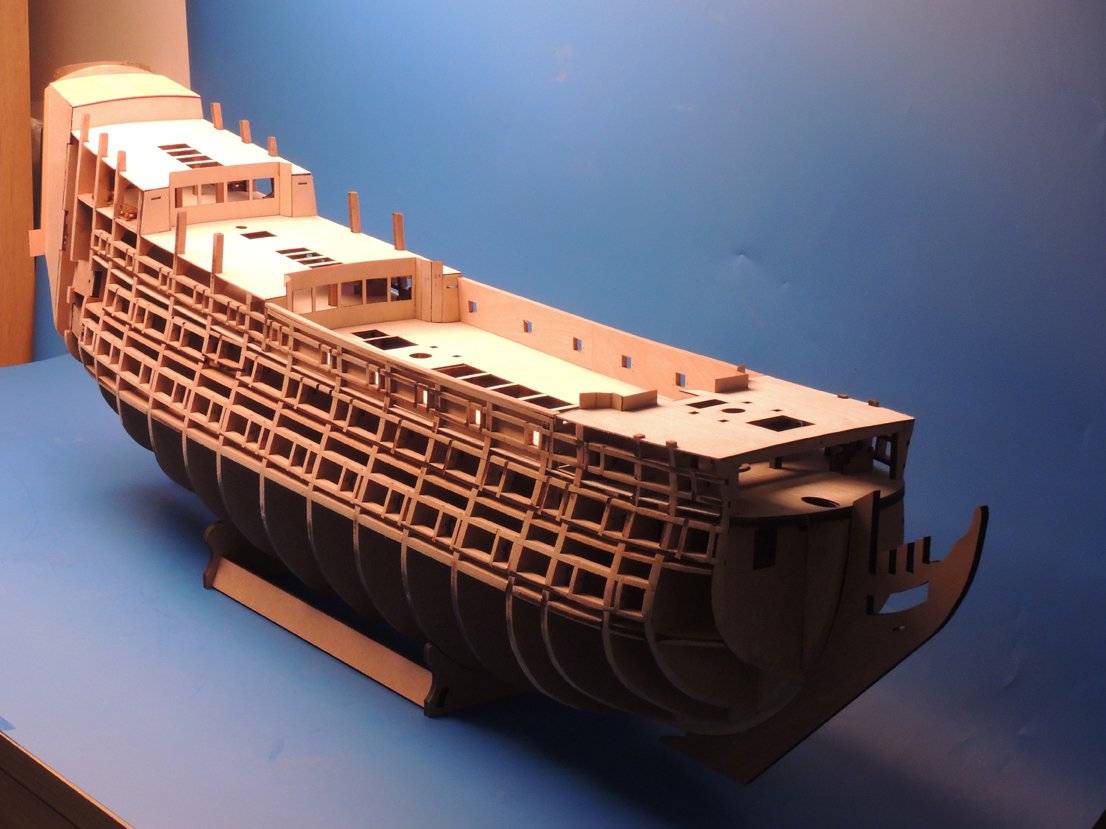
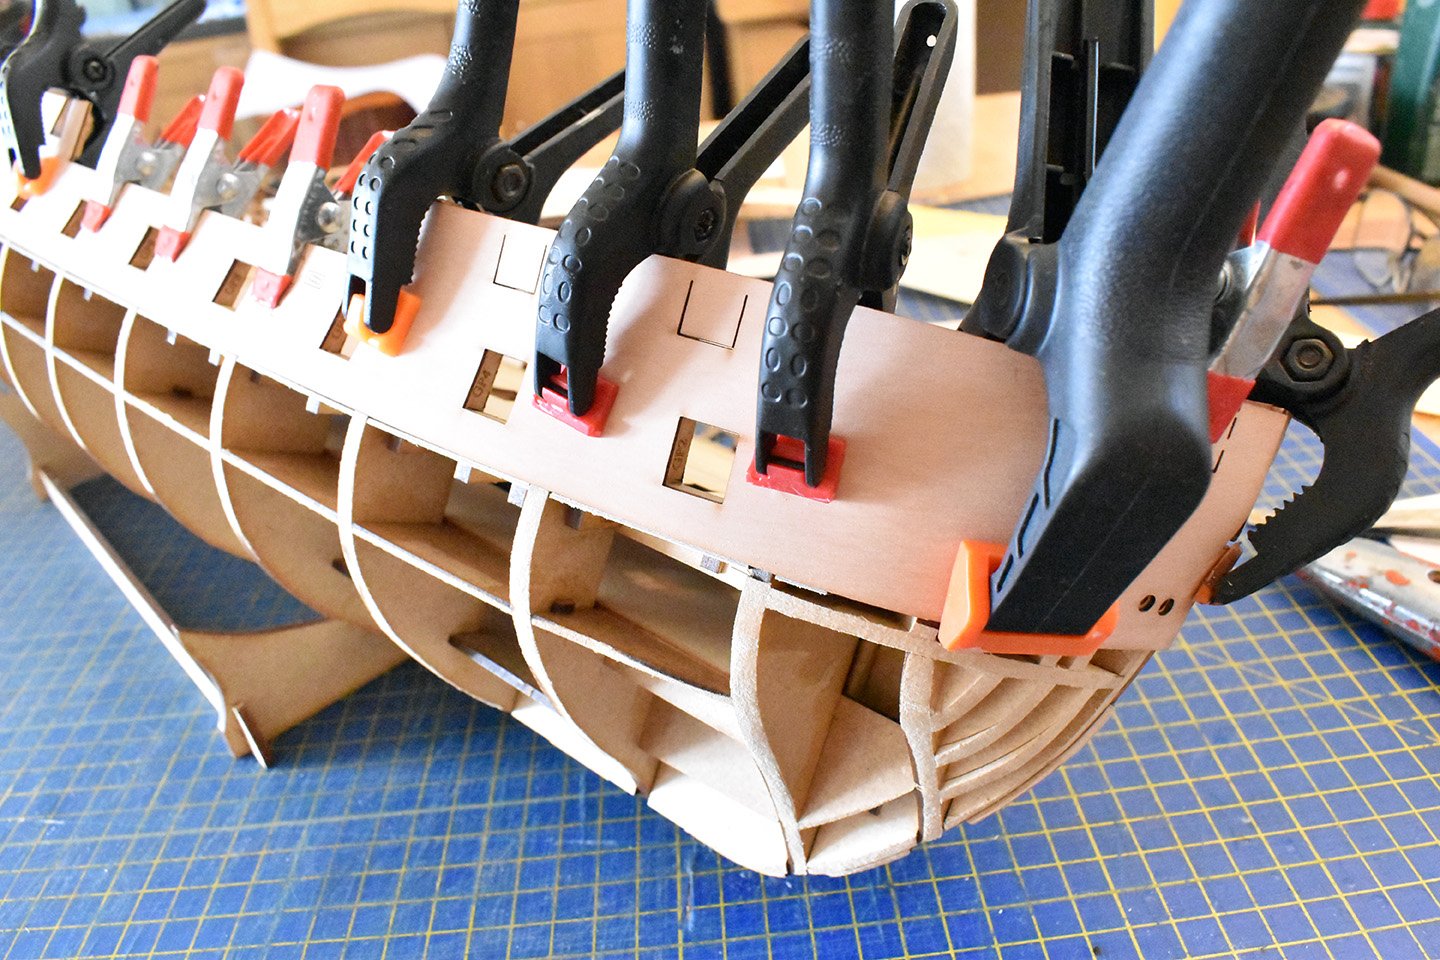
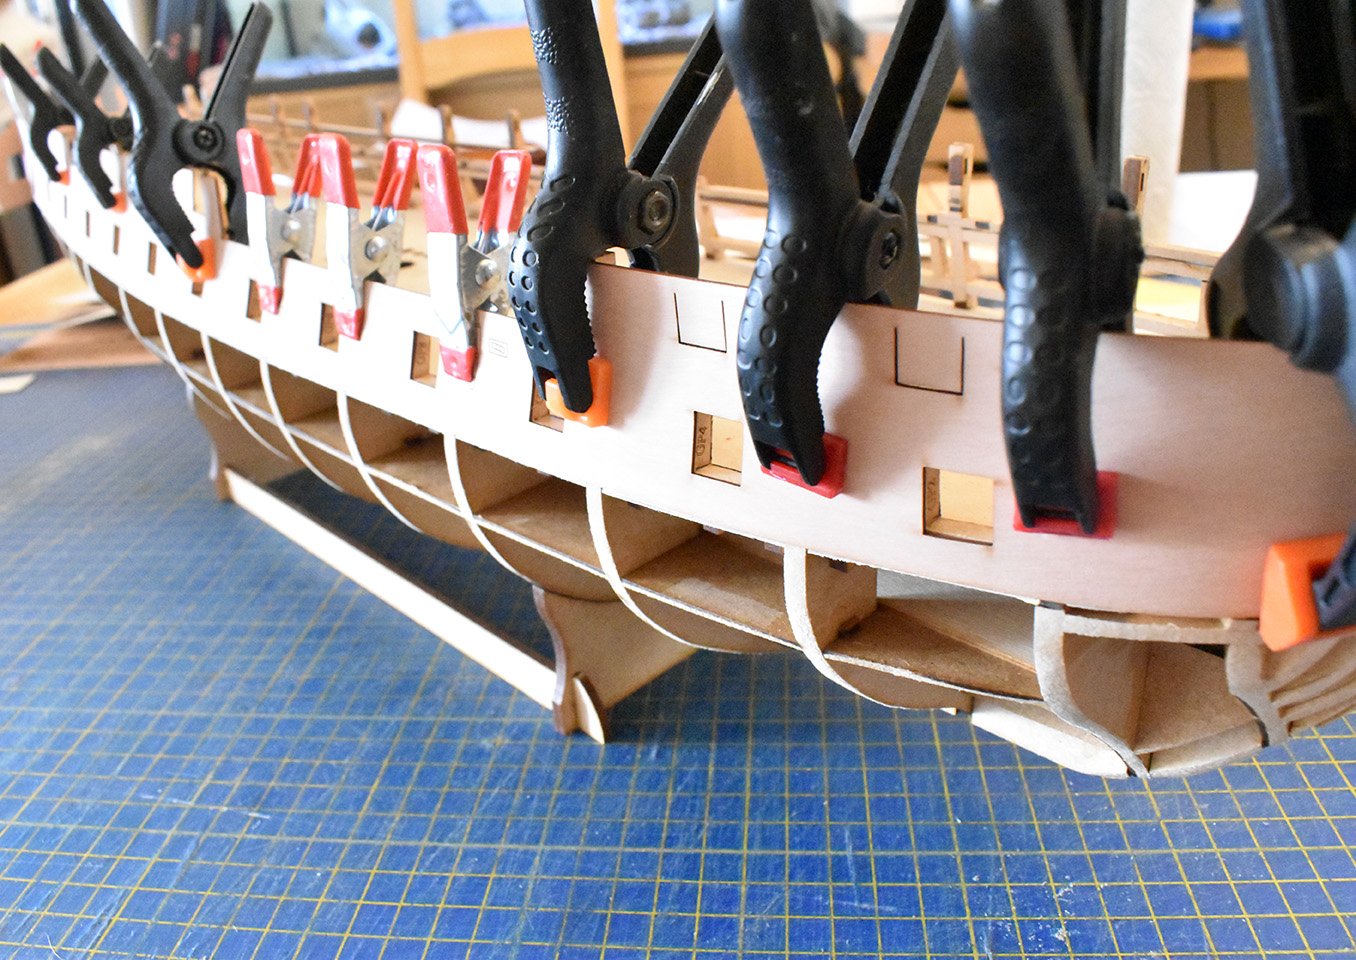
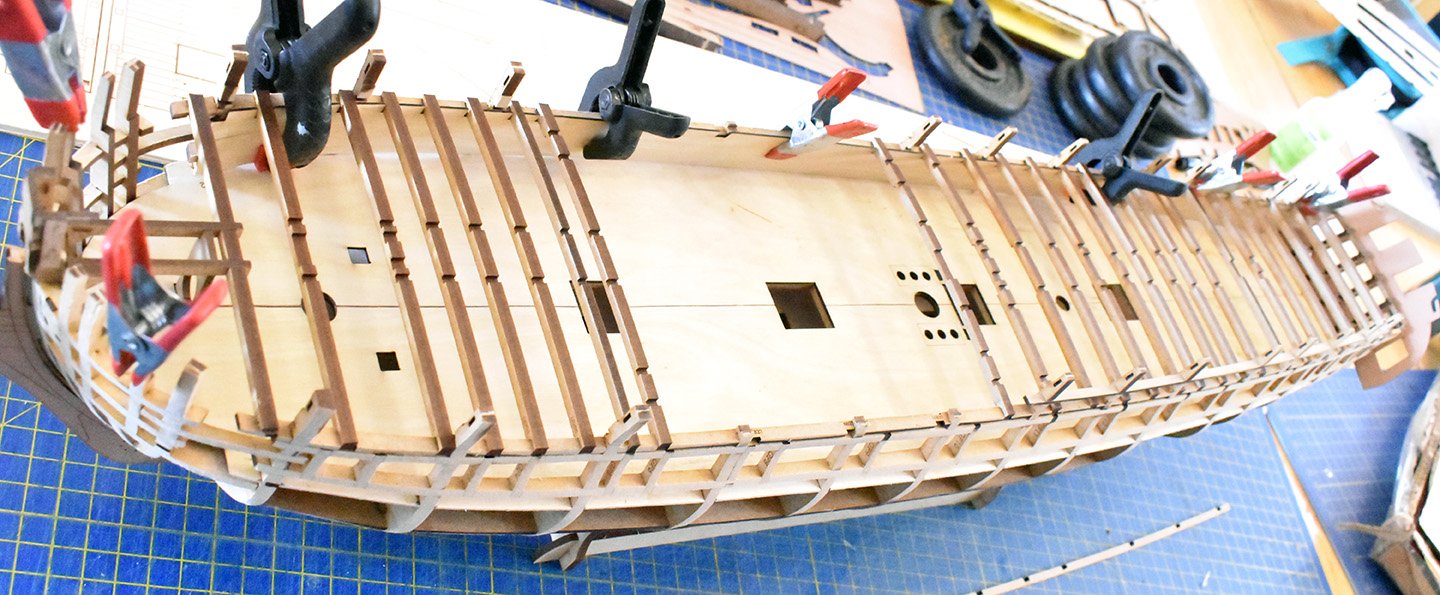
Cheers! I usually don't show too much of this stage, as it is very long and boring, and newly designed parts are usually cut from crappy scrap materials, as they're only used to check fit and ultimately discarded. I am hoping this second hull is the last I need until I cut for the hull that I shall use (fully planked and complete with all laser cut parts) to take pics of the stages for Jim to make the final prototype model and build log on this site - but still quite a long way to go. So, before this goes on sale, the hull has been fully assembled, keel, bulkheads, gun ports, decks, beams etc. at least 5 times to 'tune' the parts as much as they can be - always need a little wiggle room, as some will sand the hull slightly different to others, so have to cover most eventualities.
-
For mine, I just sanded the edges and then added the PE (PE-24 R&L) on top
-
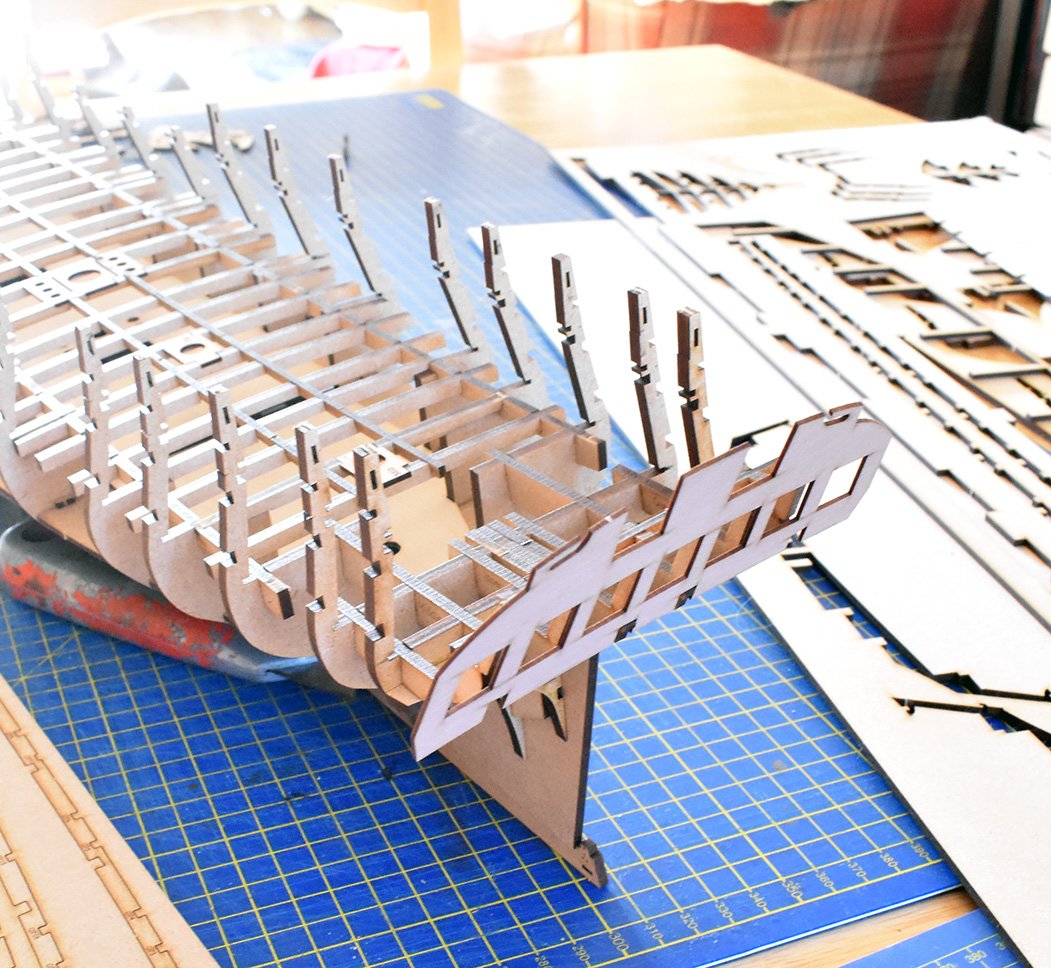
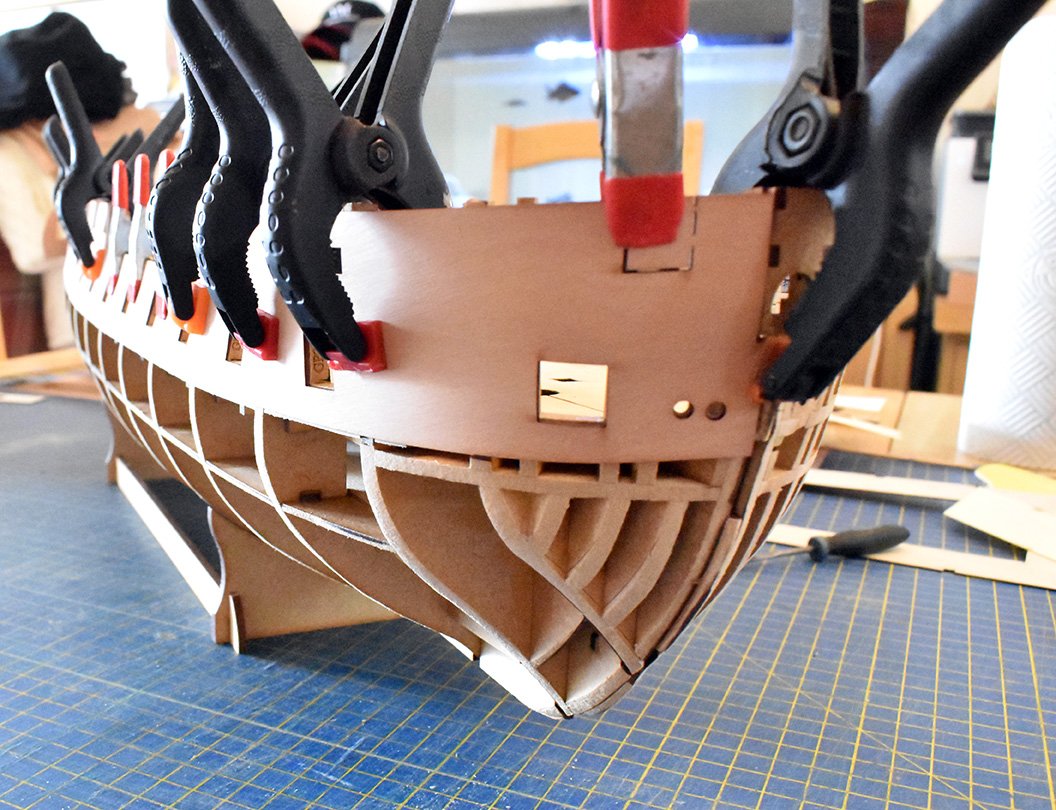
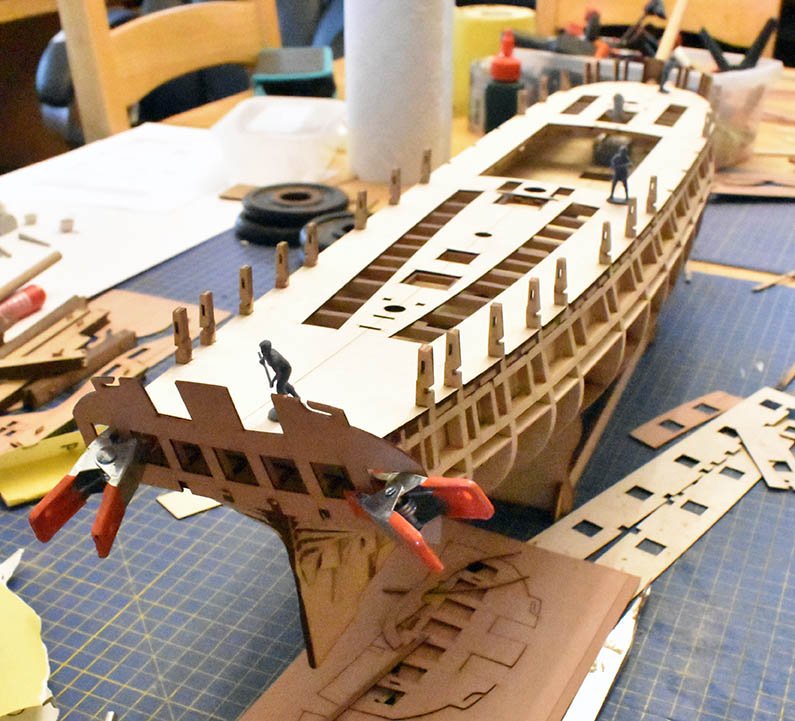
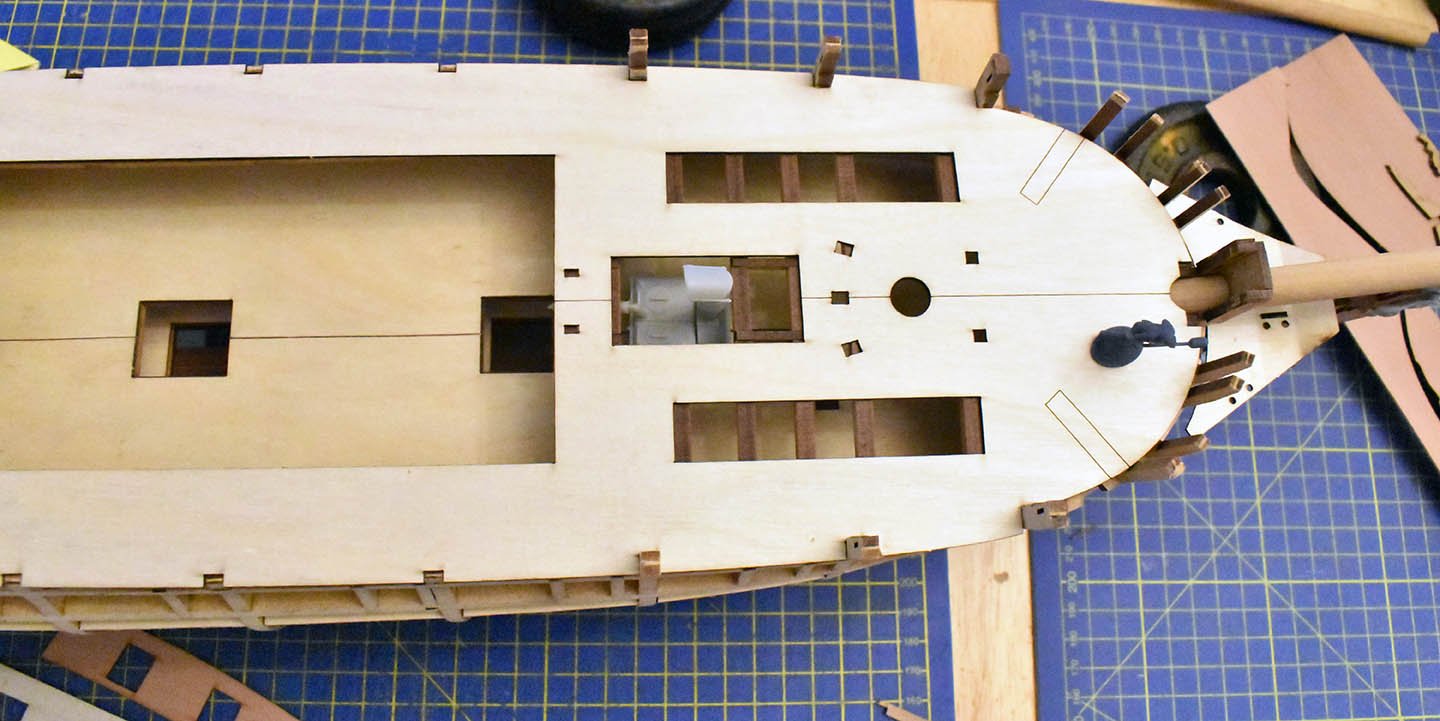
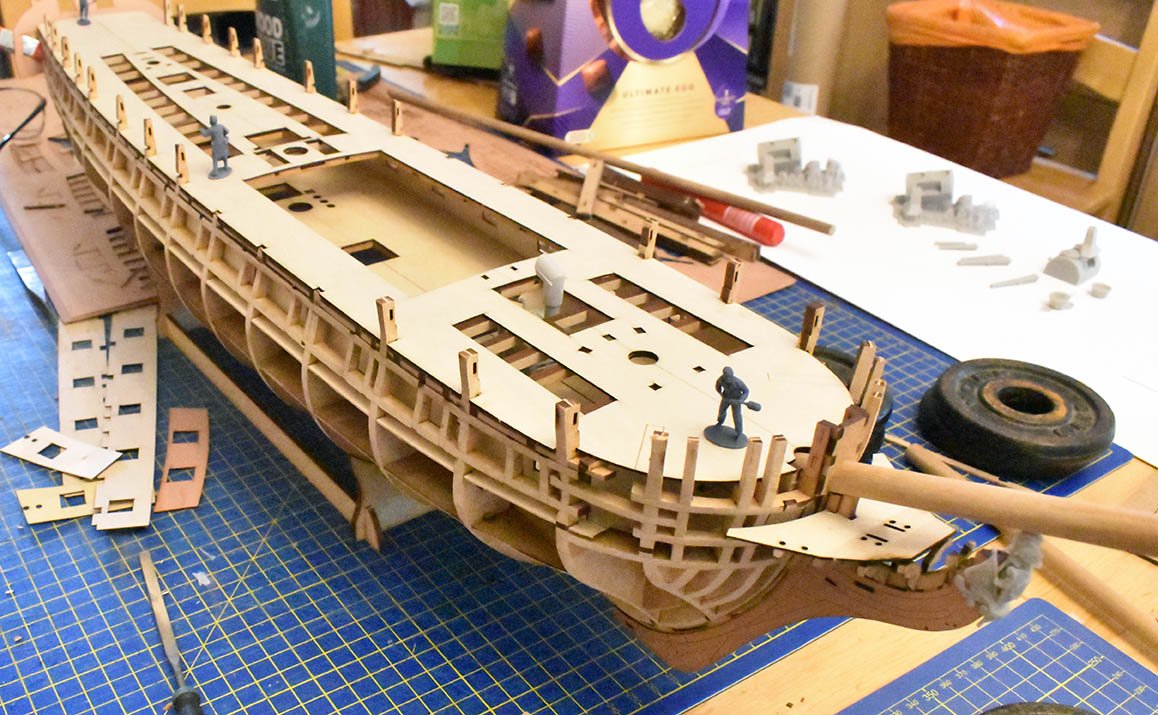
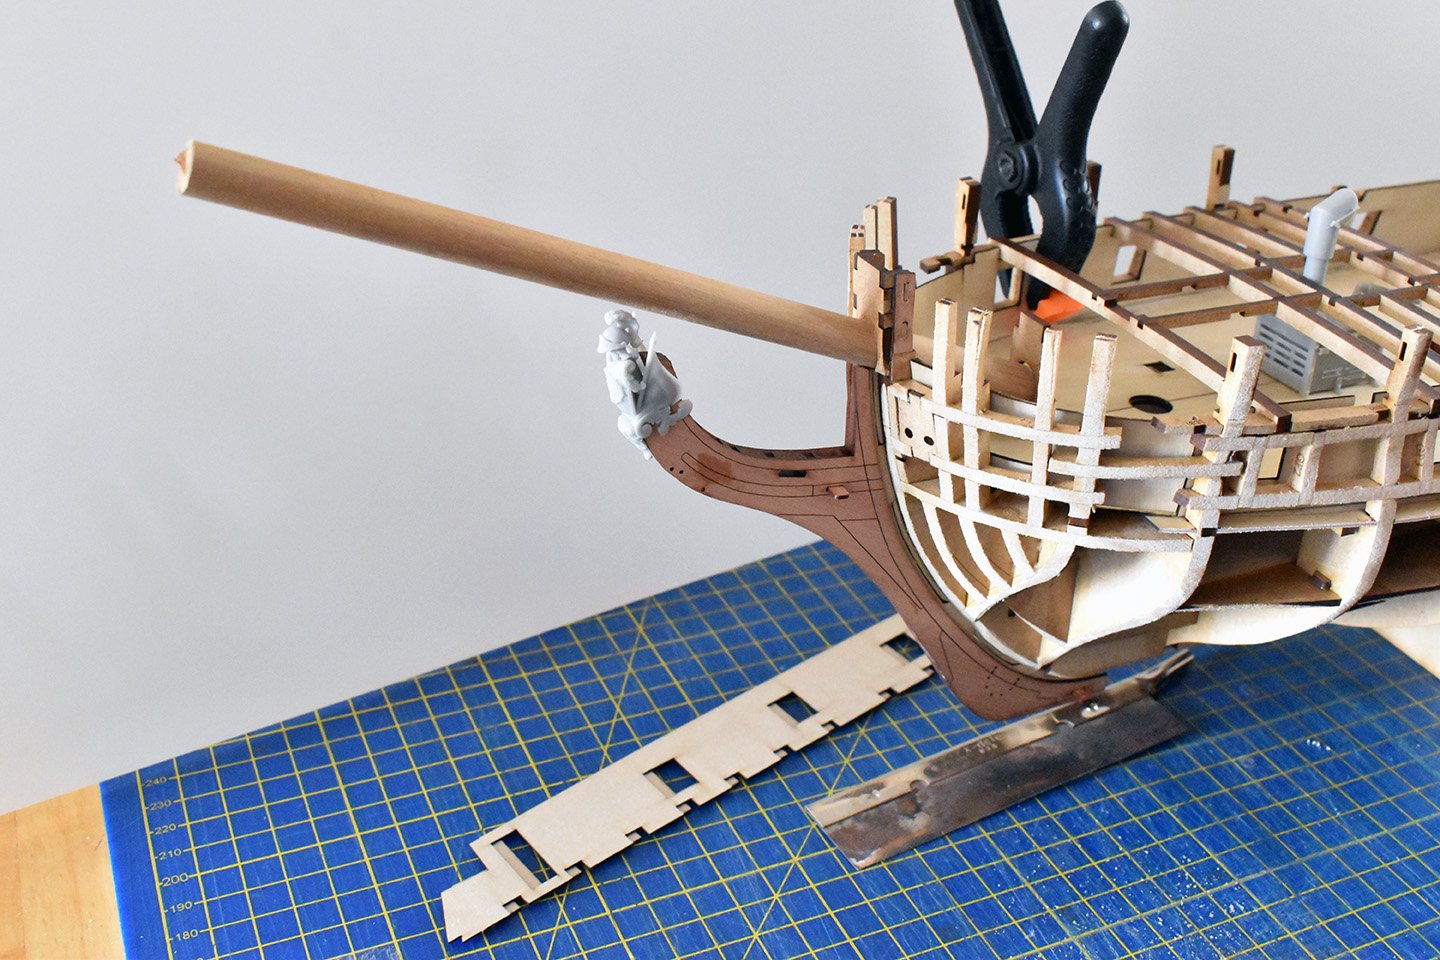
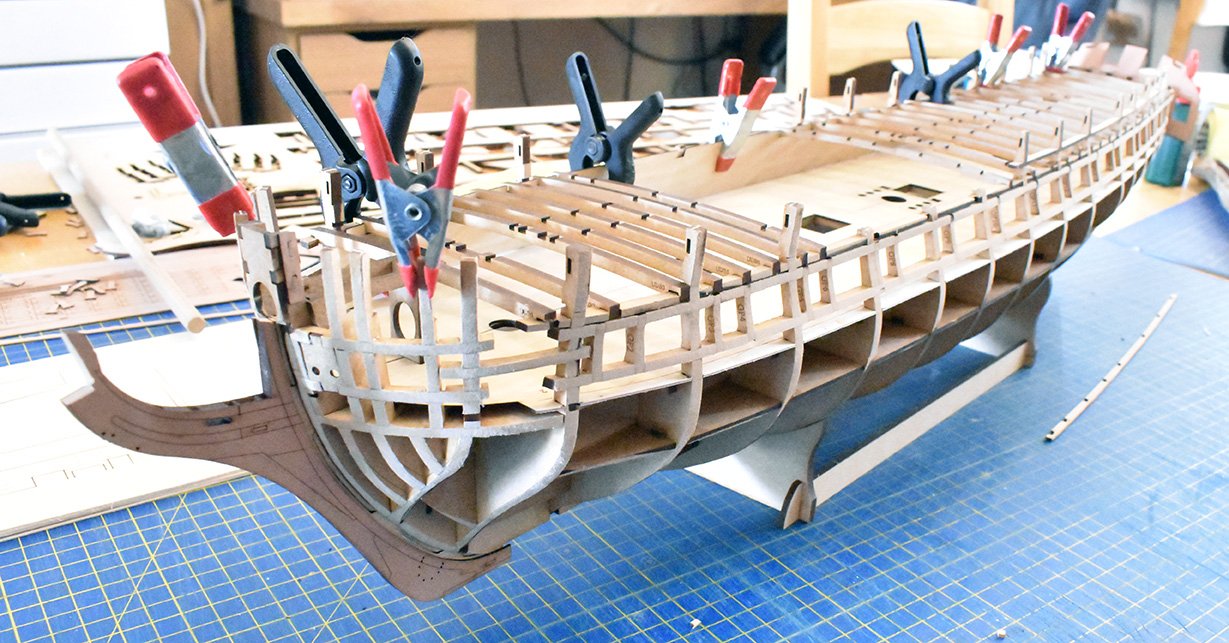
Checking figurehead in relation to bowsprit, and the fit of the new stove. Pics not too flattering, but this hull is only used as a basis to check important parts and finalising the more important aspects of the hull designs. So now, I know that the whole hull goes together very well, all the gun and upper deck beams fit perfectly, and the bulkheads will give a nice run for the outer planking. Also inner bulwarks shown, these do take an age to get right, due to curves and the amount of upper deck beam slots. These are cut and checked using ply, but kit version will have pear versions, engraved and all positions marks or cut for all inner bulwark fittings - I always hated having to plank inner bulwarks, very awkward and there was always the real chance of some planks splitting or breaking off when filing the ports - not anymore!
-
The decks will be 0.8 or 1mm limewood laser cut and etched as standard in the kit, as this is what it will be designed for. however, as I have said before, this does not stop anyone wanting to plank the decks themselves using planking of their choice. They can use either the laser etched decks or printed full size deck patterns on the plans as templates if they so wish. I used to use maple veneer, which was really nice - problem was I could not have enough sheets in a nice neutral colour tone, so reject rate was way too high. All of my kits have pear as the finishing planking for the hull, be it in pre cut or planking form.
-
As a rule, double planked. Inner bulwarks will be fully pre cut and etched parts, though. Decks will be laser etched and cut limewood with no ply sub decks needed. I am thinking of just doing a single pear planking for the upper outer hull, and double planked at and below the thicker plank line (roughly where a main wale would start on an English ship) - But not sure yet...
-
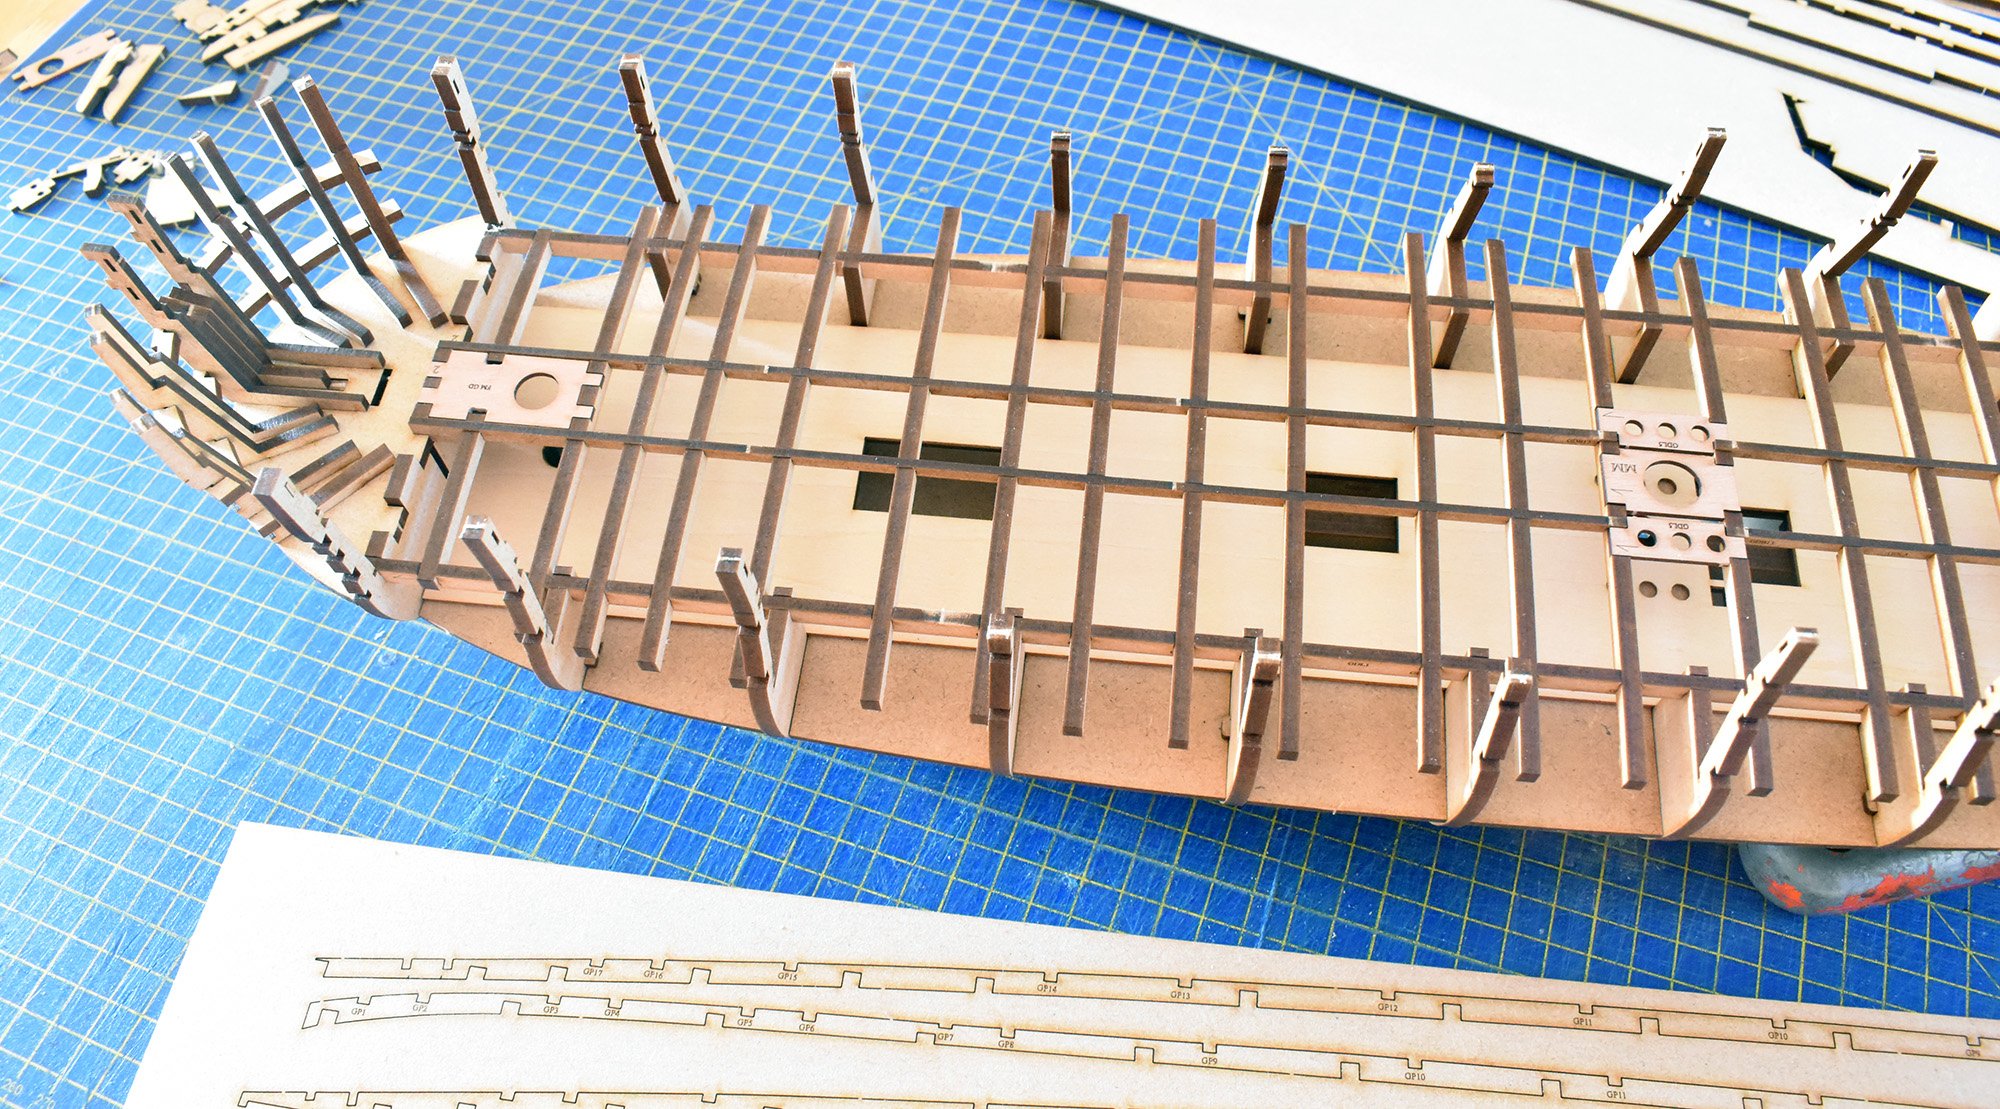
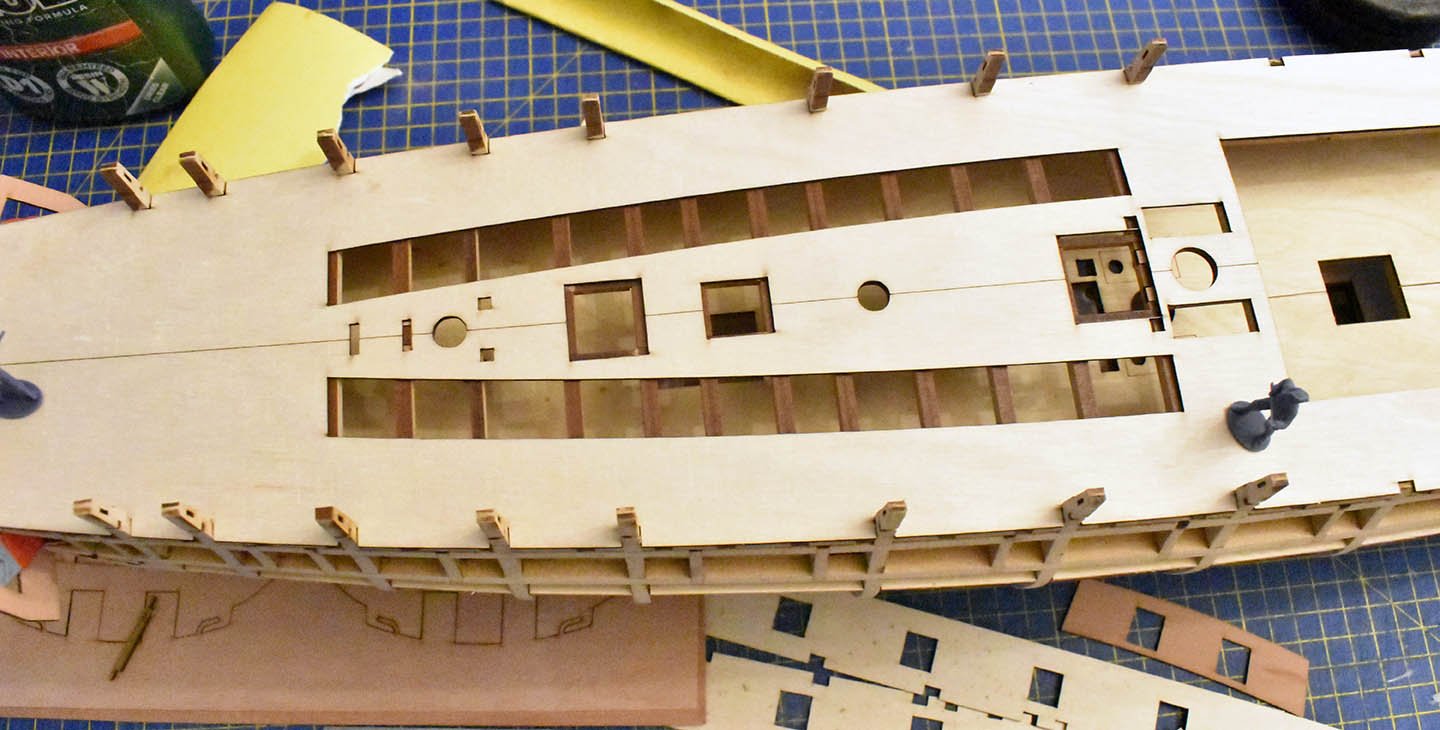
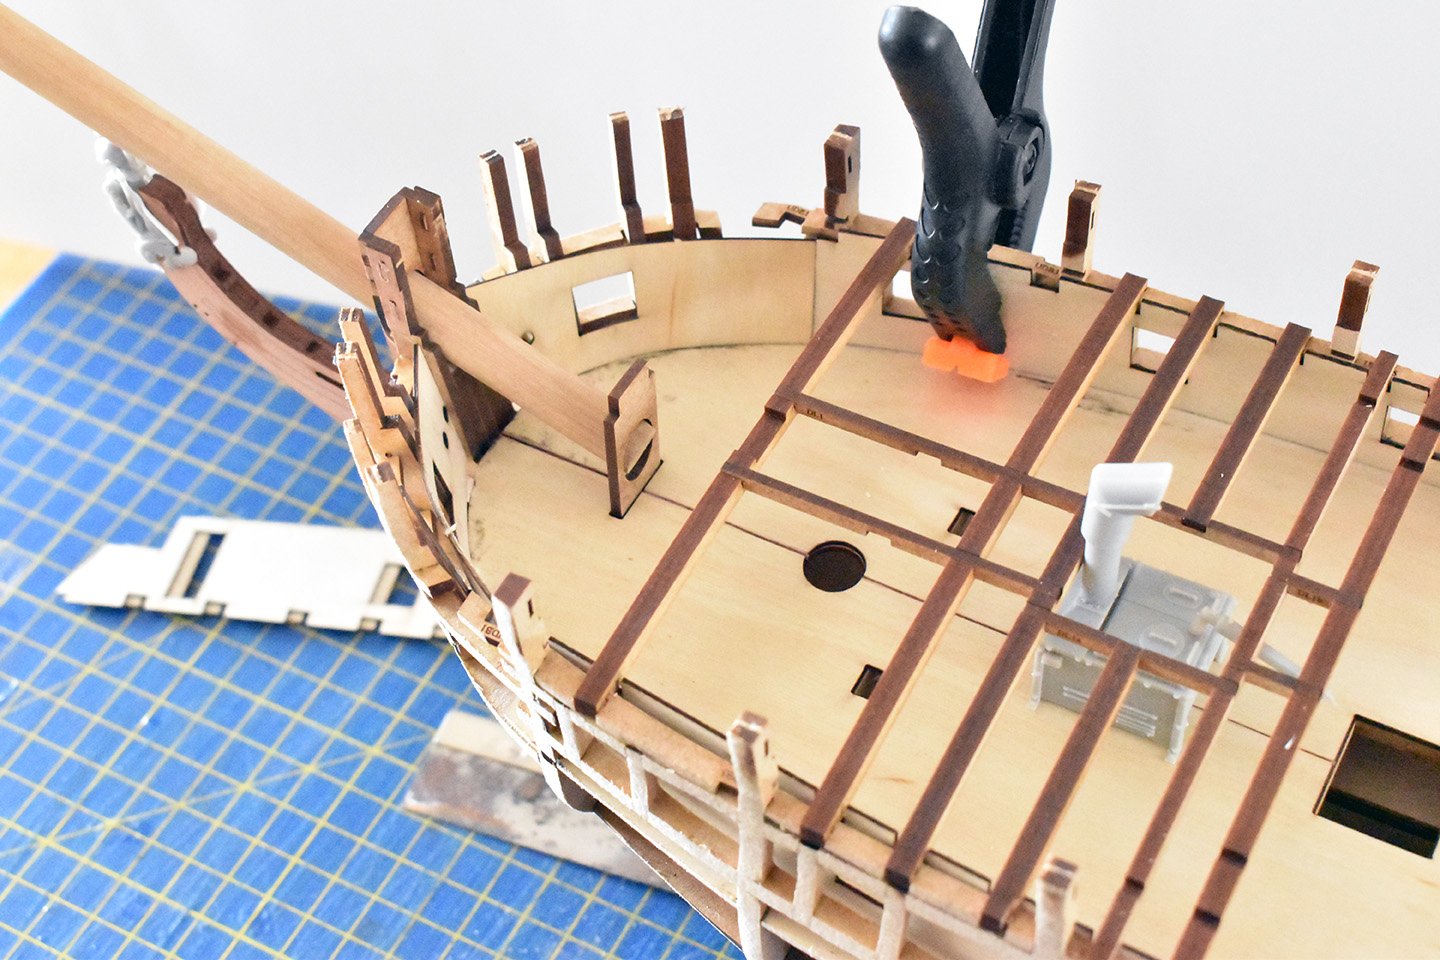
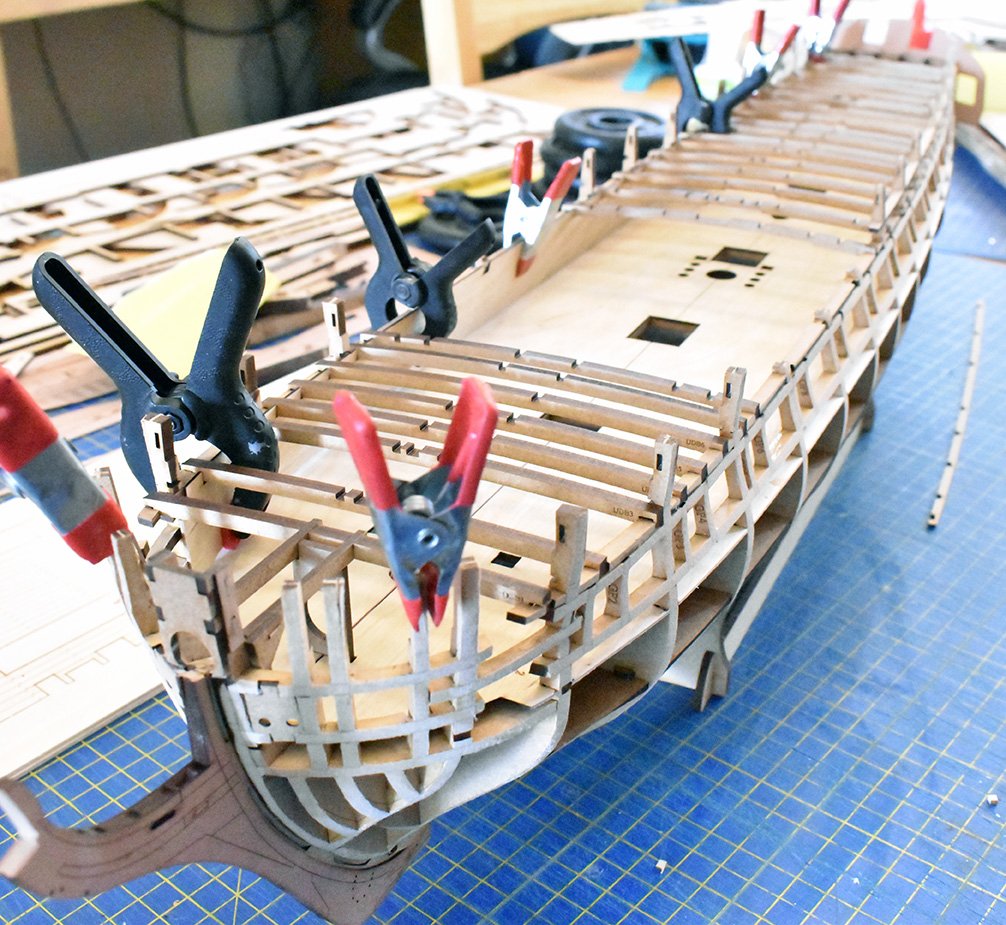
And back to Surprise. These pics show the checking of the inner bulwark template (no gun port cut outs yet), and how it aligns with the upper deck beams. Once I know the fit is as good as it's going to be, I shall do the next version with gun ports and then check again. (Ply gun deck is not part of the final kit) For this design, I beefed up the bow structure a lot more than usual, as I know this can be a weak point when planking..
-
Maybe! Richard Endsor did very kindly produce a set of 64th plans for me. I am not sure yet, the issue I now have is time and space to store stuff that isn't related to my kits in 64th
-
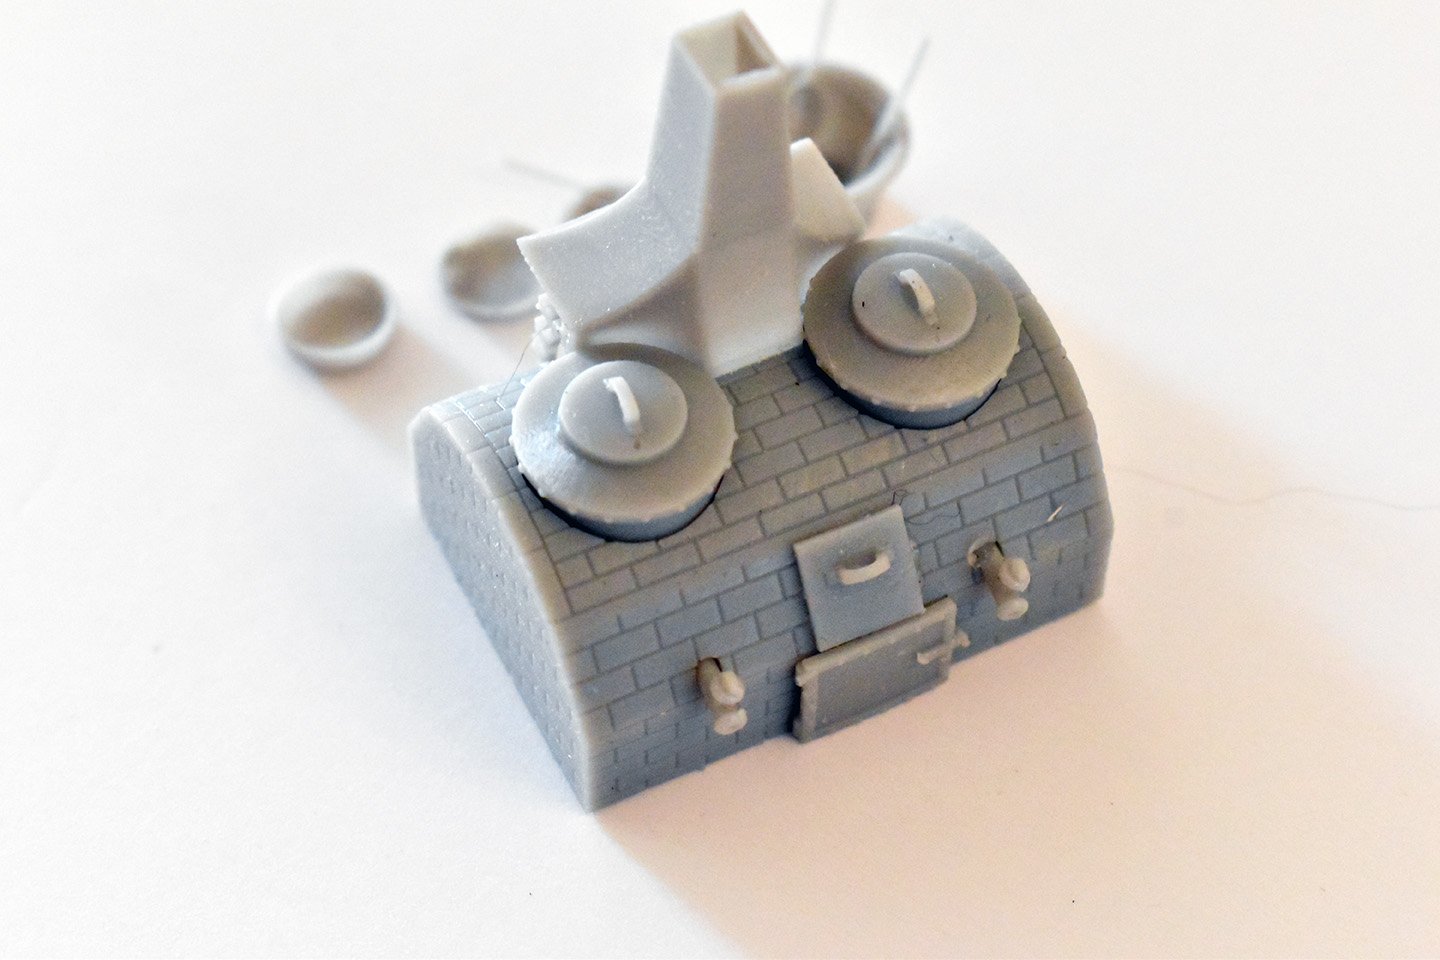
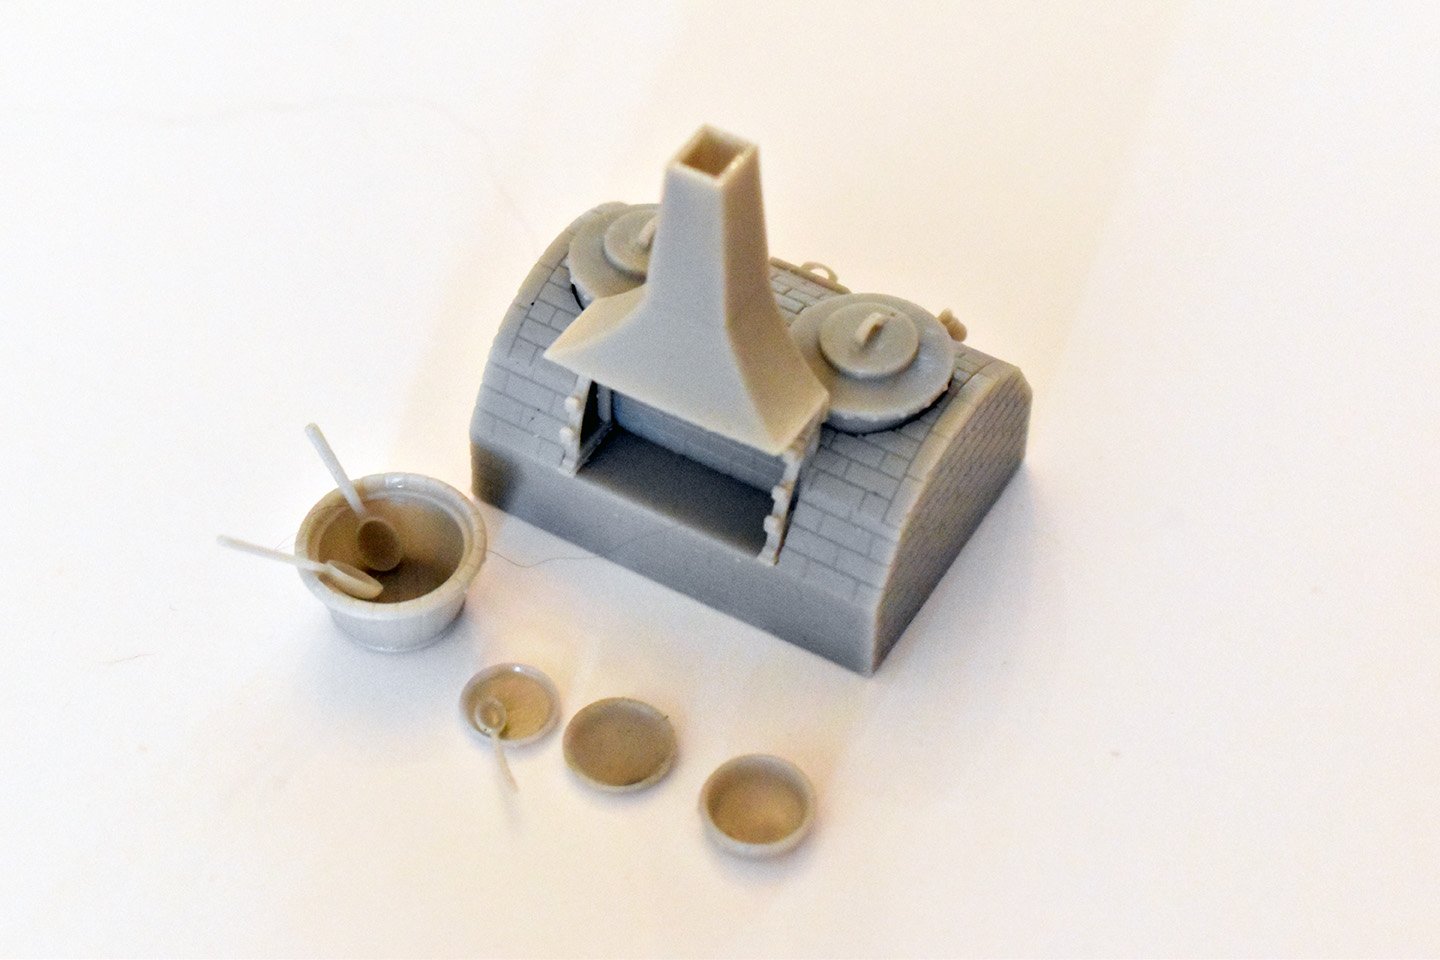
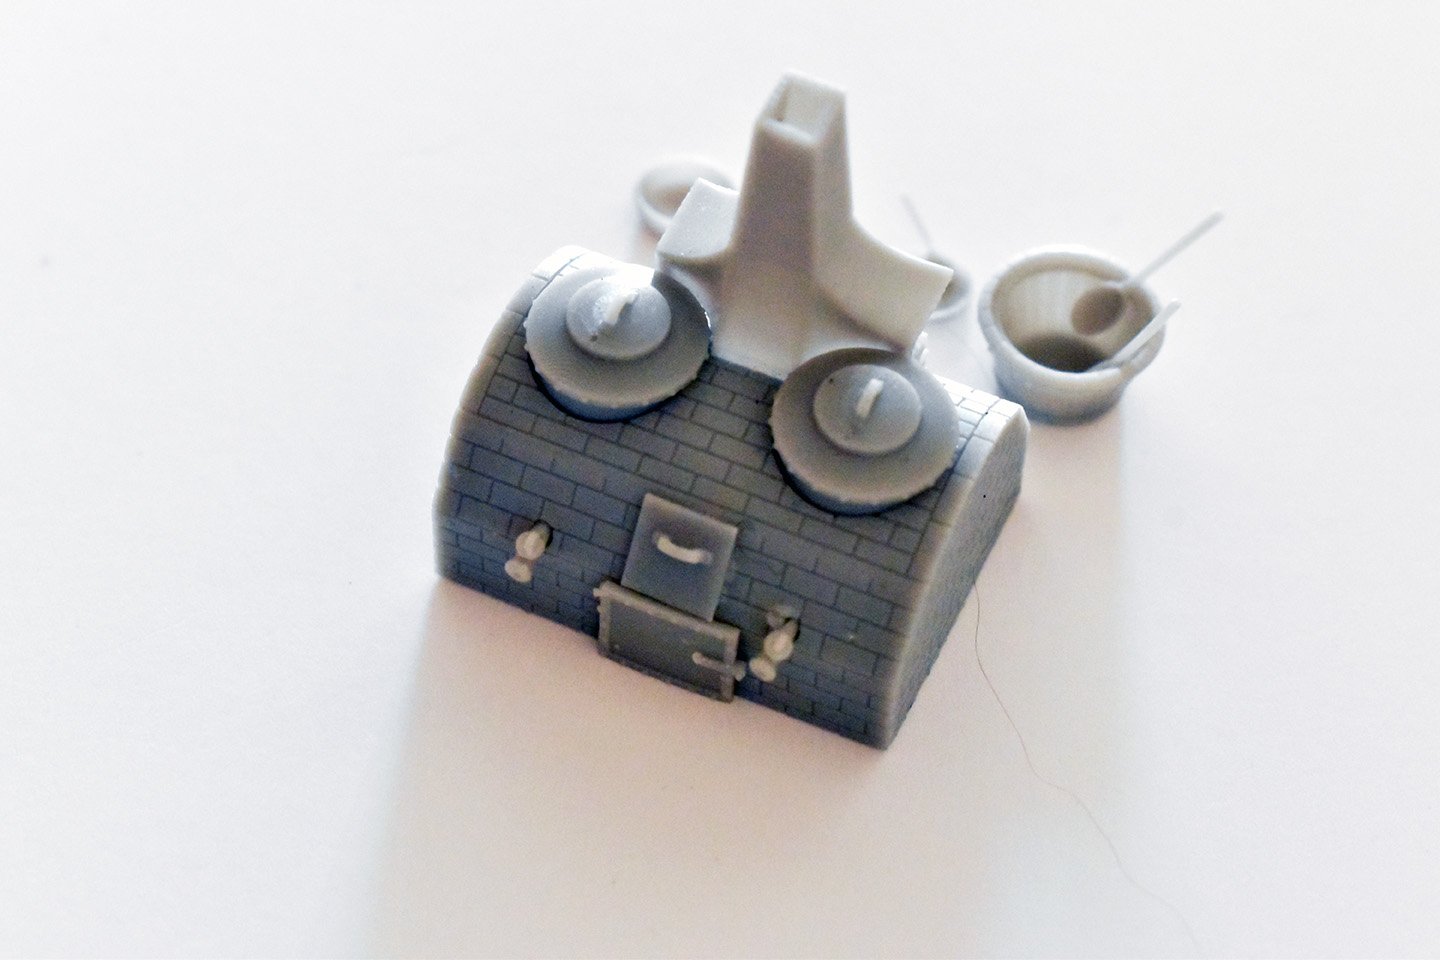
Of course I have a source for the stove!
-
I did mention that it is from the 17th Century in my post, and is for a future development of a 17th century warship.
-
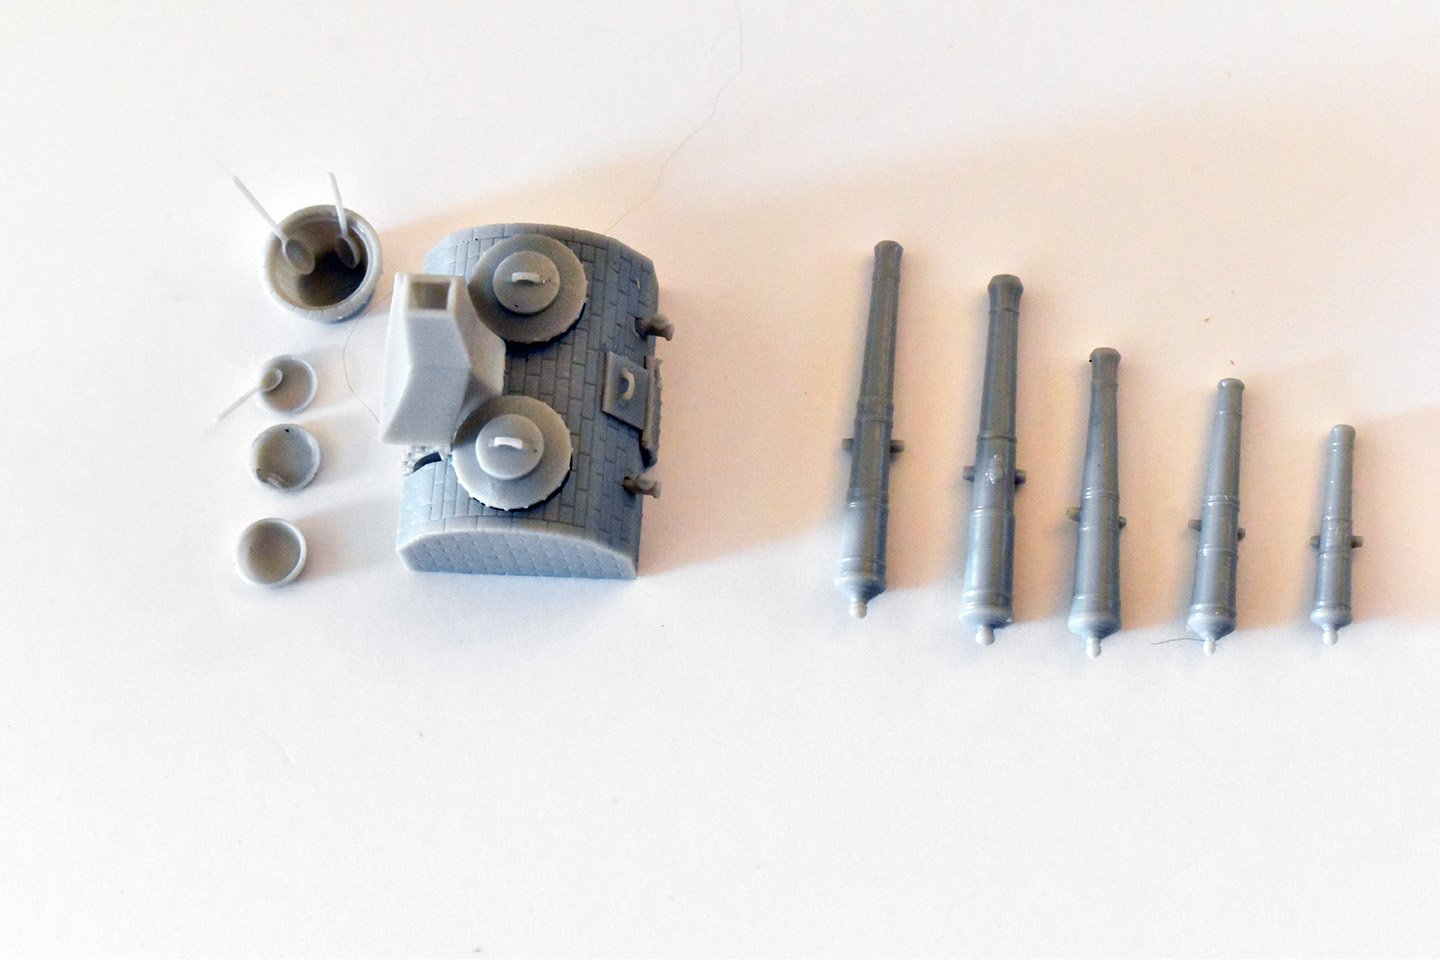
And now for something completely different. When I need other people, more skilled than me in other disciplines, to do work for me for future developments, I like to get these aspects sorted way, way before I start the project myself. Here is such an example, a set of cannons and a 17th Century brick stove/fire hearth, that were sent to me last night and printed overnight, for the very first check of parts – all went together pretty well, I think.
-
Wow, yet another wonderfully executed model, Duchess looks fantastic – Love the simple colour scheme and the planking is exceptional! Very well done!
-
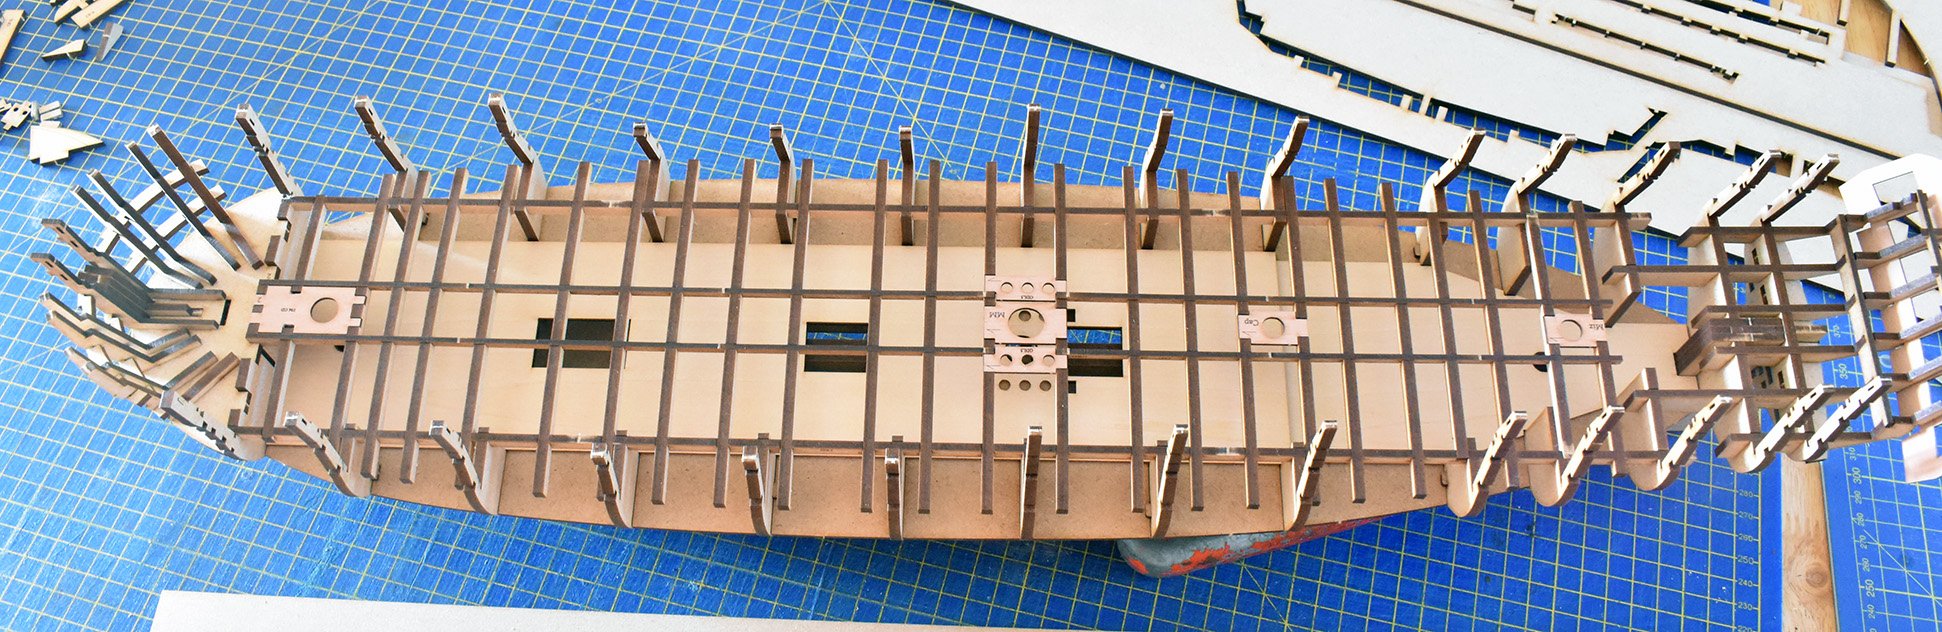
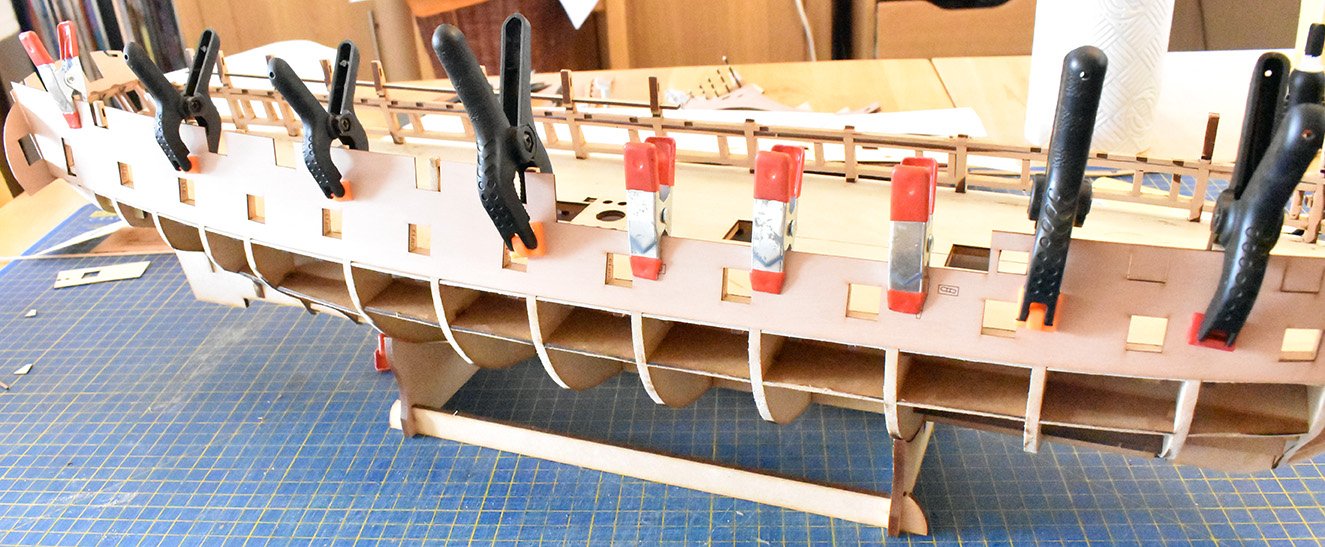
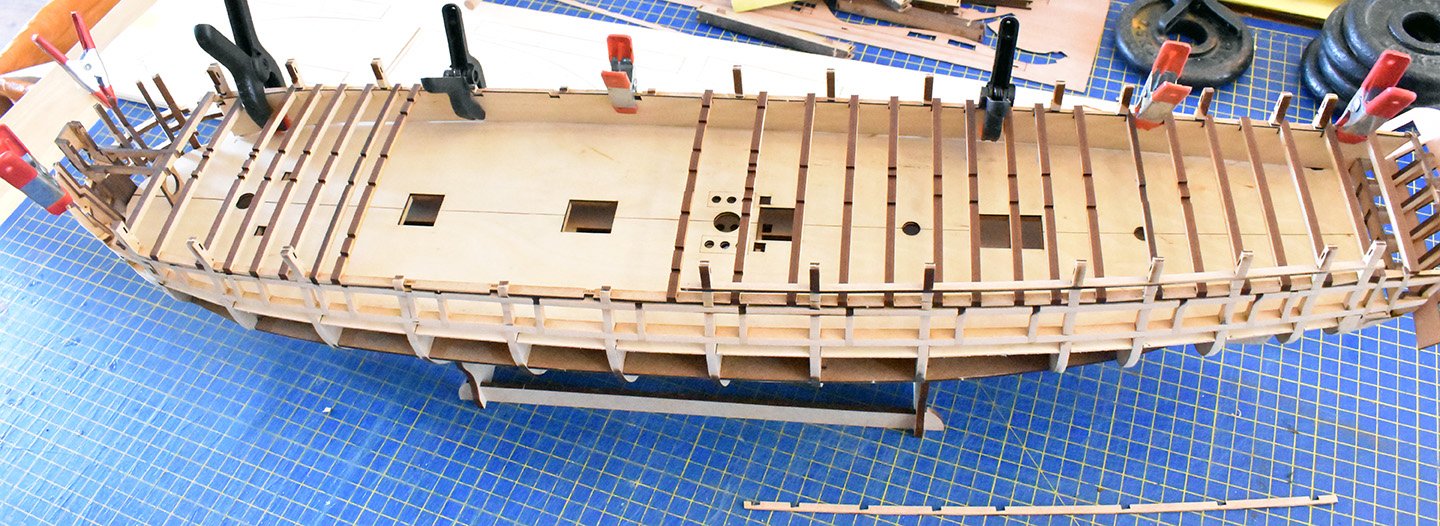
Second Surprise prototype starting to take shape - again, MDF for beams, as this will be discarded once I have all the info I need from this hull...