SiriusVoyager
-
Posts
502 -
Joined
-
Last visited
Content Type
Profiles
Forums
Gallery
Events
Everything posted by SiriusVoyager
-
I recently bought the sander with the repeater. I haven't used the repeater yet, but the sander works great. Very heavy duty steel. I don't have a good place to have a permanent shipyard at the moment so the fewer power tools the better for me. It was pricey, but I am pretty happy with the purchase.
-
Welcome to MSW!
-
 If I am understanding what you are asking correctly, I think that the simplest solution would be to take a separate clean empty jar and keep the pad in there with just a tiny bit of denatured alcohol. I used to keep a paint brush in my jar of shellac and it was fine, but a pad would be a bit more tricky to remove without making a mess when you are ready to use it. Be careful with the jar that you are keeping the shellac in. I had to throw that brush and the jar away when I allowed too much shellac to accumulate on the threads of the jar/lid. I was unable to open it no matter how hard I tried. Now before I close the jar I wipe the lid and the top of the jar with a small bit of alcohol on a paper towel and make sure that is dry before putting the lid back on.
 -
My experience with shellac is that it can be a stand alone varnish applied after any staining and painting. It will add a bit of a sheen and can be polished with ultra fine steel wool (though small pieces of the steel wool will eventually rust in the shellac) or with very fine sand paper. It does make a very hard and smooth coating over whatever it is applied to. Being alcohol based and natural, I appreciate that I can use it in my house without having to worry about fumes.
-
Hello! New to the forum, happy to be here :)
SiriusVoyager replied to BuckyBoo's topic in New member Introductions
Welcome to MSW! -
I think you thanked the wrong person. I just liked the posts because it was good info for me as well.
-
It will take a little bit of time, but wood filler and sanding can cover up a lot of mistakes. At the end of the day, You have one more layer of planking that will cover everything. That second layer is a bit more forgiving since you will have a solid base to work on.
-
Nice work! You have accomplished quite a bit in a year. Looking forward to seeing your future logs.
- 177 replies
-
- 2
-

-
- Sherbourne
- vanguard models
- (and 3 more)
-
New member saying hello
SiriusVoyager replied to Nelsons Dockyard's topic in New member Introductions
Welcome to MSW! -
Thanks, that is definitely my thought as well. My main concern was more about build complexity.
-
Thank you Chris. That has been part of the struggle. My plan was always to do the Santa Eulalia next, but after looking at and analyzing my small stash I started to question that. Baring someone else chiming in with a good point about either build, I will likely stick to my plan. I’m definitely interested in both and which ever I do, I will do the other next (I have both kits already). That is very cool that the Santa Eulalia is what got you into ship modeling. I haven’t seen in person, but I hope to sometime in the near future. I believe that I have most of the info available online from the Barcelona Maritime Museum. Most likely I will do the Santa Eulalia first, sans a compelling suggestion to do the other. I’ll try my best to do it justice!
-
For those that have experience with both manufacturers, which kit would be easier or more straight forward to build? For the Model Shipways Mayflower, I would build it as is out of the box. For the Esmeralda, my plan is to bash it to model the Santa Eulalia (which the kit is based off of). It looks like the bashing shouldn't be too involved, but it would be my first real experience with any level of bashing. The Mayflower seems like it may be a bit more complicated, but it has very thorough instructions. The Occre kit appears to be a standard Occre build, but again, with the addition of some kit bashing. I think the main thing I might be hung up on is rigging, a three mast square rig vs a three mast schooner (The Santa Eulalia doesn't have top sails which simplifies the rigging). You can see what kits I have completed in my signature. Thank you for any insights. https://modelexpo-online.com/Model-Shipways-MAYFLOWER-1620-SCALE-176_p_1019.html https://www.victoryshipmodels.com/ship-model-cala-esmeralda-wooden-static-kit-occre-topsail-schooner.html
-
I believe that I can answer your question now. After using it to make about a dozen or so lengths of rope, I have to say that I would not recommend it. To be totally fair, I am not using it the way it was designed. Rather than using the hand crank, I used a drill, by using the chuck to grab the shaft of the rope walk. The shaft is a bit too short and the drill would slide off more than occasionally. After a dozen or so uses, keeping everything from falling apart has become difficult. I suspect that this wouldn't be a problem and the quality would be fine had I been using the hand crank. However, making a dozen lengths of 15-20 foot rope using the a hand crank seems like a task that would try my patience. Since I already have it, I am going to try to improve the design with some hardware, but otherwise I would go with another rope walk.
-
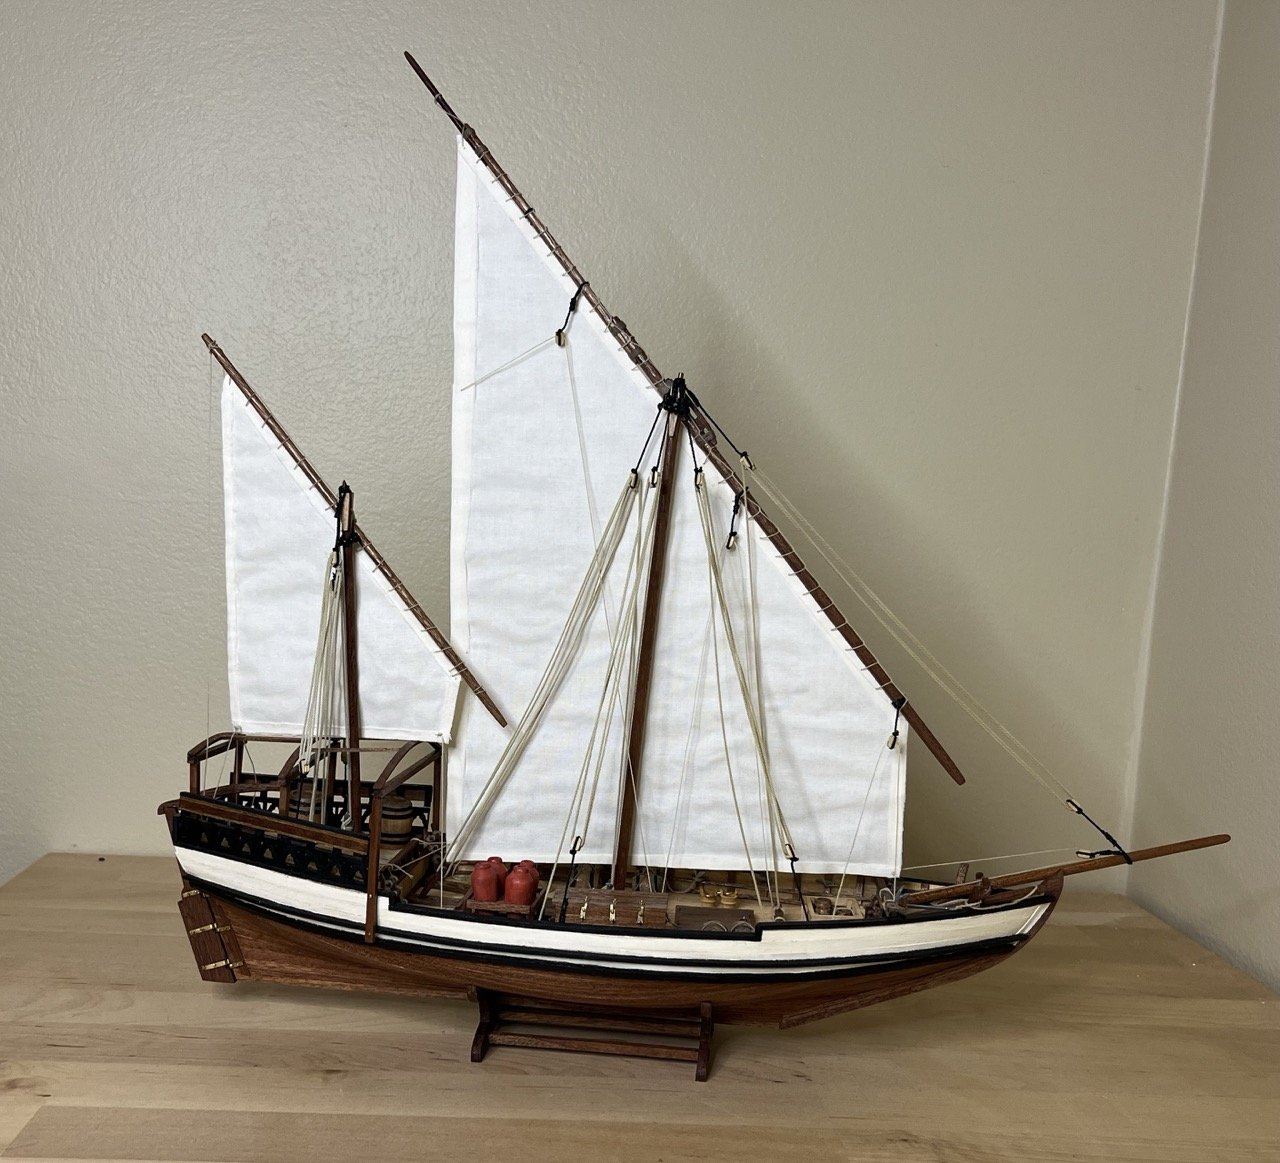
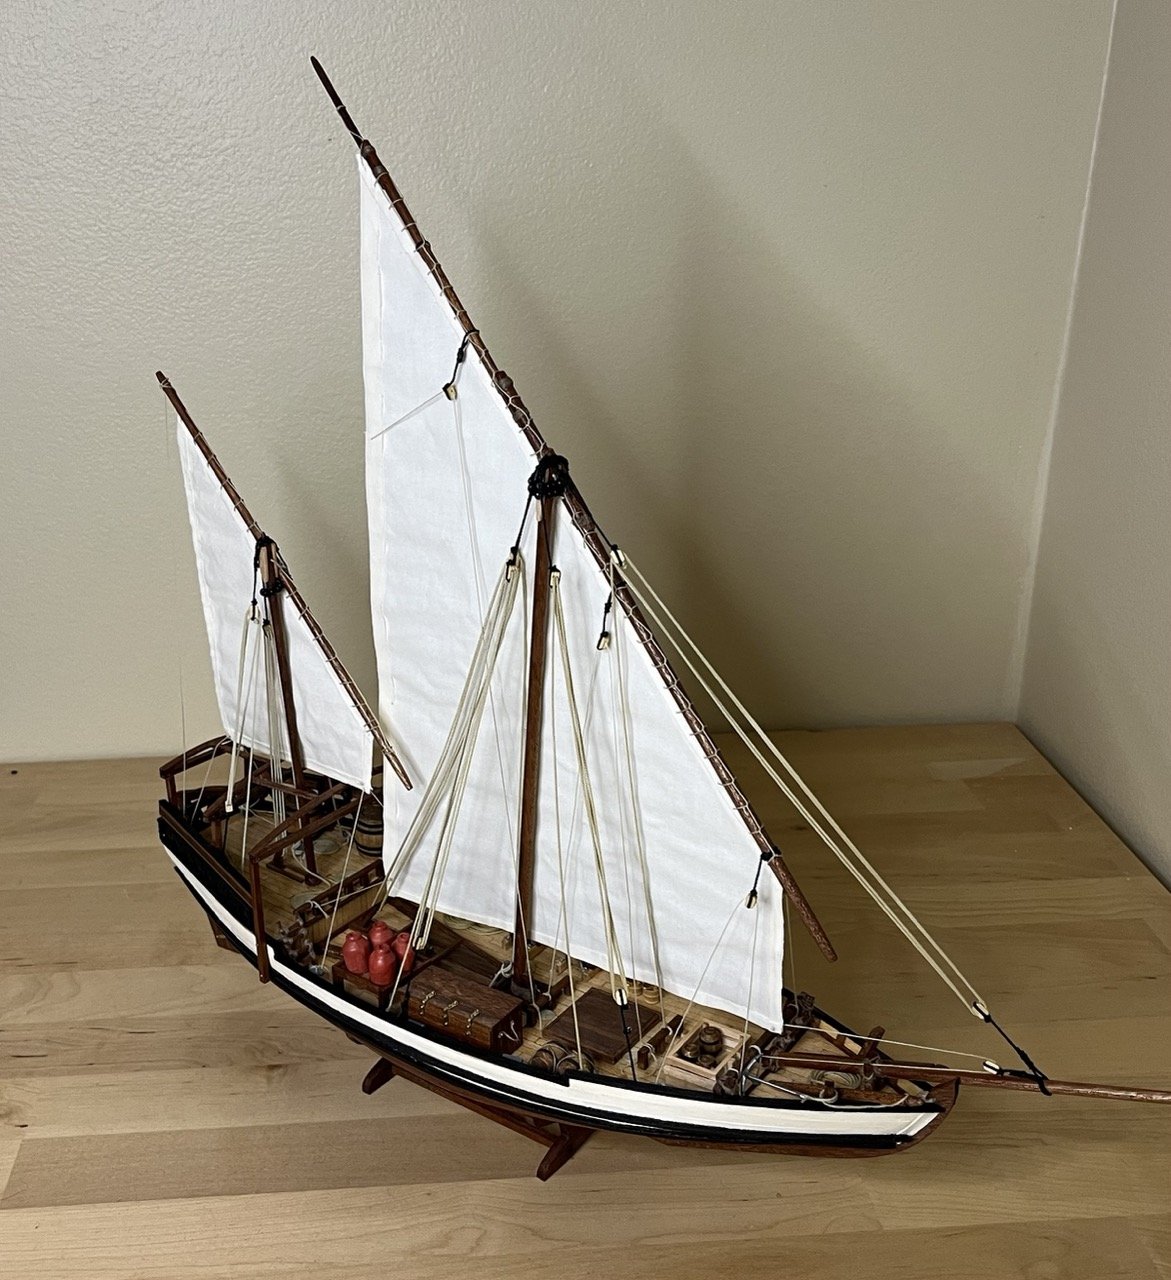
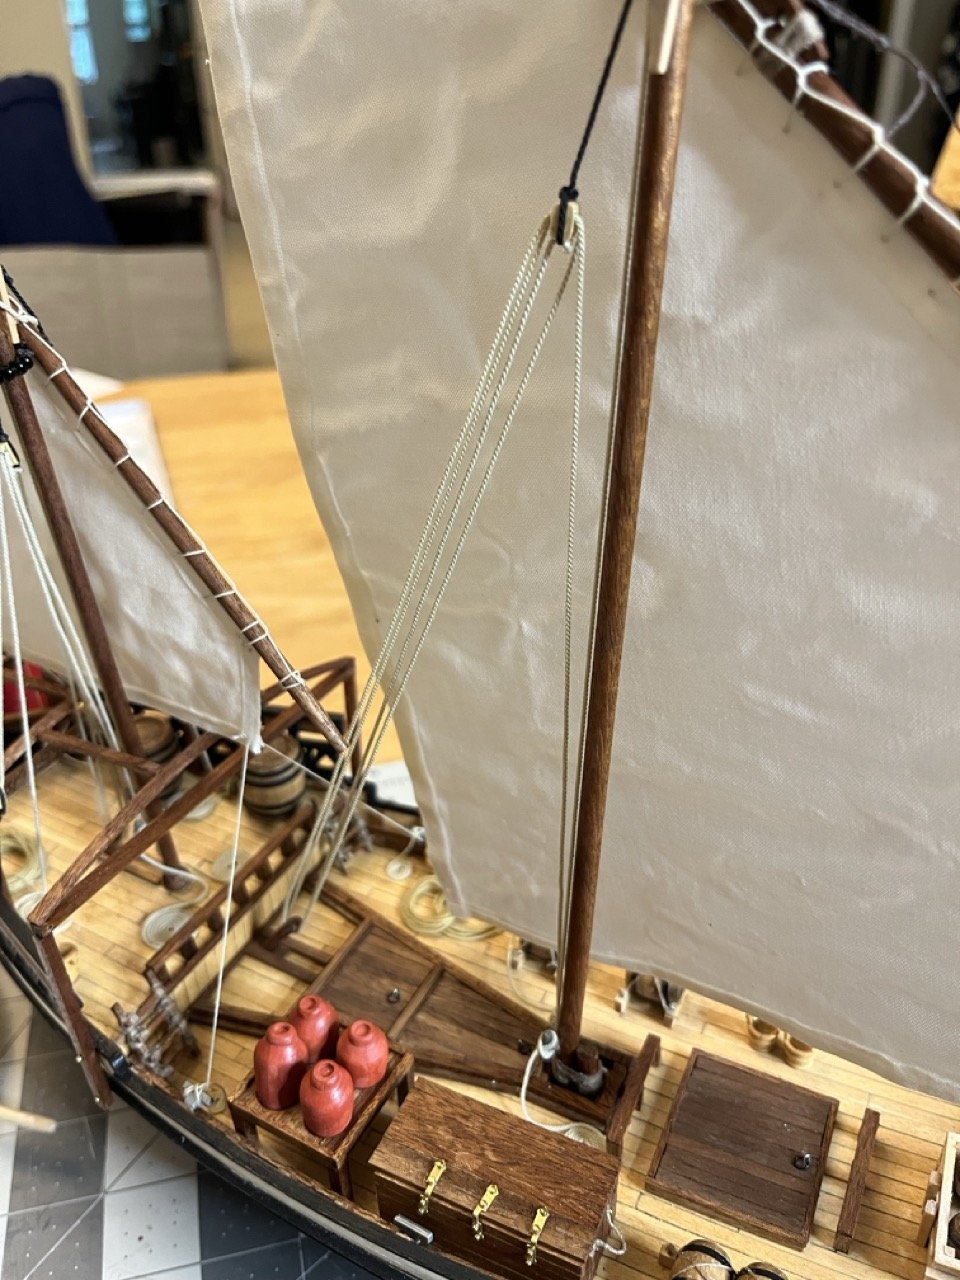
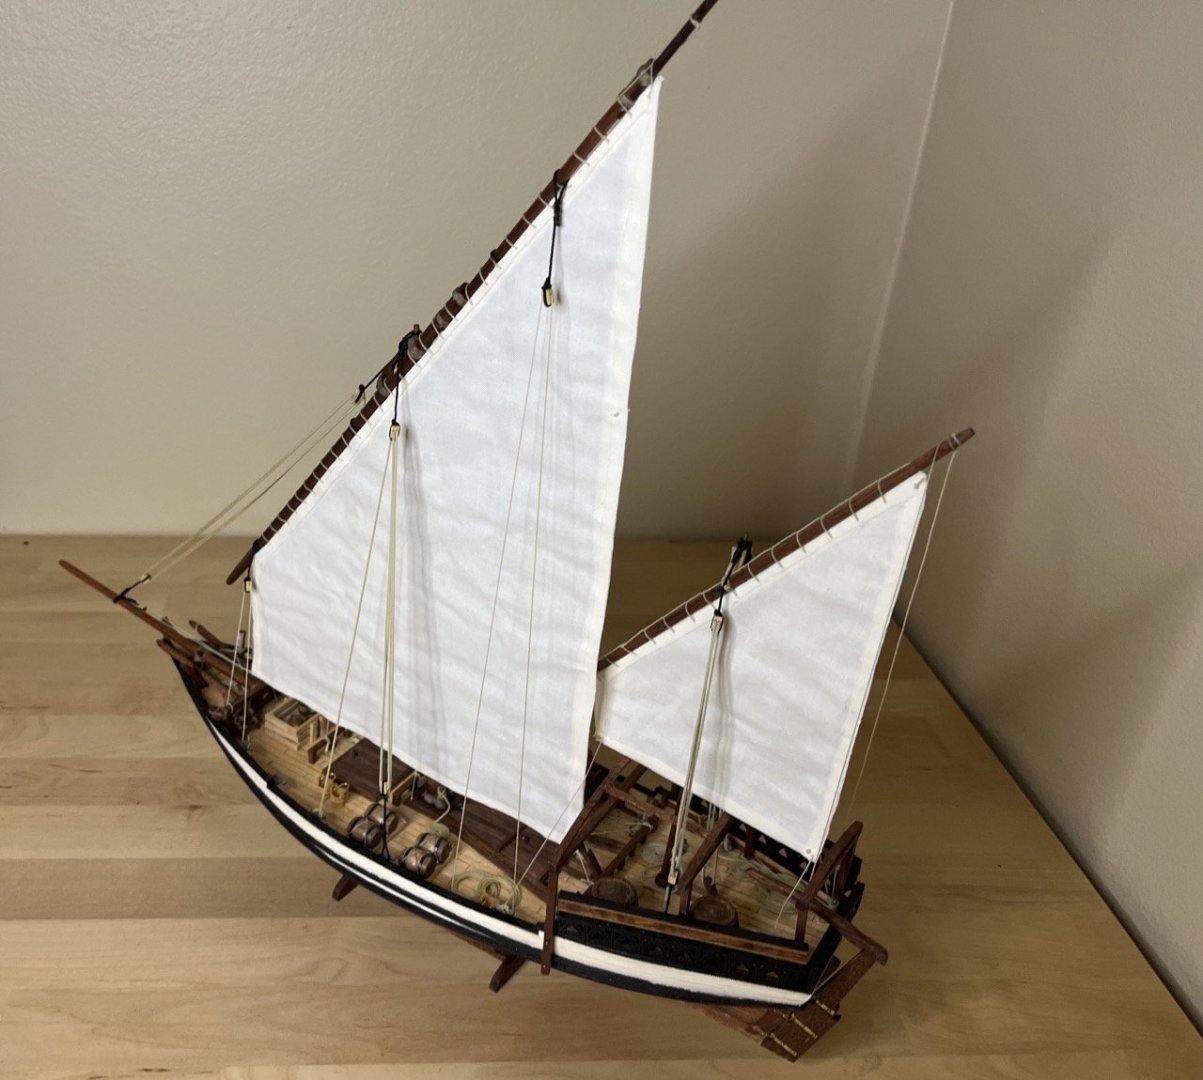
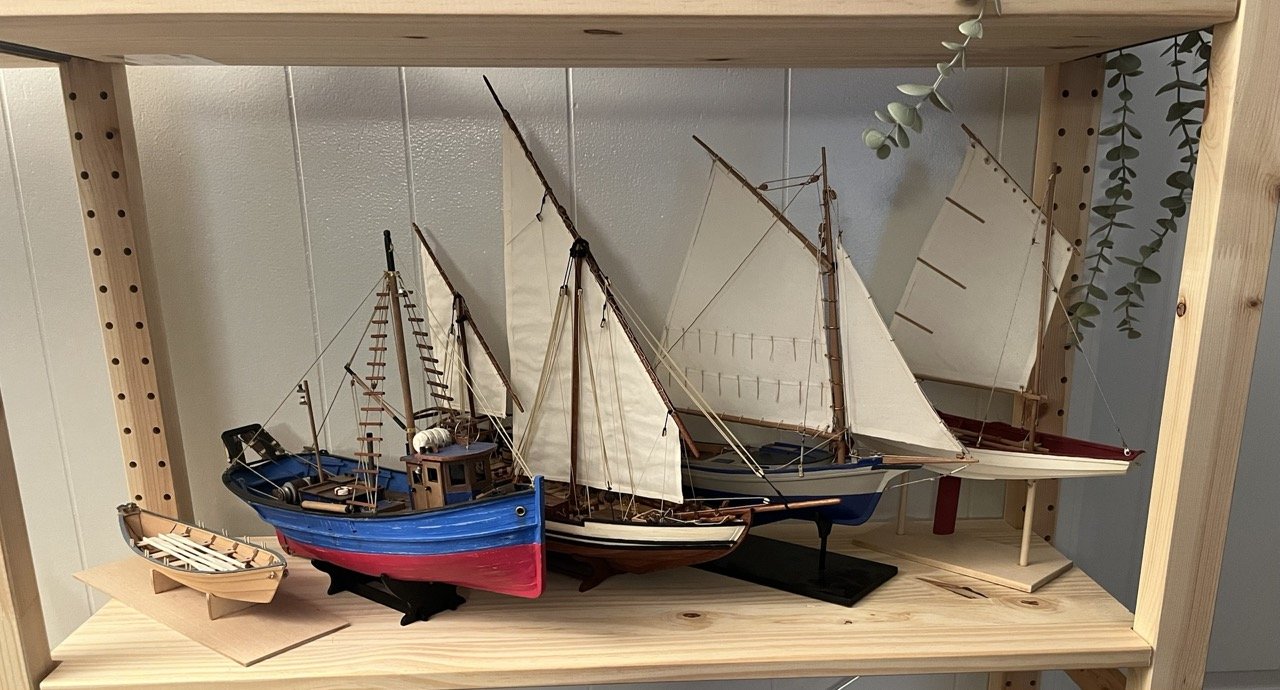
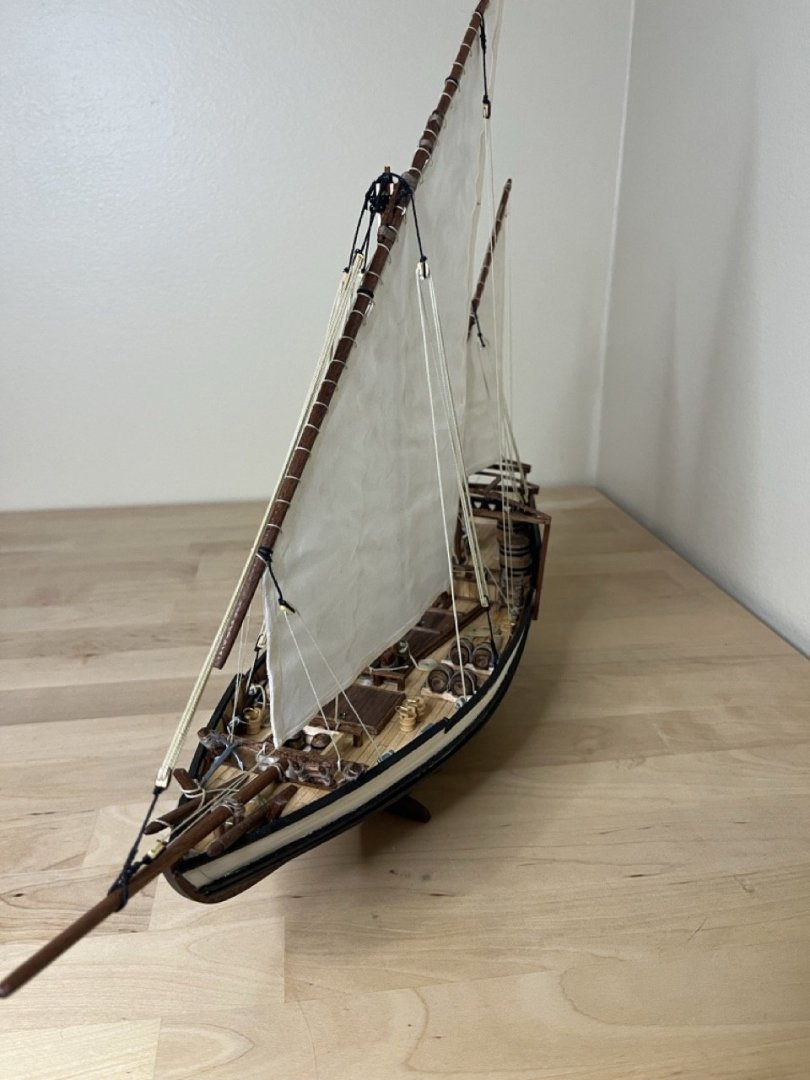
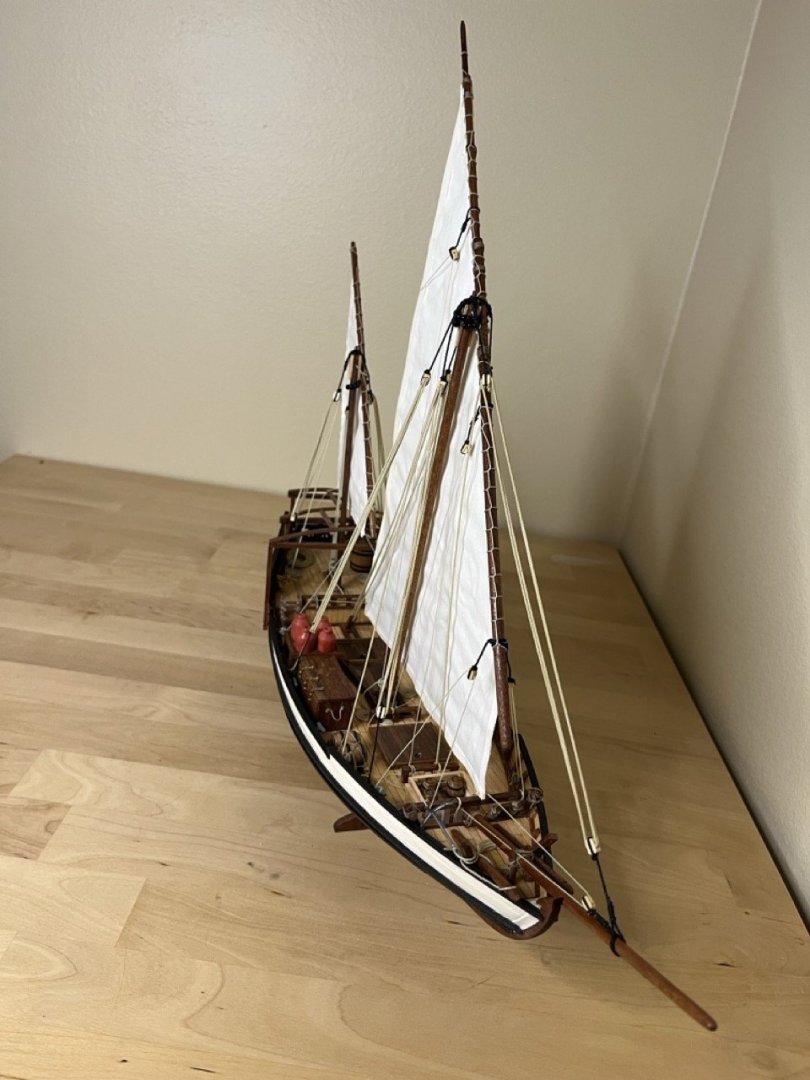
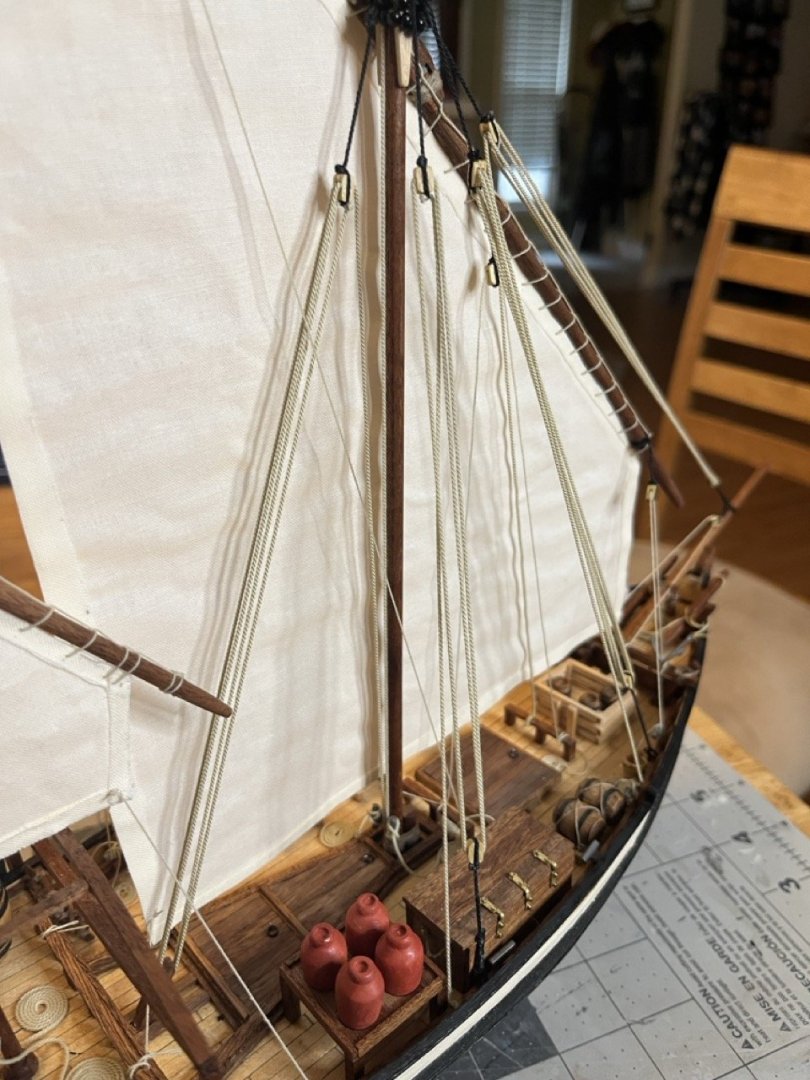
This build is now finished, just about 2 years after I built my first wooden model, the Dory. The lines have slacked slightly. I am not sure if I stretched them or if the shellac caused it. It isn't too bad though. The fleet so far (sans cross section that wouldn't fit in the photo). This was a mostly an enjoyable build. The instructions were difficult to follow at time due to the low resolution on the photographs. The best reference photo was the cover photo on the box. I should have done a better job on the sails and been a little more careful with the glue on the lines, but overall I am happy with it. I feel that it was a small improvement on my previous builds, which is all I can ask for. I would suggest to someone doing this kit in the future to place the cleats before placing any of the furniture on the deck and to ensure that everything will be clear of any rigging. The canopy framing on the stern should also be put on later in the build. Definitely read through the instructions before starting and determine the order that you think would be best for you. Thank you again to @Javelin for supplying me with good reference photos, @wefalck and @Nirvana for resources and info on dhow construction and @Rick01 for his build log and sharing his insights on this kit.


- 65 replies
-
- 11
-
-
- sultan
- Artesania Latina
- (and 2 more)
-
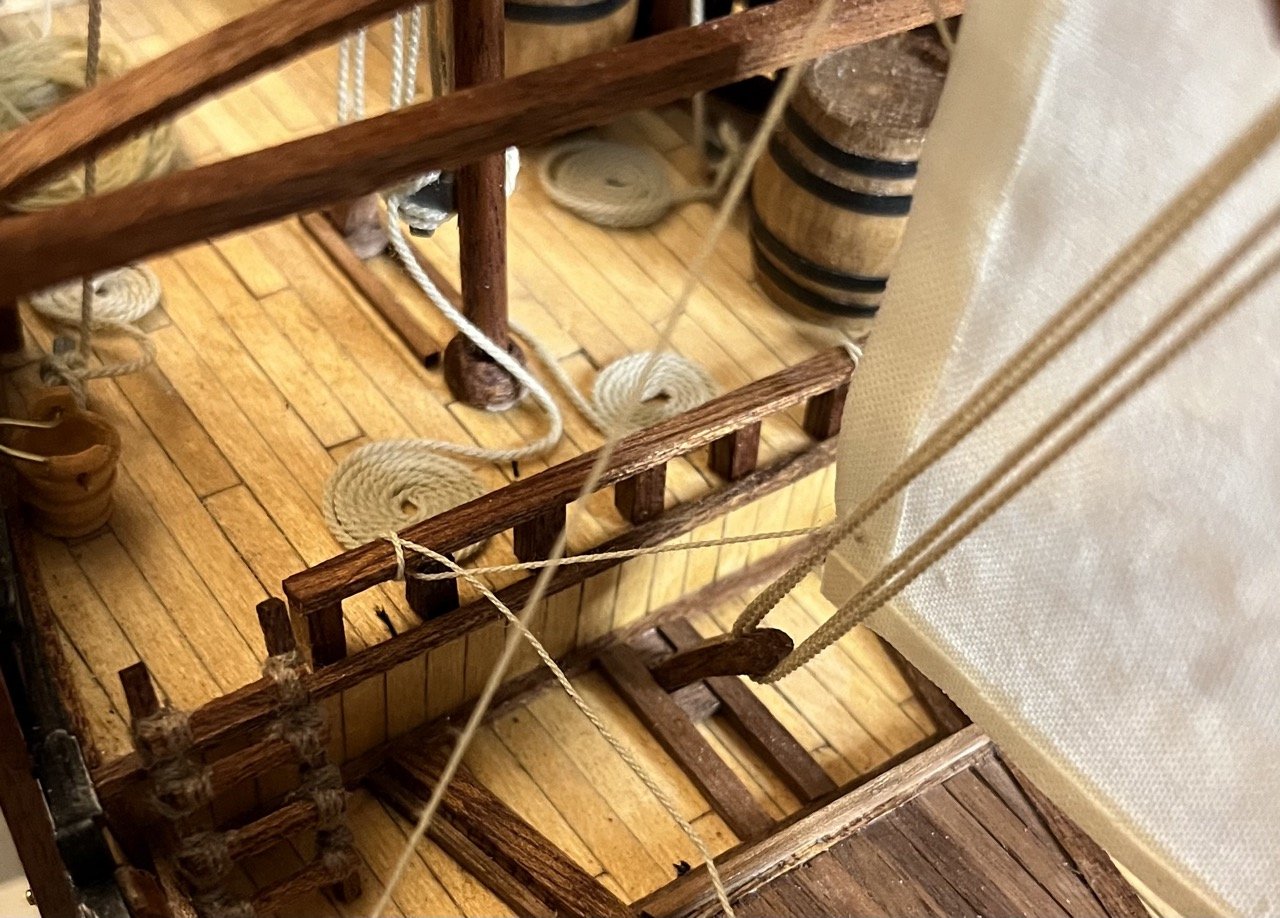
Just about done. A bit more rigging and that is about it. At this point the building is complete. The only thing left that I plan on doing is adding some shellac to the lines to help harden them a bit. Most of the rest of the solid structure has had been varnished as I went. I did end up with quite a bit of extra material. I tried to be very efficient with my usage as I was worried about not having enough to correct mistakes. Apparently that wasn't necessary, but hey, spare wood for future projects.


- 65 replies
-
- 3
-
-
- sultan
- Artesania Latina
- (and 2 more)
-
Welcome to MSW!
-
Very nice work! I love the outdoor photos. A couple of them could easily be mistaken for photos of a real ship.
- 36 replies
-
- 2
-
-
- Duchess of Kingston
- Vanguard Models
- (and 1 more)
-
Welcome to MSW!
-
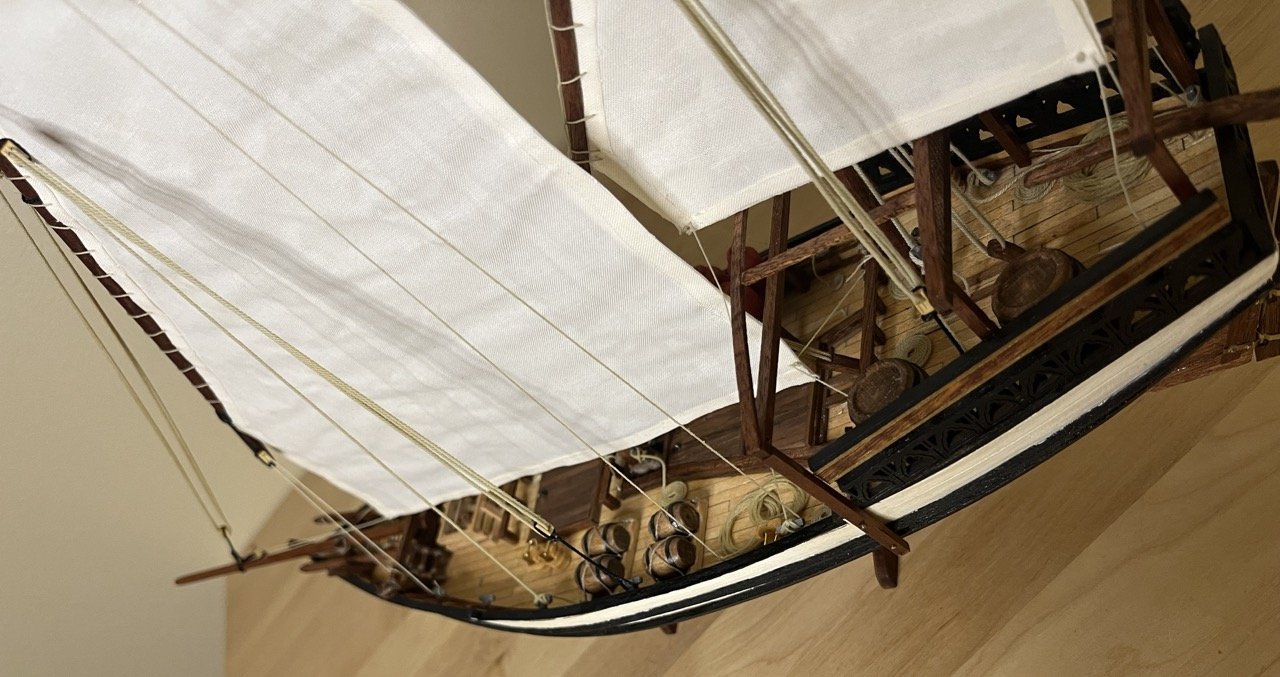
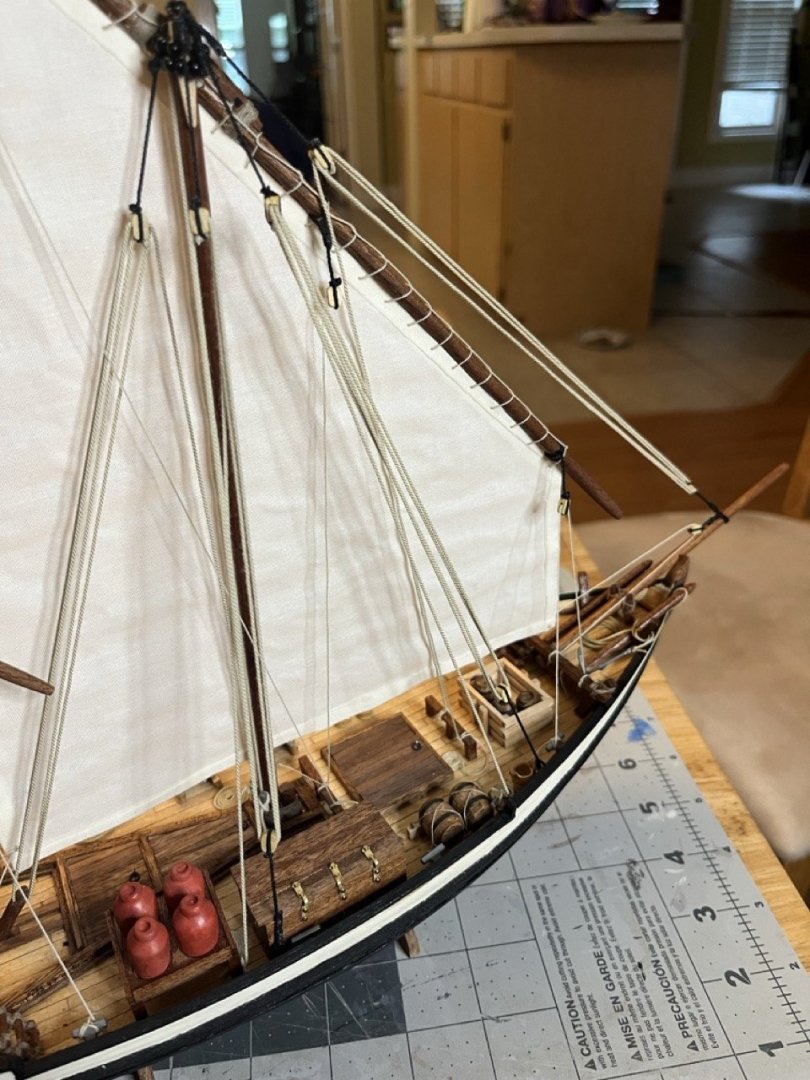
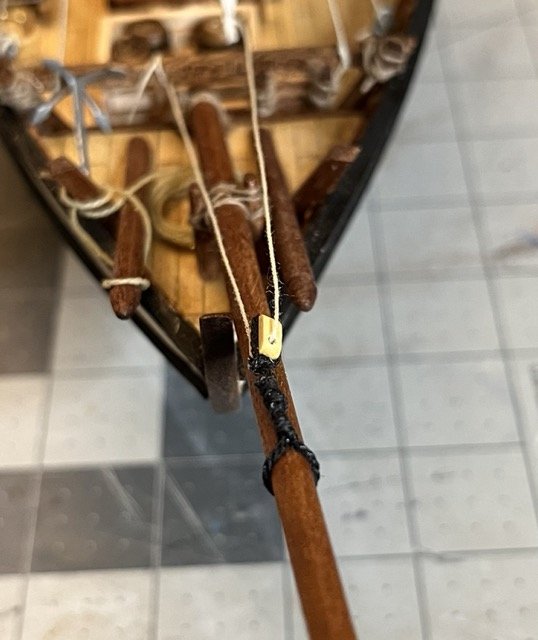
A bit more rigging done. The instructions would have these lines start at the same cleats that they are tied off on. I didn't really like that so I tied them to the rail along the bow. I filed a small notch in the bottom half bowsprit to give the rigging something to grab onto. Just a photo of the bow.

- 65 replies
-
- 3
-
-
- sultan
- Artesania Latina
- (and 2 more)
-
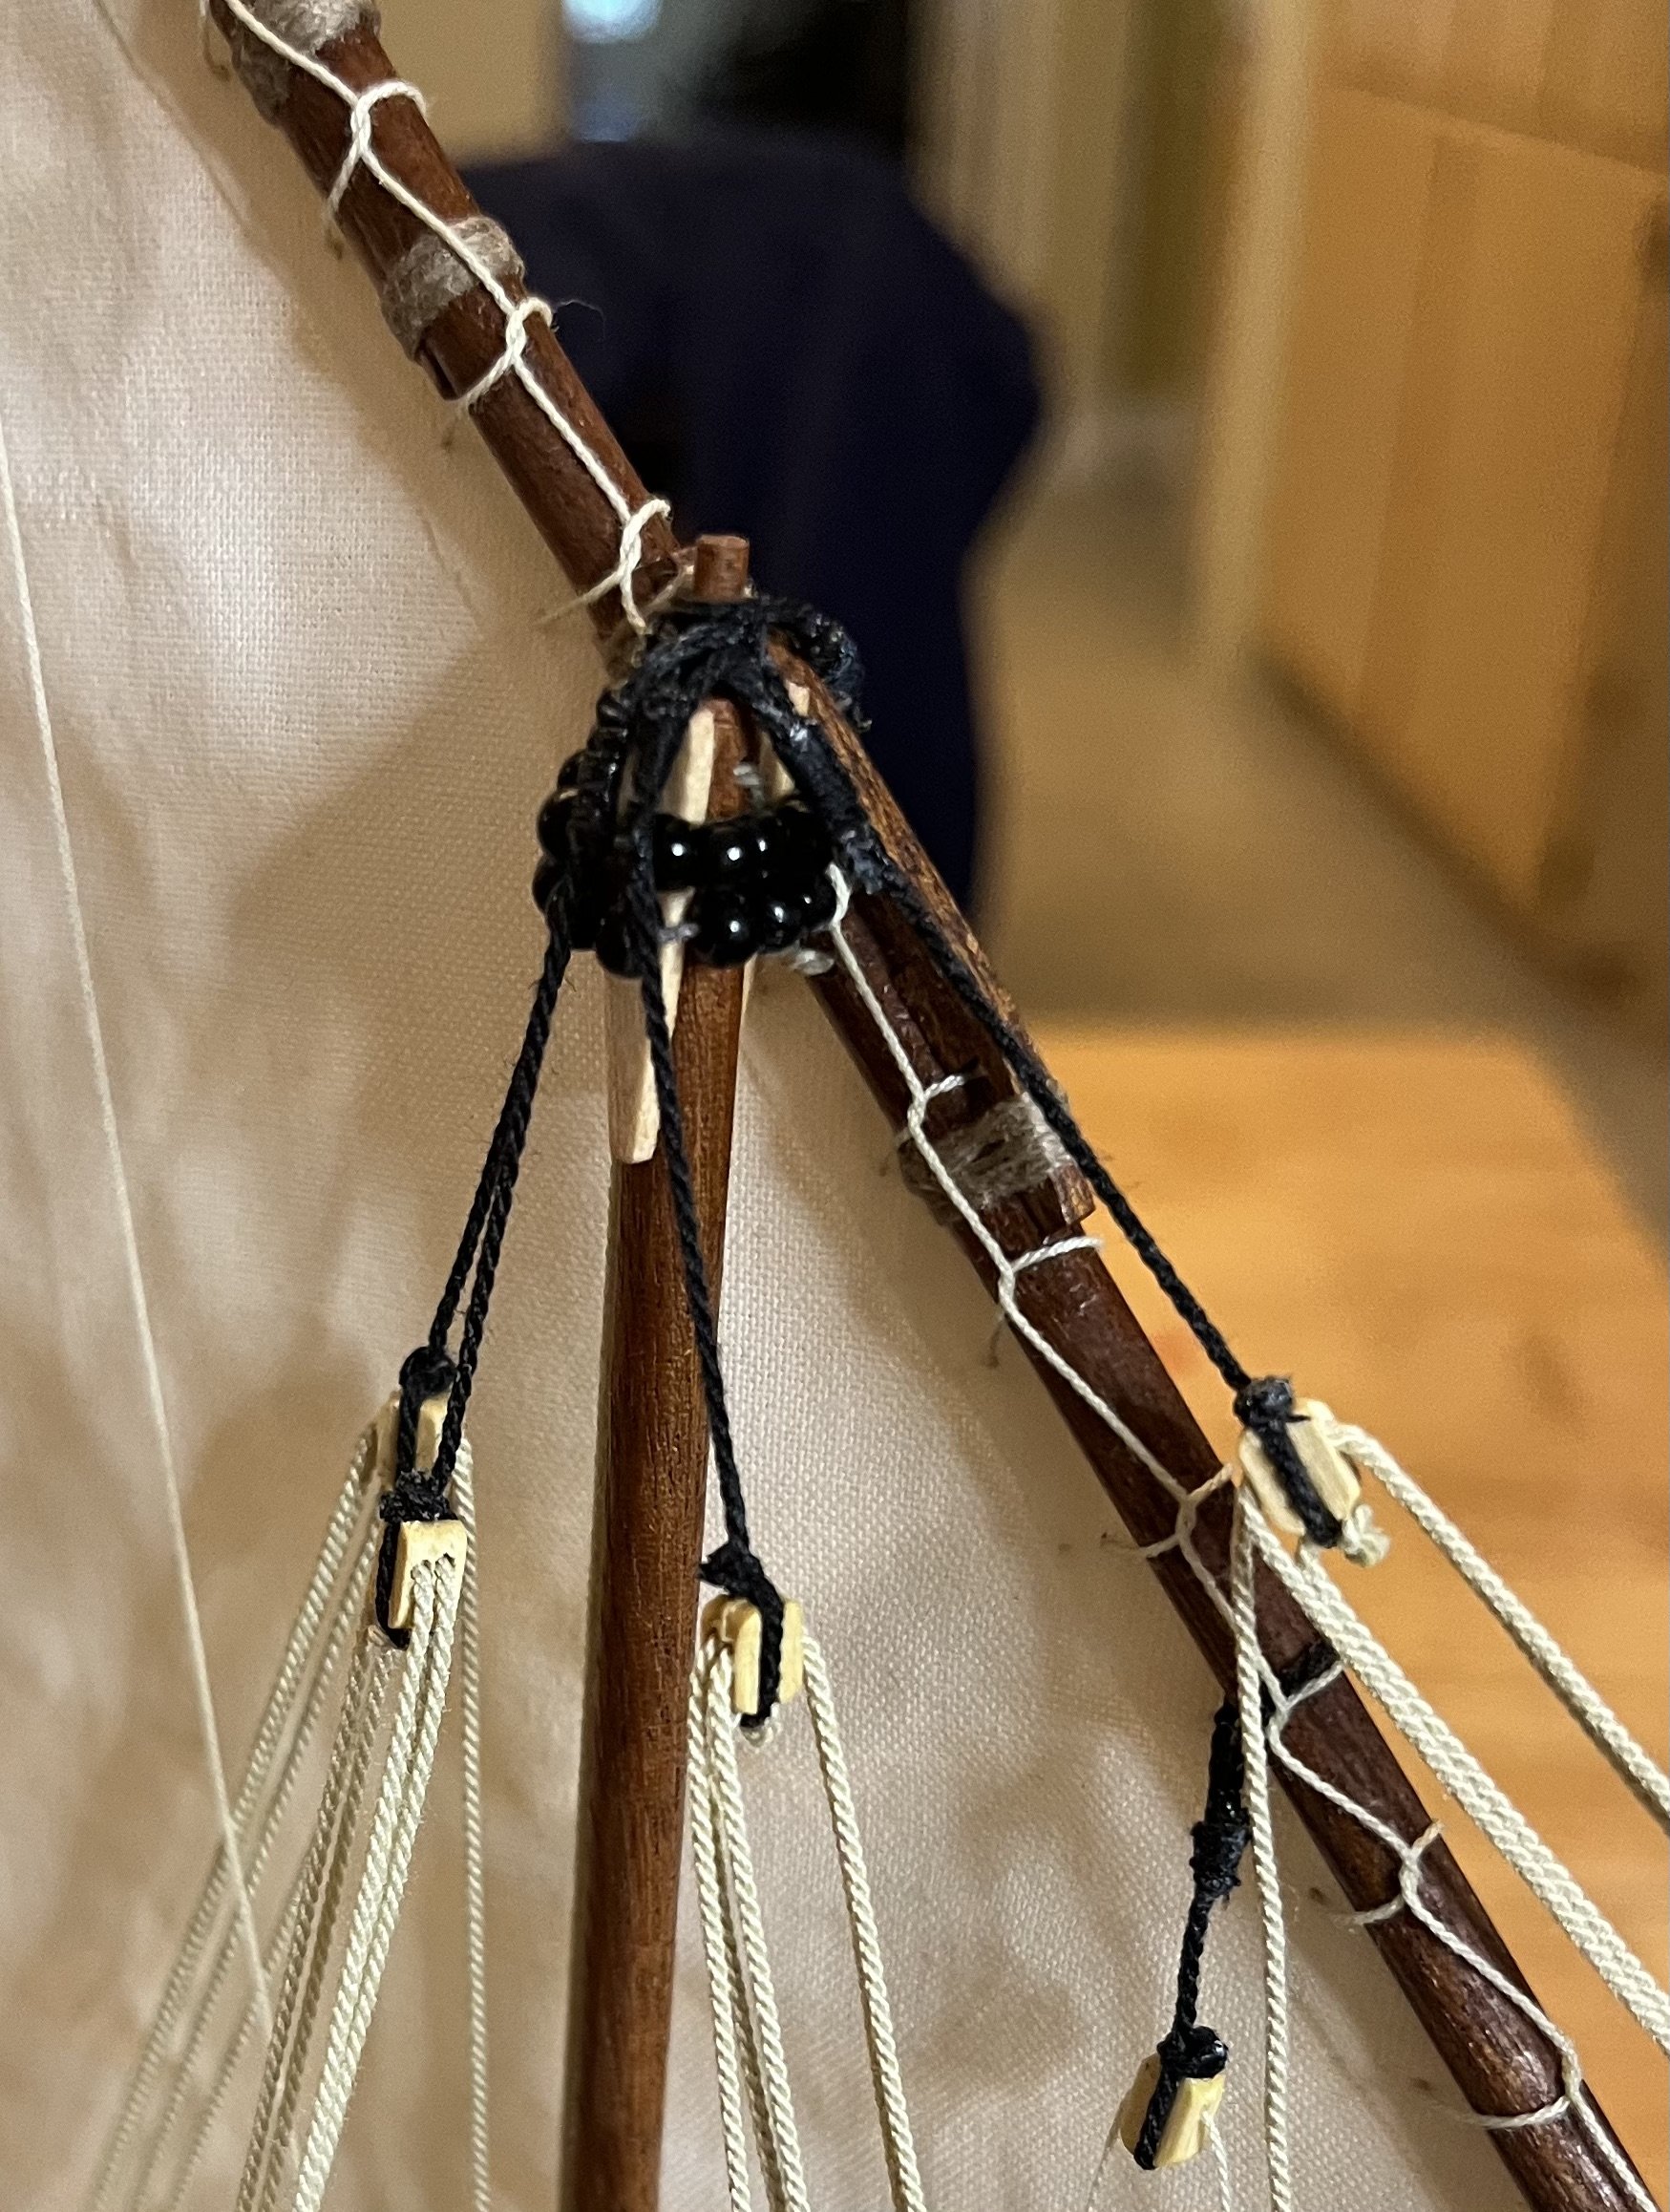
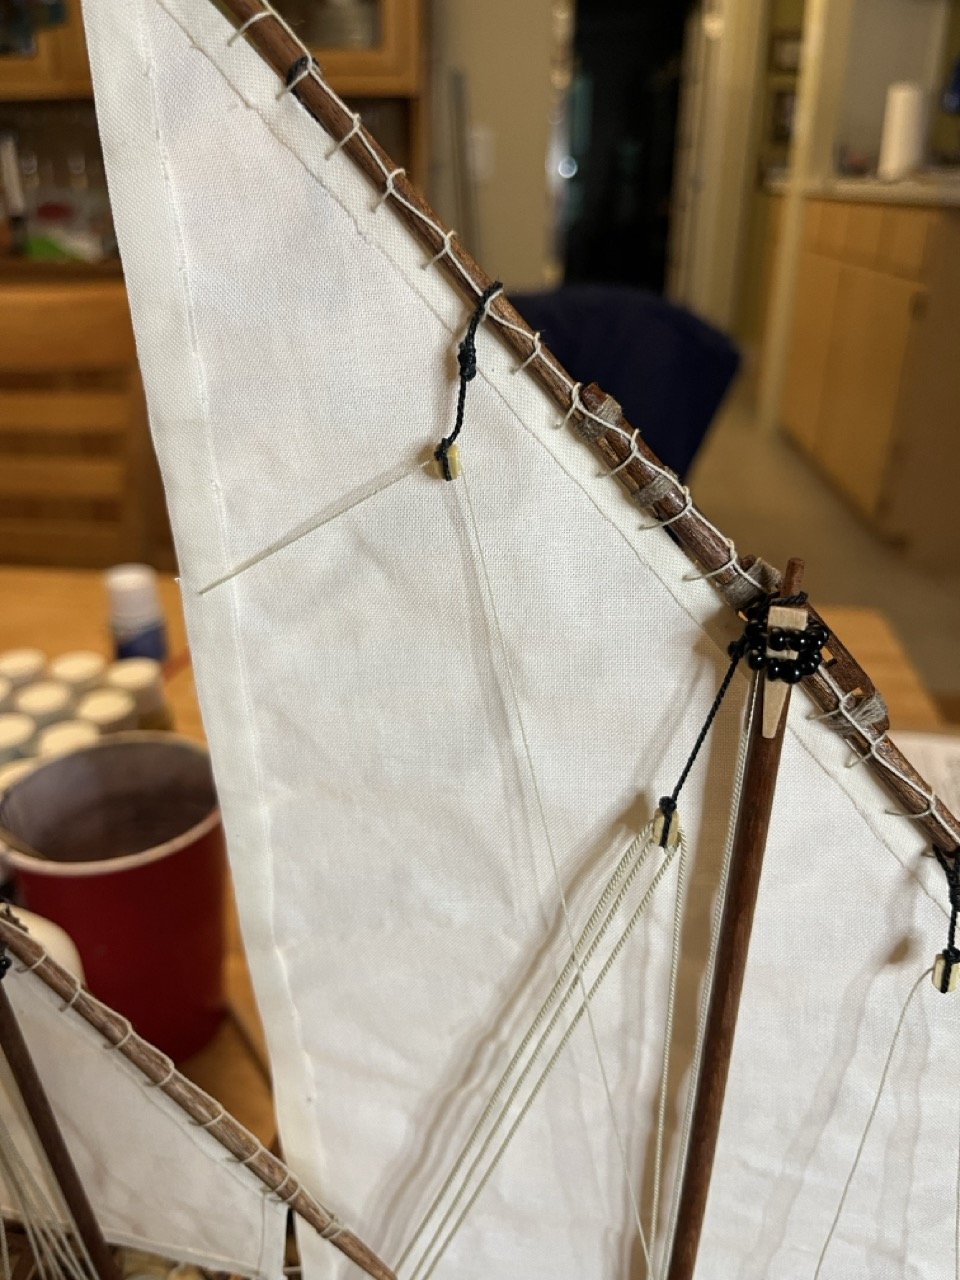
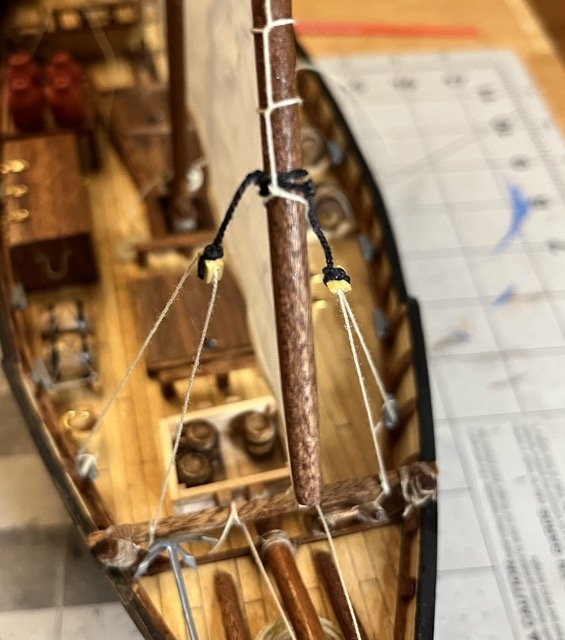
Just a small update. Put in the back stay. I tied it down to the cleat but haven't glued it yet until I get all of the other stays in place. The mizzen mast back stay loosened up and I don't want to repeat that. There were two sheets attached to the luff and tied to the rail. I also added two of the blocks to front of the main lanteen yard, but I will have photos of that on the next update.

- 65 replies
-
- 7
-
-
- sultan
- Artesania Latina
- (and 2 more)
-
Reading ahead, the most confusing part was how bowsprit was rigged. The photos in the instructions are often useless at times. I have found that cover photo on the box is the best resolution. I made the same mistake with placing the chest too close to the cleat. I am not sure that I will be able to remove it without damaging the deck.
-
Bulwarks
SiriusVoyager replied to sgrez's topic in Building, Framing, Planking and plating a ships hull and deck
I find it unfortunate that the instructions had you plank one side before installing as it will make it harder to bend properly. In my limited experience with Occre plywood (one kit), a bit of soaking didn't hurt too much. I would then take a clothes iron to heat the wood up, then clamp or rubber band it into place and allow it to cool in that shape. There may be a bit of delamination that occurs, but nothing that a bit of glue can't fix. There may be a better method, but this worked for me. As far as glue, I will use Tightbond when I am gluing areas that will be completely covered later, Elmer's glue all for most other gluing (both of which are referred to as PVA) and superglue (CA) only when I need something to hold right now.