


SiriusVoyager
-
Posts
112 -
Joined
-
Last visited
Content Type
Profiles
Forums
Gallery
Events
Everything posted by SiriusVoyager
-
Double check the instructions. It probably said glue and sawdust mix to fill gaps. I learned about that trick from this kit as well, and it worked fairly well for me when I had a gap that also needed to be bonded.
-
As far as the bulwarks, Occre's can definitely be tricky. Definitely line them up as best you can, but fortunately you be planking over them, which can cover up small alignment errors. I do have one suggestion about planking that I think Occre does wrong in their instructions. They have you plank both layers prior to placing the keel. I would suggest attaching the keel to the first layer of planking, then install the second layer of planking. I followed the instructions and had a problem where the keel didn't fit properly over the planked hull, and I didn't have a good way to fix it. By installing the keel prior to the second layer of planking, if something isn't shaped quite right, it can be filled in, then the second layer planking can be shaped to fit around the keel covering the filler.
-
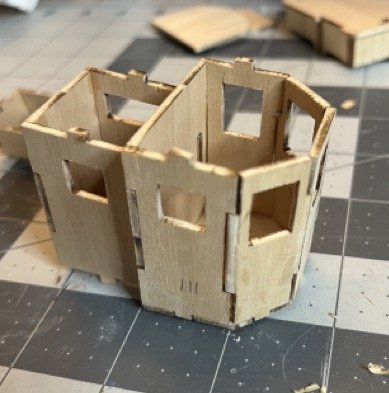
That definitely doesn't look right. The laser cuts should line up almost perfectly. I would contact model ship world and ask them to send a replacement. They were pretty quick to respond when I had a missing part.
-
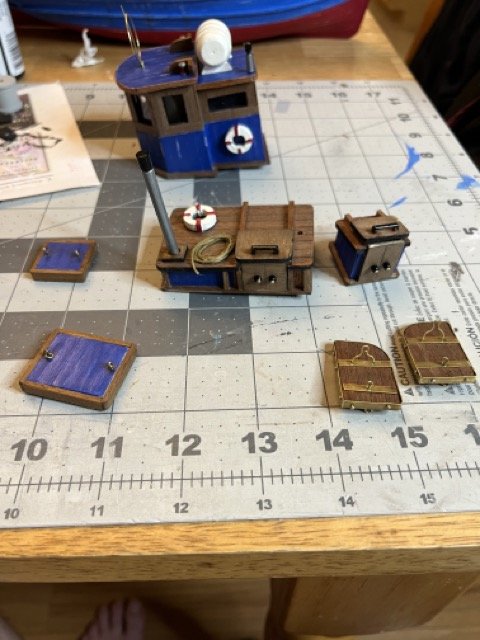
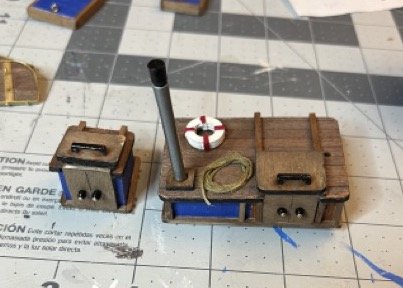
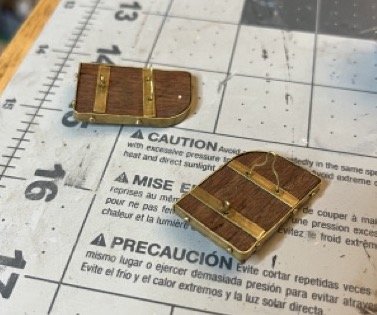
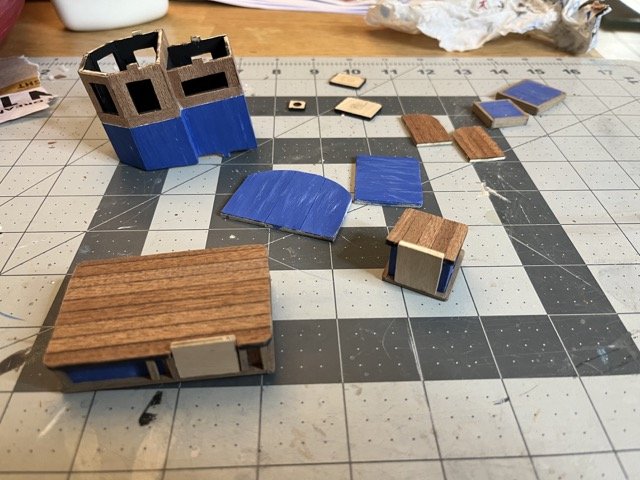
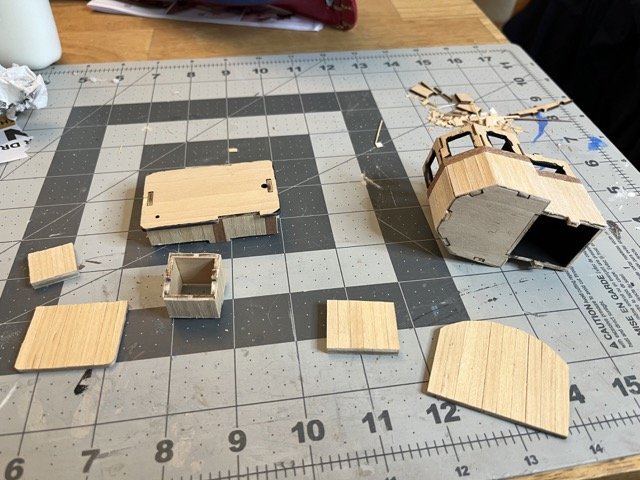
Most of the pieces to attach to the deck are finished. The wheel house was difficult to photograph because it will be sitting on an up sloped deck and has a couple of tabs towards the stern that help align it into slots on the deck. There was supposed to be a tab in the very front of the wheel house, but I missed trimming that part of the deck out so I had to cut it flat. I made an acrylic paint stain to darken up the sapelli and the lime wood. I also did some touch up to remove some of the fine white lines from the tape. The Trawling blades were a bit tricky because the brass bands had to be bent around, glued and then nailed into place. Even using sand paper to rough up the inside edges, it still didn't want to bond very well. The nails held fairly well though. Some needed to be trimmed fairly short because of the proximity of the adjacent right angle nails.

-
I couldn't tell you if the frames are the right width on the plans, but I do know that I didn't have a problem assembling the Dory. As a caveat, it was also my first model and I may have assembled it not realizing that I was doing it incorrectly, I will mention that there are a lot of little errors and discrepancies to watch for in the plans/instructions and kit parts. Just pay close attention, look closely at the photos, check other build logs if something seems off and it should all work out ok.
- 3 replies
-
- 3
-

-
- Grand Banks Dory
- first build
- (and 1 more)
-
Very nicely done. I think I want to try this one in the future and will definitely be coming back to this log.
- 61 replies
-
- 2
-
-
- St. Roch
- Billing Boats
- (and 1 more)
-
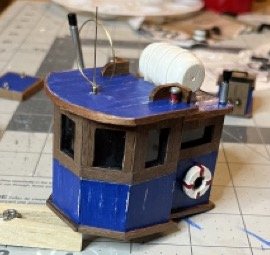
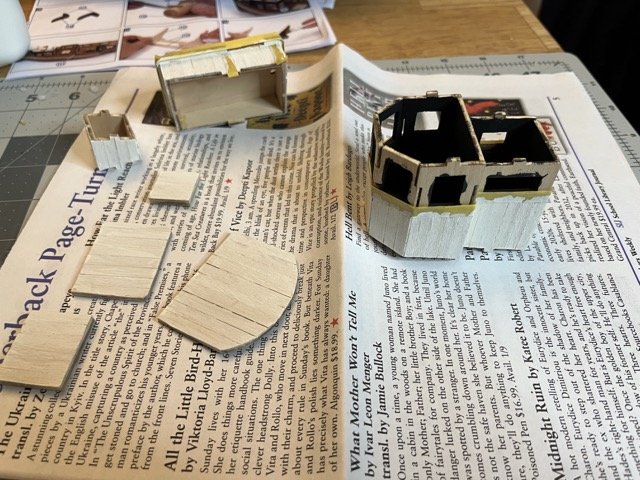
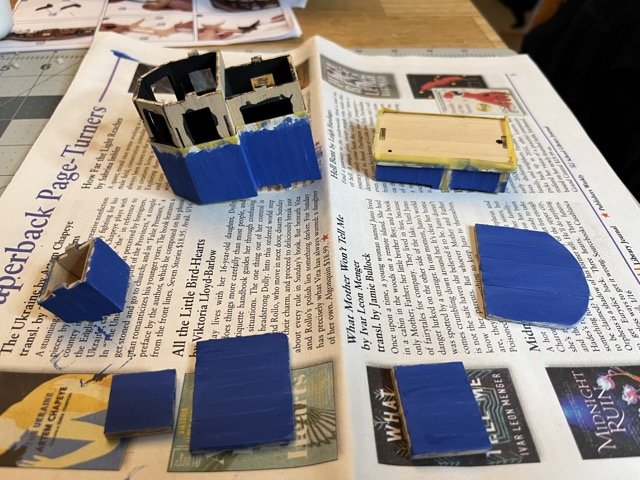
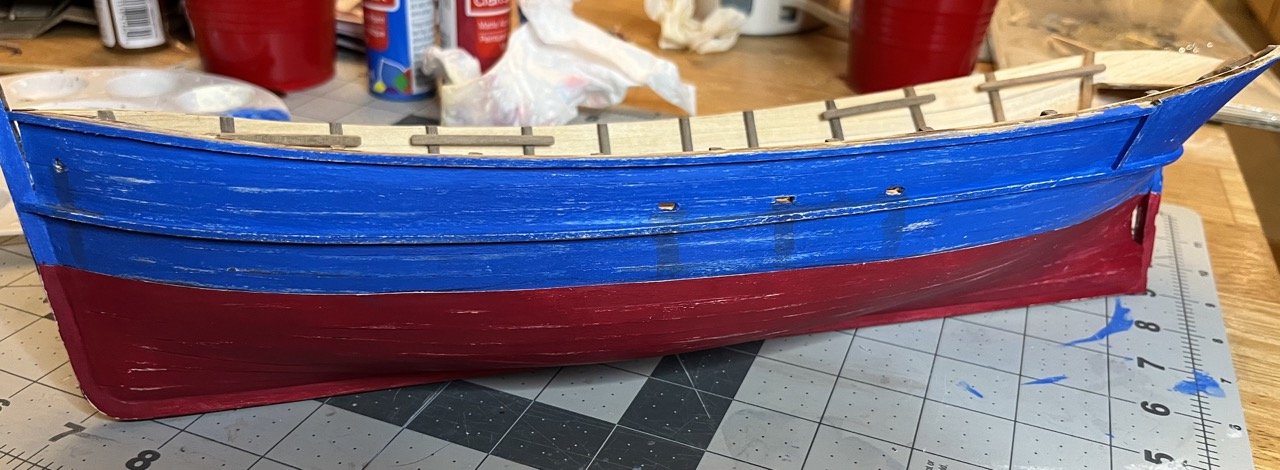
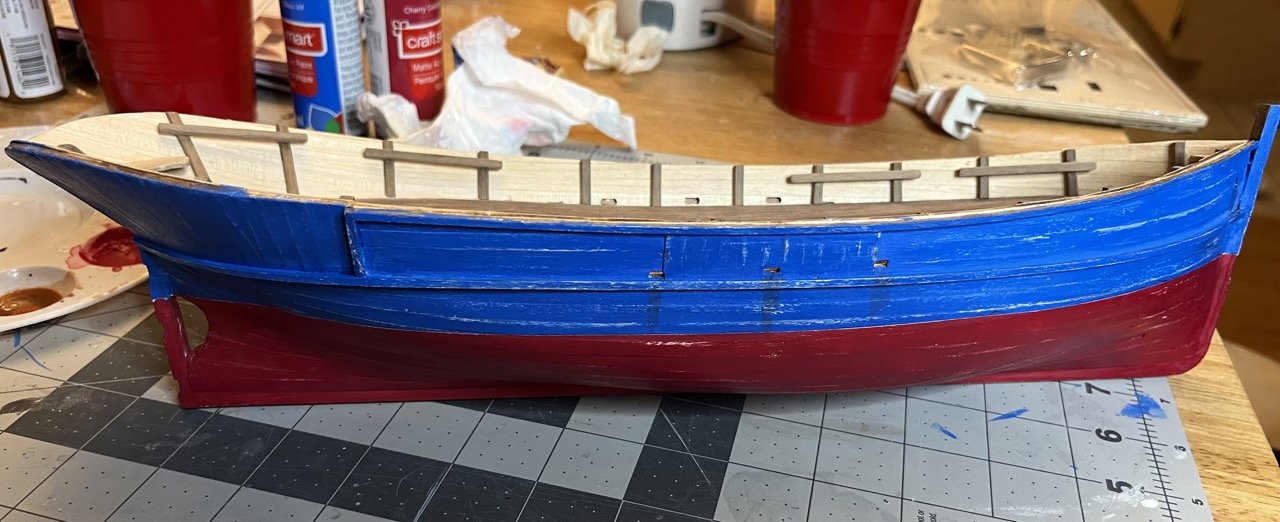
Interior bulwark painted and the cap rails installed. I painted the cap rails prior to putting them on the bulwark, but they didn't line up right. I will have to work on them a bit to get them to look better. The next step is to assemble the parts that will be going on top of the deck. The instructions call for building each piece separately, but I didn't want to do a bunch of small bits of painting here. I jumped around to partially build a few of the pieces to paint. For the most part I think this was a time saver as it reduced the amount of time spent doing prep work and clean up. The one downfall, I didn't always plan well and painted over some areas that were to be glued. Not the end of the world as a little sanding and scoring with a knife was sufficient to get good attachment. Partially planked and ready to paint First undercoat first blue coat About ready to stain the next set of planking. The taping worked well except for the fact that it let a thin line of white paint sealed out some of the blue. I will have to touch up at some point. The darker planks and bare wood will be stained similar to the deck. As I post this I realize I need to weather the wheel house.
-
Looks amazing! I had the same issue with the nails. I ended up getting some brass sewing pins that worked well.
-
Drill bit suggestions
SiriusVoyager replied to SiriusVoyager's topic in Modeling tools and Workshop Equipment
Thanks for the tips and suggestions everyone! -
Drill bit suggestions
SiriusVoyager replied to SiriusVoyager's topic in Modeling tools and Workshop Equipment
Thank you for the suggestion. I will look into them. I am using a hand drill (not powered). -
I seem to keep snapping any drill bit smaller than about 1mm. Any suggestions a good brand that seems to hold up? Or is this just a normal thing to deal with?
-
Looking forward to seeing more of how this build goes. I have the kit as well, but am holding off on starting it until I feel more confident.
-
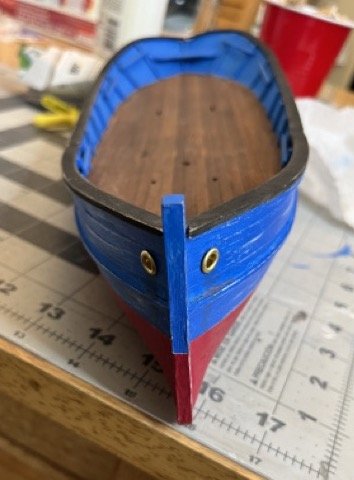
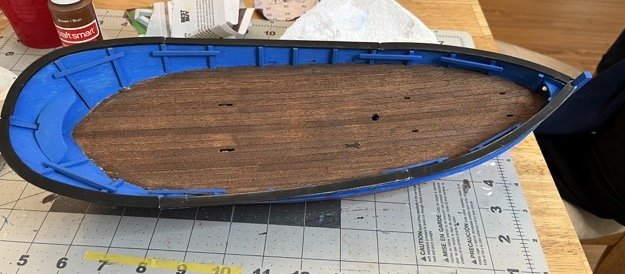
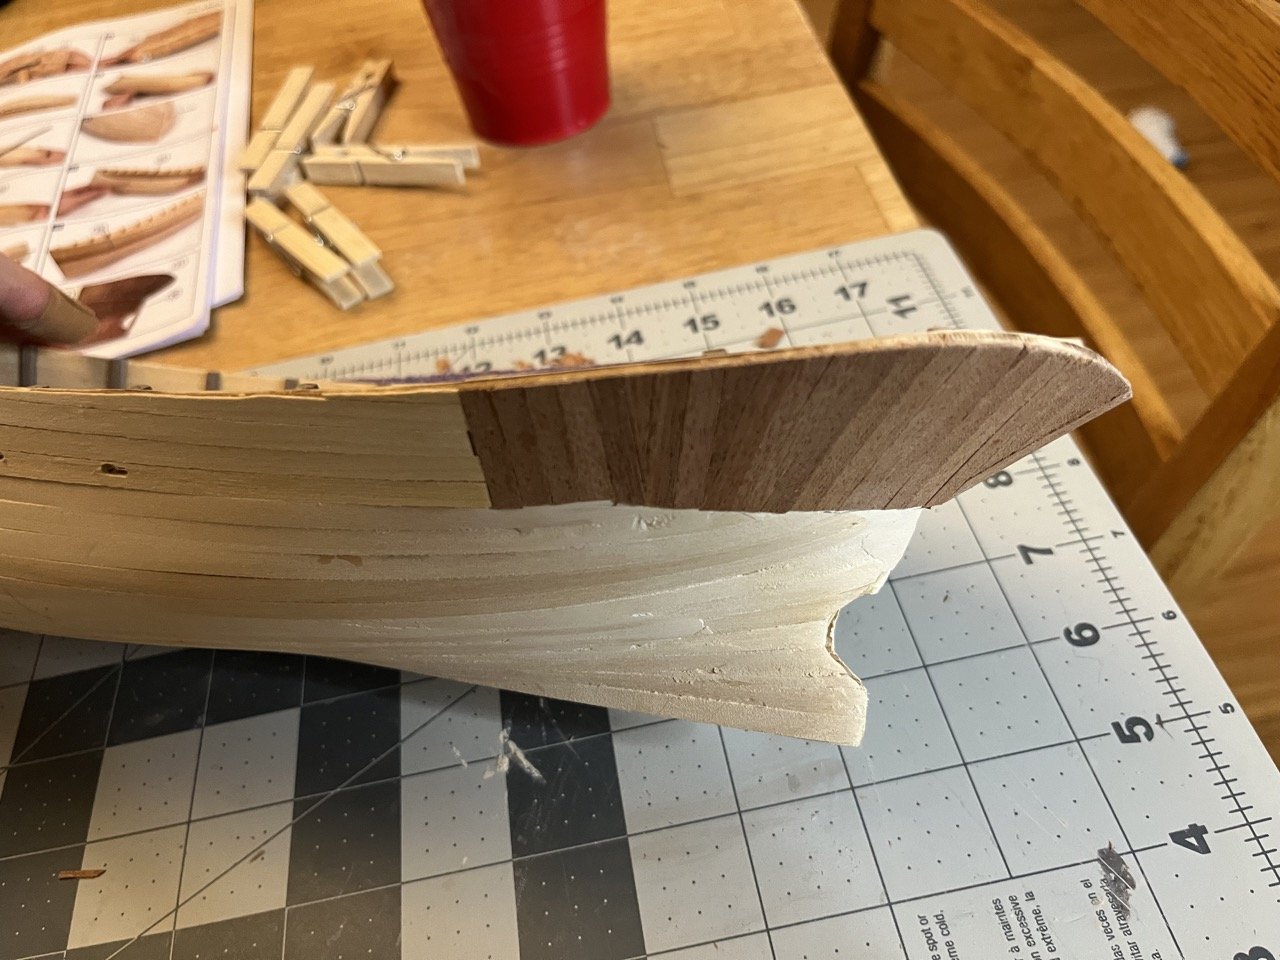
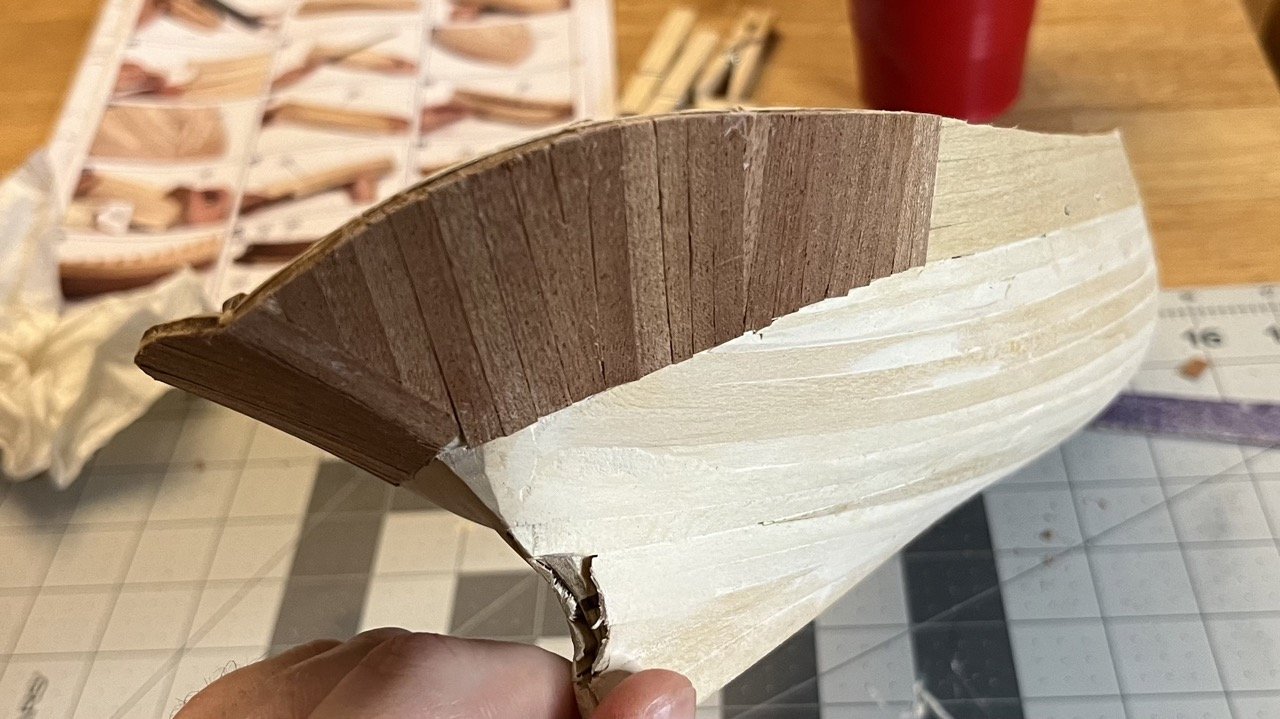
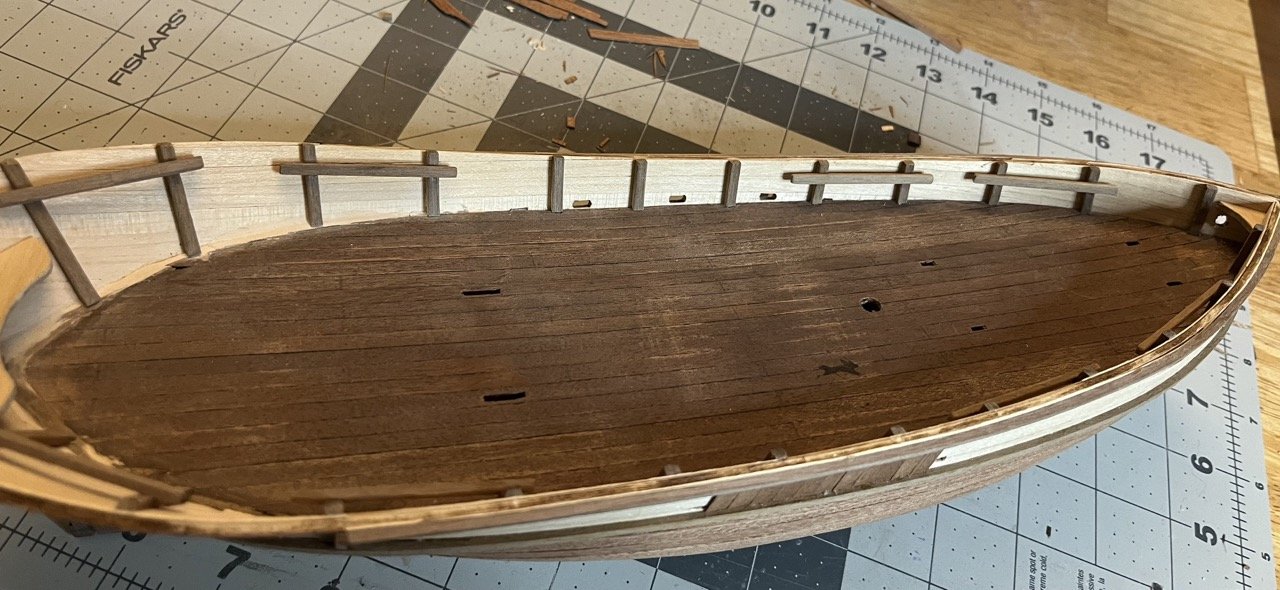
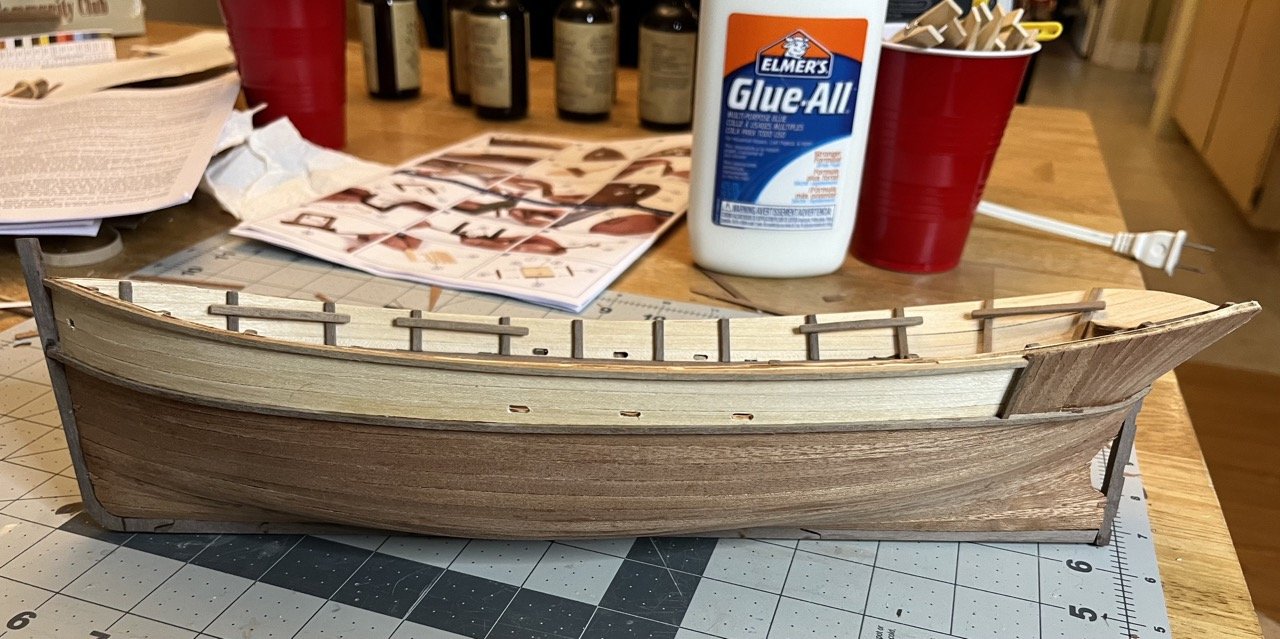
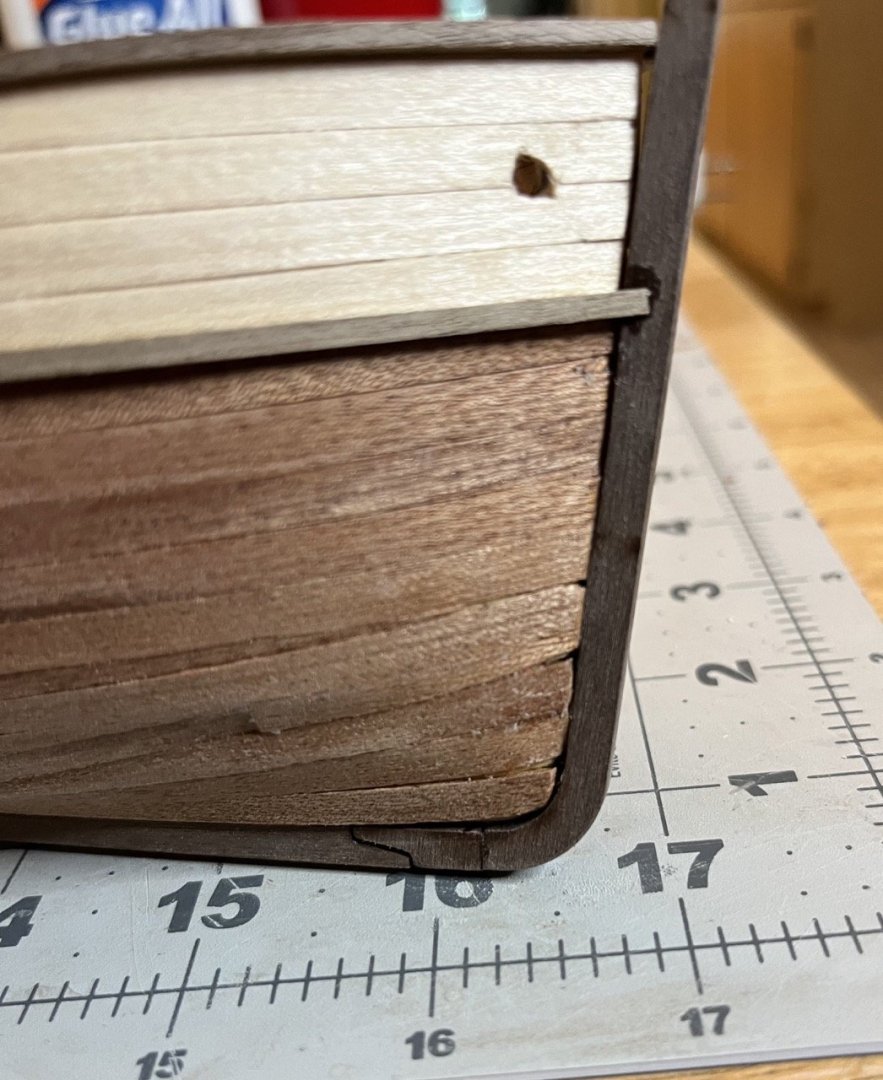
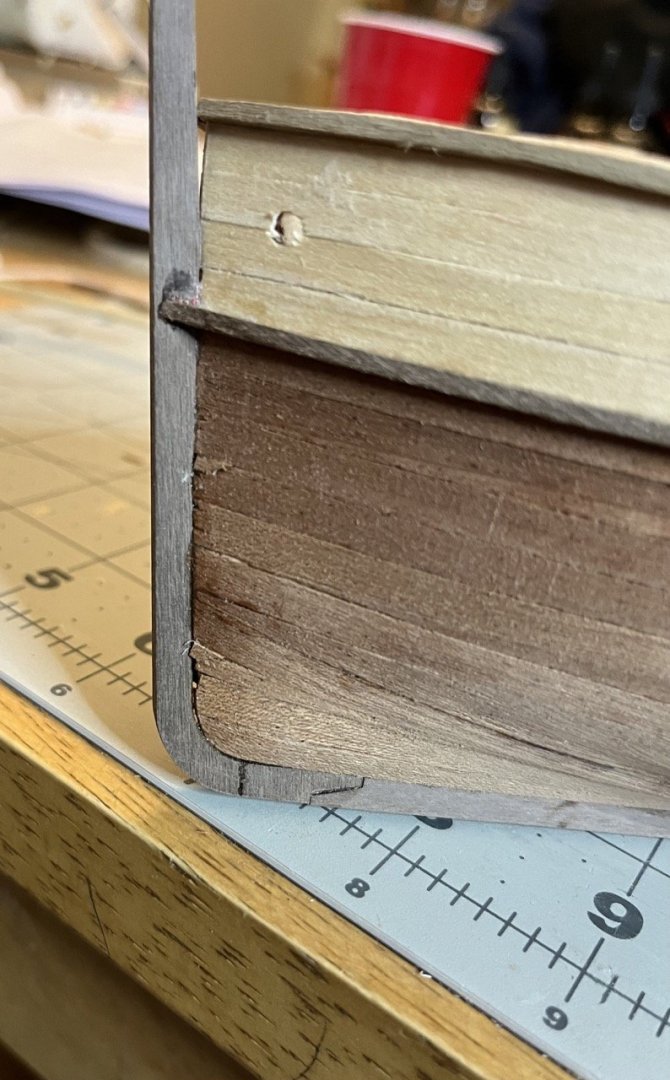
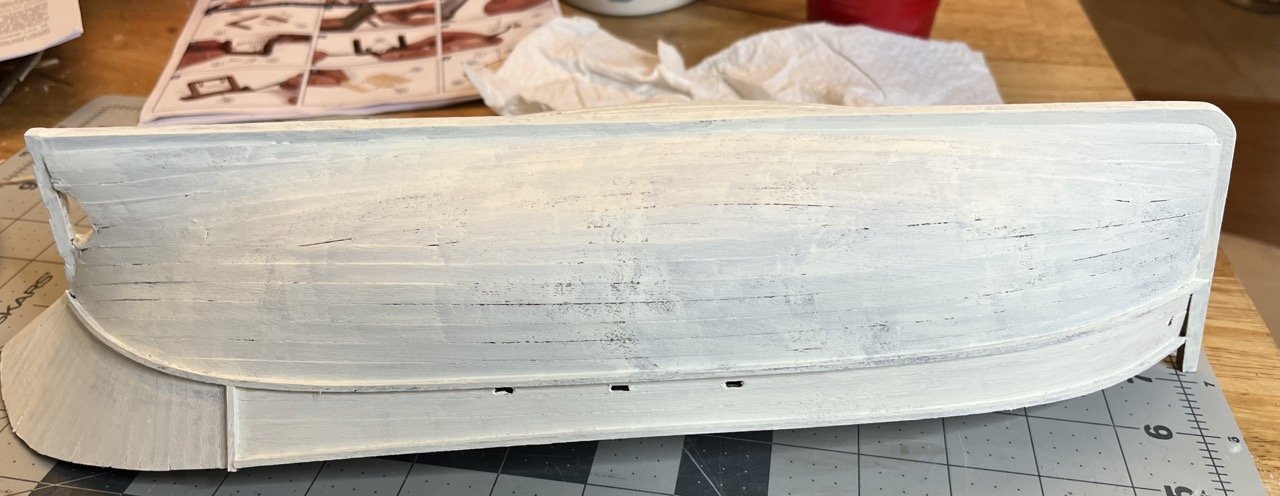
The instructions call for attaching the second layer of planking, then attaching the false keel and rub rails. From what I had learned from the Smack, I felt like the keel should have been installed first, then the second layer planking laid into a rabbet. I decided to follow the instructions, but wish I had gone with my gut. The planking was hard to lay properly, partially because of my inexperience, and partially because of the weird shape of the hull. The stem also didn't fit properly. I am not sure how one could expect it to fit properly installing it after the planking. There is too much room for small errors to work there way in. The thin sapelli strips were somewhat difficult to deal with. They are very porous and glue would soak right through making adhesion difficult at times. It also chipped incredibility easy as can be seen in a few photos. The top half of the second planking. The planking towards the stern seemed a bit odd to plank it that way, but I went with it. The lower edges are to be covered by a rub rail so they don't need to be perfect. The second layer lining up with the keel and stem didn't end up as bad as I was expecting, but I still wish there were no gaps. I will definitely not follow the instructions next time. My plan the entire time was to paint the boat so a little wood filler with fill the small gaps. Most of the hull is complete. I skipped the limber boards to attach after painting. The hull painted and weathered a bit and coated a bit of shellac

-
I will add my two cents from my short experience as a beginner. I have found that shellac is a great all purpose varnish. It is easy to use and is alcohol based so it can be used inside the house without noxious vapors. It can be painted on and provides a hard protective shell. I use very fine sand paper to finish it. It can also be removed with alcohol if you make a mistake. I would definitely varnish after painting is completed as acrylic paint scratches easily. As far as painting, I have painted wood models without priming or sealing. The water in the paint raises the grain but it can be sanded down. After a coat or two the paint will have sealed the wood. Of course a thin layer of sealer or shellac will prevent that and I prefer the sealant coat. Normal hardware store masking tape will cause some bleeding in places where the model isn’t perfectly flat. Specialized modeling masking tape is thin and will handle curves better than normal masking tape.
-
Looks like you are off to a great start. I followed the burn guild line rather than the plan. I think the plan is correct and the guide line is wrong based on how everything looked down the read. In the end my boat still came together ok so I think you will be good with where you attached the transom.
- 9 replies
-
- 6
-
-
- Lowell Grand Banks Dory
- Model Shipways
- (and 1 more)
-
Welcome to MSW!
-
Welcome to MSW!
-
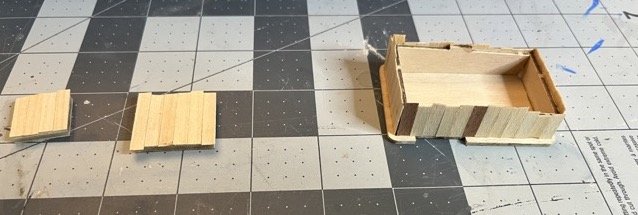
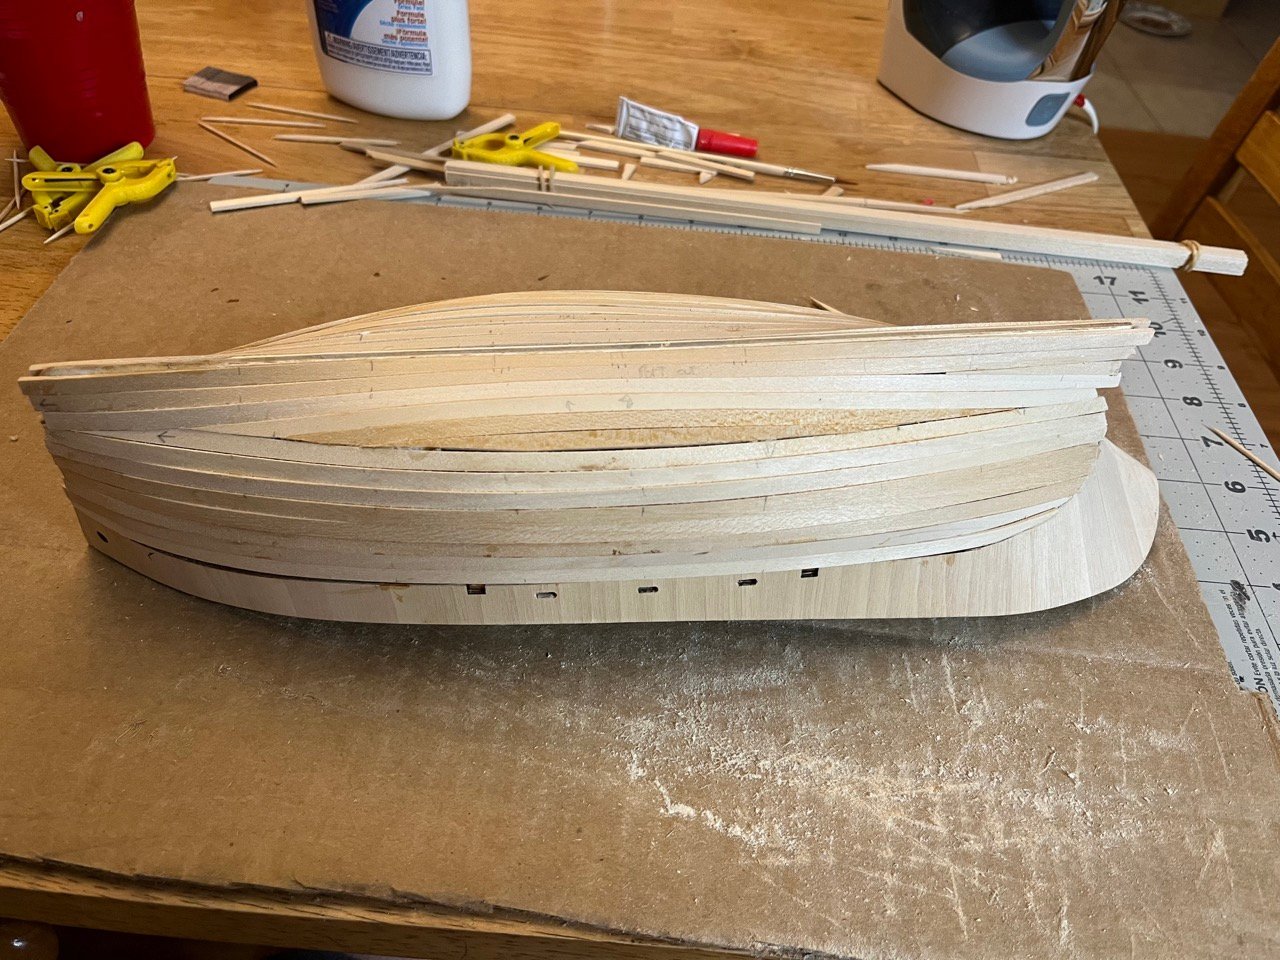
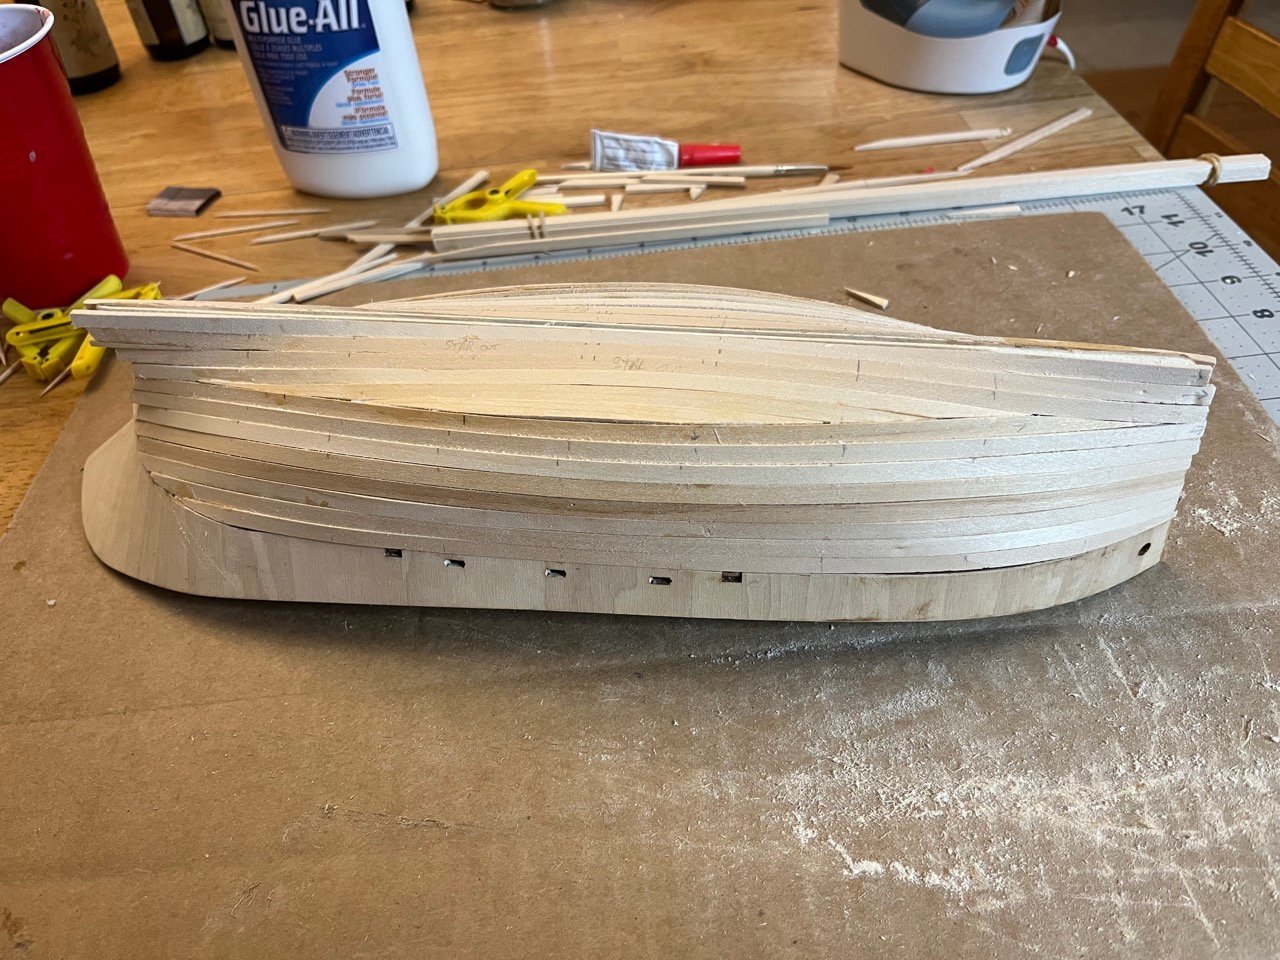
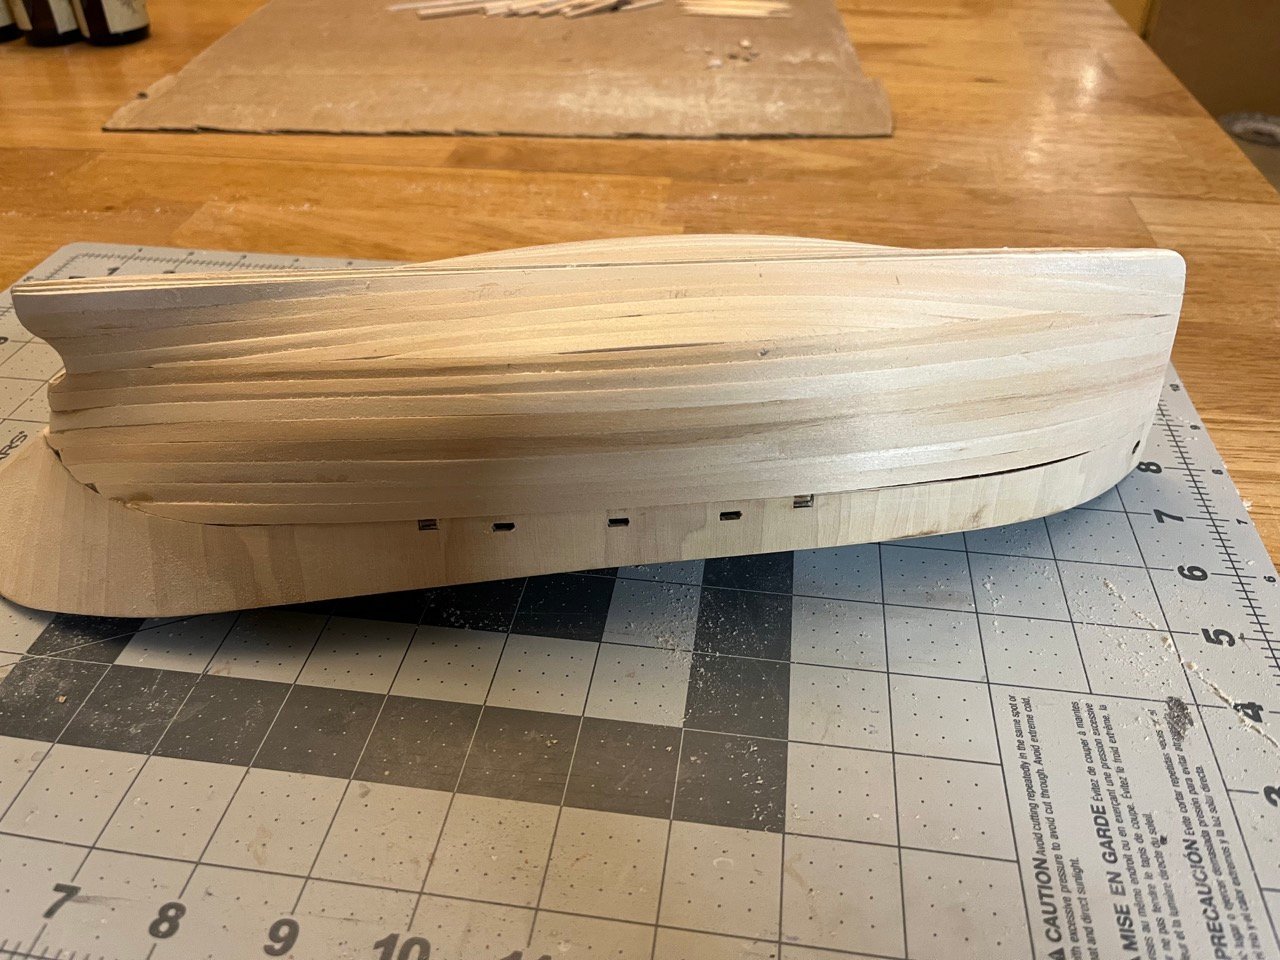
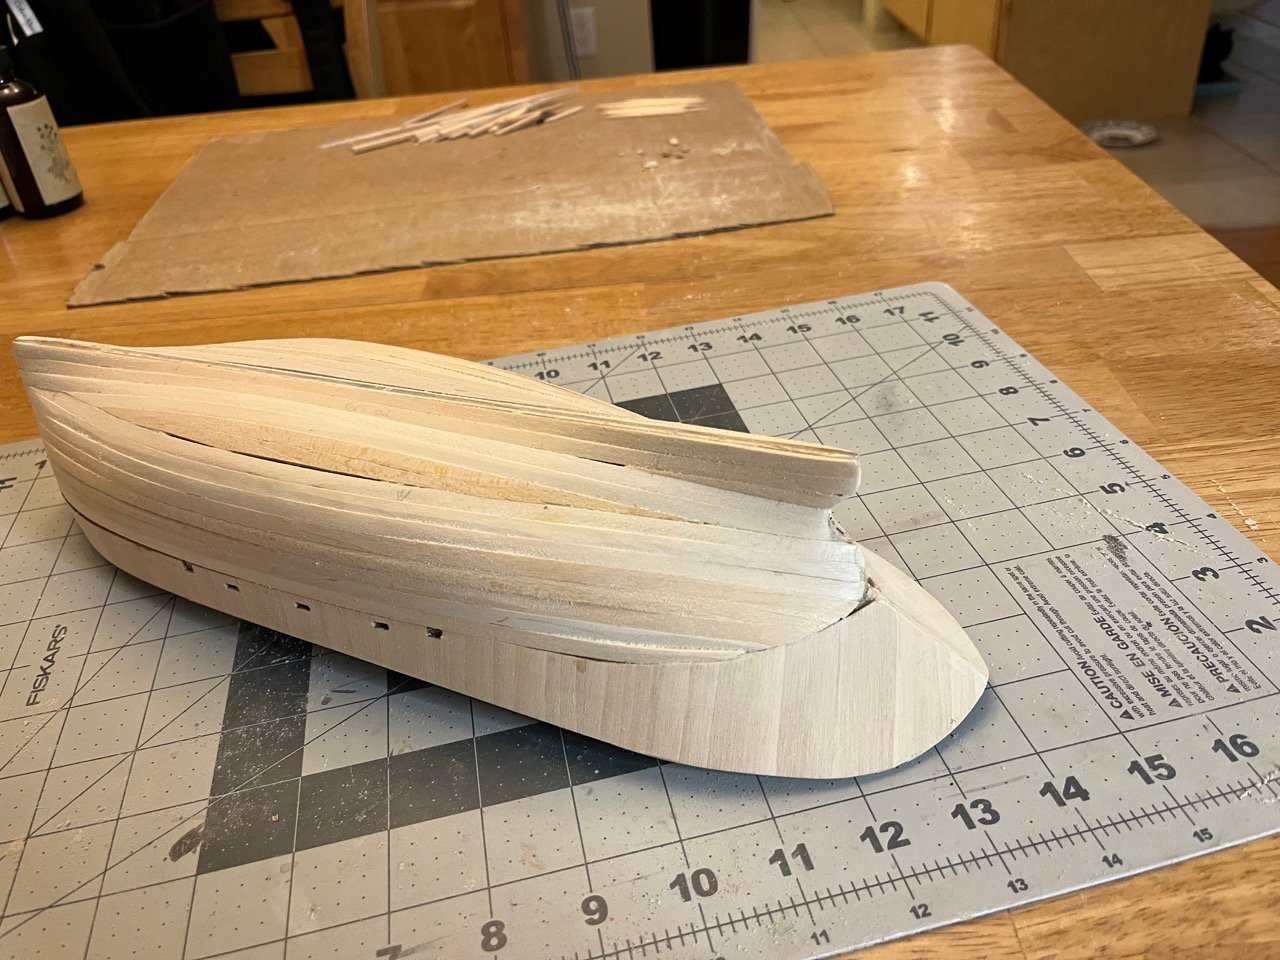
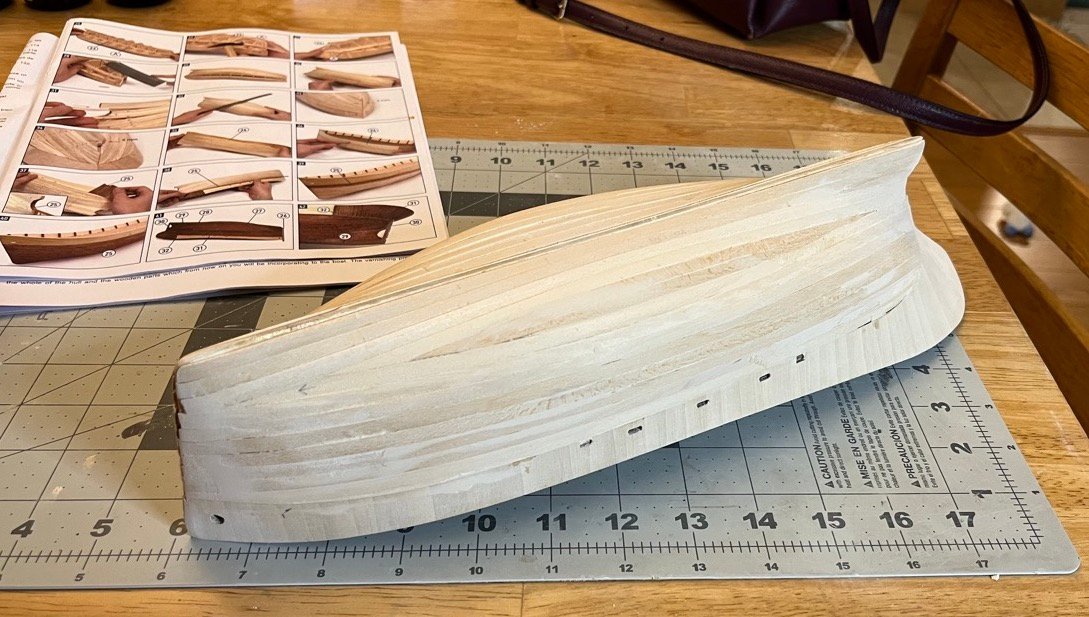
The first layer planking is now finished. I don't like how OcCre has you start with a random plank in the middle. There are a few gaps in there that are too thin to really fill with trimmed planks. If planking started at the edge of the bulwark or the keel it would be much easier to fill in that space with the wood. It isn't pretty, but I suppose that is why beginner models have two layers of planking (and I am glad they do). After some sanding and shaping it looks a bit better. Just a bit of wood filler to even things out for the second layer of planking.

-
Looks great! especially the mast and sails. Nice personal touches.
- 87 replies
-
- 1
-
-
- Muscongus Bay Lobster Smack
- Finished
- (and 1 more)
-
Very nice jobs on the eyelets, they look great!
-
That probably makes the most sense. I sort of feel like that will just cause more planks to have to be corrected as it would be difficult to place that first plank exactly in the correct spot. Thank you for those resources. I have seen the videos, but the NRG document is helpful as well. That definitely seems like a better way to plank. I’m just not sure I understand why OcCre starts in the middle rather than at one of the edges.
-
Welcome to MSW!
-
Welcome to MSW!
-
Welcome to MSW!

