SiriusVoyager
-
Posts
502 -
Joined
-
Last visited
Content Type
Profiles
Forums
Gallery
Events
Everything posted by SiriusVoyager
-
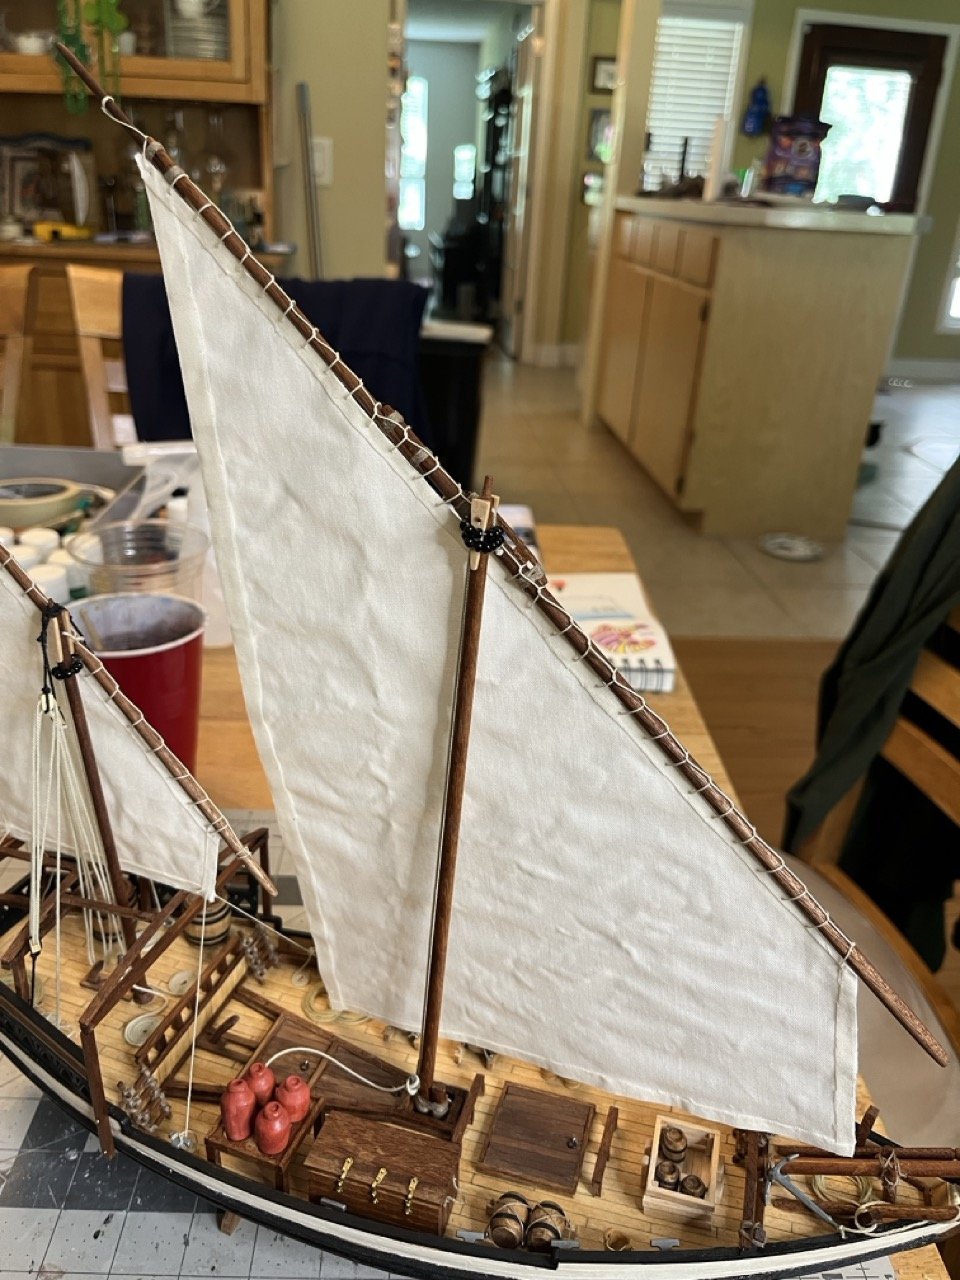
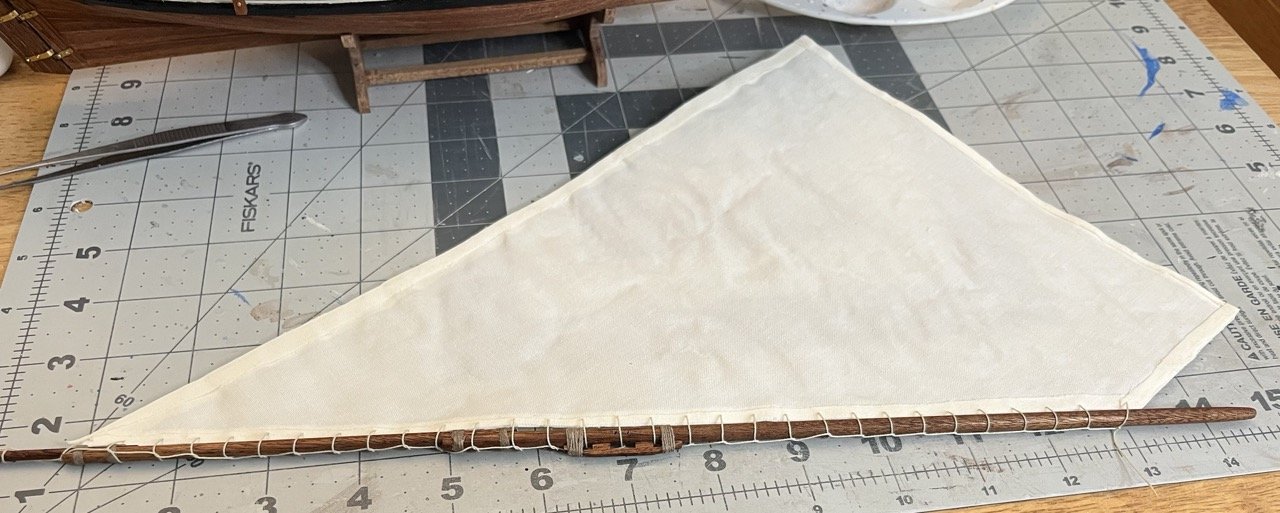
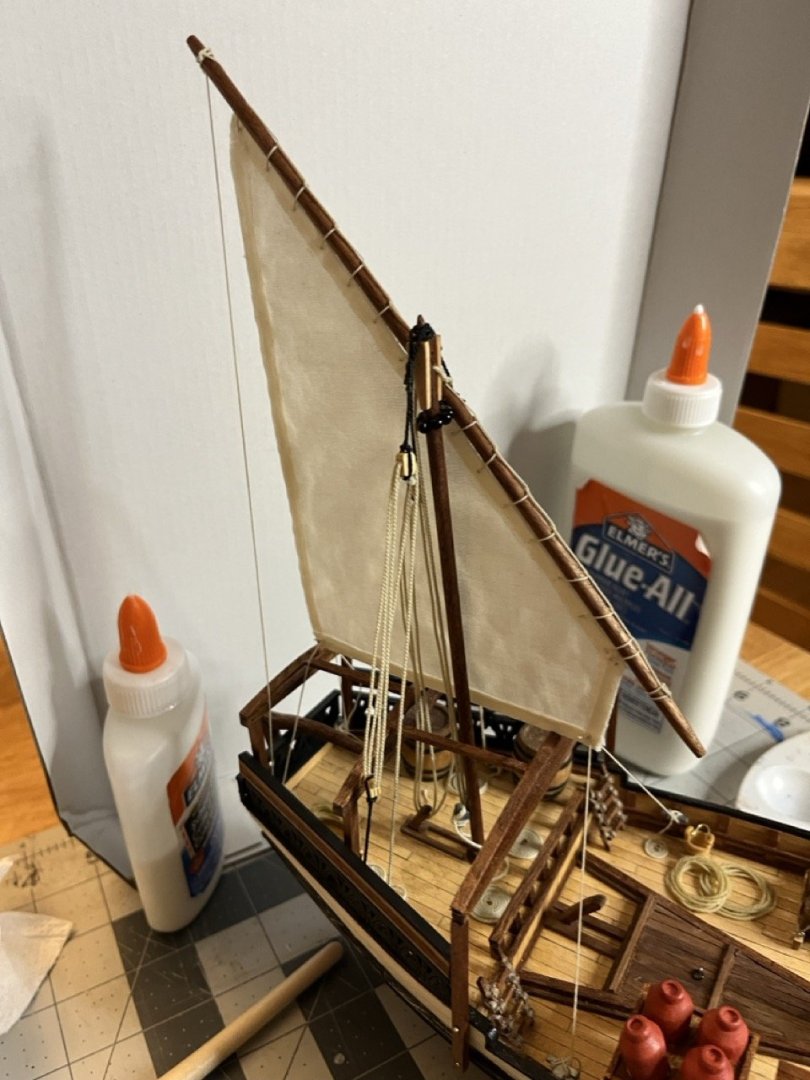
 The main sail lashed to the spar. I calculated how much rope I would need based on the circumference of the spar and estimating the space between the spar and the sail, and the number of loops. I then added the length of the spar and added a bit extra as a safety margin. I was starting to worry that I estimated low but finished with about 5cm to spare. The sail with halyard and truck in place. At this point I ran out of rope so I made another batch.
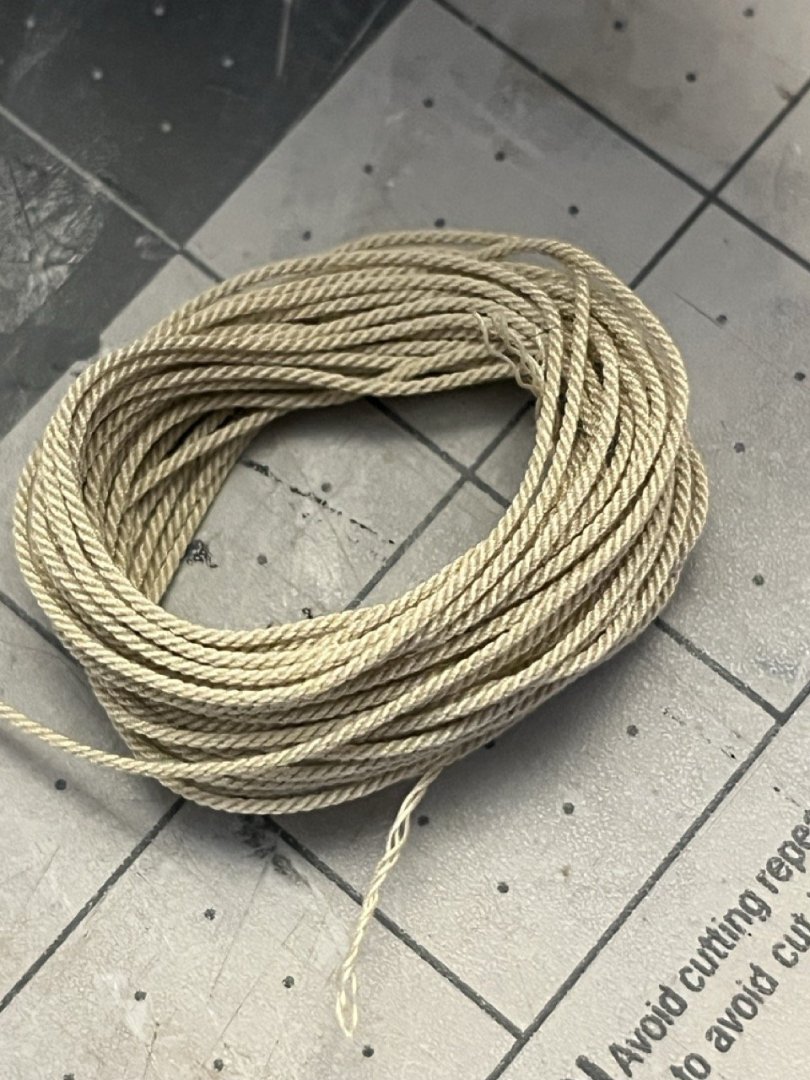

- 65 replies
-
- 6
-

-
- sultan
- Artesania Latina
- (and 2 more)
-
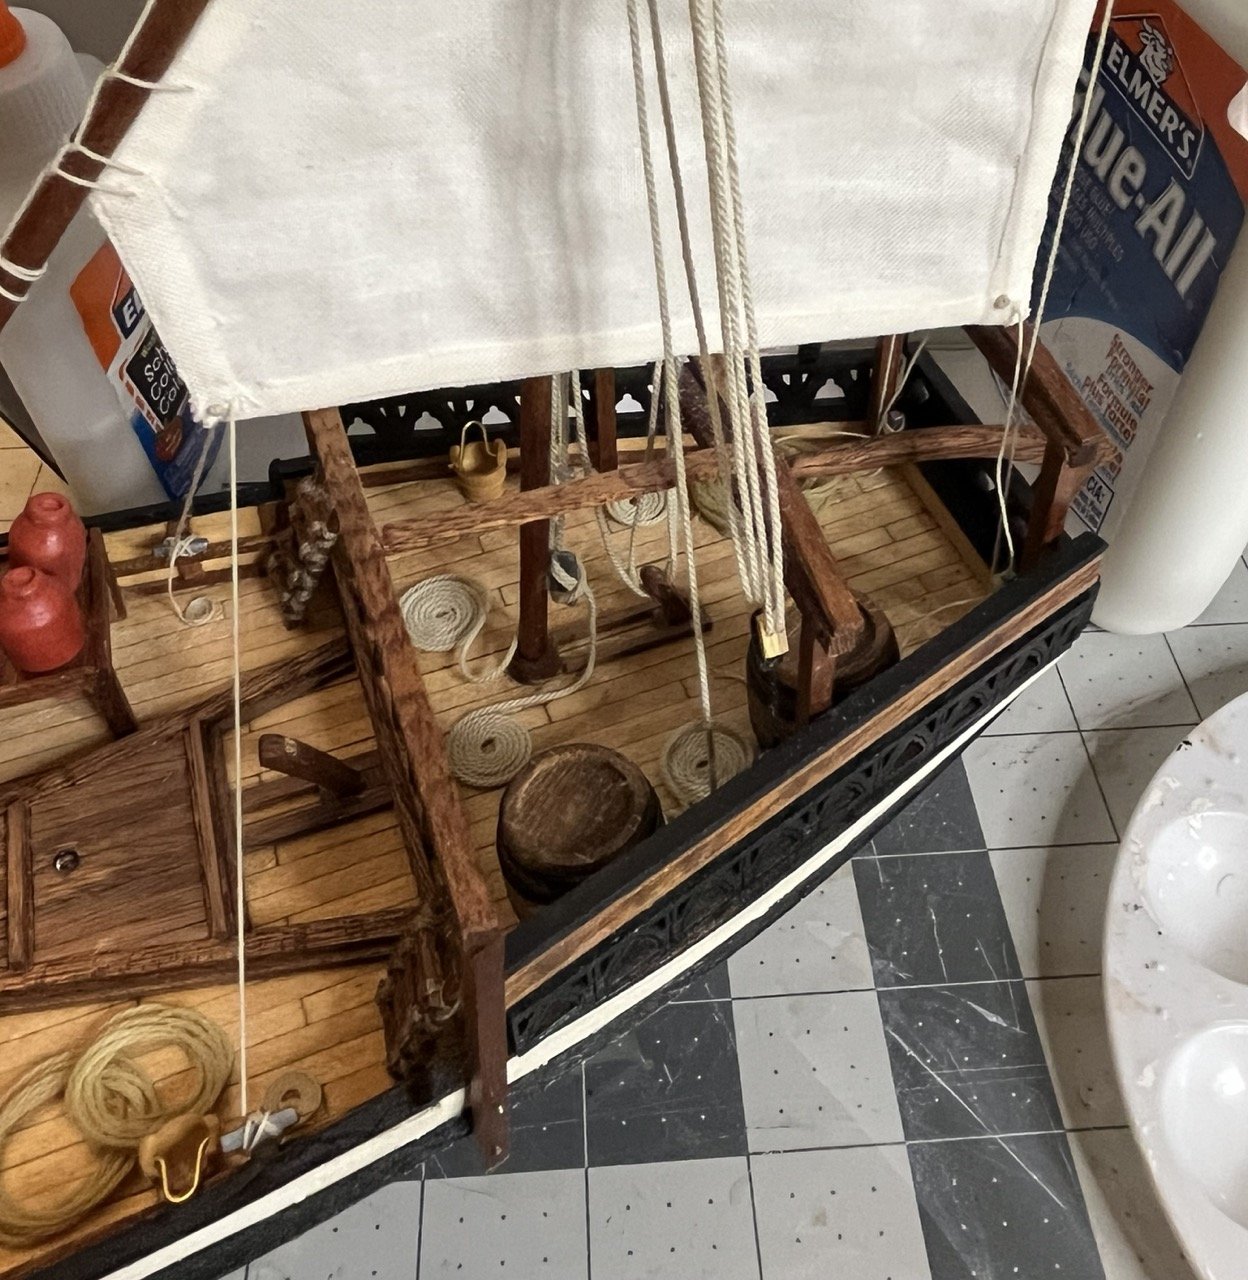
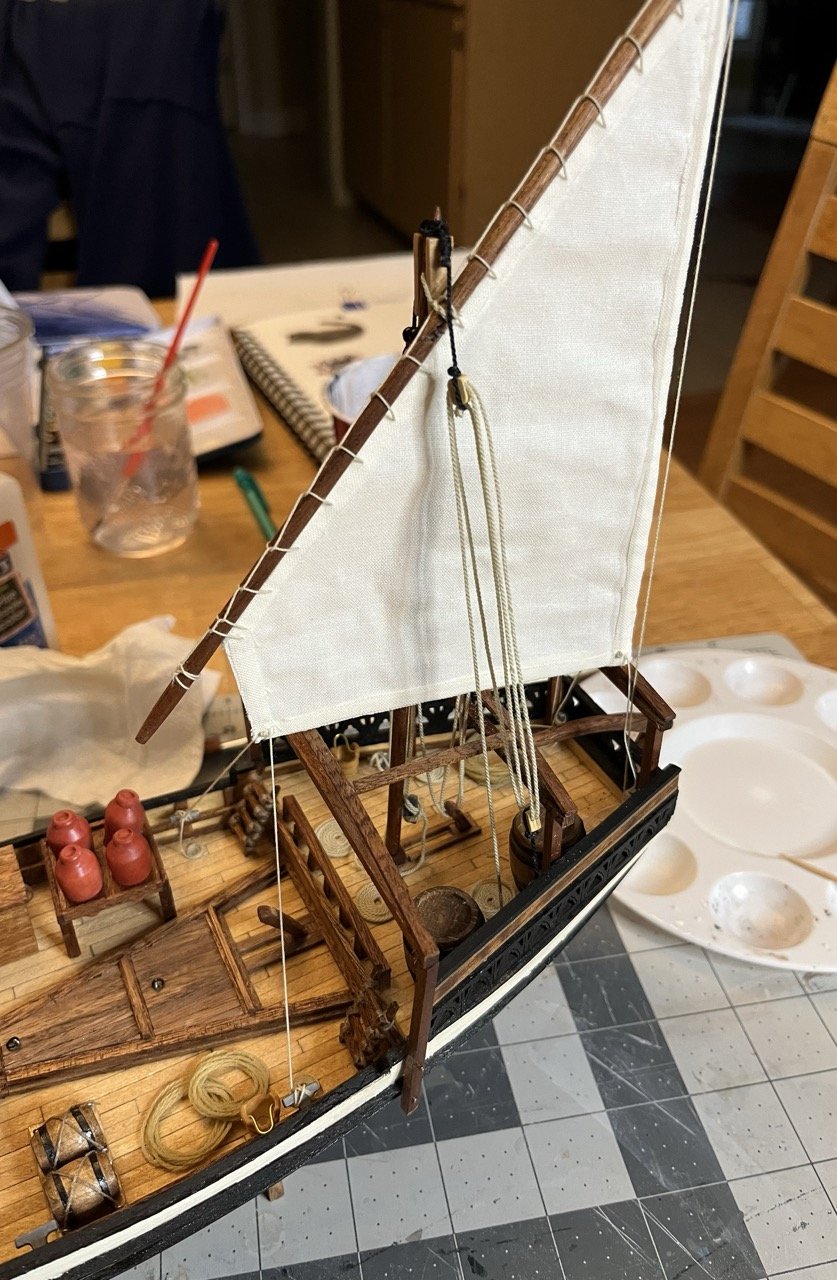
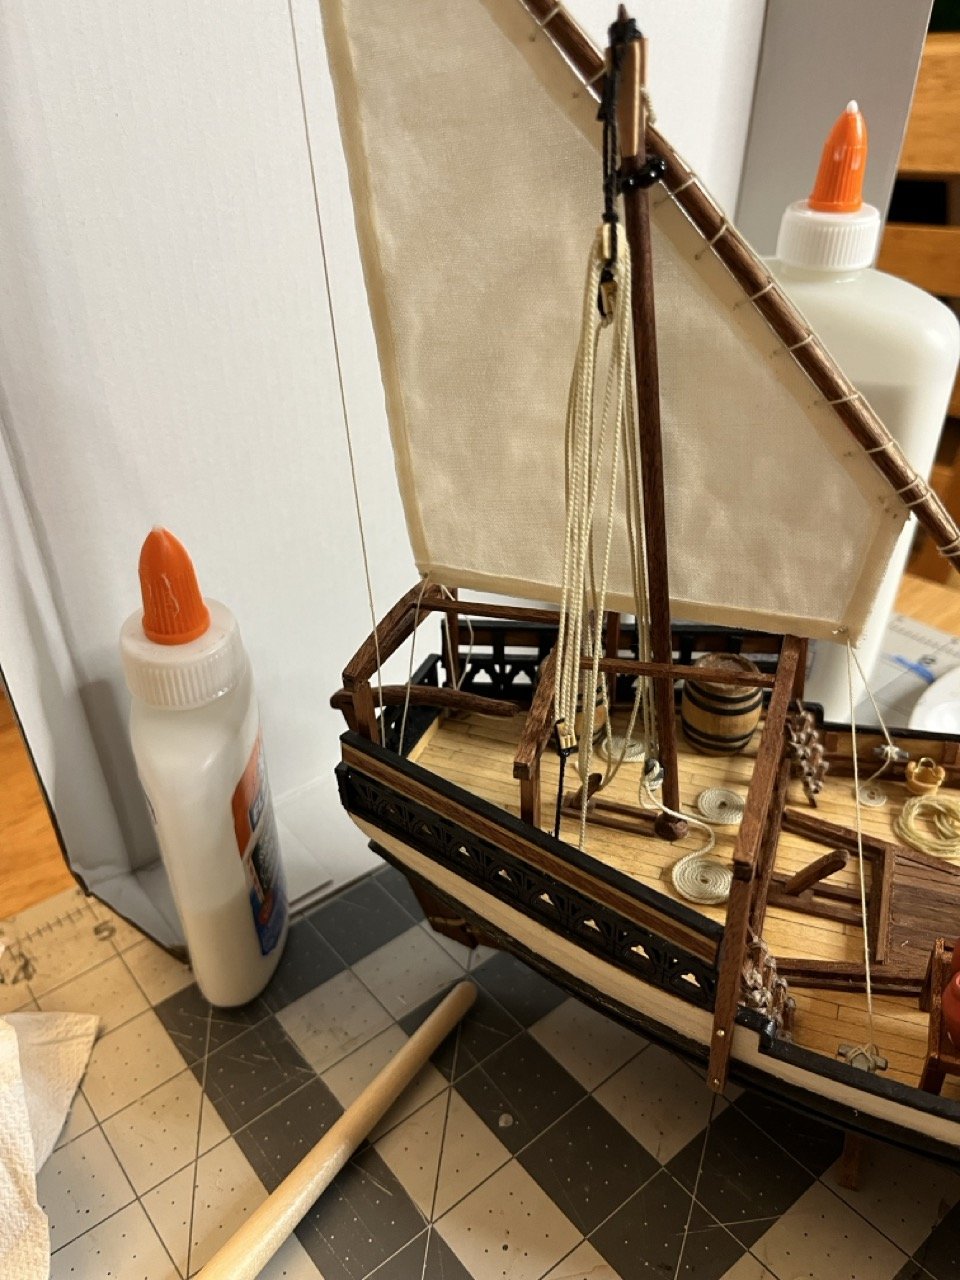
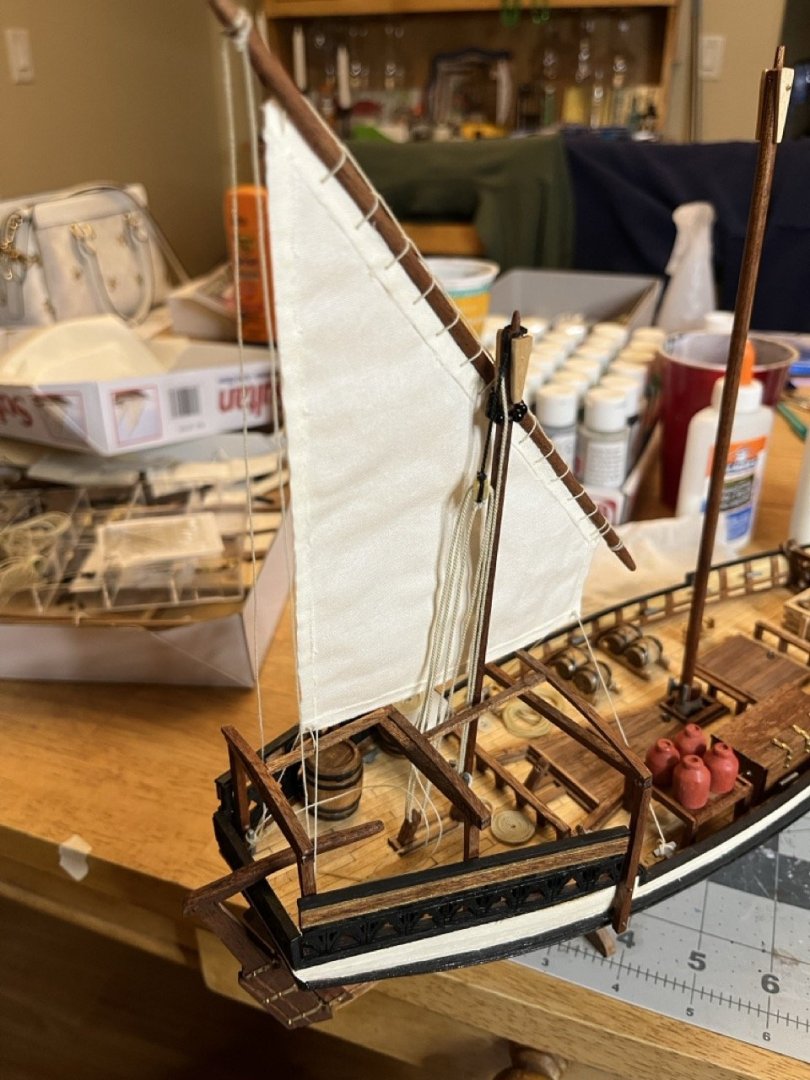
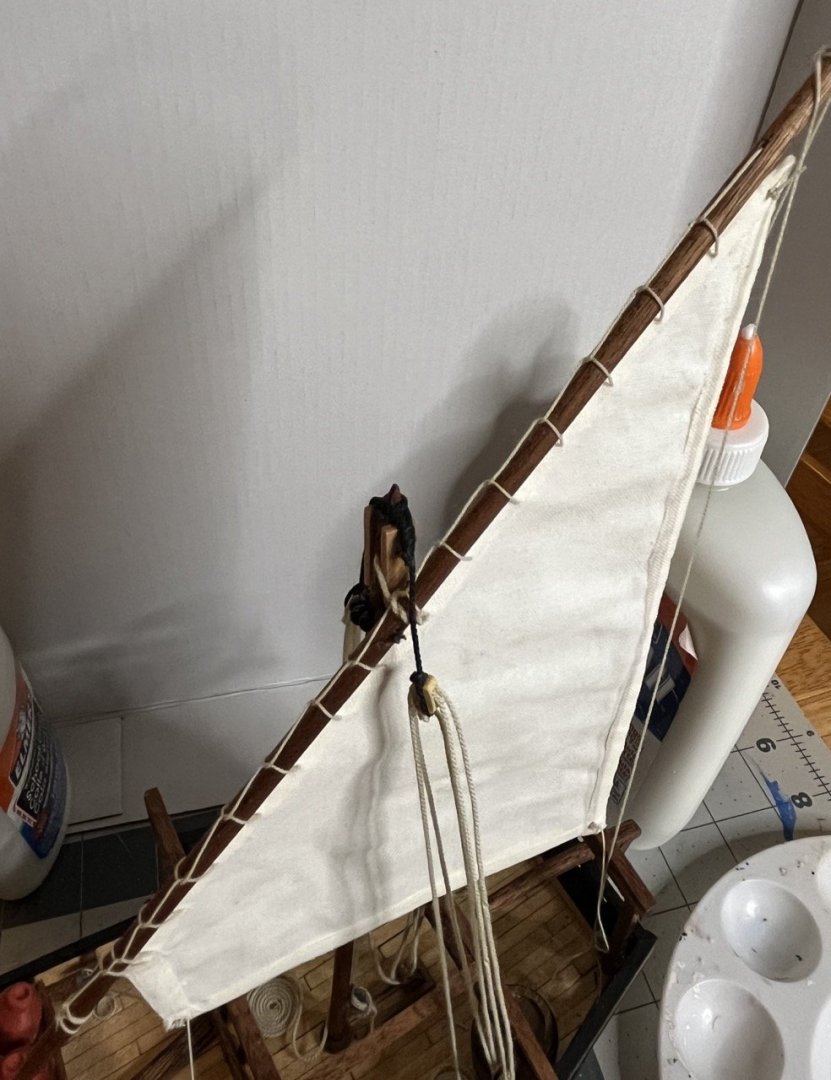
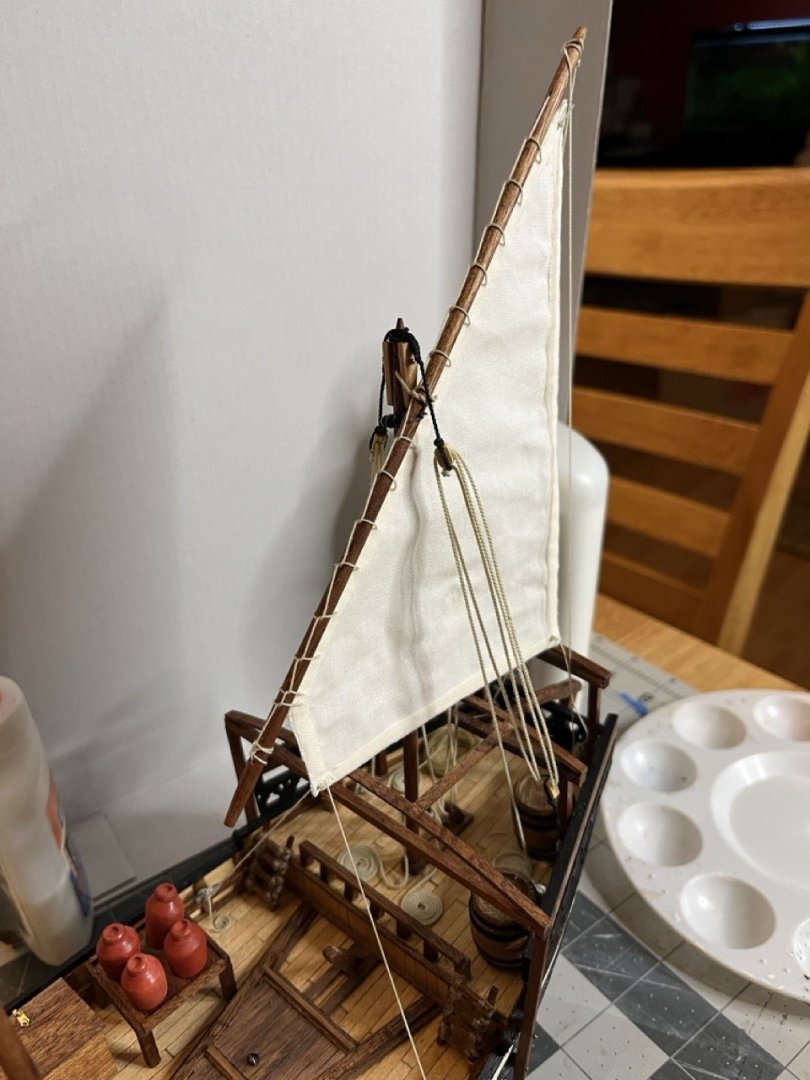
I got a hold of material to make sails. Just some light weight cotton cloth. No the ideal material, but it is the best that my local sewing shop had. I essentially made them the same way as the lobster smack. For some reason these seemed to be much more difficult to make. I attached the mizzen sail to the yard. I coiled the lines using the masking tape method. I made the coil, then used CA glue to hold the coil together, then a bit of CA and mostly PVA to glue the coils to the deck. I struggled in deciding how to rig the stays. In photos of actual dhows, it is clear that there were no stays visible on the side leeward side of the sails. It does look like in some dhows that the yards were simply swing around to the stay to be outside of it. I decided to rig stays on both sides to help hold the masts straight. I used rope that I made rather than the supplied string for all of the rigging. I used black rope on the parts of the stays that are essentially fixed and the eggshell rope on the running rigging and the parts of the stays that are tied to cleats and run through blocks. I liked the contrast of color. Hitching the polyester line to the cleats, particularity for the stays, was quite trying on my nerves. There isn't a lot of room to work and there is a lot of framing in the way. I eventually got it done properly. The Mizzen mast is done, main mast next. '


- 65 replies
-
- 6
-
-
- sultan
- Artesania Latina
- (and 2 more)
-
Welcome to MSW! I haven’t built the albatross but looking at photos, it appears that your little gap will be covered later on
-
I use makeup brushes.
-
Welcome to MSW!
-
Welcome to MSW!
-
Welcome to MSW!
-
I personally wouldn't use wood filler on the second layer planking. I would fill any gaps by using scrap sapele strips and cutting small slivers to fit in place. Cut them just slightly over sized and sand/trim to shape for a snug fit.
-
Welcome to MSW!
-
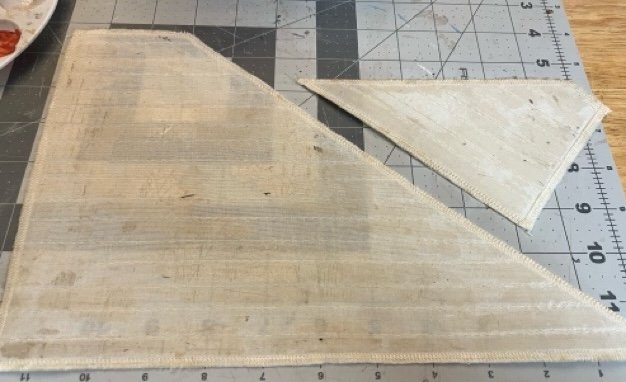
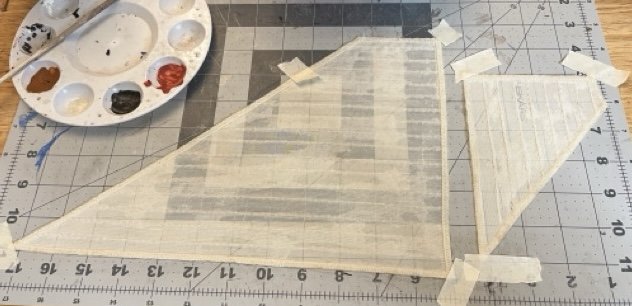
I learned a valuable lesson today that probably should have been obvious. The sails in the kit were rather cheap and the stitches were coming undone. I decided to use dilute PVA to help stiffen them up a bit and to help hold the stitching together. That was a twofold mistake. For starters, I didn't make the dilute PVA diluted enough, so there were areas with clearly visible flat dried glue. Secondly, when I used this technique on the pram and the smack I had a nice, new and clean cutting mat. While I did wipe down the mat before starting, it wasn't enough. The PVA picked up much of the set in dust and old paint spots that I hadn't been able to fully clean off. The sails looked terrible. I attempted to fix this by painting the sails. It wasn't worth dignifying with a photograph. Lesson learned. Use VERY thin PVA and a pristine surface. I'll likely use parchment paper next time. It will probably be a few days before I have a chance to get some material for the sails.
- 65 replies
-
- 5
-
-
- sultan
- Artesania Latina
- (and 2 more)
-
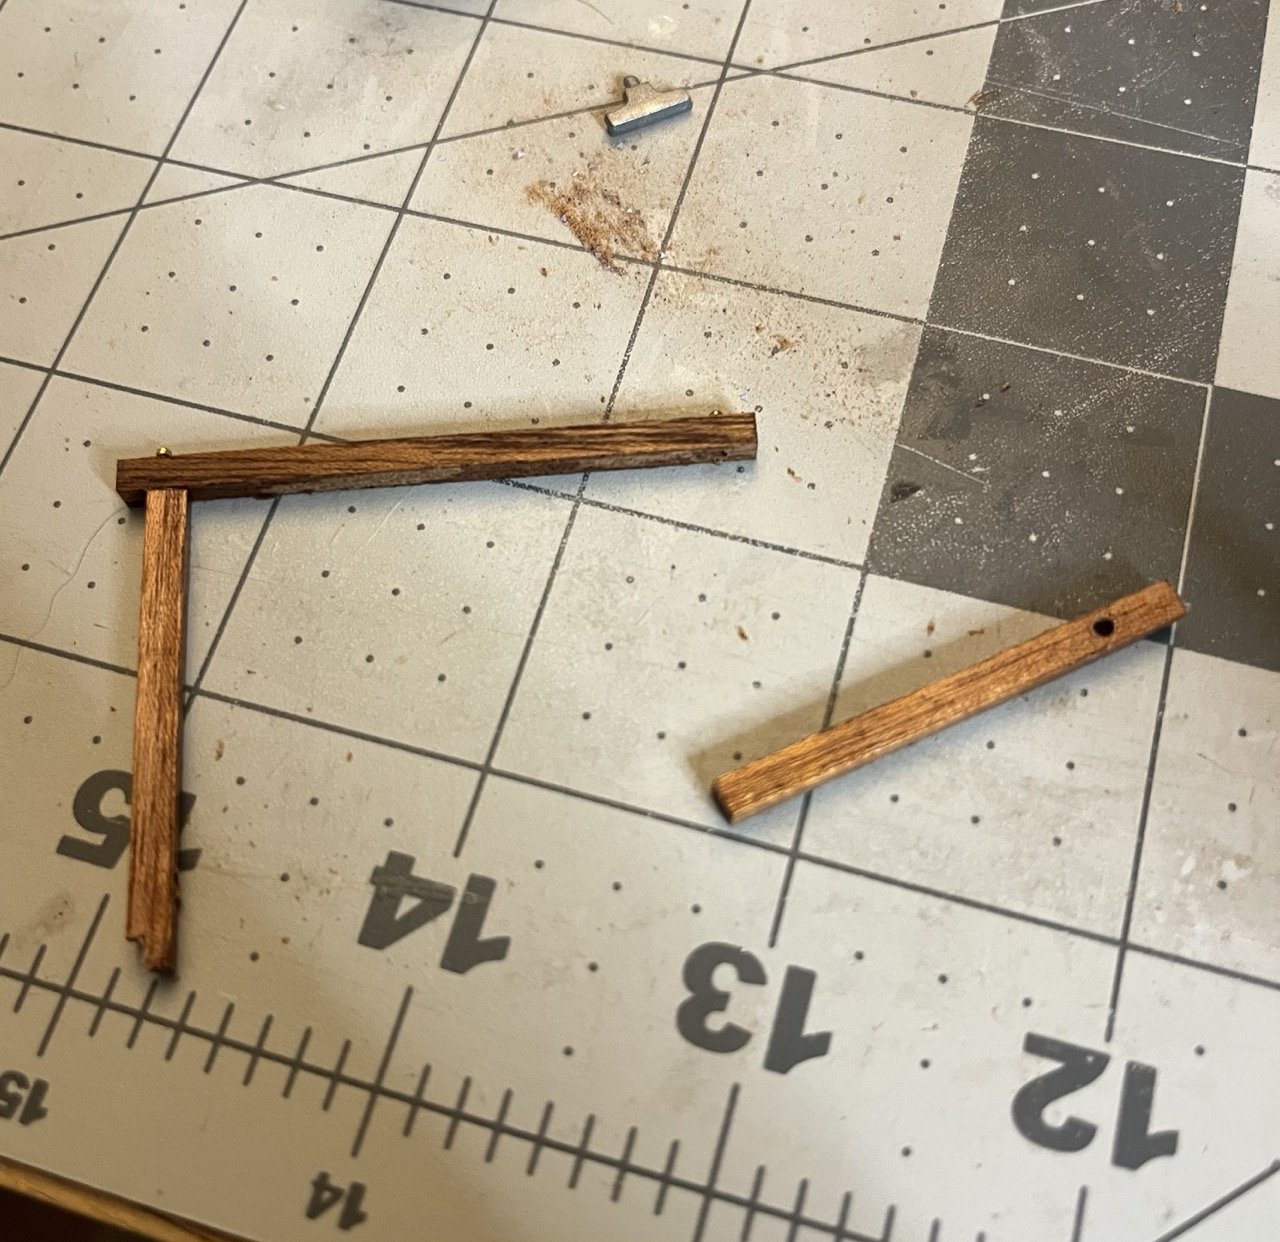
I decided to replace the brackets for the main and mizzen masts. They look better with smaller, side by side holes. At first I tried to make the main mast bracket from scrap 3x3 square dowel. It was a bit too narrow. I used scrap wood from the lazer cut board that the original brackets came from to ensure a proper width. It took a couple of tries to get the main mast bracket right. The mizzen mast bracket came about about as good as I could like on the first try.
- 65 replies
-
- 4
-
-
- sultan
- Artesania Latina
- (and 2 more)
-
It was about 2.5 mm (about 5 feet at 1:60 scale) above the deck, which is probably a bit high.
-
That sapele wood used for second layer planking isn't very forgiving if you need to bend it any direction other than across the very thin side. The nice thing about it is that you can small splinters and wedges to fill in any little gaps that you don't like. It usually isn't very noticeable once it is sanded down a bit. Personally, I think your second layer planking looks pretty good.
-
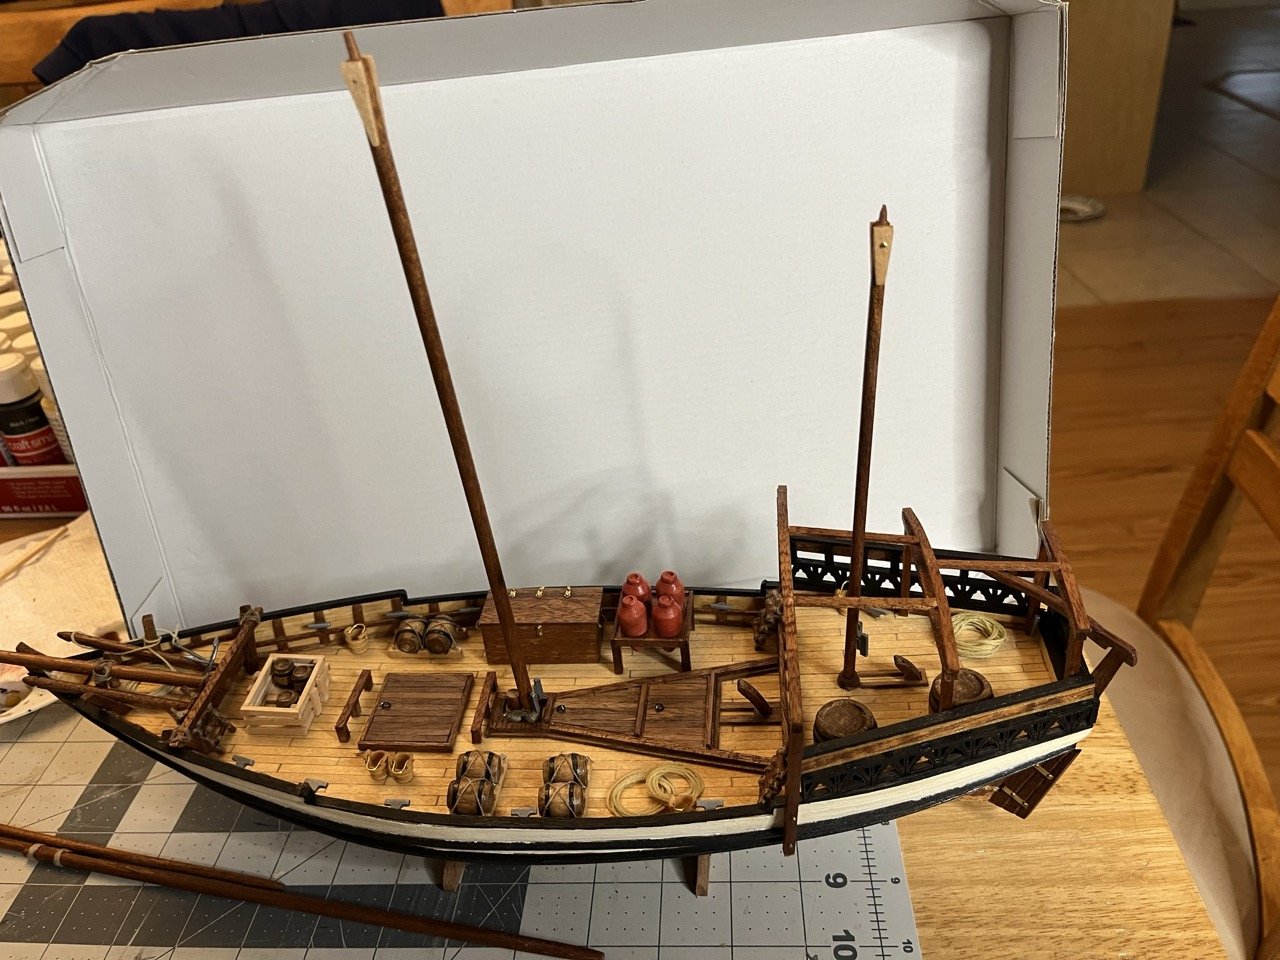
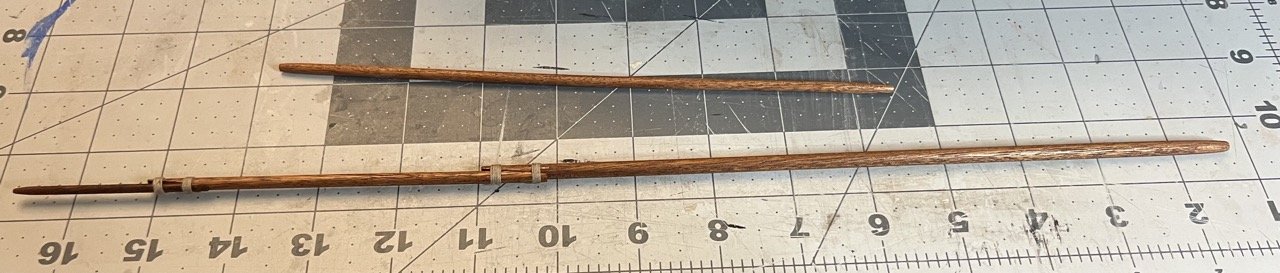
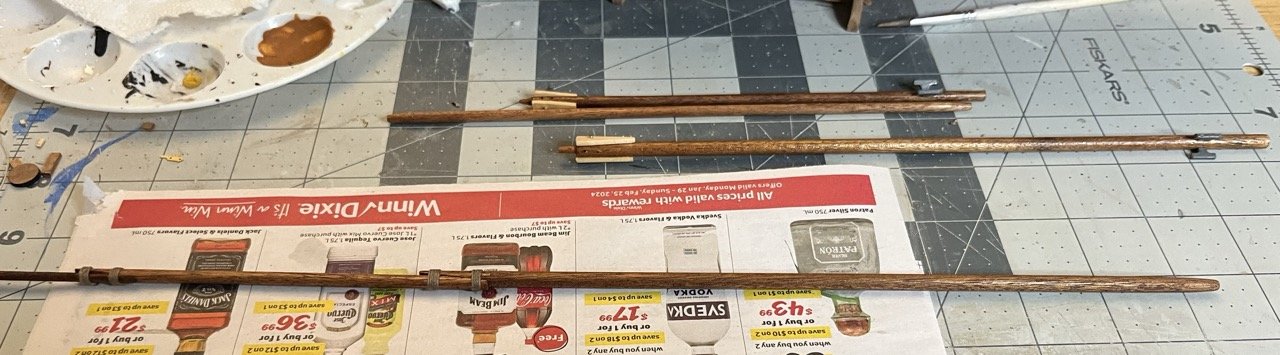
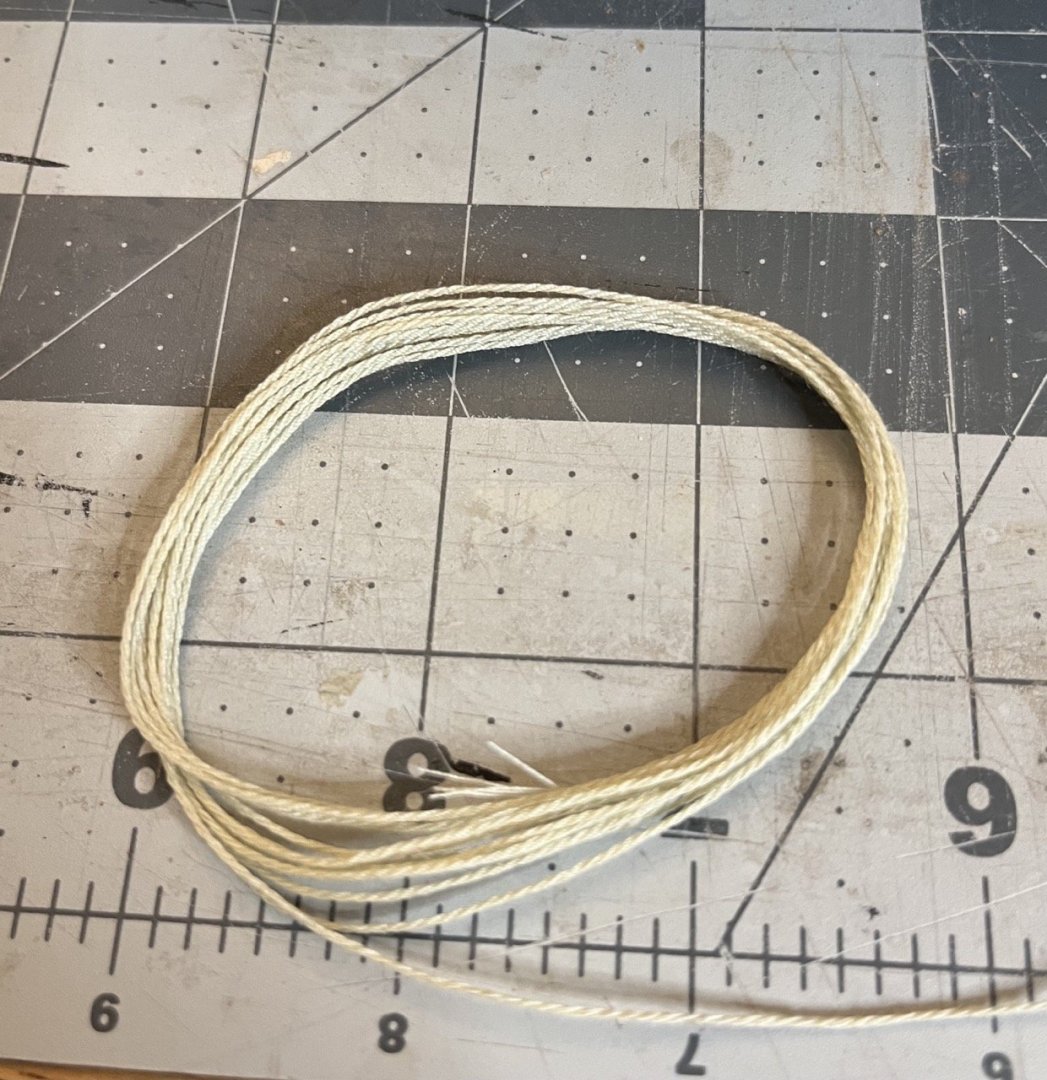
I started working on the mast and spars, as well as made some rope for the rigging. I am using the kit supplied string for the lashings. I am still learning the ropes, so to speak, and I am not sure how this is going to all work out. Most of it is sitting ok, but it still has some twist to it that I thought I had worked out of it until I tied off the ends. @Rick01 pointed out in his build log that there is only one cleat for a mast brace and a halyard, so I added another cleat to each mast. I would have likely not realized that was an issue until I started running the lines. Here is a picture of the first bit of rope for rigging. I suspect I will need a quite a bit more, but it is a start. Masts and spars after being varnished. I made the extra cleats out of scrap basswood. I painted it with a mix of two parts silver, two parts gray and one part black. The main spar called for shaping the edges of each piece for a clean fit. I sanded them down at a 5 degree angle and it seemed to be ok. Masts in place. The instructions call for a 92 degree angle abaft on the mizzen mast and a 95 degree angle fore. I could sort of use a protractor on the main mast to get it about five degrees forward, but the mizzen mast was too blocked in to really check the angle. I just tried to make sure that it was slightly abaft.


- 65 replies
-
- 7
-
-
- sultan
- Artesania Latina
- (and 2 more)
-
Very nice looking and unique model. The rope work looks great!
- 44 replies
-
- 1
-

-
- Nave Egizia
- Amati
- (and 1 more)
-
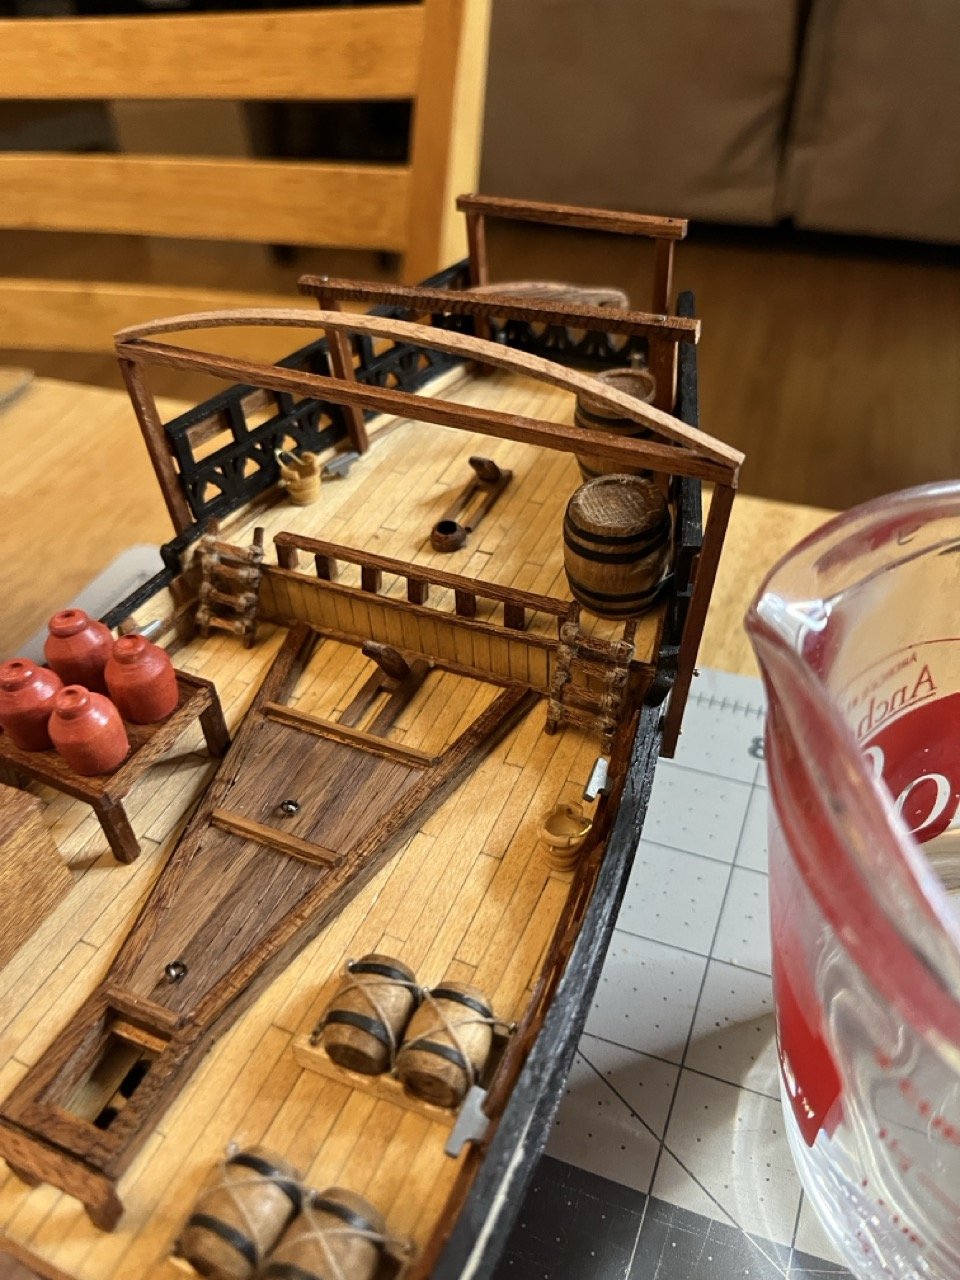
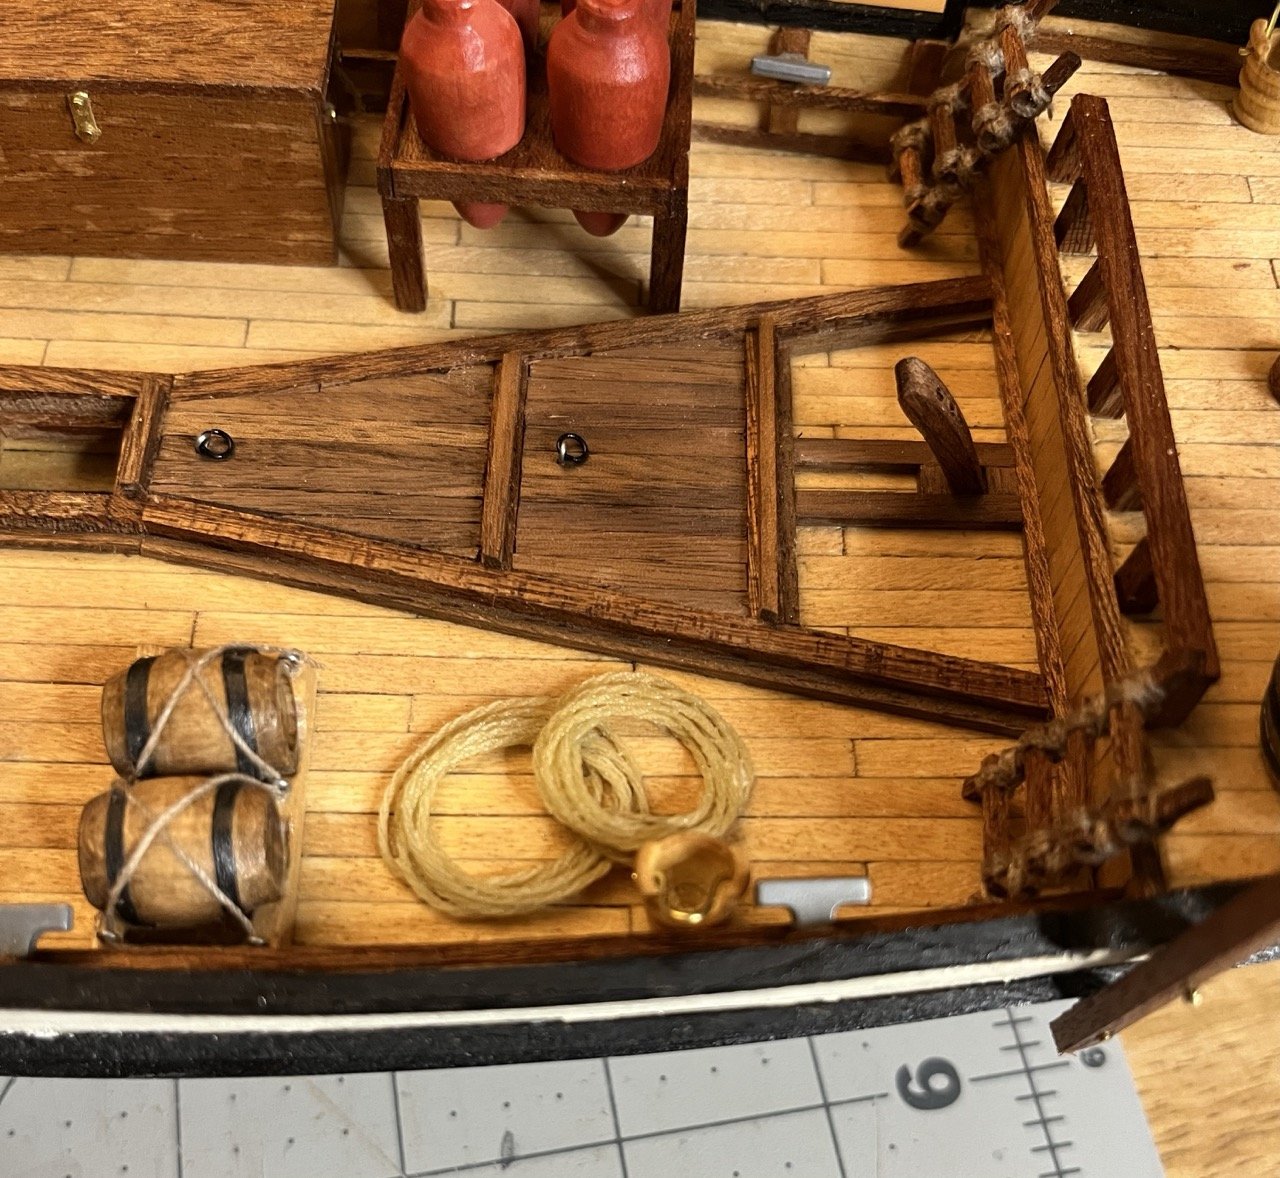
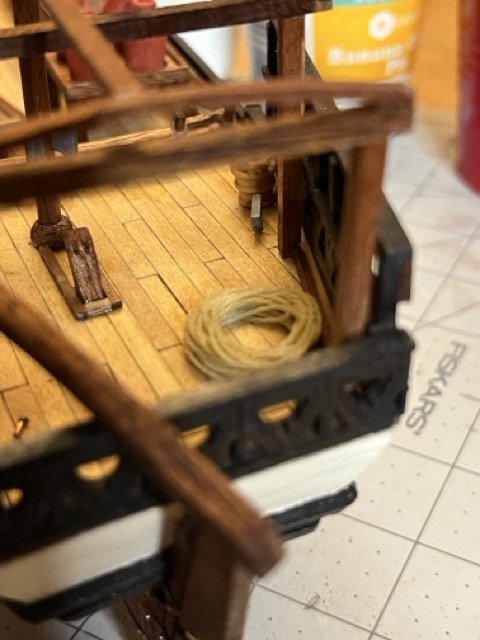
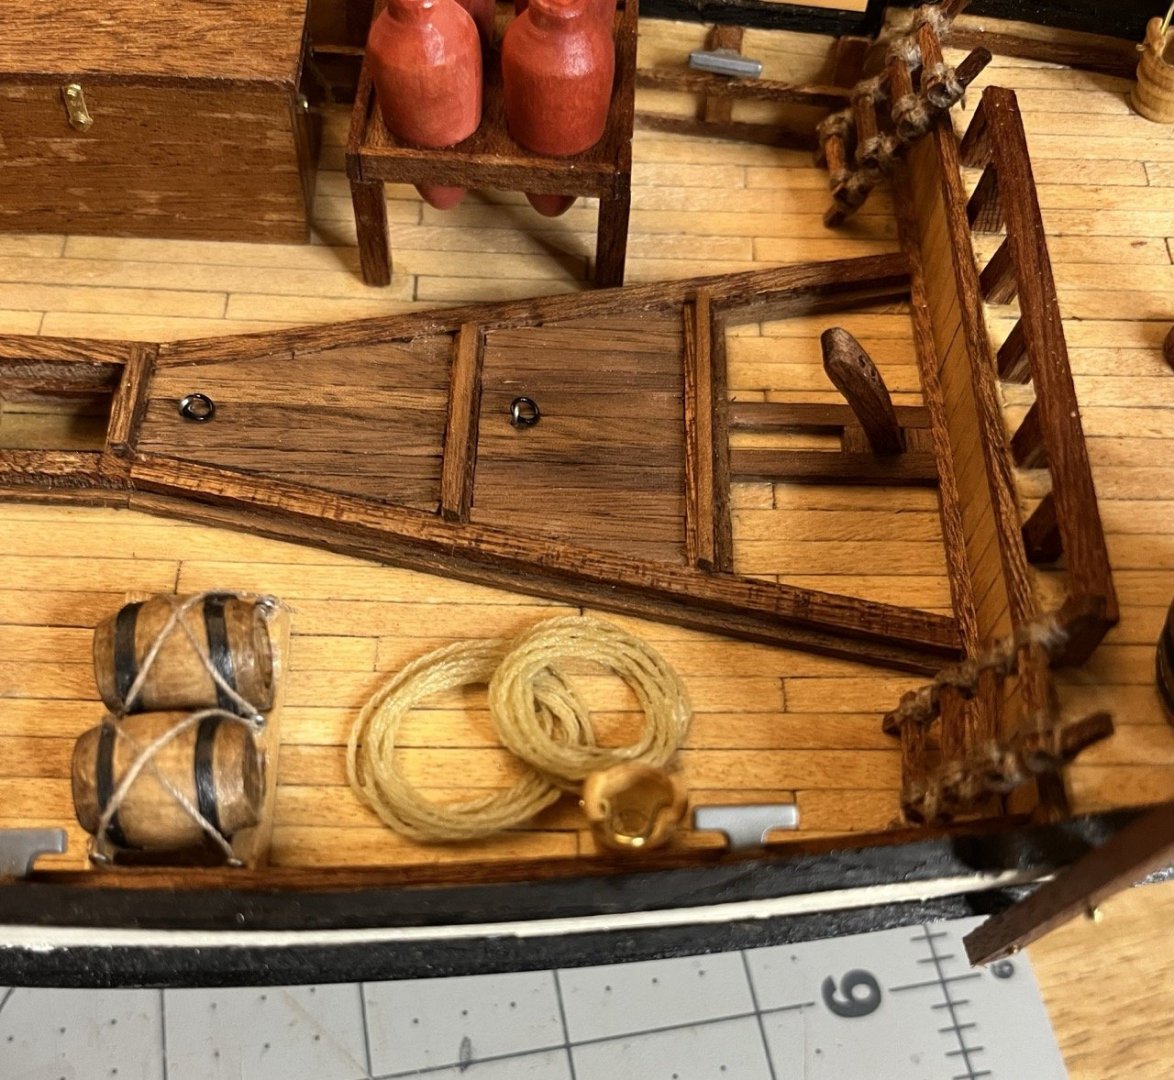
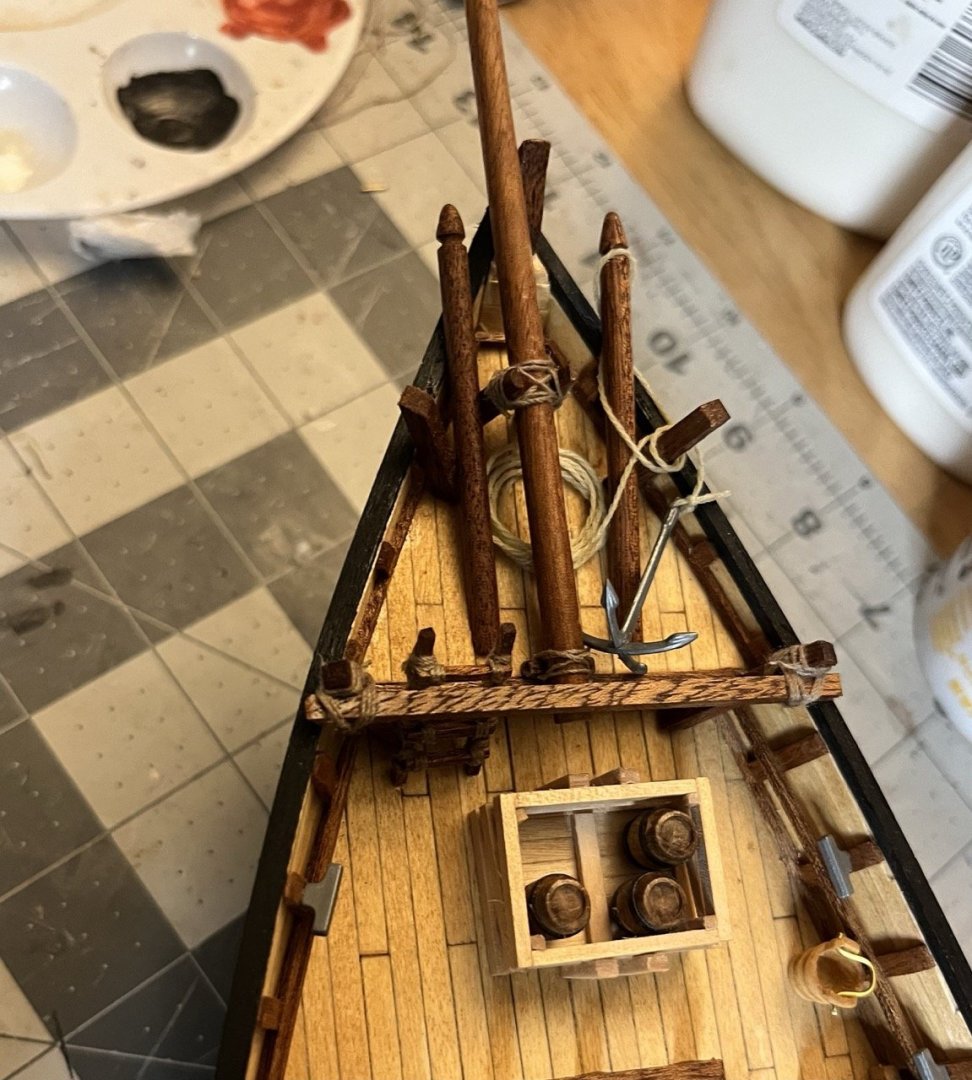
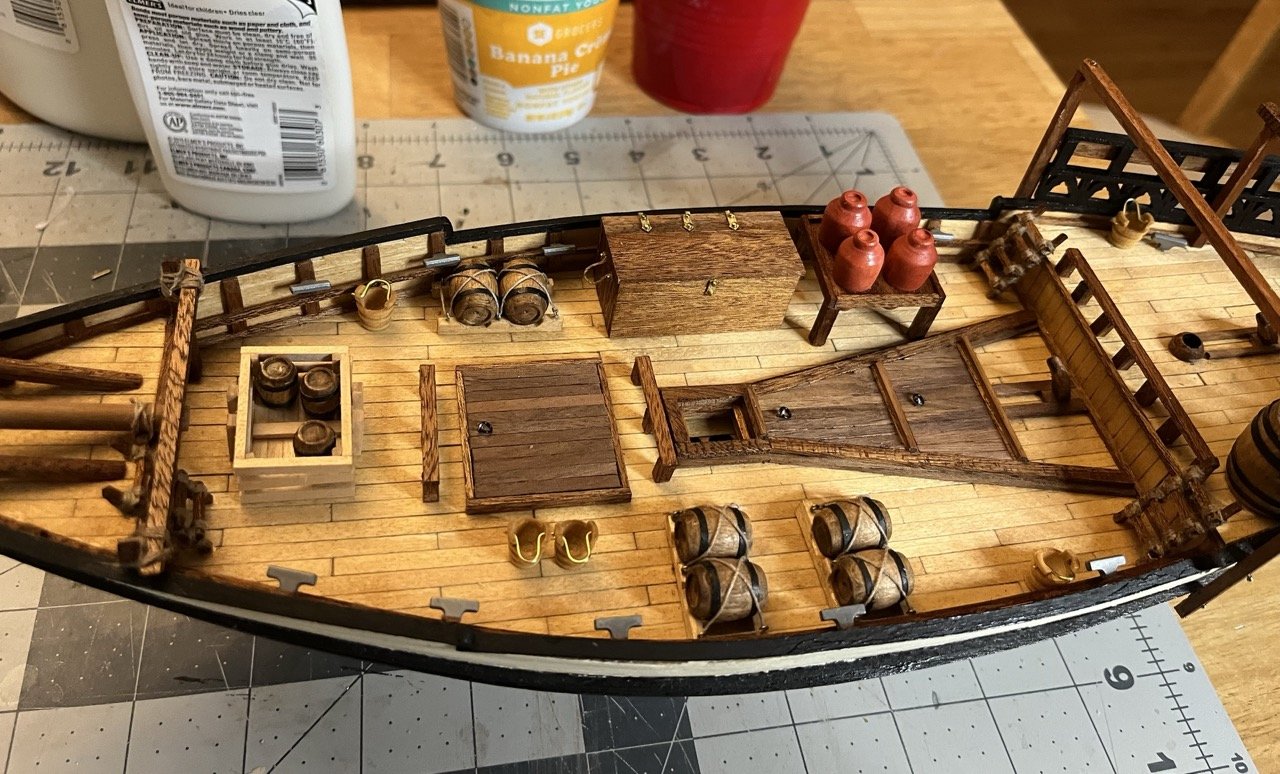
The plank for the first canopy arches bent fairly well, but the smaller arches didn't quite bend enough, so I tried again around a smaller measuring glass. The arches are in place and varnished as well as the braces. I didn't realize until posting that I didn't actually get a picture showing the arches on two of the frames. The anchor in place and some decorative rope coils added on the deck. I made the rope today. It is definitely better than the string supplied with the kit. I will be making my own rope for the rigging as well.


- 65 replies
-
- 5
-
-
- sultan
- Artesania Latina
- (and 2 more)
-
This would be my second attempt. It came out ok. It probably should have been wound tighter.
-
I have used a similar method other issues in the past, but hadn’t tried it specifically on miss-drilled holes. Thanks
- 65 replies
-
- 2
-
-
- sultan
- Artesania Latina
- (and 2 more)
-
Welcome to MSW!
-
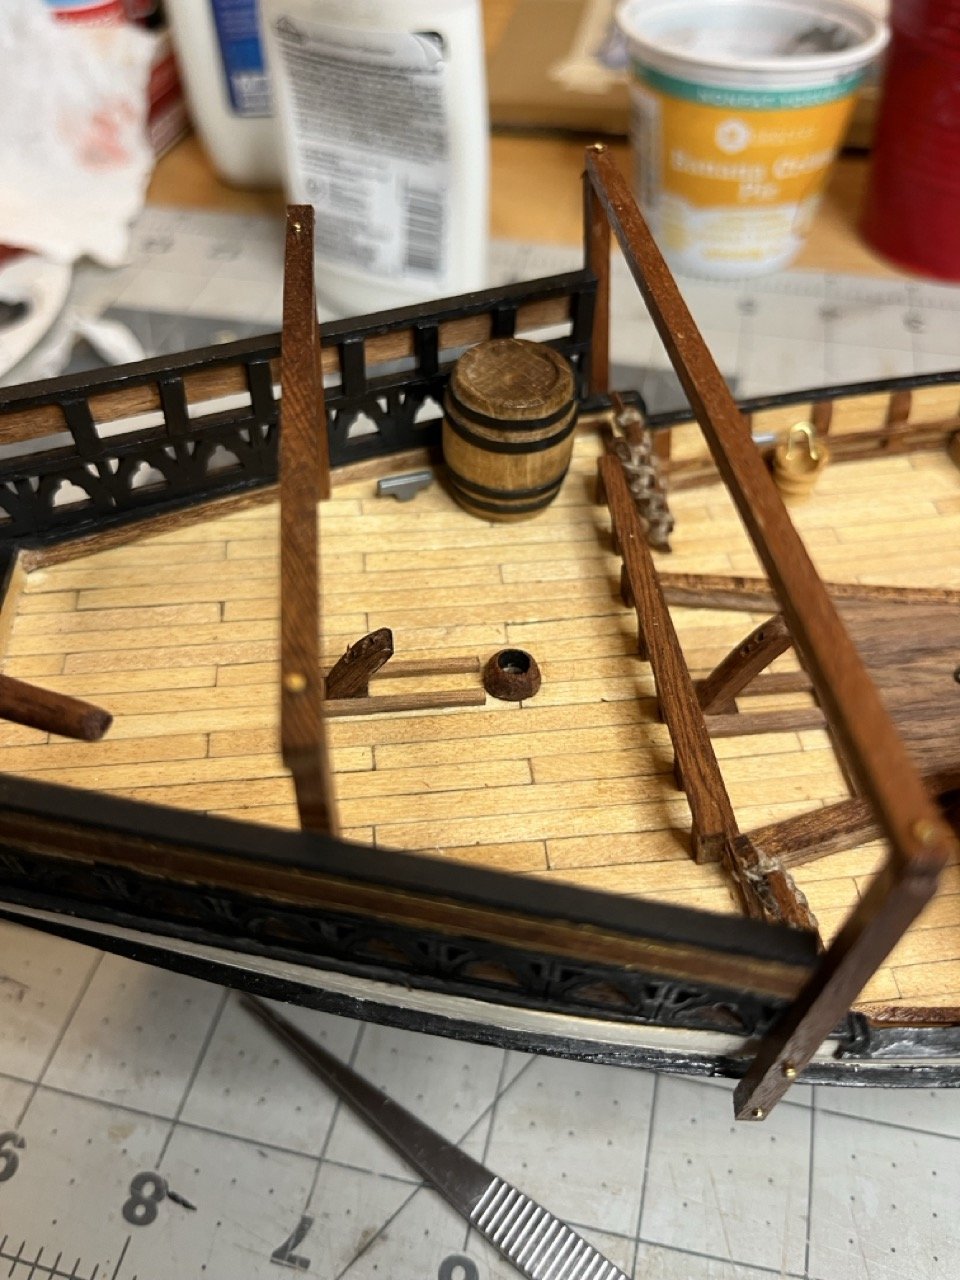
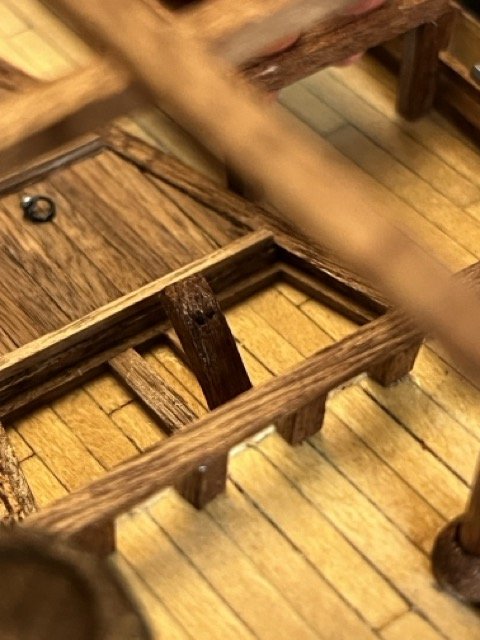
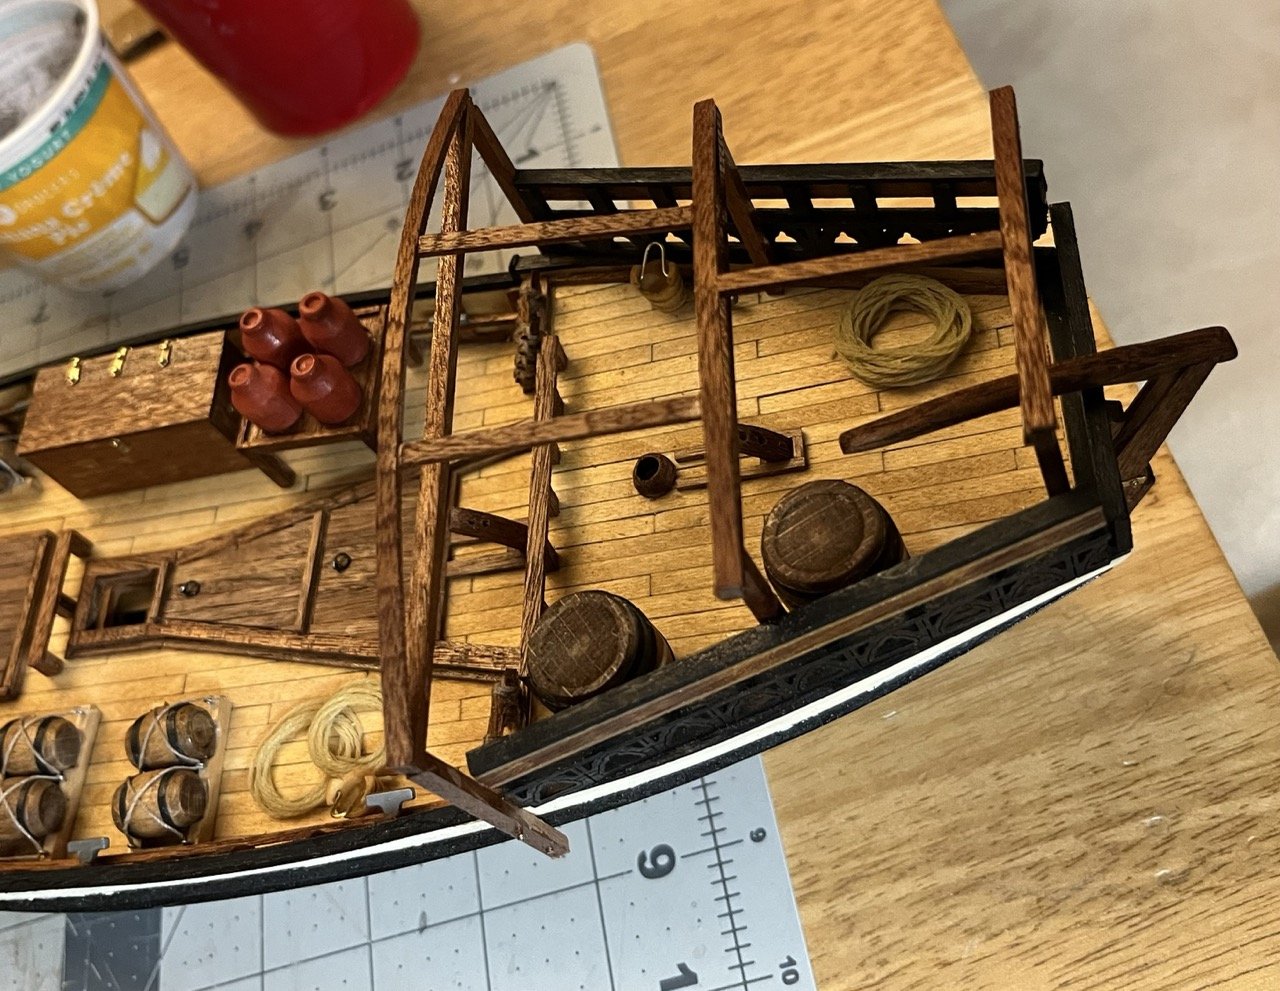
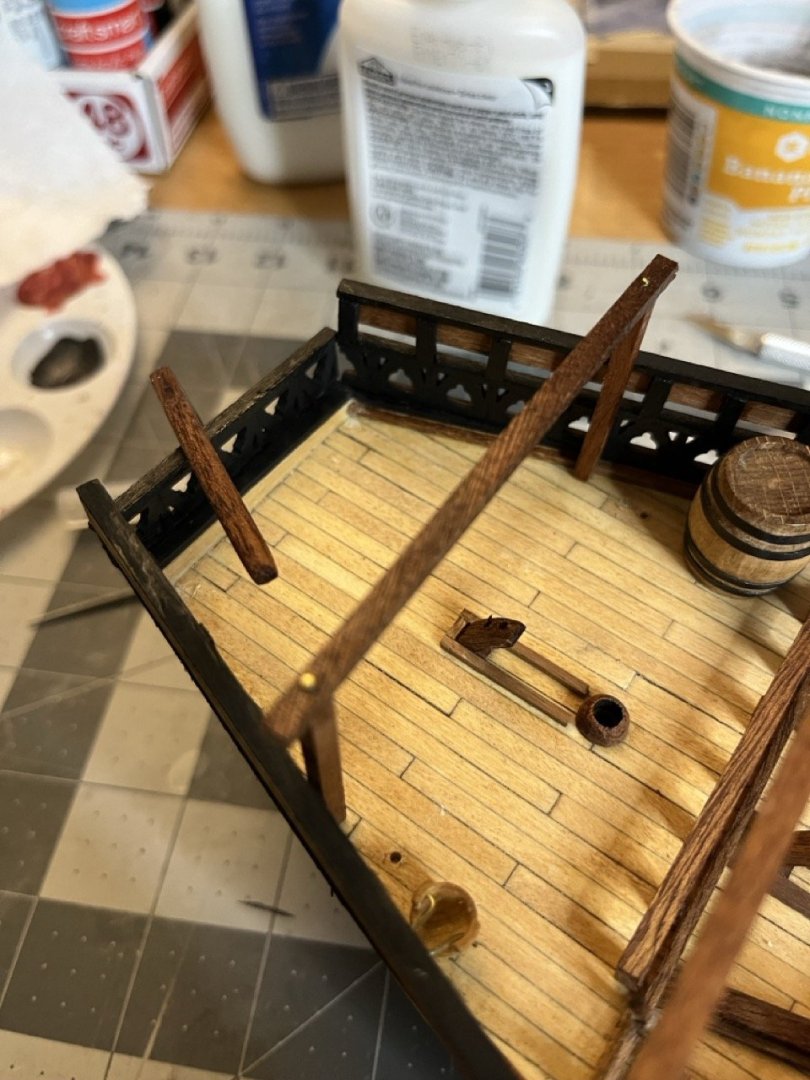
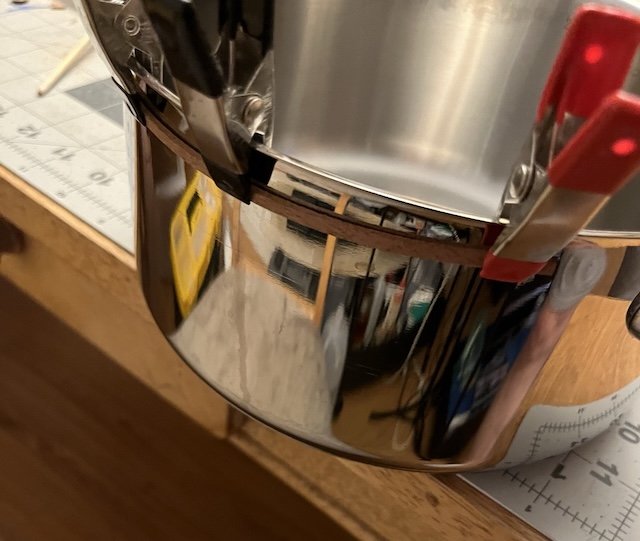
The next step in the instructions is to drill small holes for the cleats. I suppose the instructions include them at this point since it is getting to be near time to do the rigging. It would have been much easier to do this before the deck furniture was in place. I should have caught this when I was going through the instructions before I started. There was no way to drill into the canopy framing so I had to carefully remove it. I also had to remove a large barrel to drill in a proper deck location. The instructions call for a 1mm drill, which I found was just a bit too small. The cleats in place. The canopy framing still needs to be reassembled. Bending the canopy frame arches. Soaked in boiling hot water for a few minutes, then clamped around a pot.


- 65 replies
-
- 7
-
-
- sultan
- Artesania Latina
- (and 2 more)
-
@Snug Harbor Johnny Thank you for that explanation. I have looked for linen thread, but haven't had any luck finding any. I'll give it a test with two ropes, one baked and one not to see the difference. The test rope I made when I first tried it didn't seem to unwind, at least not before I tied the ends. I'll have to take a look at what brand of thread that I have. I know it is polyester, but I am sure it isn't guterman.
-
Thanks! That is great info. I am going to look more into the best practices, but what does the baking do?