HOLIDAY DONATION DRIVE - SUPPORT MSW - DO YOUR PART TO KEEP THIS GREAT FORUM GOING!
×


SaltyScot
-
Posts
853 -
Joined
-
Last visited
Content Type
Profiles
Forums
Gallery
Events
Everything posted by SaltyScot
-
 I have started this thread because I got off on a tangent with two fine gentlemen regarding the Baltimore Clippers. I wish to carry on our discussion about relevant books about these fine vessels in this thread and if anyone else has any input at all, you are obviously more than welcome to join in. The more the merrier!
 -
And I say once again, dry fitting can prevent so much added frustration and headache further down the line. Thumbs up from me, Glenn.
- 241 replies
-
- 1
-

-
- Vanguarrd Models
- Harpy
- (and 1 more)
-
As others have mentioned for themselves numerous times, this is why I LOVE this forum!!
-
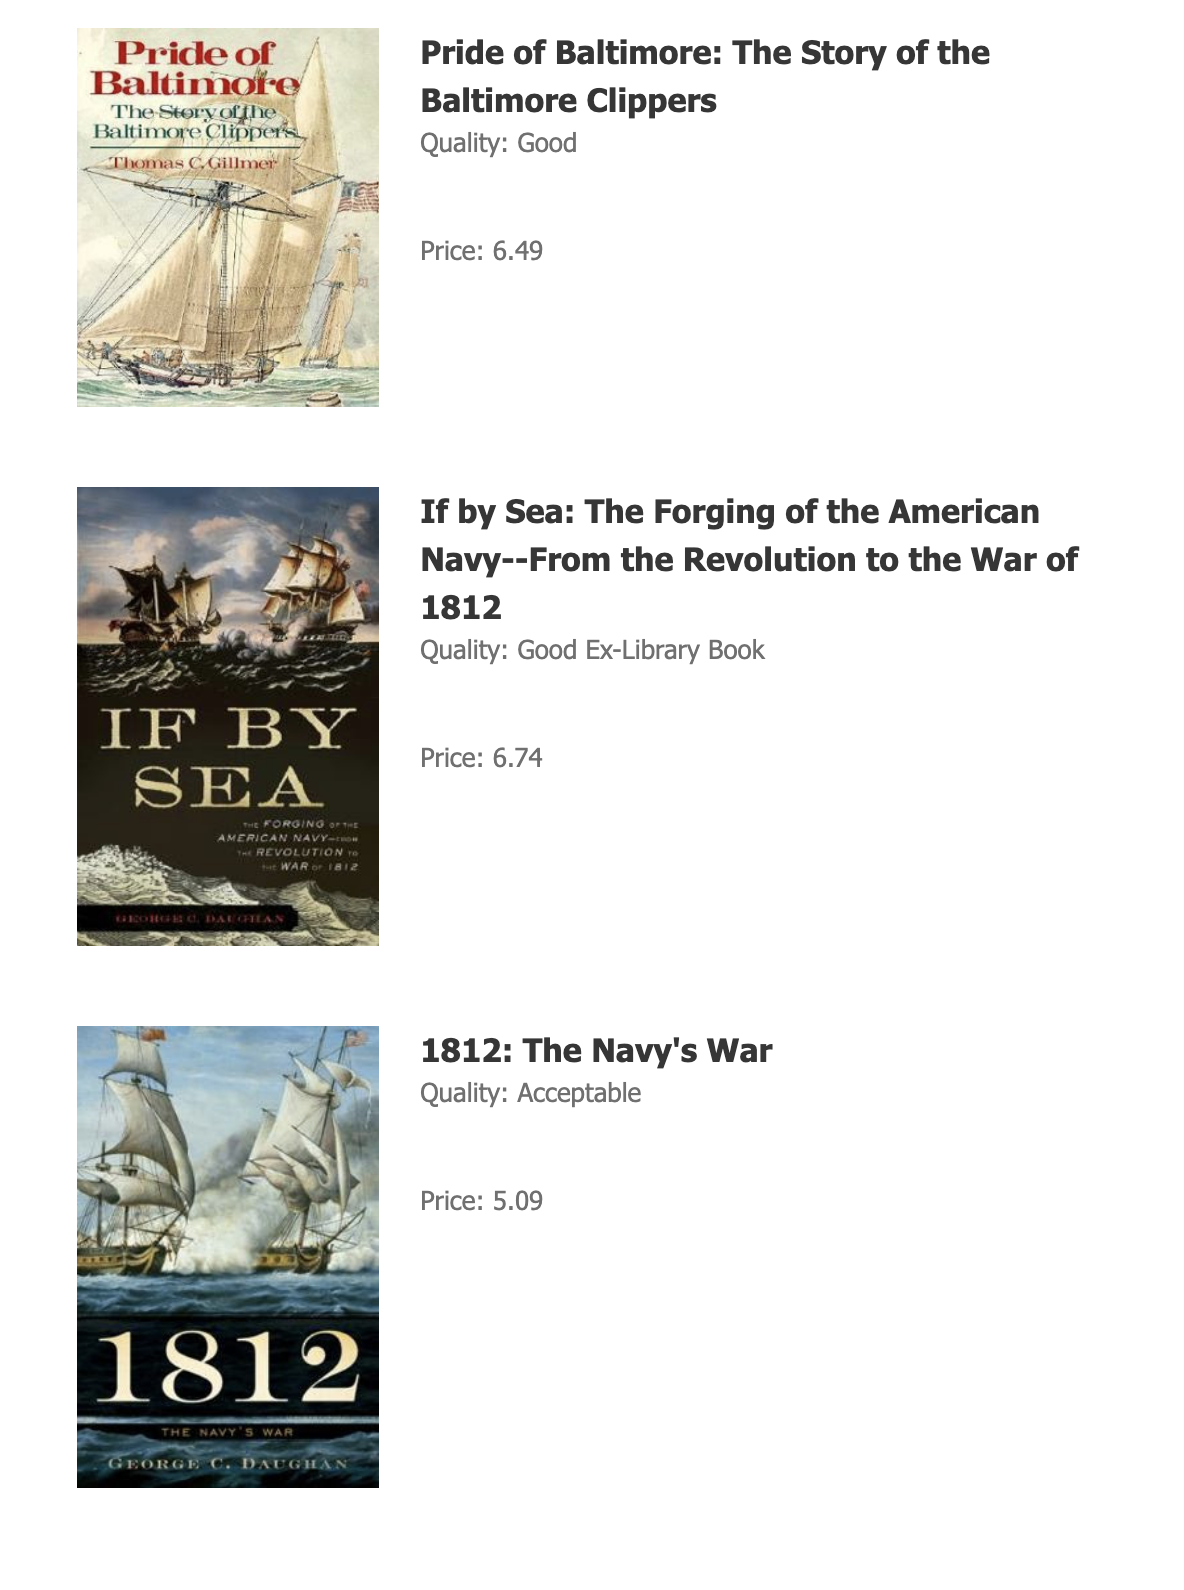
Once again, I appreciate your help Phil. I have a few books on the 1812 era vessels that should be arriving today (see image below). The one you mention above is not among them, I will have to go and look for that one. I know for sure that the Lynx will not be my last Baltimore Clipper/Schooner build. I love these boats! @coyote_6, Sorry we are taking up your blog with this discussion sir

-
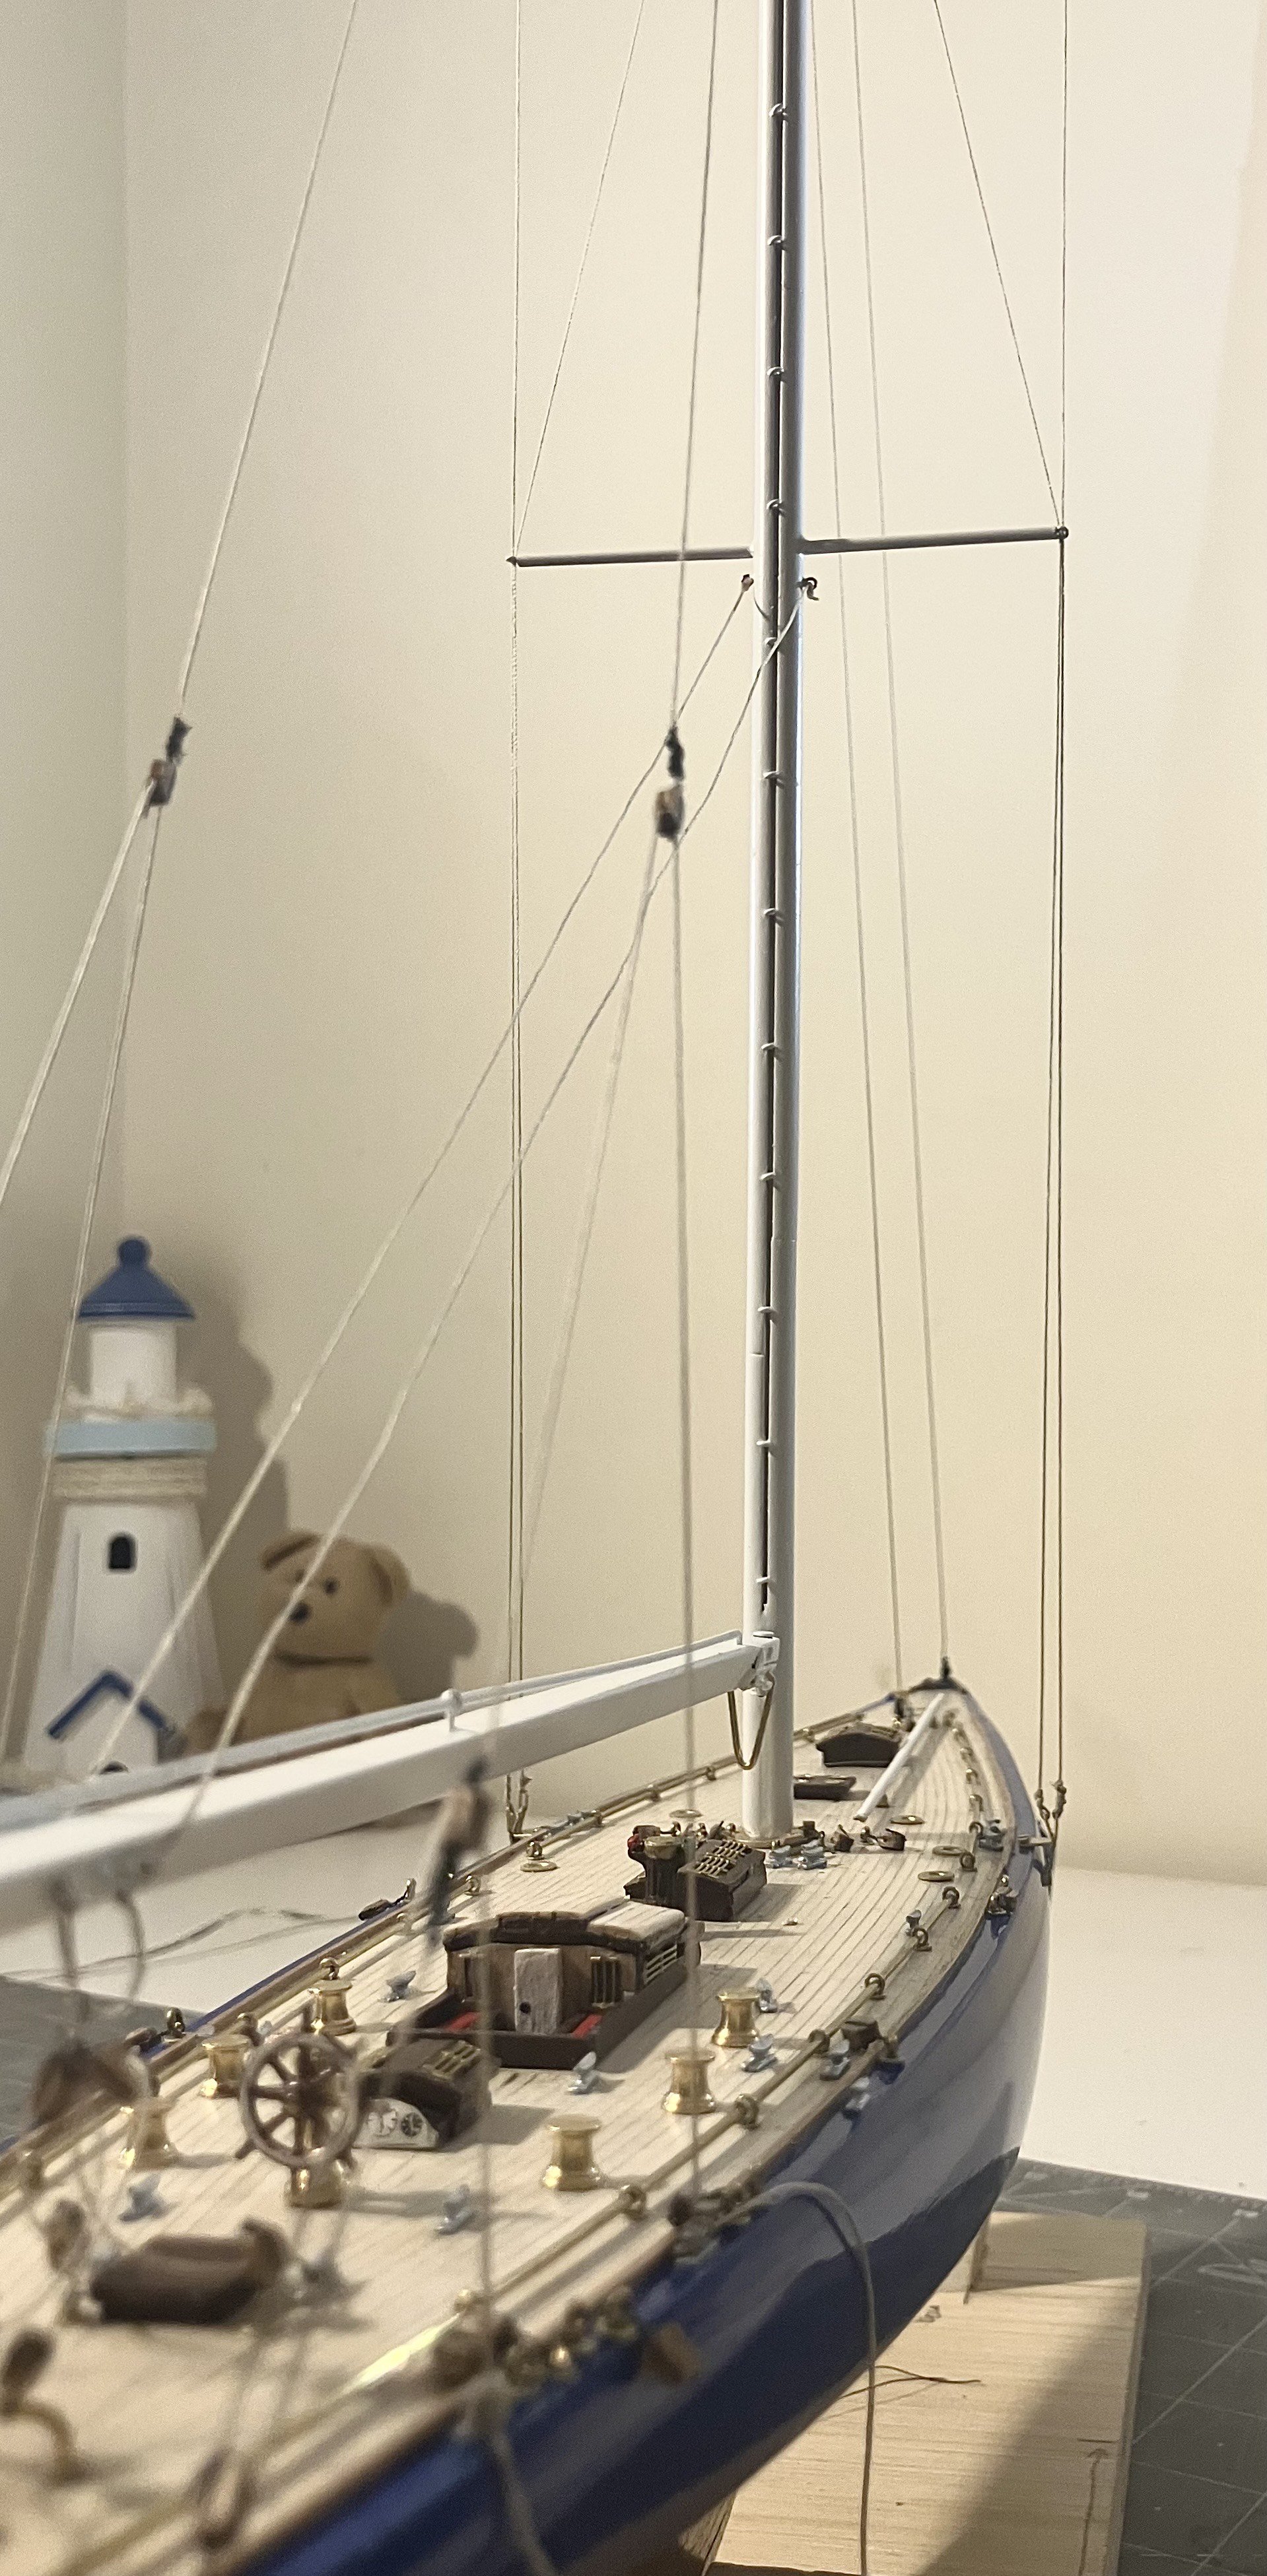
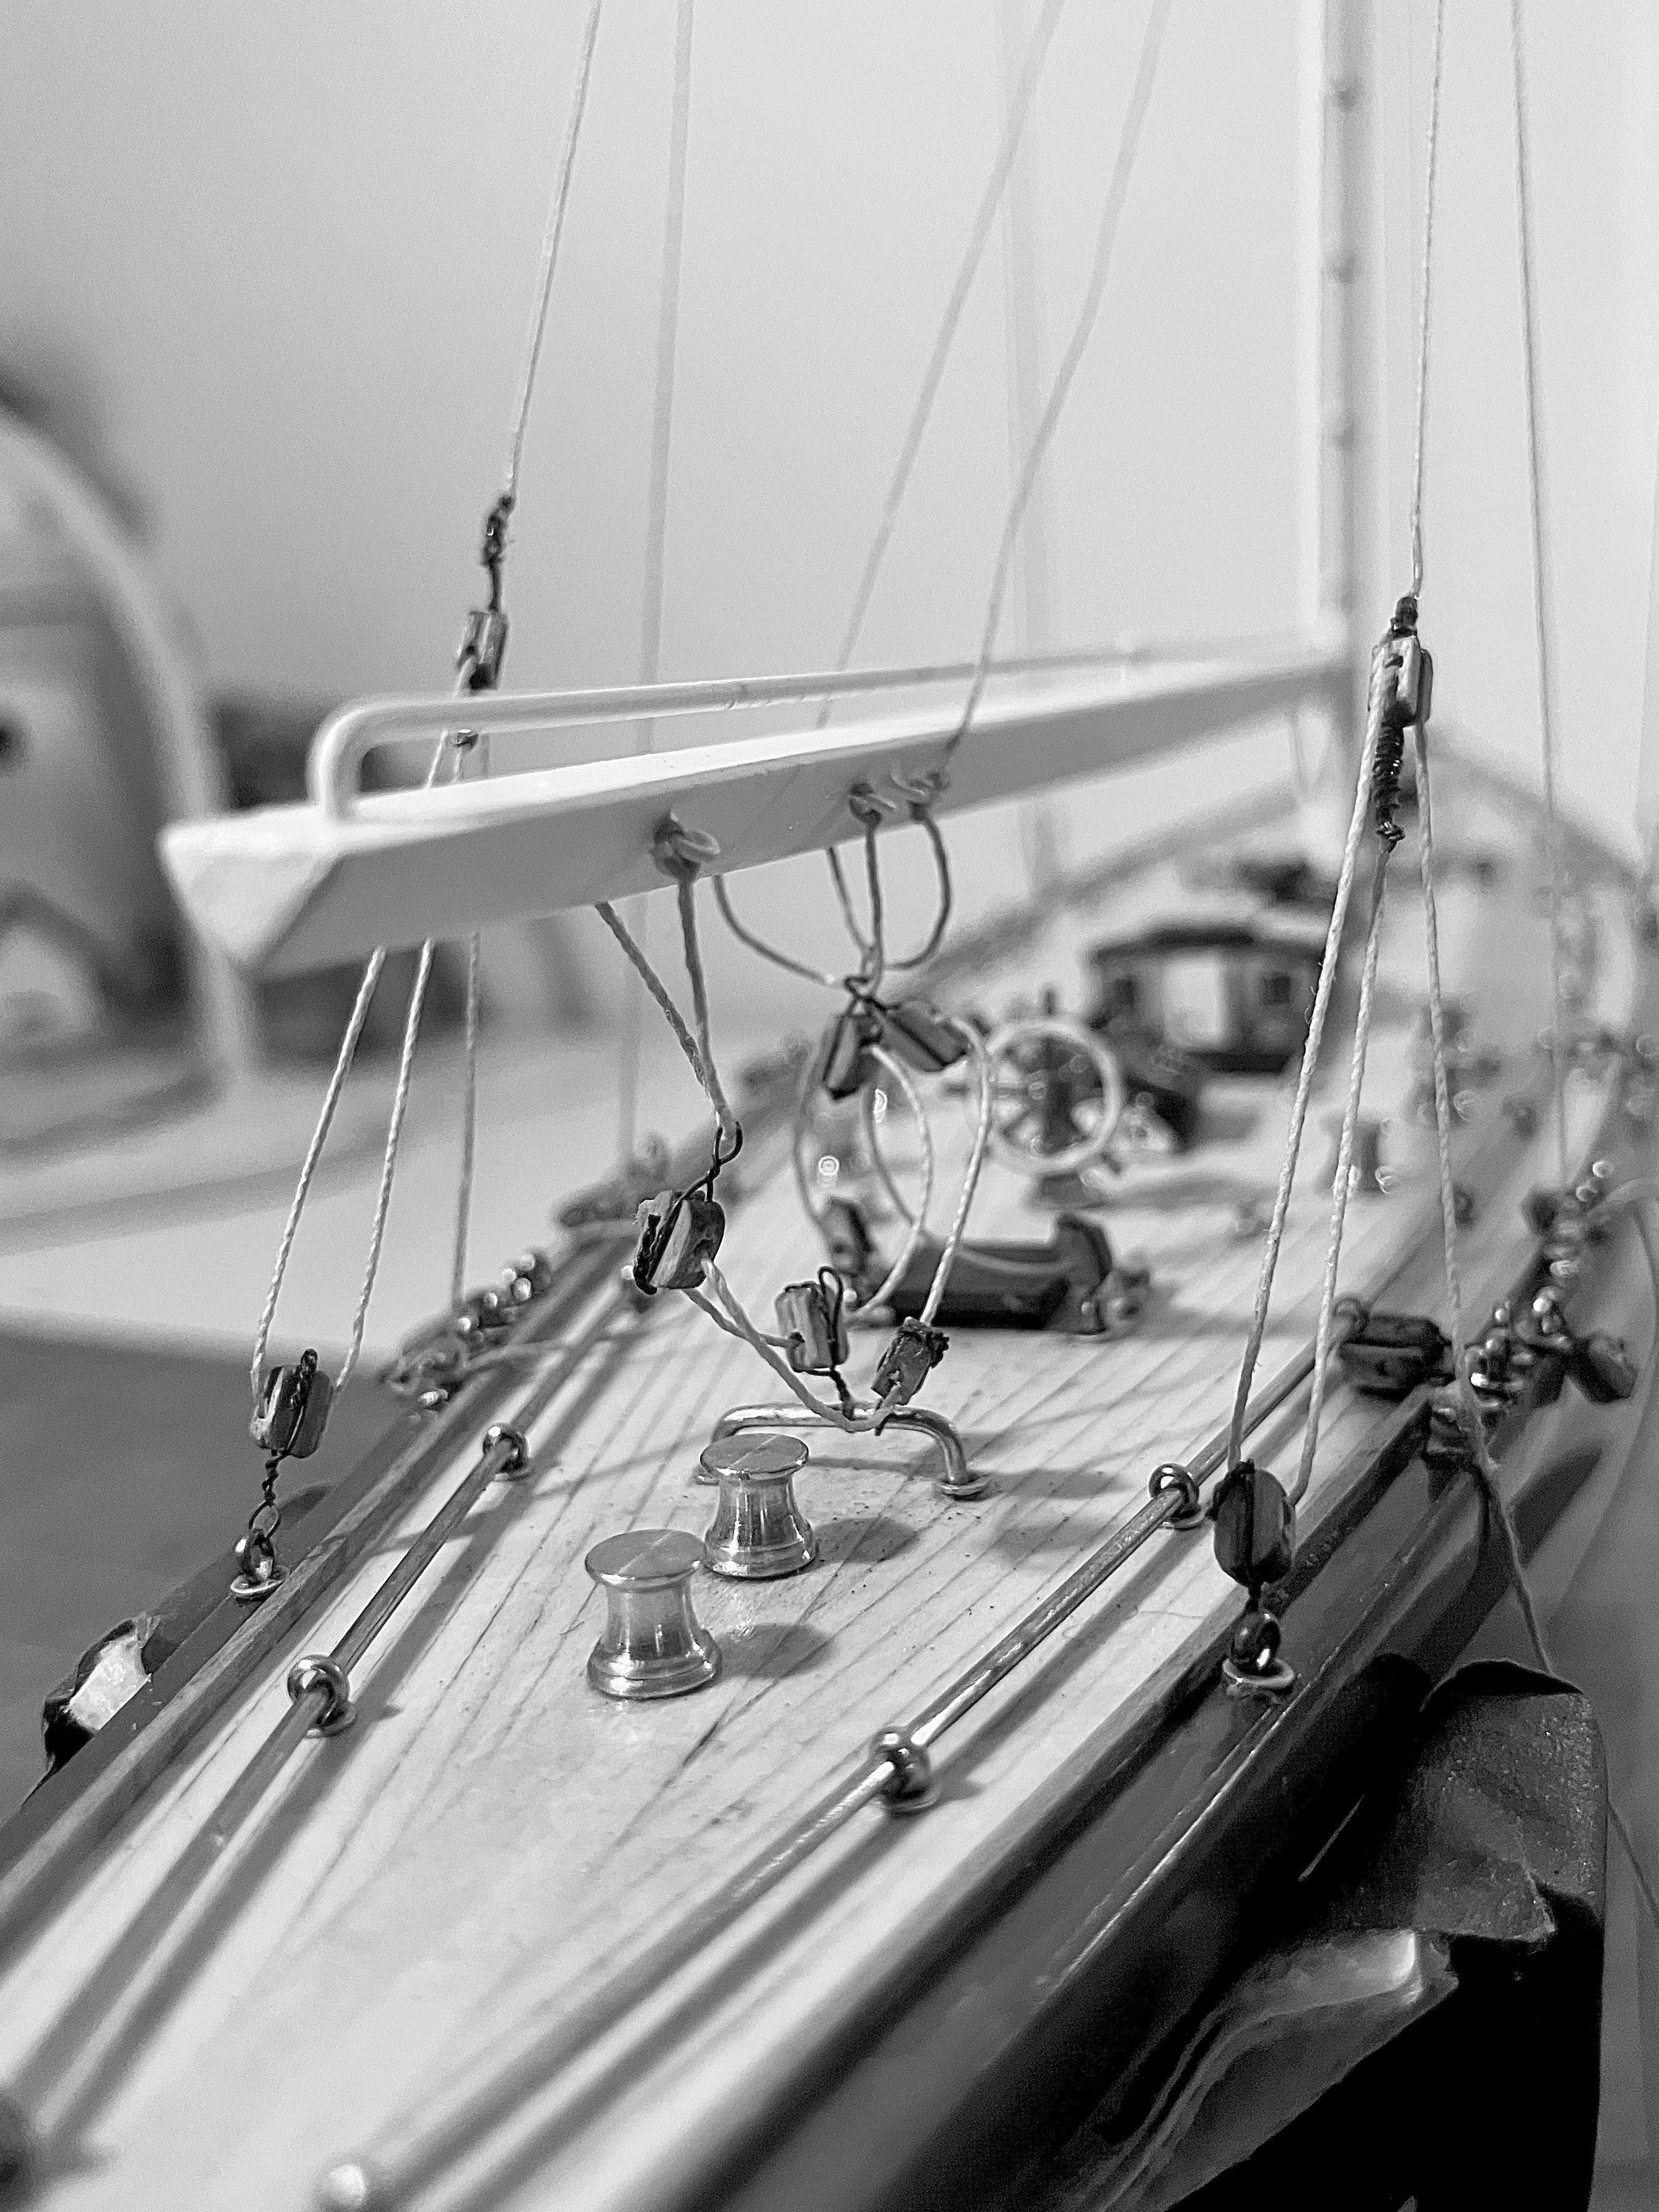
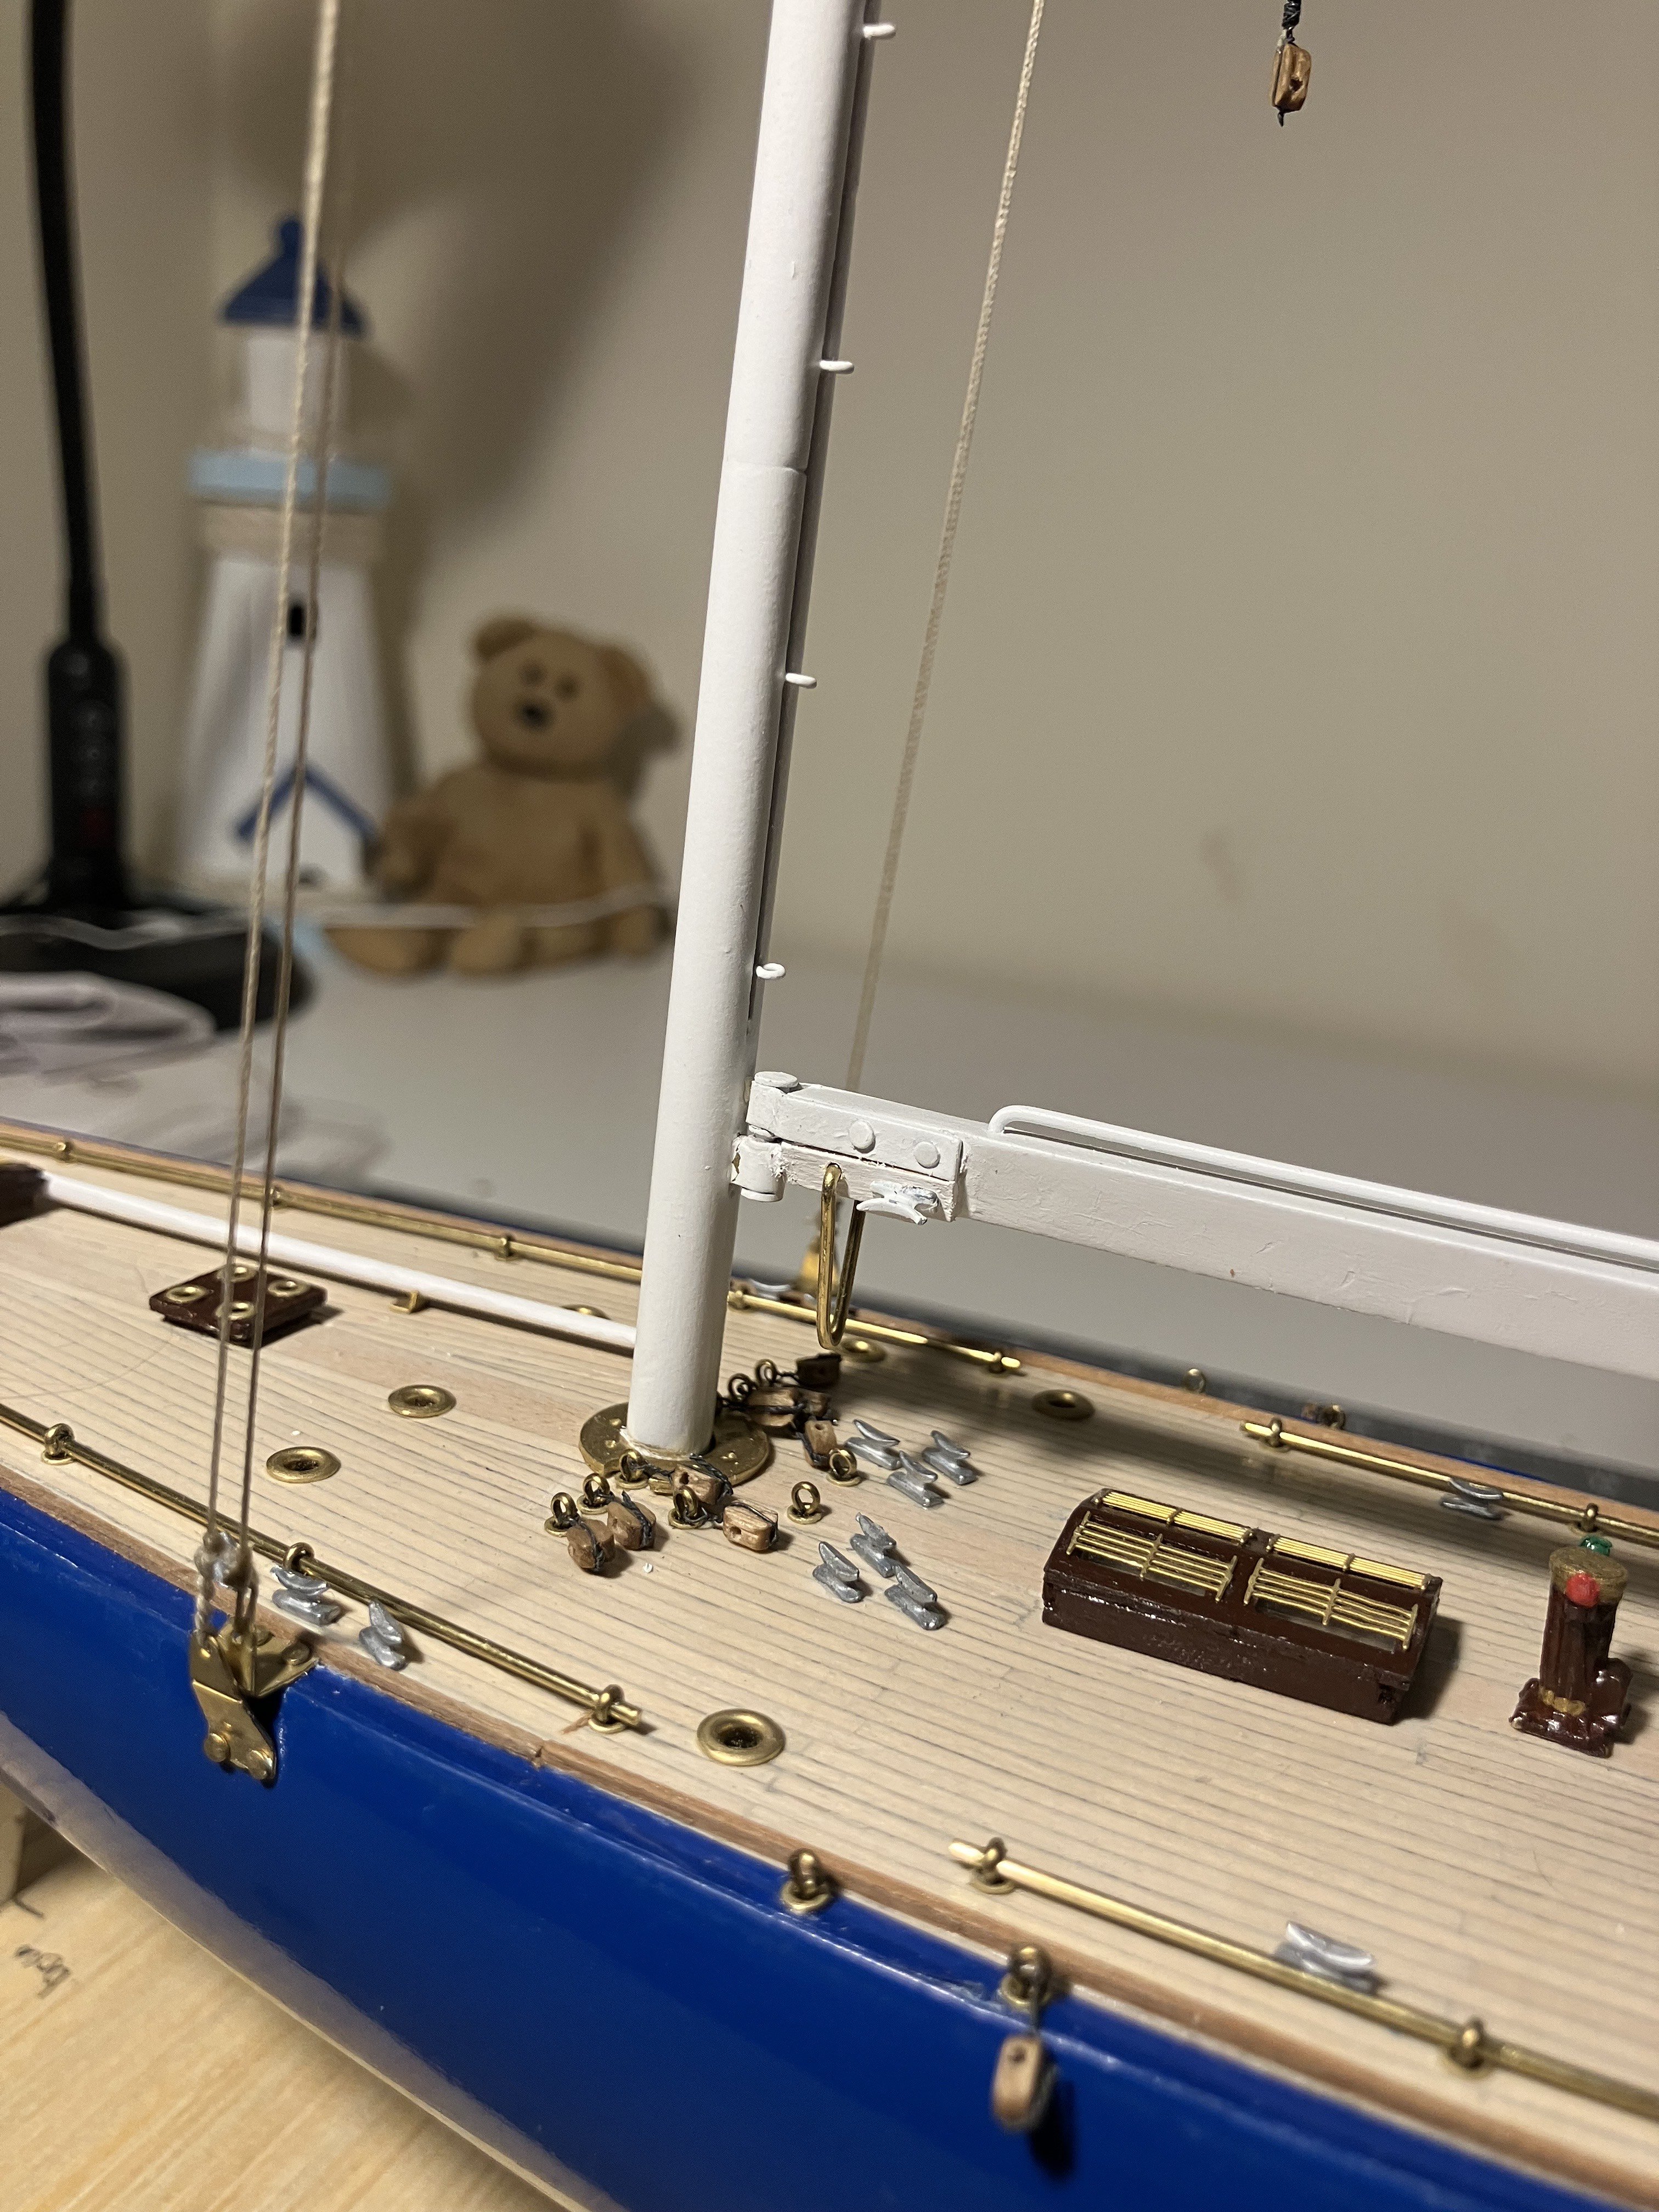
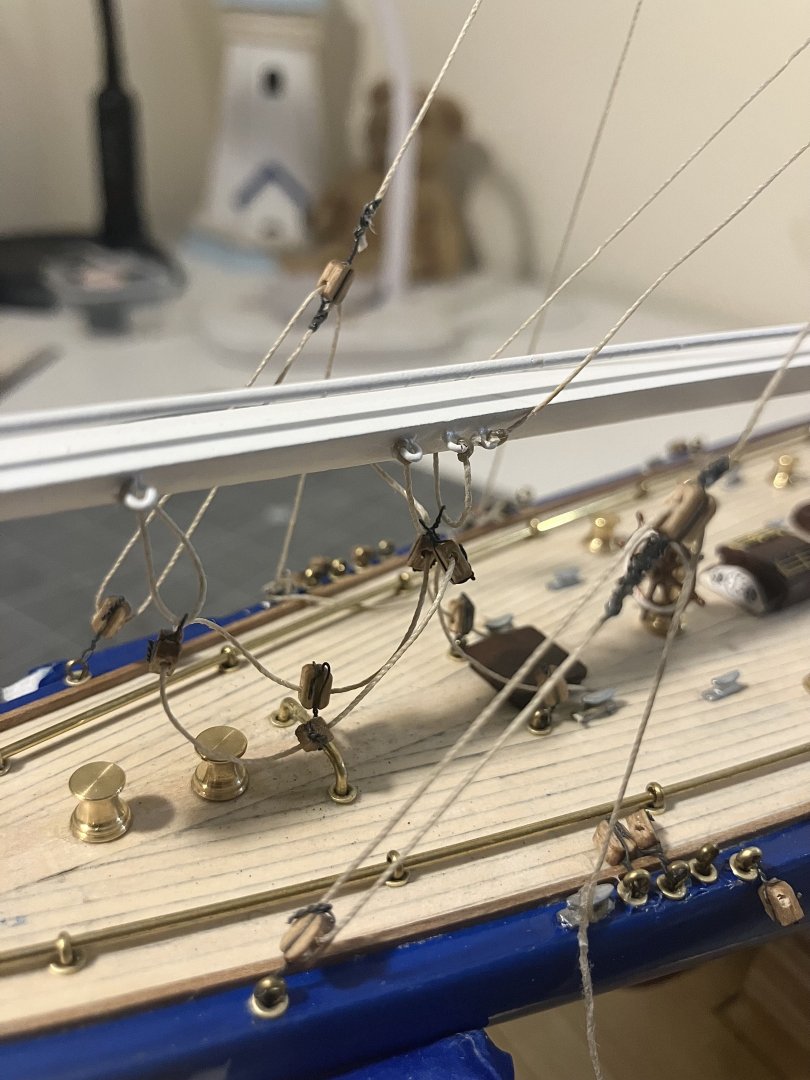
I have the running rigging as good as done now. Here are a few random shots. Now its onto the sail rigging!

- 157 replies
-
- 10
-

-

-
Thank you, Phil, Barring any other source of contradicting information, I will be adopting these measurements for my Lynx build. I truly appreciate your input, sir.
-
Phil, I am guessing these rake measurements are for the Prince? They don't apply to other 1812 built schooners, do they?
-
Very nice! I agree, the comparison between this model and the wooden one will be interesting. I have the OcCre kit under my shipyard table too.
-
Excellent!!
-
This is excellent information, thank you so very much for clarifying that point, Phil. You are a wealth of knowledge, sir, and your input and experience are truly appreciated. Now I can ensure that the rake on the Lynx masts is correct!
-
Oh I will be doing one sir
-
This is a beautiful build. I am getting close to finishing my current build and will be doing the 1812 Lynx Baltimore Clipper next. Although they are not too much alike, I will follow along here just for inspiration sir. I don't know if I missed it reading through your blog, but it appears in your first image of post #138 that the masts have different rake angles? Now I am a newbie and don't want to start nit-picking but from all the images I have seen of these schooners the rake was the same for both masts (I am referring to the images in Chapelle's book). Please feel free to grill me if I am wrong here, I deserve it if I am
-
As you should be, Glenn. It looks very neat and tidy sir.
- 241 replies
-
- 1
-
-
- Vanguarrd Models
- Harpy
- (and 1 more)
-
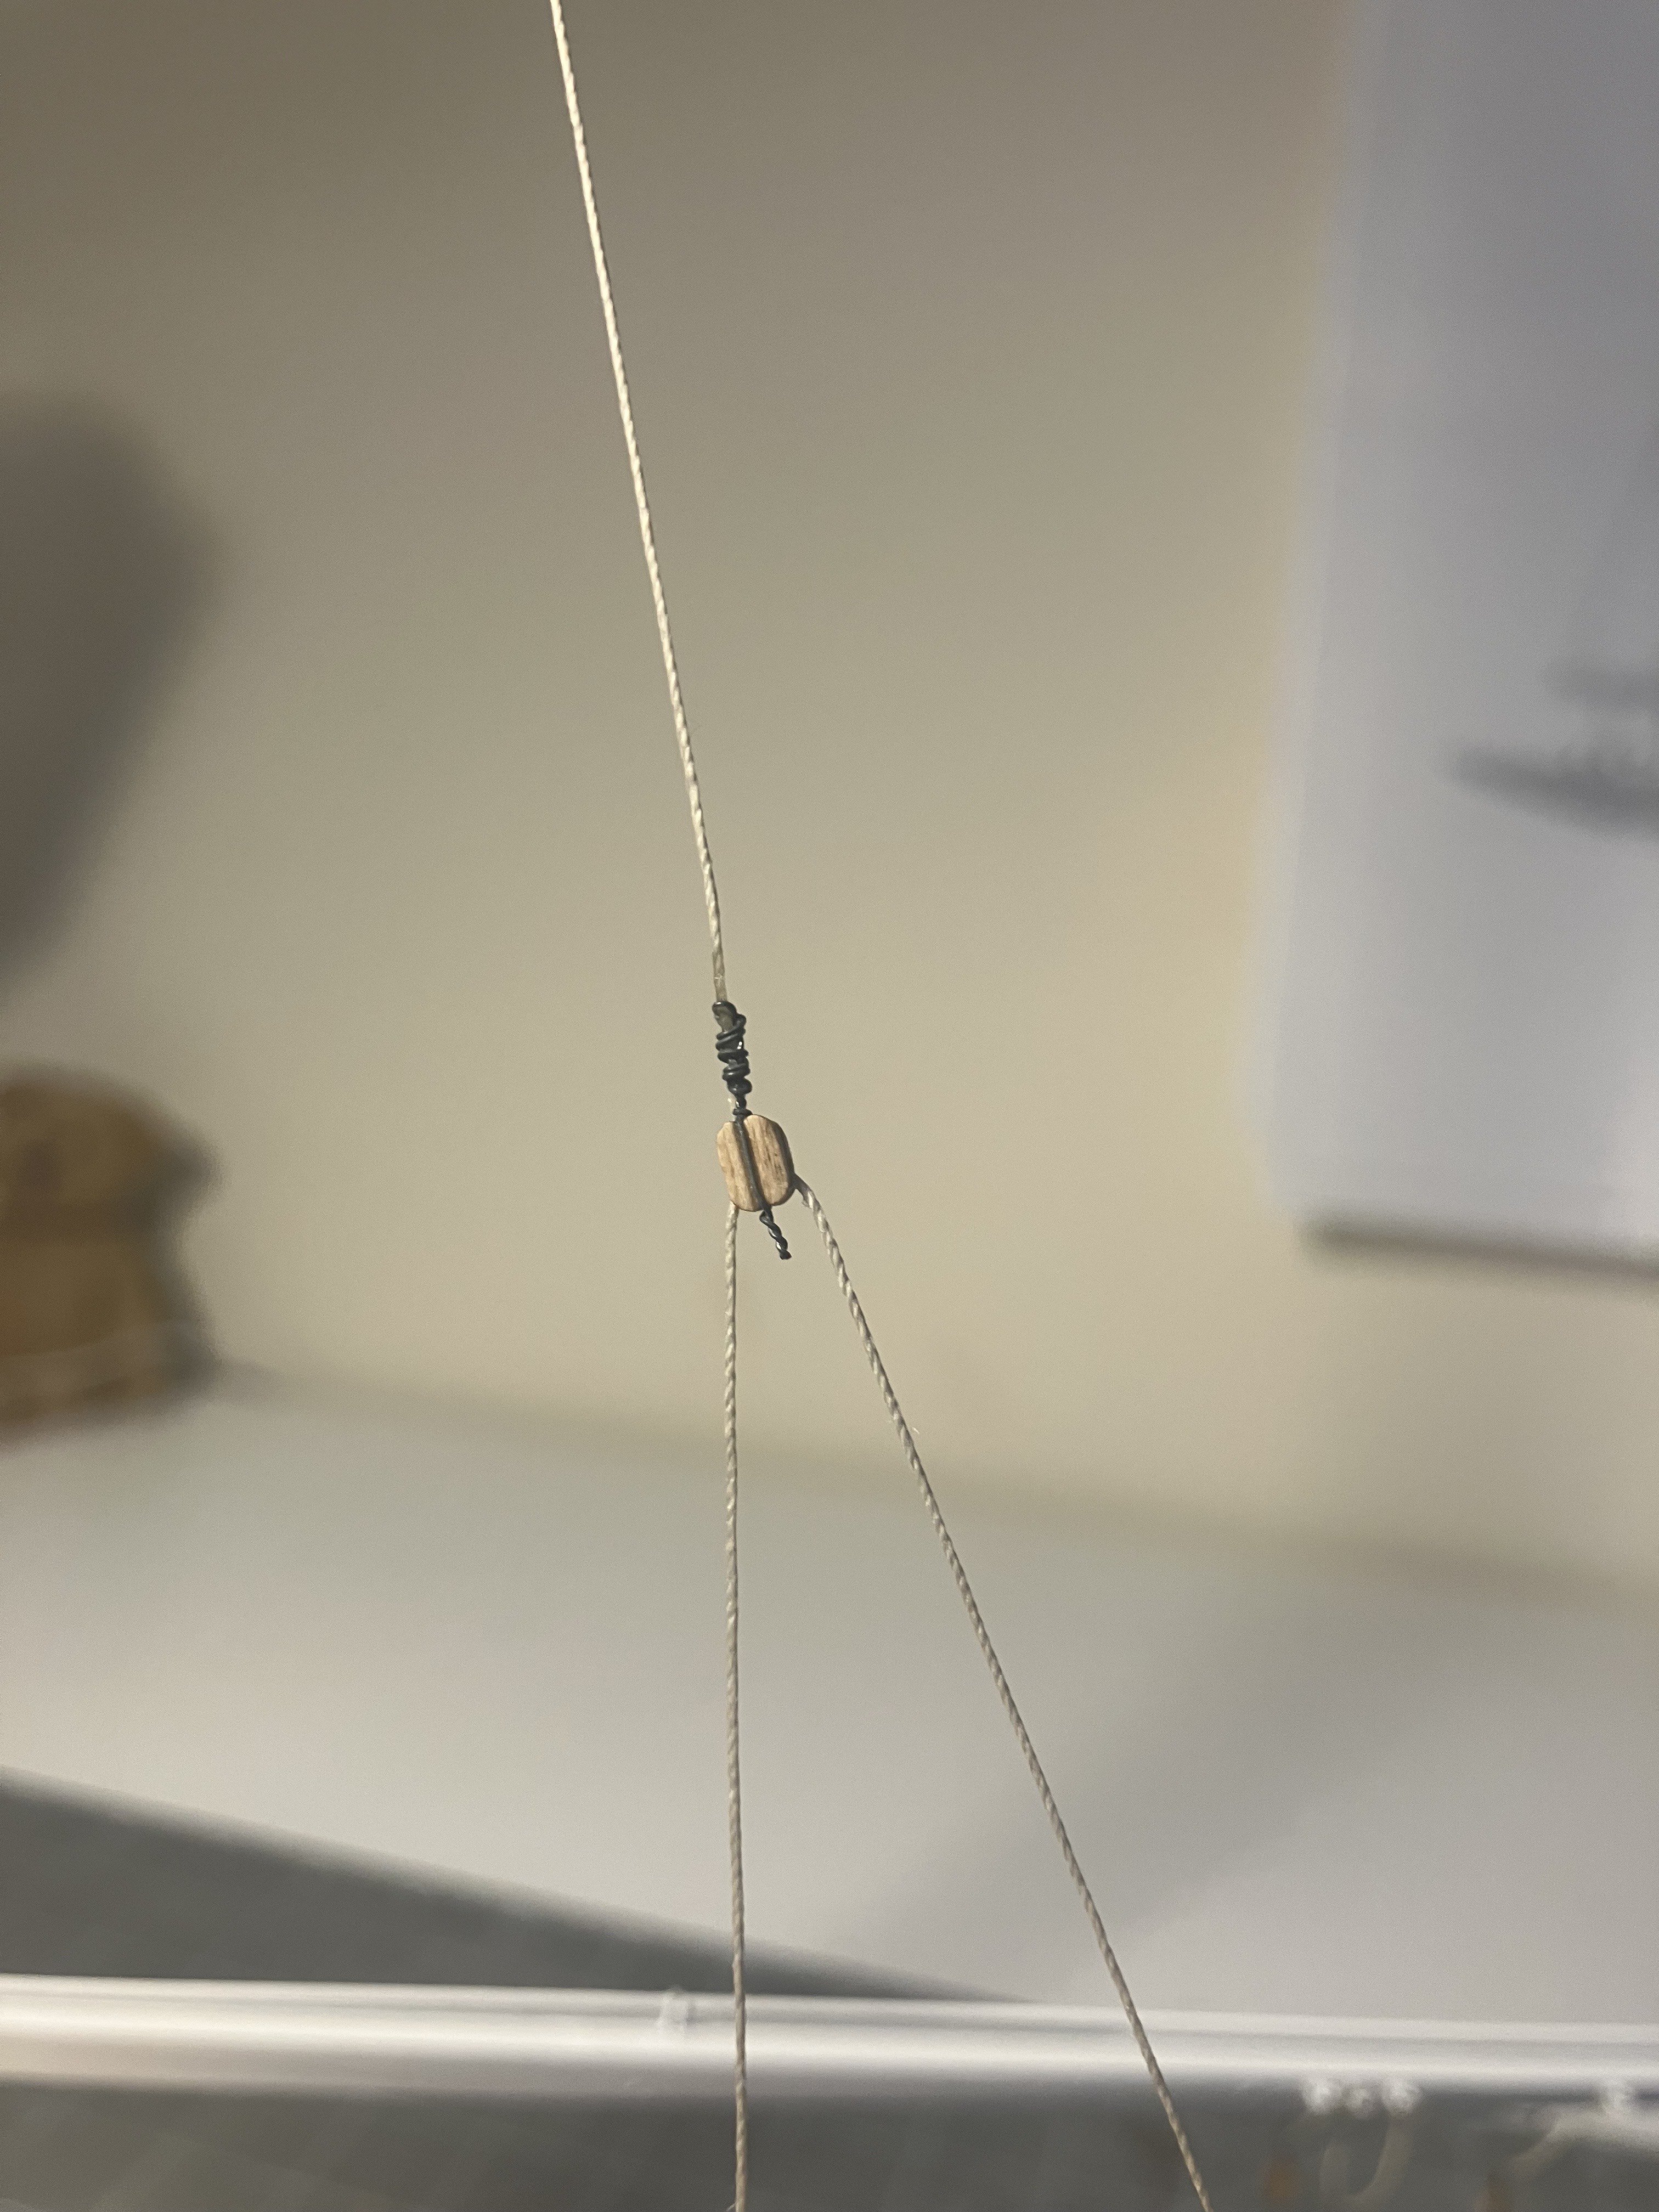
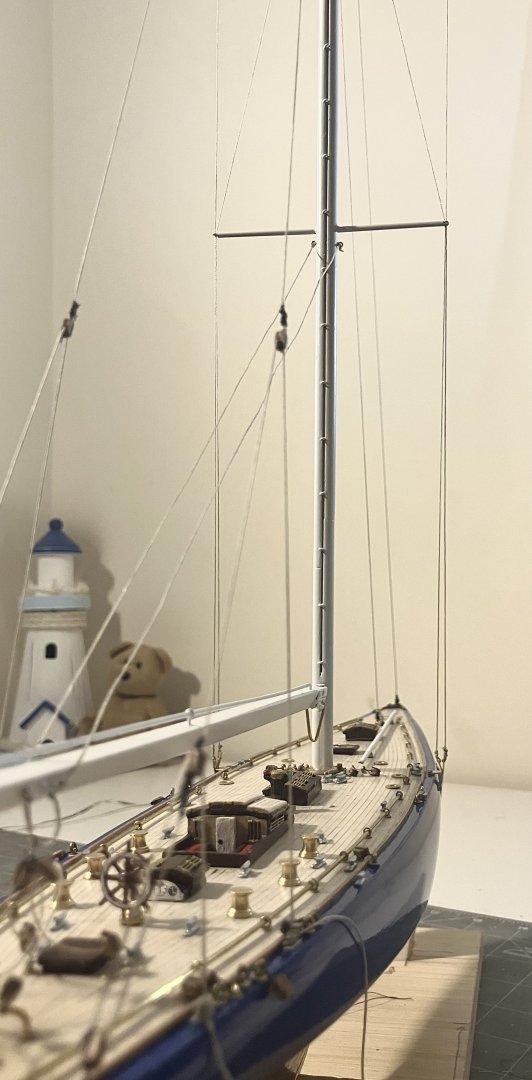
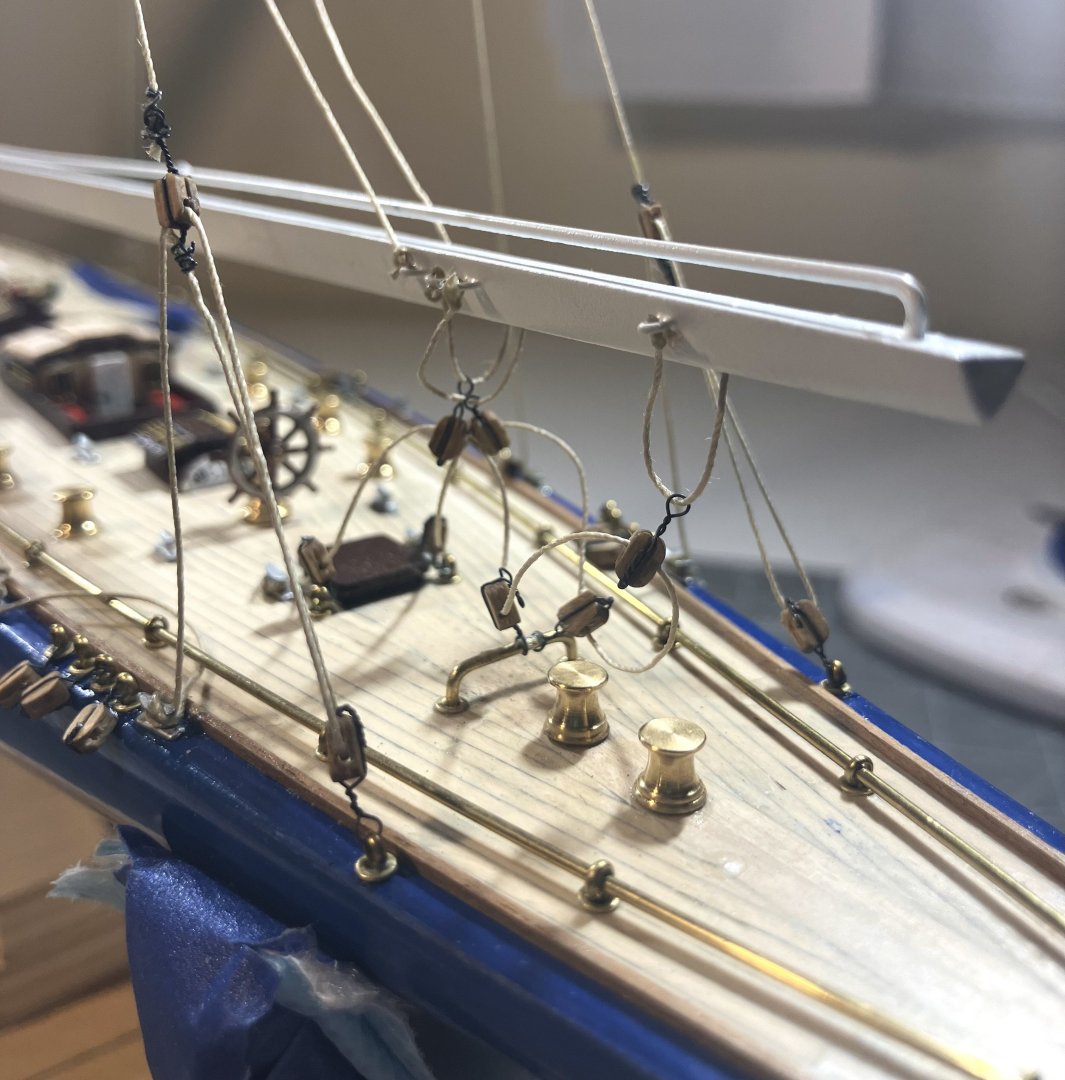
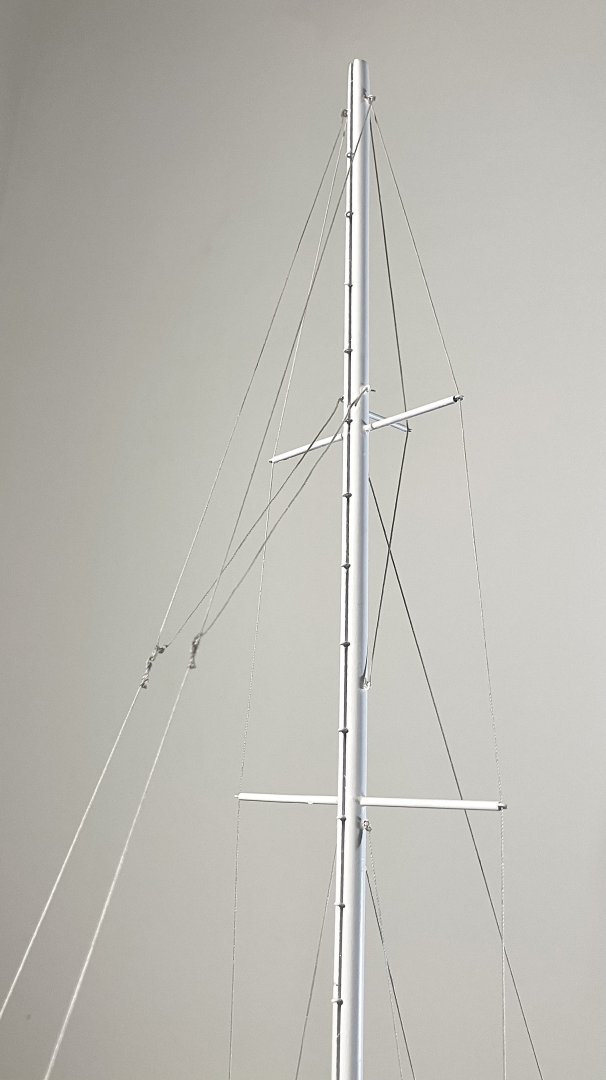
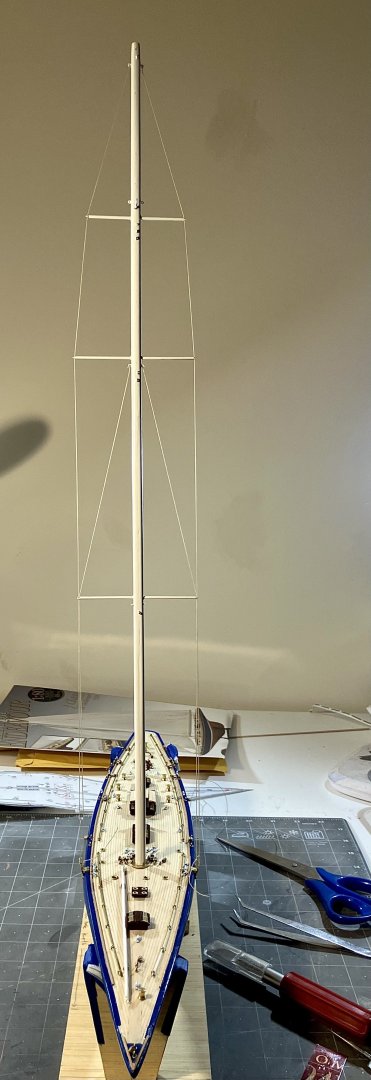
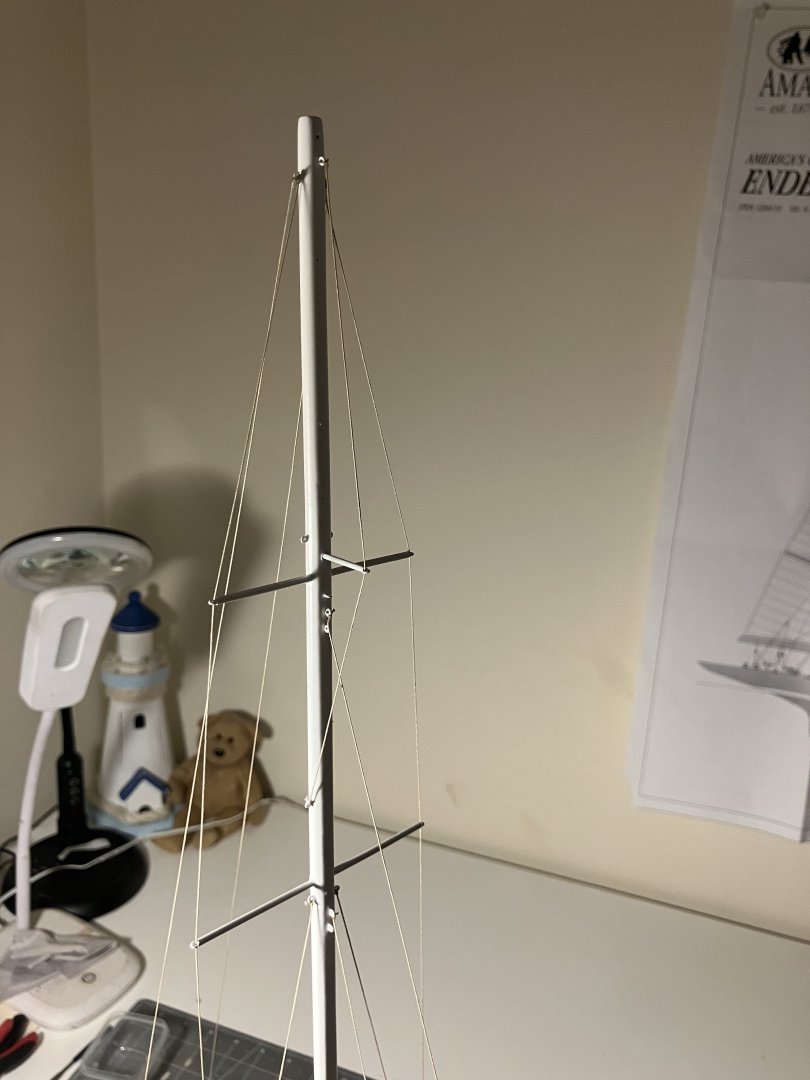
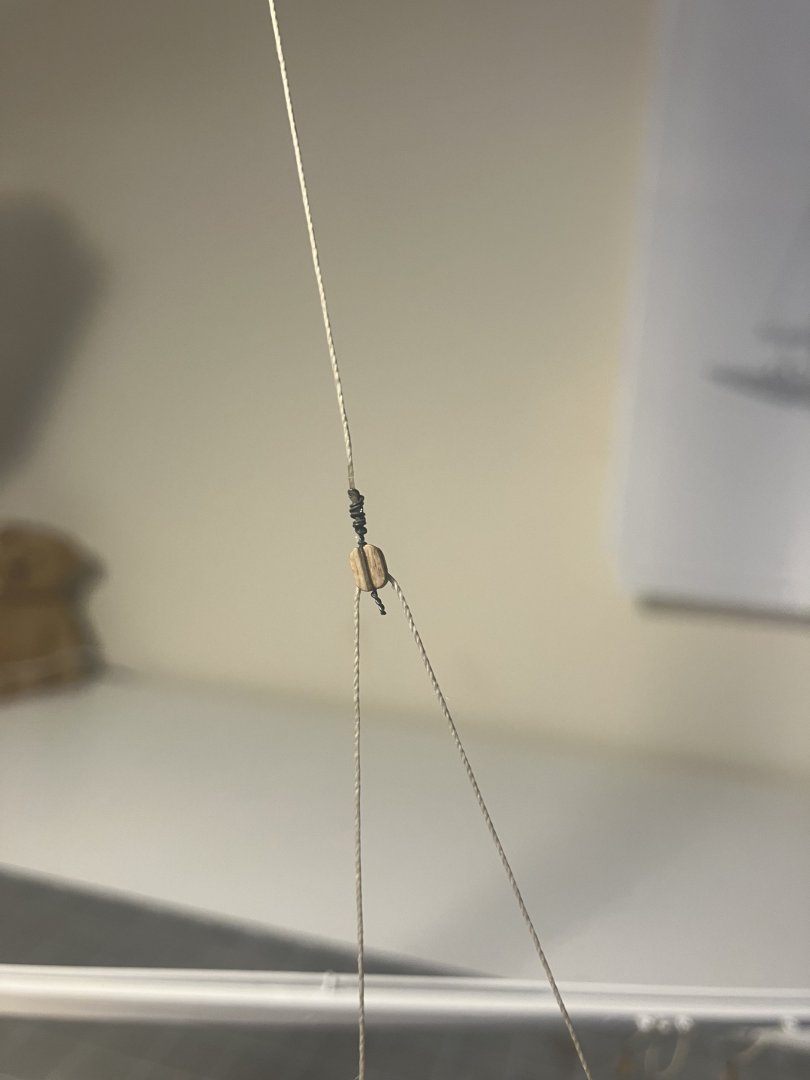
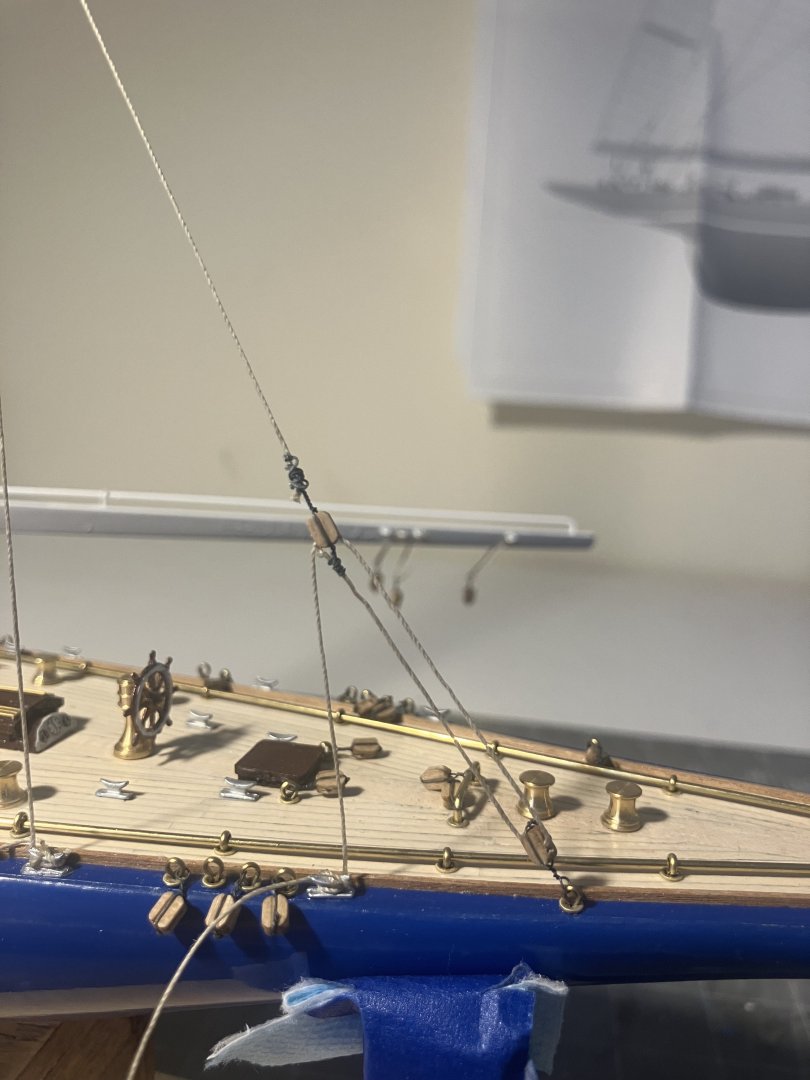
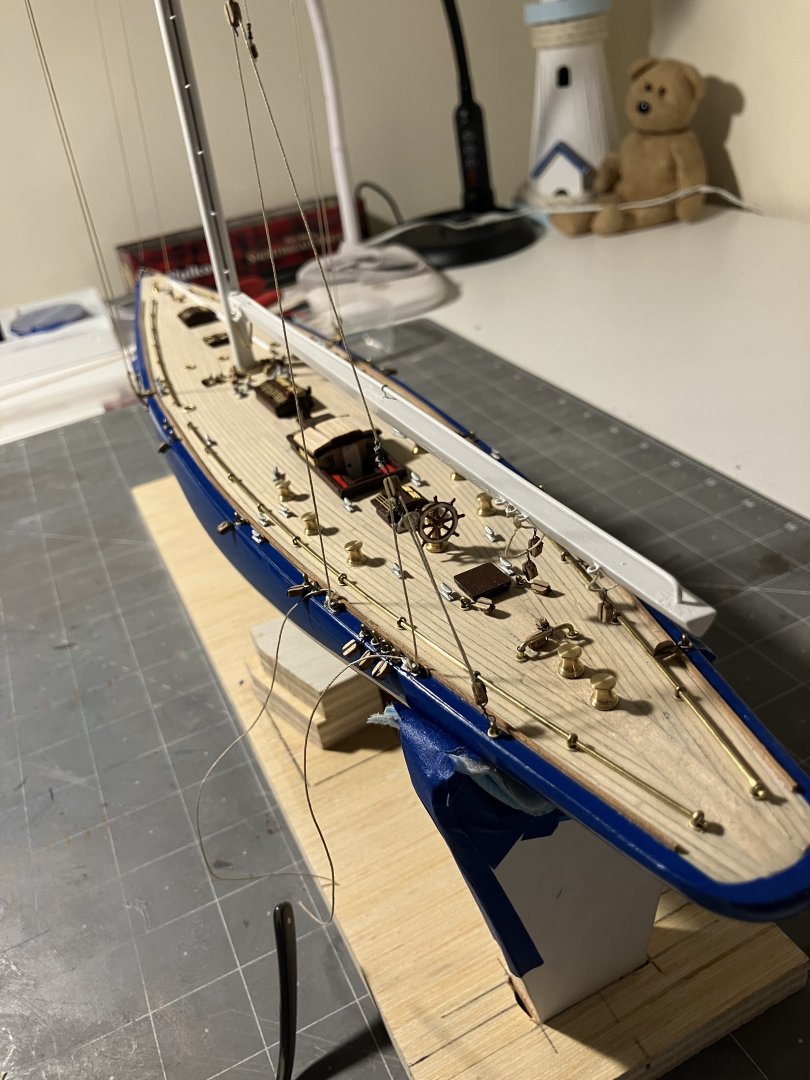
Well, the real world caught up with me again. I heard that my 3D printer is delayed with no actual delivery date (as of this morning). I decided to not have the Endeavour sitting on my table waiting for cleats and moved forward with the rigging using the existing cleats. If one does pop off again, I will drill it and add the rod then and there to secure it. So far they have all behaved as they should The shroud ropes were fitted first: Next up, as recommended in the plans, I fixed all the front stays for the mast to stabilize it before fitting the boom: The boom was then mounted: At the moment I am running the rigging ropes that tie off to the cleats. The stropped blocks look a bit messy in my opinion, I will be tidying the unions between ropes and blocks up on this rigging today: The loose ropes hanging over the sides here will be coiled up on deck once I am done. Onwards!

-
You are a champion, sir. What a wonderful thing to do for that family. Like you said in your first posts here, the model does look to be in good shape overall. I too look forward to following this build, she is a beautiful vessel. I like your "do no harm" approach very much!
- 301 replies
-
- 4
-
-
-
- Constitution
- Bluejacket Shipcrafters
- (and 1 more)
-
No matter how many times I look at images like these, it never fails to amaze me just how much rigging there is on vessels like this. Honestly, I have no idea how you all keep track of it all. Chris, this looks amazing and you are doing a fine job sir.
-
Production has stopped ............... I assembled the printer and loaded it up with the very nice looking walnut wood filament this morning. As I started printing the printer made a very loud (and annoying) whining noise. Having worked with these before I knew immediately what it was. The bearings in the thermo couple cooling fan were shot, and this is a new printer!! Well, I guess that's what I get for ordering a product that was built by our Asian trade partners. Amazon was incredibly helpful with the swap, they will be sending me a new one on Monday so I have to wait until then to print the cleats No worries, I have 4 other models under the table ............
-
Yep, I would imagine doing that really helps the planks to sit nice and neatly. It is something you just have to take your time with, isn't it. It was worth the effort, Glenn, she is looking fine.
- 241 replies
-
- 1
-
-
- Vanguarrd Models
- Harpy
- (and 1 more)
-
You made me smile with that statement, Glenn. It is true for me too mate
-
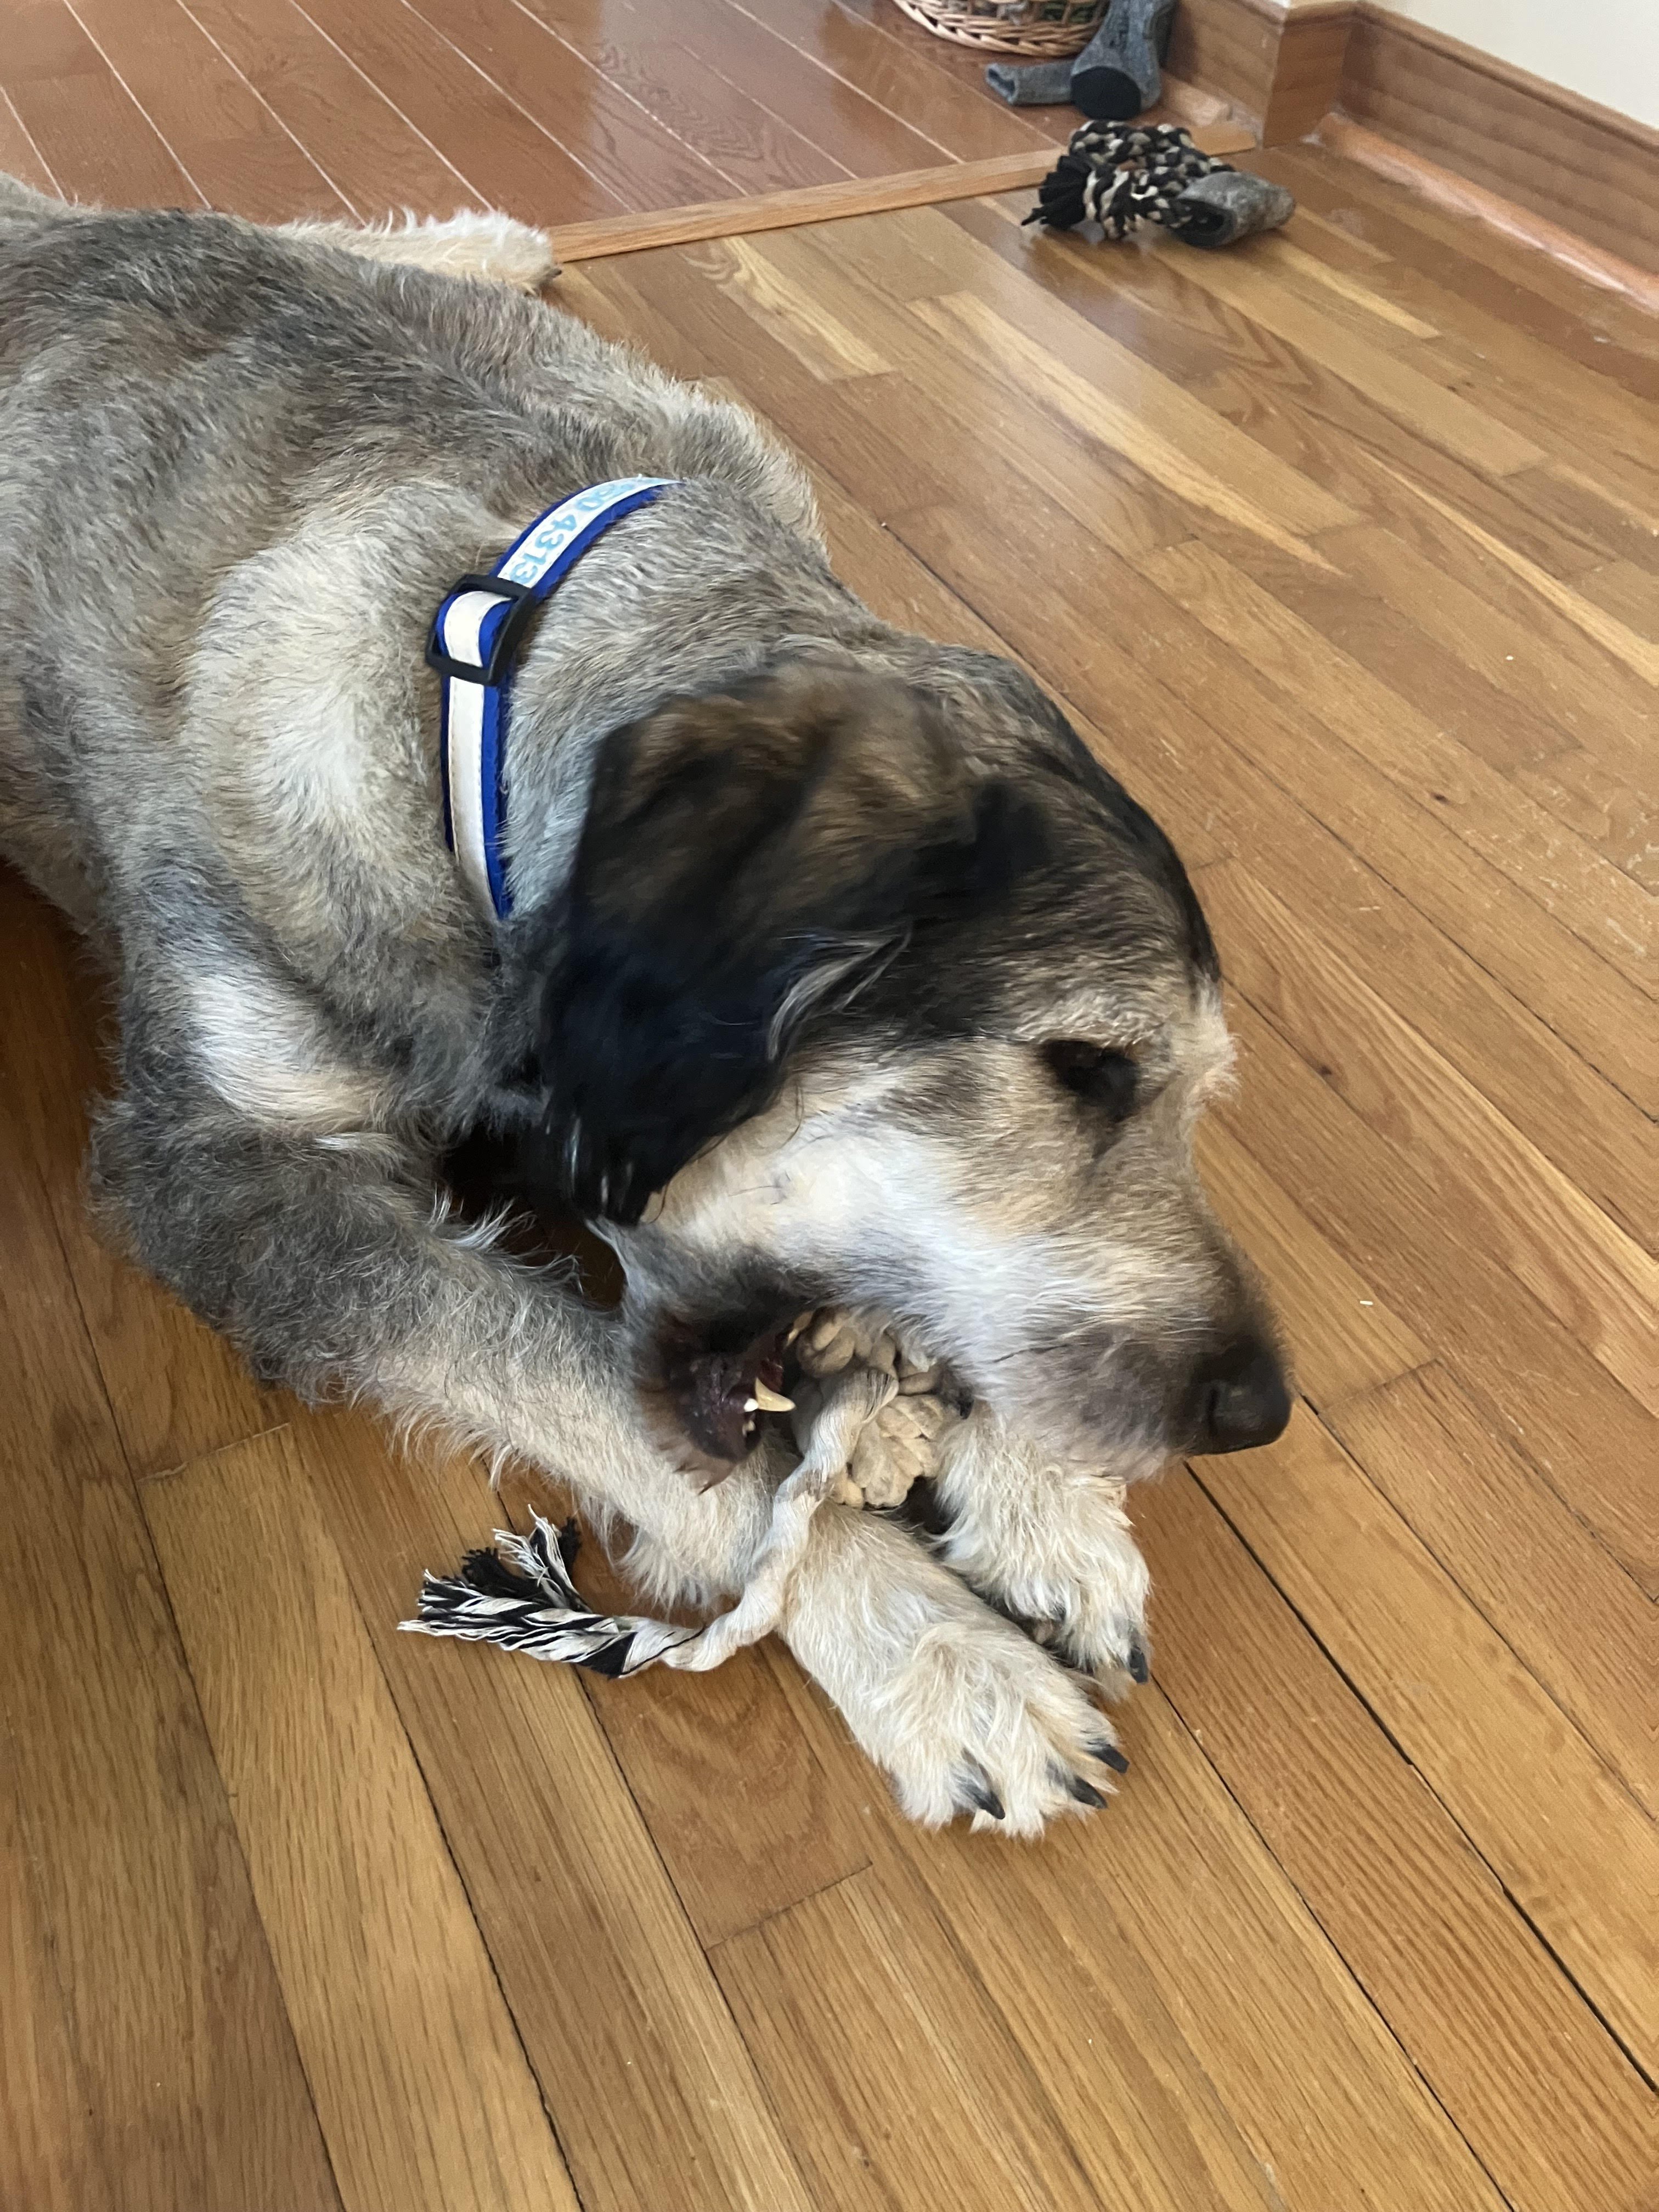
Ha, I have an assistant like that too. He just lays on the guest bed in that room and just stares at me too when he wants something. This is him - meet Cooper

- 332 replies
-
- 5
-
-
- Harpy
- Vanguard Models
- (and 1 more)
-
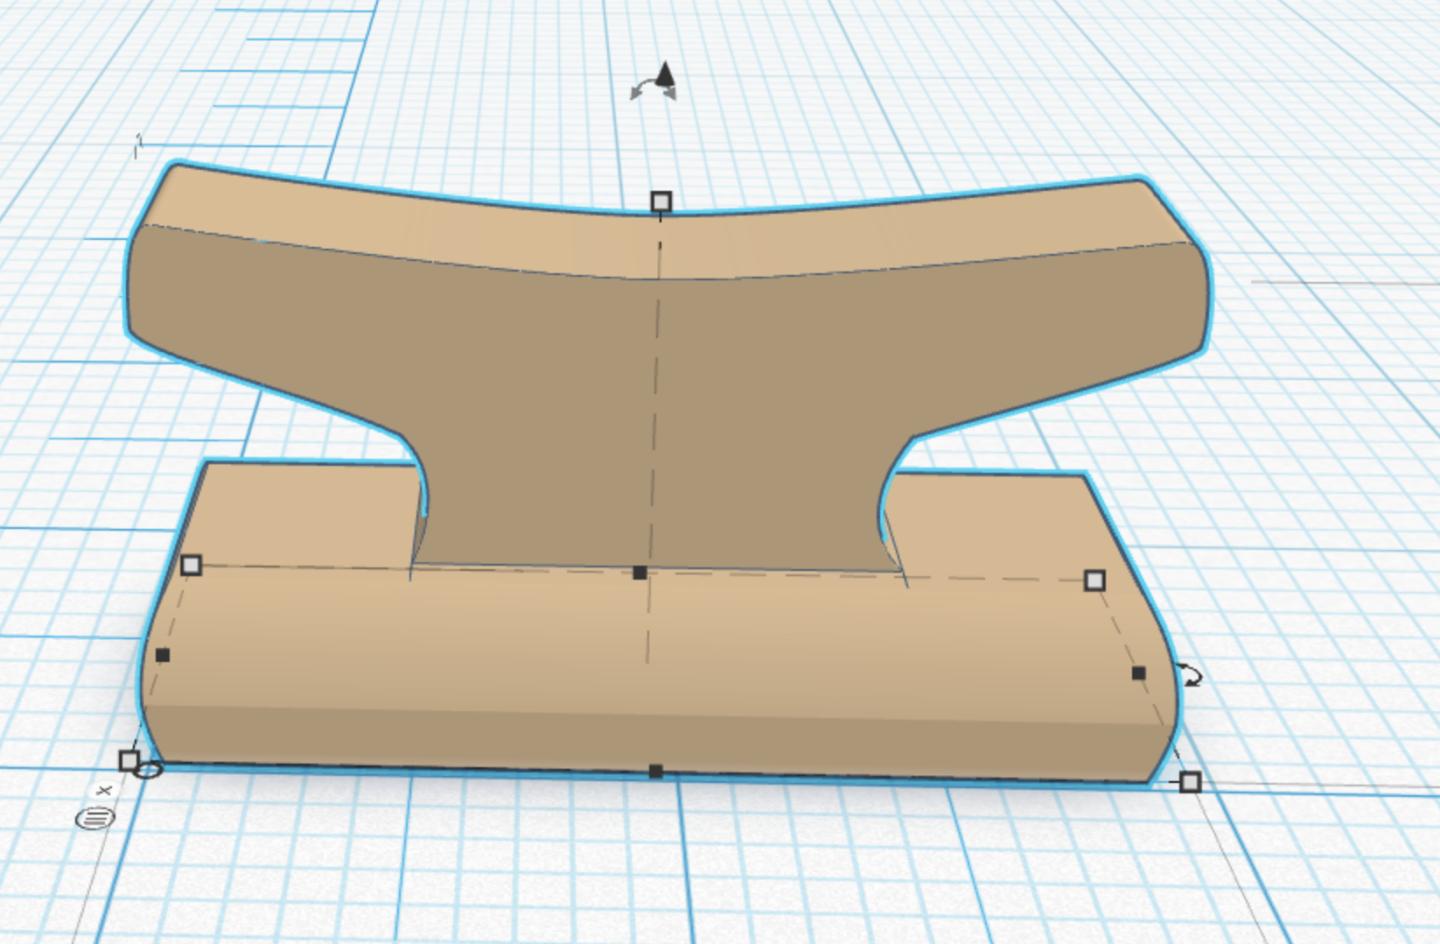
I just rounded the ends of the cleat off, I thought it might look better (despite it being TINY on the boat)
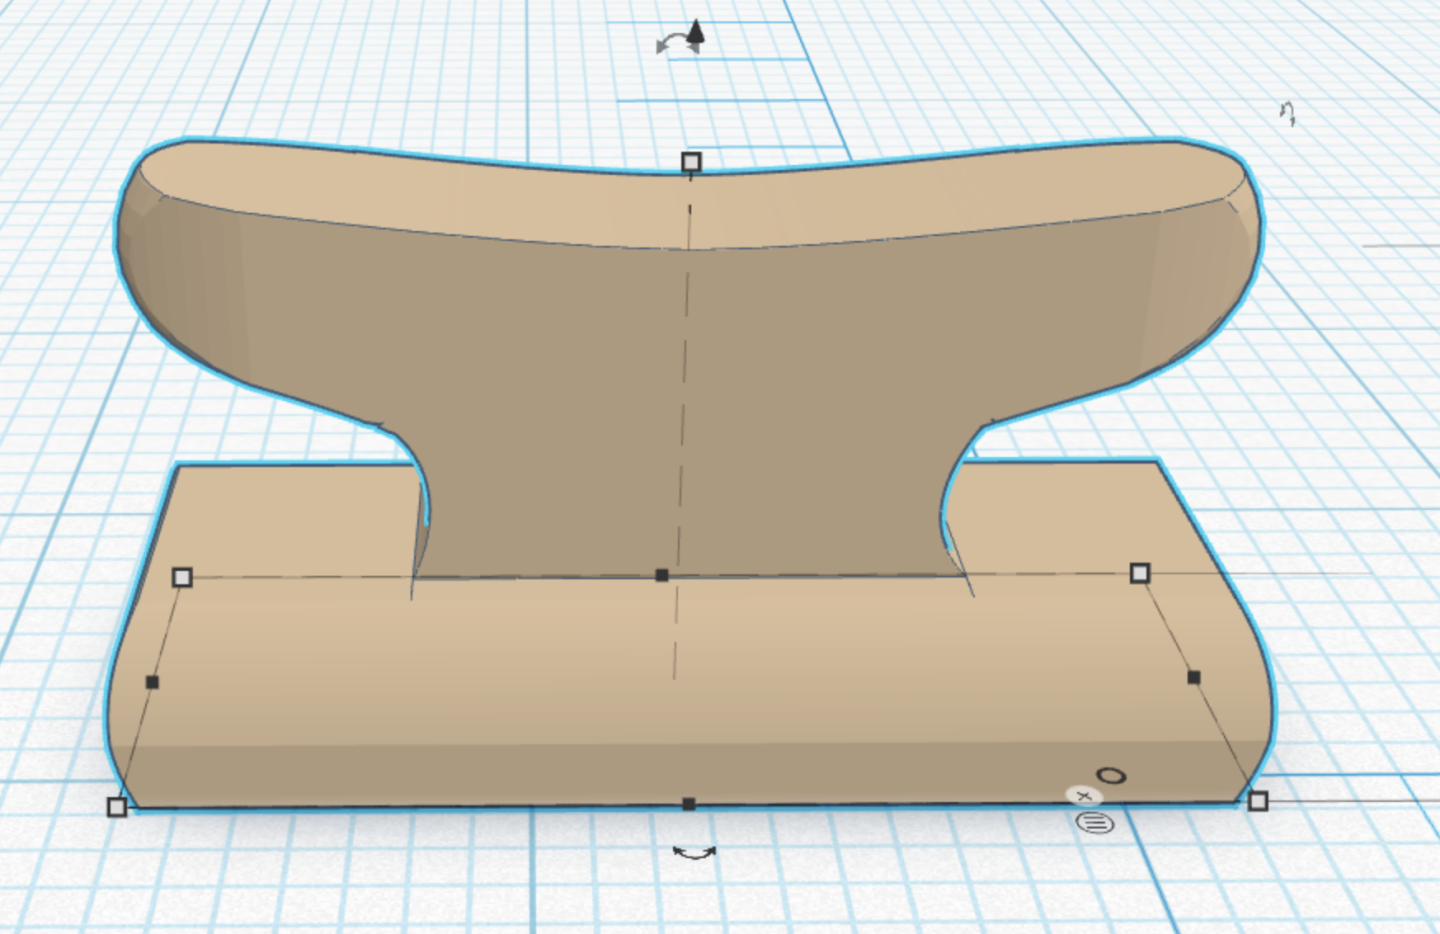
-
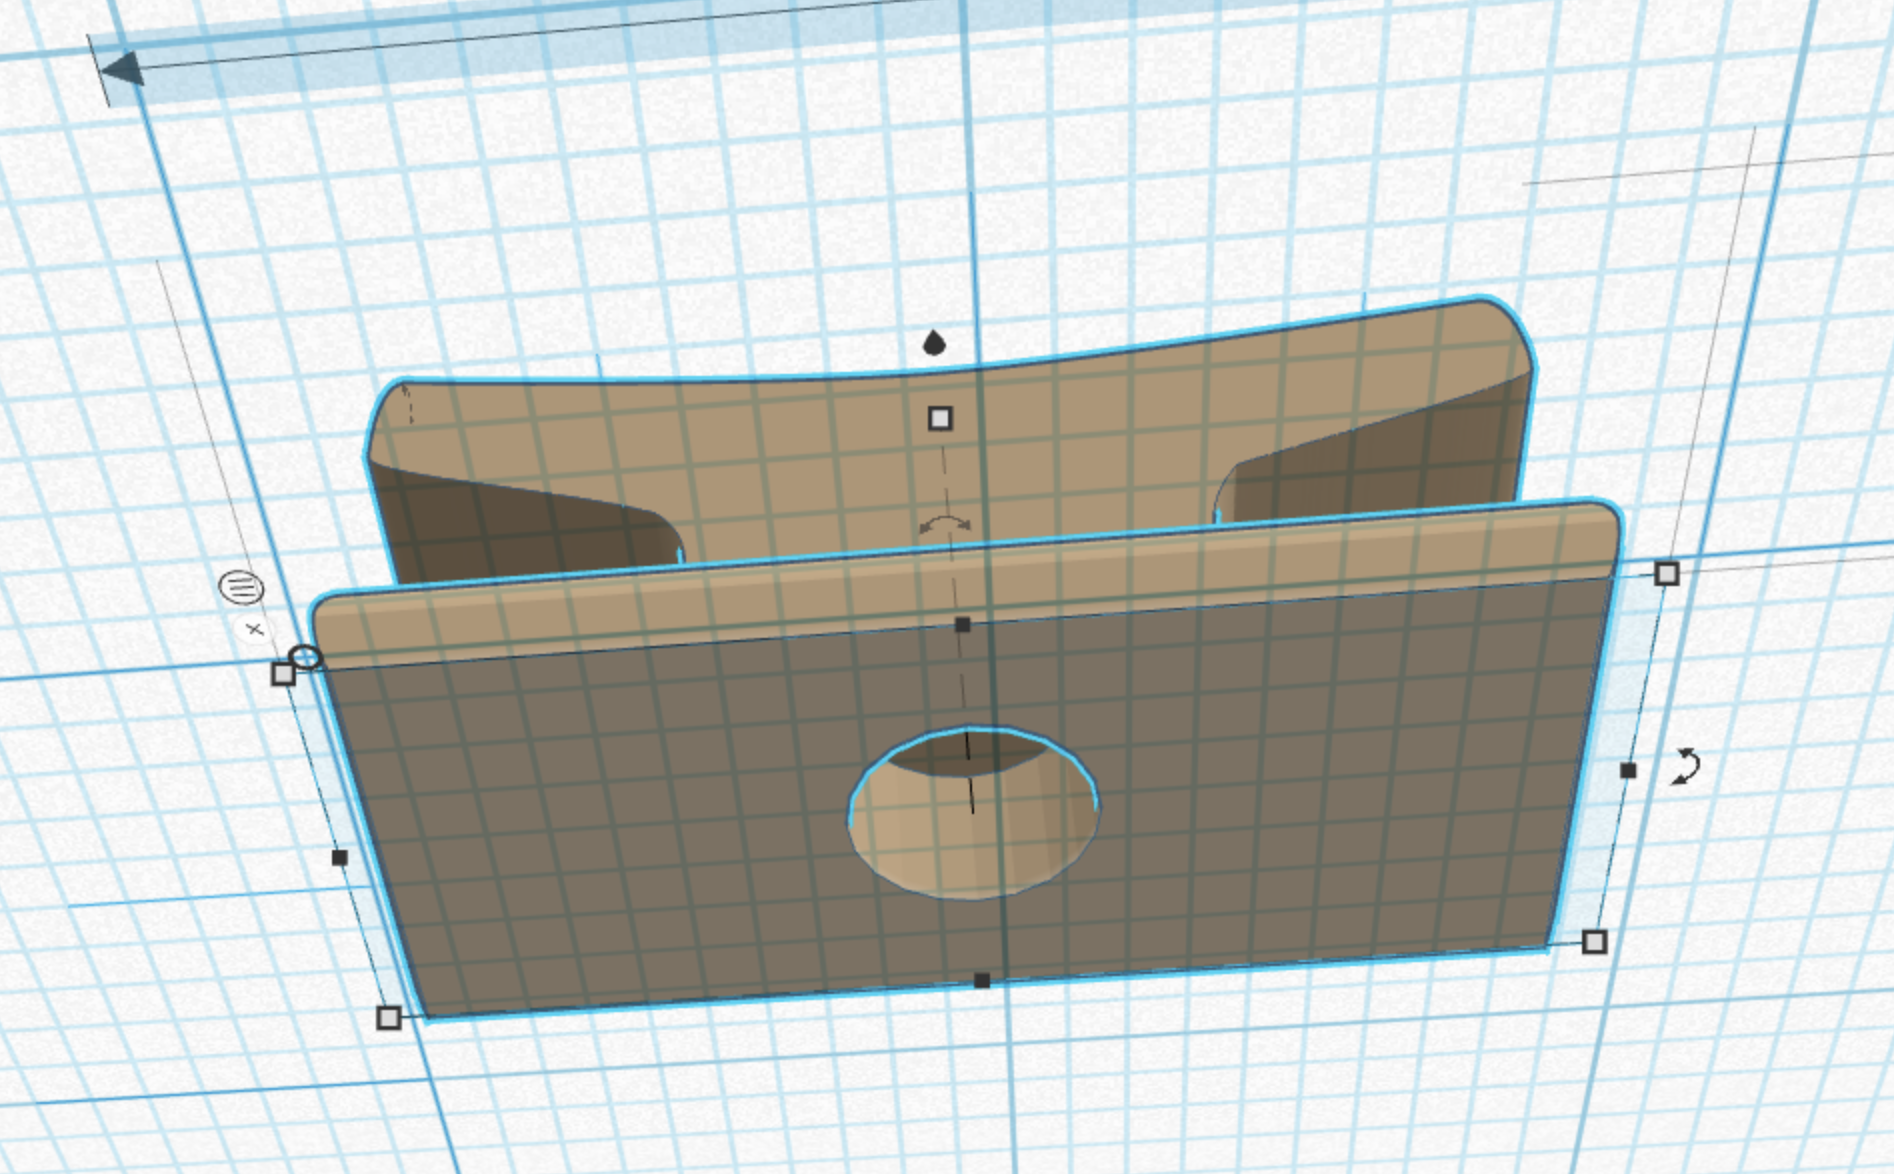
So here is the redesigned cleat with the 1mm hole in the bottom for the support rod. The printer and filaments arrived late this afternoon and I still have to set everything up. I will go ahead and print a couple of test cleats tomorrow and see how they look.

-
Morning everyone, I just wanted to post an update regarding the rigging. As I have read in other Endeavour build logs, the flat bottomed cleats that come with the kit tend to "fly off" when used to secure rigging thread. This has happened to me too, despite CA etc. I have redesigned the cleats in the CAD software to incorporate a small piece of the 1 mm brass rod that was left over, it will protrude from the base. I will drill small holes in the boat and glue the cleats with rods in that way. Images to follow once the 3D printer gets here and I can print them (hopefully today if the forecasted snow doesn't stop everything).