SaltyScot
-
Posts
867 -
Joined
-
Last visited
Content Type
Profiles
Forums
Gallery
Events
Everything posted by SaltyScot
-
 This method works well with super glue but not the normal wood glue. It does not adhere when the wood is wet.
 -
When I did this part I literally laid the planks in very hot water for a few hours to ensure they were thoroughly soaked. I had not cut them exactly to length at that point, they are much easier to cut with a good Exacto blade if they are wet. I glued these guys in place with super glue because, as you said, they do tend to spring back up again. Once glued I taped them in place with painters tape and let everything dry for an extended period of time. It is all documented in my build log here if you want to go take a look.
-
Hello, Ellie. Considering this is your first build I would say you are off to a very good start. The Endeavour was my second build and I enjoyed every second of that particular journey. She now graces a prime spot in our family room. I shall follow your build and am looking forward to the progress reports. You have already received some good input from others so please continue to ask lots of questions. This is a great forum, truly, and the input from others reduces the climb up that often very steep learning curve. Above all, don't give up
-
This one is going to be interesting. If anyone can pull it off, it is you sir.
-
As I would be. I may just very well steal this idea sir. Ha en flott dag
-
Will do buddy
-
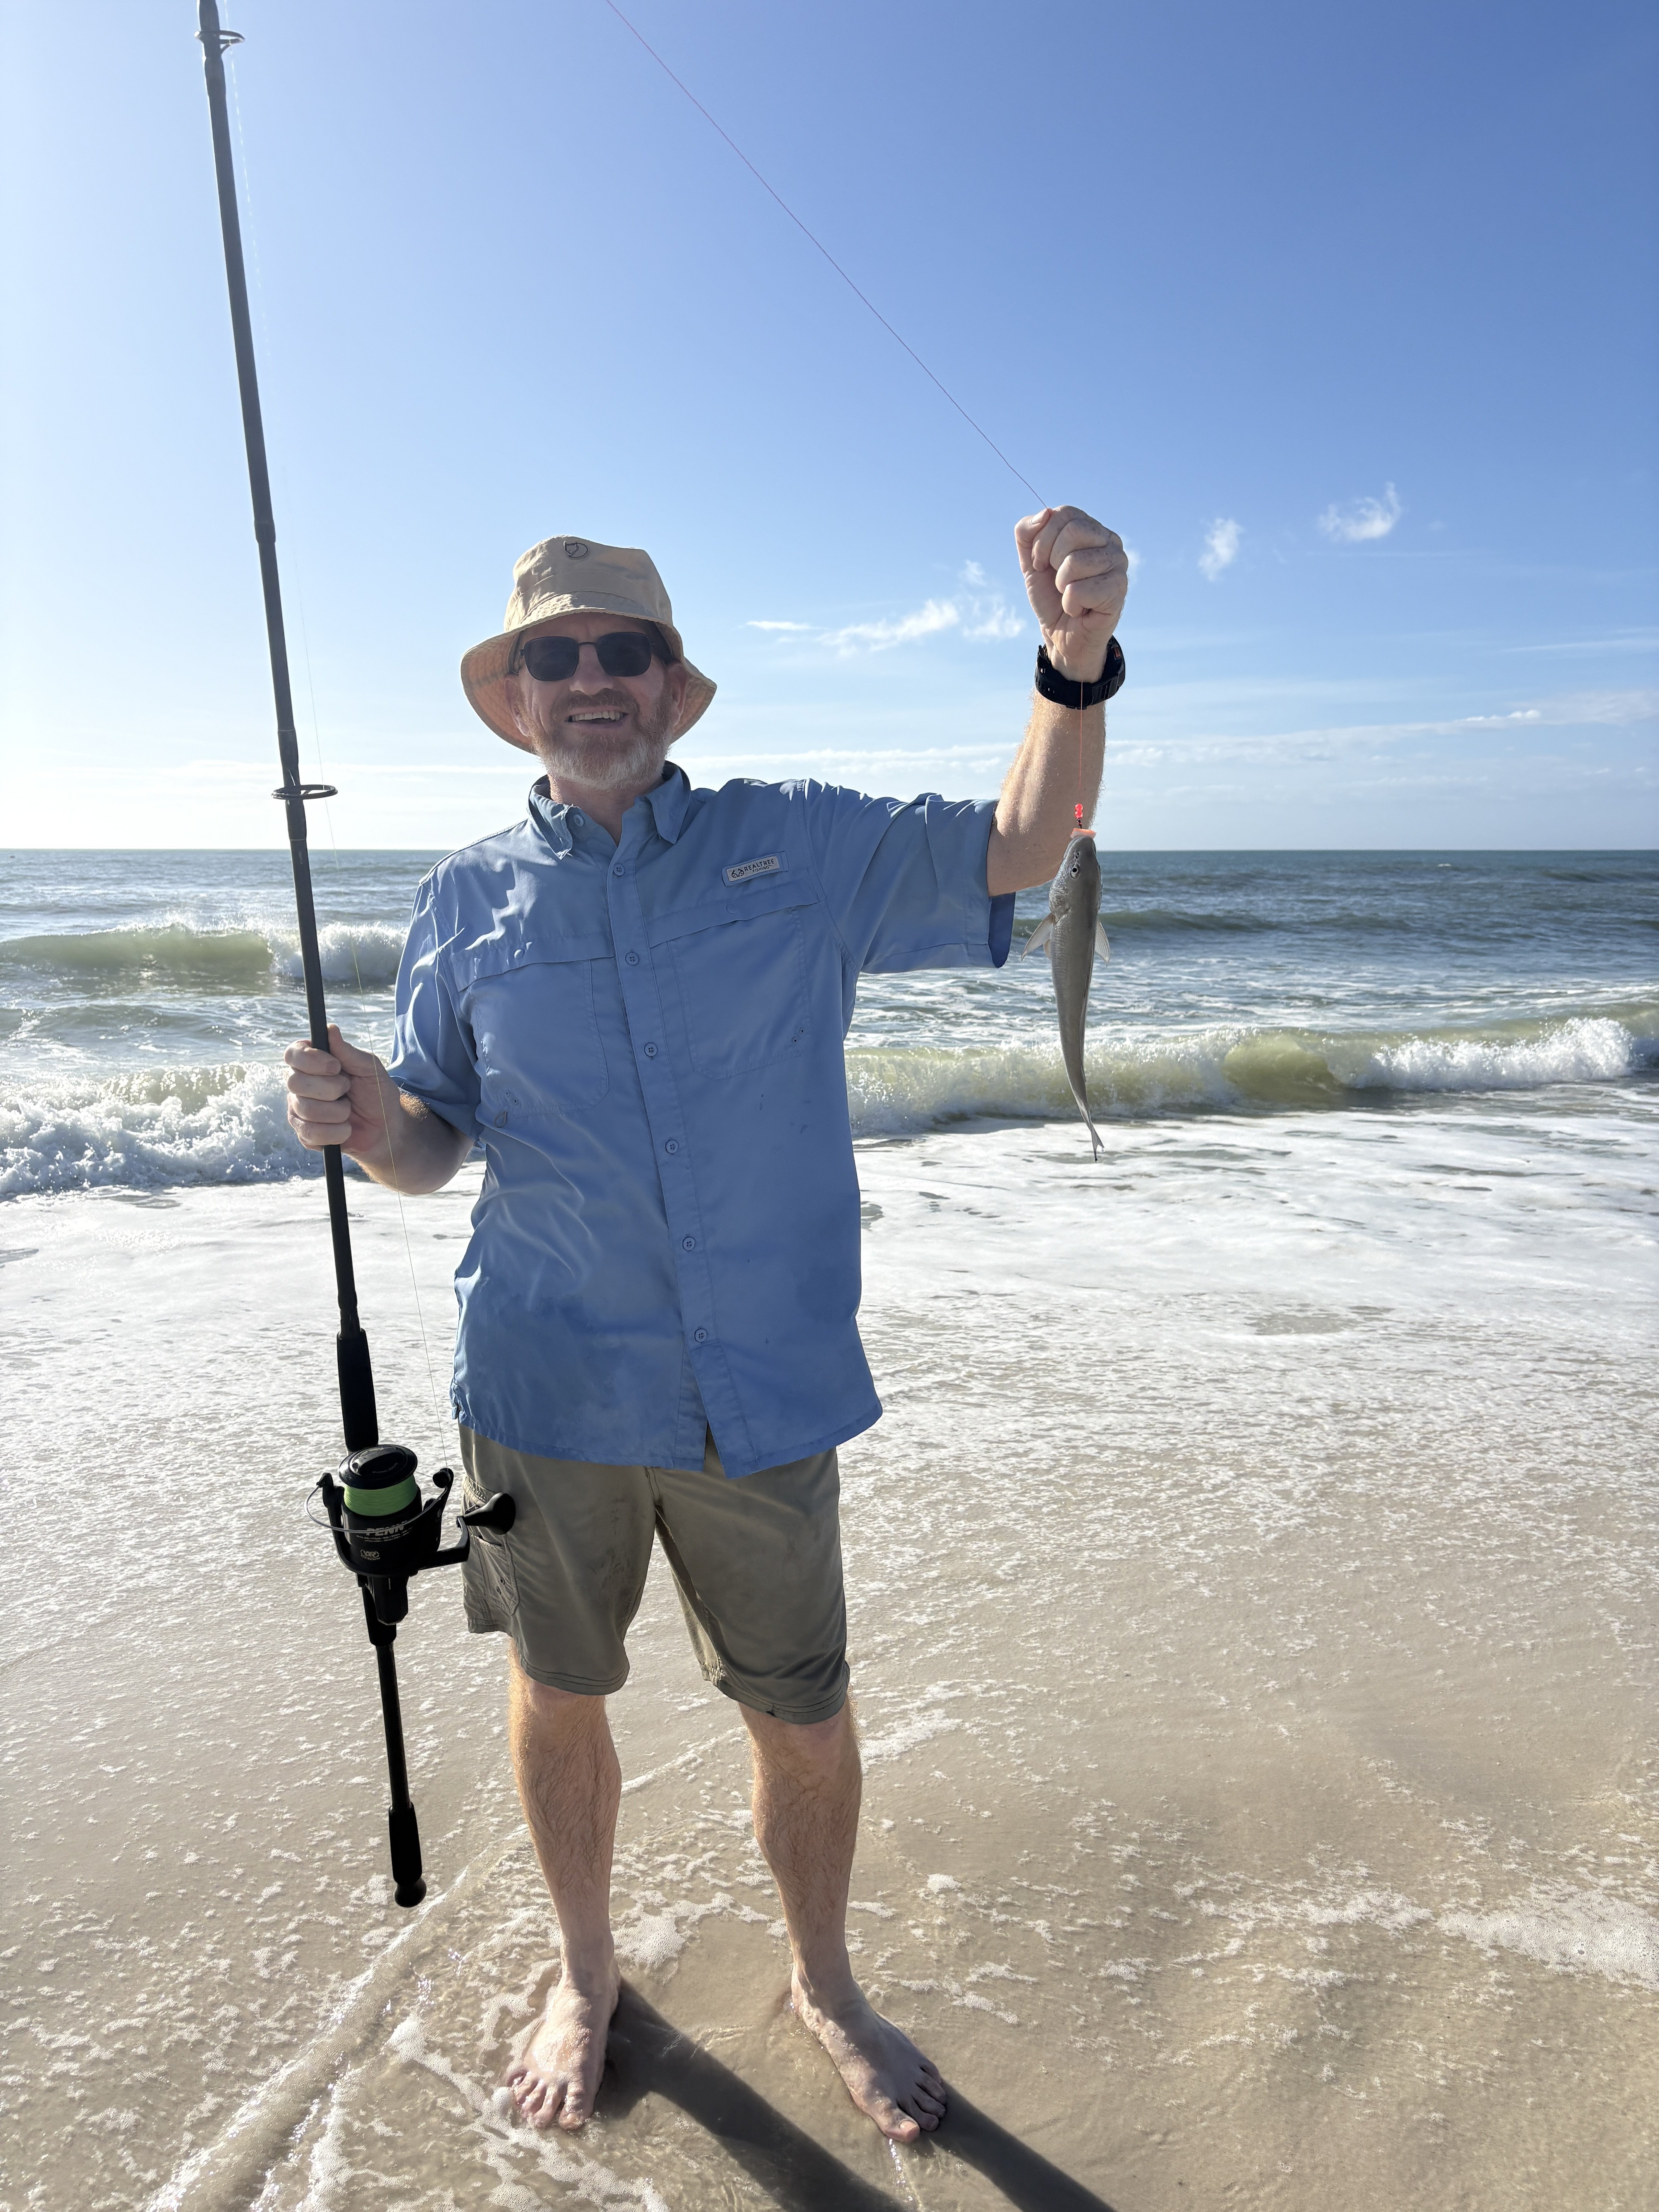
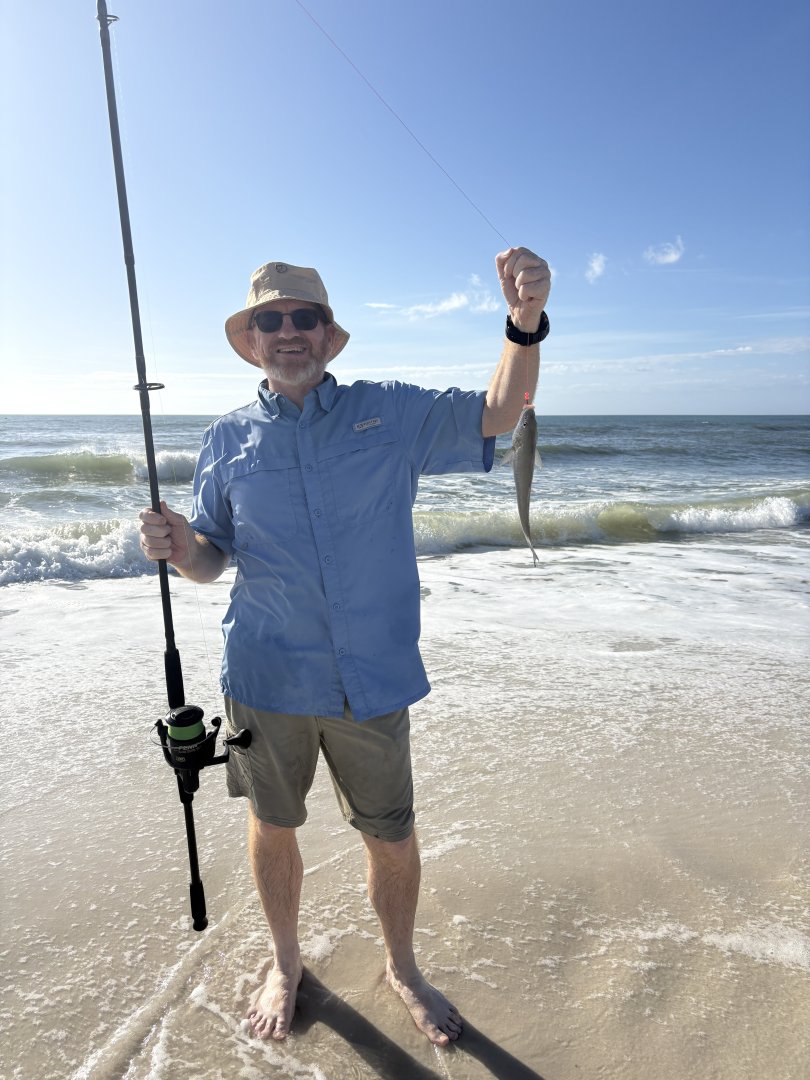
Terry, We changed plans and headed to Florida after Xmas (Cape San Blas), it is a lot warmer there. We will be down there until the beginning of April (currently home in VA to get a few things taken care of. Heading back out in a couple of weeks). I didn't get any stripers but a lot of whiting. Good eatin' fish right there!
- 51 replies
-
- 1
-

-
- Endeavour
- j-class yacht
- (and 1 more)
-
Her rear end looks just fine the way it is Steve You have done some great work on her mate, truly impressive.
-
Those chain plates look amazing. The intricate work paid off here. Nice work!!
-
Coming along very nicely indeed sir. That hull looks magnificent.
- 51 replies
-
- 2
-

-
-
- Endeavour
- j-class yacht
- (and 1 more)
-
It's the small details that matter. Nice work.
-
She has come along quite nicely since I was last here, Steve. You a doing a grand job on her mate.
-
Wow, this has come a long way since I have been away. You have done an awesome job on her, Terry, truly you have. As others have noted, she looks amazing on the launch, good call!
-
Hi, Pat, I had often wondered why that detail was there when I fiddled with it during my build. Nice work around mate, she is looking nice. We are (finally) back from our Outer Banks trip. We decided to extend it until the weather started getting too cold for surf fishing down there. We had a great time and will be back down there for the whole month of March.
- 51 replies
-
- 1
-
-
- Endeavour
- j-class yacht
- (and 1 more)
-
I love the idea of soldering those pins on! I am stealing that one for sure. It will save a LOT of fiddly work. Very nice.
-
It has been quite a journey, Tom. I look forward to using your blog as a "guide" for my Endurance build.
- 206 replies
-
- 1
-
-
- Endurance
- Shackleton
- (and 2 more)
-
Bluefish, Terry. The elusive rockfish (striped bass) is something I still have to add to my list of trophies
-
What a nice thing to do for your local school. Good for you, Steve!
-
Well I just sat here and read through the most recent updates. I must confess to the tension mounting too as I saw all the fine work you had put into getting the ship to its current status. That fireball you came up with is incredible, it is going to look great in the bottle. I am sending you moral support for the next "bit" mate 🫡
- 156 replies
-
- 4
-
-
-
- Queen Annes Revenge
- bottle
- (and 1 more)
-
Yep, I have to go with Alan on this one. Fine work indeed, Phil.
- 288 replies
-
- 4
-
-
-
- Card
- Pre-Dreadnought
- (and 3 more)
-
I am glad to hear you are better, Ronald. Never a good thing when you are off your game. Your progress and the standard of the workmanship is truly impressive!
-
Despite your frustrations those chain plates turned out just fine. Nicely done oh master