SaltyScot
-
Posts
867 -
Joined
-
Last visited
Content Type
Profiles
Forums
Gallery
Events
Everything posted by SaltyScot
-

Hello from Calgary, Alberta, Canada
SaltyScot replied to AboveTheWaterLine's topic in New member Introductions
Welcome to the "crew". We are glad to have you aboard! -
I love that color, Greg! I will be following along with this one sir if you don't mind. I am enjoying your build log.
-
That is some fiddly, intricate work with those railings, Phil. You are doing a nice job with them sir.
- 288 replies
-
- 5
-

-

-
- Card
- Pre-Dreadnought
- (and 3 more)
-
It is well worth the visit, believe me!
-
I appreciate you dropping by, John, it is truly appreciated. I managed to finish painting the hull this afternoon and really had to restrain myself not to remove the masking off the deck to see the contrast between the deck and the hull. I am out of town for two days as of tomorrow morning so everything will have a chance to dry nicely. I have decided to use wipe-on poly to seal the deck and the hull.
-
Thank you, Phil. I will be working on her today before taking a 2 day break because I will be up in DC helping the mother-in-law get her house ready to sell 😐
-
That turned out very well, Peter. It really does look great, well done.
-
She is coming together really well. Self criticism is a part of this hobby, it helps us improve
-
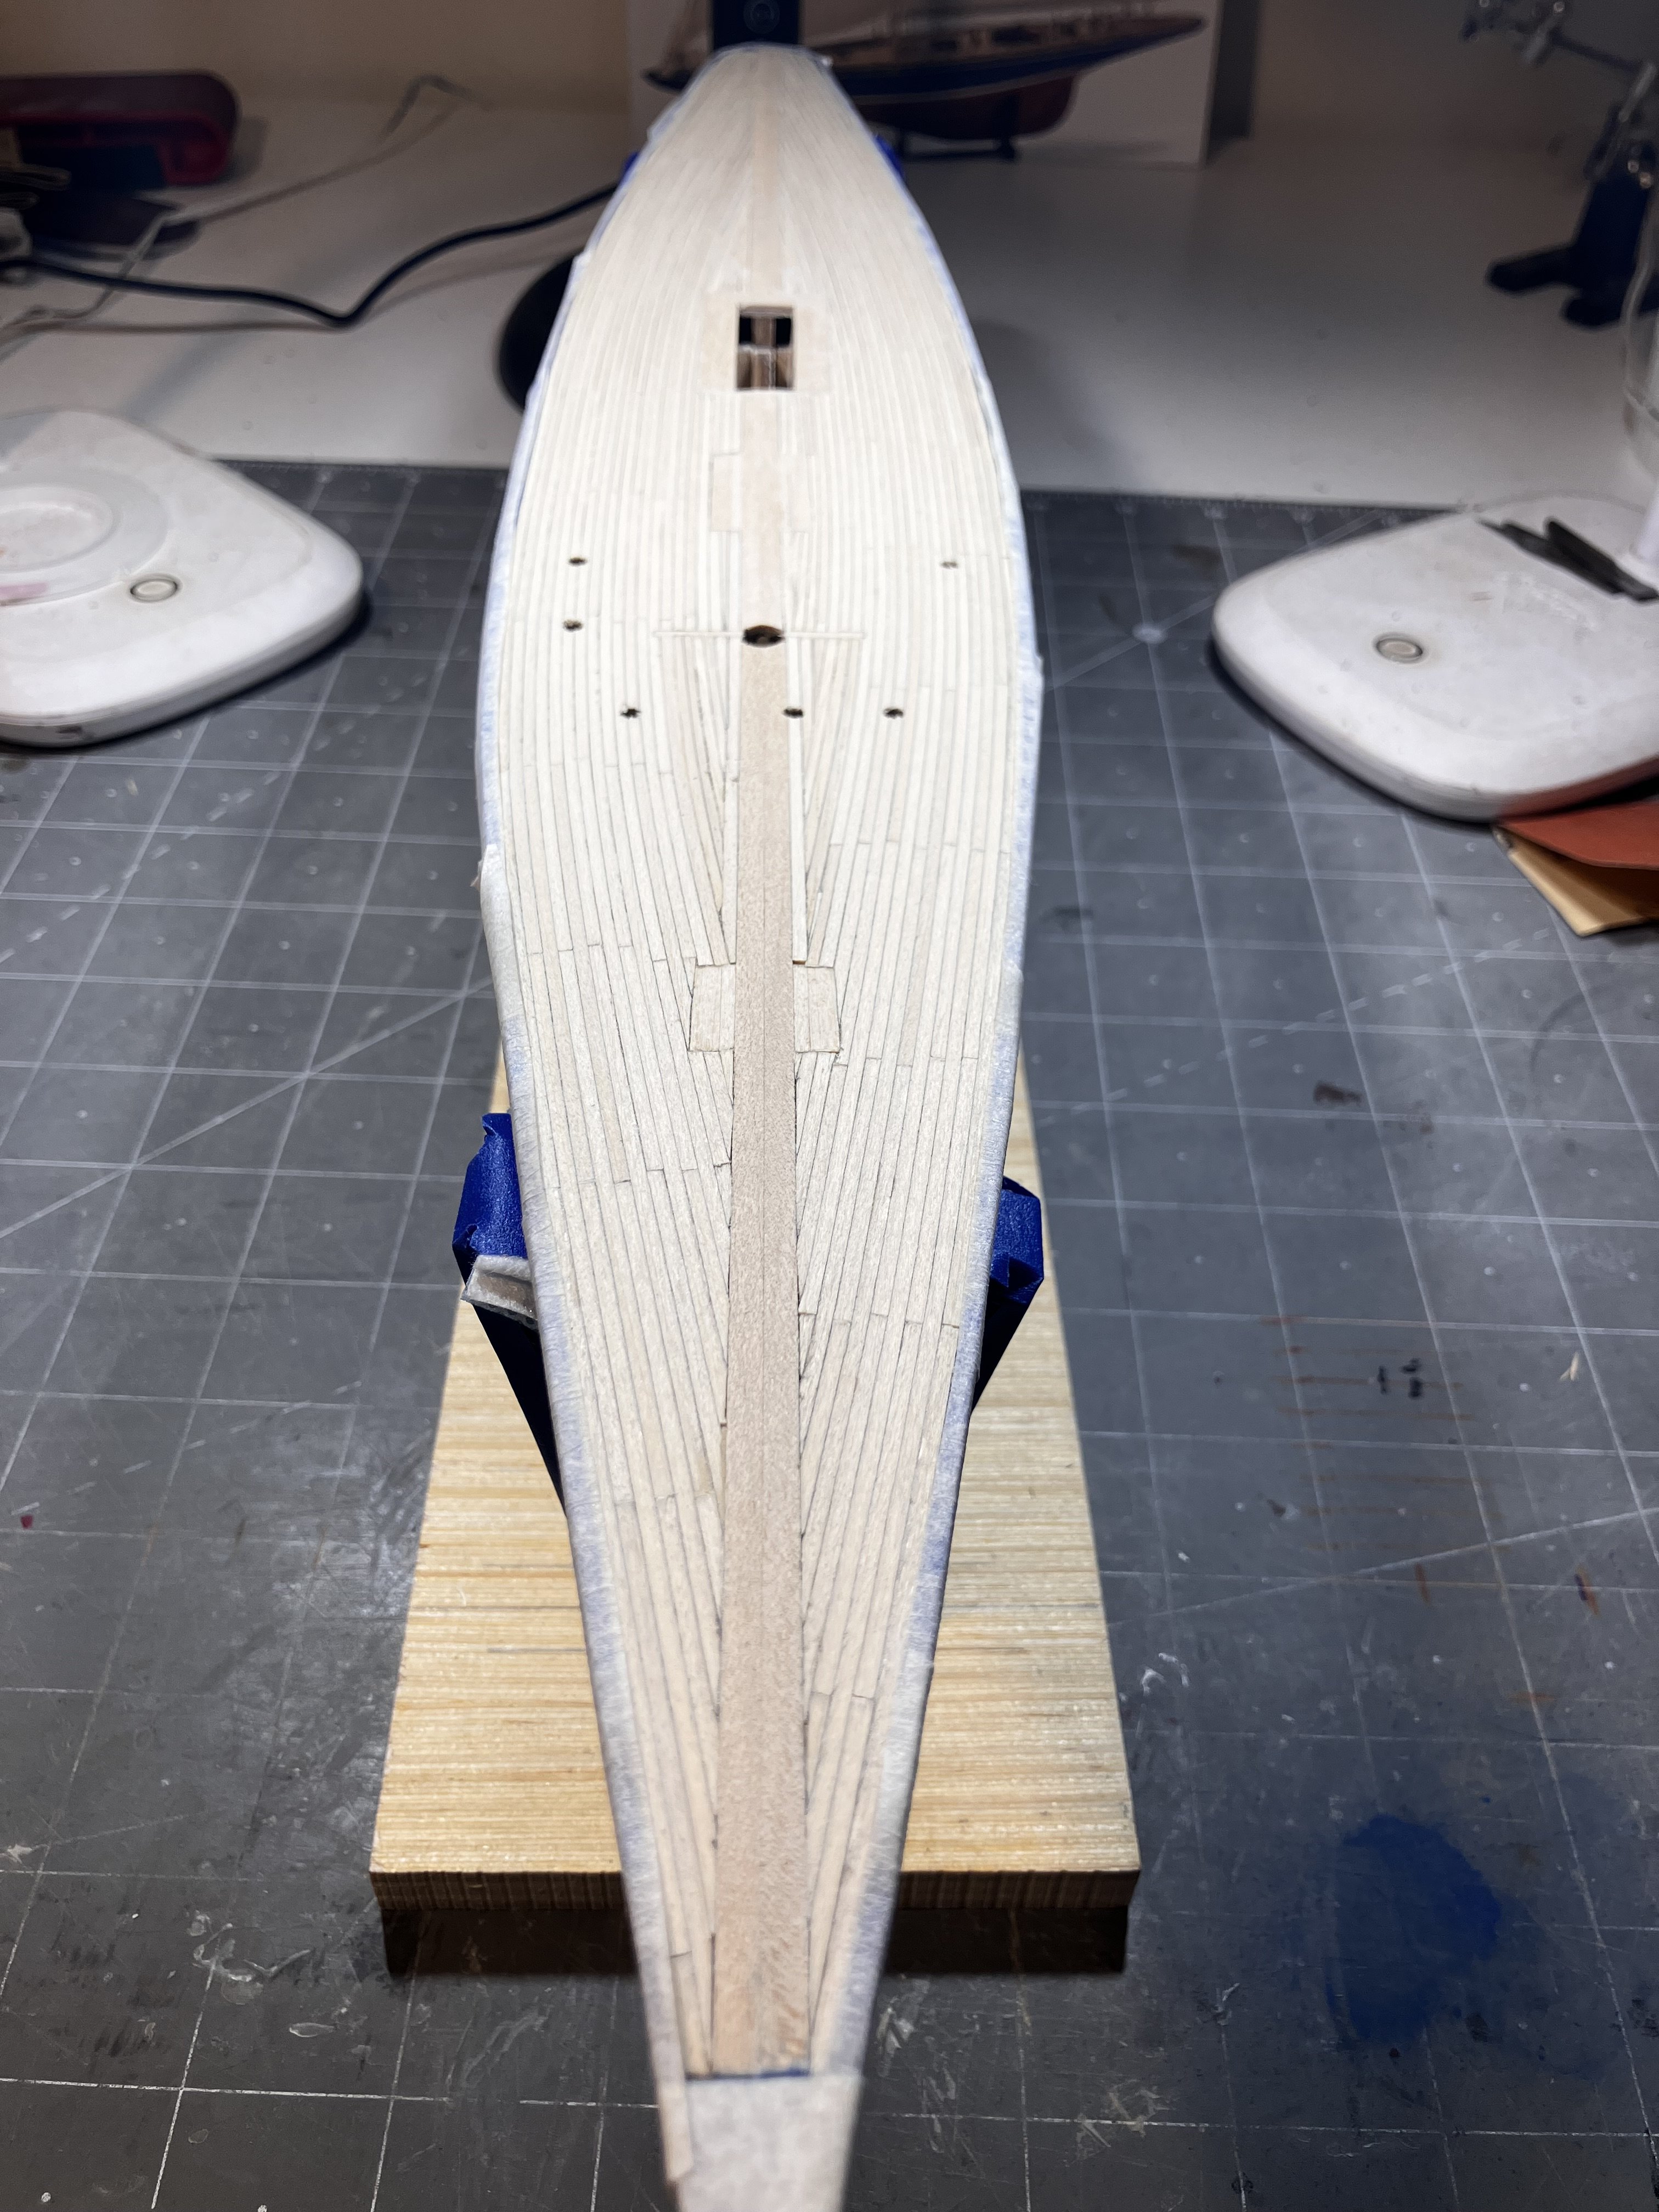
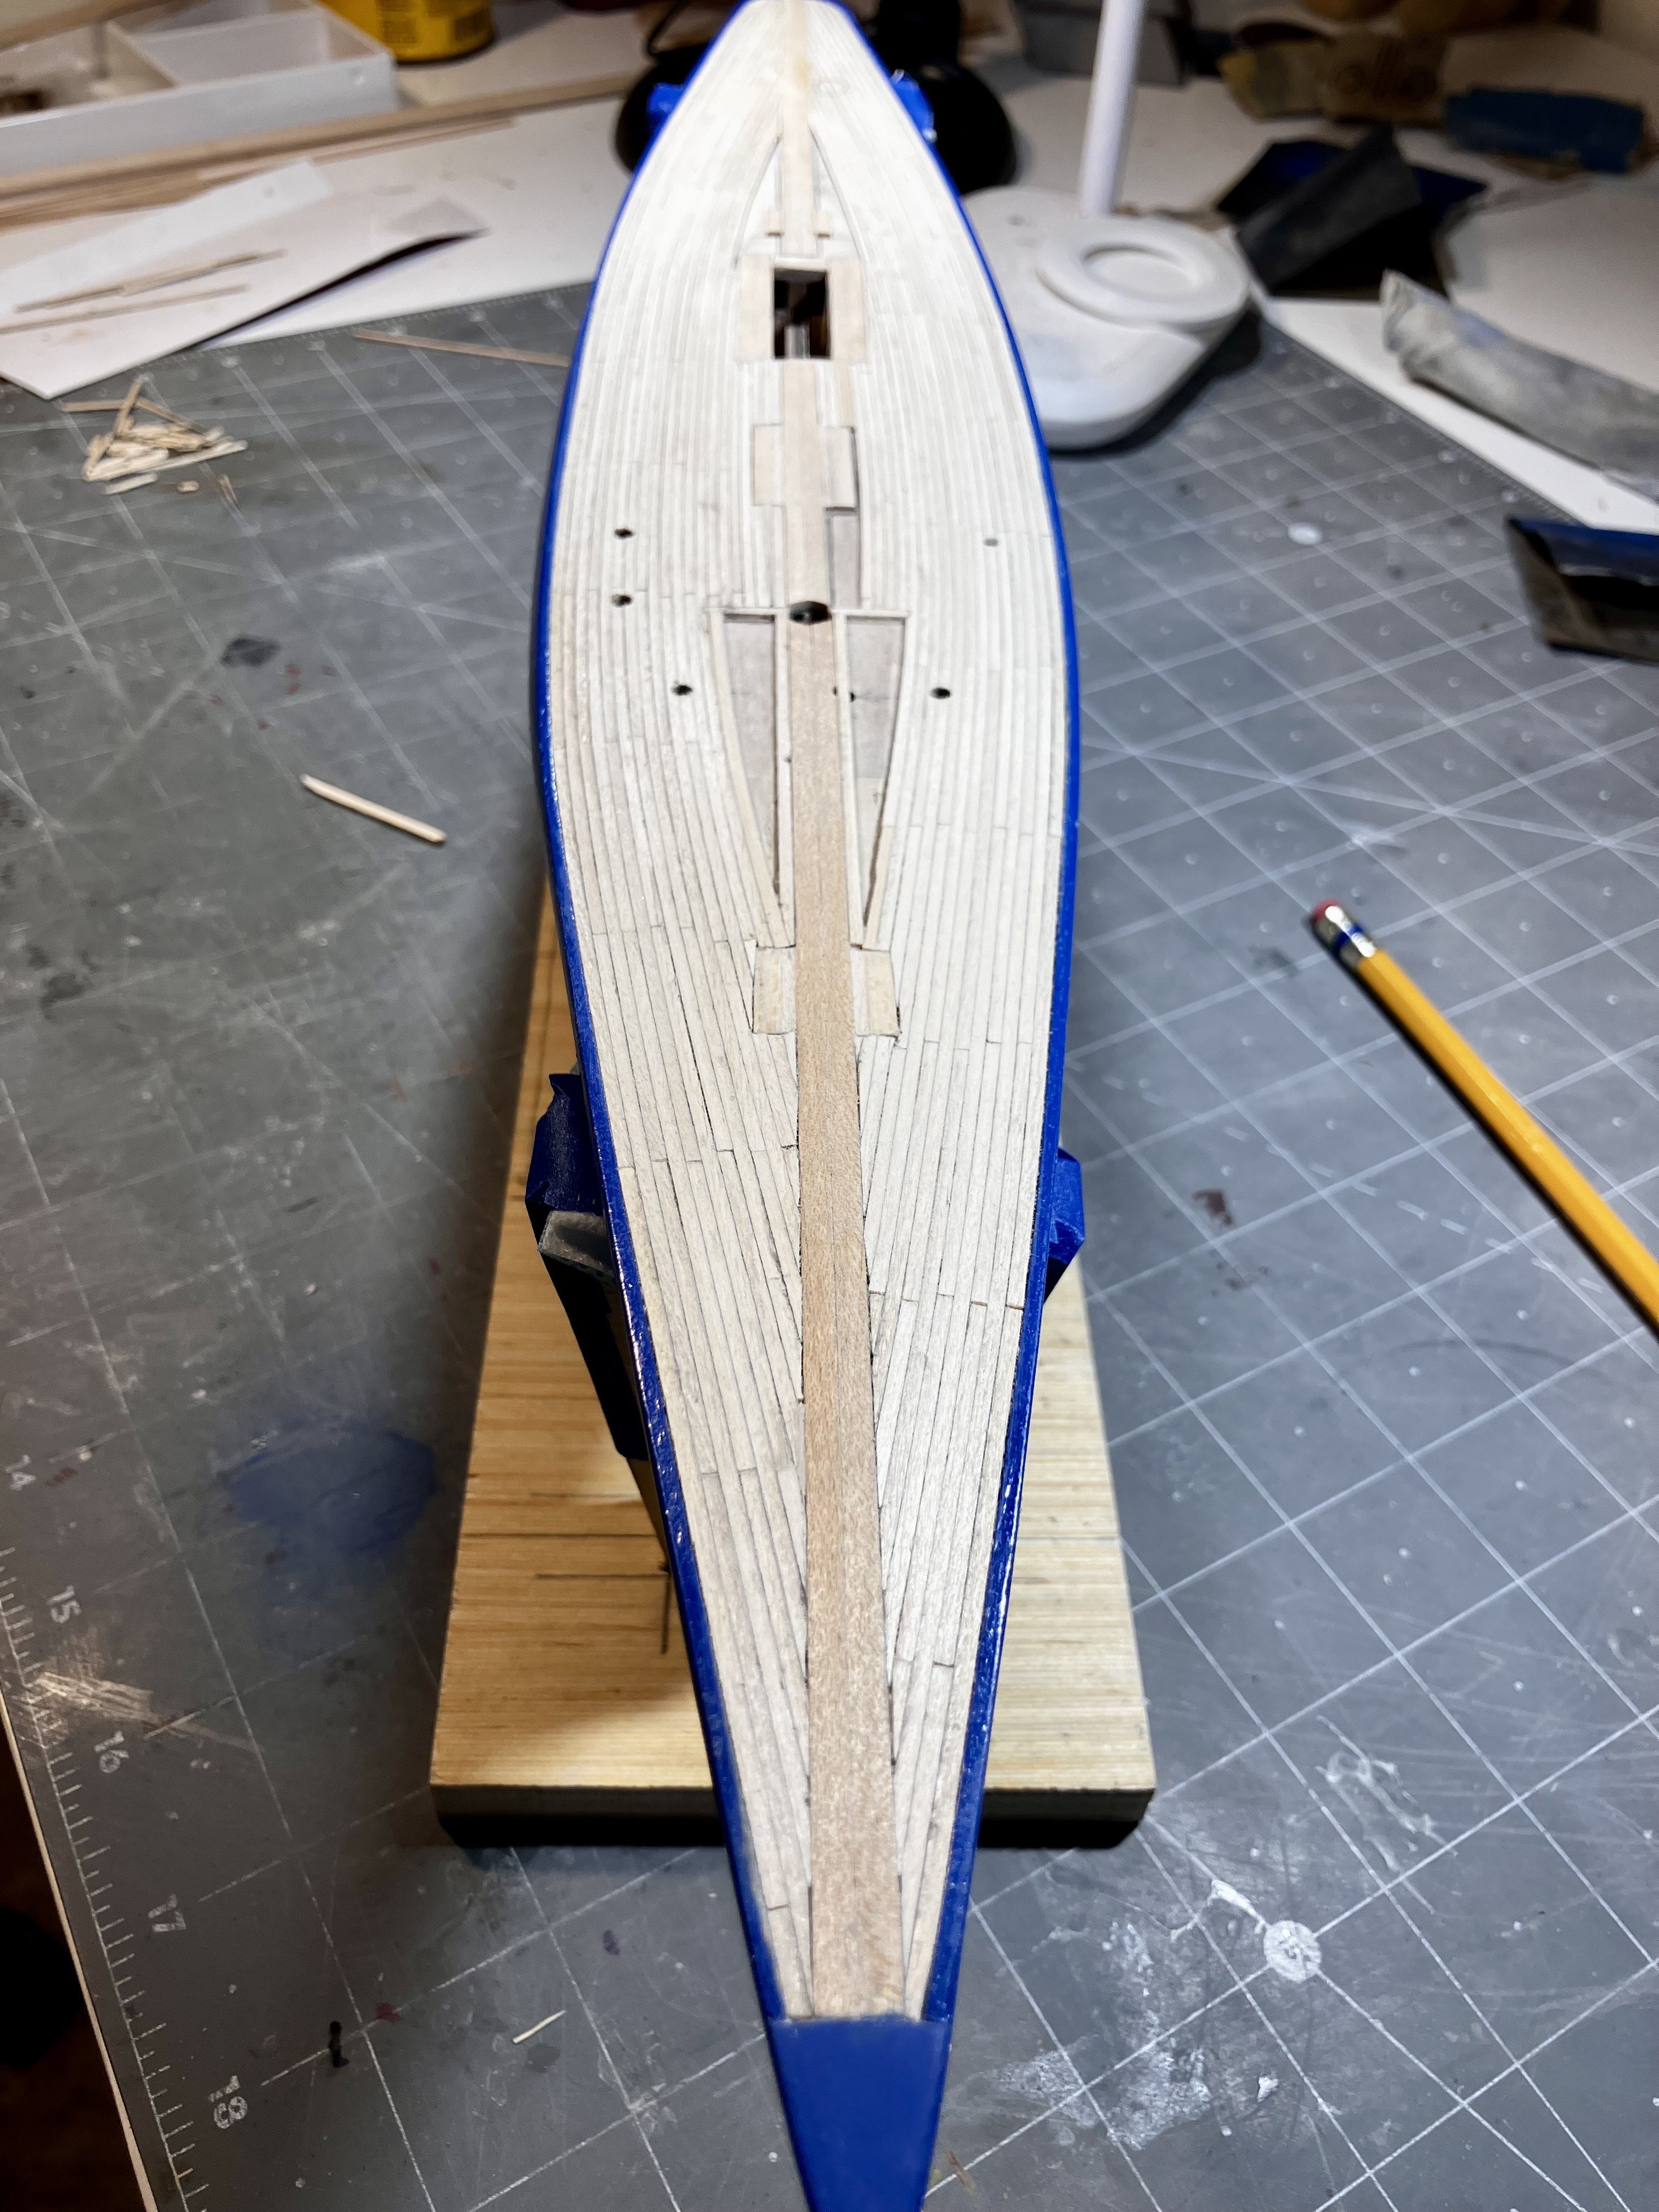
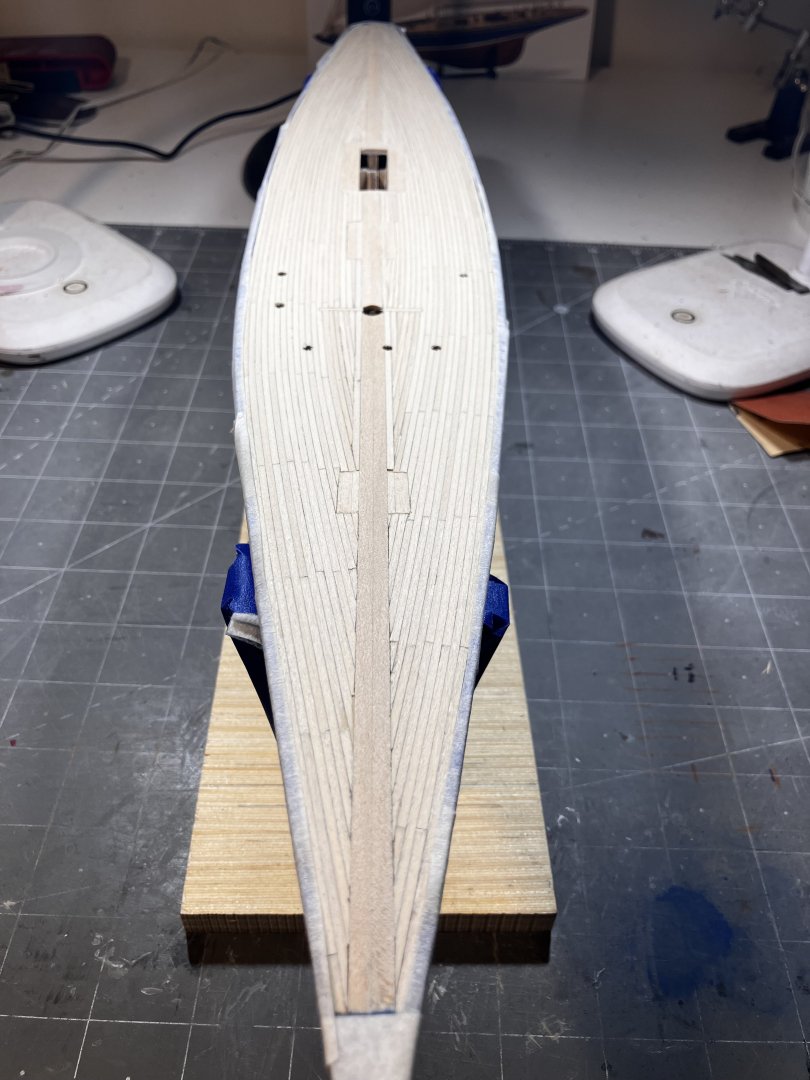
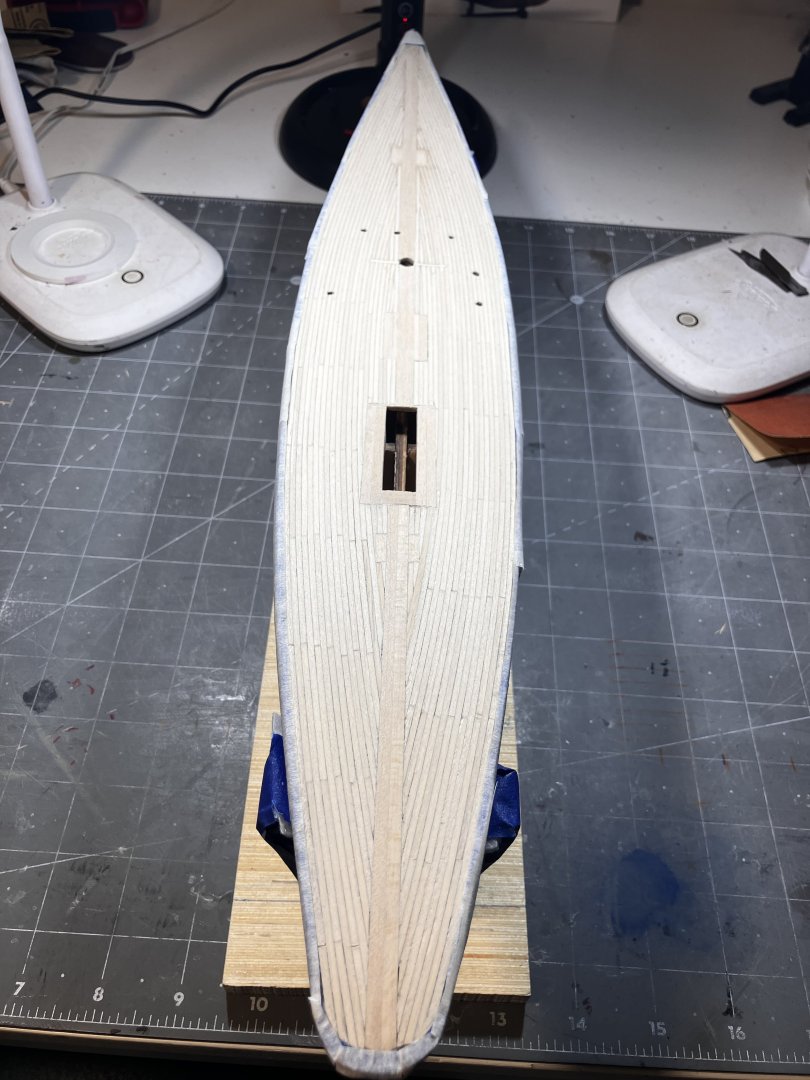
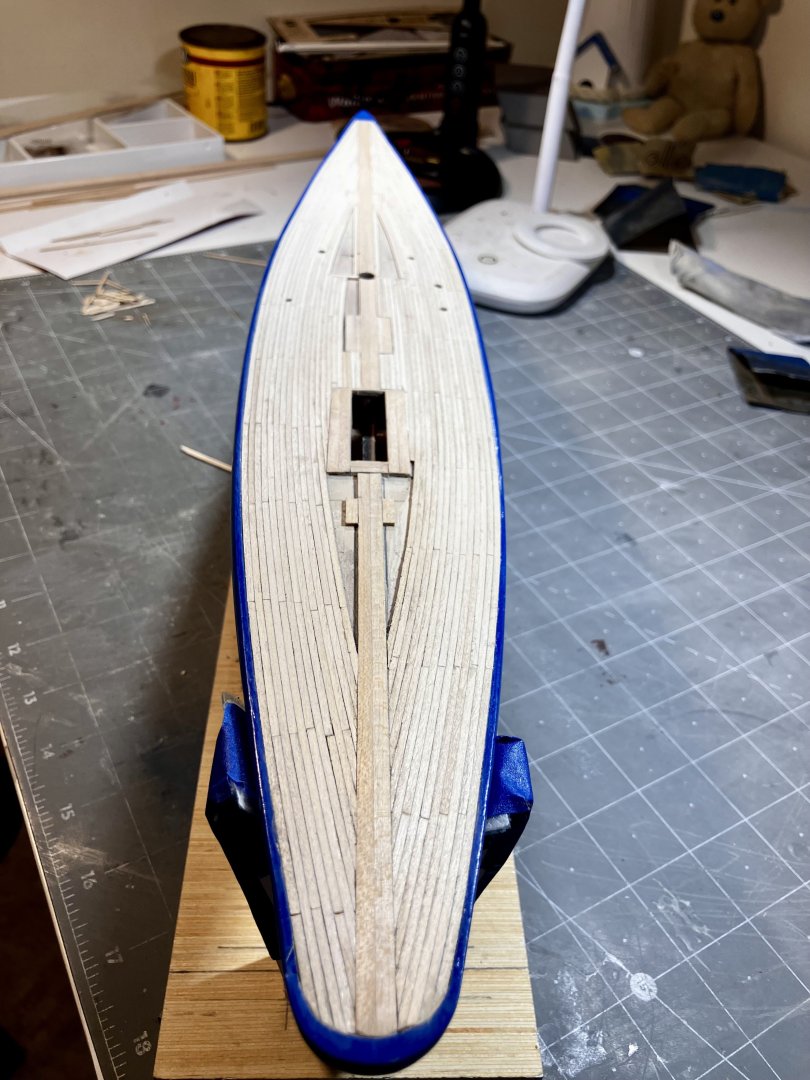
I have finished planking the deck, the maple milling was a success I masked off the top rim and wiped some chlorine onto the wood to whiten it up a little and bring a bit of uniformity to the wood tone. As with any moisture that is applied to finished wood, it will raise the grain so the deck will need a light sanding with 200 grit before I do anything else. Depending on the results, I may apply another coat of chlorine, it all has to dry thoroughly first. After that the hull will get its final coat of paint and then, once dry, a clear coat over the whole thing.
-
Impressive looking ship there Phil. I am enjoying seeing her come together sir.
- 288 replies
-
- 4
-
-
-
- Card
- Pre-Dreadnought
- (and 3 more)
-
Nice, methodical work. The results speak for themselves.
- 332 replies
-
- 1
-
-
- Harpy
- Vanguard Models
- (and 1 more)
-
Good morning, John, I will be heading out to the wood shop in a few minutes. I am hoping the maple won't give me any trouble. I used to shear off veneer strips with my table saw when I was making cutting board edges. I am planning on using the same technique to fabricate the 2mm thick strips and then slice them to 1mm width with a straight edge guide and a sharp Exacto knife. We will see
-
I am almost done with the deck planking but have run into a bit of an issue. I find now that I wasted too many of the strips while I was stain testing before I began laying the planks, rookie mistake I admit. I literally need only 10 more 3" strips to complete the deck. I do have some maple blanks out in my wood shop and tomorrow I will go and see if I can get some of that down to 1mm x 2mm x 75mm or there abouts to finish off the deck Once complete I aim to "bleach" the deck planks to brighten them up a little before I go on to the next step of finishing the paint job and sealing the hull. My original intention was to have all that done before I did the deck but, as I have said, I had to handle the hull too much during the deck planking that it got scuffed a little. Live and learn.

-
I like this idea. I used to teach 3D design and print and had access to Fusion when I was at the school. Nice design by the way, Peter. I have been toying with the idea of adding "life" to the sails when they eventually go on the Endeavour. This might just be the ticket.
-
Peter, That picture literally spoke a thousand words. I had several ideas as to how I was going to do this, now I have one. Thank you!
- 222 replies
-
- 2
-
-
- sultana
- model shipways
- (and 1 more)
-
The symmetry on that hull is a beautiful thing to look at. Nicely done!
- 332 replies
-
- 1
-
-
- Harpy
- Vanguard Models
- (and 1 more)
-
Steve, This is a great summary and a very interesting and fact filled "report". I particularly liked the Wipe-On Poly solution. I too will tuck all this away for future builds. Thank you!
-
I use this technique quite often too Keith and for that very reason!
-
Hello with first question on my first build
SaltyScot replied to Ratdude's topic in New member Introductions
Being a lover of any old wood I think what you have done here is fantastic. What a beautiful display piece! Congrats on the build and welcome to this wonderful forum! -
That is some fiddly work there Chris but it is coming along. We are all obviously very self critical of our work and that is what makes us strive for perfection. That being said, let us remember the words of Salvador Dali - "Have no fear of perfection - you'll never reach it"
-
Question for you.... in the first pic of this post I see you stropped the blocks. Did those wire eyelets come with the kit or did you fabricate them yourself and wrap them round the blocks? The reason I ask is because that was what I was thinking of doing with mine.
-
That is quite the kit and she is starting to look very nice!
-
You certainly have your work "cut out" for you there, Phil
- 288 replies
-
- 8
-

-
-
- Card
- Pre-Dreadnought
- (and 3 more)
-
Thank you for the info there sir. Sadly I stained the hull earlier on this afternoon. That being said, I will definitely take your advice and use it if I come across a situation like this again. There will be a way round all this
-
I can only agree with Bob there Glenn. Very nice indeed sir.
- 241 replies
-
- 1
-
-
- Vanguarrd Models
- Harpy
- (and 1 more)