HOLIDAY DONATION DRIVE - SUPPORT MSW - DO YOUR PART TO KEEP THIS GREAT FORUM GOING! (Only 13 donations so far - C'mon guys!)
×


SaltyScot
-
Posts
853 -
Joined
-
Last visited
Content Type
Profiles
Forums
Gallery
Events
Everything posted by SaltyScot
-
 I am honored, Peter. Thank you.
 -
I am in a similar position. I have the OcCre kit sitting on my shelf waiting for room on the table. Once I compete my Lynx build, the Endurance will be next. Like you implied, there are a wealth of resources here and different build logs to help us along once we do get started. Bon Voyage!
-
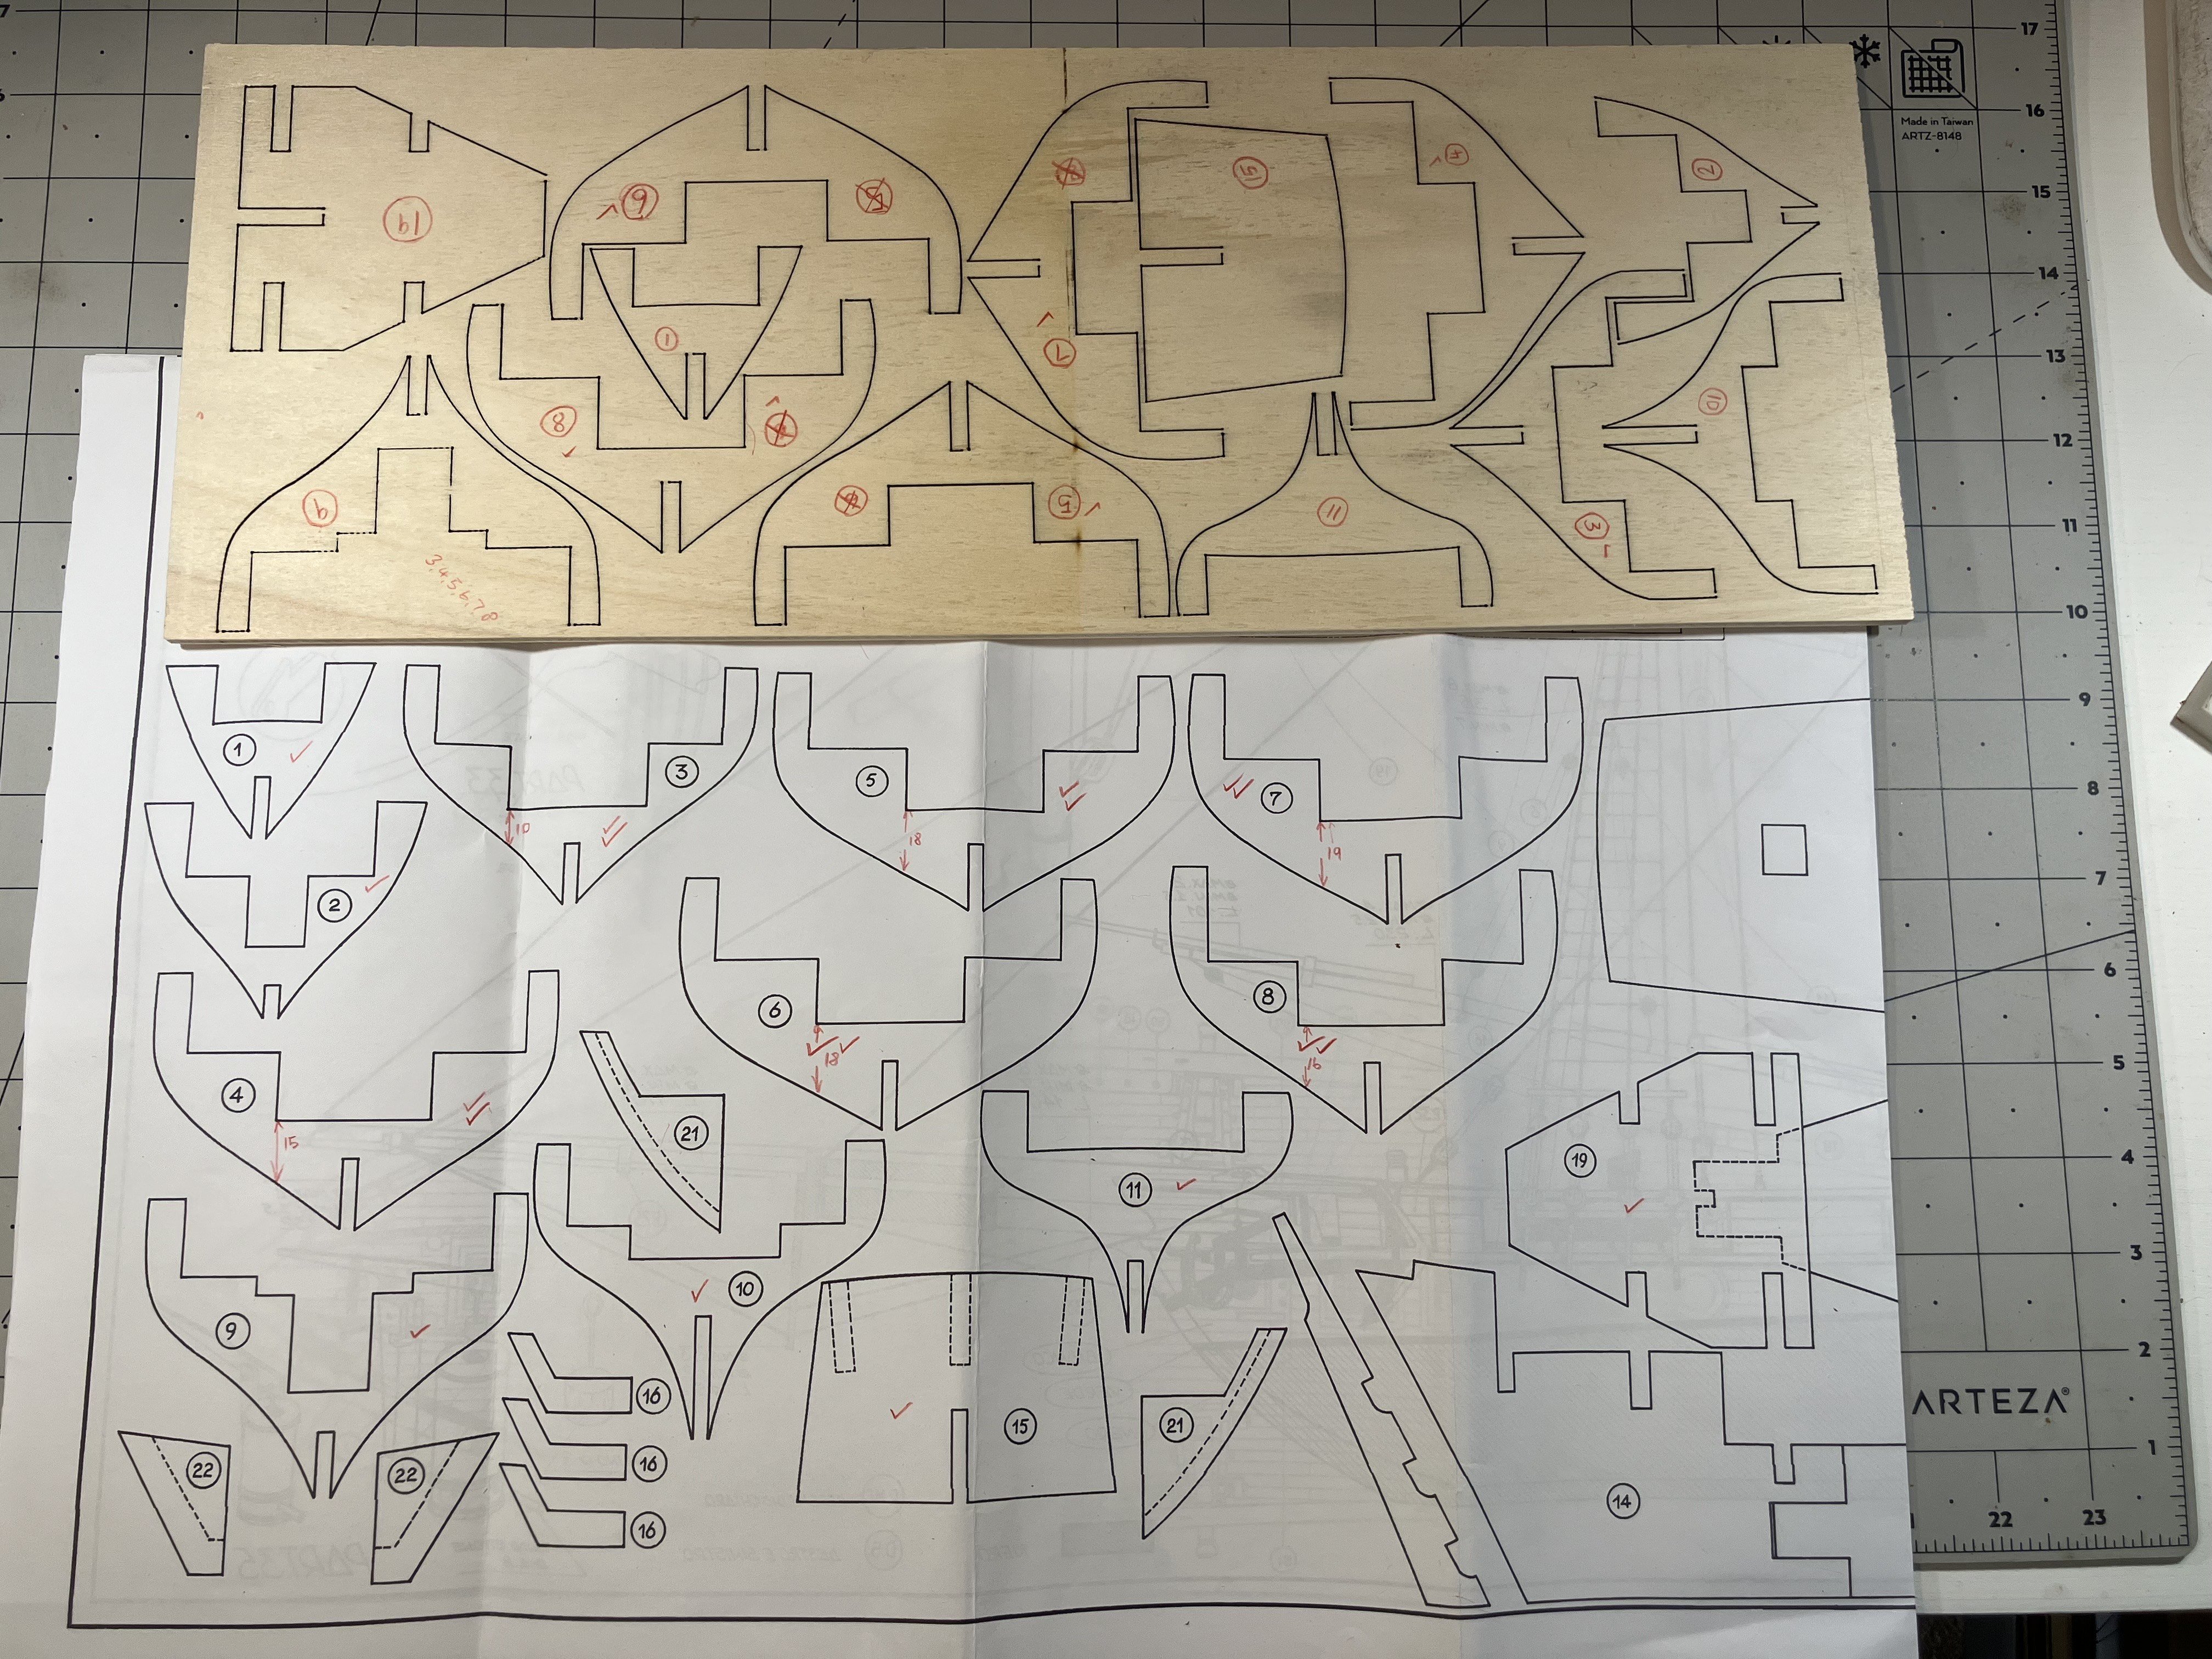
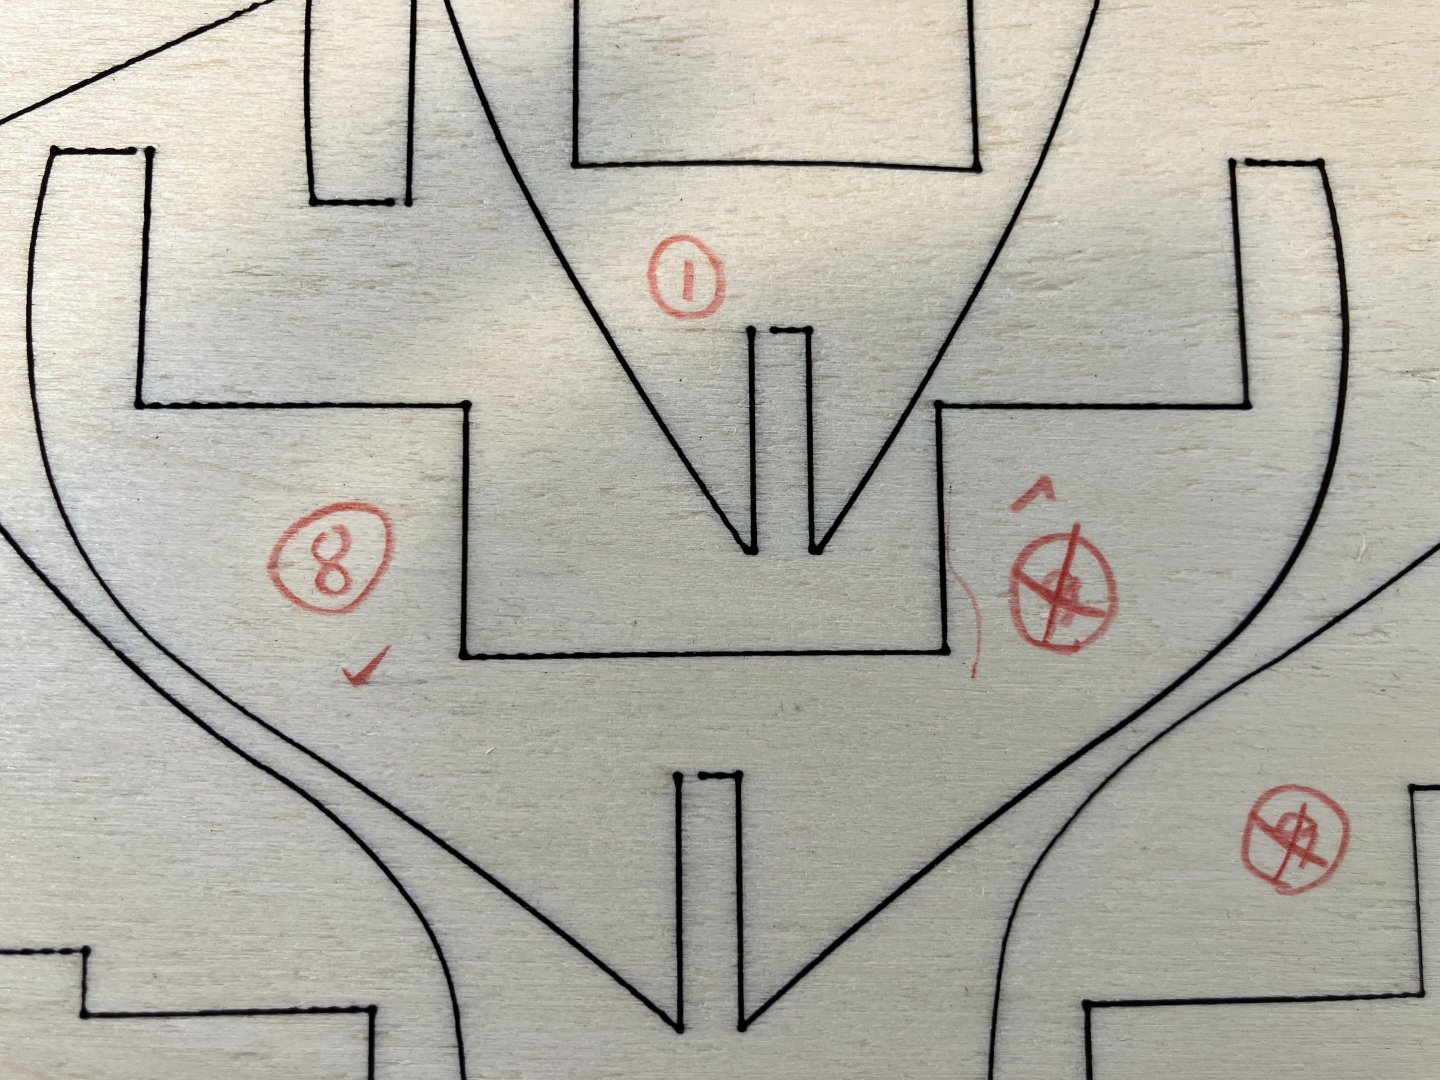
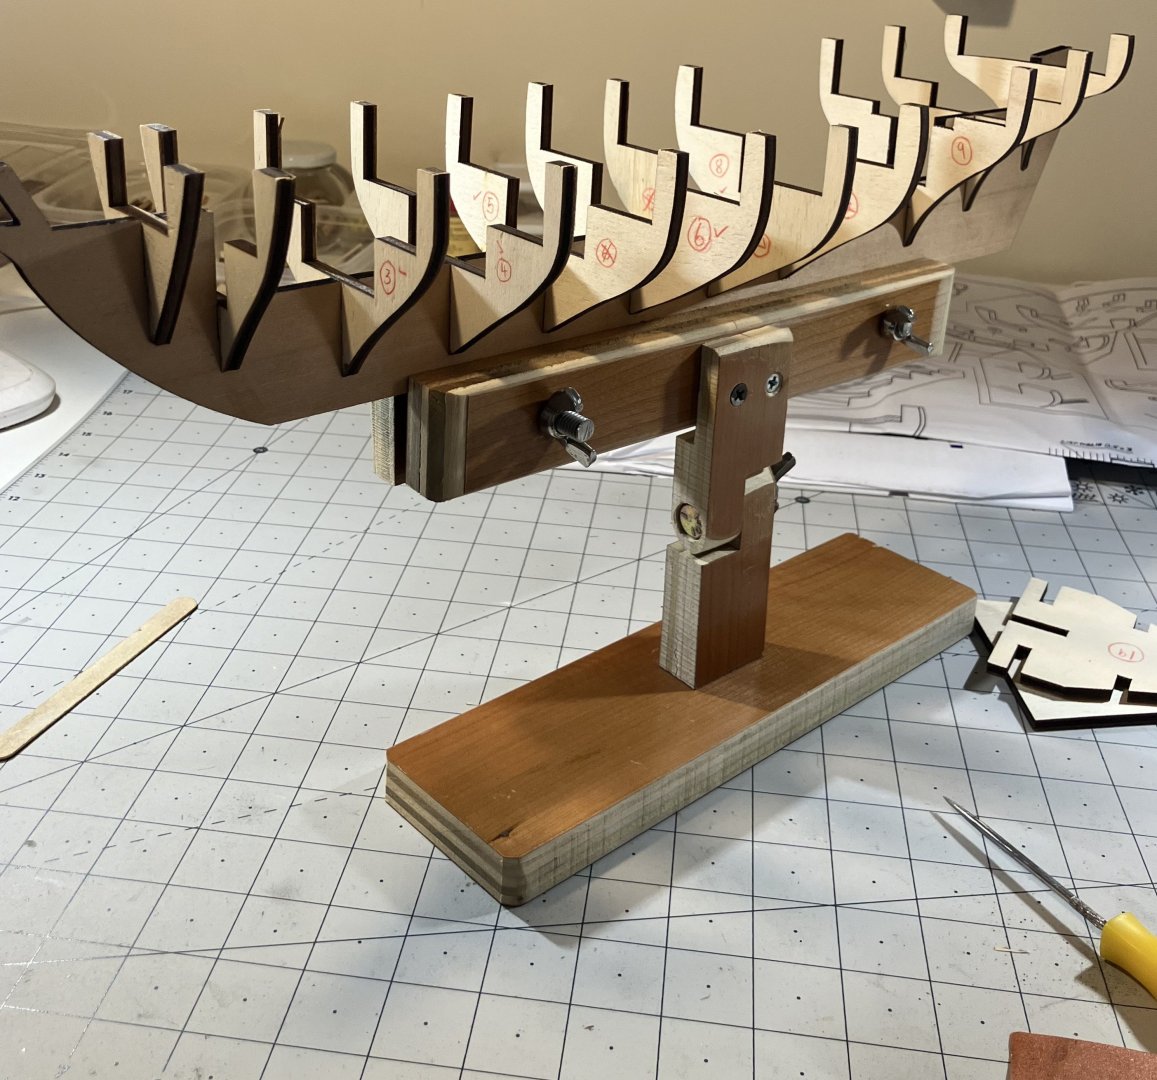
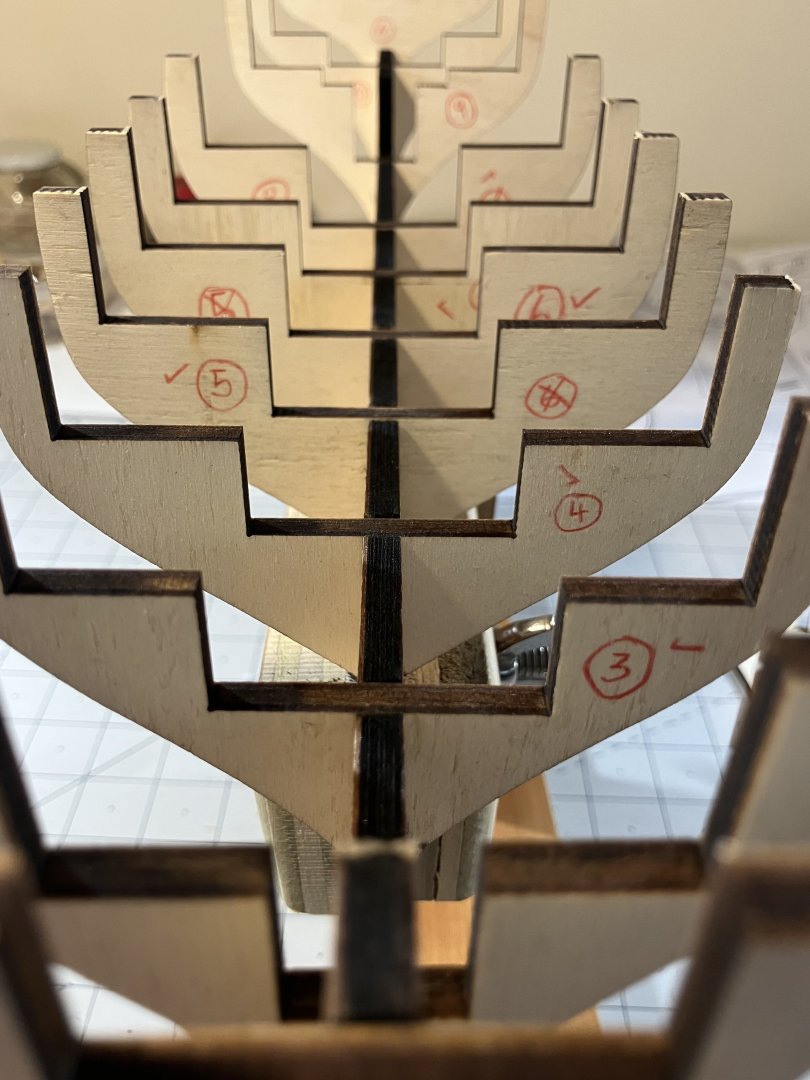
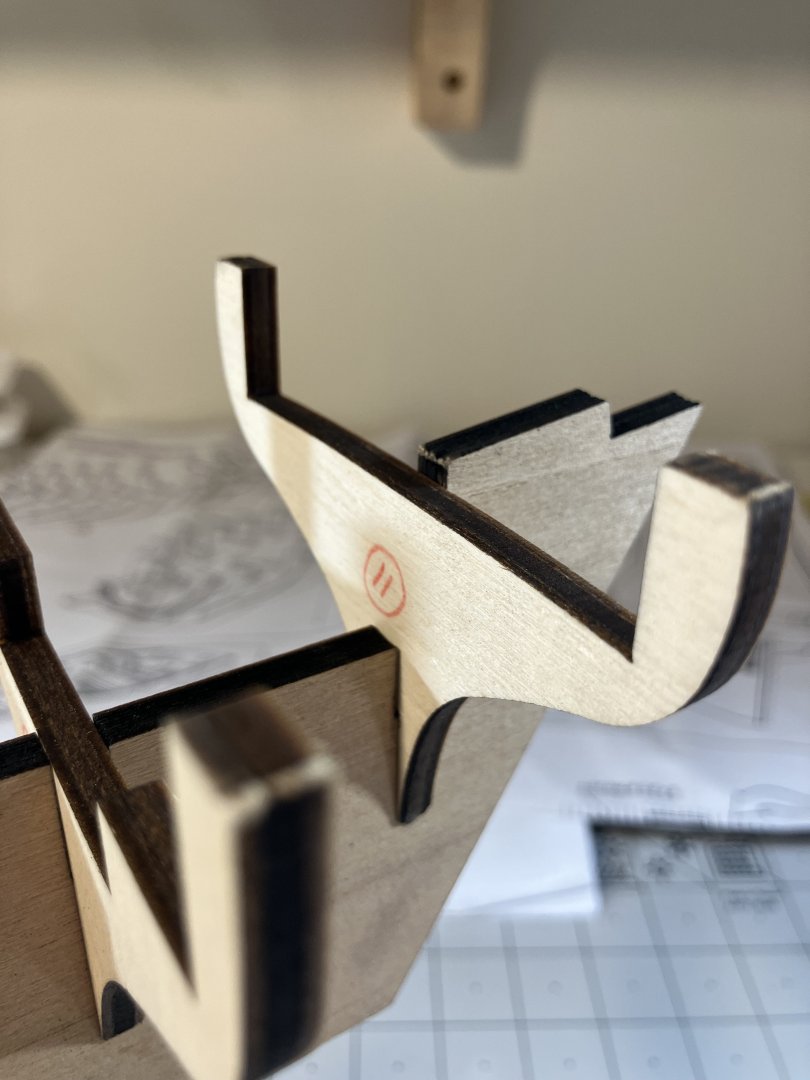
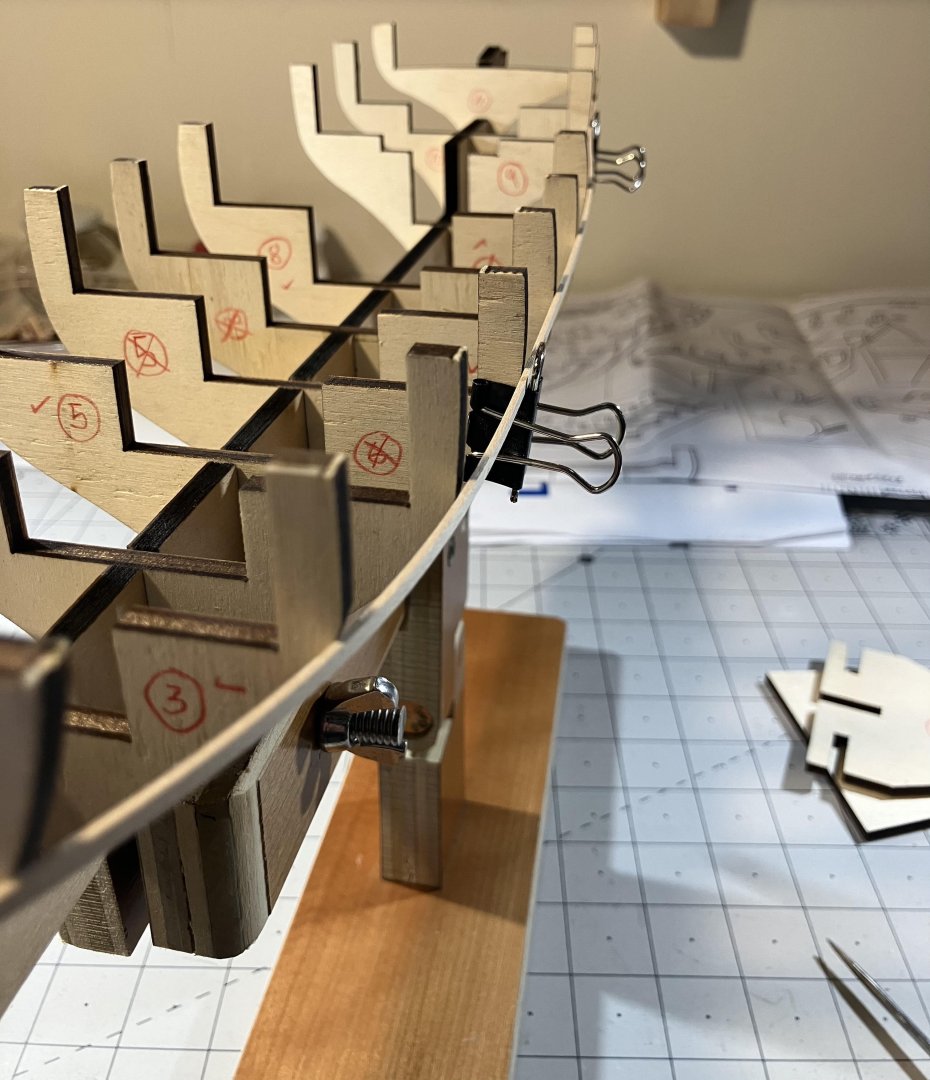
The first order of business was to identify the relevant bulkhead pieces and match them to the ones in the plans. A few of these pieces are extremely similar in size and I had to do some precise measuring to be able to determine exactly which one was which (which is why there is more than one number on some of the pieces). The pieces were then carefully removed, lightly sanded to remove any leftover burrs and dry fitted to the keel. It all looked good and straight but it was evident that some of the bulkheads were not sitting flush with the top of the false keel. The worst bulkhead was # 11. I will shim all the necessary ones once I finally glue them all in place. I clamped a spare plank along the bulkheads to get a feel for the run of the planking lines. It didn’t look all that bad actually. Once I raise bulkhead #11 to its rightful place this may change somewhat.

-
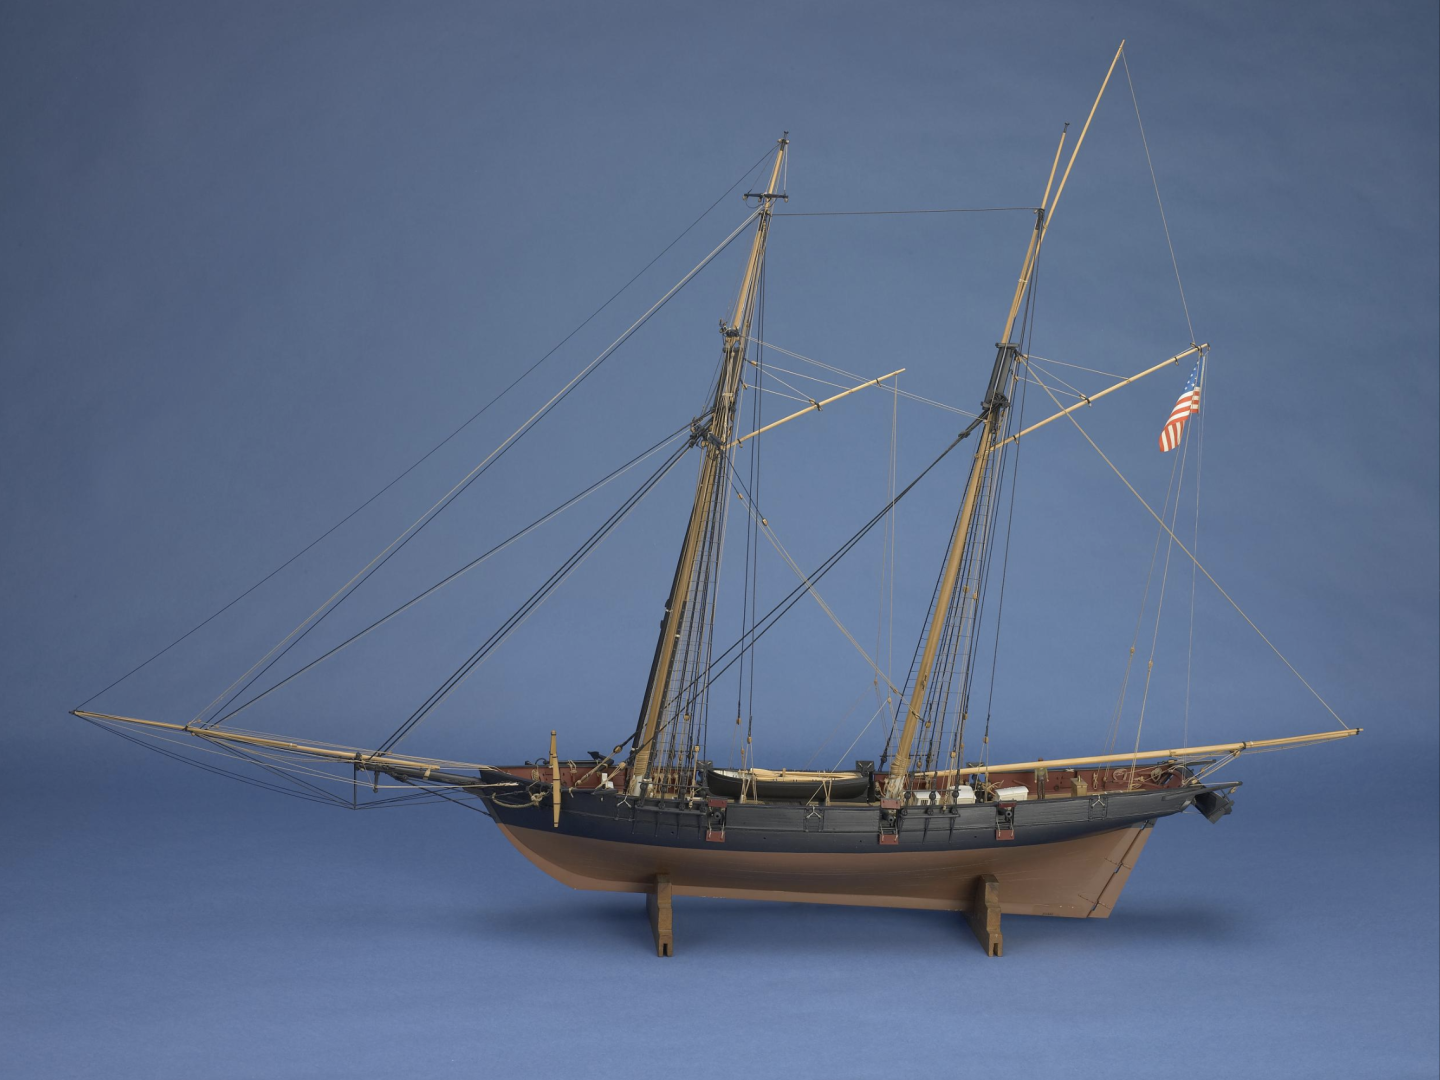
I have decided to embark on an exciting new project that promises to be both challenging and rewarding for me, the Panart "Lynx" 1812 Baltimore Clipper/Schooner build. Stock Image In preparation, I have thoroughly examined numerous build logs of the Lynx from both MSW (including Gaffrig's build, and this one from Don) and other platforms. A common theme among these logs seemed to be the need for modifications to the kit to enhance historical fidelity. This has prompted me to conduct extensive research on the Lynx, because the historical significance of this vessel has certainly fueled my enthusiasm for accuracy. One of the more challenging realizations is the lack of original build plans for the Lynx itself. The only substantial drawings available are the draughts drawn up by the English after capturing her, renaming her Mosquidobit and sending her to England. (You can read her history here. Source: Wikipedia) I have found invaluable insights (including said drawings) in Howard Irving Chapelle's book, “The Baltimore Clipper,” as well as from the generous contributions of fellow forum members here who have provided references and resources - thank you all for your support! My intention is to model this ship based on Chapelle’s plans for the Mosquidobit, (from pages 82 through 85 of his book), in order to achieve the highest level of historical accuracy possible. And so, my journey begins anew…
-
Well, Chris, from where I am sitting I think you are doing a very nice job of her. Sure, a trained craftsman's eye (which I definitely don't have by the way) would pick up the small differences but how many of them do you have visit you on a daily basis? As far as your boating hiatus goes, it will be the same for me once fishing season starts again, I will be either out on my dock or out in our boat fishing!! Very excited about that. My only suggestion for the dust issue would be a spray can of compressed air perhaps? If you don't get it too close to the model when you use it, you should be able to blow away a lot of the dust. Keep on going like this, she is a beauty!
-
It looks good, Tom. I bet you did need a break after that too! She is coming along nicely, sir.
-
The first thing that popped into my mind on seeing this was, "Just put a quarter round on it like we do with baseboards in construction" Silly me.
- 332 replies
-
- 1
-

-
- Harpy
- Vanguard Models
- (and 1 more)
-
Sitting in there nice and snugly, Glenn. Nice job sir. Love the door handle mate!
- 241 replies
-
- 1
-

-
- Vanguarrd Models
- Harpy
- (and 1 more)
-
Received partially-built Corel Victory -- worth salvaging?
SaltyScot replied to SaltyScot's topic in Wood ship model kits
Absolutely! -
Amen to that, Kurt.
-
Always good to hear from you, Steve. Having to file that down made me finally mount the metal vise in my wood shop to hold it while I filed. I had the woodworkers vise already there but a metal screw head would have ruined the wooden vise faces.
-
Thanks for dropping by, Alan. Yep, I am excited to see how I can incorporate 3D printed parts into my future builds. I love that stuff, especially the design aspect of it.
-
That is some very neat and precise work there, Kurt. I agree with your choice of leaving the parts unpainted. If you did paint them, Murphy's Law dictates something will come up and you need to sand them
-
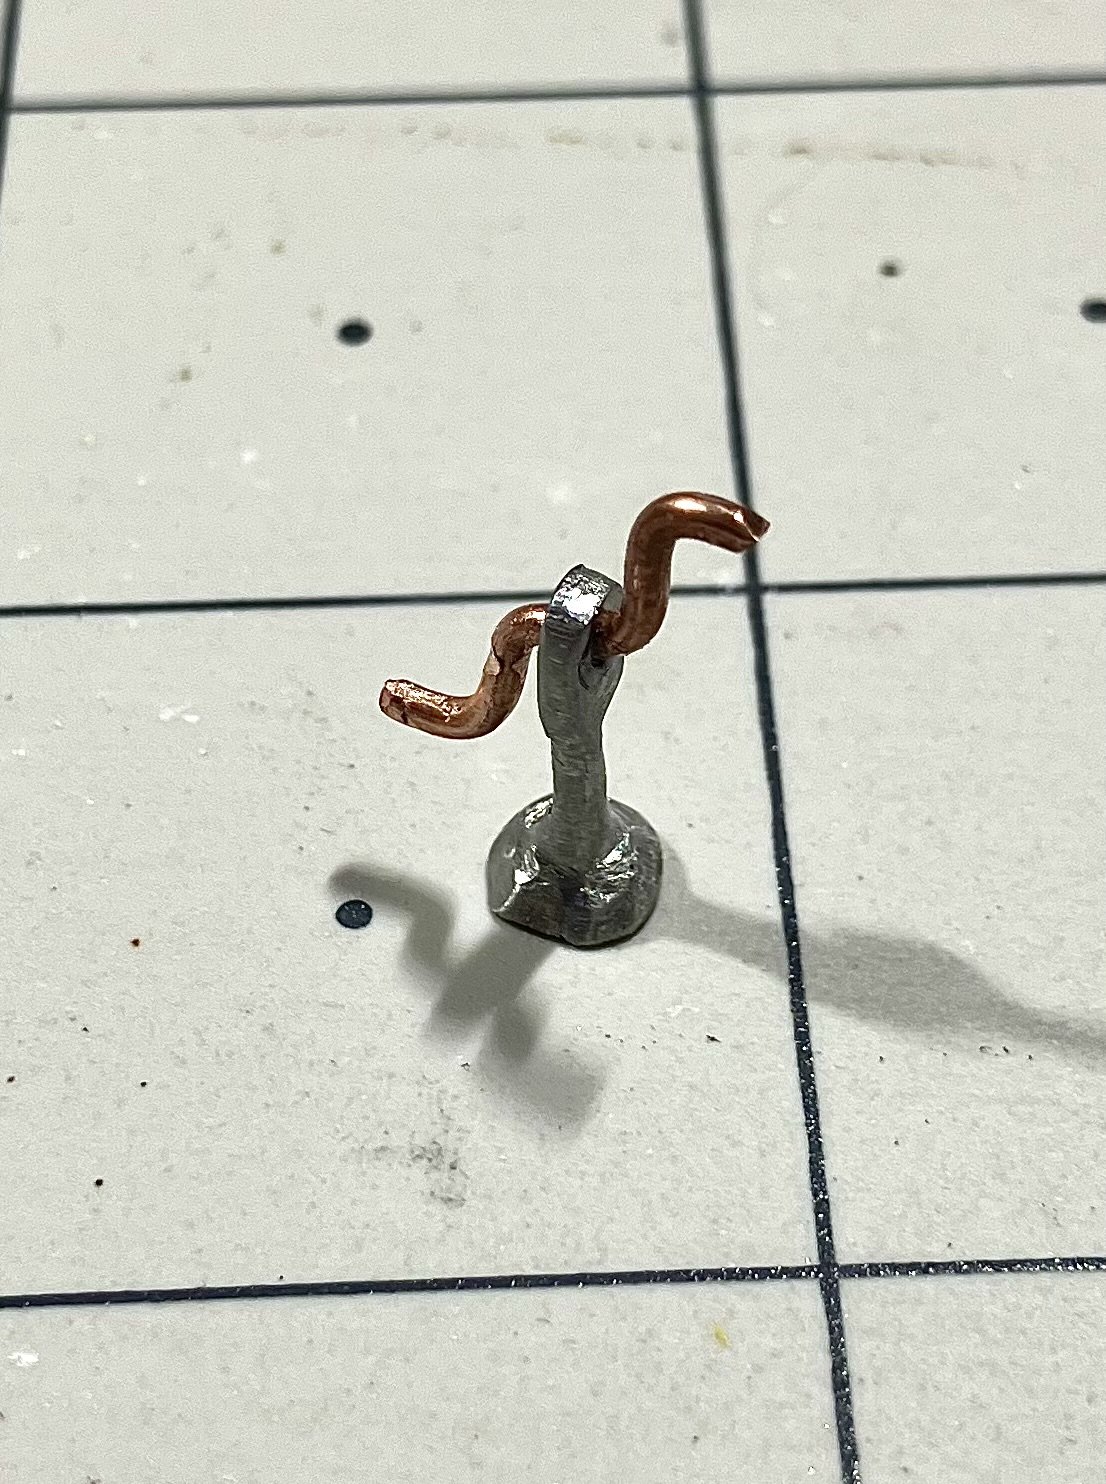
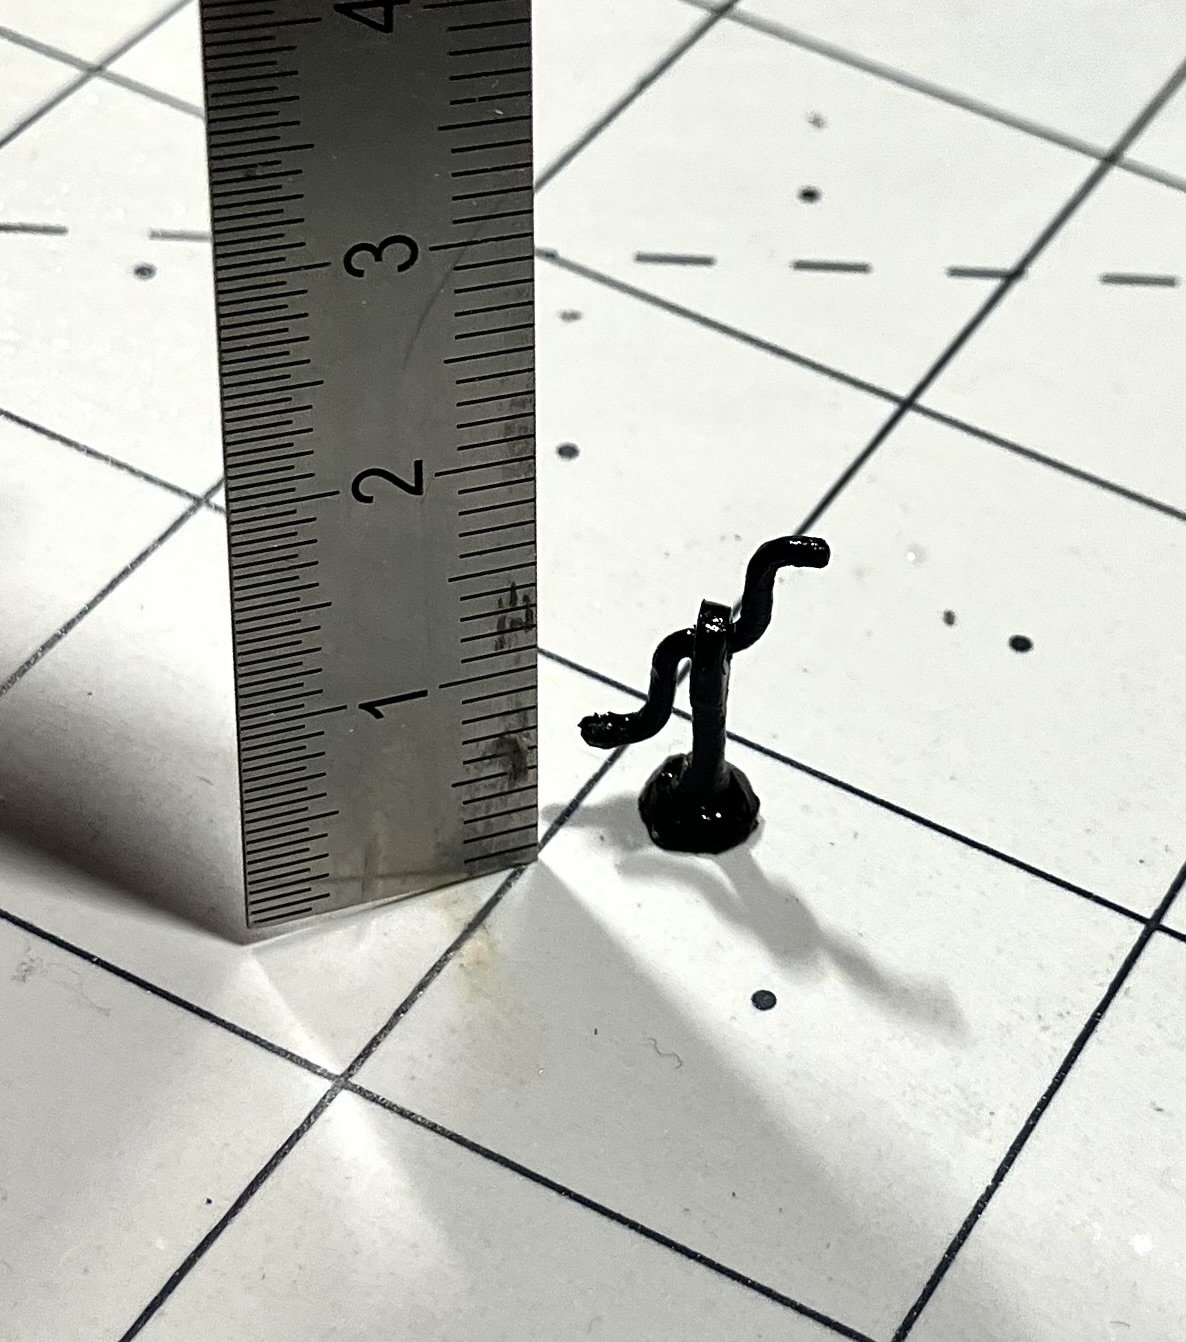
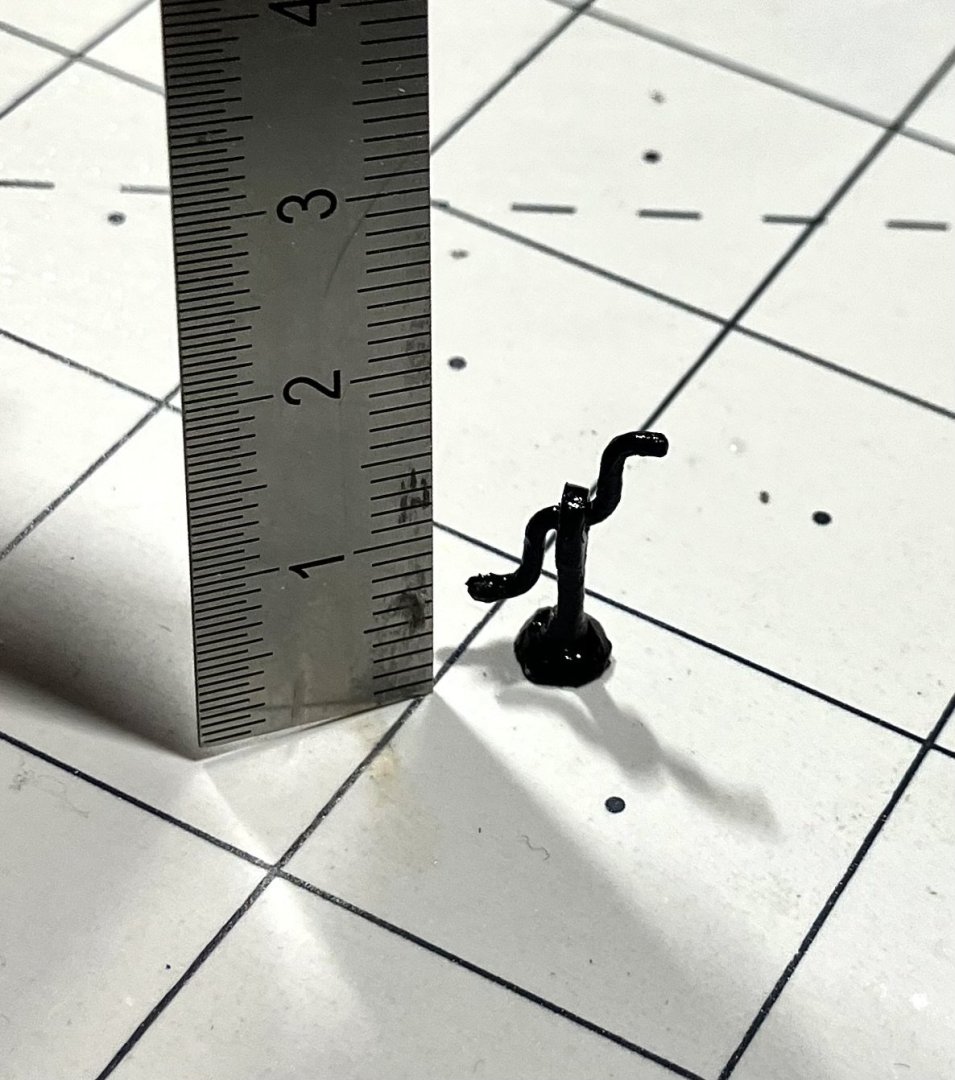
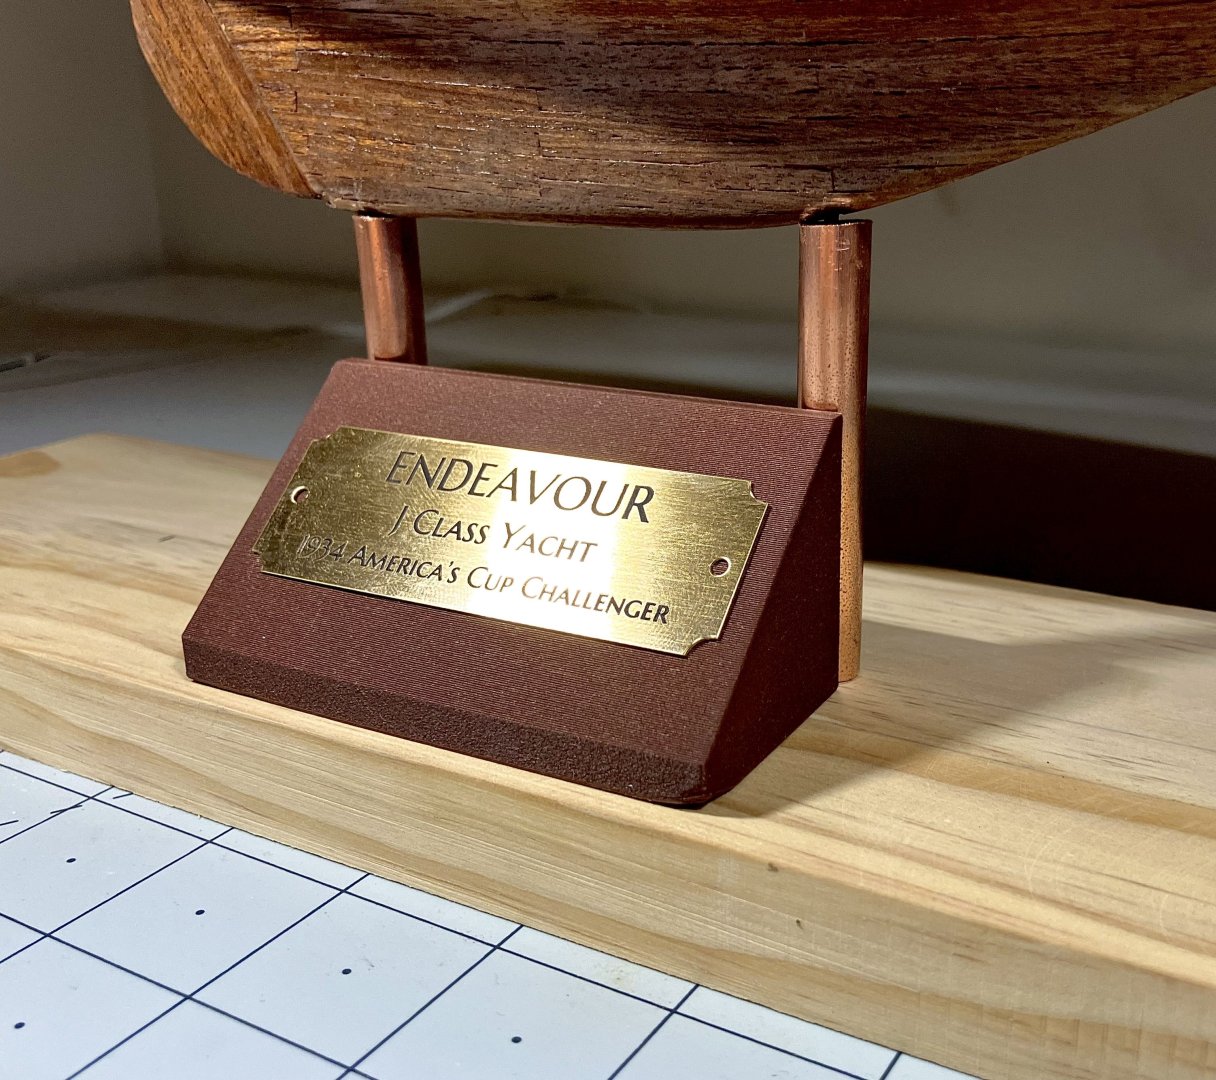
I finally got round to re-fabricating the pump that broke earlier on in the build when I tried to drill a hole in the head for the handles. I filed this down from a screw and added some bent copper wire for the pump handles. I also designed the stand for the plaque that will be displayed with the boat. I printed it out on the new 3D printer that finally arrived and am happy with the results.

-
Thanks, Steve, at least that gives me a direction to head in. The CEO has a few ideas of her own about it too. She is the seamstress in this venture by the way, if we choose to go that route, not me
-
Well, please don't think me ungrateful but I much prefer a nice single malt sir
-
She already volunteered to sew them for me, Keith. She wants the yacht on display in the living room as much as I do
-
The word "exquisite" comes to mind. Very nice work indeed. I was just admiring your weather from these pics down there in Key West. The CEO and I have decided to spend a month down there next February to escape the cold here on the Chesapeake. She is even talking about making it 2 months after the snow we just had
-
Roger that. That is not beyond the realms of possibility. It will be a fun project and you are right, it will look a whole lot better than the kit sails. Thanks again, Chris.
-
Chris, The CEO and I have discussed this and I have read about it on here too. My only concern is, the racing numbers will be missing from the mainsail. Is there a decal or a way to make those?
-
I am a doofus. I messed up when I was prepping the sails. Instead of mixing 50/50 white (Elmer's) glue with water to stiffen the sails, I mistakenly grabbed the Titebond bottle and mixed that 😖 I realized my mistake when I went back to my table and saw the two bottles of glue next to each other. Once it dried and after I ironed it, it was very splotchy. So, me being me, thought I would bleach it to get rid of the stains. BIG mistake. Doing that turned the sails pink! I guess the diluted bleach reacted with the glue. I have since been soaking the sails in a baking soda solution on a low simmer but there are still noticeable stains. Very frustrating but I am currently on the lookout for new sails to finish up the build. Who knows, perhaps this was meant to be and I will come across some really nice sails for her The search continues.
-
A warm (and windy) welcome to MSW from the Chesapeake Bay area!
-
Received partially-built Corel Victory -- worth salvaging?
SaltyScot replied to SaltyScot's topic in Wood ship model kits
Well, Phil, I was actually thinking of just using it as a "kit bash" to practice on. He gave me the box with the rest of the parts, it all appears to be there (there is a lot in the box). I shall dig through it at some time and make a decision but tossing it in the trash is not on the list