HOLIDAY DONATION DRIVE - SUPPORT MSW - DO YOUR PART TO KEEP THIS GREAT FORUM GOING!
×


SaltyScot
-
Posts
853 -
Joined
-
Last visited
Content Type
Profiles
Forums
Gallery
Events
Everything posted by SaltyScot
-
 Peter, you should be proud of this one. We all see our own mistakes and are constantly aware of them when showing our builds, I believe that is all part of the journey here. What I see here is a beautifully executed build, and it's only your second one, correct? You will be doing scratch builds before long, sir, of that I am pretty certain.
 -
That is a good, steady process, Glenn and it certainly works well judging by the look of that hull. Thumbs up from me sir!
- 241 replies
-
- 1
-

-
- Vanguarrd Models
- Harpy
- (and 1 more)
-
IMHO, I think urine a good spot where you are, B.E., leaving it as is I mean
- 332 replies
-
- 1
-

-
- Harpy
- Vanguard Models
- (and 1 more)
-
That, sir, is an understatement.... that is one fine looking ship! You should be more than proud with this result. I doff my cap at you, oh master
- 78 replies
-
- 4
-

-
- Derfflinger
- Flyhawk
- (and 2 more)
-
I love the flag idea, Peter! Another little gem from your collection that I will add to mine if you don't mind
-
Aha, got it. Thank you, sir.
-
I think you have done a fine job there, Glenn. Forgive my ignorance (I am a newbie to model ship building and have scant knowledge of the vernacular), but isn't a square tuck usually placed to strengthen the stern to support cannons and the like at the aft end of the ship?
-
That sounds like the best way to go moving forward, B.E. She is looking so very good right now.
- 332 replies
-
- 1
-
-
- Harpy
- Vanguard Models
- (and 1 more)
-
No problem at all, Keith, I was not at all offended sir. I had to smile when I read what you said about the winches, and I appreciate the comment
-
Sometimes (more often than not actually) it is the small details that make all the difference. Those coils certainly bring some life and a spot of realism to the model, Peter. Nicely done. I like your little check list too!
-
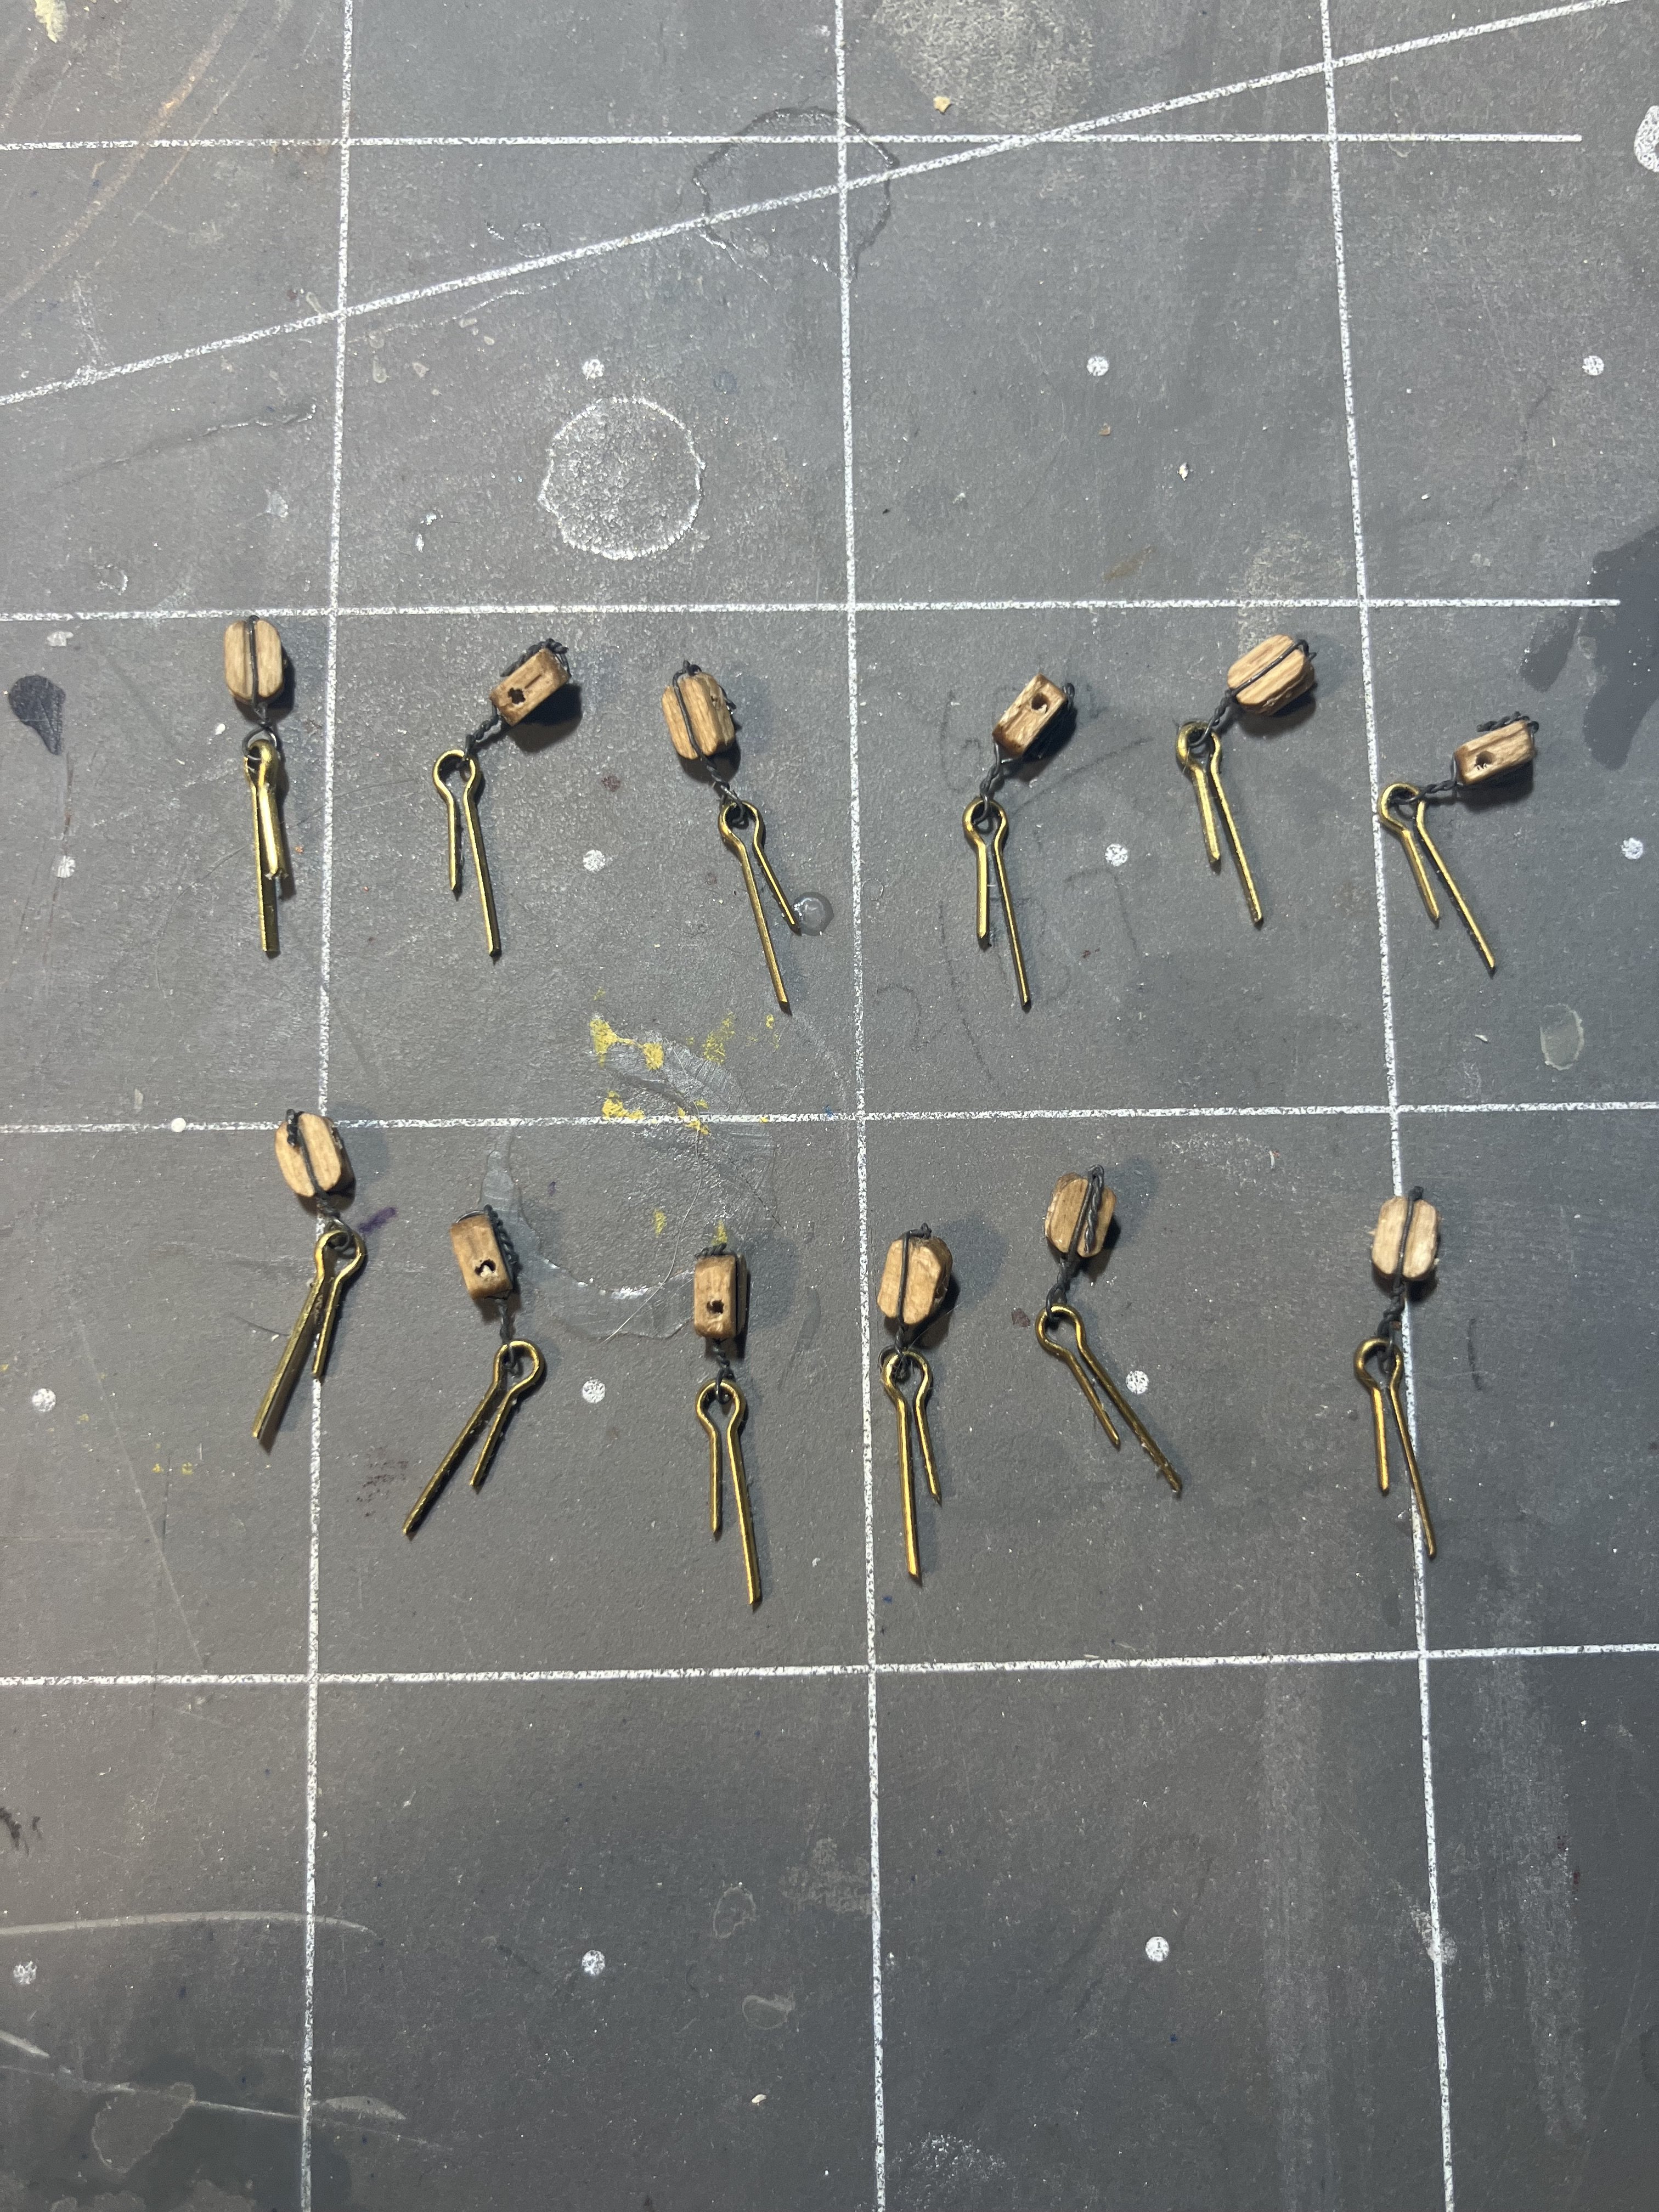
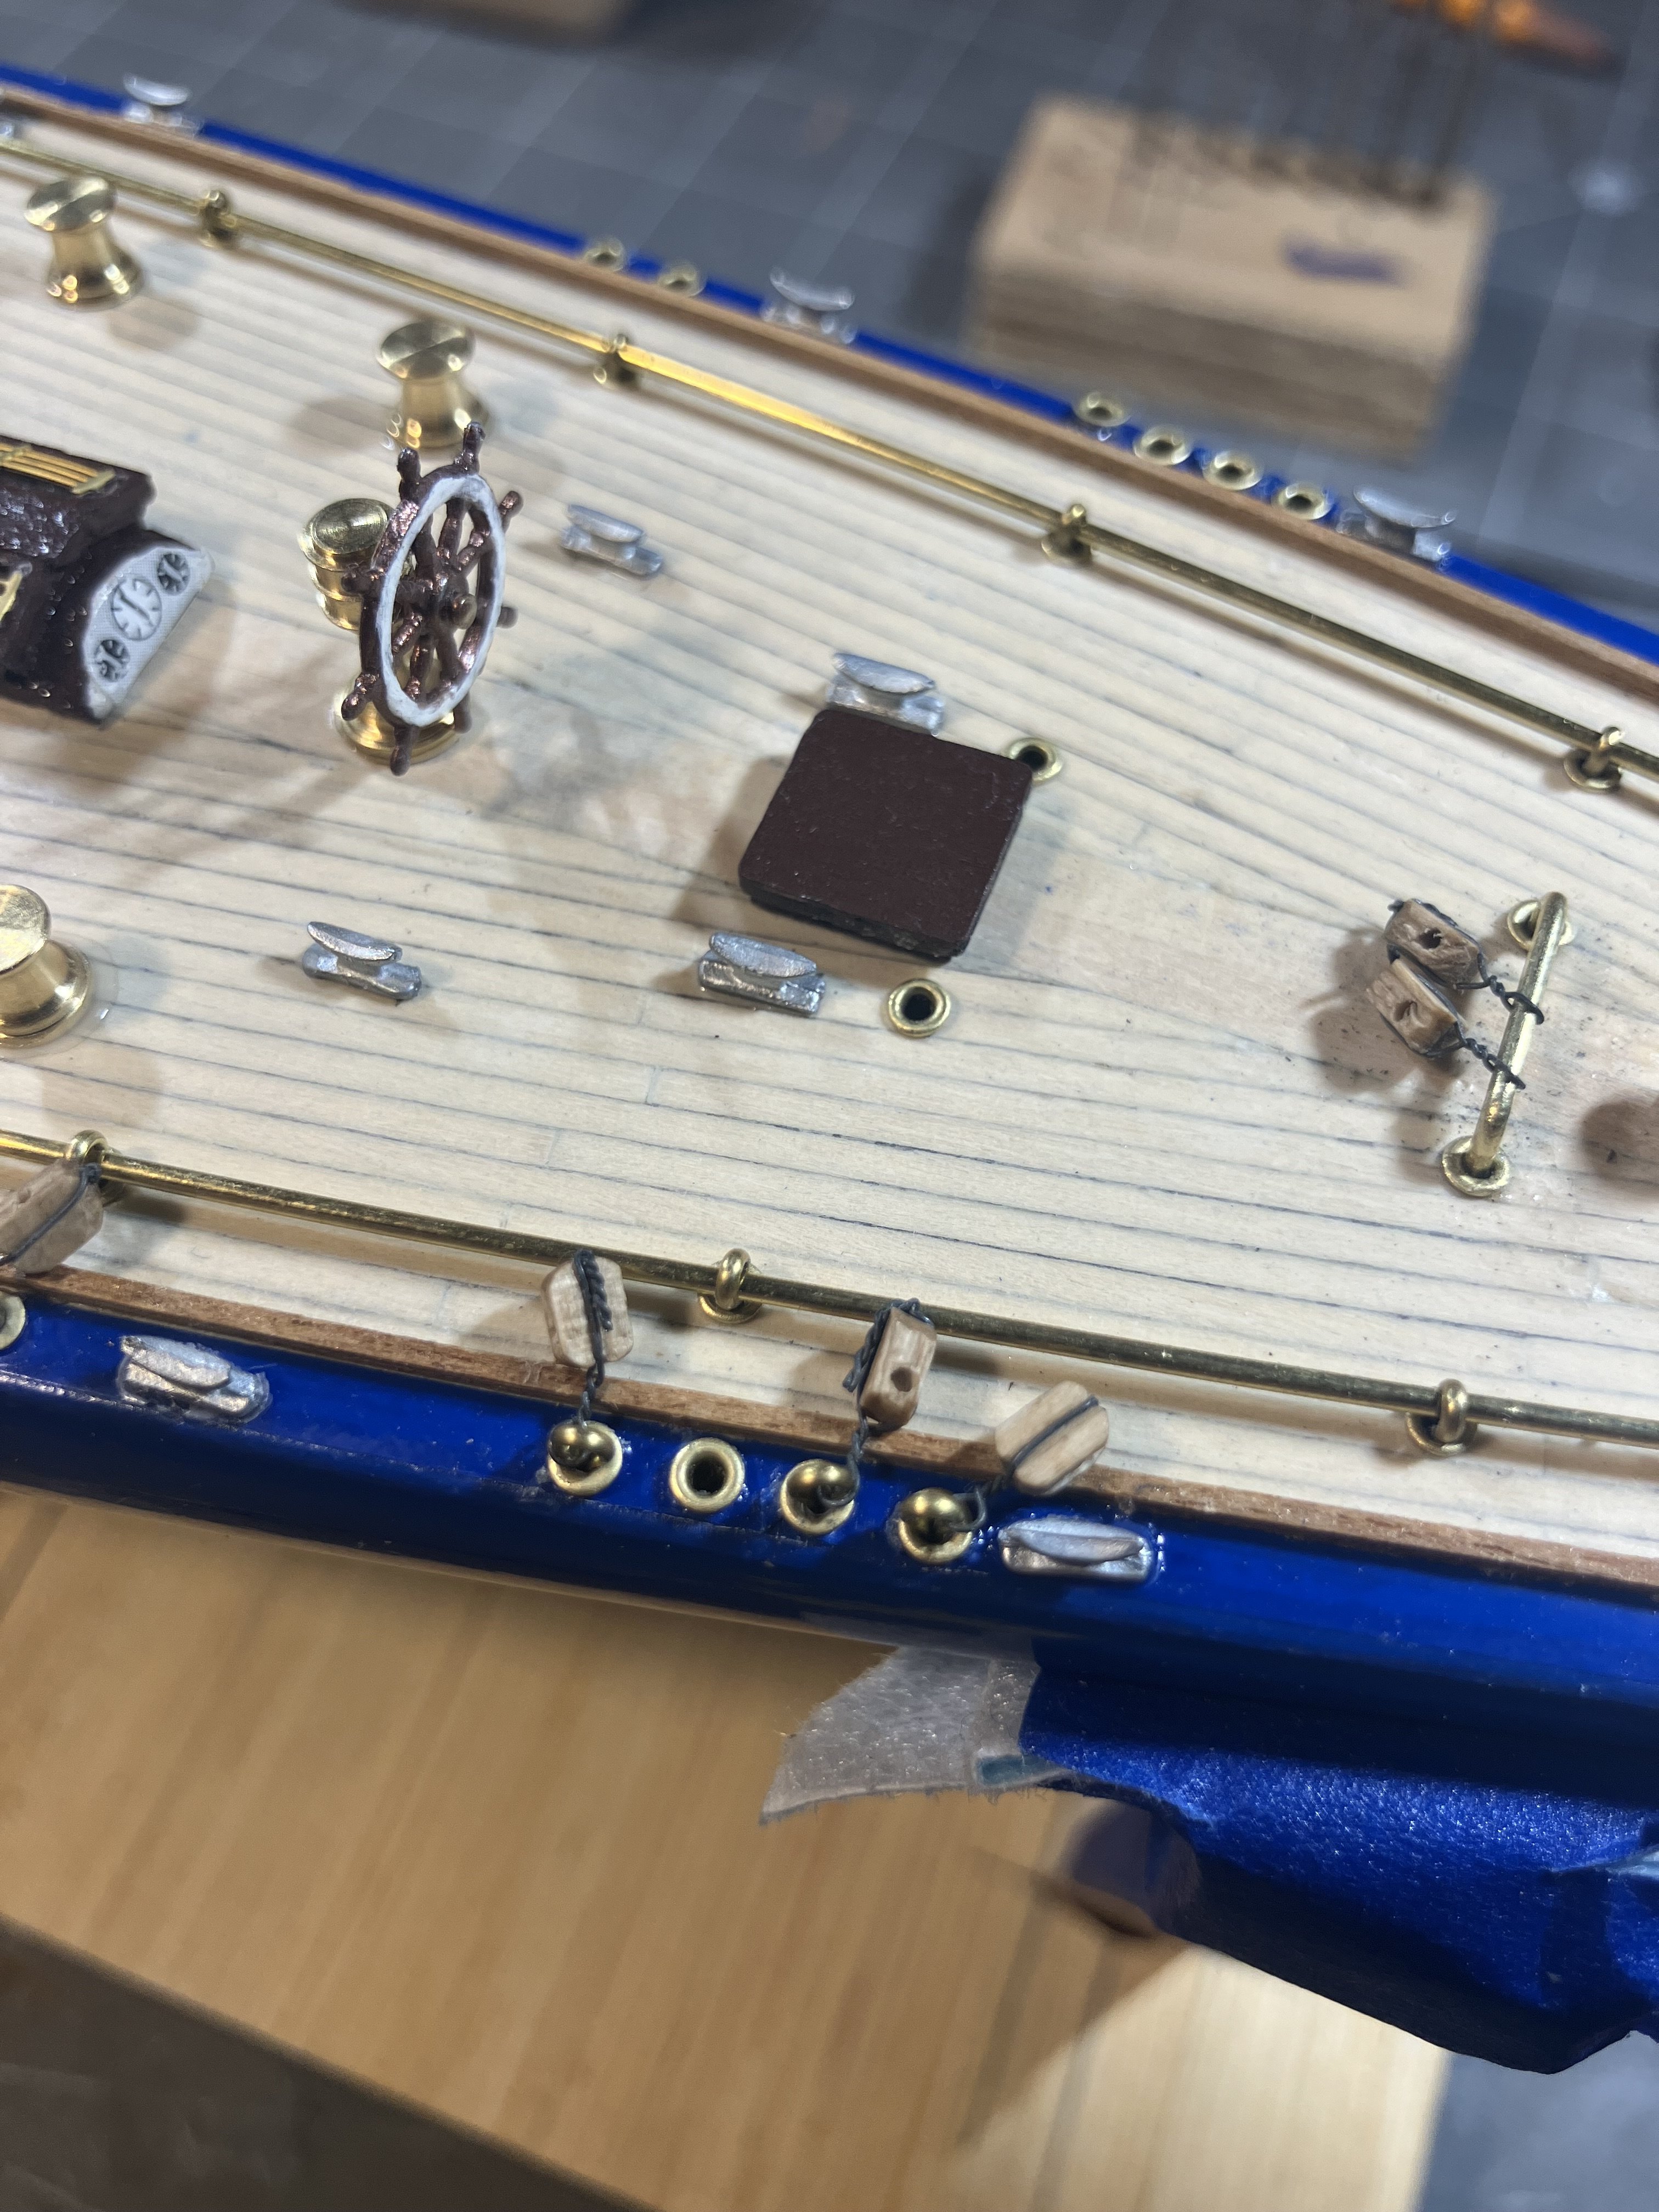
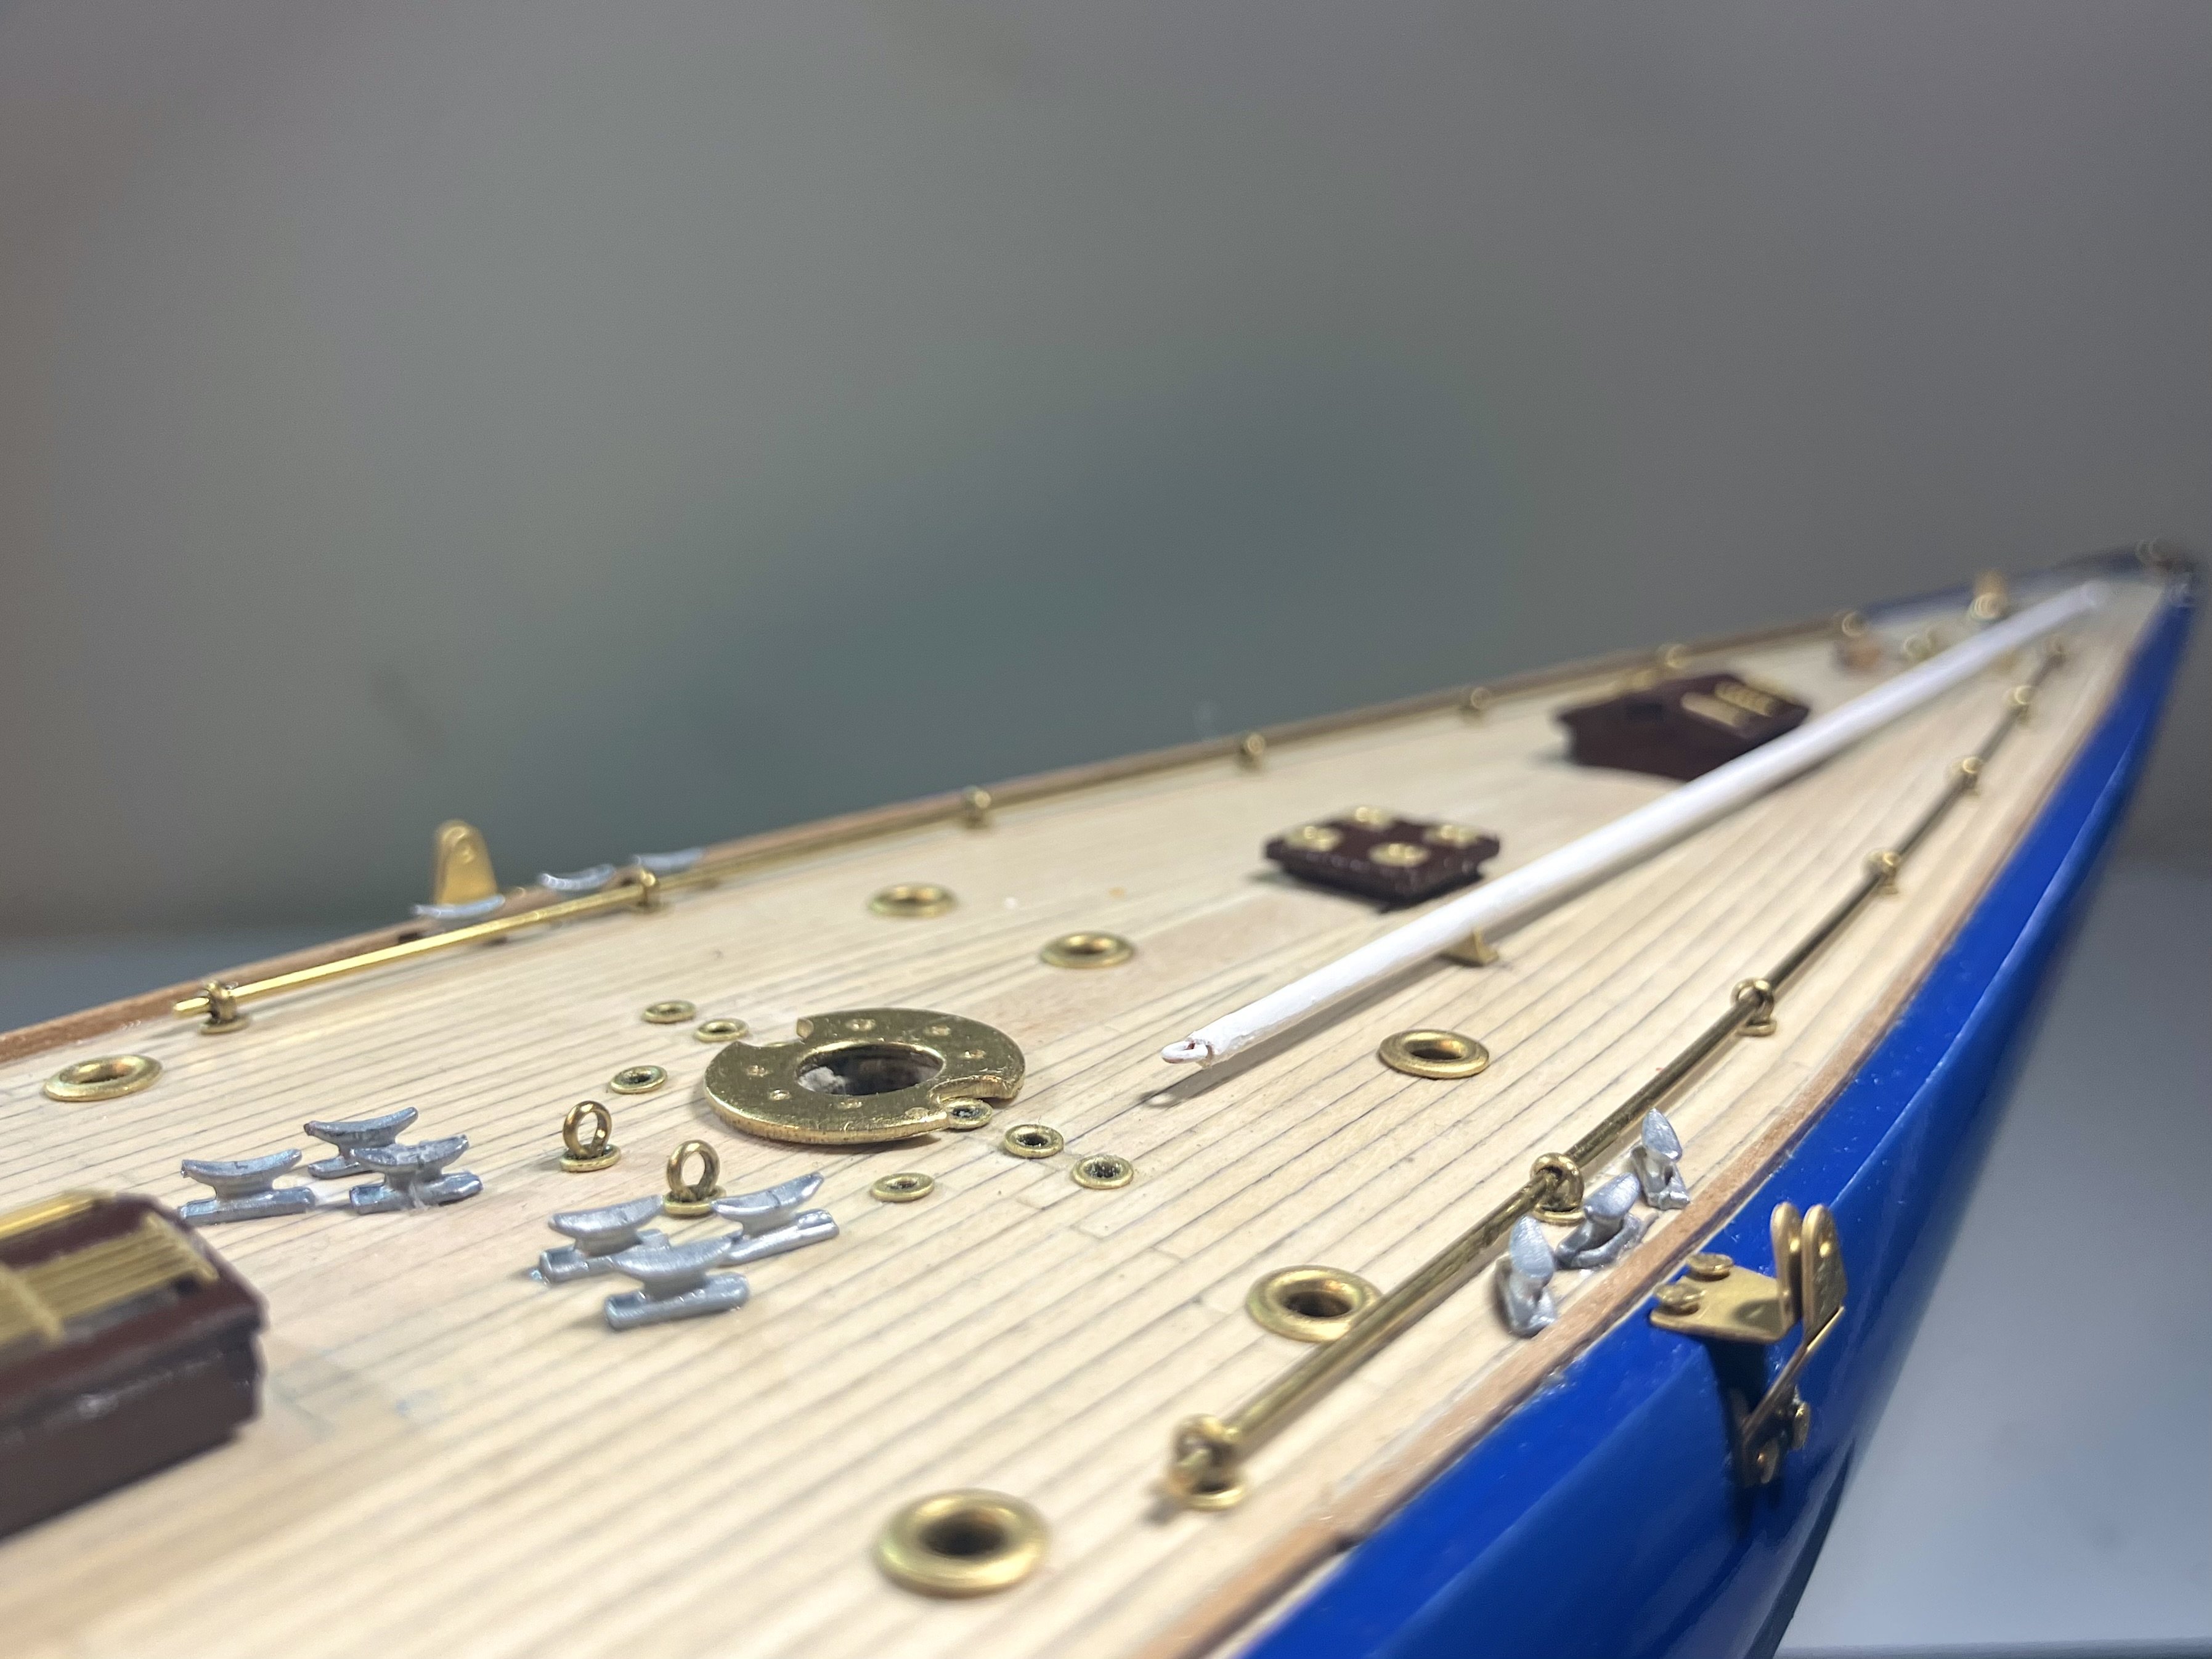
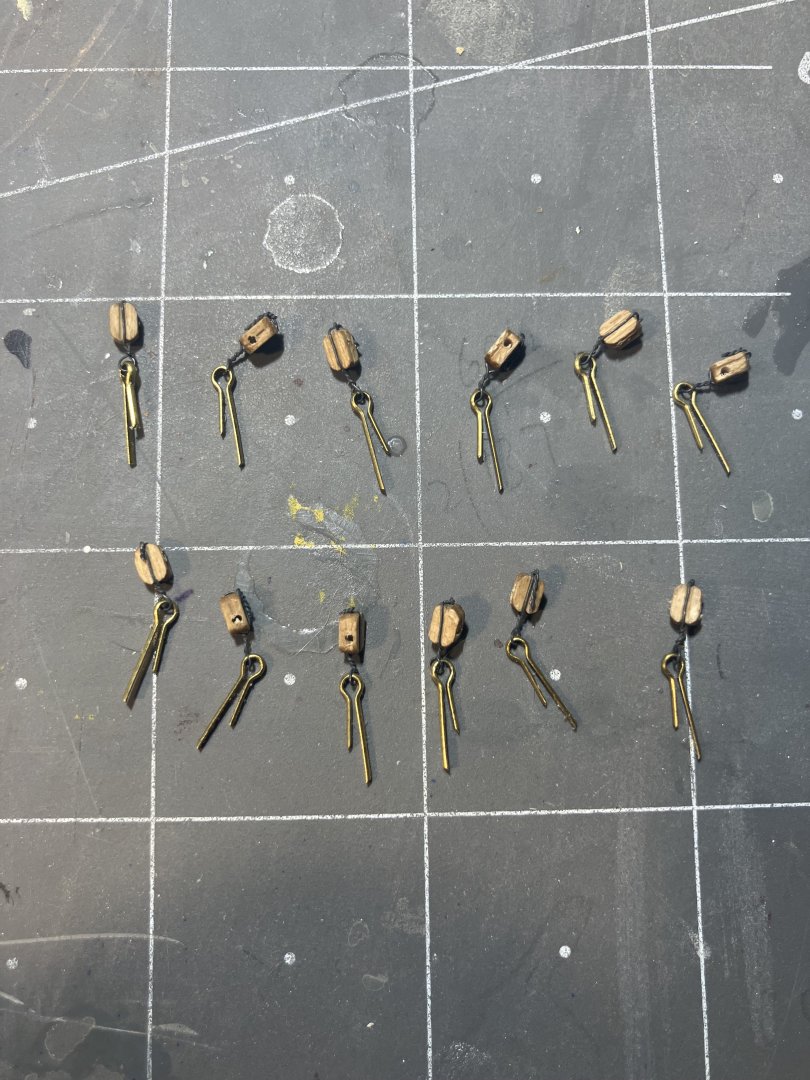
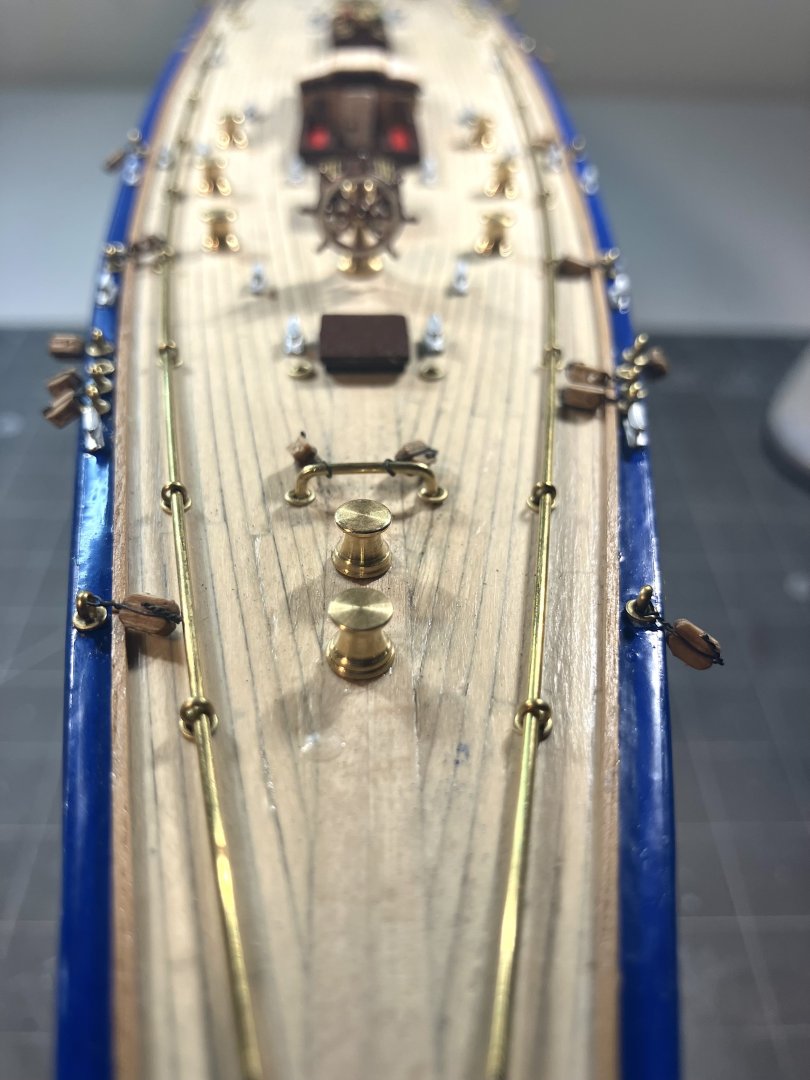
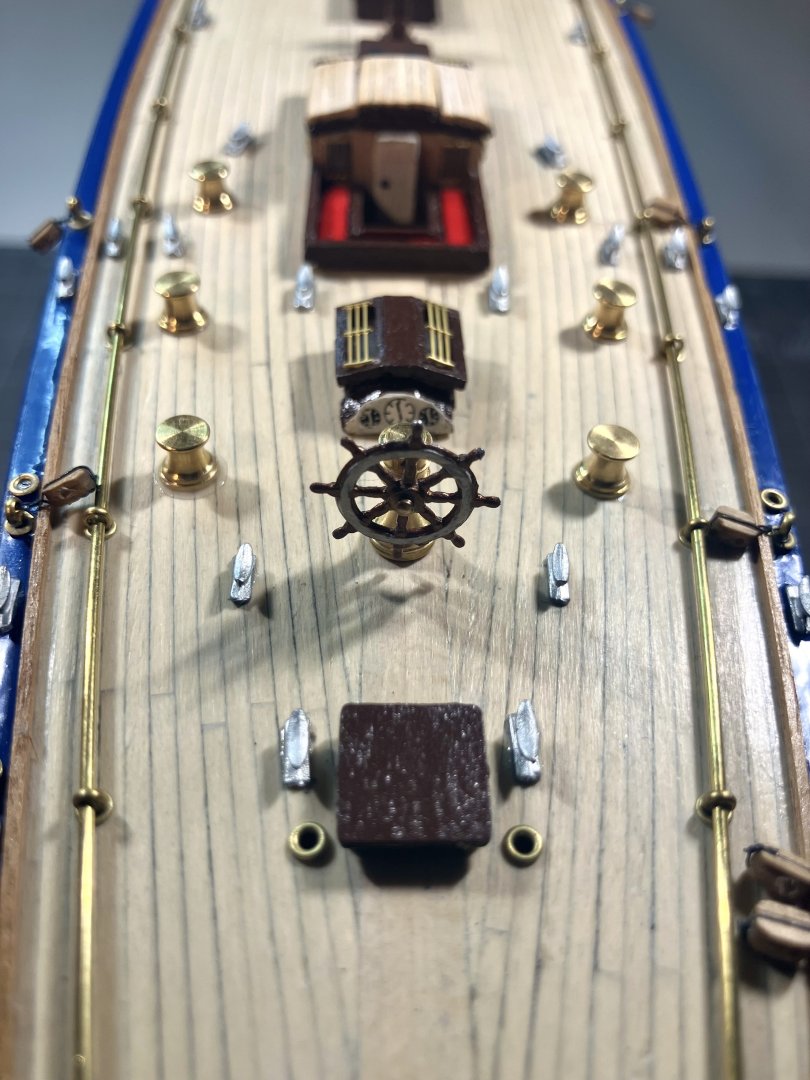
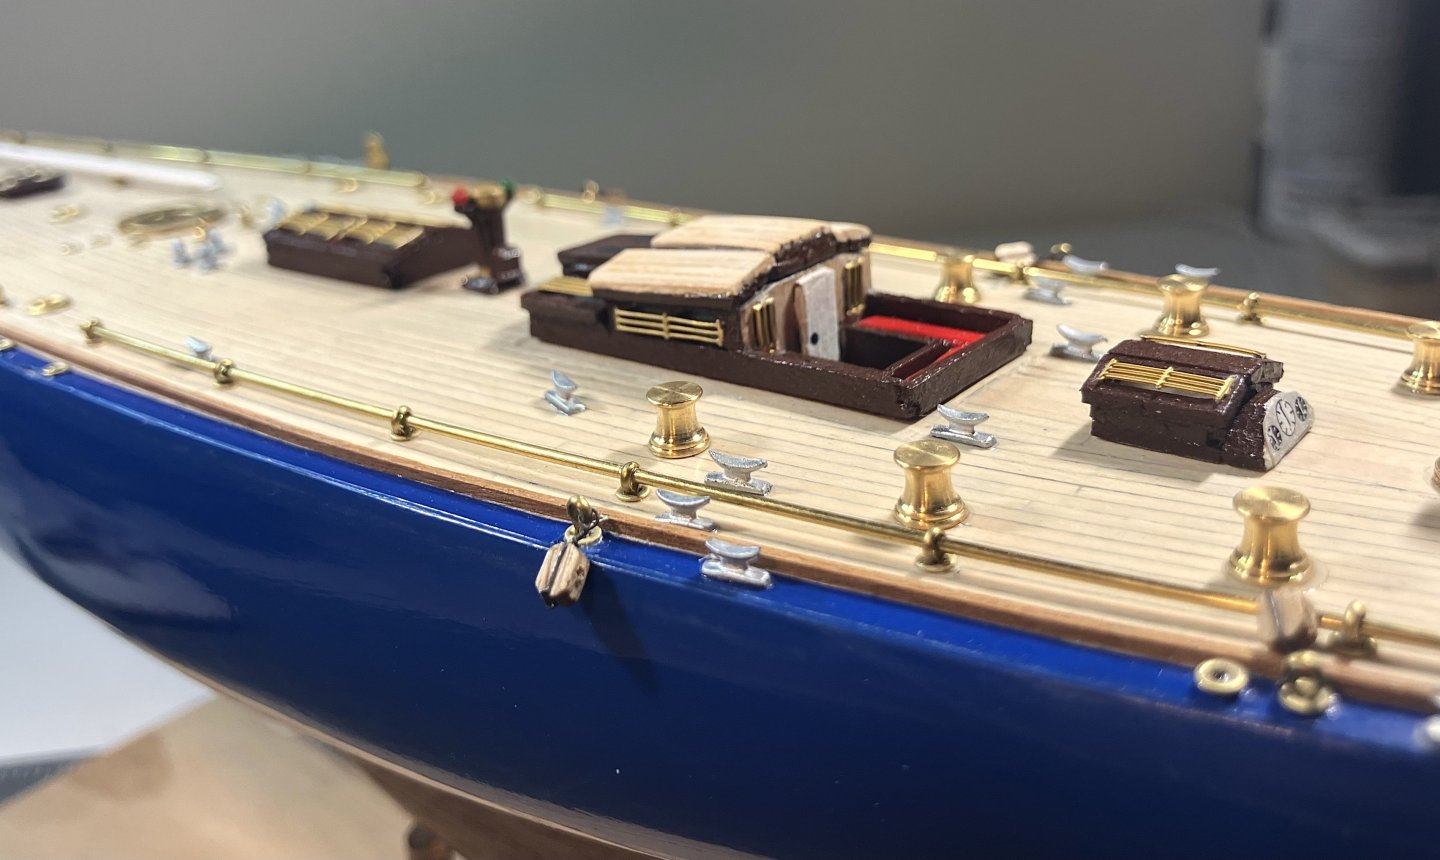
Good day, folks, Coming to you all from a VERY windy Chesapeake Bay. I decided to get some more of the blocks done today. I wanted to finish up with the ones required on the deck, the pigtail ones for sail rigging would be done later. I stropped enough to begin my venture: ... and started attaching them in their relevant locations: With that the deck is as good as done. I decided in the end to go with the kit supplied winches after all. There is a story behind why I made that decision and, to keep it short, it involved a little frustration at the winches I made not looking 100% identical. BUT, the CEO and I have decided that once I clear the kits that are currently in the shipyard, I will be getting this kit again but in a much larger scale (1:35 if I am remembering that correctly). We have just the right spot for such a large display in our dining room. The kit in that scale will have a lot more detail and she will get put in a nice case. Here are some random images of what the deck looks like right now. The mast and boom are sitting on the workbench just waiting for me to drop them in. That comes next. Oh, one more thing, the more astute of you will perhaps notice that the pump is missing in front of the main cabin in the last image here. The kit provided one was made of drop cast aluminum and, on drilling the hole for the pump handle, the top snapped off. I am in the process of making a new one - I only have to make one so I should be OK


-
That will be a great help and a good place to start. I appreciate you sharing that with me, Keith.
-
I had never heard of this. The matter of the thread deteriorating over time is certainly something to be taken into consideration. Hmmmmmmmm 🤔
-
I have found this to be good practice too, being a little proactive negates the need for hair pulling and cuss words further down the line
-
My good lady has a well equipped sewing kit and, after a quick rummage through, I found a pack of these in there! Excellent tip, Keith. Thank you! I will make sure a pack of these has a permanent home in the shipyard now (for the larger blocks anyway).
-
And I am honored that you dropped by, Alan.
-
Man that is some intense and fiddly work, Chris. Don't take this the wrong way but rather you than me mate
-
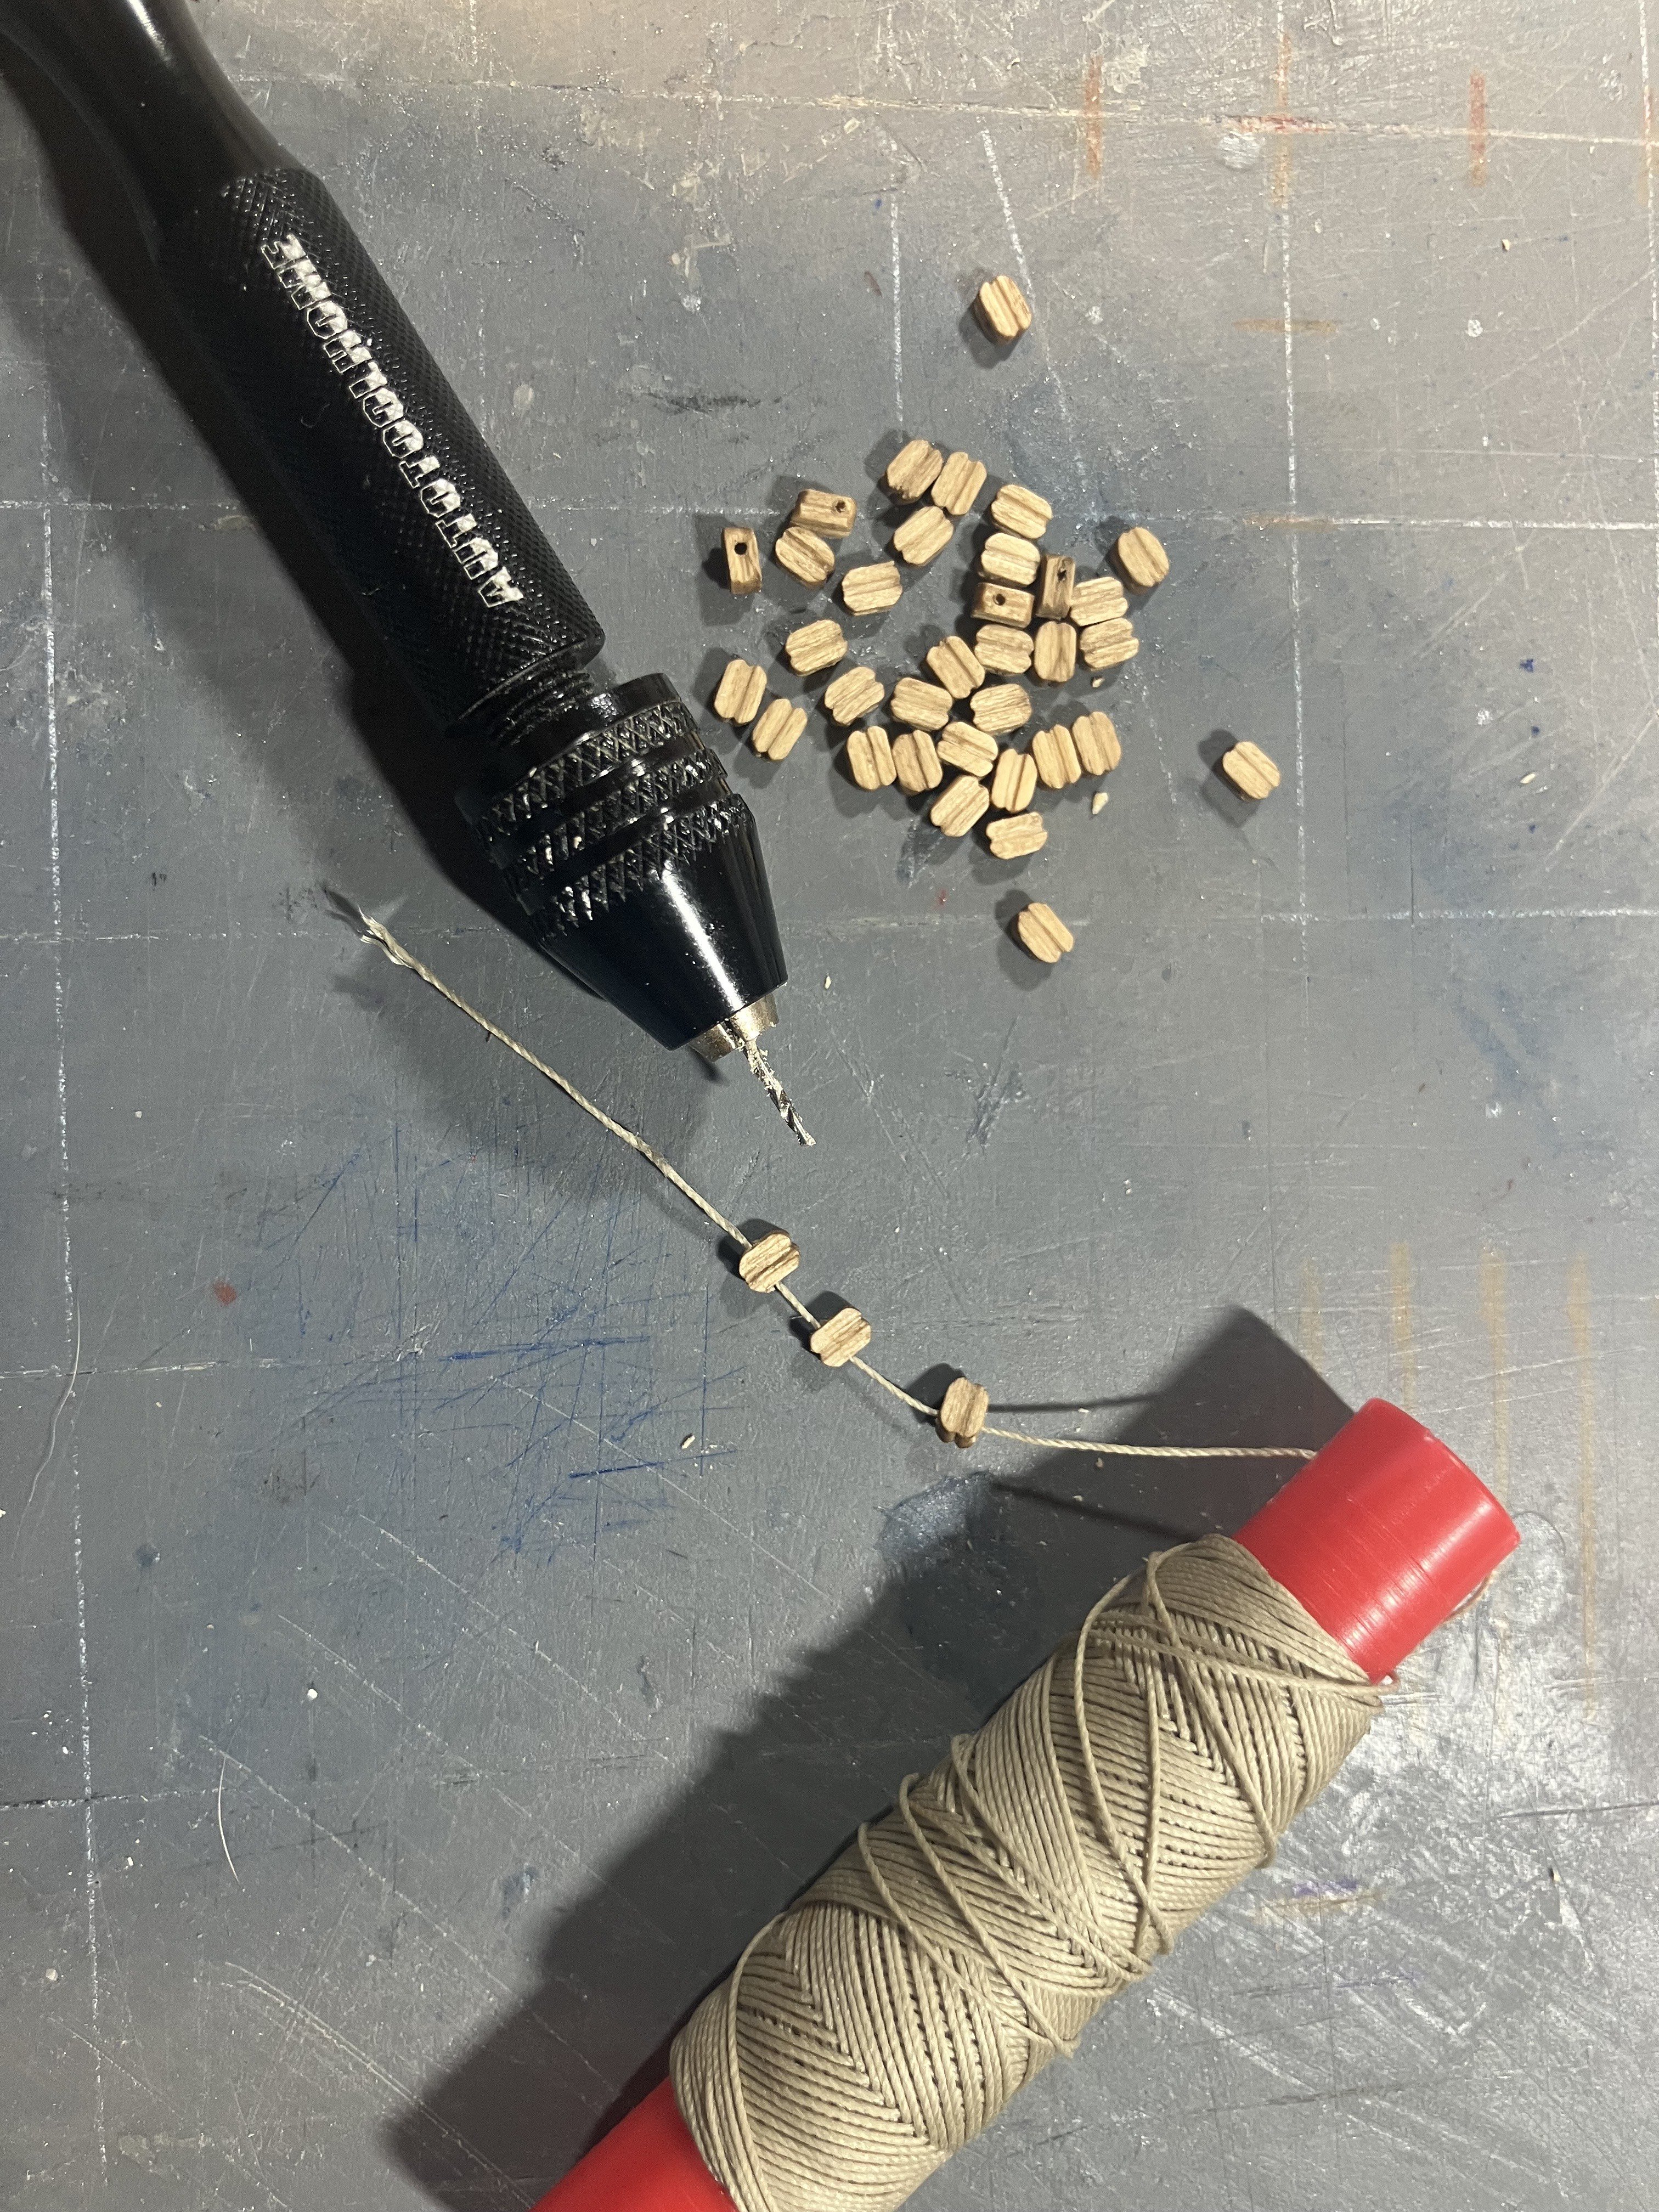
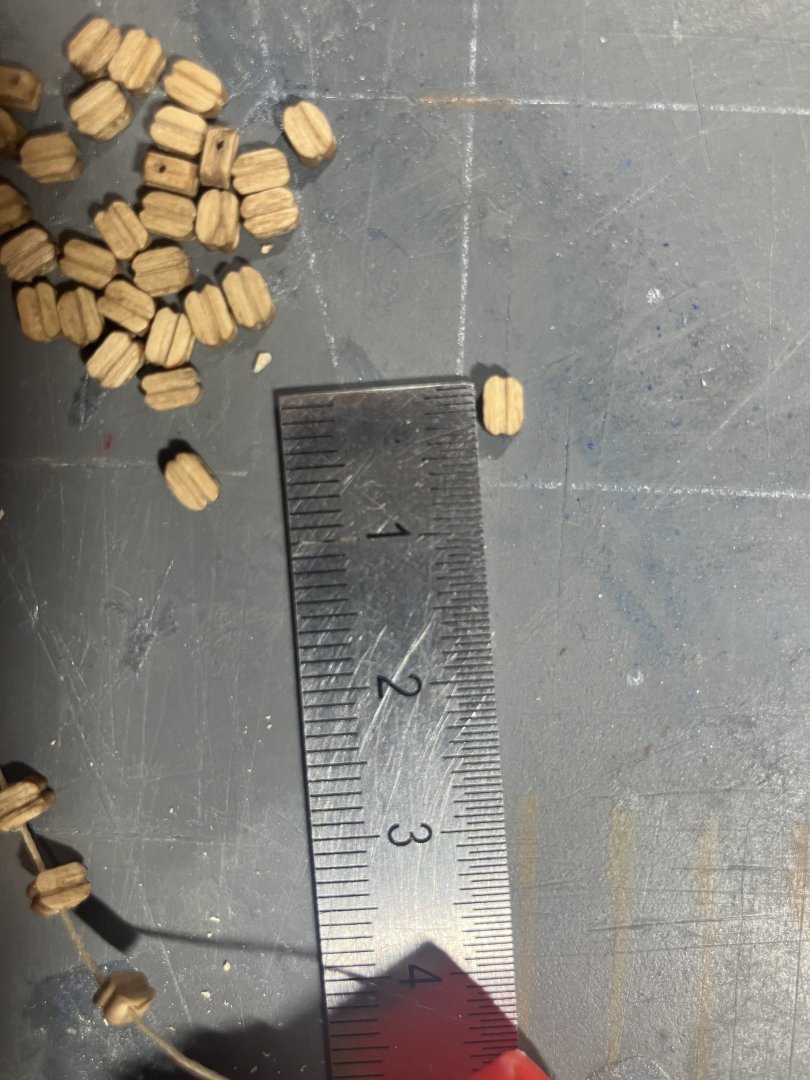
Hi folks, A quick look in to post an update. This week has been busy outside the shipyard as we are renovating the kitchen. The CEO and I do a lot of that kind of thing ourselves and pace ourselves accordingly, the days of finishing a kitchen and bathroom remodel over a weekend are long gone I did manage to get in the shipyard briefly this afternoon and get a few more small items off my list. Among them was drilling out the 4mm blocks so that the thread that came with the kit would fit. I was dry testing the block rigging and noticed it was impossible to feed the thread through the tiny holes provided. If I had skipped that, the rigging process might have been a little frustrating 😮

-
Beautifully done, sir. I sit here and admire this now with the slight angst that one day, in the not too distant future, I will be tackling this too 😬 At least I have this very well documented build log to follow (among others).
- 205 replies
-
- 1
-
-
- Endurance
- Shackleton
- (and 2 more)
-
It is amazing the difference that has made! It kind of just finishes that transition off nicely. Like it.
- 332 replies
-
- 1
-
-
- Harpy
- Vanguard Models
- (and 1 more)
-
Welcome aboard, sir.
-
Oh, so that's what they all mean when they say "I keep a tight ship". I always wondered about that
- 301 replies
-
- 6
-
-
-
- Constitution
- Bluejacket Shipcrafters
- (and 1 more)
-
Brig Le FAVORI 1806 by KORTES - 1:55
SaltyScot replied to KORTES's topic in - Build logs for subjects built 1801 - 1850
This is why I enjoy the discussions and interactions of this forum so very much, the friendly exchange of valuable pieces of information like this. -
A job well done I must say. It looks fantastic, truly.
- 332 replies
-
- 2
-
-
-
- Harpy
- Vanguard Models
- (and 1 more)