SaltyScot
-
Posts
867 -
Joined
-
Last visited
Content Type
Profiles
Forums
Gallery
Events
Everything posted by SaltyScot
-
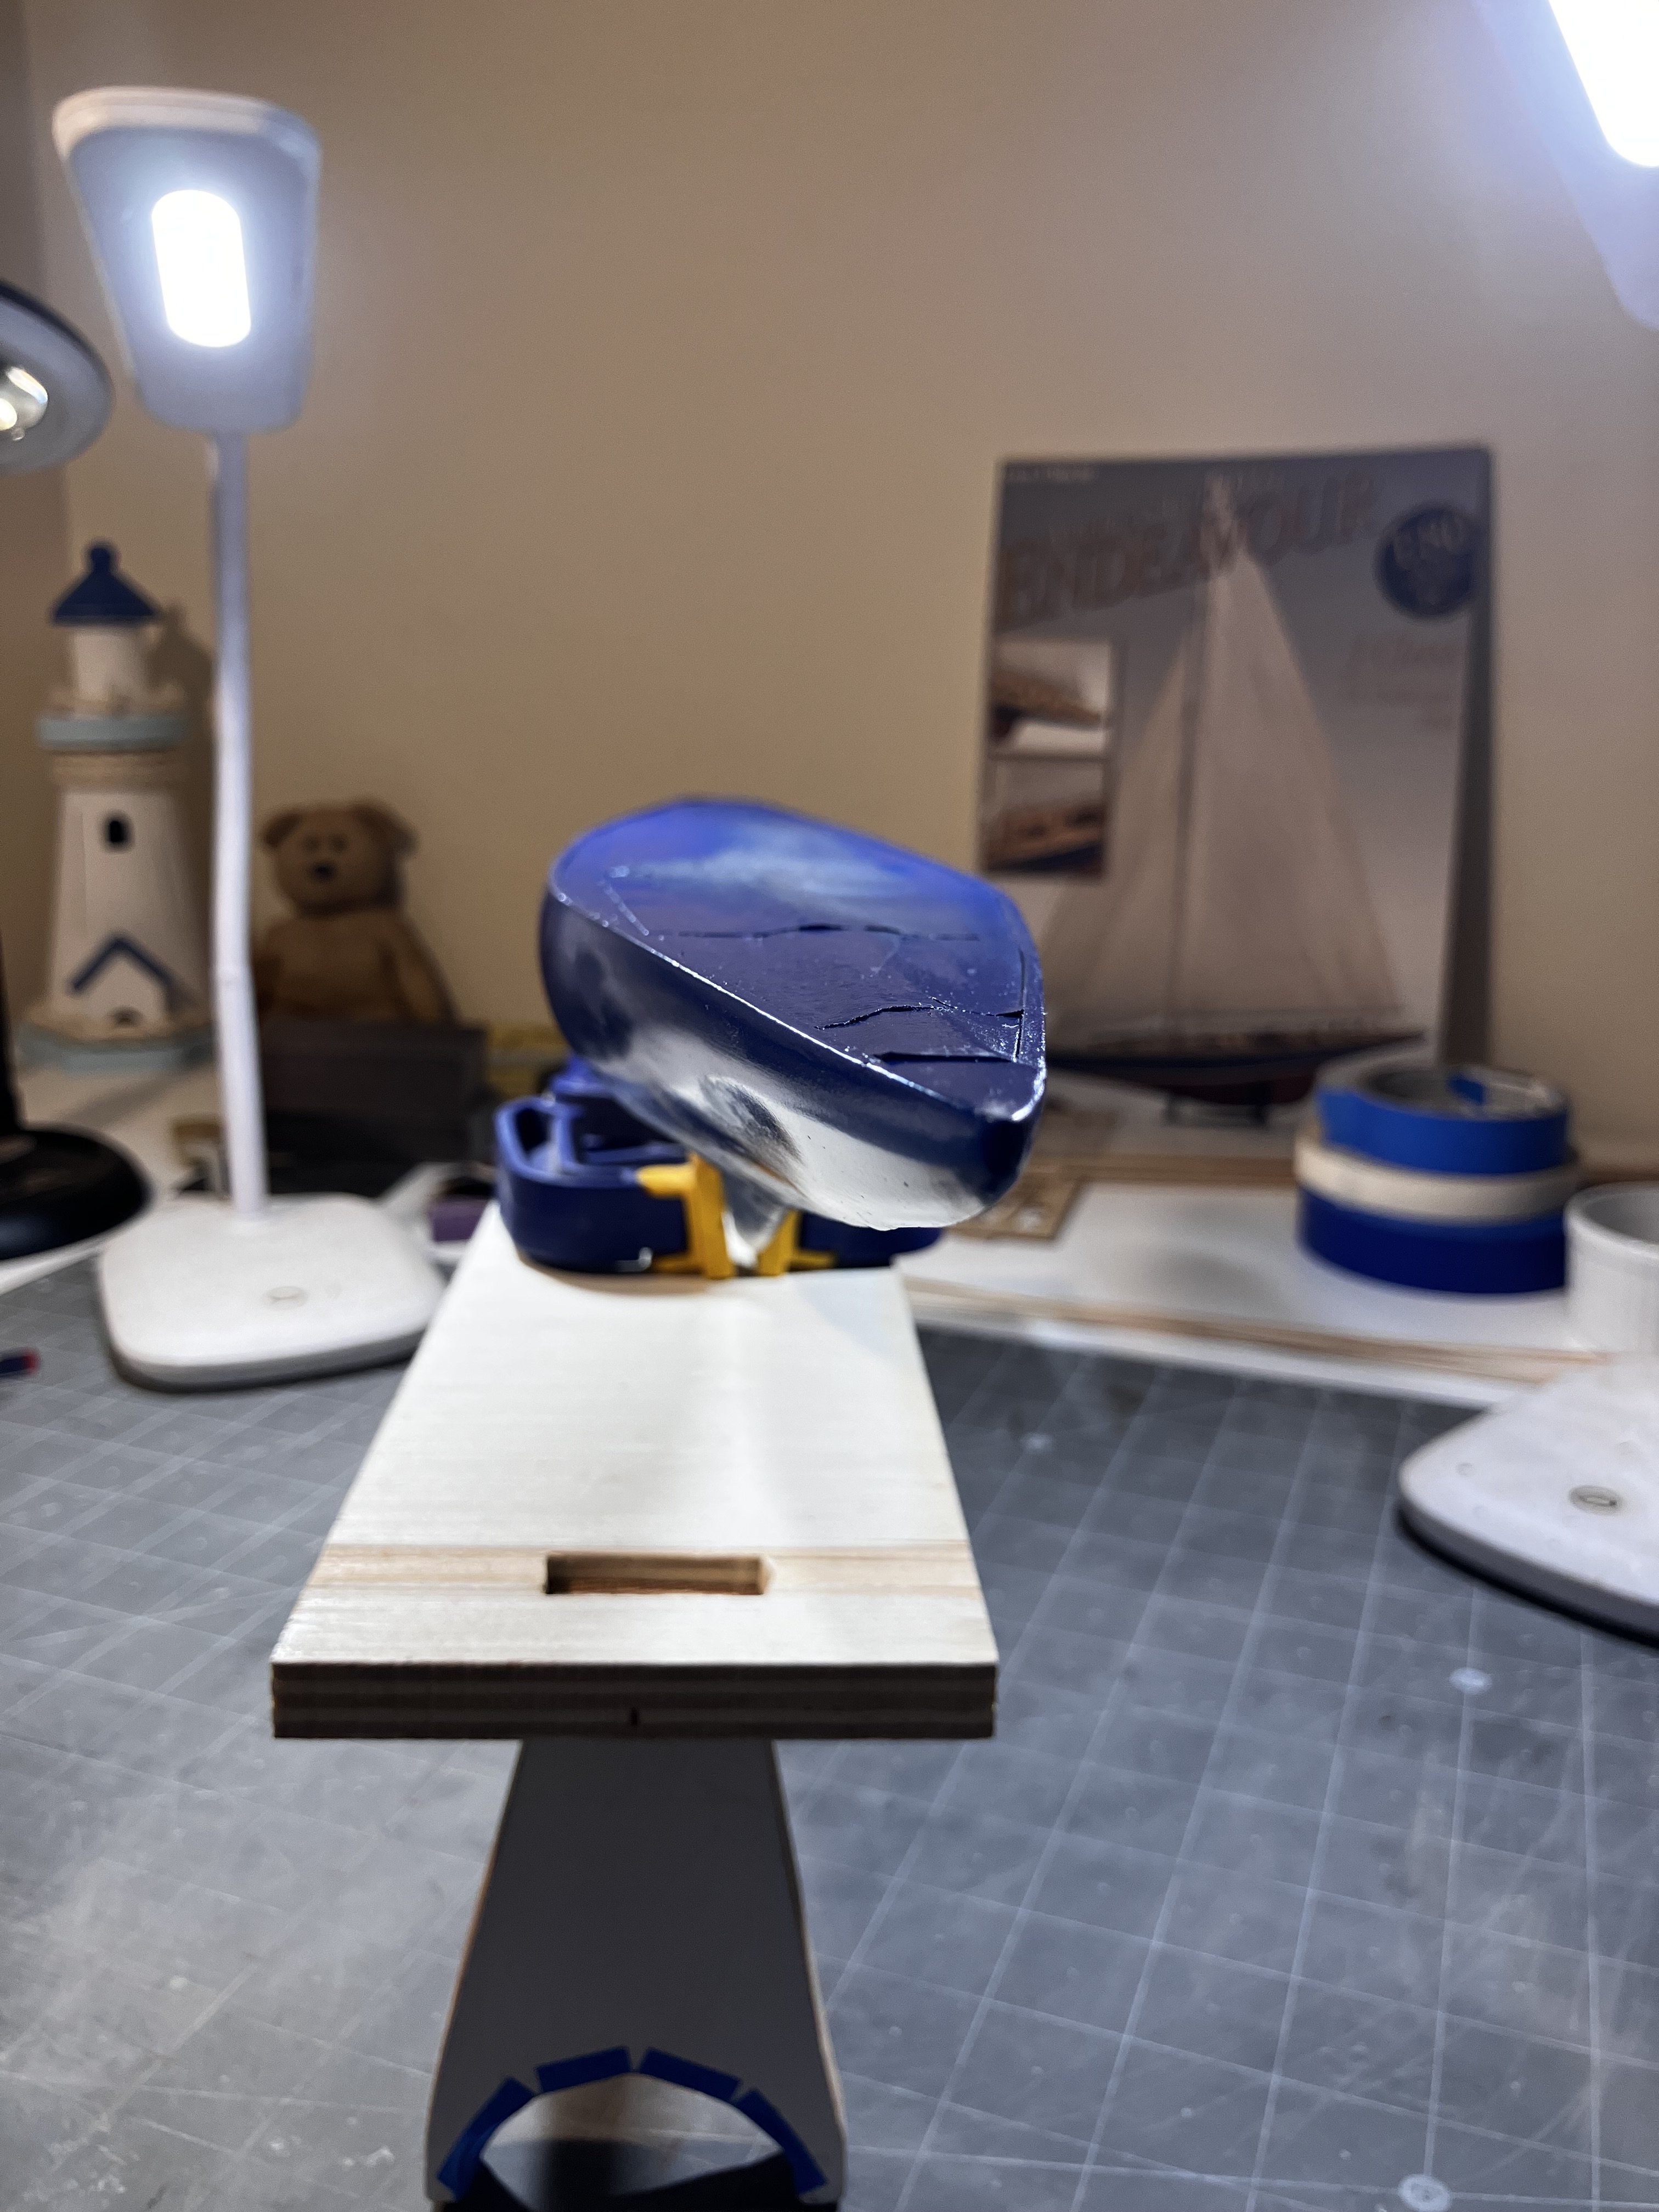
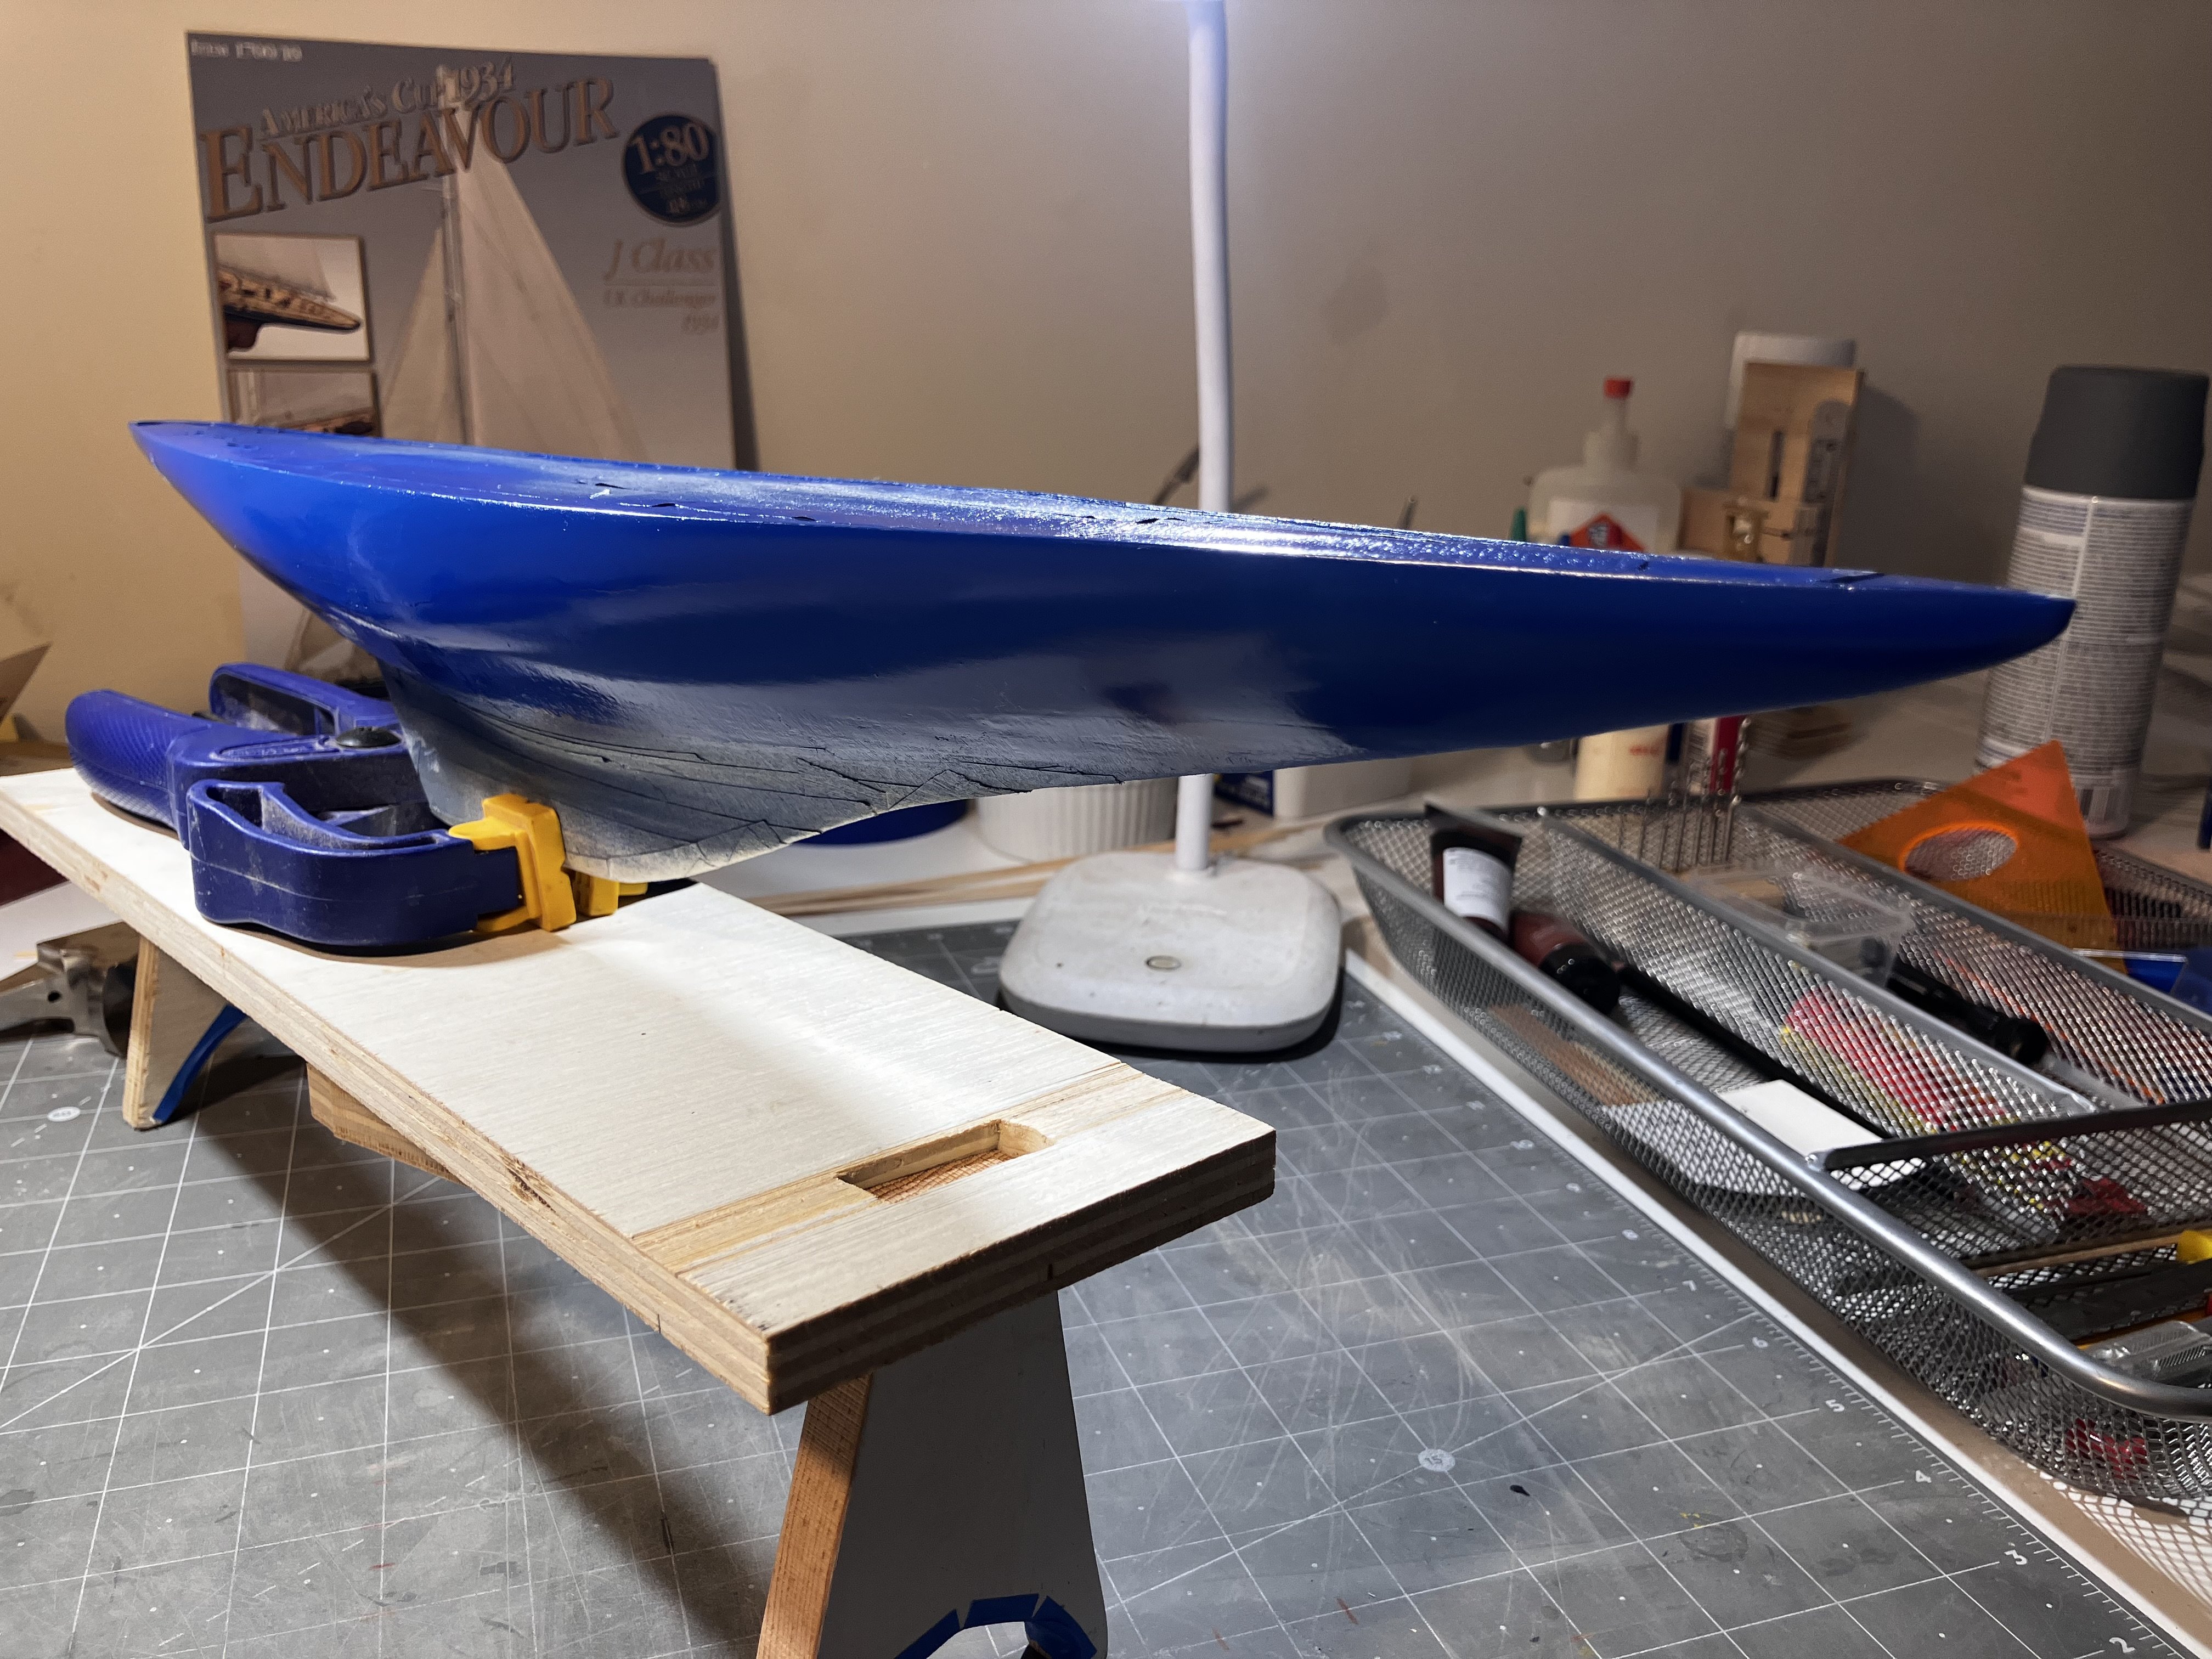
 As so often happens with the best laid plans, things didn't go as I wished they would. I had 3 coats of blue on the hull and was very patient and waited the full 24 hours after the 3rd coat so that it was completely dry (I didn't do that with the second coat entirely and got a scuff mark..... ). I had ordered the white pinstripe (1/8") to arrive today and was looking forward to getting it on. When the package arrived and I saw what was in there I was shocked. The tape was nowhere near 1/8' wide, more like1/16" !! Not wanting to be beaten I masked the hull back up and spray painted the white stripe that way. The lines are not as precise as I would have achieved with the pinstripe and that concerns me. I have been battling with the option of putting a 1/4" strip on there now. Despite masking I did get a little white paint bleed onto my lovely, shiny blue hull I rubbed it down again with 600 grit and will mask and repaint again tomorrow. The jury is still out on the width of the pinstripe.
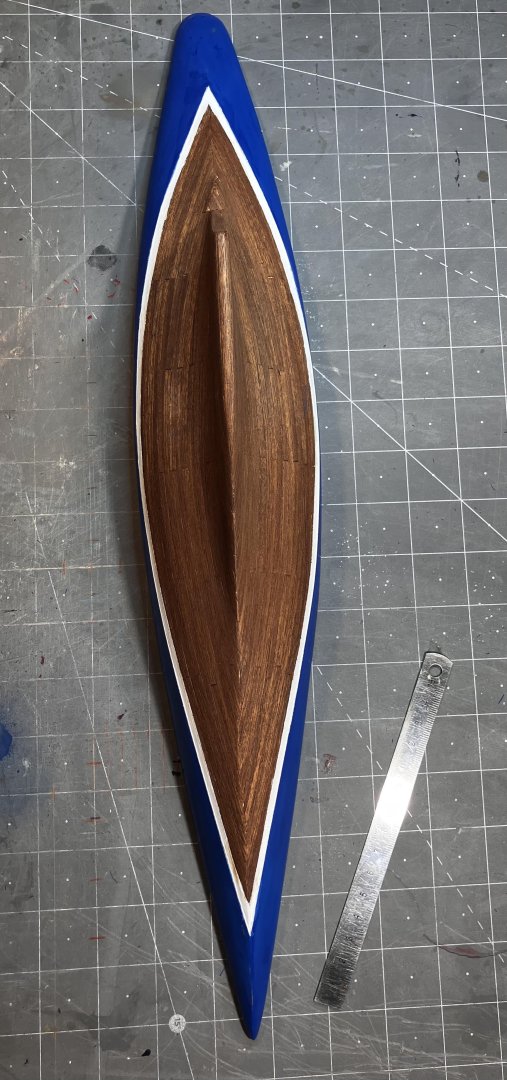
-
We all know that research plays a huge roll in the accuracy of any model, Glenn. Here we see a prime example of that, nicely done sir.
- 241 replies
-
- 1
-

-
- Vanguarrd Models
- Harpy
- (and 1 more)
-
You are doing OK, Glenn. The improvements you are looking for will happen automatically with more practice. That is usually the way thing go, isn't it?
- 241 replies
-
- 1
-
-
- Vanguarrd Models
- Harpy
- (and 1 more)
-
Sometimes the simplest jigs give the finest results. We don't need to "over engineer" stuff like this do we. Once again, your eye for perfection (this is aimed at your first post in this new lot where you swapped out that piece that was not quite good enough for you), is what is giving this build the quality it has. Thumbs up from me sir.
-
That is exactly what I have been doing, but thank you very much for your input. The decision to be made is just how much detail am I prepared to go intoi for a model of this scale (as you mentioned before). I will be aiming for a little more realism on the winches than I currently have.
-
You have been busy sir!! Everything looks very precise.
- 241 replies
-
- 1
-
-
- Vanguarrd Models
- Harpy
- (and 1 more)
-
Thank you for your input there sir.
-
The paint job is coming along quite nicely, I am very happy with the way she looks right now. As per the instructions on the can, I have to wait 48 hours between coats. I can do a quick respray, if necessary, if I do it within an hour of the initial coat. I have two coats on there as of this writing and am waiting until Monday afternoon to add the final coat. After that the tape comes off, the wood on the lower half of the hull will be treated with a very weak stain to bring out the red tones (already tested on some scrap walnut strips) and then she will get a clear coat to protect everything. In the meantime I am cutting deck planks, sanding down the mast to the specs in the plans and generally cleaning up my shipyard table
-
She looks better every time I see her, Phil, really coming along nicely. Your last image here shows a good example of how the card is stacked (I hope I got that right??) for strength once it is fitted. Very interesting.
- 288 replies
-
- 5
-
-

-
- Card
- Pre-Dreadnought
- (and 3 more)
-
I have also used the glue/sand and fill method mentioned here. By adding a little glue to the crack (I use an aliphatic resin glue, applying it with a fine dental tool) and sanding shortly afterwards, the sanding dust basically applies itself to the glue in the crack and fills the hole - if it is not too expansive of course. I prefer this method to the mixing sawdust with glue beforehand method but we all have our preferences, right?
-
This is truly a fantastic build. The Victory is a personal favorite of mine, always has been since I attempted the Airfix kit as a young boy. One day maybe....... The good thing is, I will have your build log to help me along if and when I do get round to it. A seriously good example of what she should look like. You have a new follower sir!
-
I like your methodical approach here sir. It shows in the quality and standard of the work being turned out.
- 332 replies
-
- 2
-
-
-
- Harpy
- Vanguard Models
- (and 1 more)
-
This looks beautiful and precise, Mark. That measuring device in the first image looks like a nice piece of kit and very useful too. I wouldn't want a bent frame on a model of this calibre either. Very nice work.
-
Thank you for that, Phil, that was a very nice thing to say. I agree with what you said about deciding to try; as we all know, even the longest journey begins with that first step. Onwards!
-
You know what Phil, that though entered my mind when I saw what Ages of Sail wanted for shipping $8.54 worth of stuff to me. I think I can label myself as a resourceful guy and, as we all know, where there is a will there is a way. Making one is not the hard part really, making 8 that all look alike is I saw some castle nuts at the hardware store today that would have been perfect had they been the right scale. I shall hop in the wood shop once the weather warms up a bit, it was 18 F and quite windy out there this morning and the wee gas heater in the shop just wasn't doing it. Thanks for dropping by sir.
-
Thanks, John. I liked the look of the color when I saw the can at the hardware store but when I started spraying it on earlier I got excited about it even more. It is just what I wanted.
-
The first coat of the final color is on. I am very satisfied with how this color looks, in my opinion it really accentuates the lines of the boat. Once dry she will be getting another two coats and a white pinstripe before she is sealed up.


-
Thanks, Tom, they had just what I was looking for sir.
-
Keith, Thank you so very much for the links. You were correct in saying that for what I need, this option would be a bit cost prohibitive but your information has opened up other resource avenues. Once again, thank you!
-
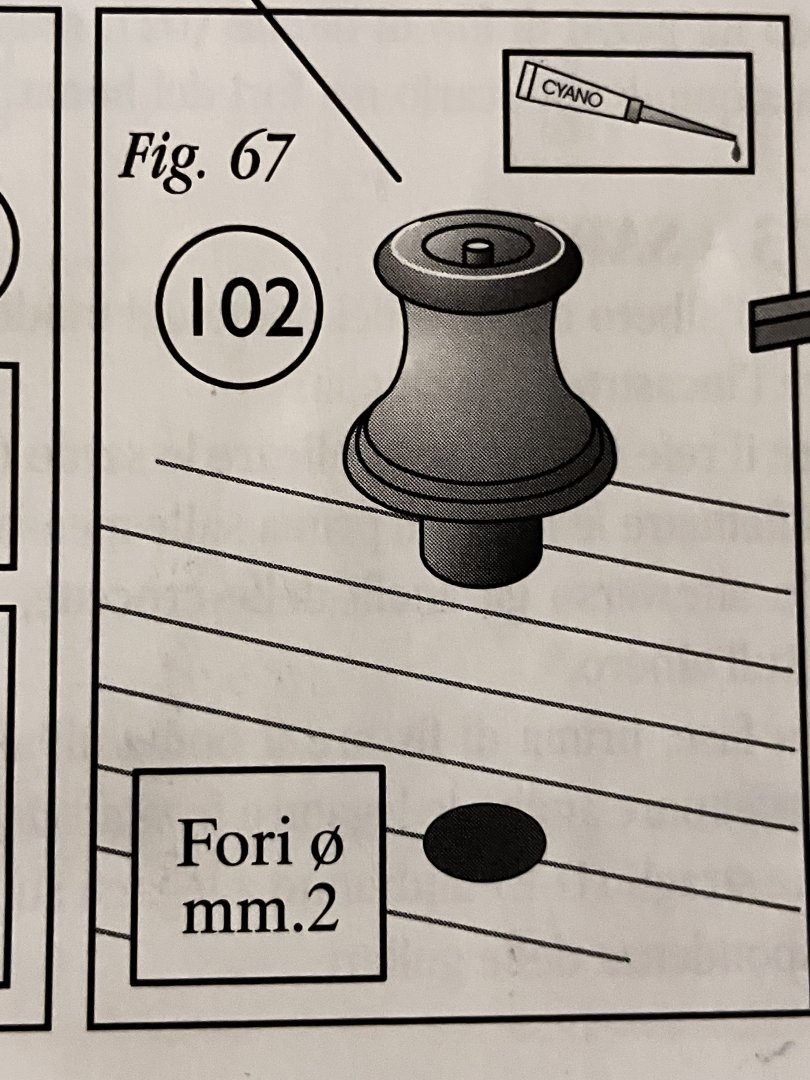
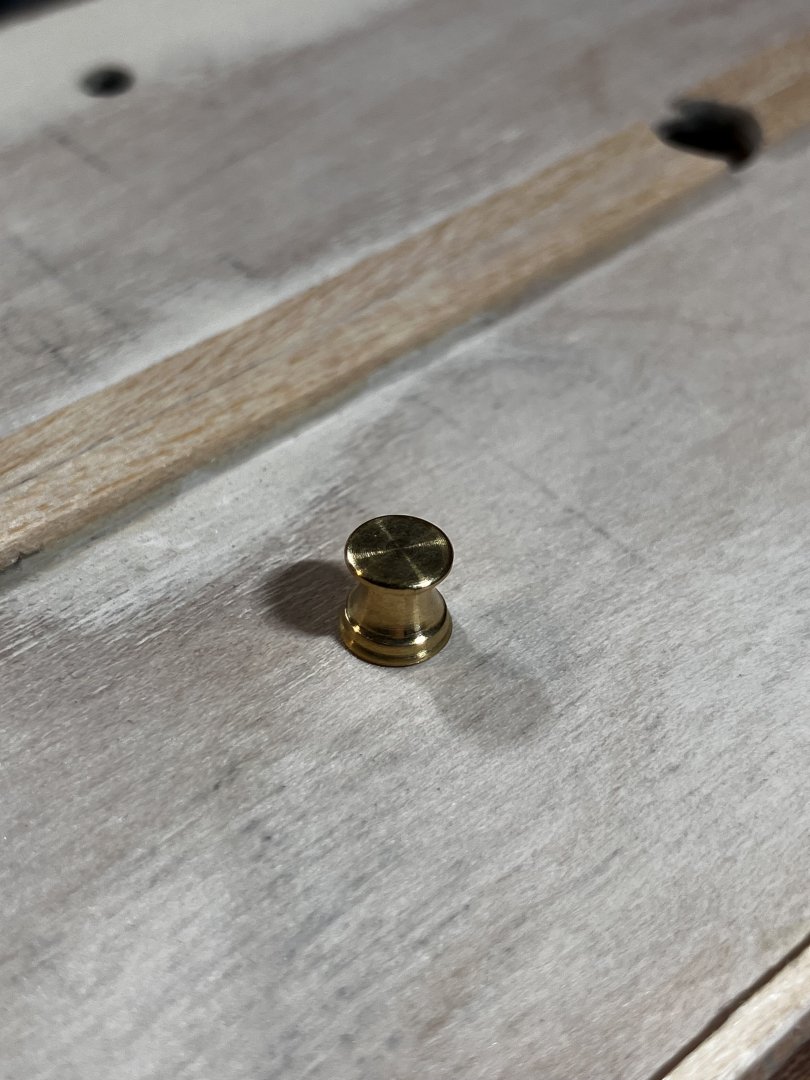
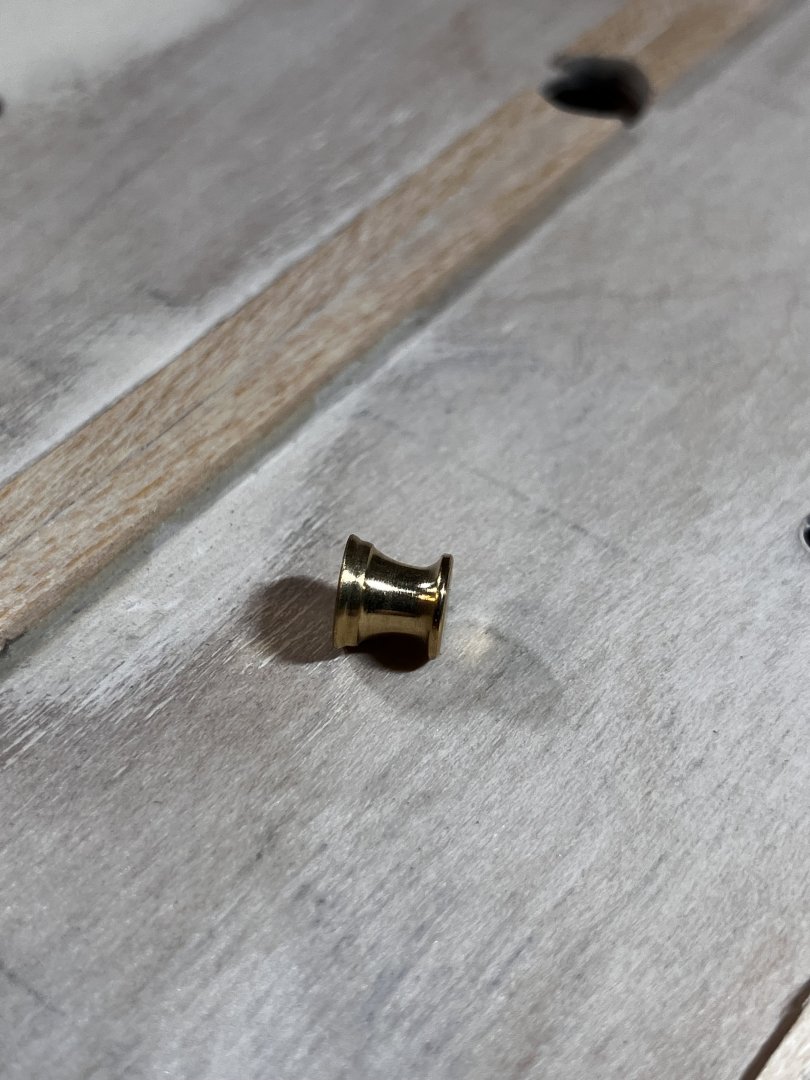
Firstly, I am not entirely sure that this is the right blog for this question so my apologies up front if I am indeed in the wrong place. I am looking at getting different winches fir the kit I am currently building (link is in the signature below). I am not happy with how the winches that came with the kit look. In the plans they look like this: There is a protrusion on the base that allows the winch to slot into the pre-drilled hole in the deck. The winches that came with the kit look like this and I do not like the look of them at all: Could anyone point me in the right direction so that I could at least pursue other options?
-
Welcome, Trevor. With a resumé like that I am sure they will want to keep you around sir . Have fun with your build.
-
Here is a bit of info on that EspenT: Key differences: Primary function: Sanding sealer focuses on sealing wood pores and creating a smooth finish, while a primer focuses on enhancing adhesion between the surface and paint. Application: Sanding sealer is typically used on bare wood before applying a finish, whereas a primer is often applied to new or problematic surfaces before painting. Composition: Sanding sealers often contain ingredients like zinc stearate to fill wood pores, while primers can have different compositions depending on the surface they're designed for. Source: Google Search
- 241 replies
-
- 2
-
-
- Vanguarrd Models
- Harpy
- (and 1 more)
-
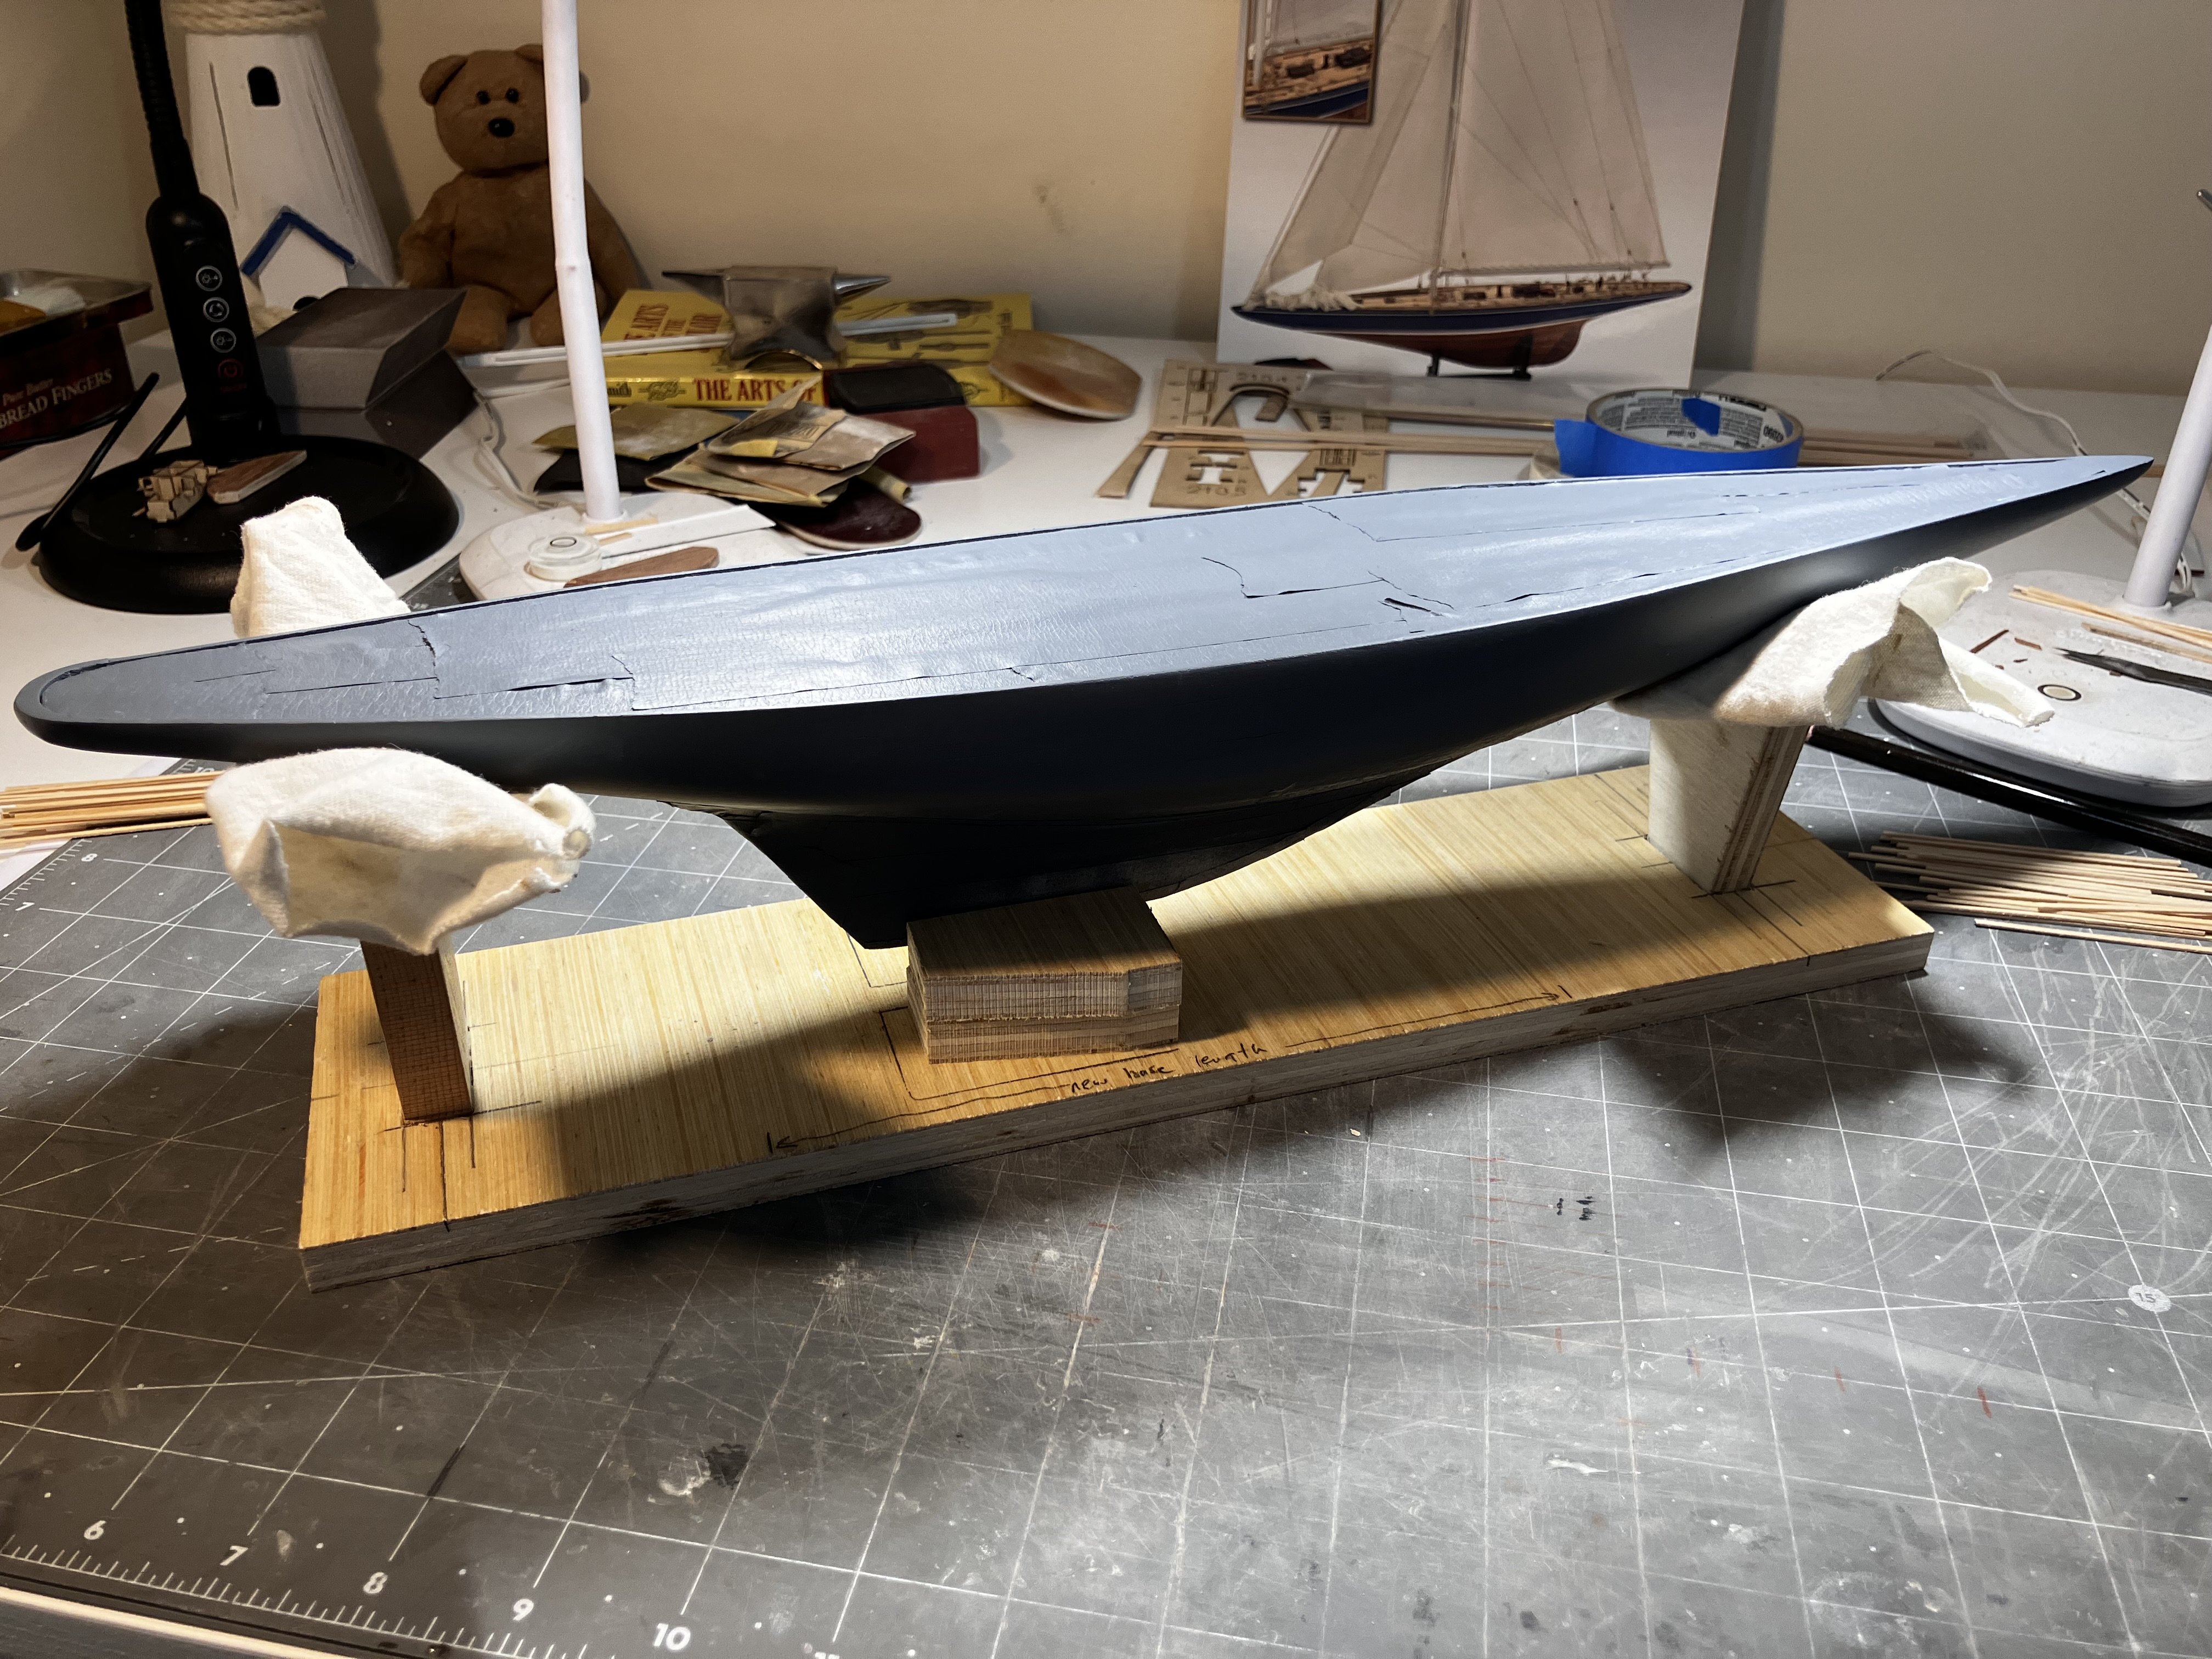
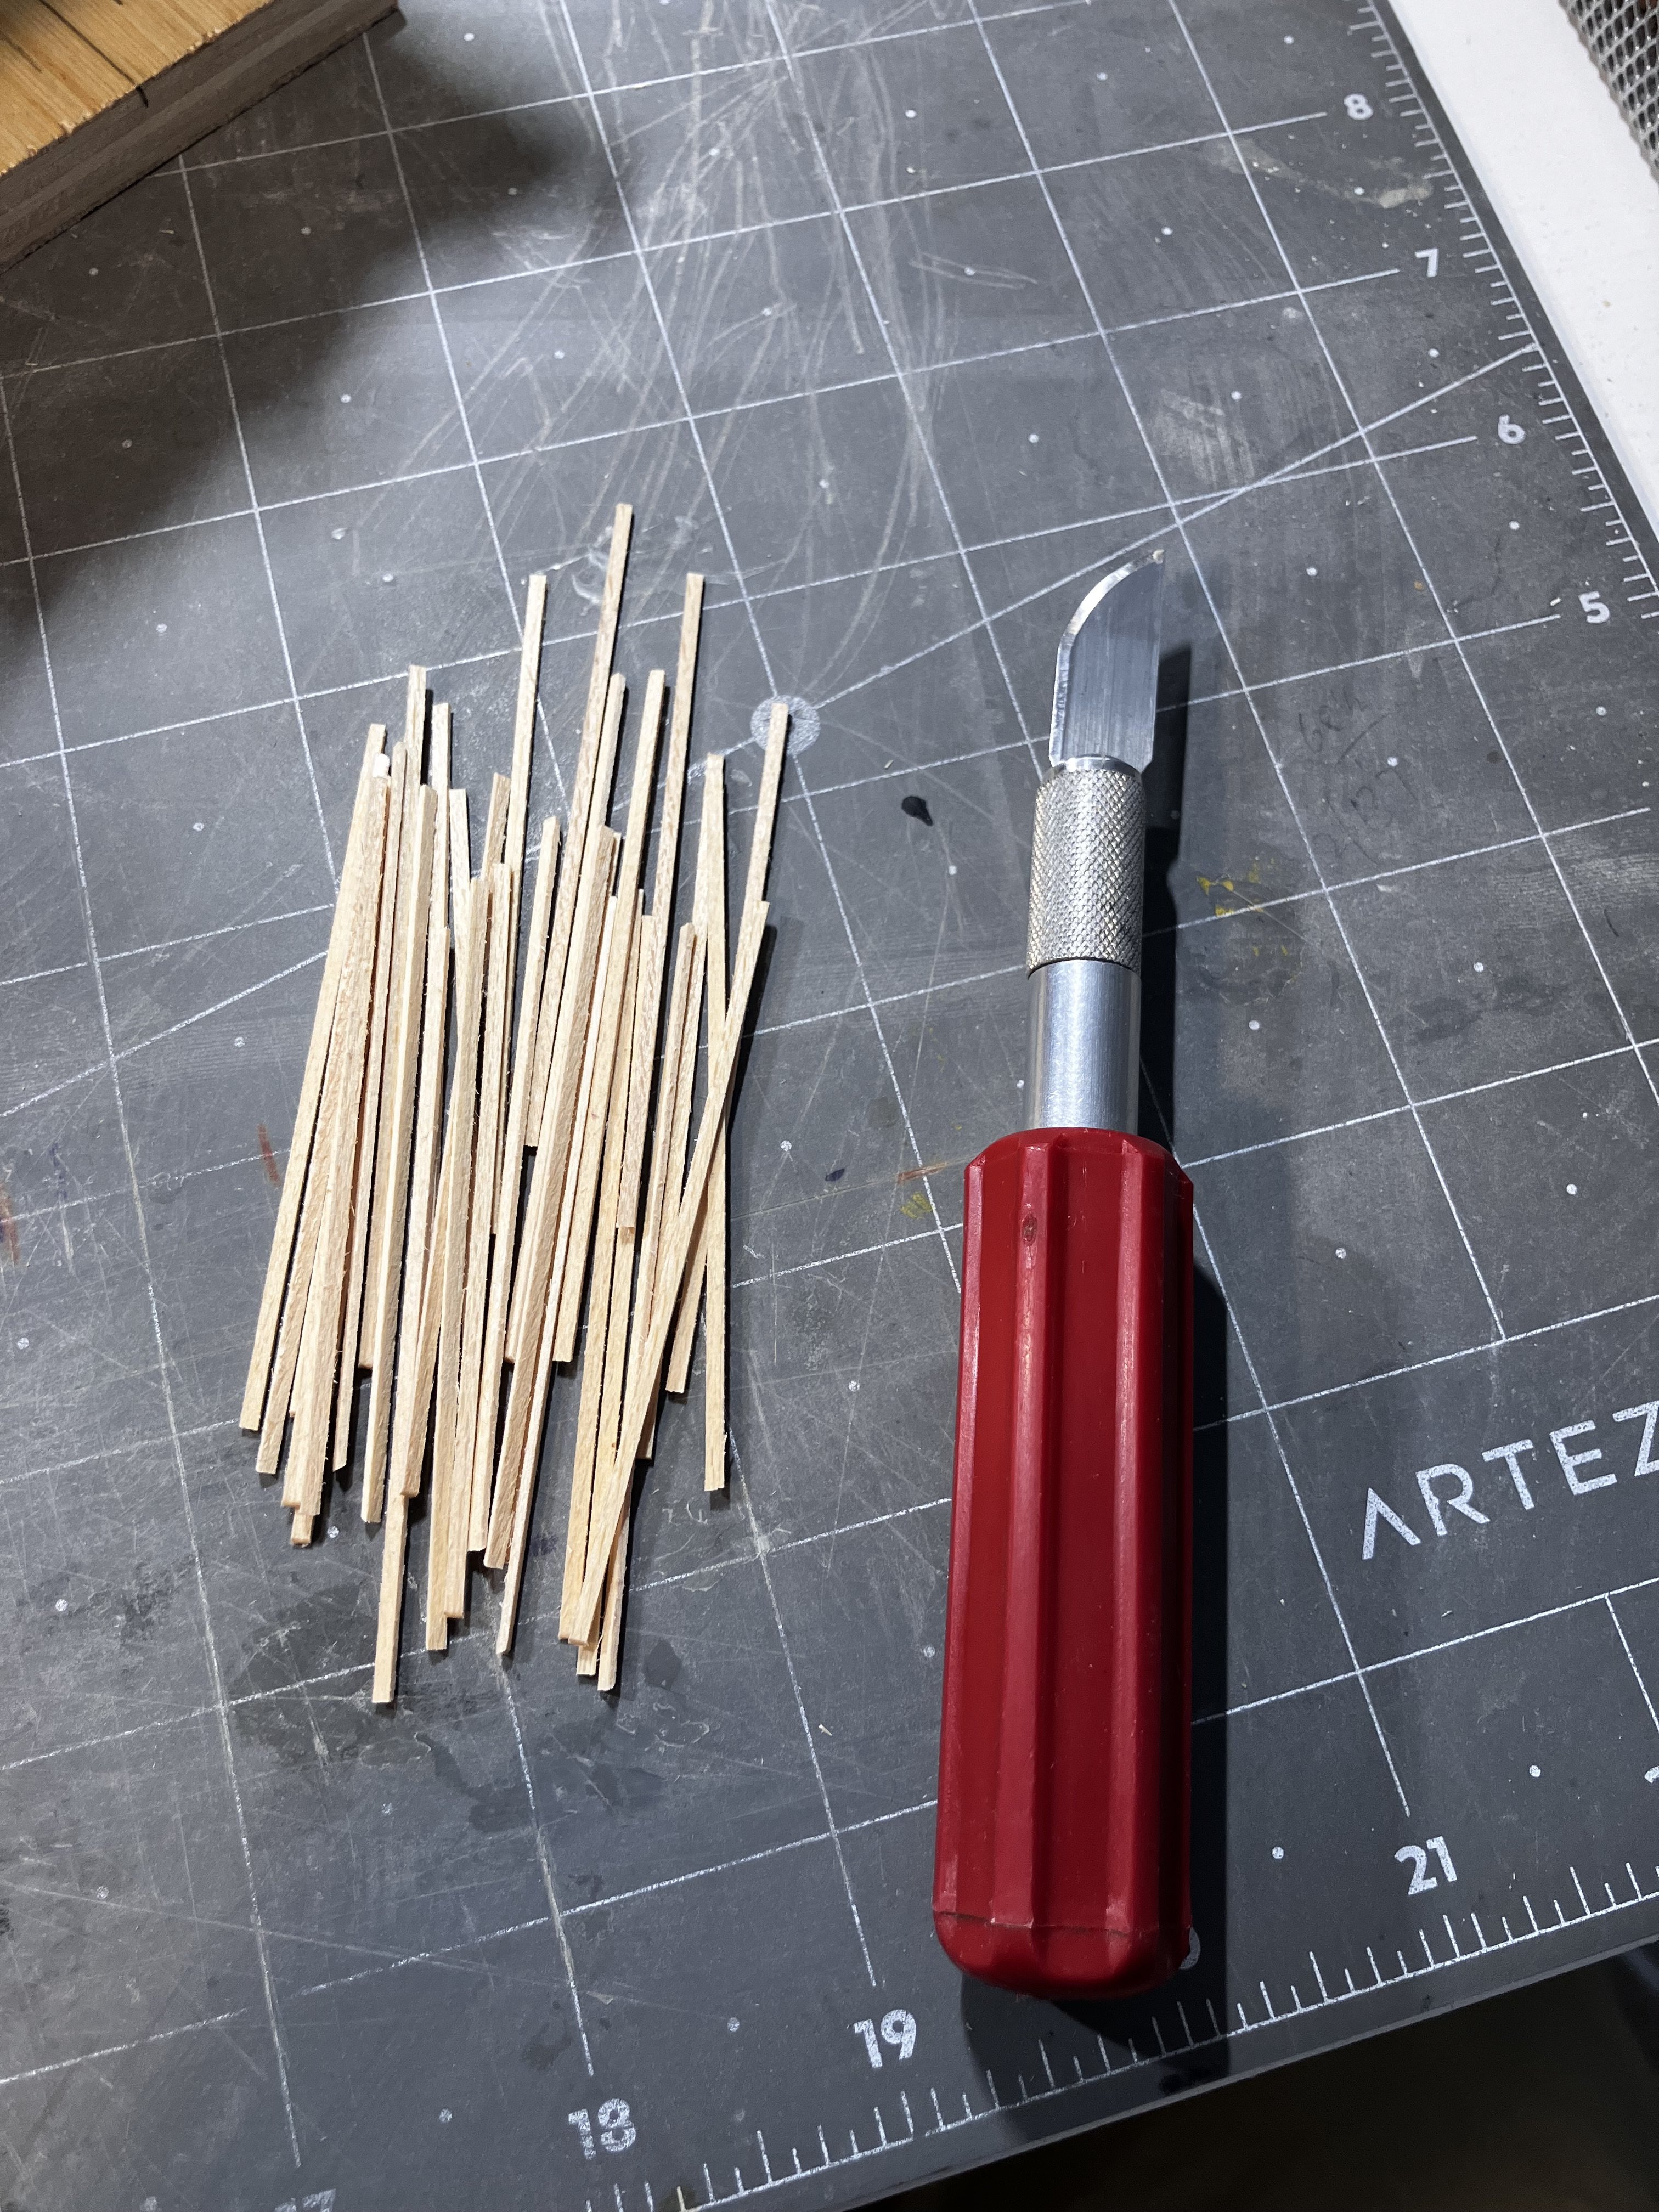
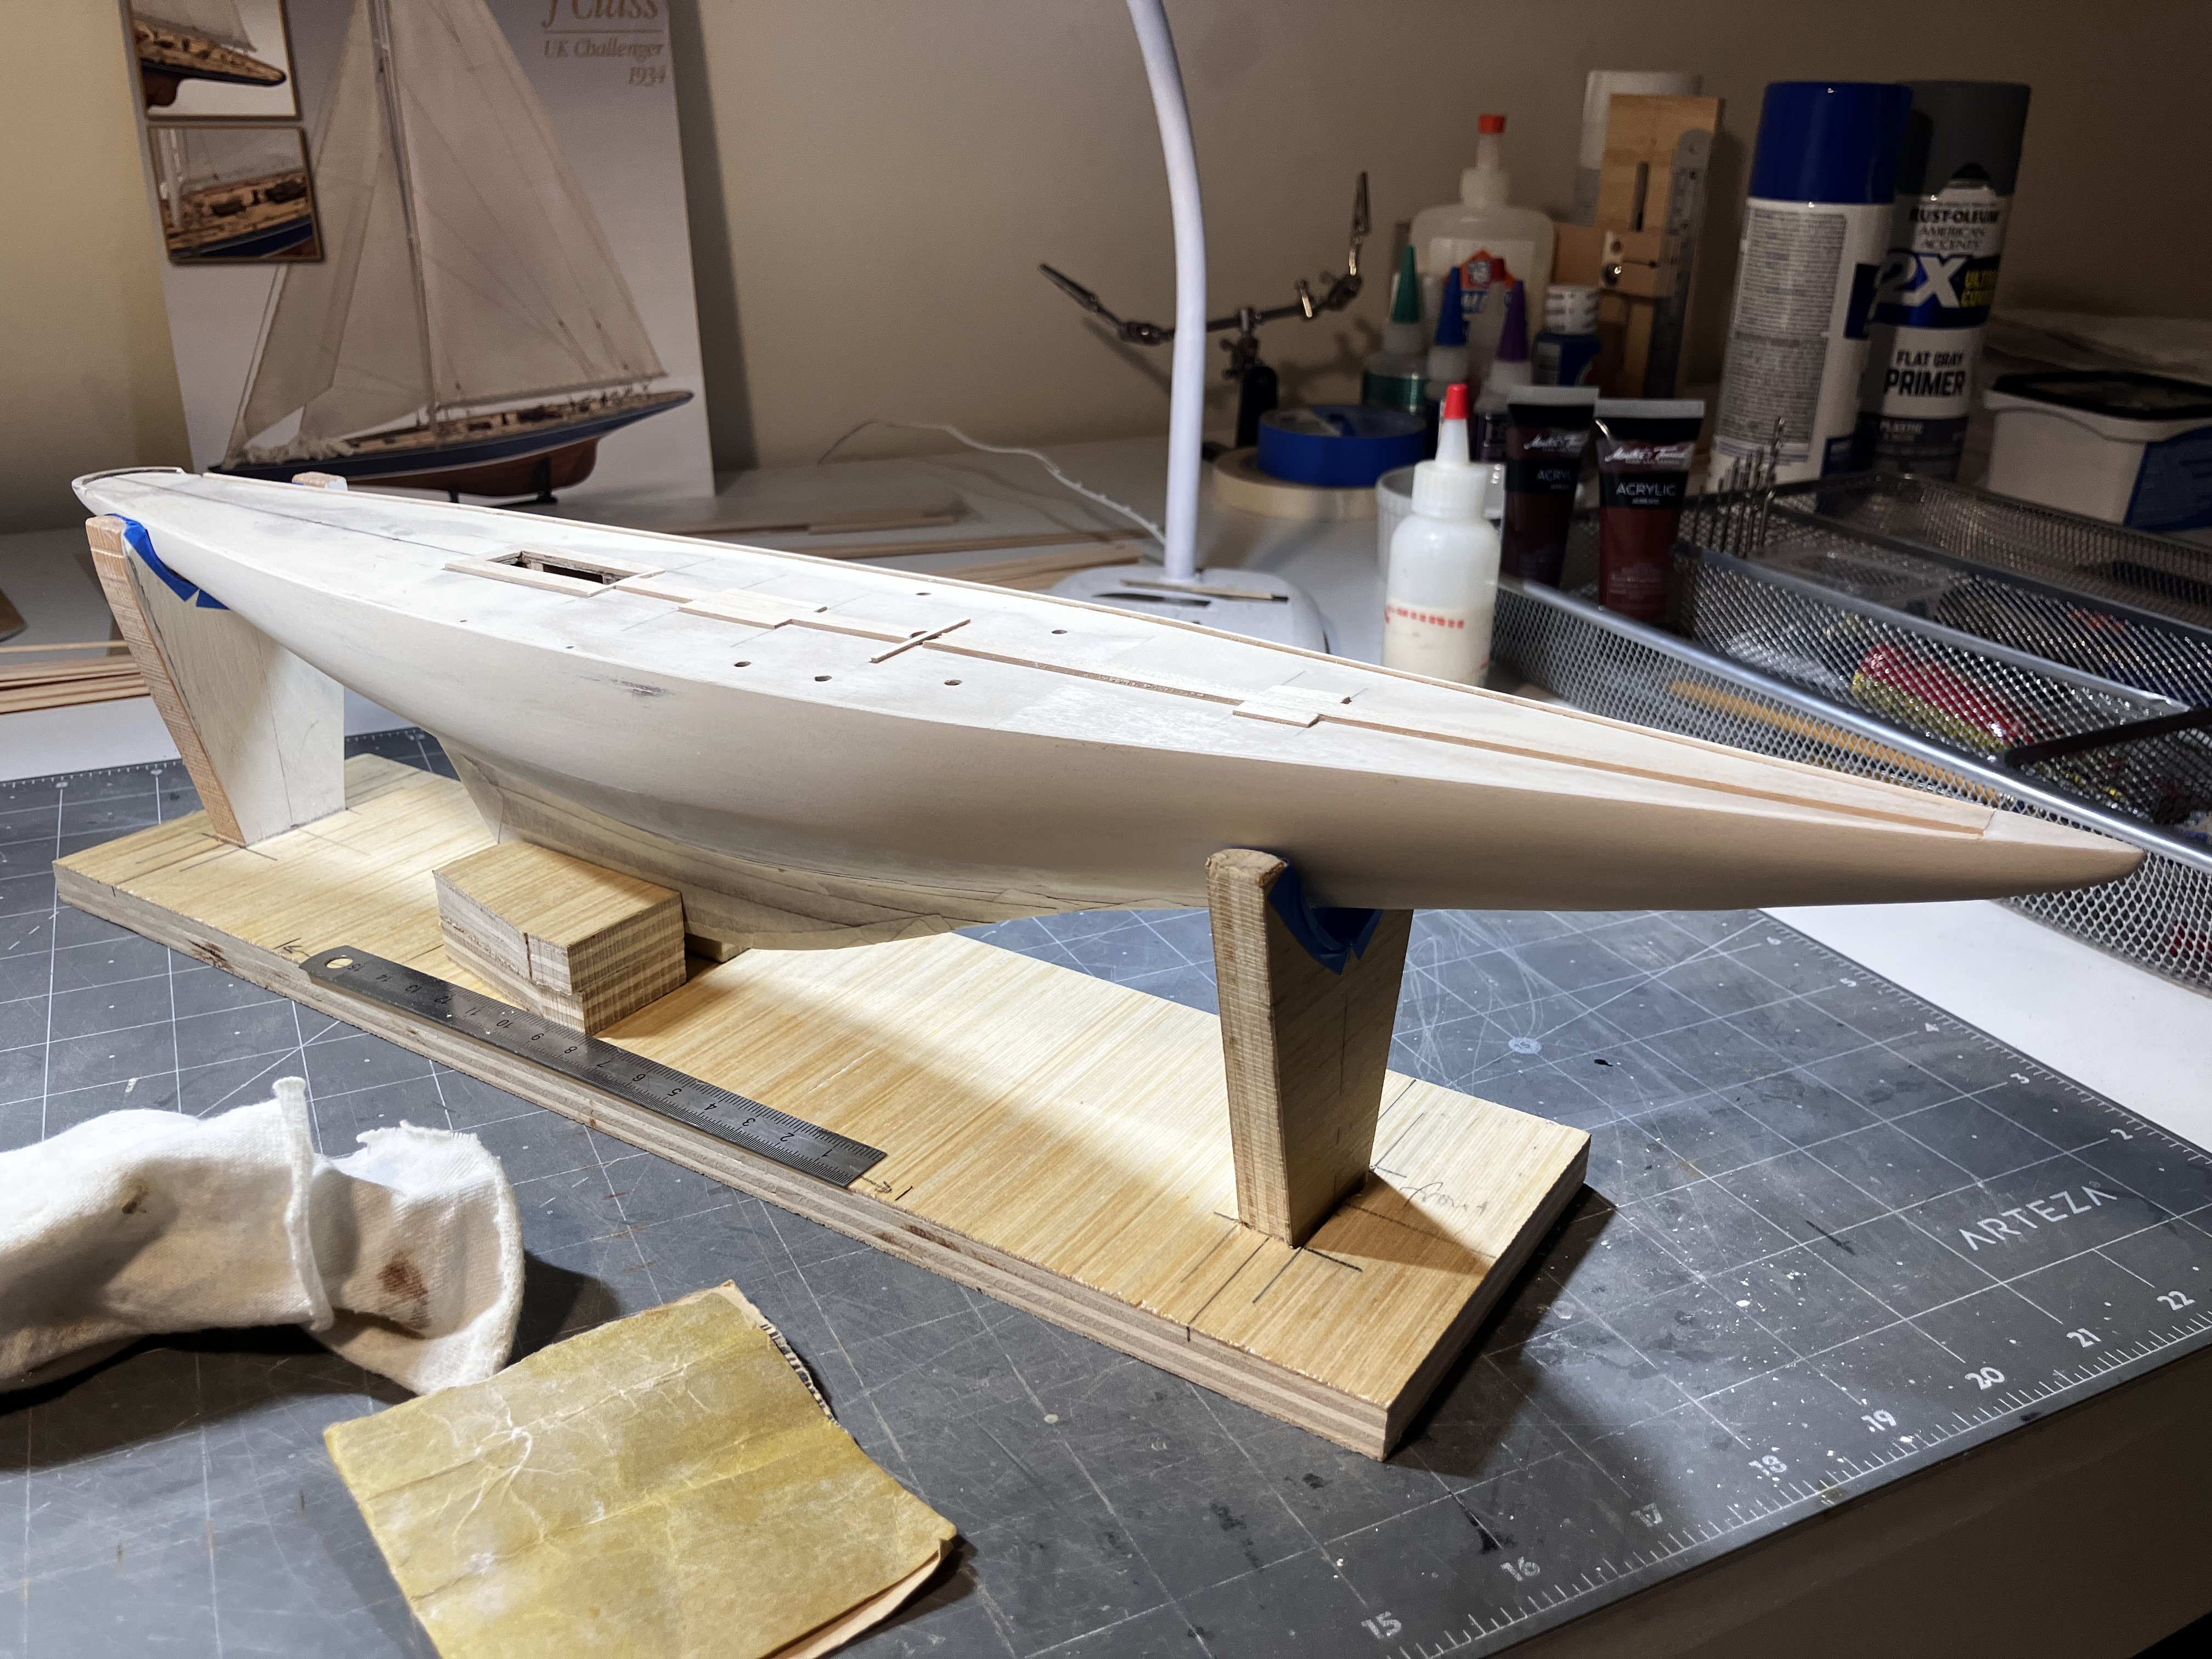
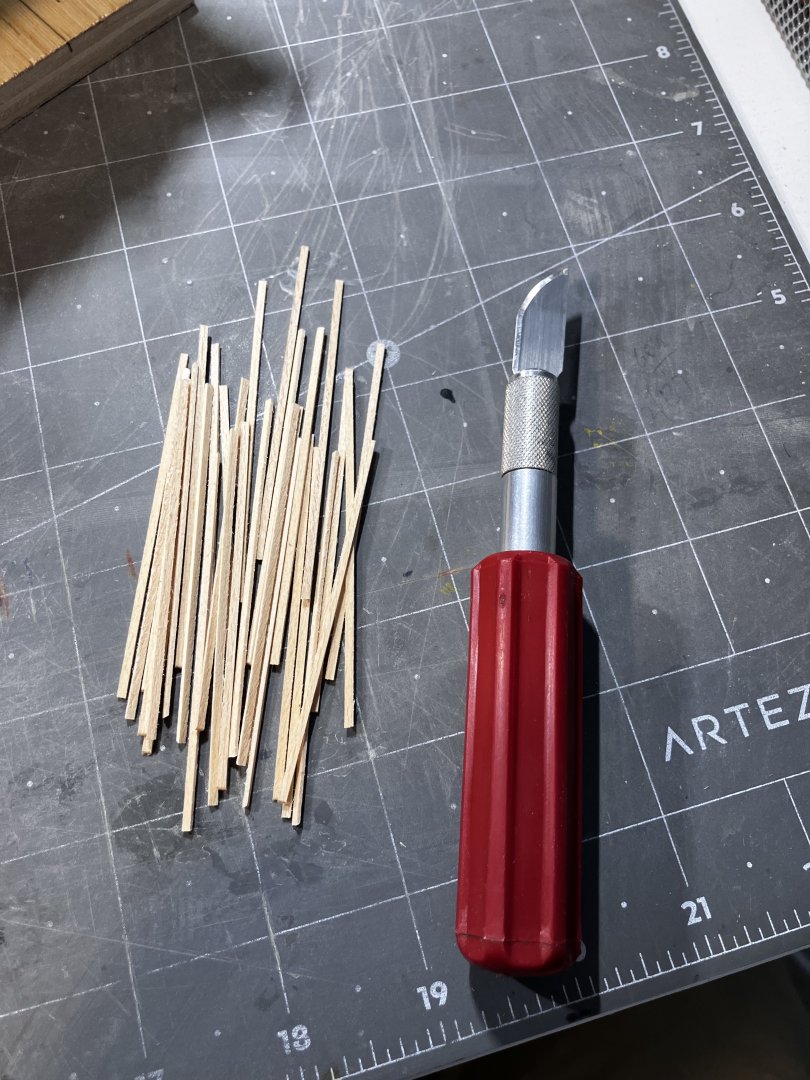
She has had her first layer of primer. It does look a lot darker in this image than it actually is, a very light slate grey color. While I wait for that to dry completely (I will wait the full 24 hours as suggested on the spray can), I am cutting up the strips for the deck planking. I will be coloring the edges to simulate the plank caulking. I had toyed with the idea of adding very thin walnut strips between the deck planks to simulate the caulk but decided against it. If the scale of the yacht was a little bigger I think that would have been the way to go.

-
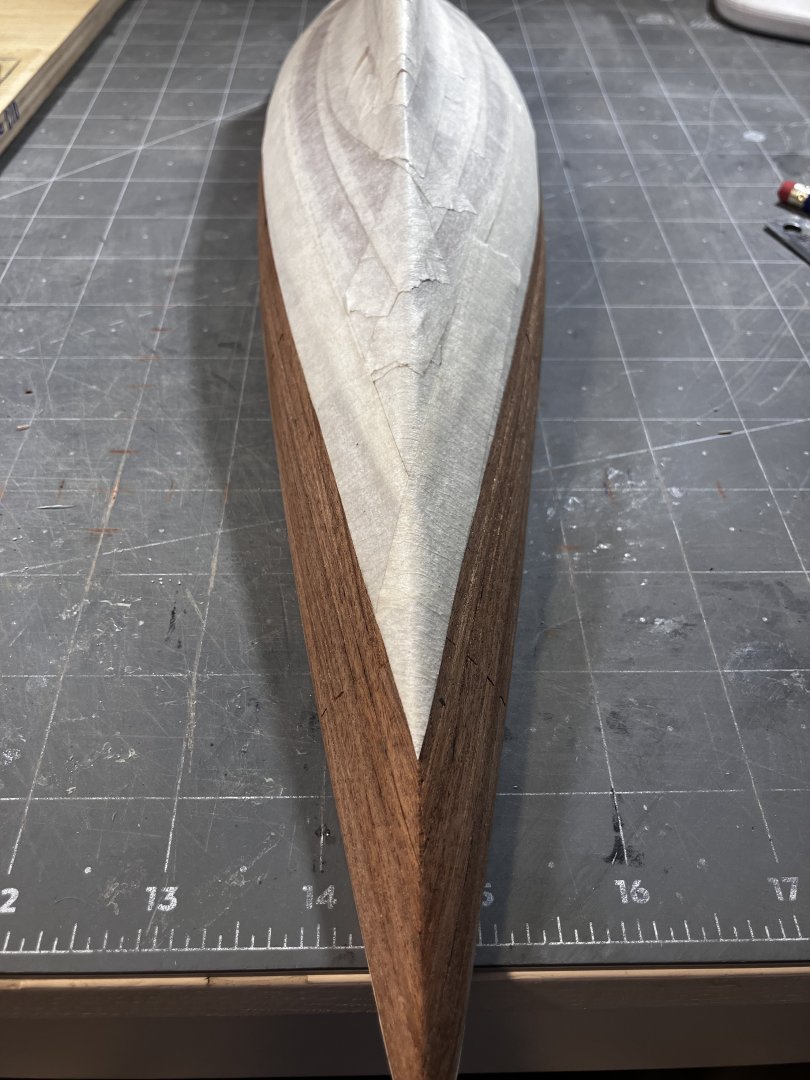
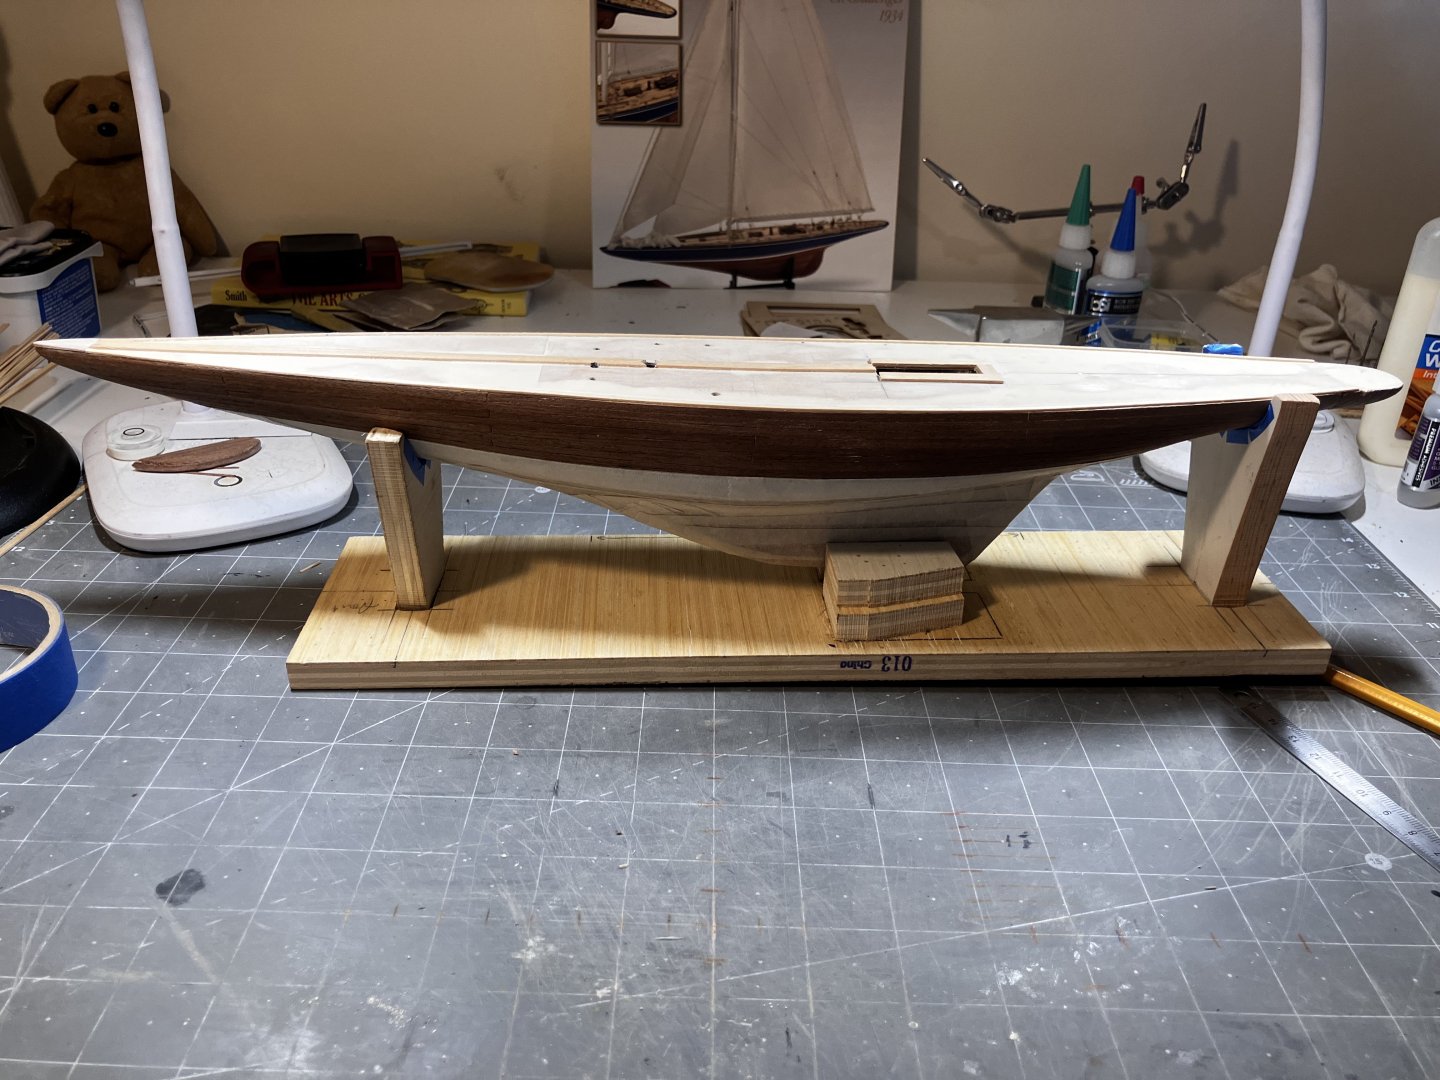
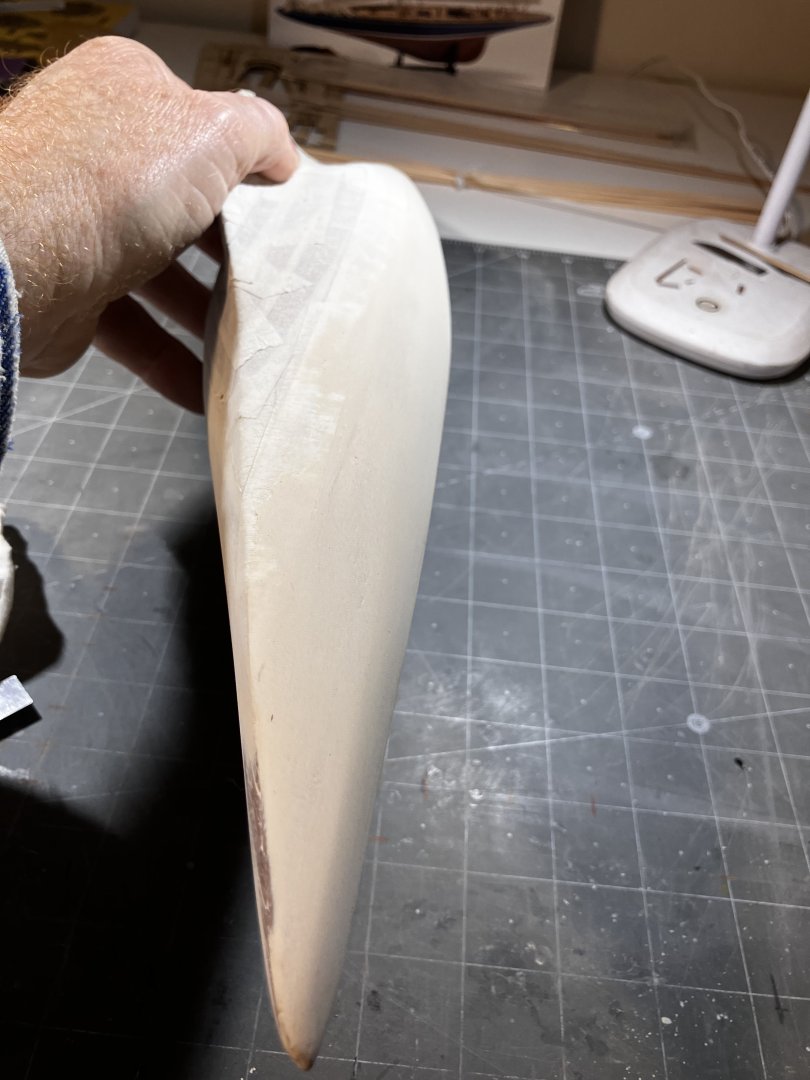
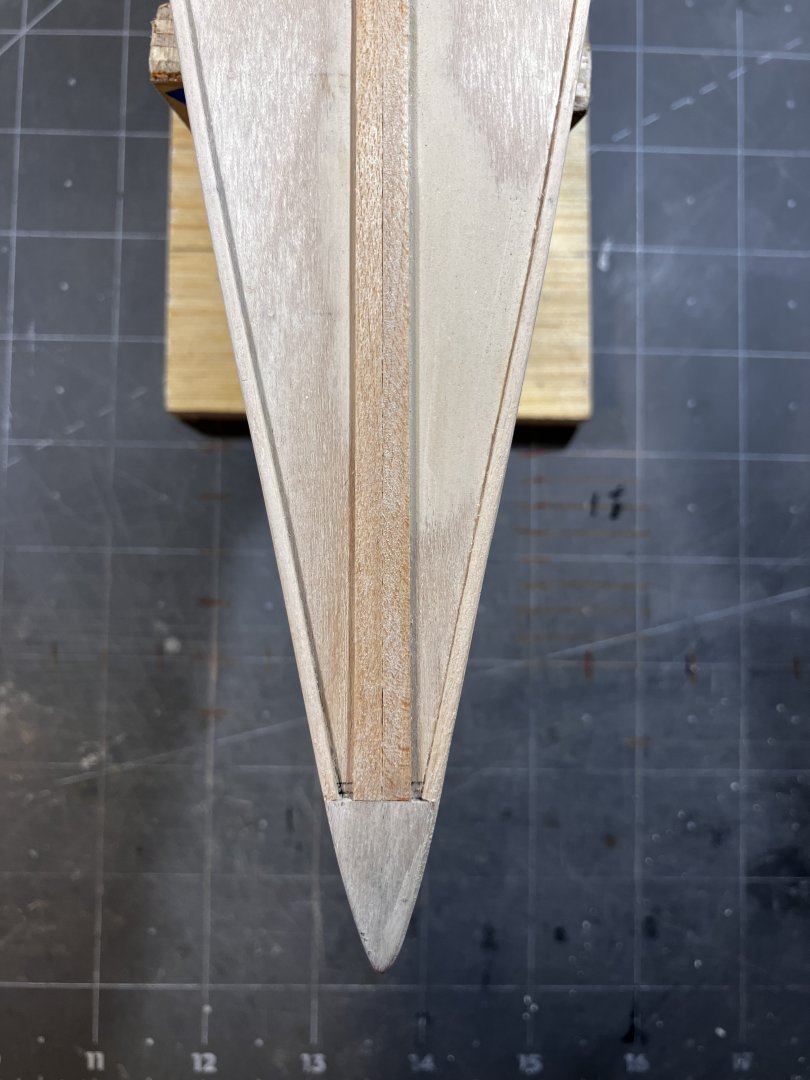
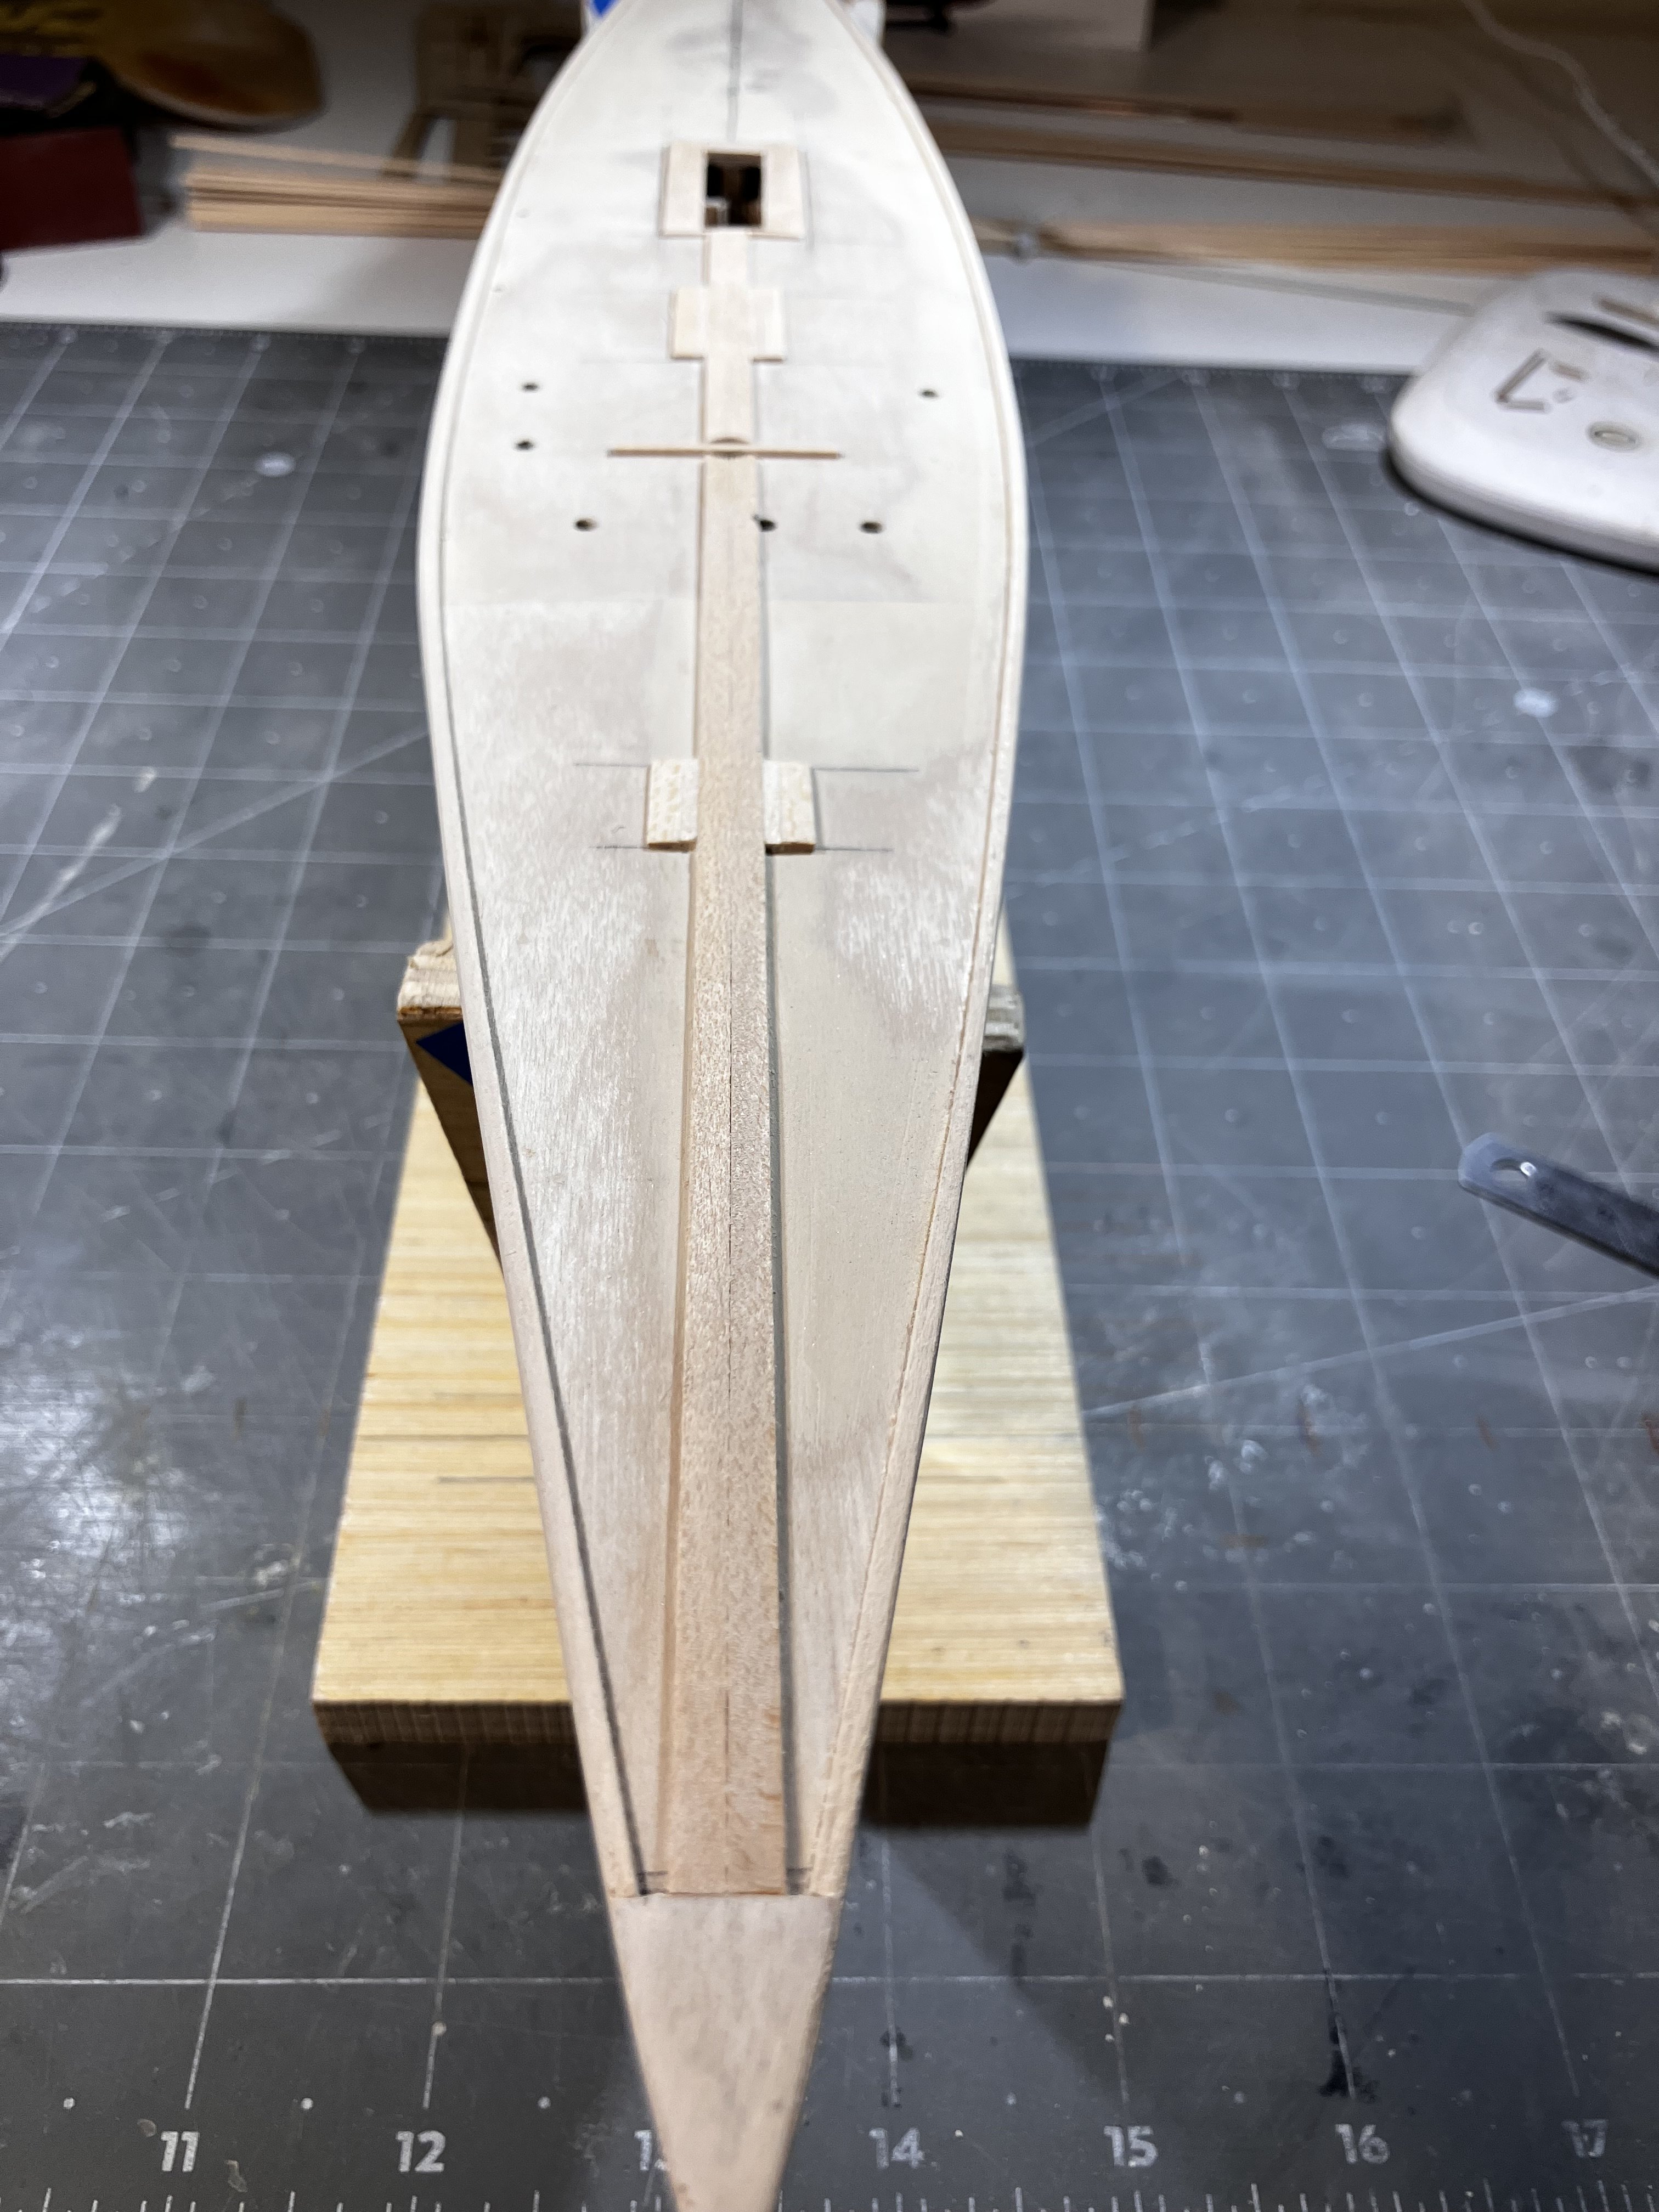
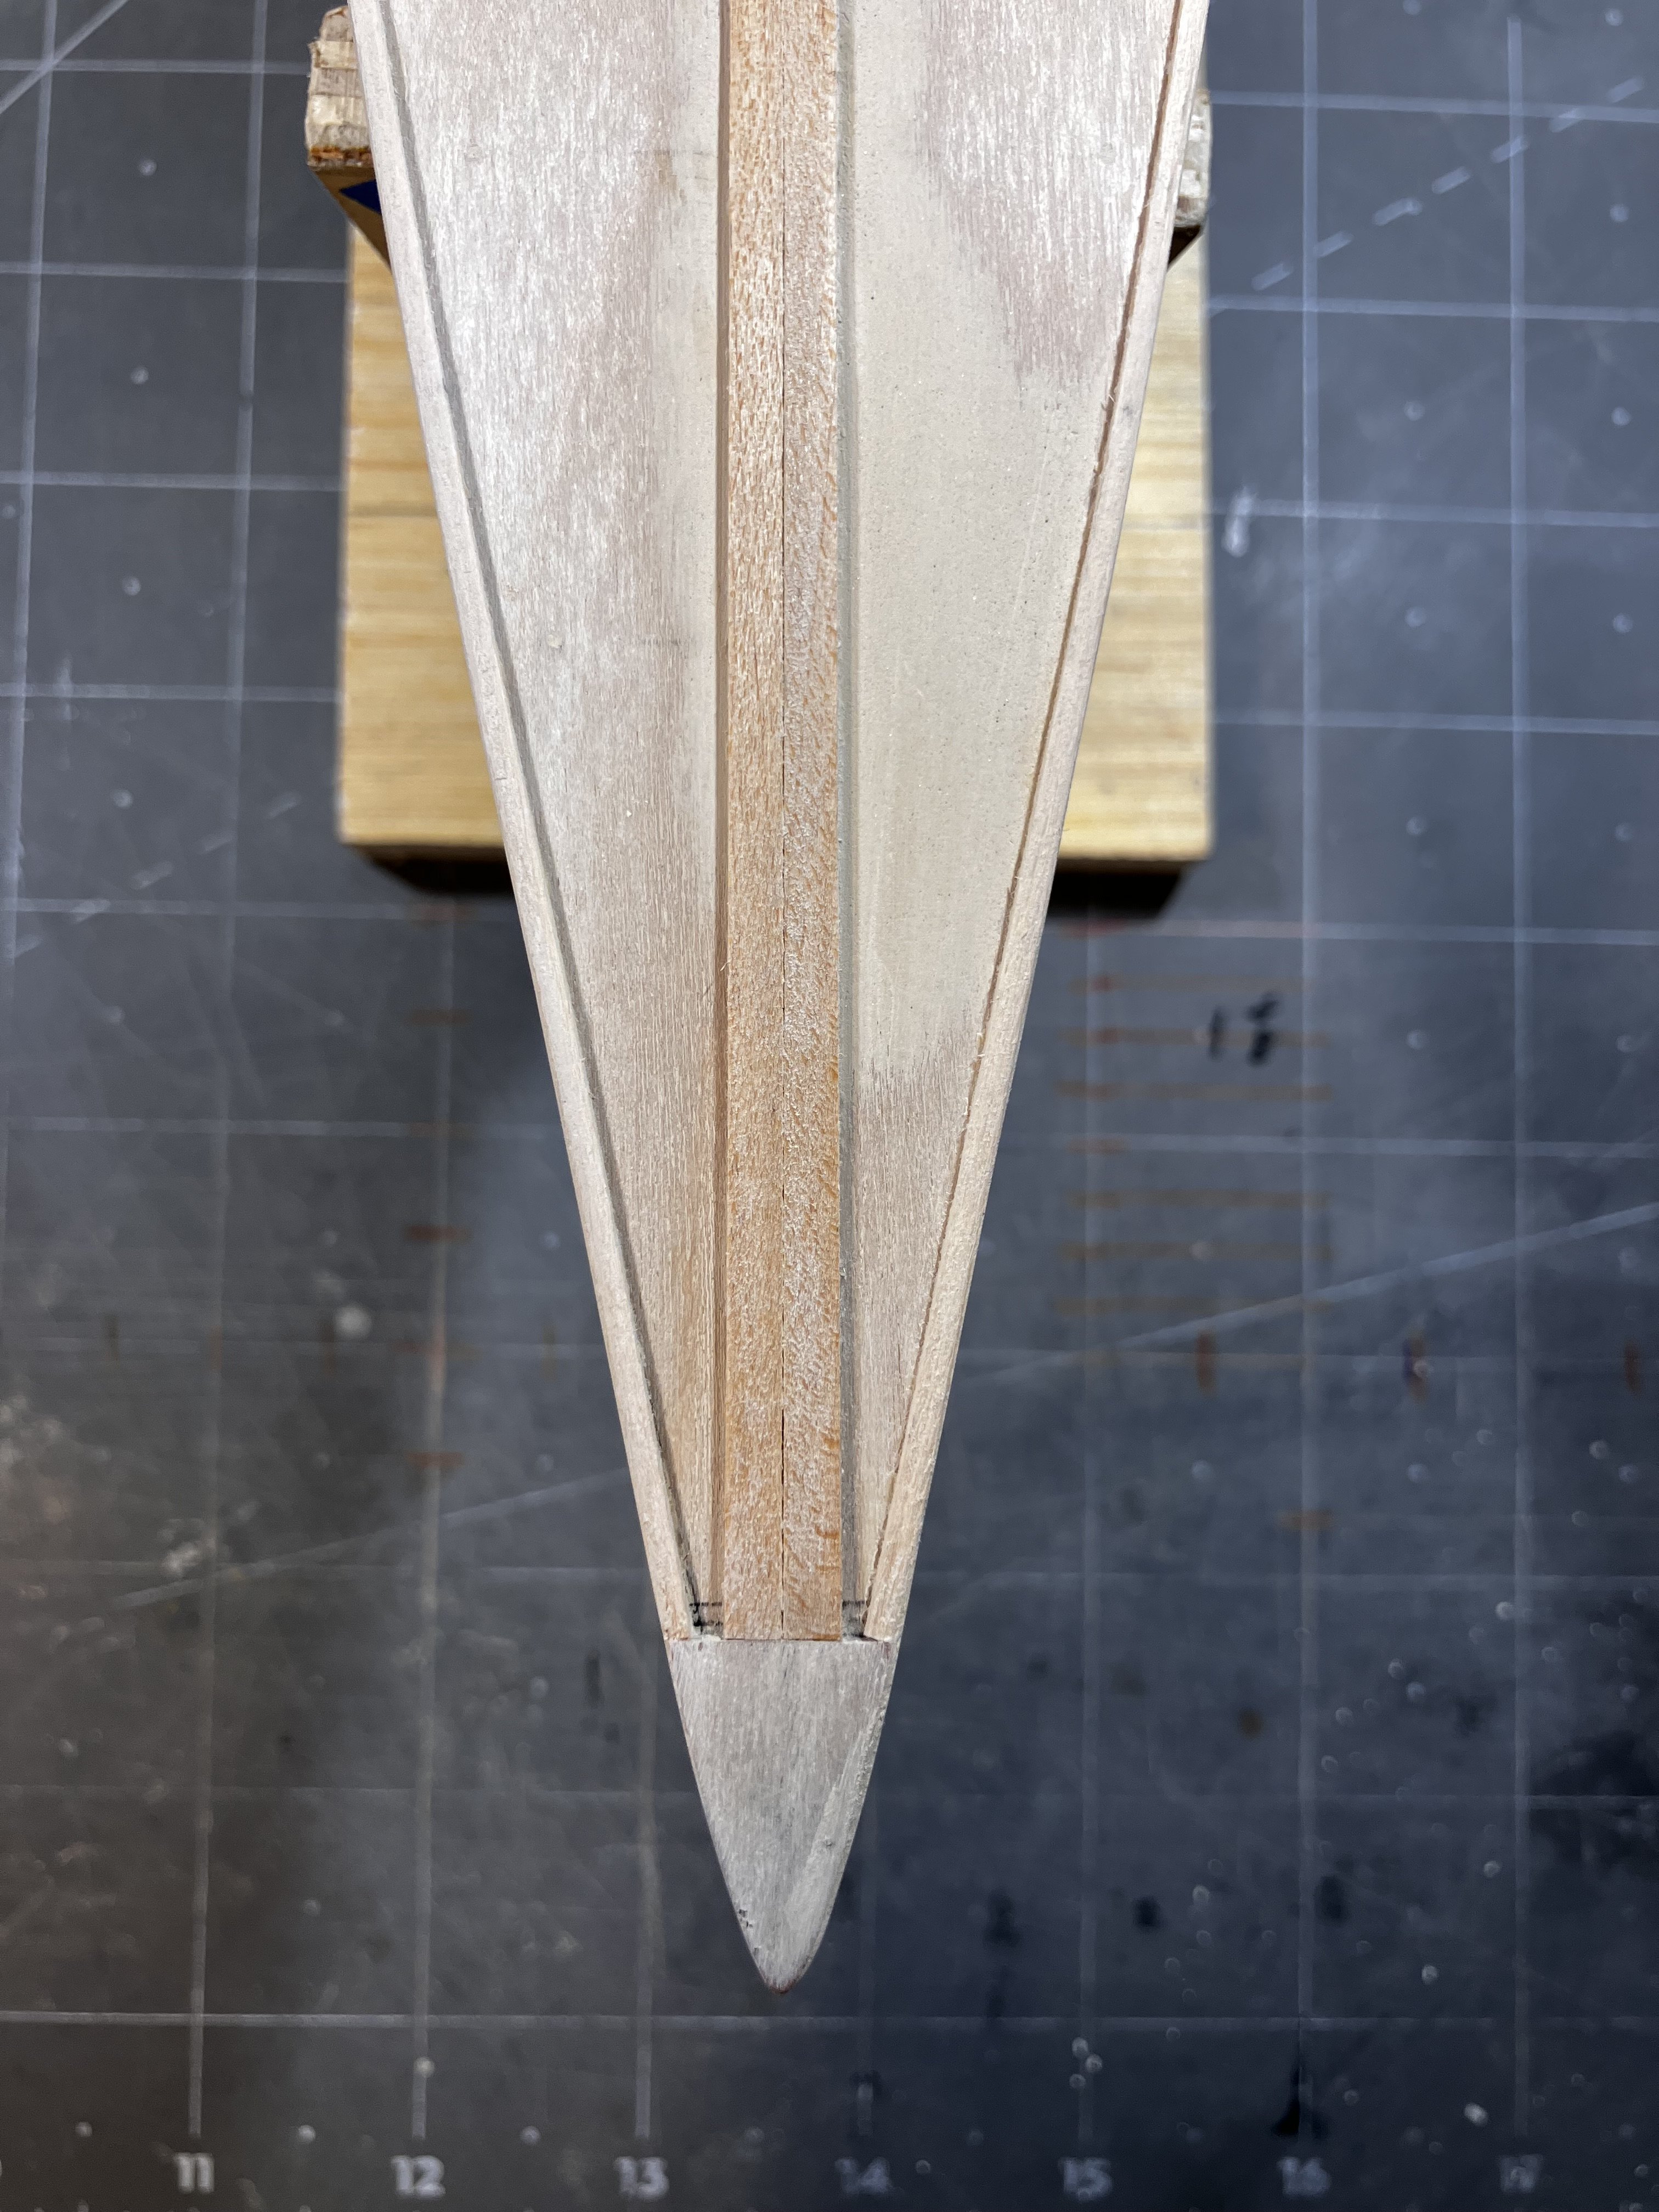
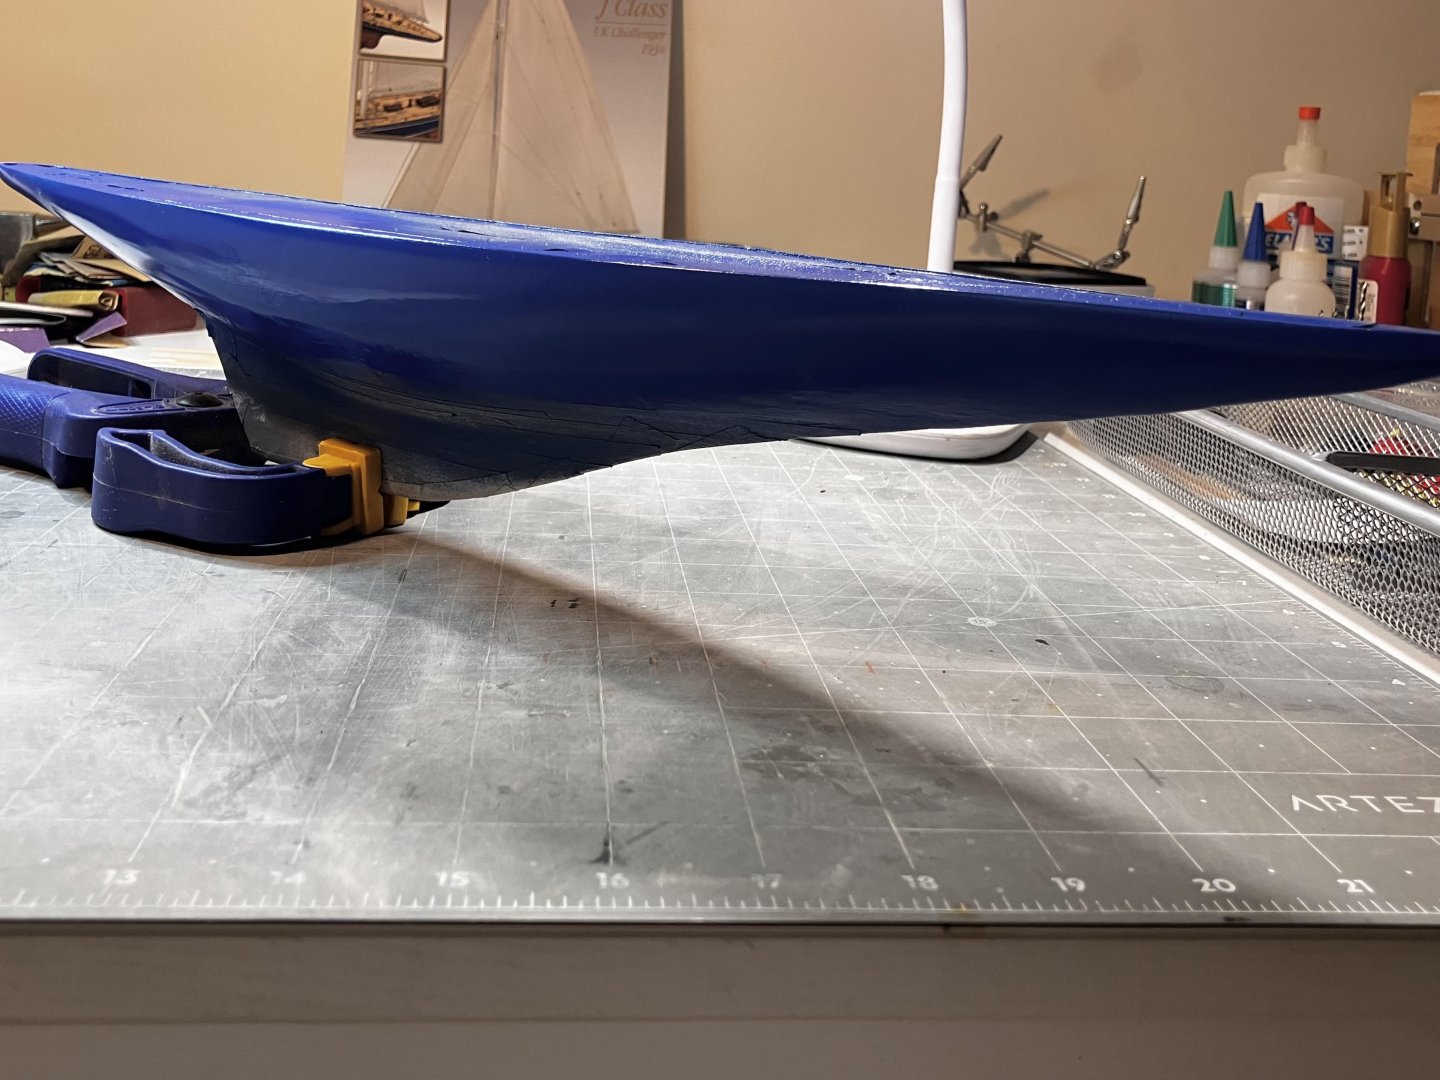
Good evening all, Because I have decided to paint the top half of the hull, similar to the original colors, I had to mark the waterline and mask off the part of the hull that is staying as natural wood. Once that was done I covered the hull with a very fine filler that was sanded down to give me a smooth surface for the paint job. I won't be painting until tomorrow so I carried on working on the deck. I decided to add small "islands" under the major structures on the deck. I was inspired by this through a similar build to this on the Ships of Scale forum. As well as that, I modified the planking at the bow slightly. I was not happy with having the two center planks go all the way to the bow tip. By adding a small plate I could have them sit nice and squarely at the bow and give the deck planking something to butt up against at that point. It will save a little bit of cutting and shaping I guess The top rail and the front plate I added will be painted the same color as the top part of the hull. I will be masking the deck off and painting before I add any more of the deck planks. I want the paint job on the hull finished before I carry on "up top".