
vvvjames
-
Posts
168 -
Joined
-
Last visited
Content Type
Profiles
Forums
Gallery
Events
Everything posted by vvvjames
-
 That's a professional photographer right there! The boat is looking great Bob, getting close to the finish line!
- 75 replies
-
- 6
-

-

-
- Steam Cutter
- Harriet Lane
- (and 2 more)
-
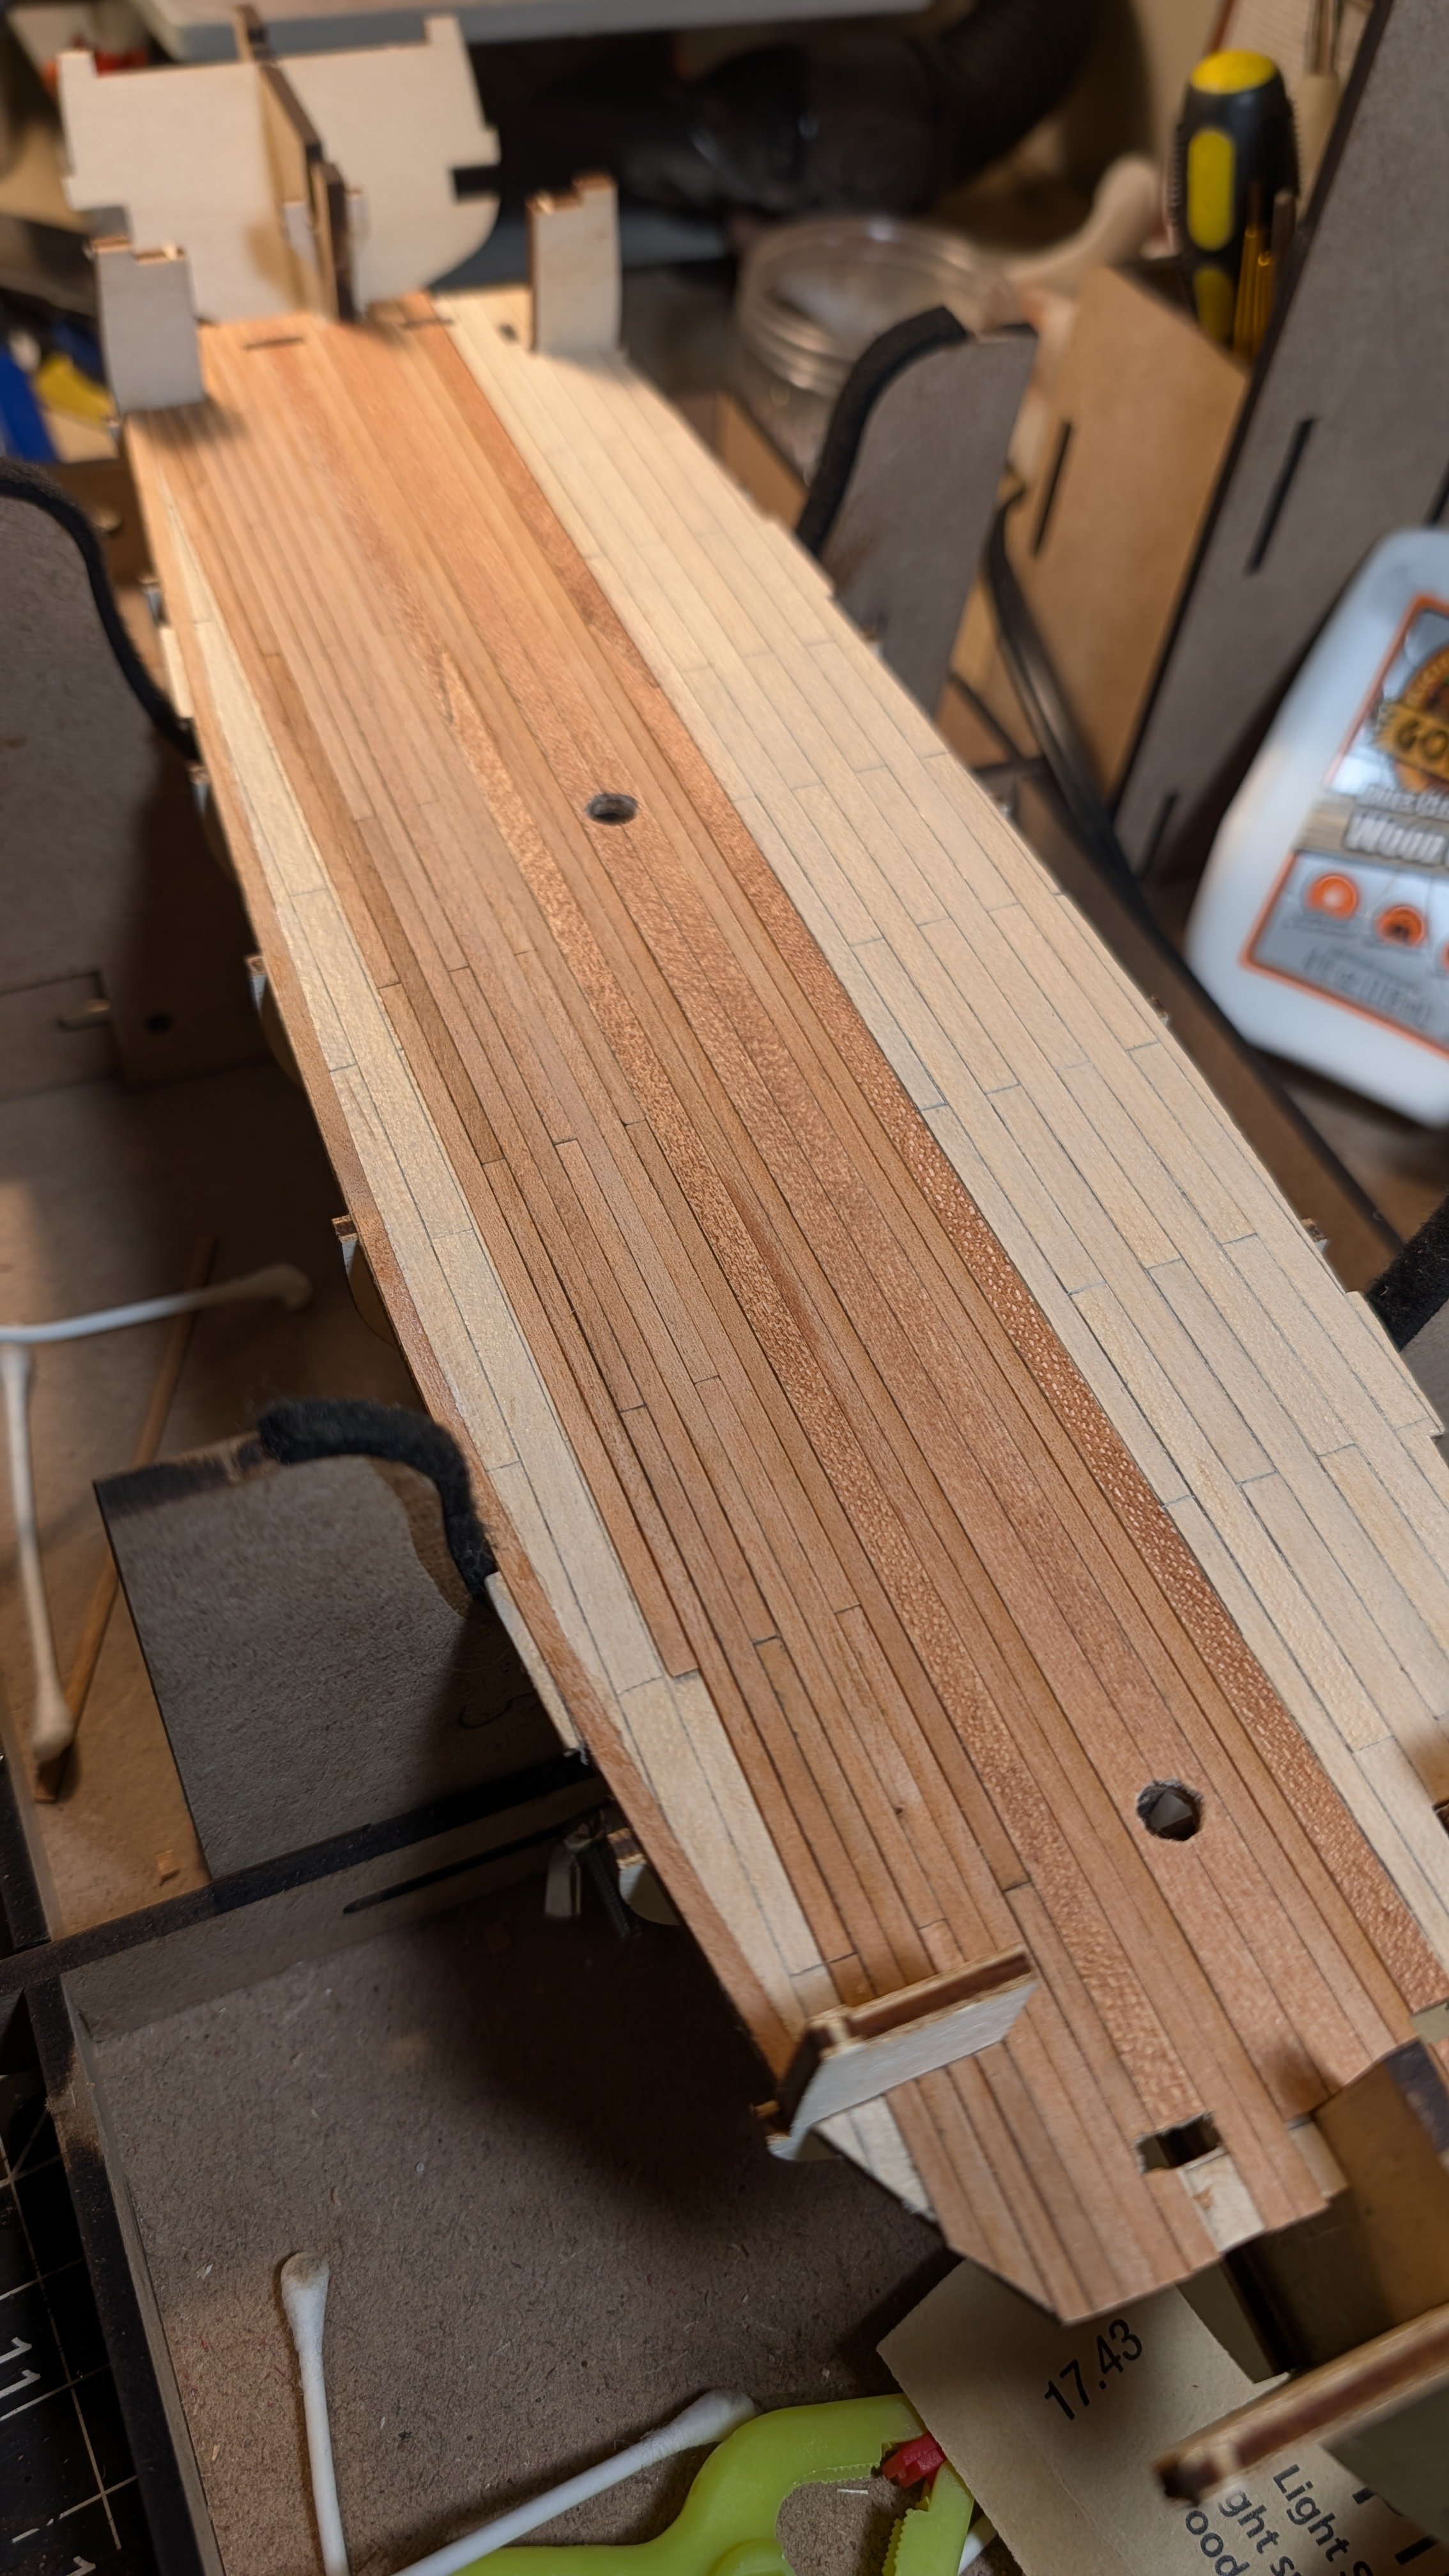
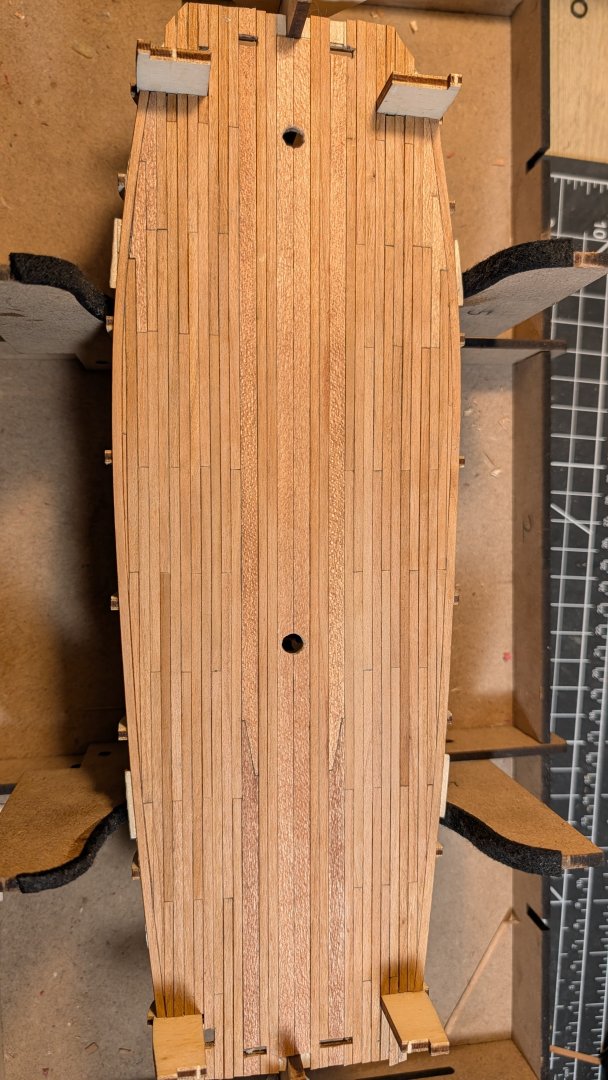
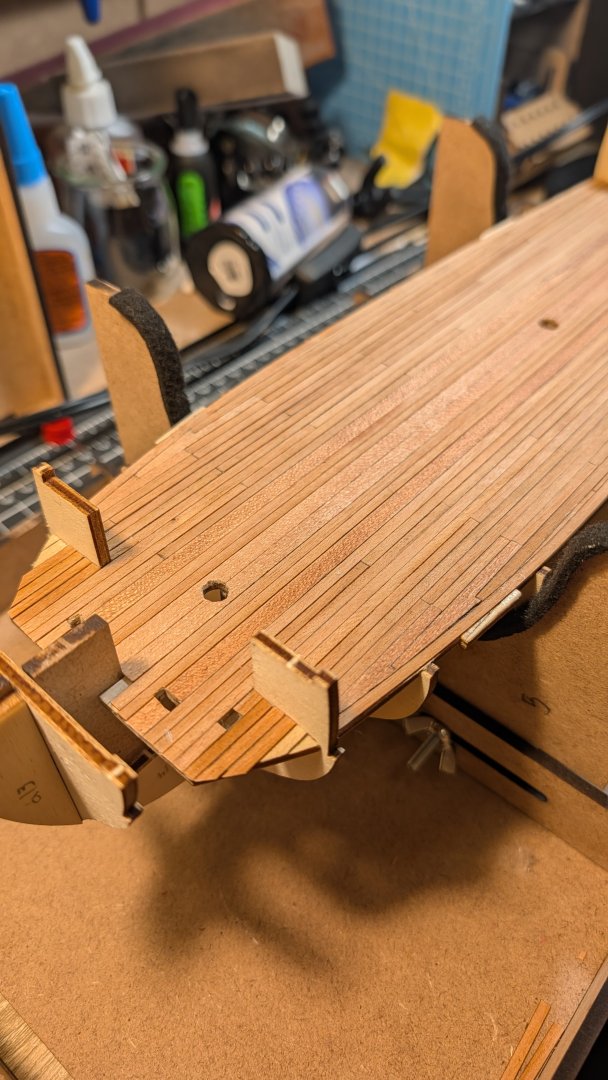
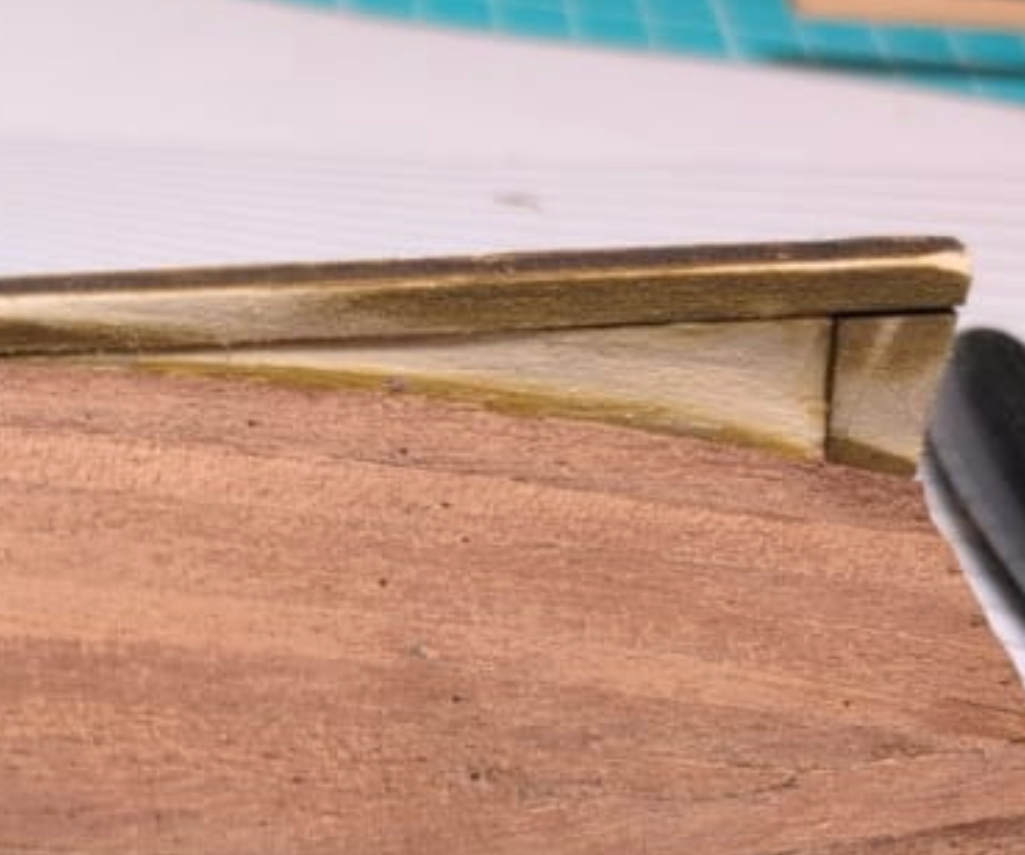
Fair wind all, The deck is planked! Huzzah! Now that it's done I am happy I decided to redo the deck, I feel a lot better about this result. Also here is my first attempt at "hooking" planks: Again I used kit planks stained to look like cherry for these hooks, as I don't order any cherry wood thicker than 3mm. Hindsight 20/20. This is making me want to buy a table saw and start tearing my own planks... One day... I wish I had hooked both fore and aft planks, but I still like the results, and the sharp planks will mostly be covered by stowed cannons later anyway. Onward to page two of the instructions Work time so far: 24:51:28 Best, James
-
Agreed! Welcome to the Beagle club Paul:)
-
Thank you @Ronald-V! The cherry has been fairly soft but still holds up to tiny cuts and doesn't tend to split:) If my opinion changes after doing the joggling I'll let you know. Also it's a bit lighter in person, the pictures make it look quite dark.
-
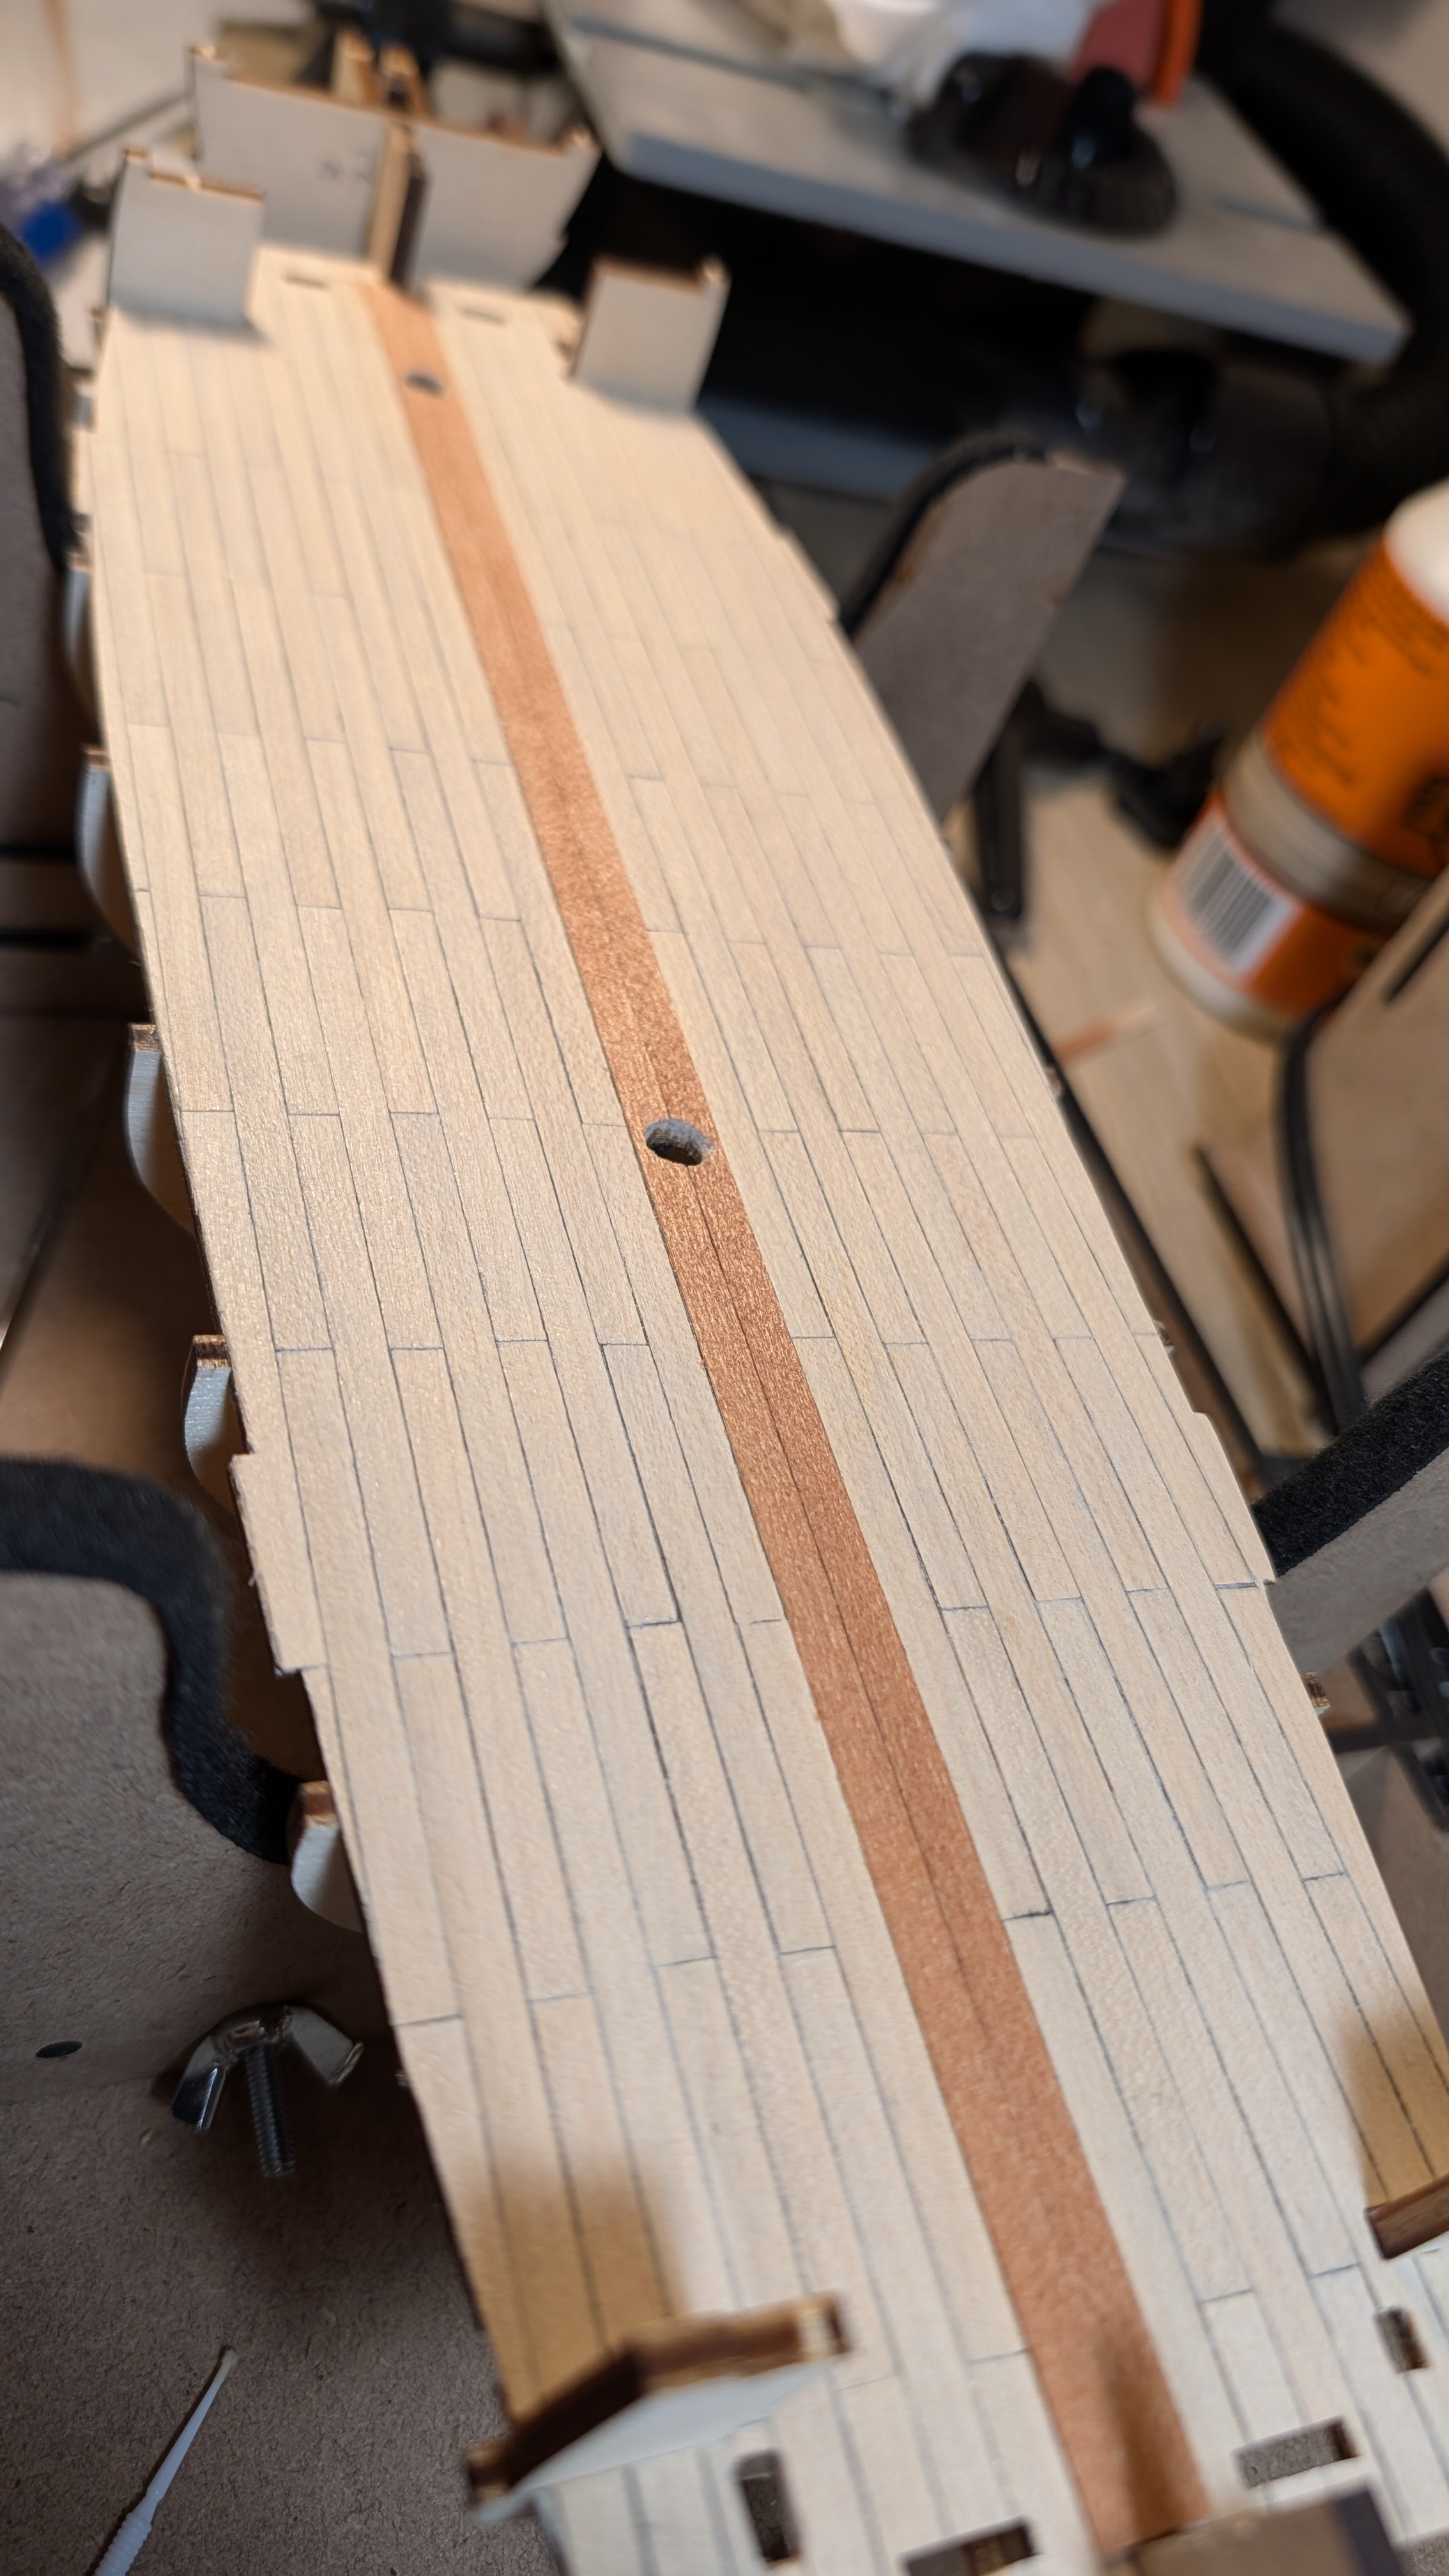
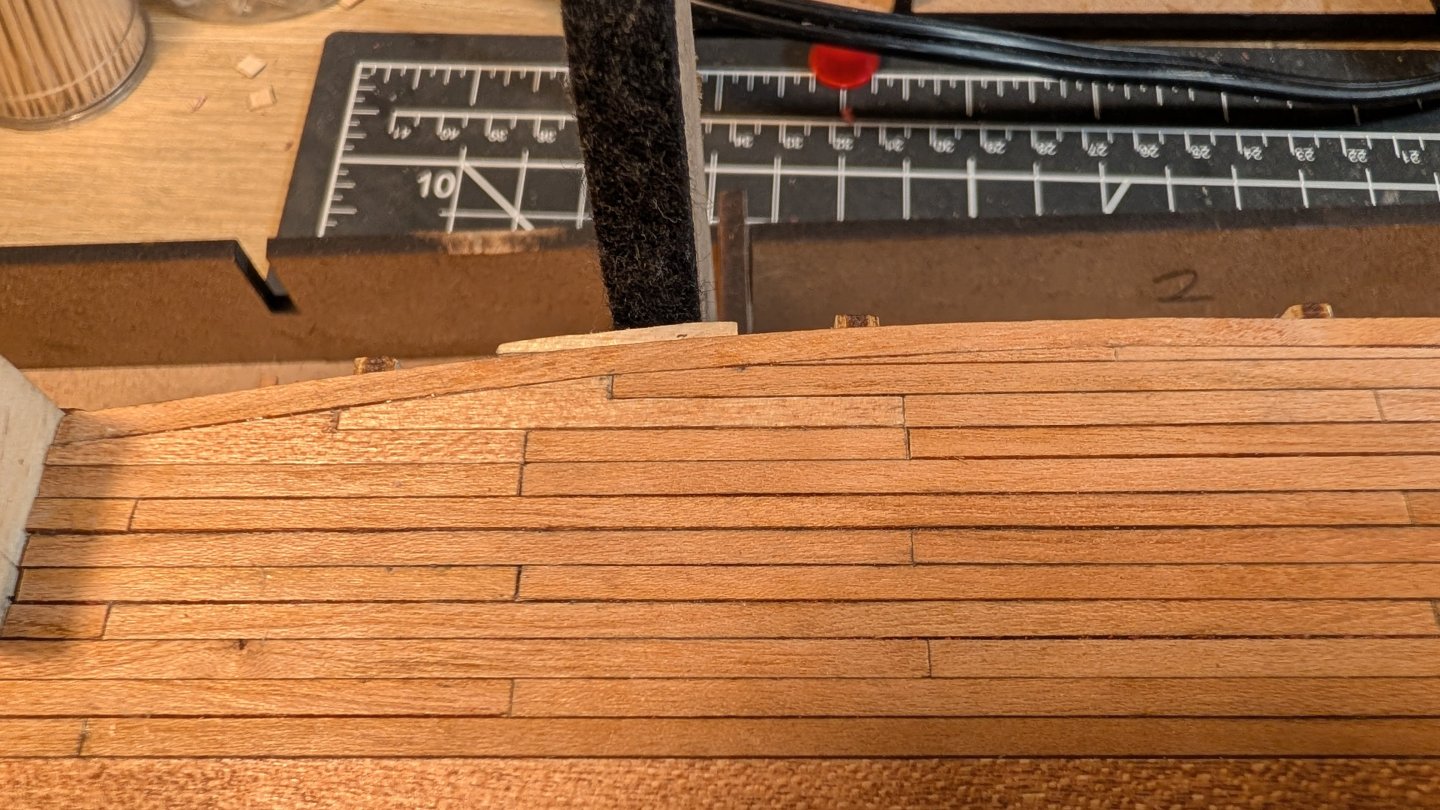
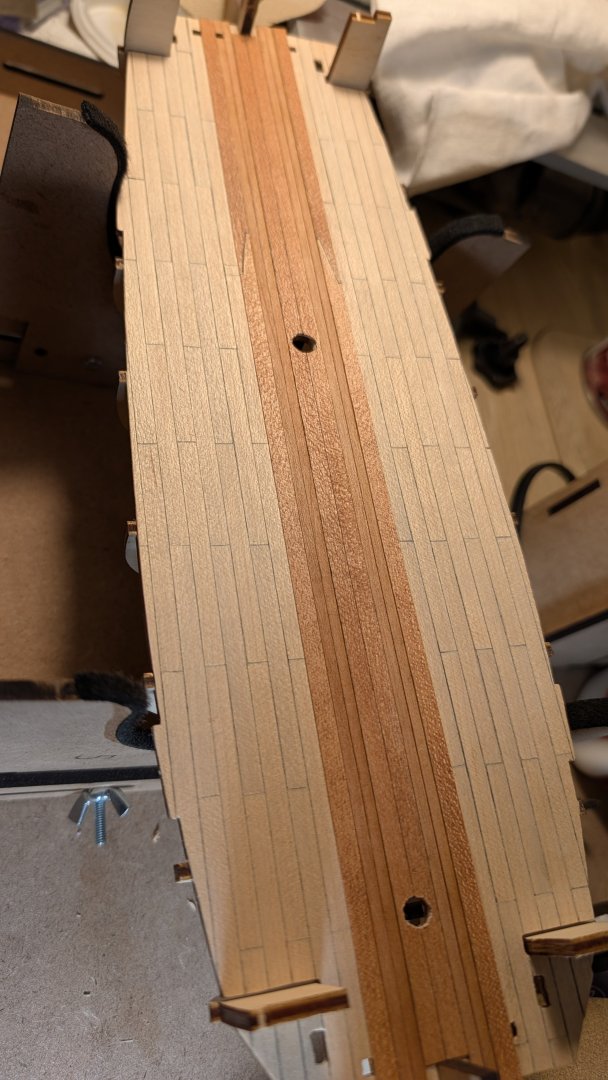
Hello all! I am back from my visit to Chicago, I have been really missing my model while away. I did get the chance to visit the Chicago Maritime Museum and admire the models there though. I returned to find the cherry planks I ordered before leaving had been delivered and I have been able to begin work on redoing the deck planks. King Plank: Now these two pieces actually aren't the new wood, the new planks are just too thin to capture the king plank so I stained the kit planks and used those, I think the color matches well enough! Binding Strakes: Now in the Anatomy of a Ship for the Beagle, there are two binding Strakes, however I decided to just do one, otherwise most of deck would be these thick pieces, and I really wanted the small planks to shine. I'm happy with this choice, I doubt someone will examine the ship and be disappointed by a missing plank, right? Right. And finally the smaller 3mm planks can shine for the rest!! Current State of the Deck: The cherry wood is a bit inconsistent with color but I actually quite like that, makes it more apparent that these are individual 100mm planks. I also threw on a margin plank(?) and may try my hand at joggling here as I approach the bulwarks, there will be enough joggling on the forecastle deck regardless. I'd like to thank @RobTBay and his build log for the Beagle. There was some fantastic deck work there that inspired me to redo mine. Anyway that's all for now! I'm so happy to be back at the workbench, and I'm already itching to start planking the hull, still a ways to go before then though. Happy new year, I wish you all the best. James


-
Welcome!
-
You've been doing great work on this model Bob, well done. I'm excited to see your bigger build! Also I hope you get well soon from that cold:)
- 75 replies
-
- 4
-
-
-
- Steam Cutter
- Harriet Lane
- (and 2 more)
-
Congratulations Baker! That's a lovely looking model:)
-
Very helpful post, thank you Ross!
-
Looks fantastic so far! Almost to the masts!
-
Recommended First Machine
vvvjames replied to vvvjames's topic in Modeling tools and Workshop Equipment
Under $400 if possible! -
Hello all, I have been yearning for a tabletop machine to help with modeling, and have narrowed the search down to a few options (proxxon table saw or disk sander). I wanted to come hear and ask a few questions before I committed to either. I imagine there is a "big 3" machining tools for models ships, those being a table saw, a disk sander, and a mill(?). Please add to that list if I'm wrong, I am definitely over generalizing based on what I've seen. I was also considering a drill press, but I feel ok with my drill vice at the moment. My question is, what would be a good first machine for someone who's only really used hand tools/Dremel? What machine (excluding CNC and 3-D printer) do you get the most use out of? My reasoning for wanting the sander and/or table saw is to make planking easier and smoother, I have struggled with clean, square cuts and tapering with just an exacto knife. Would love to hear your opinions!
-
Congratulations on your first ship! Well done
-
A lovely addition! And well said, it's looking more ship-like than ever:)
-
Merry Christmas Keith! Happy to see good progress on the Billy:)
- 407 replies
-
- 5
-
-
-
- Billy
- sternwheeler
- (and 1 more)
-
Your build is like an advertisement for fine grit sandpaper, everything looks so incredibly tidy. Merry Christmas Geordie!
-
My mistake! I looked further into other build logs and learned that that part isn't planked on this kit! You've done it perfectly:)
- 12 replies
-
- 1
-
-
- OcCre
- Bounty Boat
- (and 1 more)
-
Hello! Nice work on the planking, just one thing to note for the next build, this part of the hull is planked as well The garboard strake is the first plank that boarders the keel along its entire length, @AlfredoCampos has a build log showing this: However, with the painted hull, it looks very good and not very noticeable, just wanted to share this for the next build. As for installing yards, your "draw the rest of the owl" picture is apt😂 luckily, there's a lot of resources here that help. You might want to drill a small hole part of the way into the yard and another hole part way into the mast, then stick a pin (with the head cut off) into the yard, gluing it in place. Once the pin is secured, you can push the protruding pin into the hole in the mast for a fairly nice fit. Once that's done you can tie some supporting rigging to make it look proper. Maybe something like this?: https://modelshipworld.com/topic/23741-attching-yards-to-masts/#findComment-699121 Hope this helps and good luck on the rest!
-
Lovely work! Thank you for posting your process:)
-
Excited to see what you do with the Albatros parts:) great outfit for an historical interpreter also, it might be fun to put a miniature of yourself on the deck!
-
Welcome Rui! Looking forward to seeing that build log!
-
Your precision with hand tools is impressive Jacques, here I was thinking this kind of neatness was only achievable with machining, well done!
- 32 replies
-
- 4
-
-
-
- NRG Capstan
- NRG
- (and 1 more)