
vvvjames
-
Posts
168 -
Joined
-
Last visited
Content Type
Profiles
Forums
Gallery
Events
Everything posted by vvvjames
-
 Well done on the nibbing, getting those cuts so the deck planks lie flush against the margin plank has been a struggle for me, what was your process for it?
 -
Nice work on the fix, and on the great looking model:)
-
Hull Planking Calculator
vvvjames replied to MintGum's topic in Modeling tools and Workshop Equipment
What a fantastic tool you've made, I'm looking forward to testing it once I'm back in town and modeling again. If it works well IOU a beer next time you're in Denver. Thank you for this. -
Exciting build! I almost got the Endurance during their black Friday sale but ended up with the Beagle instead. Based on your previous builds you'll do some great work bringing it to life:) looking forward to seeing pictures of your Albatros too, that was my first.
-
Hello and welcome! Or Hallo und willkommen!
-
Nicely done on the first layer! Can't wait to see it sanded and shiny:) Side note, do you have a build log on your Beagle by any chance?
-
Seasons greetings
vvvjames replied to Ab Hoving's topic in Using the MSW forum - **NO MODELING CONTENT IN THIS SUB-FORUM**
Merry Christmas! What a lovely group to have found here on this forum, I only wish I had joined sooner:) -
Just caught up, I have to say the craftsmanship in this log is on another level Ronald, you've done great work and I'm looking forward to following along for the rest! Also that's a great workspace, if it's anything like mine, it'll be a mess within a few hours😂
-
That's a great looking little boat! Prächtig!
-
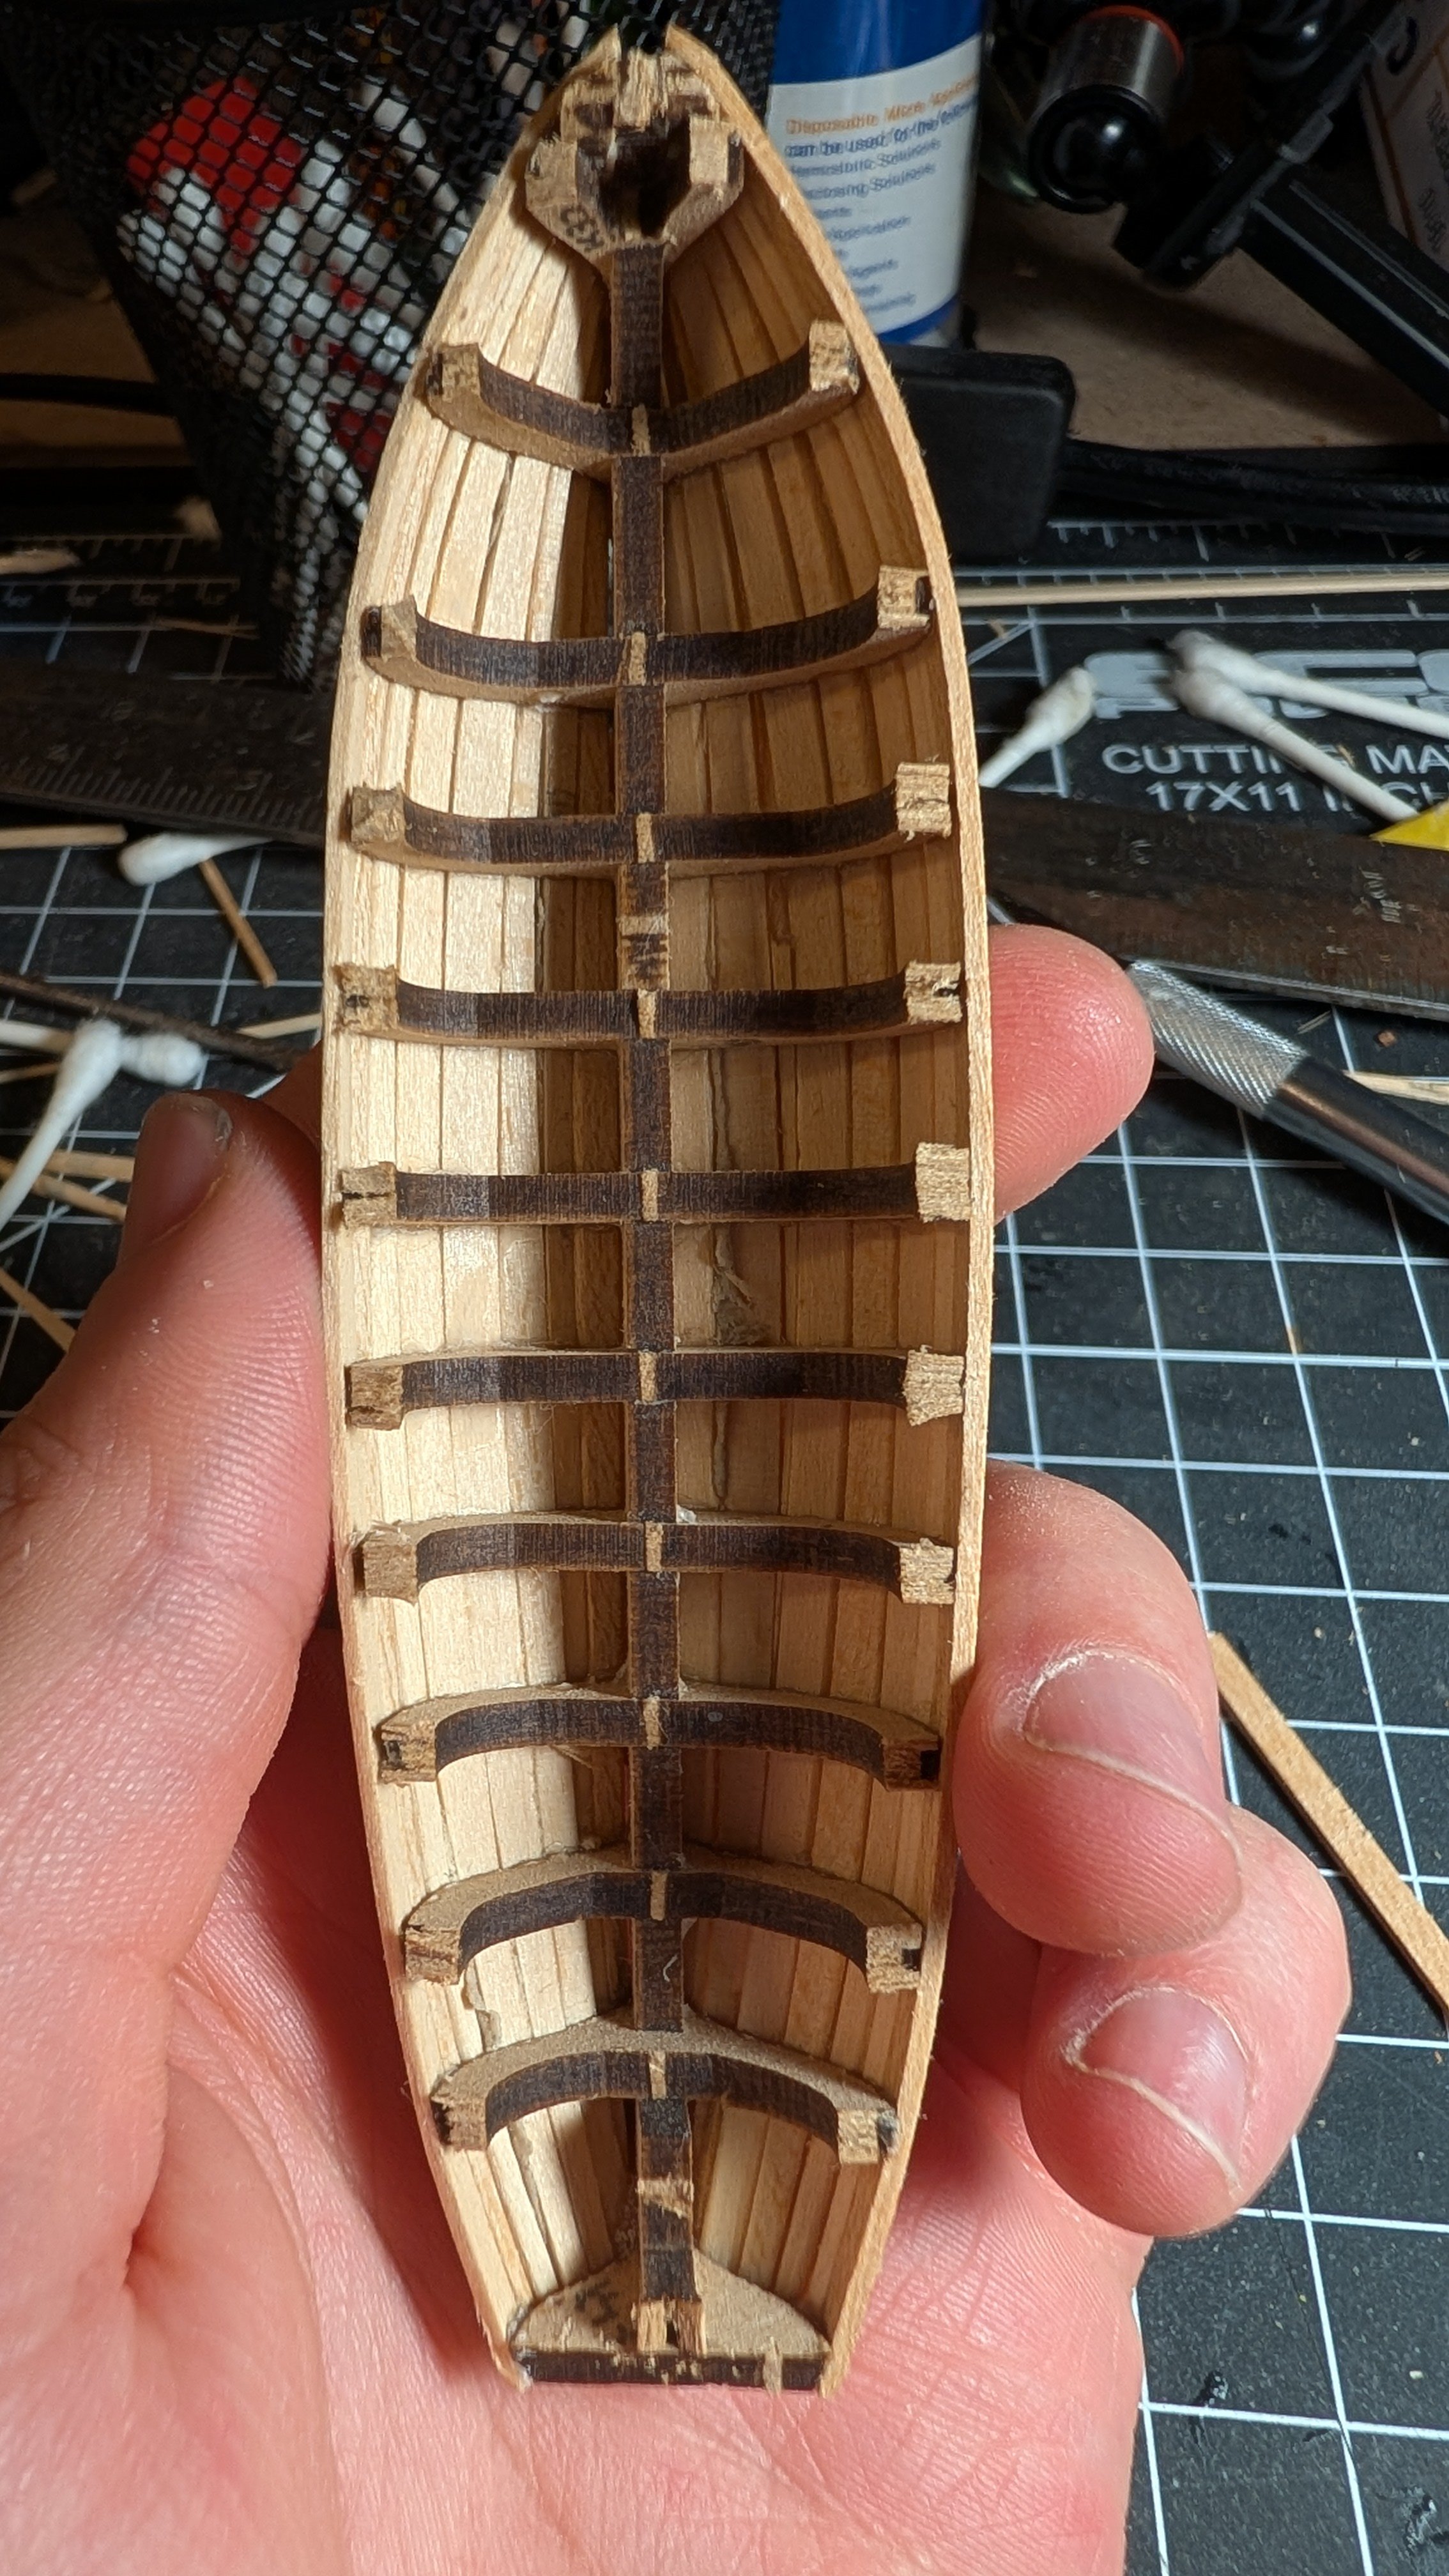
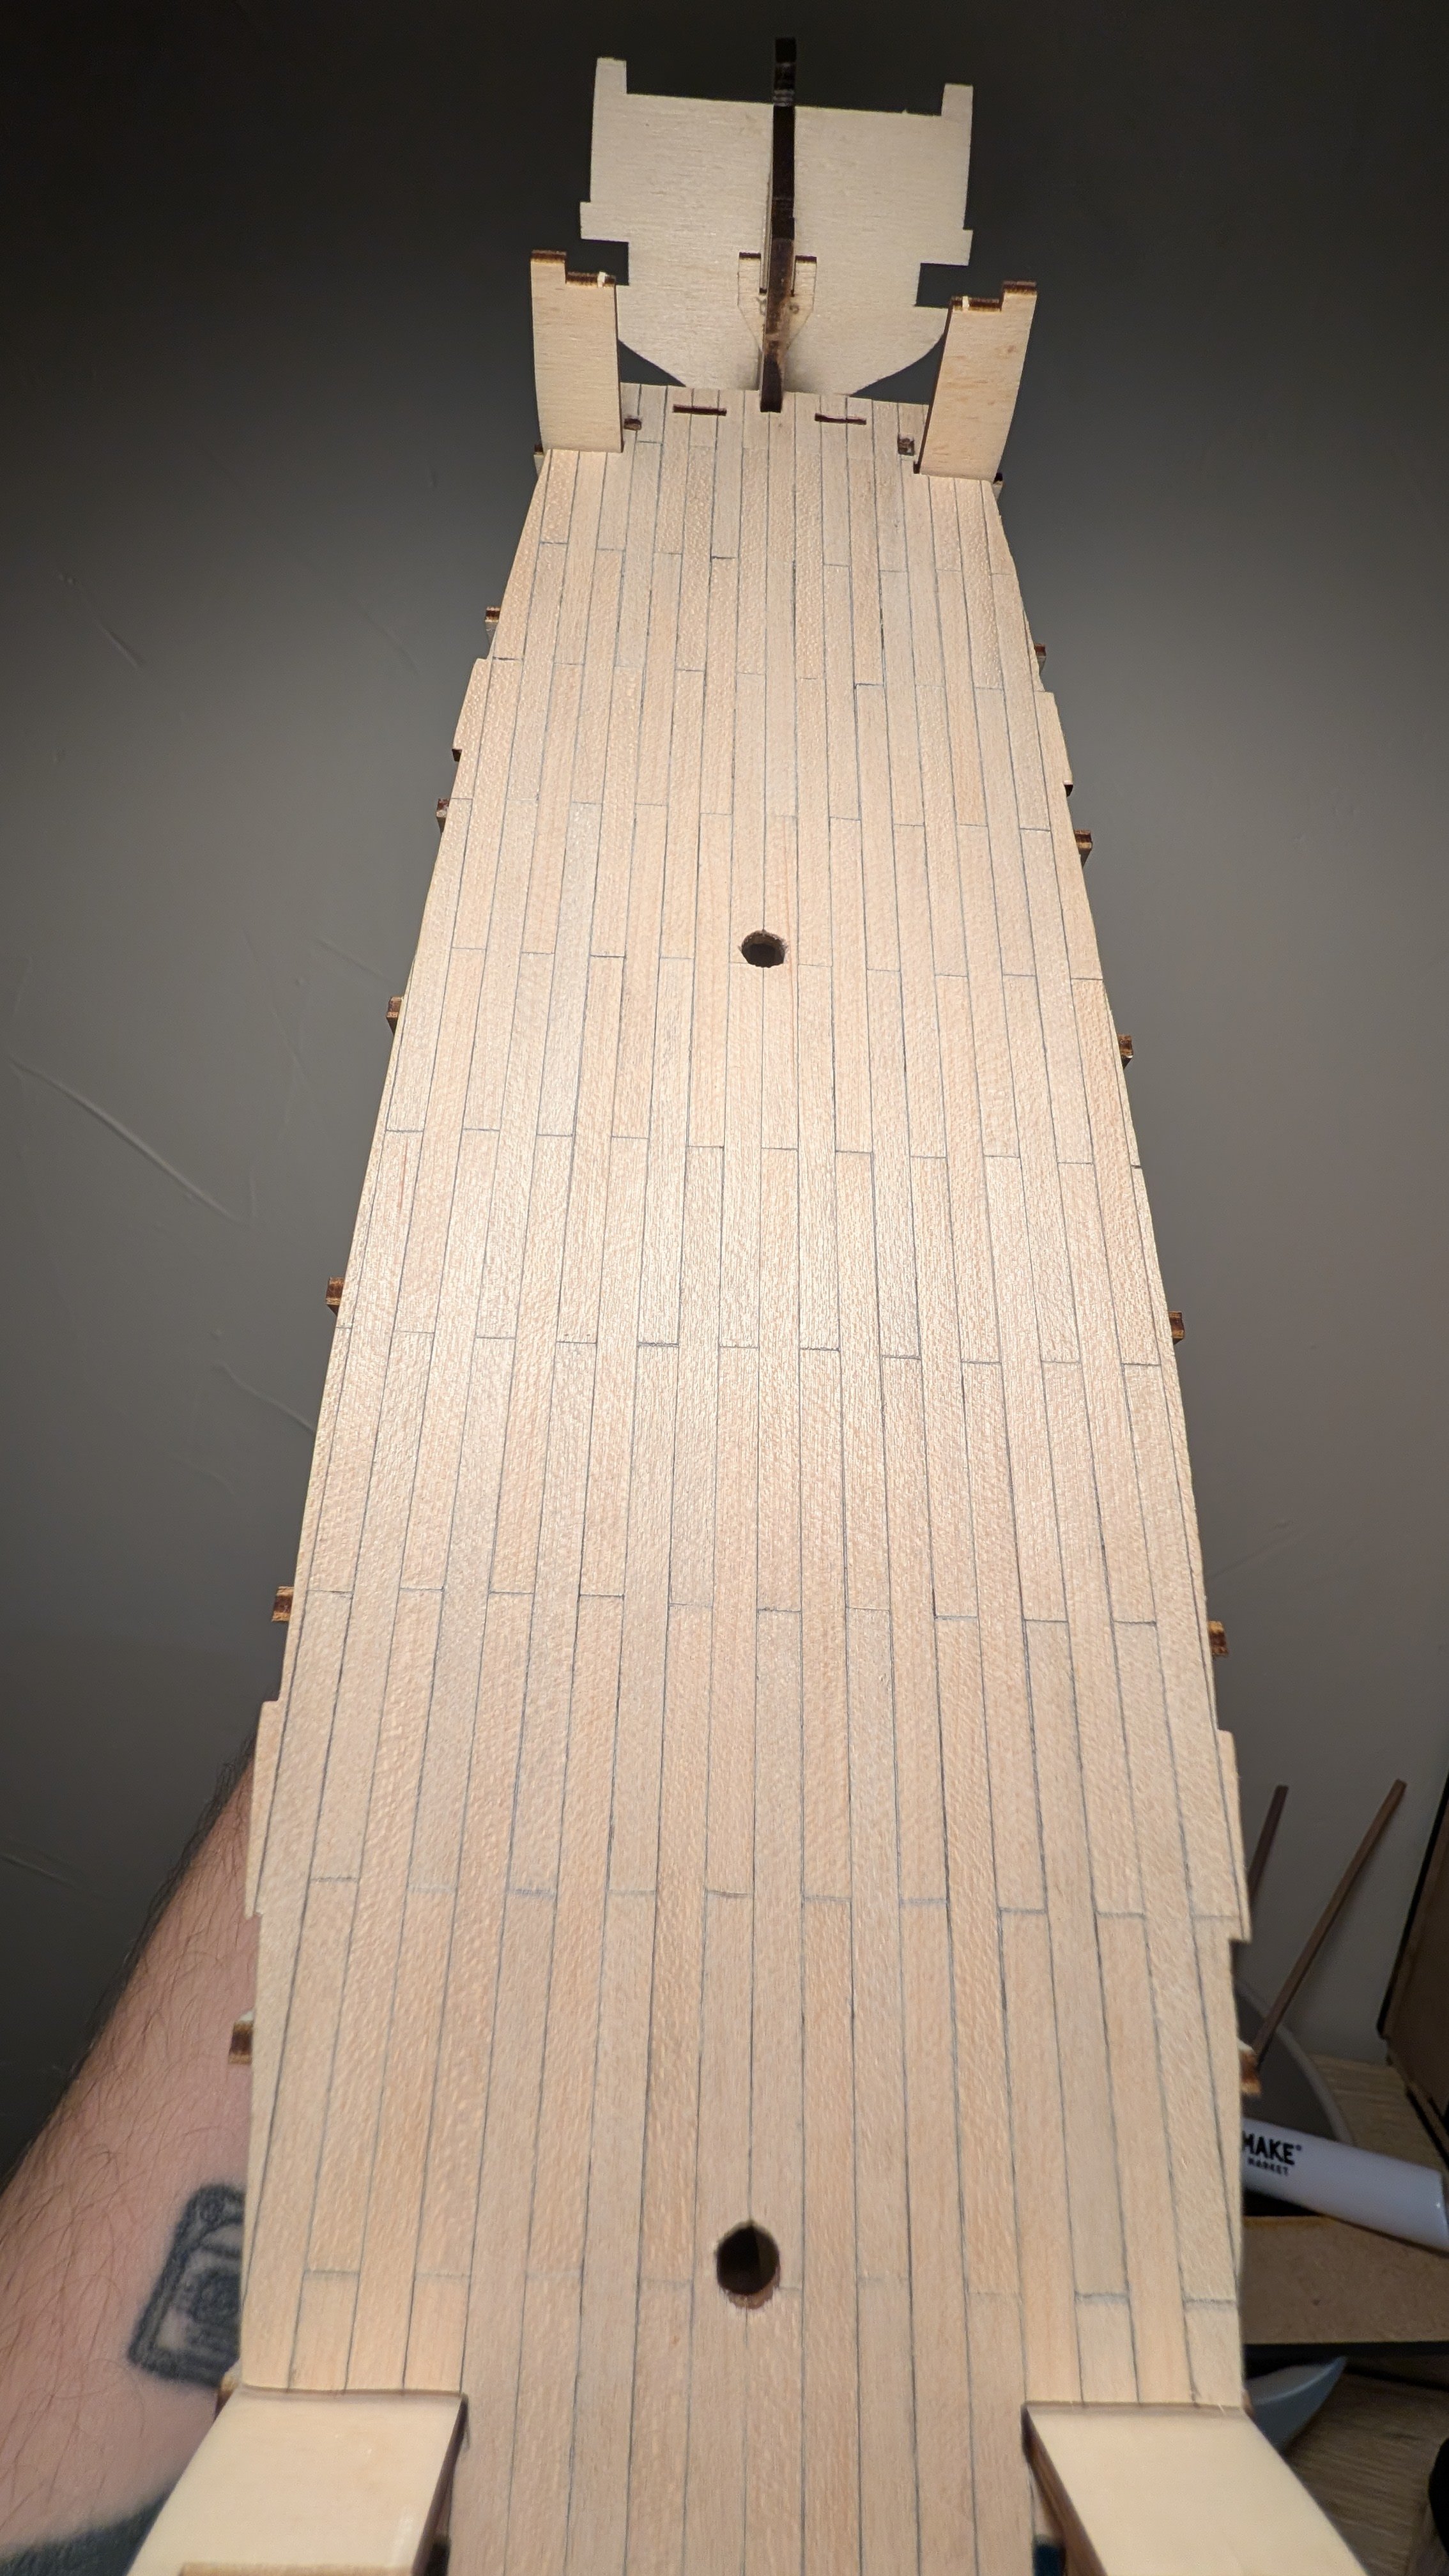
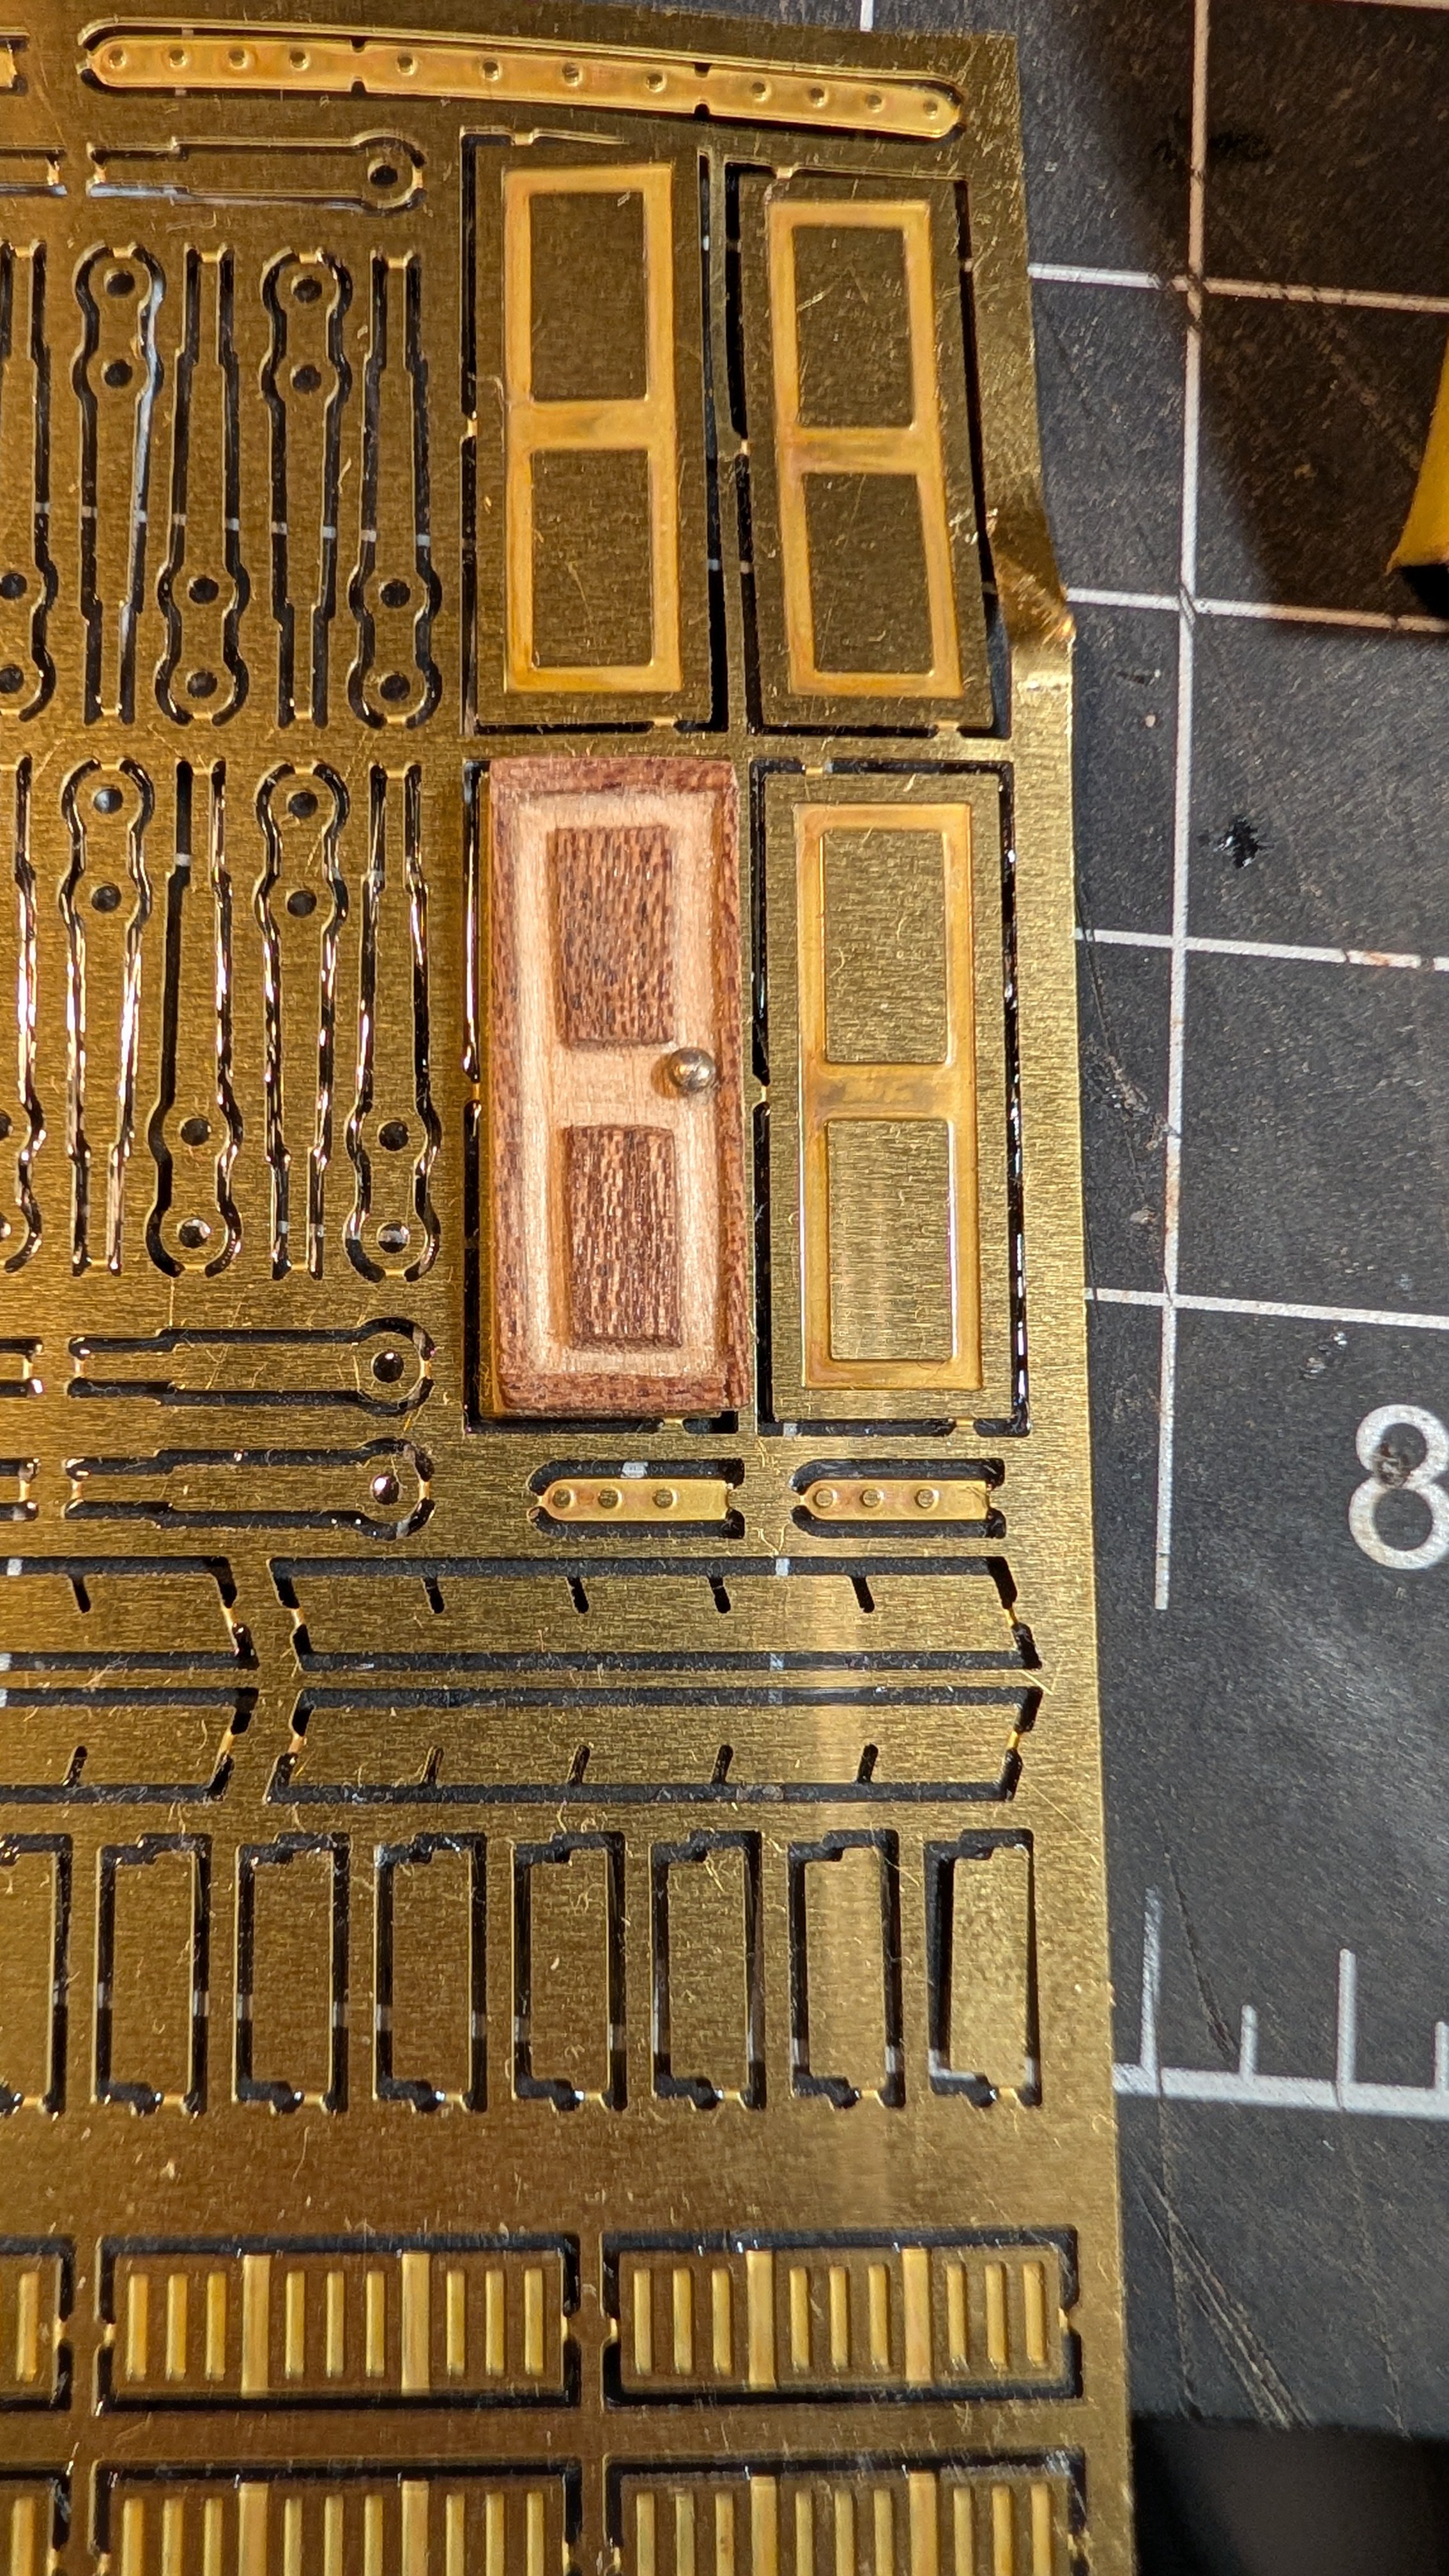
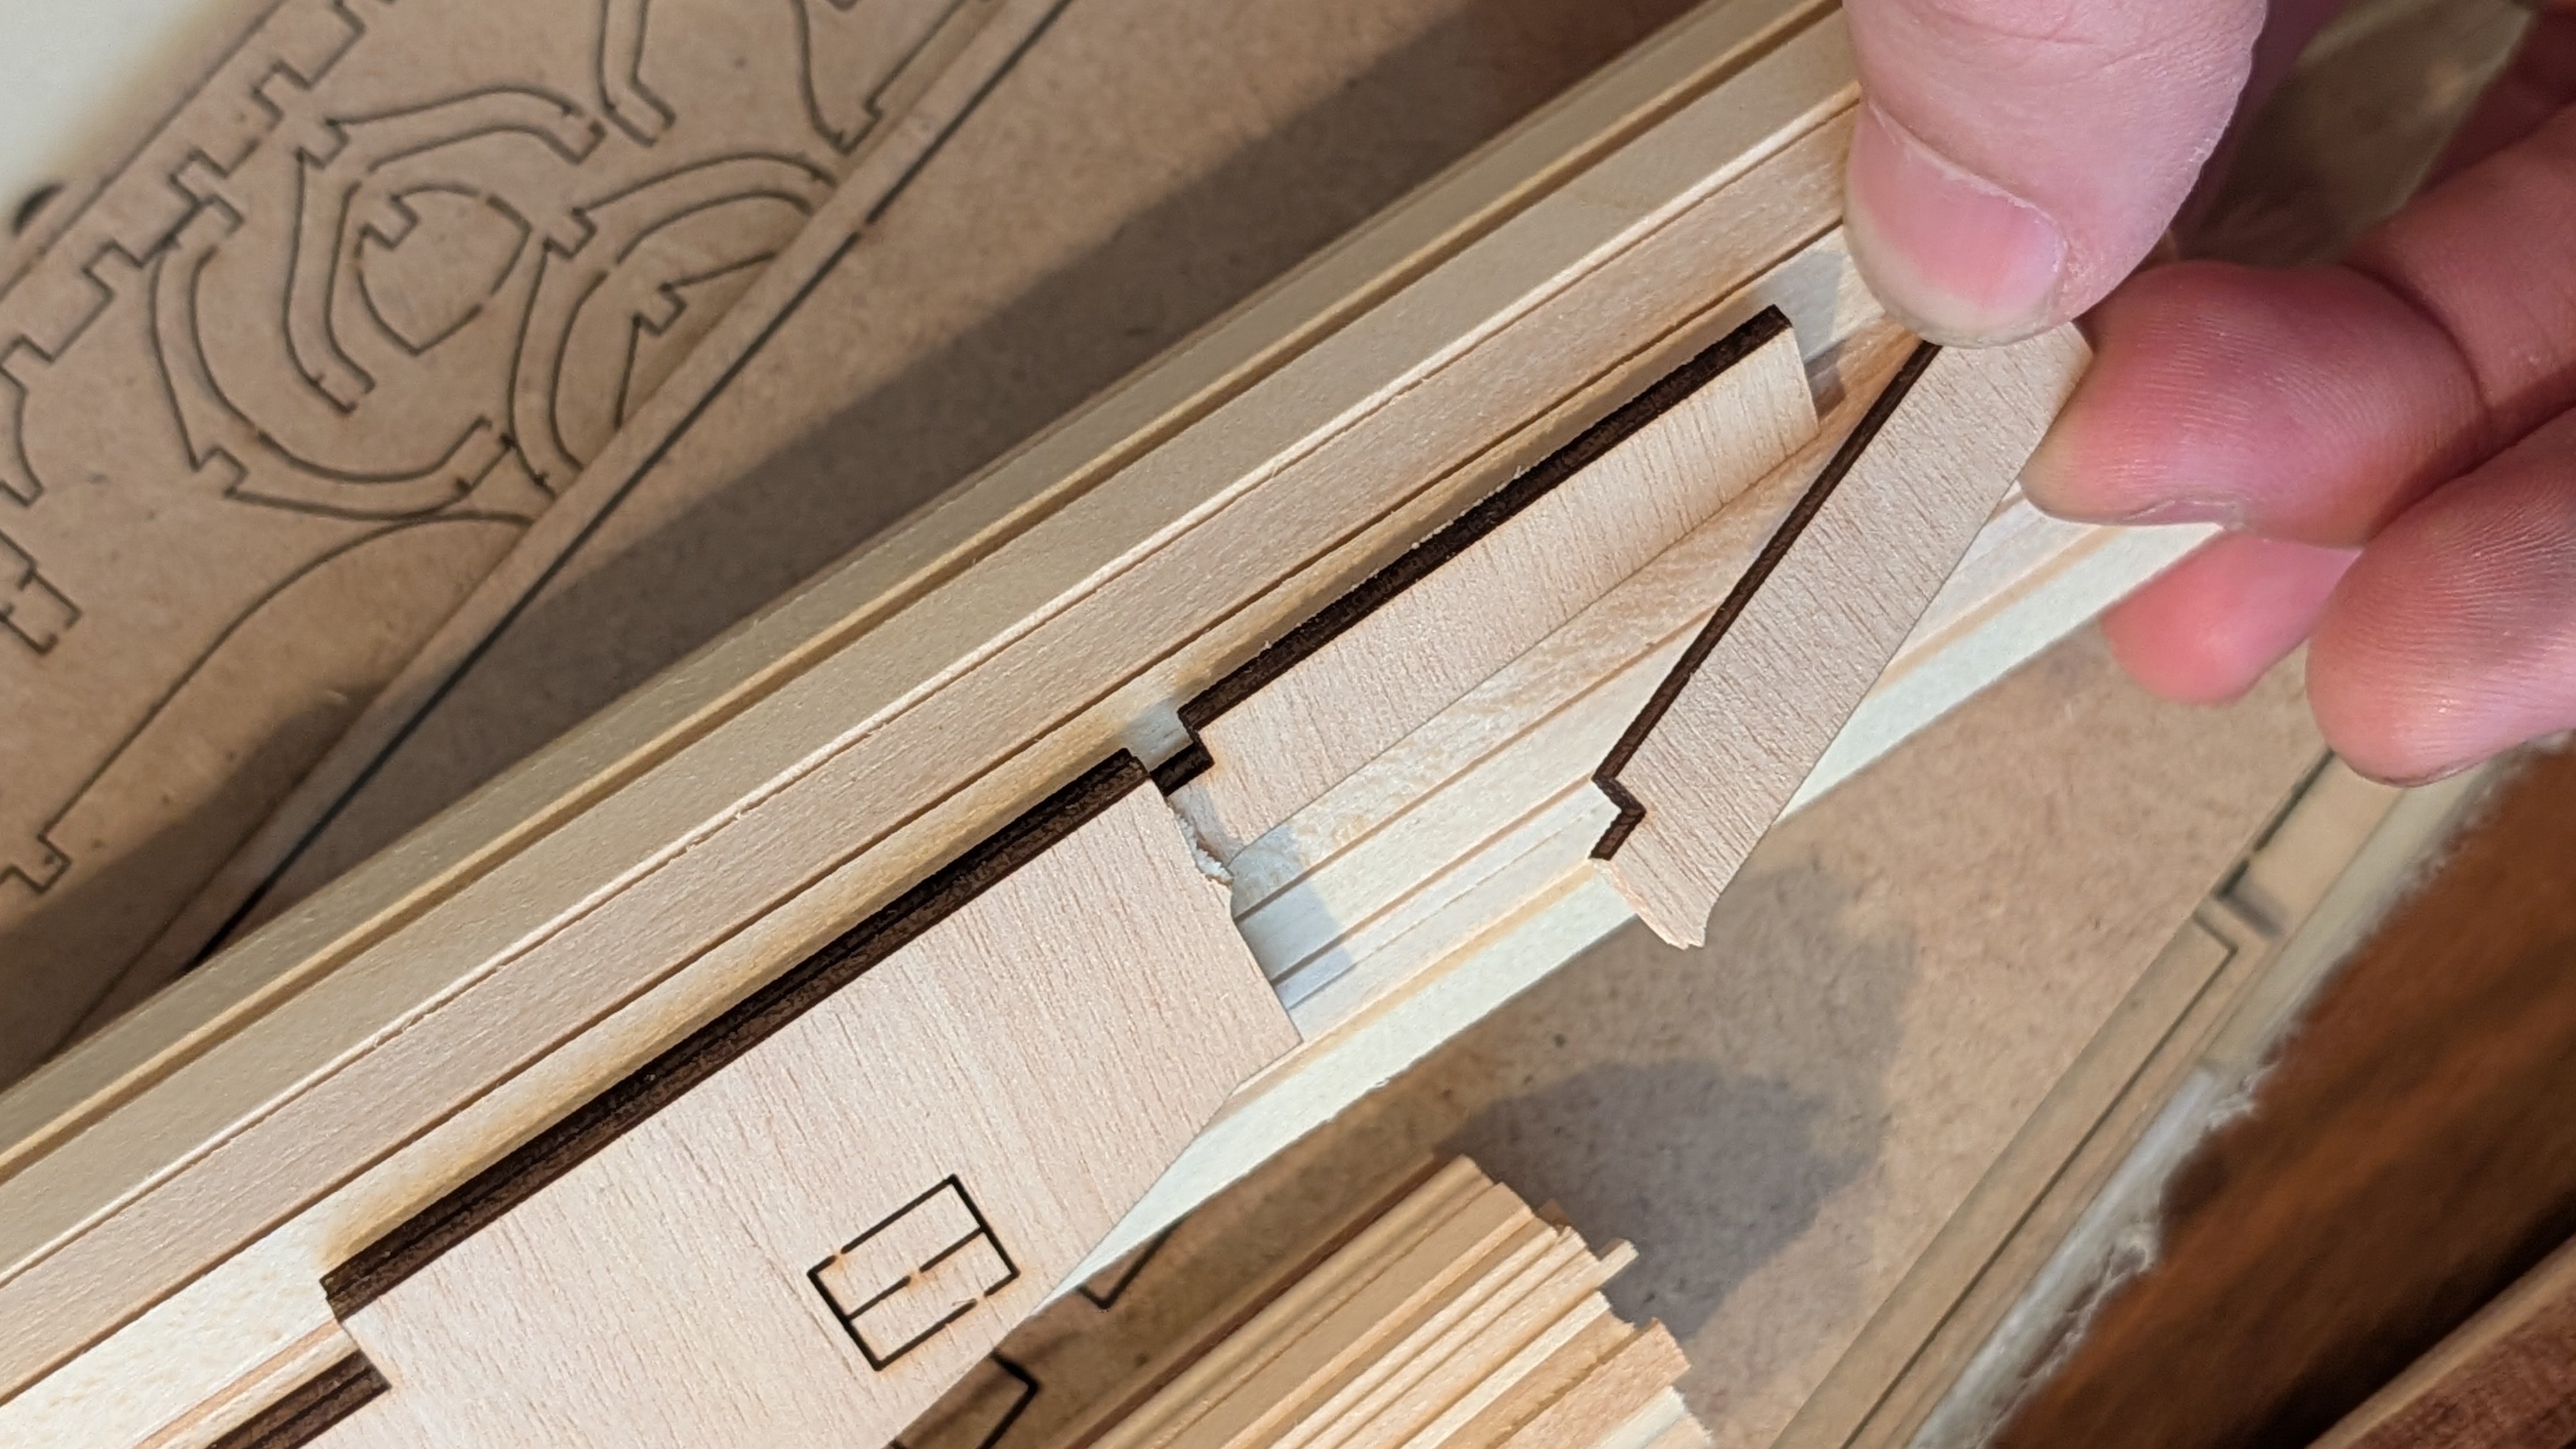
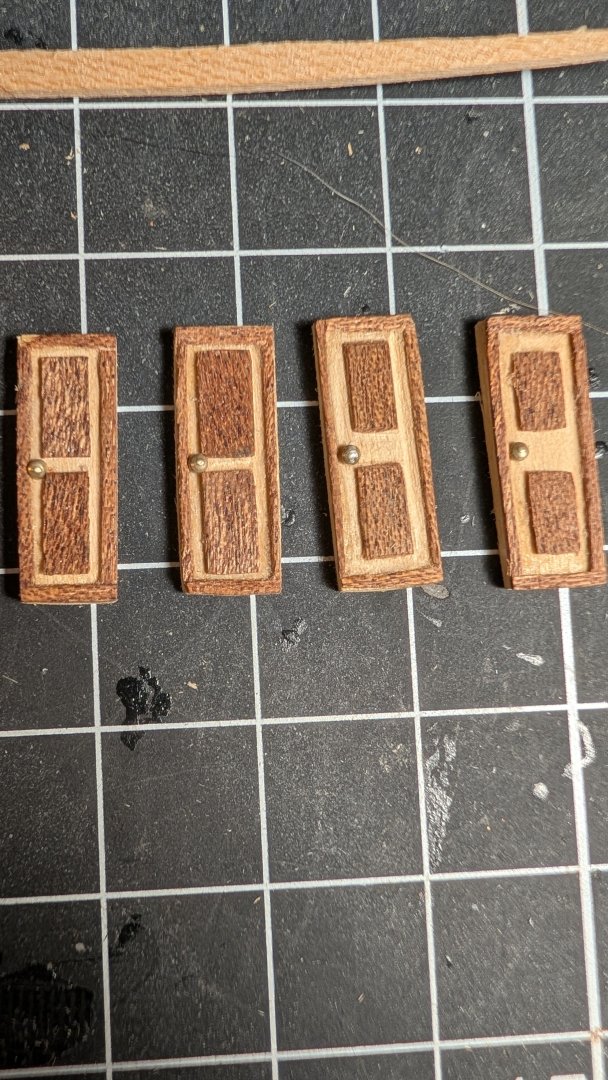
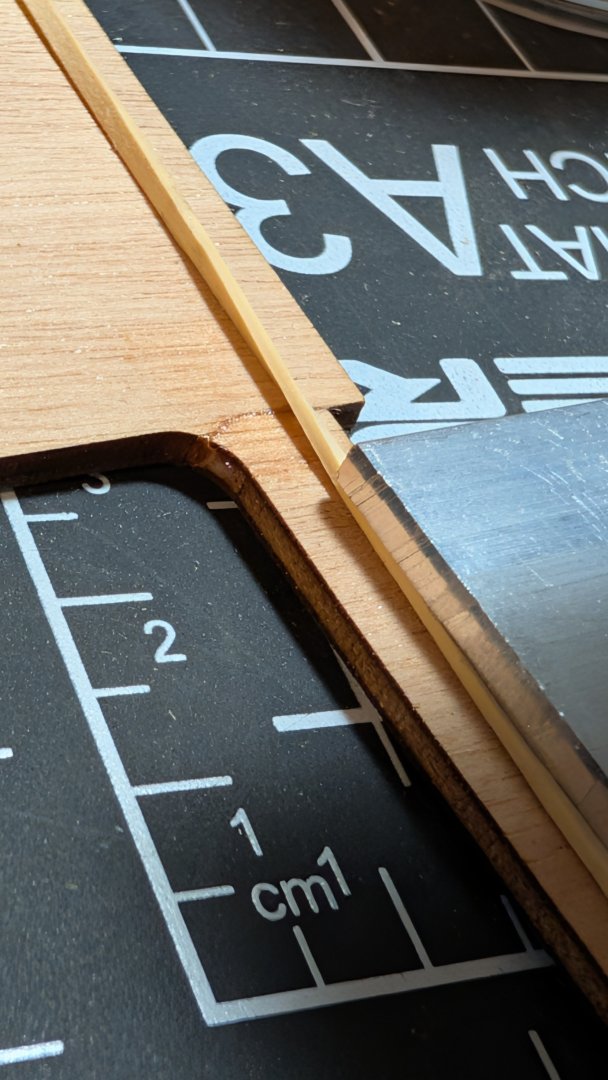
Yo ho all, I wanted to share a quick progress update before leaving for Chicago tomorrow! The planking is done! I have to admit this Beagle model is much smaller than I thought it'd be. Just joking, but the planking on one of the ships boats is done! It's good to get some practice in, It started so well then got a bit messy towards the garboard strake. Lessons learned! As for the ship itself, I did install the deck planks, cutting 60mm strips and gluing individually instead of imitating planks with pencil on full length strips. I rubbed a pencil on the edges before installing each piece for the calking. I liked this at first, but I was misled by the OcCre videos on the butting pattern, also the scale is too big. I have ordered 3mm wide cherry veneer strips to use instead of the 5mm wide kit strips. I will just put these on top of the current planking. I also want to imitate the pattern from the anatomy of a ship book as much as possible for this second layer. Since I can't do much more on the boat until I'm back in town, I wanted to try making the doors as well. Just experimenting for now. I think the two on the left are my favorites so far! Anyway, I'm off to the Windy City, and will hopefully be able to visit the Chicago Maritime Museum while I'm there. Happy holidays and I look forward to seeing your builds progress! Best, James


-
Glad to have caught the build log early! Best of luck and I look forward to seeing it progress:)
-
Welcome Andy! I hope your next build stays safe from child bombardment:)
-
Welcome and congrats on retirement! Best of luck on the Sphinx, I'll keep an eye out for your build log:)
-
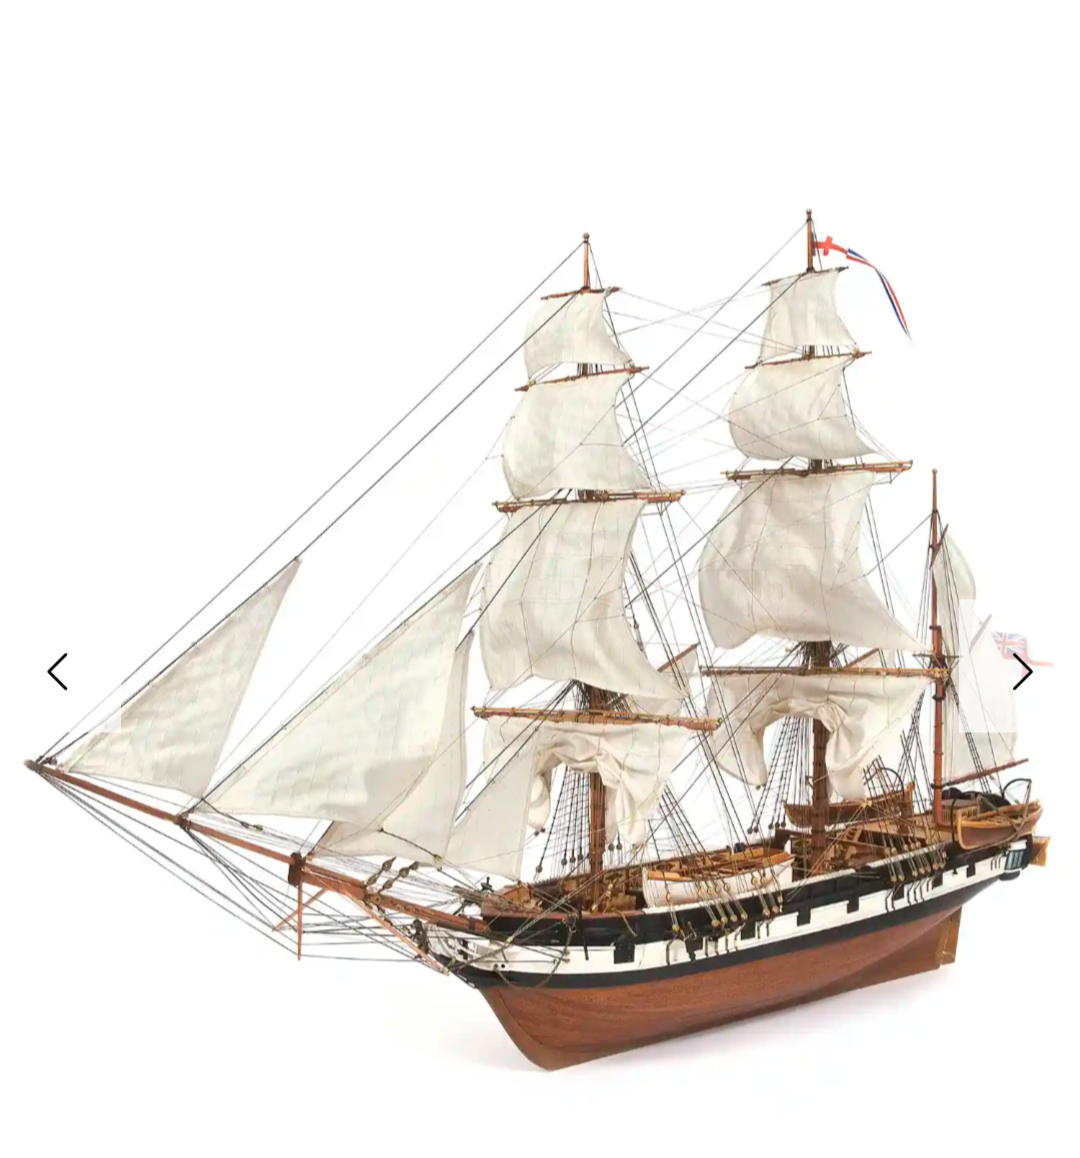
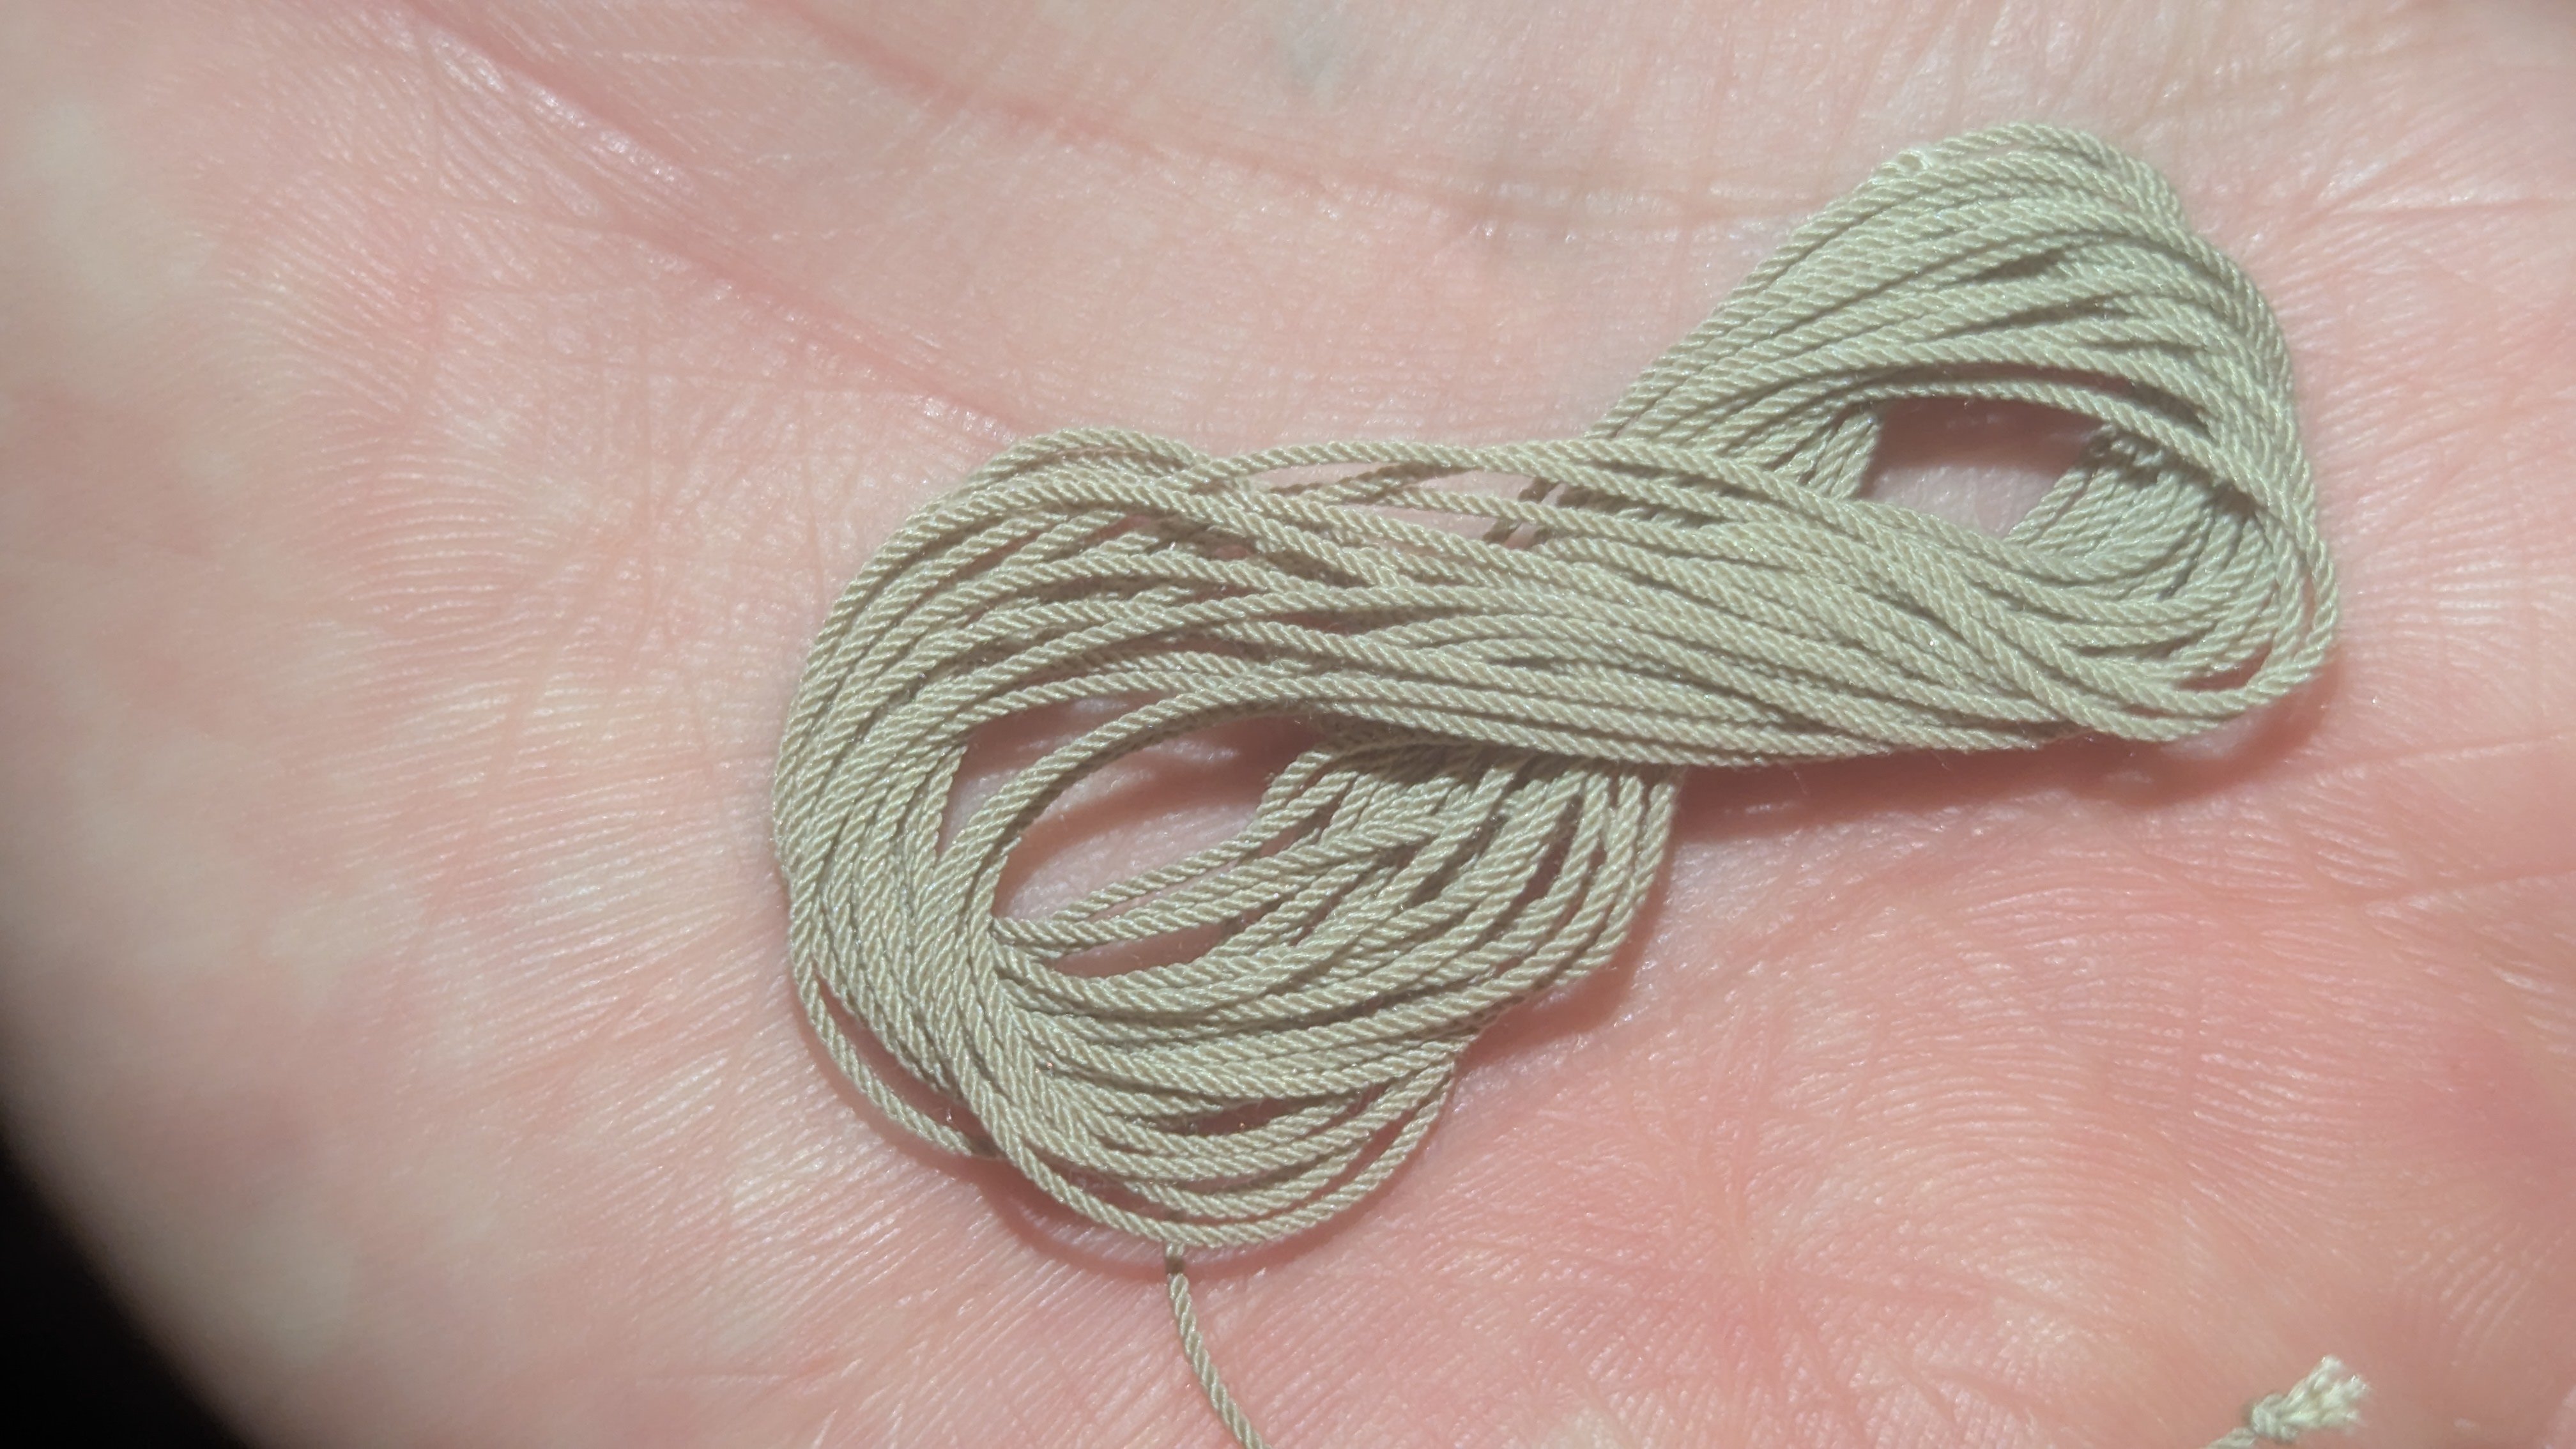
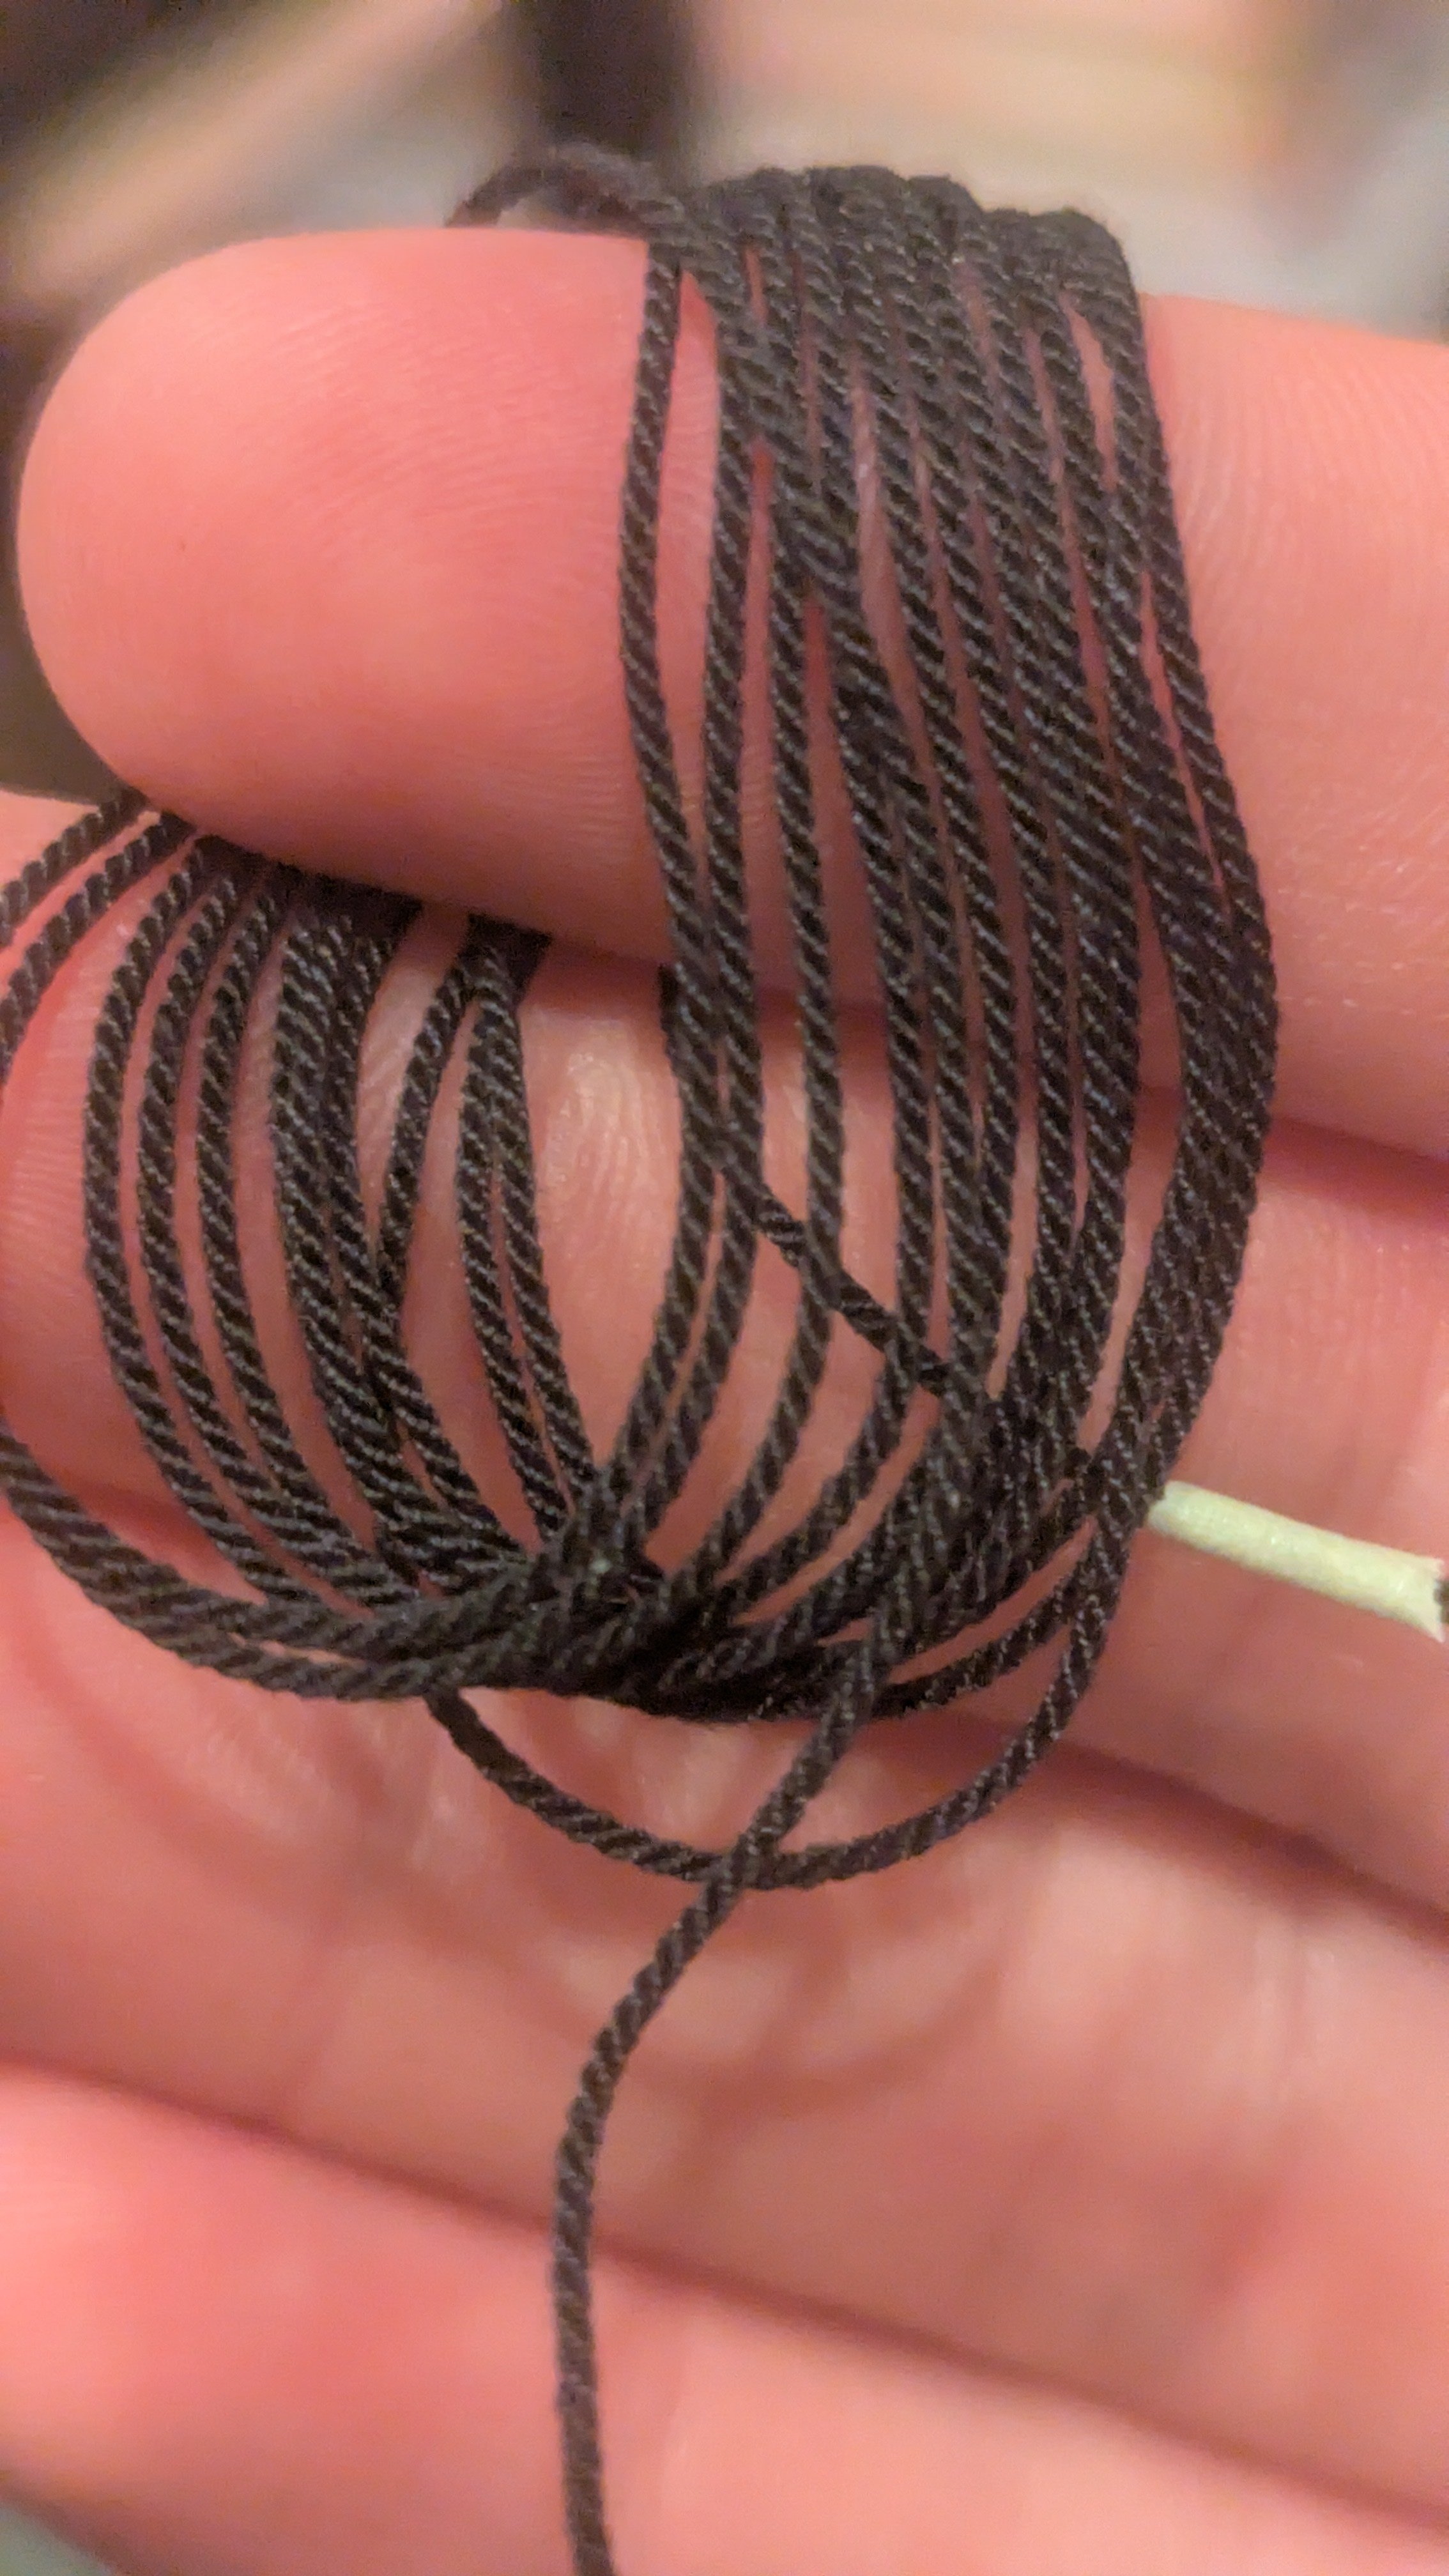
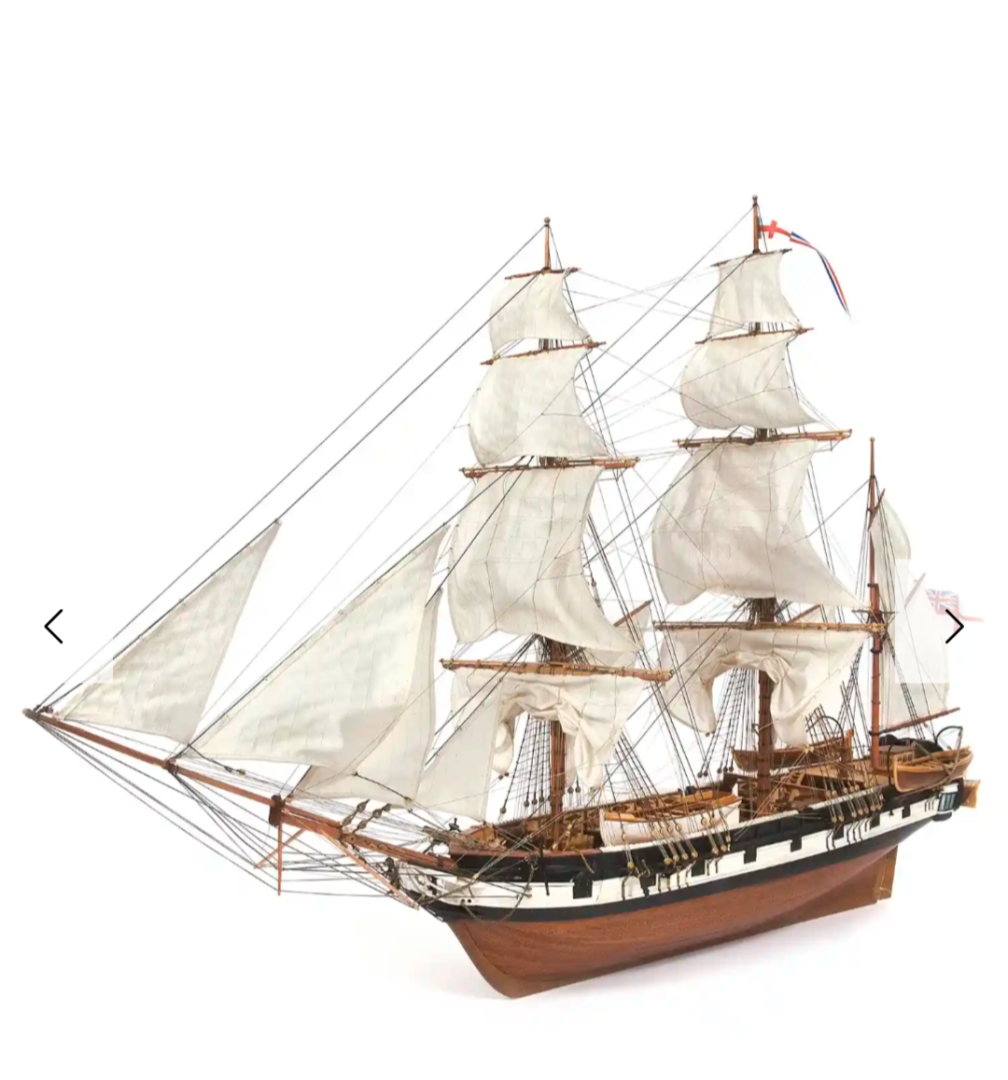
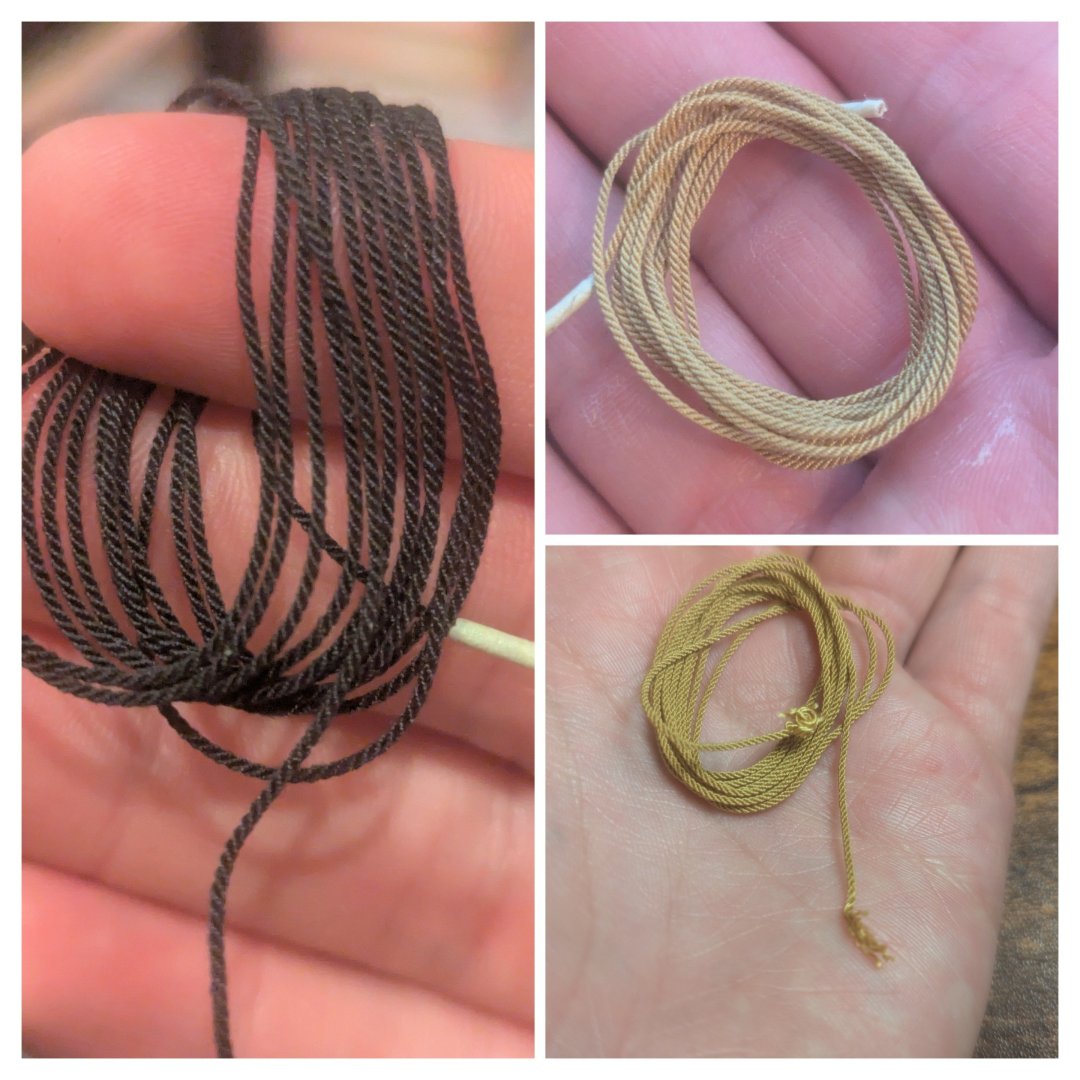
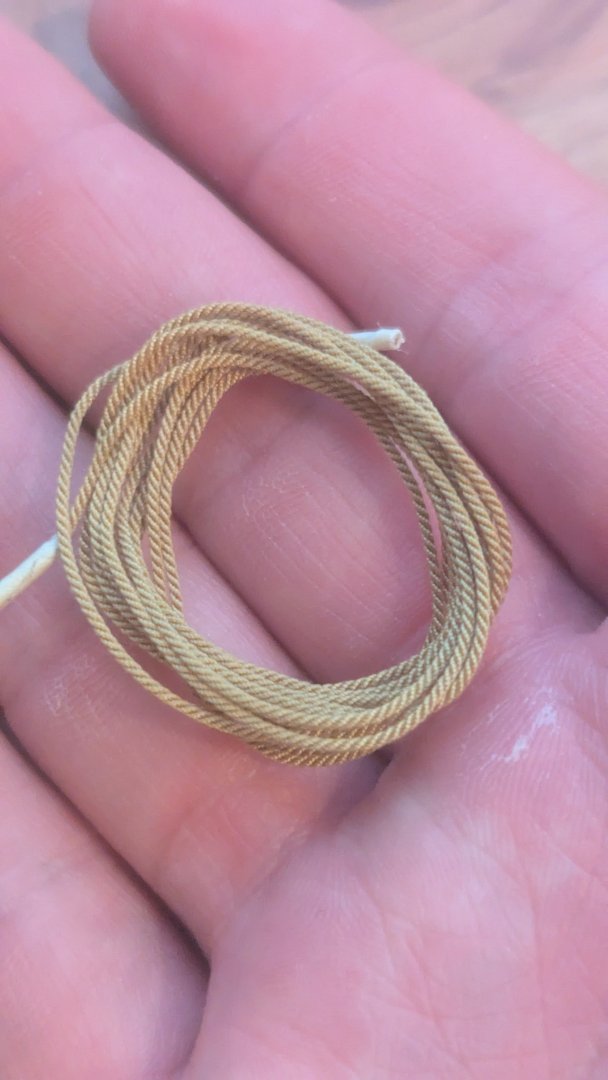
Ahoy all, It's good to finally be at least starting this build log, I had to contend with a lot of shipping problems getting this kit from OcCre (the blame lies fully on FedEx). On its way to me, the package unfortunately took some damage, which I will go over in a bit! So, for my second build I wanted to ramp things up a bit, choosing a larger scale and a very famous ship! The HMS Beagle! I have been doing some research on the history of the boat, going through build logs, and looking through a recently obtained copy of the AOTS book by Karl Heinz Marquardt. I have some exciting ideas for modifying this kit! Firstly, I made a ropewalk! And will attempt to use only made-by-me rope for the entire build, I'm excited to start using it, but it'll be a while. Here's some rope I've made so far: Everything will be right hand lay from now on I promise. If you want to see a breakdown of the ropewalk itself, I made a post about it here: SO onto the build! I was excited to apply all the lessons I learned from the Albatros, especially the lesson on how-to-not-break-your-bulwark, but the "damage" that Fed Ex referred to was exactly 1 snapped bulwark. No big deal I hope, but it does feel like I'm developing a relationship with bulwarks akin to @Knocklouder with bowsprit. Glue is drying as I type this, and I have high hopes. I won't show off any pictures of the kit, as there are plenty of those on this forum, but everything else is undamaged and in good order! I plan on replacing as much of the kit with homemade or upgraded stuff as possible, I thoroughly enjoyed the few scratch built items on the Albatros, and want to expand that as much as possible with the Beagle. With that said, I am leaving for Chicago to visit friends (2 whole weeks), and will not be able to work on the boat until I am back:'( If I get anything substantial done before then, I'll update the log, otherwise I hope you all have a fantastic holiday and new year, I appreciate all your talent and input and will be following along many builds while I'm away from my own. Best, James


-
Every new post with an intact bowsprit is a blessing! Looking great so far Bob
- 75 replies
-
- 5
-

-

-
- Steam Cutter
- Harriet Lane
- (and 2 more)
-
Perfection is an illusion, often chased, never caught Wise words to have, and all the more helpful that it's on your signature so as to be reminded frequently. That sign looks fantastic Keith, I doubt version 700 would look much different! Love following along.
- 407 replies
-
- 6
-

-
-
- Billy
- sternwheeler
- (and 1 more)
-
"Dandan" is a great name, glad he's on the up and up. That's some clean work on the companionway!
-
Fantastic work Rick, it's a lovely looking ship, congratulations. I'm glad you and your granddaughter survived the loading of the torpedo, had me worried!
- 167 replies
-
- 2
-
-
-
- Picket Boat
- Model Shipways
- (and 1 more)
-
My First and Ugliest Ropewalk
vvvjames replied to vvvjames's topic in Rope Making/Ropewalks's Discussions about Rope Making
It is polyester, great to know! Before or after being on the ropewalk? -
My First and Ugliest Ropewalk
vvvjames replied to vvvjames's topic in Rope Making/Ropewalks's Discussions about Rope Making
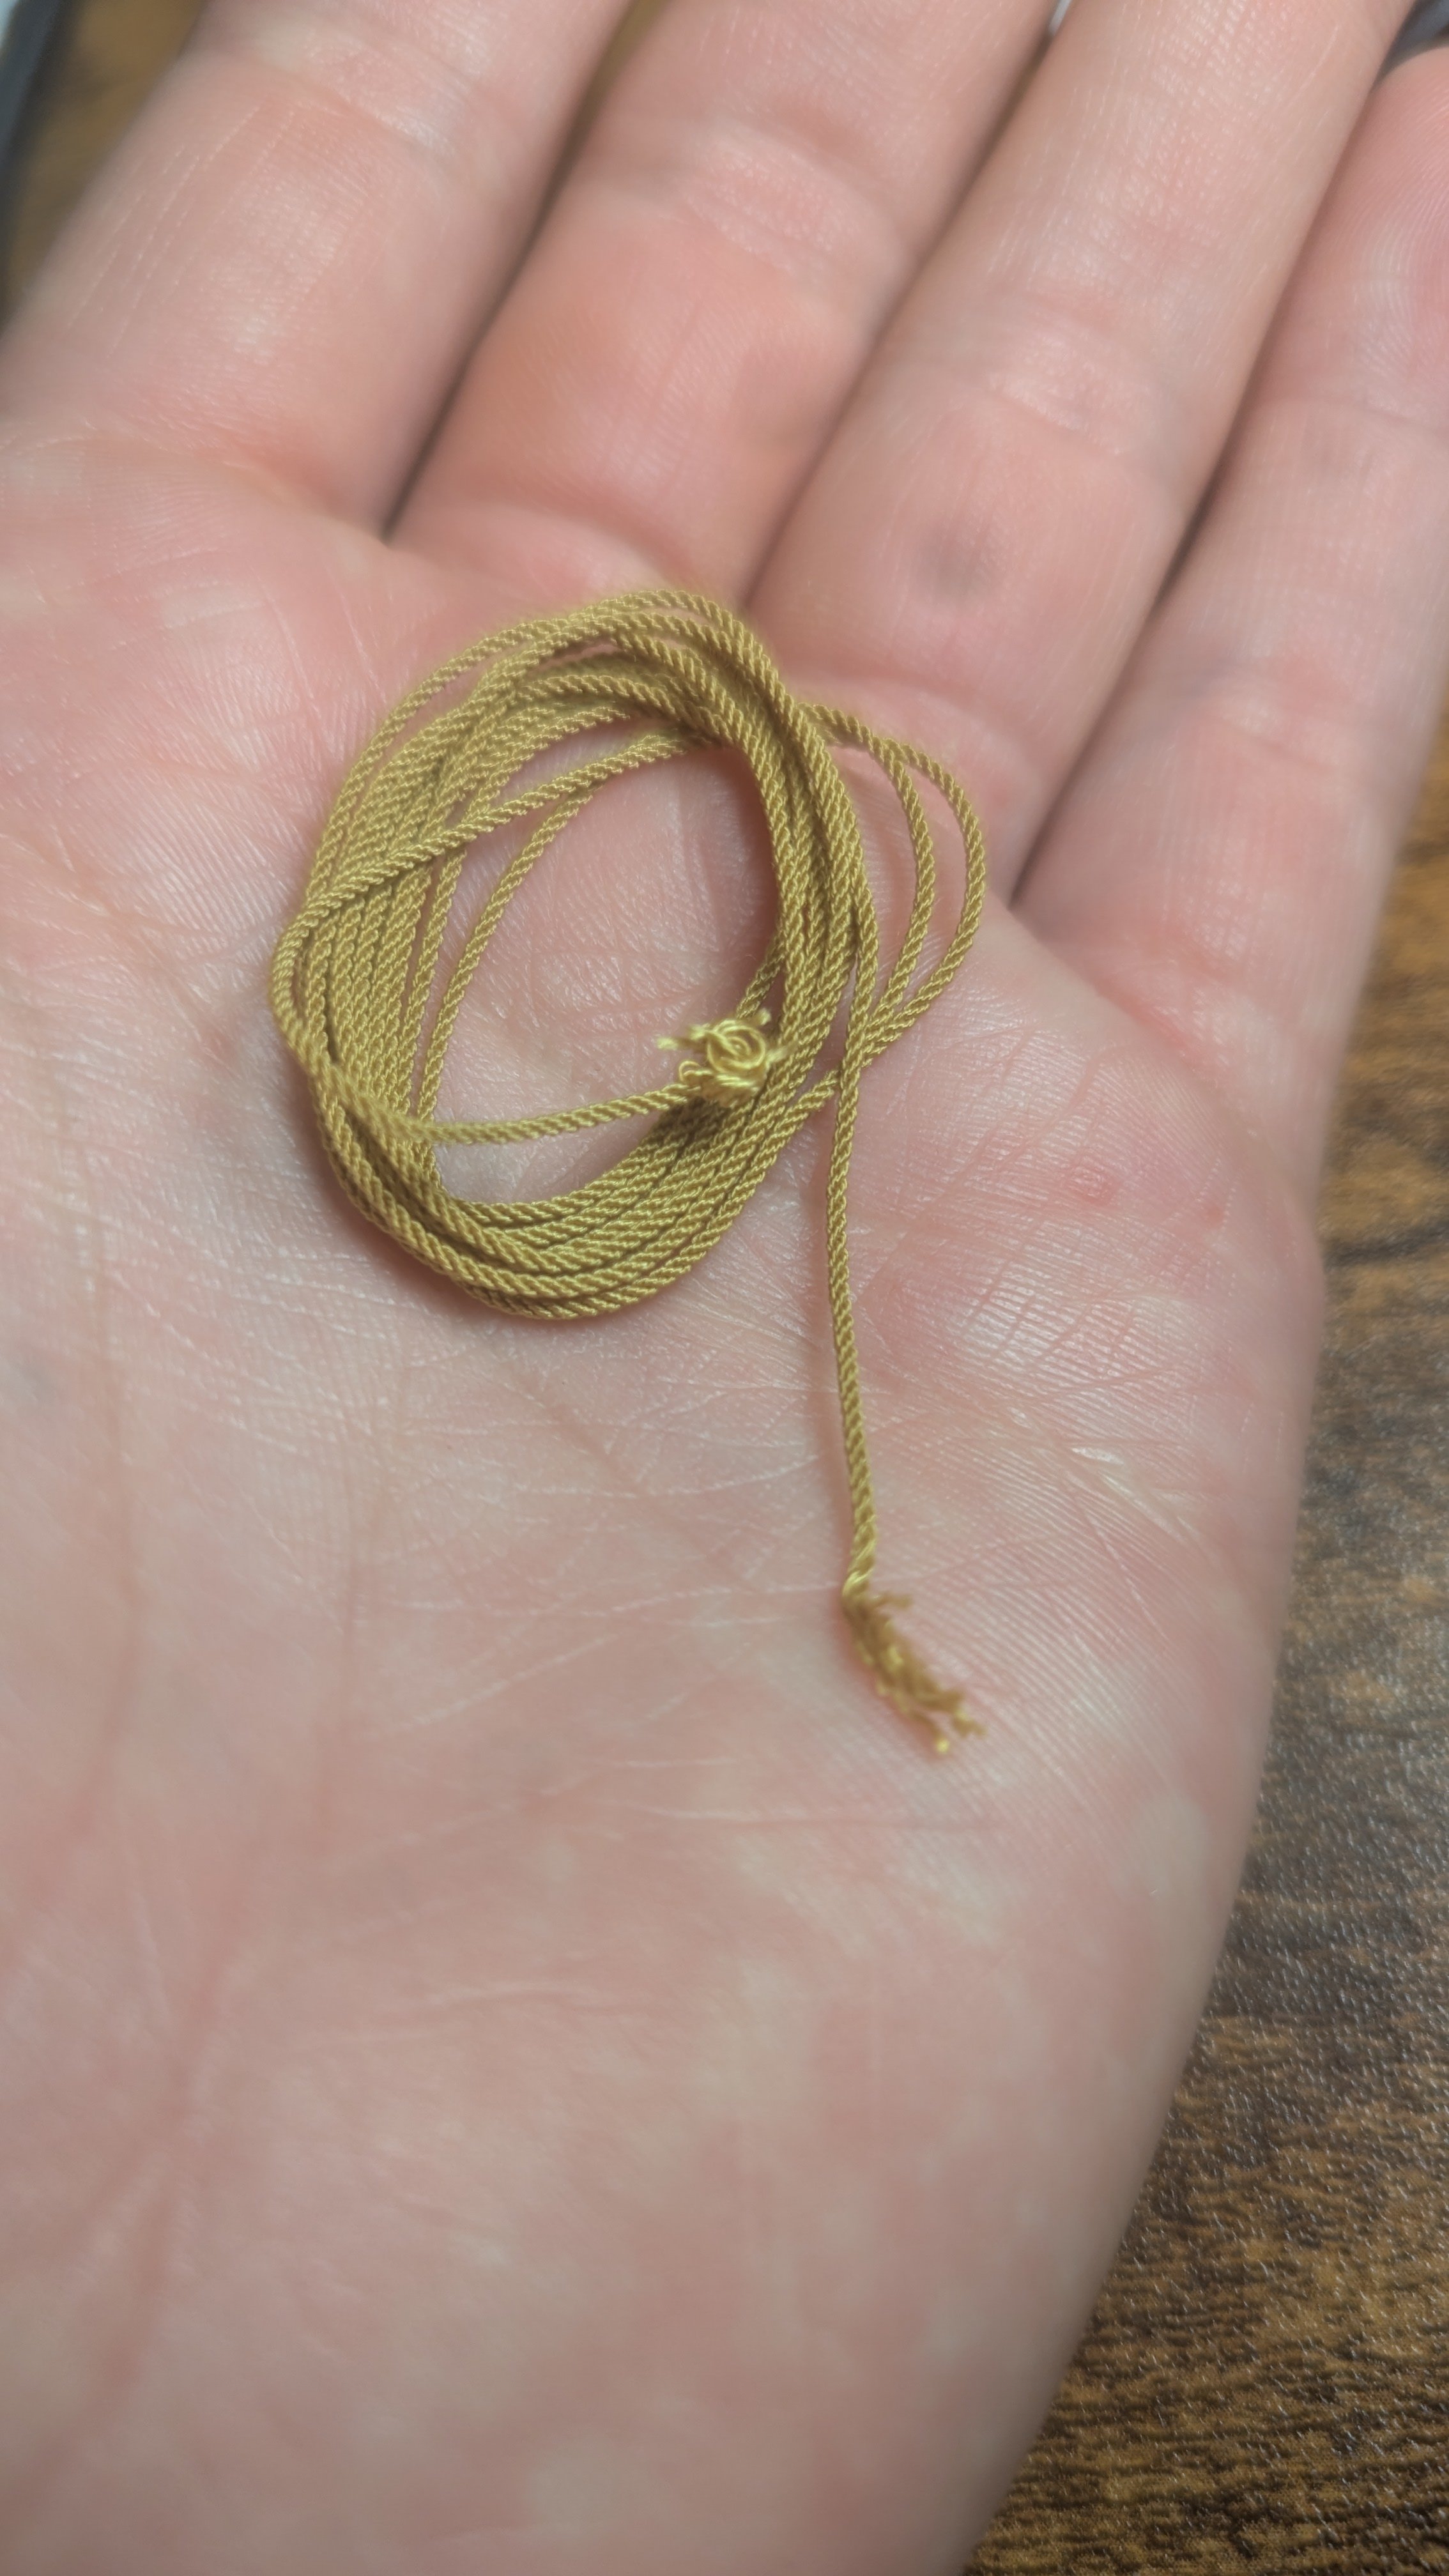
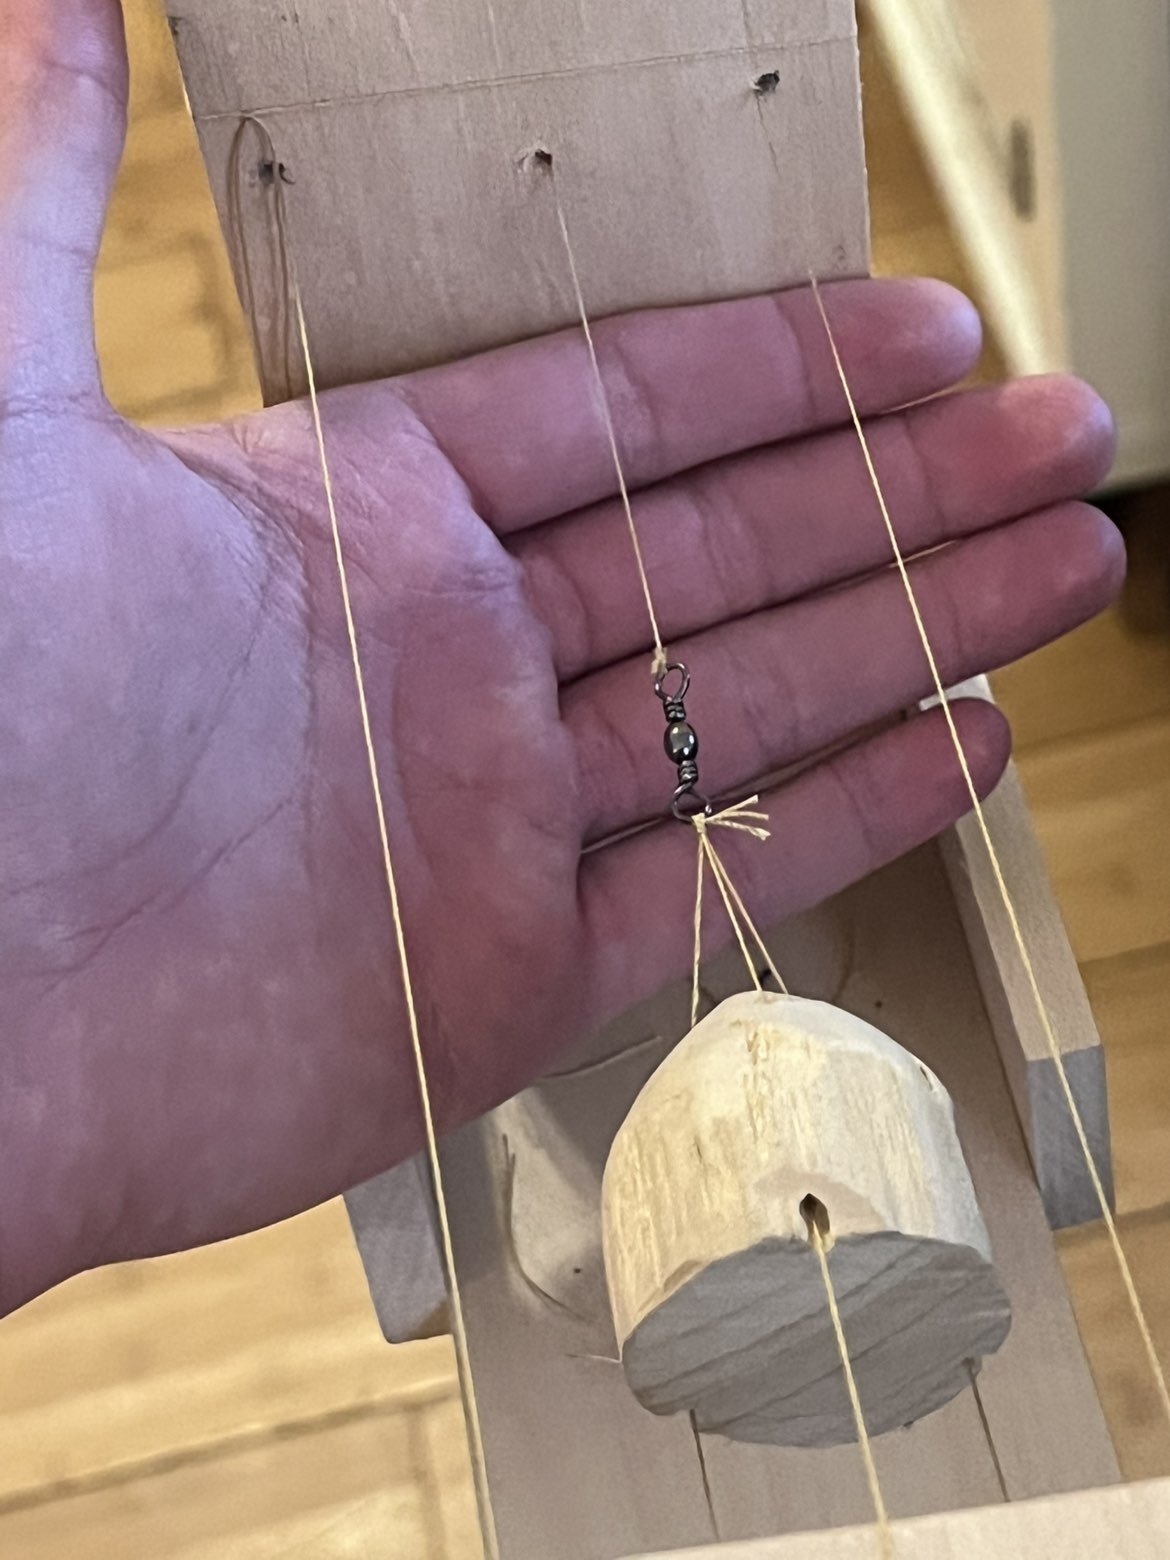
Thank you for this tip Trevor, I just tried rotating the other way and it loosened the thread, then tightened it in the opposite direction. Here's the results: As a bonus it is not unraveling nearly as much as before! I think by switching the rotation, I amended this issue? I will try misting the rope and hardening it next time as well! Kind words Chuck, thank you! I admire your work.
-
Welcome! Best of luck on the HMS Victory!
-
I hope Captain Steve holds steady through these trying times, I'm sure you'll find some good replacements for the decals. Looks great so far Bob😎
- 75 replies
-
- 6
-
-
- Steam Cutter
- Harriet Lane
- (and 2 more)
-
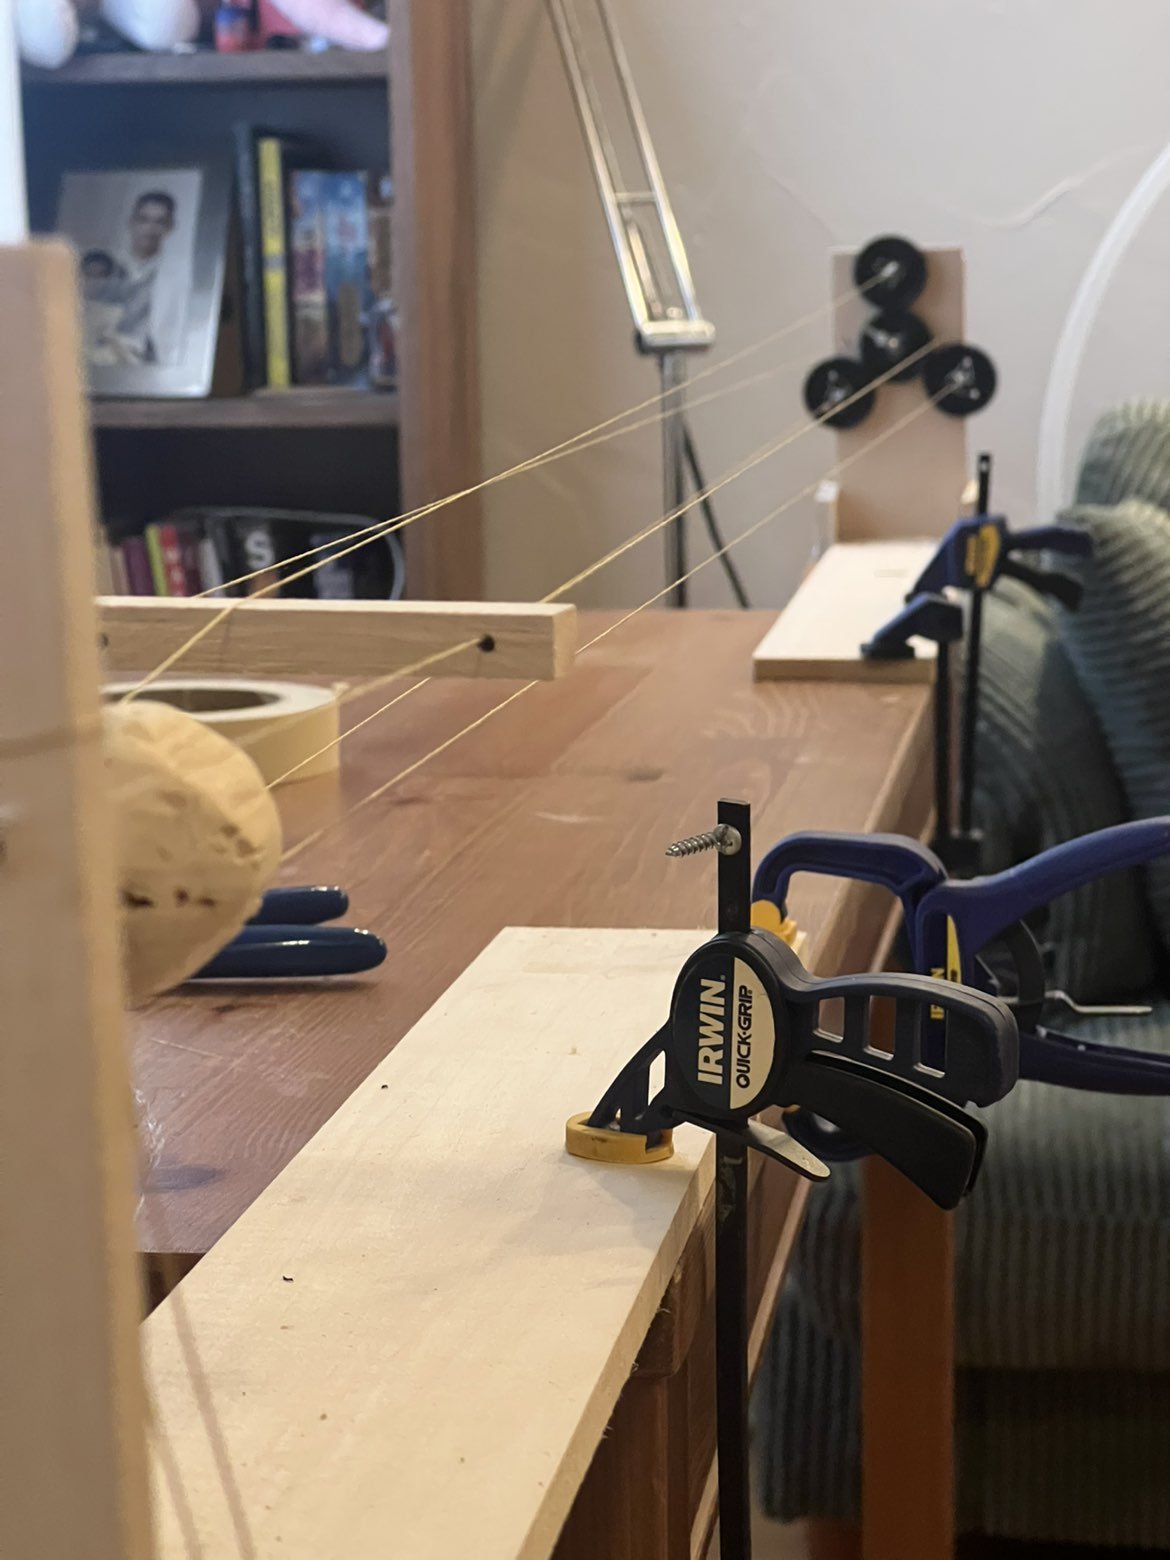
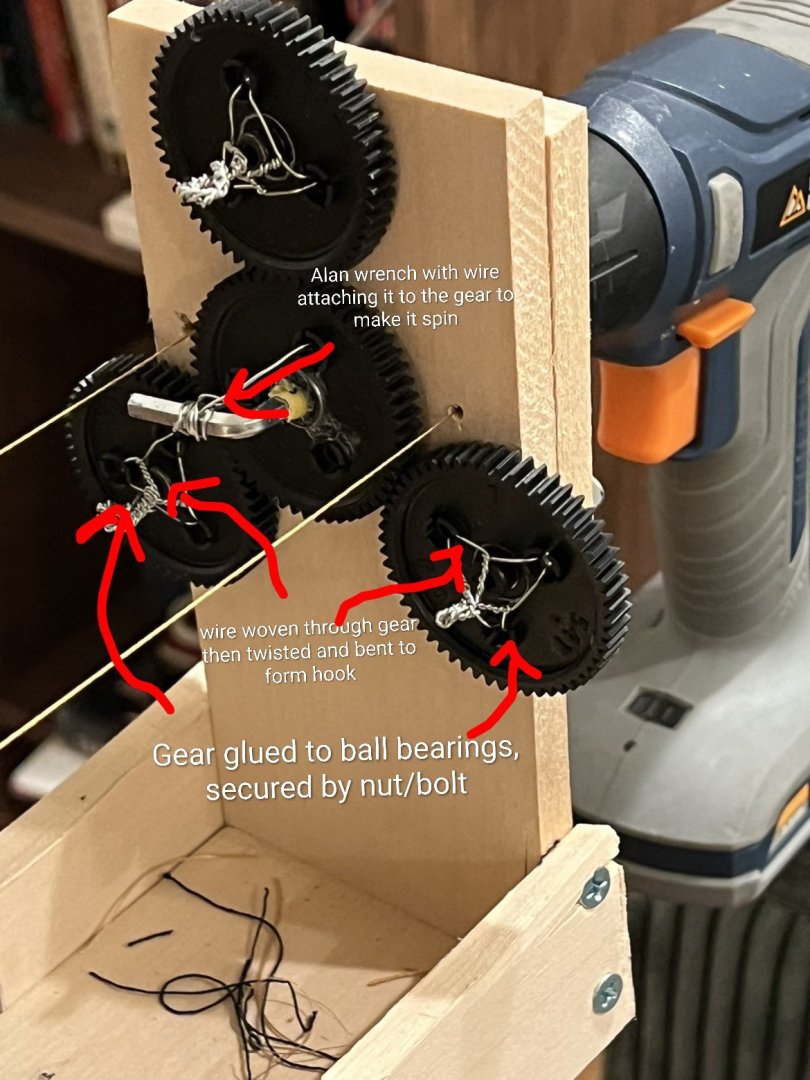
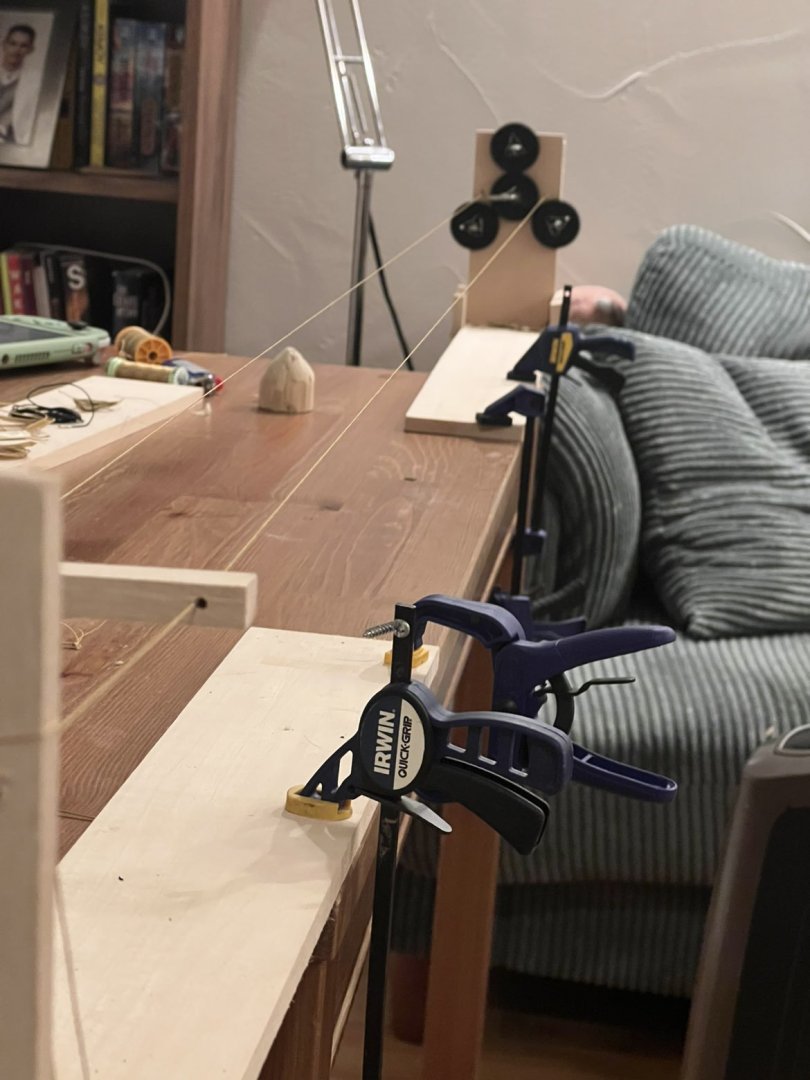
Hello all, While waiting for a new boat kit to arrive, I decided to try my hand at making a ropewalk, it is a very ugly creation made by someone not knowledgeable at all on the subject, but it works! I didn't follow any set plans, but rather modeled it off of this video on youtube: (Sorry if my terminology is incorrect) I made the ropewalk in two pieces, rather than one, so that it could be mounted and scaled up or down if needed. This is the whirl end: May be the ugliest ropewalk ever seen on this forum, if there's a trophy for that, let me know. A mechanic, I am not. Here is the other side (looper end?): This picture also shows the topper that I carved out of basswood and then drilled holes in, again not elegant. The two sides can be clamped any distance apart, the securing lines between them just need to be re-tensioned and tied Here's a video of the whole thing in use: Snapchat-4891773.mp4 And a picture of some results: I figure the worse a device looks, the more pleasing it is when the product turns out good. I can't wait to experiment more. I am still having issues with the rope unraveling a few inches when it is cut. Otherwise it holds its shape fairly well! Let me know if I did anything wrong that could be making the rope do this! Best, James


- 10 replies
-
- 11
-
-
Welcome Doc!