Jim Lad
-
Posts
9,601 -
Joined
-
Last visited
Content Type
Profiles
Forums
Gallery
Events
Everything posted by Jim Lad
-
 She's coming along nicely, Ollie! John
- 803 replies
-
- 2
-

-
- colonial cutter
- modellers shipyard
- (and 1 more)
-
Grant, John
-
Alexandru, Your rudder and pintles look first class. Annealing the pintles will certainly help - you may need to do this several times as brass is hardened by working it. John
-
She's really starting to look like the real thing, Piet! John
-
New to the forum, question re mast caps
Jim Lad replied to jcavin's topic in Masting, rigging and sails
Hello, jcavin, and a warm welcome to the forum from 'Down Under'. I'm sure that one of our kit builders will be able to come to your rescue re your question about San Francisco II. John -
Looking very workmanlike, Bob. Does she have a different colour for the anti-fouling, or is that the same as the rest of the hull? John
-
Bob and Hakan - thanks for the vote of confidence fellas! John
-
Yer done good, Michael! John
-
A days sailing on the Craig! Lucky you! John
-
Gimbals on the compass; dovetails on the cabin. Why not! John
-
Don't pay too much attention to what I'm doing, Bob - you might want to do it right! John
-
Ed, looks like a case of fortune favouring the brave (and the very skilful). Lovely job done under difficult circumstances. John
-
Thanks, Michael. John
-
Looks good, Danny! John
-
Quite possibly, Pat. The Grey Funnel Line has always had huge crews and (usually) no urgent need to 'press on' under all possible sail, so it would make a difference to the way in which sail was carried. Merchant ships always carried the absolute maximum sail, so in heavy conditions split seconds could mean the difference between saving or losing a sail - or the ship. John
-
Thanks, Pat - slow she certainly is at the moment! John
-
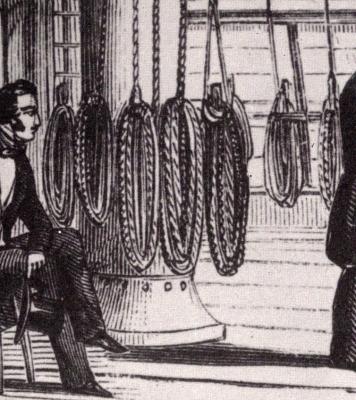
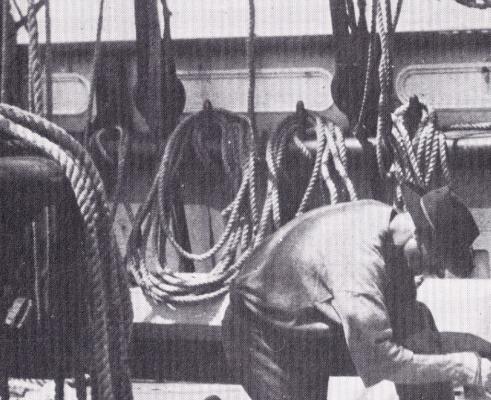
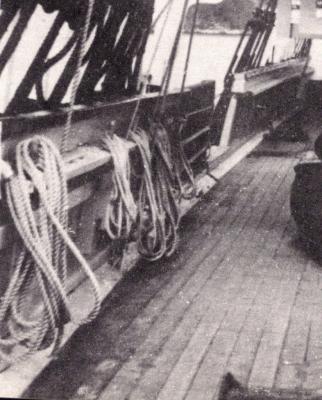
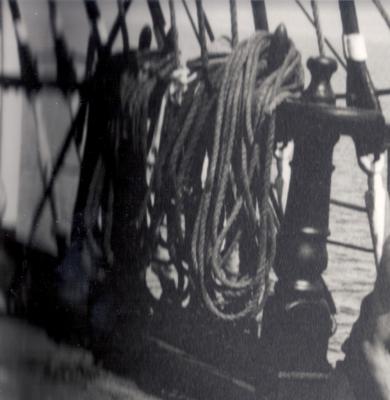
In the photos, you'll see that the coil of rope is simply dropped over the pin - it isn't hitched to the pin by drawing a loop of rope over from behind. John
-
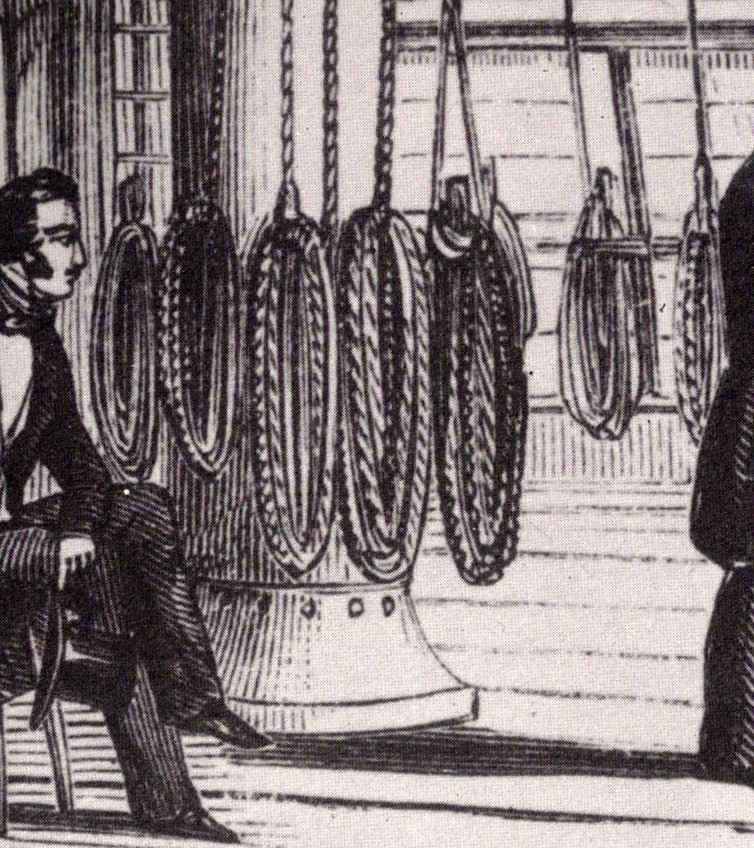
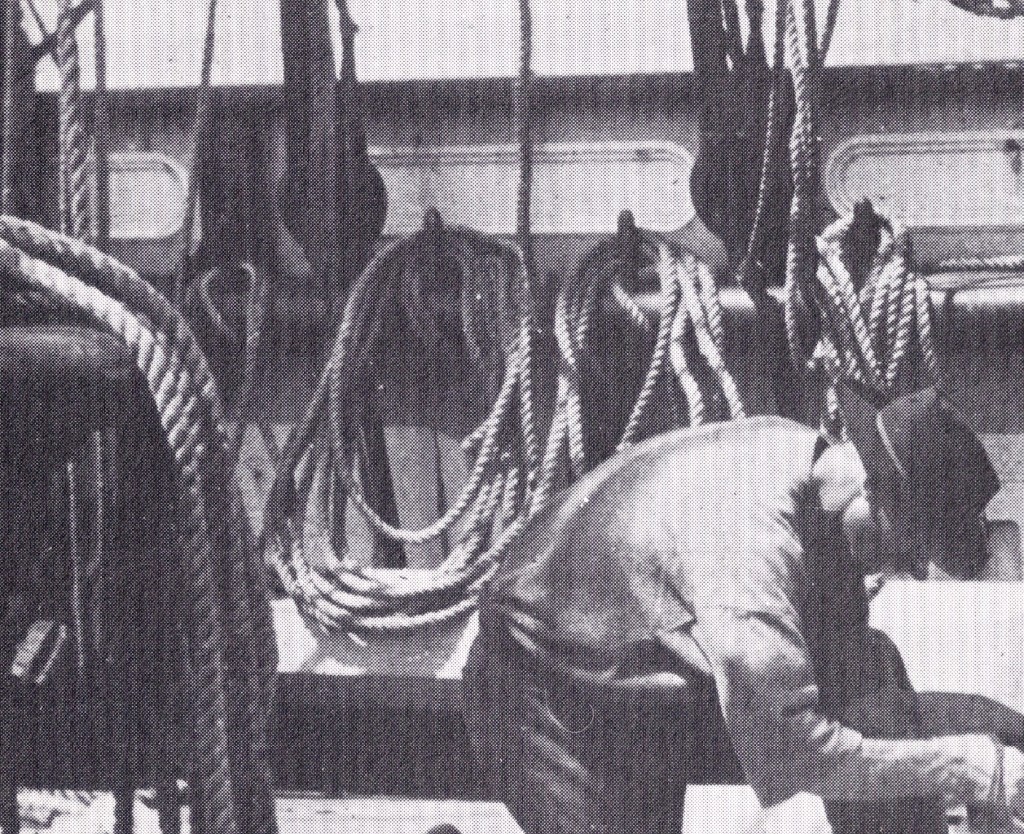
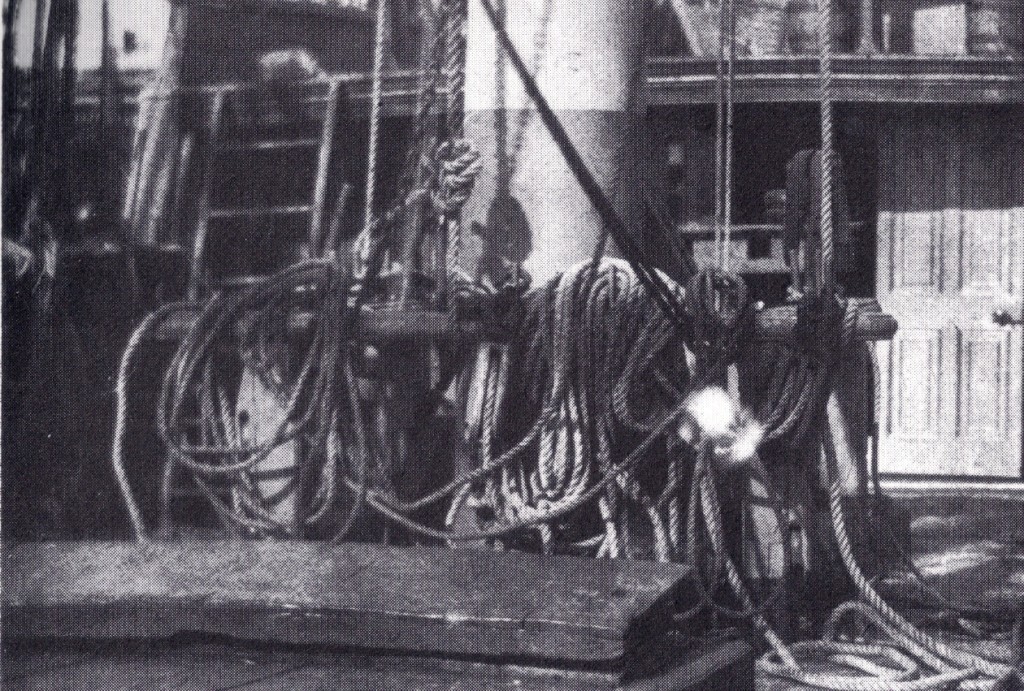
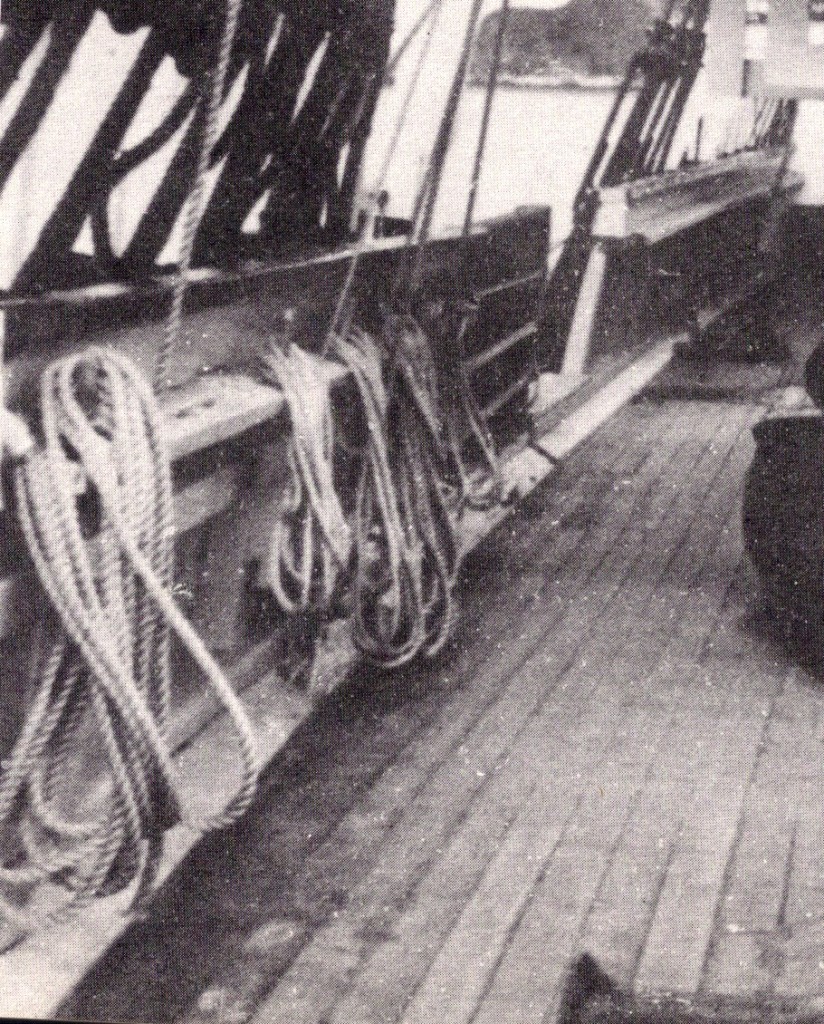
Just for the record, it seems to be the fashion nowadays to hitch the coils of rope to the belaying pins, but this is not the traditional method. In many descriptions I have read the coils are simply placed over the pin. This was done so that when urgent action on the sail was needed, the coil could be very quickly thrown onto the deck and, yes, the coils often washed off the pins when solid water came over the rail. This method of securing the coils has been confirmed by a friend who was at sea in sail at the very end of the commercial sailing ship era, who is very scathing of the 'hitch the coil to the pin' method and is also backed up by contemporary photos and drawings. The contemporary illustrations below show what I mean. John Two photographs from the end of the 19th century and early twentieth century that clearly show the coils placed over the pins. And a drawing and two photos from the mid 19th century that show the same thing.

-
Thanks, Russ! John
-
Ah, good, another update of Ilhan's beautiful work! John
-
At least you're getting back into order, Popeye! Take care of that cold (rum and lemon is supposed to be good). John
-
Very nicely crafted, Danny. Looking forward to seeing the guns re-rigged. John
-
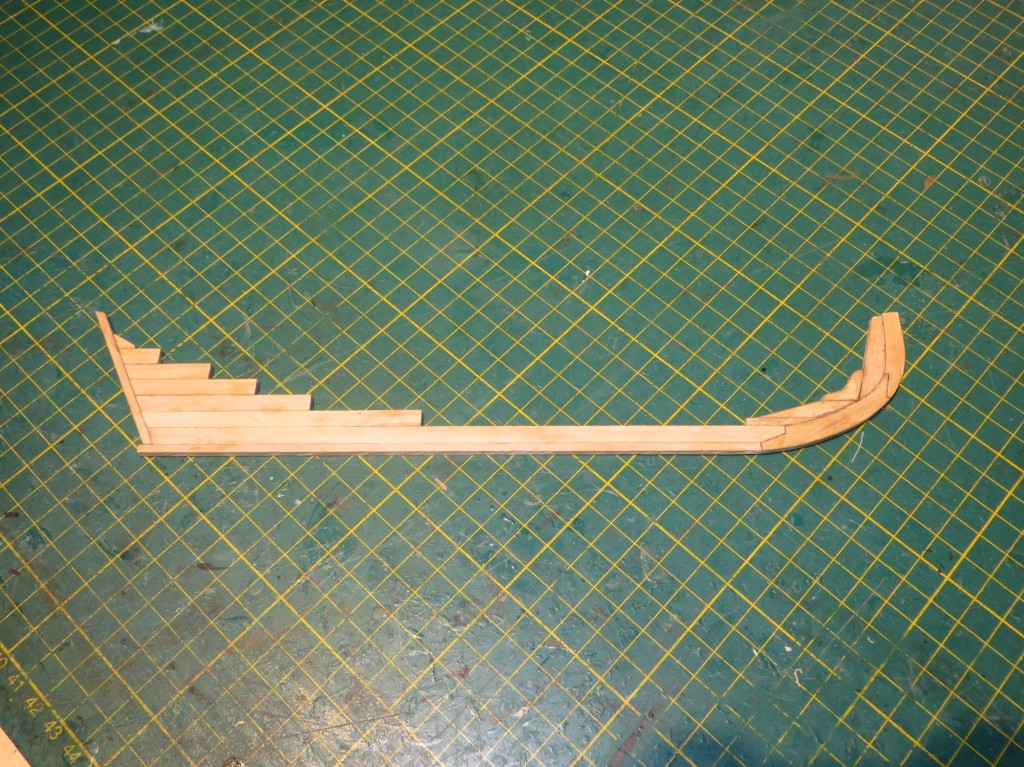
Well, only a very small update again. I seem to have spent most of my day today running around doing almost everything except model making. However I did manage to get the stem on, so after cleaning up the basic backbone, the next job will be to cut the rabbets and then make the frame extension for the overhanging counter before making a framing jig and starting to give her some bones. John

- 745 replies
-
- 10
-
-
- francis pritt
- mission ship
- (and 1 more)