


pirozzi
-
Posts
843 -
Joined
-
Last visited
Content Type
Profiles
Forums
Gallery
Events
Posts posted by pirozzi
-
-
-
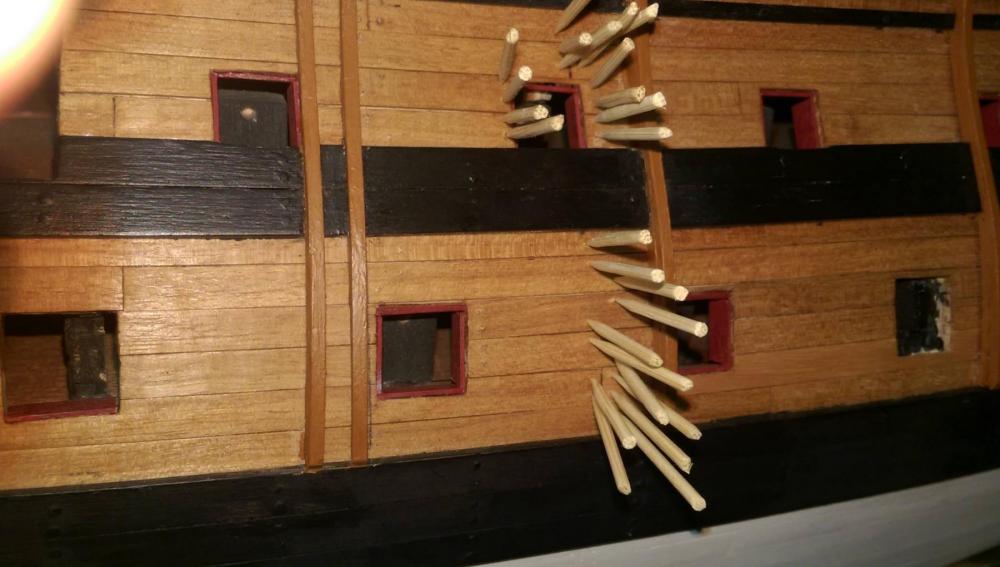
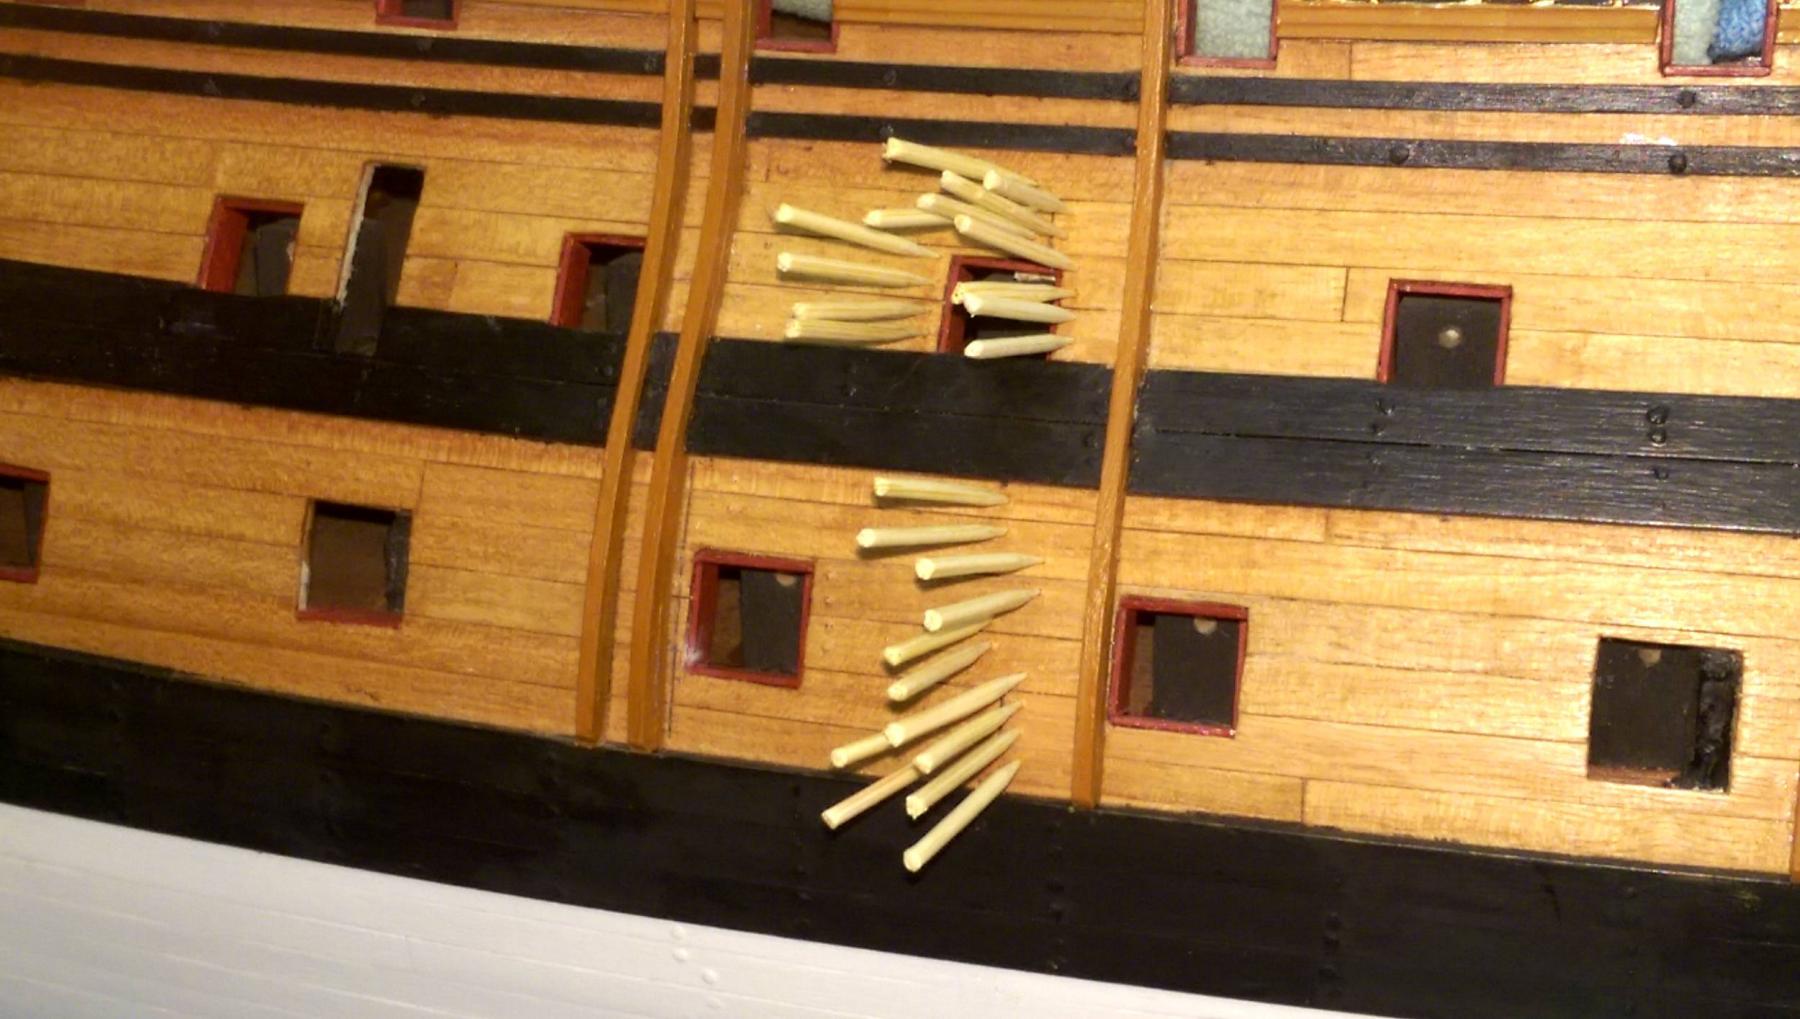
Finished placing the trennels. There were over 2000.

Next up will be to work on the forecastle railings and catheads.
Vince P.


-
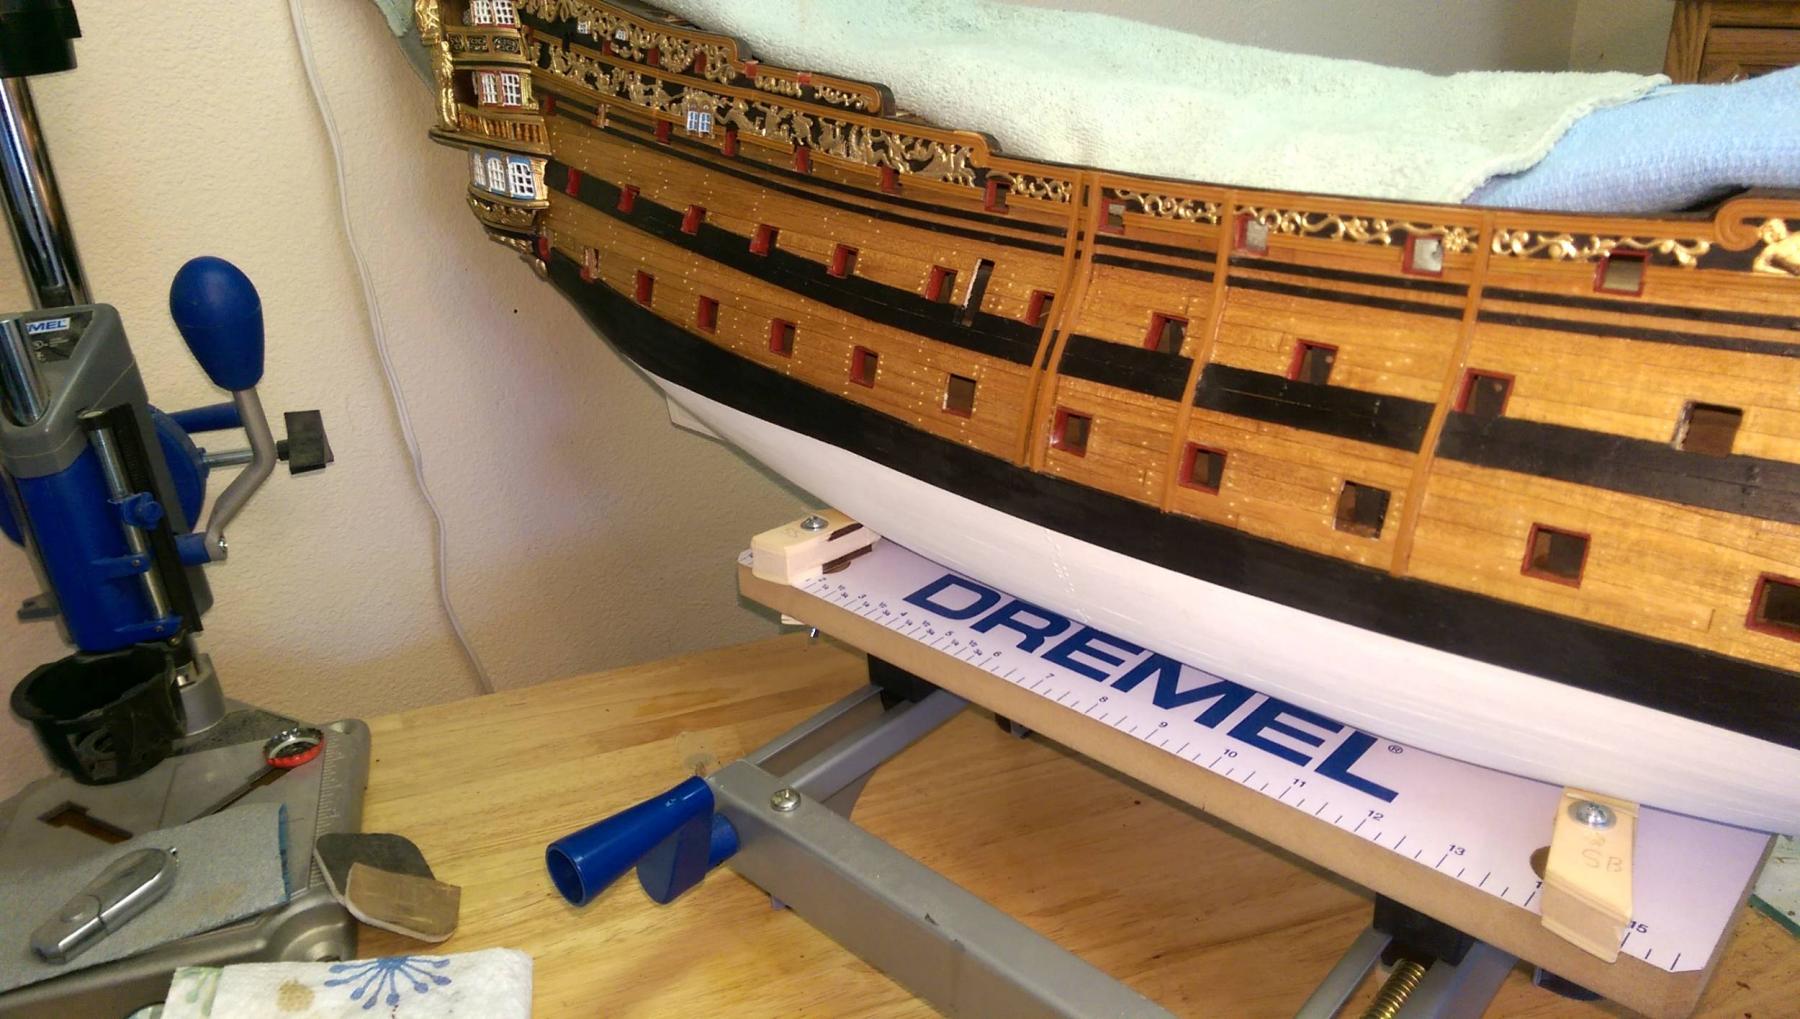
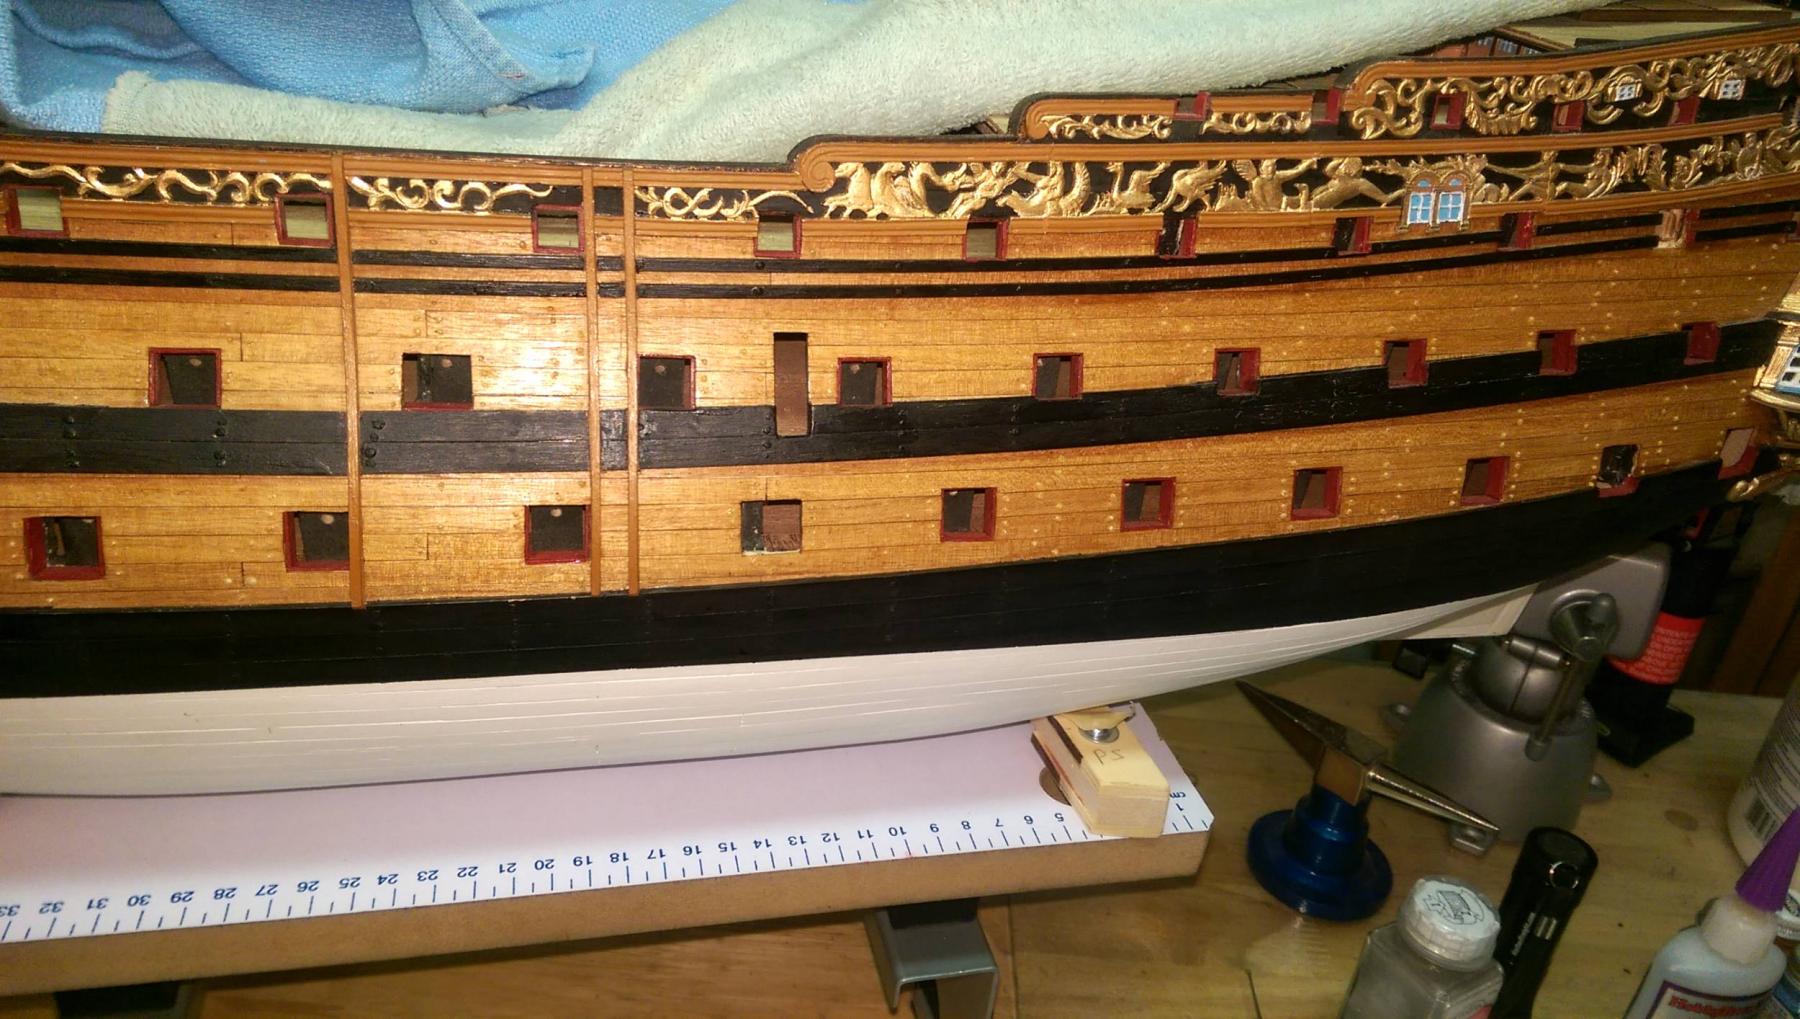
Now that the bow is mostly finished I decided to finish placing the trennels all along the unpainted portions of the hull. This will take a while since there are hundreds of them. Like before, I am using round toothpicks.
Vince P.

- J T Lombard, marktiedens, cristikc and 4 others
-
 7
7
-
Vince - I agree with Greg - your ship, your way. There are so many 'twists and turns' to make with the rails (pardon the pun) that small differences will influence the outcome greatly. However, your build is rich in detail and interpretation and that is what it is all about. I am including a photo and a diagram for everybody's interest just to show how variations do creep in. In hindsight we are all very wise. Spot the differences and yes it is the same ship !
Pete
Thanks Pete.

-
G'day Vince
What ever you are doing keep doing it. With all of your TINY mistakes makes this model, your own. It's very courageous of you to write and publish your errors to help the LUCKY ones who will follow in their build.
As usual your finishing off is absolutely delightful to see.
Brilliant work and havagooday my friend
Greg
Thanks for the usual kind words and encouragement Greg.
Vince
-
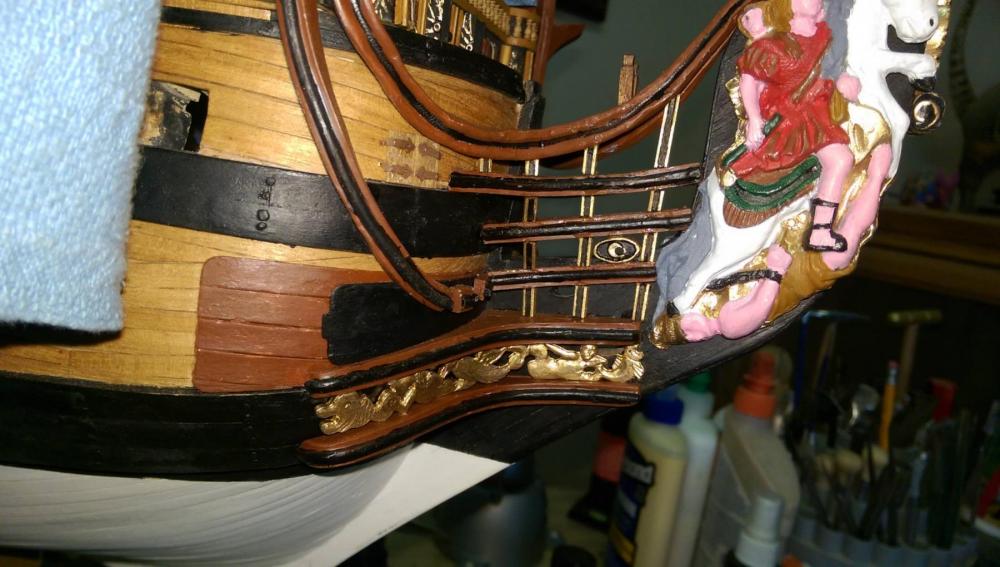
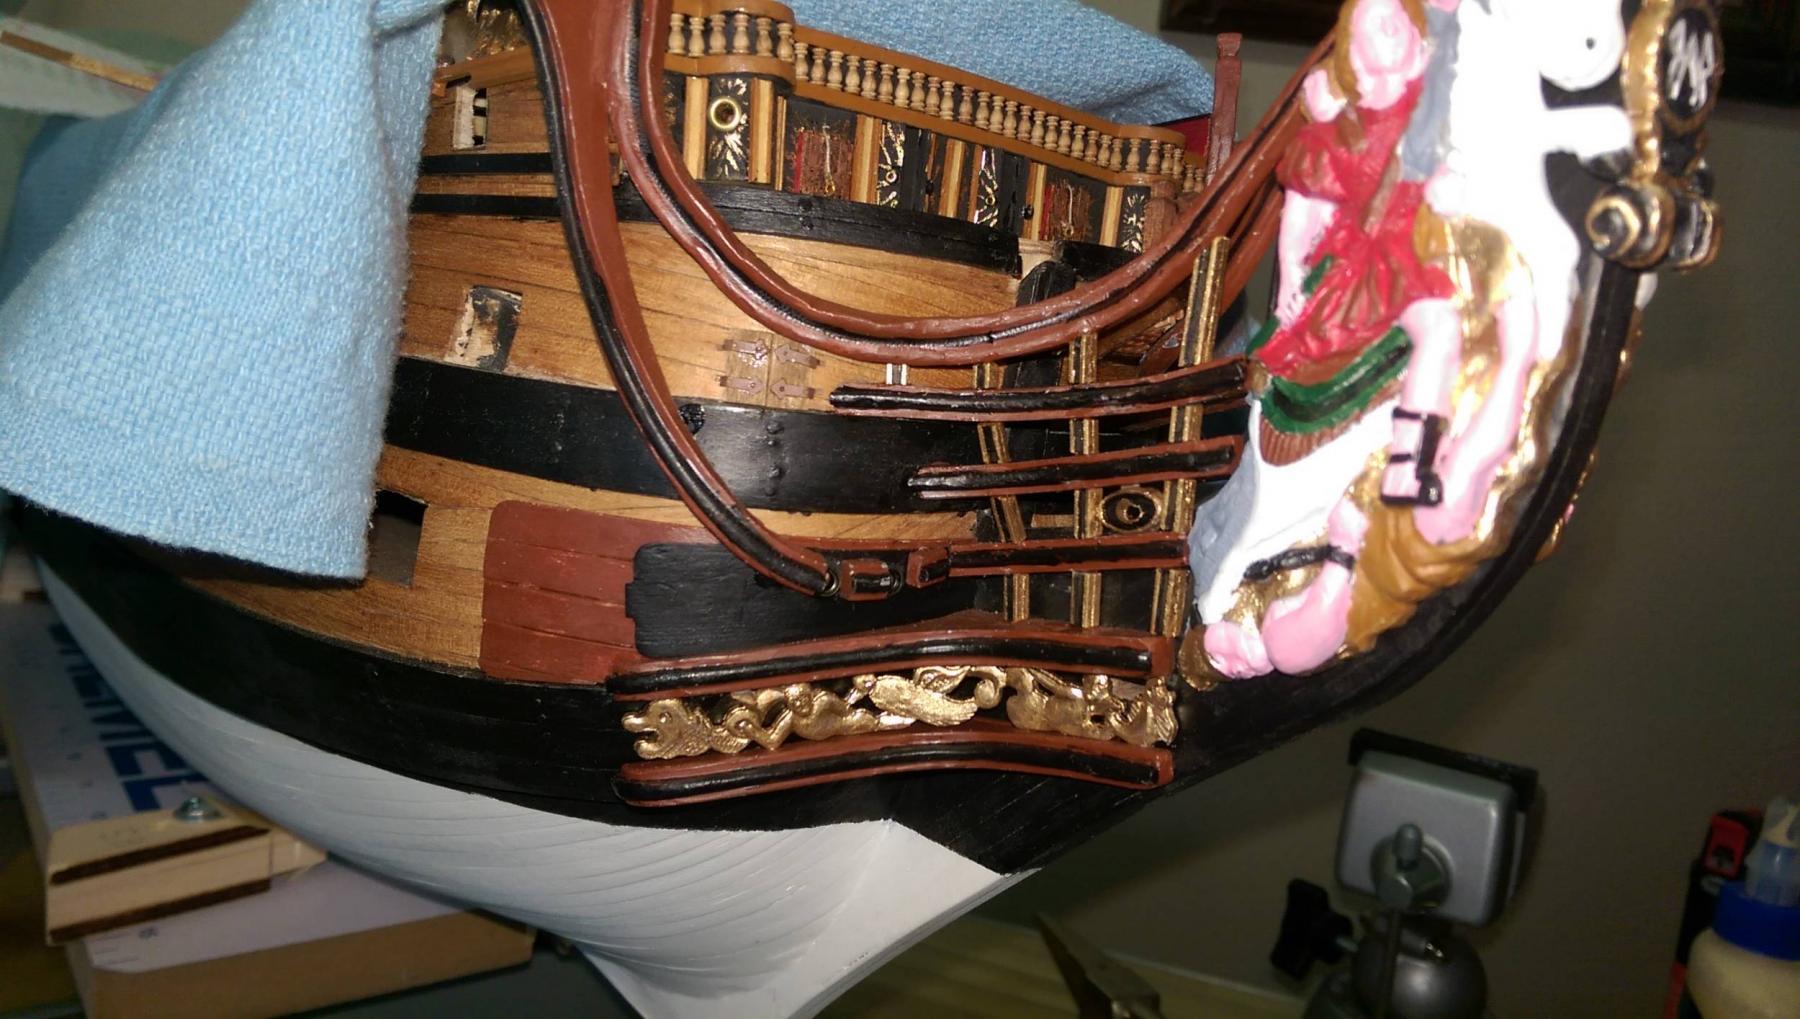
I have placed the timbers between the rails on the starboard side. I did not use the metal strips supplied in the kit, although they are fine. I made some decorative strips with wood from my stash and milled out the center by hand. I think they look more like the drawings and of other high quality models I have seen around.
I found another blunder after placing some of the timbers at the forward end of the rails. When I bent the outward curves into the rails, I tried to match the drawings, and think I came pretty close, BUT, the stem is too thick and too high as provided in the kit. There is no room for the gammoning ropes to fit in between the inside of the lower rails and the stem. I would have to have known to shave the thickness of the stem piece, or cut it way down from the top beforehand. In looking at some scratch built models, the stem piece is cut way lower from the top to allow the ropes to run between. Nowhere in the plans does this seem obvious, but someone smarter than me would probably catch this. Anyway, if you are following this log, you can avoid this by fixing it before placing the lower head rails. I will have to run the gammoning outside the rails at the lower end and then feed them up inside to the bowsprit. I have seen other ships of the period do this, but not the RW.

Vince P.

- marktiedens, piratepete007, garym and 3 others
-
6
-
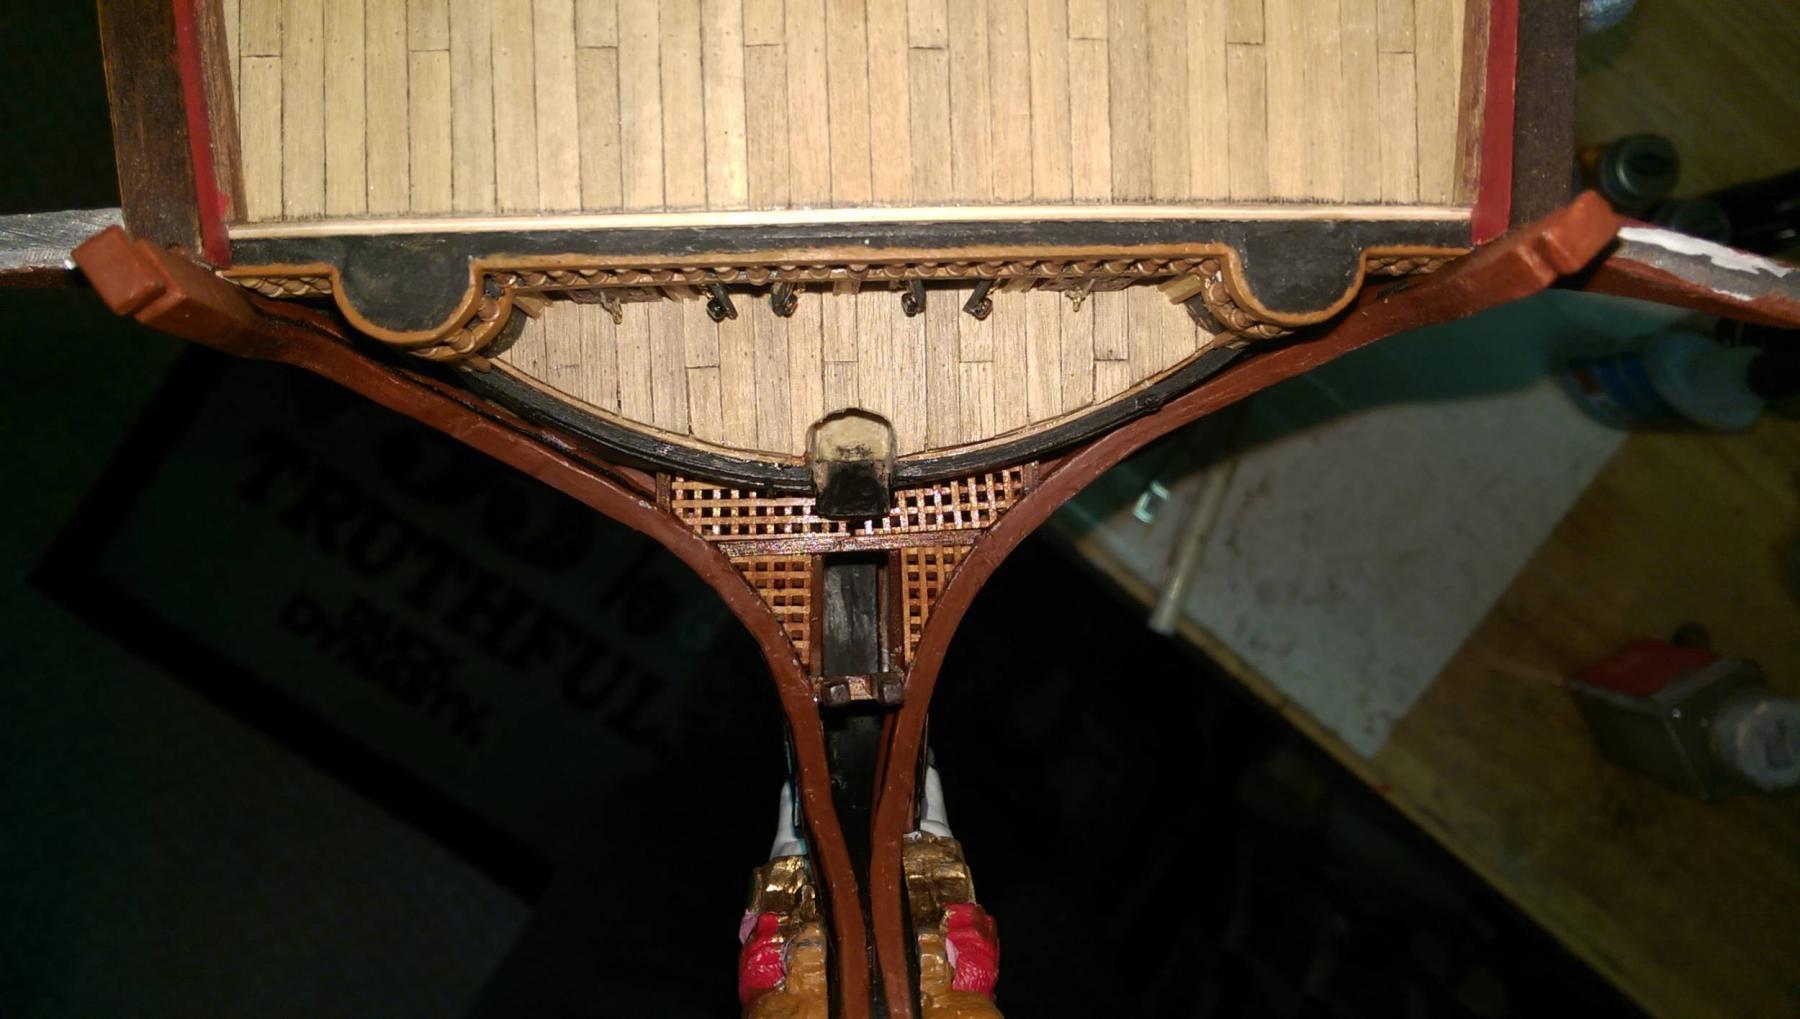
Placed the gratings inside the head rails. As was already pointed out, they are lower than the drawings show because the curvature of the upper head rails is a little too low. I am however not too disturbed by this. Since my build log seems to be ahead of the others, I am the one who will make some mistakes for others to benefit. That is why build logs are so important, and one of the reasons I stick my neck out and publish my work for others to see.

Vince P.


- piratepete007, mtaylor, garym and 3 others
-
6
-
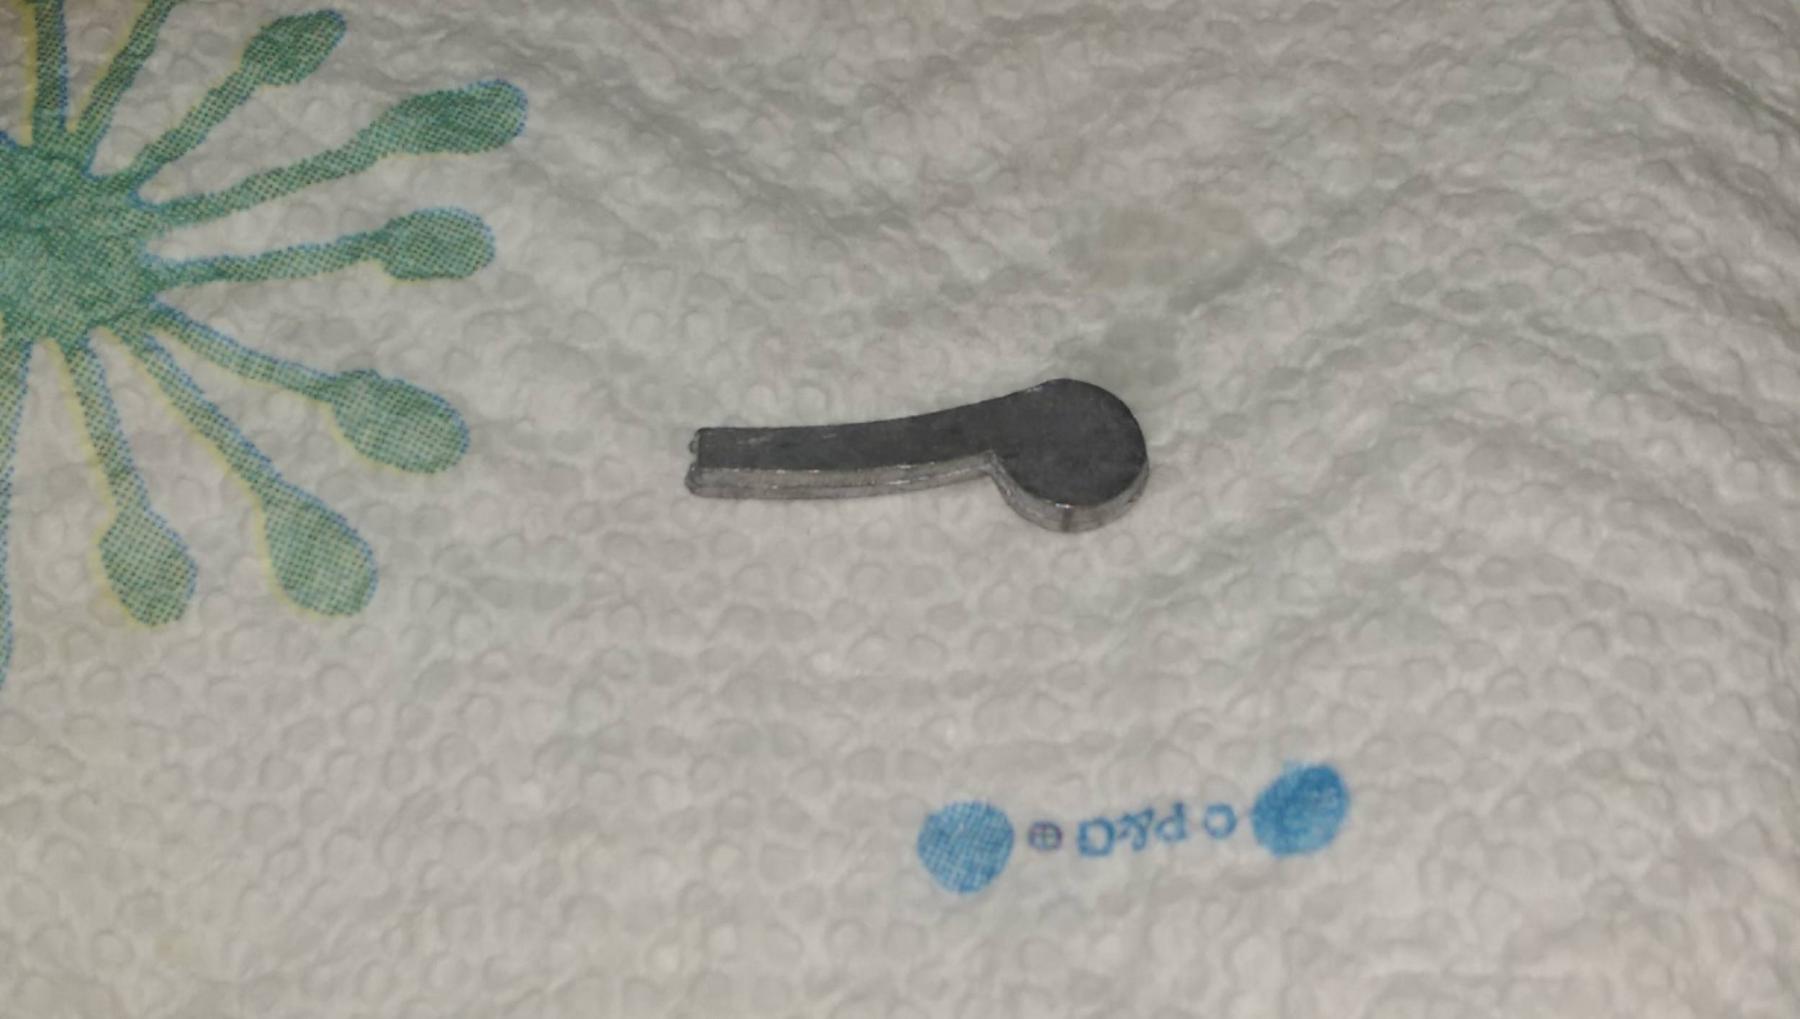
Thanks Pete. I see where it would go now. However it looks like it would be awkward in place as it is cast. I might cut it down some to match the curvature of head rails and bow where they meet, or just leave it off.
Vince P.
- marktiedens and mtaylor
-
2
-
OK, a question for all Royal William builders. See the attached photo.... It is a metal part included in the Euro kit with a number of "11155". What is it?? Can't find anything on the plans or drawings even mentioning this. I believe it has something to do with the bow ornaments since the number is in the sequence for the parts there. HELP!
Vince P.

-
Good work, Vince. Please note that the gratings need to be installed as well. I have been studying the curvature of the topmost rail, and I suspect that yours curves a little too far down to accept the gratings when it comes time to install them. From what I can tell, the top railings should be approximately at the level of the bowsprit. I am away from home at the moment so I can't check my plans, but that is what I remember.
Hi Keith,
You are correct about the level of the gratings. Having had to consider so many things in bending and installing the top rails more than once, I was bound to miss something. The gratings will be a little bit lower as a result. I am not going to remove the rails again and try to rebend them at this point. I think it will look OK in the end, I hope.
Vince P.
-
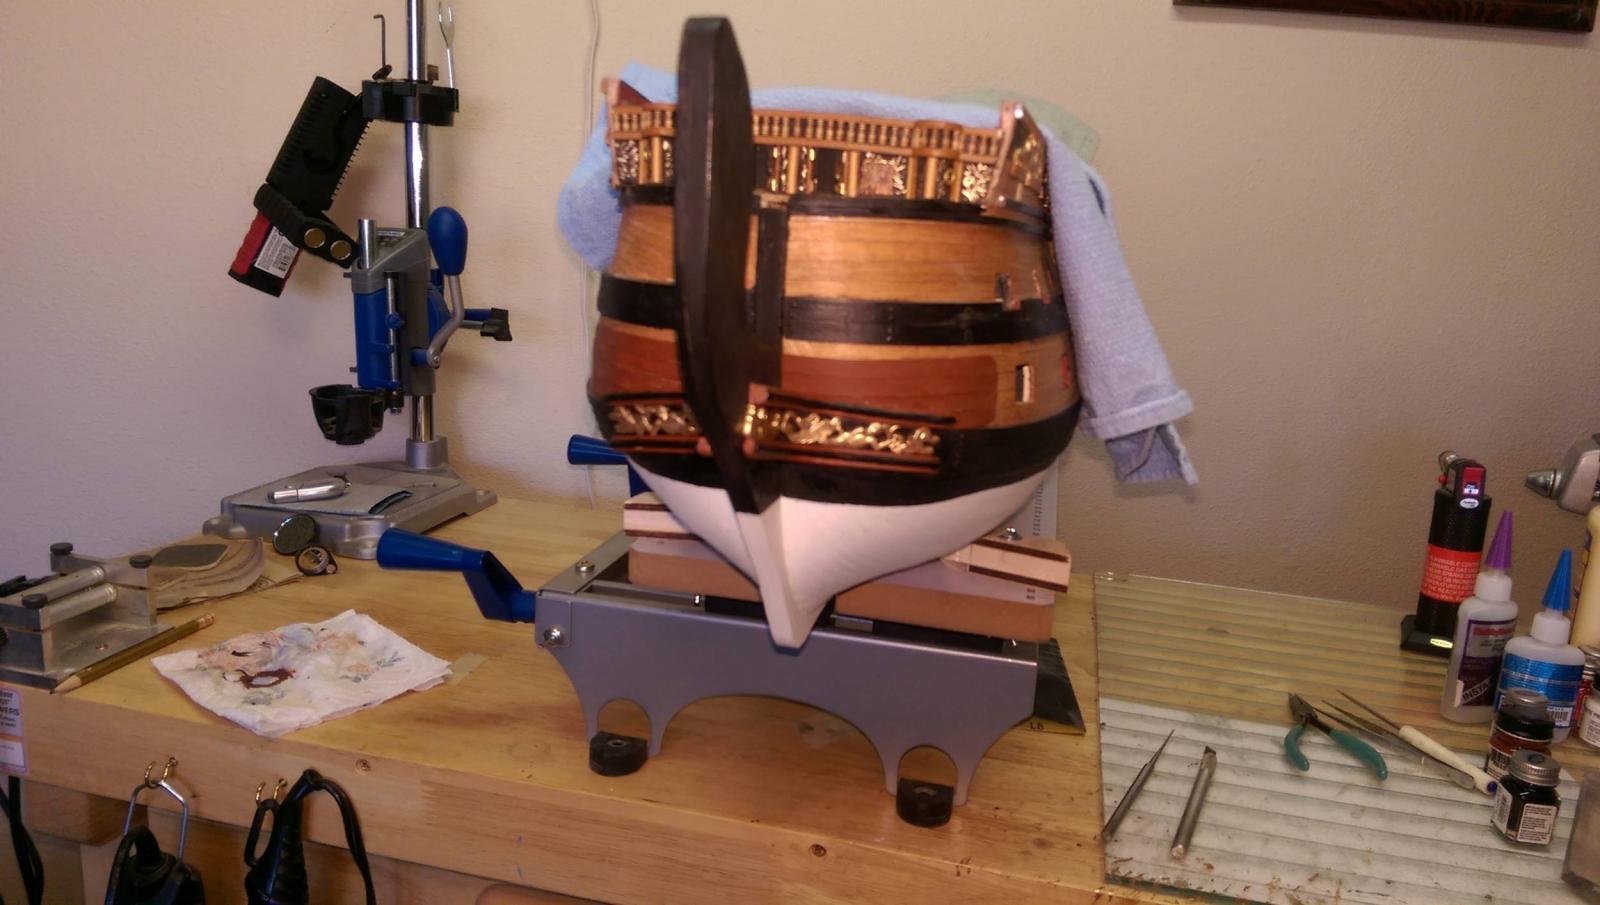
Finishing up with adding the remainder of the head rails. After placing the rails, I noticed that the top rail was curved so that it was way out from the lower rails. This would make the head timbers uneven and at a impractical angle. I had to remove the top rails and completely rebend them so they followed the curve of the lower rails more closely. Since they were already painted, using a torch was not a good idea. I had to bend them by hand, very carefully and slowly so as not to break them. The last photo shows the top rail hugging the hull more closely. Another mistake I learned from. Installing the rails from the bottom up would make more sense.
Vince P.


-
-
Vince:
What is that devise in the front left corner of your work bench? Royal William is looking great!!!
regards
J
Hi J,
That is a little metal roller press that is used to bend planks and soft metal without the use of heat. In most cases you don't even need to soak the wood. Just adjust the rollers for the thickness you want and run the material through by cranking the handle. It does a very nice job of evenly bending. If the wood is particularly thick or hard, a little soaking first helps. For hull planks, you don't need soaking at all. I used it with the Royal William for all of the planks and even the heavy wales. I got it from Micro-Mark.
Vince P.
- J T Lombard, mtaylor and Fam
-
3
-
The upper and lower head rails completed.
Vince P.


- marktiedens, garym, zoly99sask and 4 others
-
7
-
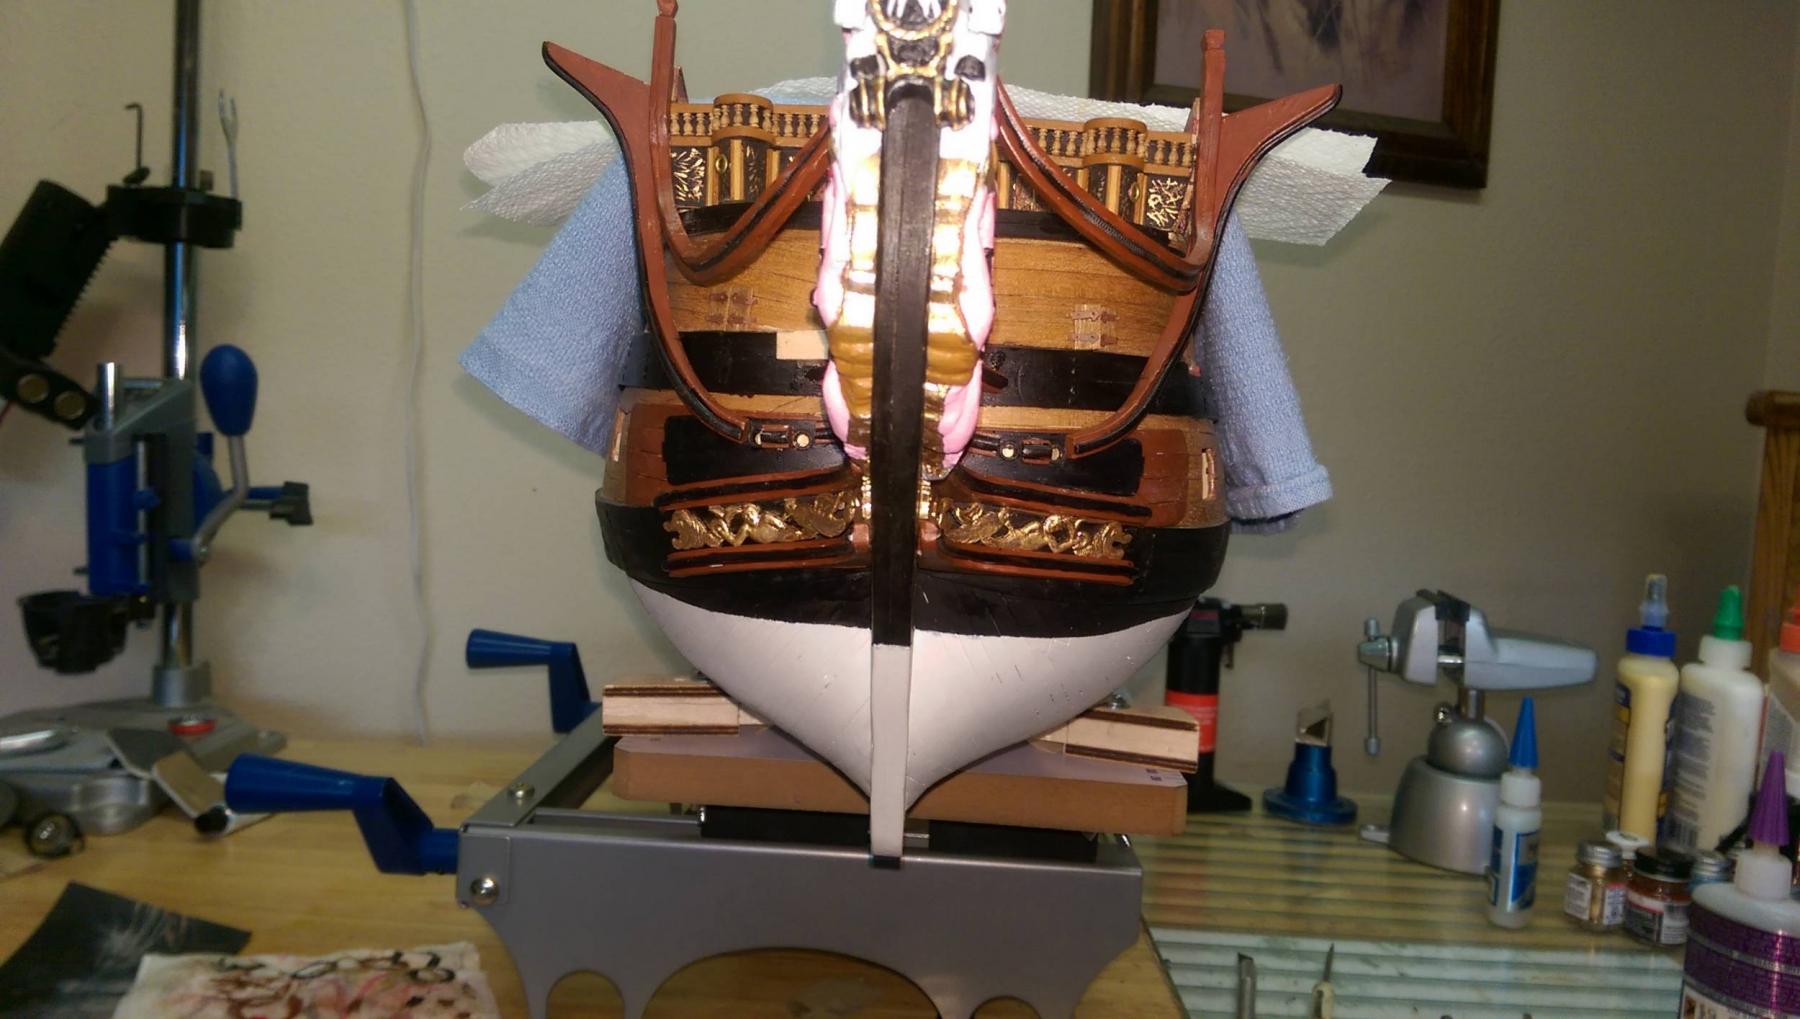
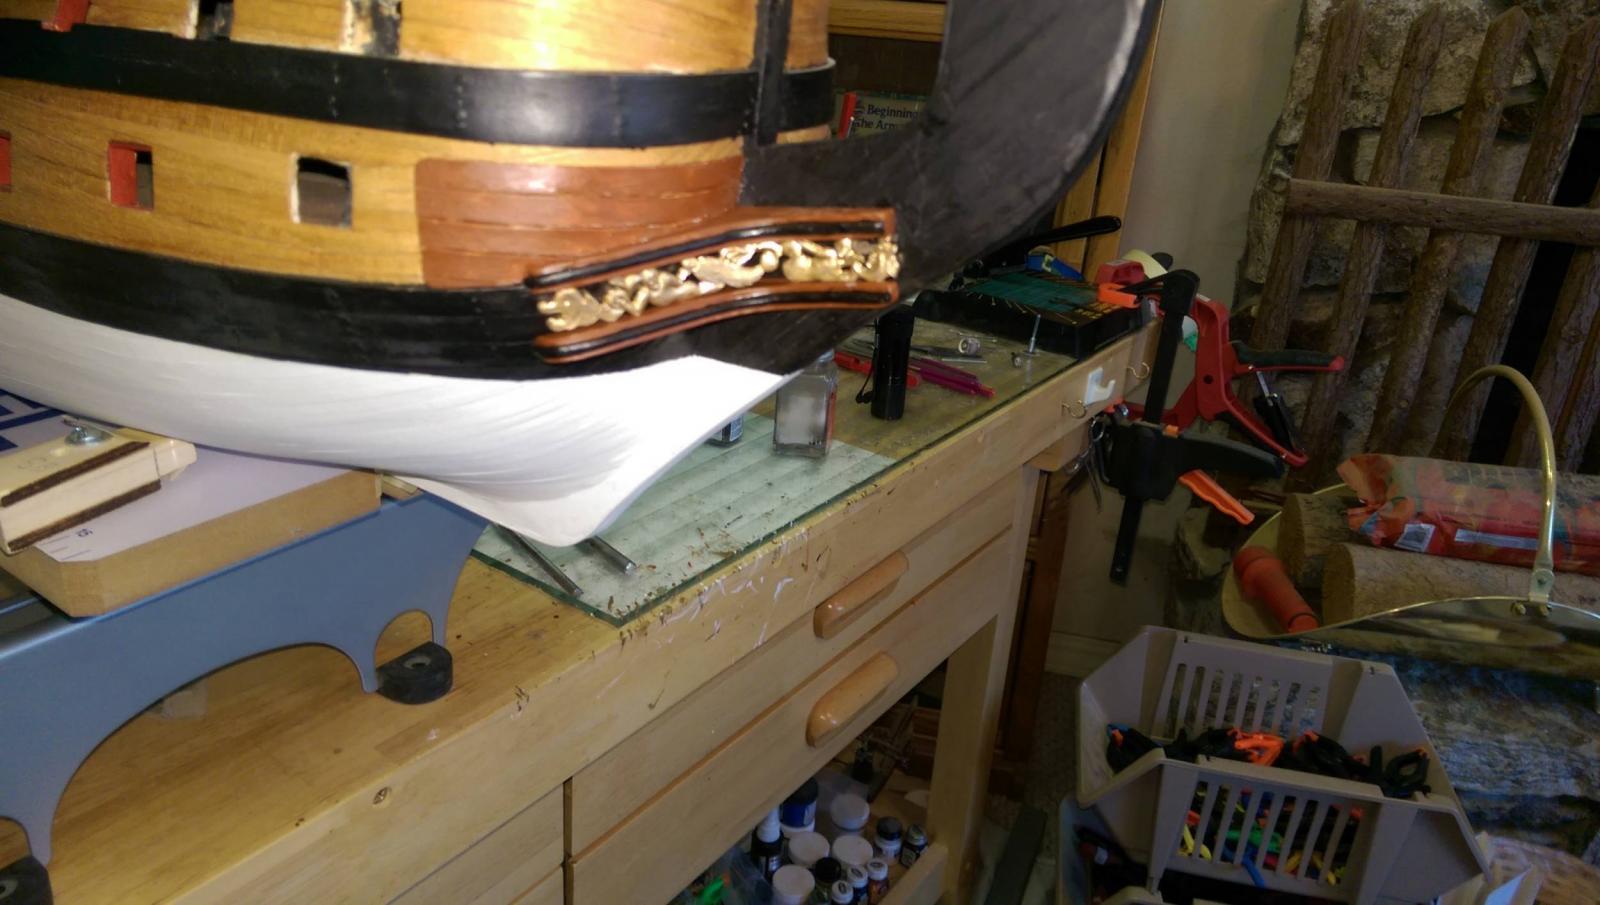
Placing the lower head rails.
Vince P.
- zoly99sask, Keith_W, mtaylor and 2 others
-
5
-
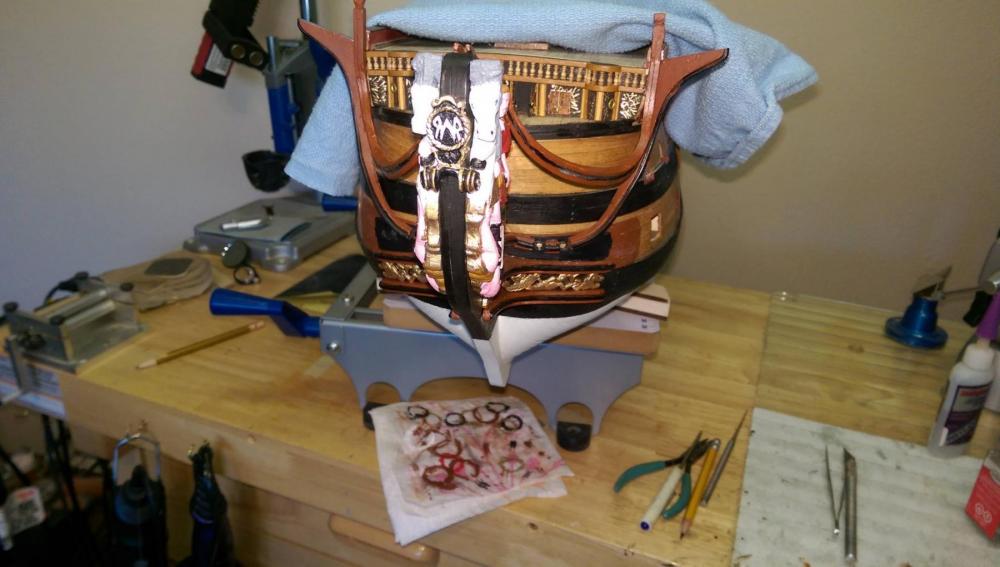
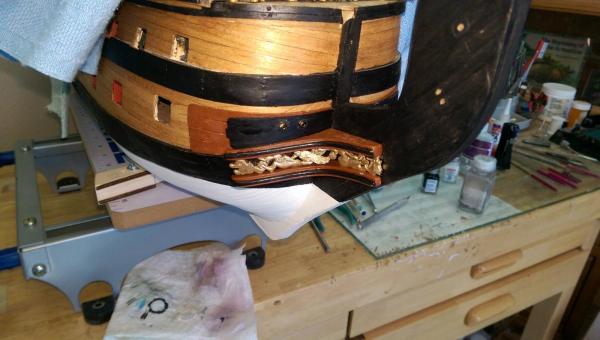
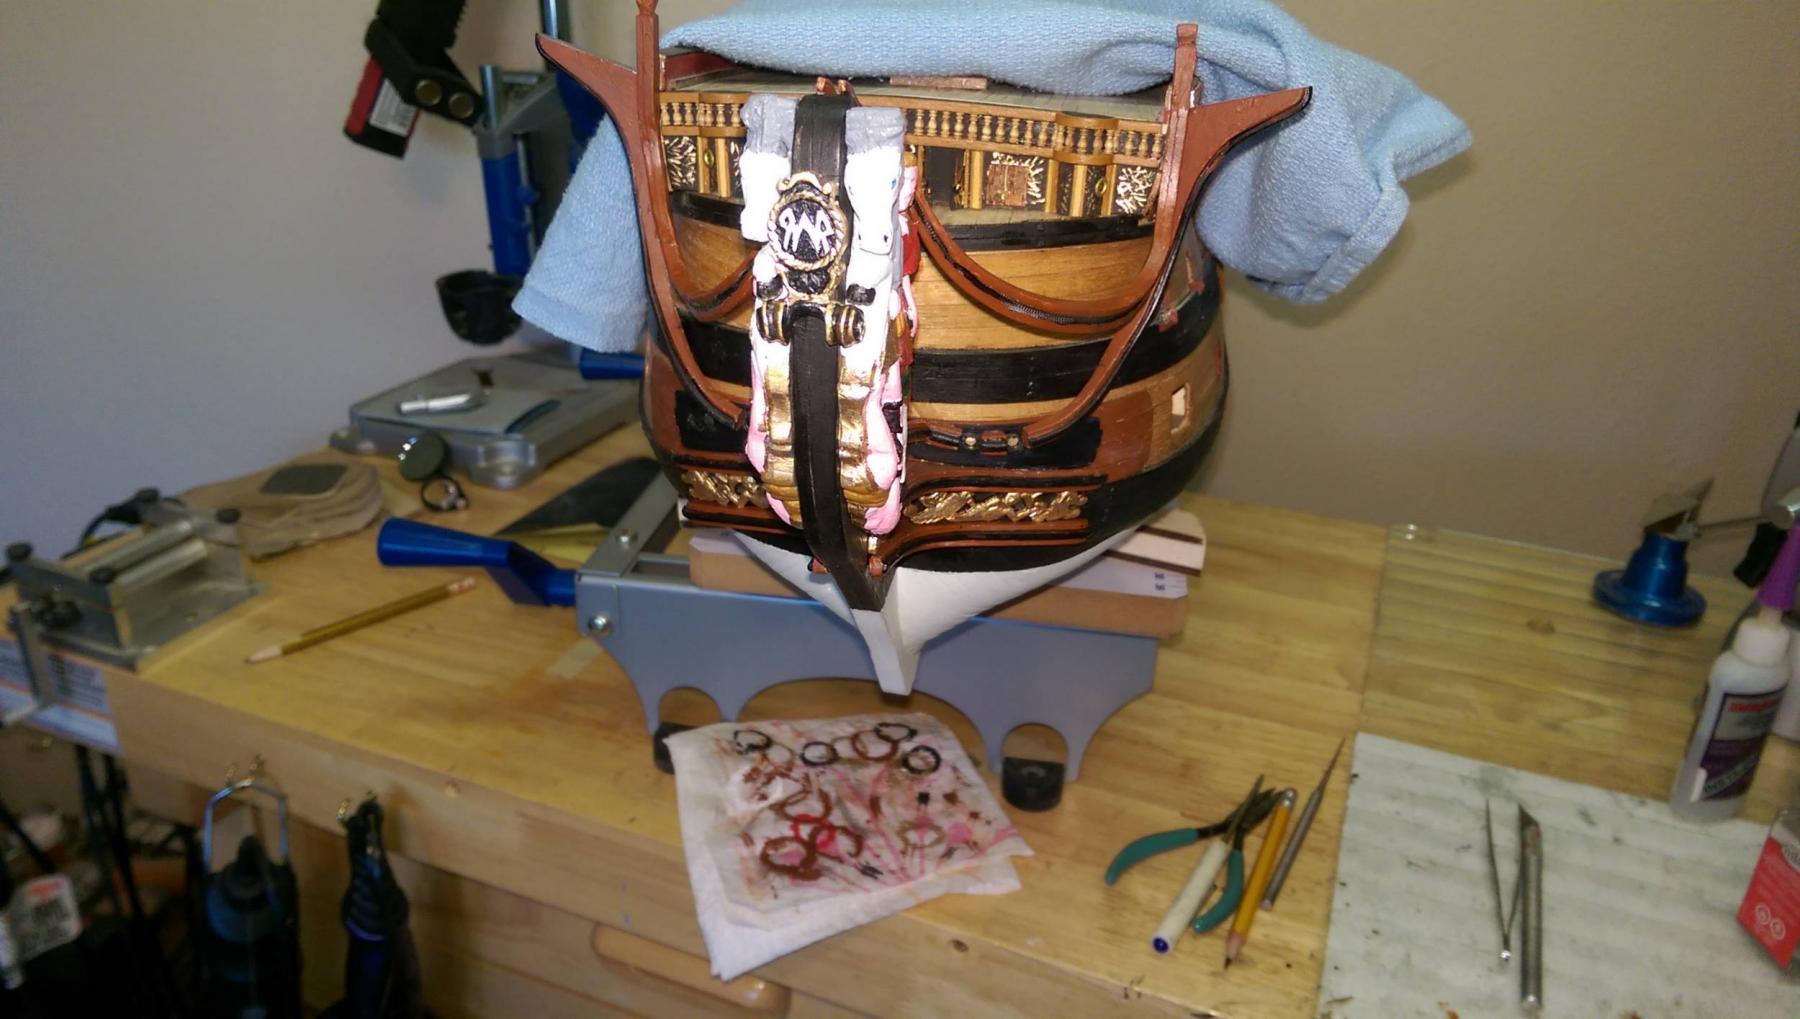
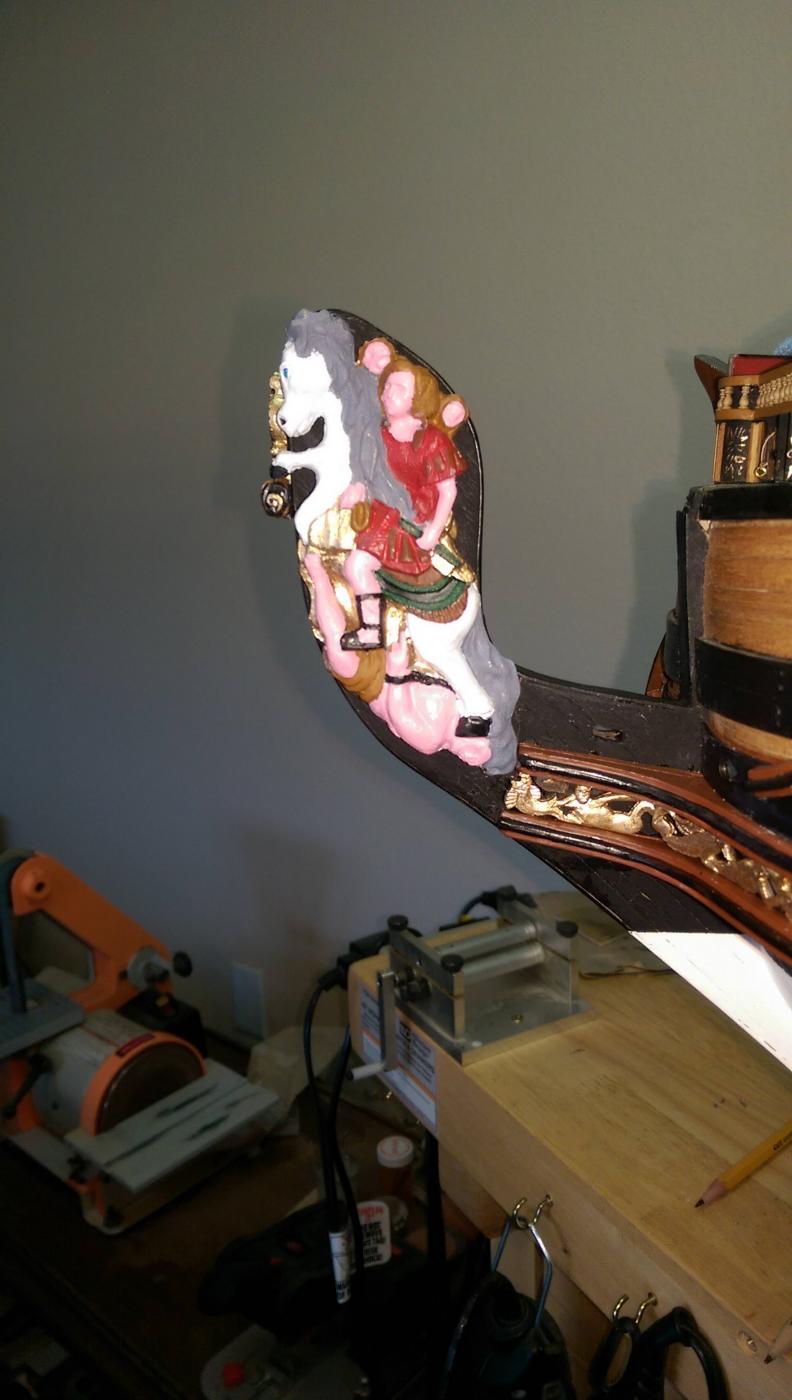
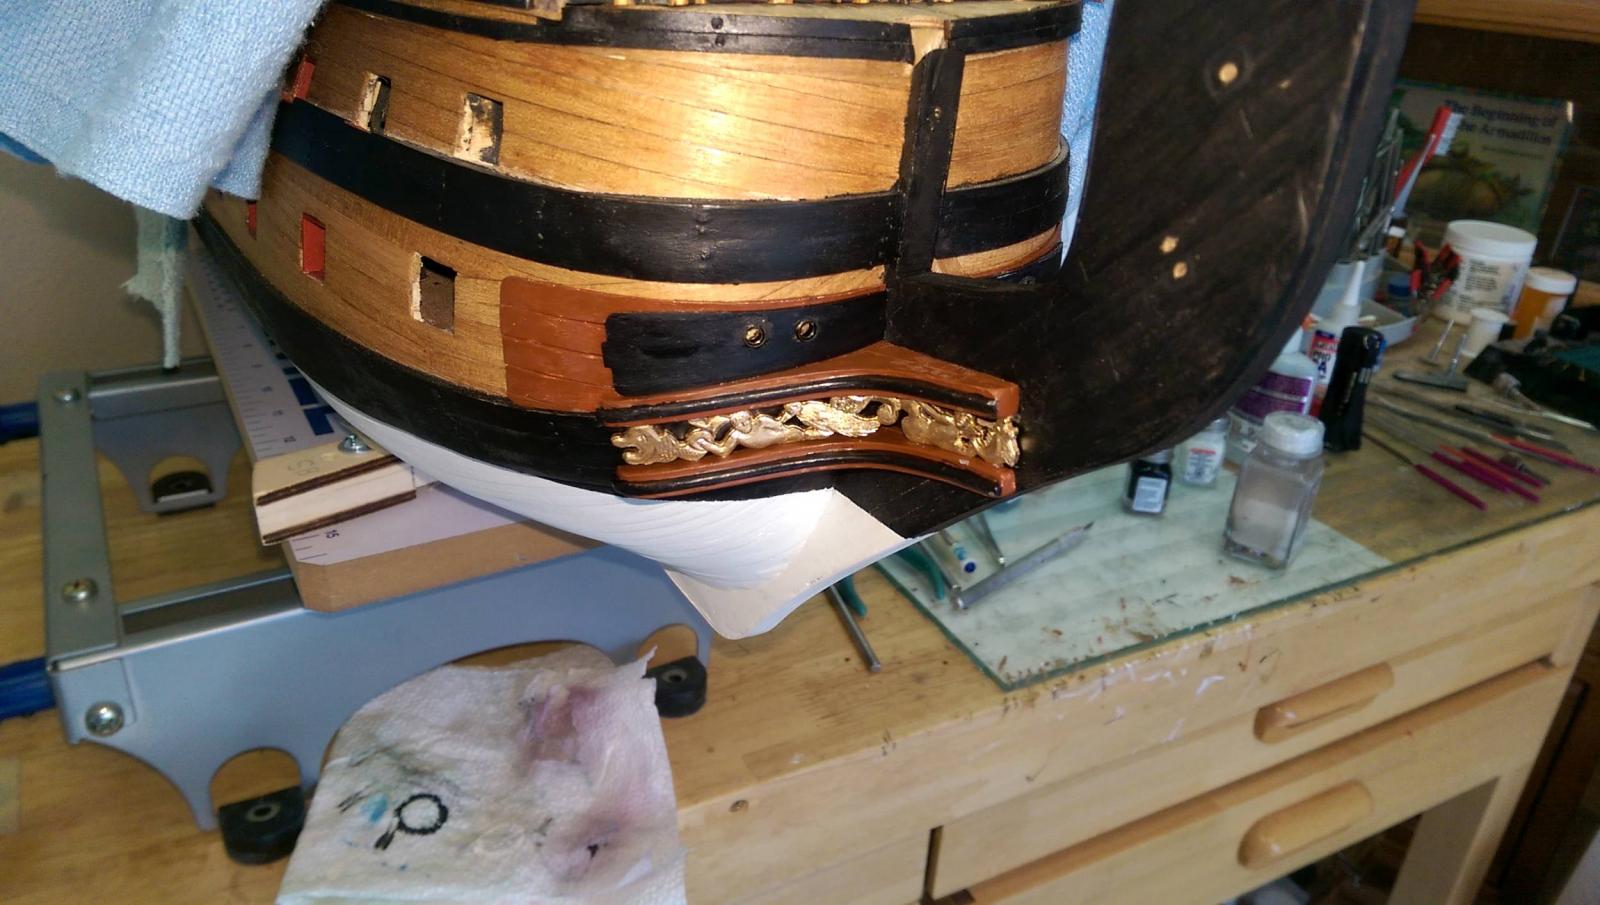
The stem decorations in place.
Vince P.
- marktiedens and Keith_W
-
2
-
Hi Vince, I am working on the same area of the ship as you at the moment. I thought I would drop in a note to remind you to drill holes for your gammoning. I note that you have installed the lower set of decorations minus the gammoning hole. There should also be another gammon hole just inside the railings. This will be almost impossible for you to install if you do the beakhead railings first.
Sorry if you were already planning to do this, but I thought that I should give you a reminder in case you didn't realize this.
(edit) oops, just saw the gammoning hole!
Hi Keith,
Yes I remembered to cut the holes. There are 2 holes, one in the decorations and another higher up on the stem. The one on the stem has not been posted yet. Thanks for looking out for me. It won't be the first time I forgot to do something critical until too late.
Vince P.
-
Vince
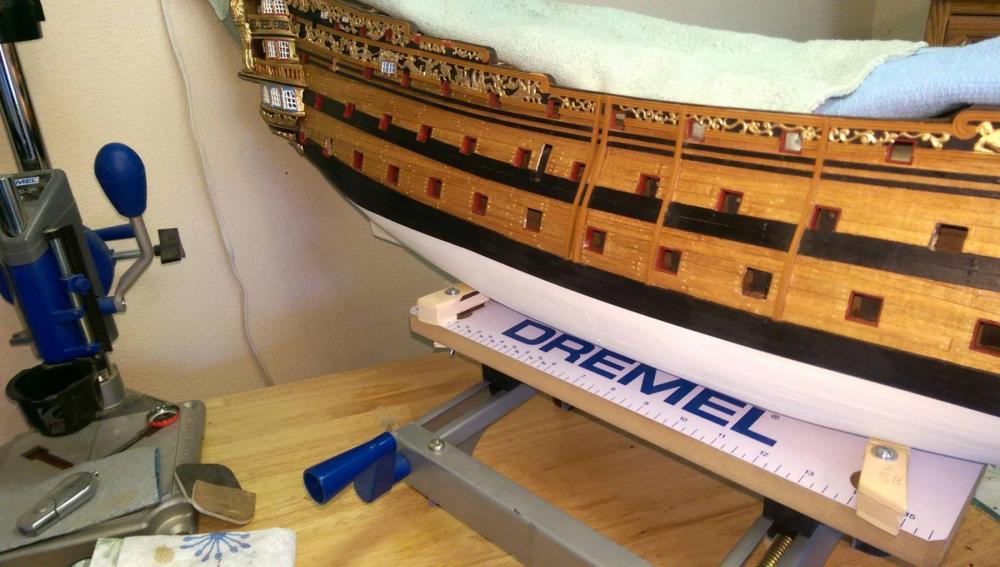
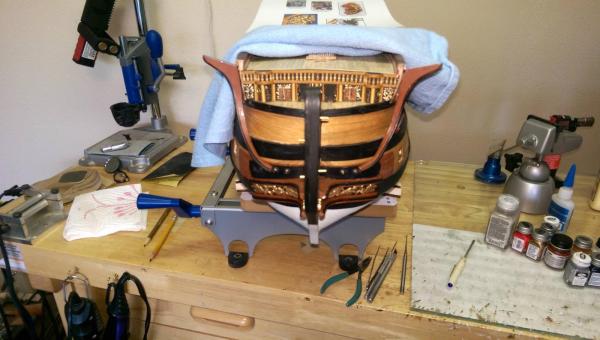
Looking better every day! Where did you find the cradle that is holding your ship?
regards
J
Hi JT,
I was looking at a build log by Anja on this site years ago and noticed she had her ship clamped on a nice little stand and it was marked made by Dremel. I contacted them and was told that the mini work station was discontinued several years ago and no longer available in the US. It was however still available in Europe. I found a supply house in Germany through the Amazon website and ordered it through them. It is a great tool and I use it a lot.
Vince P.
-
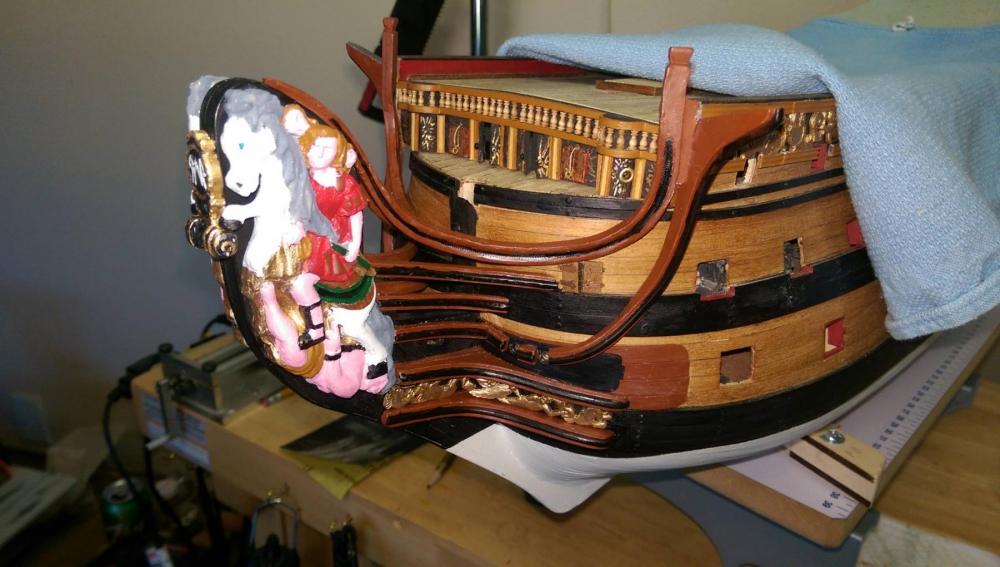
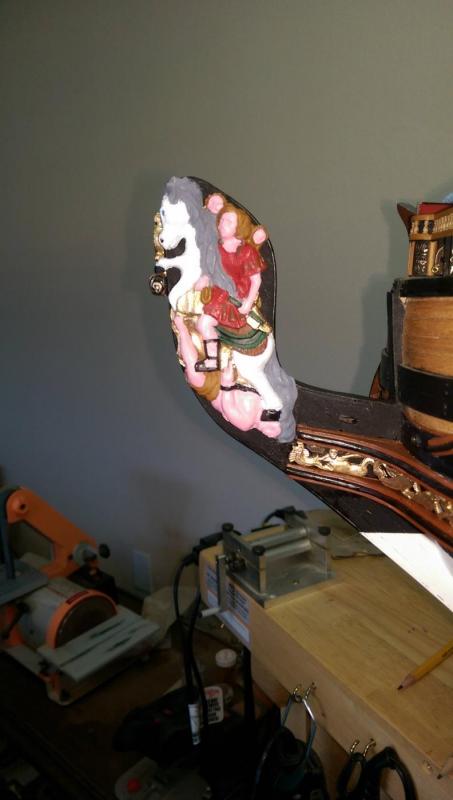
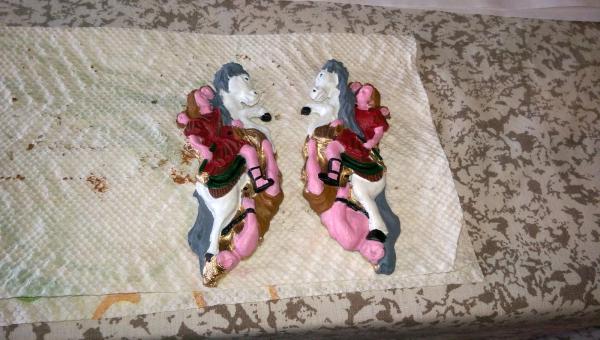
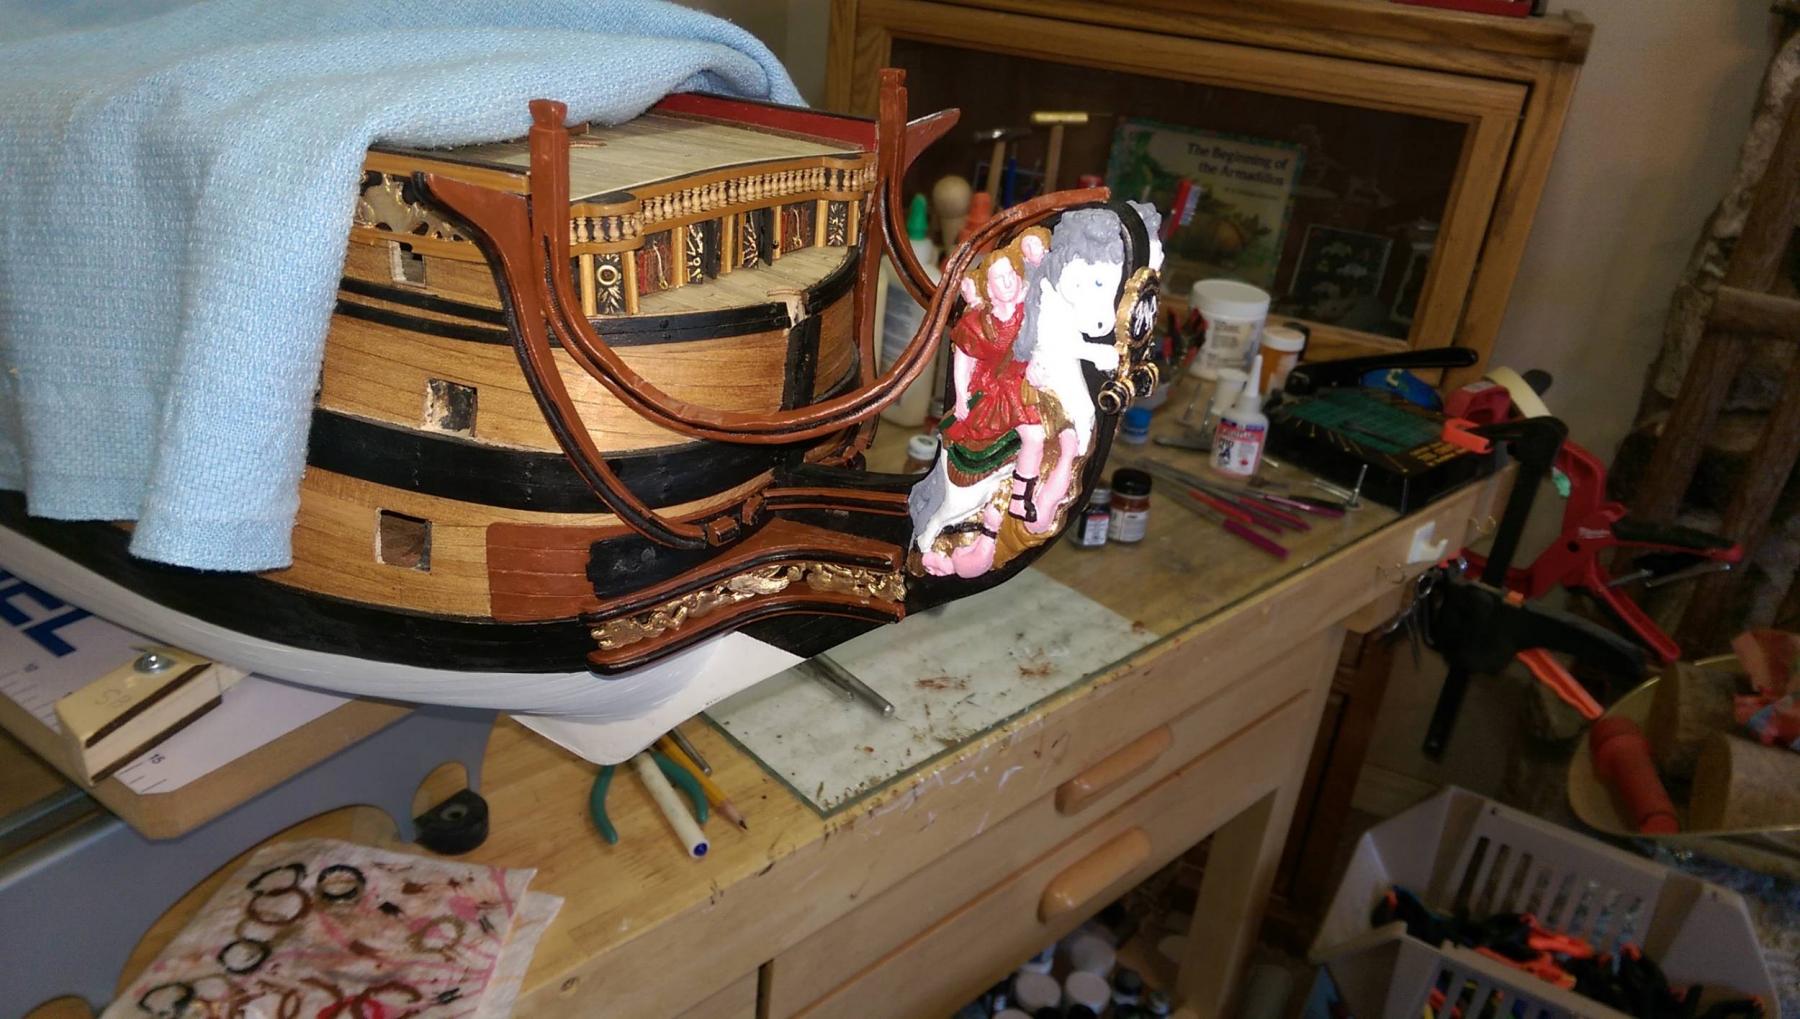
Very nice, Vince! I was debating whether to paint the figurehead gold or go with a colour scheme like you have. What made you decide to go with the colours?
Hi Keith,
I debated this too. While the gold looks rich, I think the color scheme brings out the actual figures better. I looked at several models done both ways and think the colors look more authentic.
Vince
-
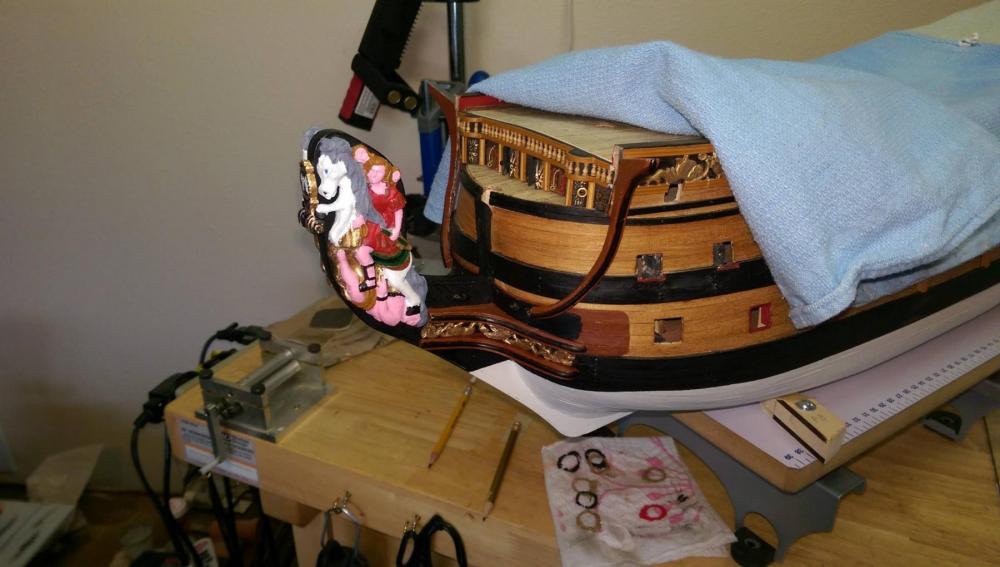
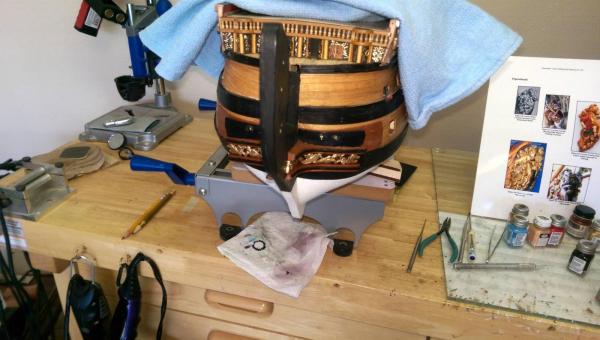
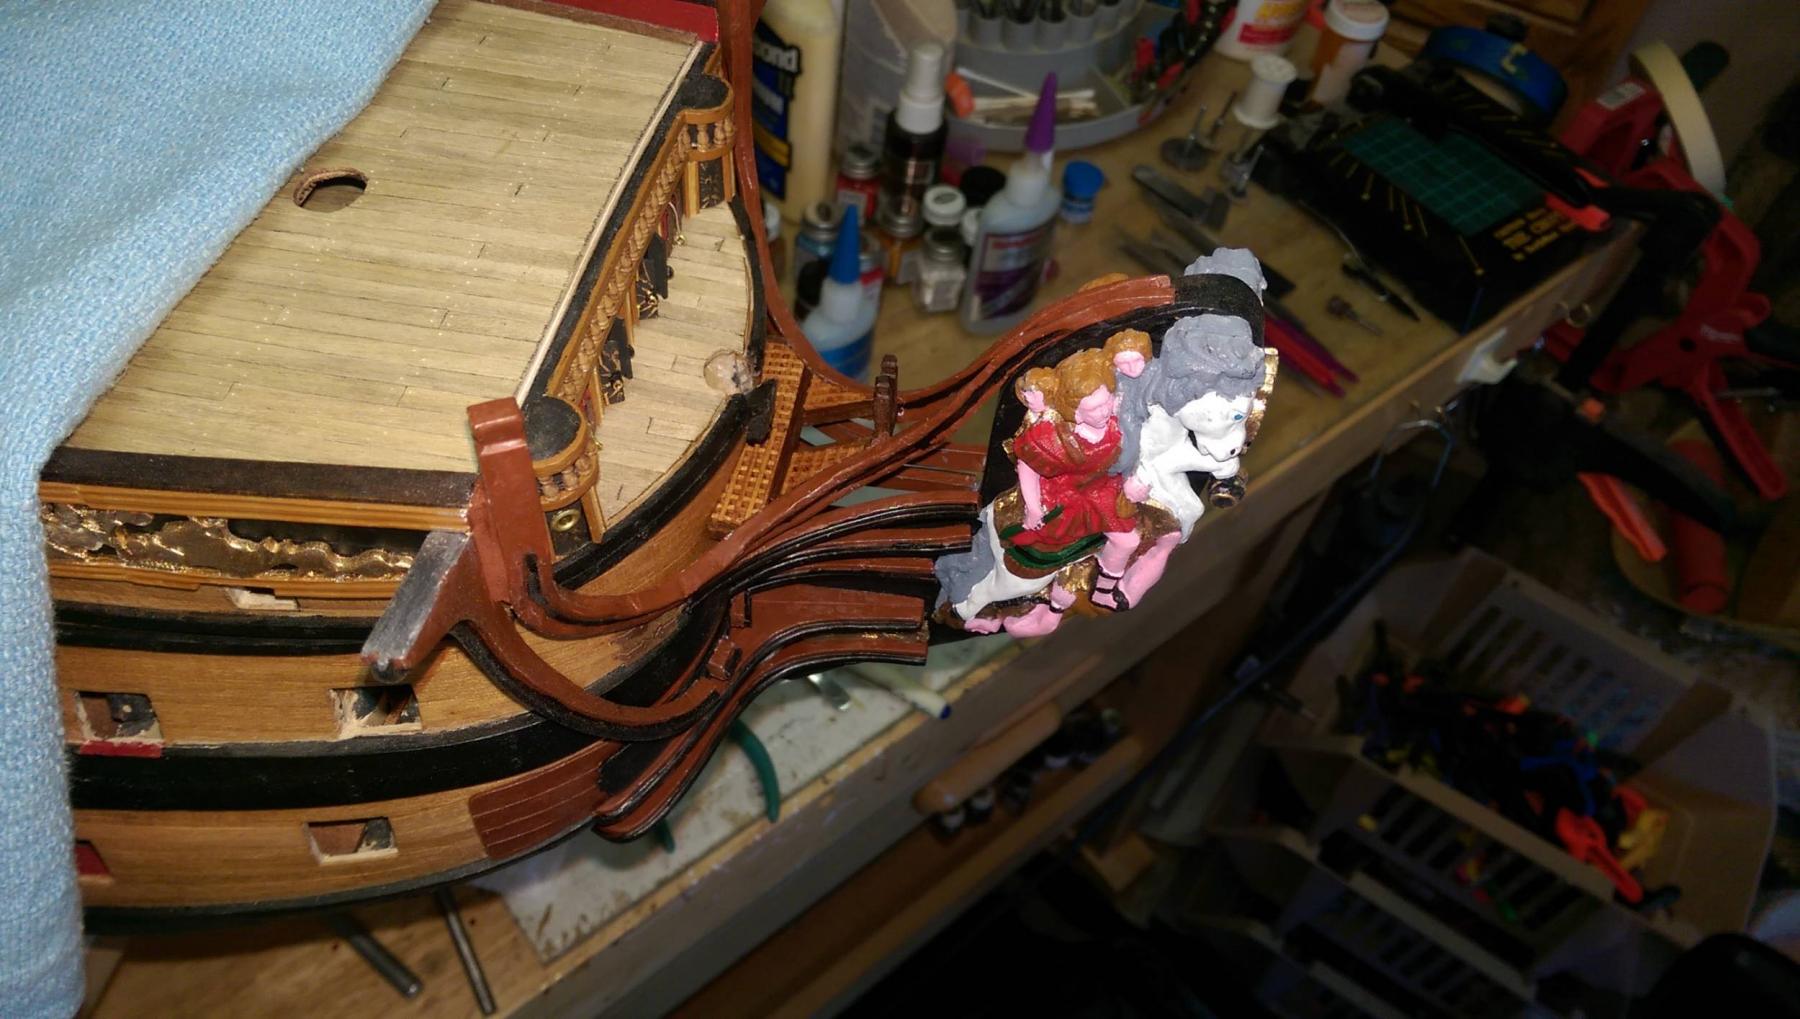
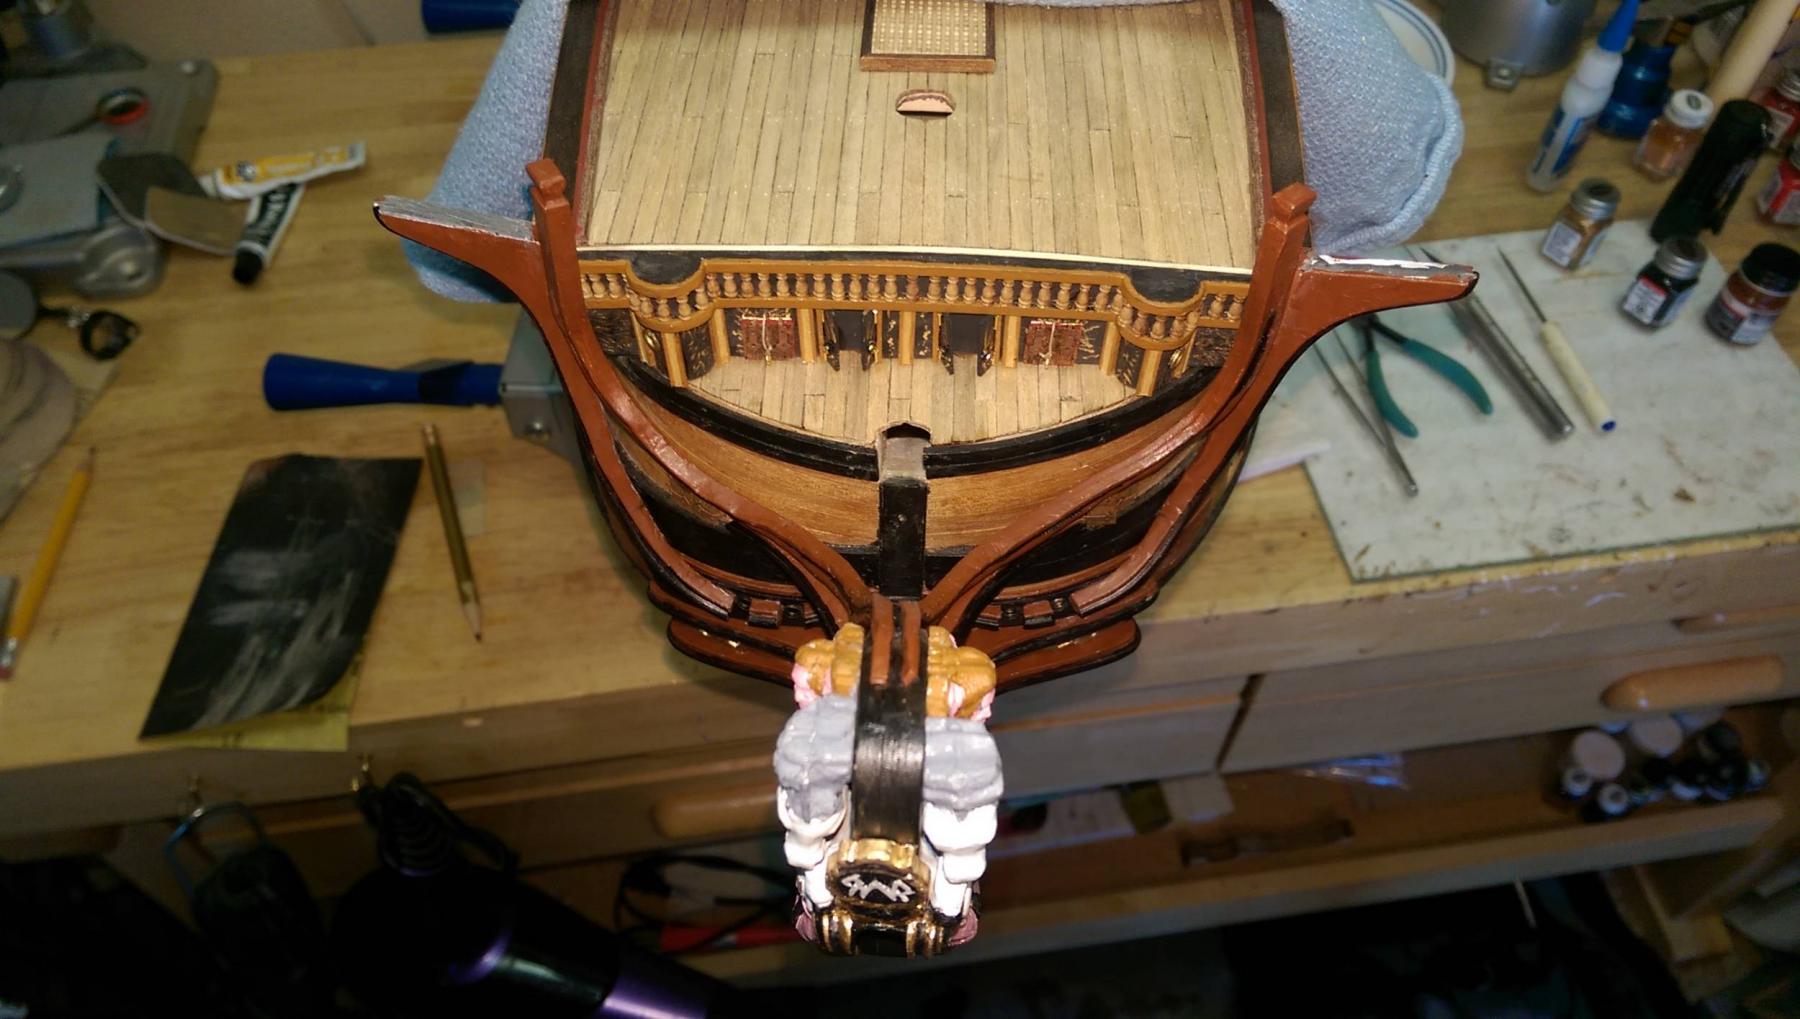
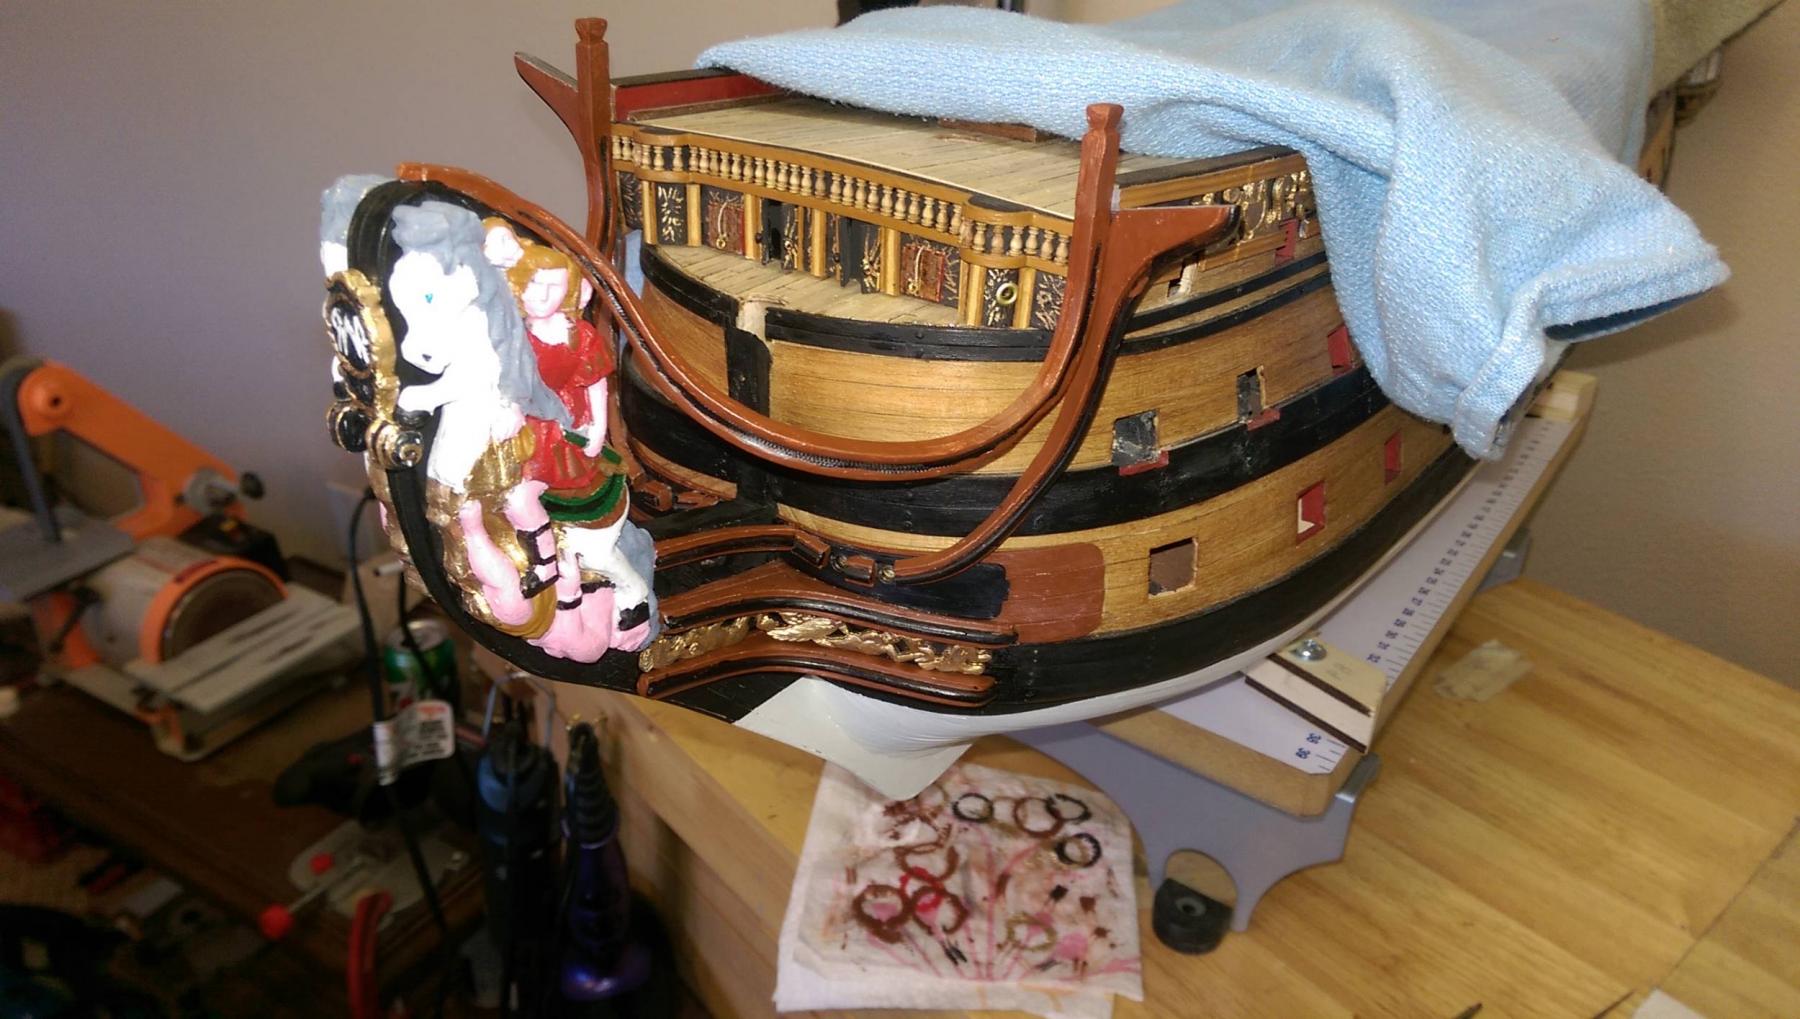
The metal figurehead panels are very heavy and will require some thick pins to keep them in place. I used 1.5mm brass rods.
Also, part of the lower head rails have been placed. The figurehead panels will have to go on before the rest of the lower head rail can be measured, as well as the rest of the head rails and timbers.
Vince P.

- DenPink, marktiedens, cristikc and 4 others
-
7
-
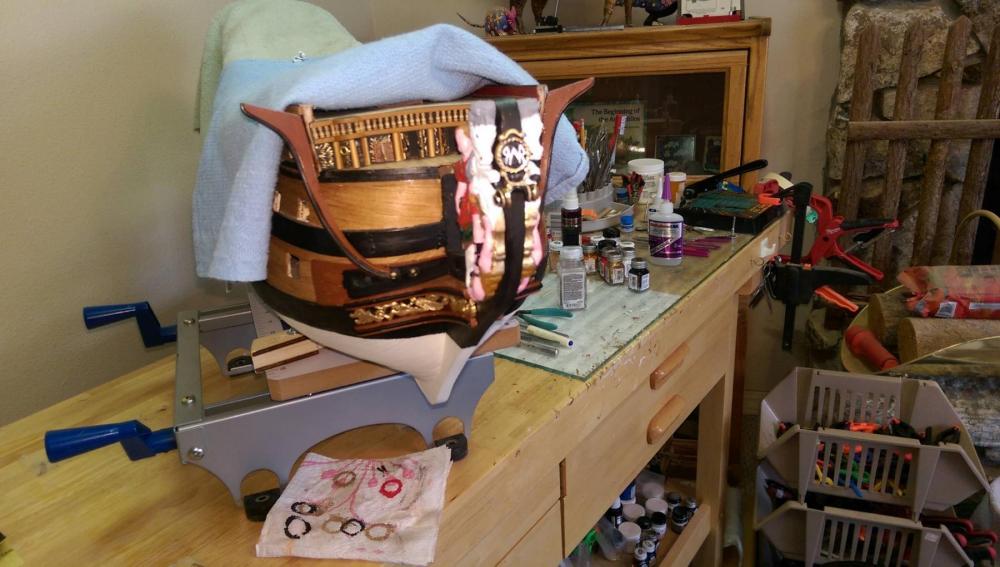
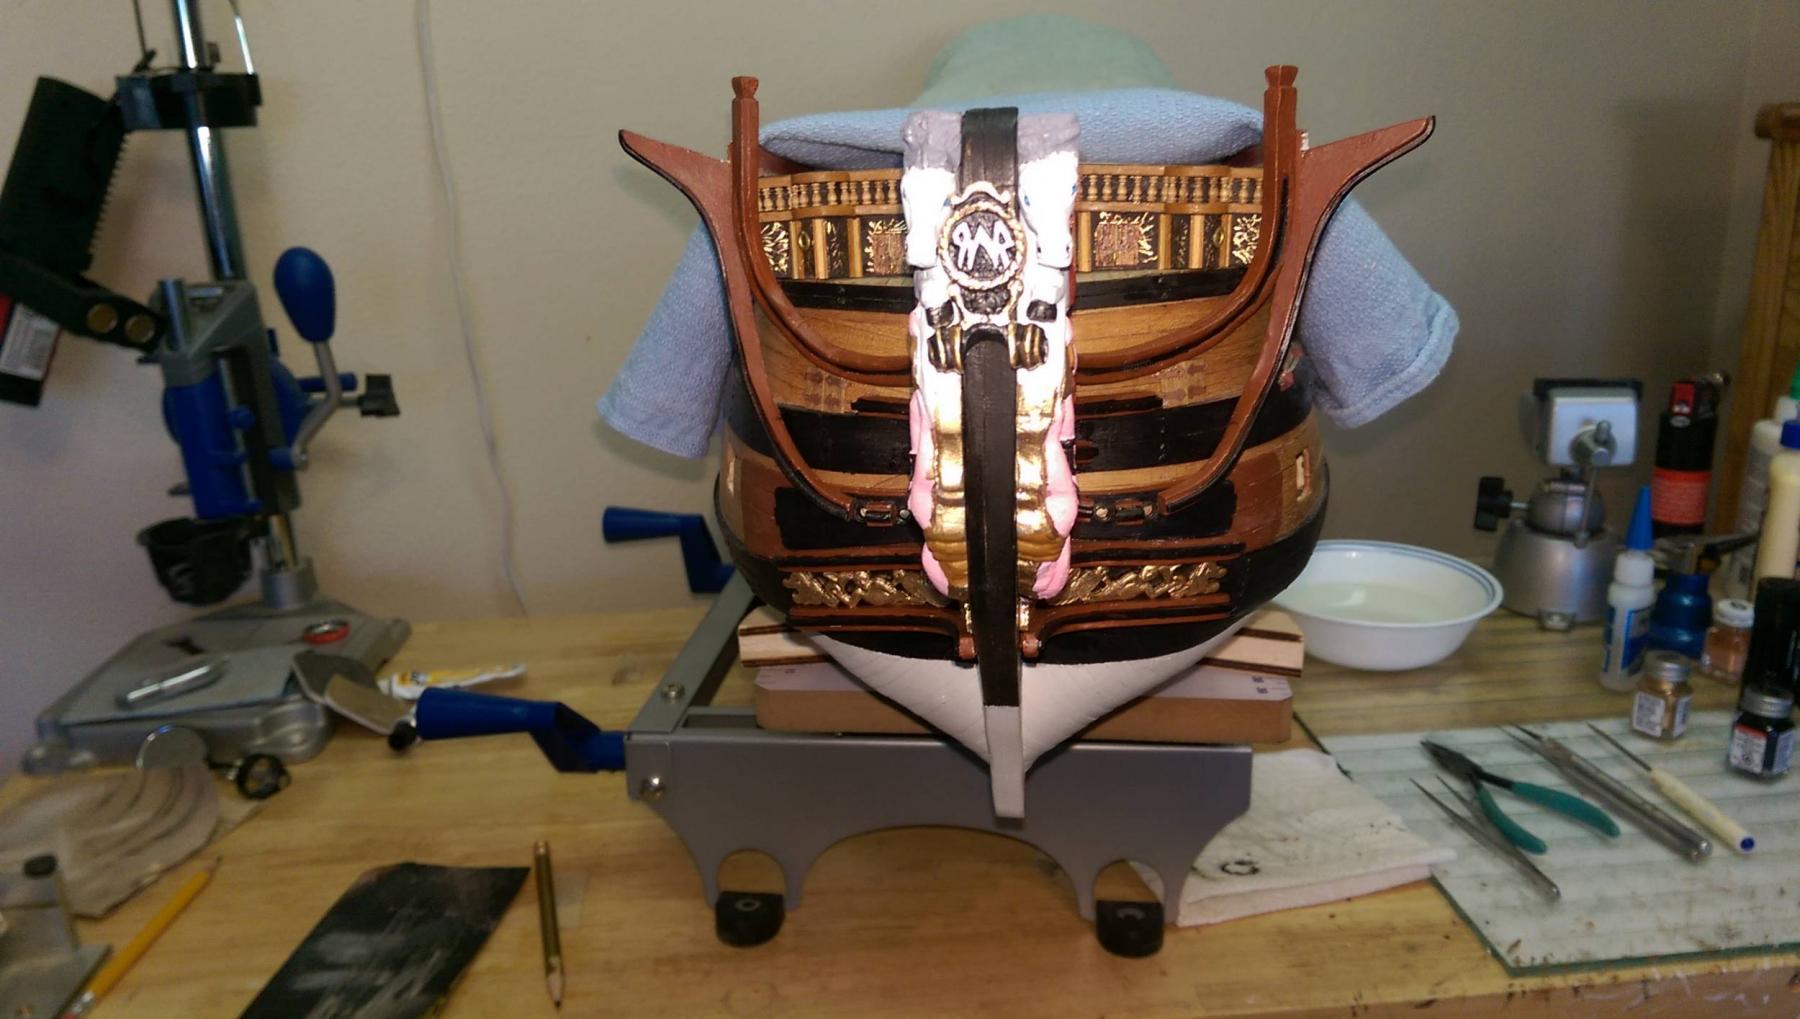
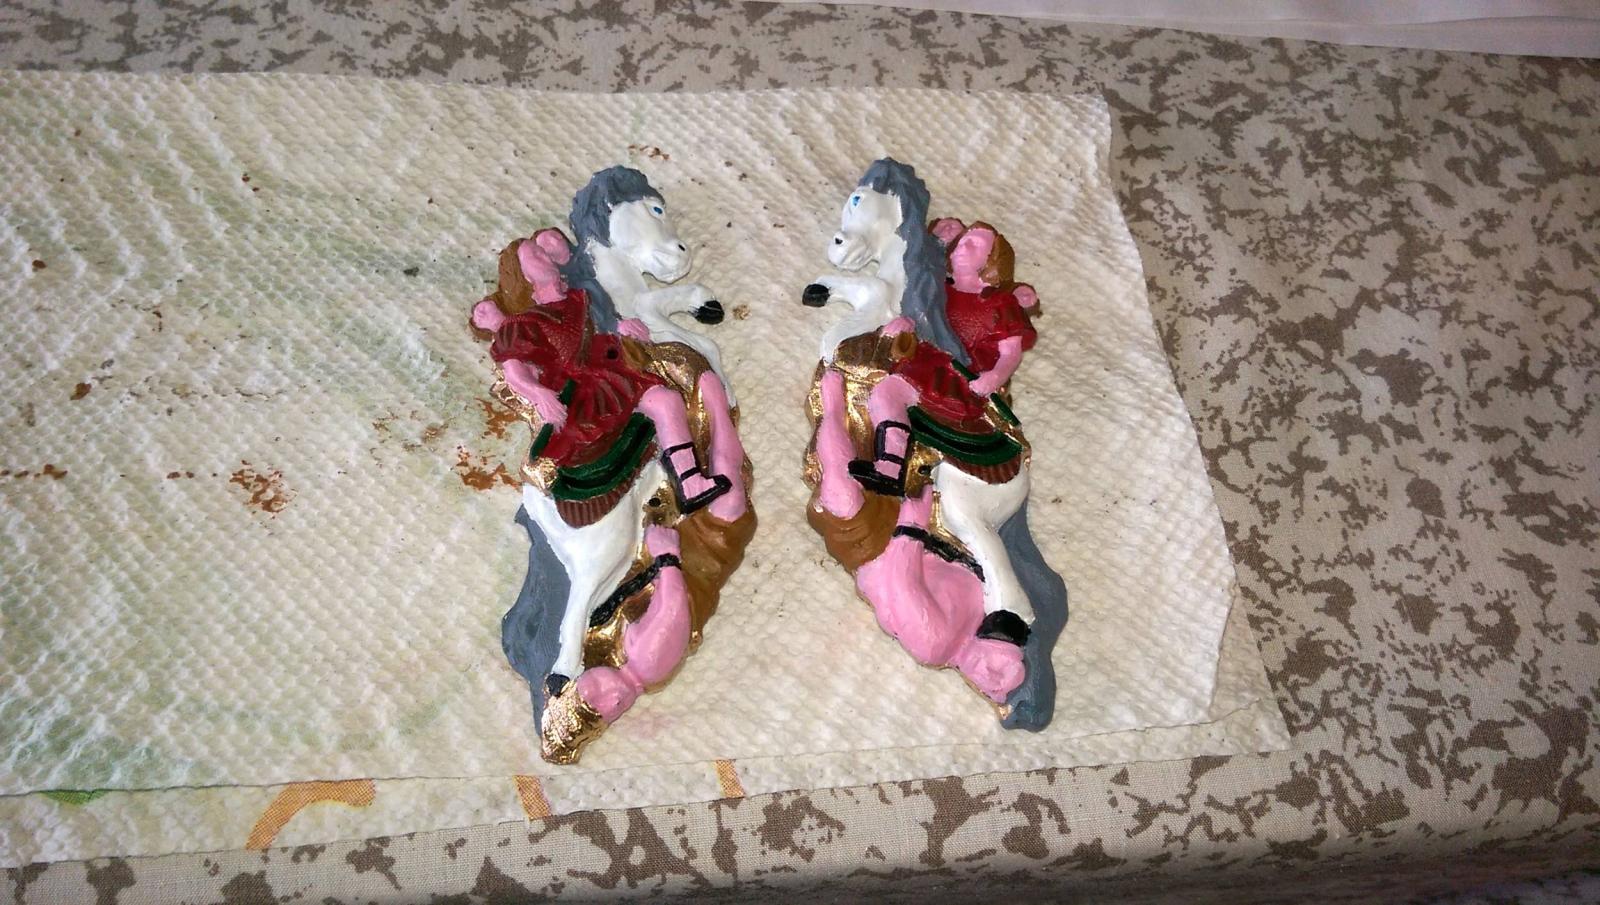
I painted the heavy metal figurehead panels that will be placed on both sides of the stem.
Vince P.
- marktiedens, garym, Keith_W and 2 others
-
5
-
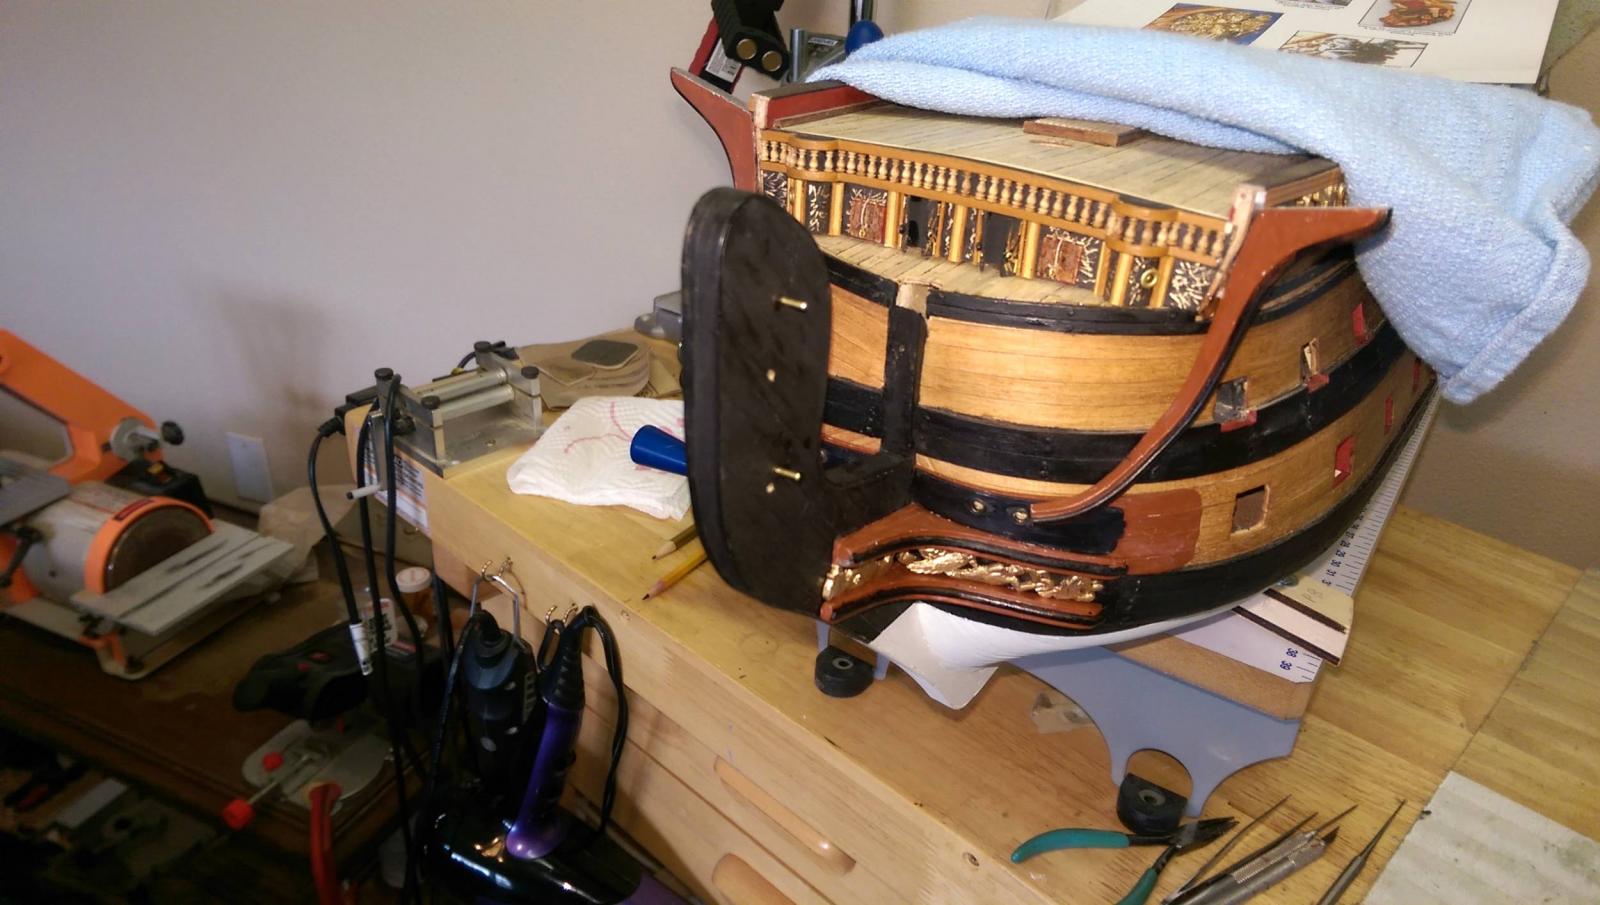
The outer bow reinforcement plates with the hawse holes drilled. I used some brass portholes (5mm) to line the holes.
Vince P.
- GLakie, marktiedens, Keith_W and 3 others
-
6
-
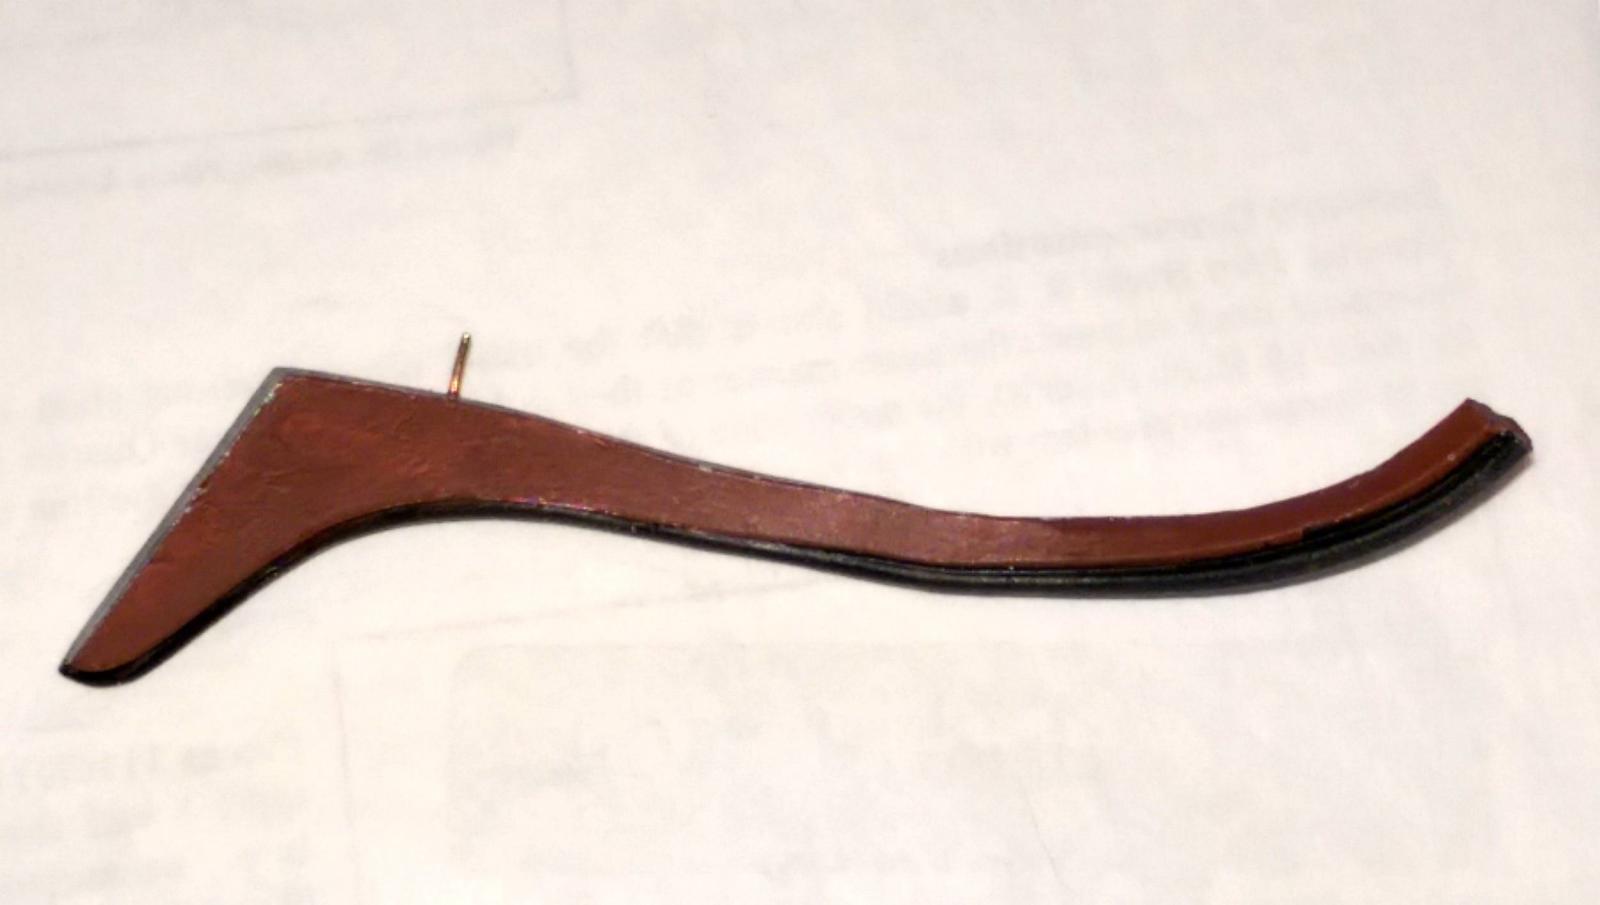
The heavy metal head rails need pins in order to hold them on to the hull. Just gluing, even with CA won't do it. The photo is of one of the lower head rails with the pin installed. A hole will be drilled into the hull to insert the pin and hold the rail in place.
Vince P.

-


Royal William by pirozzi - FINISHED - Euromodels - 1/70
in - Kit build logs for subjects built from 1501 - 1750
Posted
Hi Keith,
I still have much work to do on the decks, like the railings, fixtures, stairways and such. That all will take some time to complete. I am starting now with the forecastle railings and catheads.
Vince