-
Posts
843 -
Joined
-
Last visited
Content Type
Profiles
Forums
Gallery
Events
Posts posted by pirozzi
-
-
2 hours ago, piratepete007 said:
Vince,
Of all the models built and that I have seen from this Euromodel-supplied 'kit', I have to say that the detail shown in your build is just one of a few that stand out above the rest. You have emulated the fine detail from the drawings and this is the unsung hallmark of Euromodel; their drawings are there to be copied to the degree that you feel comfortable with …. and you are so comfortable with showing the absolute detail. Congratulations.
Pete
Thanks Pete. It is fun to include as much detail as possible. The plans are very precise, but you really have to read them over and over to pick out every little detail.
-
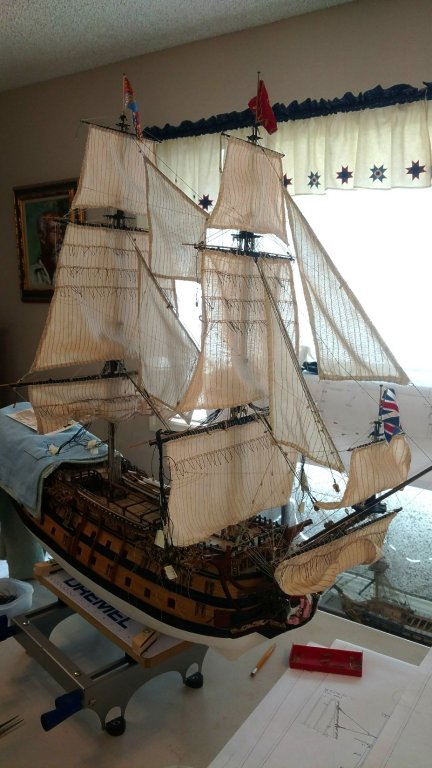
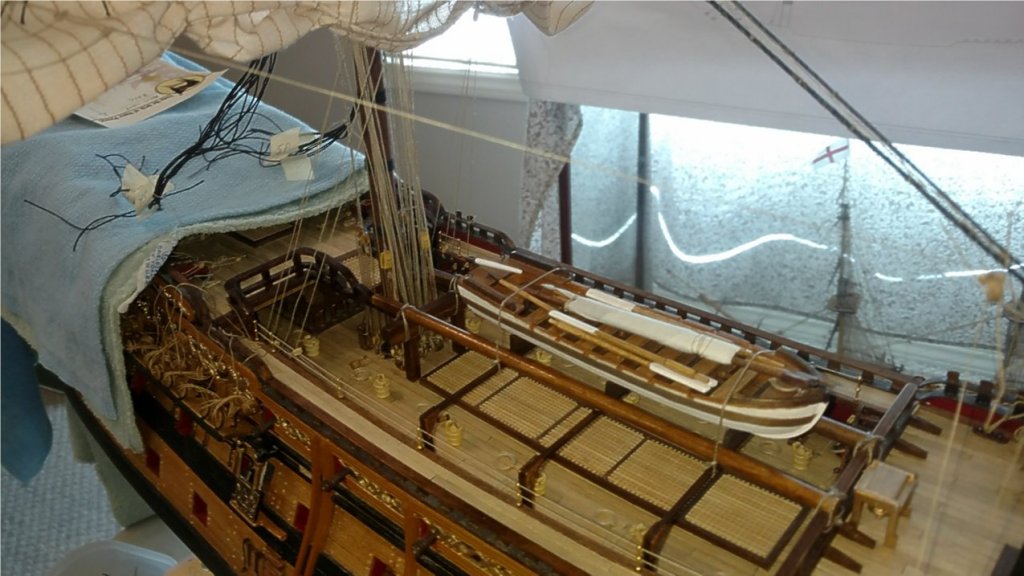
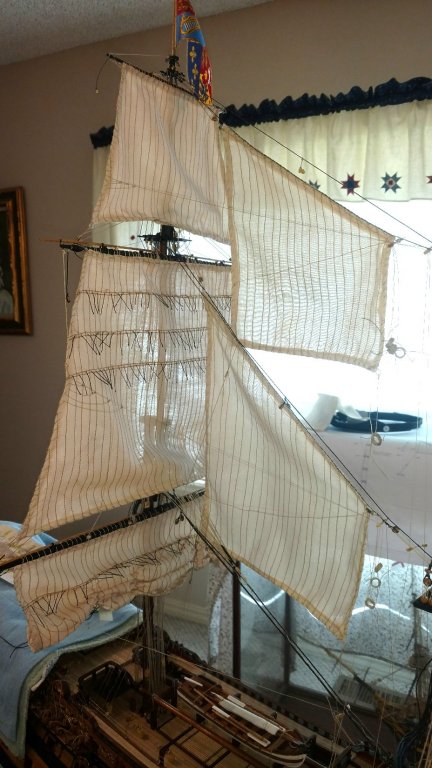
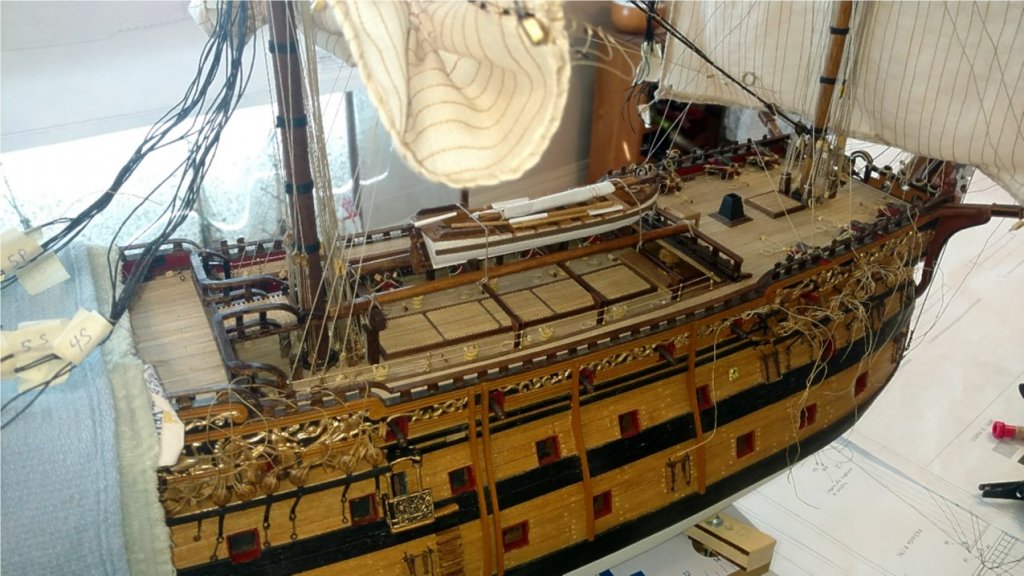
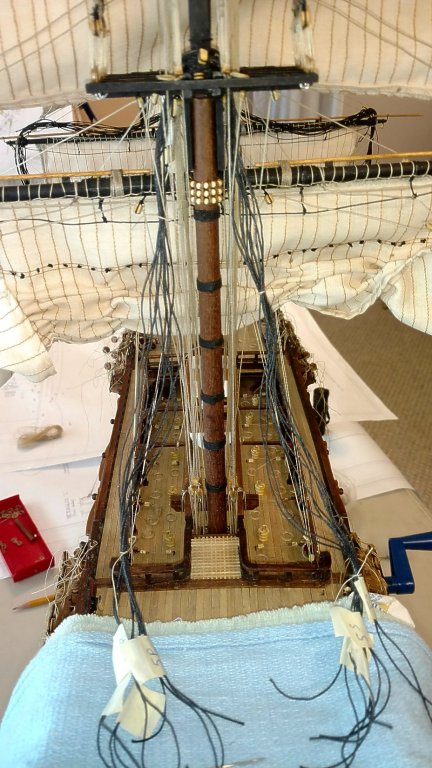
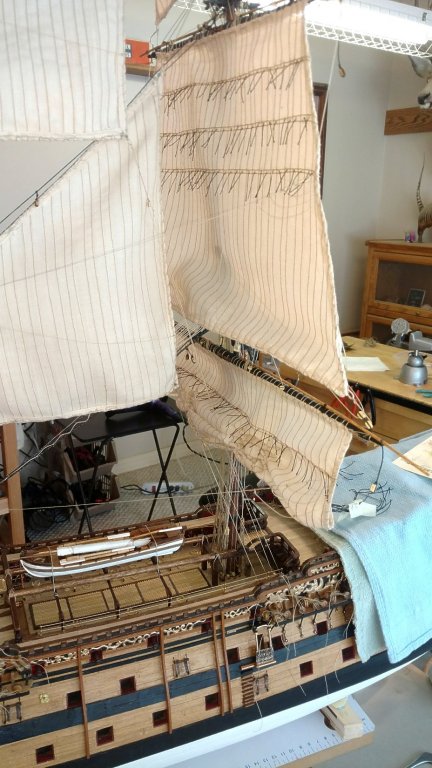
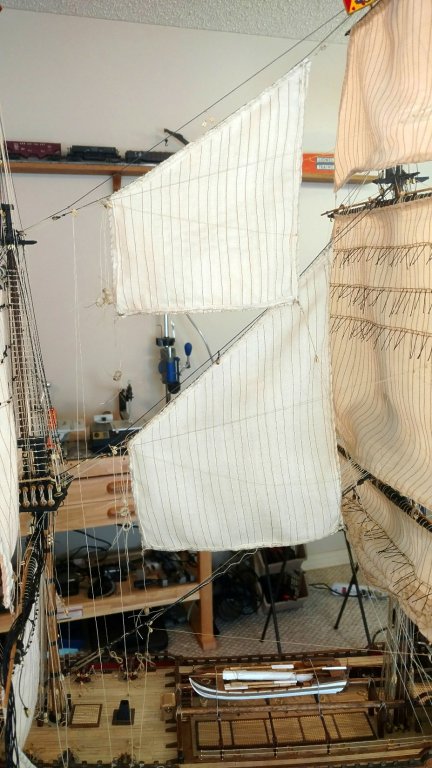
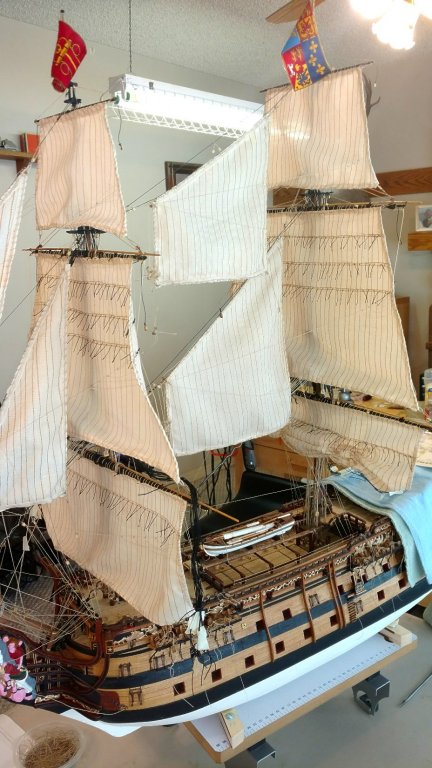
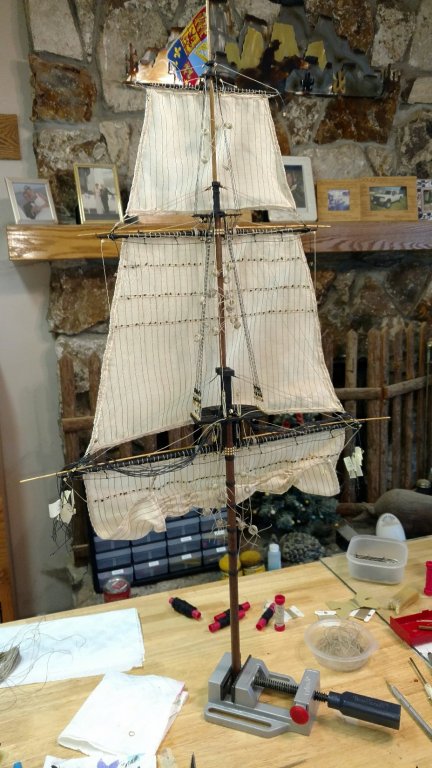
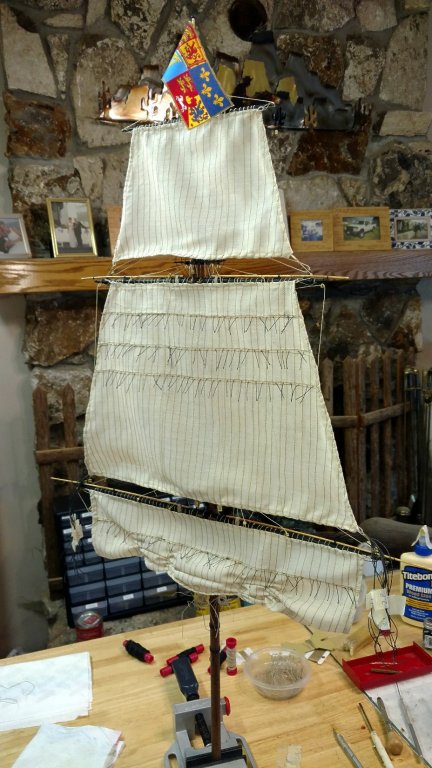
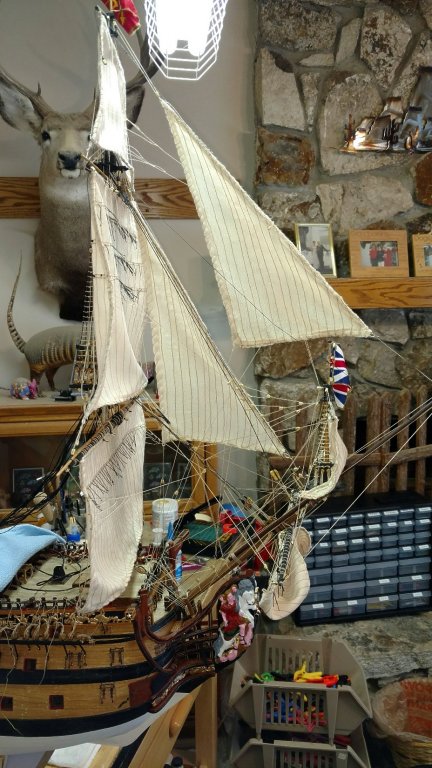
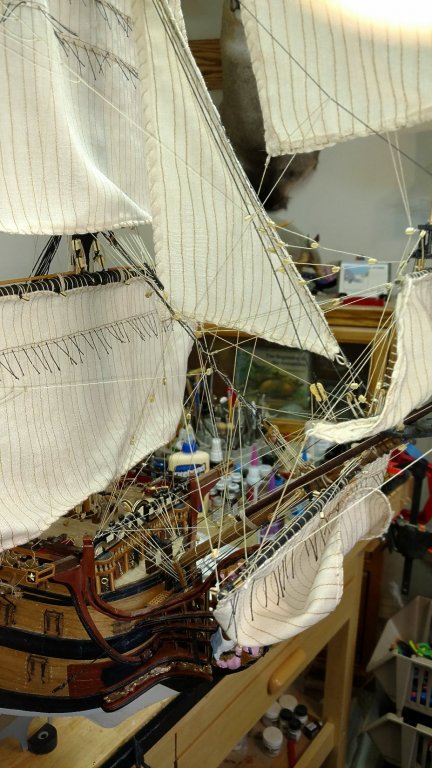
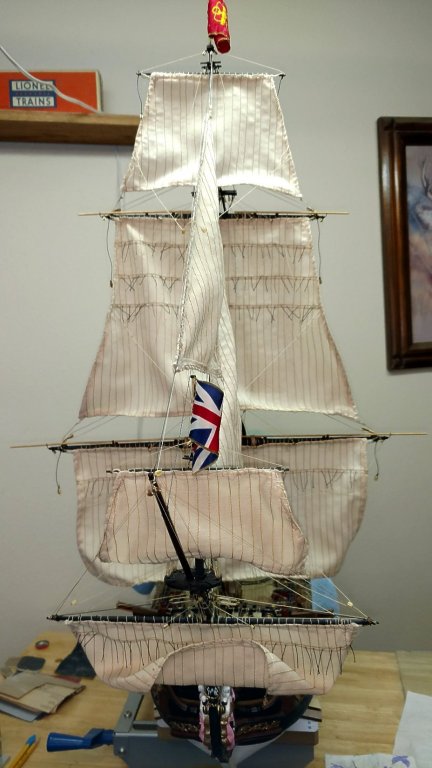
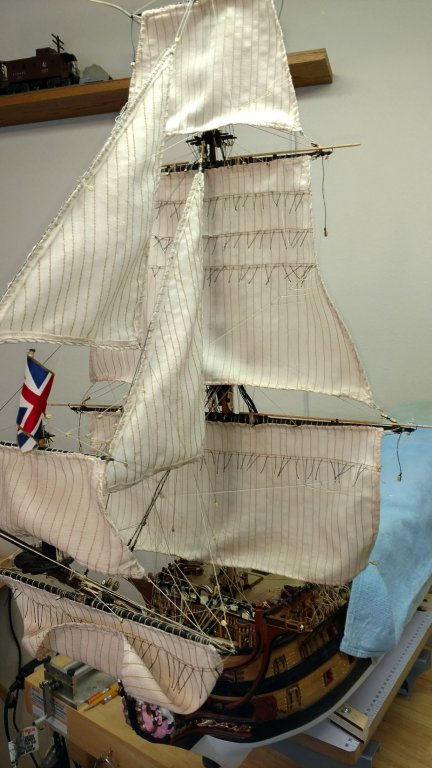
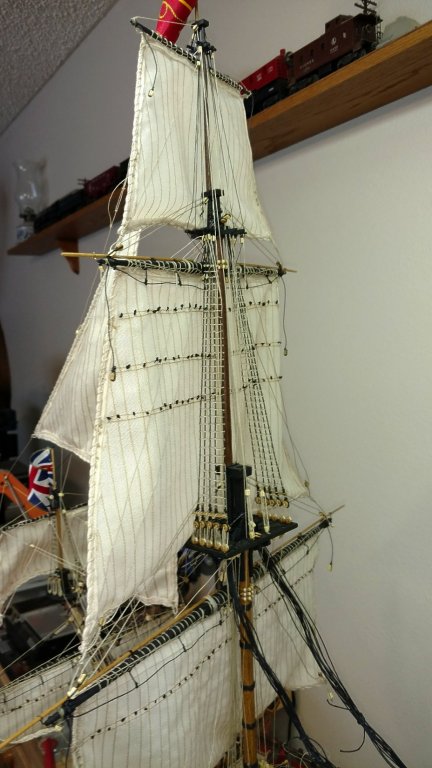
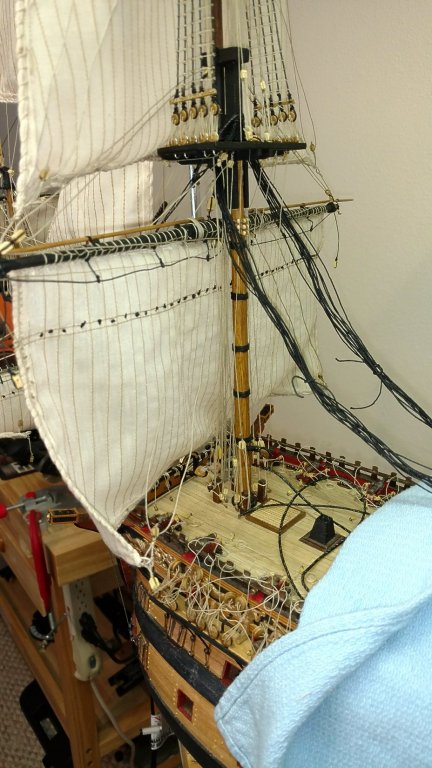
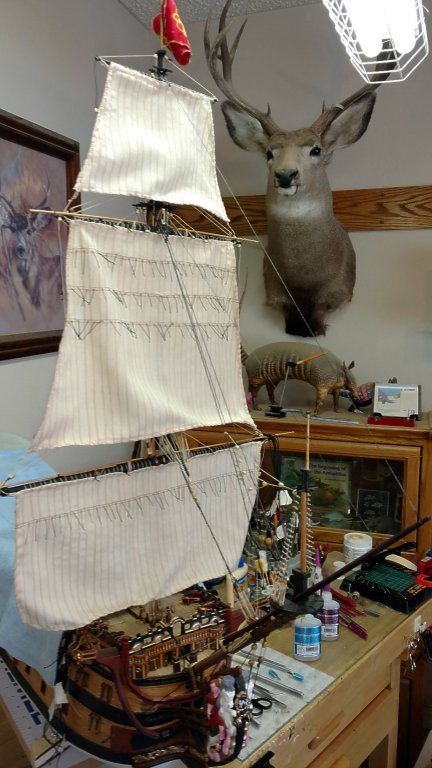
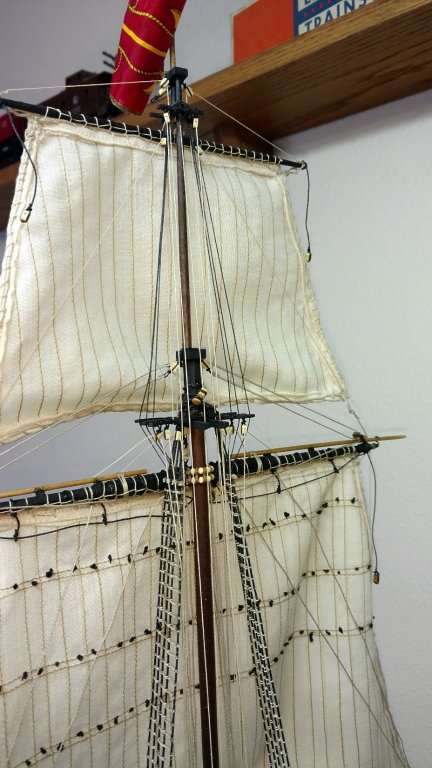
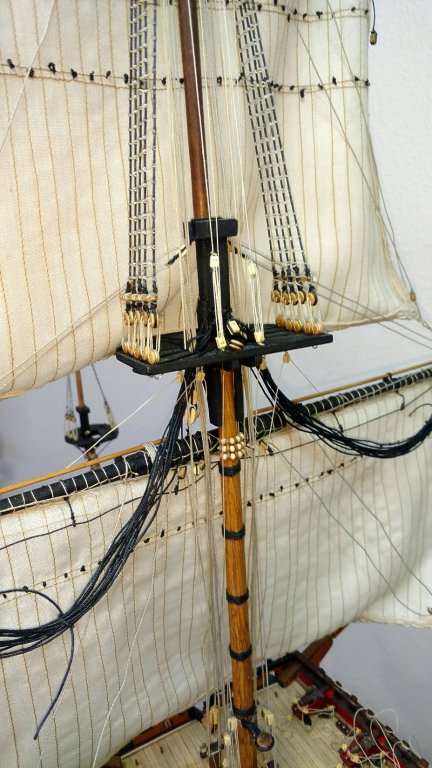
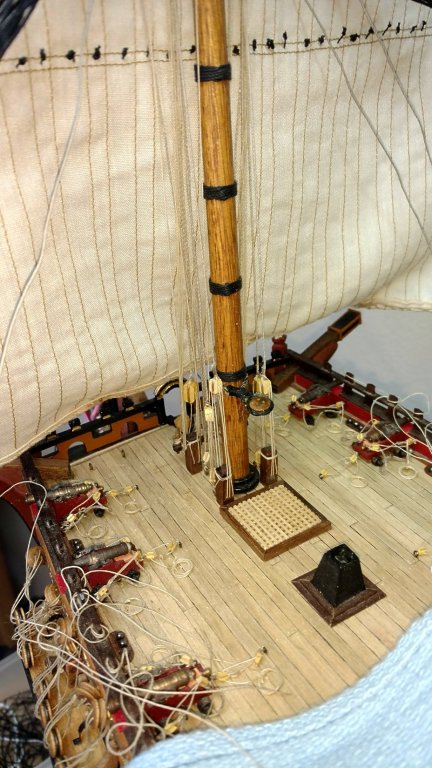
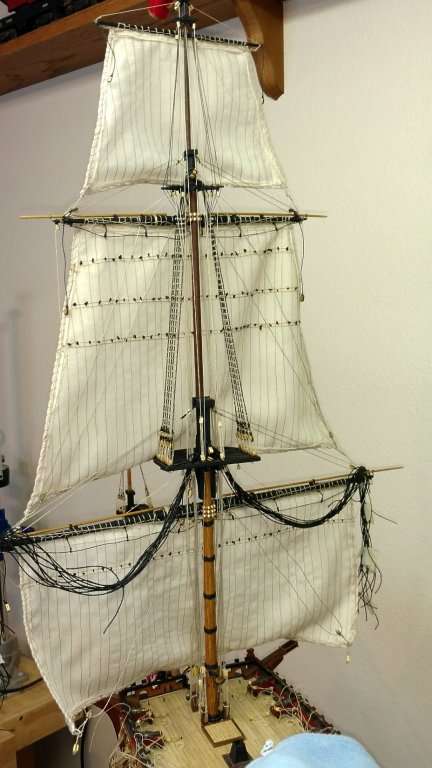
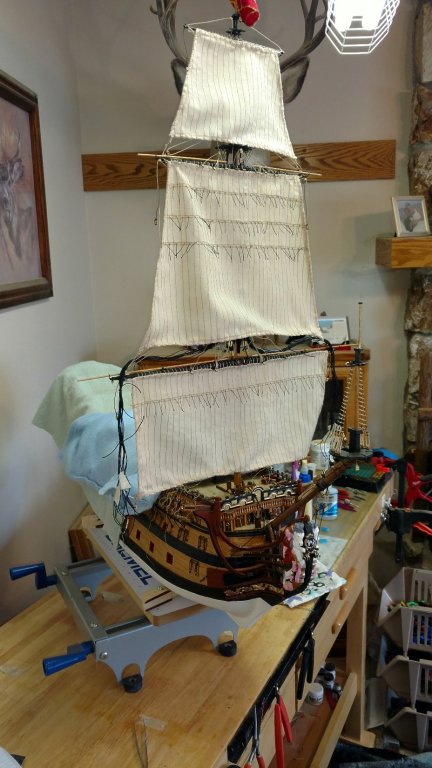
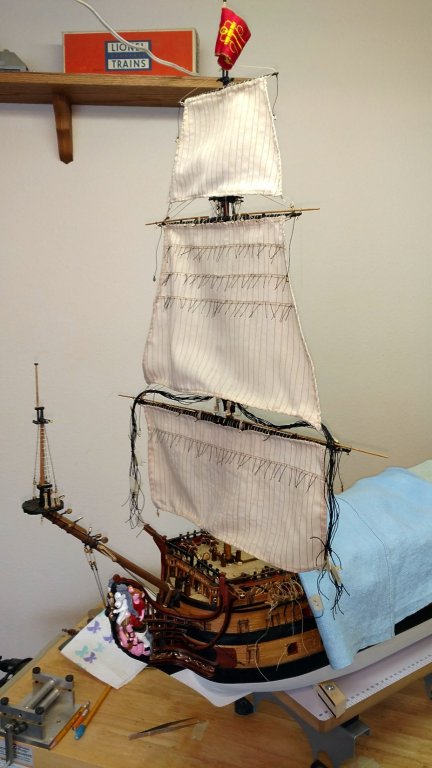
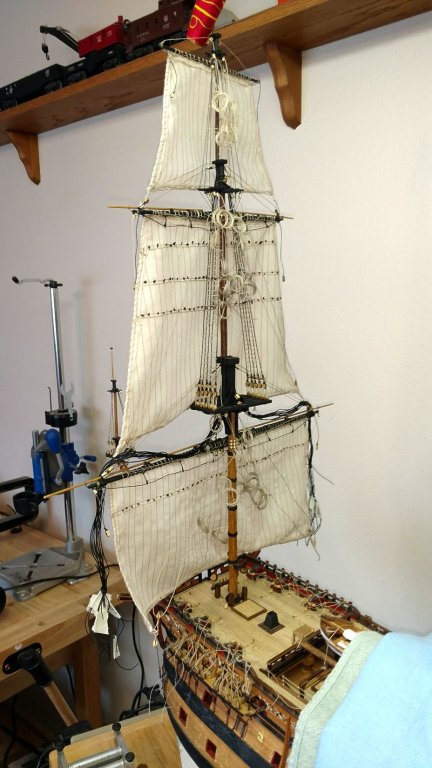
Completed the main mast and stepped it into the ship along with all of the standing and running rigging and the sails. Huge amount of additional rigging for the sails. Still have to complete the lower shrouds and braces.
Next up is to complete the lower shrouds and rattlings for the foremast since the majority of the rigging to the decks is now completed. The remainder of the staysail running rigging ties off to the foremast shrouds before tying off to the deck.
Vince P.

-
-
Welcome aboard mate!
Vince P.
 Quote
Quote
-
Welcome aboard mate! Very nice work. Your Dad was a skilled builder. I agree with the others. The only way to move them with some degree of safety, is to do it yourself. You could rent a small truck from maybe Uhall and secure them with mover's blankets and ties.
Good Luck,
Vince P.

-
-
Welcome aboard mate!
Vince P.

-
Finally another post. The mainmast is fully constructed and rigged. There was an enormous amount of work to complete this and that is why it took so long. I can only put in an hour or two here and there. I am partially furling the main course so the decks and their details can be seen on the finished model. Next is to step this mast to the ship and complete the standing rigging and belay all of the running rigging to the decks.
Vince P.

- marktiedens, kmart, glennreader and 1 other
-
 4
4
-
-
-
-
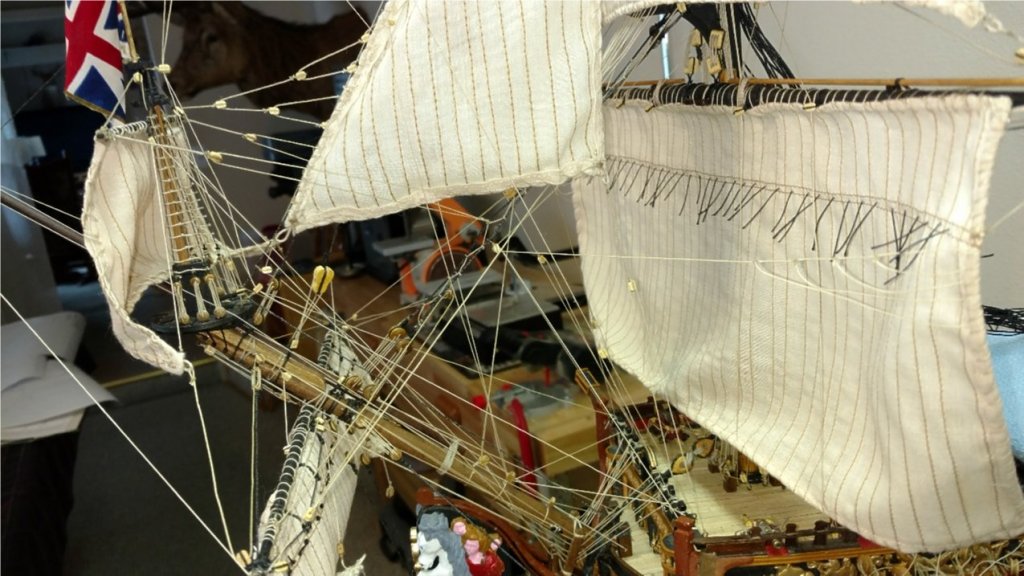
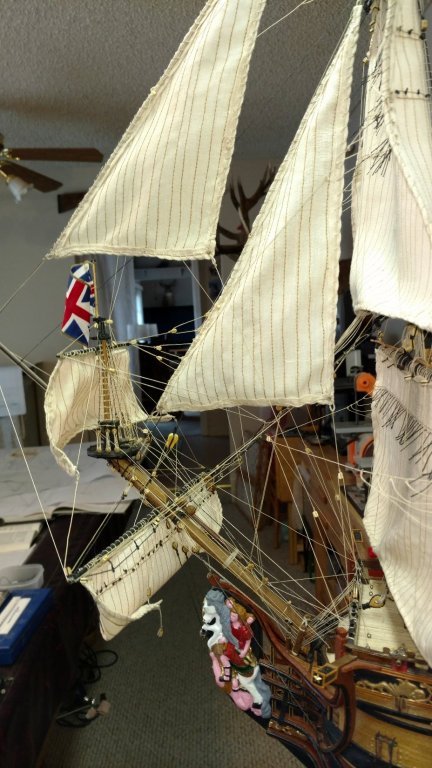
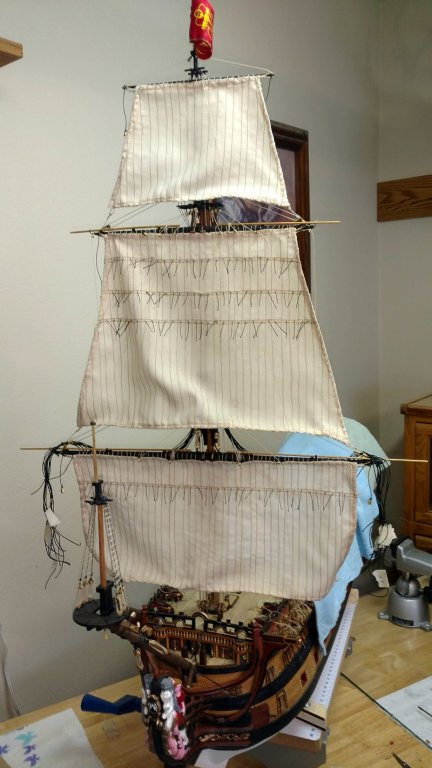
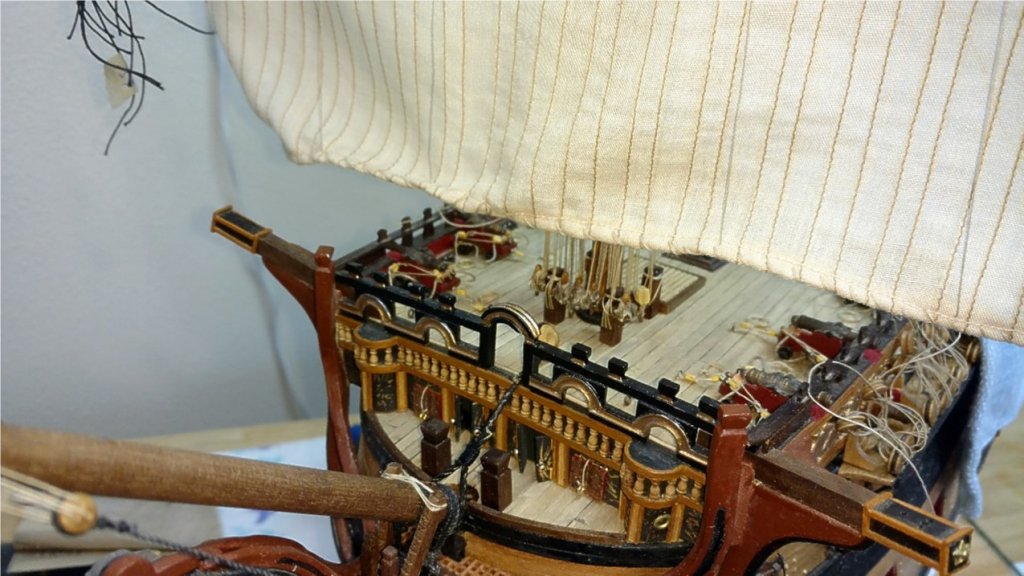
Finally completed the standing and running rigging of the foremast and bowsprit. Only things left are the braces and lower shrouds of the foremast which will be done later in the build to allow access to the inside of the decks. This area of the ship has the most complicated and intense rigging considering you are really rigging 2 masts together, so the hardest part is over with. With the sails, as said before, the amount of rigging is much more complicated. I had to accomplish the rigging in layers from the inside out in order to have access when needed. I made a list of all of the lines and prioritized them by numbers and completed each in pairs.
Next up is placing dozens of tiny rope coils to all of the belay points and then moving on to the mainmast.
Vince P.

-
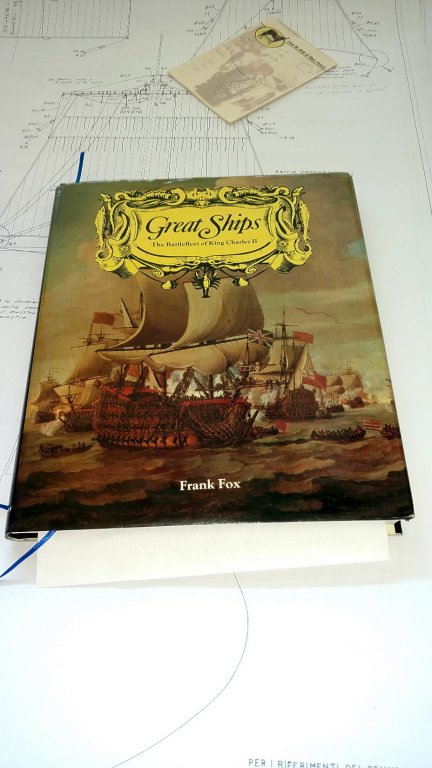
Hi All,
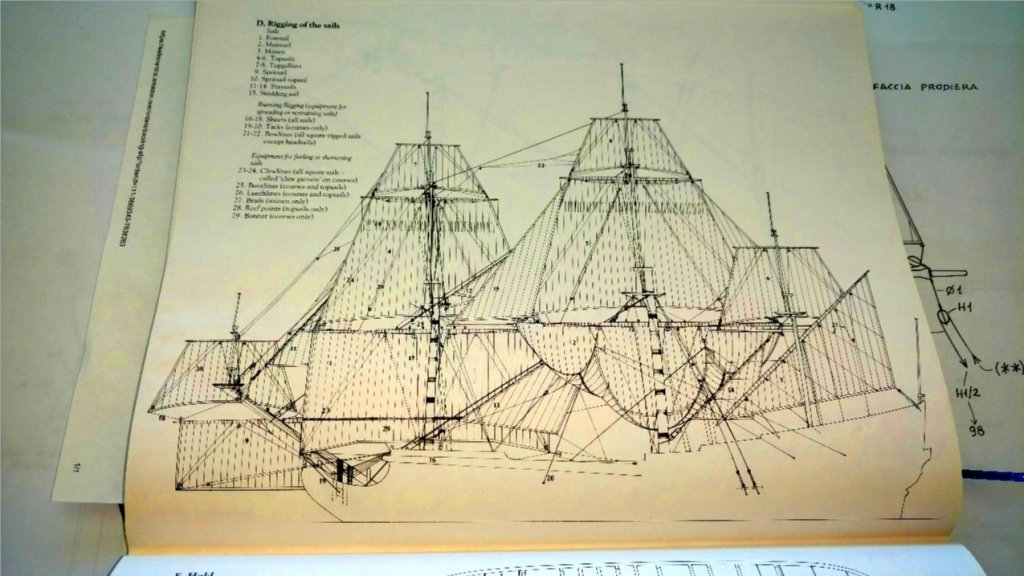
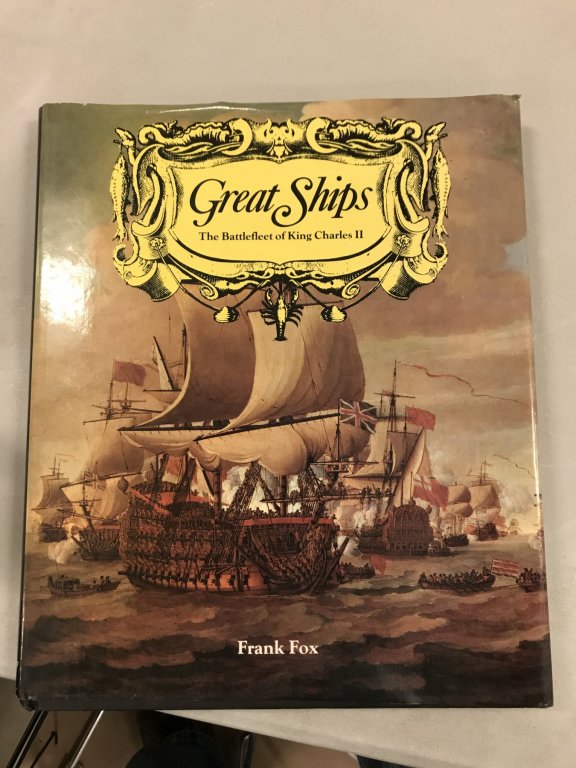
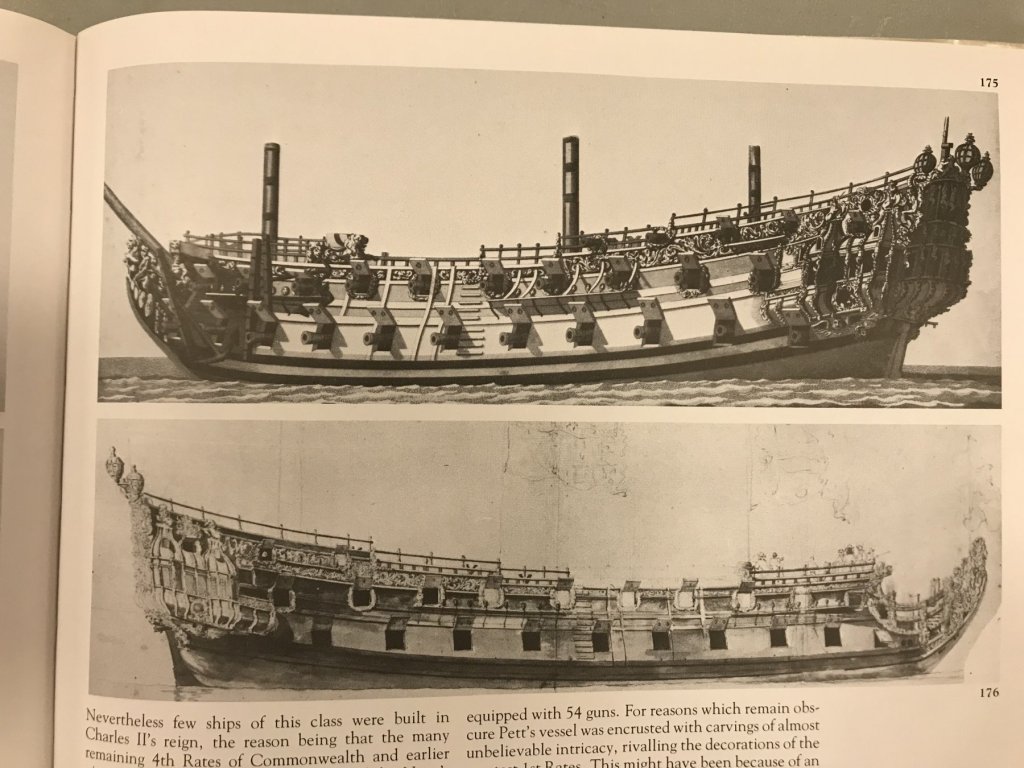
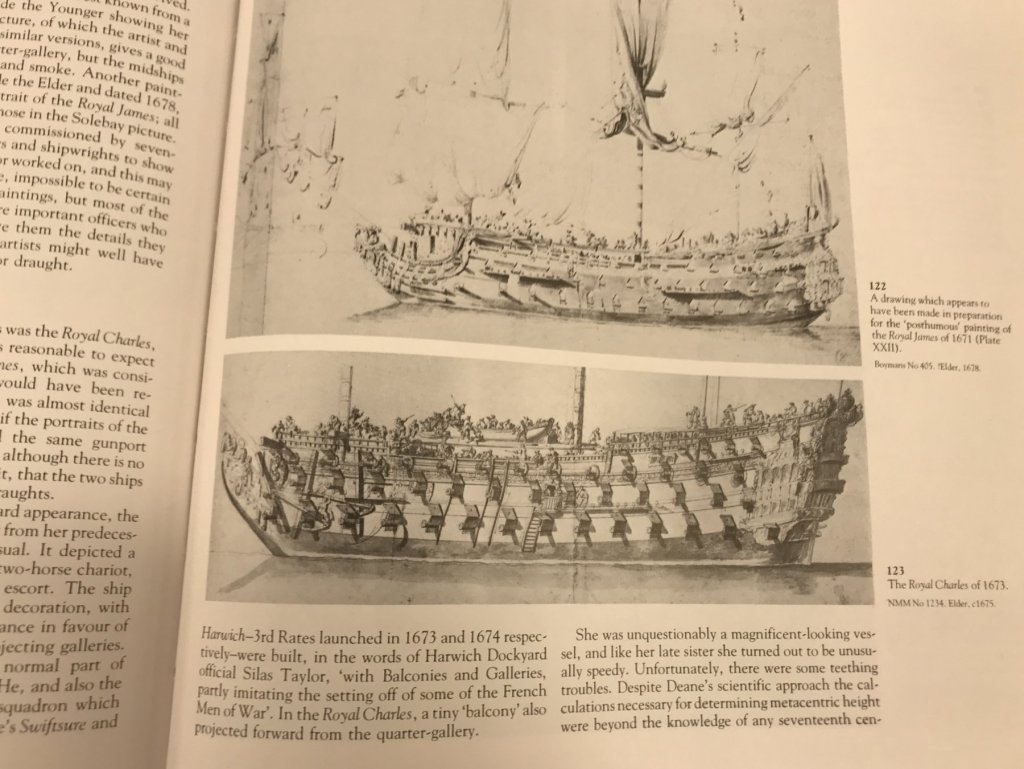
I found this great book, thanks to a new member here, Mark from Virginia USA. It is illustrated with actual drawings and paintings from the 1600's by the builders of war ships of the period of the mid to late 17th century. Also photos of various museum models. Since I am building the Royal William and Prince coming next, I thought it would be a good addition to my reference library. Not only is it a great book, but it has diagrams of rigging plans as well. I am building the RW with full rigged sails and the plans leave out some of the tiny details. I have been going back and forth to several sources trying to figure the running rigging out. This book has a complete diagram for rigging sails on a ship like the RW. In ten minutes it answered all the questions I had. It also has fabulous closeup photos of the decorations for the RW and the Prince and many other ships of the period.
I got a used copy in almost new condition from Amazon for $149 US.
Thanks Mark!
Vince P.

-
On Mon Dec 11 2017 at 1:59 PM, Hubac'sHistorian said:
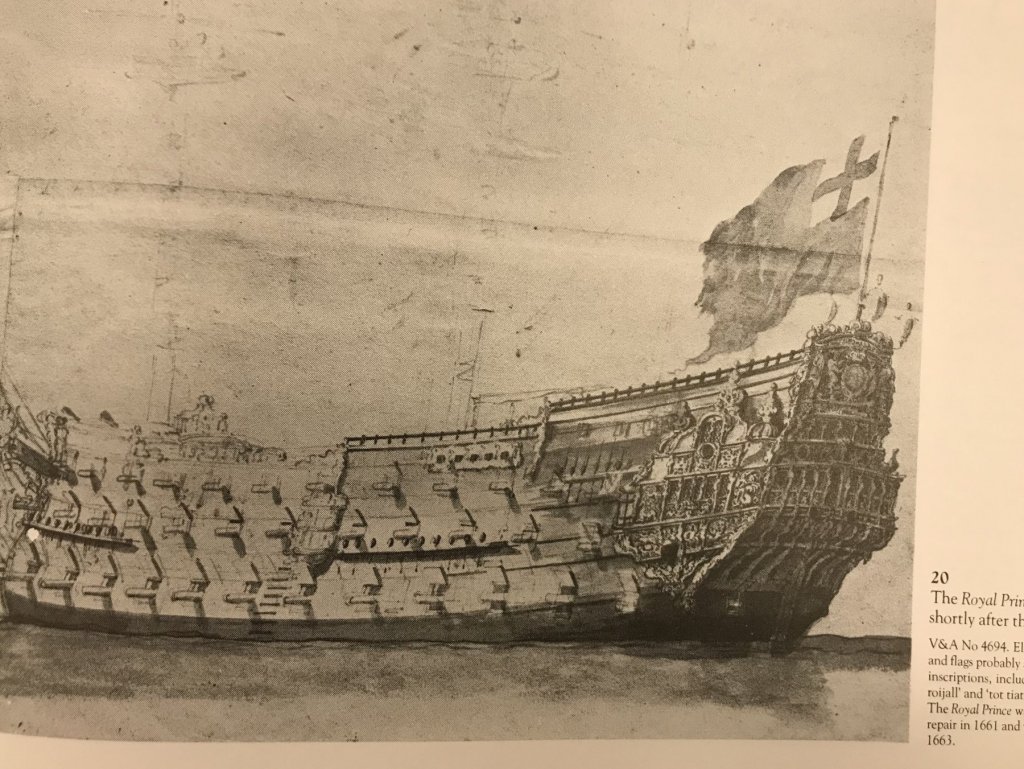
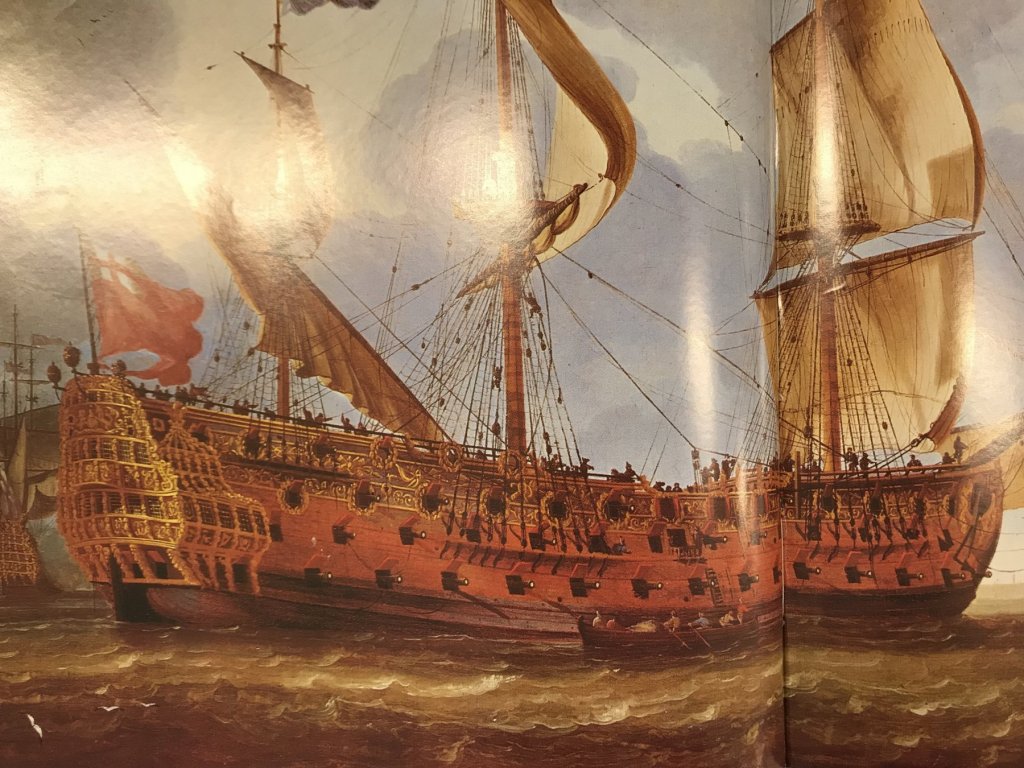
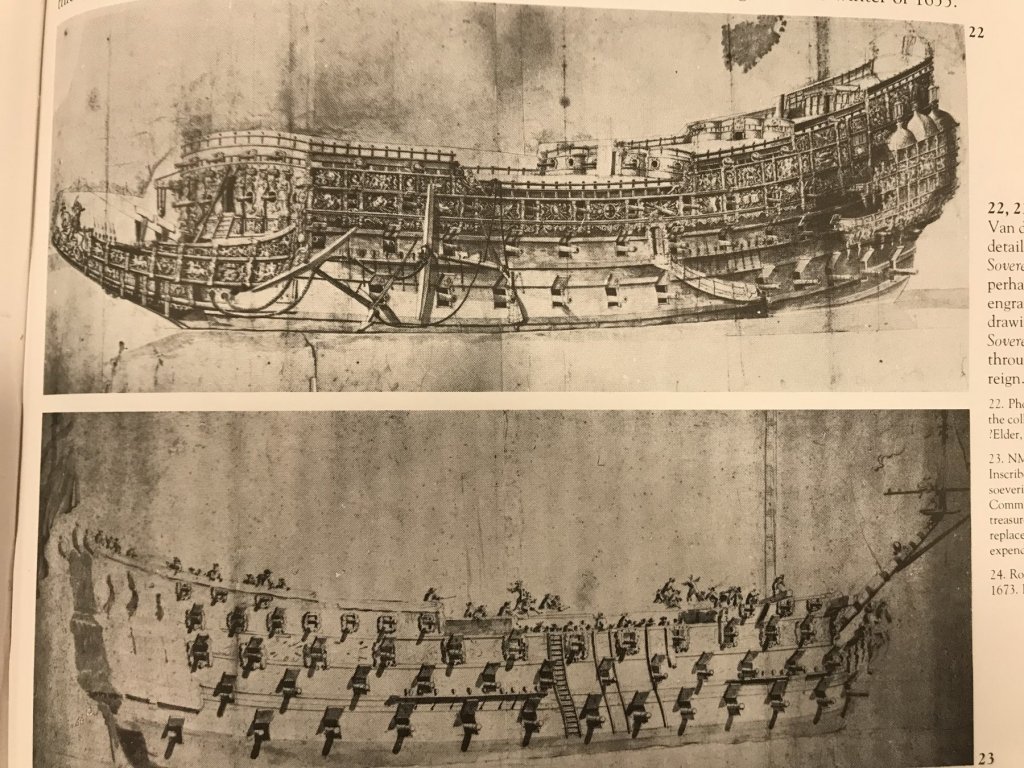
Here’s a little photo essay of my most recent addition to the library. I was first made aware of this title, earlier in the year, when Dan Pariser showed it to me. When I first looked on Amazon, used copies were ranging anywhere from $150 - $500. I waited a while and found this copy for just less than $100. Aside from some light wear on the dust jacket, it is in near perfect condition.
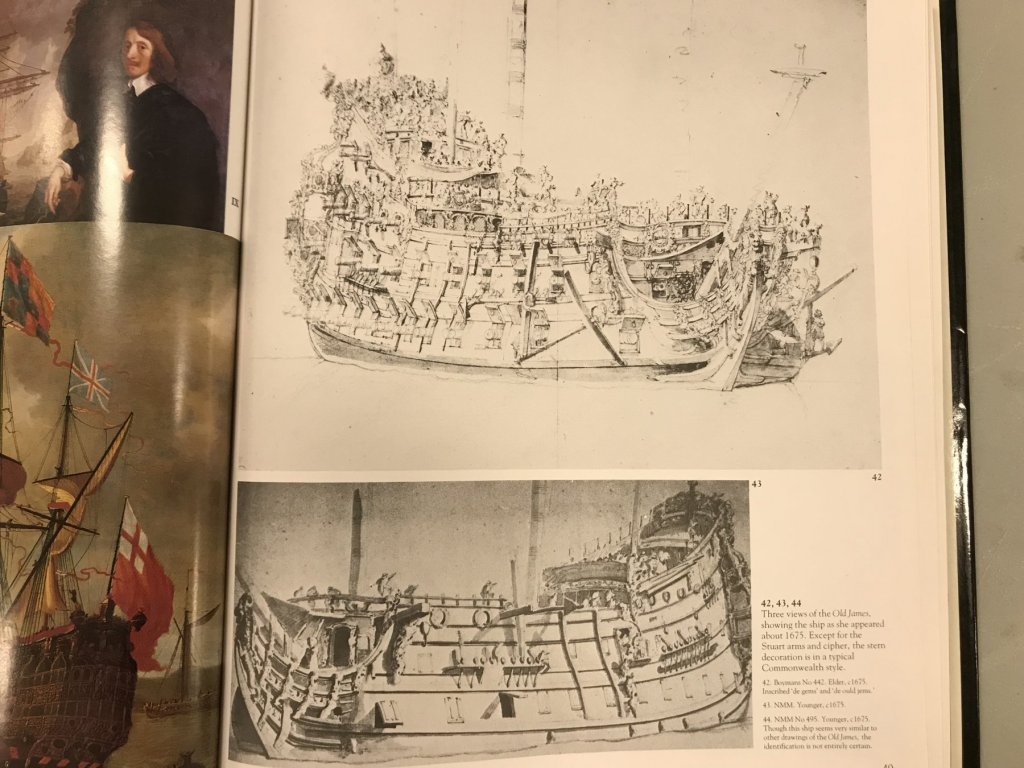
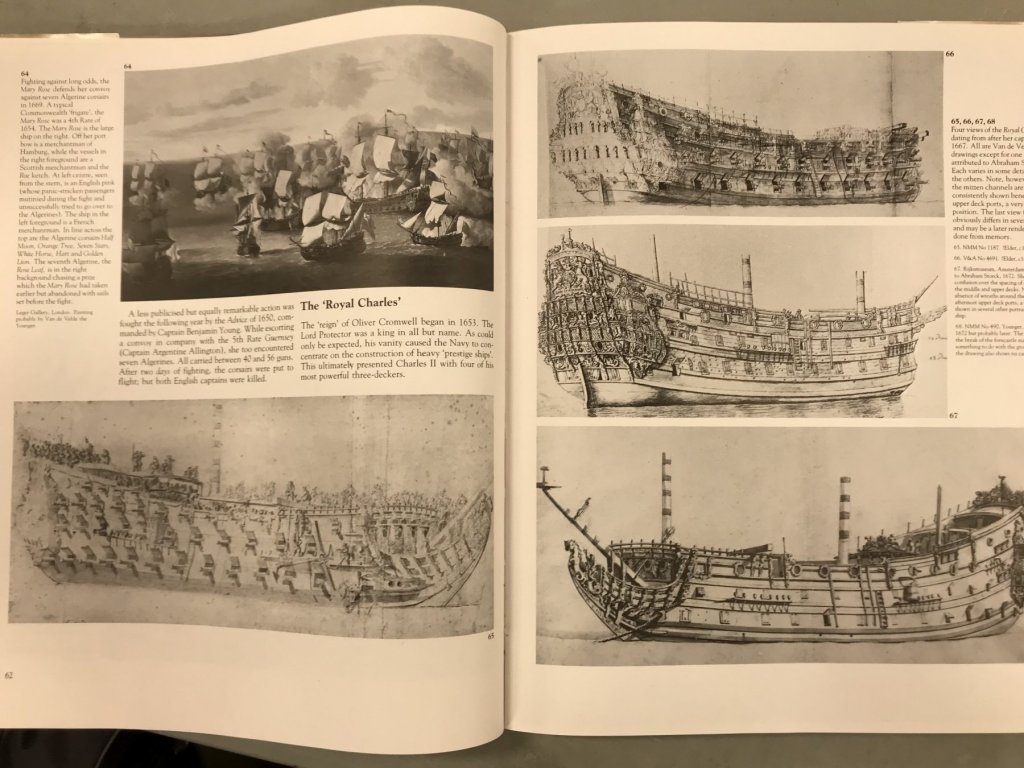
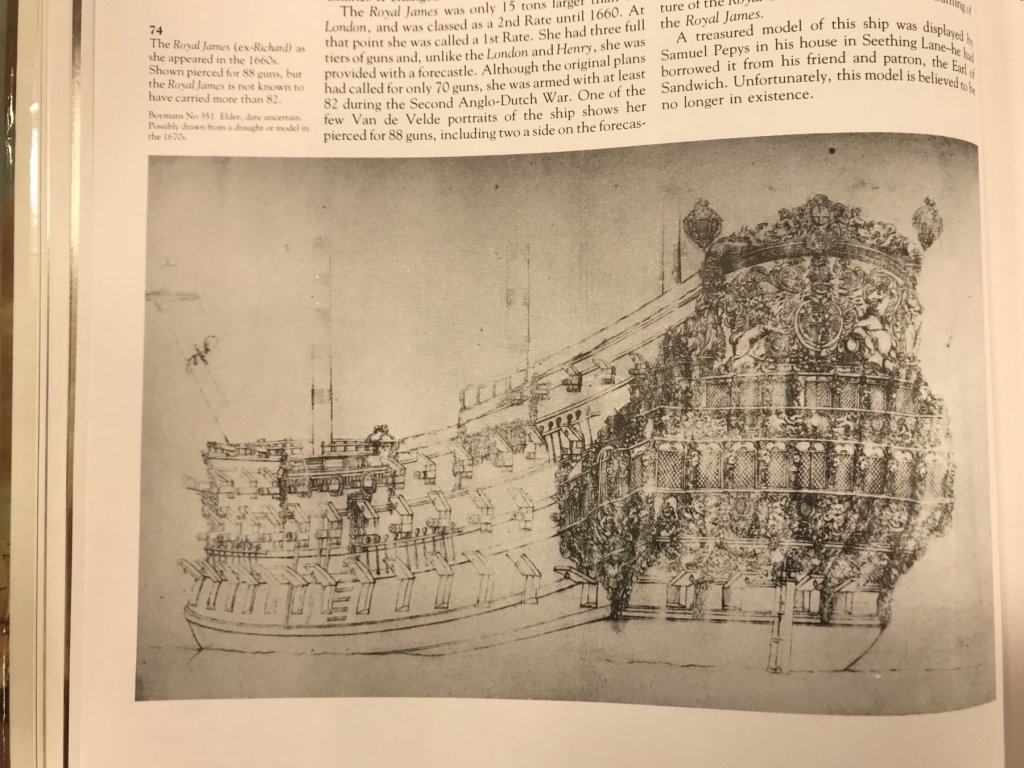
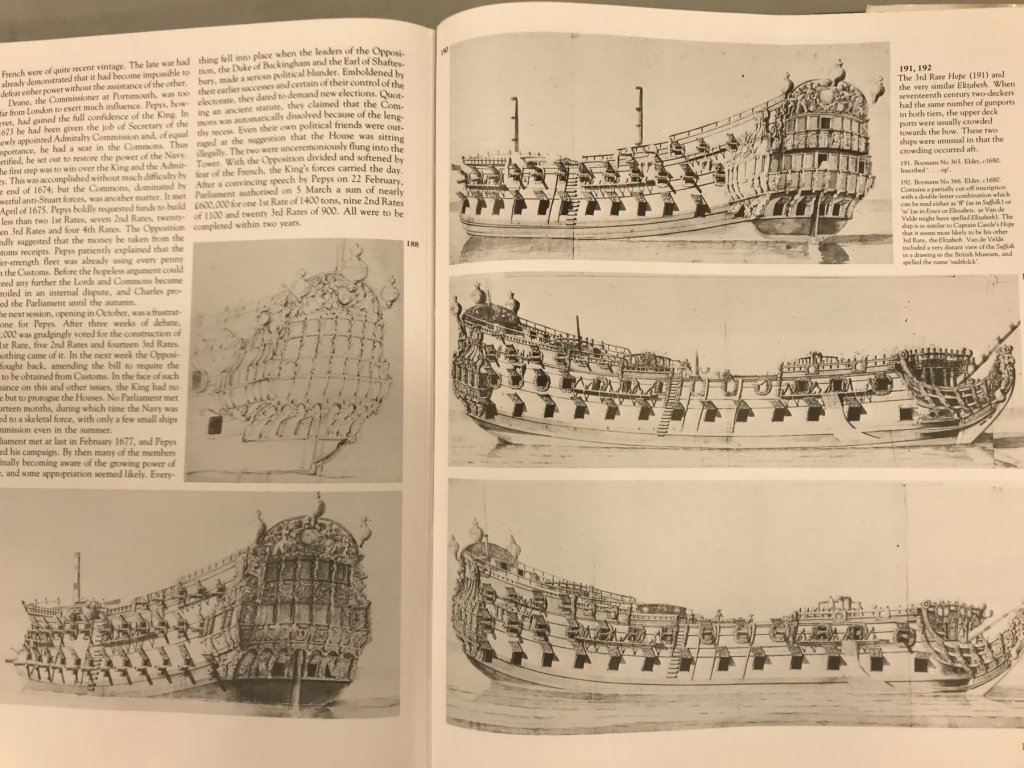
This book is teeming with high resolution prints of Van de Velde ship portraits that are so much clearer than most others I have seen. The focus is on the development of the British navy after the Restoration of Charles II. The book features many of the important, known first snd second rate ships, but also does a good job of illuminating the smaller third through fifth rate ships. This was the heyday of English baroque ornamentation and the design underpinnings of much of what would follow in English naval architecture, over the next 150 years. It is such a fantastic resource, which chronicles the modification history of a number of important ships. I can’t recommend it highly enough for gleaning the small details that make a good model great.
Above, the Royal Prince of 1610, much altered after her mid-century re-fit
The Prince of 1670, shown with an elaborate (perhaps painted) frieze all along her upper bulwarks
The Sovereign of the Seas as she originally appeared in 1637, and then following a significant modernization. I prefer her re-fit appearance and believe there is enough portraiture of her, in this phase of life, to create a very good model of her.
The old James, marvelous detail of the starboard bow.
The Royal Charles, ex Nasbey
Incredible stern detail of the Royal James
The detail of the portraits above has an almost photographic realism to it.
And one last Great Ship, but I could keep providing examples - one more amazing than the next.
—
In build news, I will soon have an update for SR. I’ve been busily extricating arched gun port frames from Henry’s spare upper bulwarks, so that I may plumb the aft run of these ports on my model. It has been a tedious process, but well worth the effort. I will photograph my first SR, and the straightened ports for the sake of comparison.
Thanks mate,
Since I am working on Royal William now and the Prince to follow, this book will be of great value and a nice addition to my library.
Vince P.
- DORIS, paulsutcliffe, Archi and 3 others
-
 6
6
-
Welcome aboard mate!
Vince P.

-
-
- ken3335, DenPink, marktiedens and 1 other
-
 4
4
-
On 2/16/2018 at 5:09 AM, donrobinson said:
This method is very interesting, and I am thinking of using it on my Stefano when the time comes. Do you think the sails will interfere with tying the shrouds and ratlines? Great looking ship!
Hi Don,
It will not interfere. I used this method on the Sovereign of the seas and it worked out well. I believe the whole issue with rigging is to work from the inside out. Doing the shrouds and ratlines first limits the ability to get inside where most of the rigging is, especially if rigging with sails.
Vince P.

-
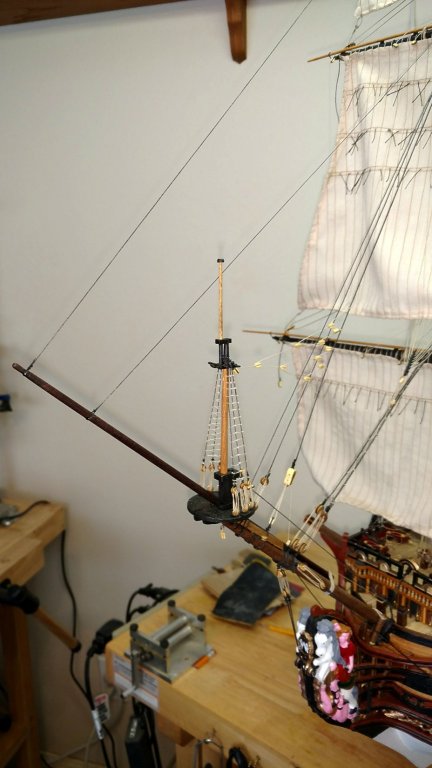
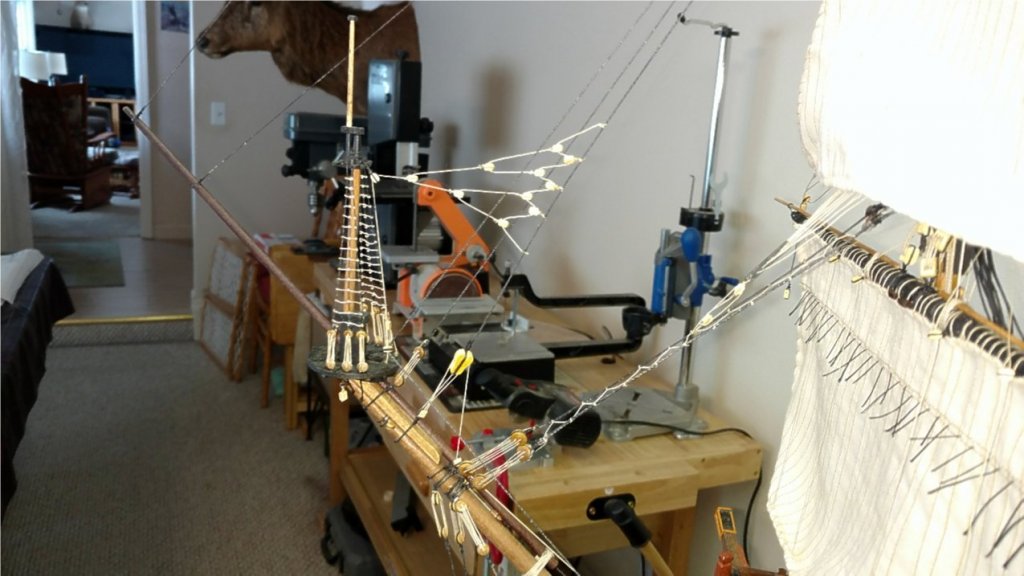
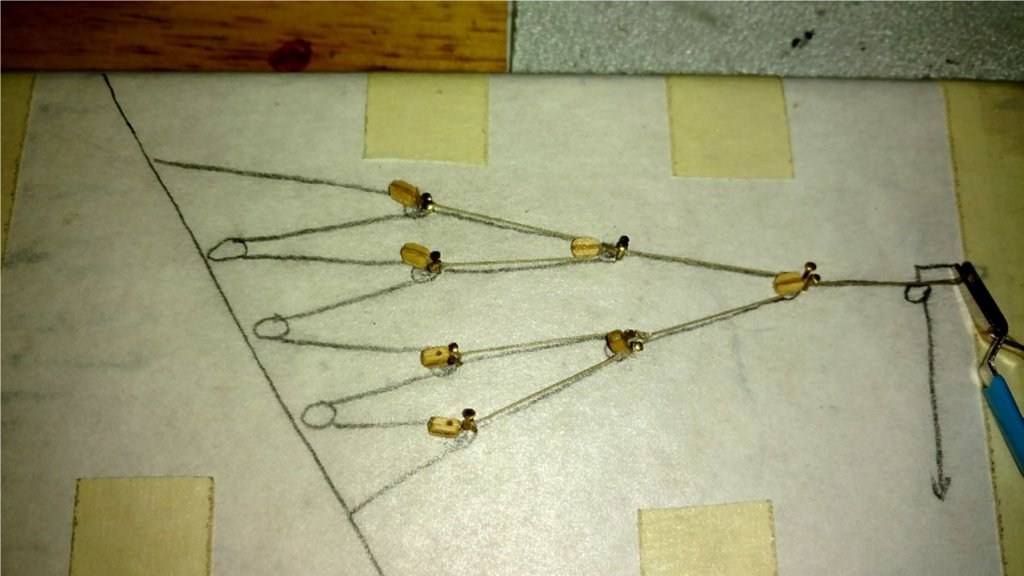
The spritsail topmast backstay is a complicated array of blocks in a spider weblike pattern. In order to get the whole thing to balance and tensioned evenly, I built a jig. I traced the diagram first from the plans and taped it to a board. Then using small nails I built the thing on the board. I will remove it and place it on the ship. More photos to follow. I used this method on the Sovereign of the Seas which had several large and even more complicated arrays for the mizzen mast upper stays and they came out perfect.
Vince P.

- marktiedens and Altduck
-
 2
2
-
On 2/16/2018 at 5:09 AM, donrobinson said:
This method is very interesting, and I am thinking of using it on my Stefano when the time comes. Do you think the sails will interfere with tying the shrouds and ratlines? Great looking ship!
On 2/16/2018 at 5:09 AM, donrobinson said:This method is very interesting, and I am thinking of using it on my Stefano when the time comes. Do you think the sails will interfere with tying the shrouds and ratlines? Great looking ship!
Hi Don,
It does not interfere at all. I used it on building the Sovereign of the Seas. The only shrouds you will be doing is the lower ones. All of the others up above are done off ship.
Vince P.

-
-
-
I finished all of the foremast running rigging that could be done at this point in the build. That was a lot of rigging. The plans are vague in some areas as to the belay points for some of the rigging. I had to rely on books from R.L. Anderson, Keith Julier, and the photo gallery from Euromodels for some information. Having experience in rigging these types of ships with full sails also helped. Having to do all this research makes this project all the more fun.
Next up is the standing rigging for the foremast and the bowsprit running rigging.
Vince P.

-


Hello from therealangrysailor
in New member Introductions
Posted
Welcome aboard mate and thank you for your service.
Vince P.