Wintergreen
-
Posts
1,005 -
Joined
-
Last visited
Content Type
Profiles
Forums
Gallery
Events
Everything posted by Wintergreen
-
Jacques and John - thank you and you're welcome! I have replaced my lightsources to brighter, more daylight like and I am happy with the change. The old flouroescent tubes were 15 yrs+ and had lost their brightness.
-
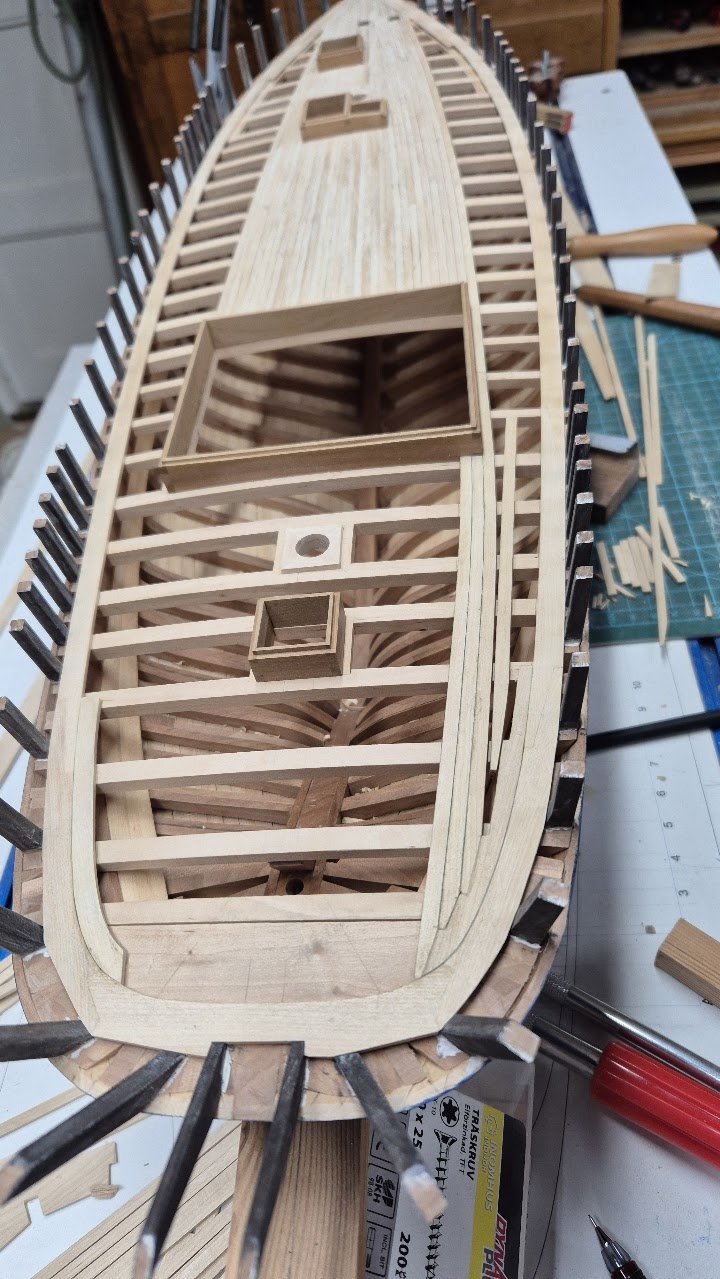
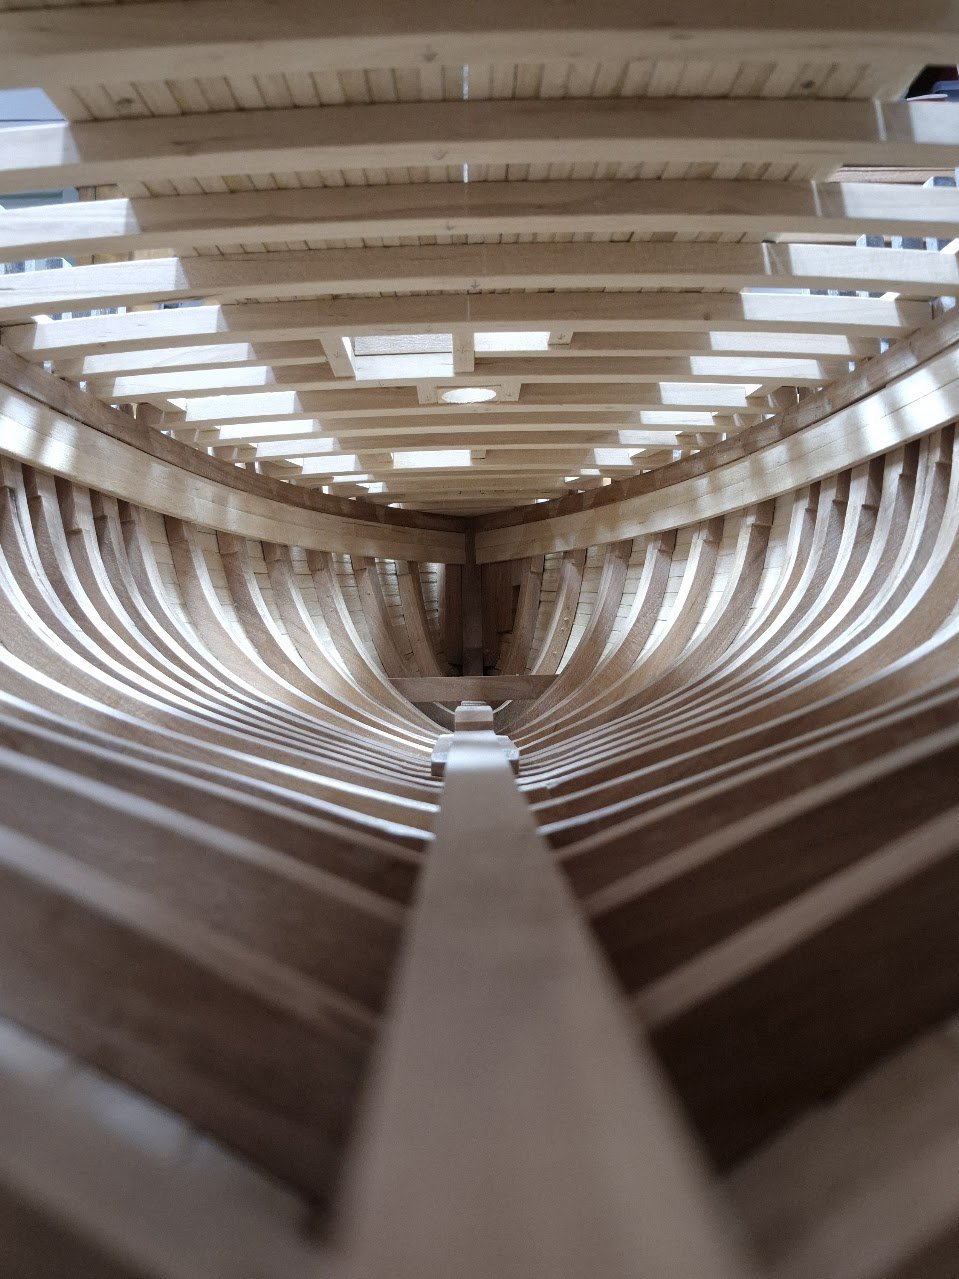
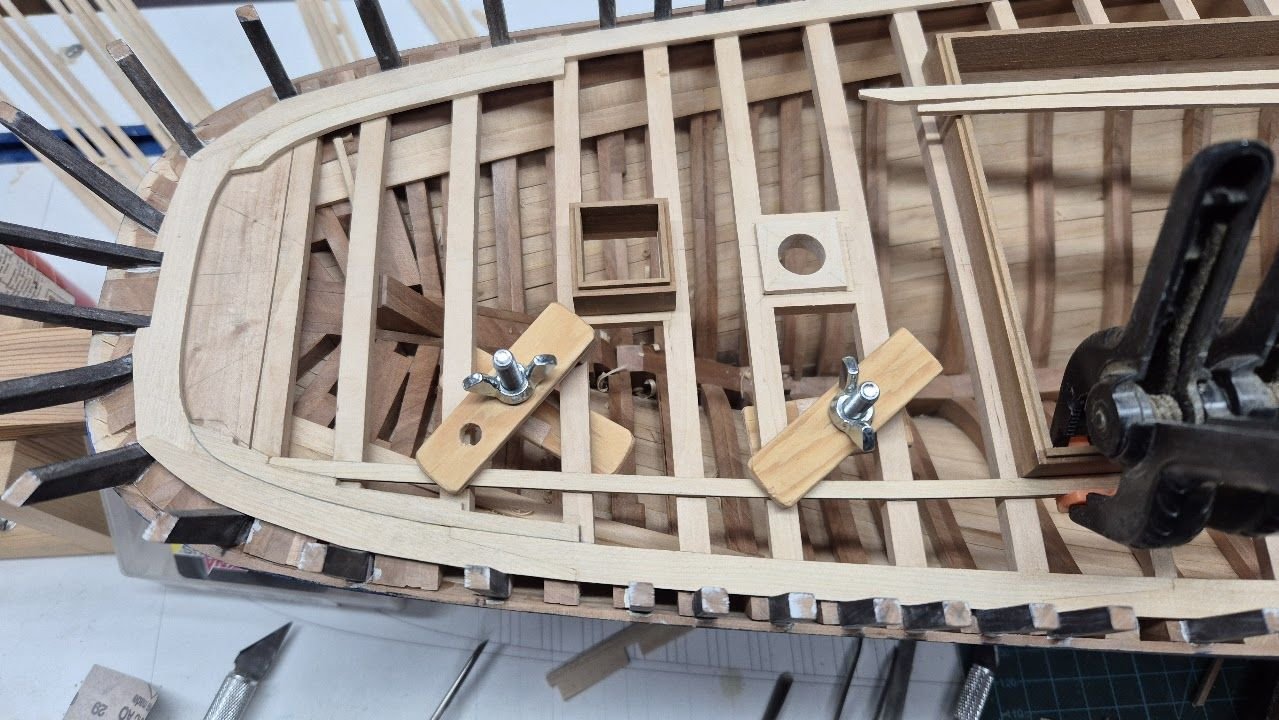
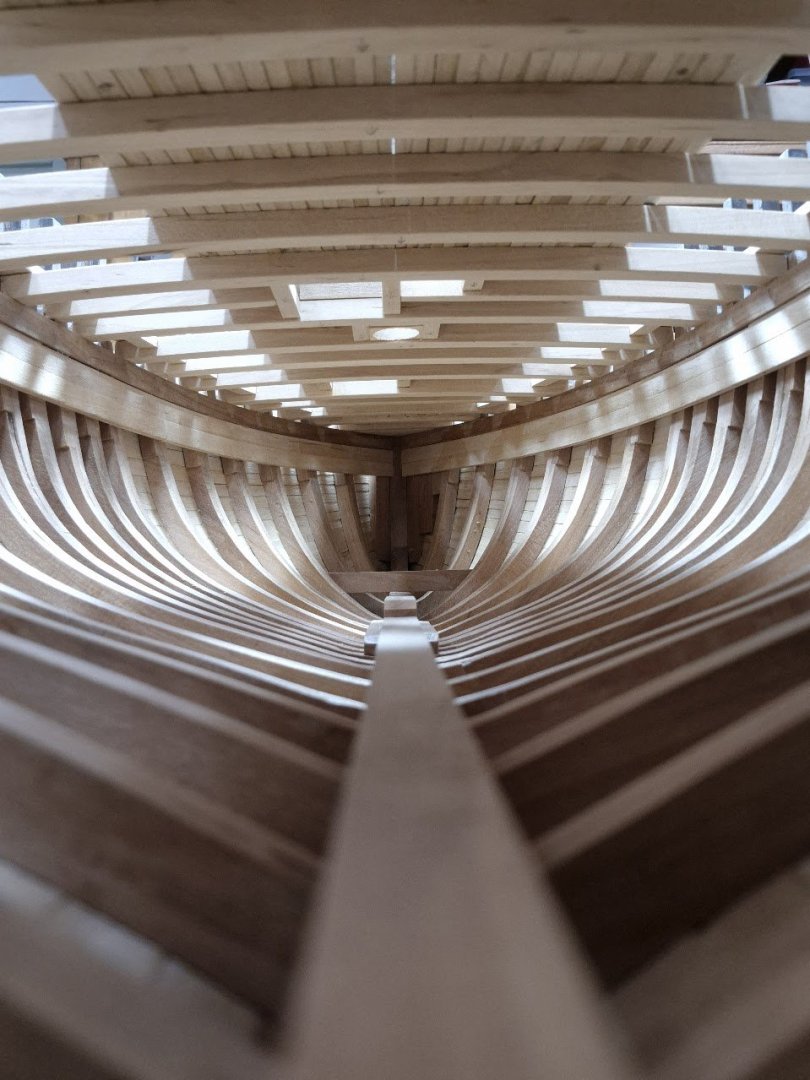
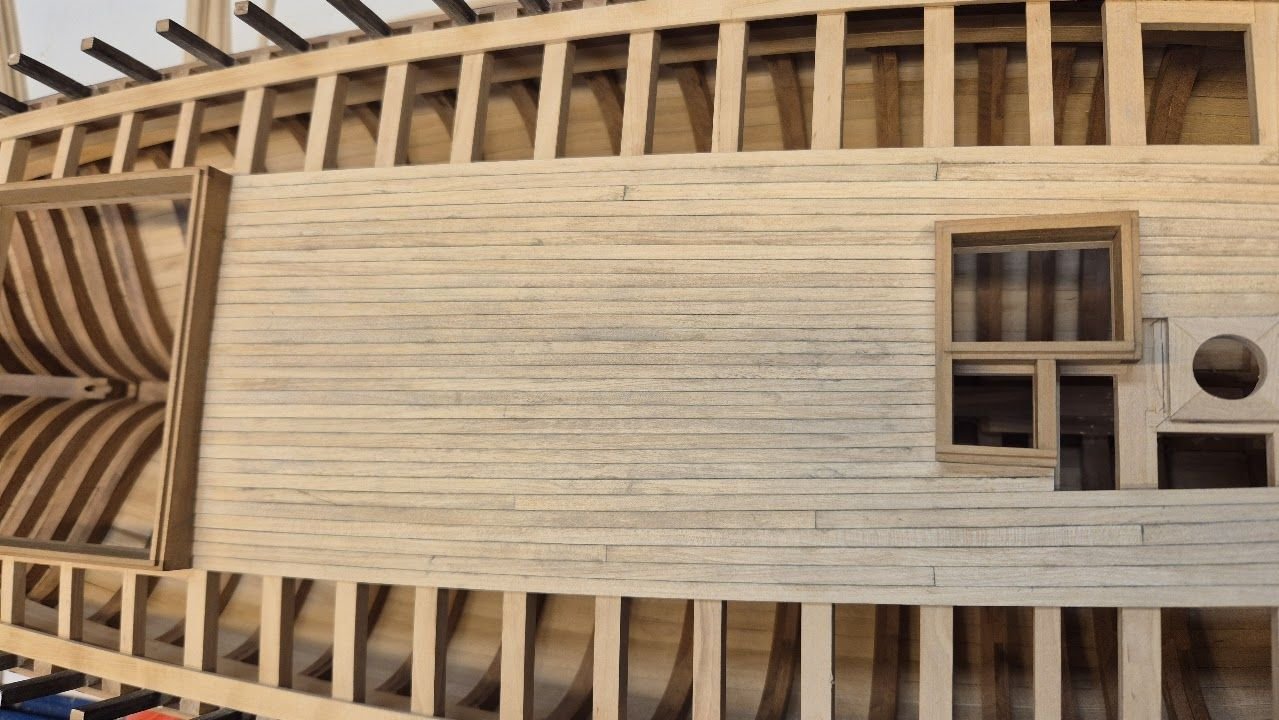
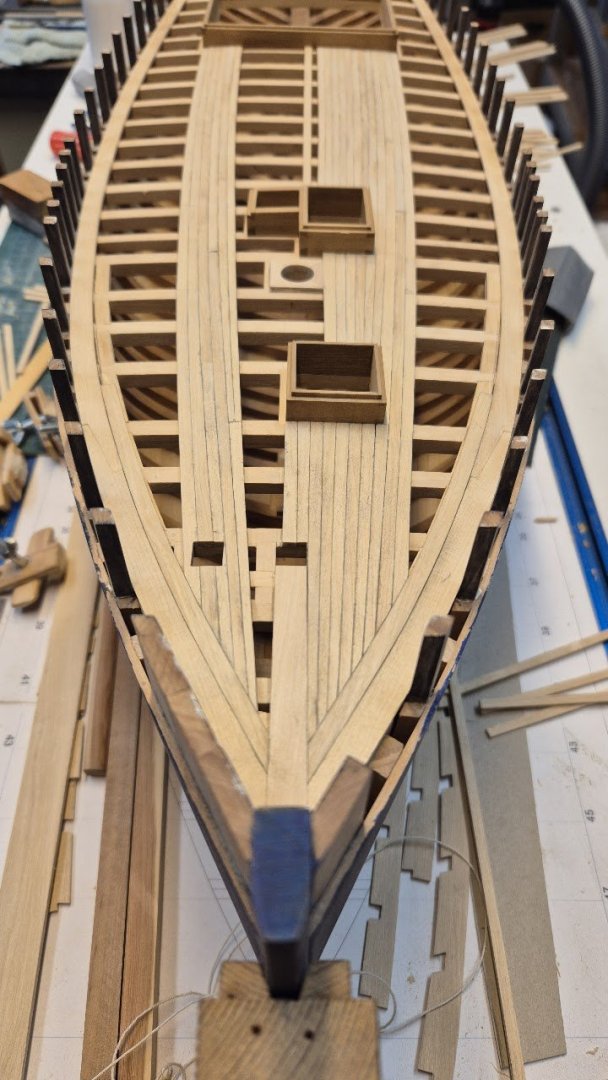
Another deck-laying update. It is not 100 percent authentic, but nobody will know. It looks kind of good, I think. And before it is too late, I took some interior pictures as well. Looking aft in the below picture. That's all for now. Cheers!


-
Even a small progress, is progress 😉 Glad to see an update Henke! Keep it up!
-
Mike, I just follow the book. In it it states that the planks are 120 mm wide, out of keroueng/keruing (teak look-alike). Sine they are laid swept I guess 120mm is quite enough to force into place. My skills att laying deck however, lacks a bit of finesse, will see how it turns out in the end. Probably will have to add a good amount of stuff on the deck to hide it...
-
Thank you @KeithAug 🙂 I wish you a Happy ending of 2025 and a Happy new 2026!
-
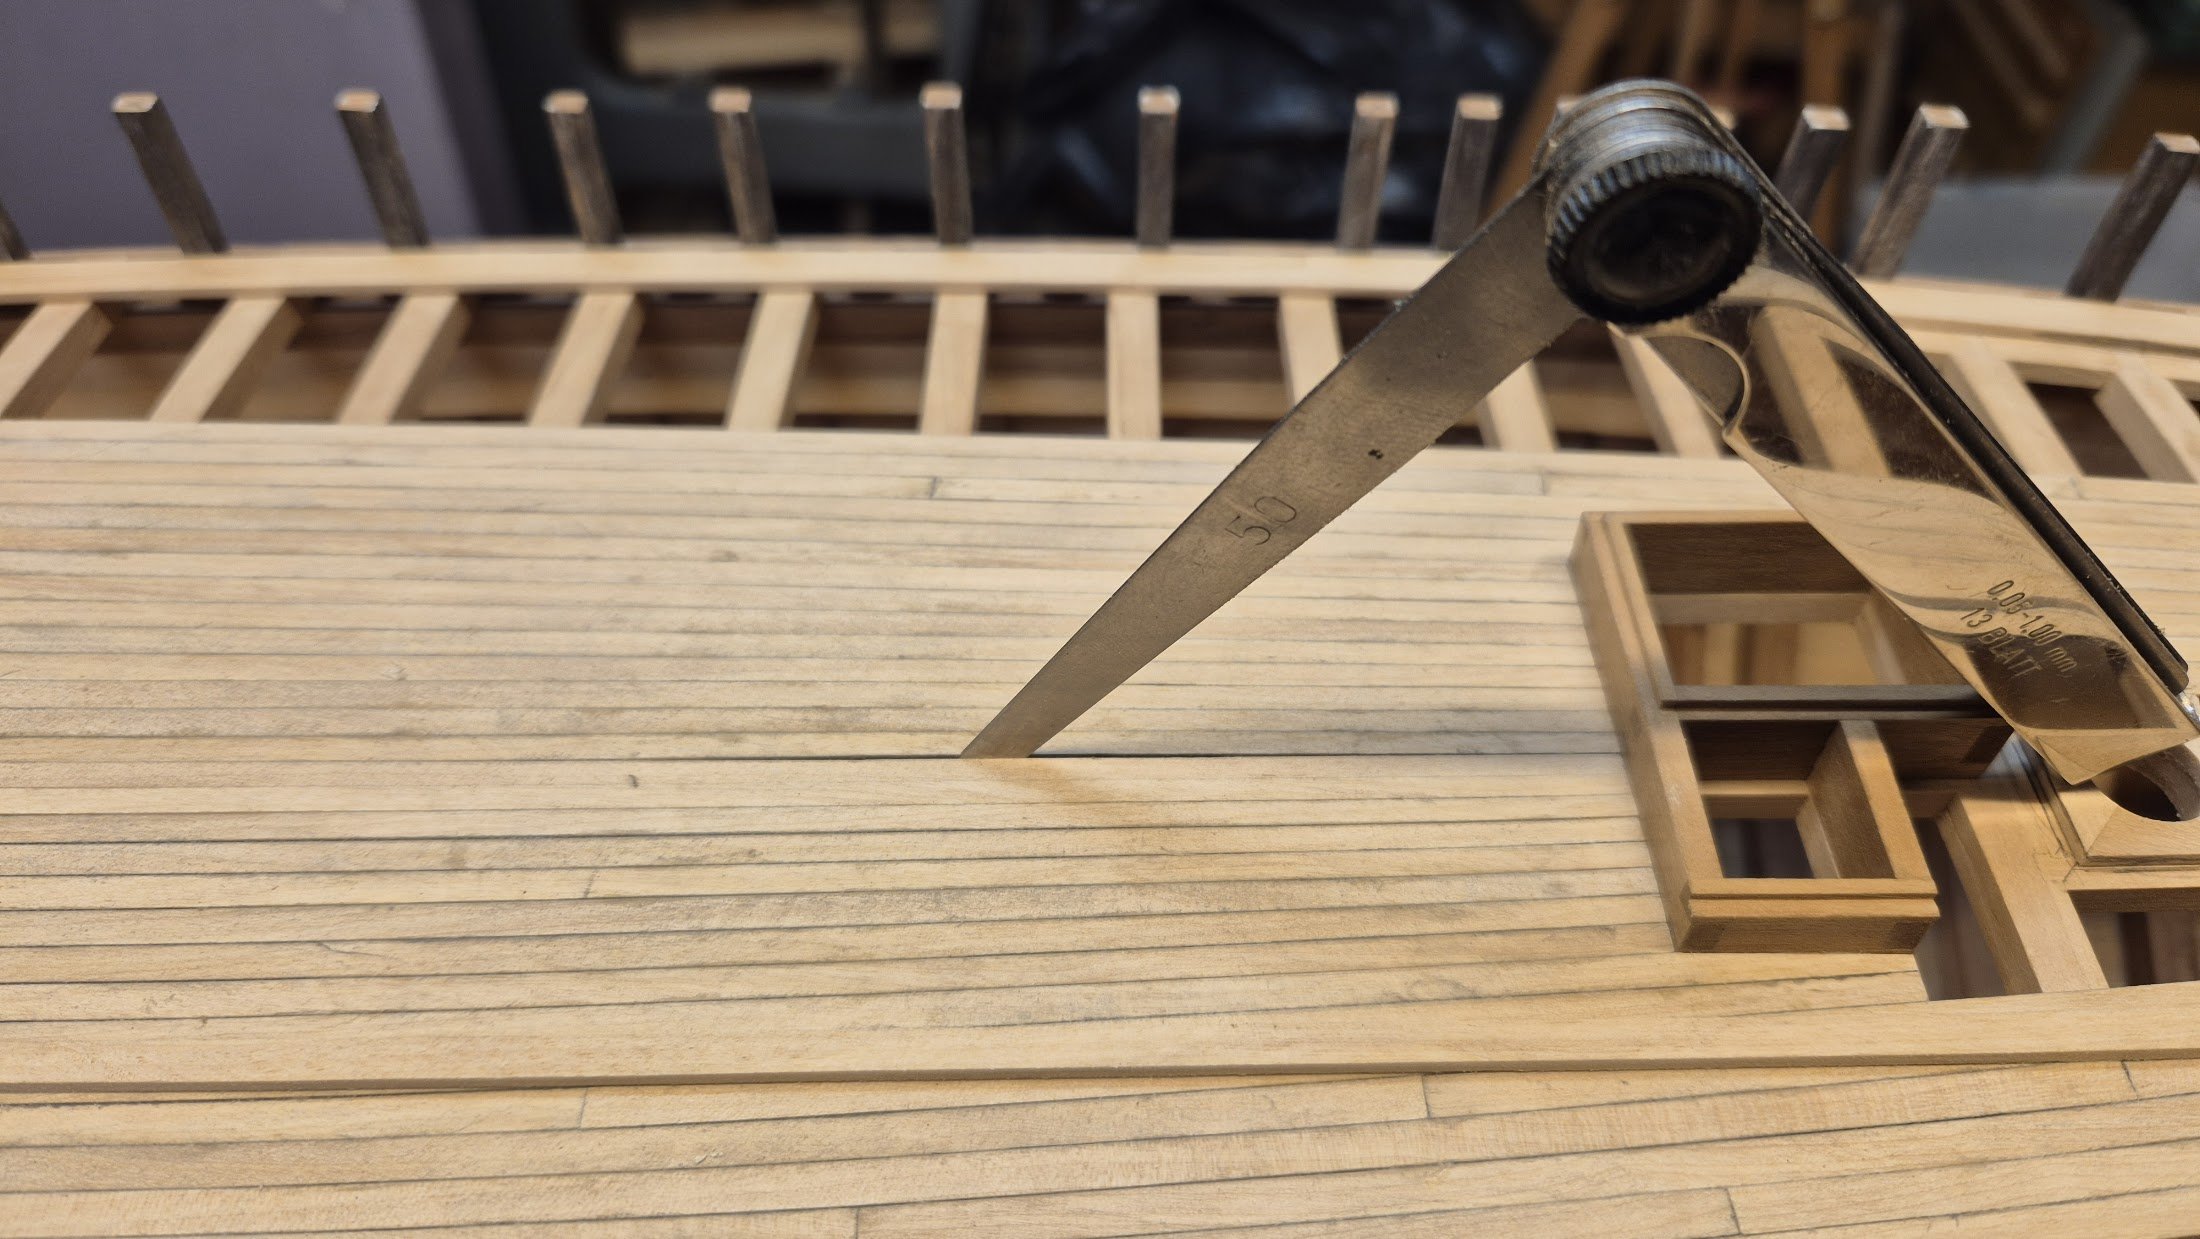
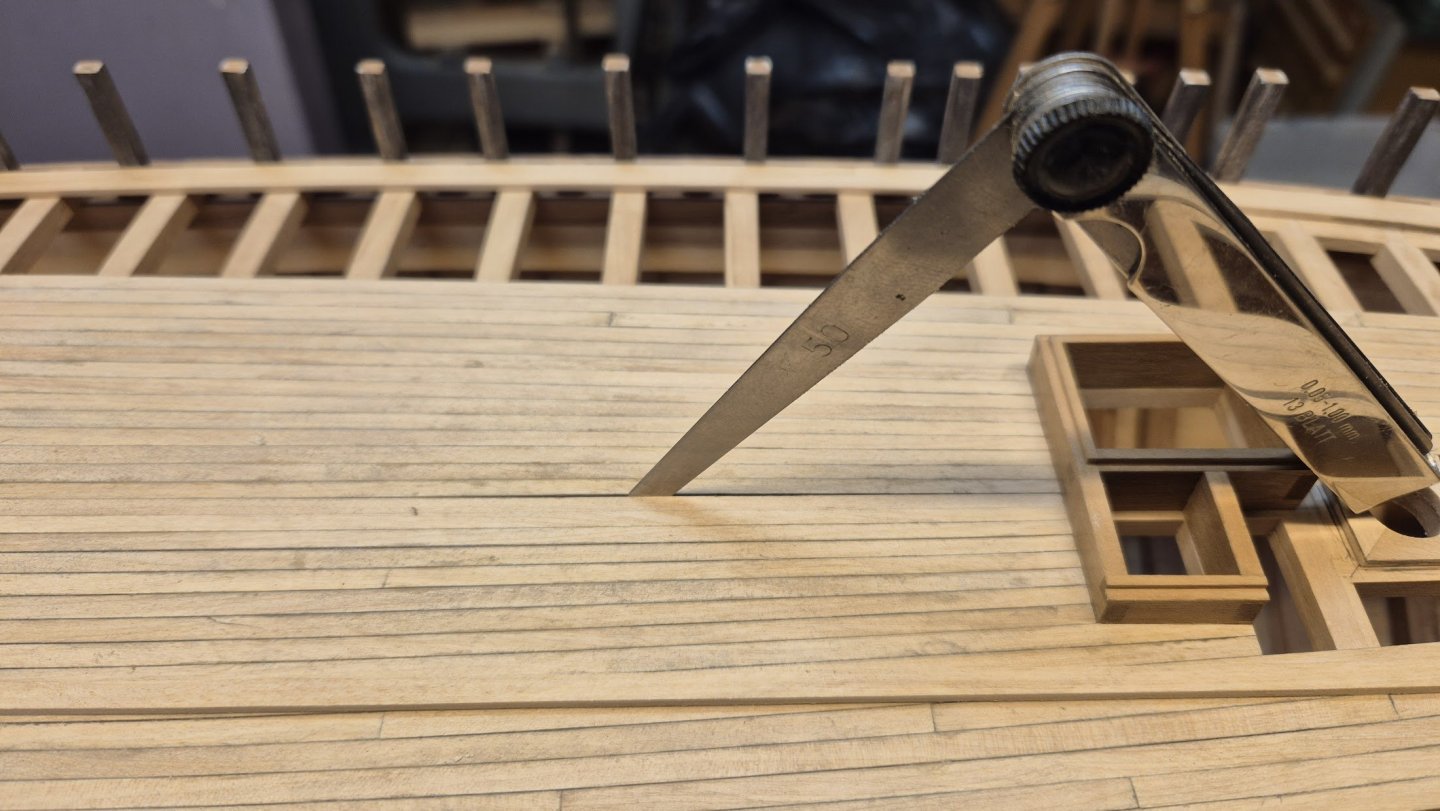
Thank you John and Andy and all for their "likes". So, just a couple-three pictures to show what we all are so familiar with. Here I'm closing up the deck between the main hatch and the forward hatch/companionway. First try. Doesn't look all that bad, right? Well, here is the evidense that I can do better 😉 "50" stands for half a millimeter, (1/32"). 2nd try, a little while later and no gauge fits in between. Well, that was the easy part of the deck... next up I will close the foredeck. But that's a chore for another day. Cheers!

-
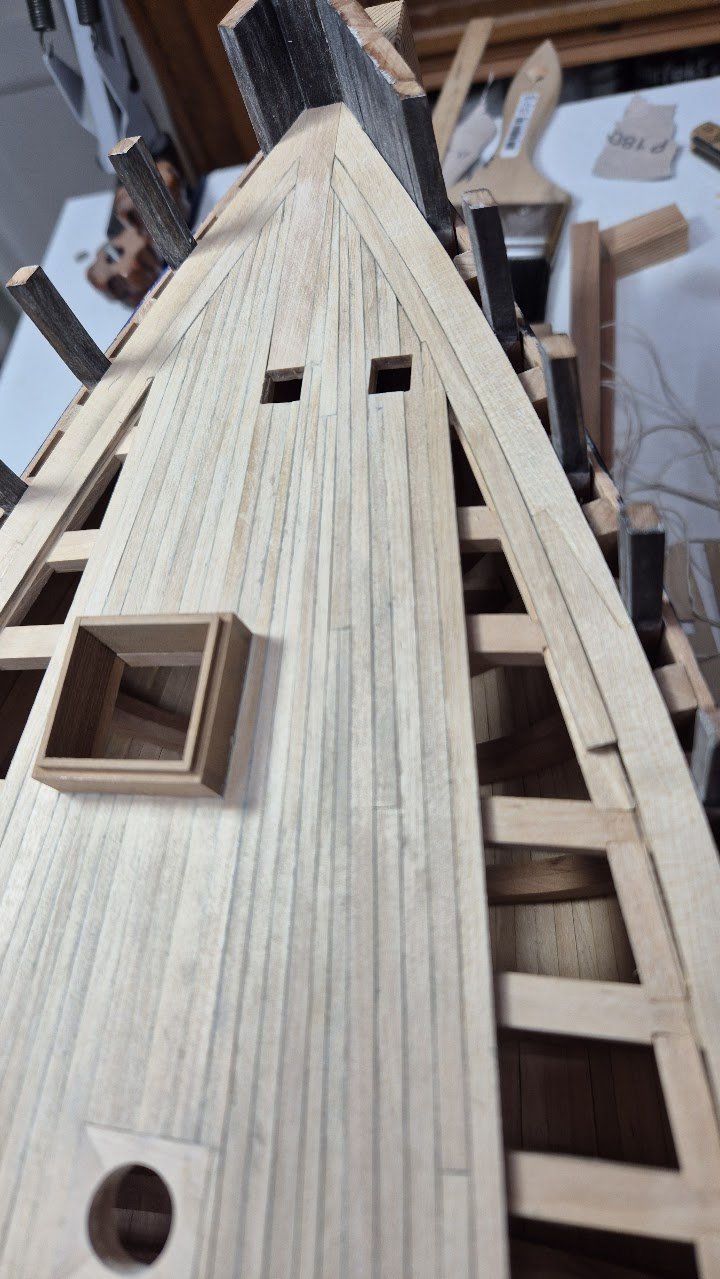
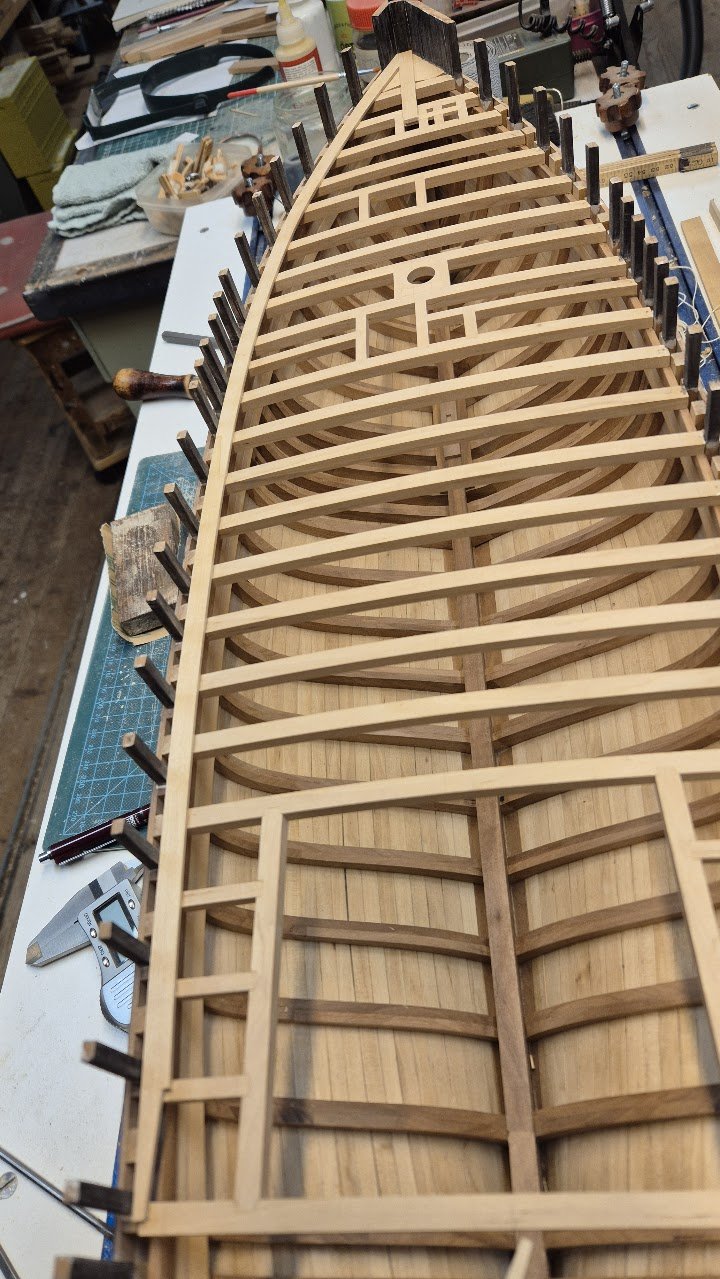
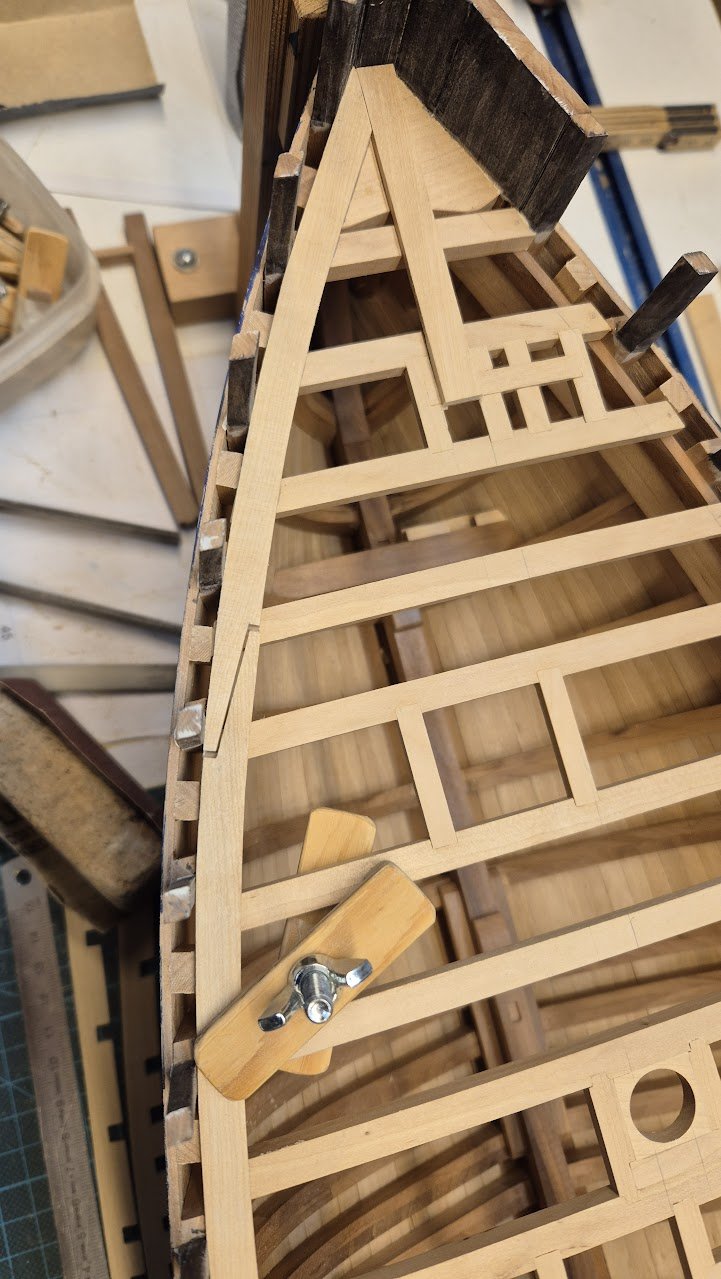
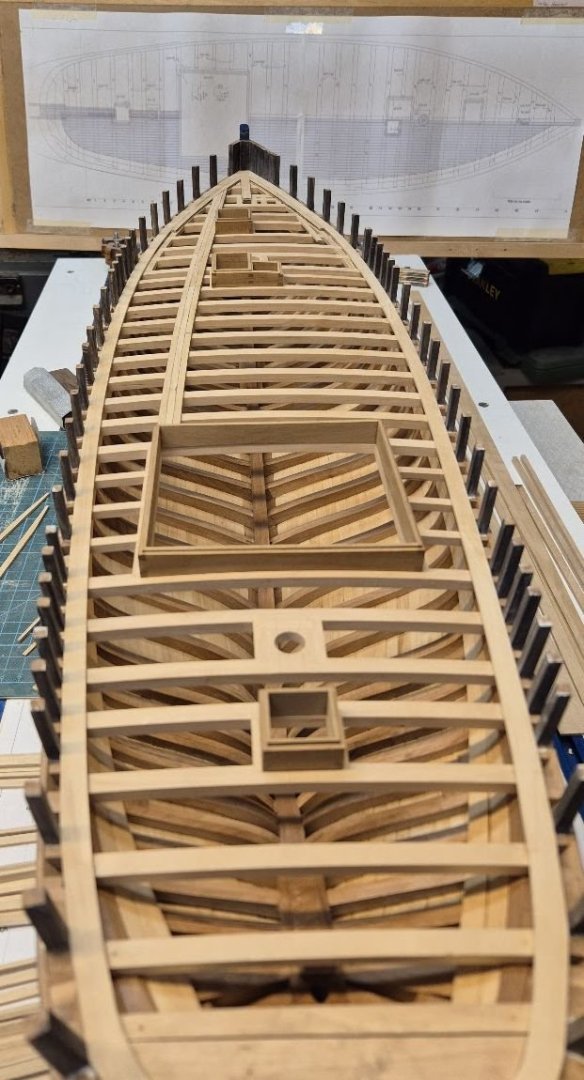
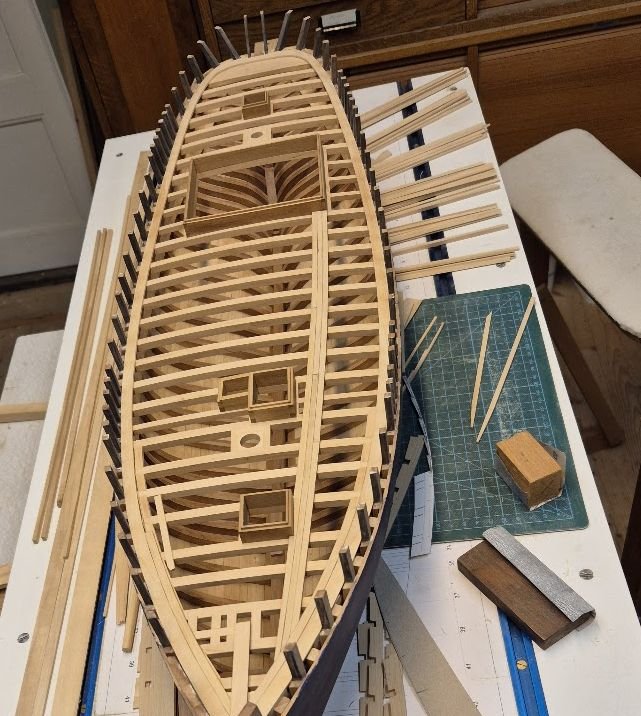
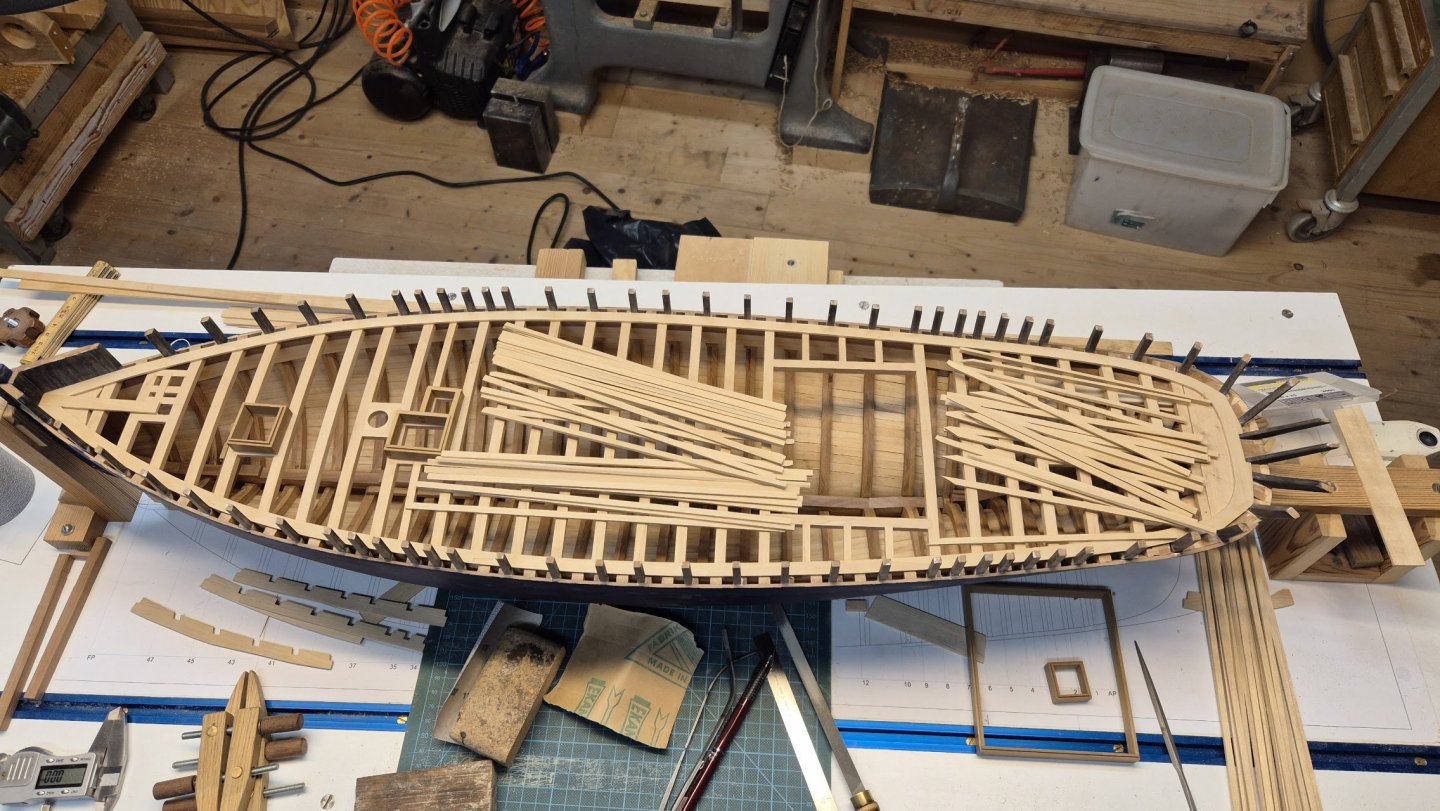
Greetings to all! Just some progres pictures here. I am in for a treat trying to close the deck while keeping it fair and a smooth run for each plank. Cheers!

-
I think your choice of monster is spot on! I am in no way a historian, but can see the logic in the myth/saga about who killed who and the connection to the ships name. Also, I think a griffon is more picturesque than the chimaira (lion+goat+snake) 🙂 Happy holidays Alan!
-
I guess then, that you have to make certain that the shaft and prop are well balanced? I have browsed through your progress of late, and for every new installment my mind went "no way? come on, seriously man?" like. for every. new. update. Impressive, so impressive. Keep it up!
-
John, Keith - thank you lads! During the hiatus I have had some serious thoughts, like, "I'm not old enough for this" or "what's the point, really?" These thoughts are not unique, I understand that, and they are also coloured by my work, which has been quite stressful the last two semesters. The icing on the cake this fall was that my workshop heater broke down. Yay. No heating - no building. So I knocked off some other long overdue chores (like fixing one of the wheelbarrows, a punctured tire and a derelict state overall). Finally, with a new heater installed, I could start to think of returning to the build. So, this last Friday I vacuumed the shop and did a fair bit of tidying up (cobwebs between the bulwark stanchions, says a lot..) and here I am. The I did the unwise thing to browse through some other build logs, looking at masters of this craft displaying their progress... oh man, there are some really talented lads here on MSW... and again I felt the sting of inferiority. For like 2 seconds, it is the same with training (of which I do a lot), compete with yourself, but take inspiration from those "above" you. End of thoughts. Get the glühwine and the gingernuts out, Christmas is coming!
-
IF, by any chance you have given up on me, I don't blame. I have as well from time to time. My last previous comment: and that contemplating has taken the better part of 11 months.. in February I ended up in some kind of a limbo and could not decide wich way to lay the deck. Although I havent been staring at the build for 11 straight months, it has been in the back of my mind nevertheless. Finally, I decided to "wing-it". So here is my, again, re-start of the build. (as you know, I tend to make progress during the muggy and dark season, here on the northern hemisphere). Have good one!
-
Maybe it is one of those AI rendered pictures where people have 13 fingers and three arms?
- 969 replies
-
- 2
-

-

-
- hahn
- oliver cromwell
- (and 1 more)
-
Thank you guys! Yes Keith, heating is a real plus (pun intended) during the dark, damp and cold season. And the space is convenient as well. I could of course do with a smaller space, but then all the big machinery would have to go and be replaced by more appropriate sized ditos. But, it's the Parkinsons law in effect, all available space/time/money is used up to its respective limit. (Check it out, it is a real thing). Than you Michael! I try to take it slow and progress thoughtfully. It makes for fewer re-do's... right now I am contemplating how to lay the deck so that it looks gracefully with a slight inwards bend at both ends.
-
Thank you John ❤️
-
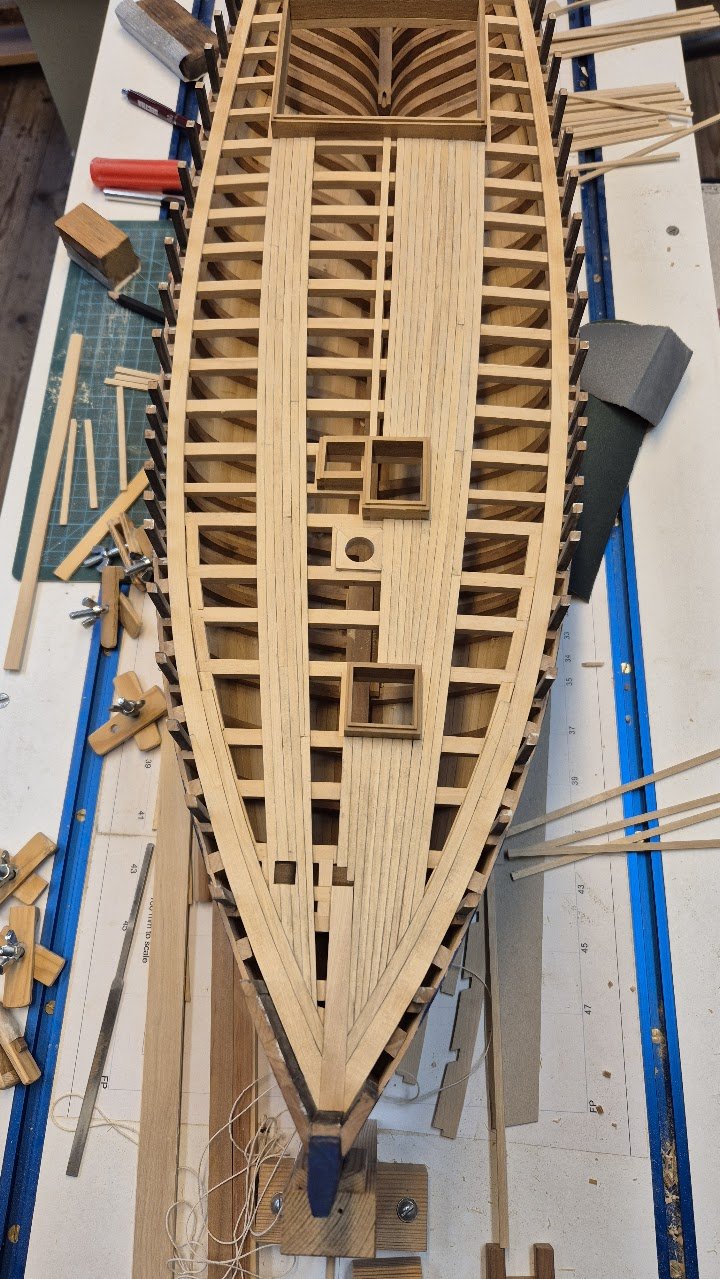
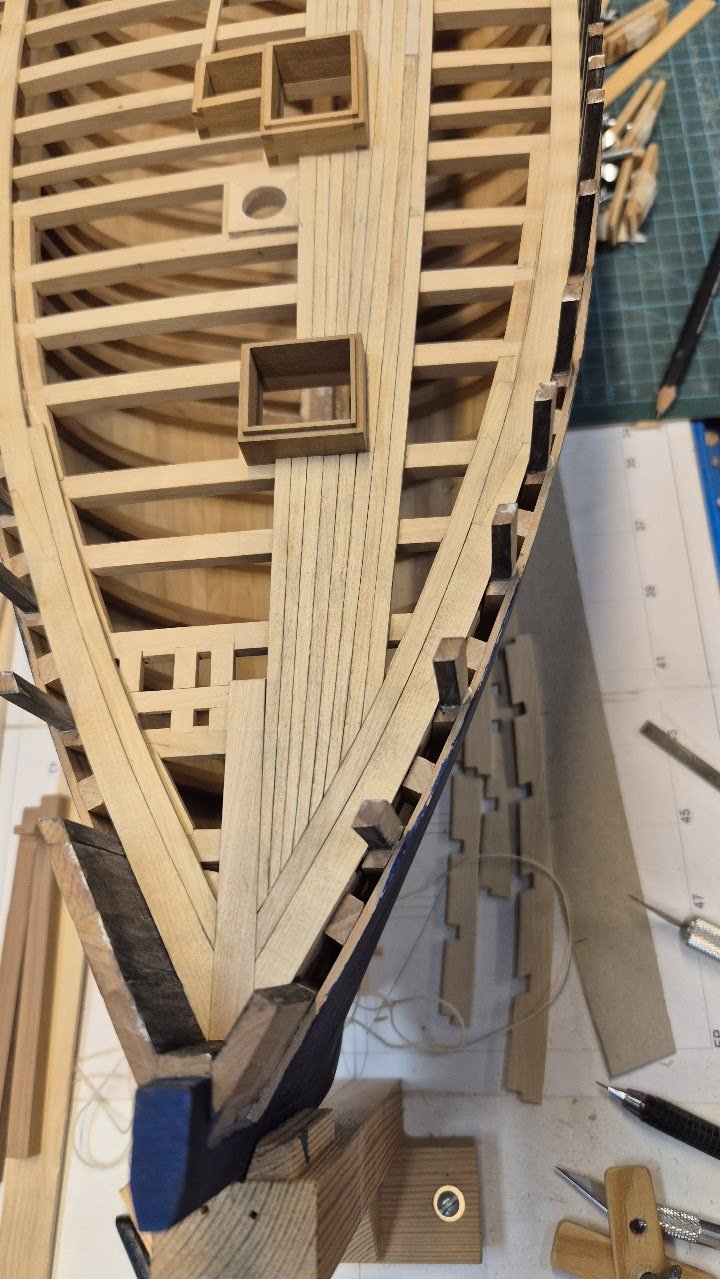
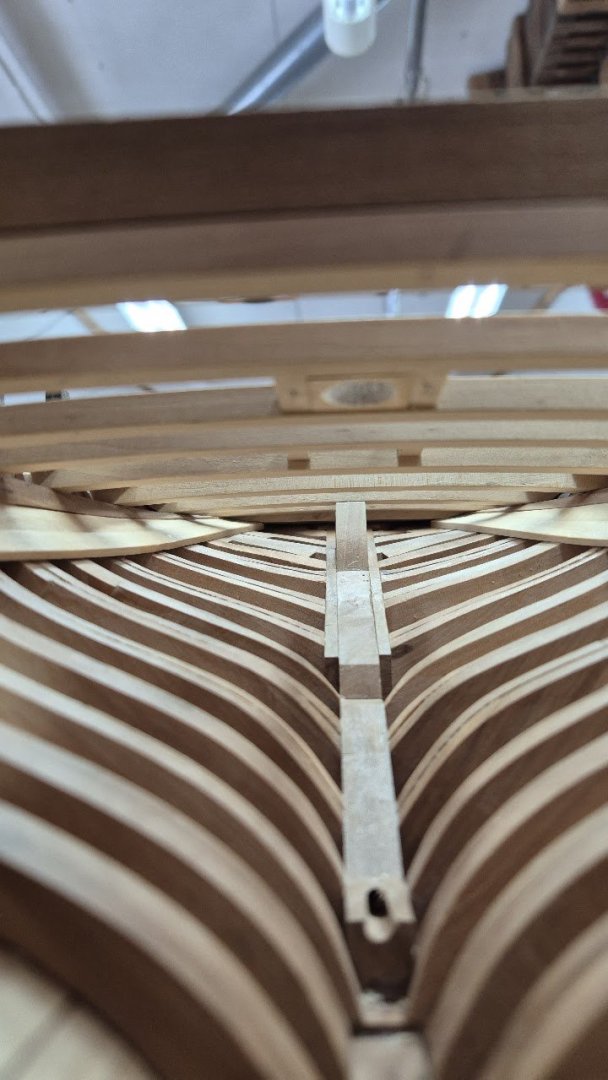
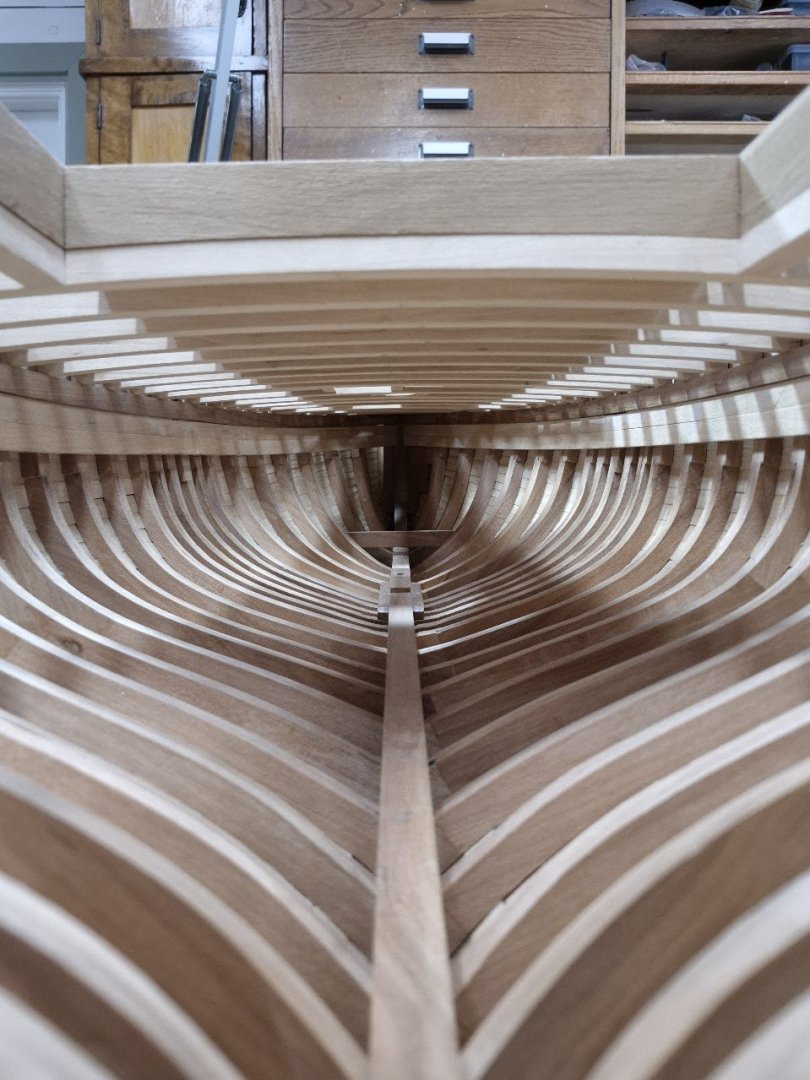
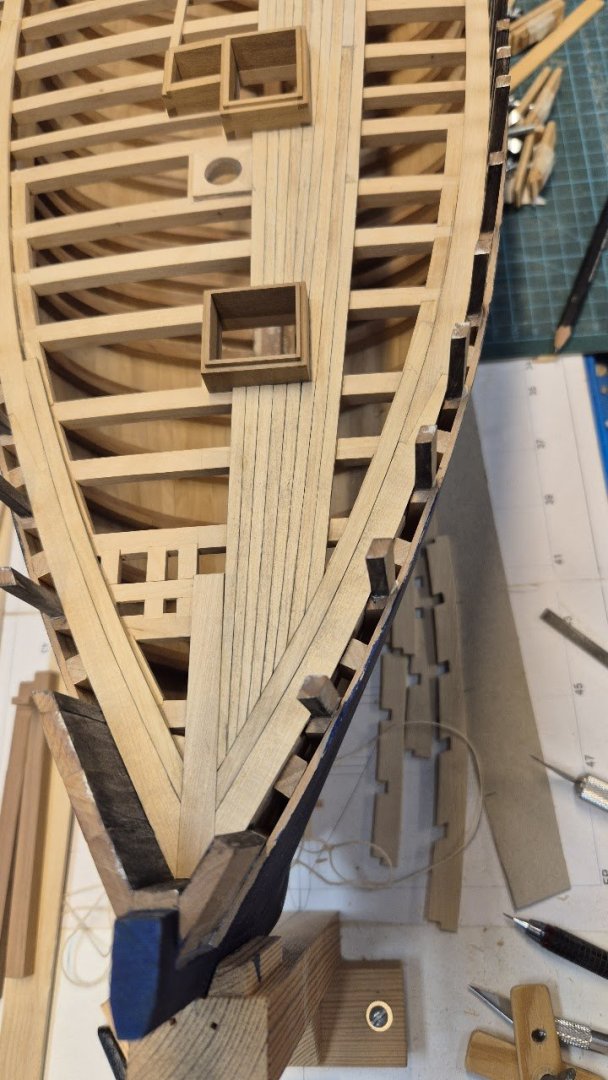
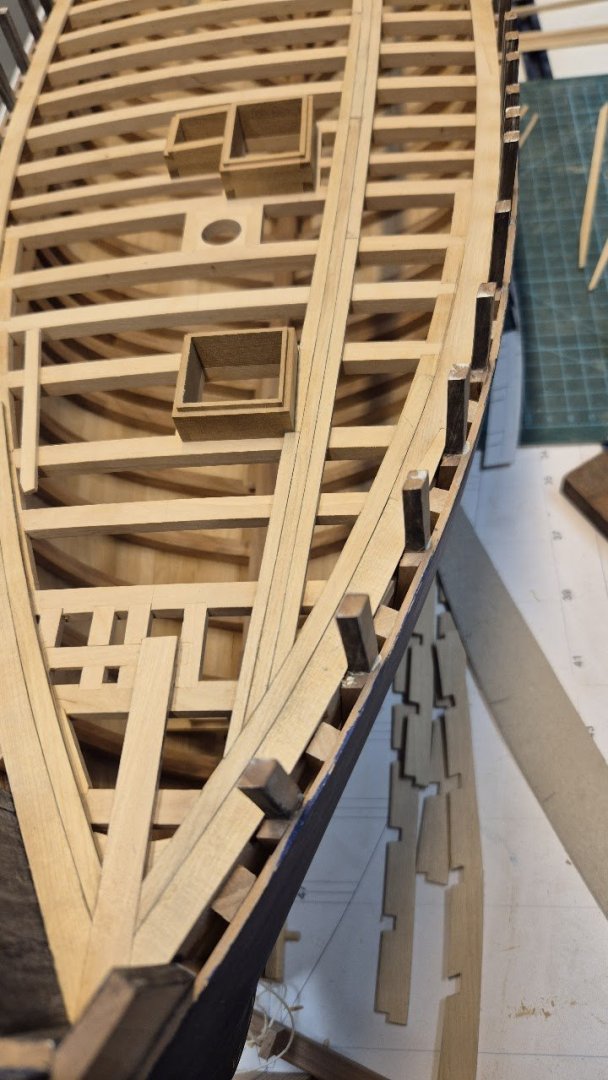
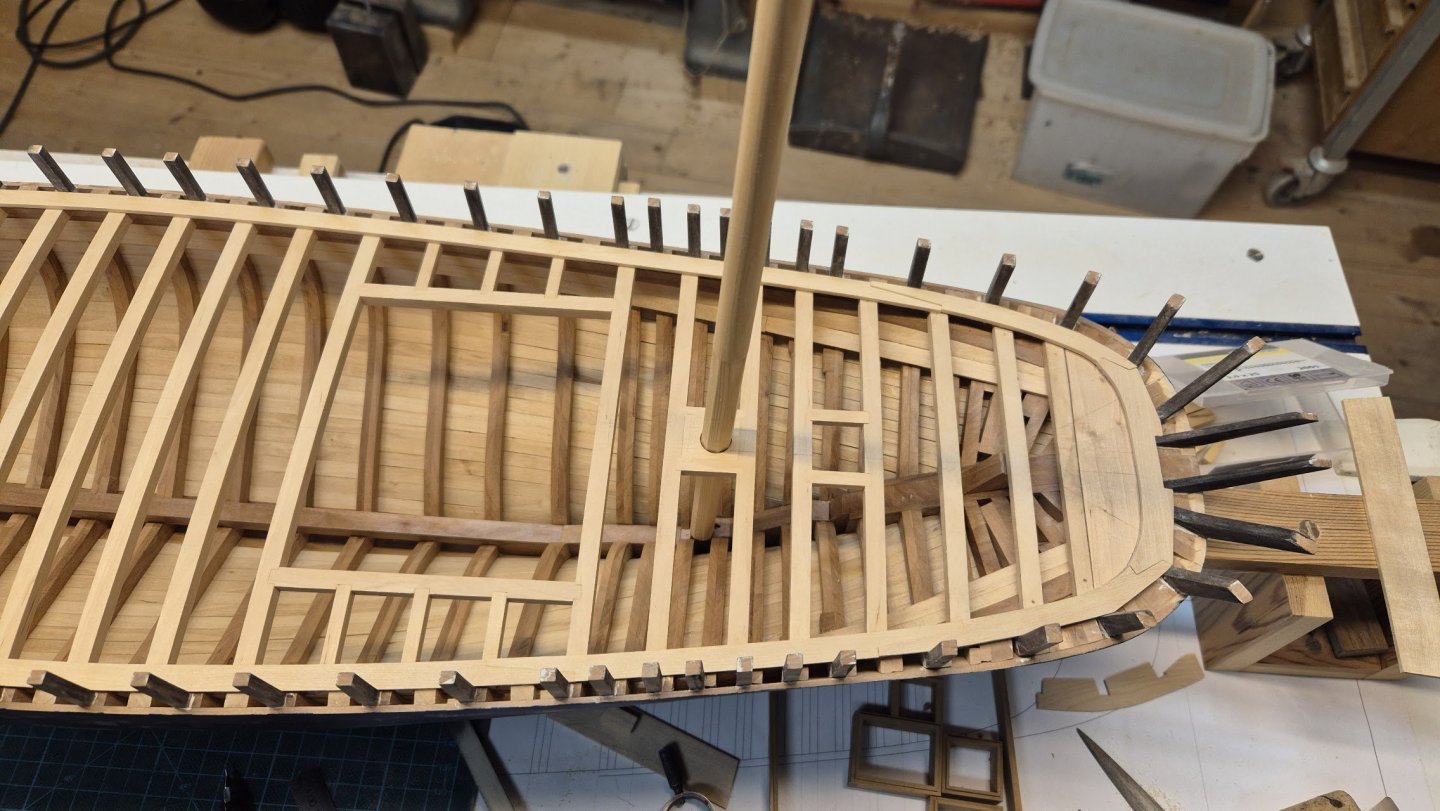
So, fighting my deamons, both real and imaginary, takes time. But a quick update on the joinery I can give you (hopefully it still qualifies as "delightful", I guess John will be the judge of that). Note though, that the aft three pieces are not glued in at this photo. Then I got me a puzzle. However there are some drawbacks in comparison to a regular "off the shelf" puzzle. 1. It doesn't state on the box how many pieces it is. In fact, I didn't even get a box for it. 2. The instructions are "sparse", and that is stretching it a bit. It only says, "Start outwards and work you way towards the middle". Not very meny clues in that statement. 3. There is not even a clear picture of what the end result should look like! No box art or anything. As Whitney sang "how should I know???" Whish me luck guys! On a slightly more serious note, the deck is not laid workboat style, i.e. straight laid. Instead it is laid yacht style, meaning a slight curve for a more gracious appearance.
-
Working on it John, working on it. Thanks Gary, I do my best (usually) 😄
-
Edited my previous post because I missed a "can" in "you can always step back.." so you dont think I'm a complete tart.
-
Thanks Keith! Much more rewarding than the outer boards with all their nothces for the stanchions.
-
That is a relief really. It would be very stressing having to clean up glue residue on that delicate structure. I do wonder though how you did those fine lines on the stems? Did you use scrapers?
-
And then there is only, how many more to do? I guess it becomes some kind of therapy once you work out a feasible step by step progress for them. And it is true, the close up photos hides nothing. You can alway step back an arms length an shoot from there 😉 It looks really good Alan, keep it up!
-
Lovely, opposite ends of the spectrum. On one side, the mill with lathe setup and on the other a "simple" shooting board. Excellent! Can't wait to see more progress 😉 Keep it up!
- 969 replies
-
- 1
-
-
- hahn
- oliver cromwell
- (and 1 more)
-
What Keith said. Looking ship shape John! Keep it up!
-
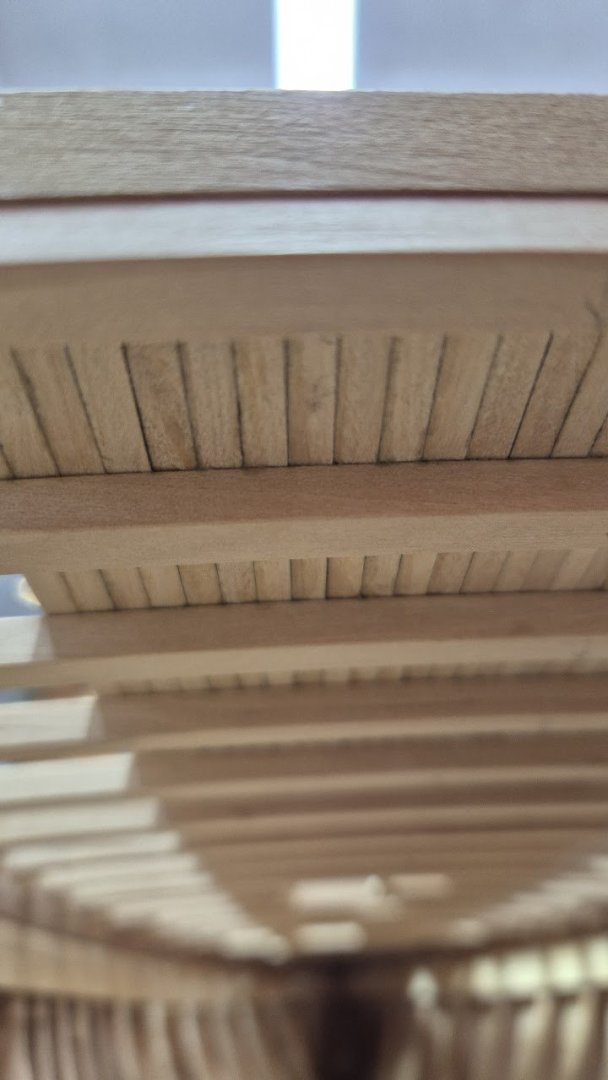
Thanks for likes and interest so far. Something to report before the work week consumes most of the time again. The covering boards are mainly done bar the rearmost ones. Those are a later headache. Focus then is to get the perimeter of the deck in place. I started with the short king plank to have the center all secured. Then it is a matter of more finicky filing and testing of scarph joints. They came out not half bad, so I'm happy. First three boards on port side glued in place. I will then shift over to starboard side and attack the acute curve at the rear last. And the overall shot. Apologies for the fuzzy focus, but it hides the little less than perfect second joint. Til next time, ta!


-
That is not a very large model, to say the least. 13 plansk may not sound like much, but seeing the amount of detail you put into each plank I can see that it will take a while to do. Very nice Siggi!