


Adrieke
-
Posts
1,625 -
Joined
-
Last visited
Content Type
Profiles
Forums
Gallery
Events
Posts posted by Adrieke
-
-
-
-
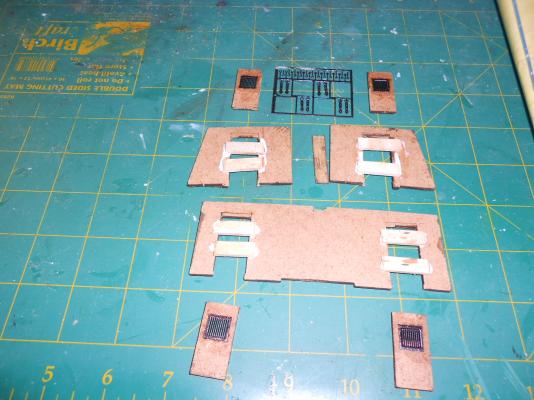
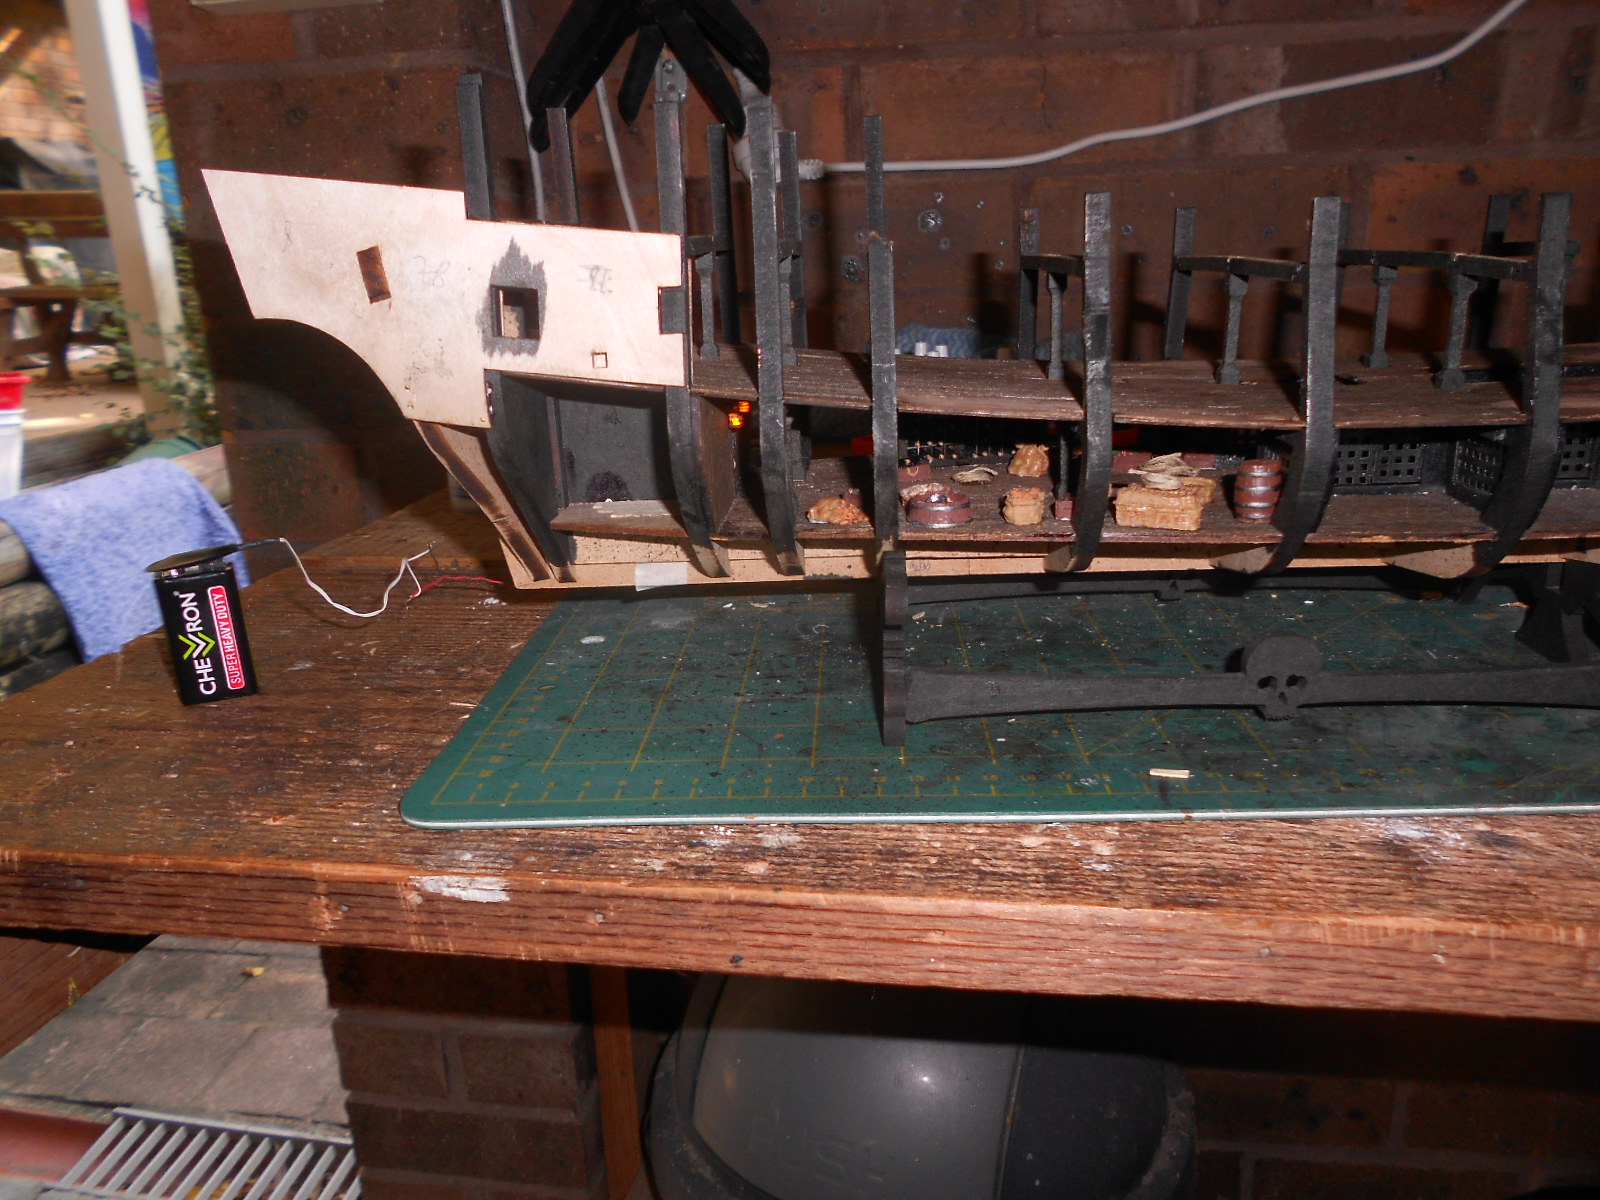
WEEK 29 - 31
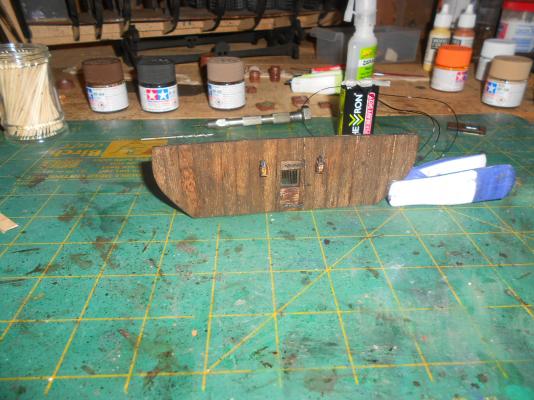
first week all the parts for the 4 doors
so far i have planked and stained them and added the metal grid . the hinges and door knob will finish these off
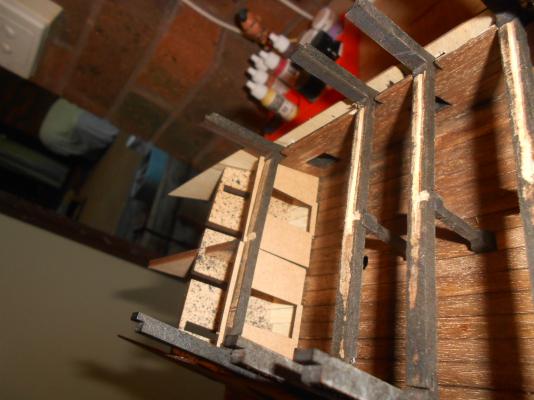
next week the parts for the bulkheads and 5 of the lanterns
bulkheads are planked and stained and i added supports at the back so i can easily fit in the doors
the last week brings some reinforcement for the stern. i have stained them but will not put them in place until they are needed as i know i will break off the top parts
after this weekend i am all caught up and the next shipment is not due til end of the month i think.
from then on this build will slow down again and i will be starting up again on the G|F
-
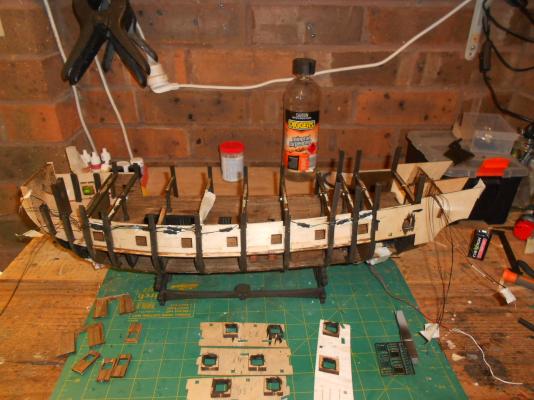
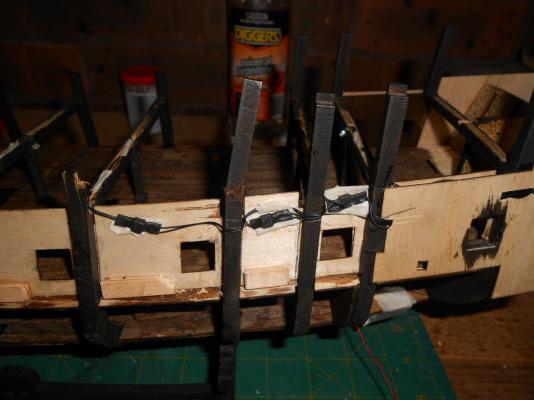
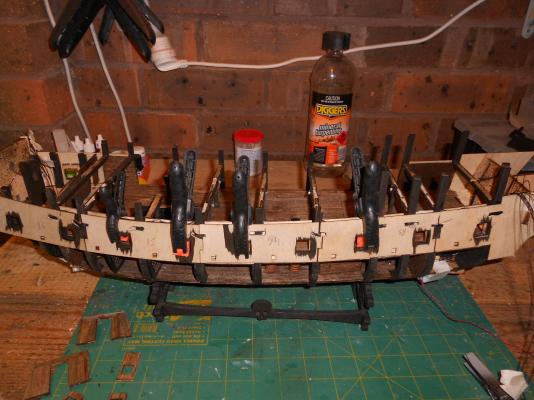
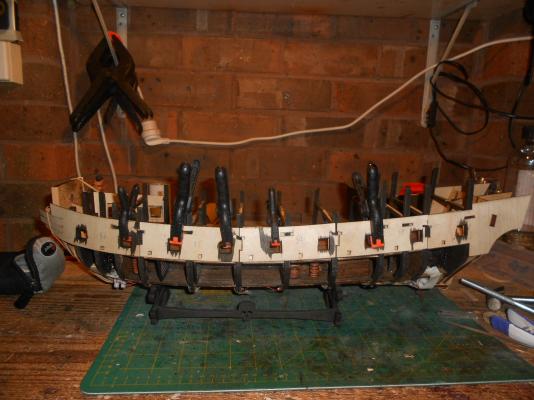
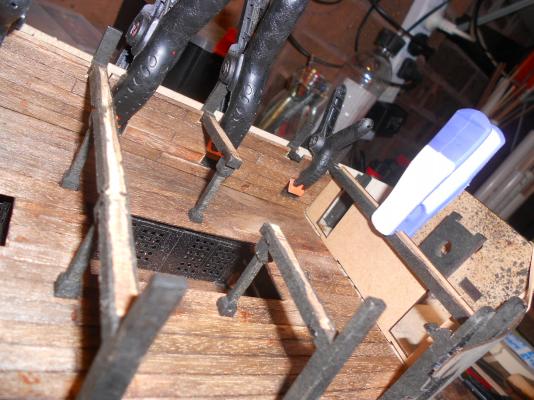
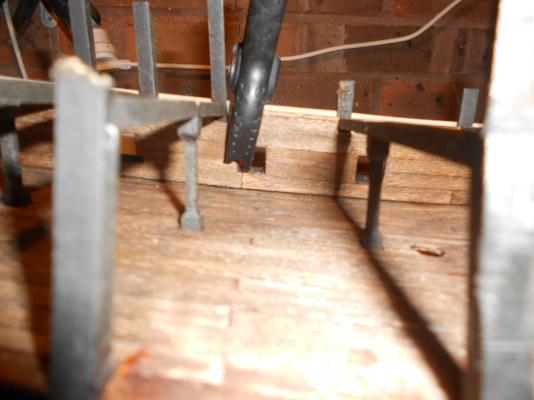
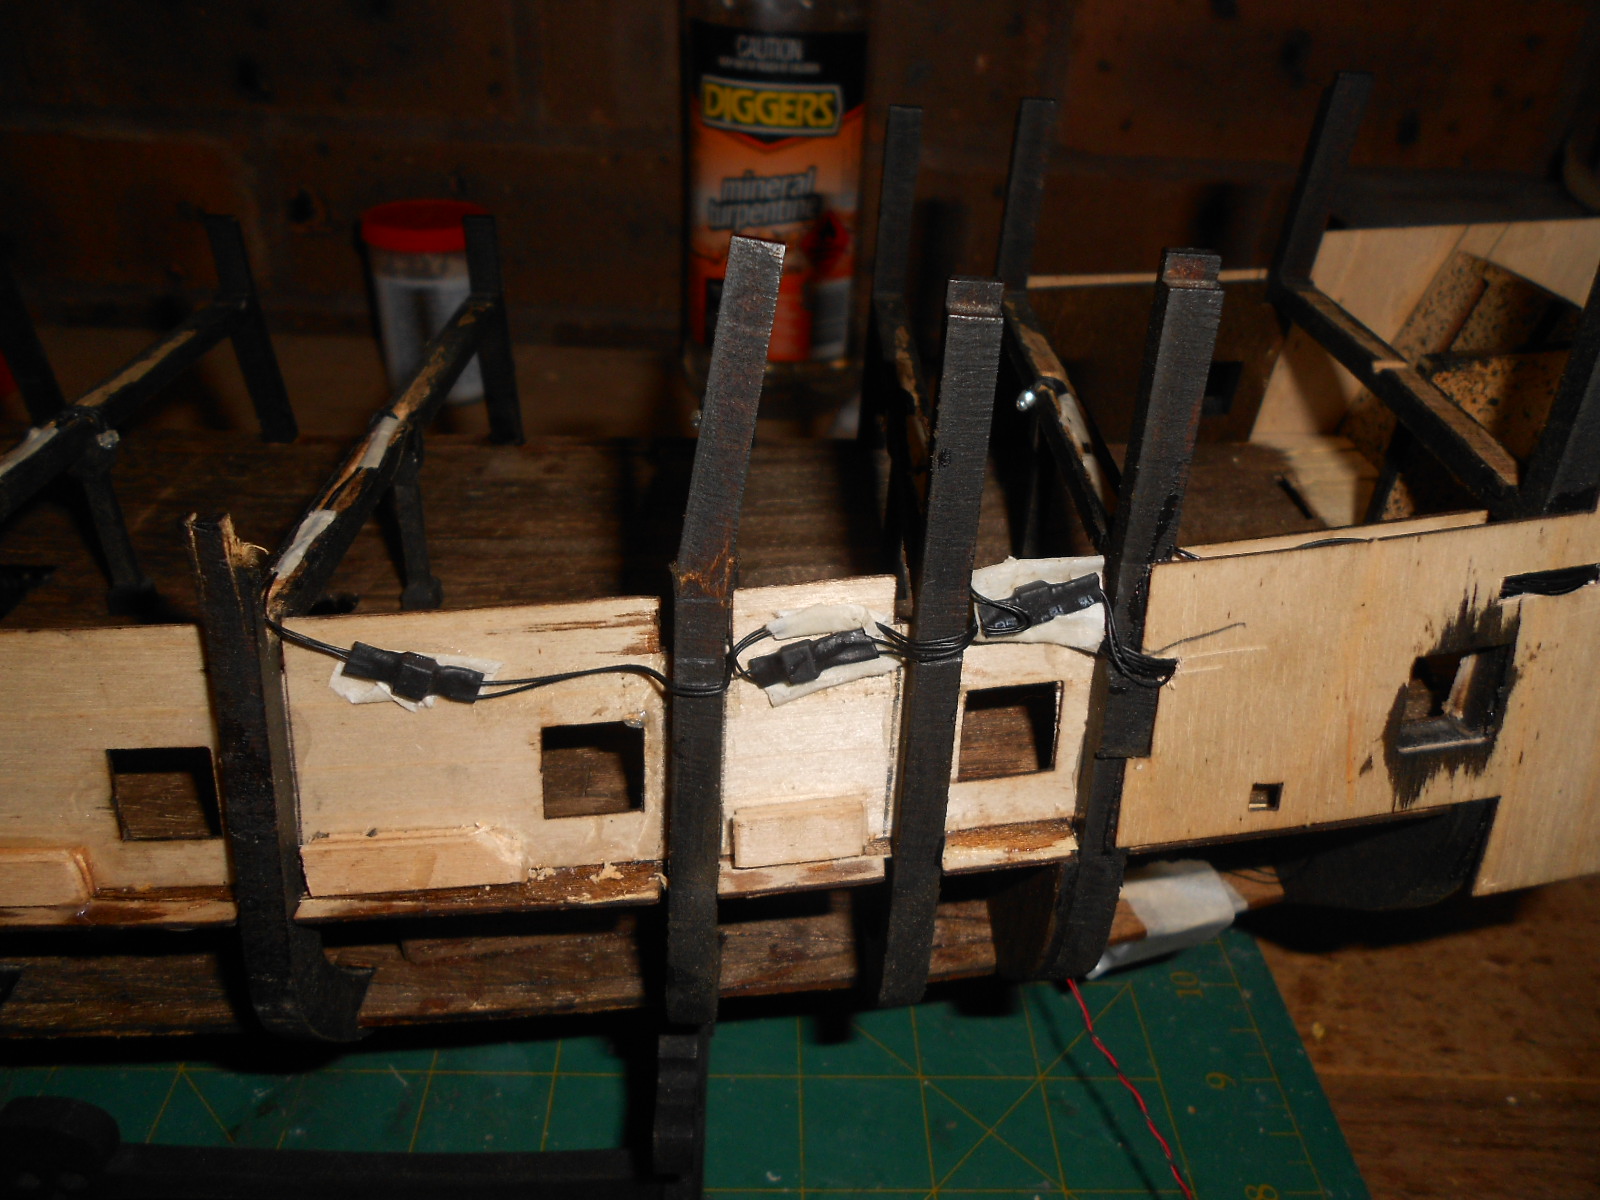
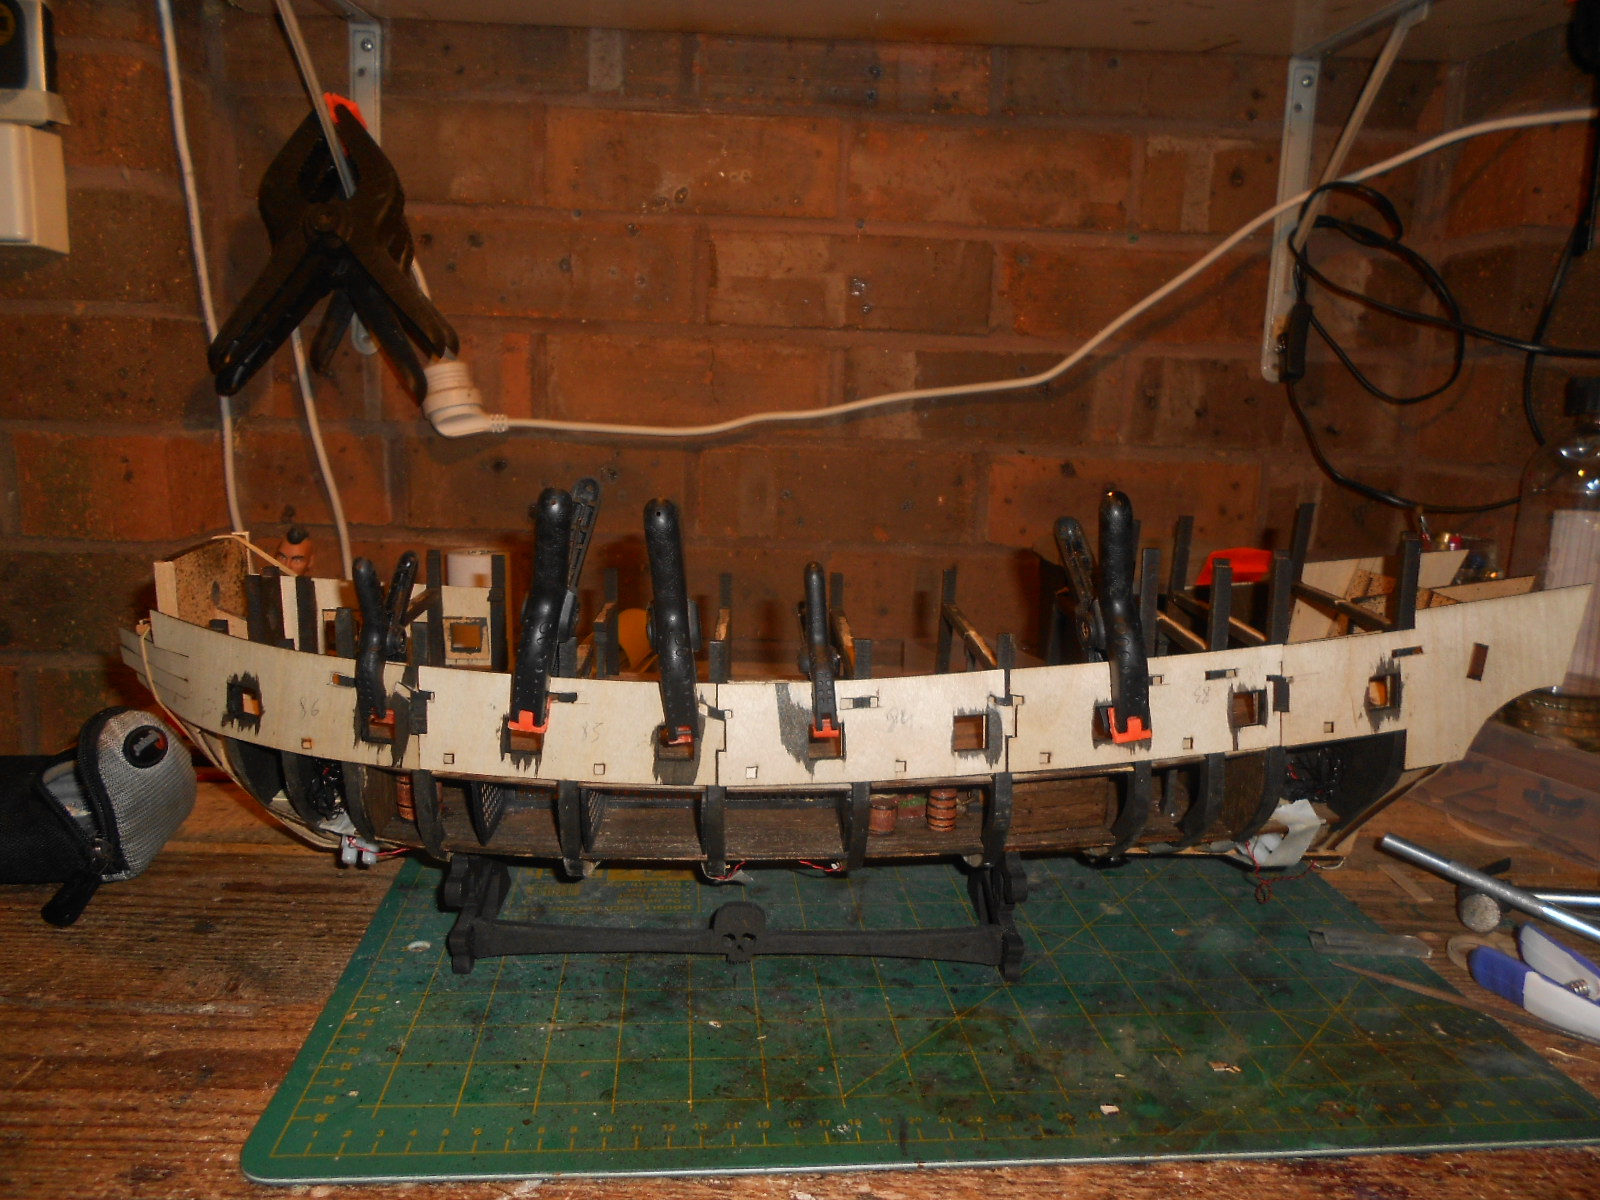
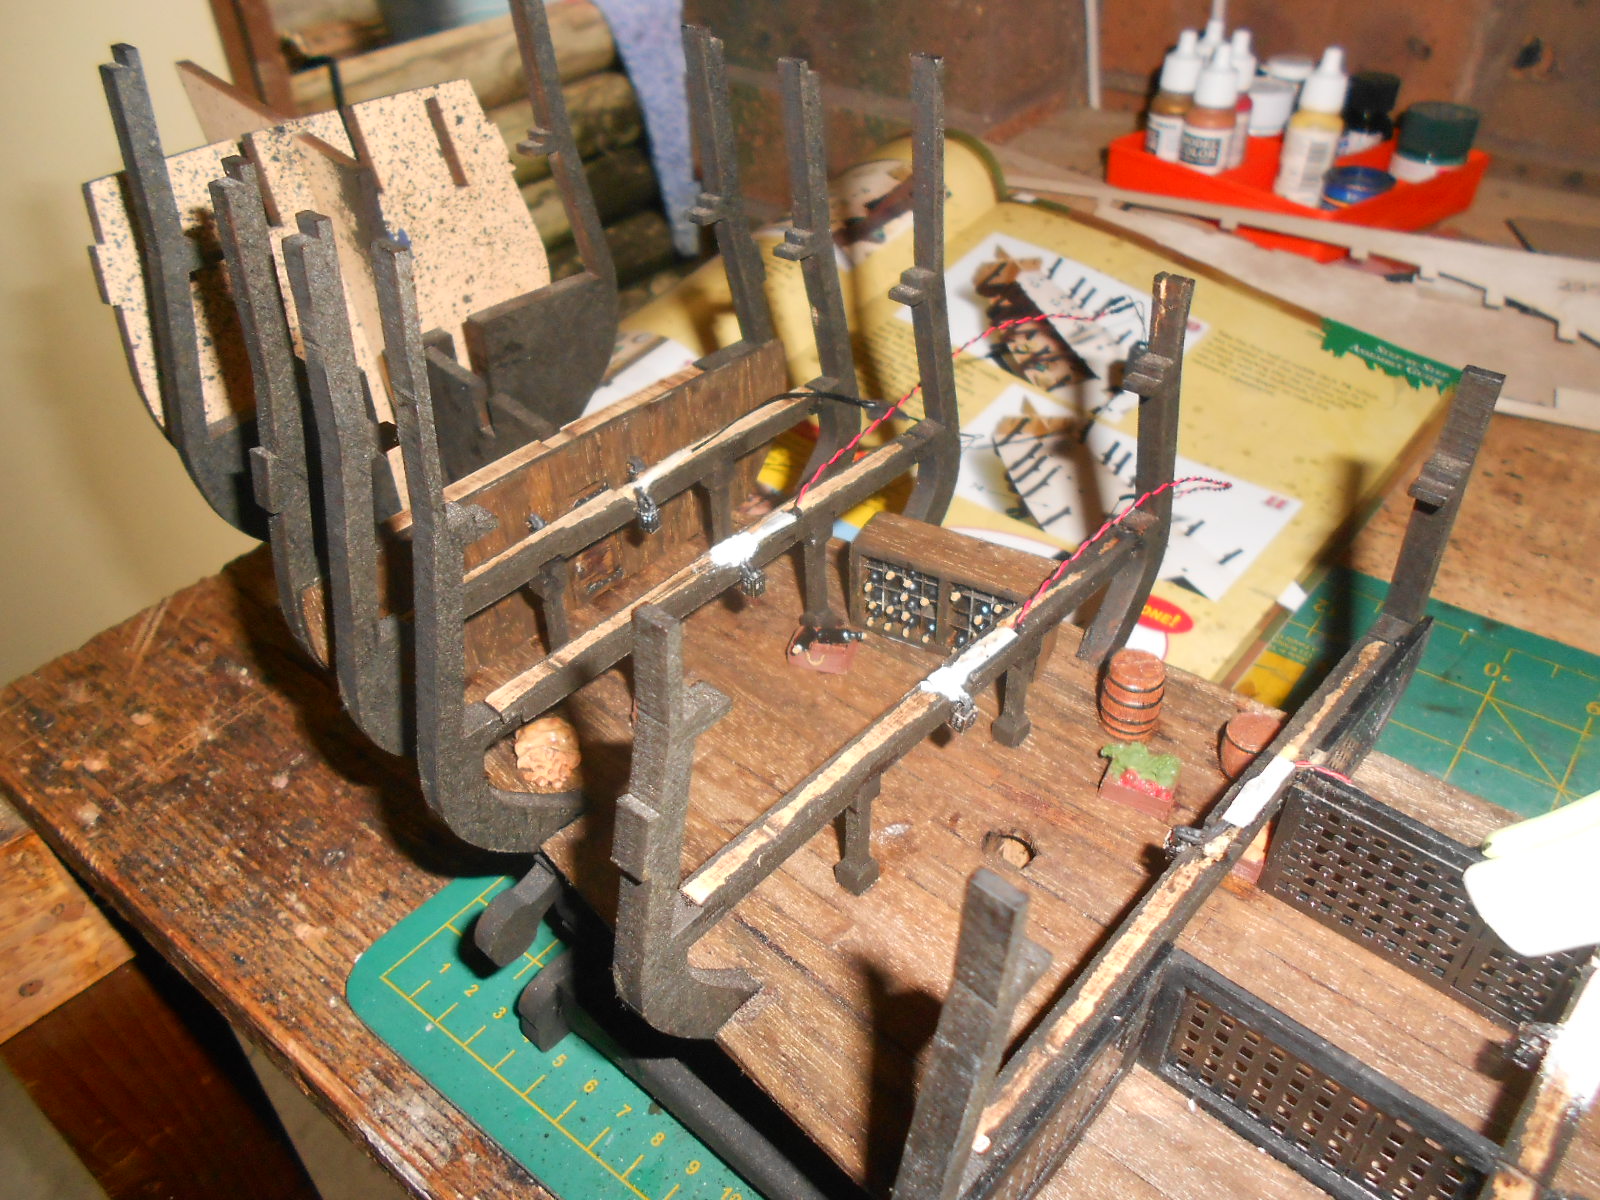
i received the lights sooner then i thought so i have been working on placing them inside
8 of the 10 or in place , the last two will come after i put the two bulkheads in place.
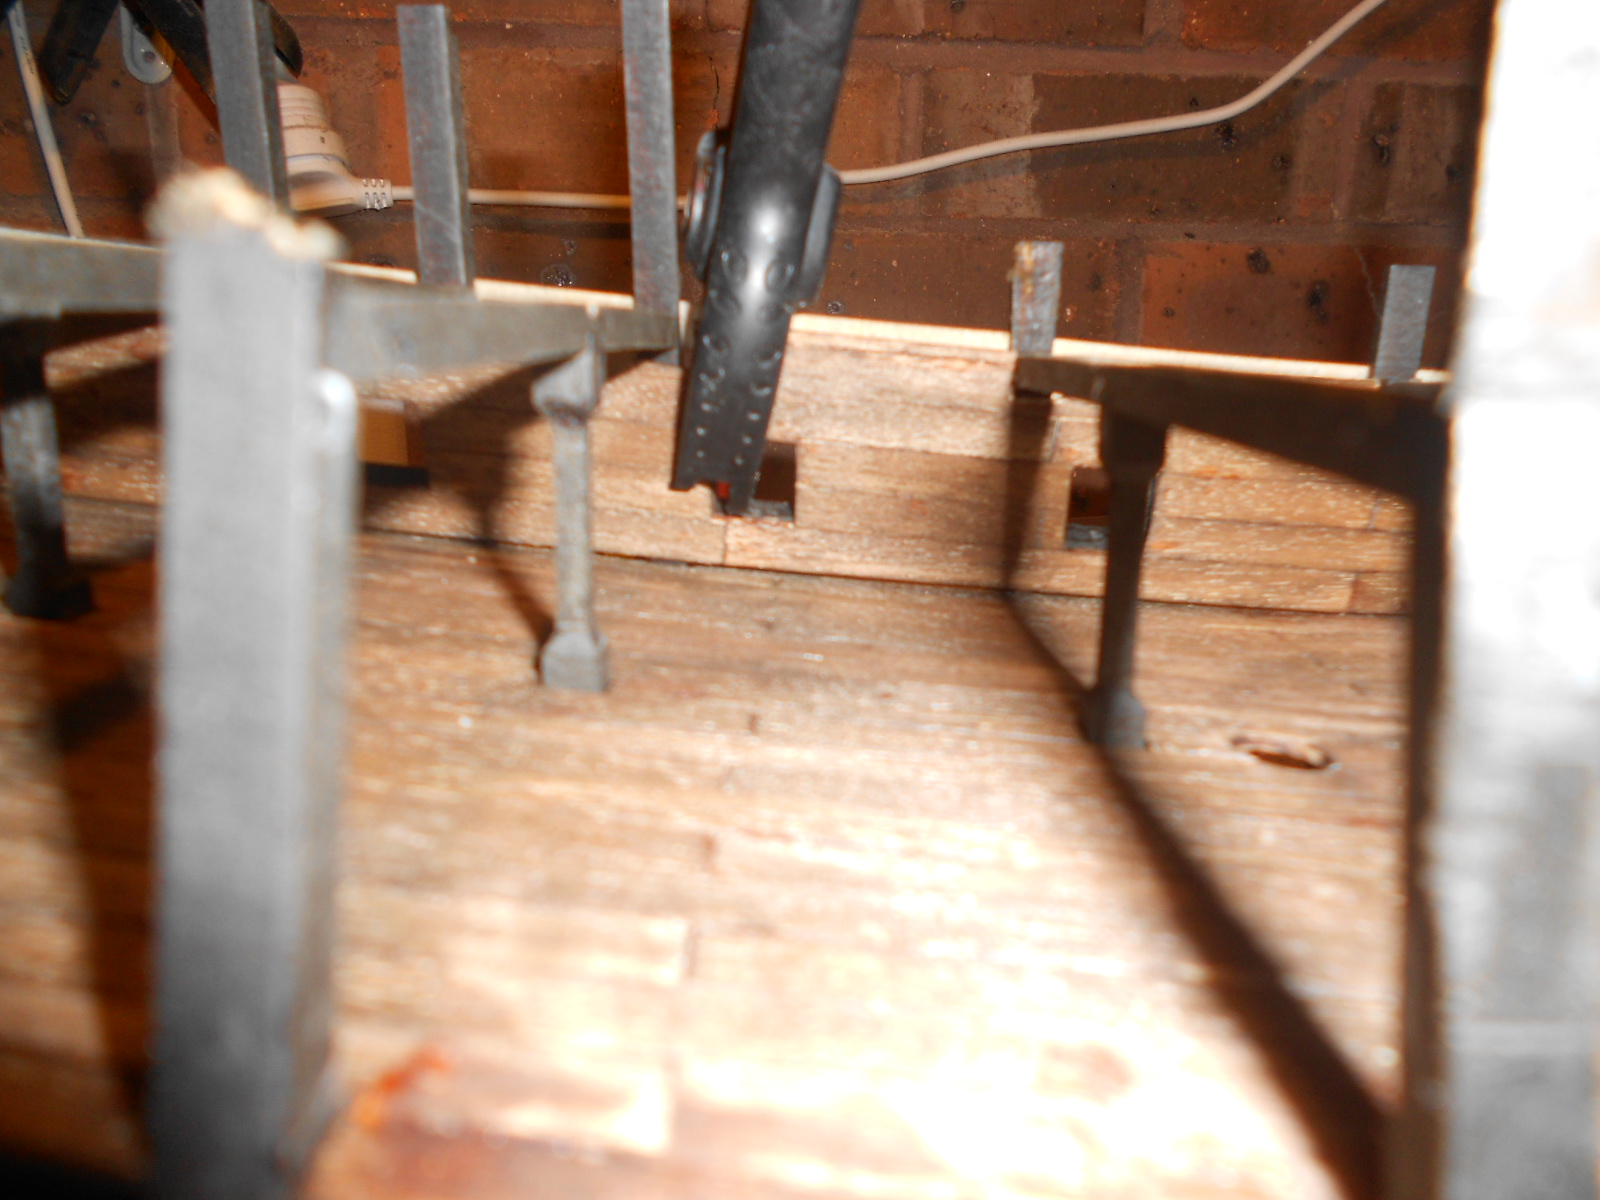
you can see how i placed the wiring all in side the double wall
you can also see that i broke several of the top bits off
 . lots of repairs to do after this deck is done
now i can add the outside wall and finish off week 24-28
-
thanks for looking in Piet. Yes I think the next delivery will include some cannons

thanks David
-
-
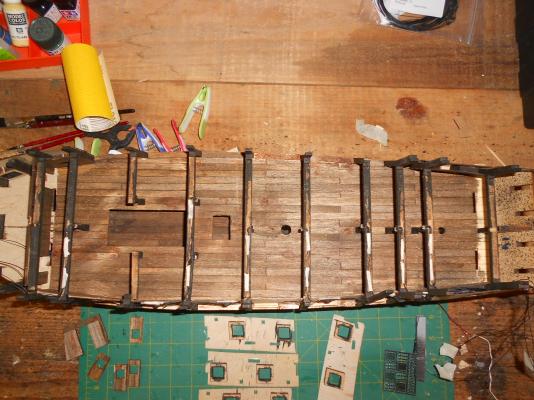
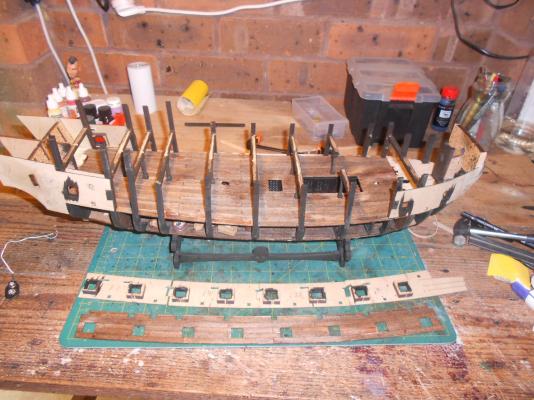
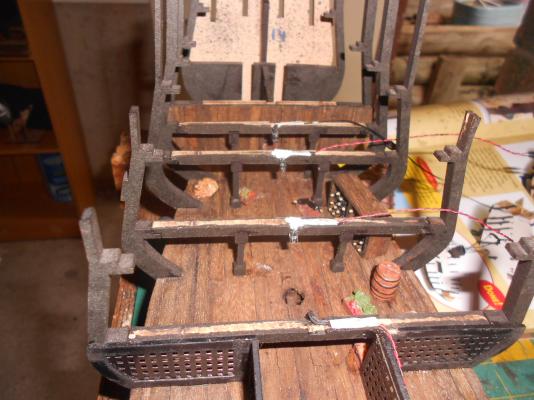
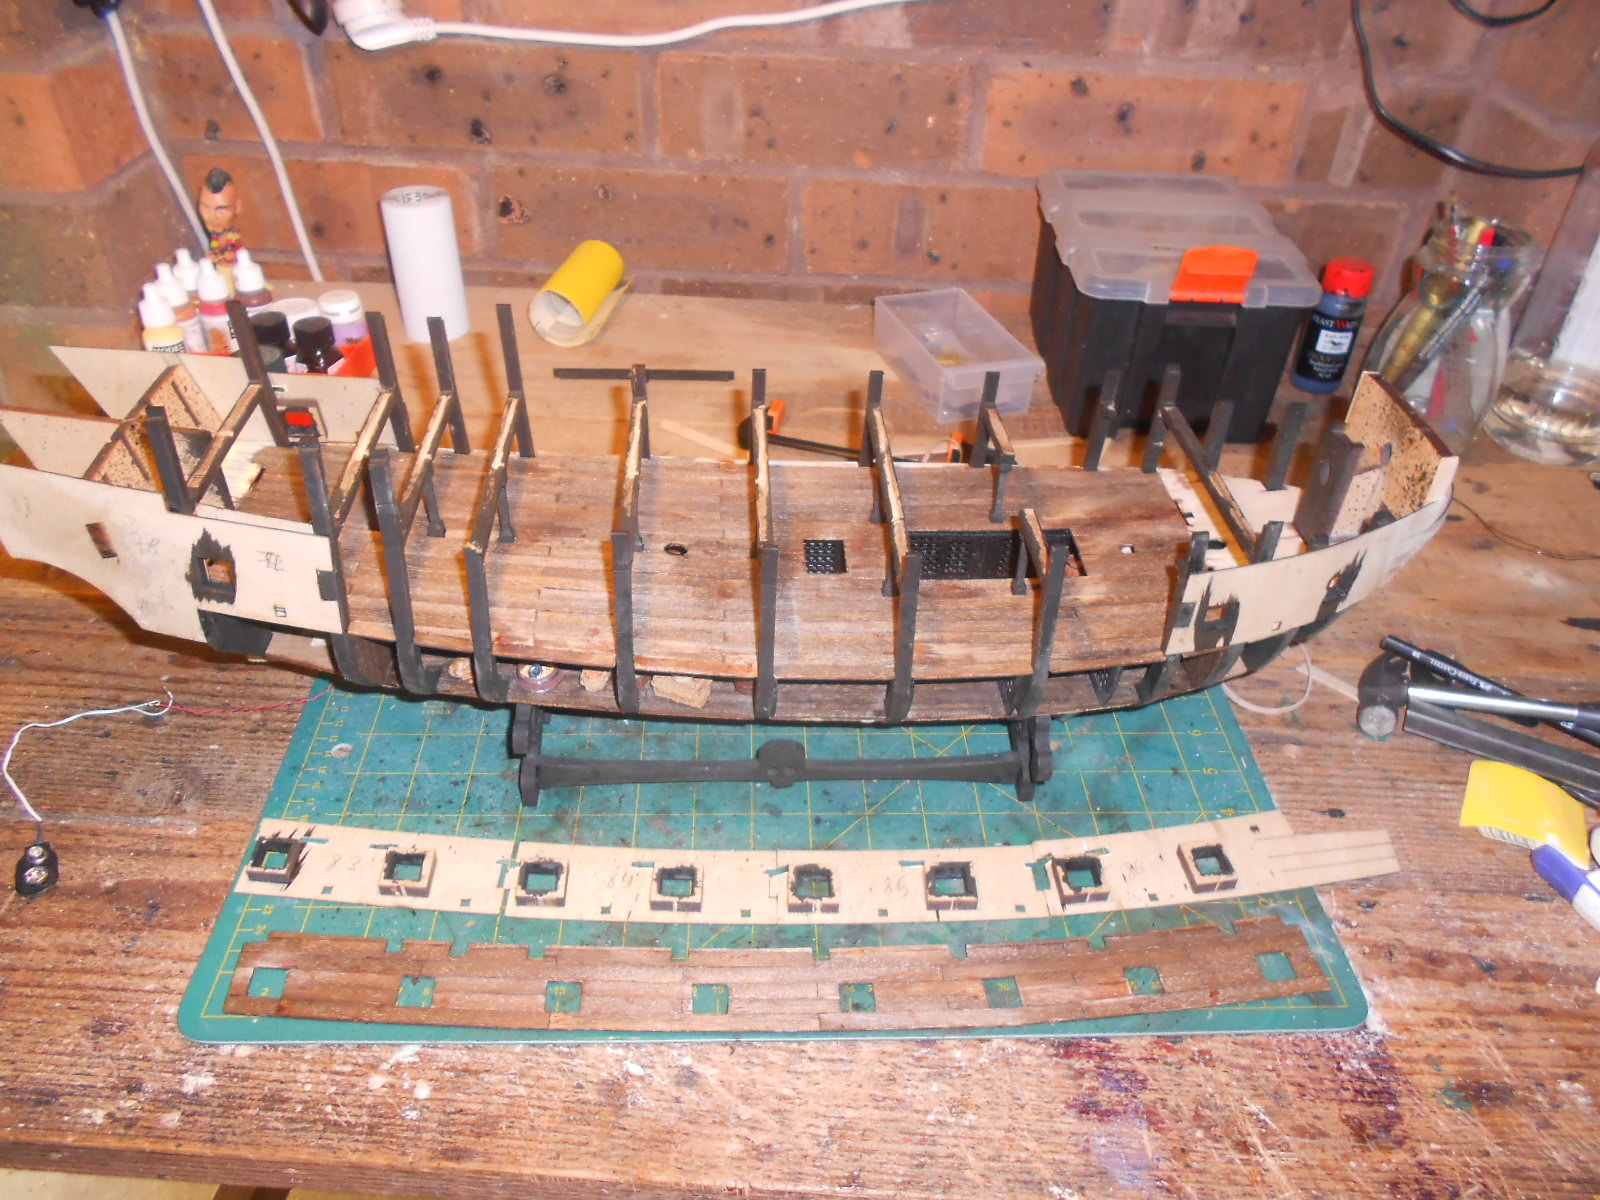
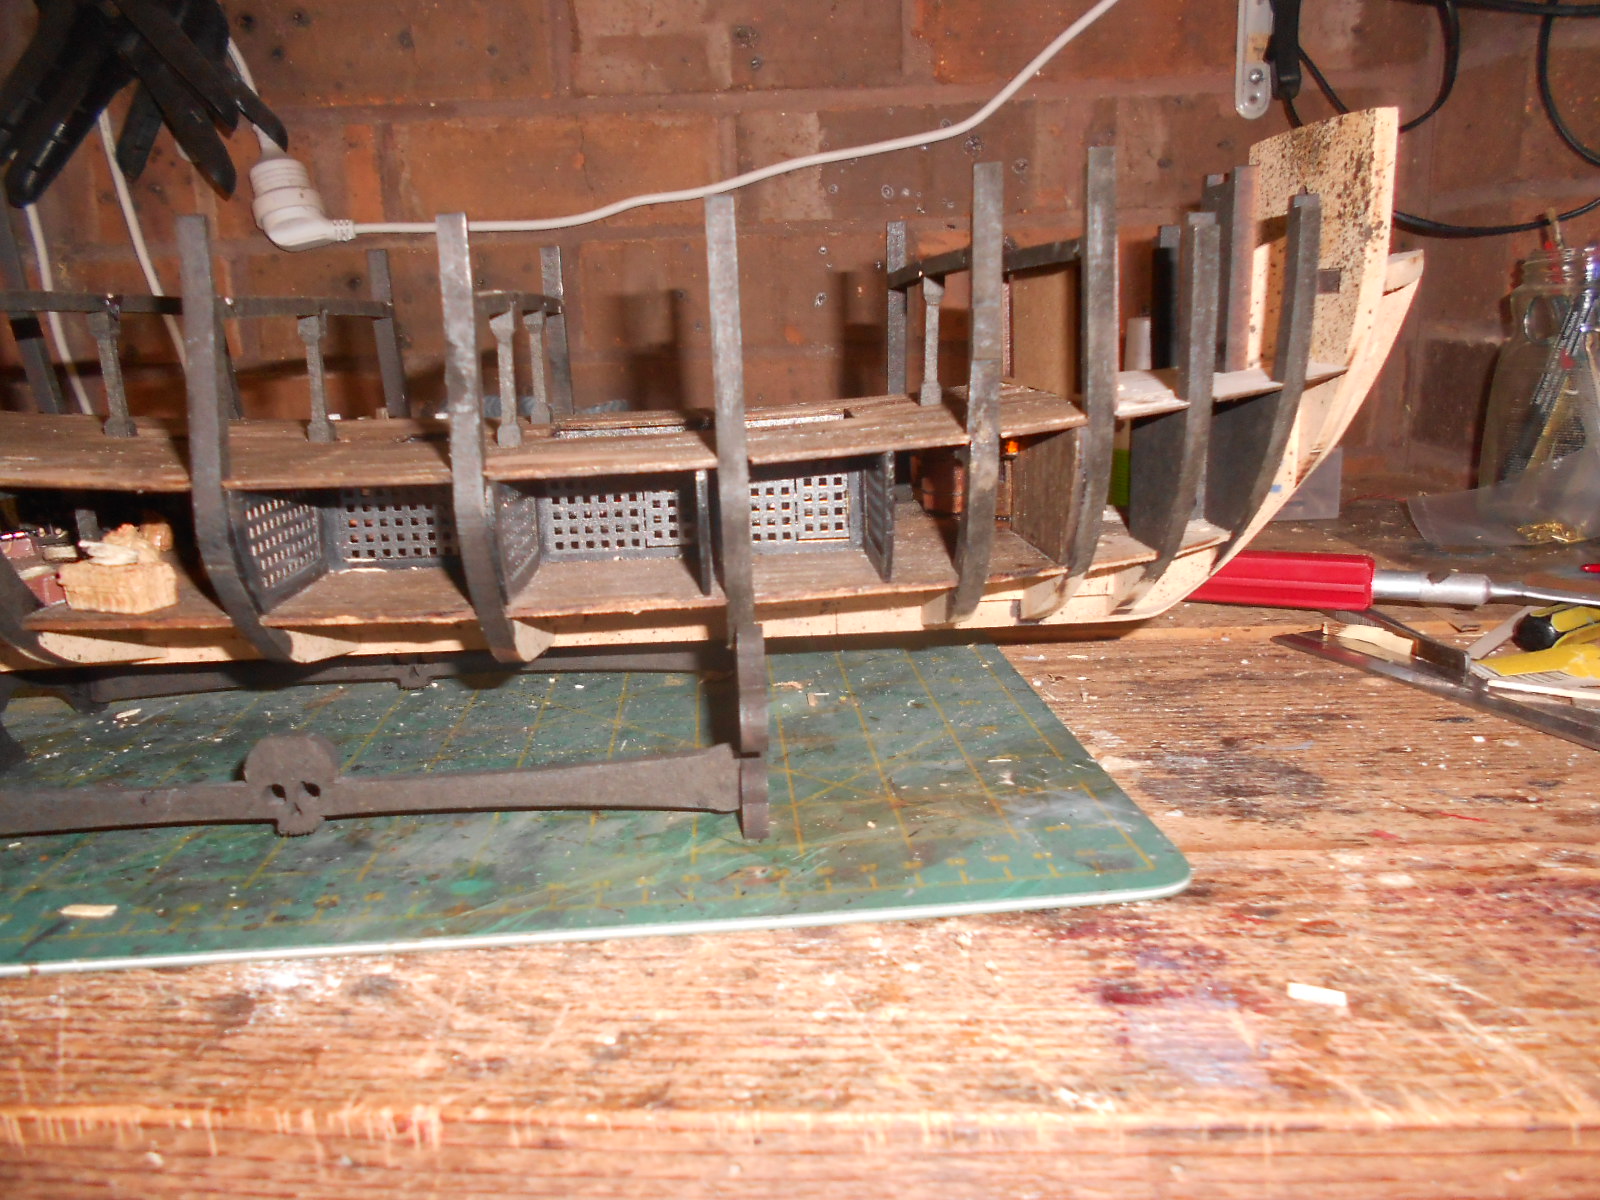
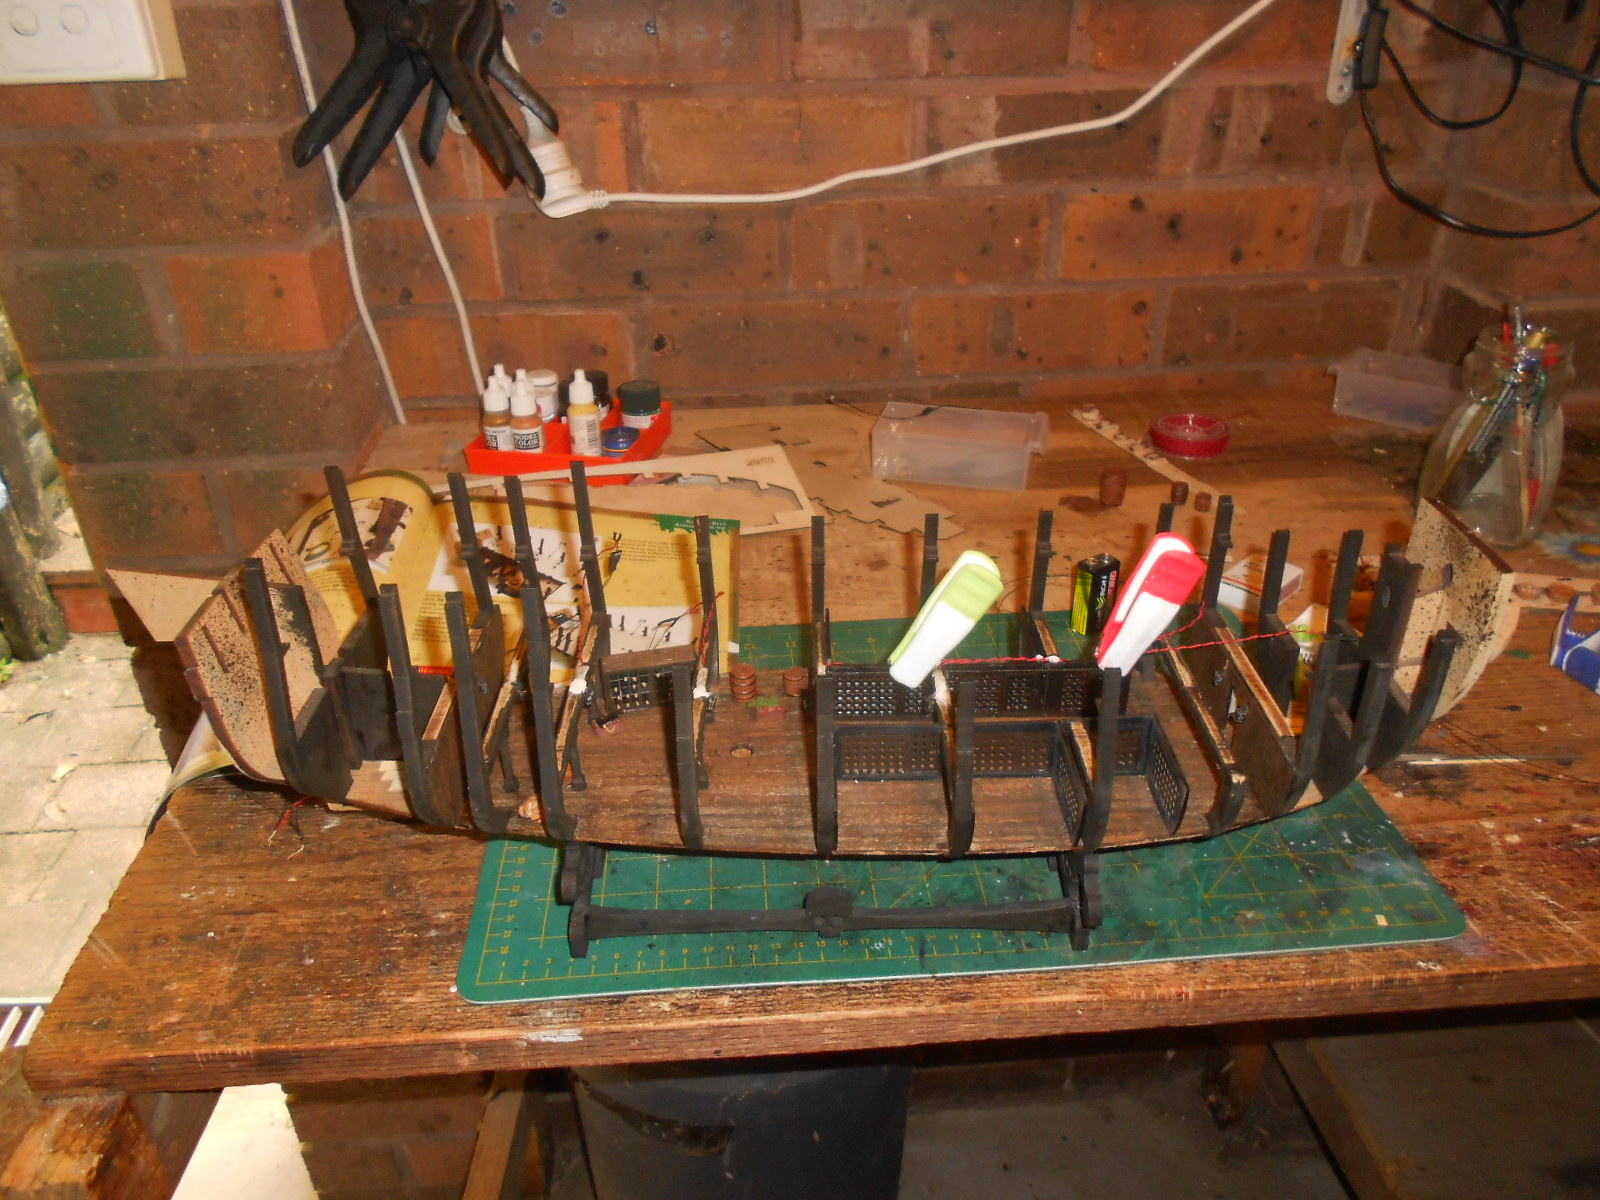
WEEK 24 - 28
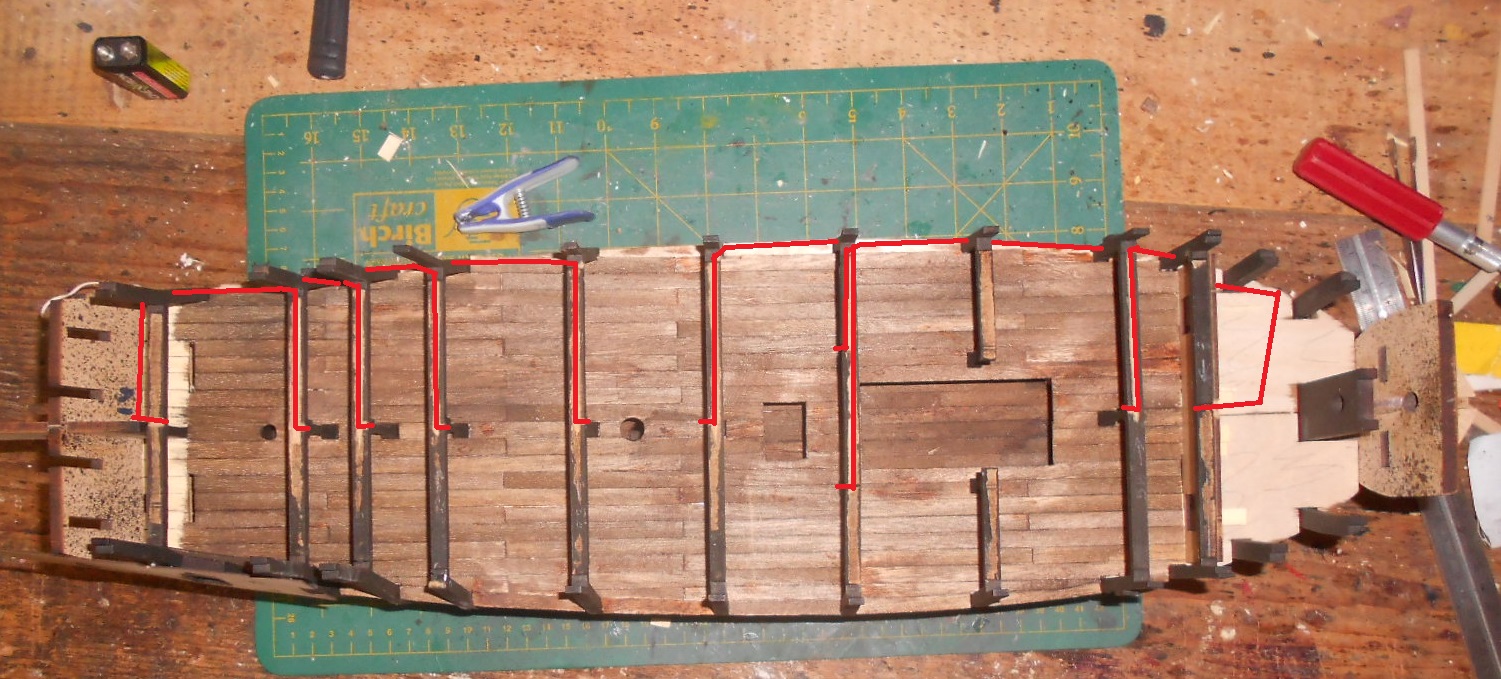
brings all parts for the in and outside walls of the gun deck
most of the work is done, just need to put them in place. but that will have to wait till I receive the next shipment of my lights
I have made some holes in the outside walls to tread the wiring around the bulkheads
the inside wall is actually 3 pieces but after checking I can still slide it in I put them all together and planked them.
I am almost out of those left over strips (7x0.6x500) but I should have enough to finish the 4 doors and 2 bulkheads
hopefully I wont need any more from then on


-
thanks Mark. they might be bottles of rum

-
-
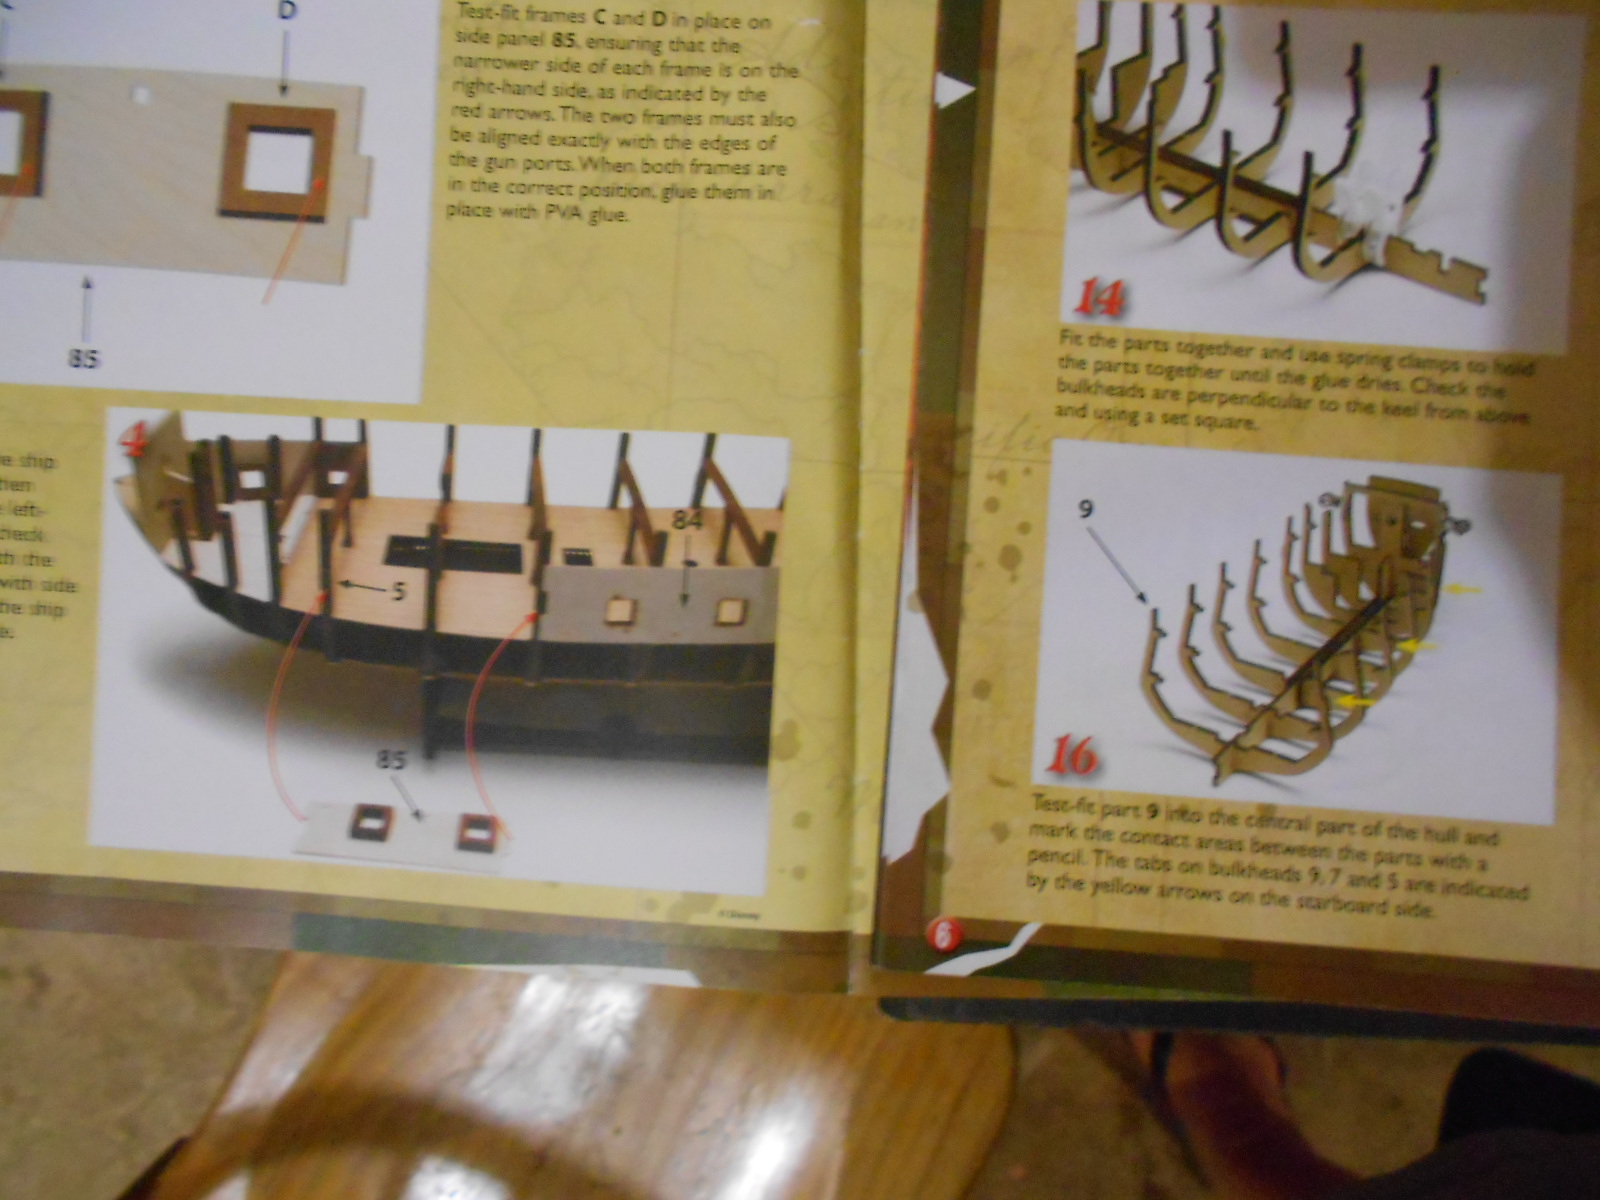
Hello Captain Steve I followed your advice and the tabs are where they supposed to be. I incorrectly assumed they where to fit the parts on the closed side. what the purpose of the tabs then is on the open side I am not sure. maybe later on in the build it will become clear
for your suggestion to open up the other side , would be an option if all the parts including the wine rack weren't positioned to be viewed from the current open side.
-
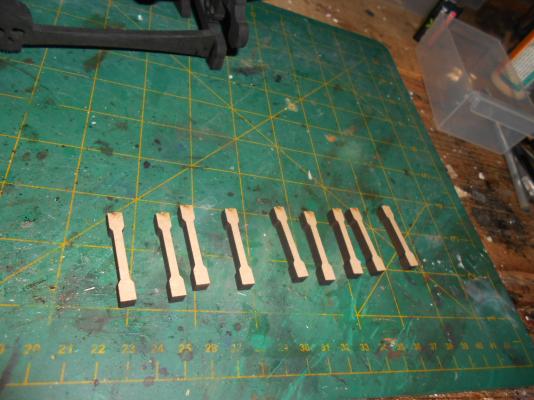
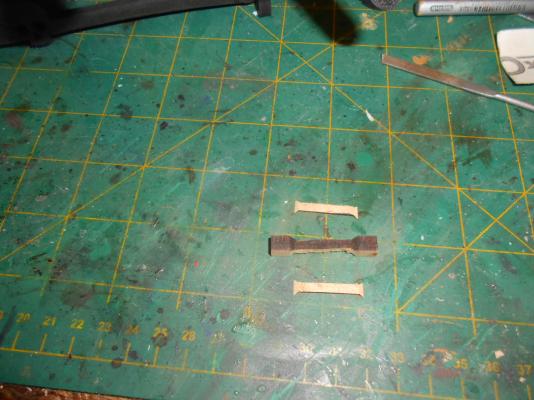
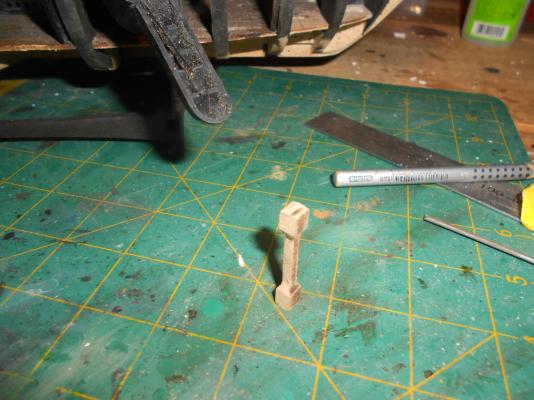
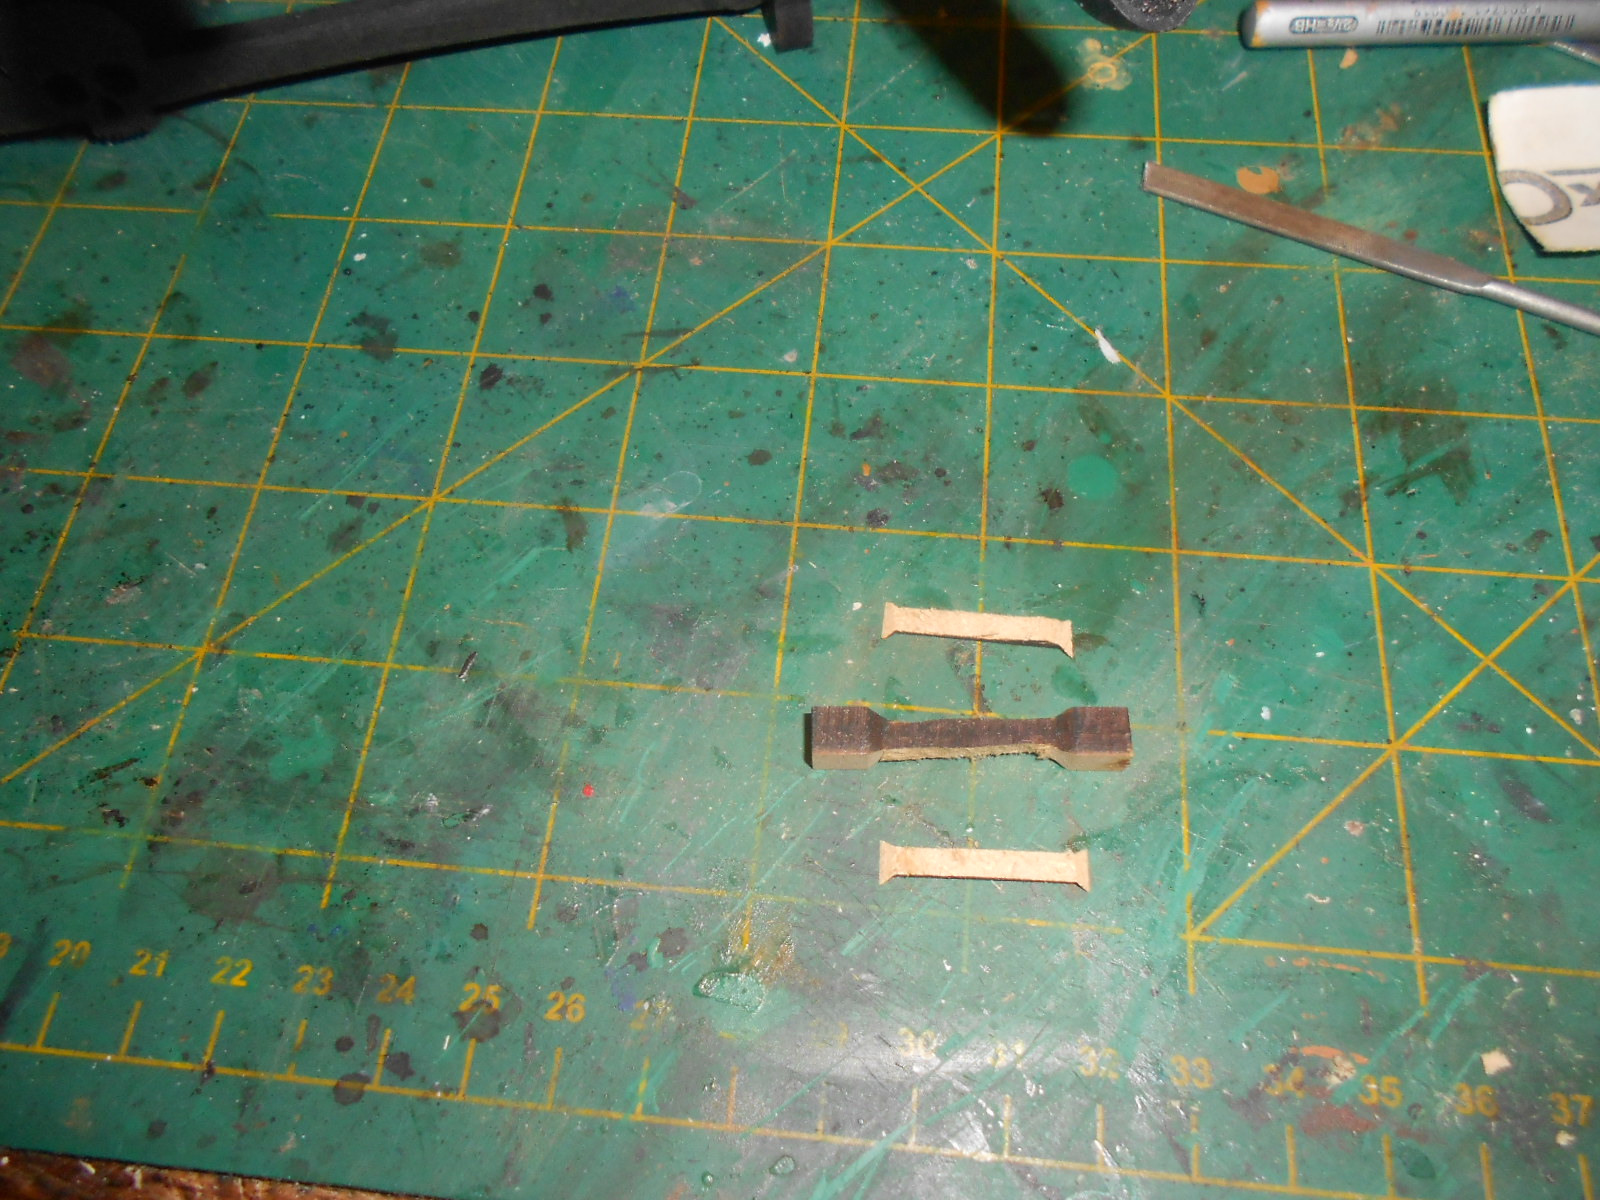
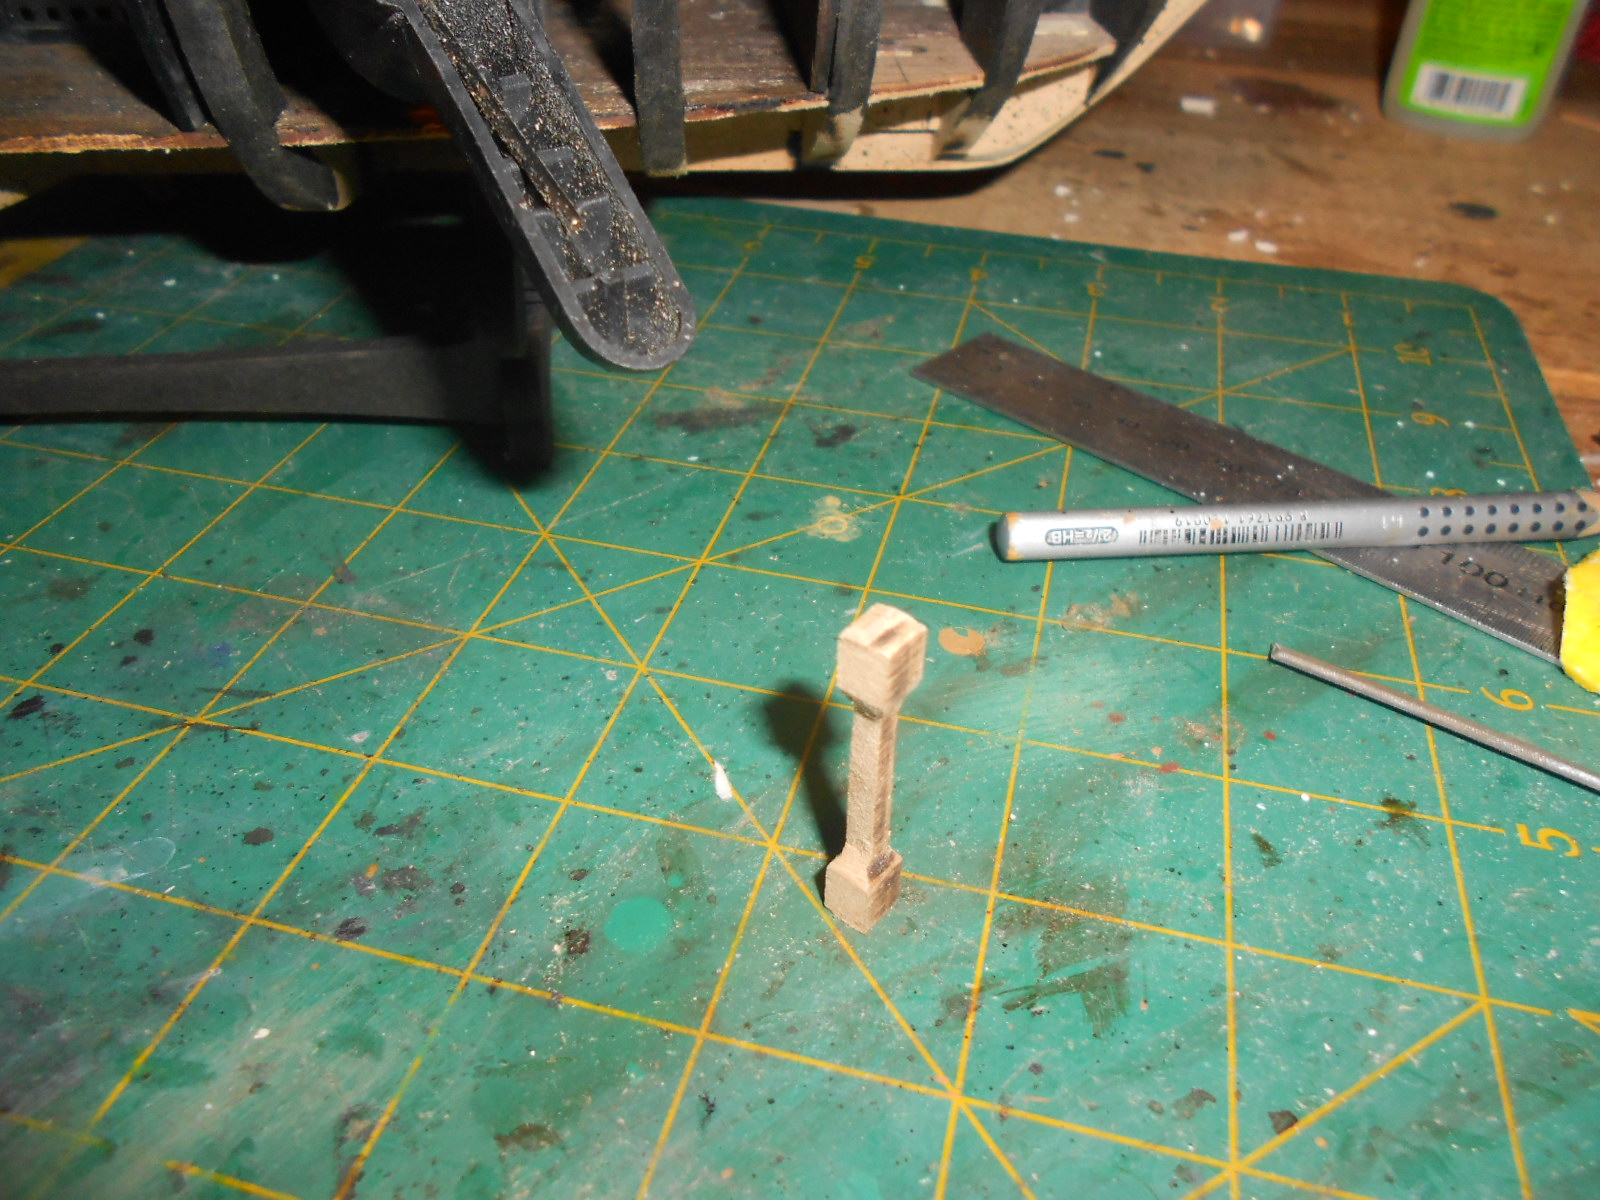
here the adjustments I did to the columns
first picture is a shot before
second picture shows the two sliced of parts. I make 2 45 degree cuts at the top and bottom and then make a cut from one end to the other to remove it. then repeat on the other side
last picture the finished product all it needs is a bit of sanding and then staining
-
I shouldn't be surprised about instructions being wrong.
today I noticed that the little tabs on the ribs that will hold the parts with the gunports are on the wrong side.
they are on the side that is going to be open
thinking I made a mistake early on I went back to have a look and yup its the instructions that are wrong
in the picture on the right it shows the tabs on the right when facing the bow
in the one on the left it shows them on the left
this means I will need to cut them off and somehow add them on the other side

-
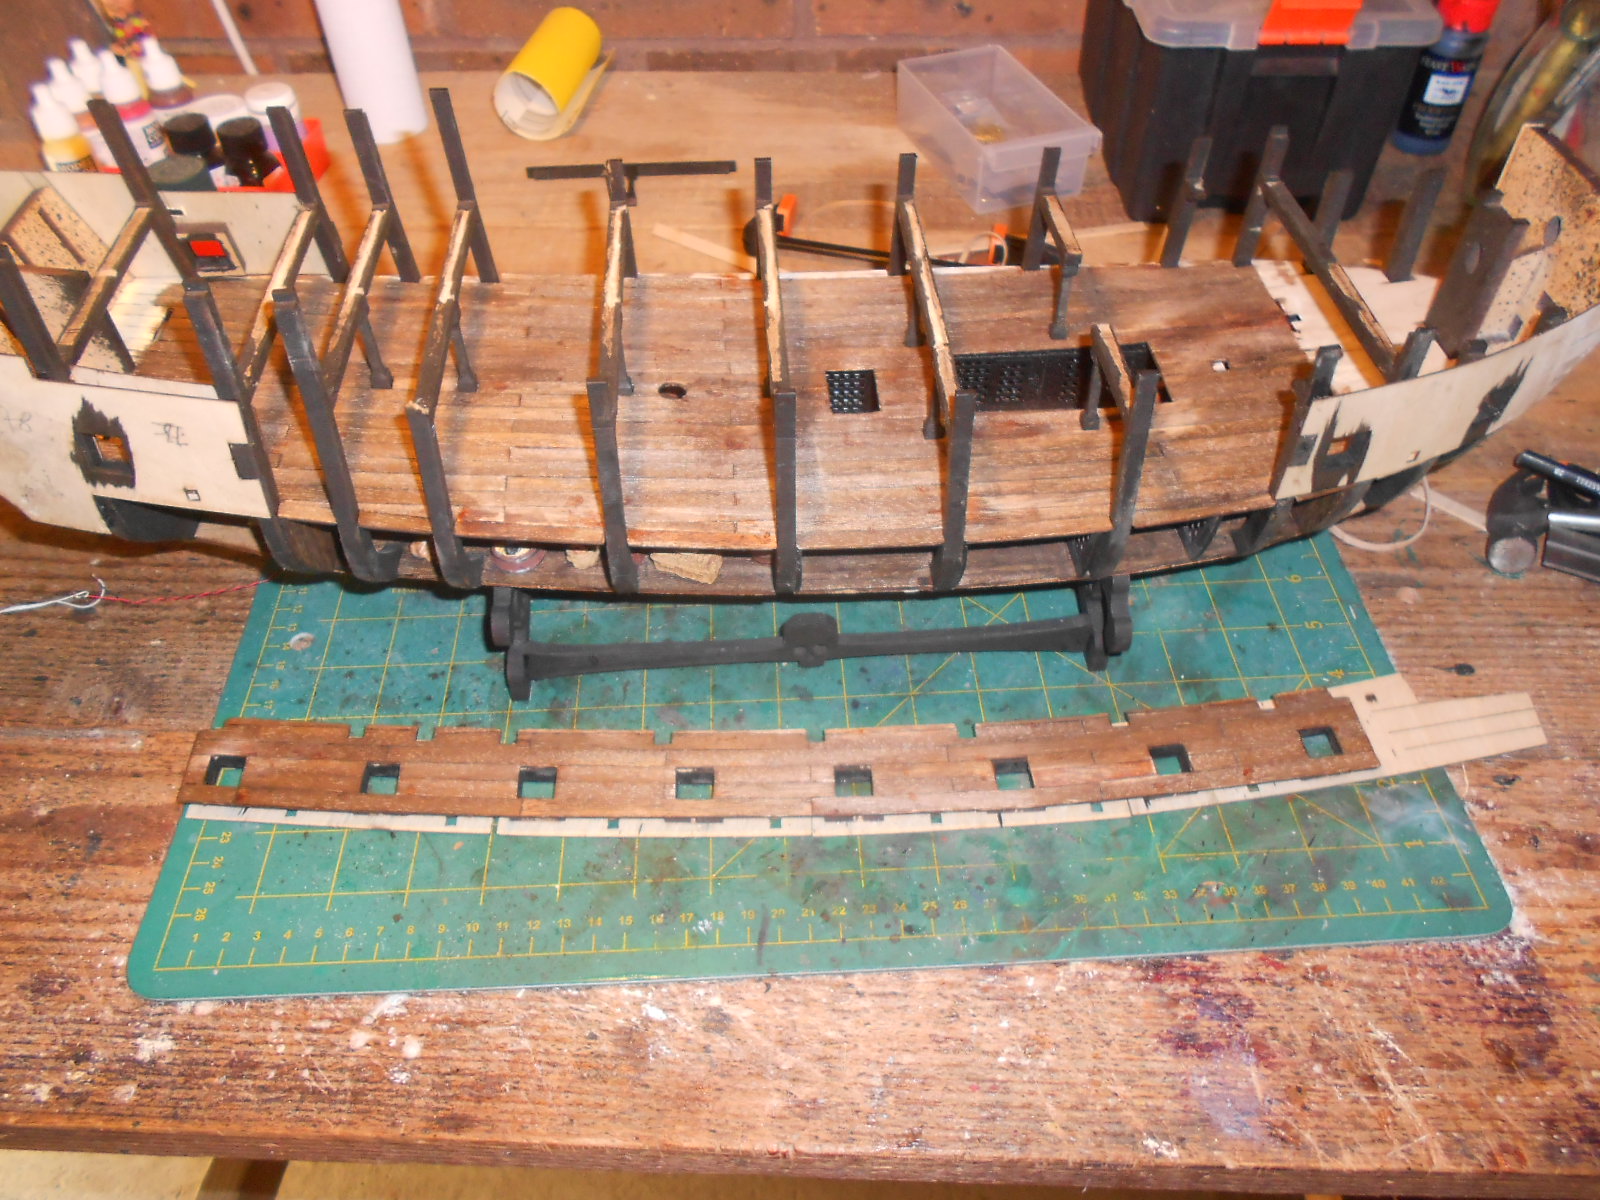
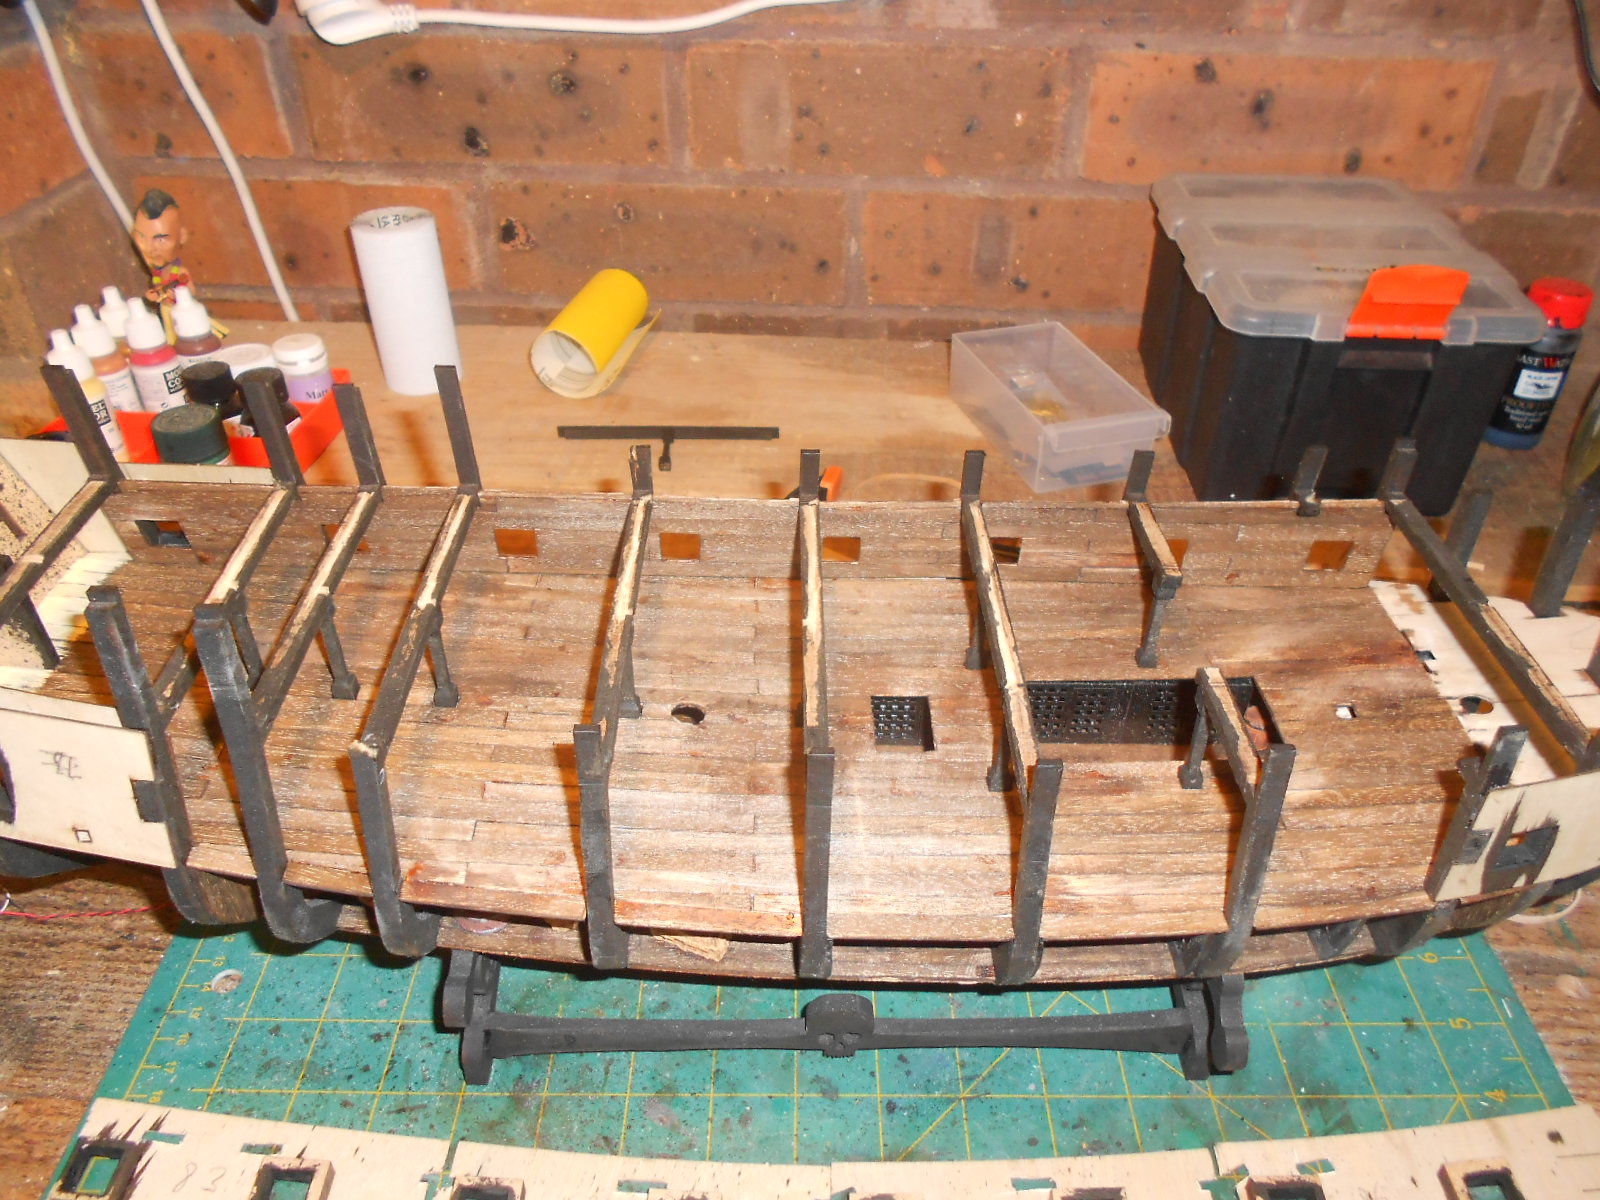
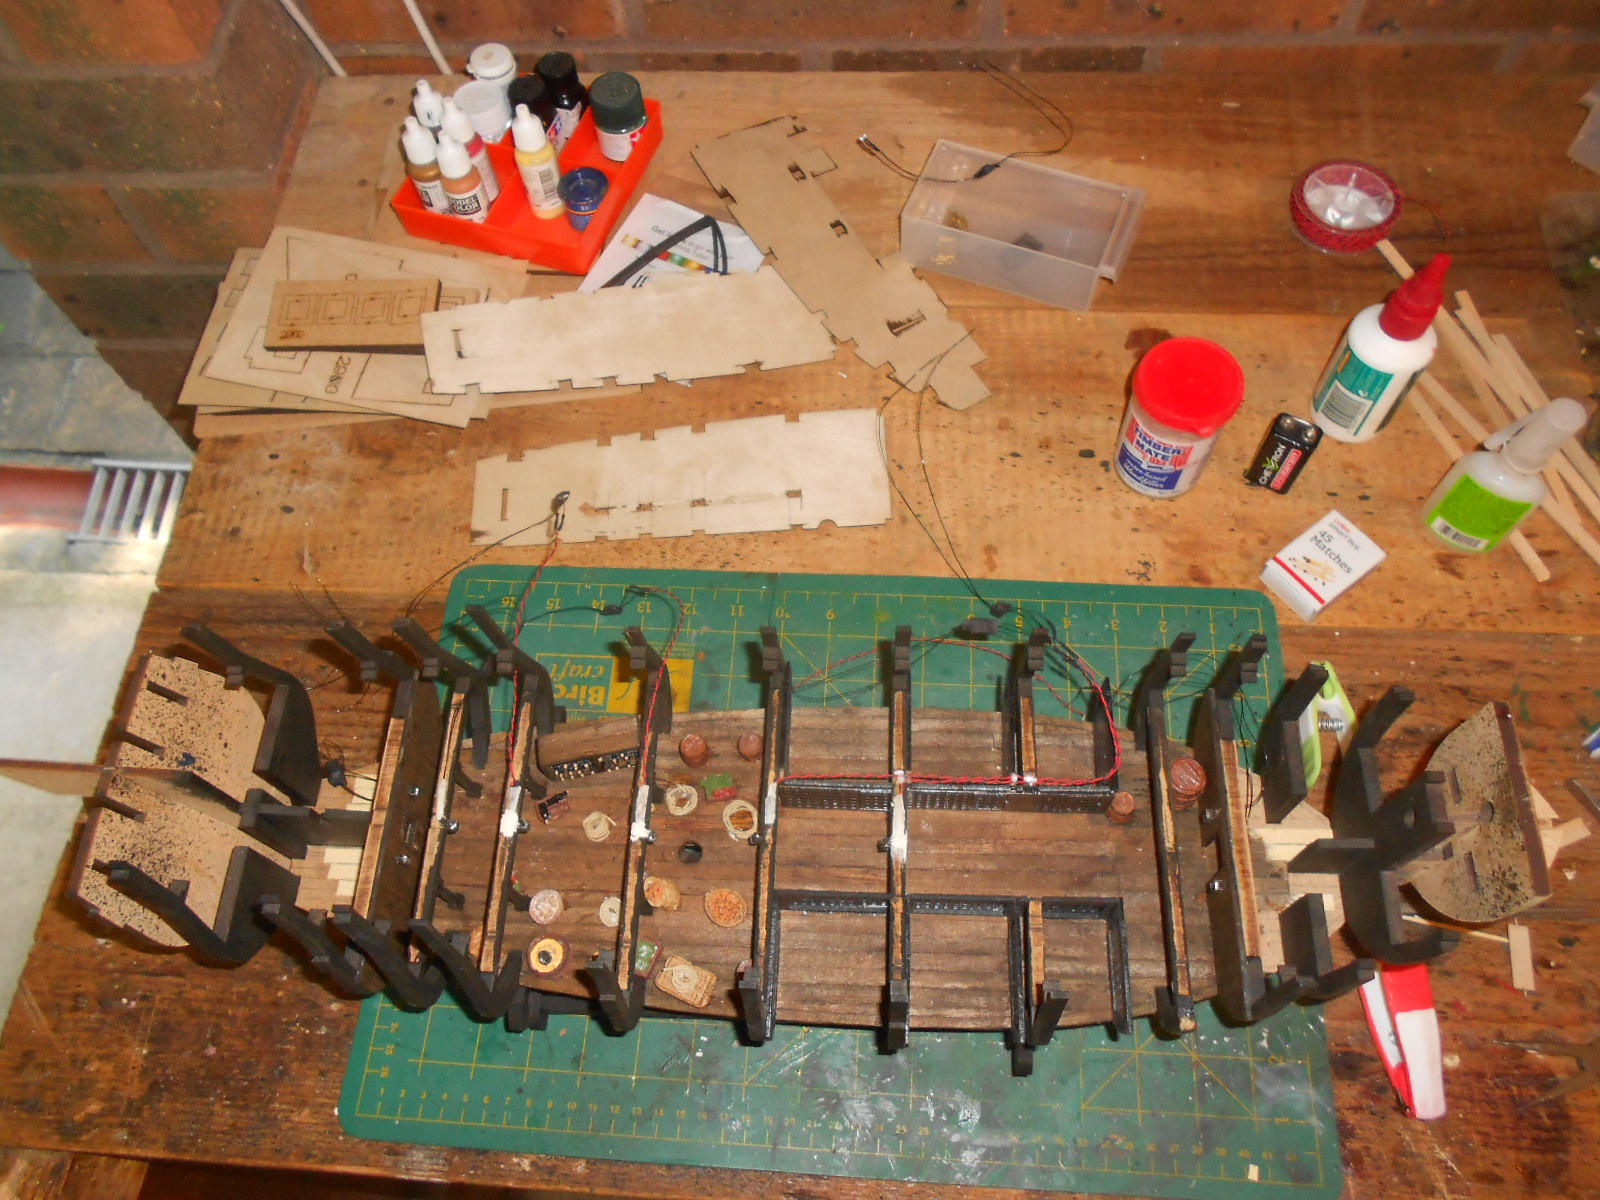
WEEK 22
yet again I will not use the two provided sheets of cardboard that represents the deck planking, but instead use left over strips.
also provided are all columns for the beams. as I did with the ones on the lower deck I will adjust them a bit to make them look a bit more 3 dimensional ( I ll take a picture next time to show what I mean
WEEK 23
these are all the beams for this deck. 10 more lanterns will need to be fixed to these so I will need to adjust them so I can hide the wiring inside.
a groove about 2 mm will be cut on the top leading to the side that will be completely planked. there the wiring will be hidden between the inside and outside planking.
-
thanks Dragzz and CaptainSteve
-
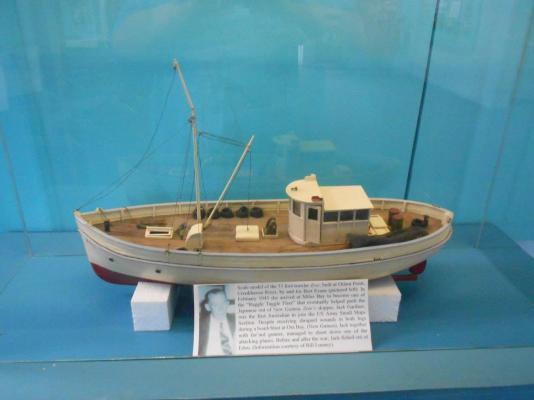
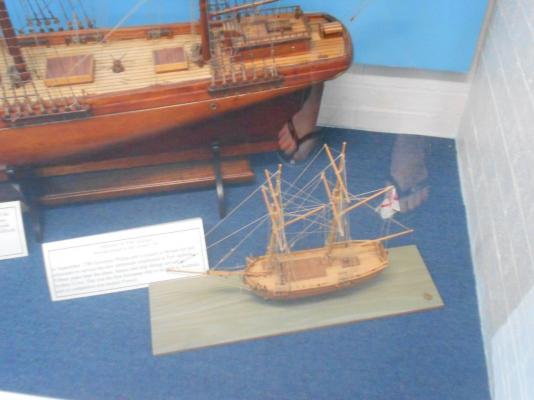
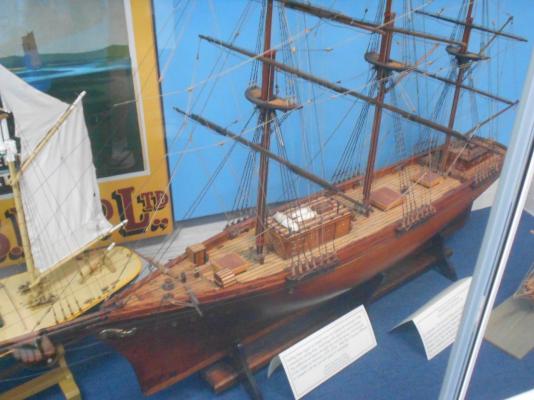
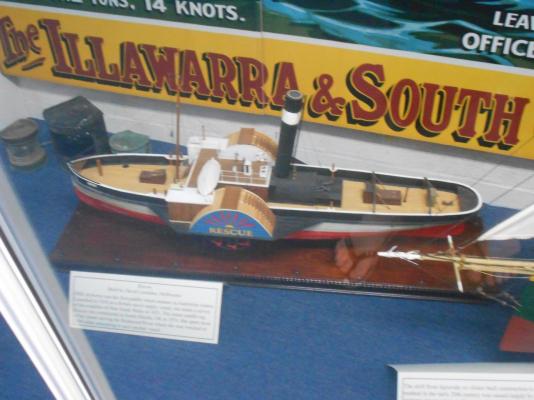
We went on a road trip to Melbourne last week and stopped over at a little place halfway called Eden
Beside the beautiful views there is also the Killer Whale museum.
It is small but had some nice model ships.
Interesting fact that at certain times the killer whales worked together with the Whalers to catch Whales


- CaptainSteve, mtaylor, edmay and 6 others
-
 9
9
-
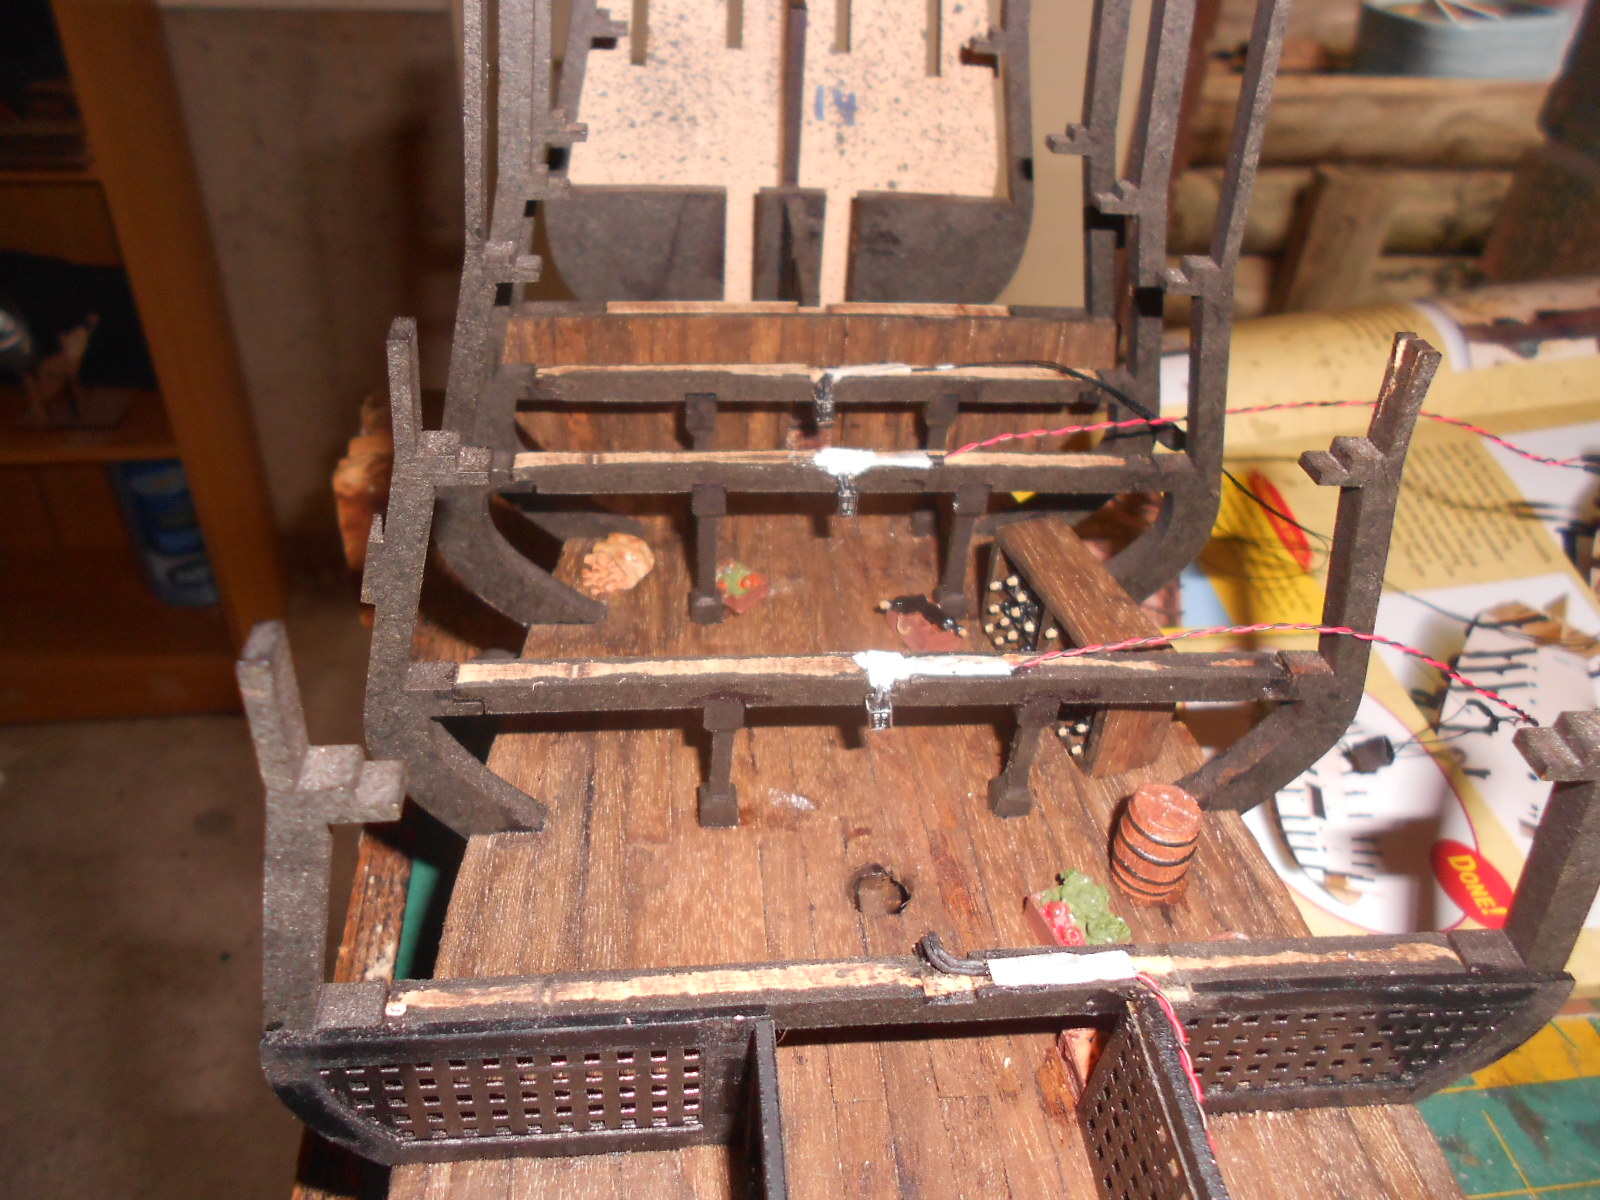
Week 19 - 21
after finishing off the painting of all the tiny parts of week 16- 18 its now time to place them in the ship
I have also worked on fitting the lanterns (with LEDs) and only one remains to be done
all the parts of the lower deck are glued in place and I have checked to make sure they are sturdy as the ship will be on the side when planking starts and I don't want any bits falling off
once the final lantern is in place I can glue the 4 parts of the next deck in place tomorrow.
I have modified two of those parts for the wiring so that all will be hidden


-
Thanks John
me and the family have been on a road trip to Melbourne to catch some Australian Open tennis and now I have 1 week before going back to work and I intend to catch up on the Pearl
- edmay, CaptainSteve, Piet and 1 other
-
4
-
thanks Scott,
you have given me hope that I can get this to work
- chevygrunt and GLakie
-
2
-
happy new year to you too Don
-
a great 2015 for you and your family too Piet
I promise lots of pictures in this year
-
thanks all off you
i will take in your advice and do some more testing
grant thanks for the video link , i will give that a go this weekend (i hope) . hopefully i can do all the adjustments on my saw
what i noticed , but wasn't mentioned that the insert is pretty tight. the plastic one that comes with mine is pretty open so i might need to make one myself
-
today I finished one of the bulkheads, adding the door and the two lanterns
-
I got a bandsaw for my Christmas/ birthday
I have done a bit of experimenting with it and have some questions
one of the future uses is to rip planks, cut frames and such out of plywood.
I setup the fence and sliced of a few planks
what I got was planks that started at 2 mm thickness at the end that widened to 4 mm
I assume this is because the bandsaw belt bends outwards with the pressure.
I tightened the belt as much as I could before hand
is this normal on bandsaws and if so how can I avoid this.
as you can tell I am totally new in using power tools so any help would be appreciated
-
very very nice cannons.


King of the Mississippi by Adrieke - FINISHED - Artesania Latina - Scale 1:80 - with LED lighting
in - Kit build logs for subjects built from 1851 - 1900
Posted
hello Maturin, no worries I am glad my build log is helping you in your build. I ll be looking in on your log
thanks rowand