


Adrieke
-
Posts
1,625 -
Joined
-
Last visited
Content Type
Profiles
Forums
Gallery
Events
Posts posted by Adrieke
-
-
I am back
everyone have a good new year
all building has been on hold due to celebrating and then afterwards the discovery of some wood eating pests that most likely have gotten away with a few parts.
as my workbench is partially unusable it might be a bit for I start again. I first want to catch up with the pearl as I am 2 months behind on her
- edmay, augie, popeye the sailor and 1 other
-
 4
4
-
hello figuerres
hopefully they will in the near future
I haven't had much time during the holiday break , plus we have some more issues in our house regarding some small pests that love to eat wood
I have started again working on painting the barrels and crates of vegetables
I ll get some updates soon
-
Hello Snoepert
under the main site there is a forum with questions and instructions that tells you how to add pictures
sorry I cant give the link as some browsers, like Internet Explorer 11, have issues with this site
-
hello Apprentice
I didn't measure the angles and assembled the steps 4 at a time to create a 90 degree angle.
I assume that stacking the steps you don't actually create a perfect circle looking from above.
-
thanks Andy , yes a sander would be great but one tool at a time

thanks Bob and Druxey, yes I have checked out the DeWalt , but although they do seel the tools here no mention of the scroll saw
-
after a long time thinking and going back and forth , my first power tool I want to buy is a scroll saw.
I can use this for scratch building in the future , but also for cutting out scroll saw patterns (which I have heaps off)
I had a look at the cheap models but beside worrying how accurate they would cut they all have pinned blades which cant be used when you have very small interior cuts.
so I have narrowed it down to 4 which are available in Oz :
1) proxxon DS 230/E : the cheapest which also comes with a fence and mitre guide. no tilting table but not sure if I would use this feature. it has the smallest throath size and needs a tool to change blade.
2) Makita sj401 : pinned and pinless blades, need tools to change. but seems there a lot of negative comments about this model
3) carba-tec 18" scroll saw : cant find much about this one and it seems to have all the features I need
4) carba-tec excallibur 16, 21 or 30" : seems a very good one and the saw tilts instead of the table . easy to switch blades because the arm swings up , very handy for interior cuts. but at over $1000 its a lot of money to invest.
i haven't included hegner because just too expensive for what i need
any info comments would be appreciated

-
thanks S.coleman
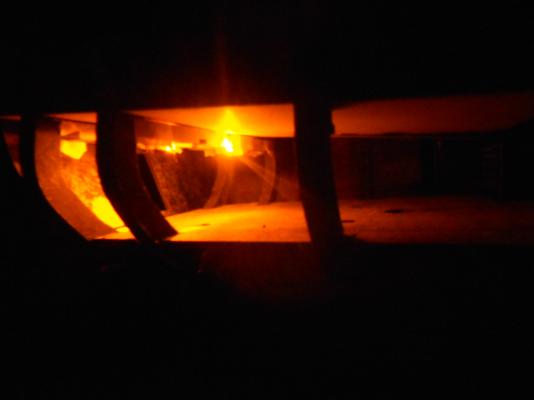
my order of flickering LEDs arrived yesterday. immediatly i realised i ordered the wrong ones. I am pretty sure they will work , but i might have to remove the one that i have installed as they may not be compatible. i have enough to do the lower deck (with 2 spares).
from next week i ll be on hollidays for 2 weeks, staying home mostly and there should be plenty off time finishing off the whole lower deck
- edmay, DCIronfist and Piet
-
3
-
thanks Piet. so far so good
here some pictures of where I am at


- yvesvidal, CaptainSteve, edmay and 5 others
-
8
-
thanks Wayne.
no update as the little time i had for building was spend on the Black Pearl.
really looking forward to 2 weeks of hollidays. Besides celebrating and spending time with the family i ll have more time to build
- mtaylor, Piet, DCIronfist and 1 other
-
4
-
busy week at work and at home. most nights where spend trying to prevent my work area/garage to be flooded due to the afternoon storms with heavy rain.
i am slowly progressing though and i have now ordered enough of the flickering LED's to finish the lower deck.
the first one is already installed and the beams that hold the nect deck have been modified to conceal the wiring
-
thanks Piet and Edwin
-
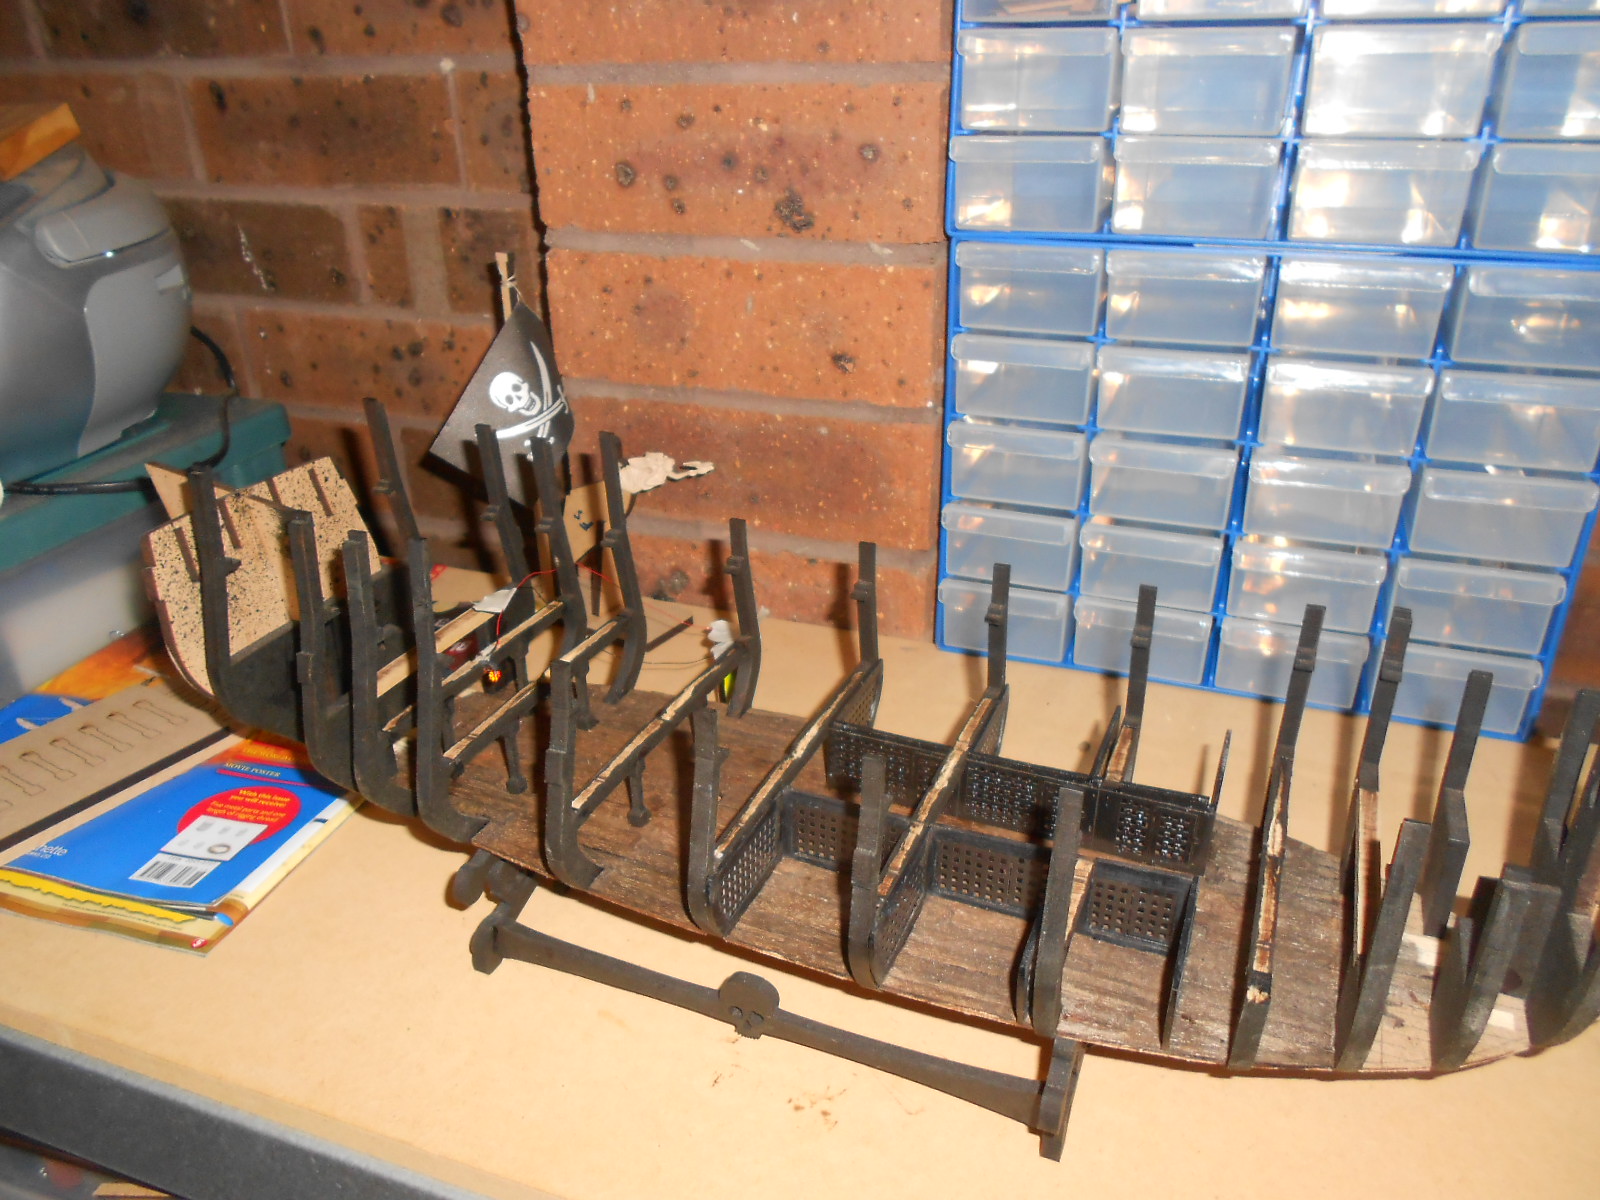
WEEK 16 - 18
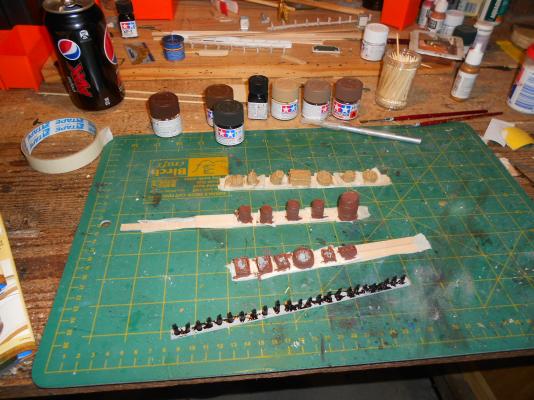
these issues contain metal parts depicting barrels, bottles and basket and boxes with vegetables, fruit , potatoes and so on.
so far all the parts have been primed and the main color applied.
desert yellow for the sacks and wicker baskets
NATO brown for the barrels and wooden boxes
black for the bottles
lots of painting will be necessary to get them to look good, although probably most of these will be hardly visible on the lower deck
-
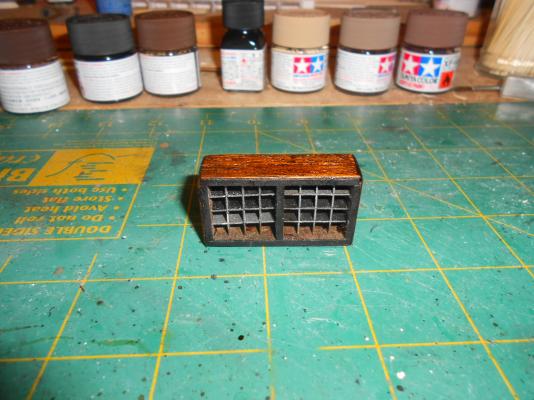
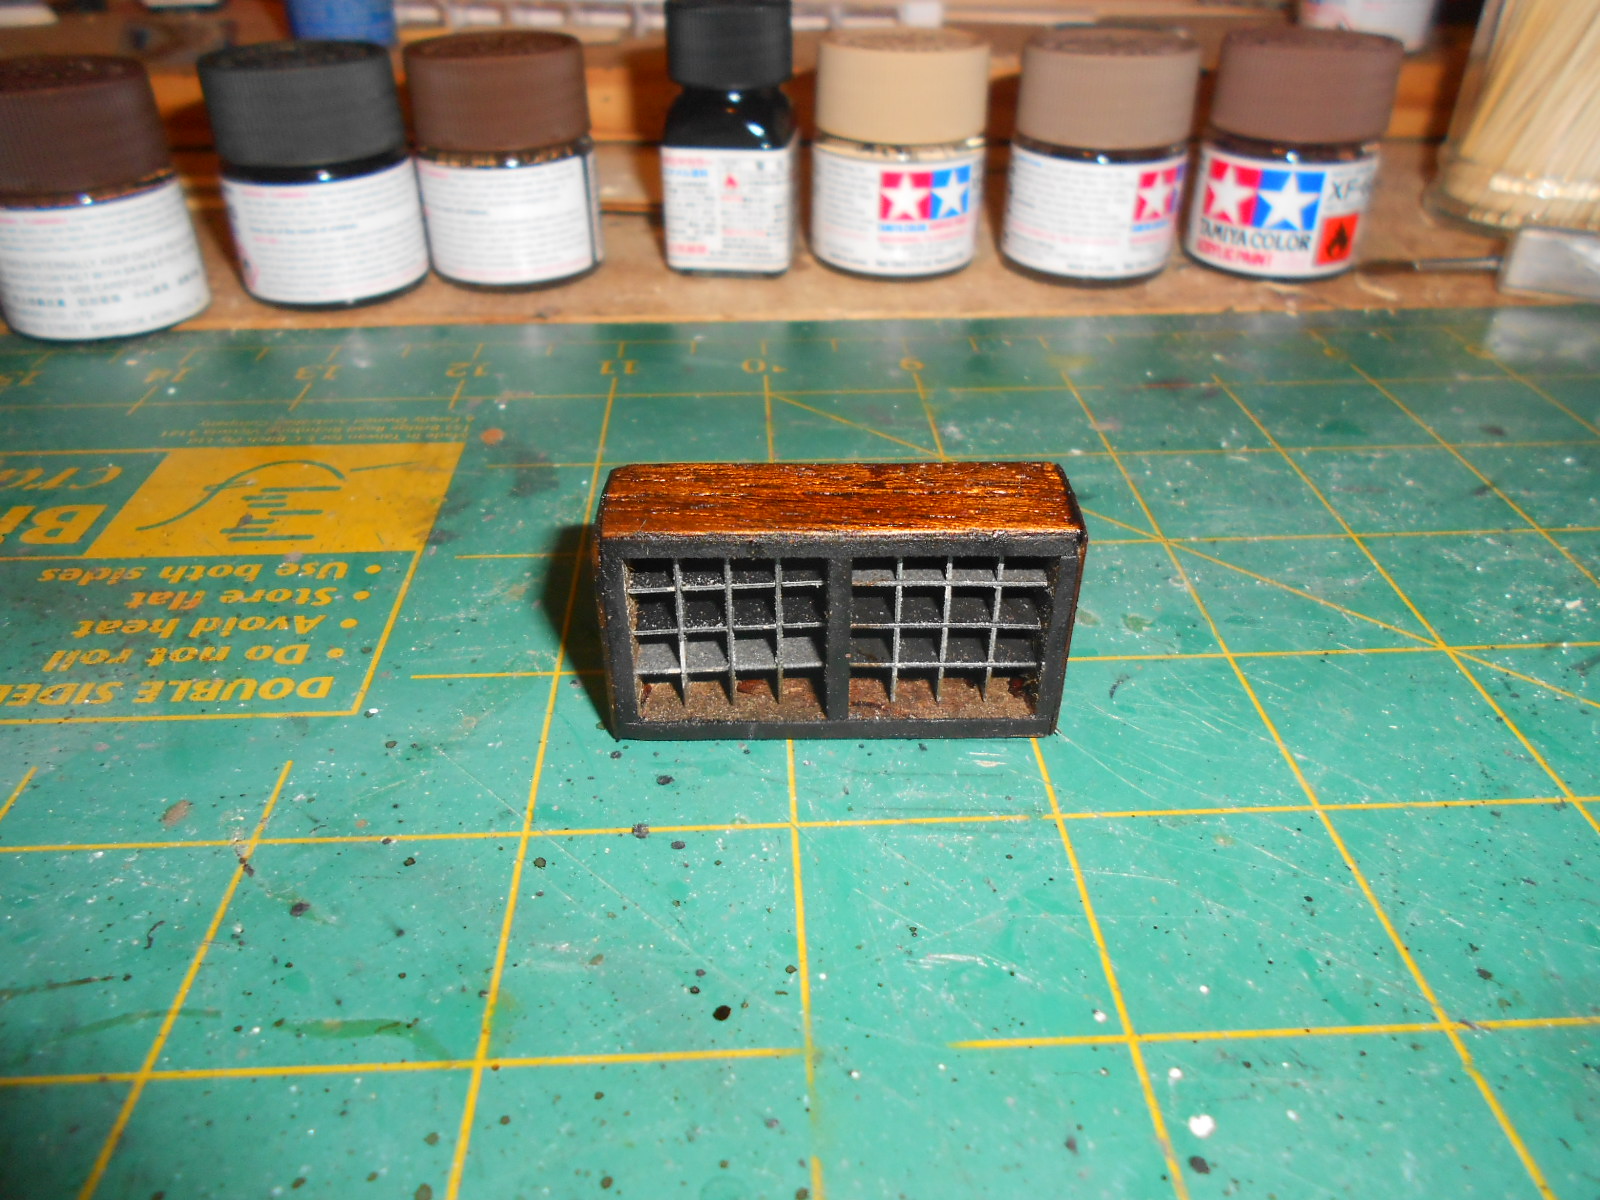
WEEK 15
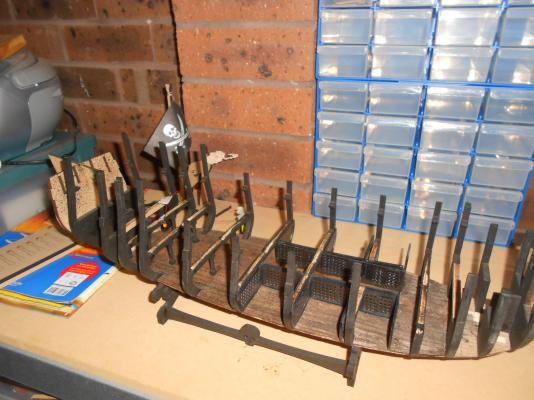
all the parts for the bottle rack are included
I covered the outside with left over strips. this because I don't like how the MDF wood looks with the staining.
I might add some more strips to the front wooden parts so that the color will be more consistent
-
with the arrival of the replacement parts of week 12, I have started up again on this build
I have now received up to issue 23 so plenty of work to do. I am also waiting on a reply from the store that supplied the led lights to see if they can supply the flickering led in pico format. if so I ll be ordering those . if not I will use the normal flickering leds which will fit , just more difficult to hide the wiring
-
thanks Kevin
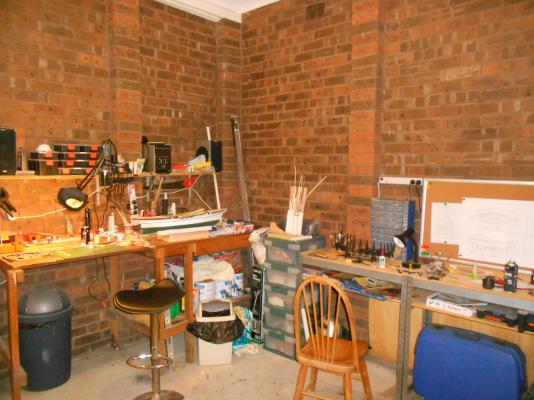
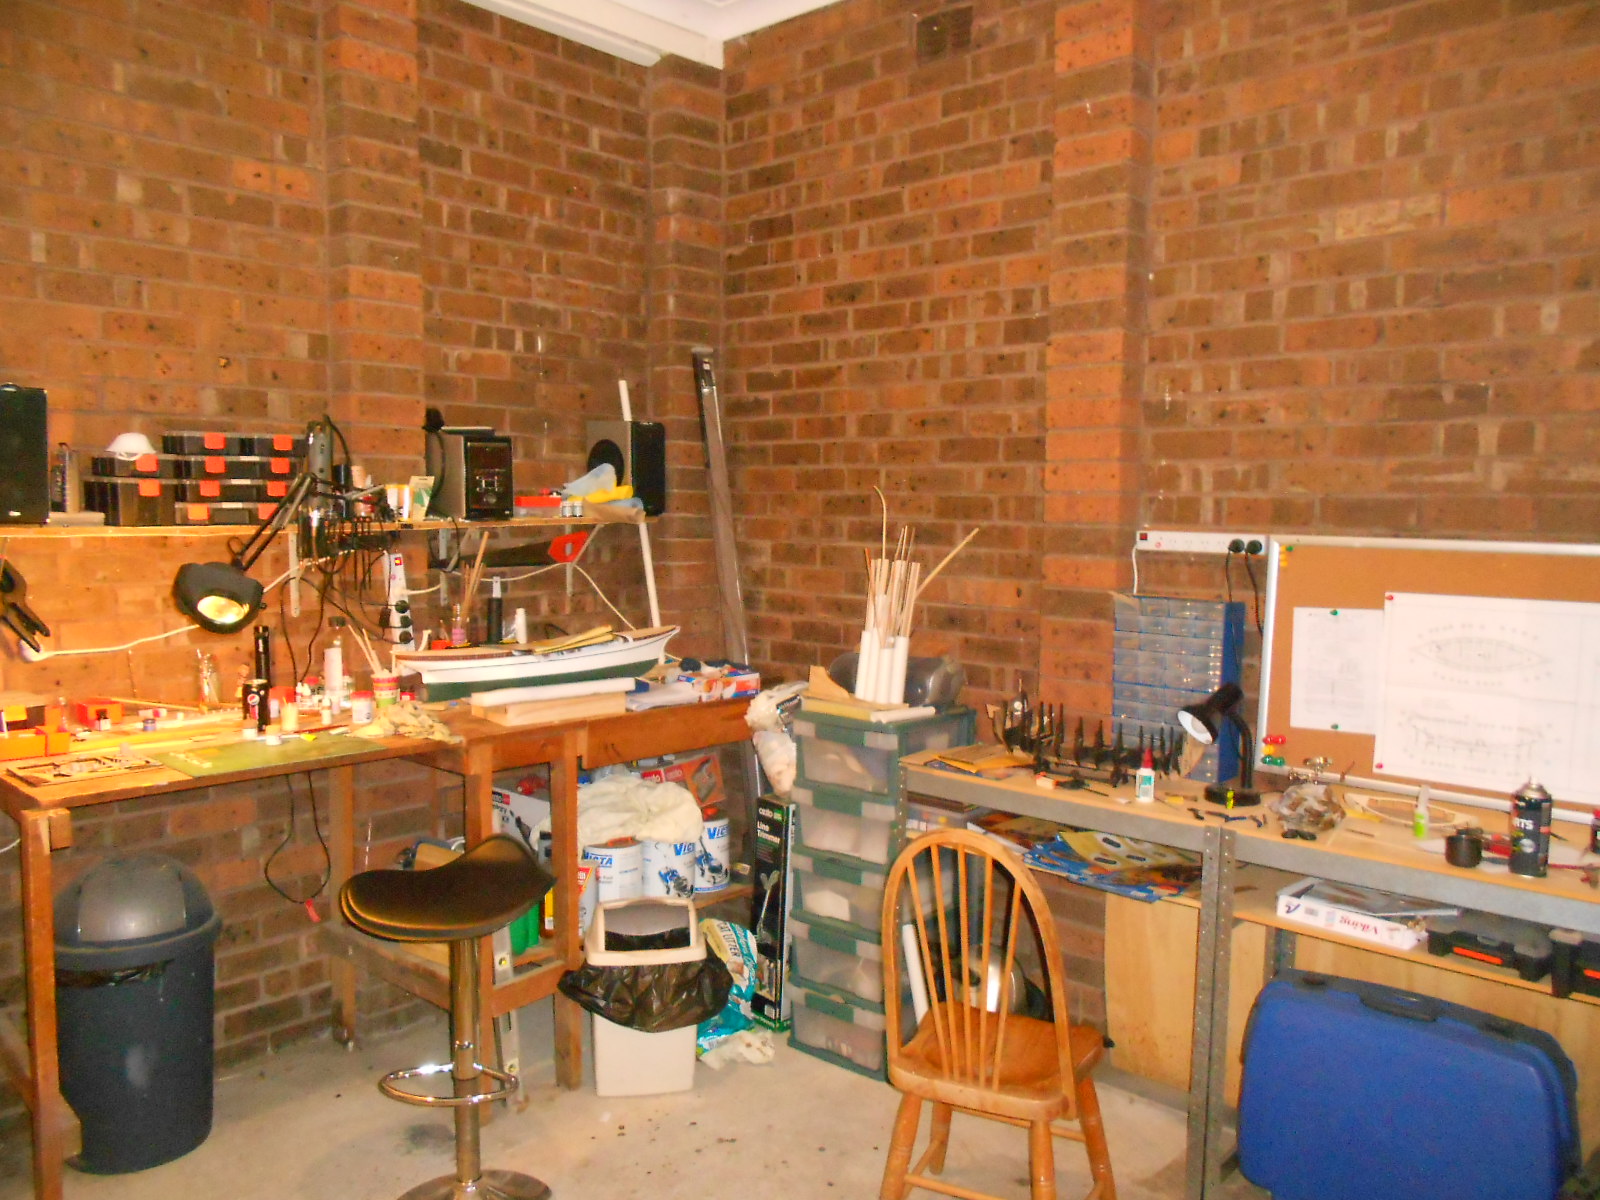
first a picture of my work area after the changes. on the right the 2 workbenches made from a 5 tier shelving unit.
no progress tonight
as I am trying to catch up with the Black Pearl build ( I am about 7 issues behind) this build might slow down a bit during the next weeks.
pictures show the holes I finished off during the weekend

- augie, Piet, popeye the sailor and 7 others
-
10
-
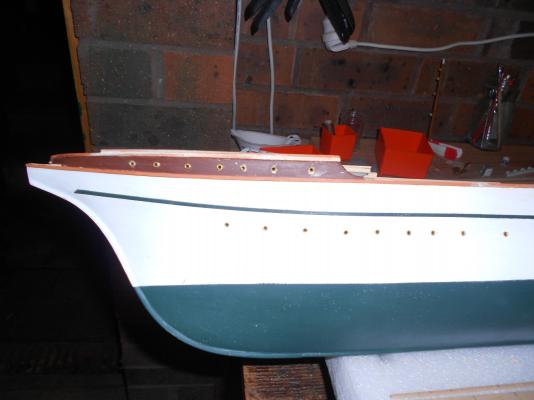
thanks Piet. i didnt think about the portholes and followed the instructions on putting them 10 mm below the lower strake.
looking at some pictures you are right (ofcourse). since there is not much difference i wil lkeep them as they are now , but something to remember if i ever do a ship similar (already got one in mind
 )
)thanks Popeye. they supply small rivets to simitate them, but i ll have a look at you rbuild too
thanks dragzz
did some work on my workspace and also finaly the replacement part for the black pearl build has arrived so i started on that build again
i did finish drilling al lthe holes for the portholes, several holes for some eyelets that need to be atached and ofcourse the 2 holes for the anchor . unfortunately i didnt take any pictures , but i ll try to get some tonight
-
-
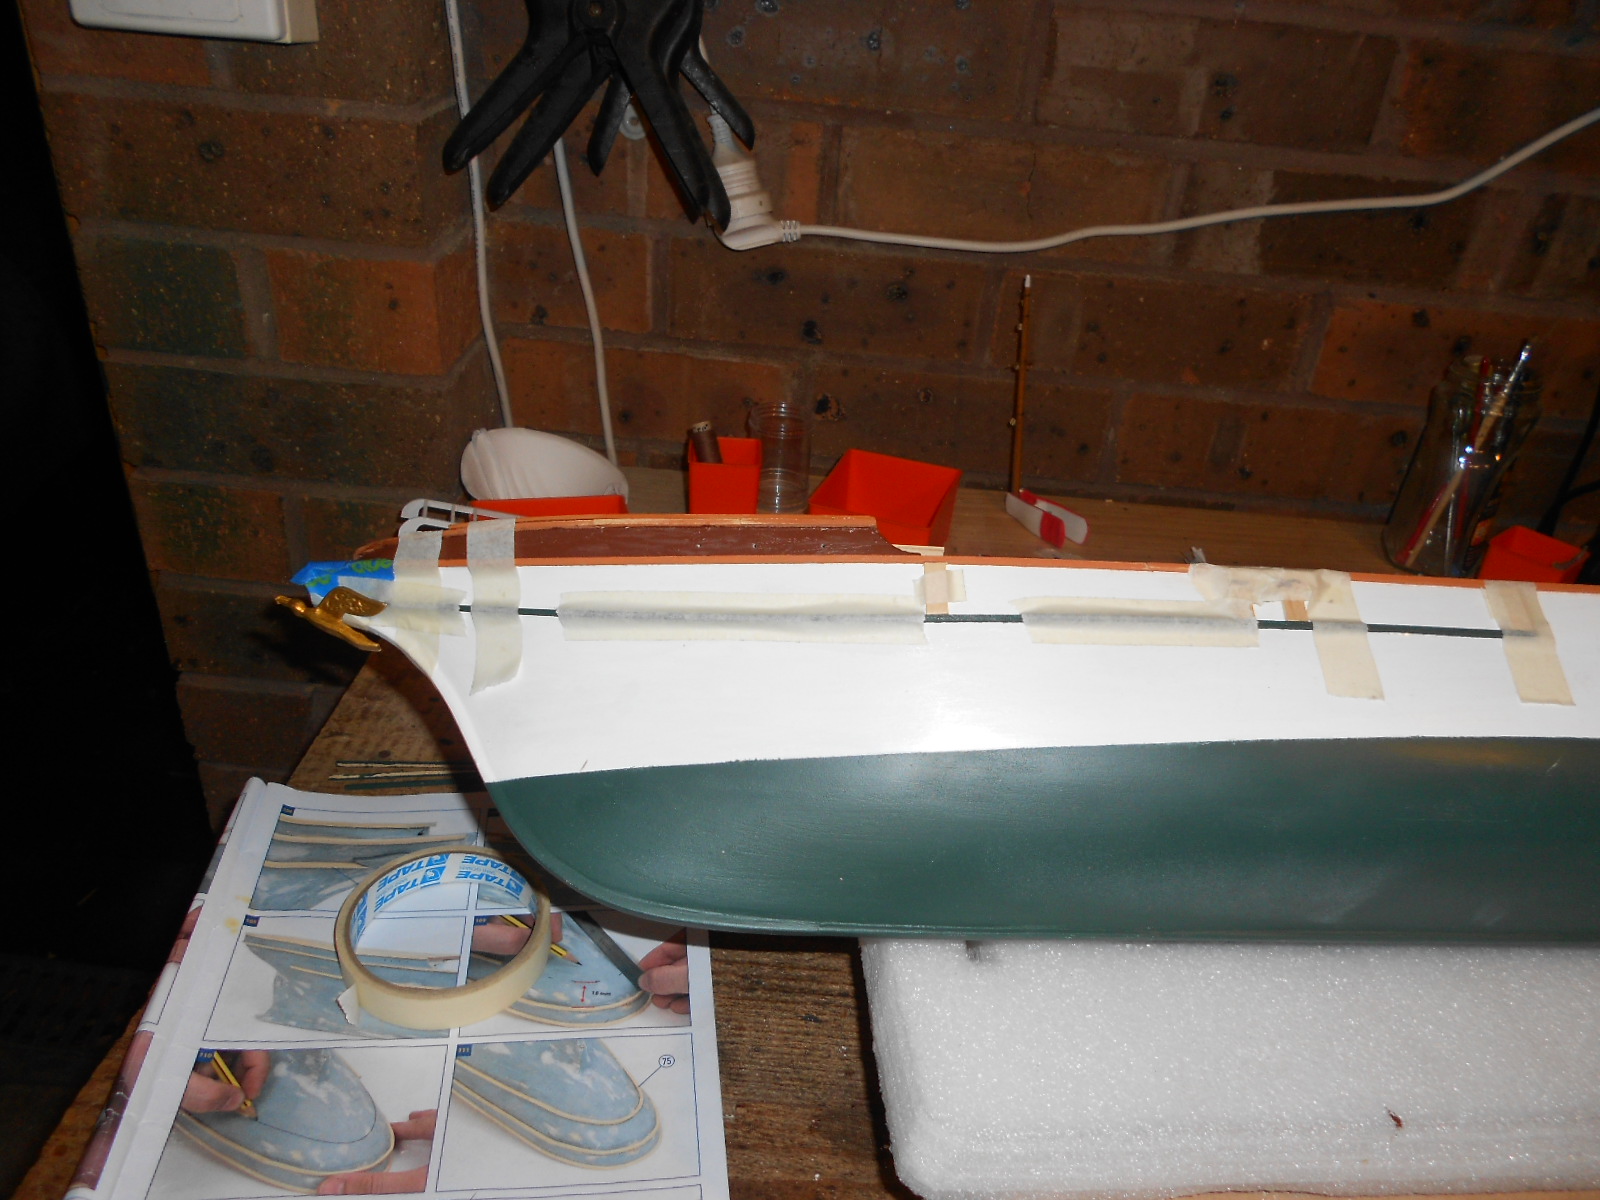
hi Piet, thanks for the advice. and I agree with your reasoning and run it parallel with the sheer
but that's for the weekend.
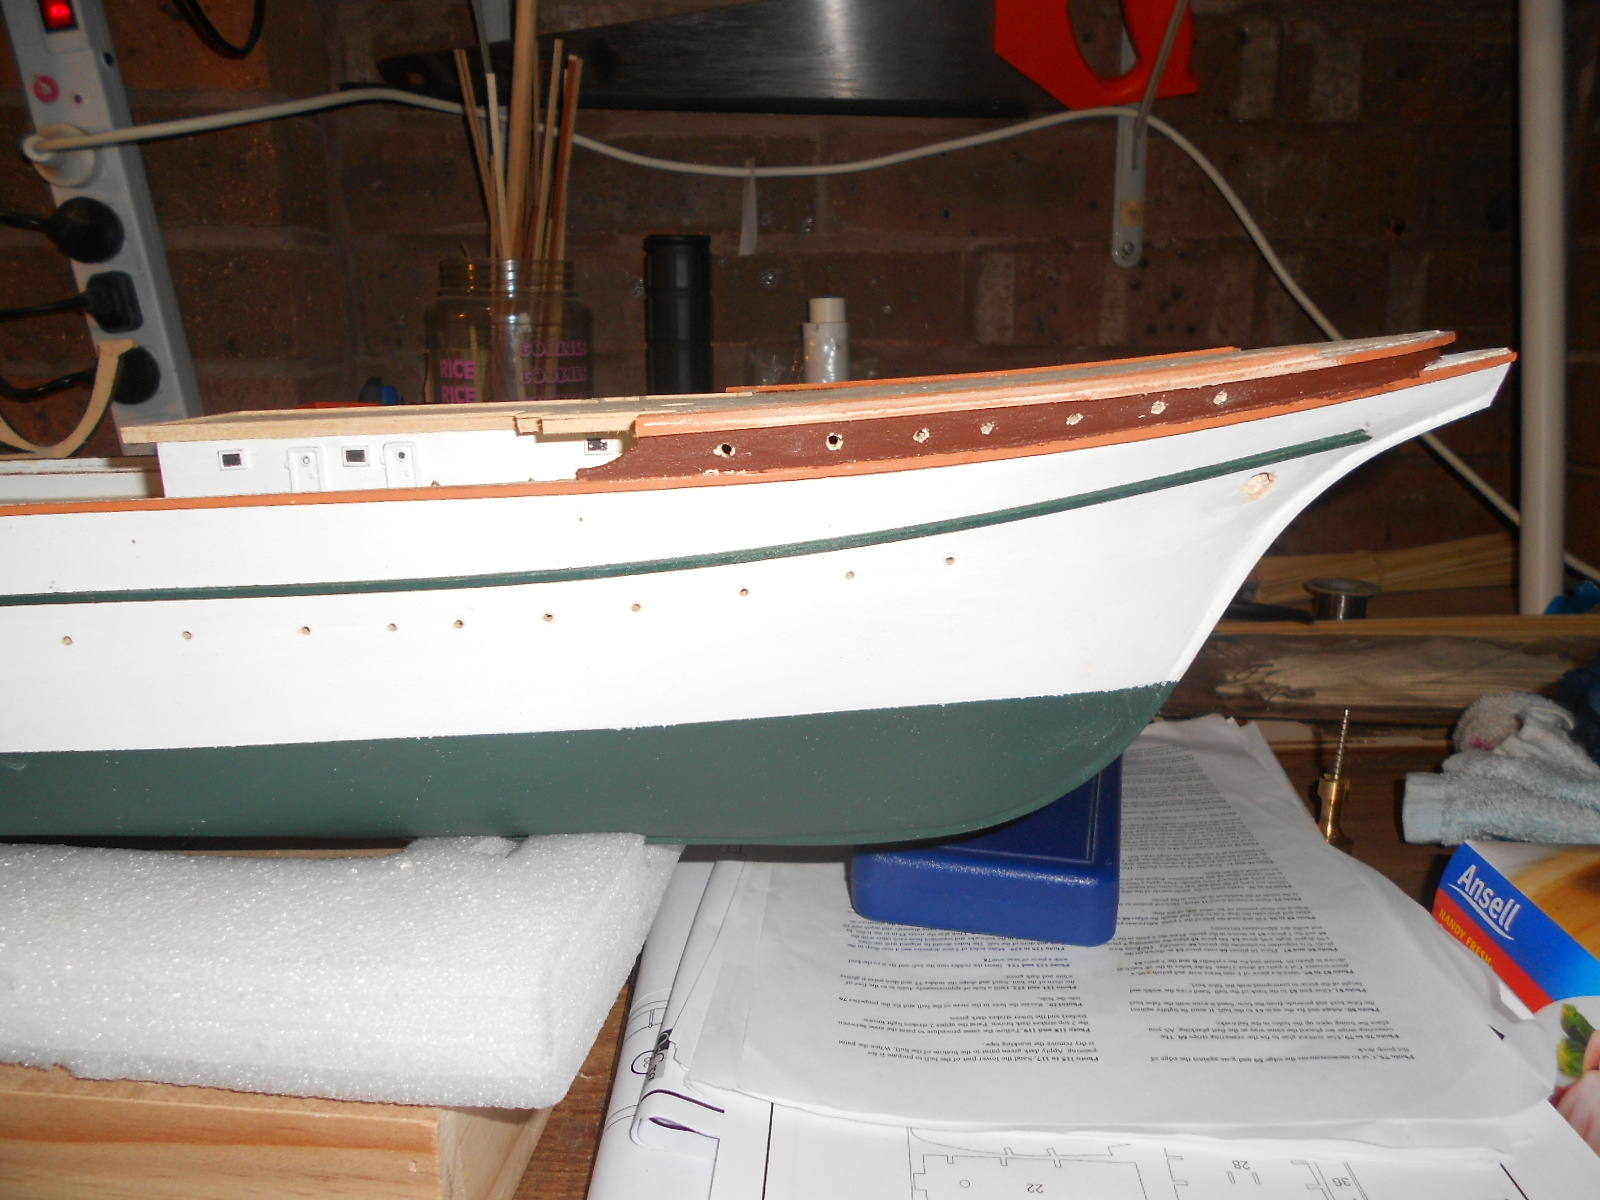
today I worked on drilling the holes for the portholes. not an easy task when the instructions say to start at the middle of the ship, but where is the middle.
using some off the pictures in the instructions I calculated the middle and used some wood strips to mark the positions.
before drilling I checked again with the upper pre drilled holes and found out I was off by about 25 mm
even after this adjustment , they still do not correspond completely with the overall picture of the ship, so I assume there are errors in the measurements that where given.
after drilling I inserted the rivets to see the effect and it looks good I think
i still need to do the other side and will be looking through the instructions to find any other holes that need to be drilled before i start on cleaning up the paintwork
- Mirabell61, Piet, Kevin and 3 others
-
6
-
thanks Wayne and Popeye
i am not sure yet on the curve. the instructions says to measure it 18 mm from the upper strake all the way round , but i had already found out that at the front. if i follow the instructions the strake will go up because of the shape off the hull. if i measured 18 mm straight down then it would stay even with the waterline, but not sure if it would look right
-
thanks Carl for your confidence
making the curve will be easy , I am more concerned with the fact that the strake will need to be fixed to the hull at a corner and not one off the sides. so not much contact. my resolve is to flatten to corner in the middle of the curve to give a bigger area of contact. I am just not sure how it will look
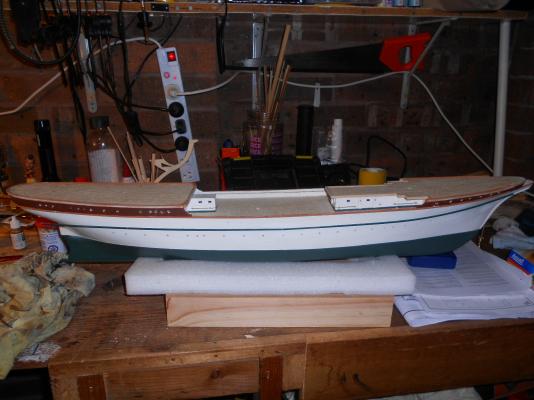
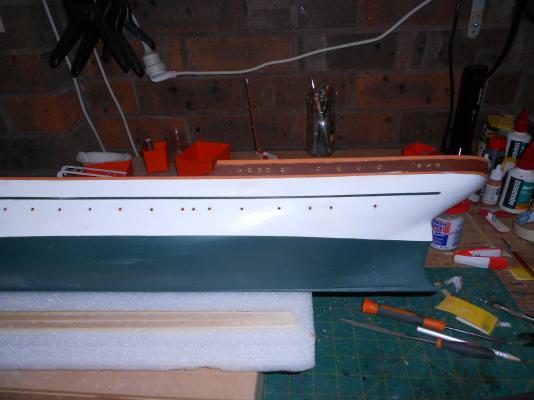
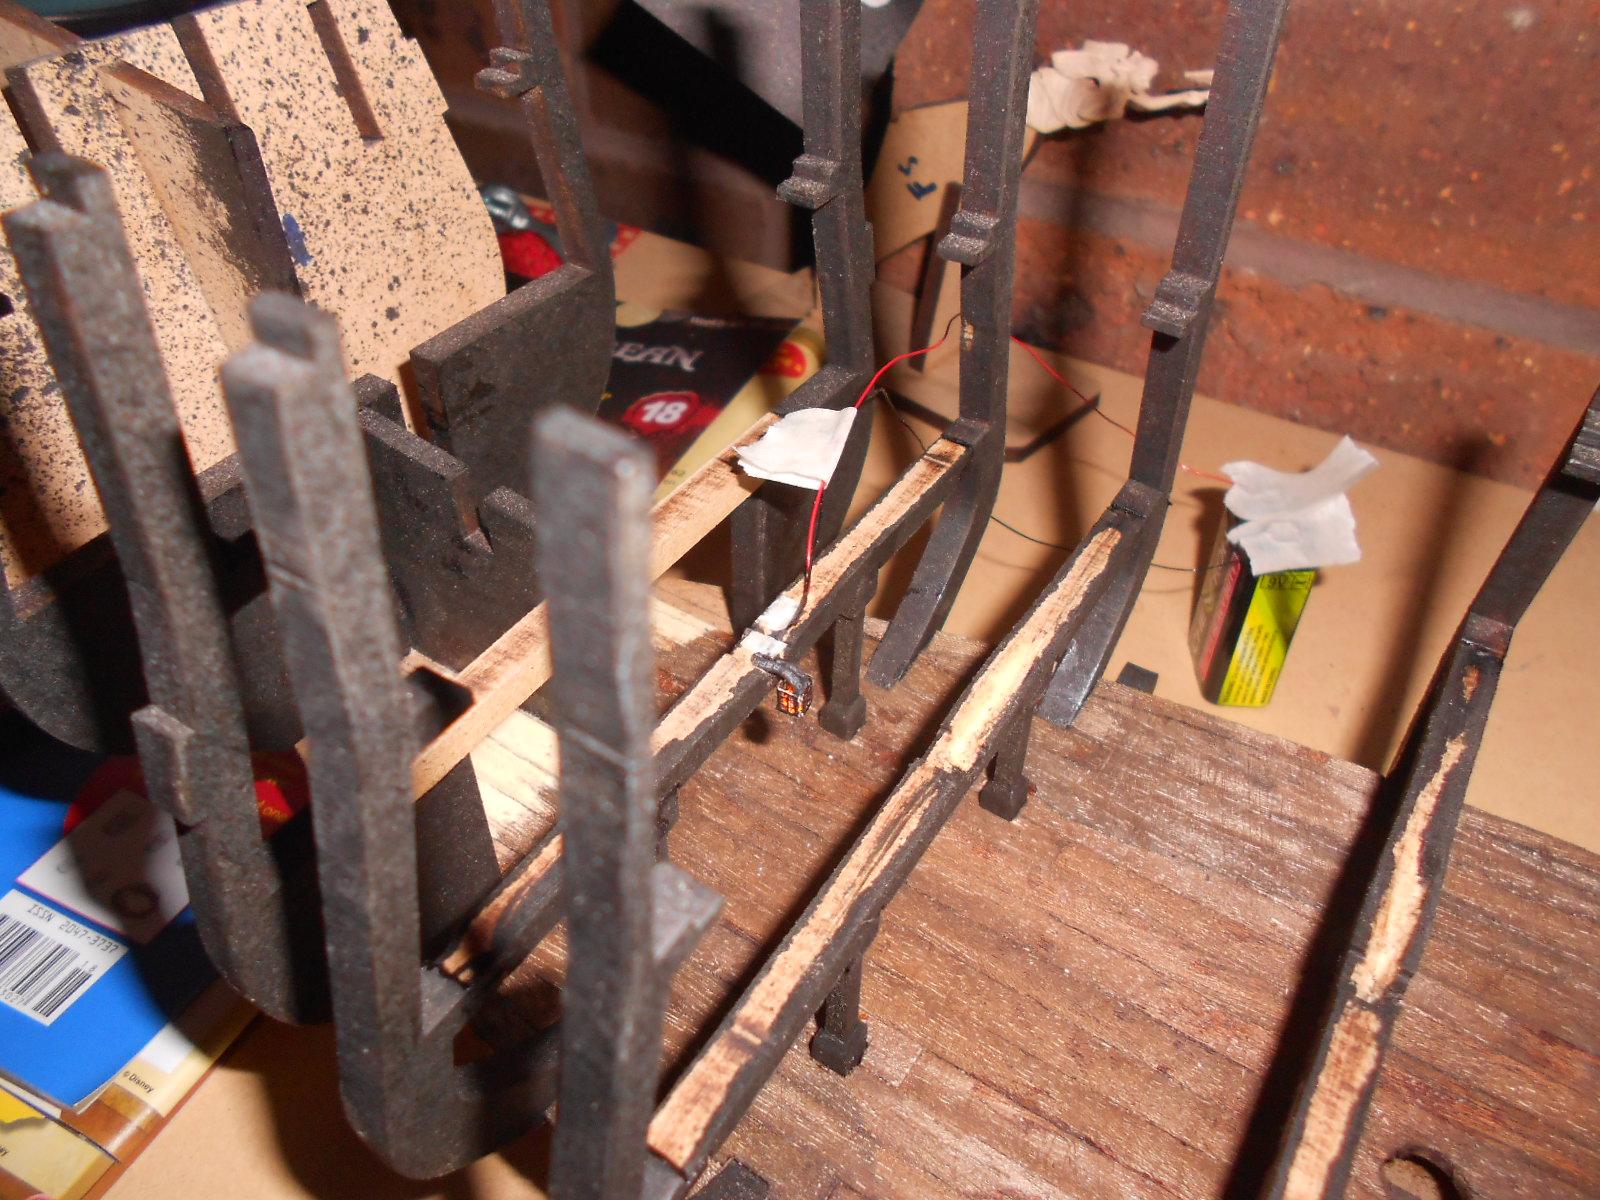
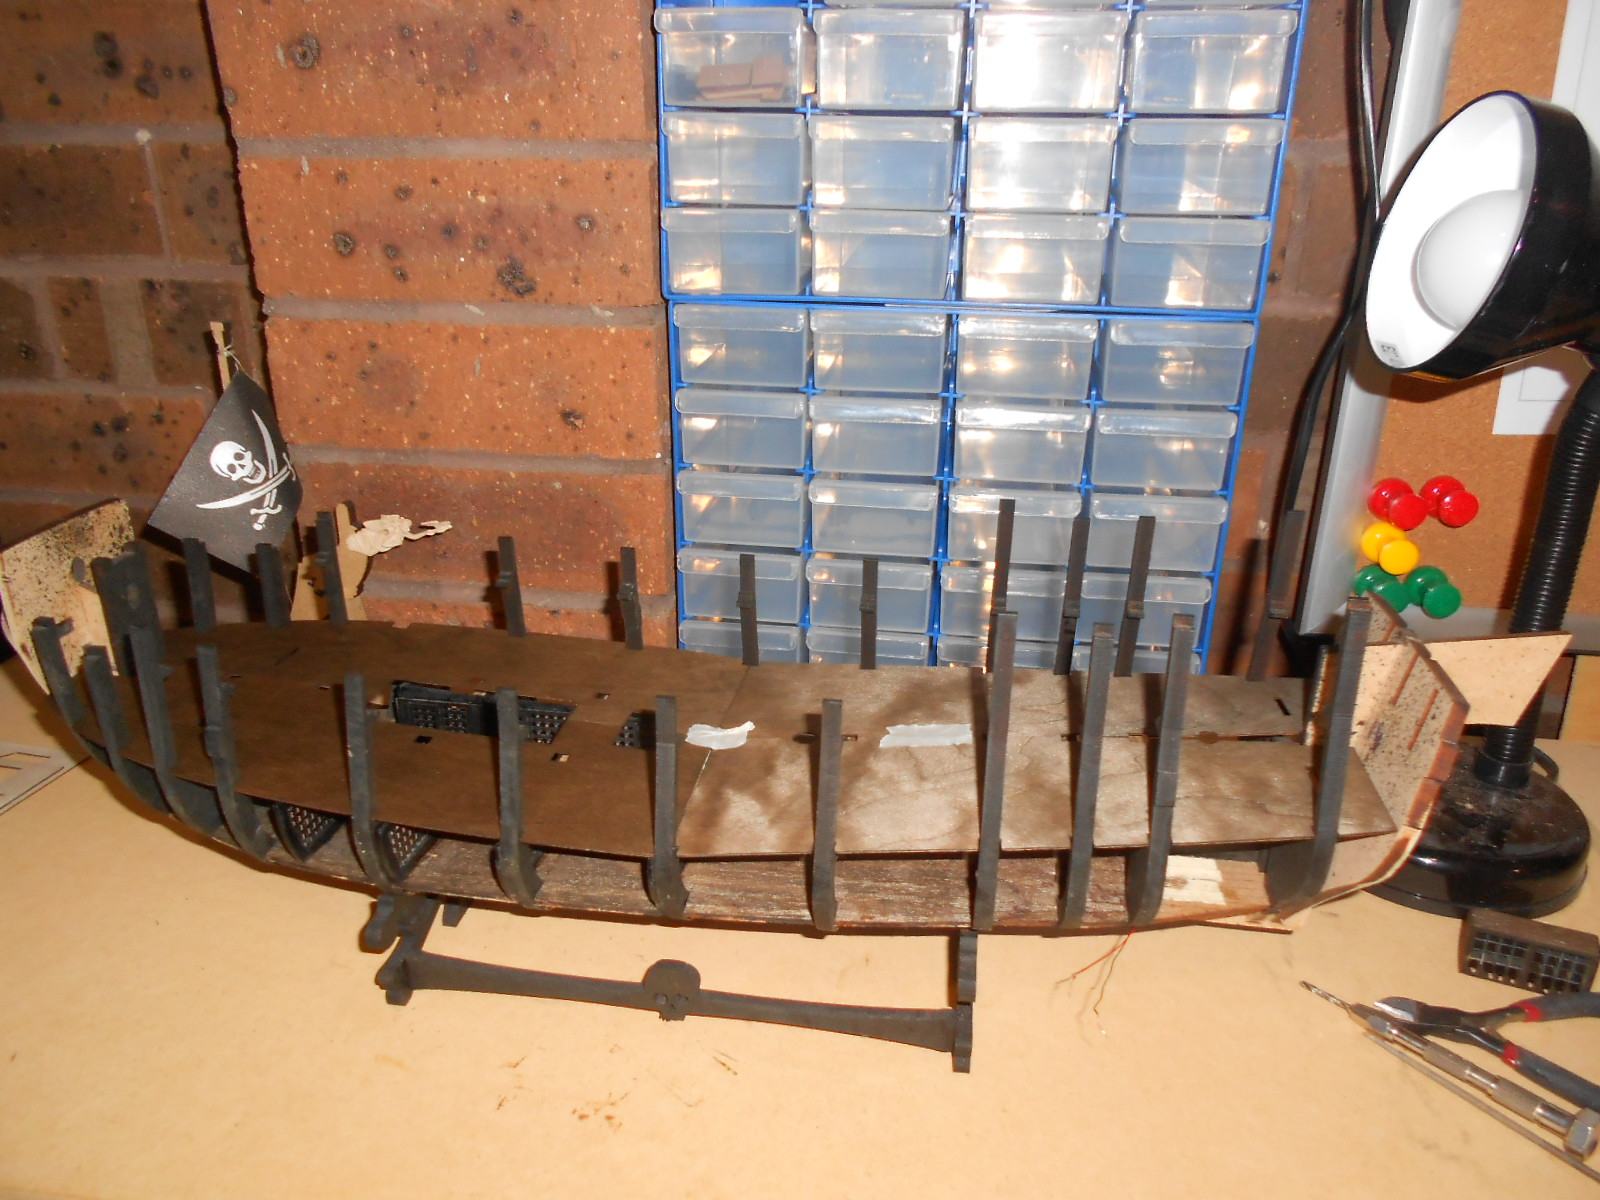
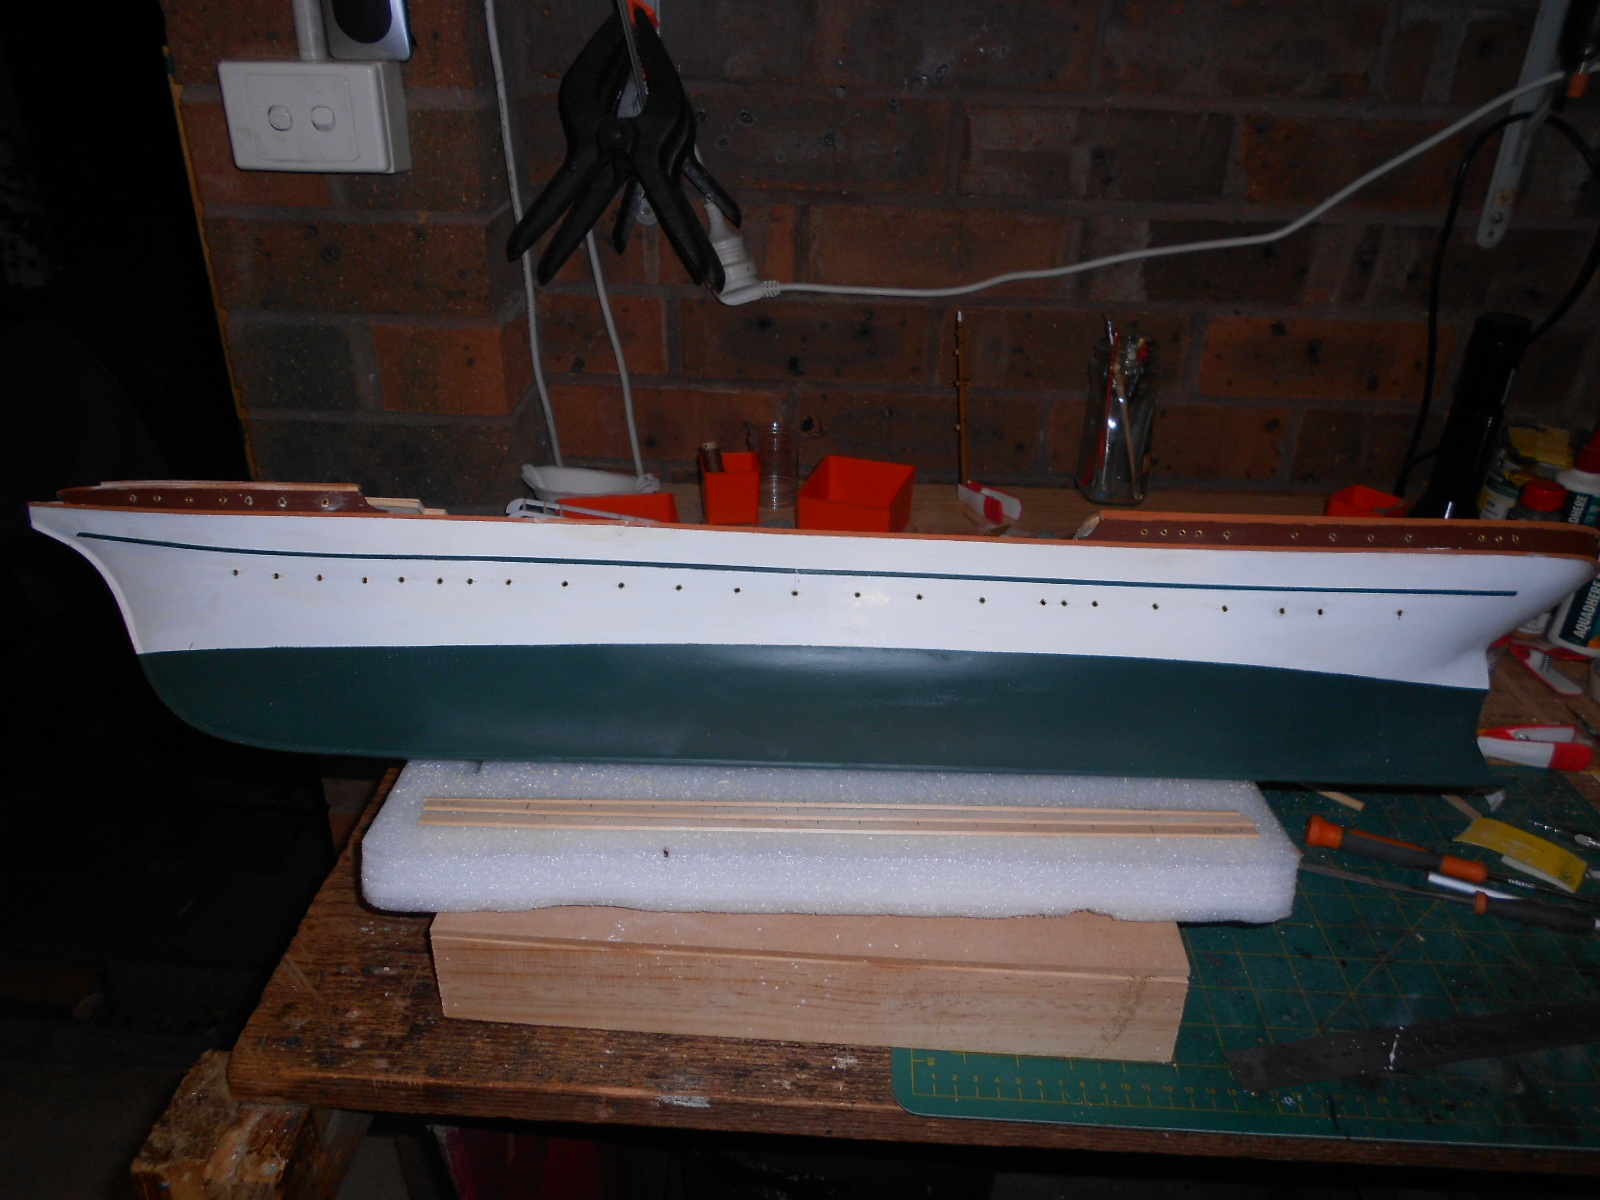
A quick update from tonight.
2 parts of the lower strake are now attached. tomorrow ill attach the ones on the other side. then I will be able to get a rough idea on the shape of the curve.
I temporarily attached the albatross to make sure the strake fits snug against it
- mtaylor, trippwj, Mirabell61 and 5 others
-
8
-
-
-
-
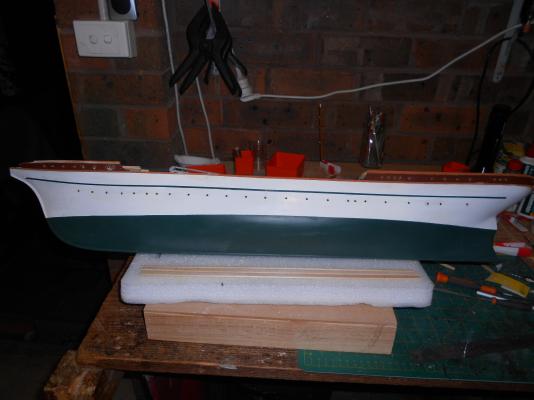
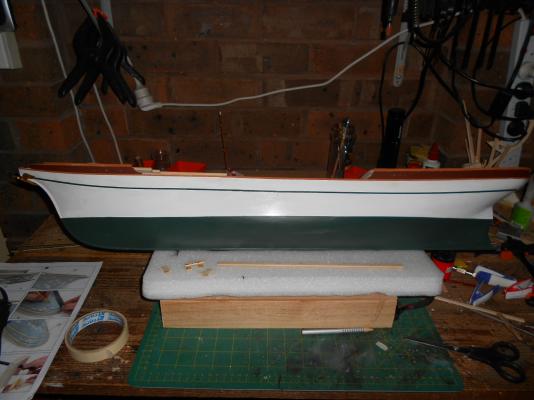
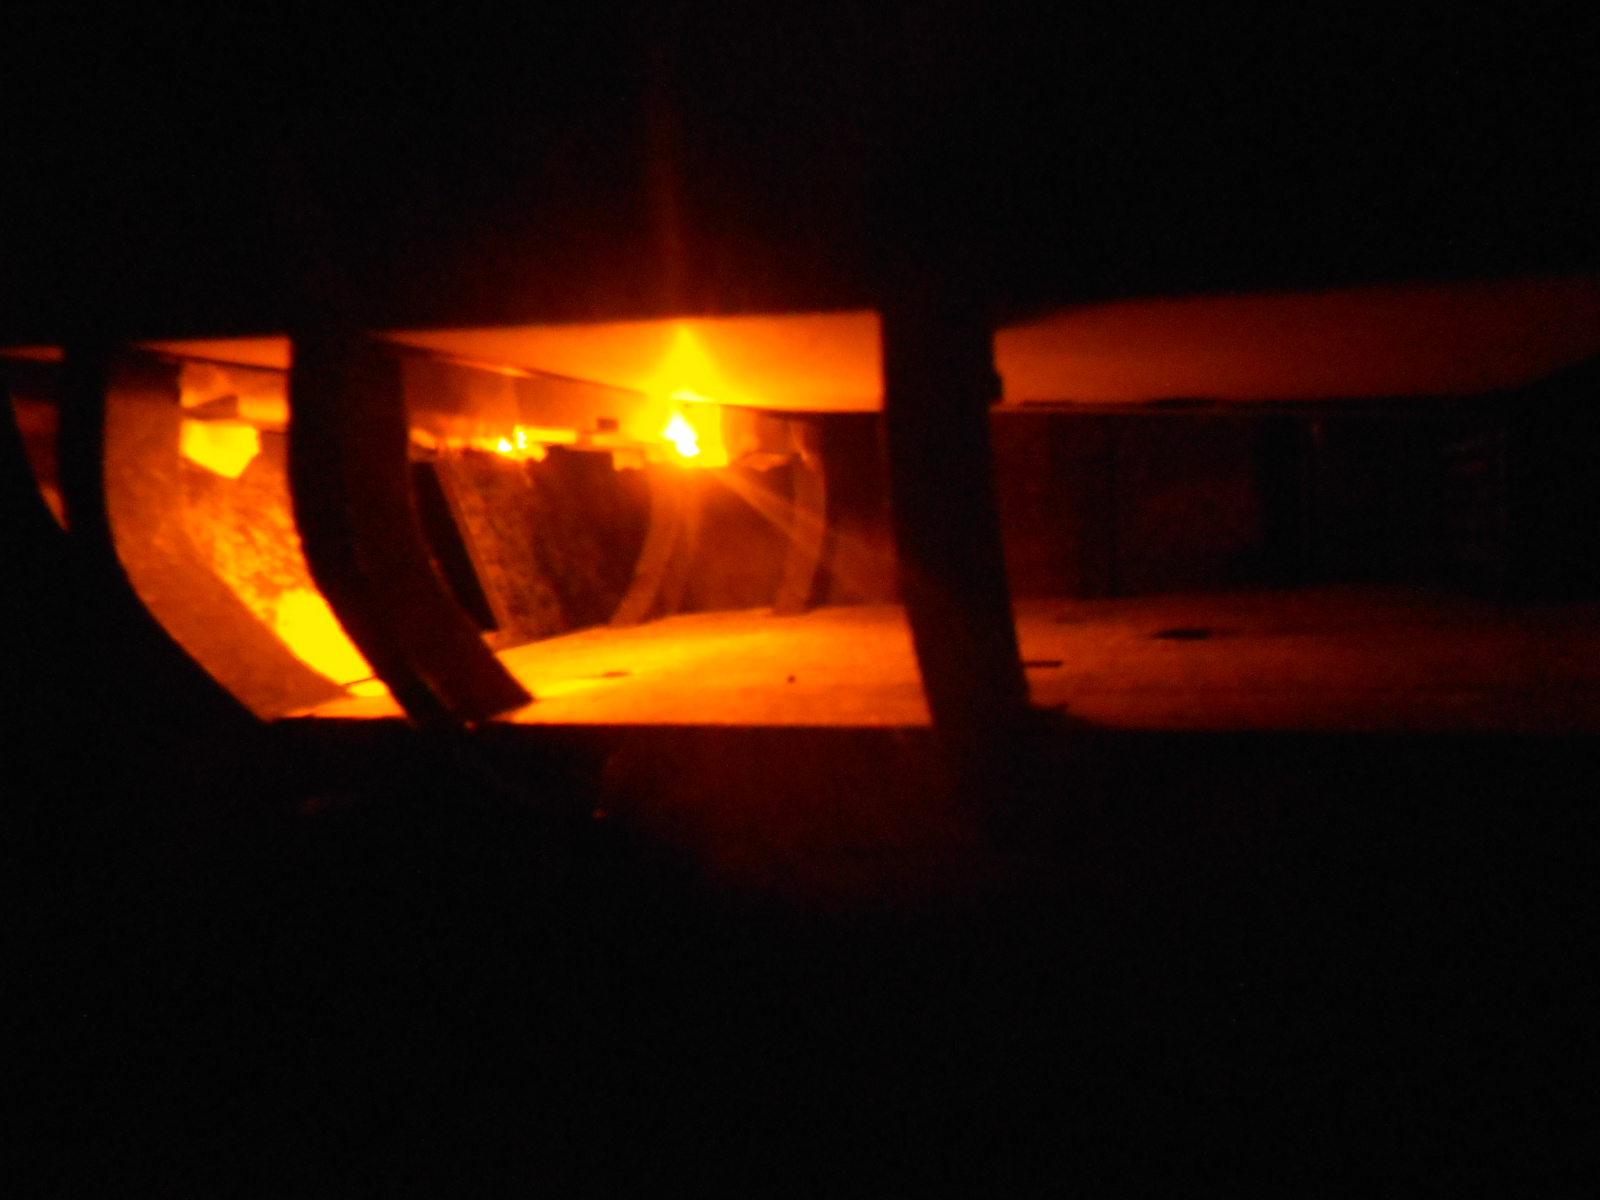
well it has been a very tiring week , with last Monday turning into a 20 hour work day (till 3:30 am).due to a virus attack
but I did get a fair bit done today
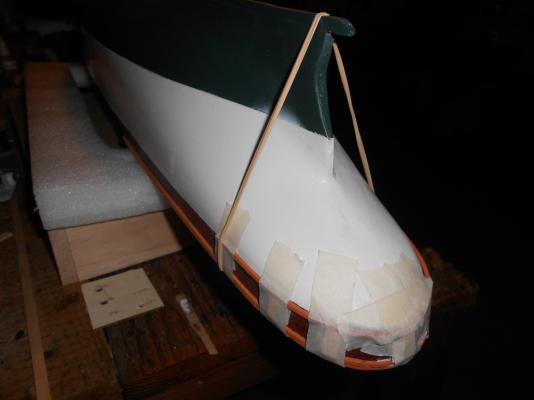
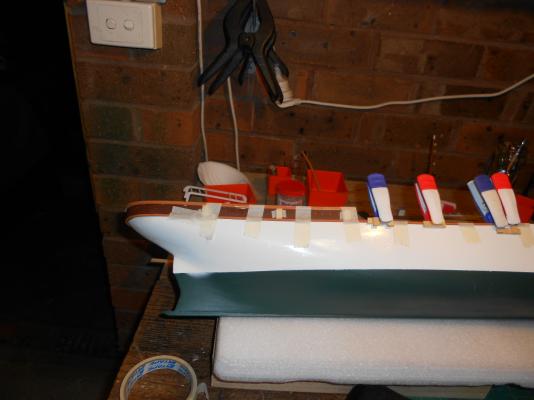
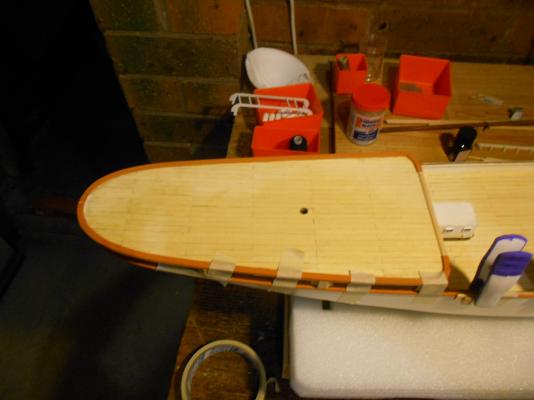
I have begun attaching the strakes. the cheap masking tape came in handy again to keep them in place
in the second picture you see that I still have to finish the hulls painting, but I am going to leave that until I have finished the strakes and some other stuff. then I will mount her on the pedestals and use some styrofoam to protect the hull.
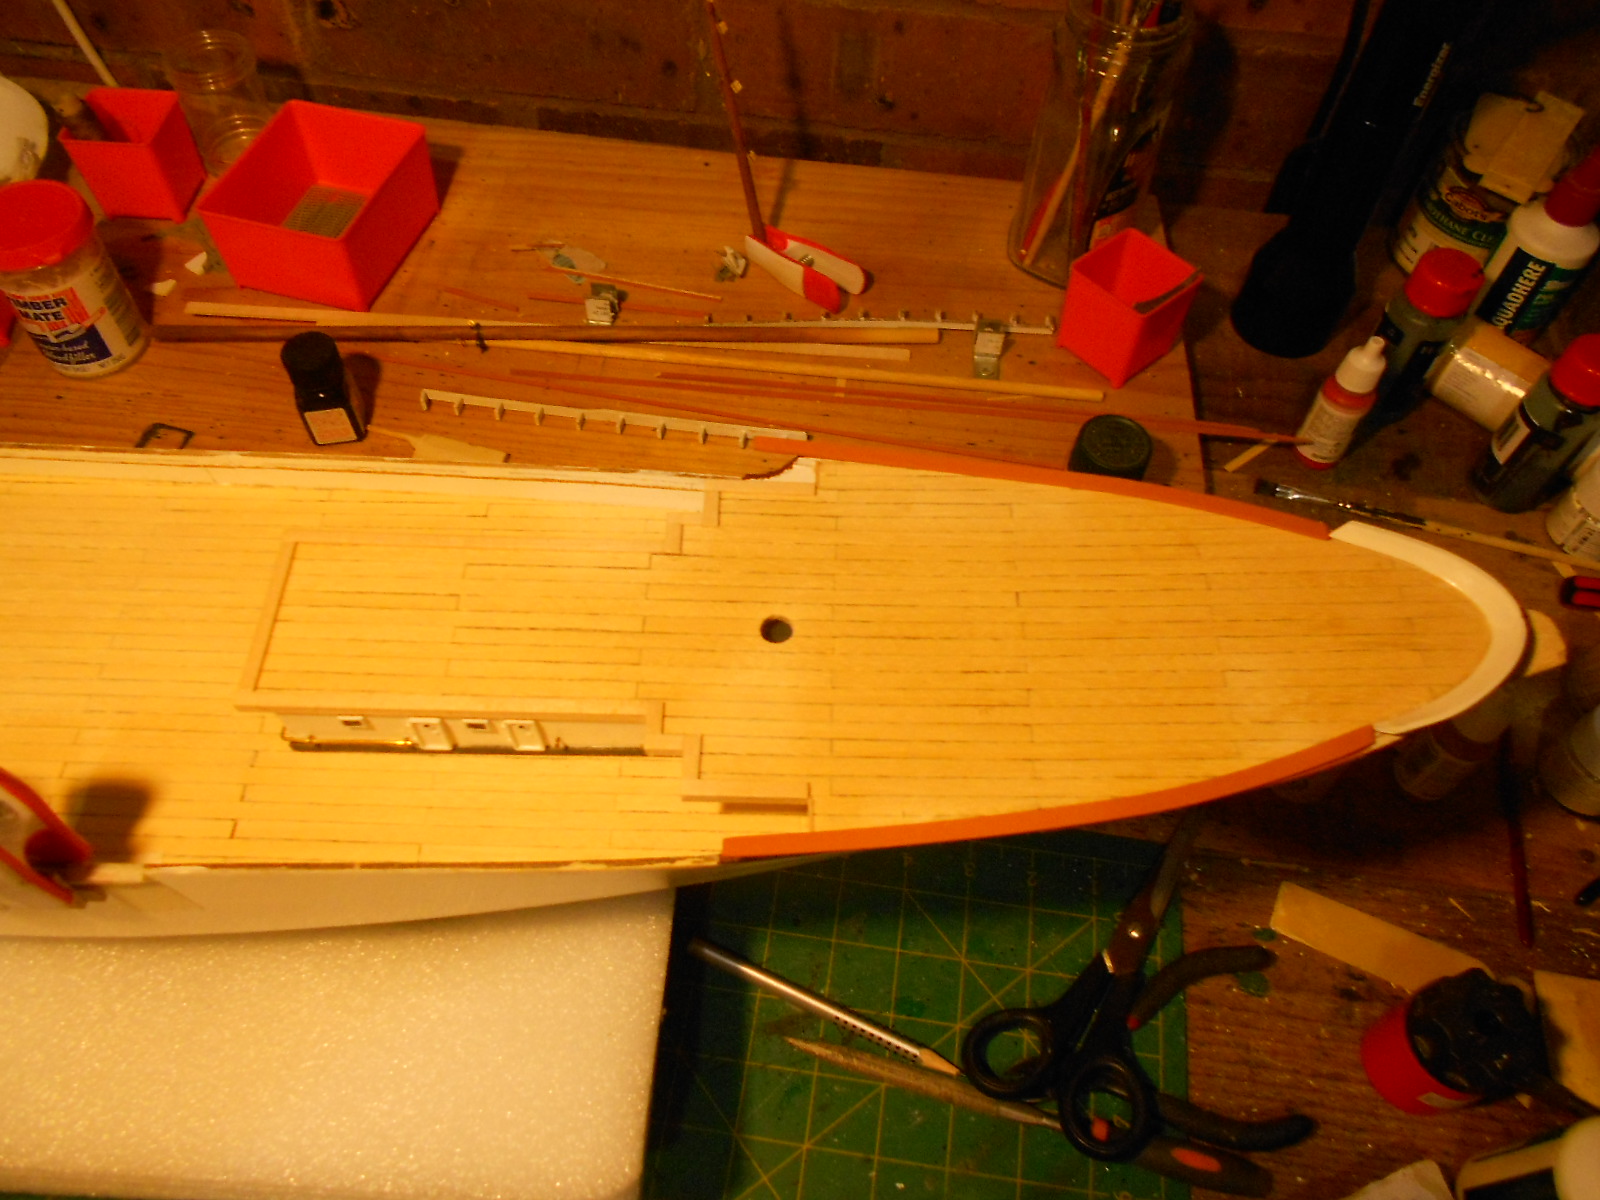
I have also worked on the edges of the top fore and aft deck. there are a few inconsistencies in the pictures on how to do them but I think I got it sorted out. also some of the preformed edges are too long and have the wrong angles


Black Pearl by Adrieke - Hachette (Amati)
in - Kit build logs for subjects built from 1501 - 1750
Posted
hello John
they come with the kit , there will be about 25 in total I think. I am not use the small hooks that come with them to hang them from the beams as the wiring accomplishes that